DIY AGED STONE WALL LOOK/Faux Effects Using Saltwash®

My friends, I have been dying to share this post with you! We recently returned from our trip to Costa Rica and have been working non-stop to get all my photos edited and my video demo completed so I can share my new faux stone wall I created in our kitchen with you!

Thanks to my new favorite product, Saltwash®, there is no stopping me from transforming our entire house into a French Farmhouse, English Manor or Tuscan Villa. Ohhh the choices…

My friend Chelsea from Montero Manor inspired me after seeing the wall she created using Saltwash®. Just take a look at this beauty.

Isn’t it a dream? I saw this and I knew I wanted to create a similar look in our kitchen. If you want to see more of her gorgeous faux effects, check out Chelsea’s instagram account.

In this post I will share what I learned about working with this product and how to achieve amazing texture and depth for a beautiful aged stone look on your walls, on your furniture or anywhere you can apply paint.

Let's get started!

Materials Used:

Paint:
√ Behr’s Antique Tin, chalked using THIS RECIPE
√ Behr’s Cherry Cola mixed with Behr’s Chocolate Swirl, both chalked using THIS RECIPE
√ Glidden’s Meeting House White
Saltwash® use coupon code saltwashlove for 10% off
2 or 3 Paint brushes (I love my Purdy brushes)
Mini paint roller
Orbital sander (this is the one I have)
120 grit sand paper

Two years ago I added peel and stick wall paper to one wall in our kitchen. It was an easy way to glam up the space. Over time the wall paper received some wear and tear and I decided it was time for a new look. If you’d like to see the post on how to add peel and stick wallpaper, click HERE.

Prepare Your Surface

The first thing I did was remove the wall paper, which by the way came off so easily. Next I took down my shelves. The wall paper did pull of some parts of the wall paint. I wasn’t worried about it since I could use this effect for added texture to our stone look wall.

Mix and Paint

I picked two colors (one consisting of a mixture of colors) for my wall’s undertones.

Contrast in colors gives you dimension and age appeal. Natural stone is often infused with hints of various colors throughout its structure as a result of minerals. We are looking to create an appearance of stone so we will attempt to mimic that with subtle color undertones and texture.


To get our beautifully textured stone look we will be paint layering using the Satlwash product.

The technique for our first two coats will consist of applying the paint sporadically and in blotchy form all over the wall. I will show you how I do that, but first, let’s mix the Saltwash into our paint.

I converted my paint into chalk paint using this recipe. You don’t have to use chalk paint for the Saltwash product, it will work with any paint.

I mixed equal parts Saltwash to paint in a container (one cup paint, to one cup Saltwash). I tried different consistencies with the various colors.  The first time, with the gray color, I made the mix like pancake batter. For the next color, I made the mix a little thicker, more like stiff cake icing. This consistency worked much better on a vertical surface.

Let's Paint!

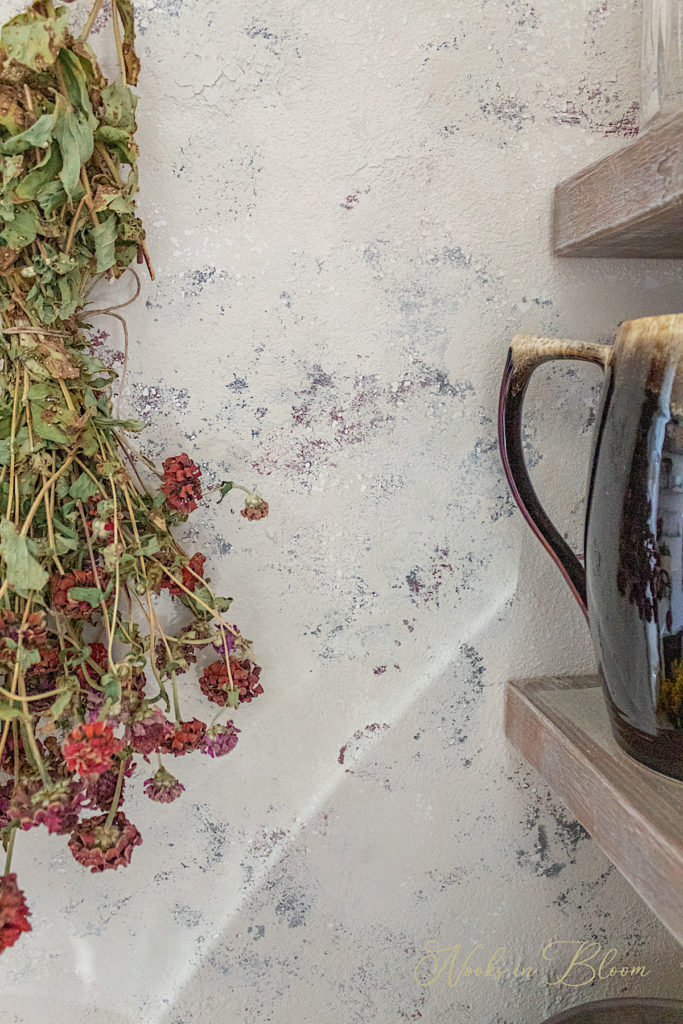
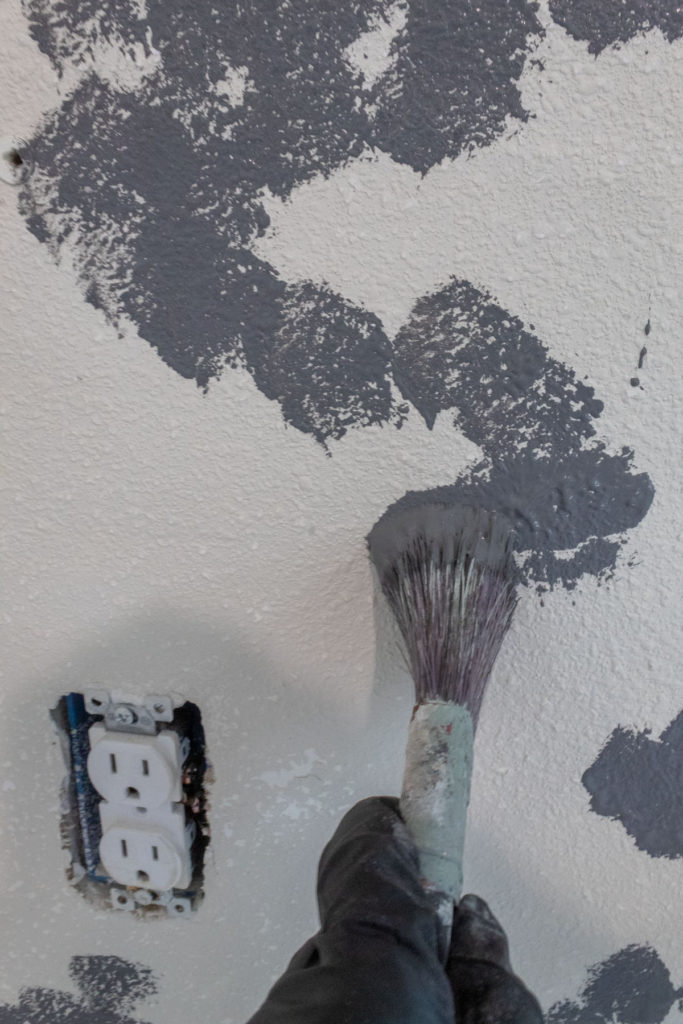
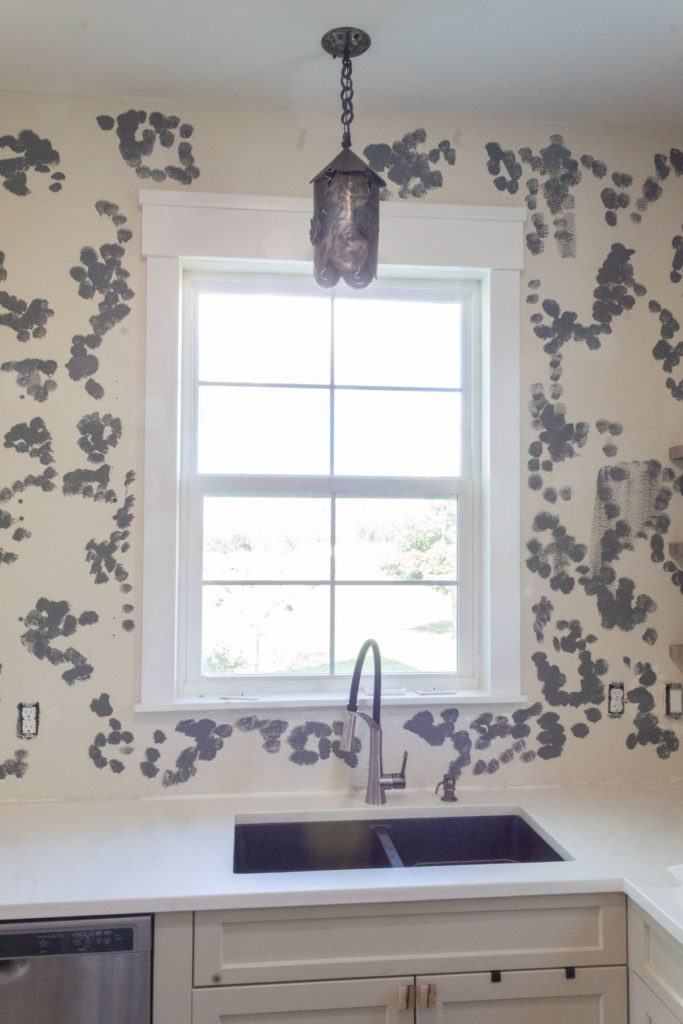
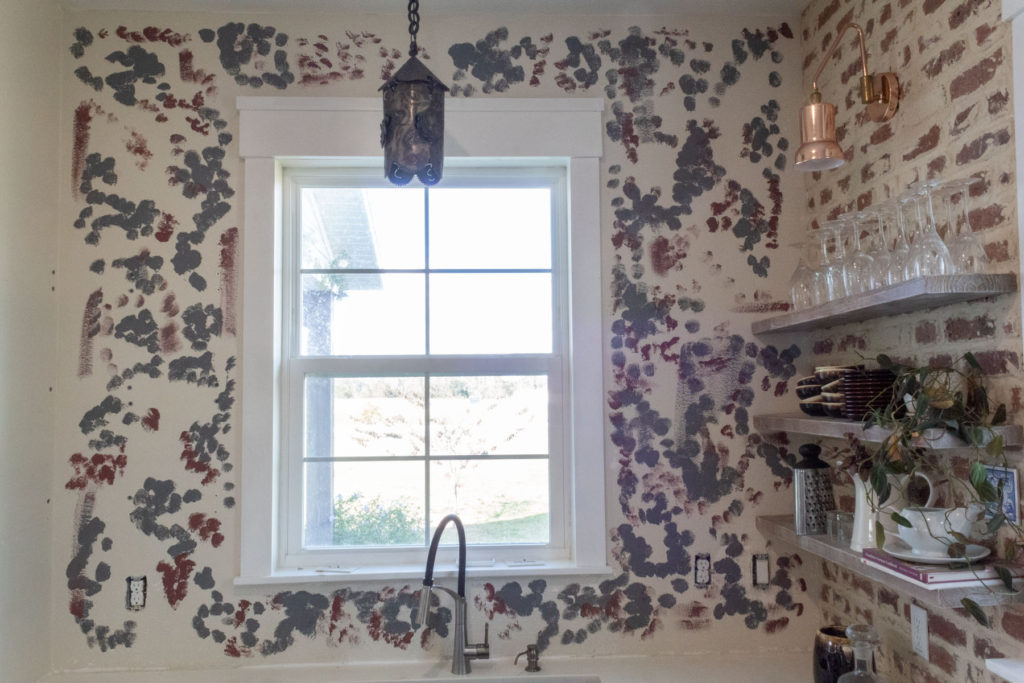
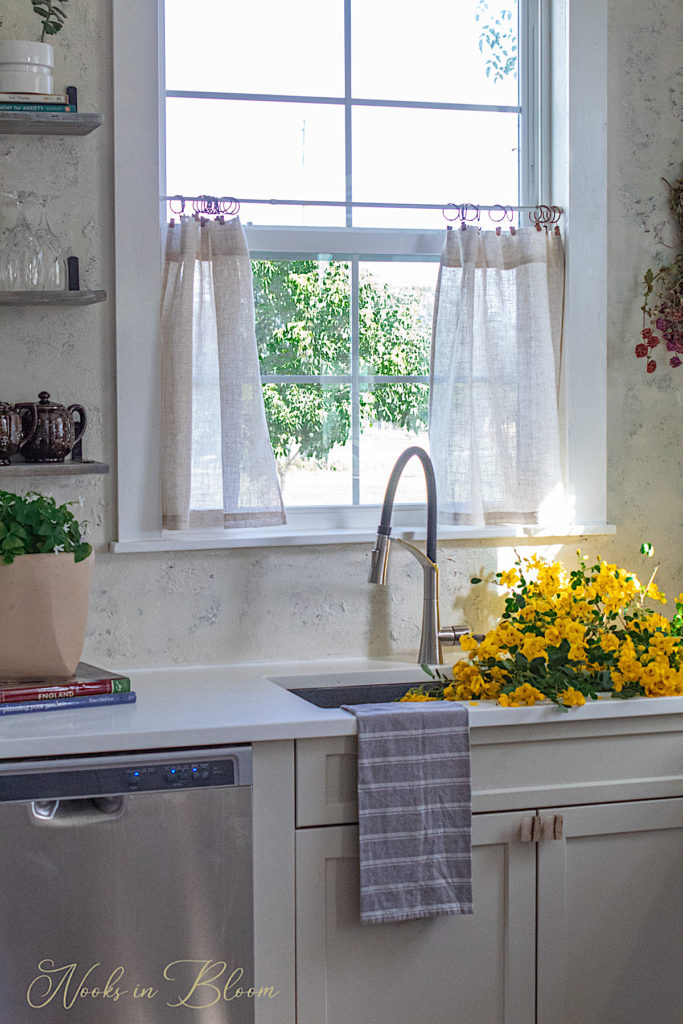
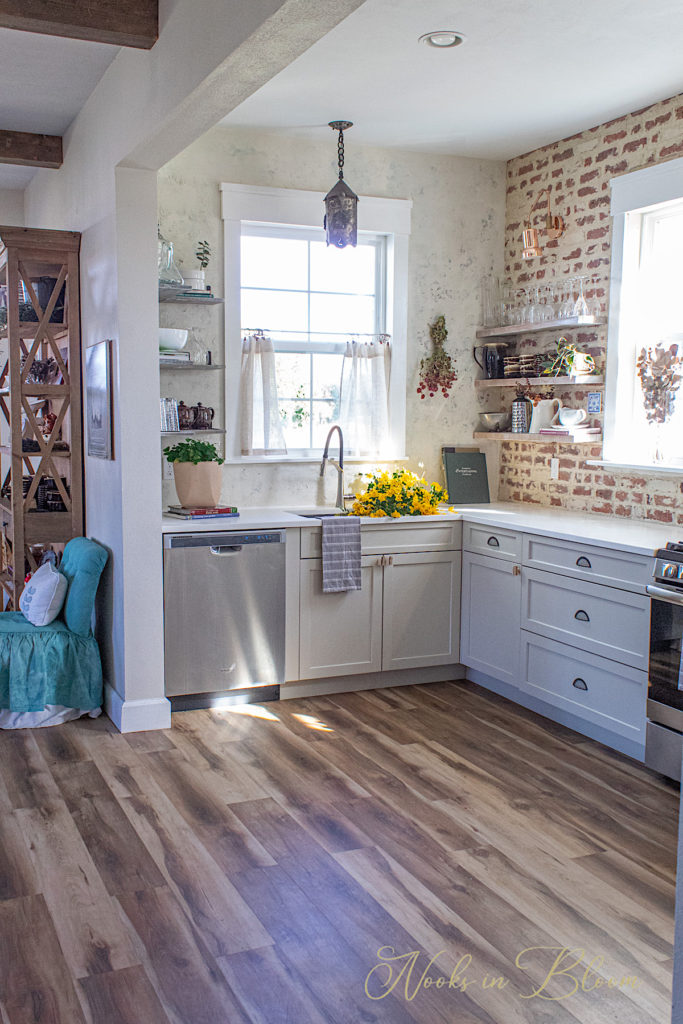
Because the color undertones will go under the top color, in my case the top color will be an off white, you don’t need to cover the whole wall with paint. 

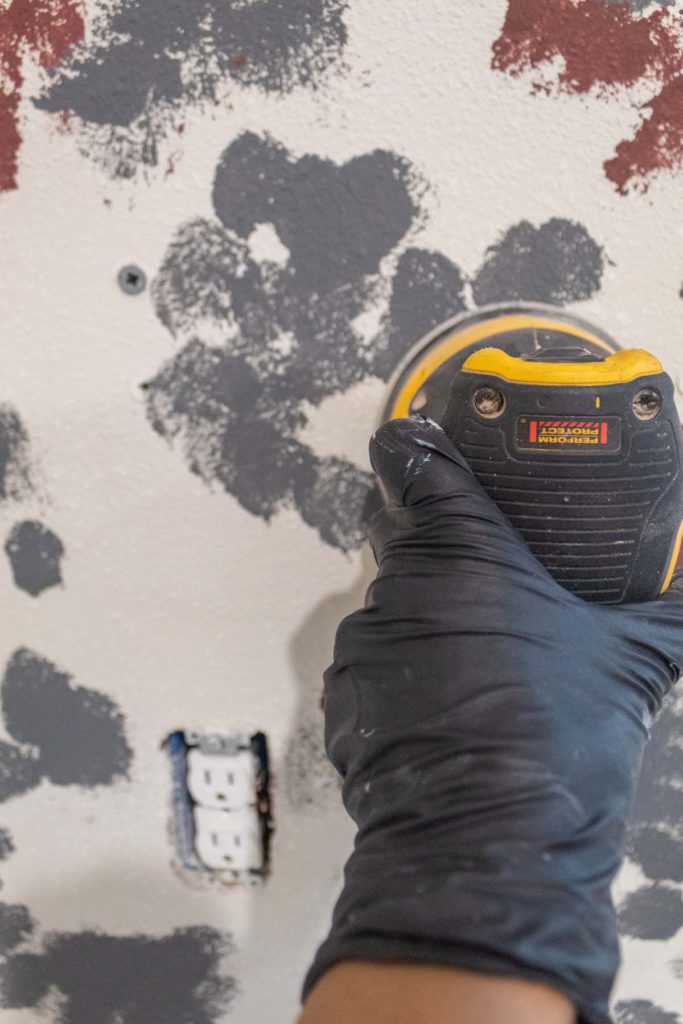
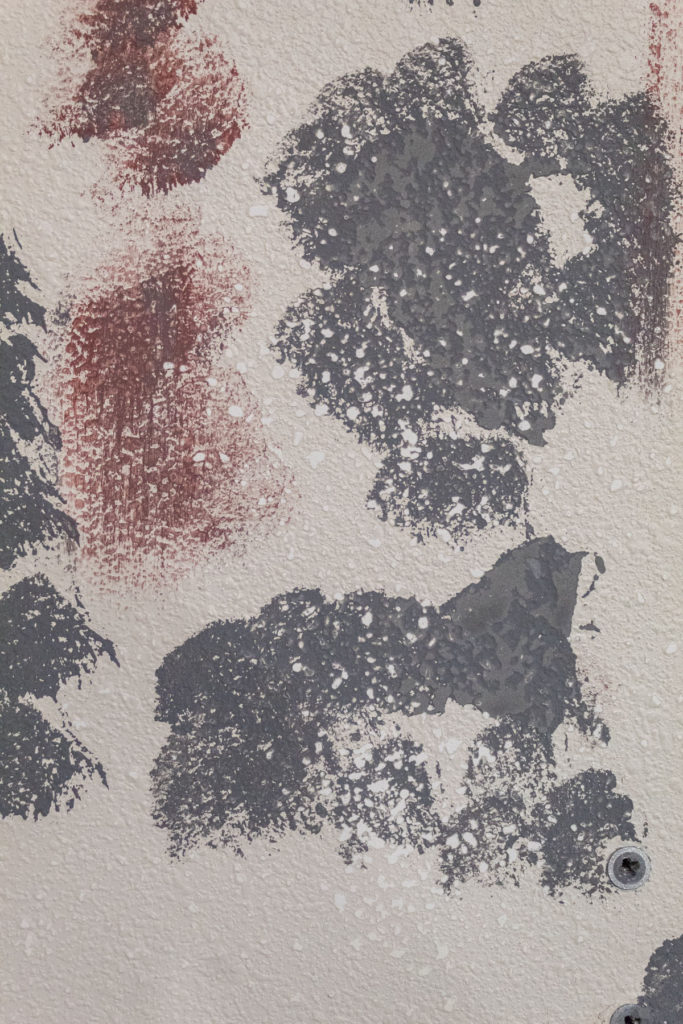
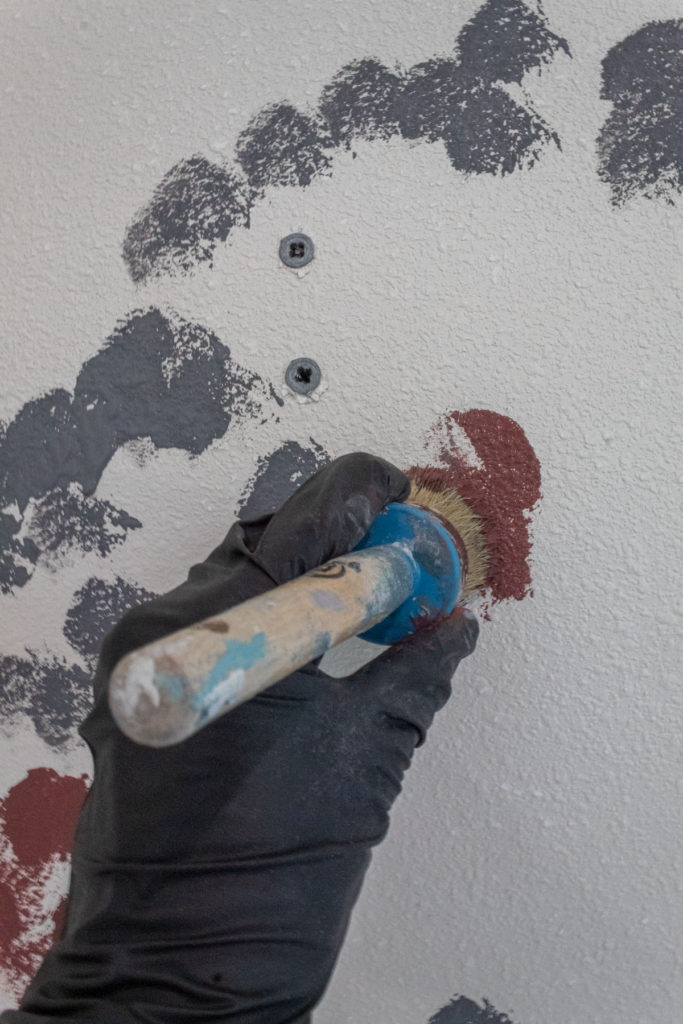
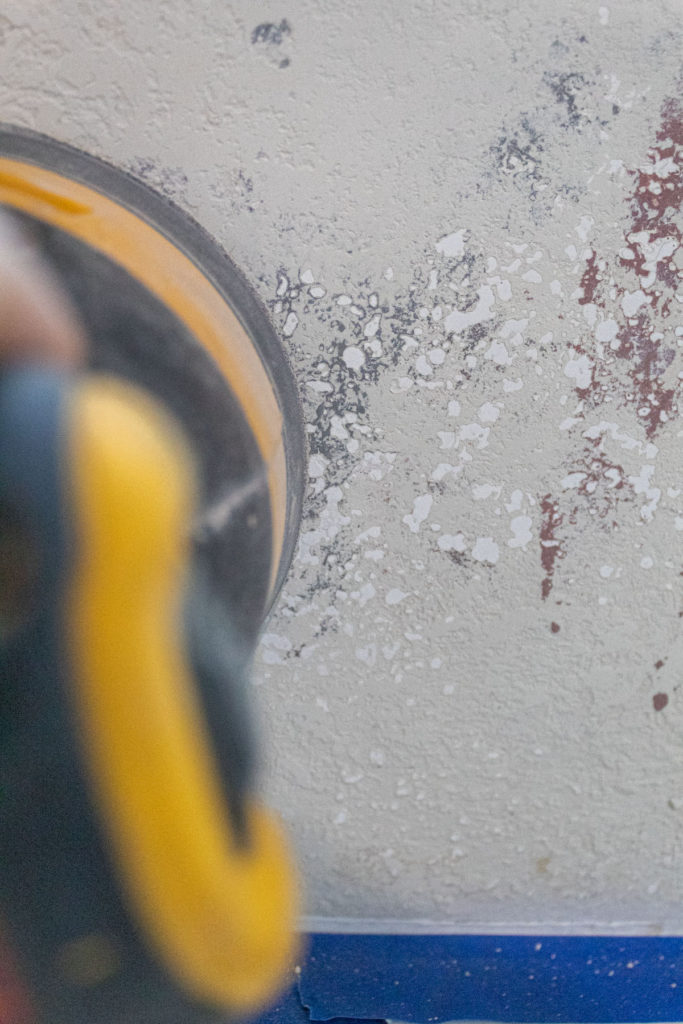
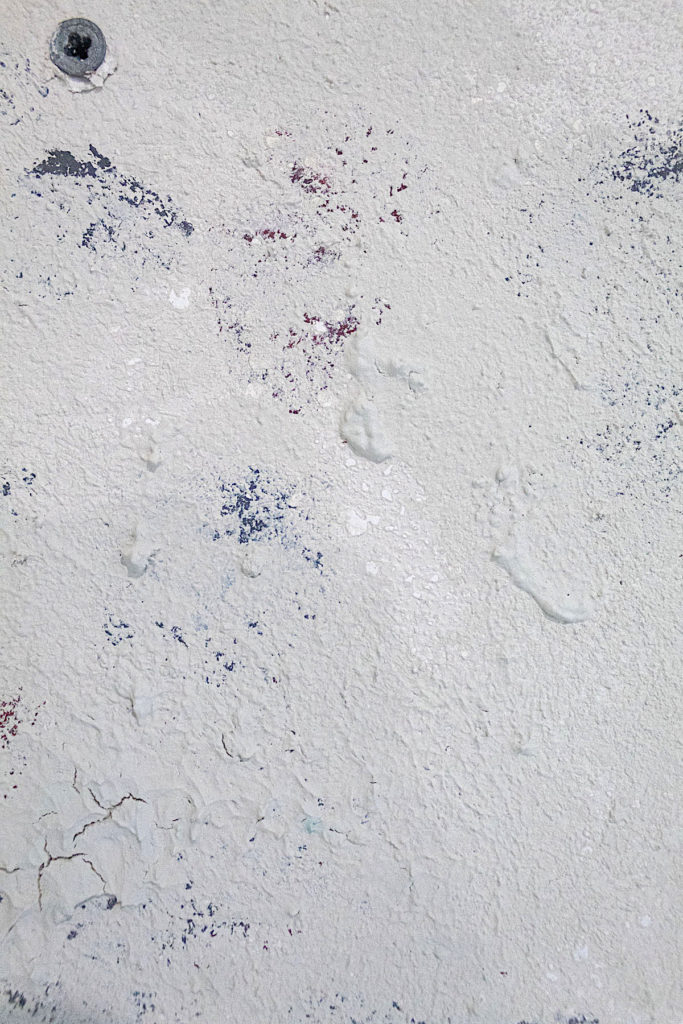
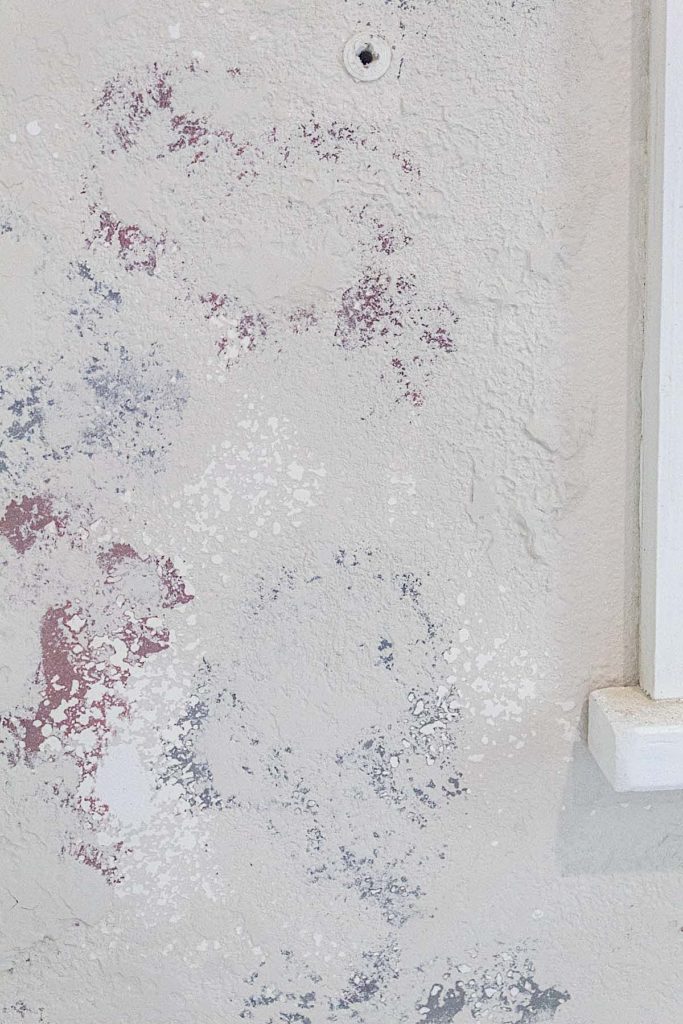
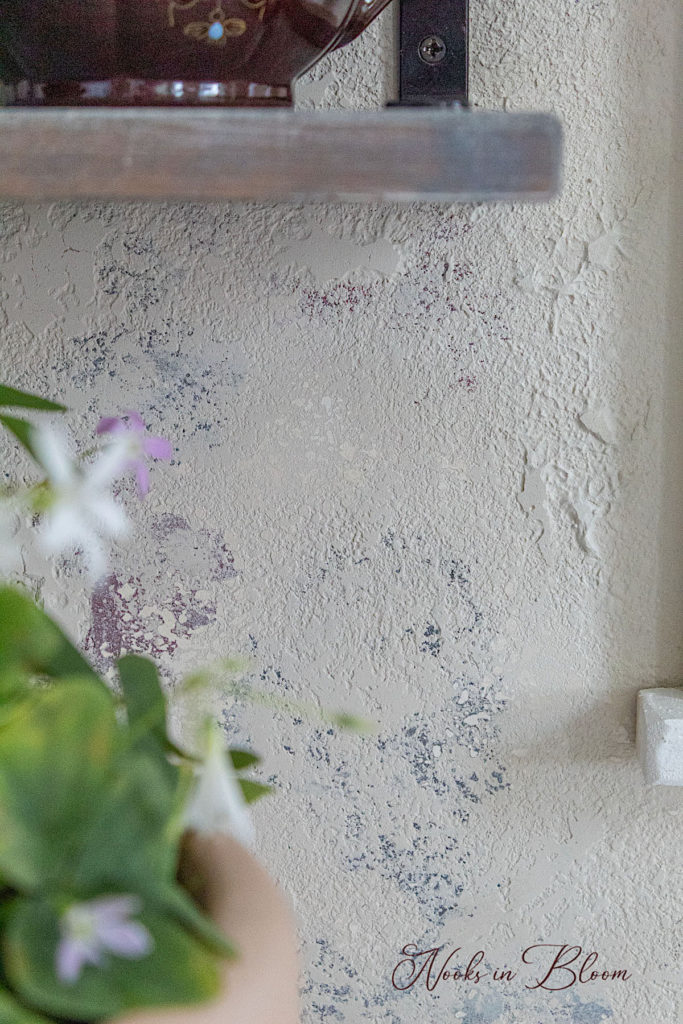
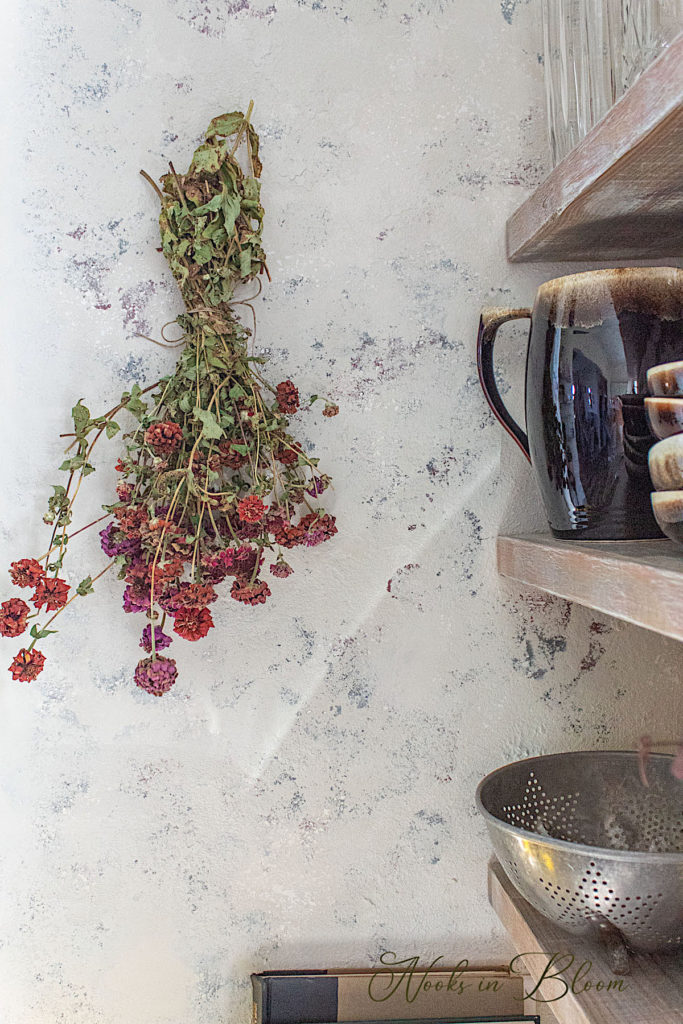
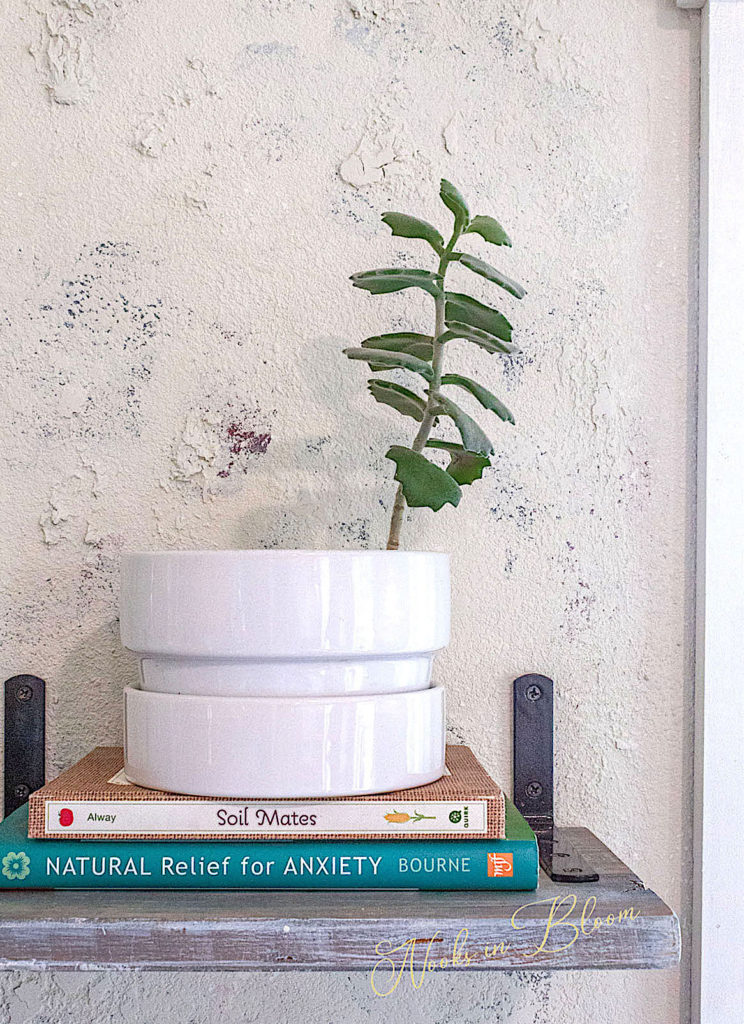
Simply dab the paint brush, with plenty of paint on it, in blotches all over the wall. As you dab your brush onto the wall you should see peaks result from the thick paint mixture. These peaks will add beautiful texture. We will also sand some of these back later to create a distressed effect.

As you can see from the picture above adding the under colors leaves your wall looking a little cray-cray! But not to worry, there is a method to our madness.

Disclosure: Some of the links provided are affiliate links. By purchasing through these links you are supporting this family blog and the work we do and there is no extra cost to you. Full disclosure HERE.

Sand Each Color

Once each color dries I take my orbital sander and go over the paint. This opens the paint up exposing whatever color is underneath.

So when I sand the gray, you can see parts of the original white from my wall. This creates an aged and distressed look.

I repeated the same process with my reddish-brown color, but did not add as many blotches of red as I did gray.

I loved how the sanding started to bring the stone wall effect to life. And this was just the under layers. I couldn’t wait to see how things would come together with the top color! (The video at the end of this post shows in detail the painting and sanding techniques I used.)

Adding Your Top Color

I decided the primary color for our accent wall would be the original color of this wall, an off-white color called Meeting House White by Glidden.

I wanted to keep my stone look light rather than dark so I needed a more neutral paint color.

The top color is where everything comes together. I began applying my white with the same thickness. I painted over the blotched colors I had painted on before, leaving small parts exposed.

You can choose to leave more or less of your under-colors showing through your top color— it is a matter of personal preference.

When the thicker parts and peaks of the paint and Saltwash mix start to dry on the wall, you may notice some areas cracking. You will also see other areas that look like small lumps on the surface.

All these different elevation points are going to give your wall its character. Have fun going over these with your sander. You can work them over with your sander until you open them up to expose some under-color or you can just take some of the high points off. I did a little of both all around the wall.

In the picture above you can see where I left some textured clumps on the wall and where I used my sander to open the paint up. In some parts I went all the way down to the original coat of paint. Having variety and irregularity makes the faux effect look more realistic.

For a final step I went over the entire wall again with a small amount of my off white paint. I used a mini paint roller to avoid brush stroke marks and to keep things light and even over the surface.

This step is optional but, with only a little bit of paint on the spongy roller, I went quickly over the wall one more time. Doing this softened the look and made everything look more cohesive.

Watch The Video of This Entire Wall Transformation

And now...Enjoy Your New Wall!

So guys, what do you think of my new “stone” wall? Isn’t it a dreamy! I think I’ll be using Saltwash® in many other places of the home and I can’t wait to try it out on furniture! Let me know if I missed anything or if you would try this in your home. I’d love to hear. Stay tuned for more fun projects!

If you’d like to try out Saltwash®, you can use coupon code saltwashlove for an extra 10% off.

Leave a Reply to Moilah Cancel Reply

Your email address will not be published. Required fields are marked *


The reCAPTCHA verification period has expired. Please reload the page.

nooksinbloom

•Creating and Making the Home Pretty
•Inspired by European & Grandmillenial Styles
•Budget-Friendly DIY’s
🙏🏽
Blog ⬇️

Jessica
Load More Follow on Instagram
Scroll to Top

Sign Up So You Never Miss A Post!

Your information will never be shared or sold to a third party.