Autumn Prairie Chest Of Drawers

Hello friends! This craigslist chest of drawers was in need of a new look. I was inspired to do something with a nature vibe. Come along and I’ll show you how I created this Autumn Prairie Look.

IMG_3034

1. Sand

The first thing I did was sand. I used my  orbital sander and 60 grit sand paper and sanded the top of the dresser. Prior to sanding the middle section of the drawer fronts, I painted the edges (Painting technique to follow). Since my sander works in circular motion it was easy to create this pretty curved edge. For a smooth finish, I used a high grit paper (i.e. 400 +) and gave things a quick final sanding.

2. Stencil Art

To add a pretty detail to this furniture piece I decided to stencil some wheat stems on the drawer fronts. I used a stencil brush and dabbed up and down over the stencil with some white paint.


3. Stain

As part of my “nature look” I decided to play with some stain colors on the drawer fronts. You can combine stain colors or use a single color. It’s a matter of personal preference.

Once the stenciled areas were dry, I applied my first stain, Early American. I used a paper towel and was careful around the paint edges. Once the first stain dried, I applied my second stain, Briarsmoke. Combining the two colors created pretty wood tone variations as you might find in nature.

4. Cerusing Wax

 Once my second stain had dried I went over the stained wood area with some cerusing wax by rubbing it on with a paper towel. Cerusing wax adds  a level of haze with its whitish cloudy aesthetic. I used it to soften the look and add some rustic appeal. This step is optional. You can also choose to leave the stained parts more vivid.

5. Paint

I wanted to create a unique chalk paint design on this piece but not anything overwhelming. The first thing I did was add a base coat of paint. I used two colors for my base, Behr’s Pumpkin Essence (around the outside areas) and Behr’s Ultra Pure White (middle sections). To see how I make my own chalk paint, click HERE.

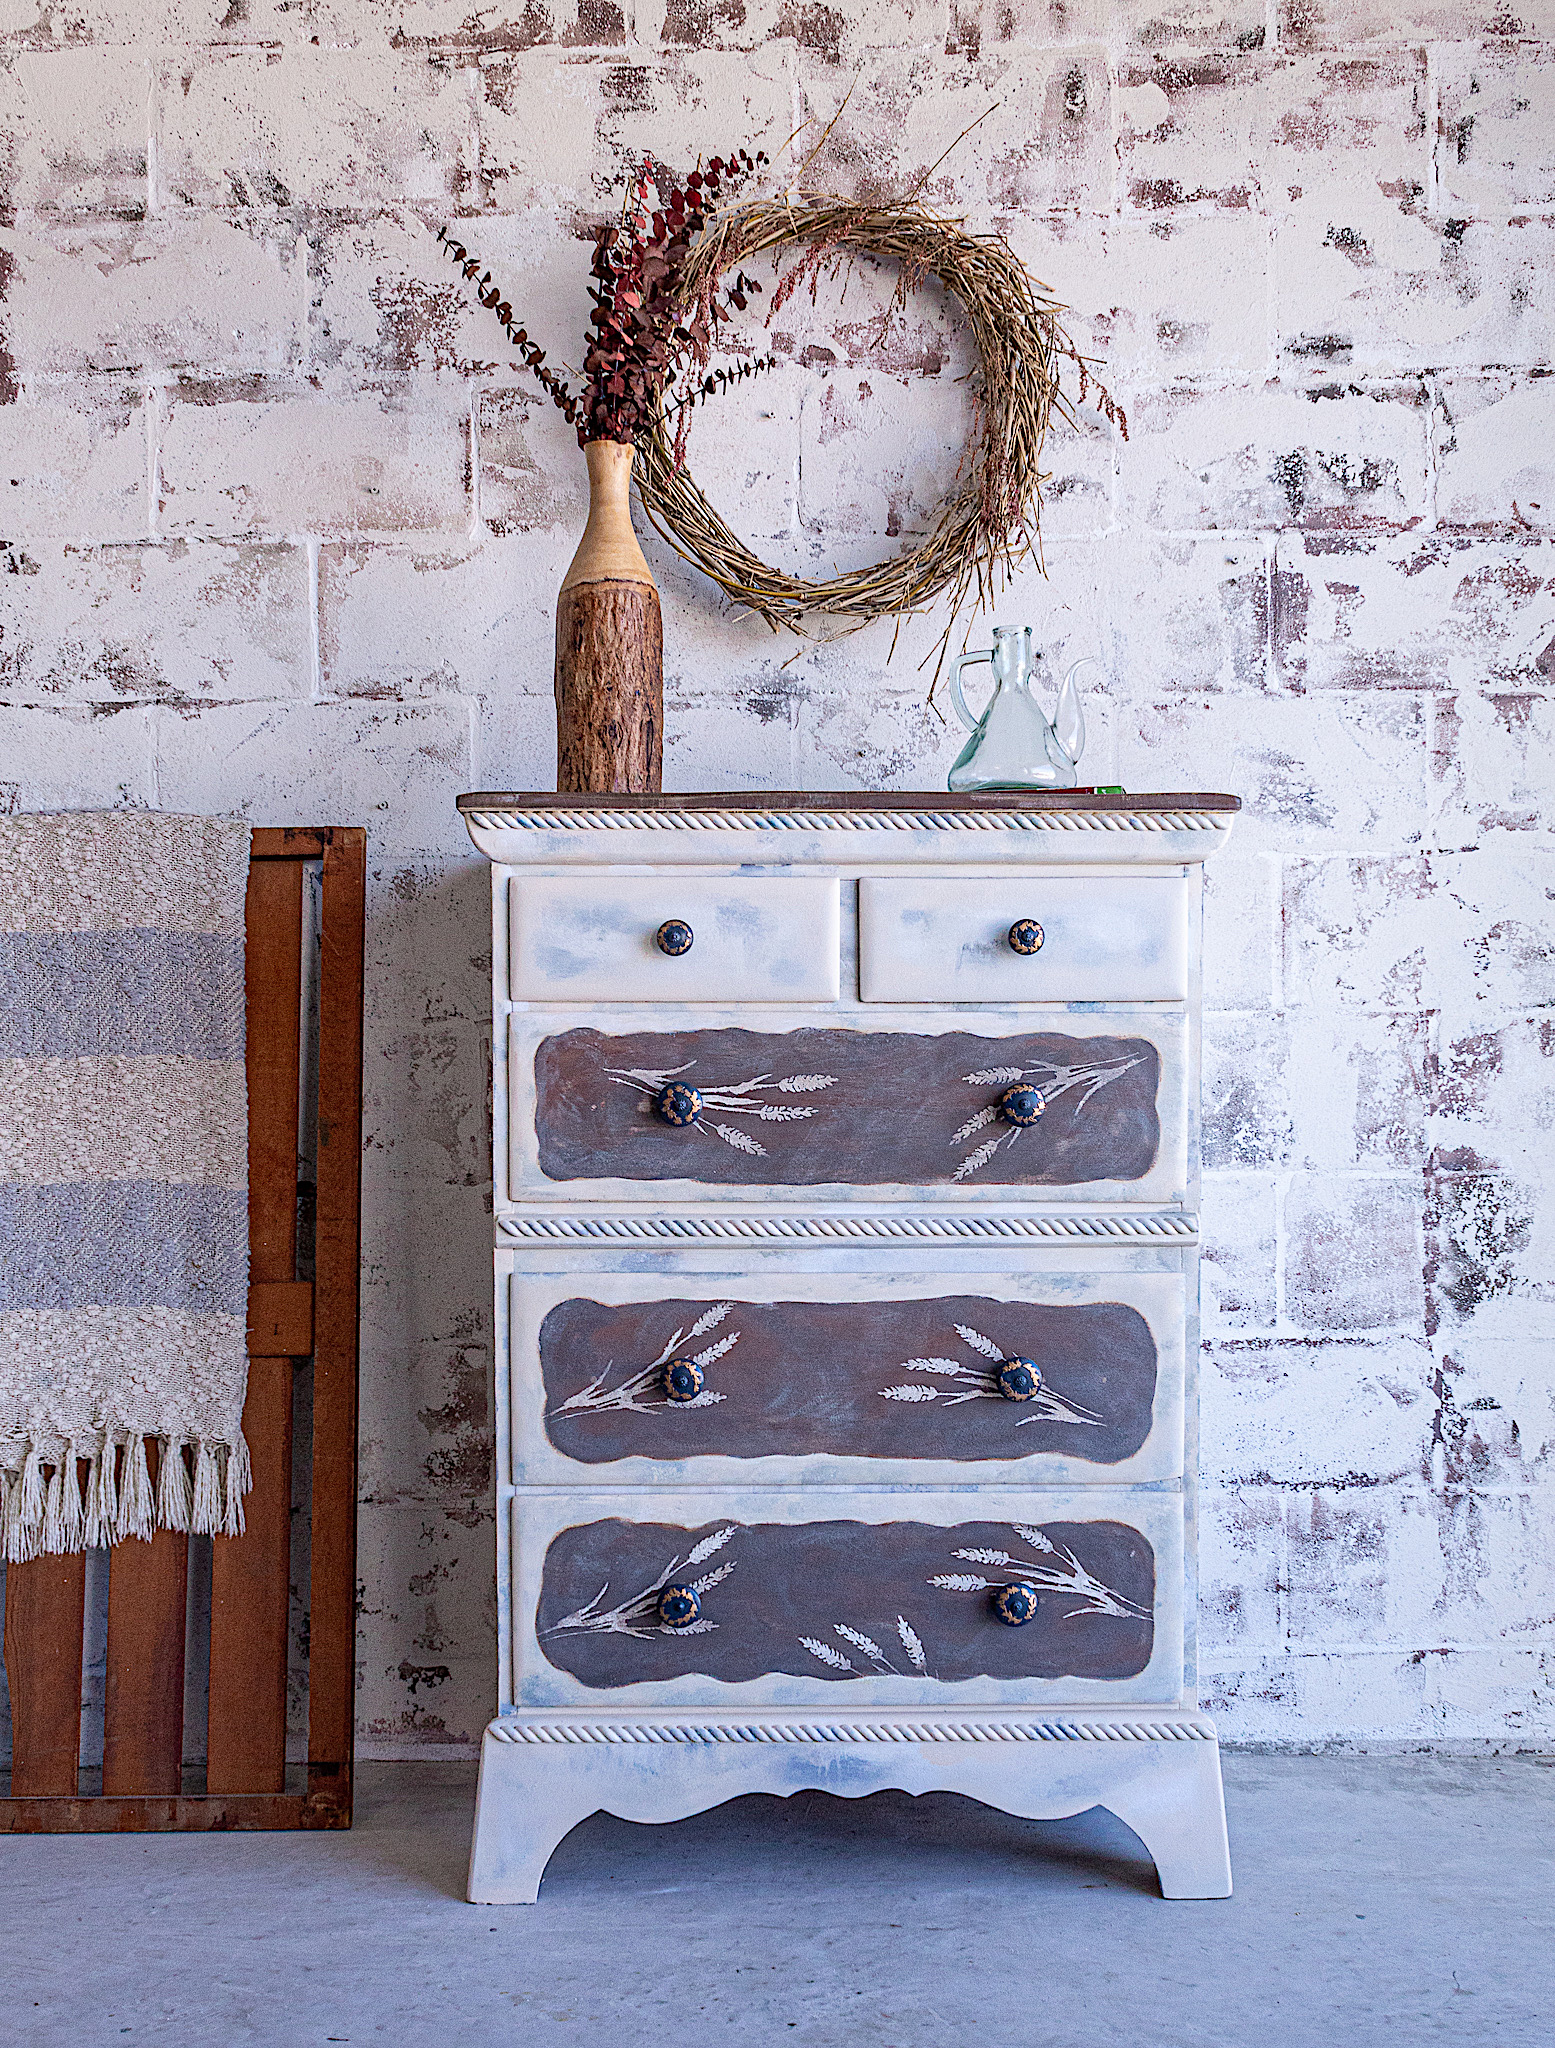
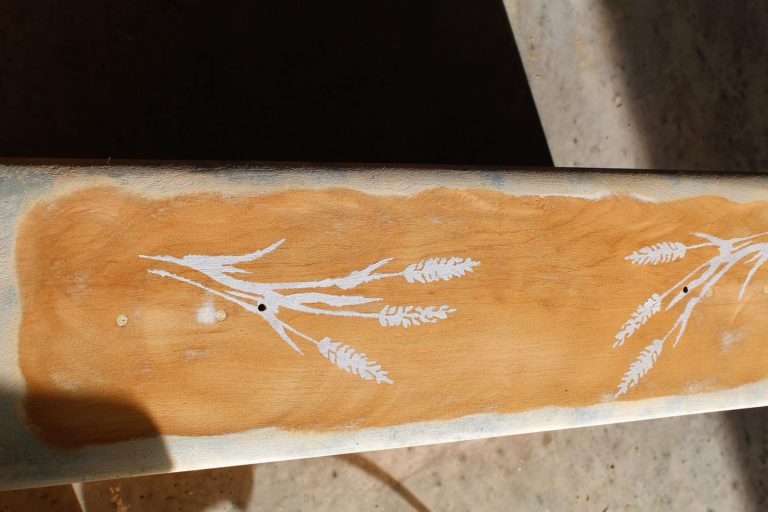
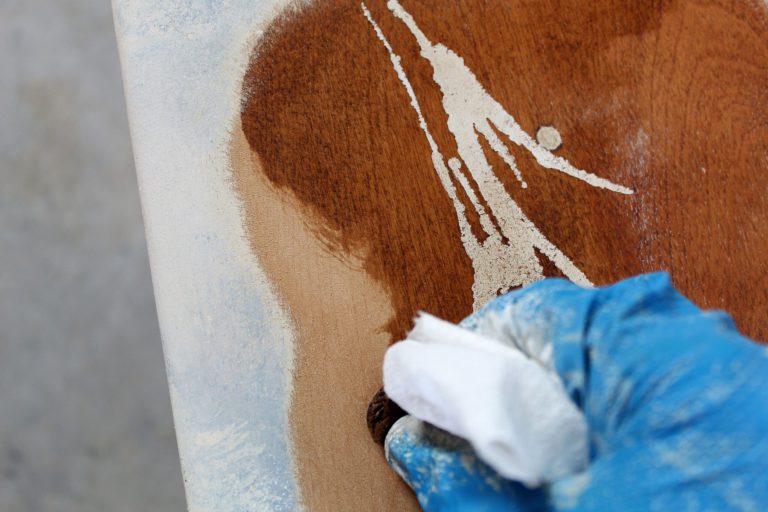
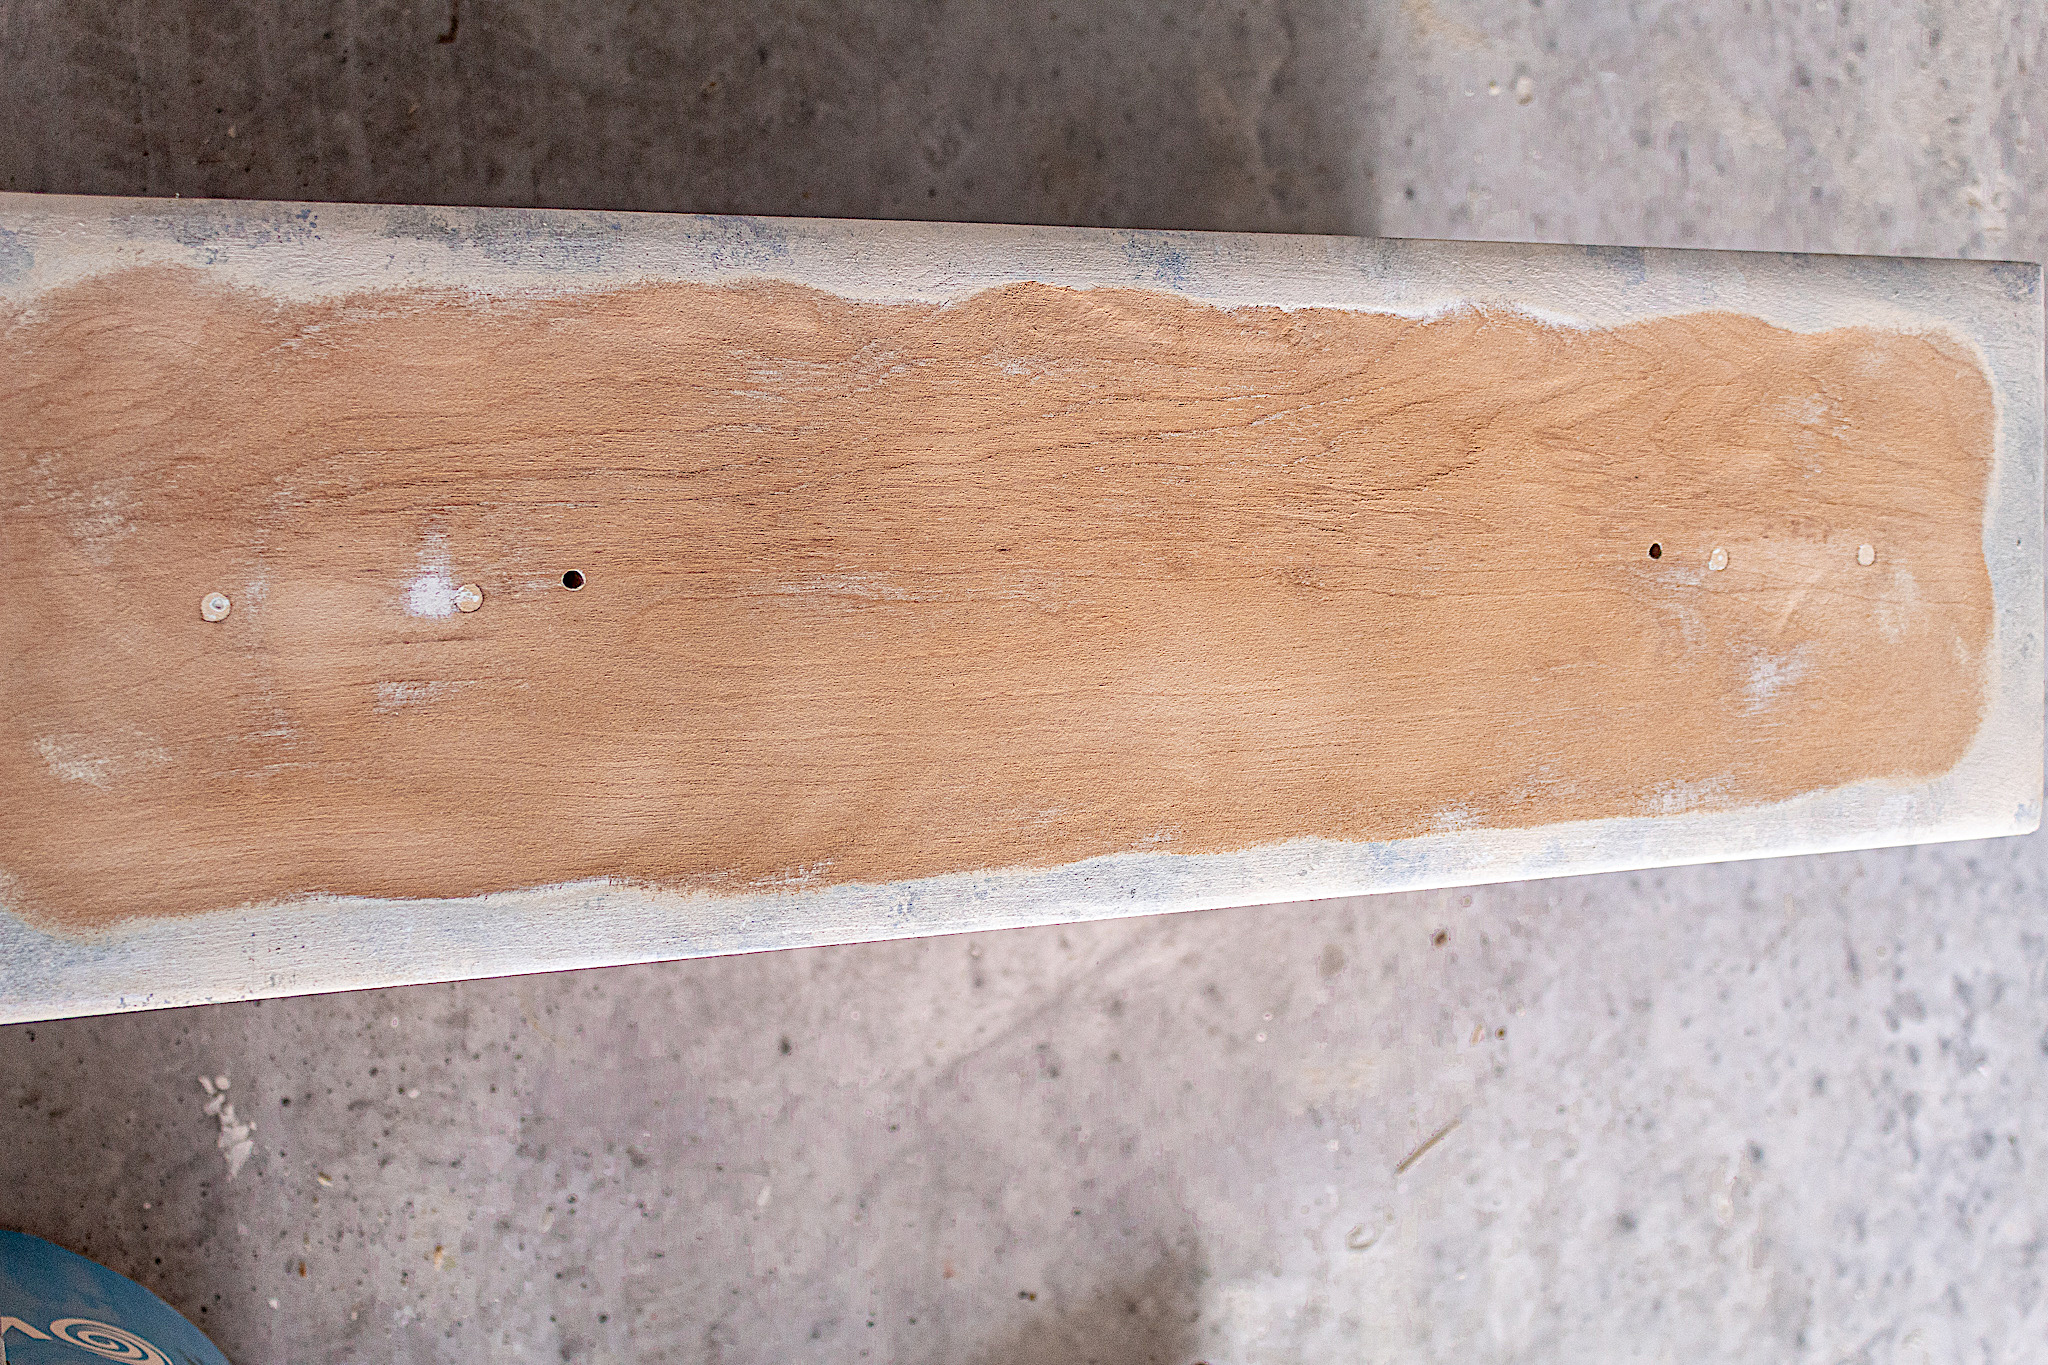
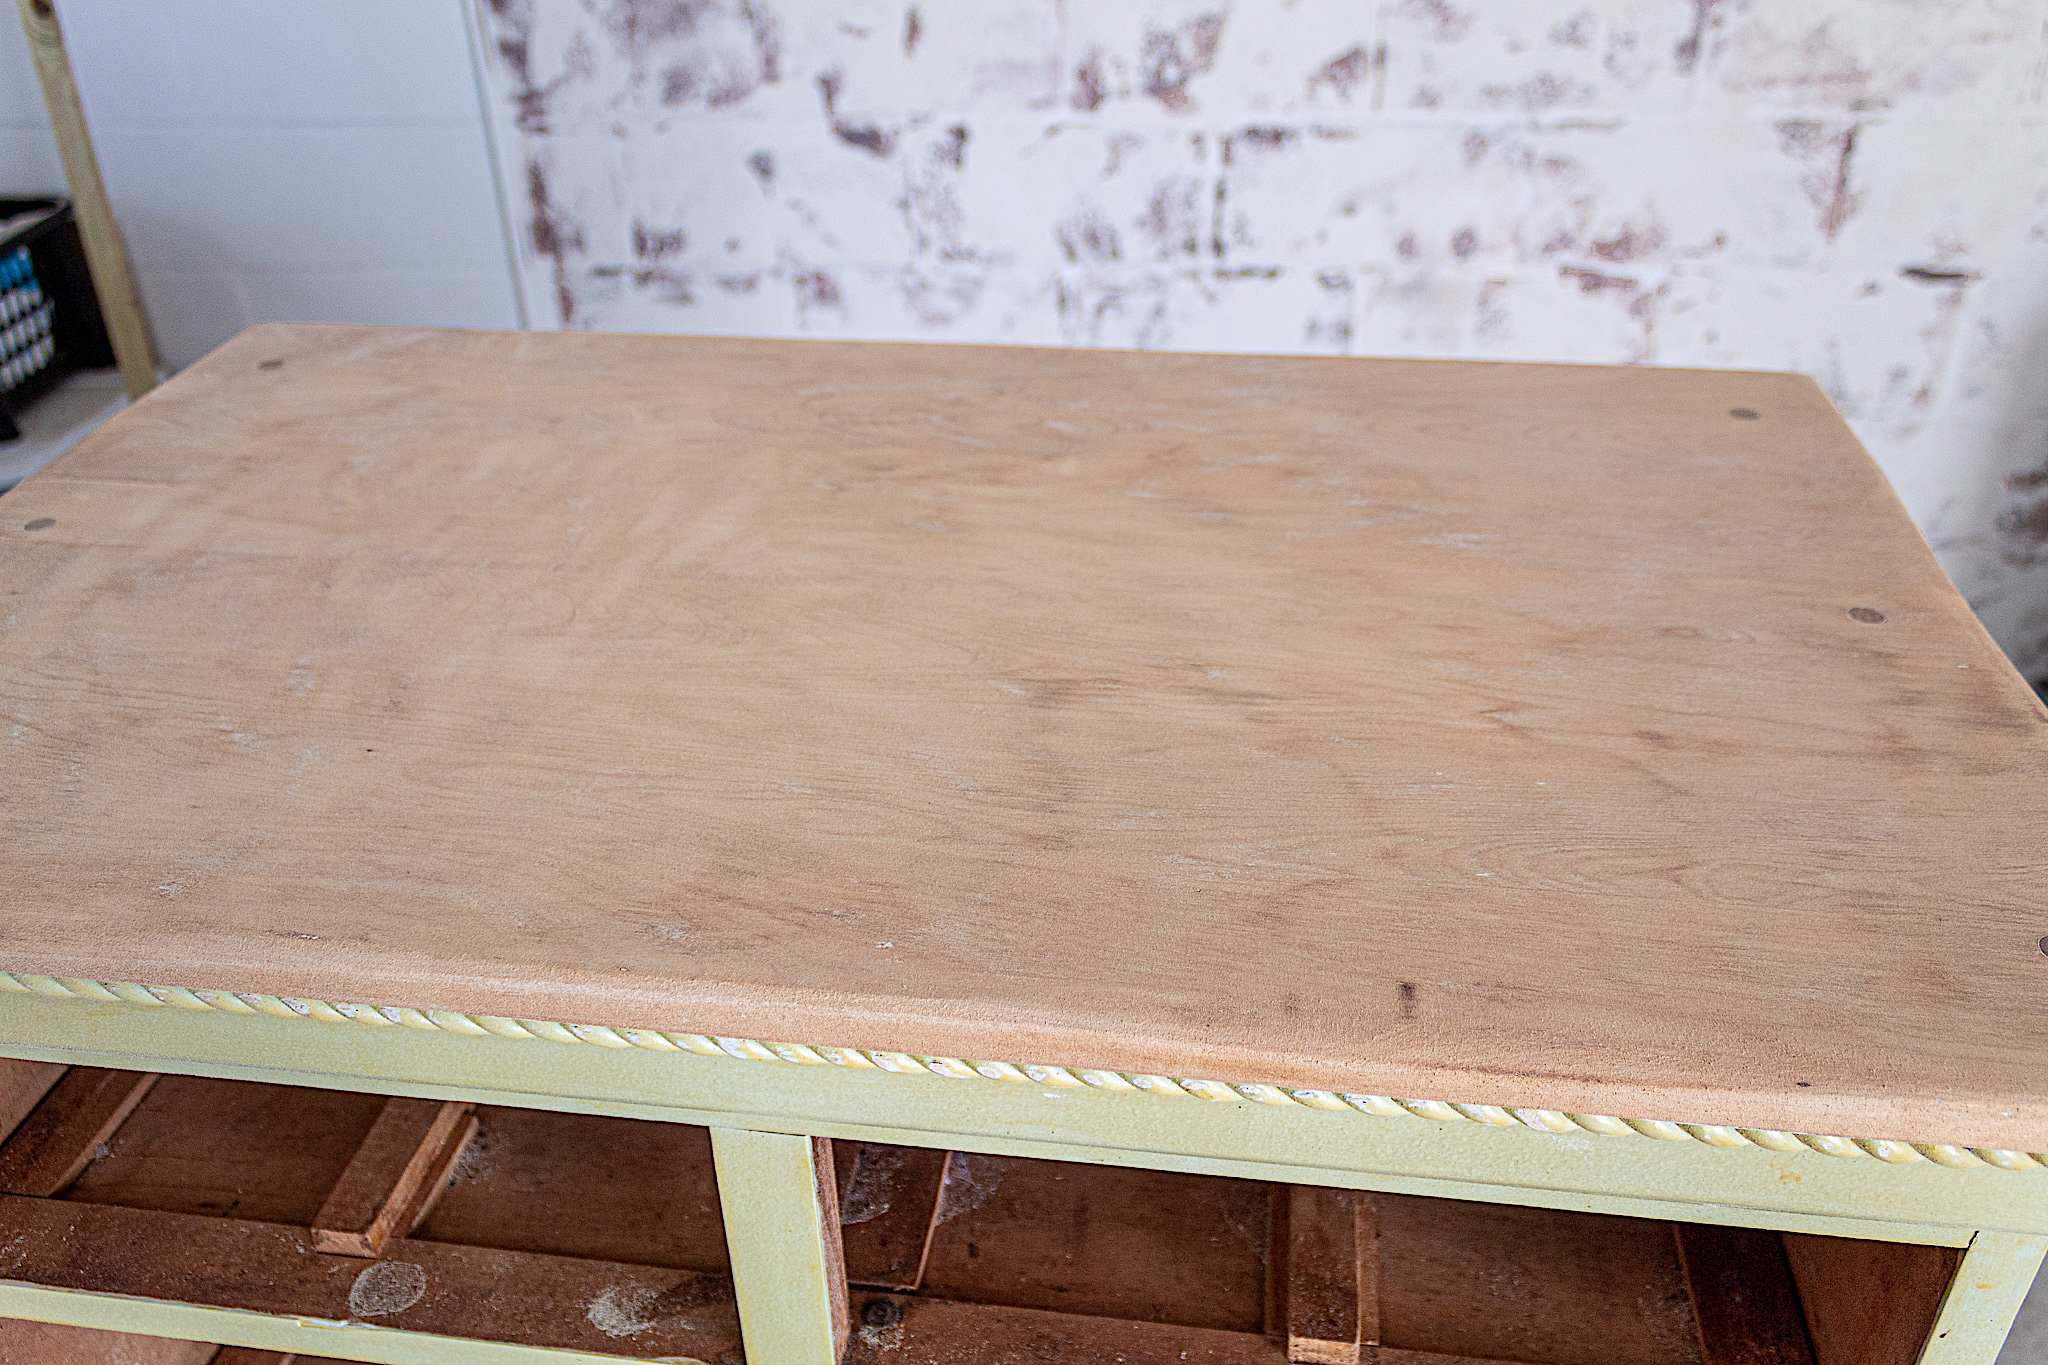
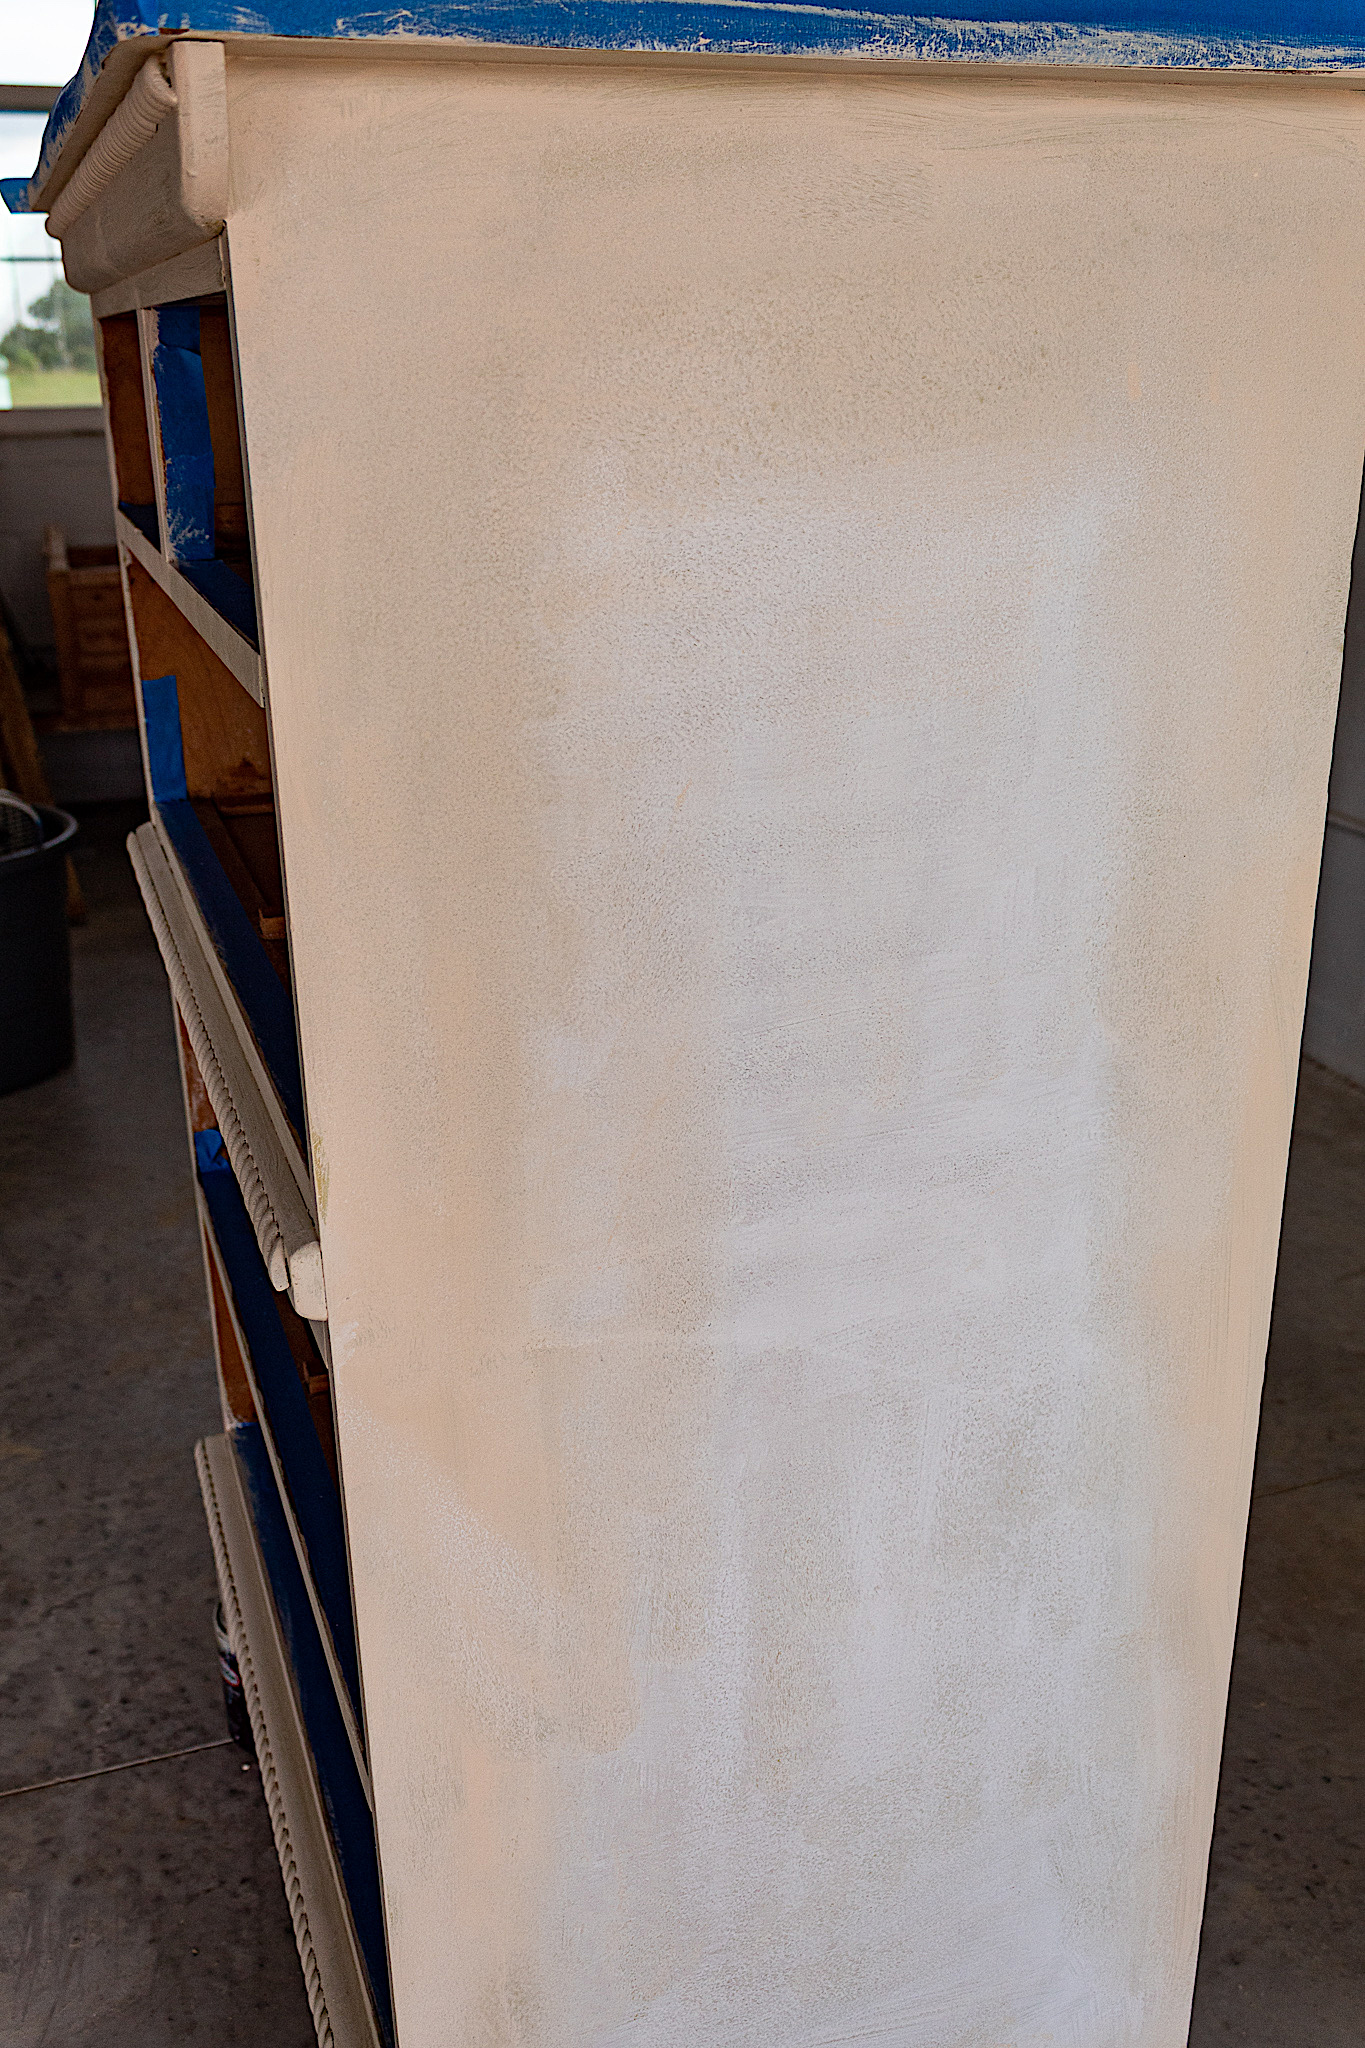
Once my first coat of paint was dry I could proceed with creating my blended look. The first coat of paint colors serves two purposes:
•to create a surface the second coat of paint can adhere to
•to provide color undertones for your blending technique

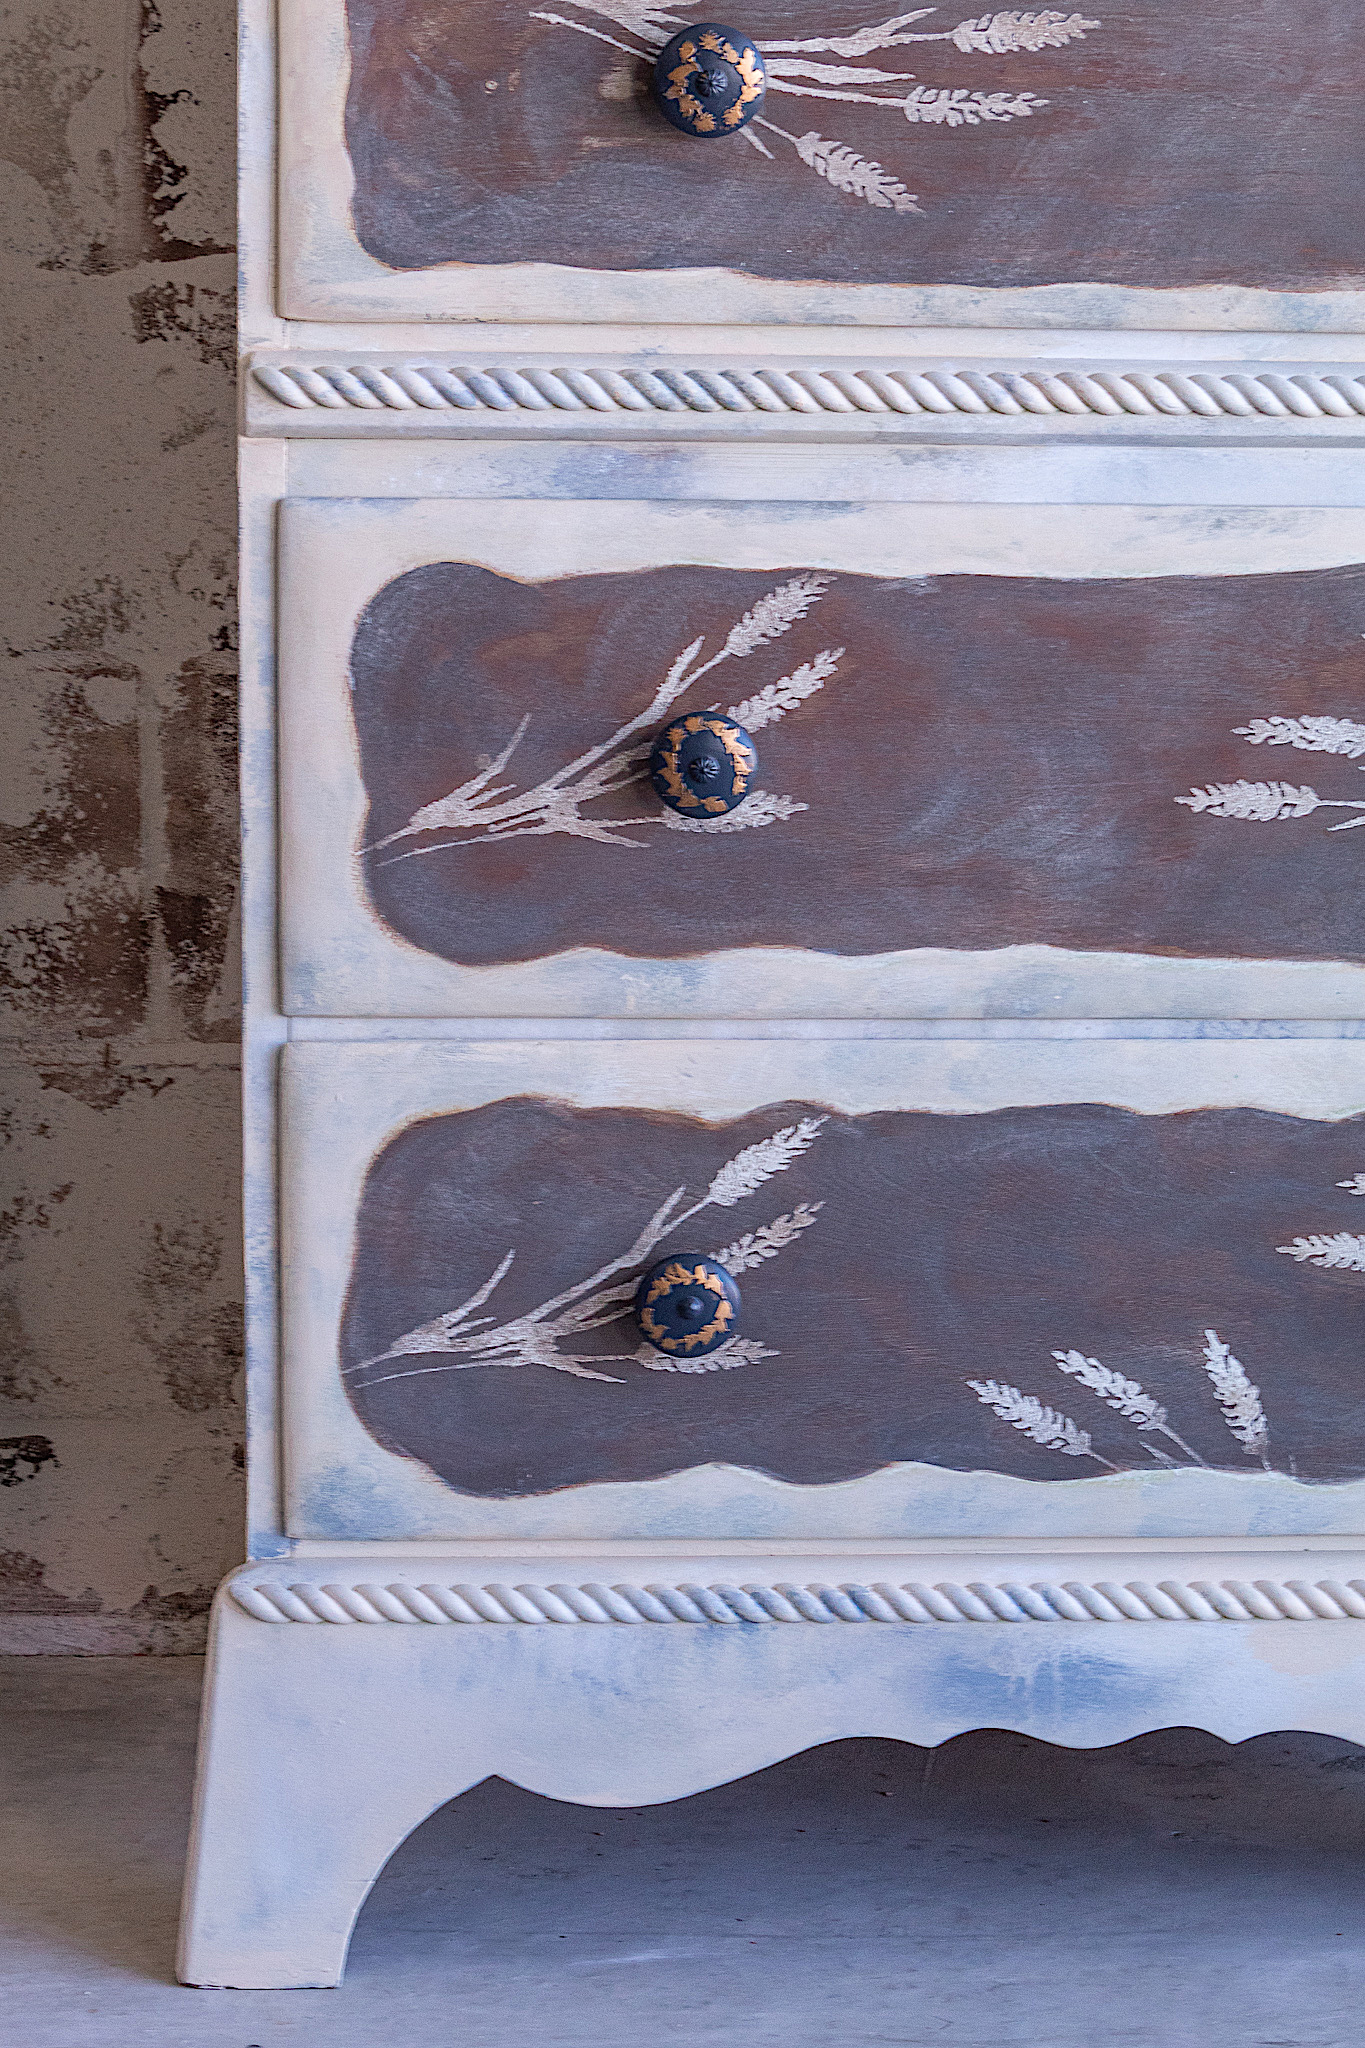
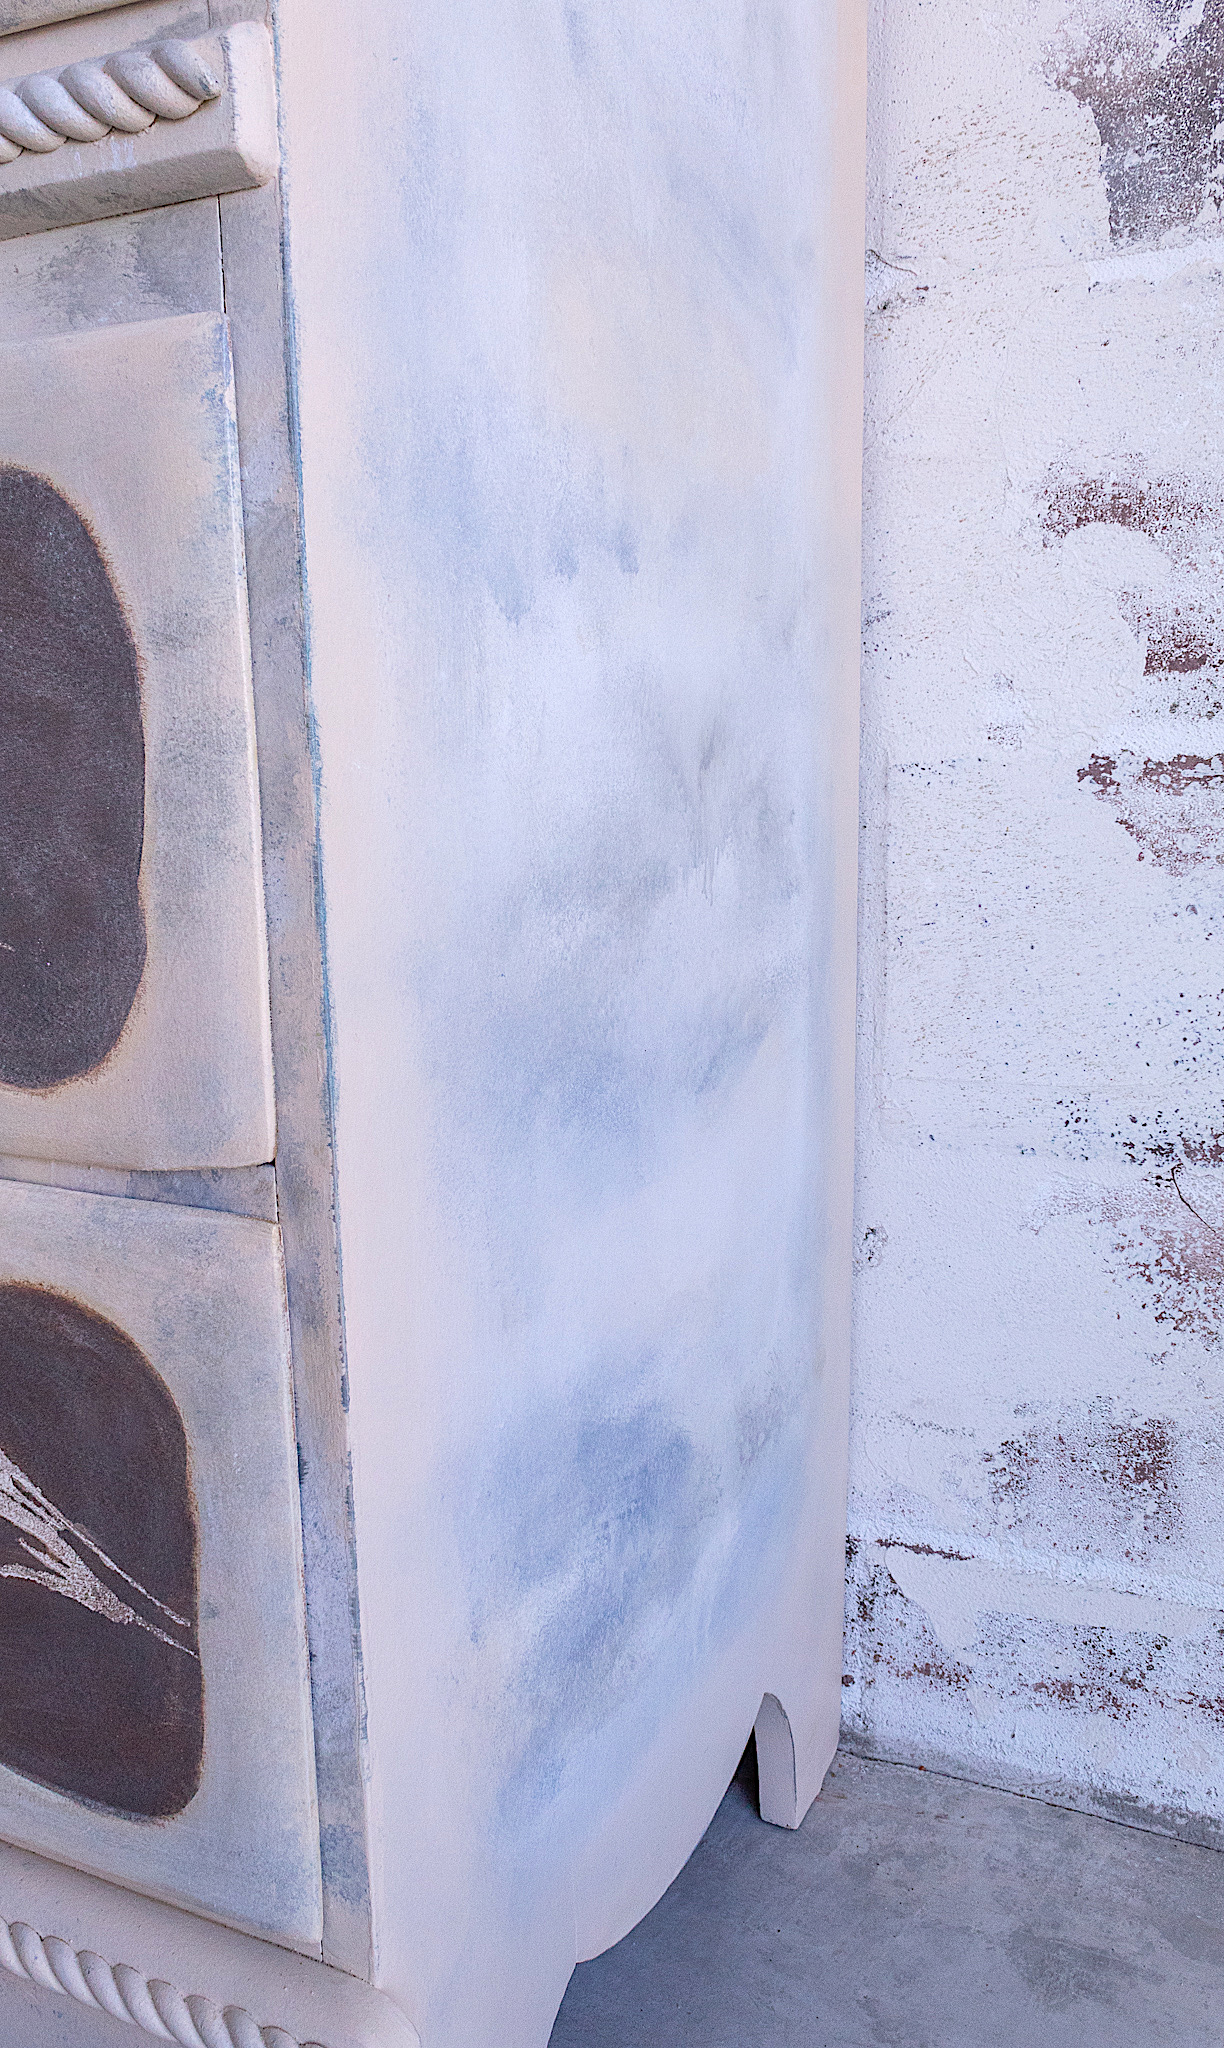
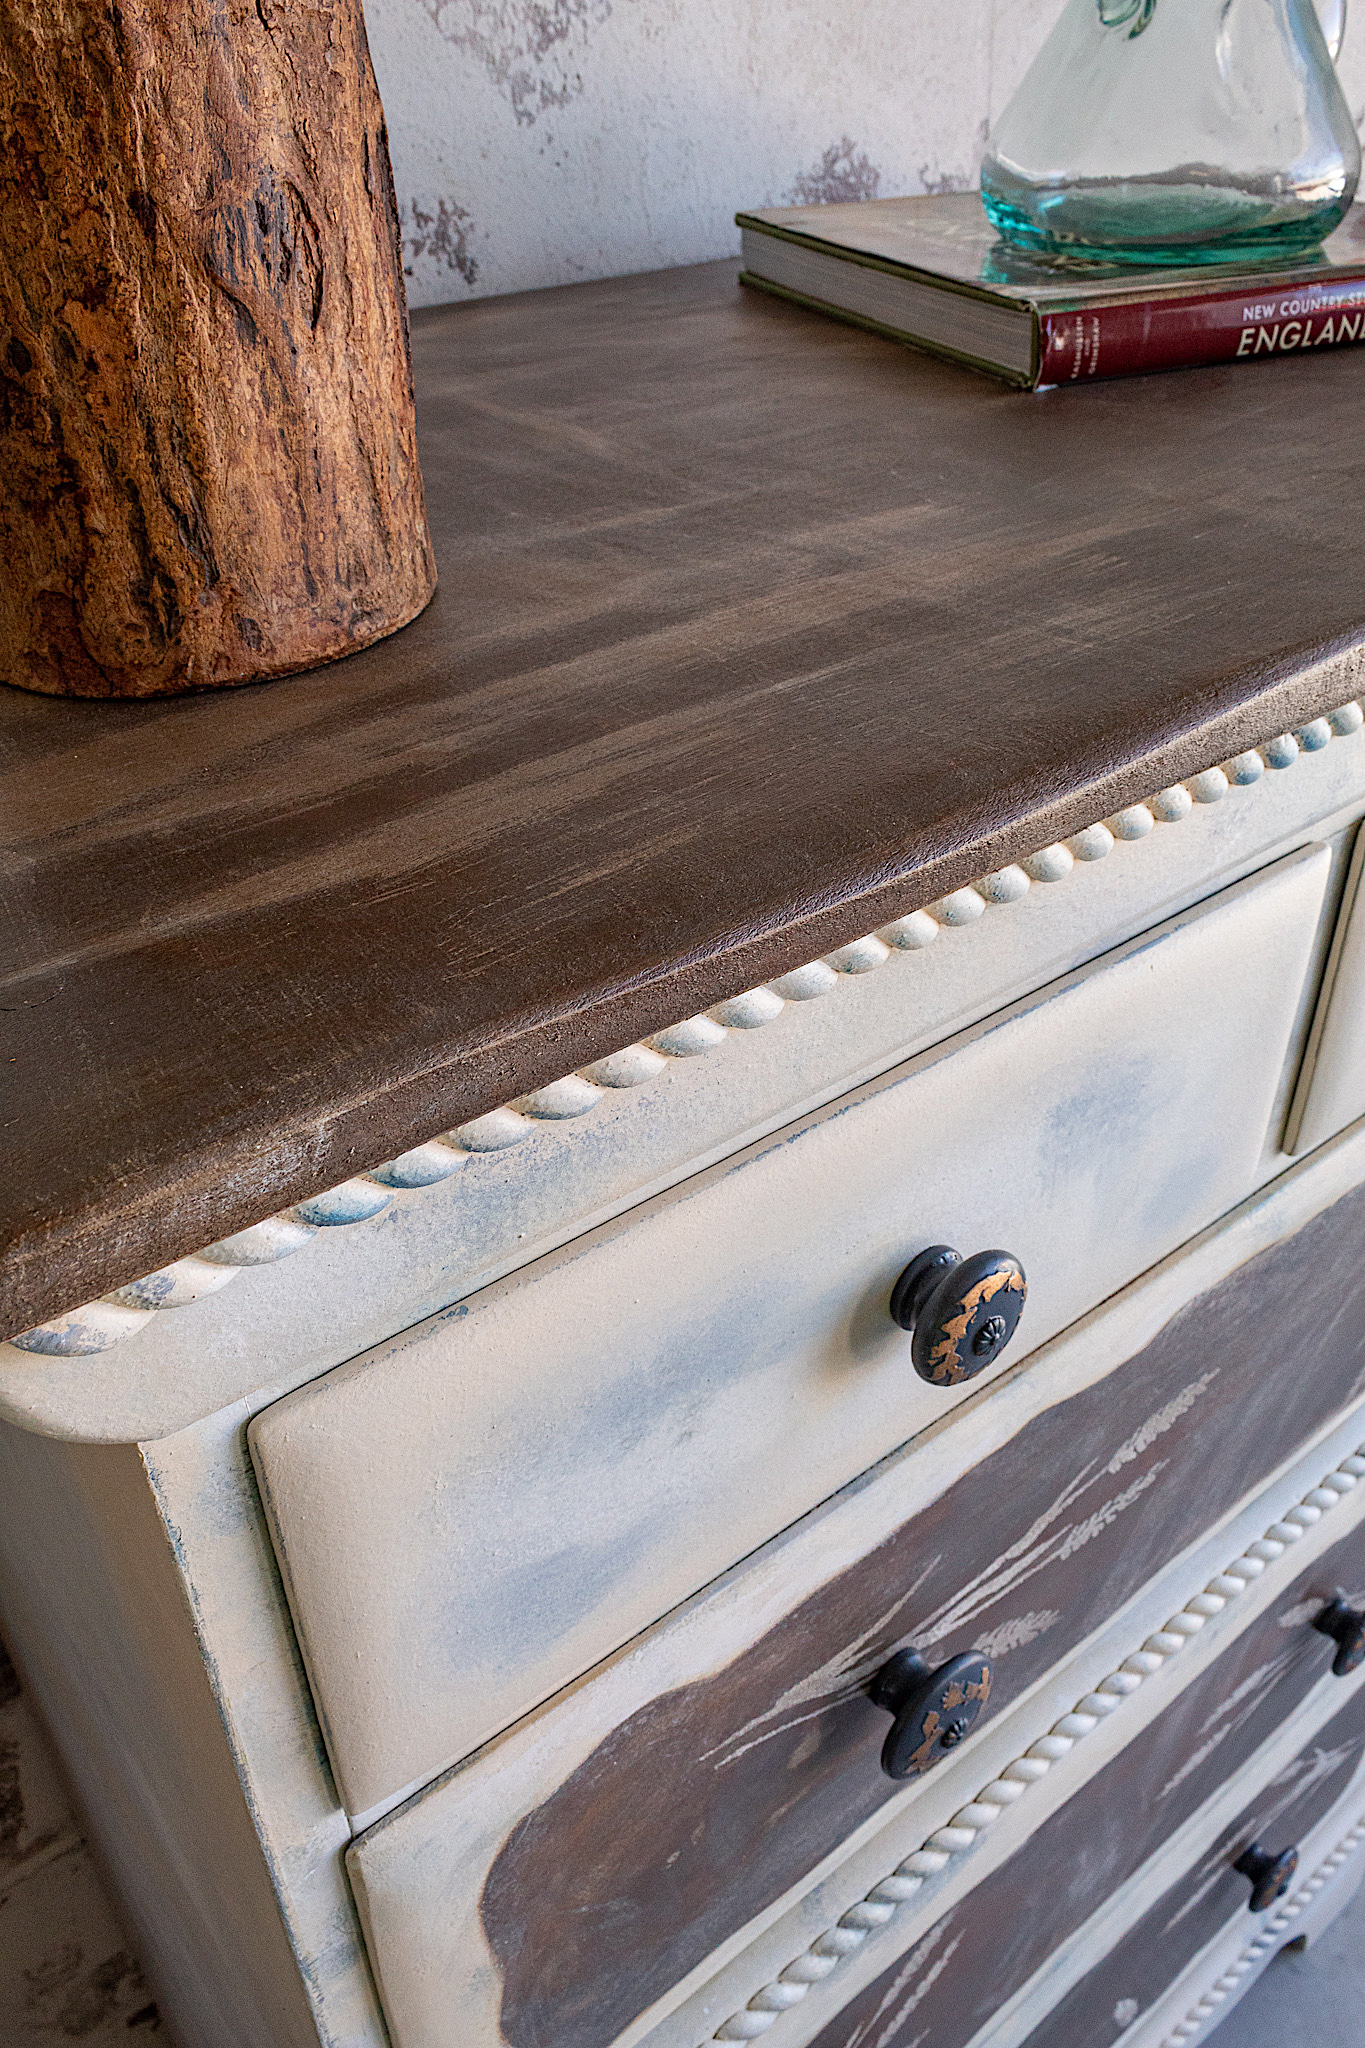
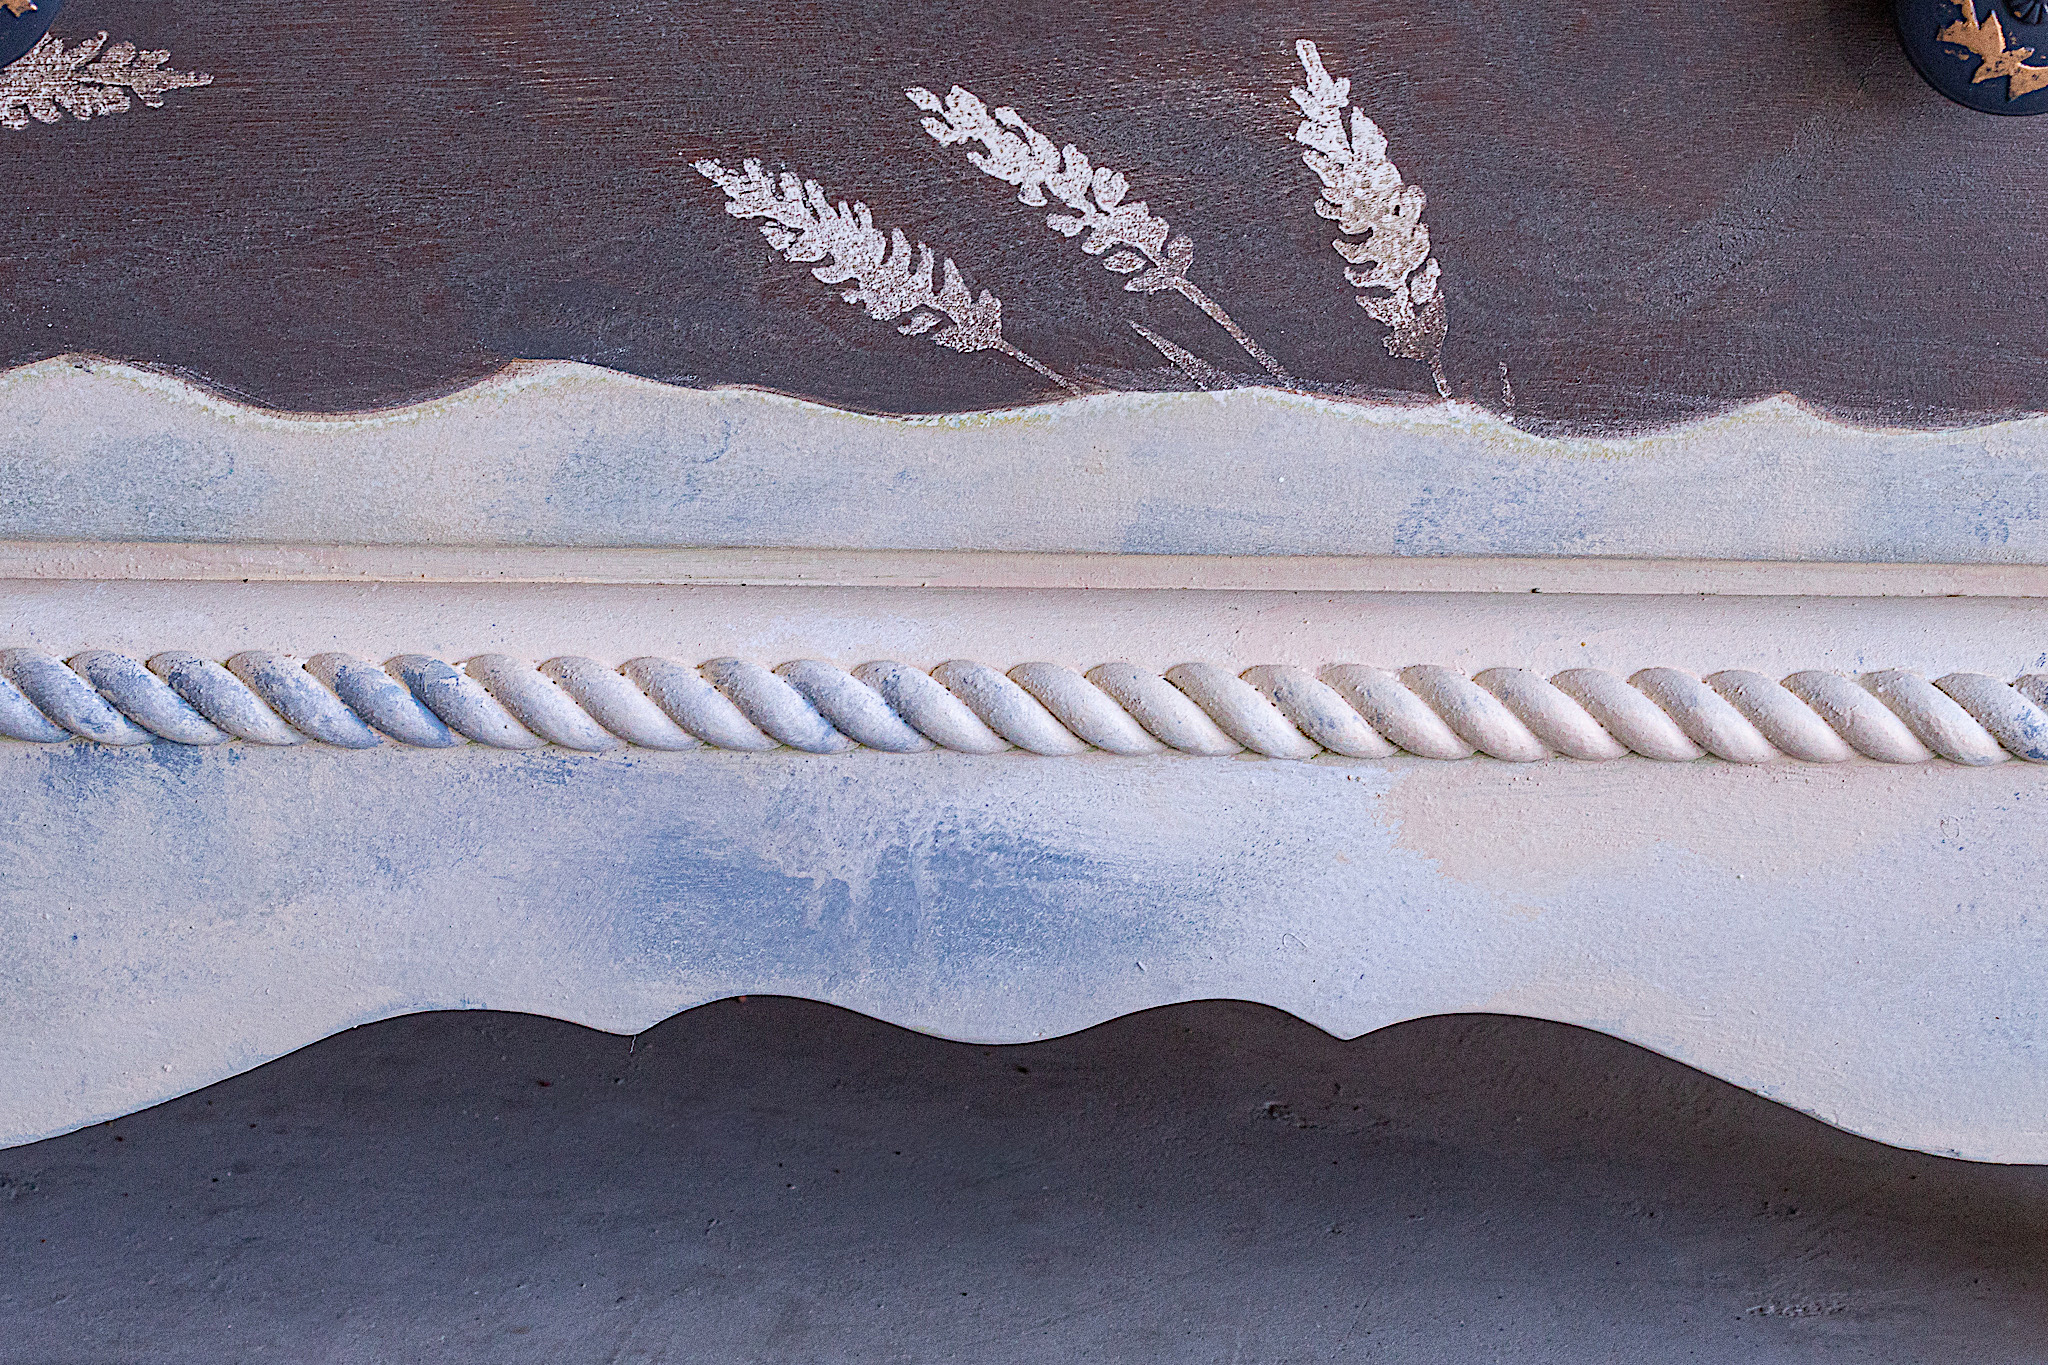
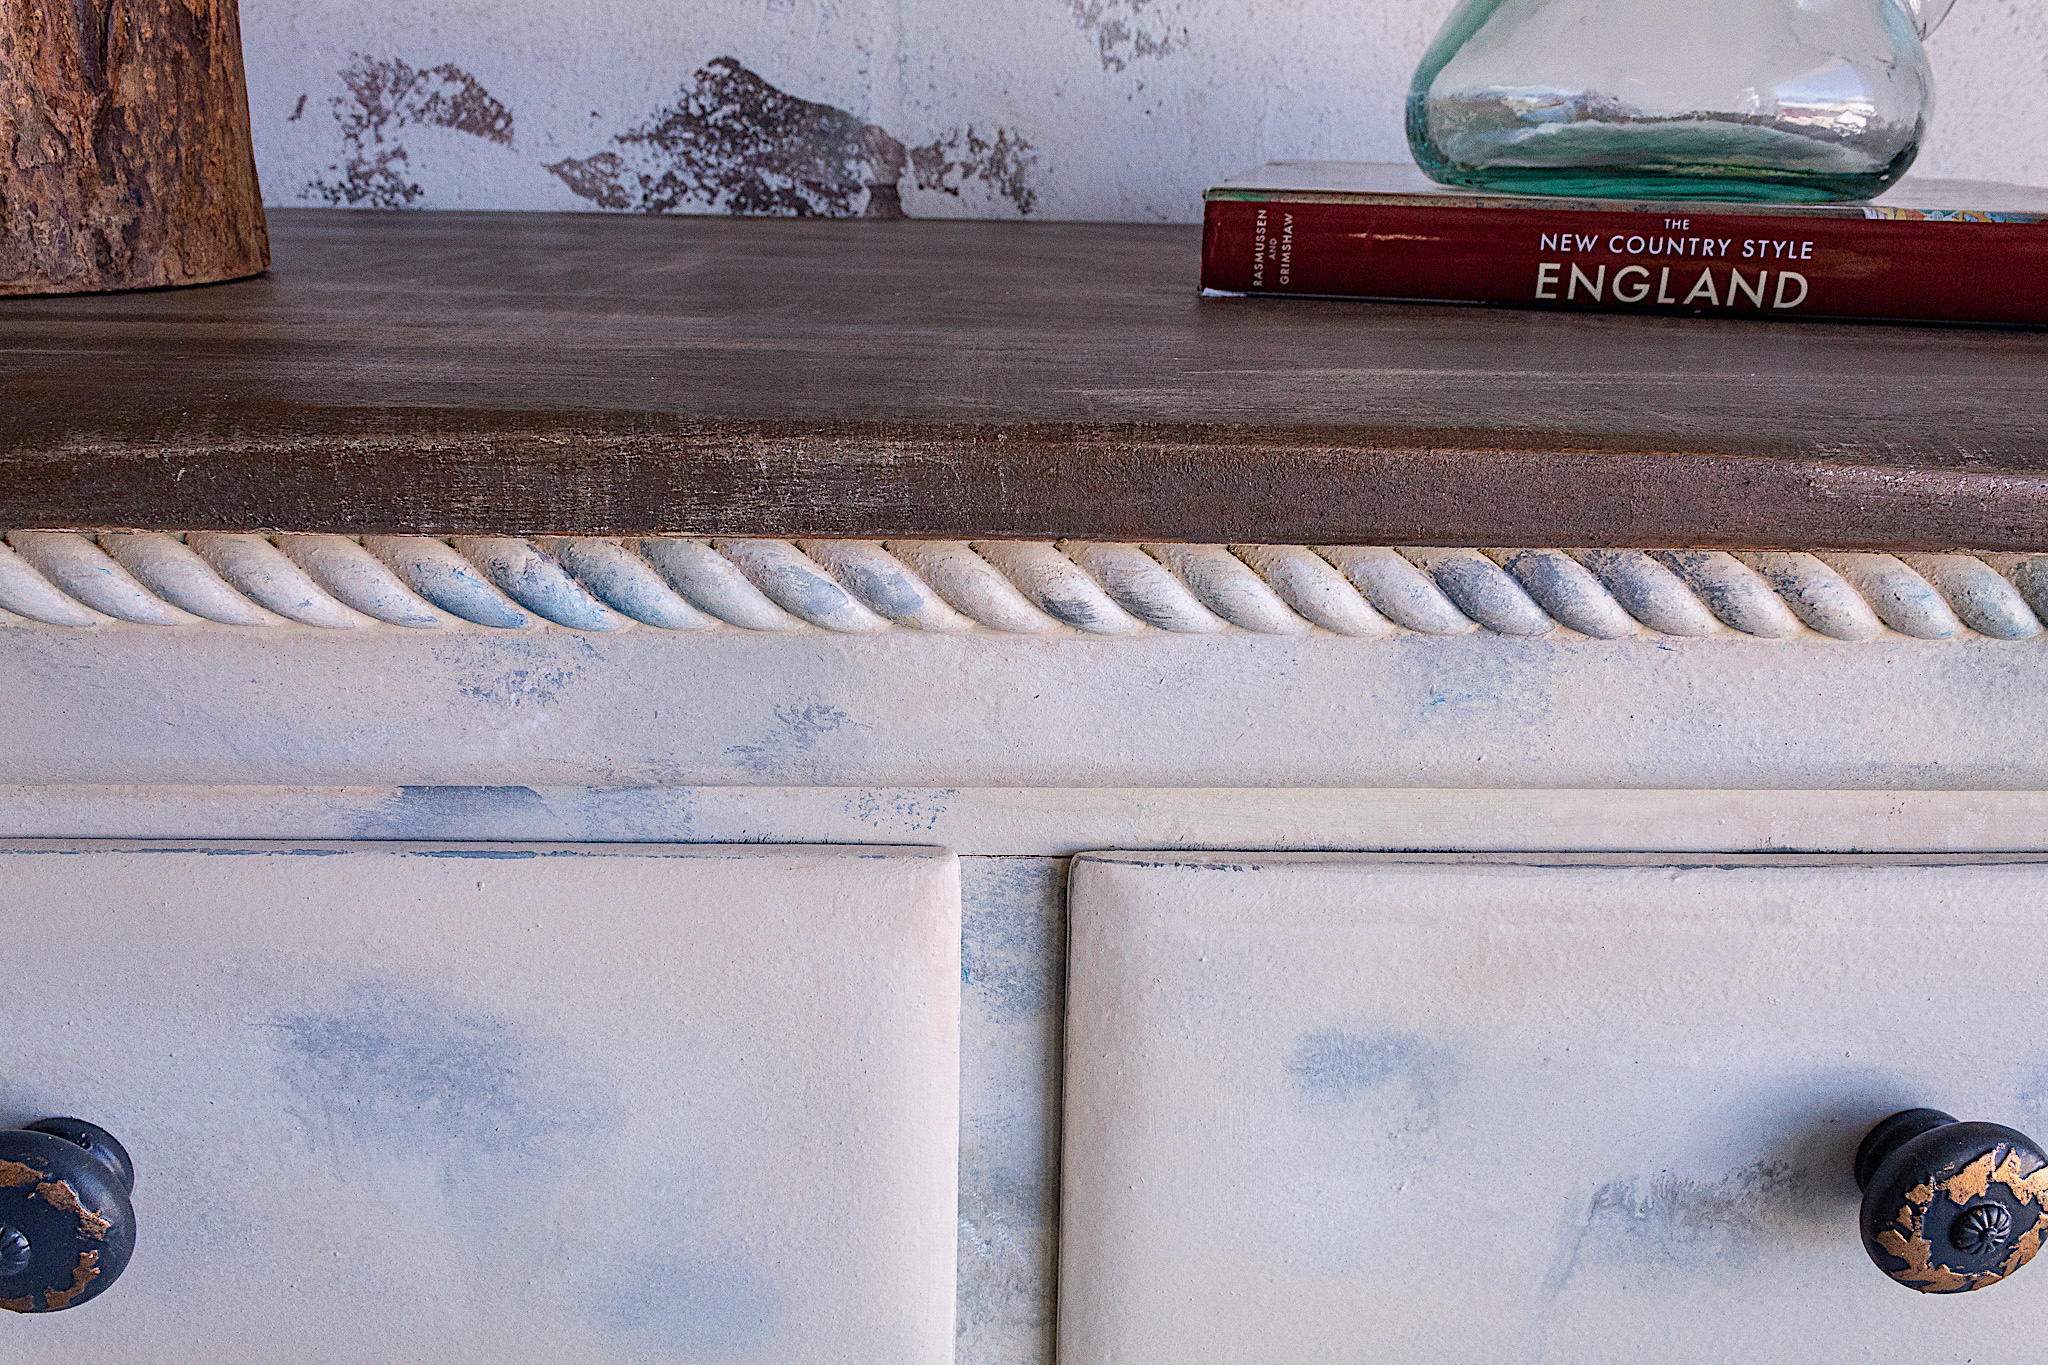
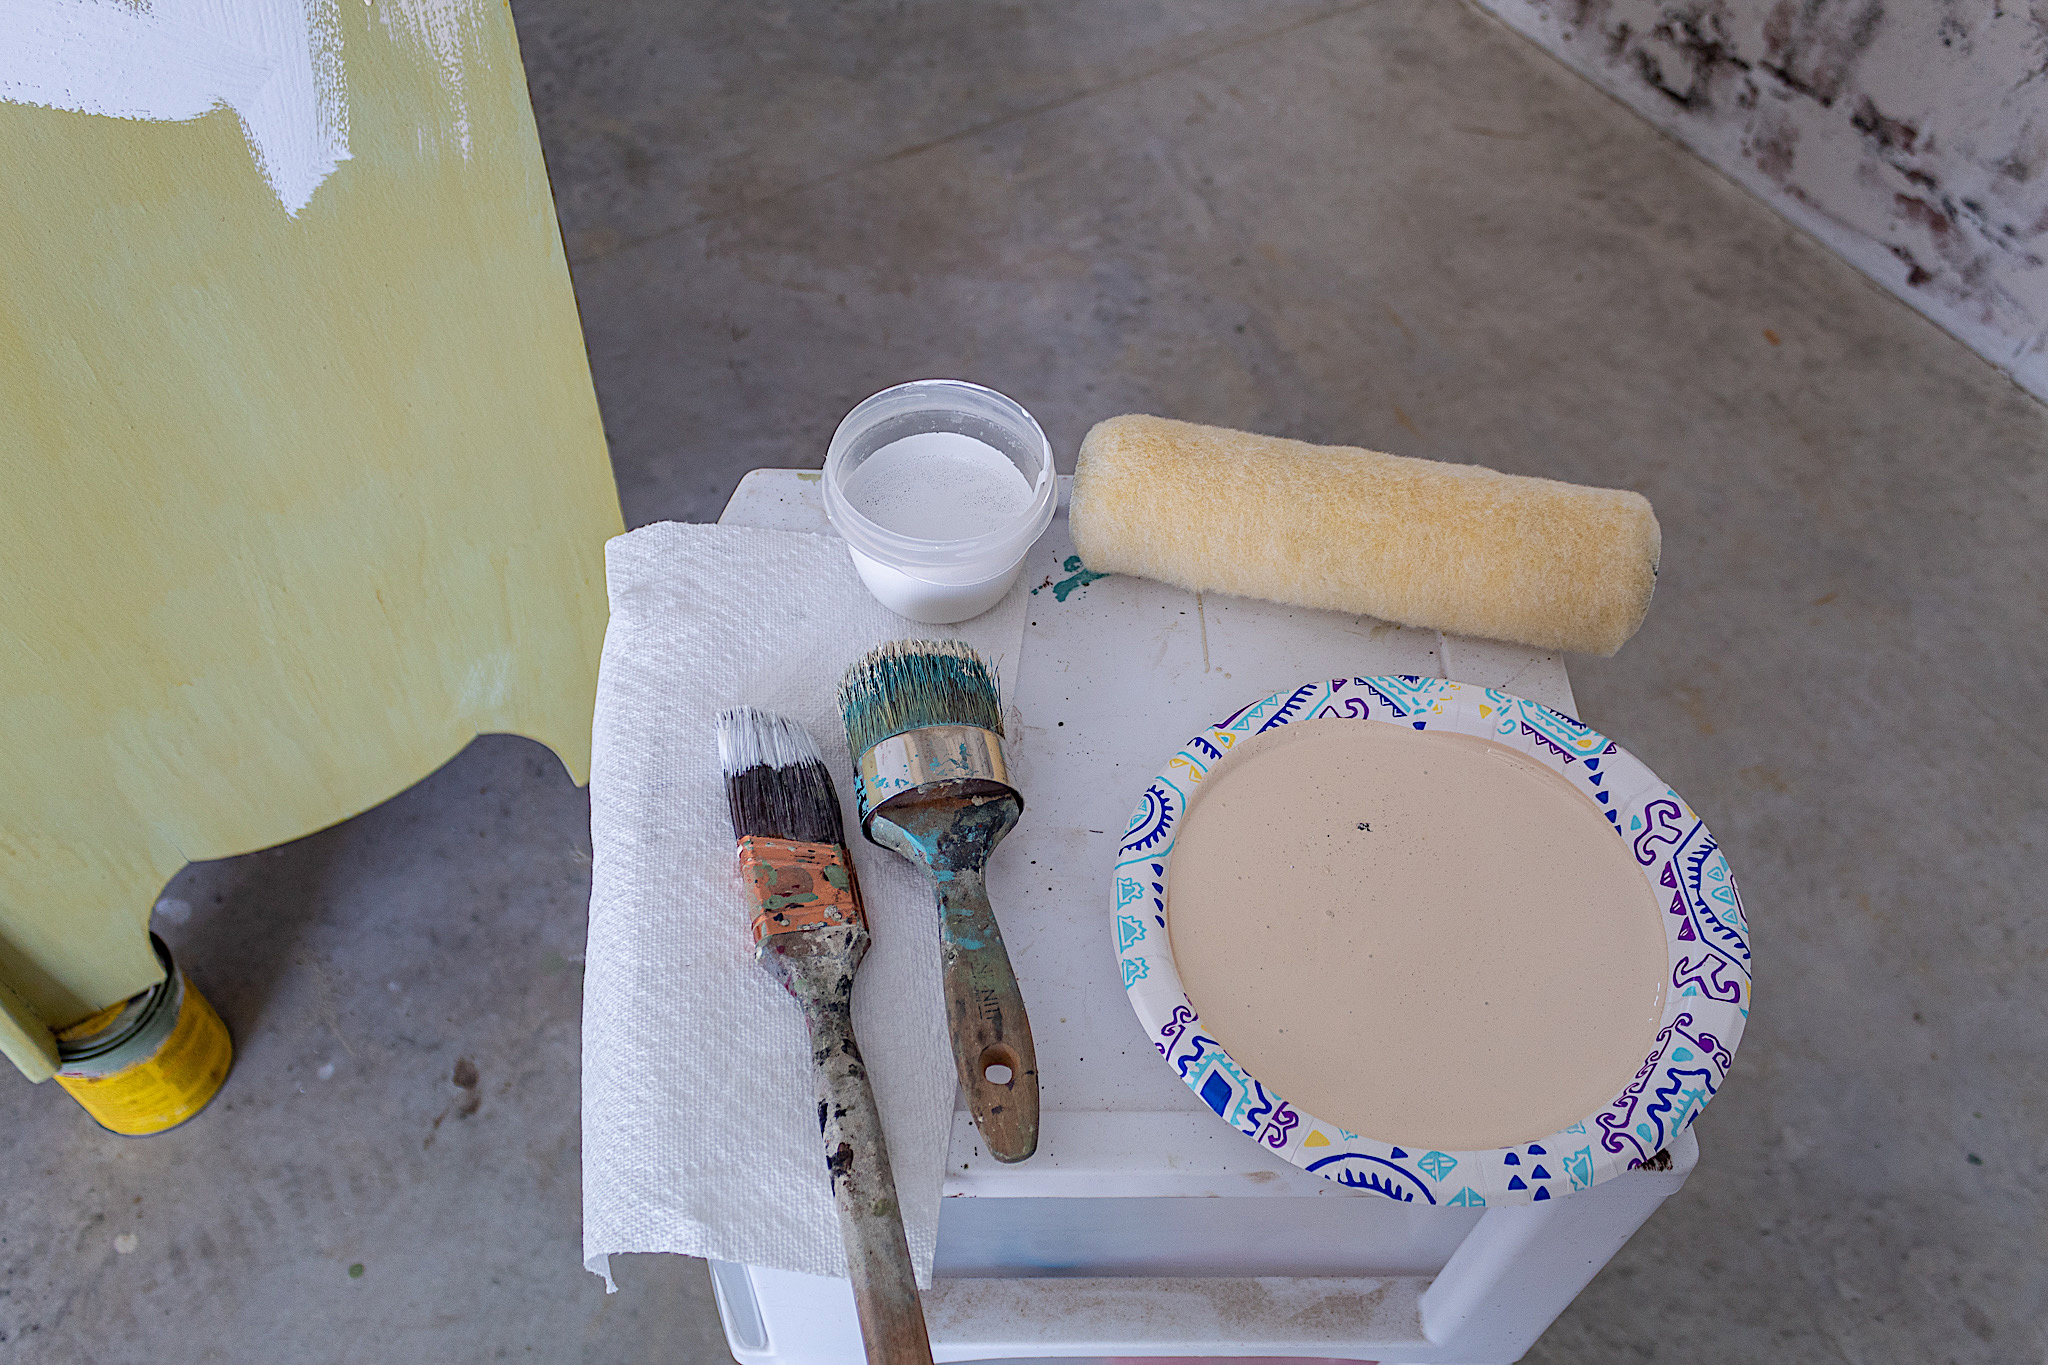
For this technique I first slopped on, in random fashion, several colors. (Pumpkin Essence, White, Glidden’s Giant Gray, and Behr’s Forever Denim)

IMG_2888

Then, using my wooster paint roller, I began blending. Basically I pressed my paint roller over the paint colors over and over again until I liked the look. The paint roller will effortlessly and beautifully blend the colors together. The trick is to keep your painting surface wet using your misting spray. You don’t want a puddle of water, but moist enough so that the colors blend together. I recommend working in sections.

This is a fun technique that creates unique results every time. You can play with the colors and with your paint roller to make your own artistic finish on your piece. Below is a video demo of how I performed this technique on the upper drawers.

6. Dresser Top

For a rustic look on the dresser top I first rubbed on my Walnut Gel Stain using a paper towel. Once the gel stain dried I whisked a few strokes of white paint over the top using only a tiny bit of paint on my brush. Then I rubbed antiquing wax in circular motions over the entire top. The antiquing wax creates a rich, vintage like finish.

7. Finish

For a final seal, I added clear coat to the entire piece.

And there you have it friends, a primitive style renovation. I had a lot of fun creating something different with this piece. It is a mix of styles and techniques that work together to bring an artistic touch and rustic aesthetic.

Hoping you enjoyed this tutorial! What do you think of this look? Is it something you would try? Let me know your thoughts in the comments below.

Leave a Comment

Your email address will not be published. Required fields are marked *


The reCAPTCHA verification period has expired. Please reload the page.

nooksinbloom

•Creating and Making the Home Pretty
•Inspired by European & Grandmillenial Styles
•Budget-Friendly DIY’s
🙏🏽
Blog ⬇️

Jessica
Load More Follow on Instagram
Scroll to Top

Sign Up So You Never Miss A Post!

Your information will never be shared or sold to a third party.