French Provincial Gray Dresser-Rustic Elegance

Greetings all! I spotted this dresser at Restore and had to bring it home. I was drawn to its French Provincial curves and details. It did however call for some serious updating. Take a look at the before picture.

IMG_0009

1. Prep & Sand

First I cleaned the entire dresser with vinegar. Then I sanded the doors with my electric sander because I knew I wanted to stain, not paint them. I didn’t worry about it being a perfect sanding down. The final design was going to consist of a blotchy look anyway.

materials

*Glidden’s Giant Gray paint (chalked with this recipe)
*Electric Sander
*Tite Bond
*Clamps
*Minwax Dark Walnut Stain
*Antiquing Wax
*Clear Wax
*Antique Bronze Metallic Paint
*Glazing Medium
*Leftover paint in other colors for distressed look (optional)
*Misting Bottle

2. Some Minor Repairs

Overall the piece was in really good shape. Some of the wood on the drawer fronts had separated a little. So I used Tite Bond wood glue with my handy dandy clamps to tighten them back up. I left the clamps on over night and the drawers were good as new! This glue is my favorite for working on large projects like furniture renovations because it is SUPER strong once it dries. 

Disclosure: Some of the links provided are affiliate links. By purchasing through these links you are supporting this family blog and the work we do and there is no extra cost to you. If you would like to read our full disclosure, click HERE.

2. Rustic Wood Technique

To create a cool rustic look on the drawer fronts, I first gave them one coat of Minwax Dark Walnut stain. I simply wiped it on with paper towels.

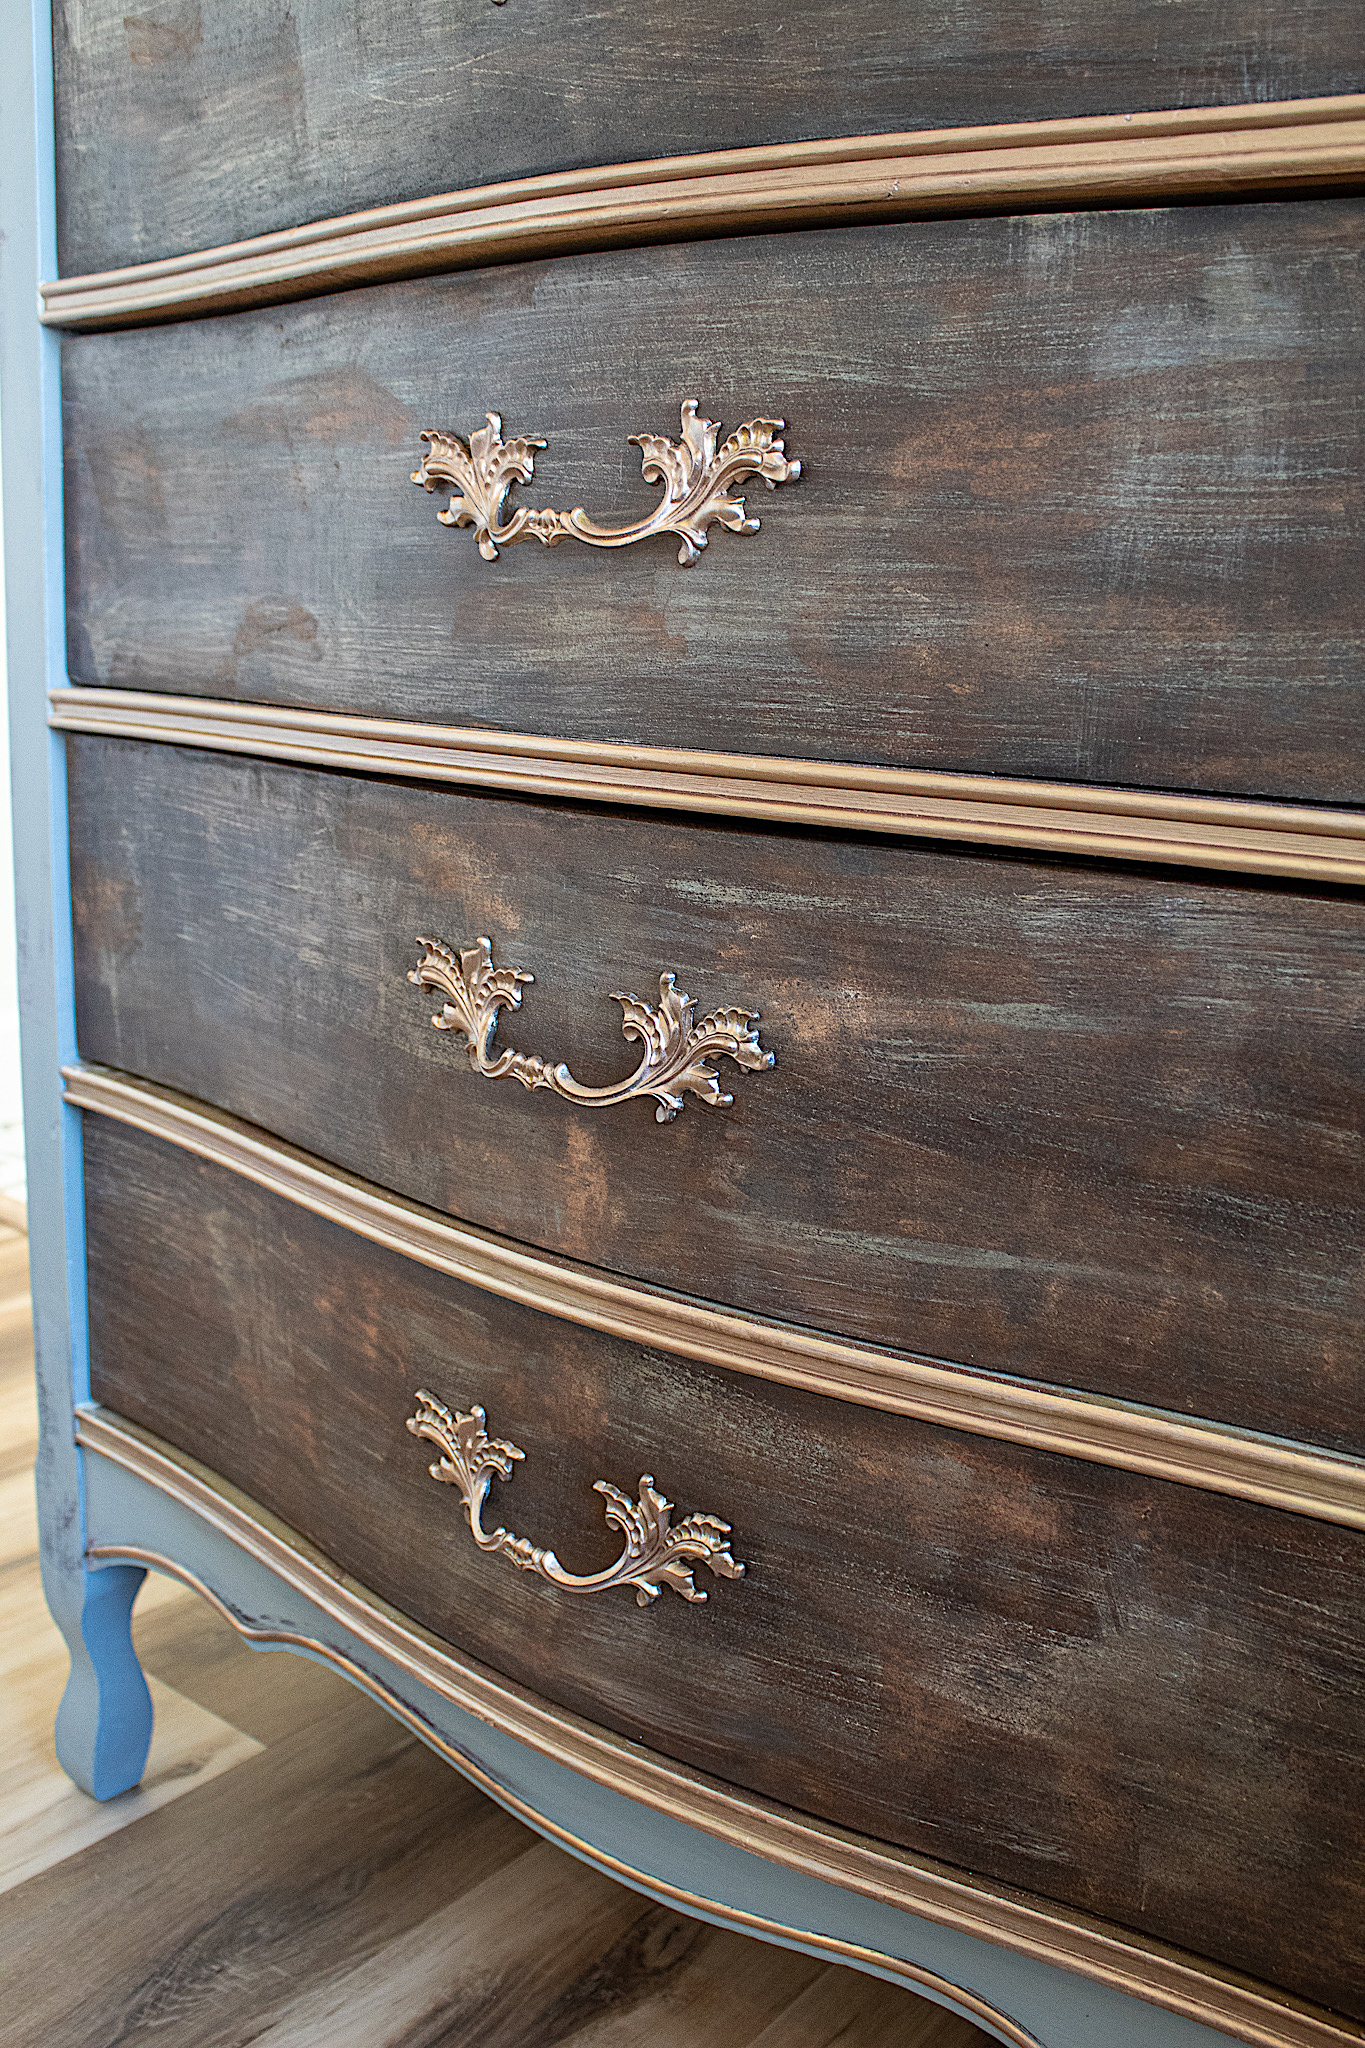
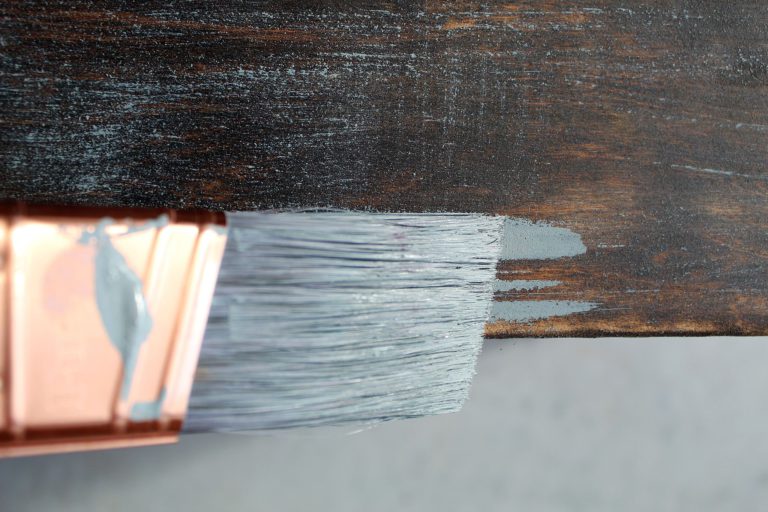
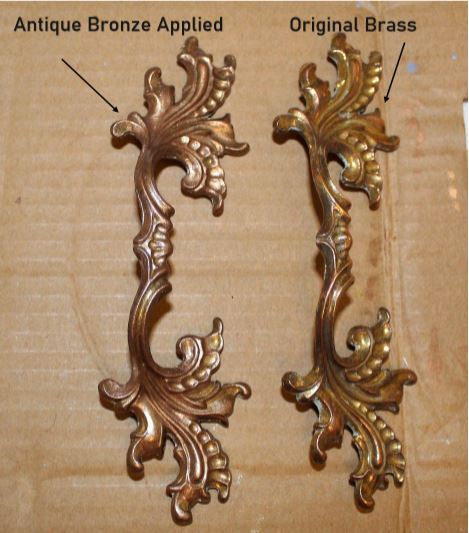
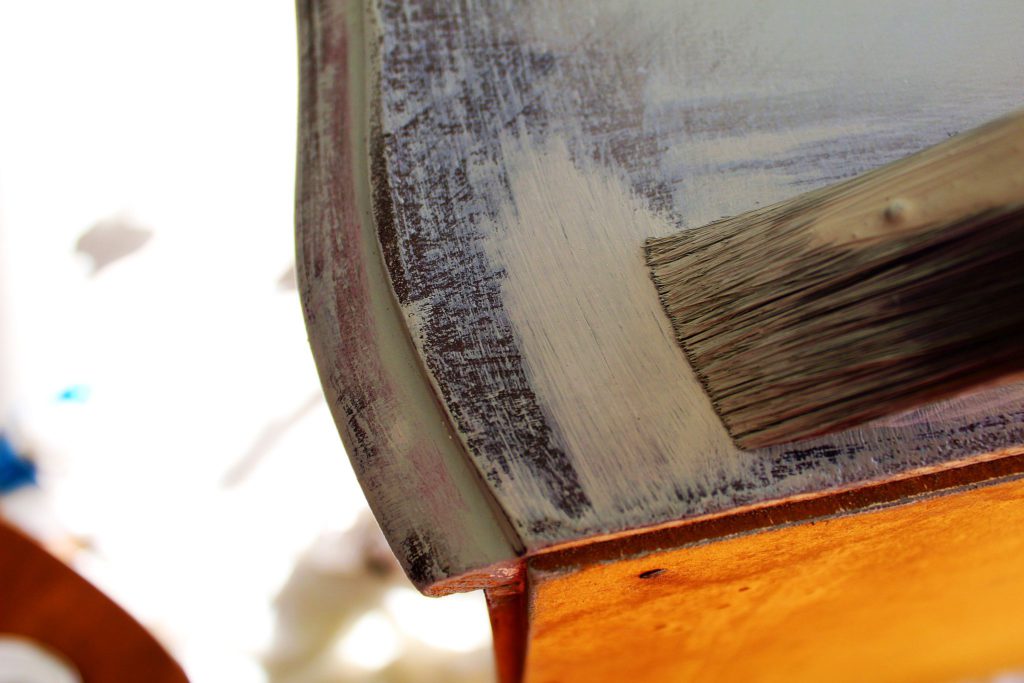
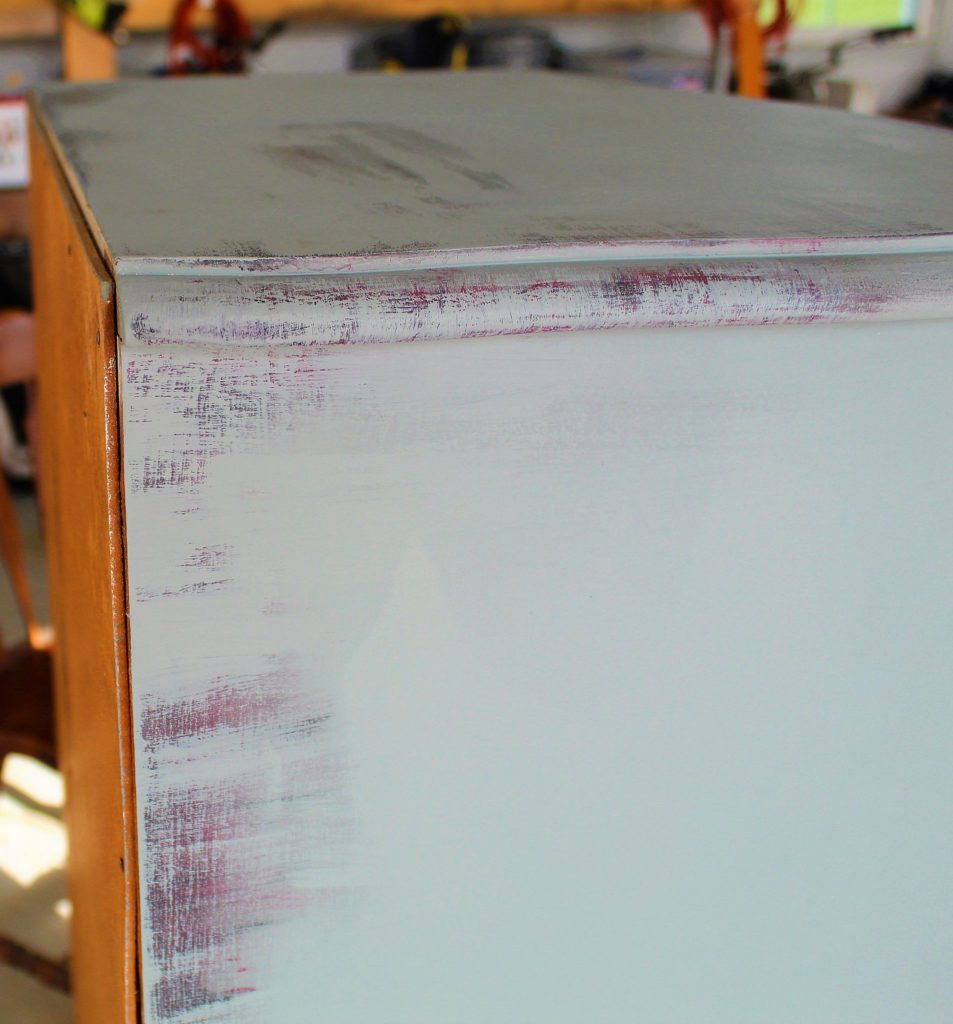
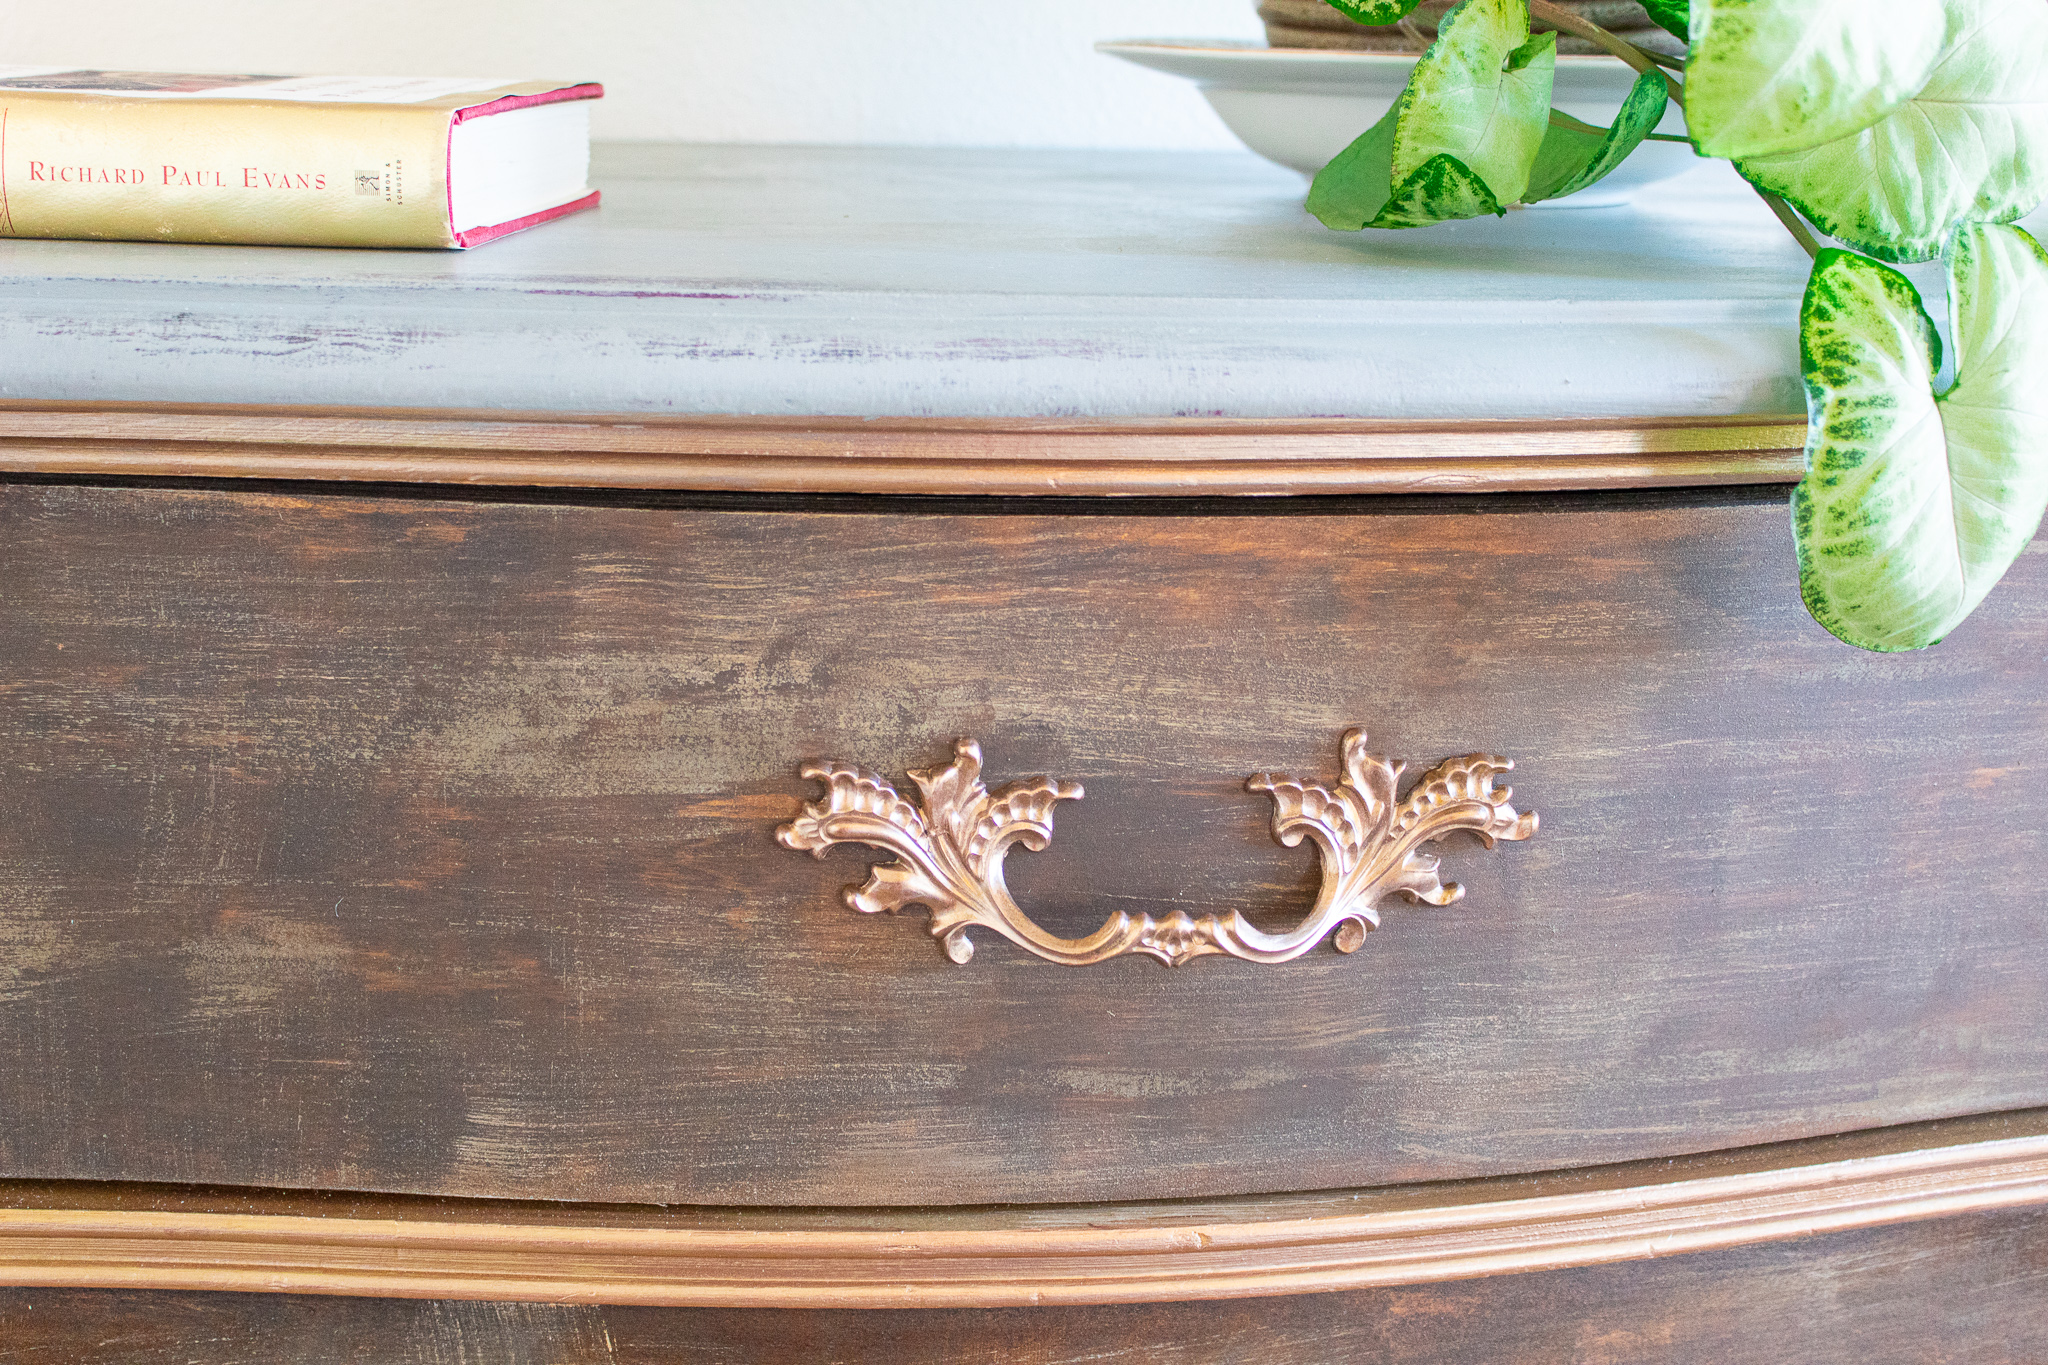
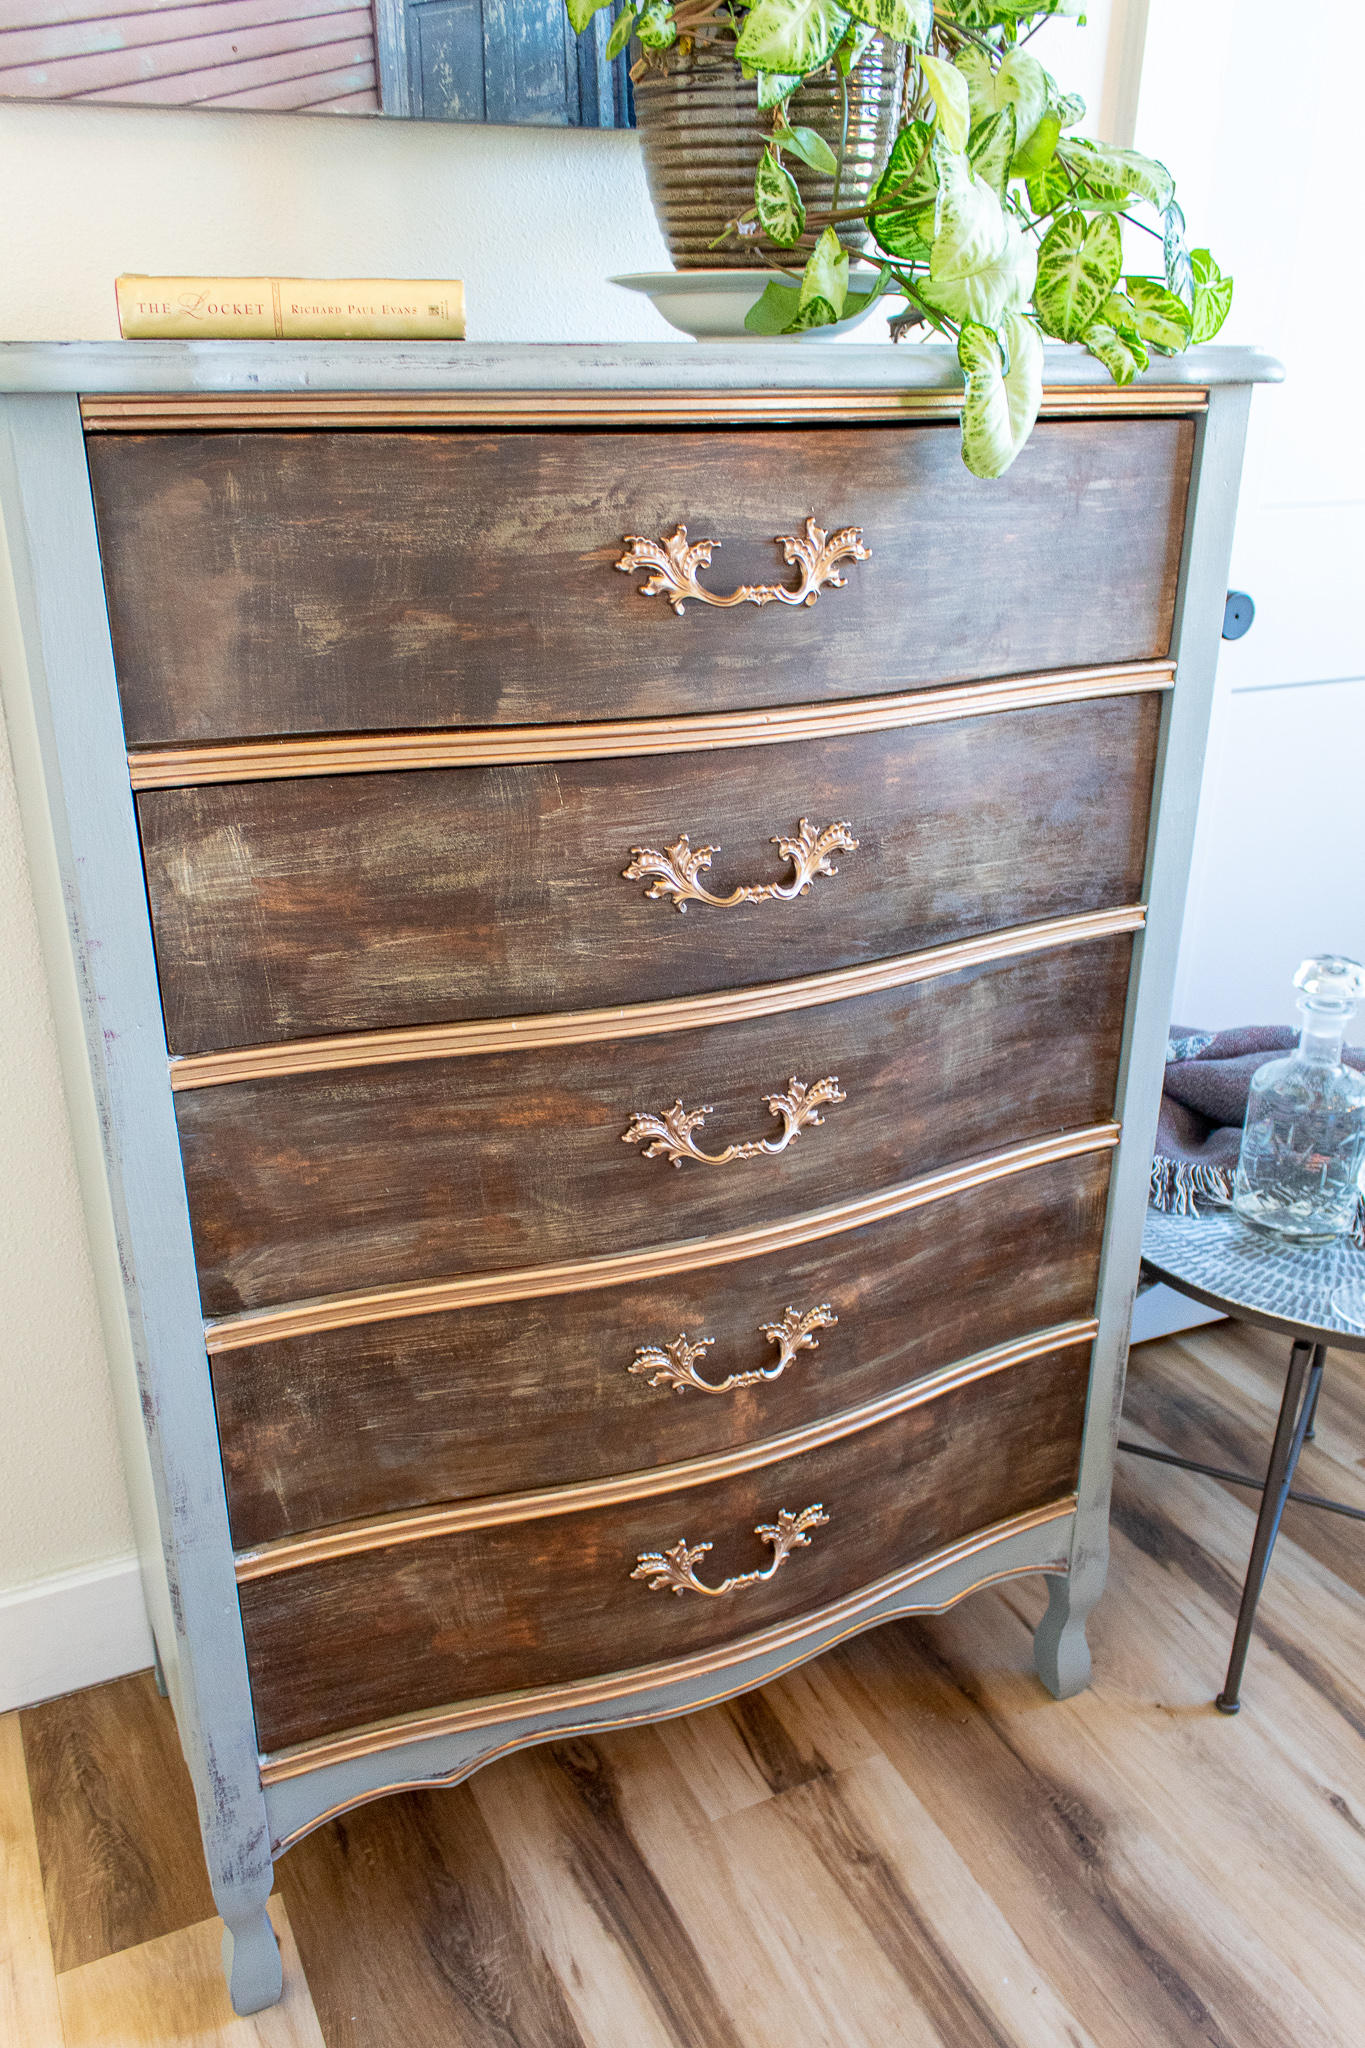
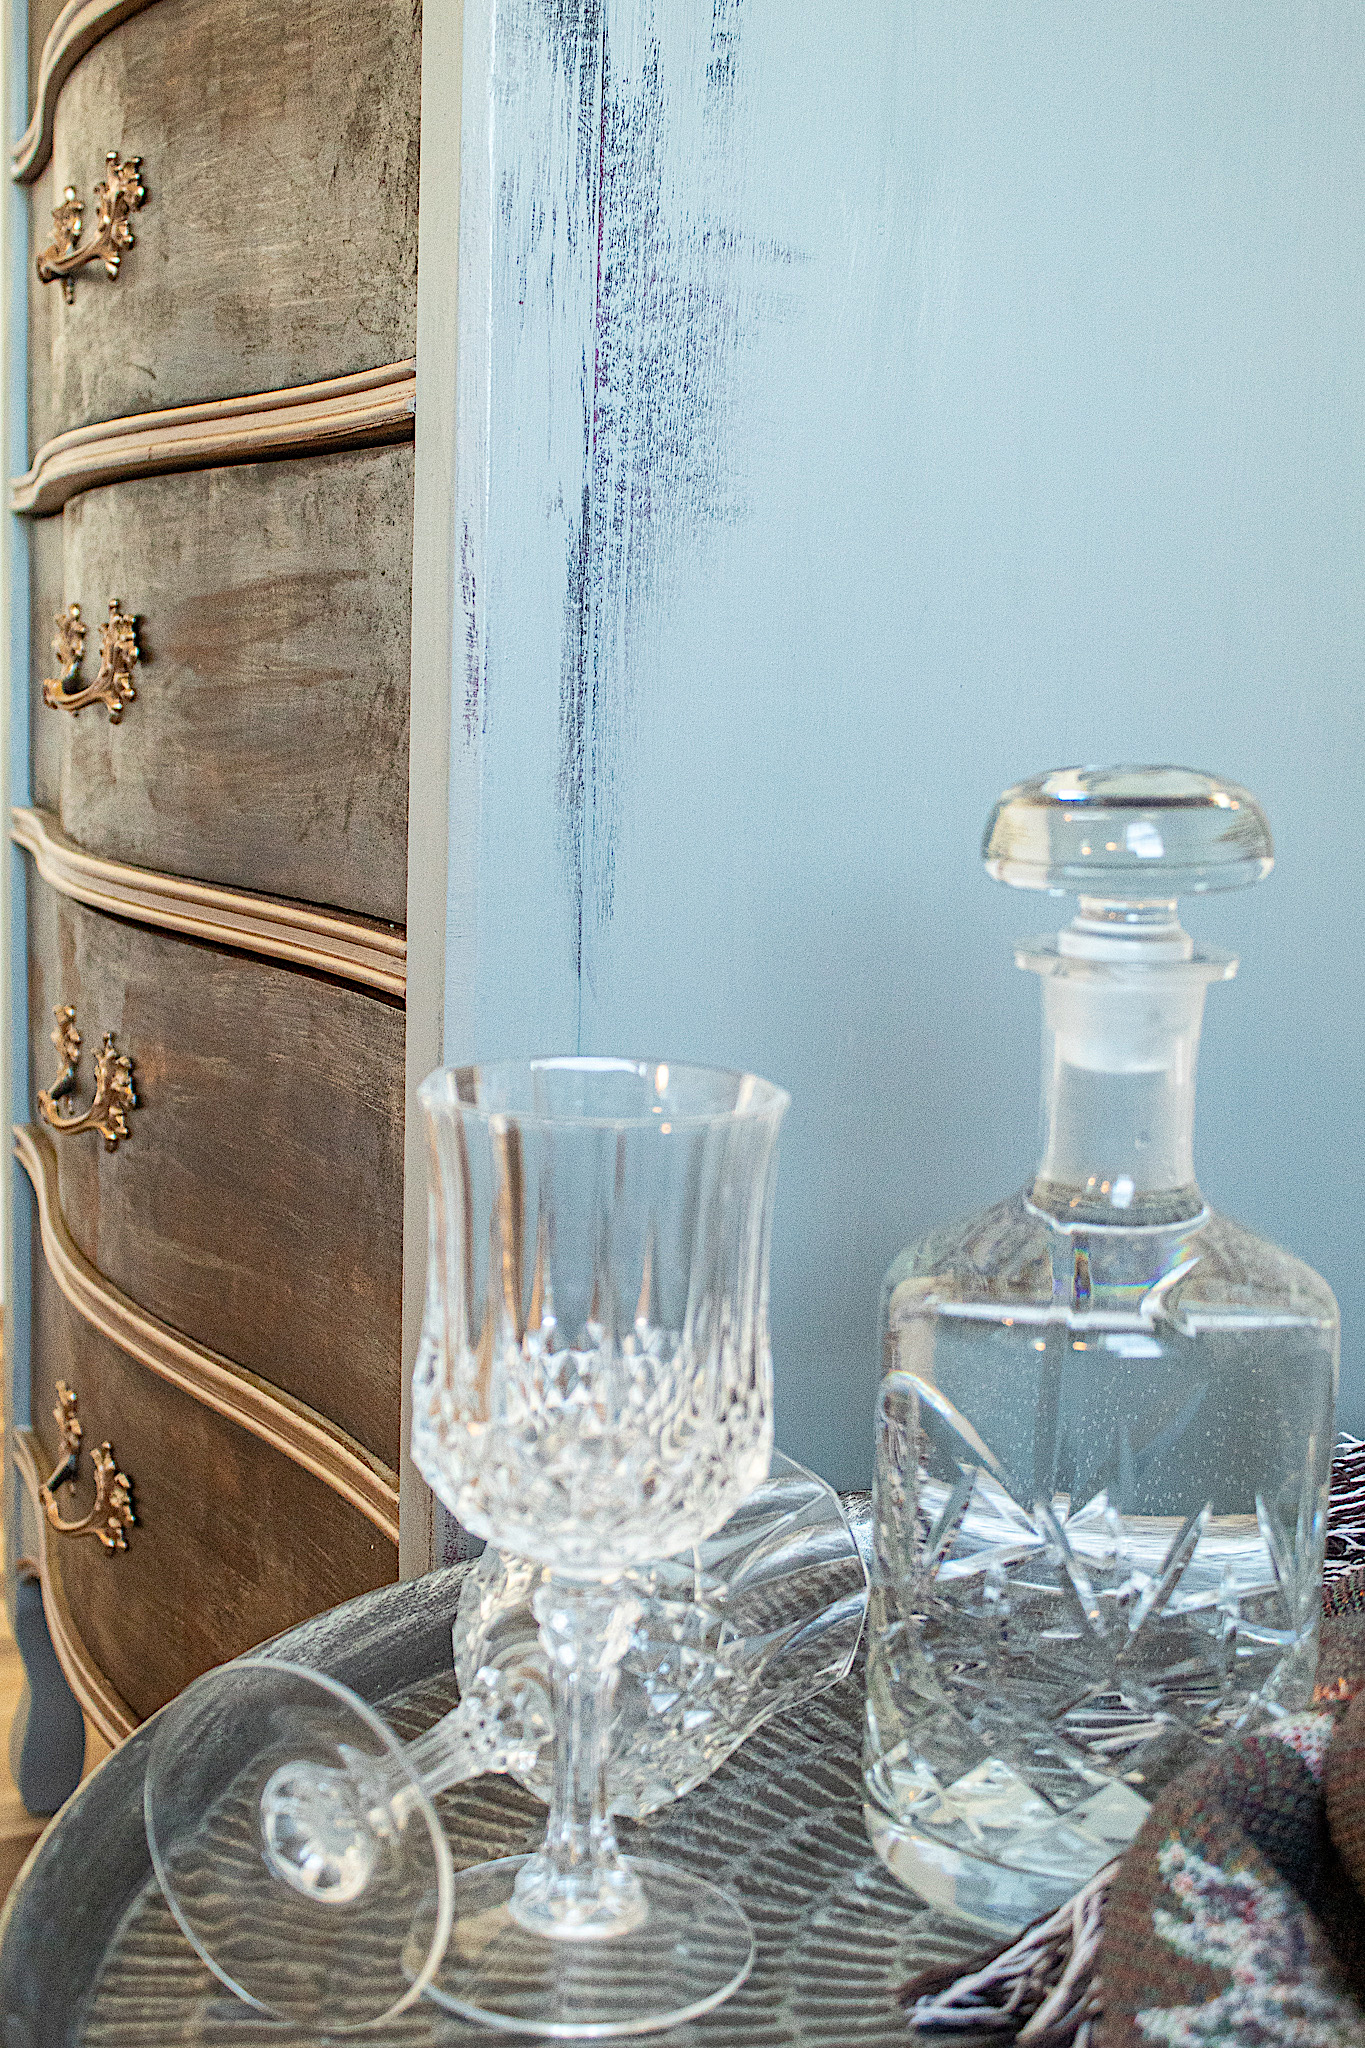
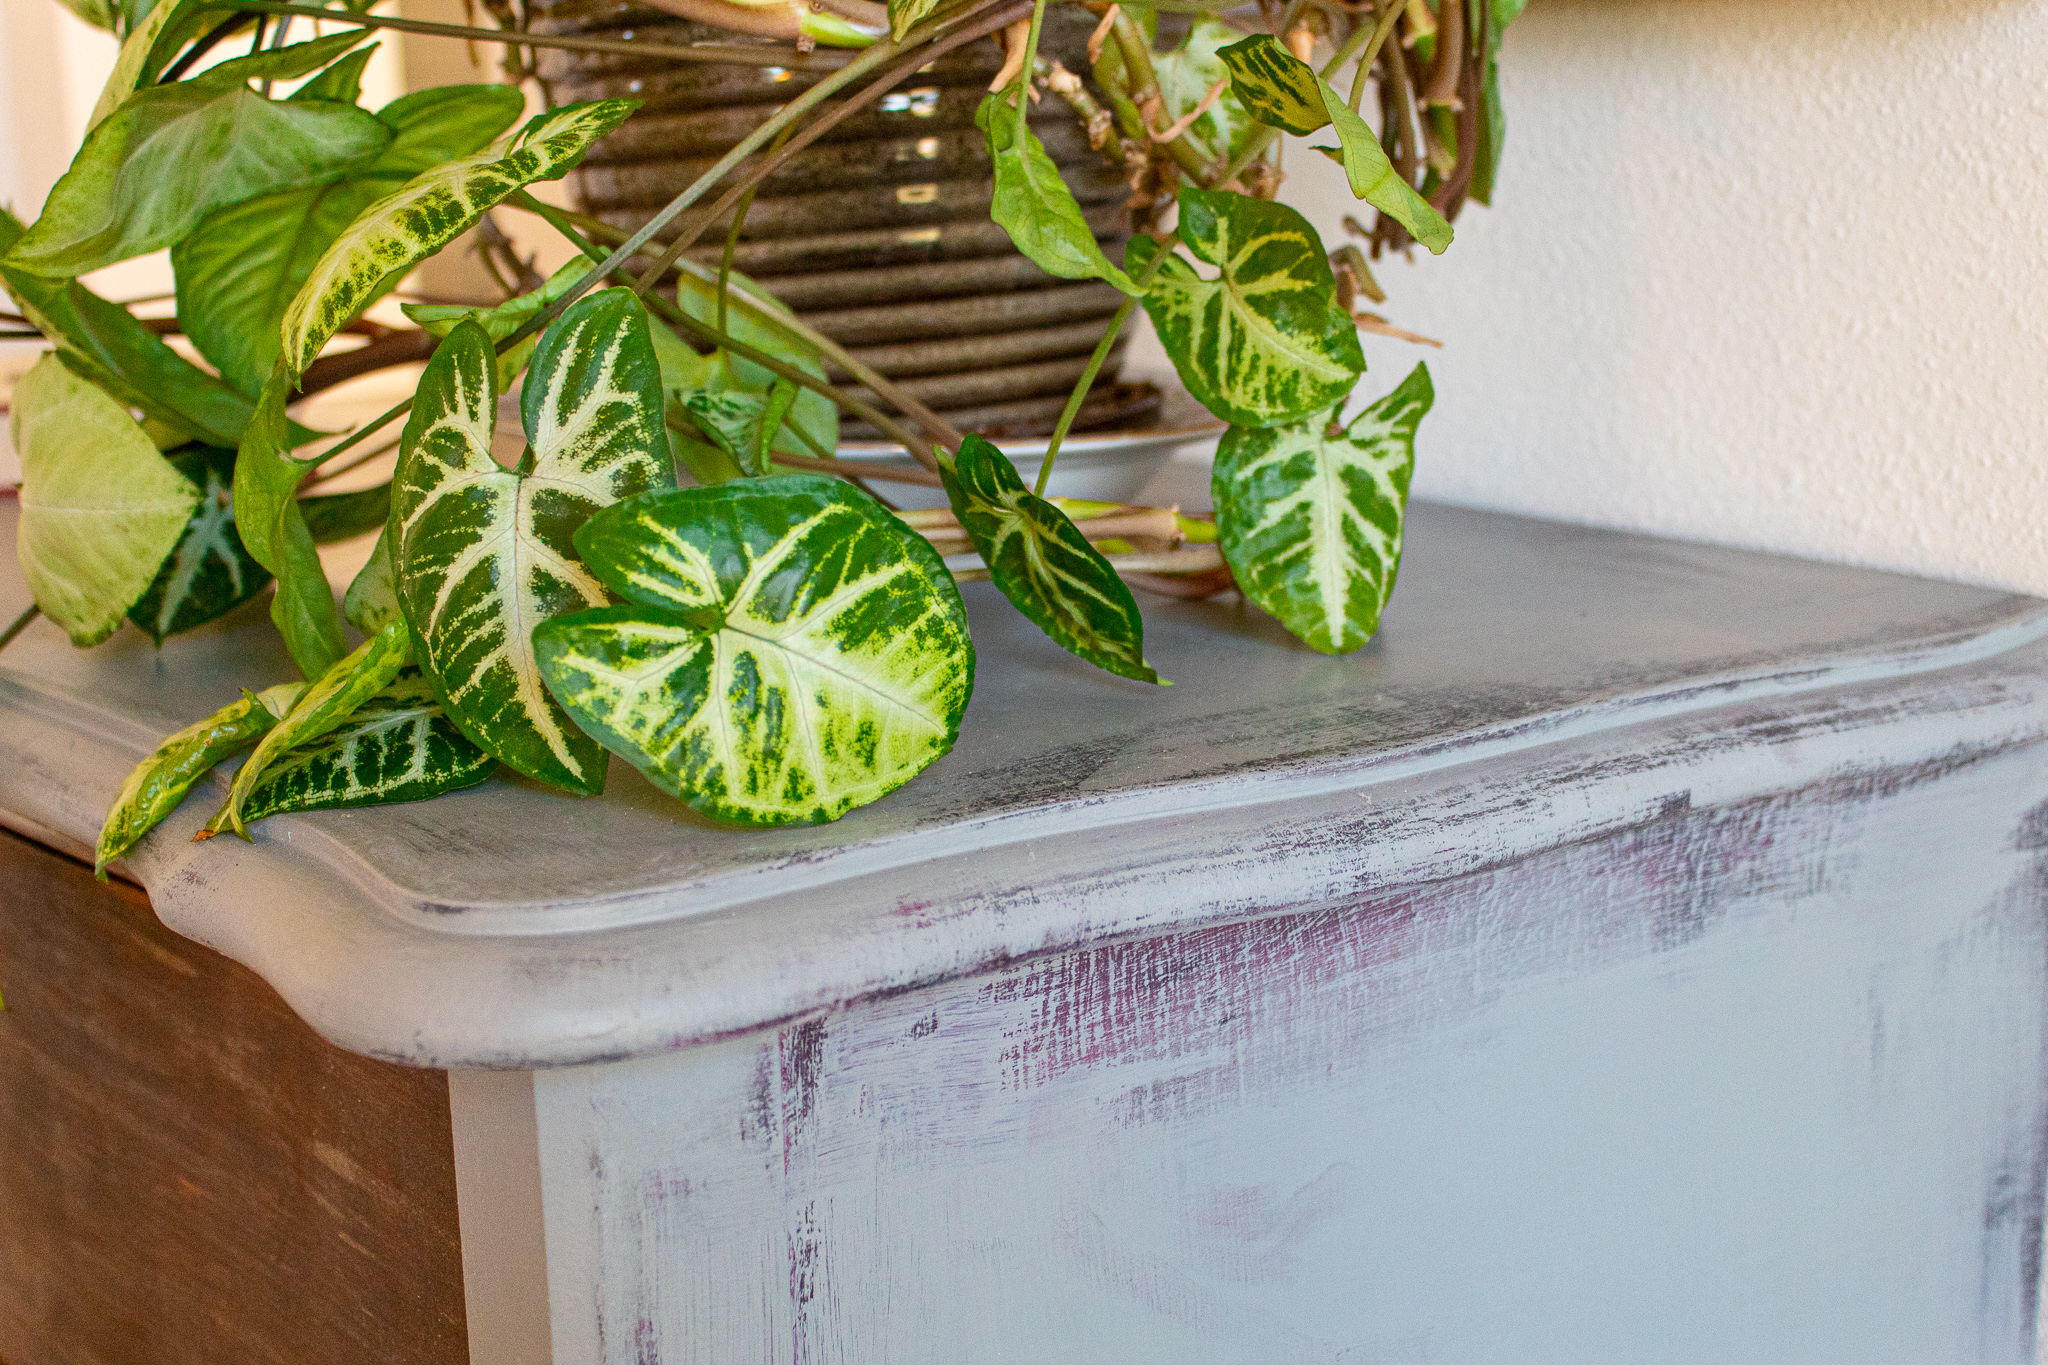
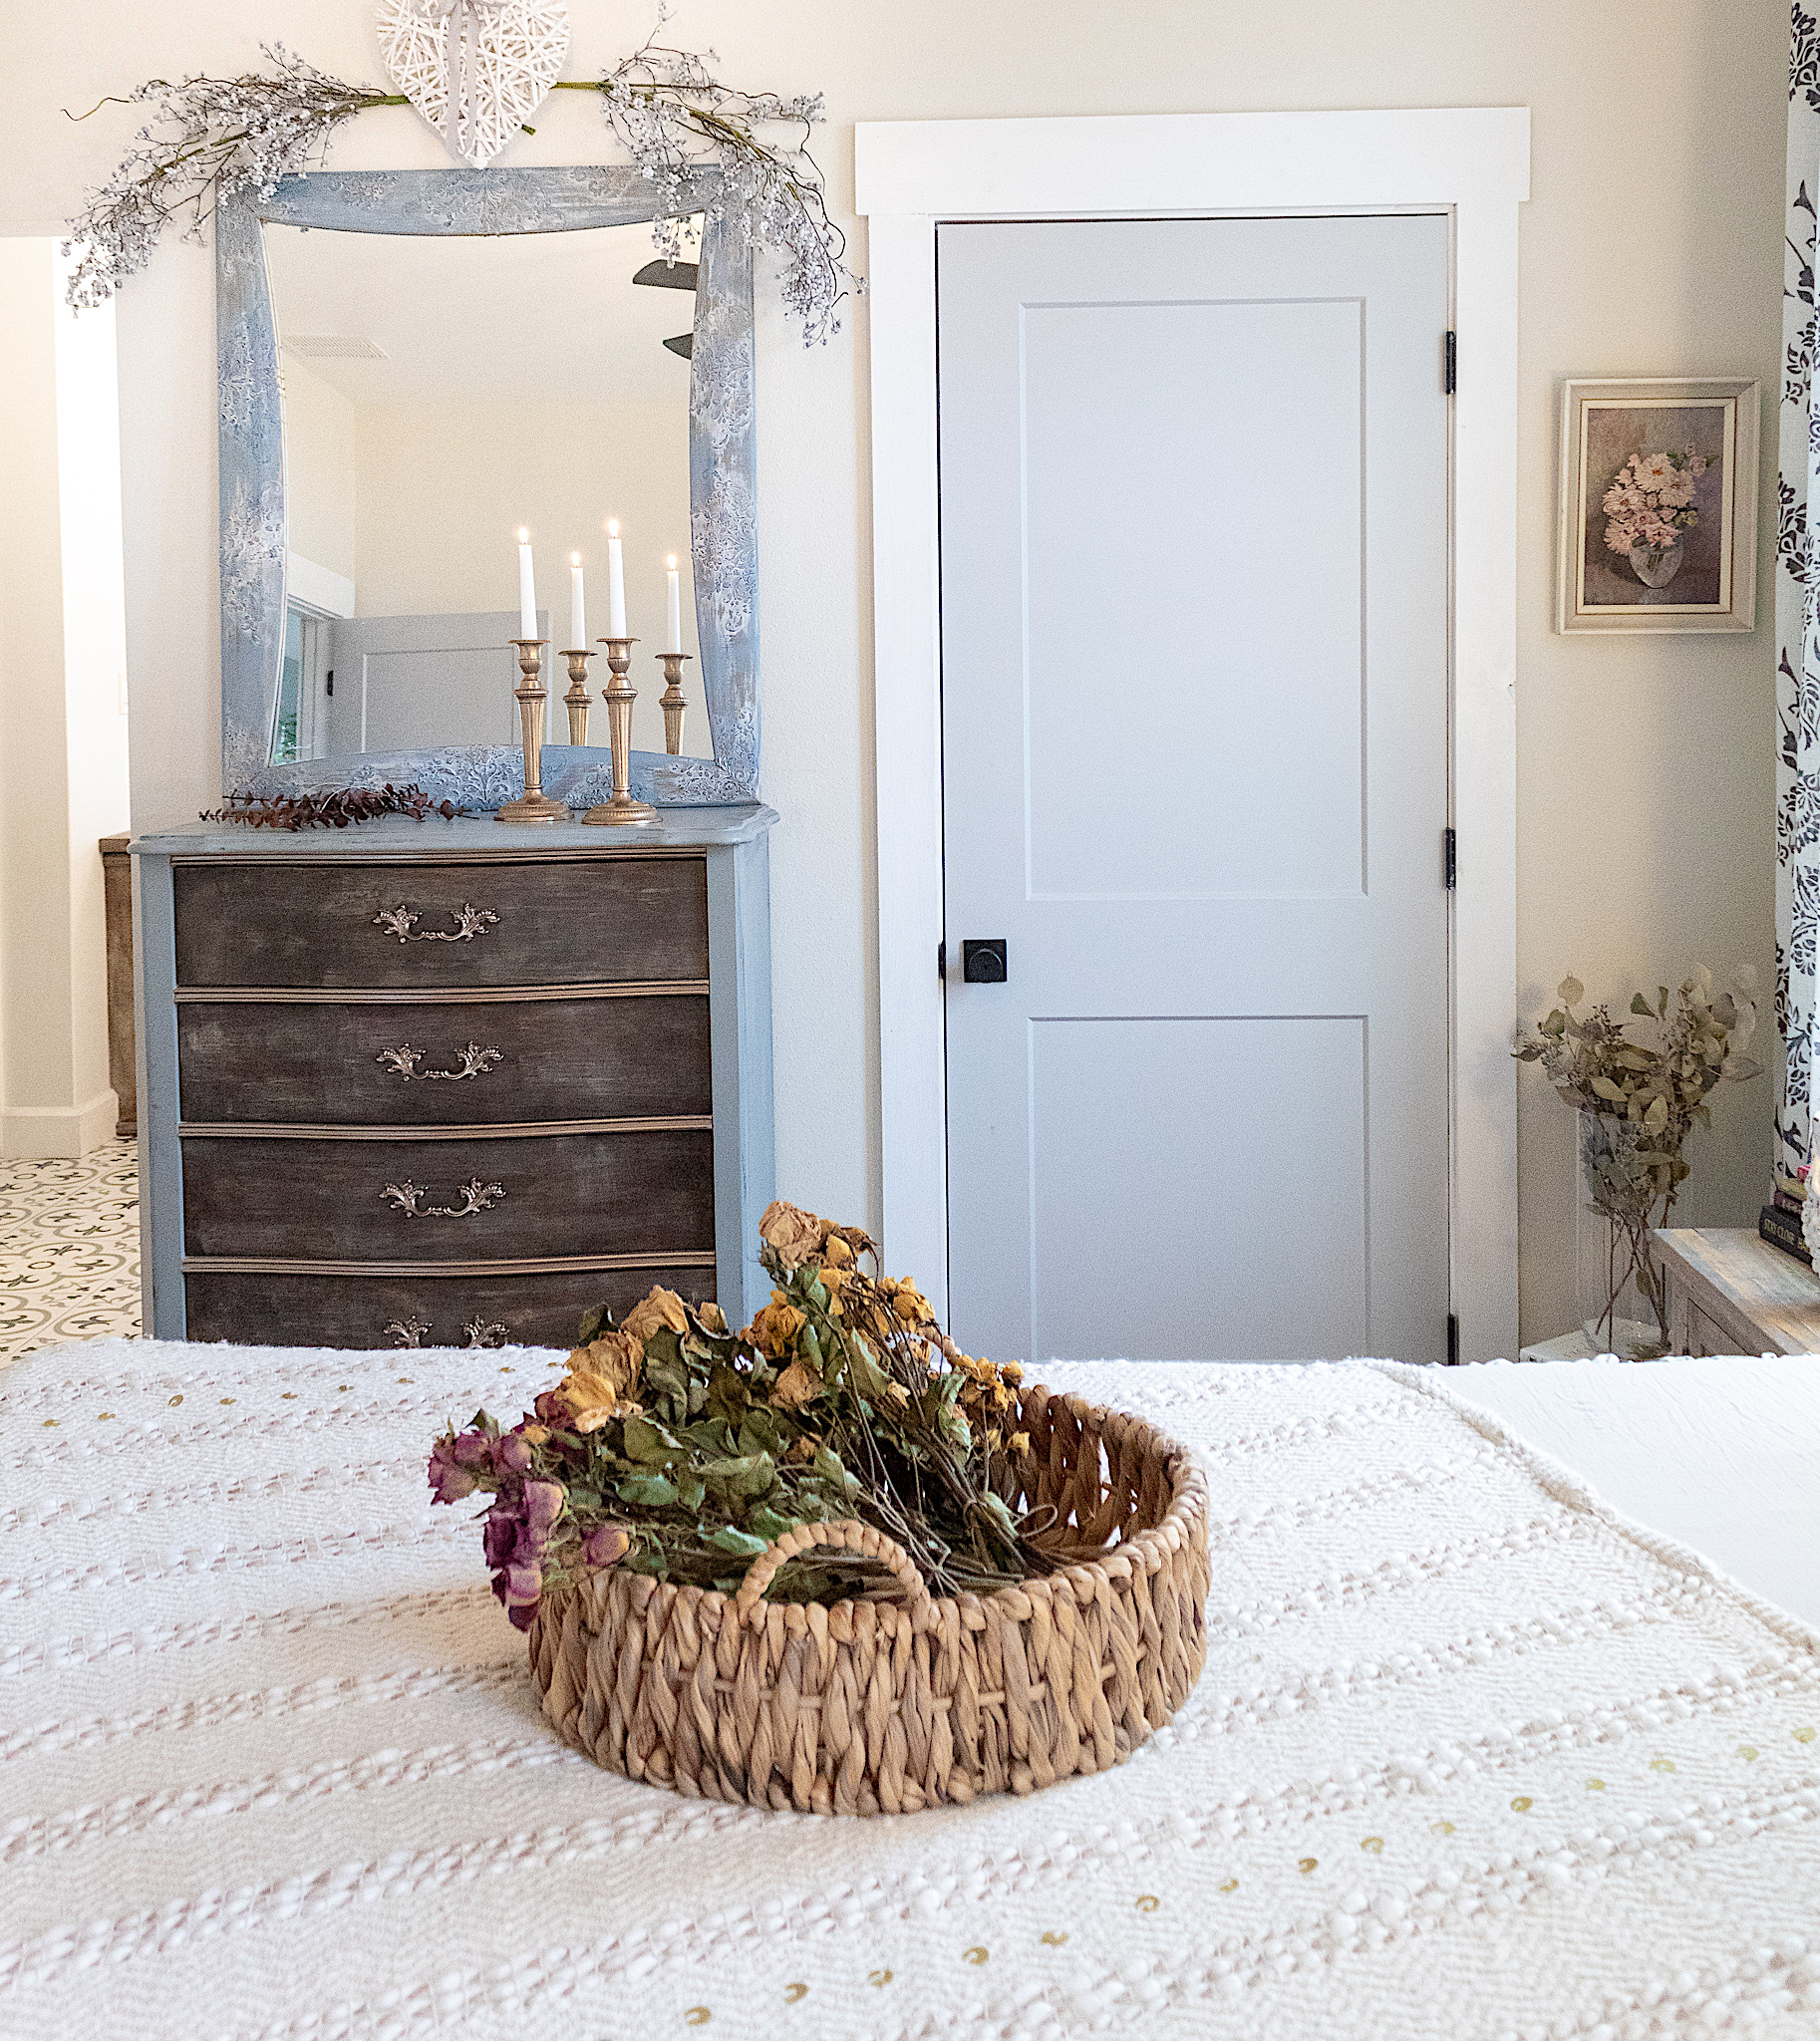
Once the stain had dried, I lightly and sporadically dry brushed Glidden’s Giant Gray paint I only added the gray in small portions over the drawer fronts. I did not cover the entire area. I kept my strokes long and light, with a few short and horizontal. You are really just playing with creating a random layered look. I allowed the paint to sit for just a few seconds before I rubbed it in circular motions with a paper towel. This softens the strokes.

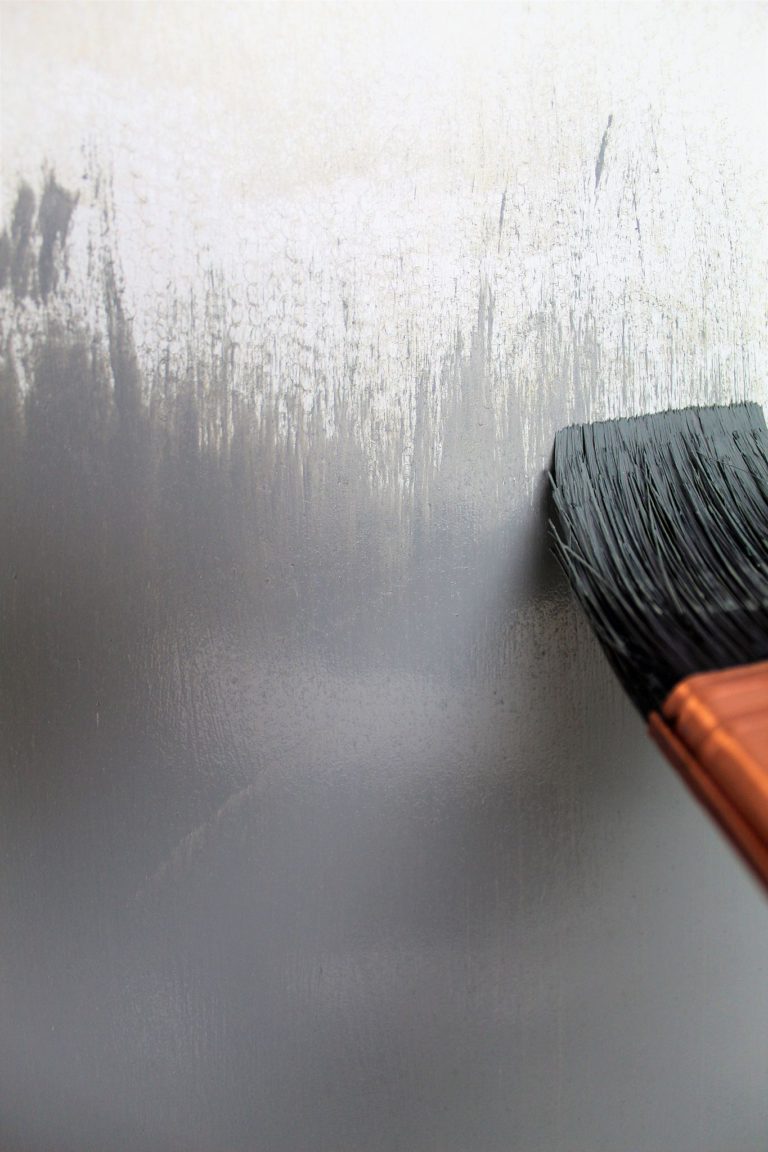
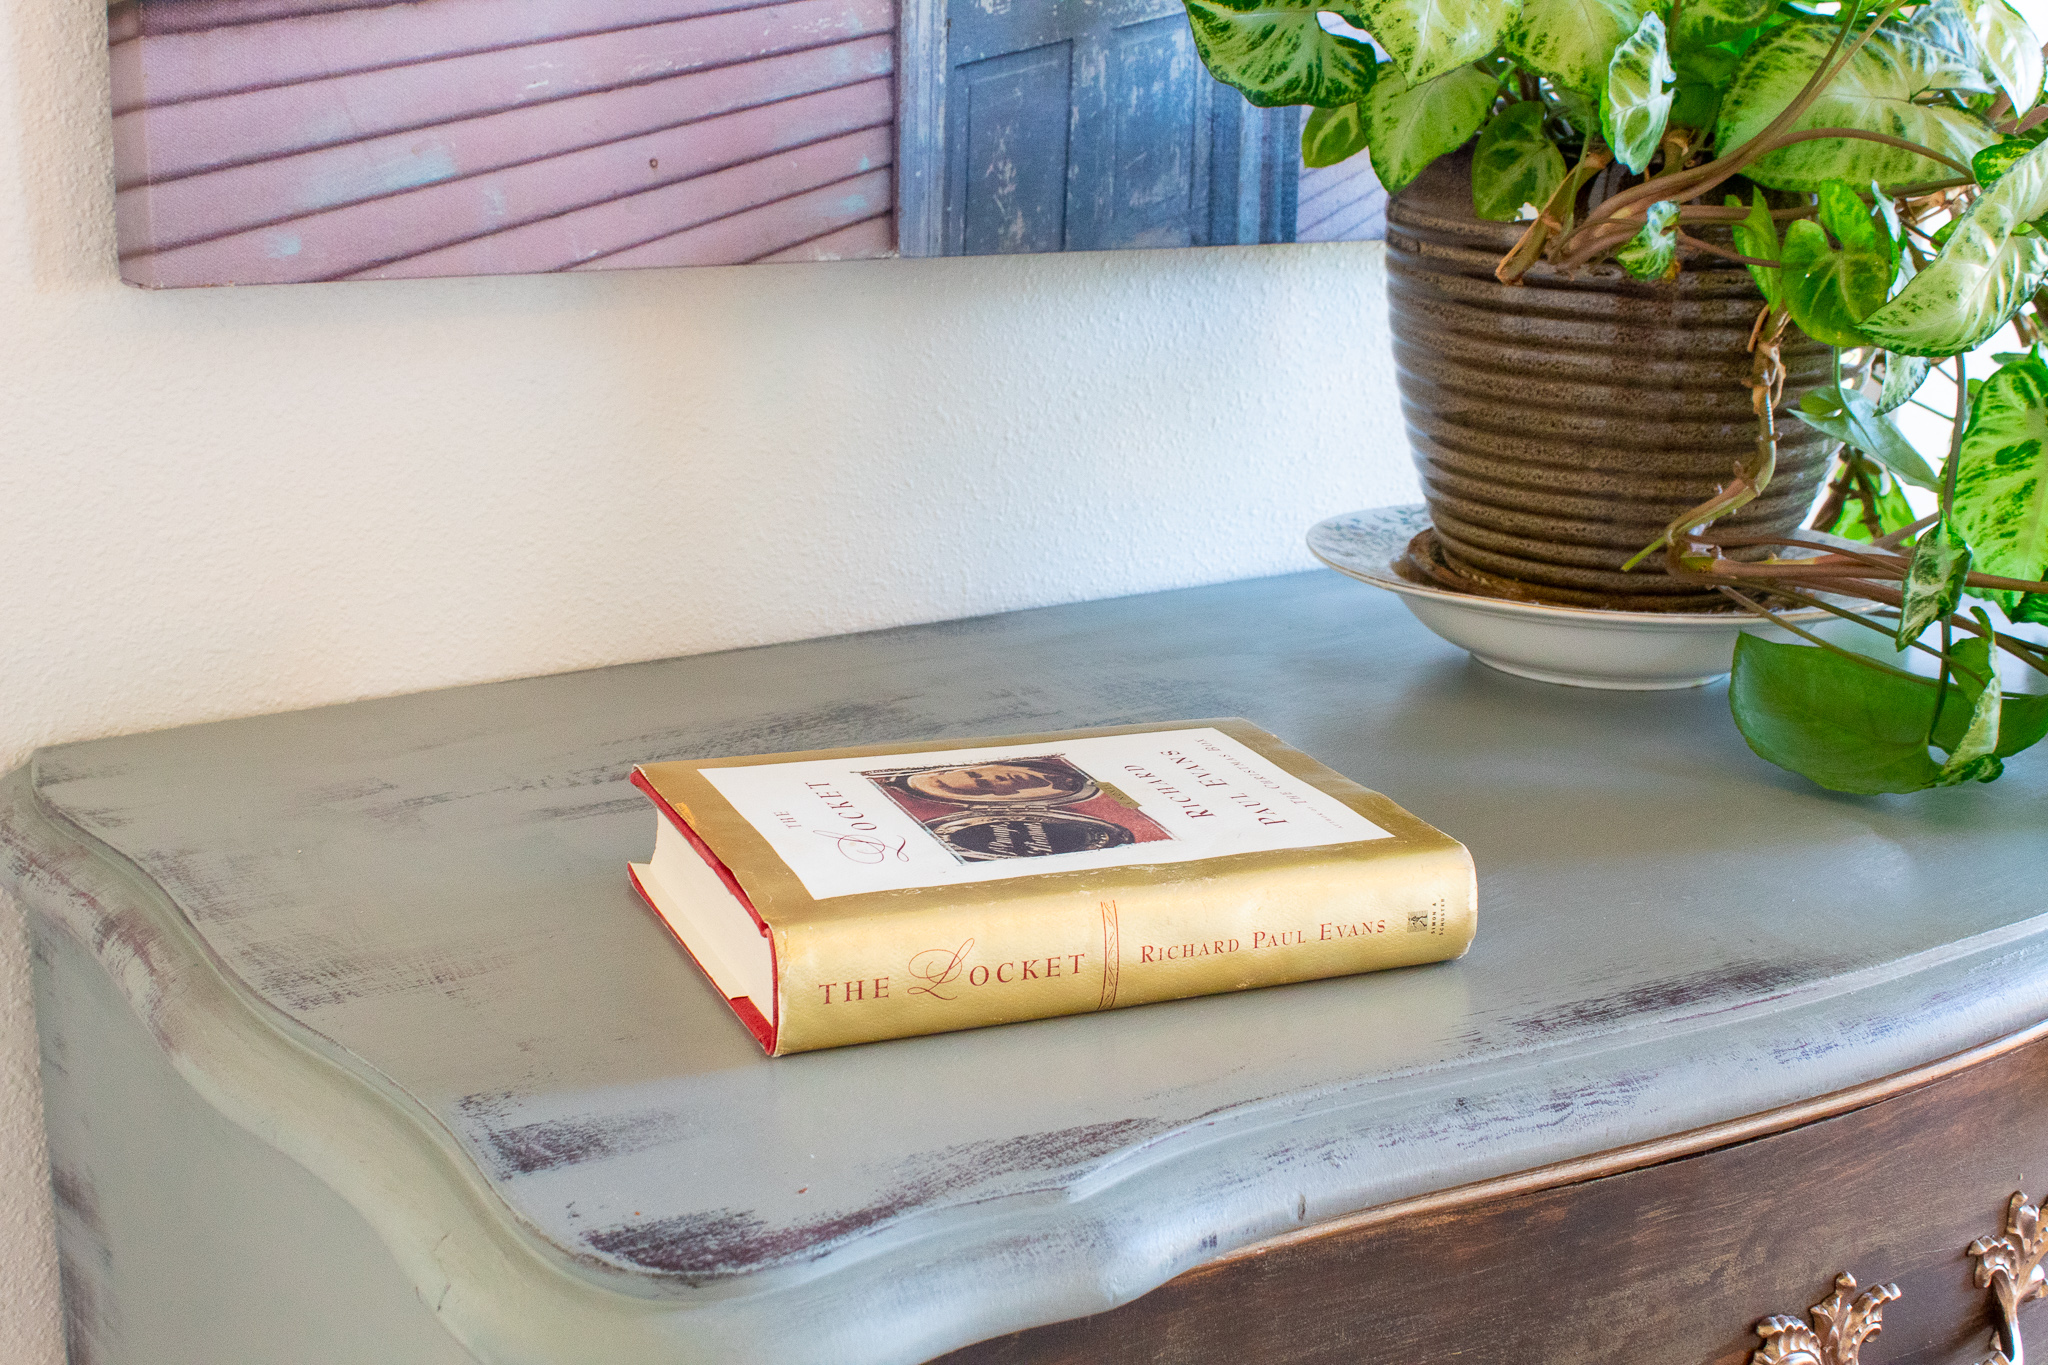
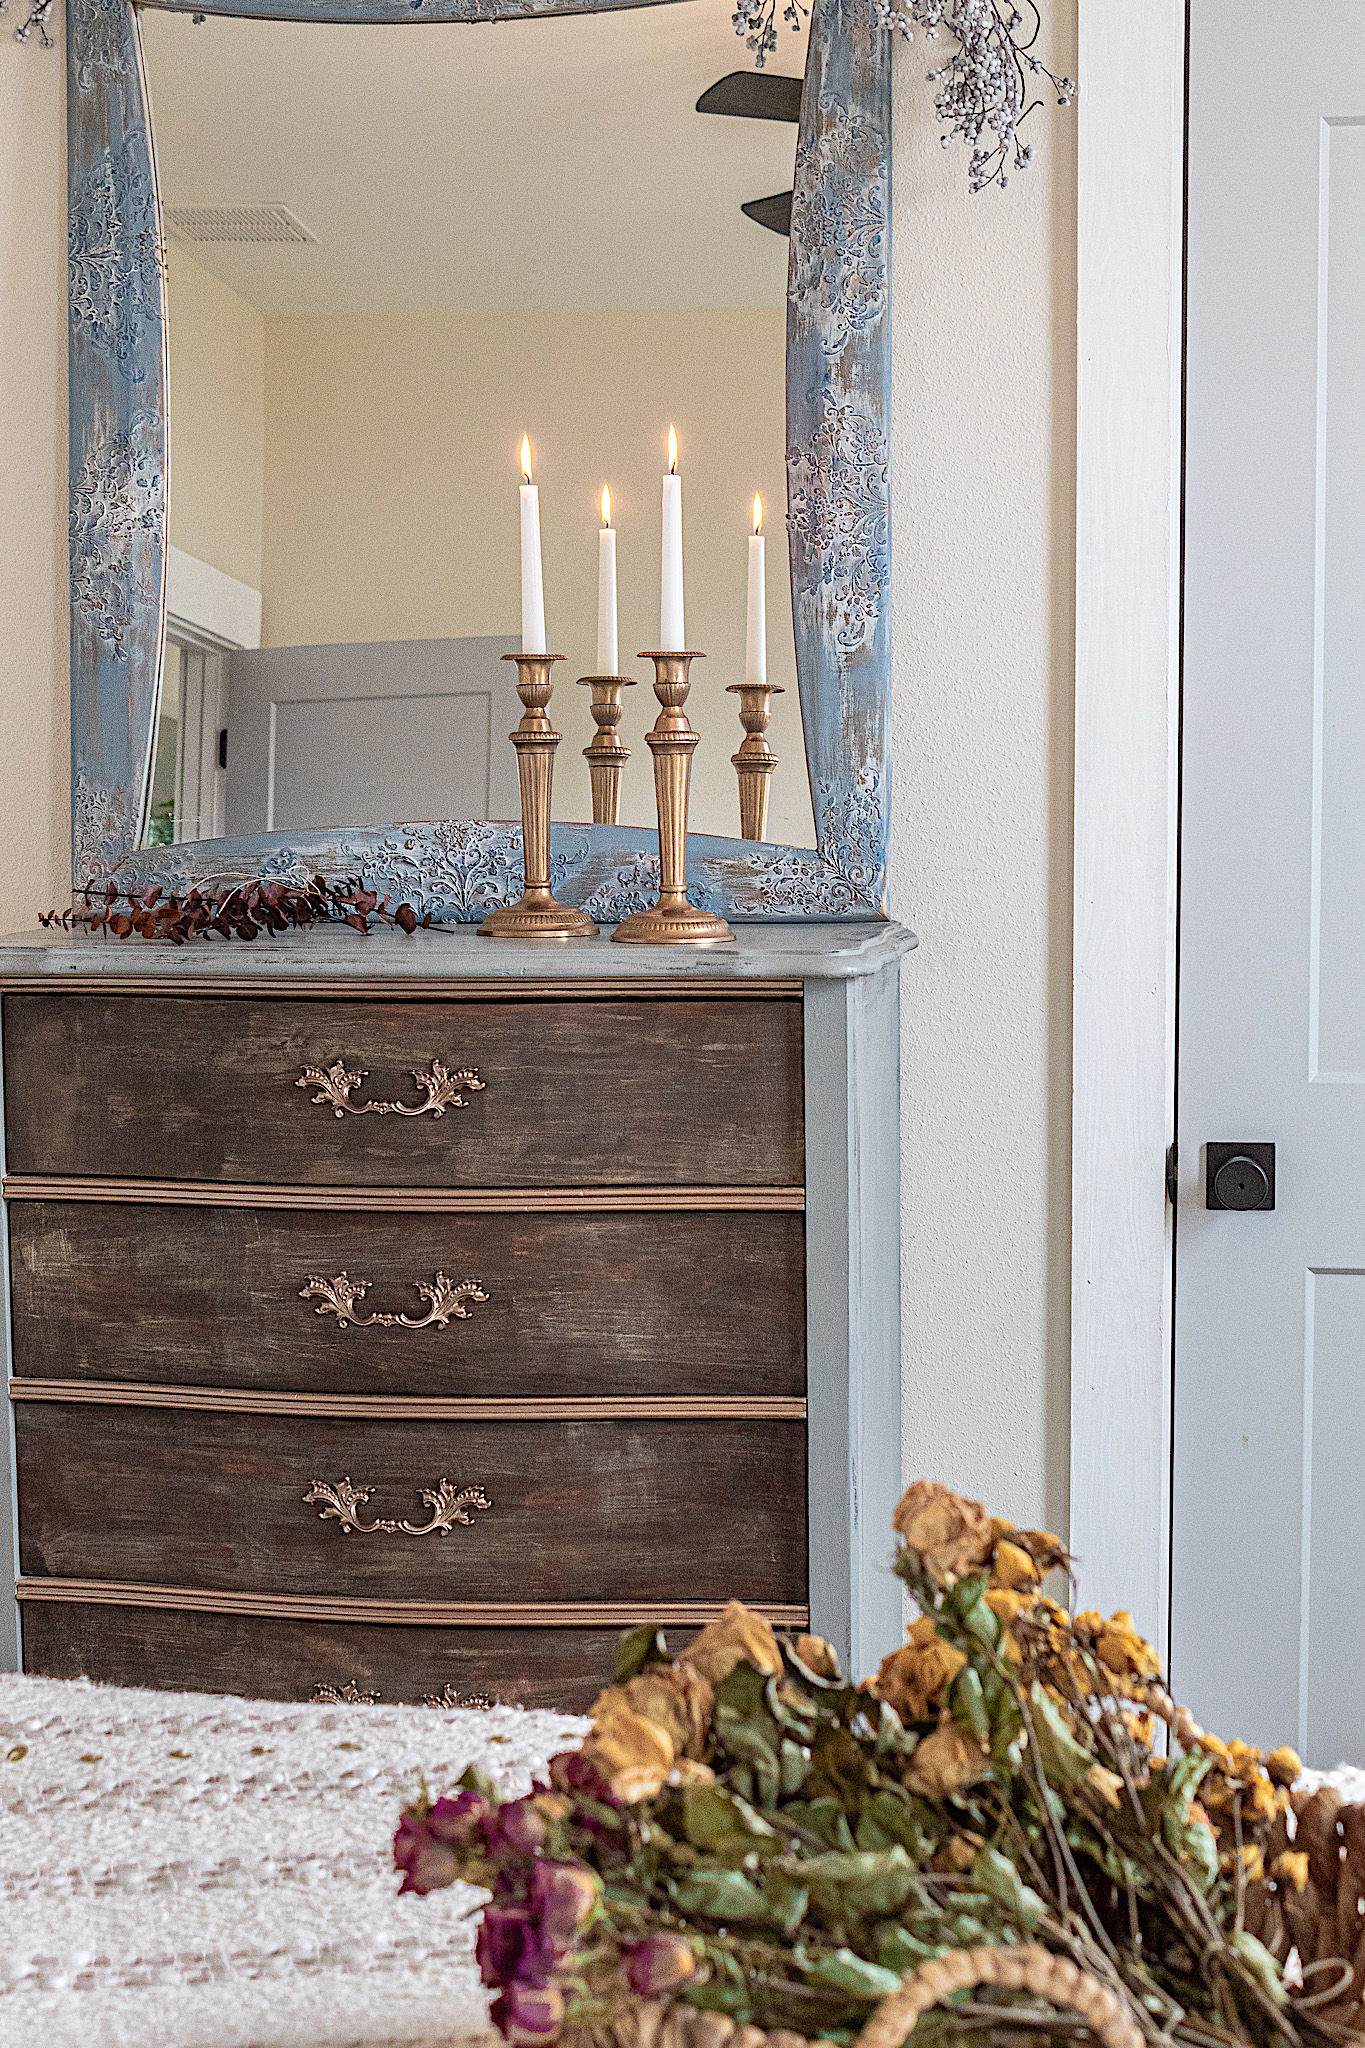
For the final step, I applied my go to antiquing wax.  The antiquing wax will give the paint and stain a cohesive and really pretty aged look. It also serves as a sealant. I applied it in circular motions over the drawer fronts using a paper towel.

3. Paint

I used Glidden’s Giant Gray to paint the dresser. It’s such a rich, delicious gray. I used my misting bottle to lightly mist my brush and the surface of the furniture as I painted. This is important when using chalk paint so that you’re paint doesn’t dry up too quickly and to reduce the appearance of brush strokes. After two coats of the gray, the dresser was already looking stunning.

4. Bronze Accents

The hardware had been painted. To remove the paint, I first tried scrubbing but it was difficult and time-consuming. So I put all the hardware in a large pot and boiled them in water with baking soda. After just a few minutes you could see the paint just falling off! With the help of a steel wool sponge I was able to pretty effortlessly scrub off the remaining paint and reveal a lovely brass color.

Since I was going for more of a copper look, I painted the hardware with Antique Bronze metallic paint. I love to work with this paint. It is very affordable and lasts me forever. It dries quickly and and creates a beautiful bronze finish. I also painted trim on the dresser with the bronze paint for a pretty accent.

5. Turning Mishaps Into Beautiful Finishes

I don’t know about you, but sometimes I have a great concept in my head but in reality it does not always come out as expected! Such was the case when I tried wiping on a burgundy glaze I concocted (equal parts glazing medium and black and red acrylic paint). In my mind I wanted to add some color and rustic accents. As you can see in the picture, everything turned into quite the mess.

But I believe that when you are creating, you can play with your canvas to create something even better in the end. Rather than completely covering the burgundy paint, I decided instead to dry brush some of the gray over it, leave subtle parts exposed. This worked beautifully.

I really like the way the red and black came through as hints of distressed character. I sealed the paint with my beeswax clear wax and it added a rich finish.

**Update 1 year later**I liked this look so much that I’ve used it on multiple renovations. Also, this dresser has been in my room and seen its fair share of daily traffic. The wax finish, I’m happy to say, has held up remarkably well. now I’ve used it on other renovations.

What do you think of the French Provincial Rustic Elegance Dresser? Let me know in your comments. I love hearing from you! This was a piece I renovated to sell, but when I was staging it for photos, it looked so very perfect in our bedroom. Even my hubby who never notices anything decor related, took a double take and said, “wow, it looks like it was made for our room.” So, that was that…we moved our bulky dresser out and kept this French Provincial beauty.

One Year Later....

I wanted to provide you with an update on the dresser a year after it’s been adorning our bedroom and put to daily use. I have to say I am impressed by how the finish has held up. The exterior waxed in my favorite beeswax finishing wax has done remarkably well. The hardware painted with bronze metallic paint and the door fronts sealed with antiquing wax have all done phenomenally. The paint and finish looks intact and I am very pleased with the products I used.

If you’d like to see the rest of my French Inspired Bedroom Update, click HERE.

Leave a Comment

Your email address will not be published. Required fields are marked *


The reCAPTCHA verification period has expired. Please reload the page.

nooksinbloom

•Creating and Making the Home Pretty
•Inspired by European & Grandmillenial Styles
•Budget-Friendly DIY’s
🙏🏽
Blog ⬇️

Jessica
Load More Follow on Instagram
Scroll to Top

Sign Up So You Never Miss A Post!

Your information will never be shared or sold to a third party.