Love and Dreams Dresser-Applying Furniture Transfers

Hello NIB family! Allow me to introduce the Love and Dreams Dresser. This Facebook Market Place find underwent quite the transformation. In fact, this is the second time I redid this piece! The first time I redid it, it went into a local shop for sale. Sadly, the store had to close due to COVID-19. Once I got it back, I felt it needed a new look. And I’m so glad I put in the extra work. I really like this look much better than before! So, “All’s Well That Ends Well…

This is how she looked when I purchased the dresser/chest of drawers.

And this was the dresser after my first reno, the Autumn Prairie Chest of Drawers renovation. I really wanted to do something with stain on the drawers, but it took a different direction than I had envisioned and I don’t know that I was completely pleased with it once it was completed. When it came back to me from the store, that was a compelling moment for me to change up the look.

Disclosure: Some of the links provided are affiliate links. By purchasing through these links you are supporting this blog and the work we do and there is no extra cost to you. If you would like to read our full disclosure, click HERE.

I recently received some wonderful products courtesy of Redesign With Prima. I’ve always loved using their products because not only are they top quality and durable, but they are just so darn pretty. Having received my goodie box has had me wanting to create really feminine and pretty pieces. I mean, really, who doesn’t love flowers and sparkle?!

I titled this gorgeous piece the Love and Dreams Dresser after the name of the transfer I used, “L’Amour Et De Reves.”

MATERIALS:

1. Proper Prepping

I had previously used wax to finish this piece. You don’t want to paint over wax, so I had to sand everything, at least enough to get the wax off. I would sand and then run my hand over the piece. If I felt any resistance, I knew there was still some wax residue that needed more sanding. I used 120 grit sand paper with my orbital sander.

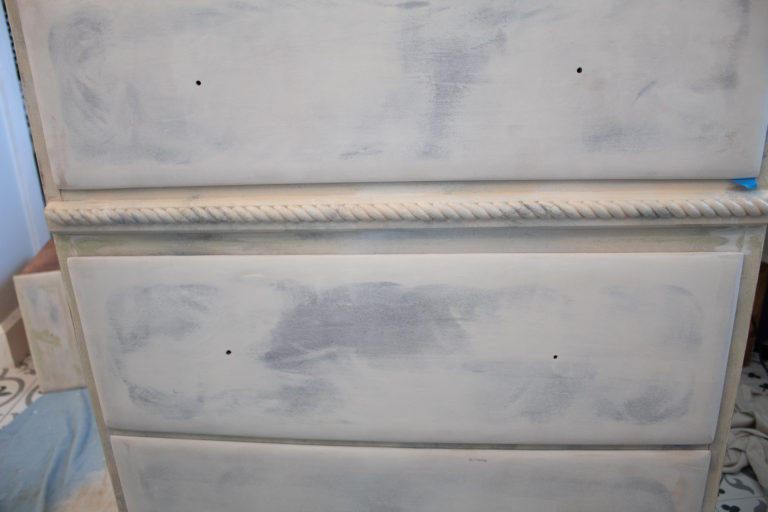
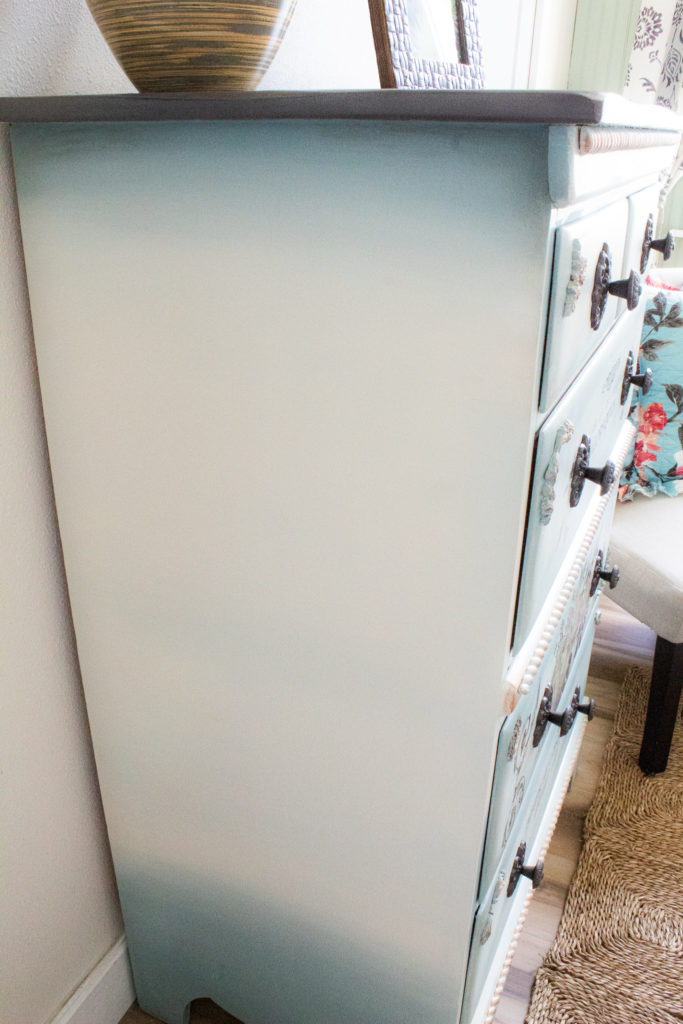
Next I cleaned everything with soap and water using a sponge and paper towels to wipe off. I only primed the drawer fronts since they had some dark stain. I applied one coat of primer.  As you can see in the pictures, some of the dark shows through. However, Dixie Belle Chalk Paint has awesome coverage. I knew I was going to be applying at least two coats, so I wasn’t too concerned with additional priming.

2. Painting, Chalk Paint Blending

With my first coat of paint, I began setting up the placement for my colors, blending a little. But really the second coat is where you can focus on a nice blending effect. The first coat for me is an opportunity to experiment with my design. Once I started working my second coat, I went in a different direction than I had on my first coat and made an ombre look instead of a framed look. I faded the two colors into each other on the bottom and top of the dresser sides. This created a soft and pretty accent.

3. Applying Furniture Transfers

So I had an original plan for my transfer which was to add this spectacular Botanical Rose Transfer by Re-Design With Prima.

I had everything taped up and ready to start. When I took the backing off of the top piece of the transfer, I lost my hold of one of the corners and the transfer collapsed inward, completely sticking together and it was RUINED! I was so terribly mad at myself. Especially since this was a special transfer that Re-Design had gifted me and it was going to look so gorgeous on my painted piece.

Well, there’s no use crying over spilled milk or in this case, ruined furniture transfers. So I moved on to Plan B.

Luckily I keep a little stash on hand of Re-Design With Prima transfers I’m saving for future projects. This L’Amour Et De Reves transfer with its French script, delicate details and flowers was going to save the show!

But then, guess what? You’ll never believe it. Another transfer mishap! Some days are like that. It seems that everything that can go wrong will. This time, when I took the backing off the top piece, I didn’t drop it, but I decided to put the backing back on while I studied the placement of the transfer a little better. There are two sides to the protective backing: a paper-like side and a more plastic-like side. I put the paper-like side back on which was the WRONG side and everything stuck to it! Ugggh…you can’t imagine my frustration with myself! I almost broke down…well, I actually did…a little.

So I took a moment to regroup. And after some much needed self talk, I somehow found motivation once again to tackle the transfer ordeal. I decided that I could use parts of the L’Amour Et De Reves Transfer. In fact, I do that all the time. I cut out and paste where I think transfers can best accentuate a piece. So that is what I did my friends. I did without the top piece and I modified the very bottom and it all came out beautiful in the end. I’m very glad I didn’t throw in the towel. But I also learned what not to do for next time, and that is a win!

Below is a video demo of how I applied this transfer.

4. Finishing

For the finishing details of the Love and Dreams Dresser, I used Art Alchemy Rose Gold and Aged Brass Metallique Waxes to accentuate my decor moulds and some of the curved details on the piece. I used my finger and went carefully over the details. I first applied the rose gold and then layered with the aged brass to give some additional depth.

For the dresser top, I applied Briarsmoke and Espresso Gel Stains with a blended technique. I am planning on doing a tutorial on this technique because i can’t wait to show you just how BEAUTIFUL it comes out! I don’t know that the pictures do the finished top justice. It is so pretty in person.


Next I sealed the entire piece with General Finishes High Performance top coat in satin, two coats on the top and one everywhere else.

Once my top coat was dry, I came back over with my dark antiquing wax, detailing around moulds and corners. Any time you use dark waxes, you want to make sure you do it over a sealed surface. Otherwise you will not have control over your wax and if you apply it somewhere you don’t want, it will stick there and you can have a messy look on your piece.

The technique I used to apply my antiquing wax was super simple. I rubbed on with one paper towel and wiped off with a clean one, wherever I wanted to fade it out a little. I used a q-tip to get all around the edges of my moulds.

If you get too much wax on an area and you’re struggling with wiping it off, rub on some clear wax and it will cancel out the dark wax.

I picked up some really pretty iron-like hardware from Hobby Lobby for an added statement. I love how they fit in with the style of the transfer.

And that’s it guys! What do you think of the Love and Dreams Dresser? Isn’t she a beauty!

This piece is now available for sale on my shop.

Leave a Comment

Your email address will not be published. Required fields are marked *


The reCAPTCHA verification period has expired. Please reload the page.

nooksinbloom

•Creating and Making the Home Pretty
•Inspired by European & Grandmillenial Styles
•Budget-Friendly DIY’s
🙏🏽
Blog ⬇️

Jessica
Load More Follow on Instagram
Scroll to Top

Sign Up So You Never Miss A Post!

Your information will never be shared or sold to a third party.