Hanging Peel & Stick Wallpaper-Kitchen Updo

Do you have a wall in your home that could use some sprucing up? Or maybe you’ve been considering wallpapering a bathroom or bedroom and just haven’t taken the leap. Such was the case with our kitchen sink wall. It was a plain cream-colored wall looking pretty bland next to its neighboring exposed brick wall. I was also tired of food and stuff splashing on it every time we washed dishes and sticking to the paint (yuck!). Instead of going through the expense and labor of adding black splash, I decided to try out some peel and stick wallpaper.  I’m so glad I did. I really love the end result.

Take a look at the wall before. It was a bit meh.

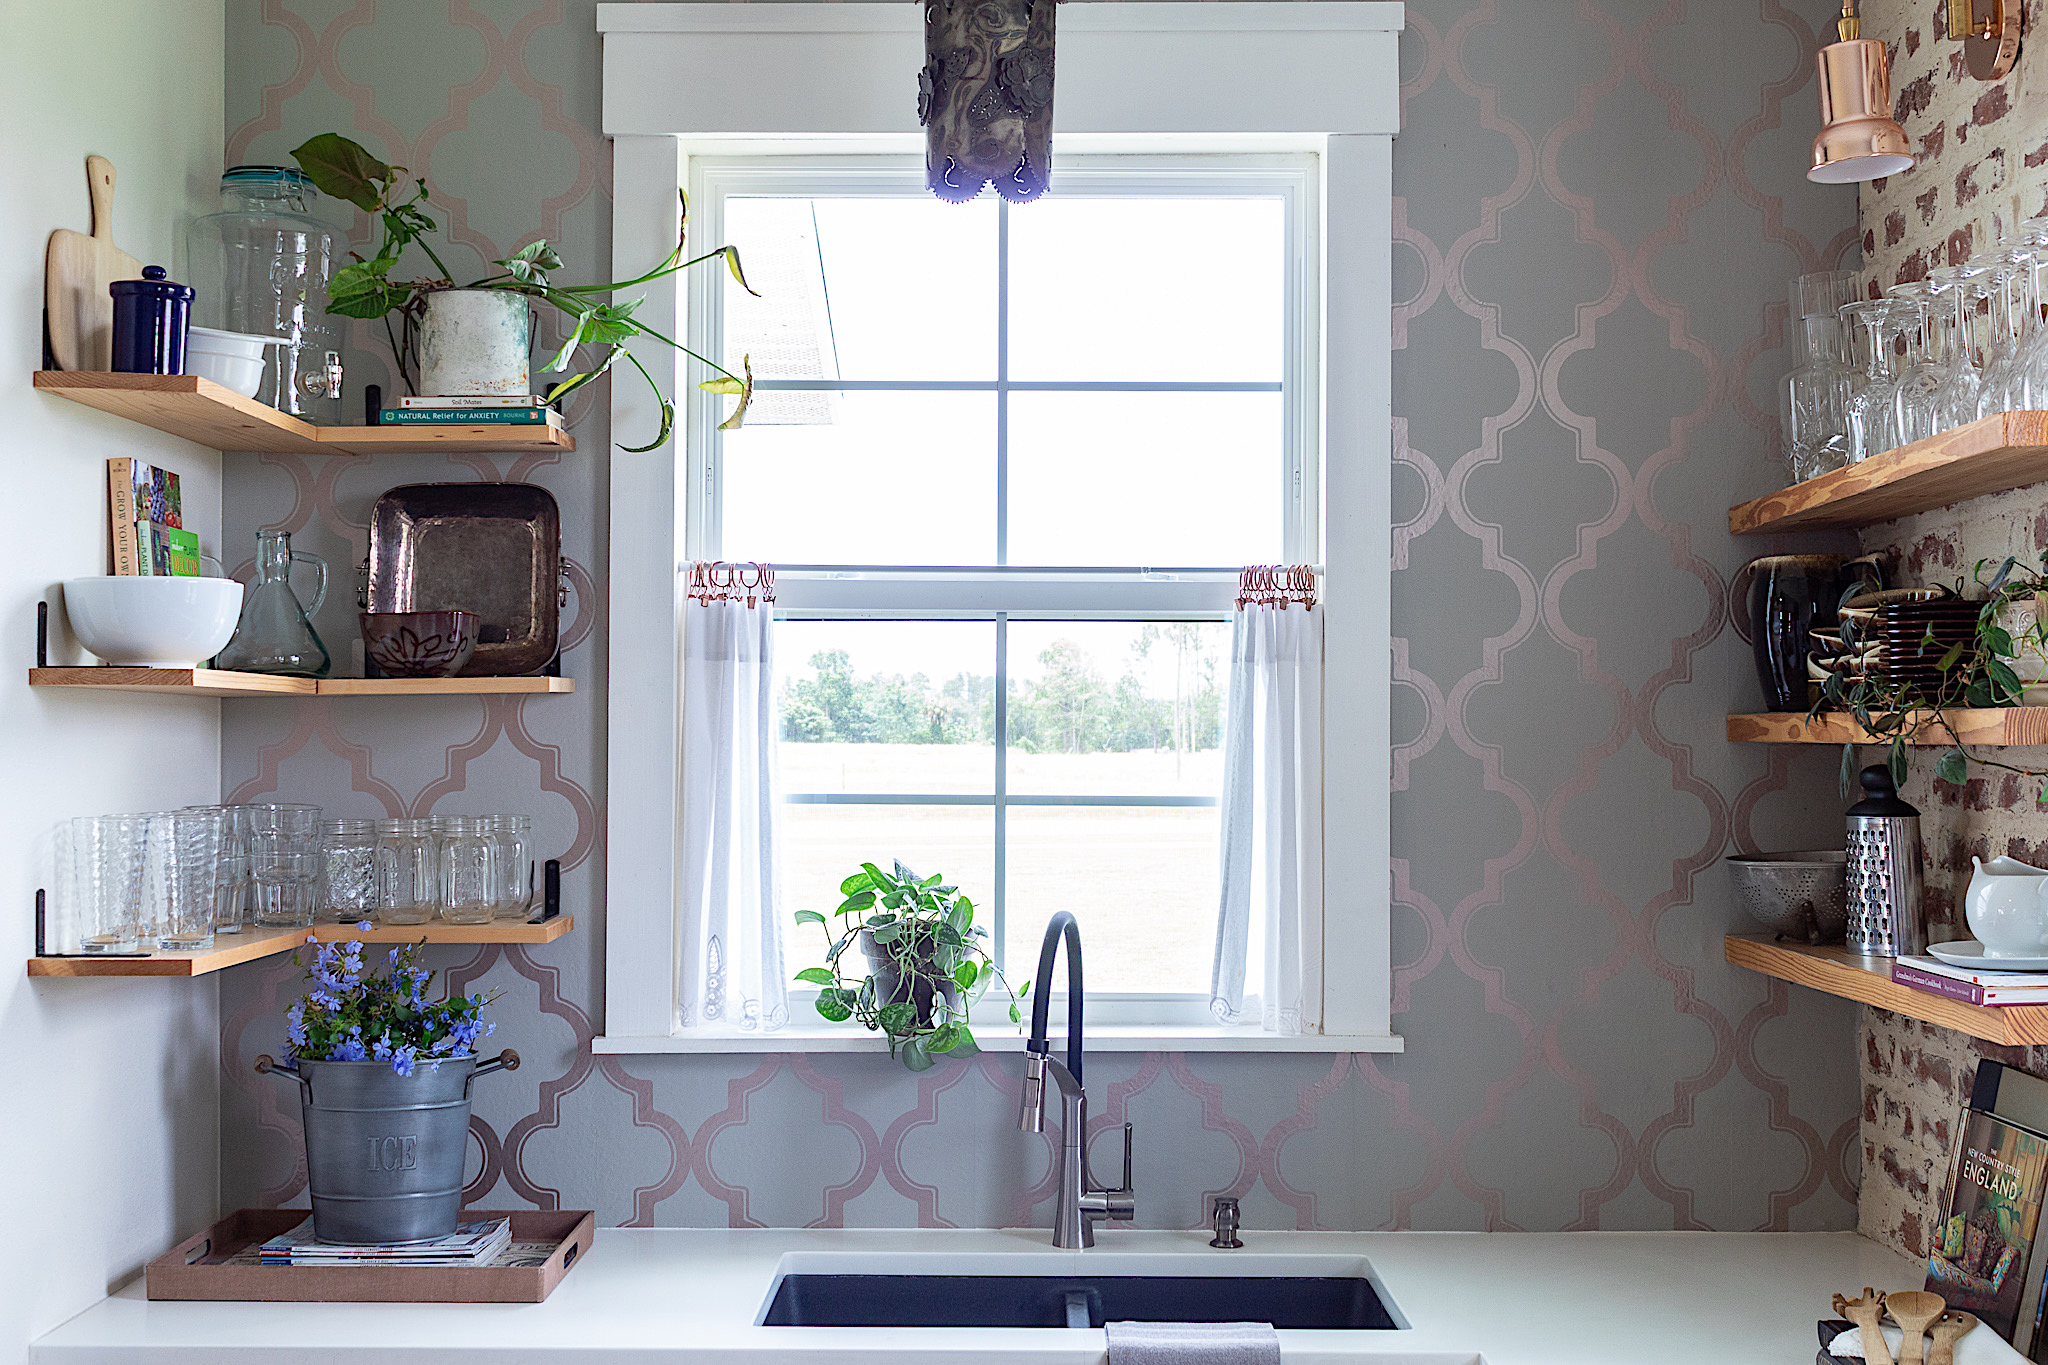
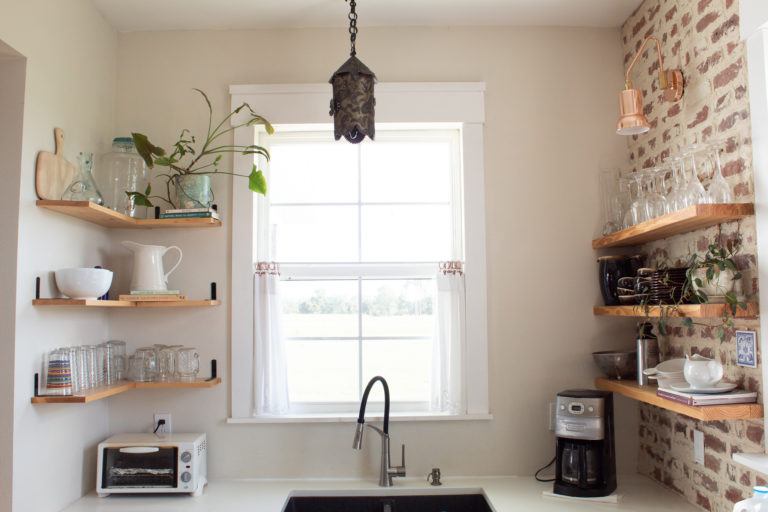
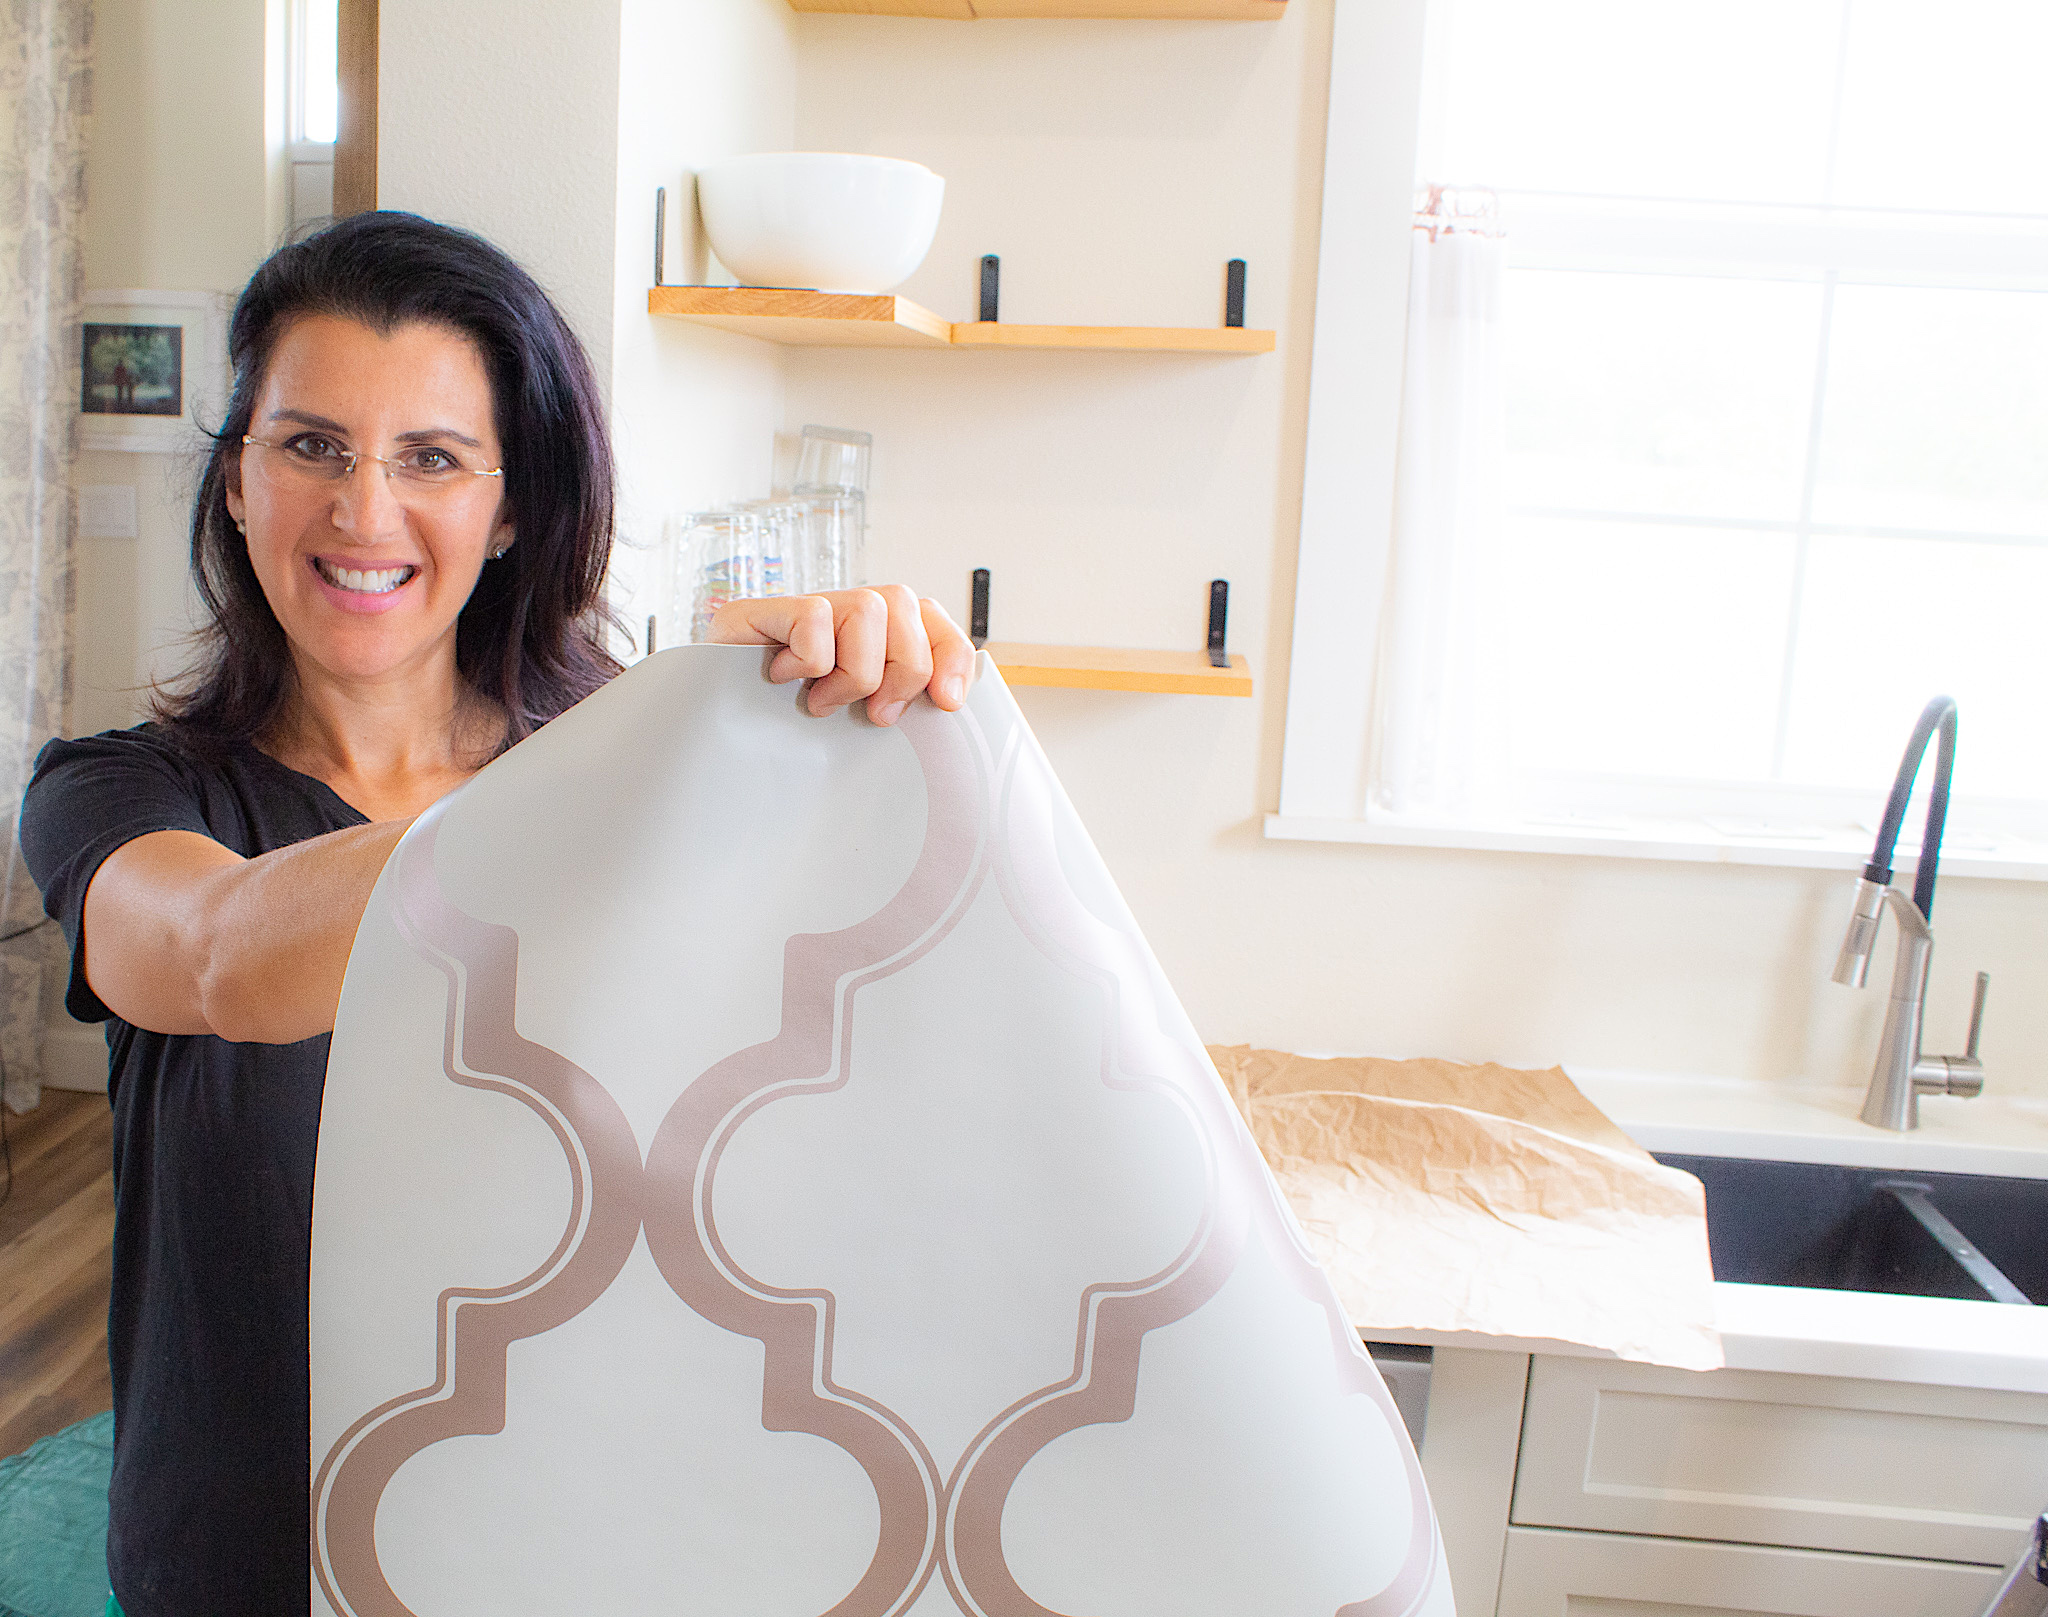
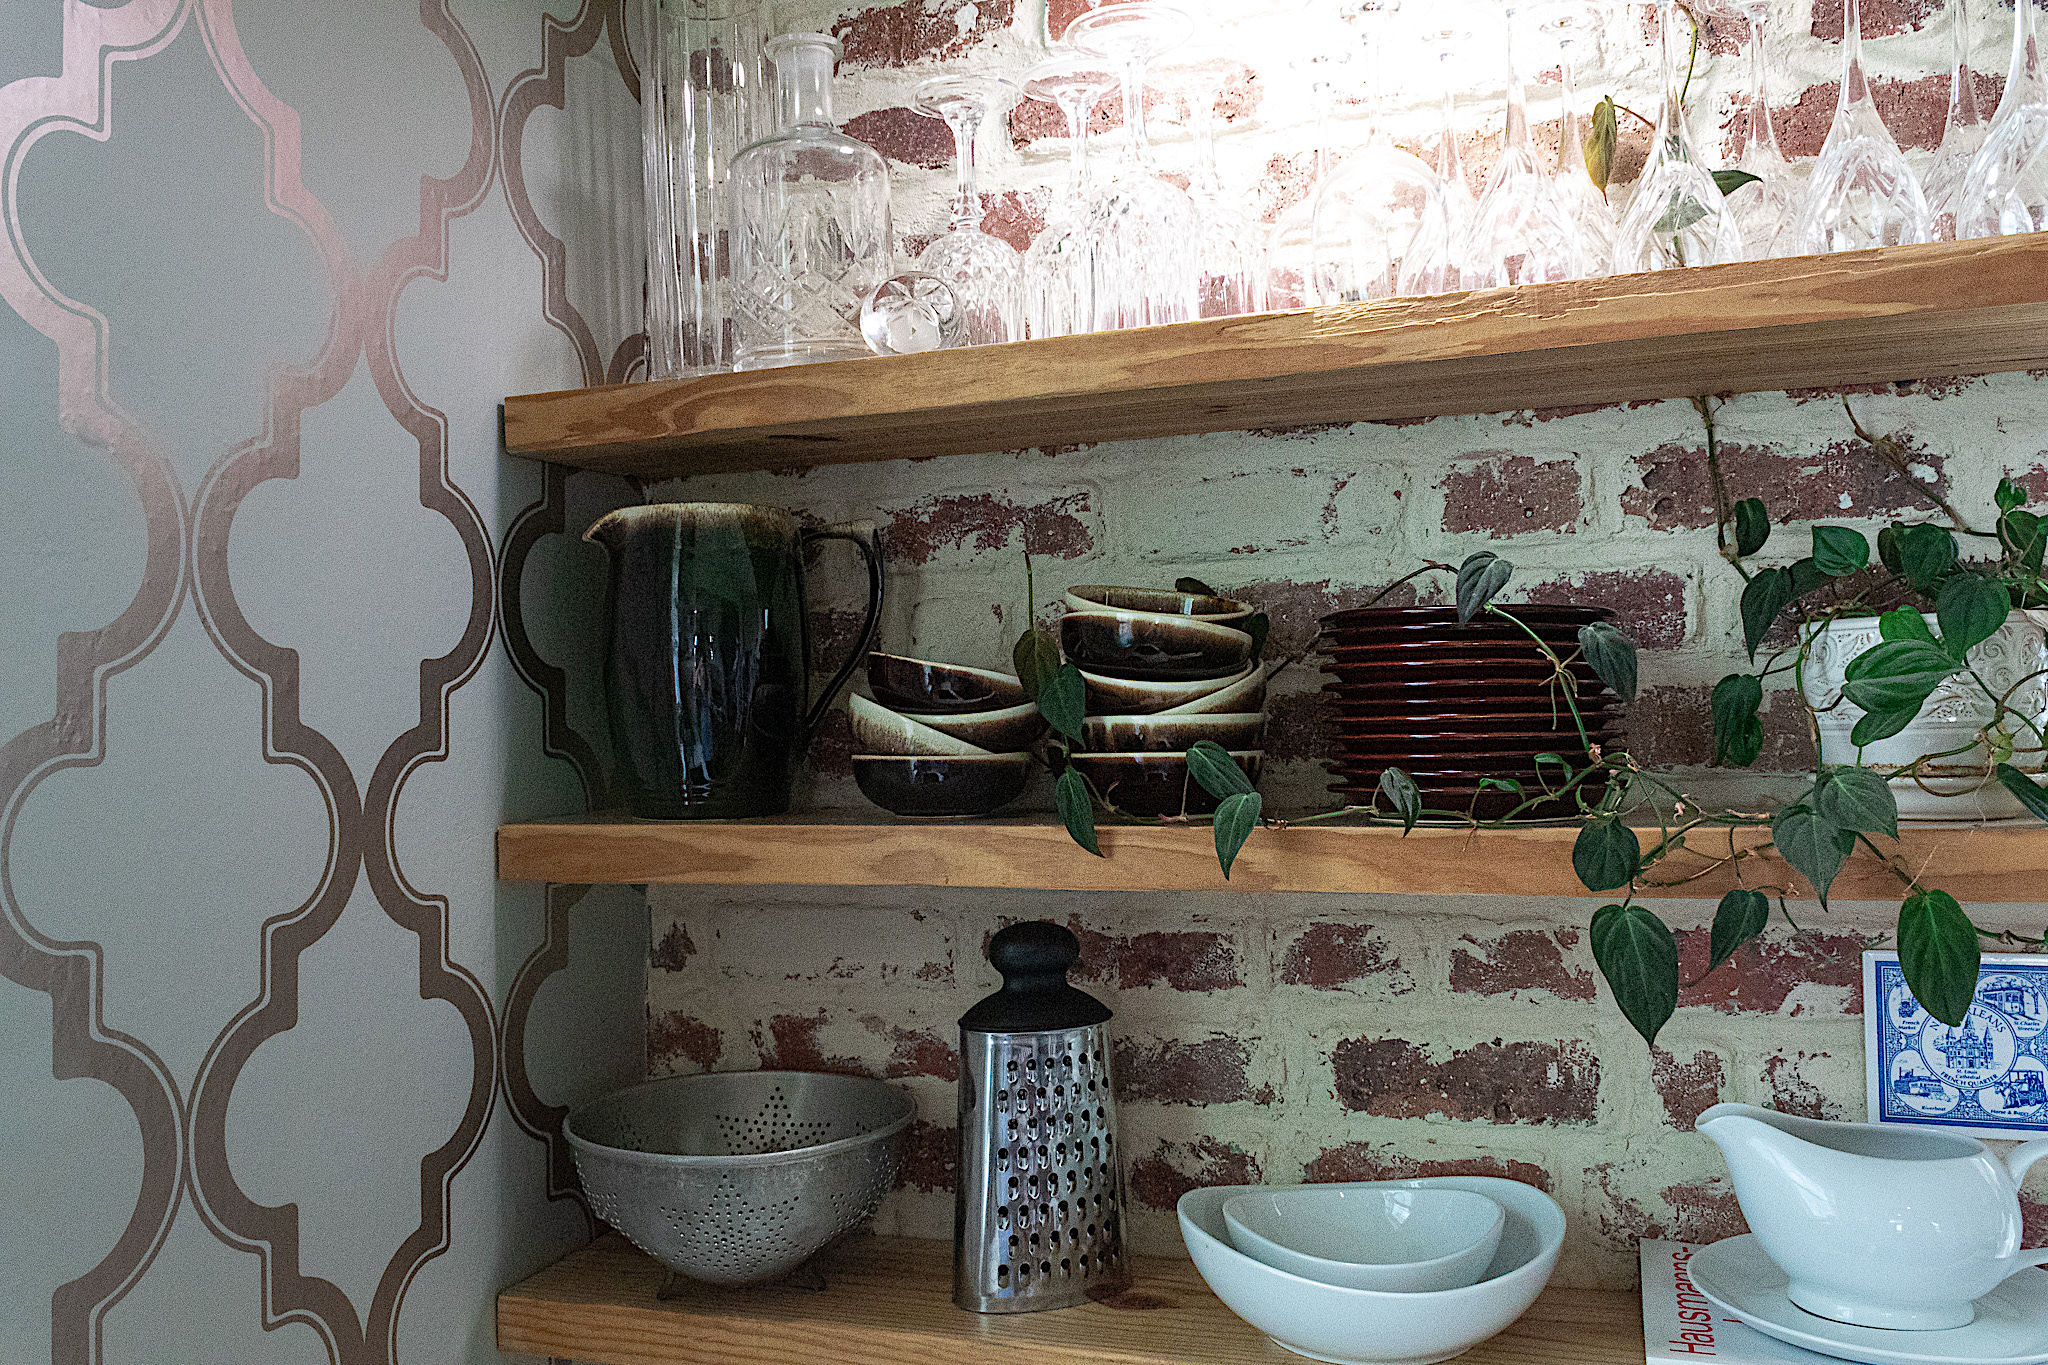
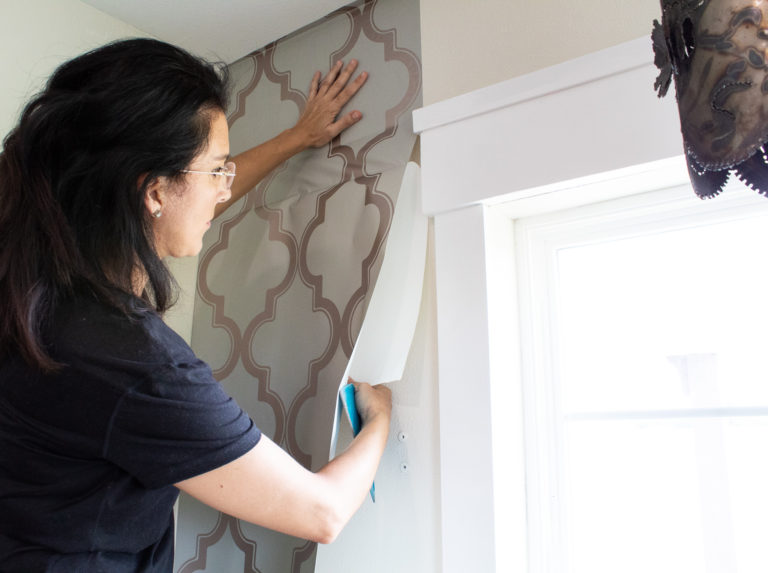
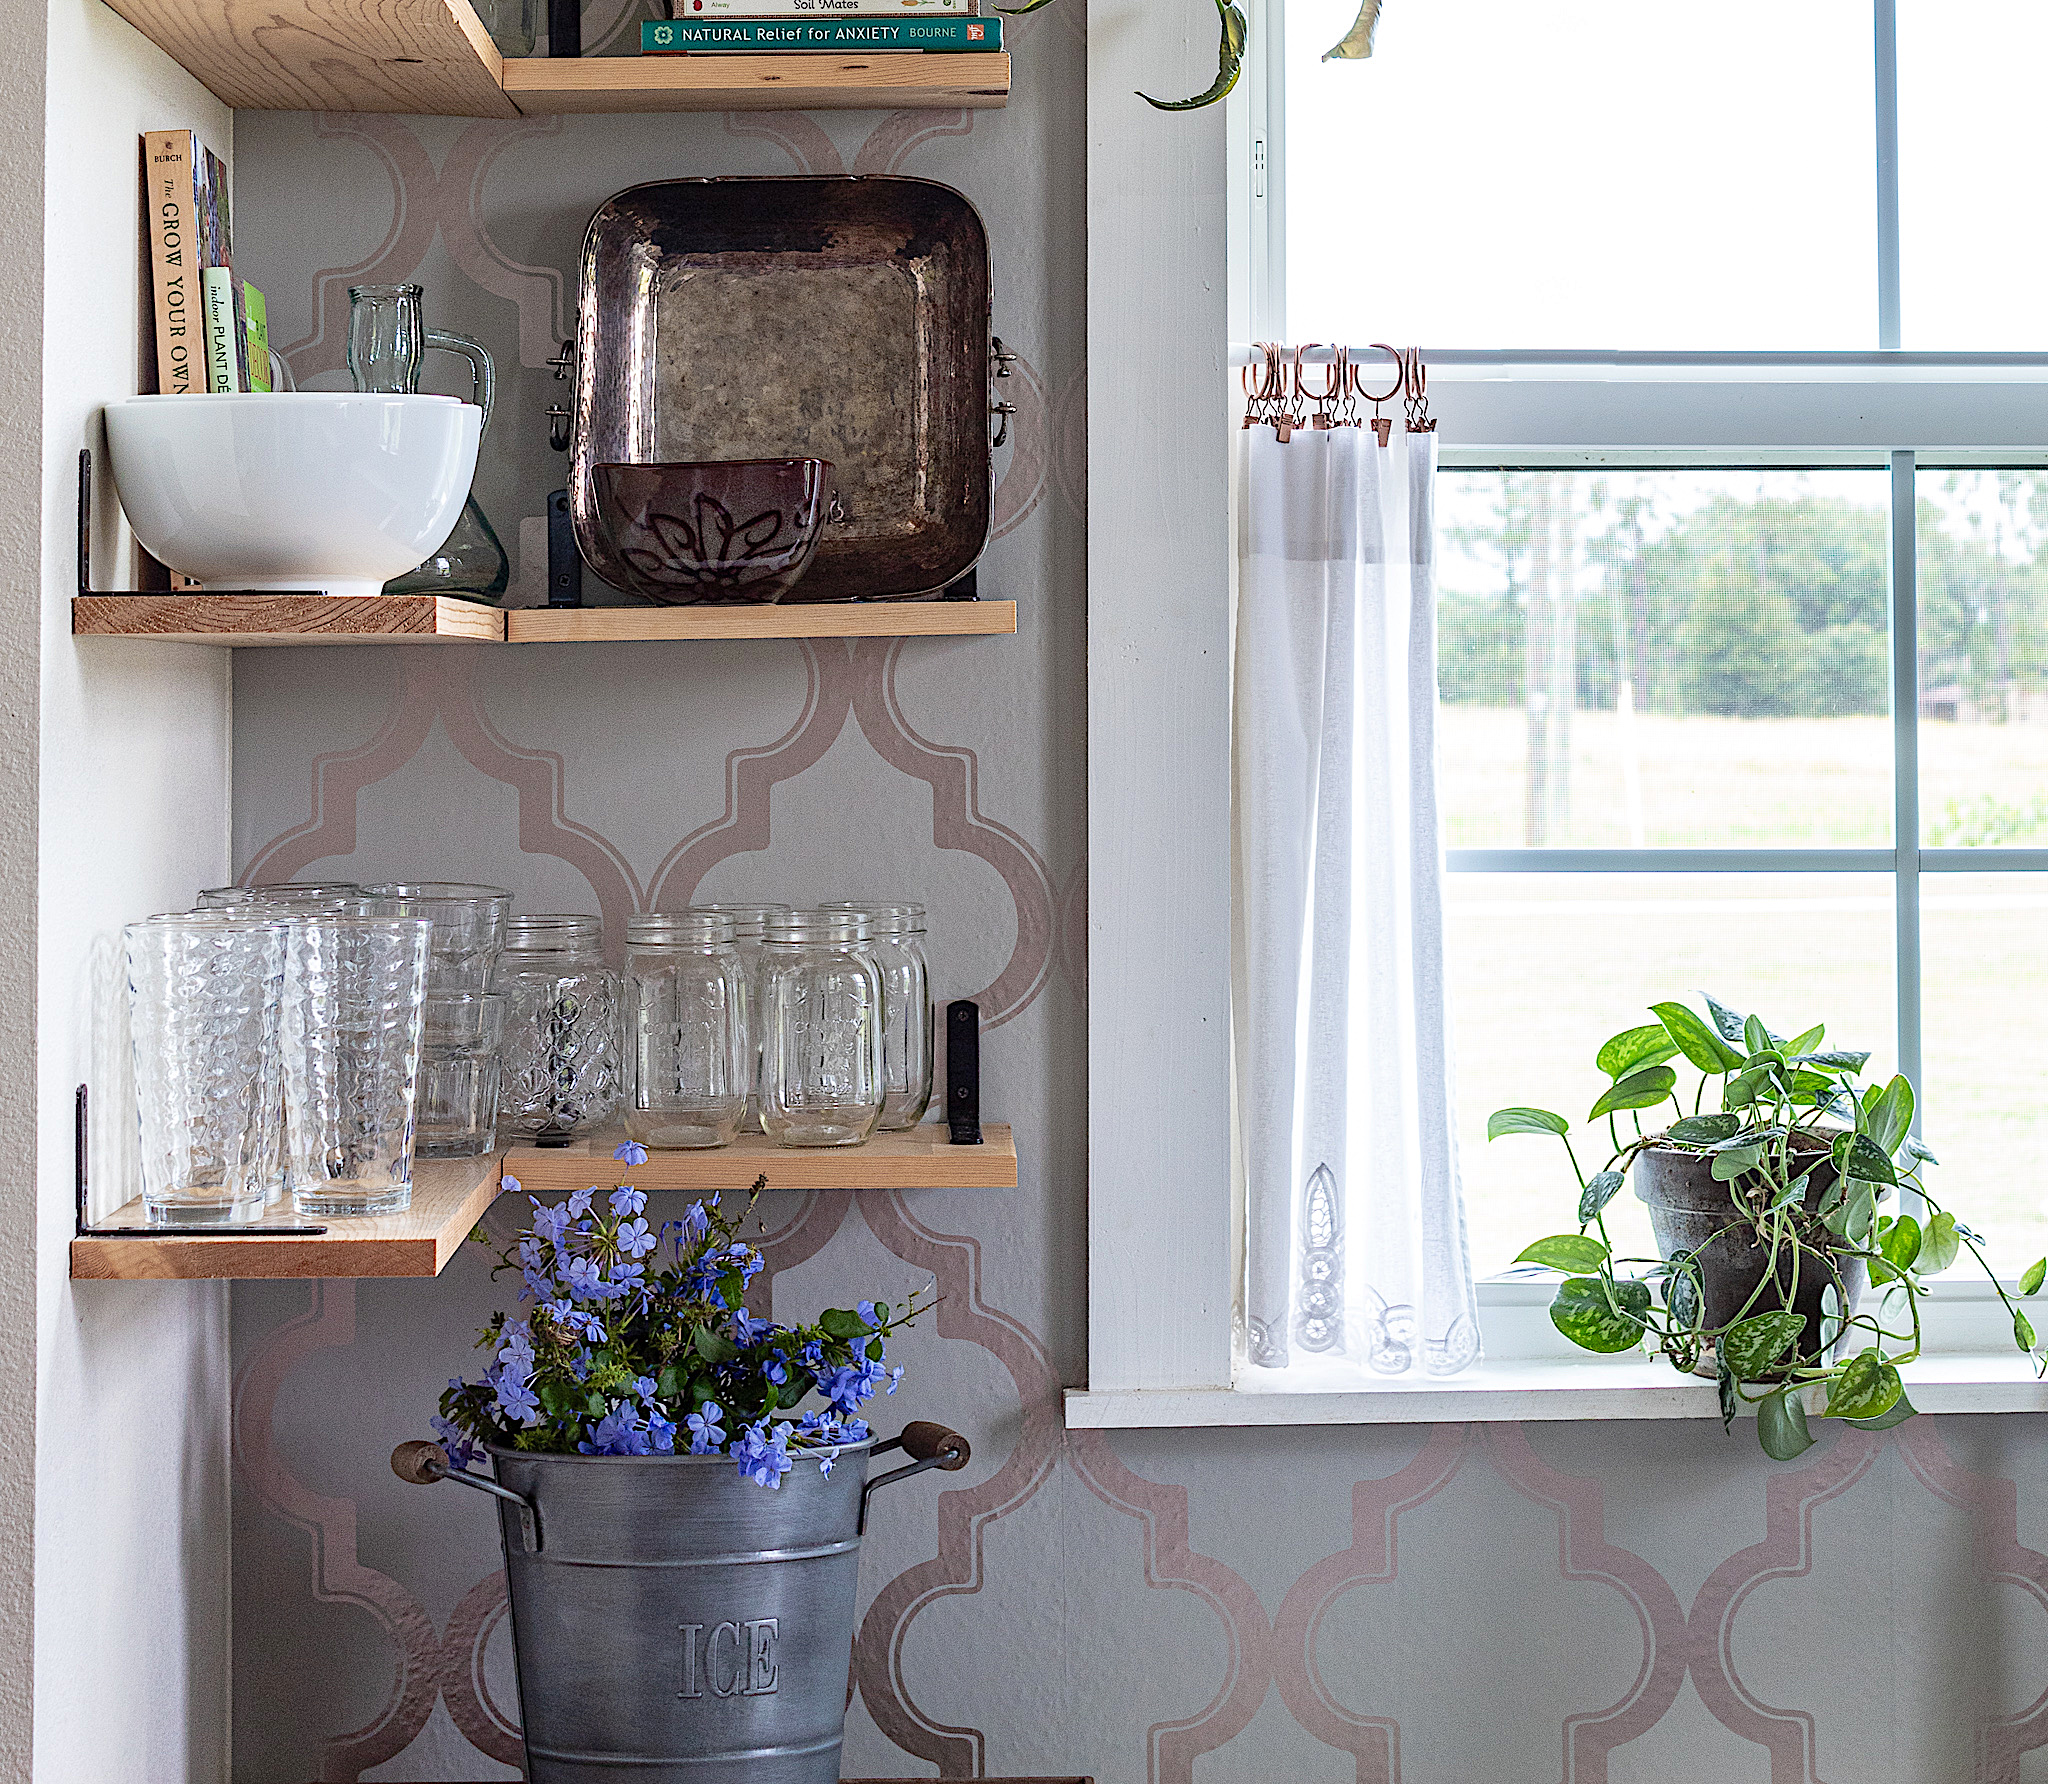
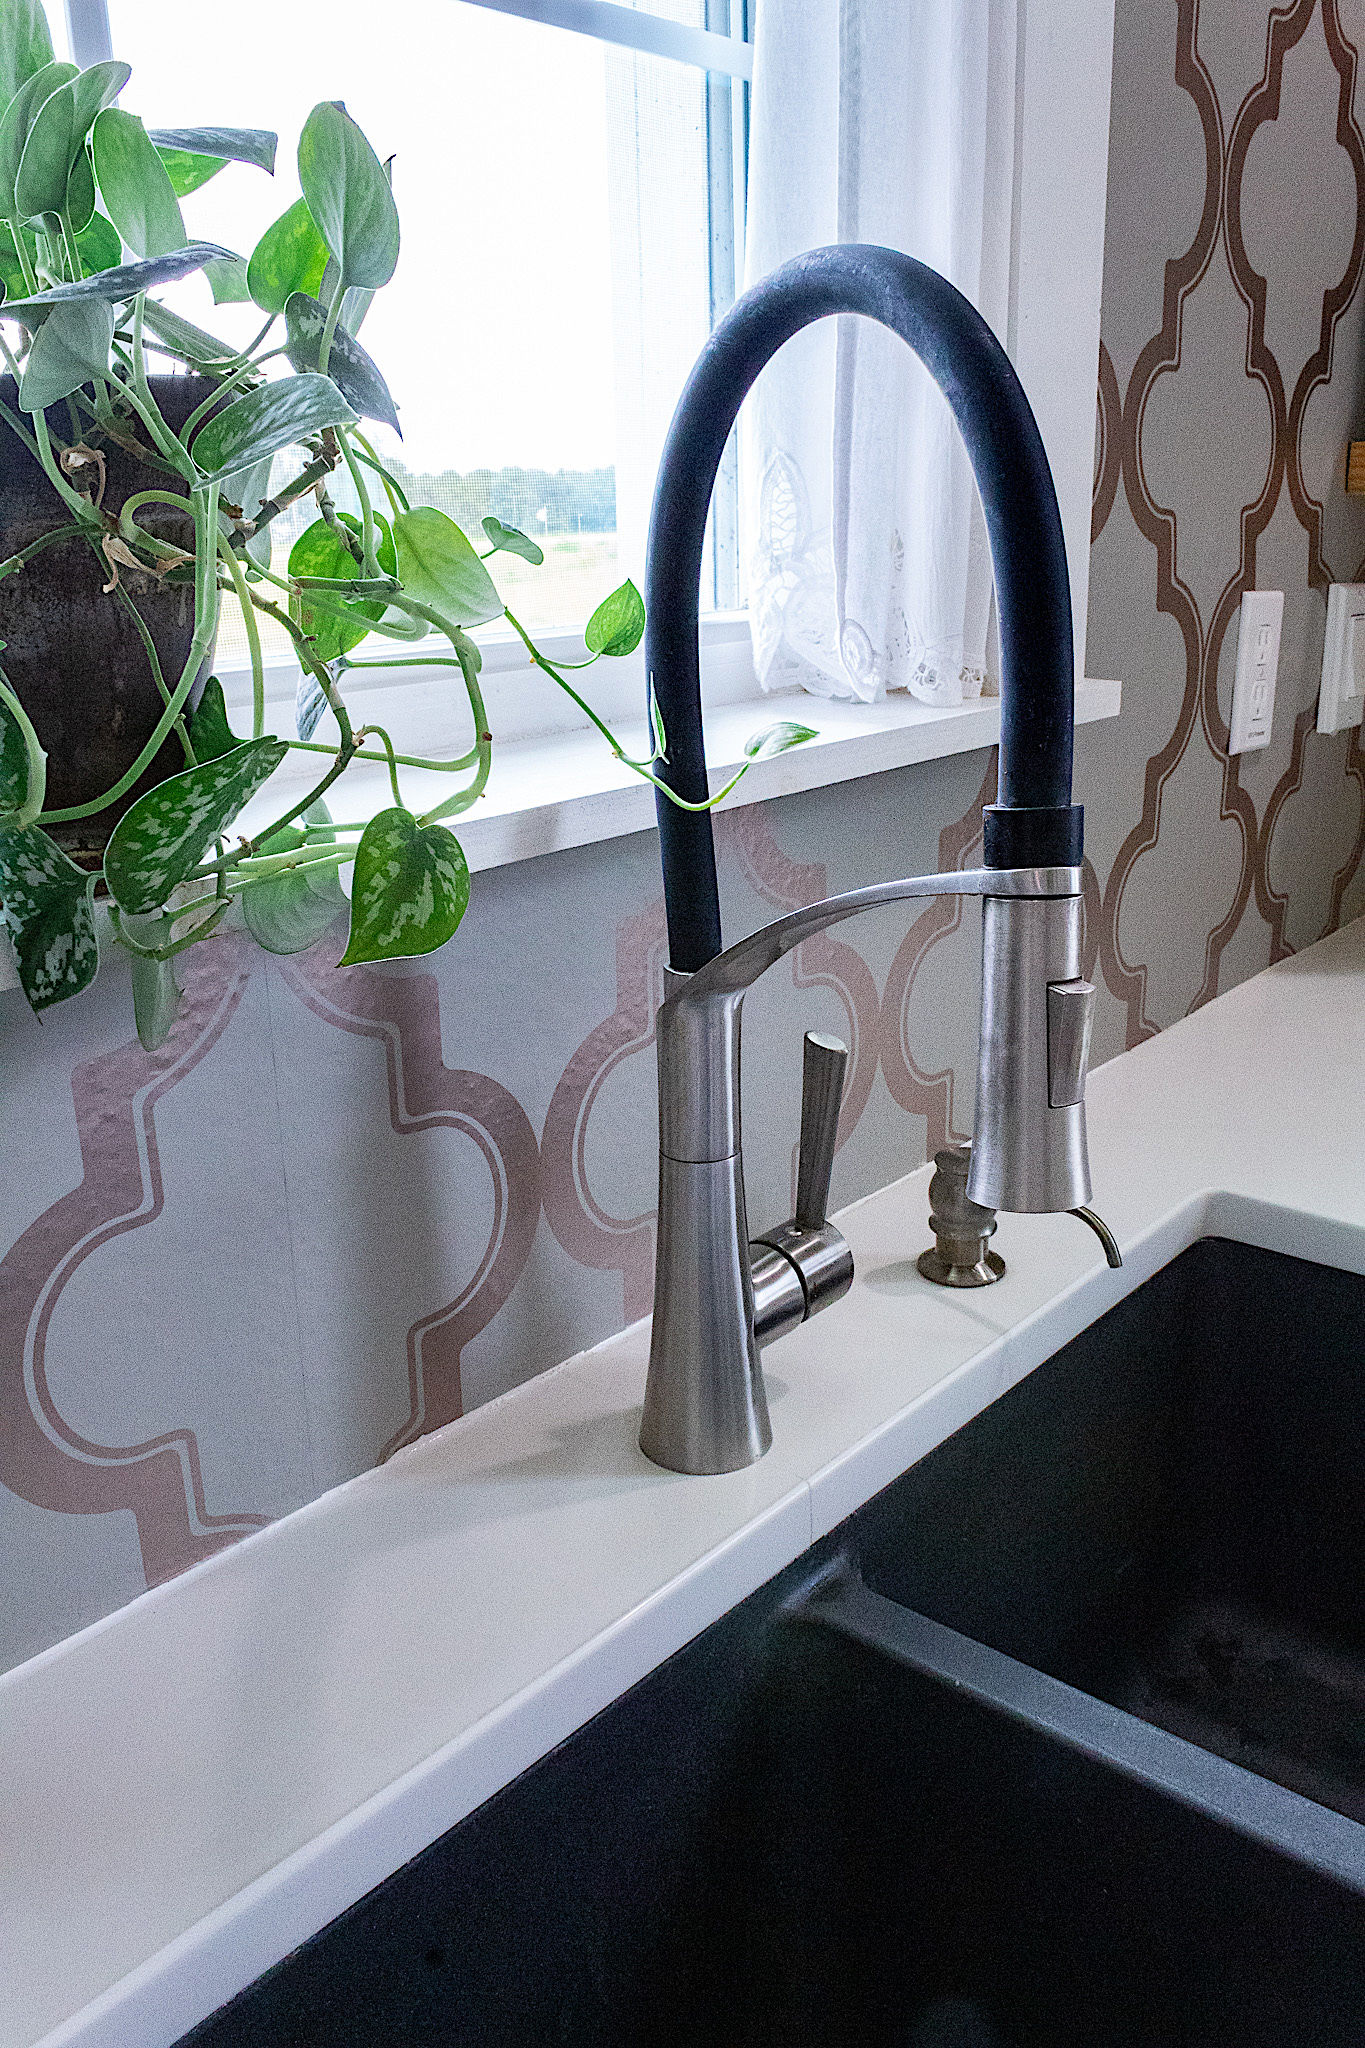
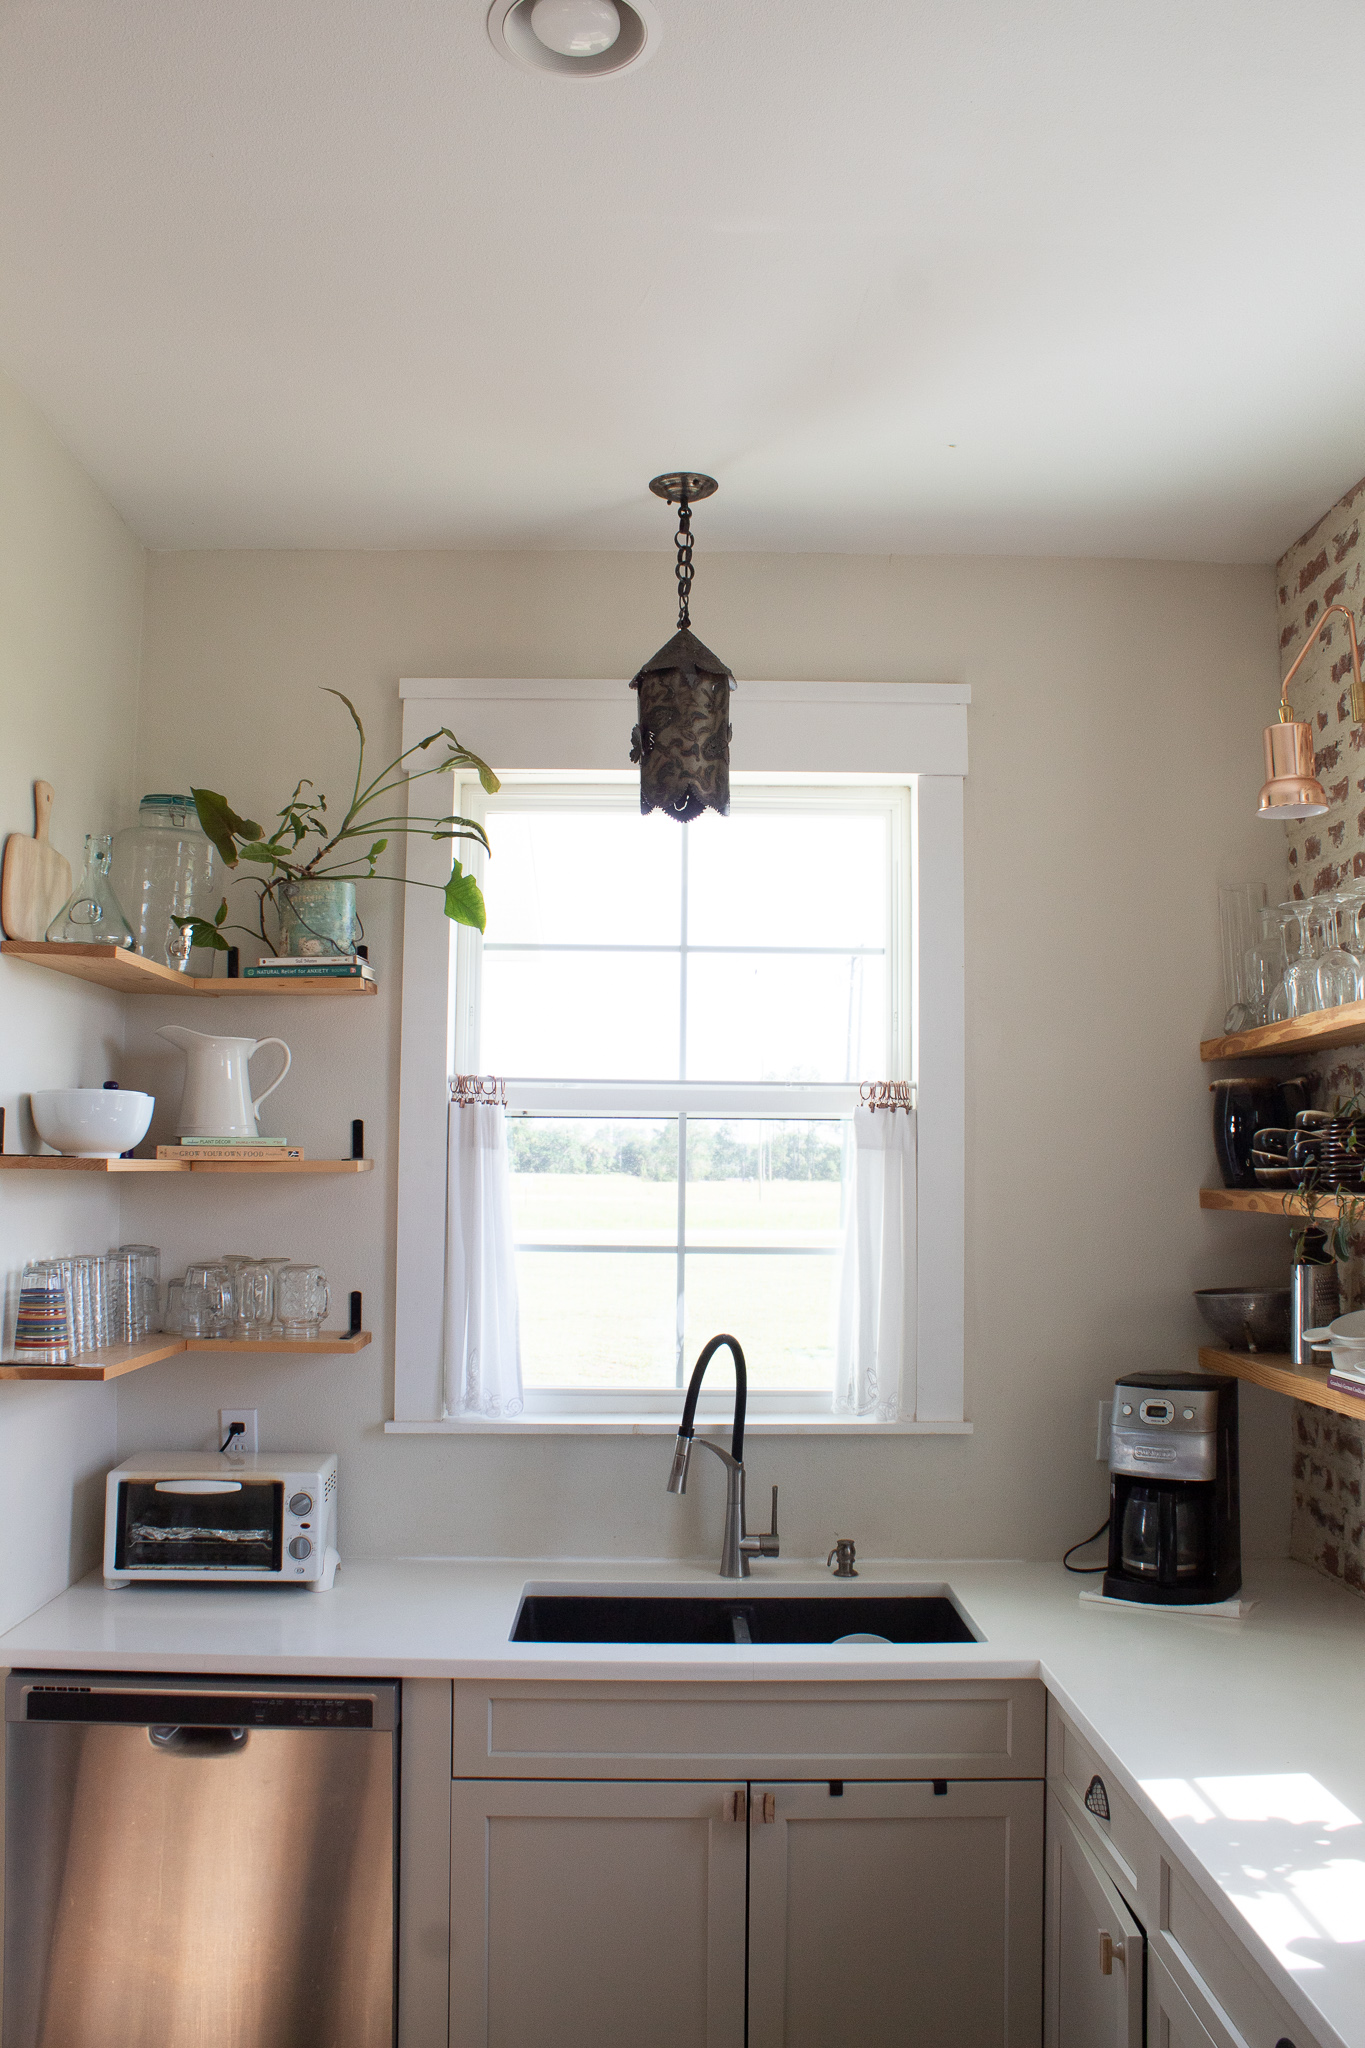
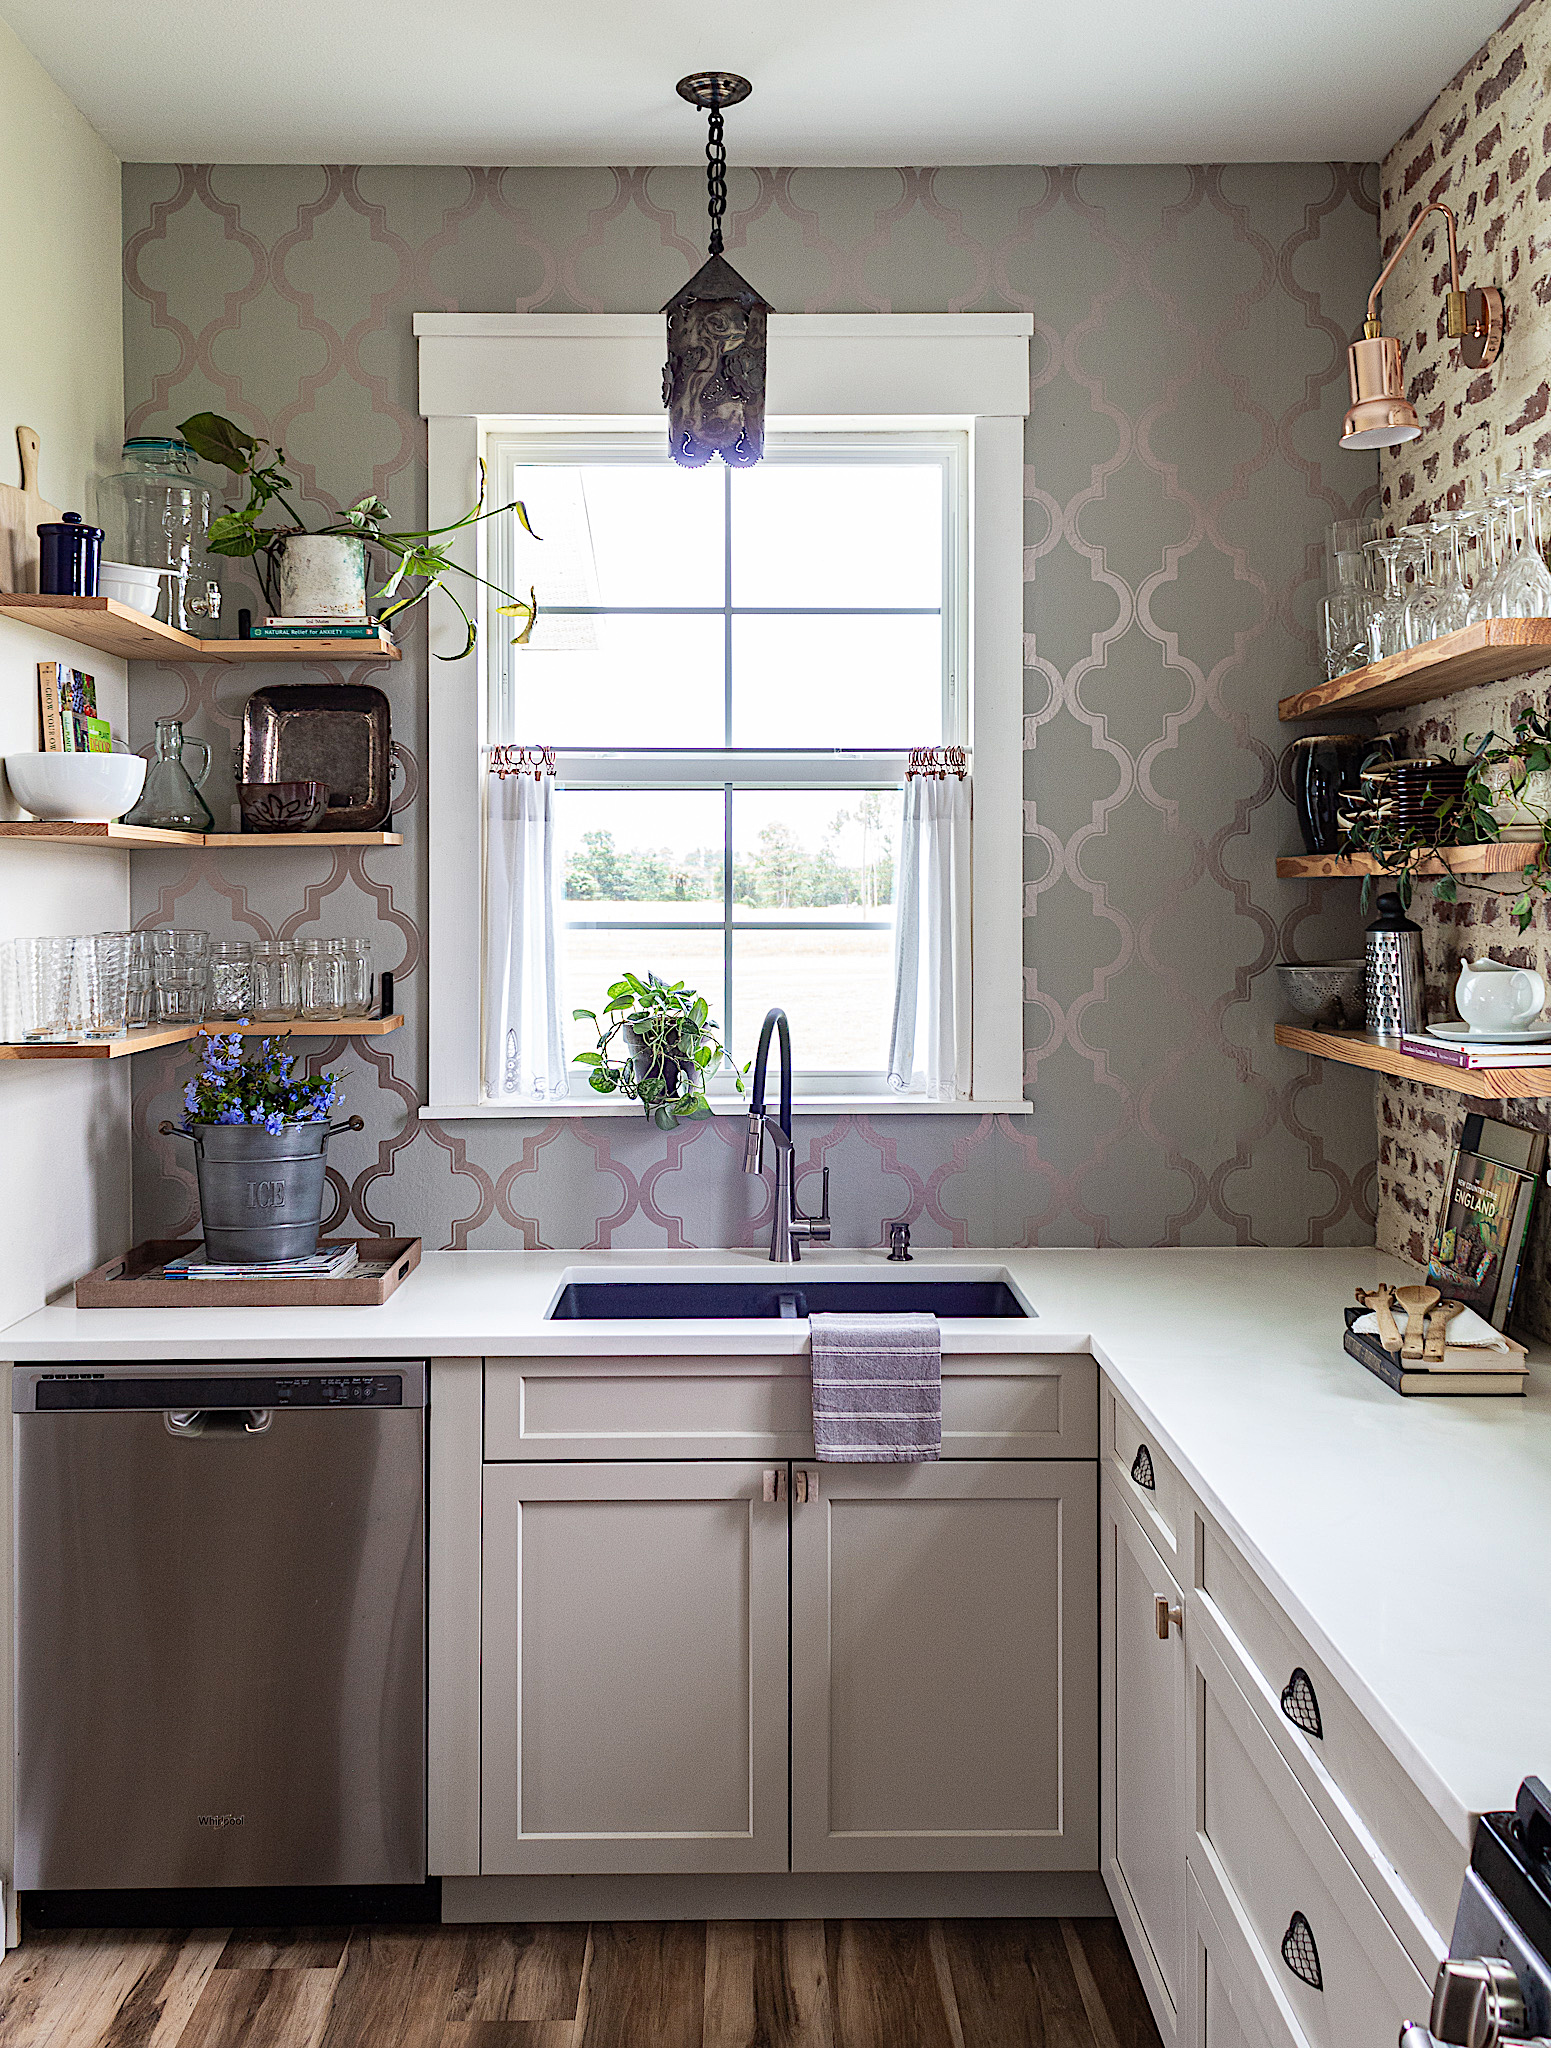
**Update** I wanted to provide an update after a  few weeks of having our paper up. The peel and stick Marrakesh Wallpaper is still a beauty in our kitchen and I would buy again, but I would like to advise on two things. 

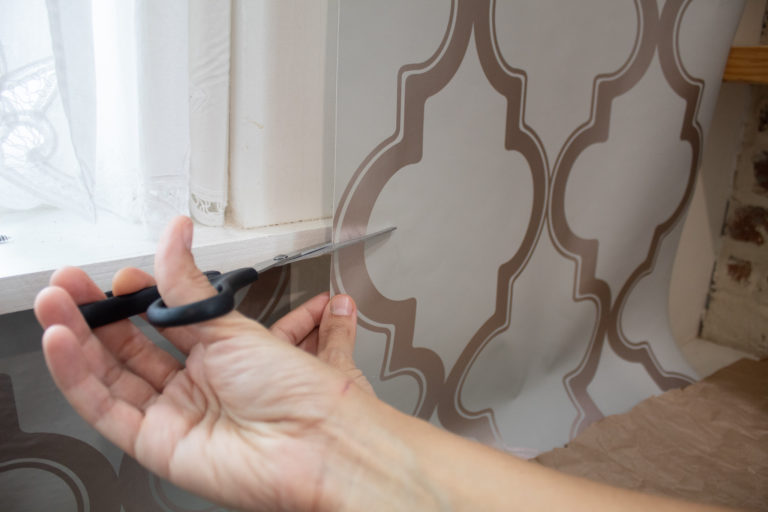
First, around shelf and window corners, the paper cracked into a couple of small slits. I suspect this is because I pulled it REALLY tightly and stretched it too much. I painted in the cracked areas with some gray paint and it looks fine. But take note that although this paper is very flexible and stretchy, don’t over pull so that it won’t split when it settles. It’s also important to lay your seams close together. Maybe even overlap them by a hair. This will prevent seam lines when the paper settles.

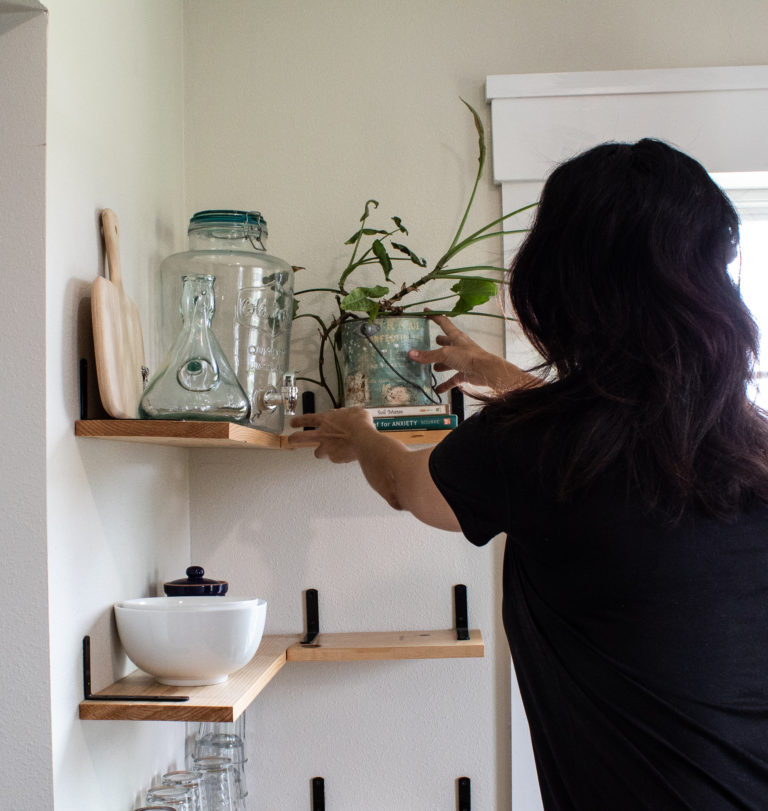
 We had textured walls underneath and this will come through. If seeing a little texture bothers you, you may need to apply a product beforehand to remove or minimize the texture. We did not mind seeing a little texture.

 I found this Marrakesh wallpaper on Amazon and I must confess that when it arrived I actually planned on returning it. For some reason I had pictured a lighter color. For two days I didn’t do anything with the wallpaper roll on my kitchen counter. I was mostly upset because I had carved out the upcoming weekend for this particular project and I didn’t want to have to wait for new paper. On the third day I decided to open up the roll of wallpaper. Up until now the paper had been rolled up in its package.

Two things I’ve learned with design that apply here:
1) When unsure, take some time to “think on it.” It could be you’re initial decision holds true and after some time you feel the same about it. But it could be that time and reflection foster a new idea or concept—perhaps something even better than your initial vision.

2) Be visual with your decor. I am a highly visual person. It’s important for me to be in the presence of my design. Having had the paper rolled up and just seeing a strip of what seemed like too deep of a gray was limiting me. I decided to open the package and hold the paper up to the wall. This simple act made ALL the difference. The pattern, the scale, the hint of jewel tone— it all came together so elegantly. I loved how it contrasted with the brick wall. A lighter wallpaper would not have done that. And to think I almost gave up on this beautiful paper!

IMG_4887-2

So let’s get started!

1. Prepping

Clear your wall space for working. In my case I removed shelving and outlet covers.

Disclosure: Some of the links provided are affiliate links. By purchasing through these links you are supporting this blog and the work we do and there is no extra cost to you. If you would like to read our full disclosure, click HERE.

2. Measure And Cut

Measure your wall, leaving at least 2 inches of excess at top and bottom. If you have a pattern that you will need to line up, it is extra important to leave some excess to work with.

IMG_4841

3. Hanging Paper

This was my first time applying peel & stick. Although a much easier process than having to deal with sticky glue, you still have to be careful in how you handle your paper.

The sticky side is quite sticky. Slowly peel back the protective plastic sheet and be mindful that you don’t expose so much that it becomes unmanageable and the paper folds onto itself. It will be quite difficult to separate.

I used a smoothing tool to push in my edges where the paper met the ceiling (top) and kitchen counter (bottom). Initially I was using my smoothing tool to smooth down the paper all over the wall as I applied it. But because I have a textured wall underneath and this paper is pretty thin, I had to stop using the smoothing tool. I noticed little spots over textured bumps where the tool was scraping off the paper. I switched to using my hand to smooth down and this worked perfectly. However, I still used the smoothing tool to push in corners.

IMG_4851

4. Trimming

Once your sheet is on and smoothed down and you’ve pushed everything nicely in place and removed air pockets, trim the edges. I do this by taking my smoothing tool and pressing firmly into the edge at an angle. I then take a sharp exacto knife (I have this set which is awesome and affordable) and cut the paper by running my knife over/along the smoothing tool. The tool serves as a guide and barrier so you don’t make mistakes.

Use your exacto knife to go around outlet boxes. Cut a small rectangle around the outlet socket holes. But be careful to not over cut. You don’t want to see an unwallpapered spot after you put your outlet cover back on. I’ve done that before!

IMG_4849

Wallpapering around windows and door frames takes a bit of time and patience. You’ll need to cut pieces to size and make sure to line patterns up. Using removable wallpaper was easier for pattern matching. I sometimes stuck it and peeled it off a couple times until I felt the side-by-side patterns looked even.

Leave excess around the windows so you can work with it. You will trim this later. You’ll need to cut small slits to release the paper around corners. Study this before cutting so you don’t over cut and so you make cuts in the best direction and angle.

And that’s it you guys! Our paper is up and I love it! I wish you could see it in person. It added sophistication and dimension to our kitchen in a VERY cool way. And now when I’m standing at my sink I can admire the wall and not worry about messes. This paper is moisture and steam resistant and if anything splatters on it I just wipe it off. Easy Peasy.

If you’d like to see a quick video of me hanging the paper, click below.

Thank you for reading this tutorial. I hope you enjoyed it! Please let me know if you have any questions. To tour our entire kitchen click  HERE.

And here’s one final look at the before and after.

Leave a Comment

Your email address will not be published. Required fields are marked *


The reCAPTCHA verification period has expired. Please reload the page.

nooksinbloom

•Creating and Making the Home Pretty
•Inspired by European & Grandmillenial Styles
•Budget-Friendly DIY’s
🙏🏽
Blog ⬇️

Jessica
Load More Follow on Instagram
Scroll to Top

Sign Up So You Never Miss A Post!

Your information will never be shared or sold to a third party.