Restoring Damaged Furniture-Blue Mini Buffet

Greetings beauties! This beautiful mini buffet looks so sweet and innocent right? Well… let me tell you, it put up quite the fight! This was one of the toughest renovations I’ve done. I bought this piece off of craigslist. I knew it had some damage but didn’t realize just how much until my husband brought it home. This was the first time I encountered a piece of furniture that had been chewed up by termites! Just take a look at this.

Yuck! Legs gnawed raw. No active termites, thank goodness, but the damage they left behind was something awful. But this piece had such history and character that I was determined to bring it back to life.

Repair Steps:

  1. I rough sanded the entire piece. I like to do this to give the surface a little bit of grit before painting and to knock off anything sticking on the surface.
  2. Along with termite damage, much of the veneer parts of this piece were loose or had fallen off. To remove veneer, I took a metal putty knife and a hammer. I would carefully slide the putty knife under the veneer and pull up and off using my hammer to help slide the putty knife into tighter spots.
  3. I used Bondo to reconstruct the legs. I typically use wood filler to fill smaller areas of wood damage. But for something this big, I had to use Bondo. It works great, but it does have a strong chemical smell. I would suggest wearing a protective mask and gloves. I spread on the bondo generously. I then used my putty knife to flatten the bondo along the leg surface.
  4. To reshape the leg, I used shims (paint stirring sticks may work better) and pressed them onto each leg part and then clamped them with my handy clamps. The shim serves to create a straight edge with the Bondo. The clamp secures the shim in place until the Bondo dries.

If reconstructing a square leg, you may have to go in stages, building up one side at a time. That may mean applying bondo, flattening it, allowing it to dry. Then sanding down and reapplying more as needed.

Once my Bondo dried, I sanded it down to the level I felt looked pretty even with the other leg. Although the end result was not a perfect original leg, I was very happy with the new leg. Bondo is very strong and sands very smoothly so it is a great way to rebuild.

 Steps For Decorative Renovation

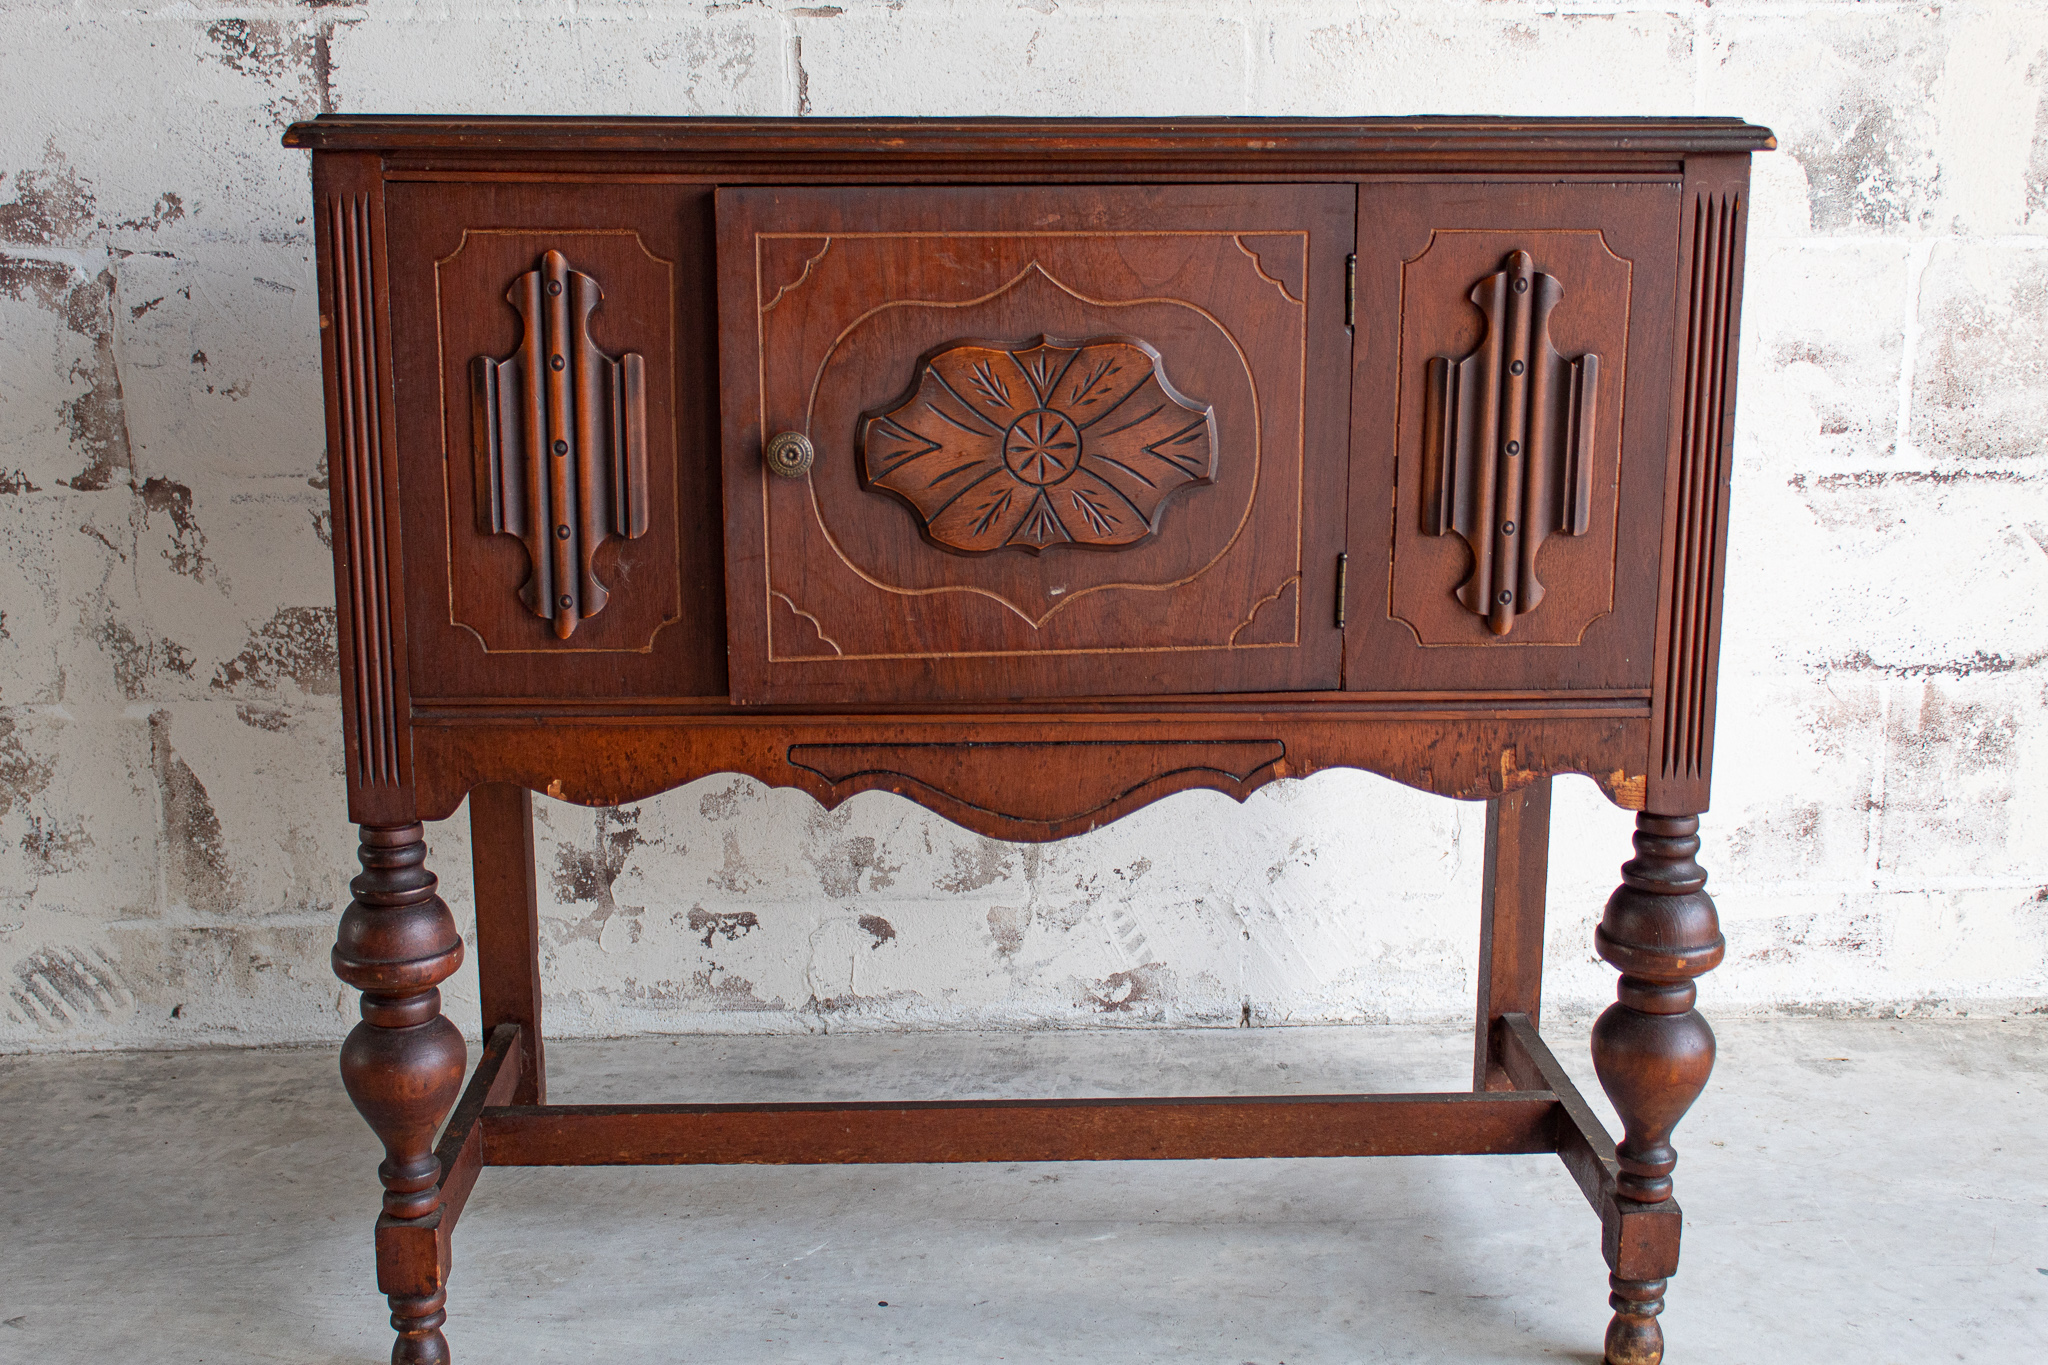
1. I cleaned the entire piece with my vinegar solution.
2. Next I applied one coat of primer. I use a Zinser water based primer. Oil based primers are stronger on their first coat, but I prefer to use the water based primer for two reasons: One, I try to avoid stronger chemical products when possible. Second, I get lazy and don’t want to clean my brushes with mineral spirits or chemicals. Using the water based primer, even just one coat, is a great base for your paints. If you’re painting your piece white, you may want to apply two coats of primer.
3. Once the primer dried, I used a sanding block with a 400 grit and lightly went over the piece. This helps keep your surface smooth.
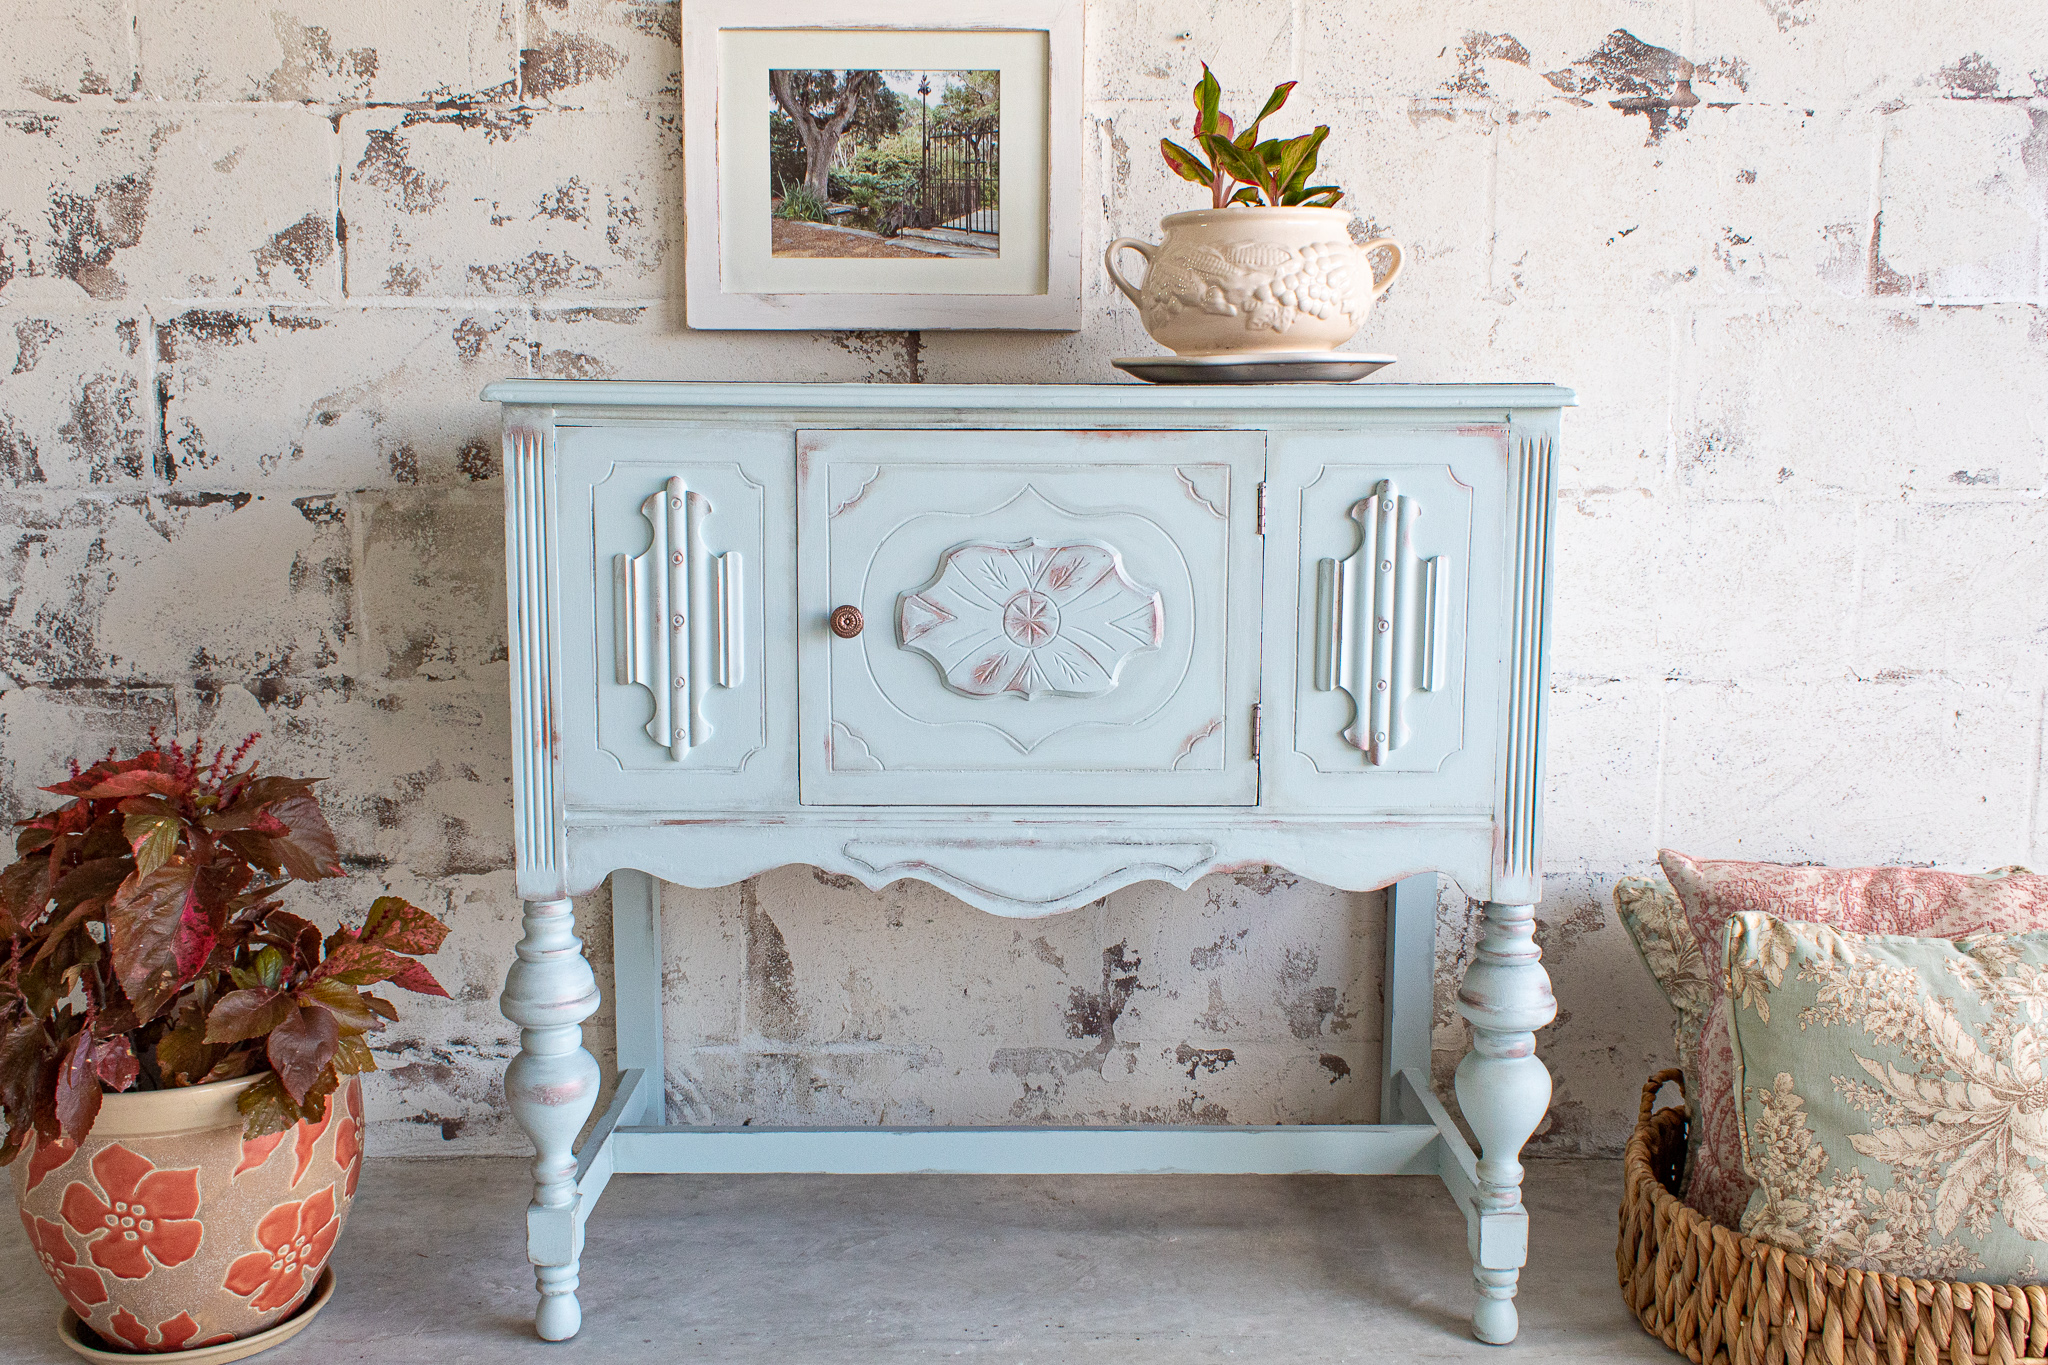
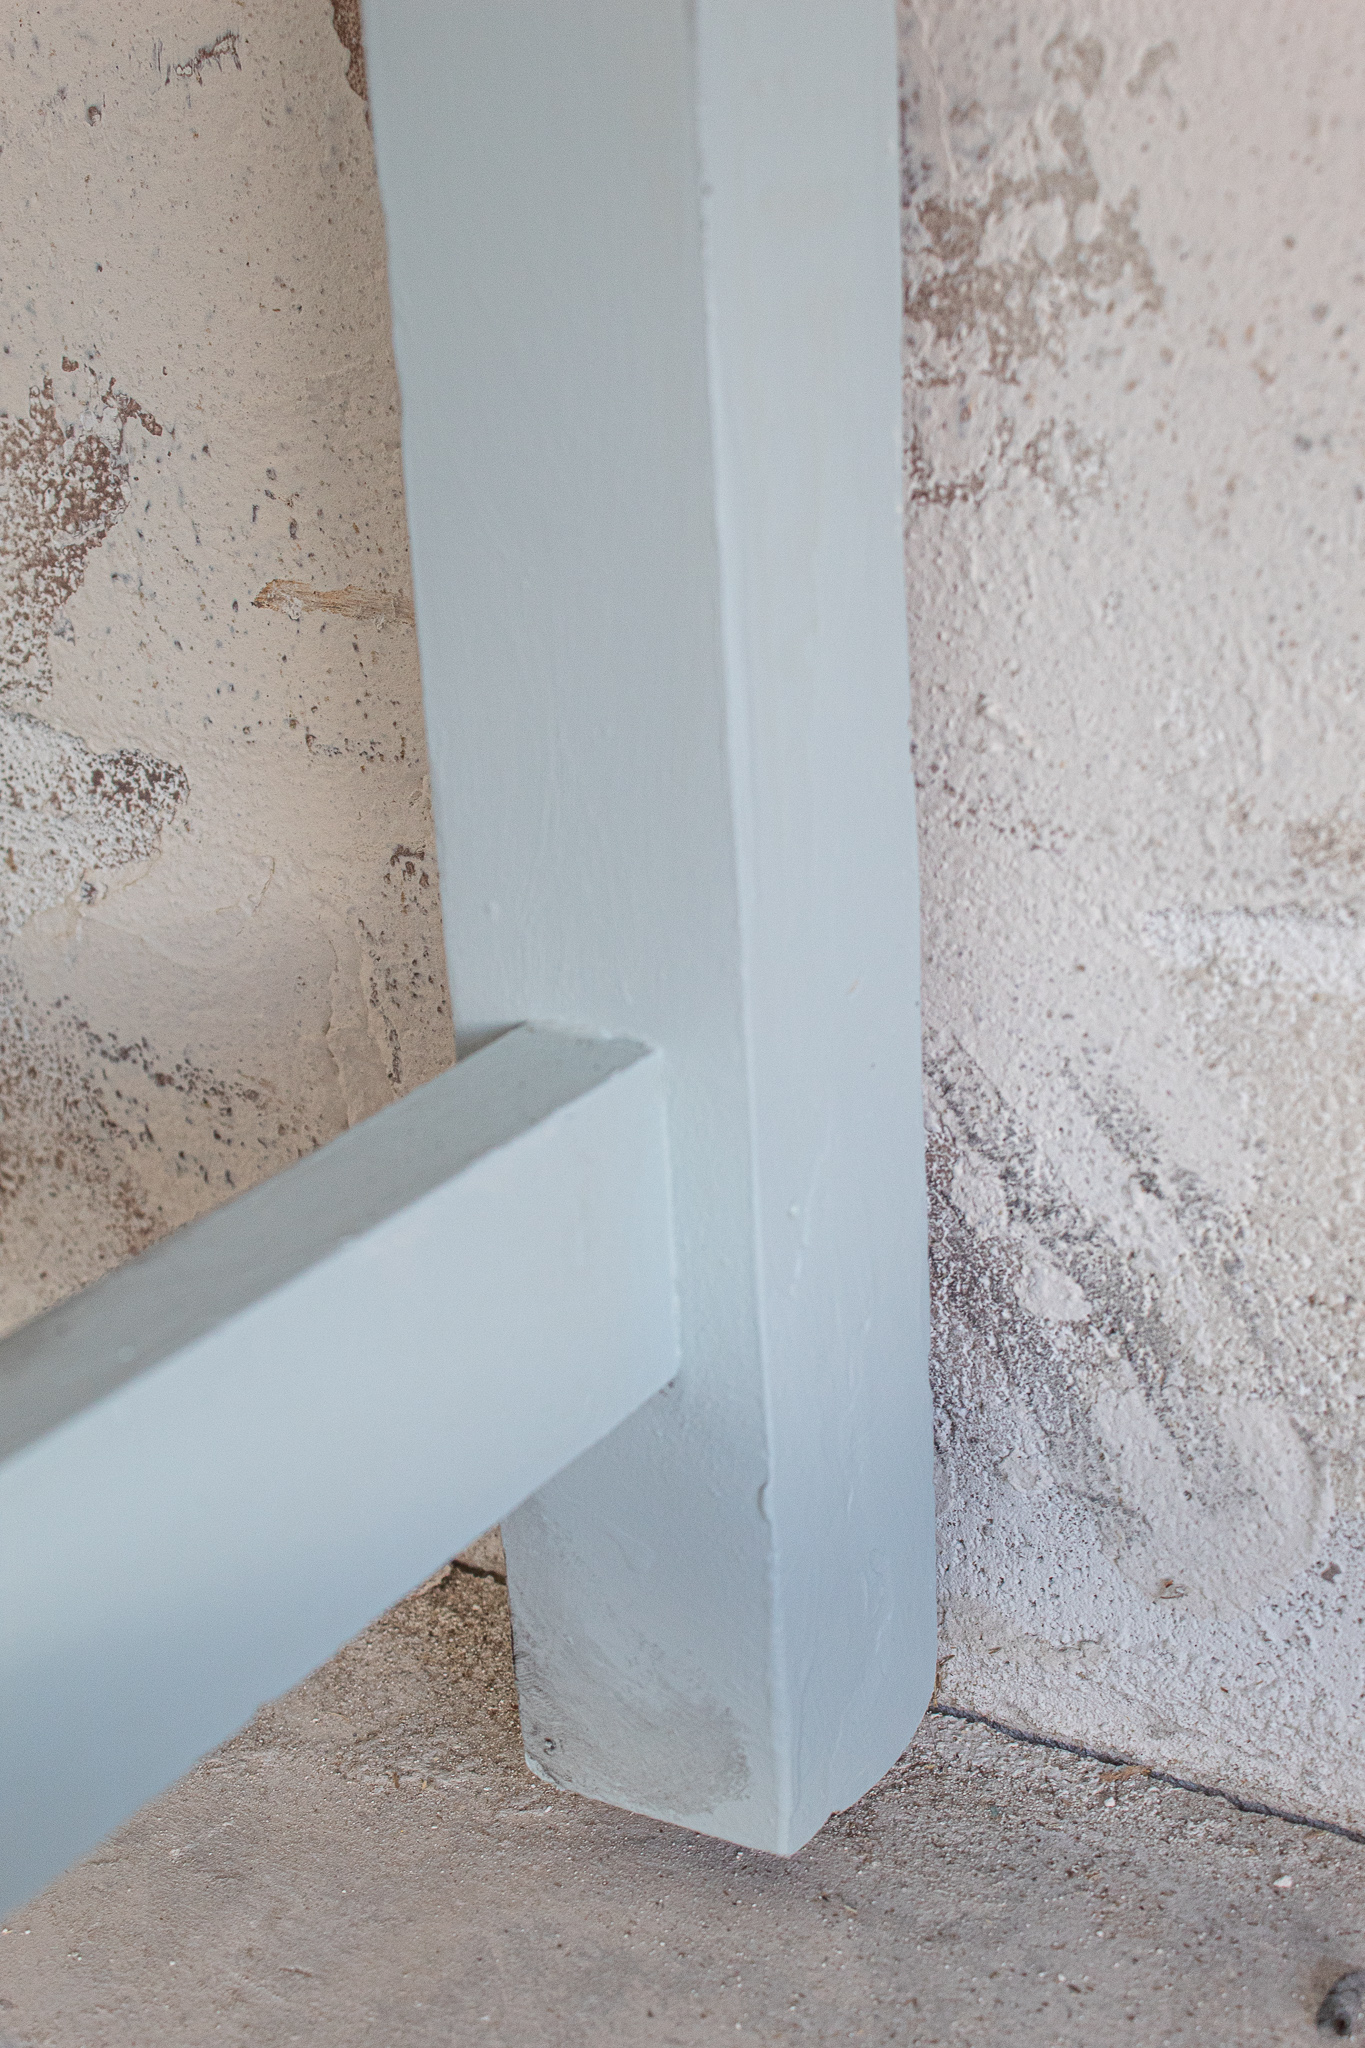
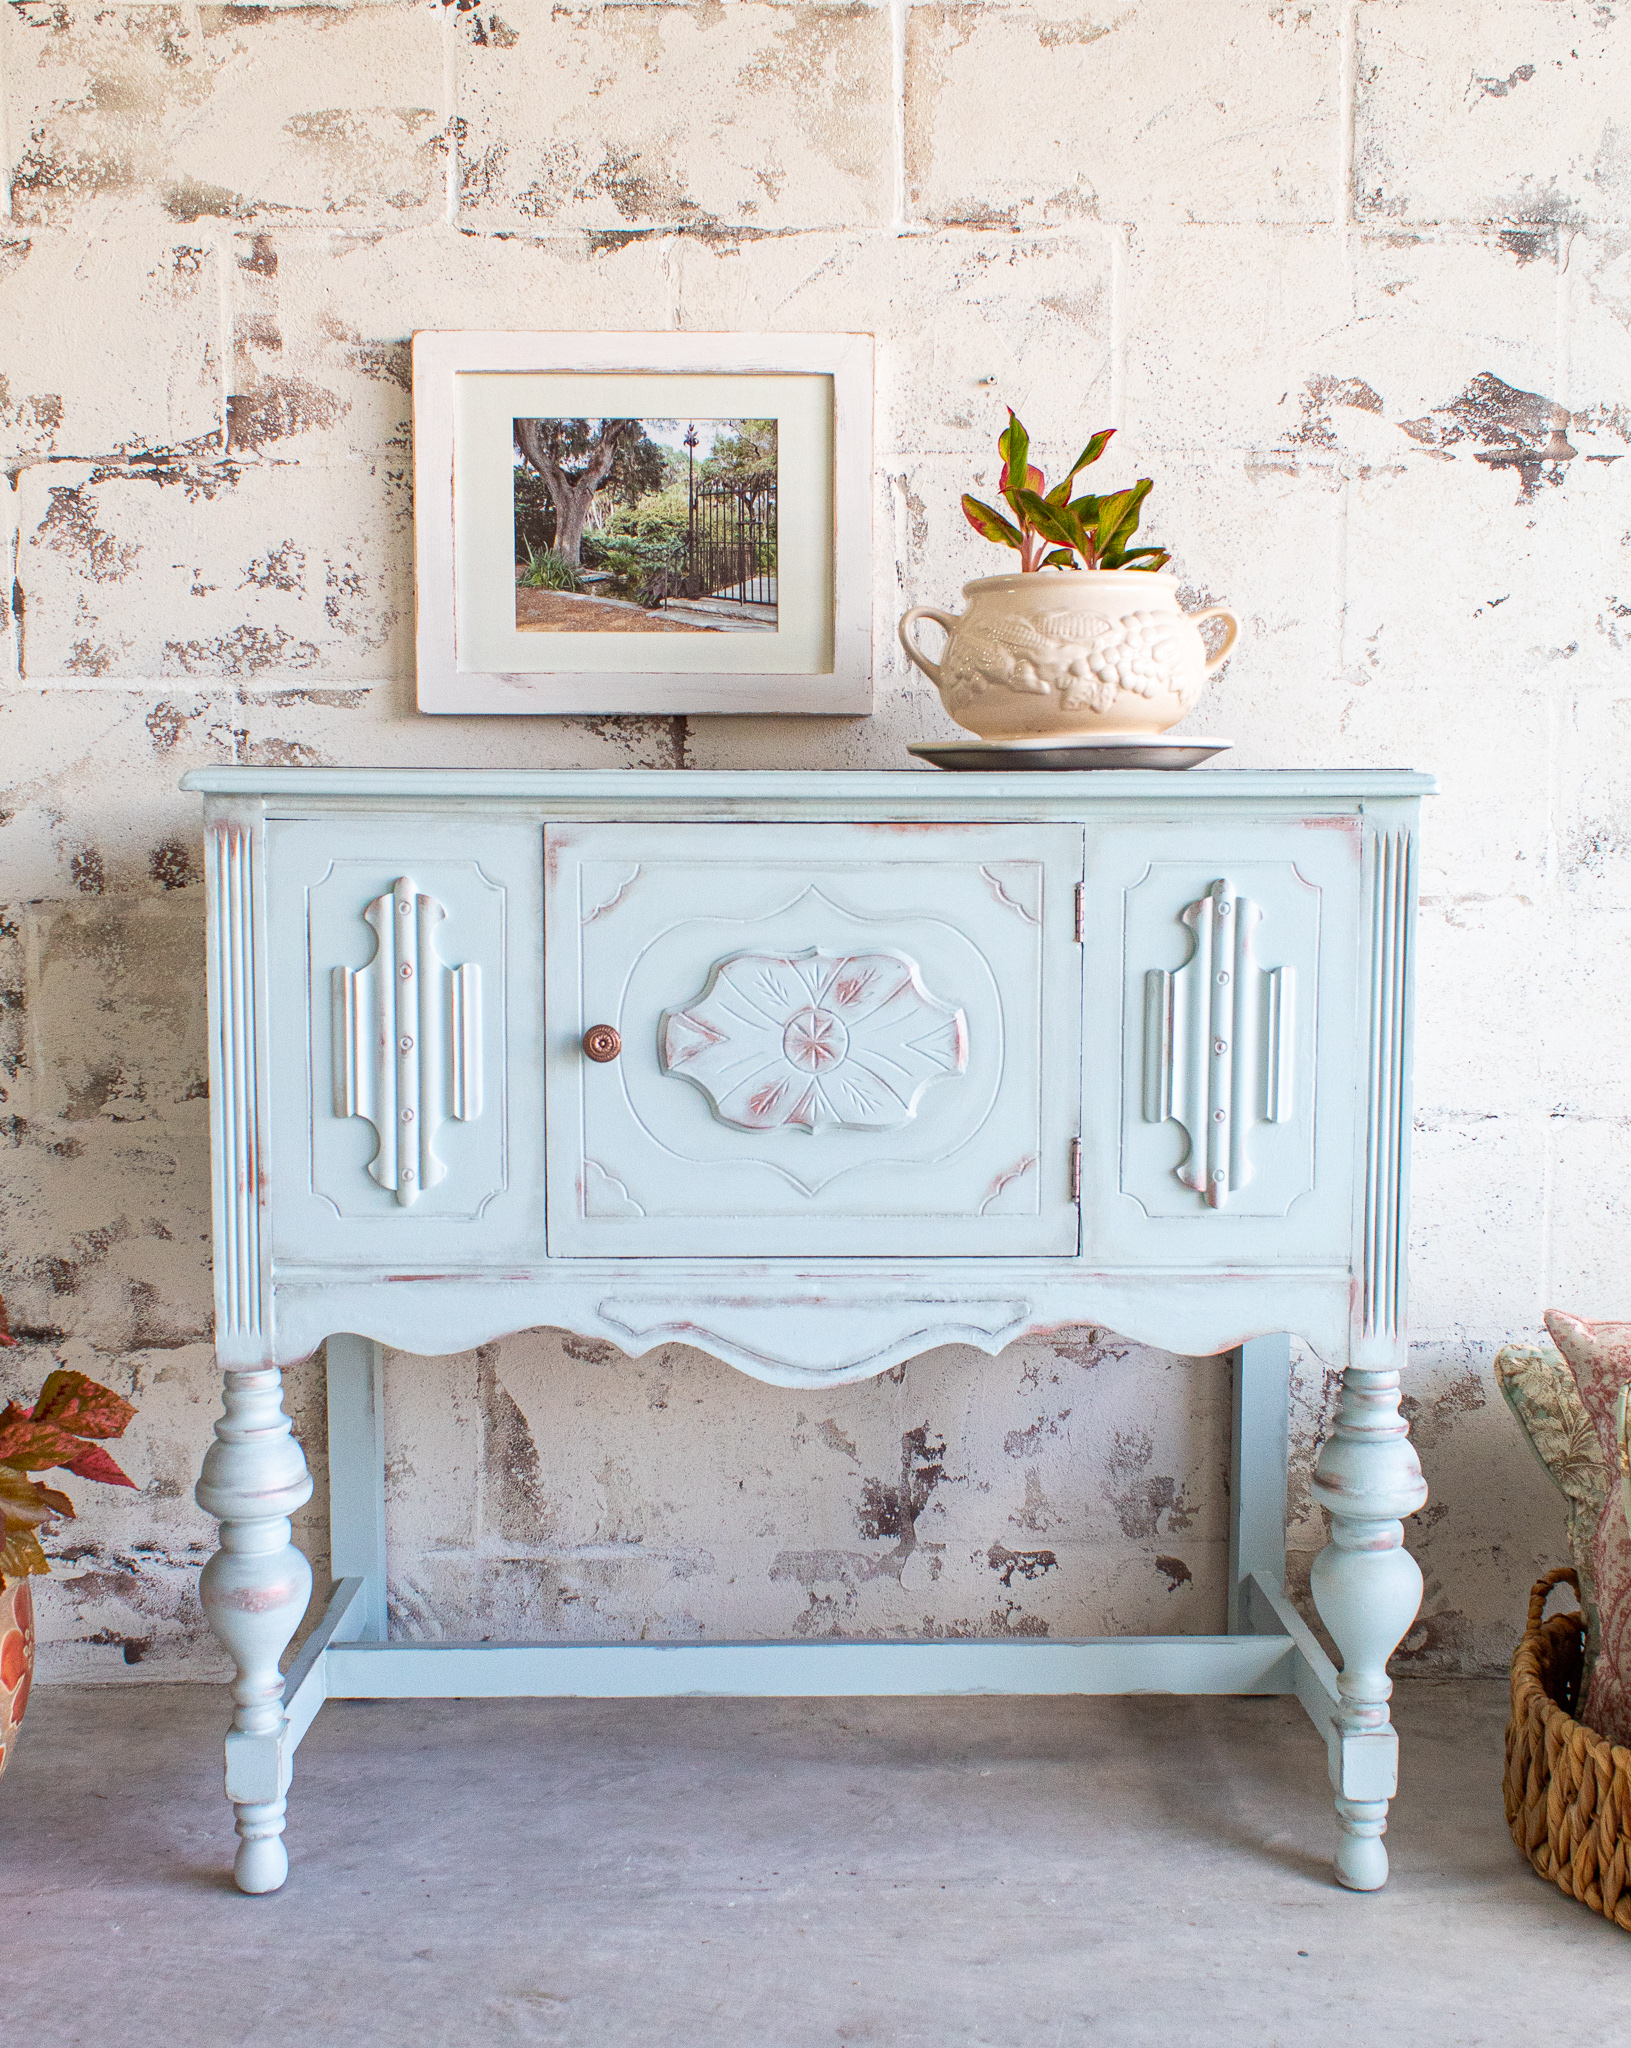
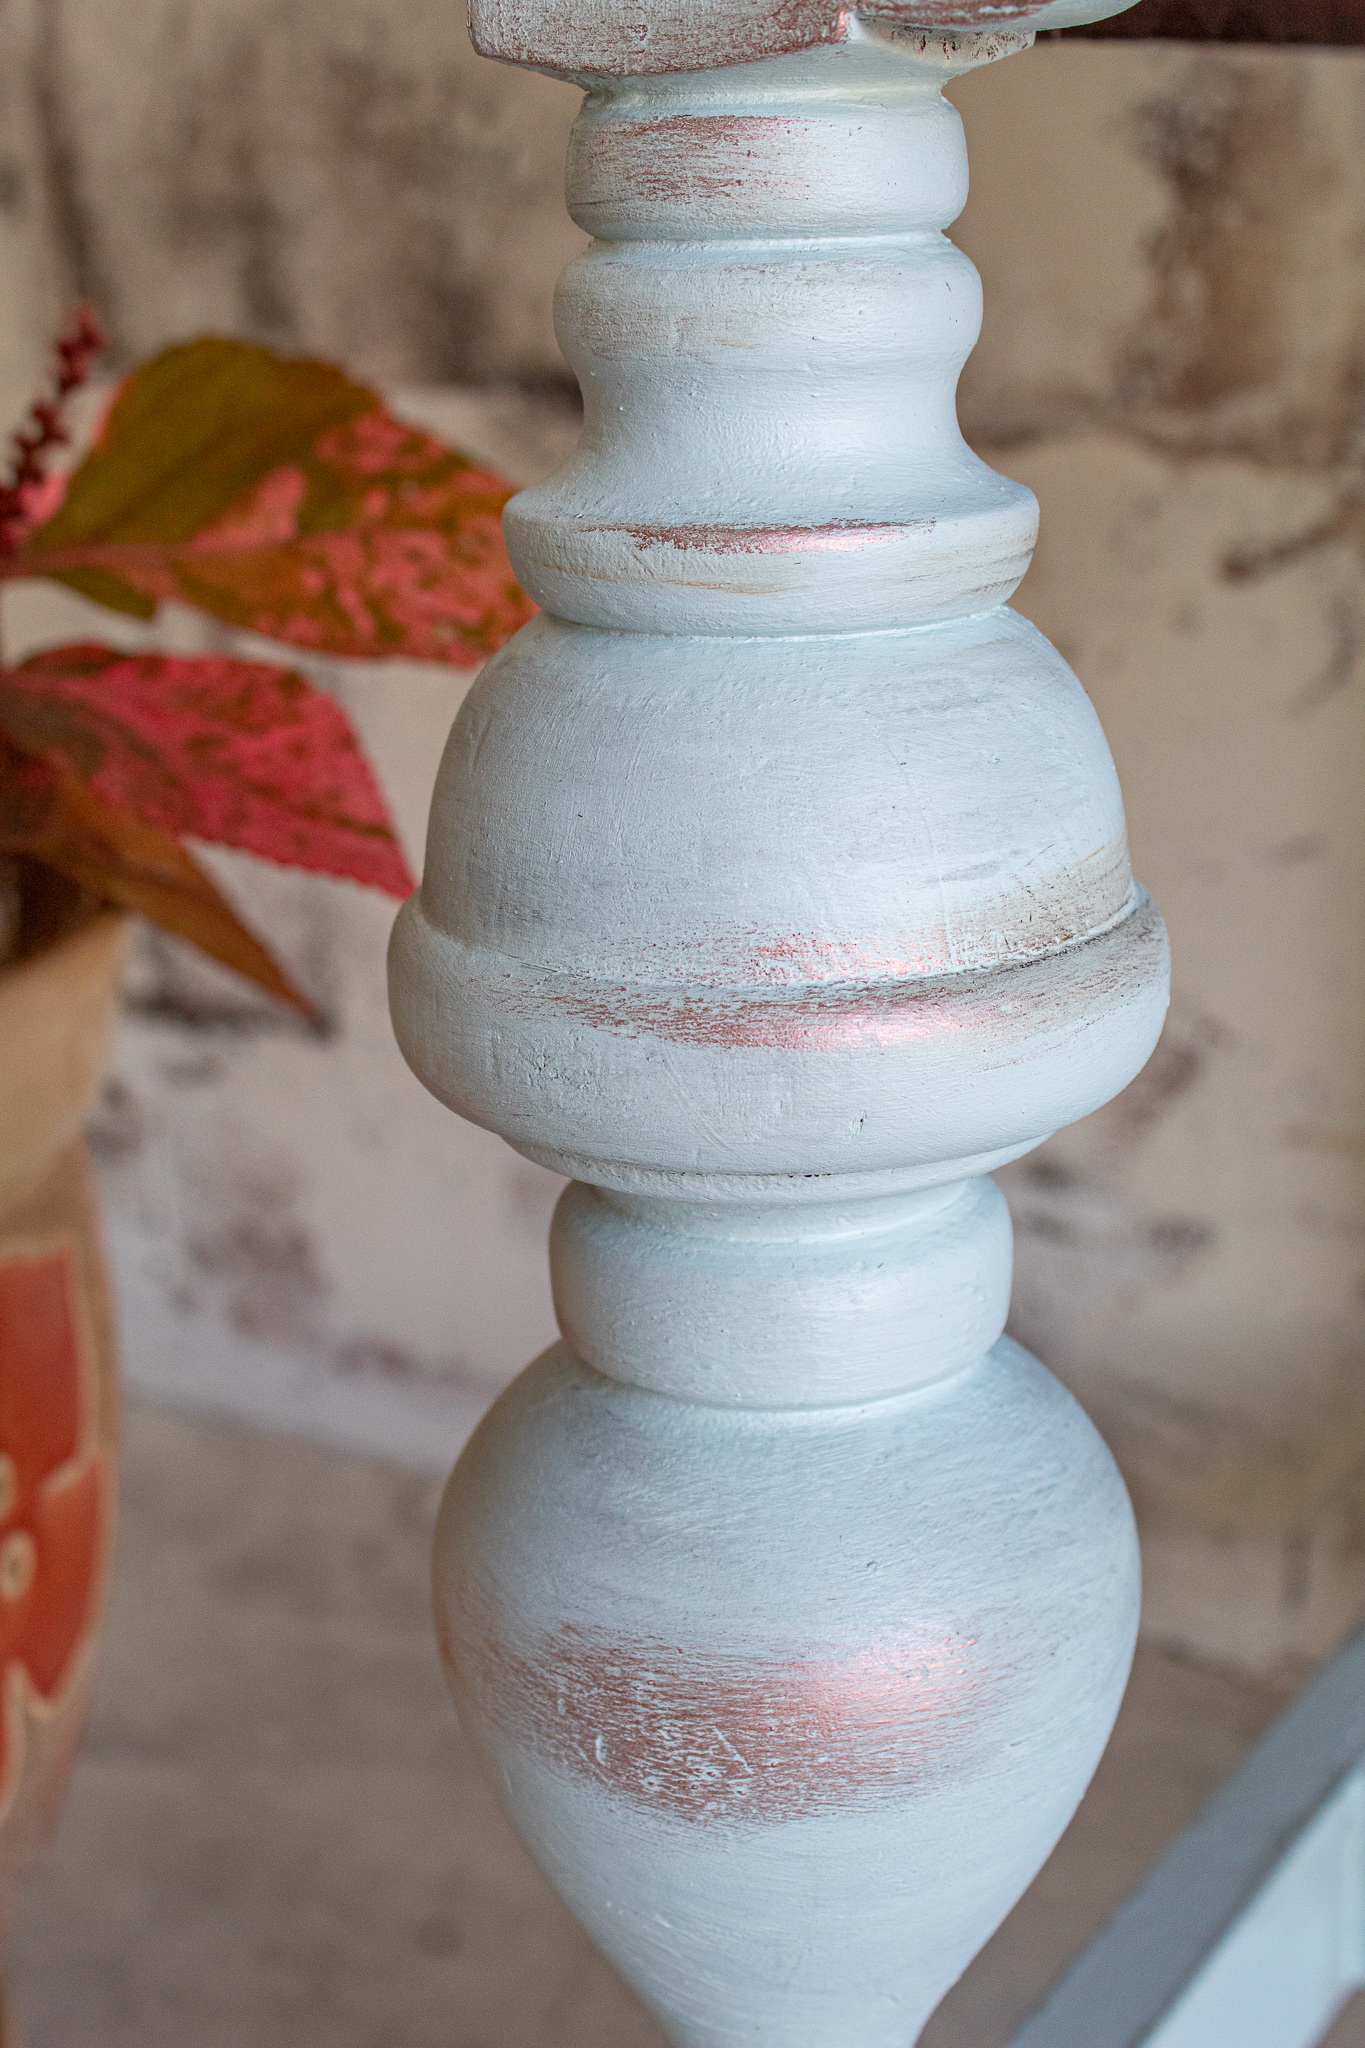
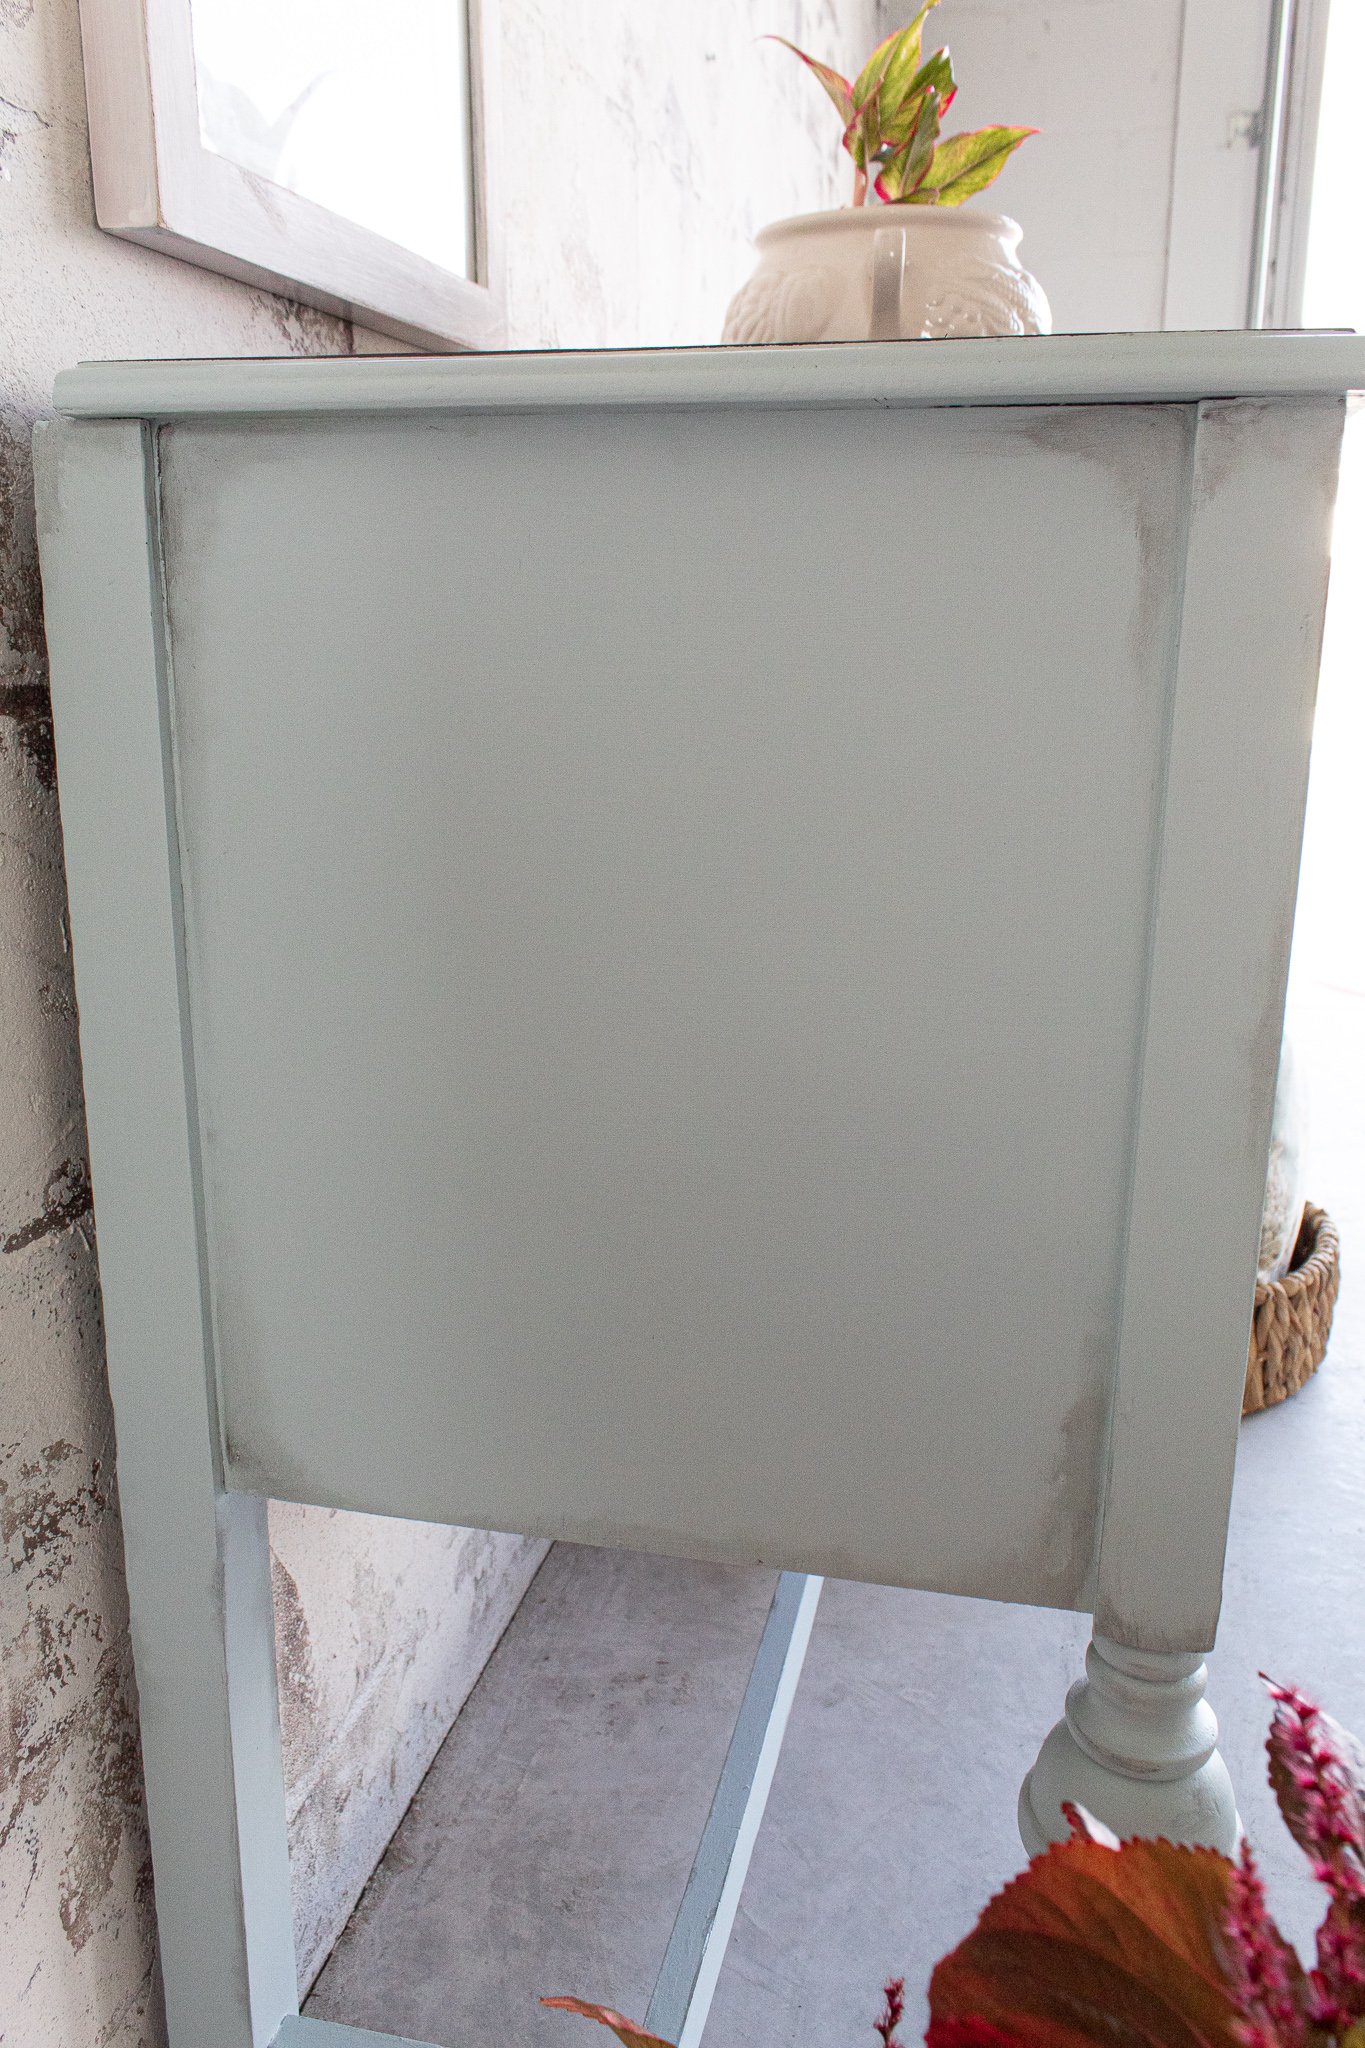
4. Then I painted on my first coat of Fusion Mineral Little Whale paint, a lovely light blue. I was AHHmazed by the coverage of one coat. This may be my new favorite paint.
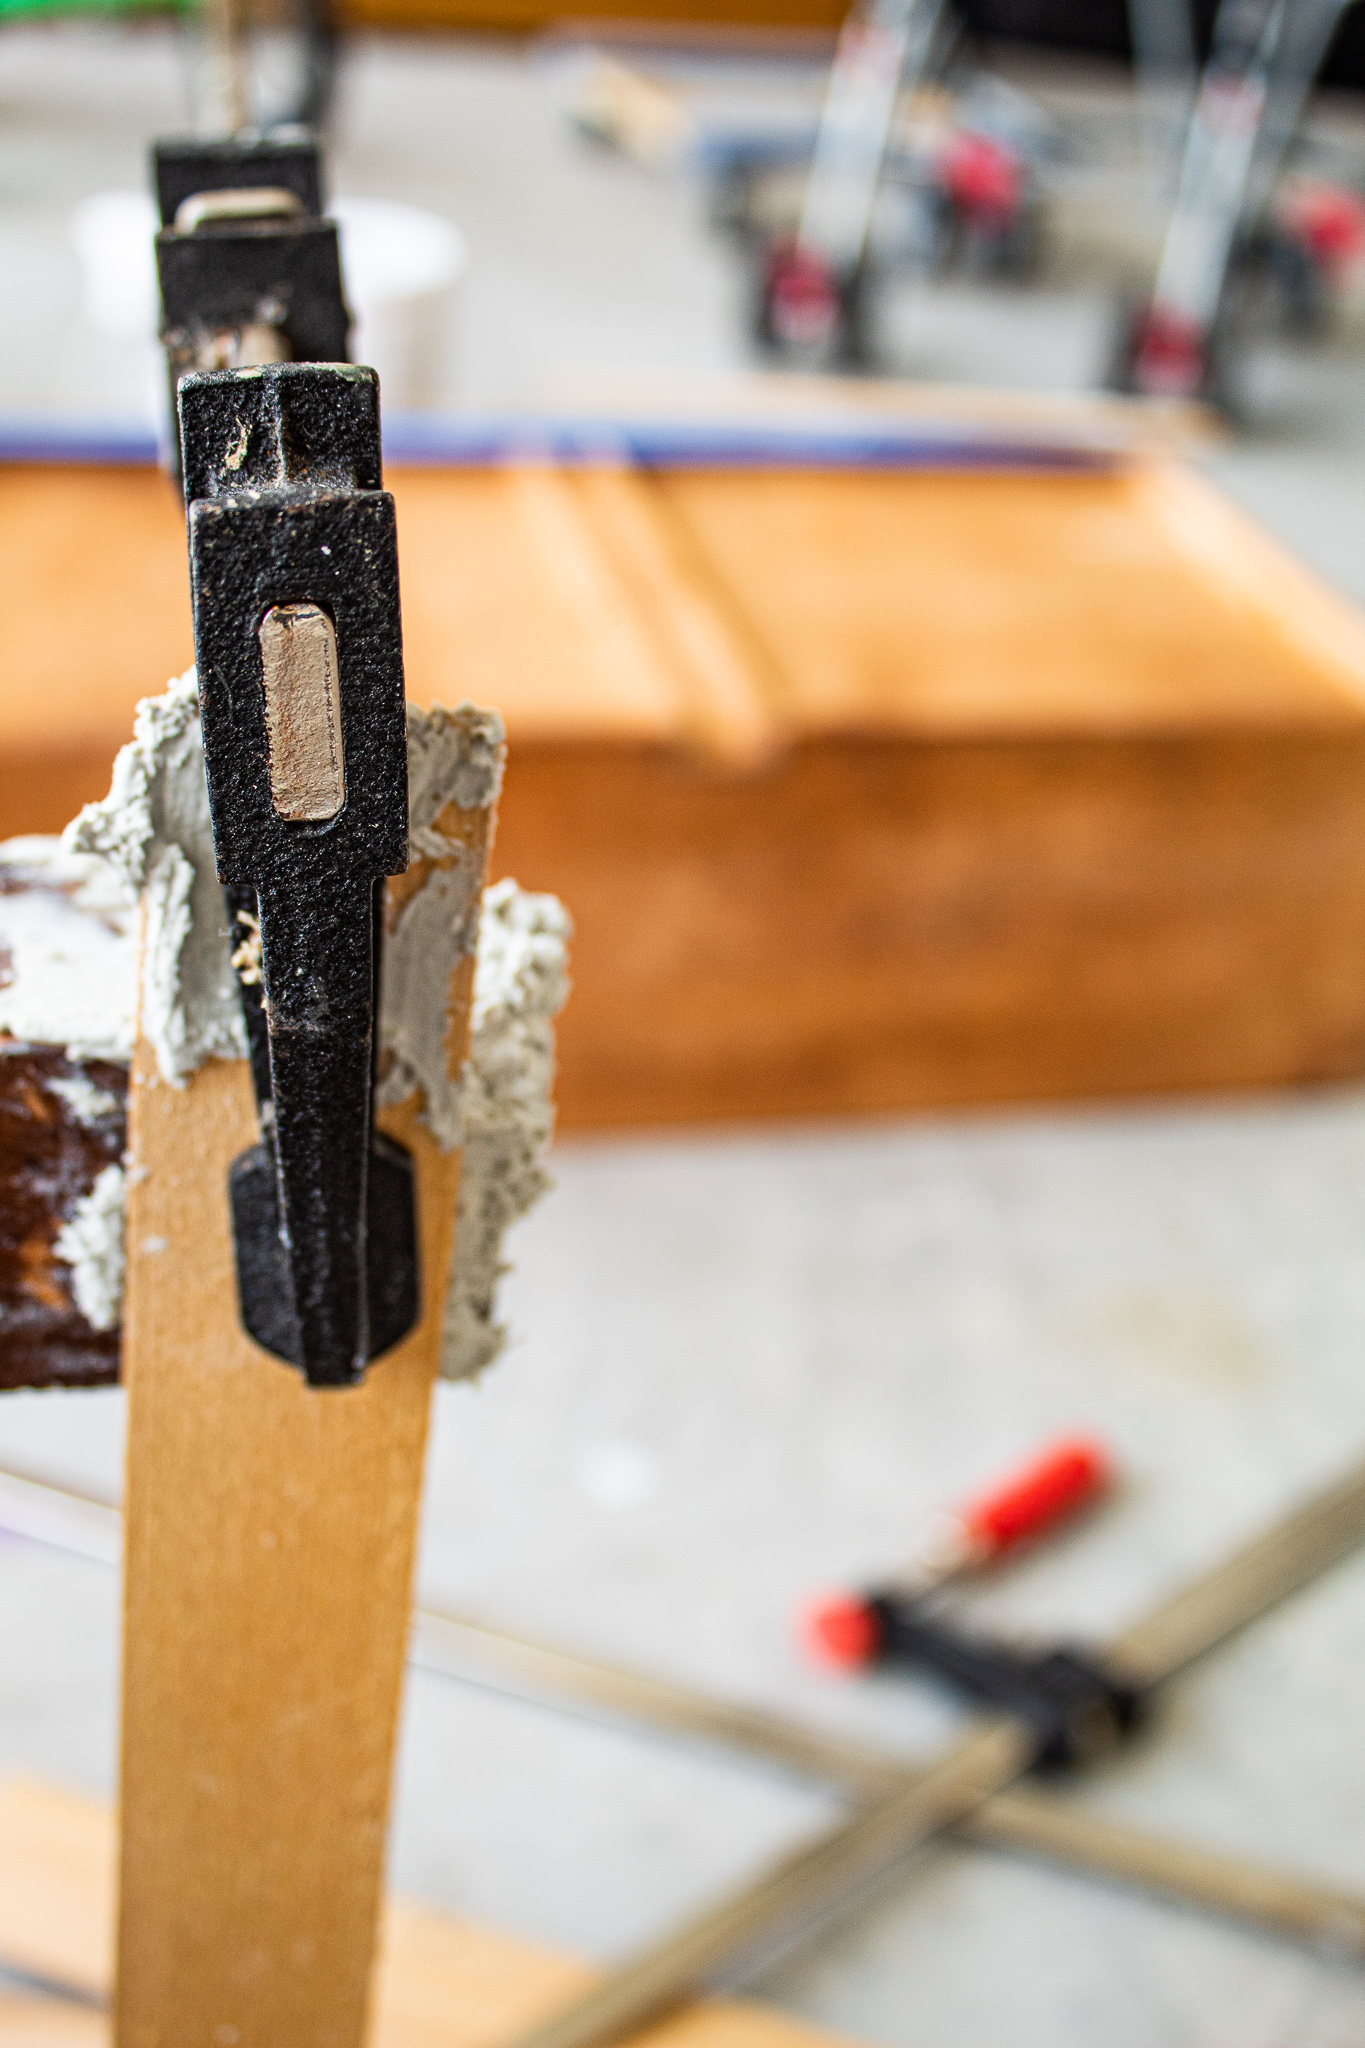
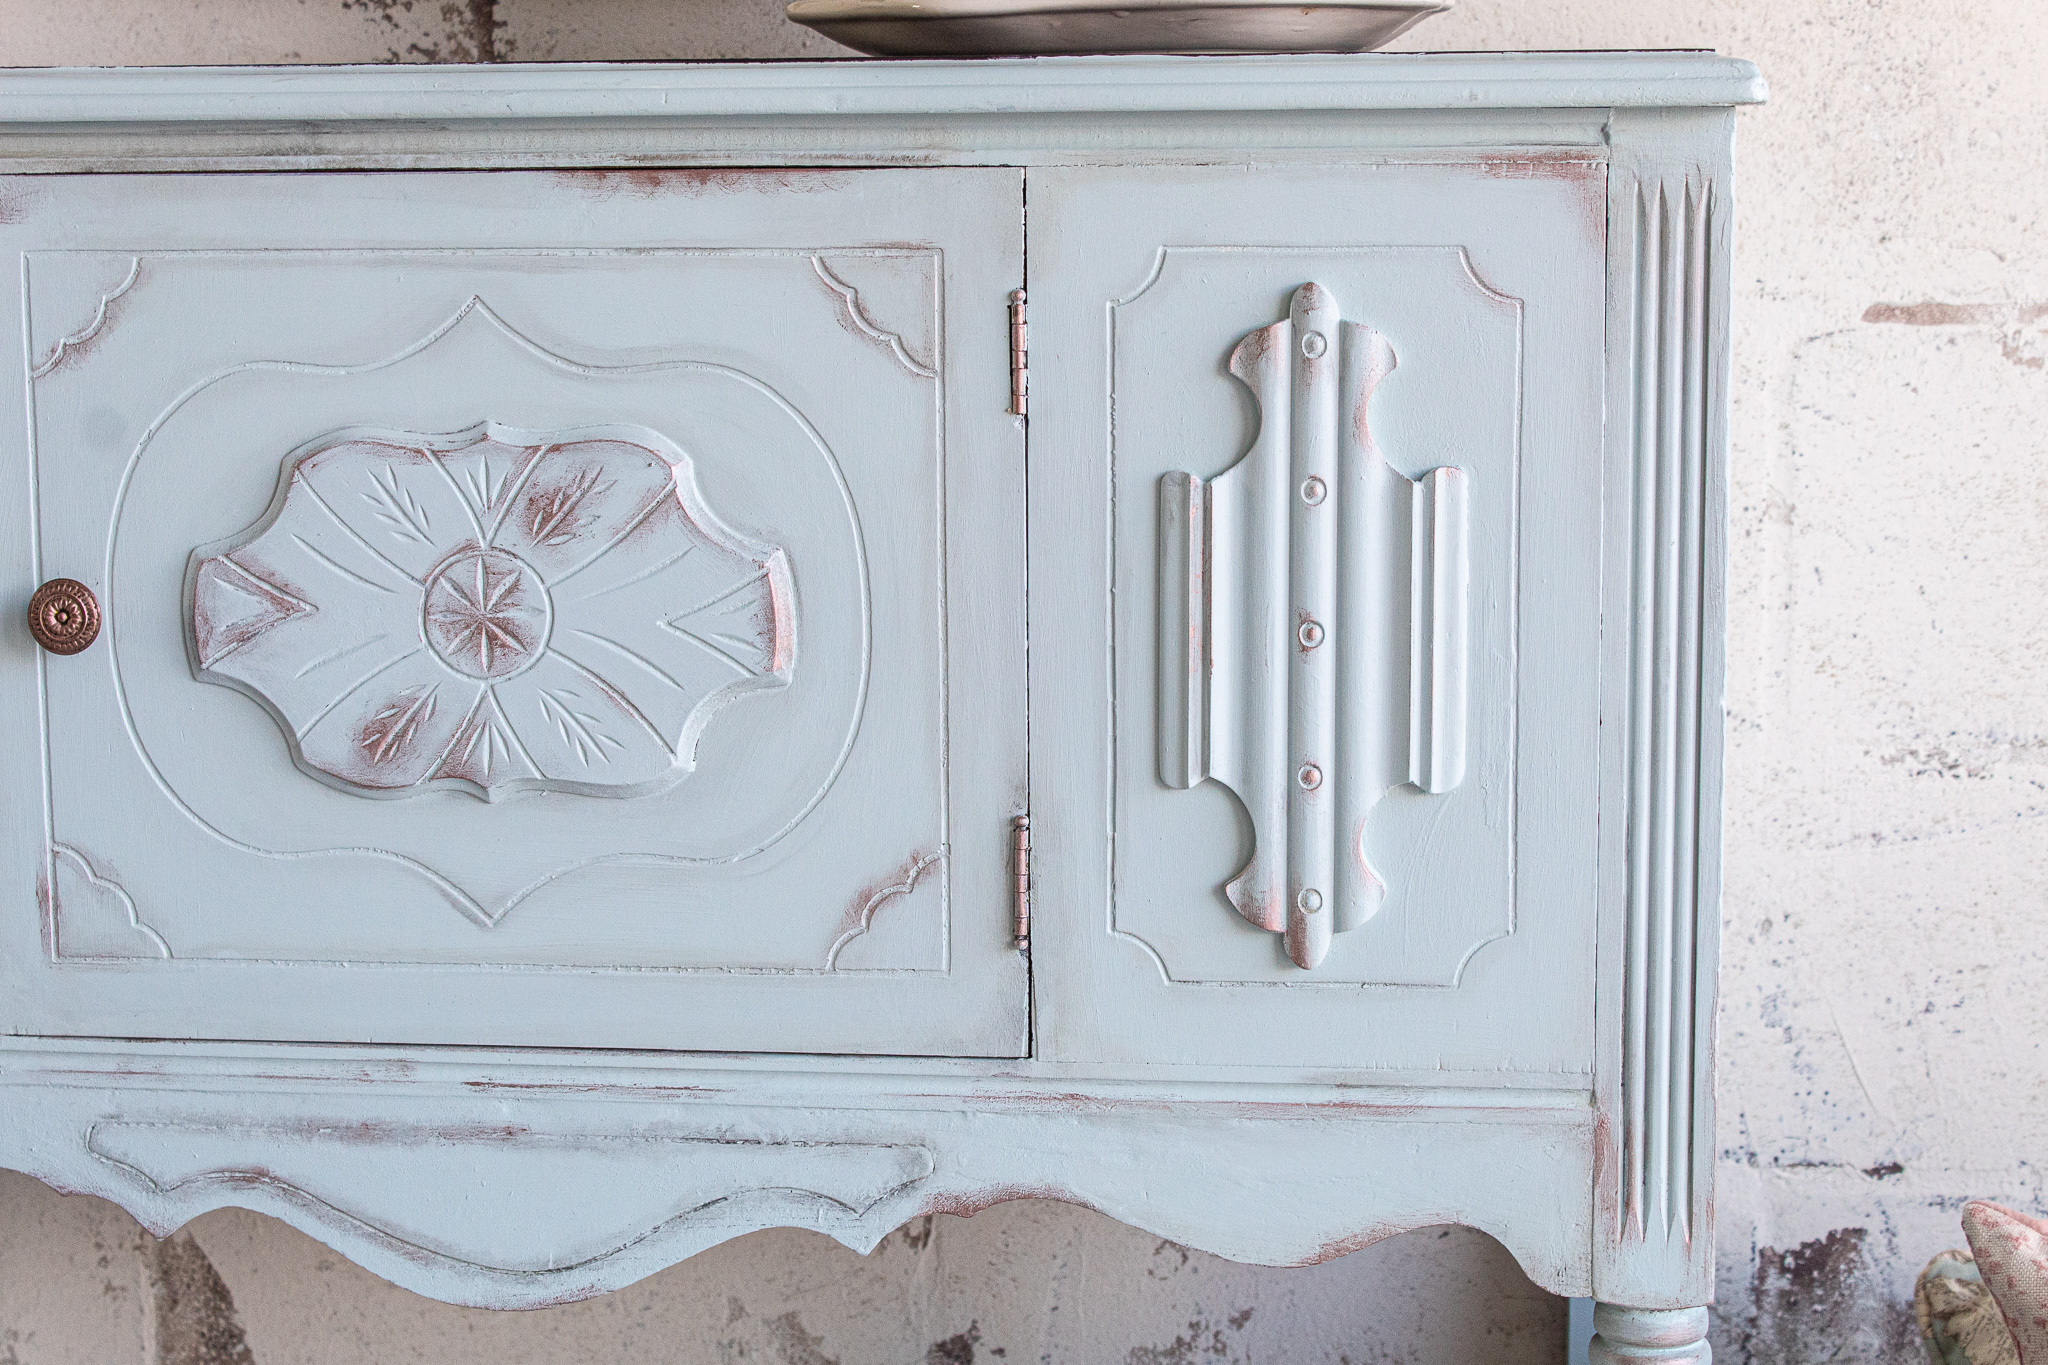
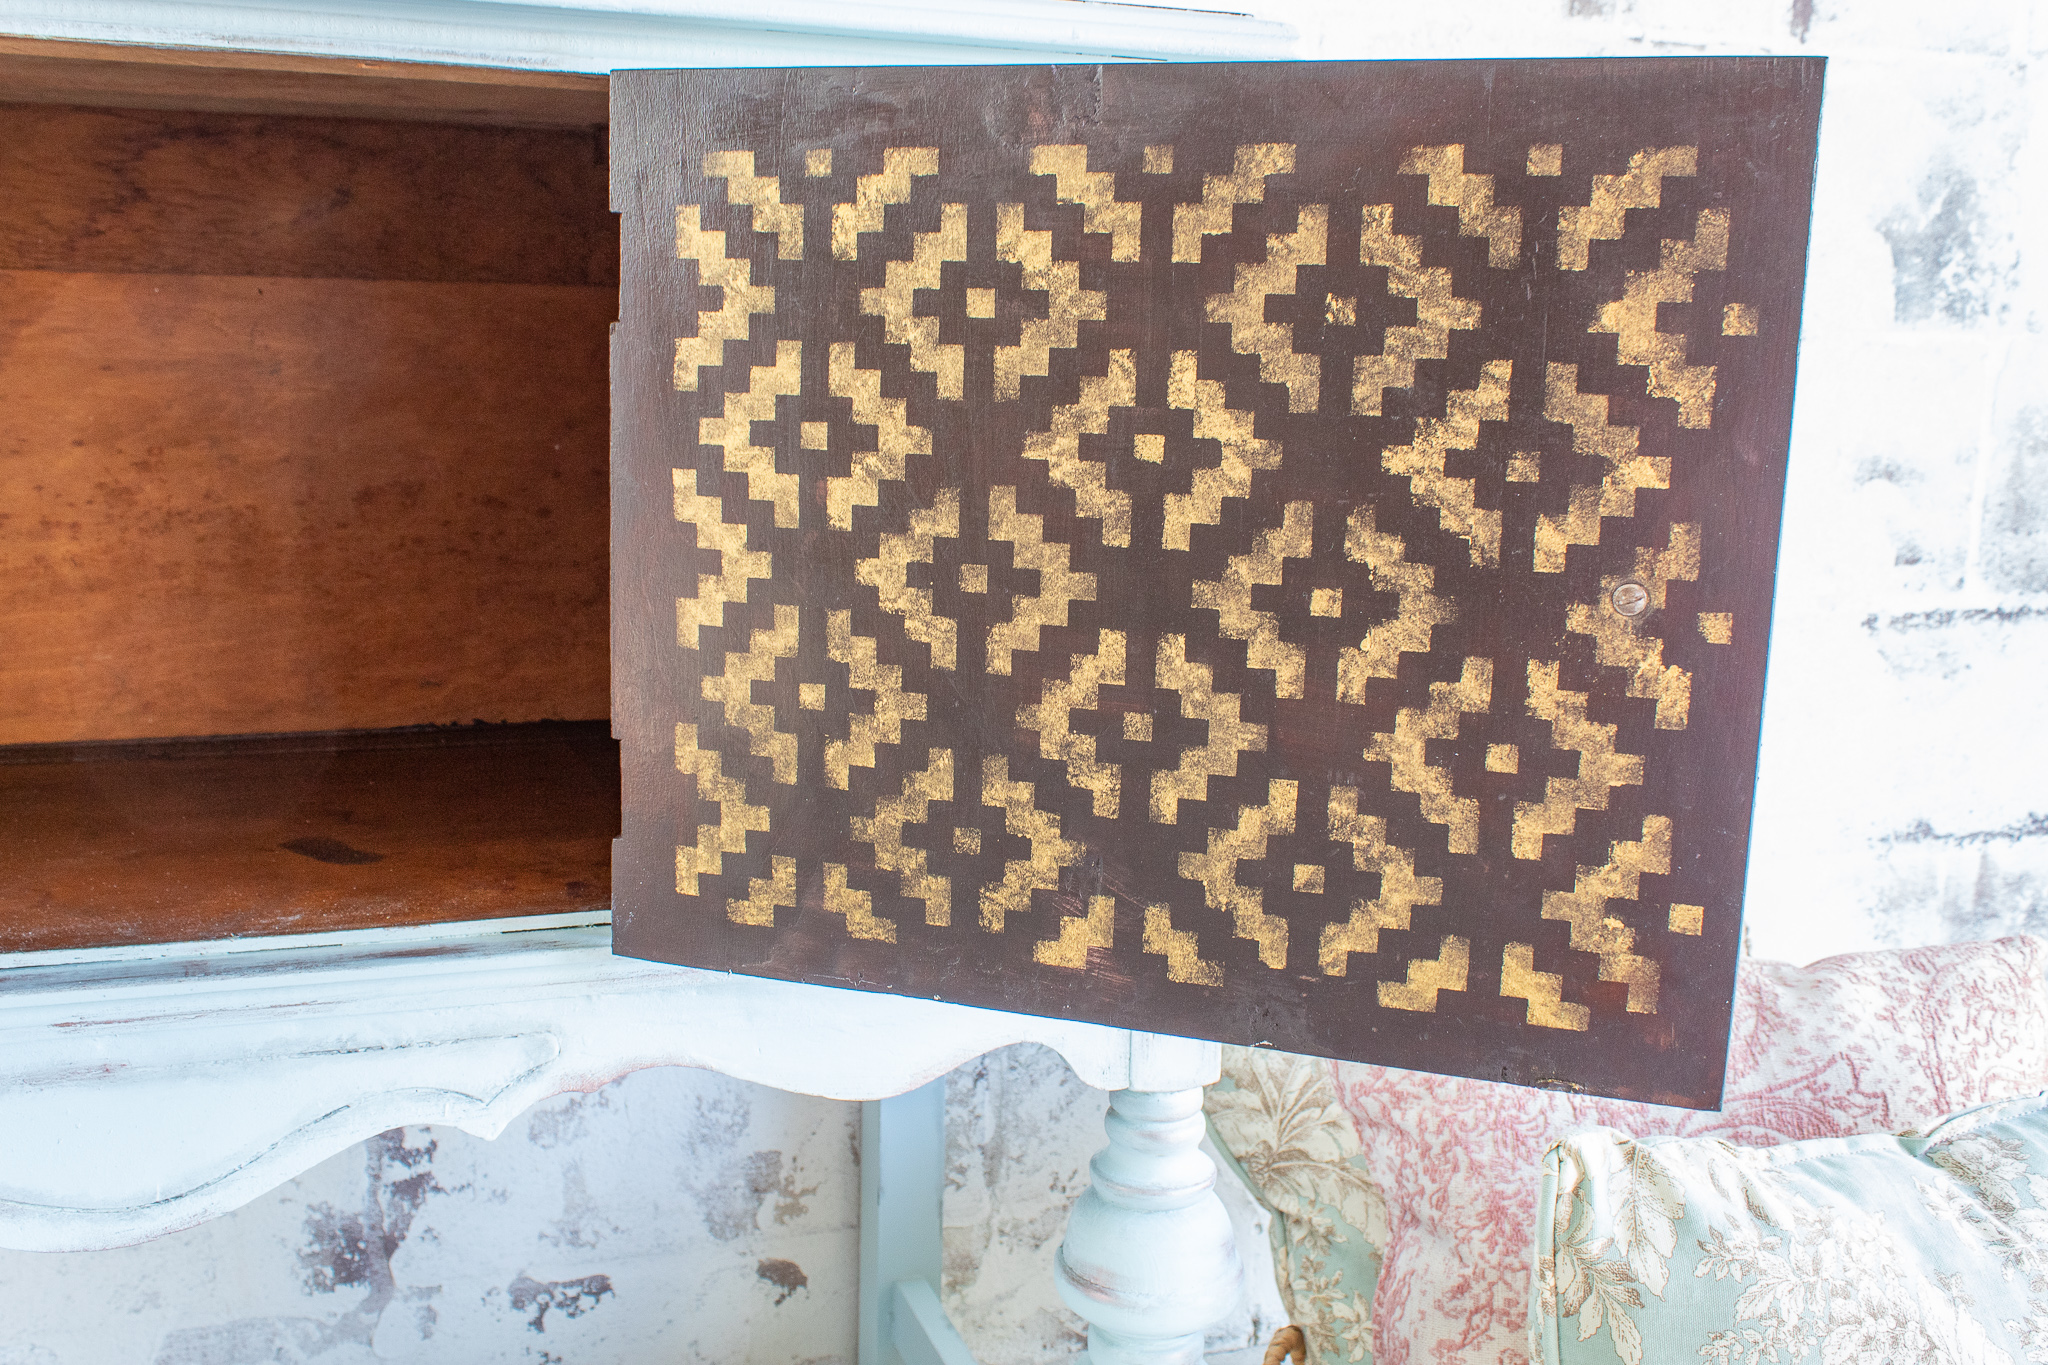
5. After my second coat of Little Whale had dried, I went over the piece with charcoal wax, antiquing wax, and rose gold metallic wax to add detail and depth and to spruce up the hardware. I used a paper towel or my finger to accent details and corners. If you want more control over your waxes, you will want to add a clear coat first. Otherwise, where you apply wax is where it sticks.
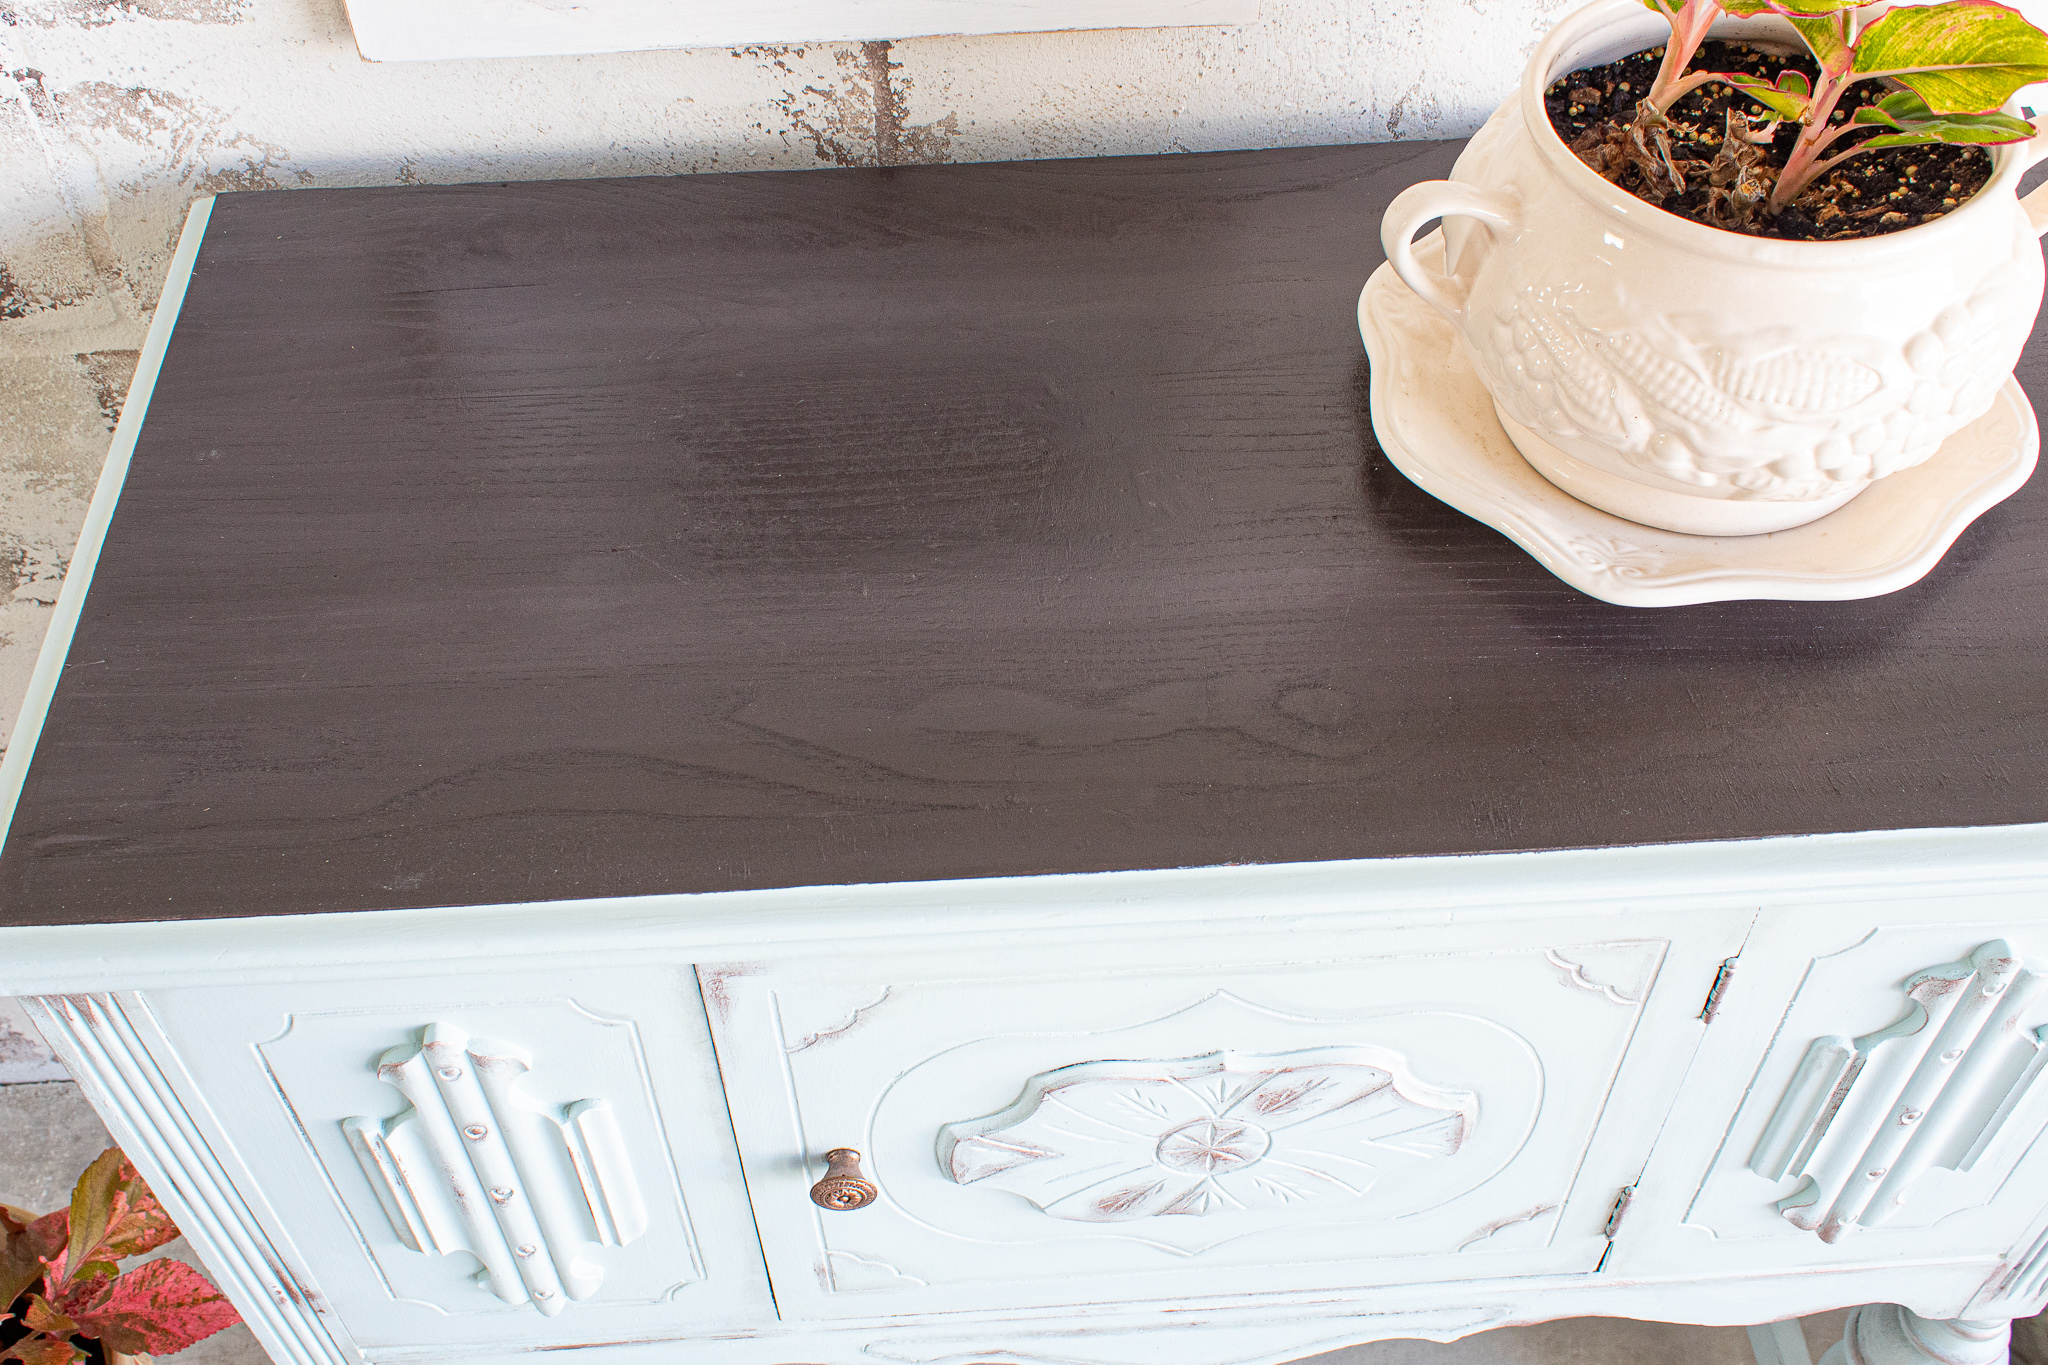
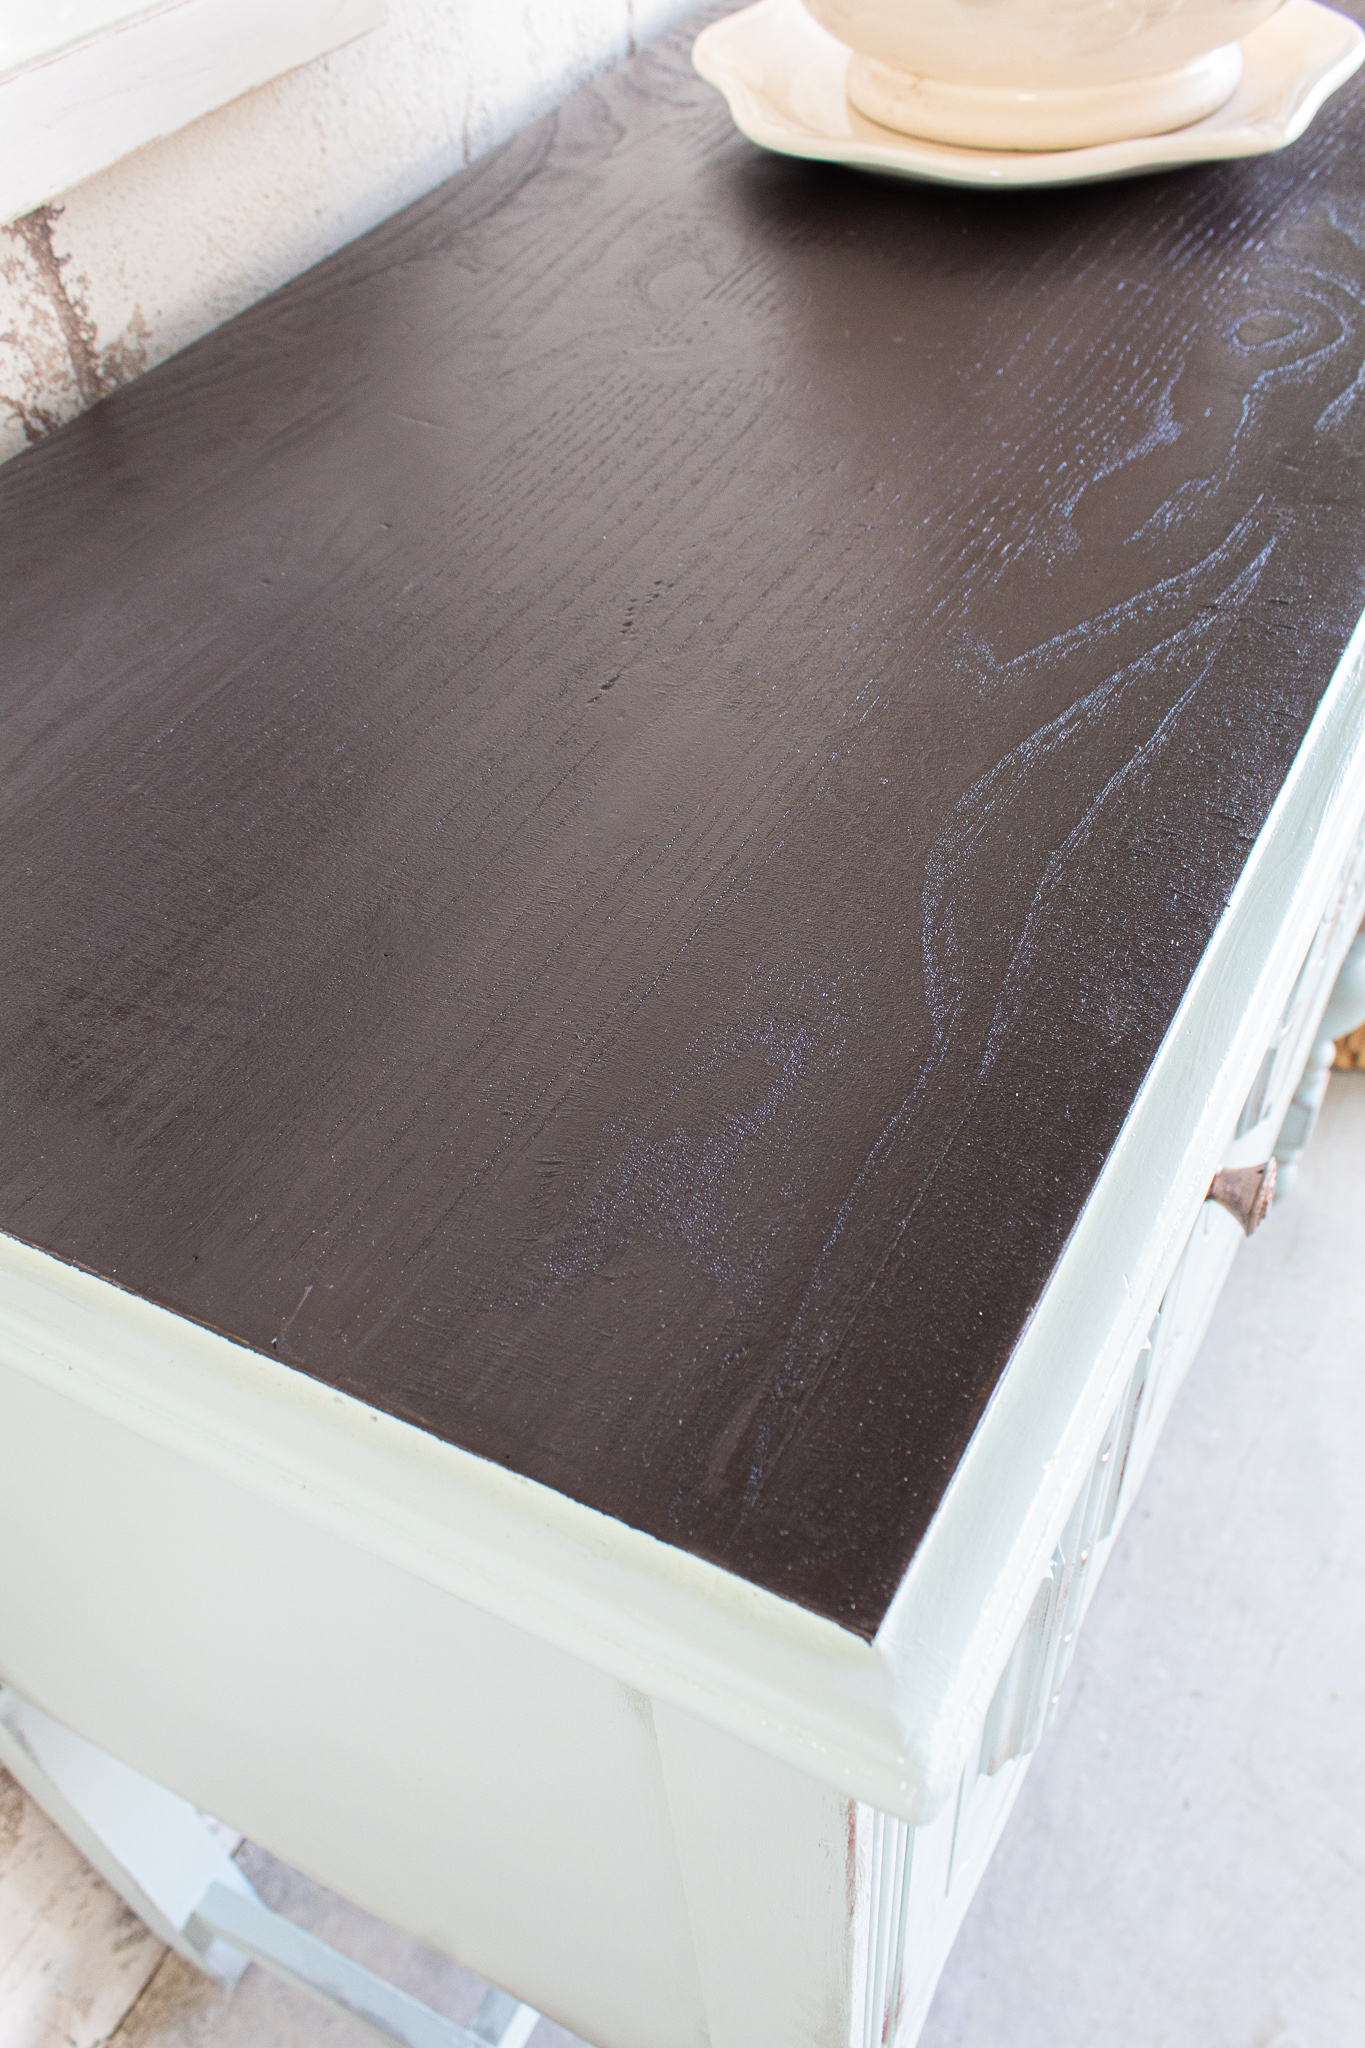
6. Since I removed the layer of veneer from the top, I needed to treat the raw wood. I first added one coat of Espresso Gel Stain. I let this dry over night.
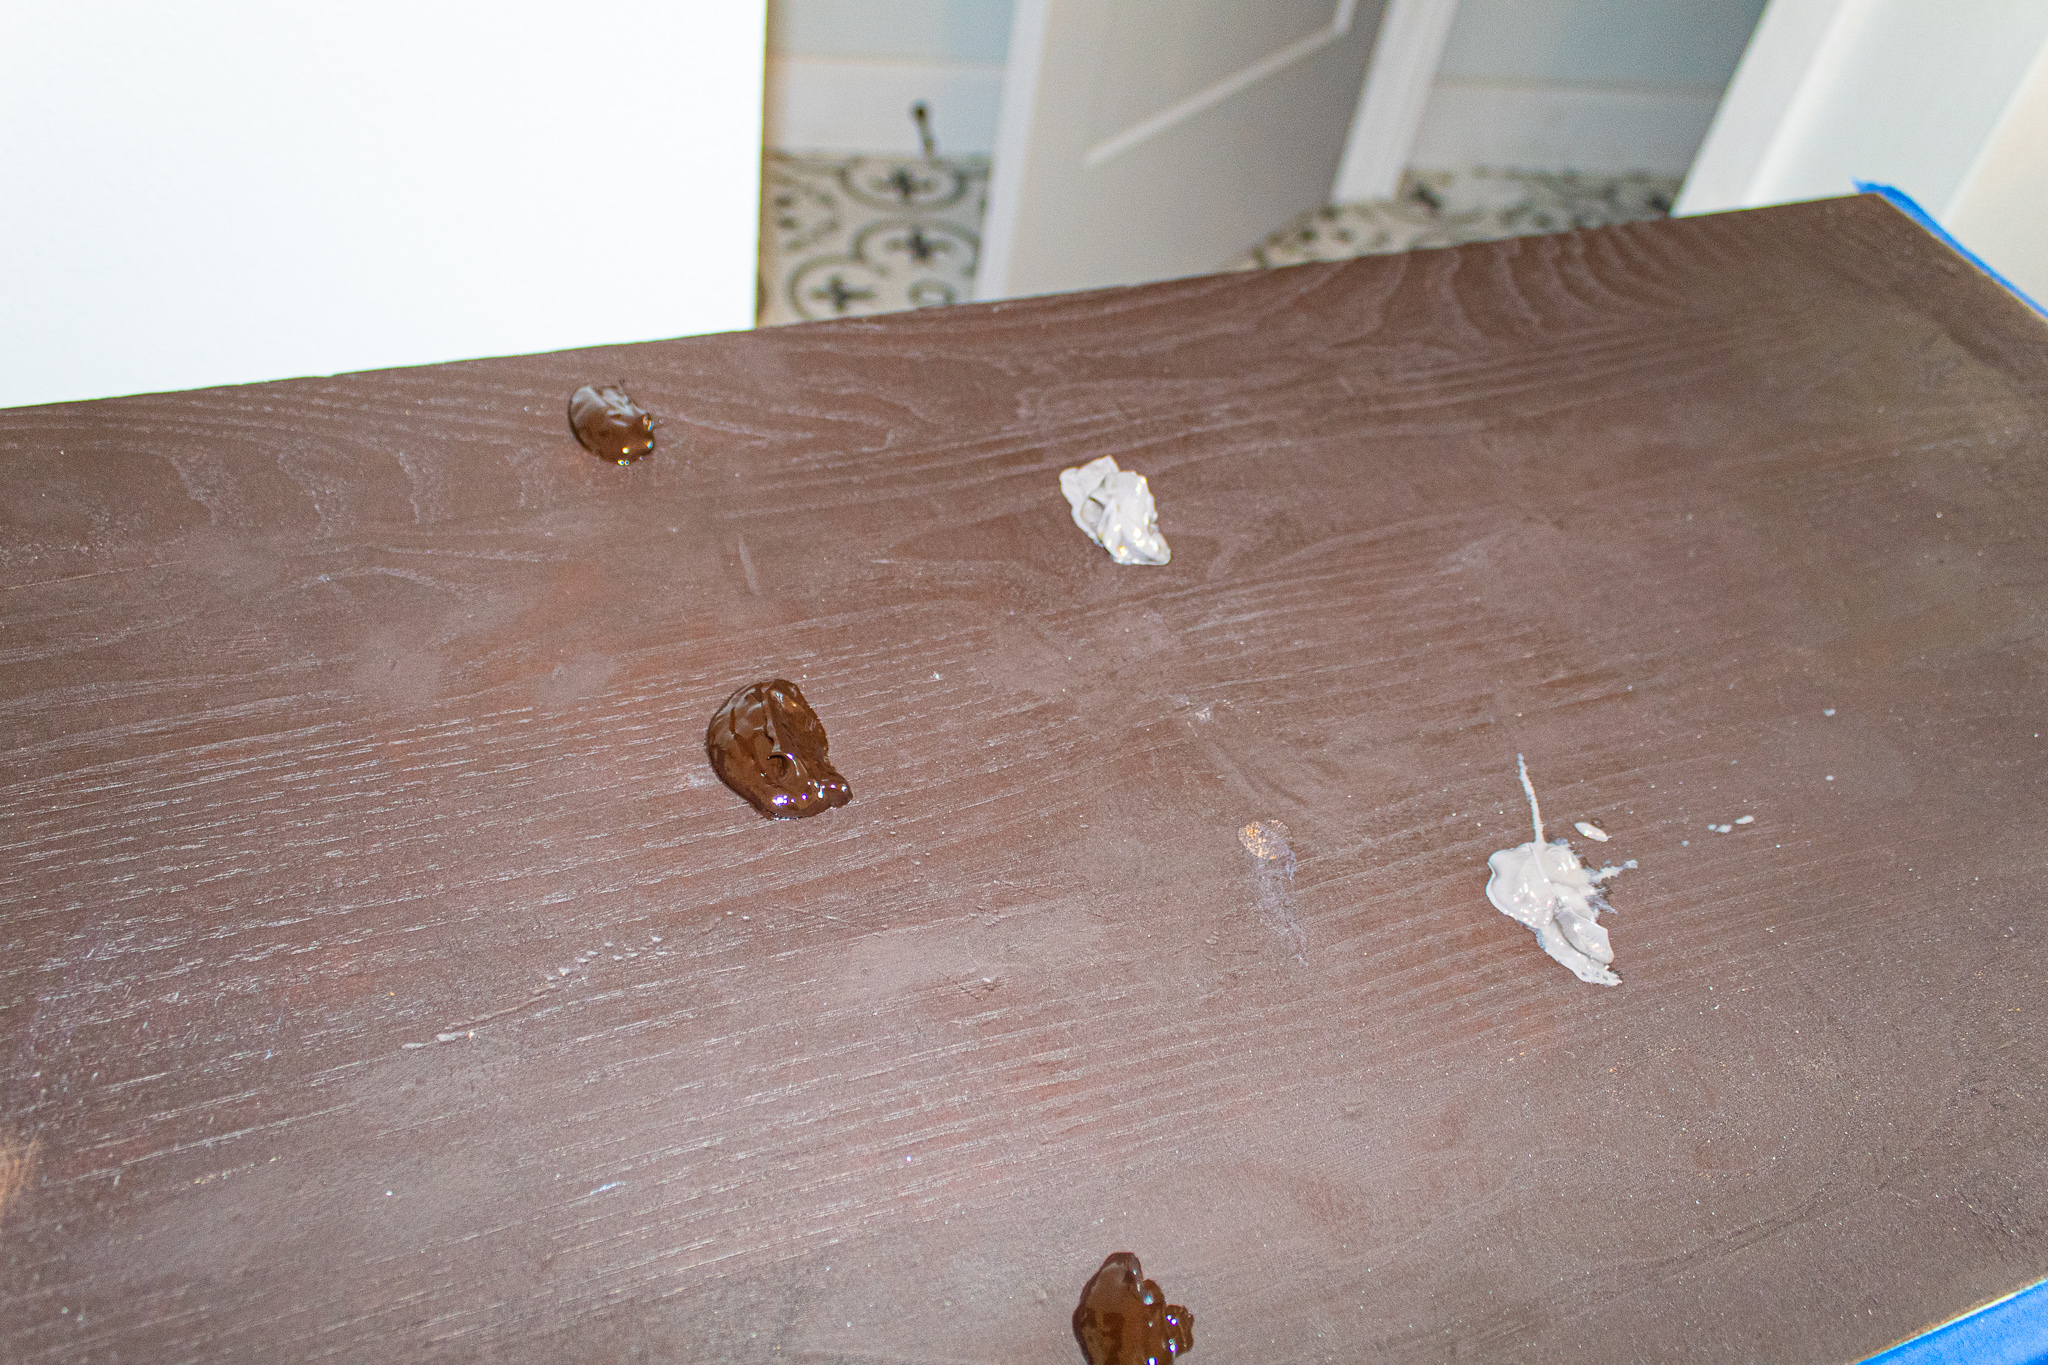
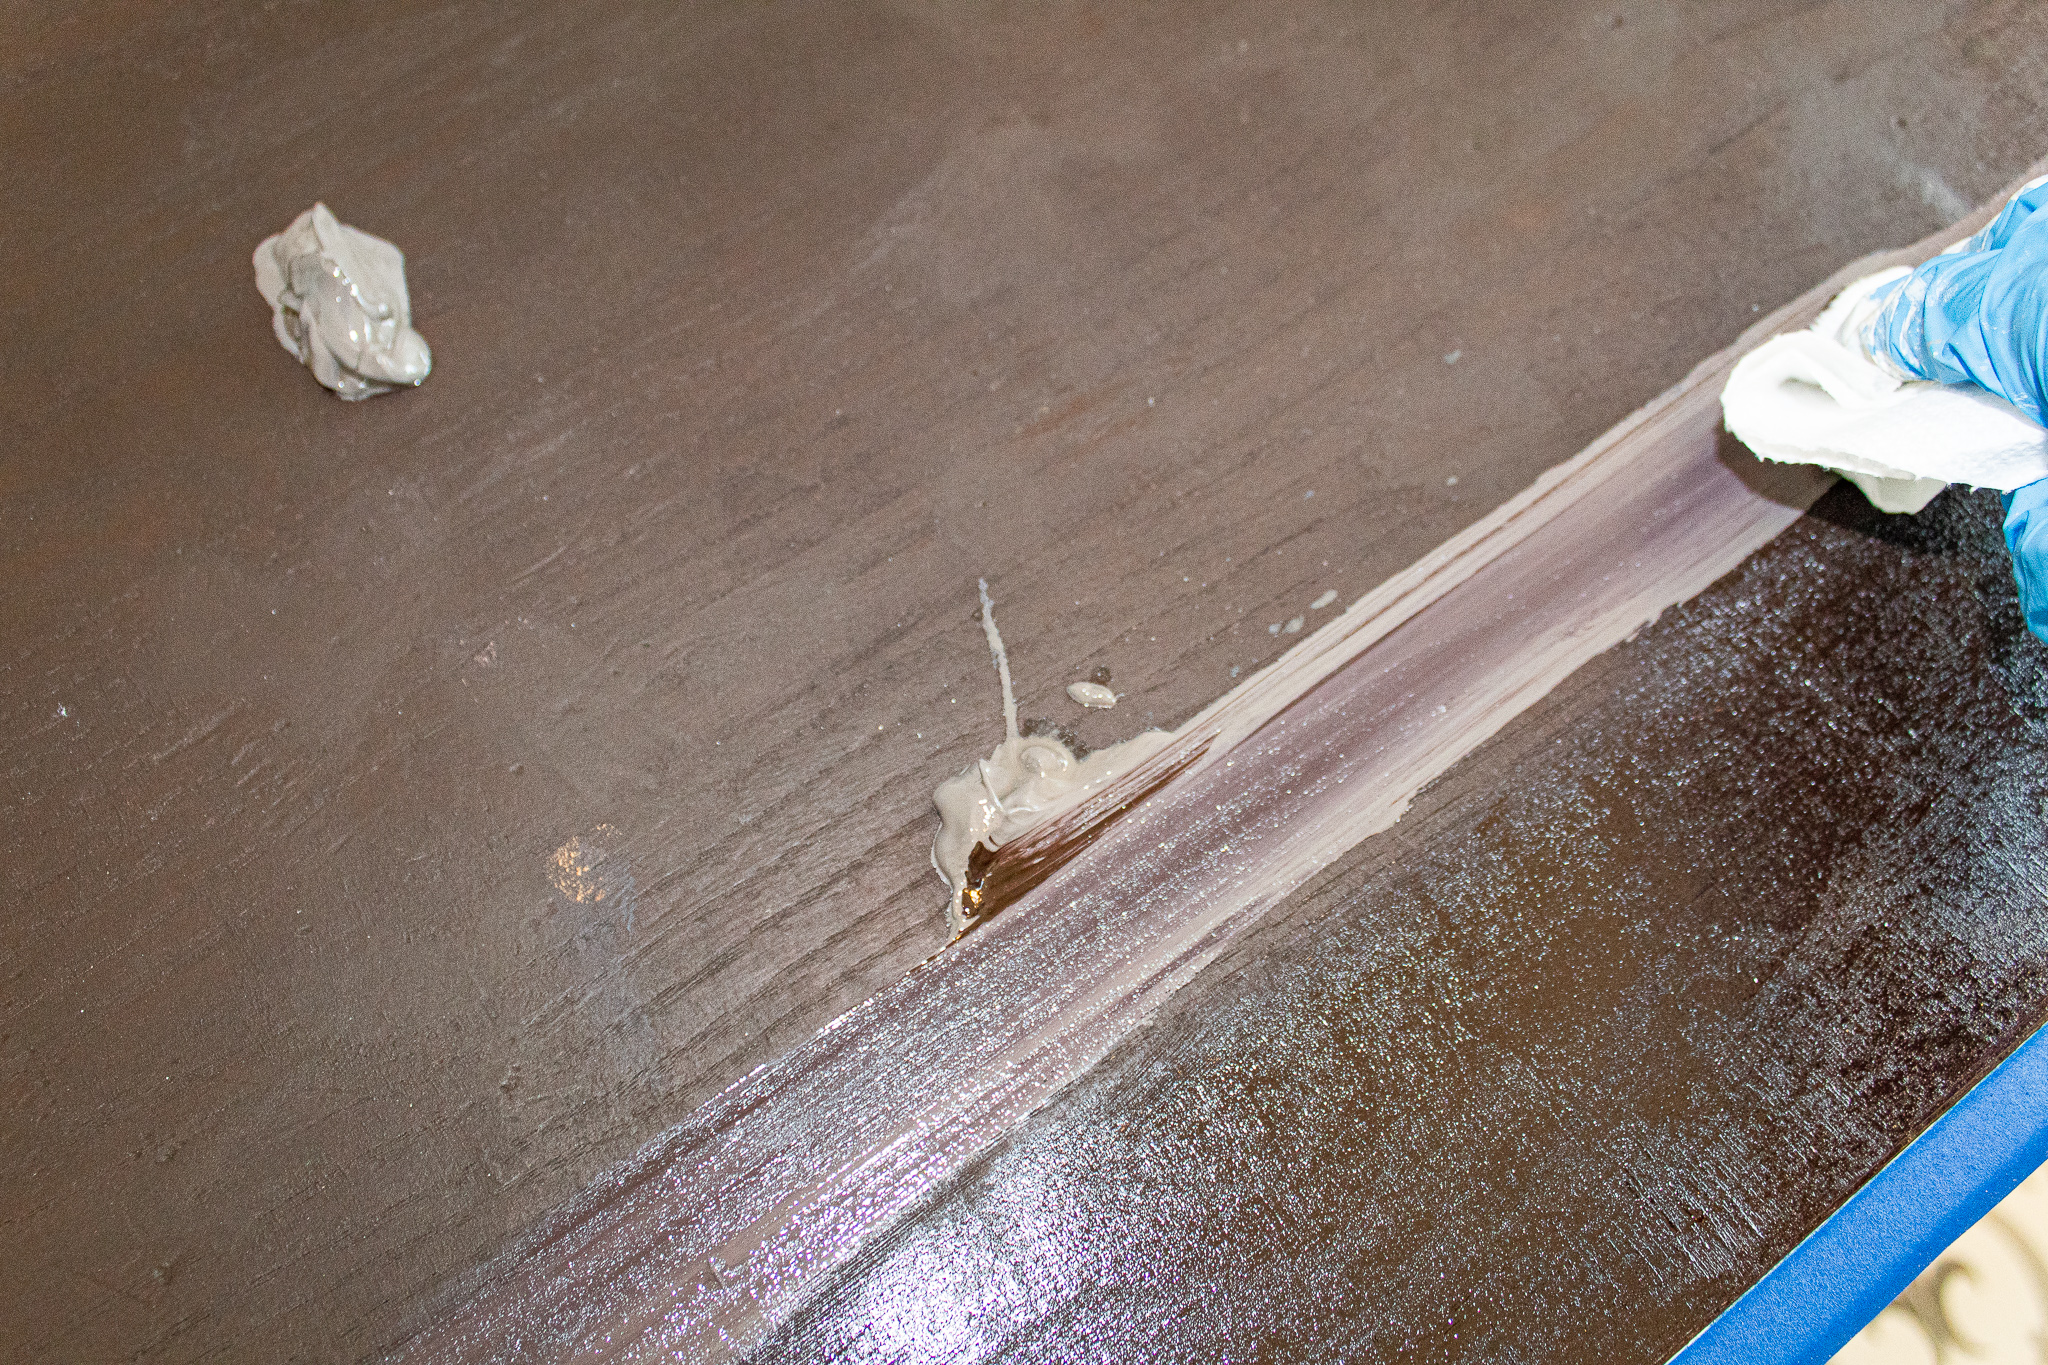
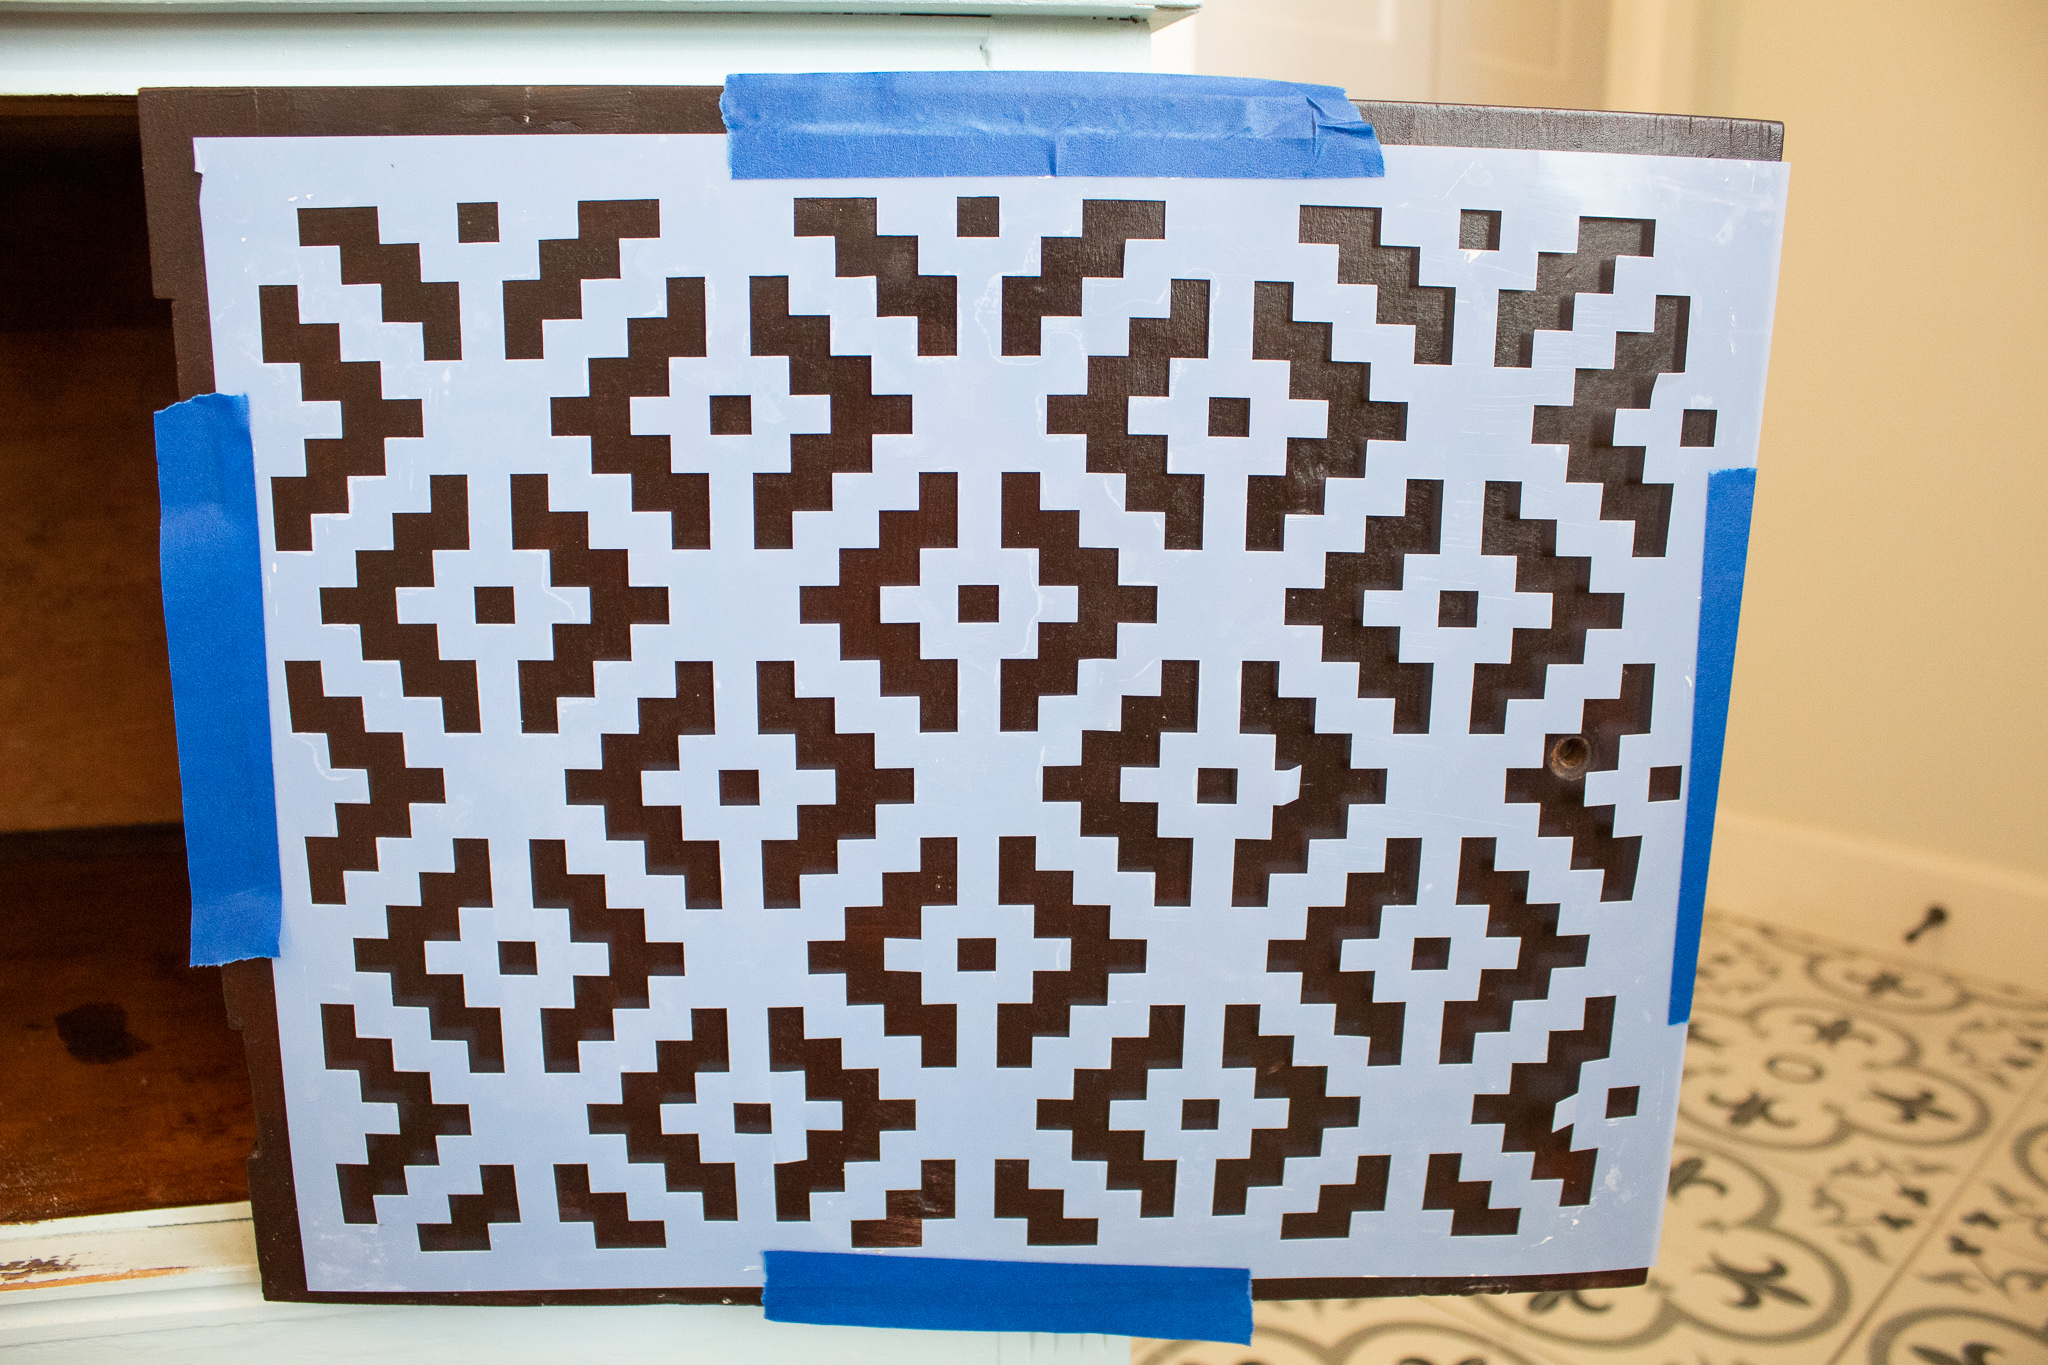
7. The first coat of gel stain was great, but I wanted to add some color detail on the top. So for a second coat, I used Espresso and Briarsmoke Gel Stains. Using two plastic spoons, I added some small globs of each color. Then with a paper towel, I spread each color in straight lines, while blending the colors at the seams.
8. This effect adds a pretty blend. You can play with the gel stain colors, adding more or less of one color to get more definition if you like.
9. The next day I added my two coats of one of my favorite clear coats, General Finishes High Performance Top Coat in Satin. I didn’t apply clear coat anywhere else. Fusion Mineral Paint has a clear coat incorporated into the paint which I LOVE!

Disclosure: Some of the links provided are affiliate links. By purchasing through these links you are supporting this family blog and the work we do and there is no extra cost to you. If you would like to read our full disclosure, click HERE.

And that’s it ladies and gents! This antique was give new legs, a face lift and a soft but stylish new look. What do you think!?? Take a look at the before and after.

For a little detail on the inside part of the door, I first stained with my Espresso Gel Stain. Then I used my Art Alchemy Vintage Gold Metallic Wax to add a pretty geometric patterned stencil.

Thank you friends for stopping by! Be well and see you soon.

Leave a Comment

Your email address will not be published. Required fields are marked *


The reCAPTCHA verification period has expired. Please reload the page.

nooksinbloom

•Creating and Making the Home Pretty
•Inspired by European & Grandmillenial Styles
•Budget-Friendly DIY’s
🙏🏽
Blog ⬇️

Jessica
Load More Follow on Instagram
Scroll to Top

Sign Up So You Never Miss A Post!

Your information will never be shared or sold to a third party.