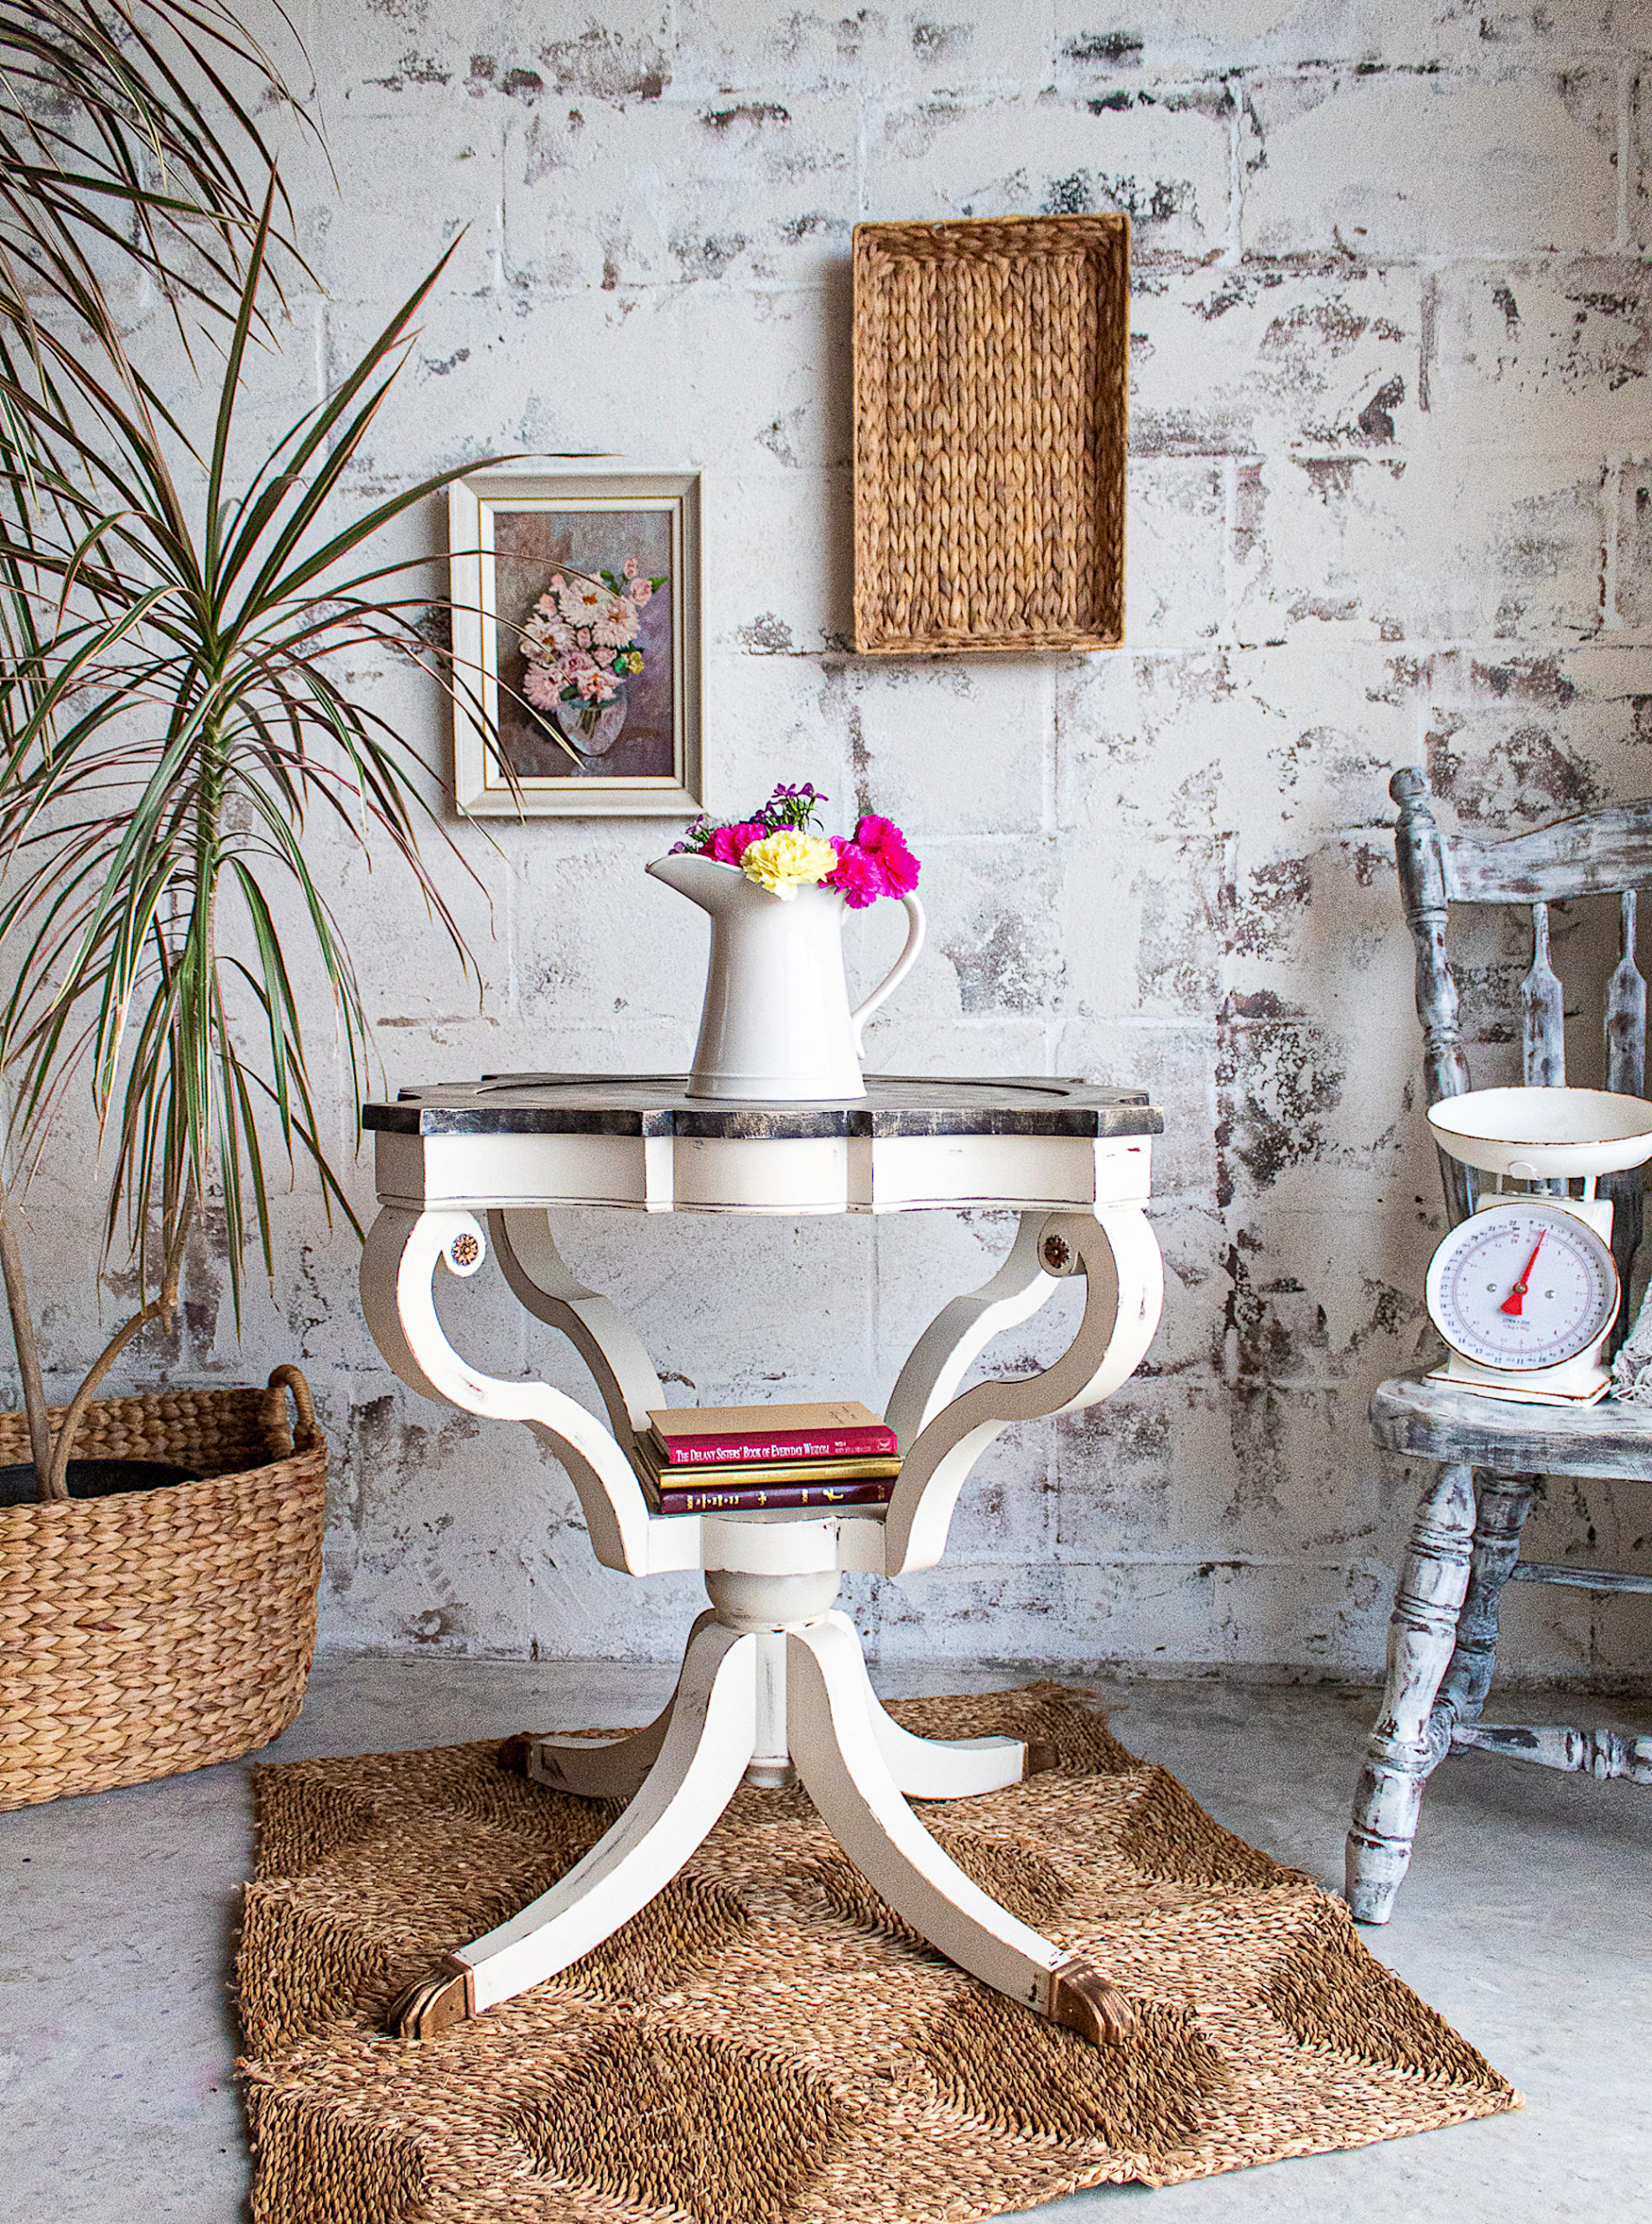
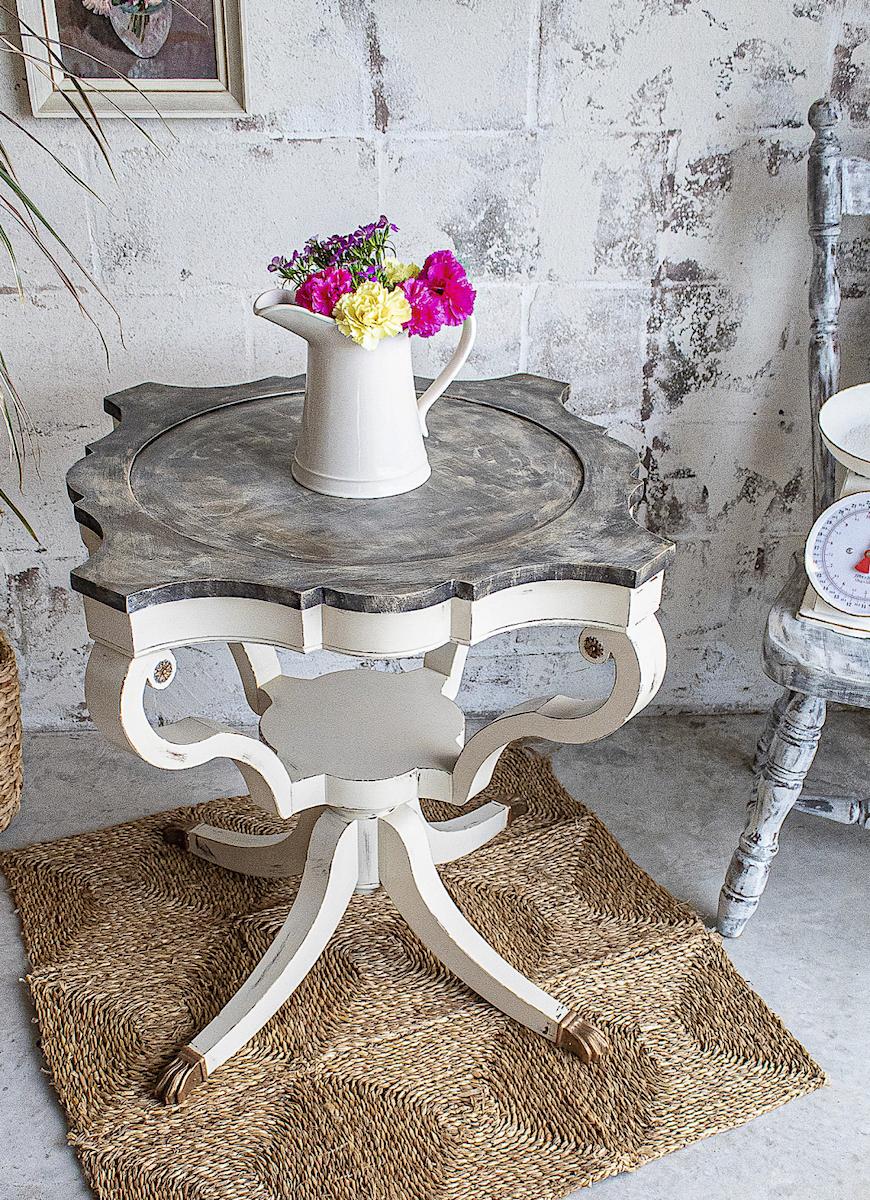
Today I’m sharing how to give your furniture pieces a farmhouse look. I would say this look can also be classified as French Country, Vintage or Coastal. I just love the soft and worn feel this renovation creates. It is simply beautiful.
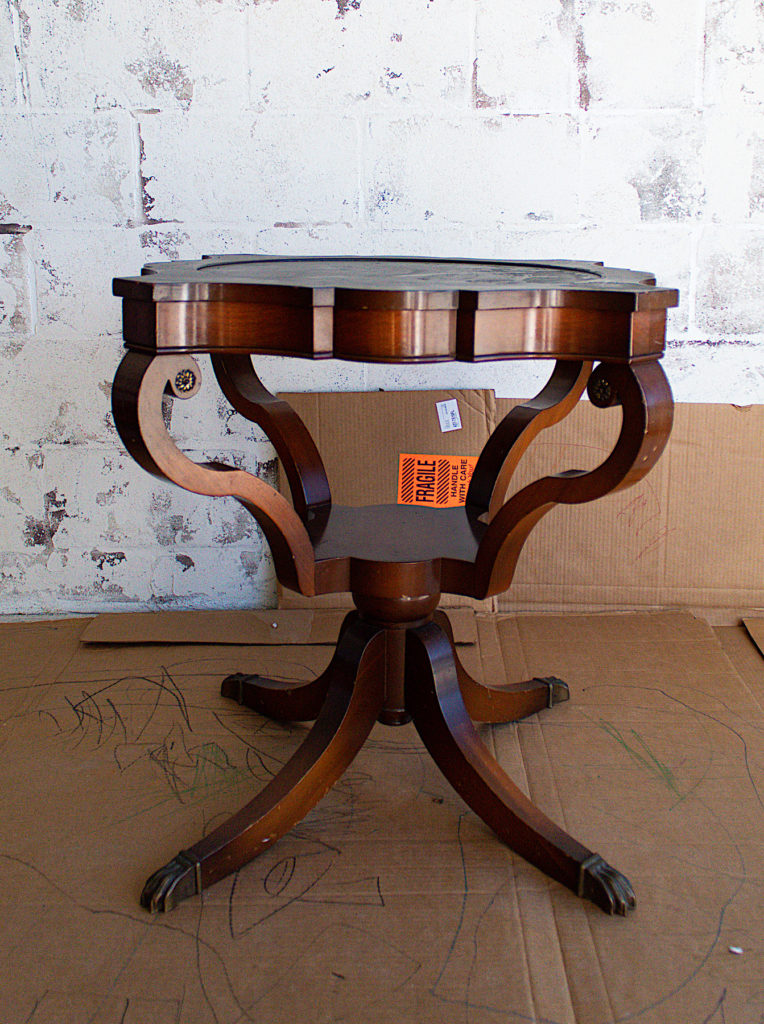
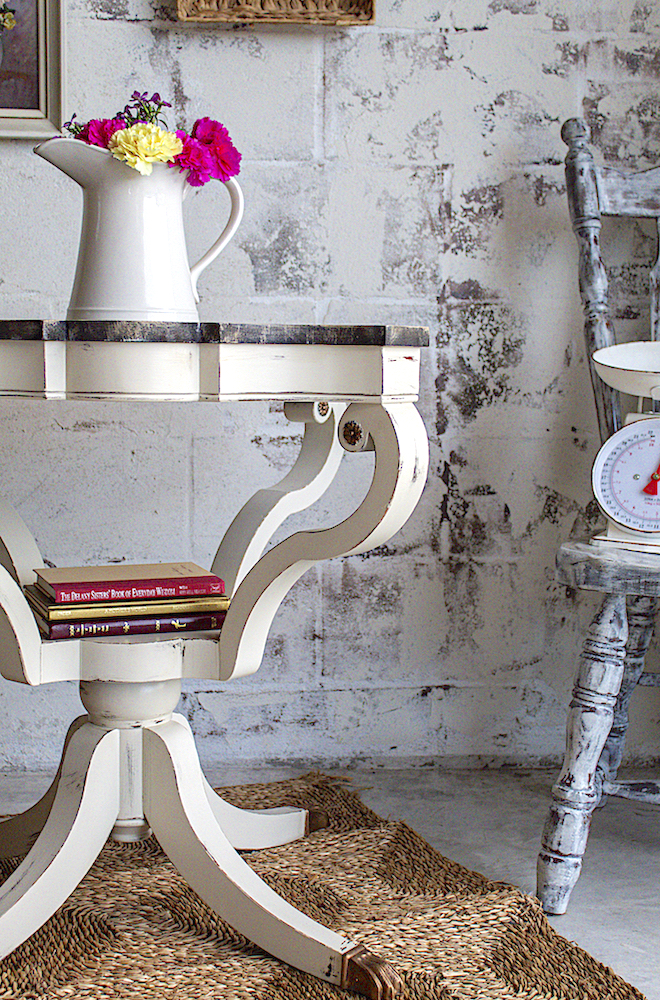
I found this drum table at a thrift store. I loved the curves and classic details. The top had some damage and there were plenty of nicks on the wood that I wood filled before painting.
Renovating The Table Top
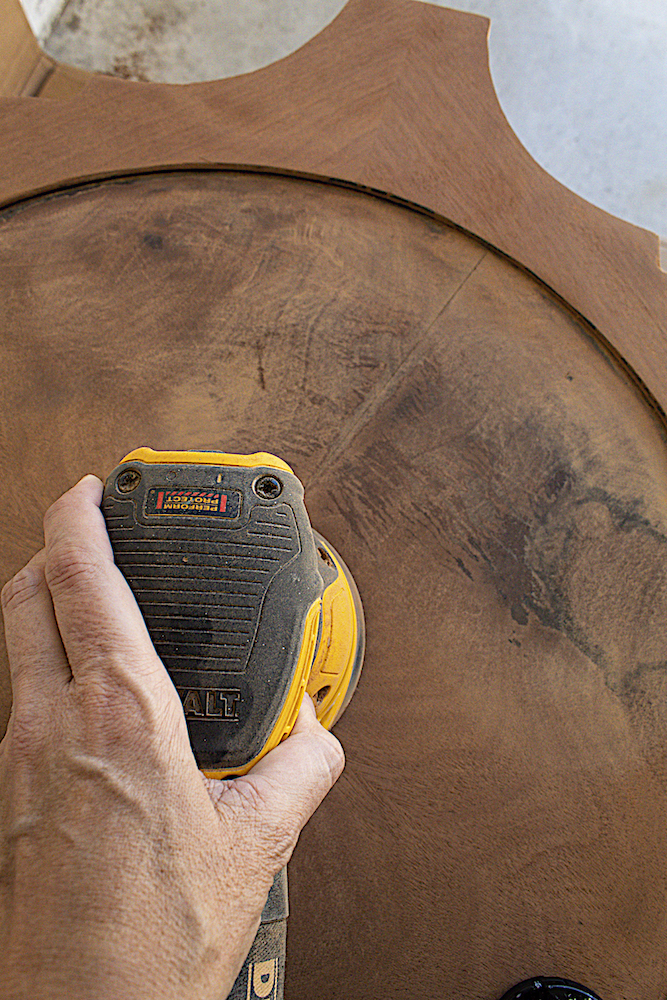
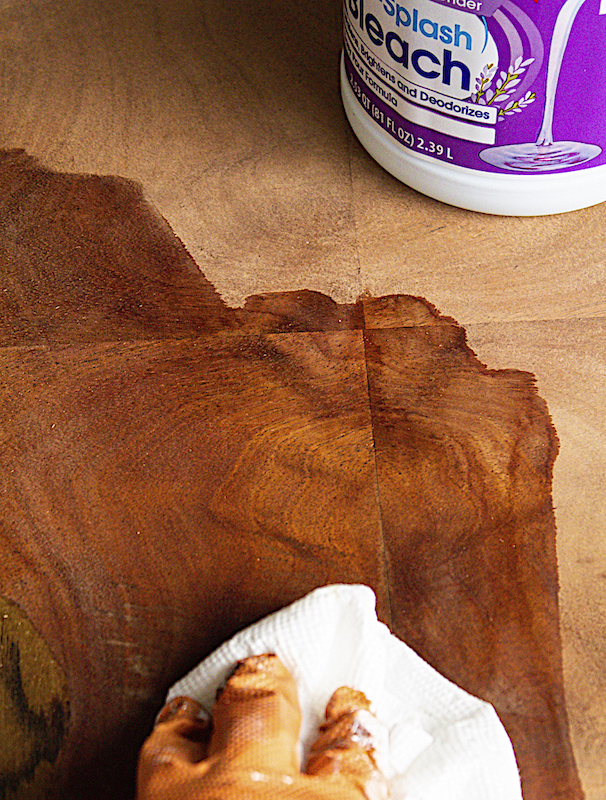
I first sanded the top layer of the table top using my orbital sander to expose the raw wood. I attempted to reduce some of the orange tannins by rubbing on some bleach using gloves and a paper towel. It helped a little but really when using dark stains this step might not be necessary.
Stain
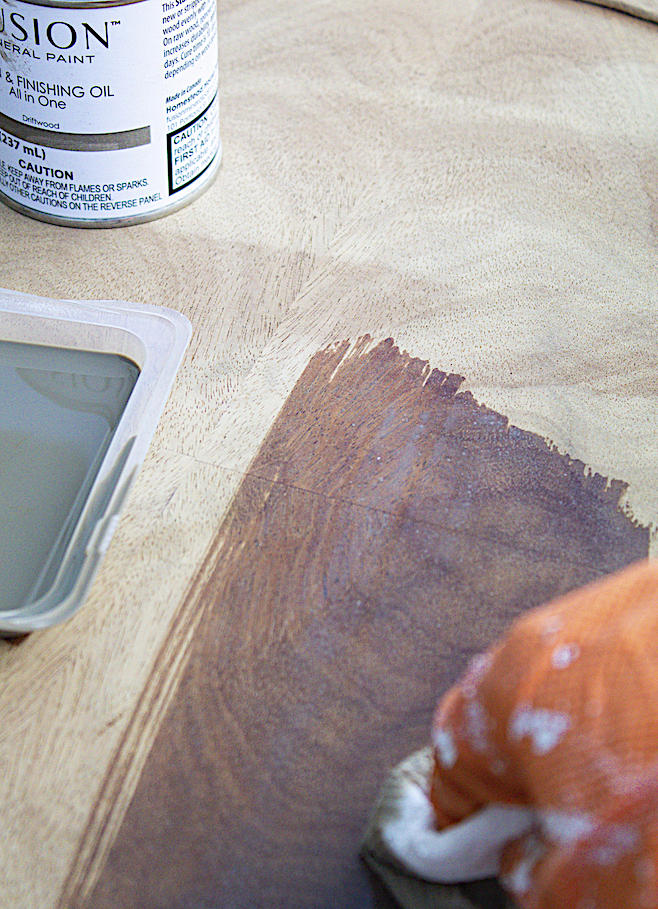
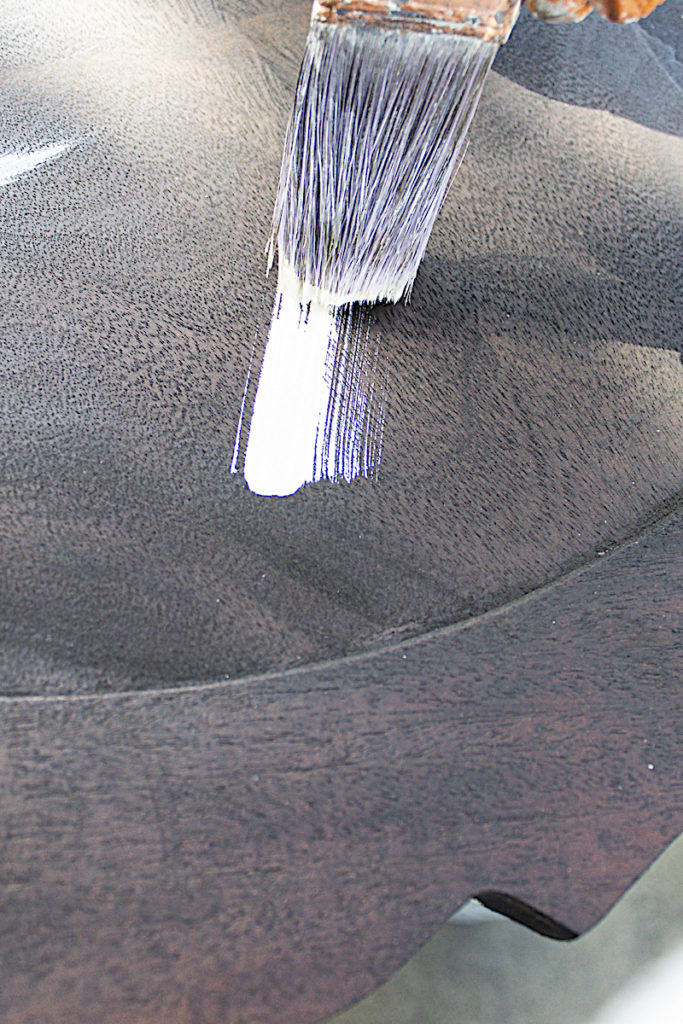
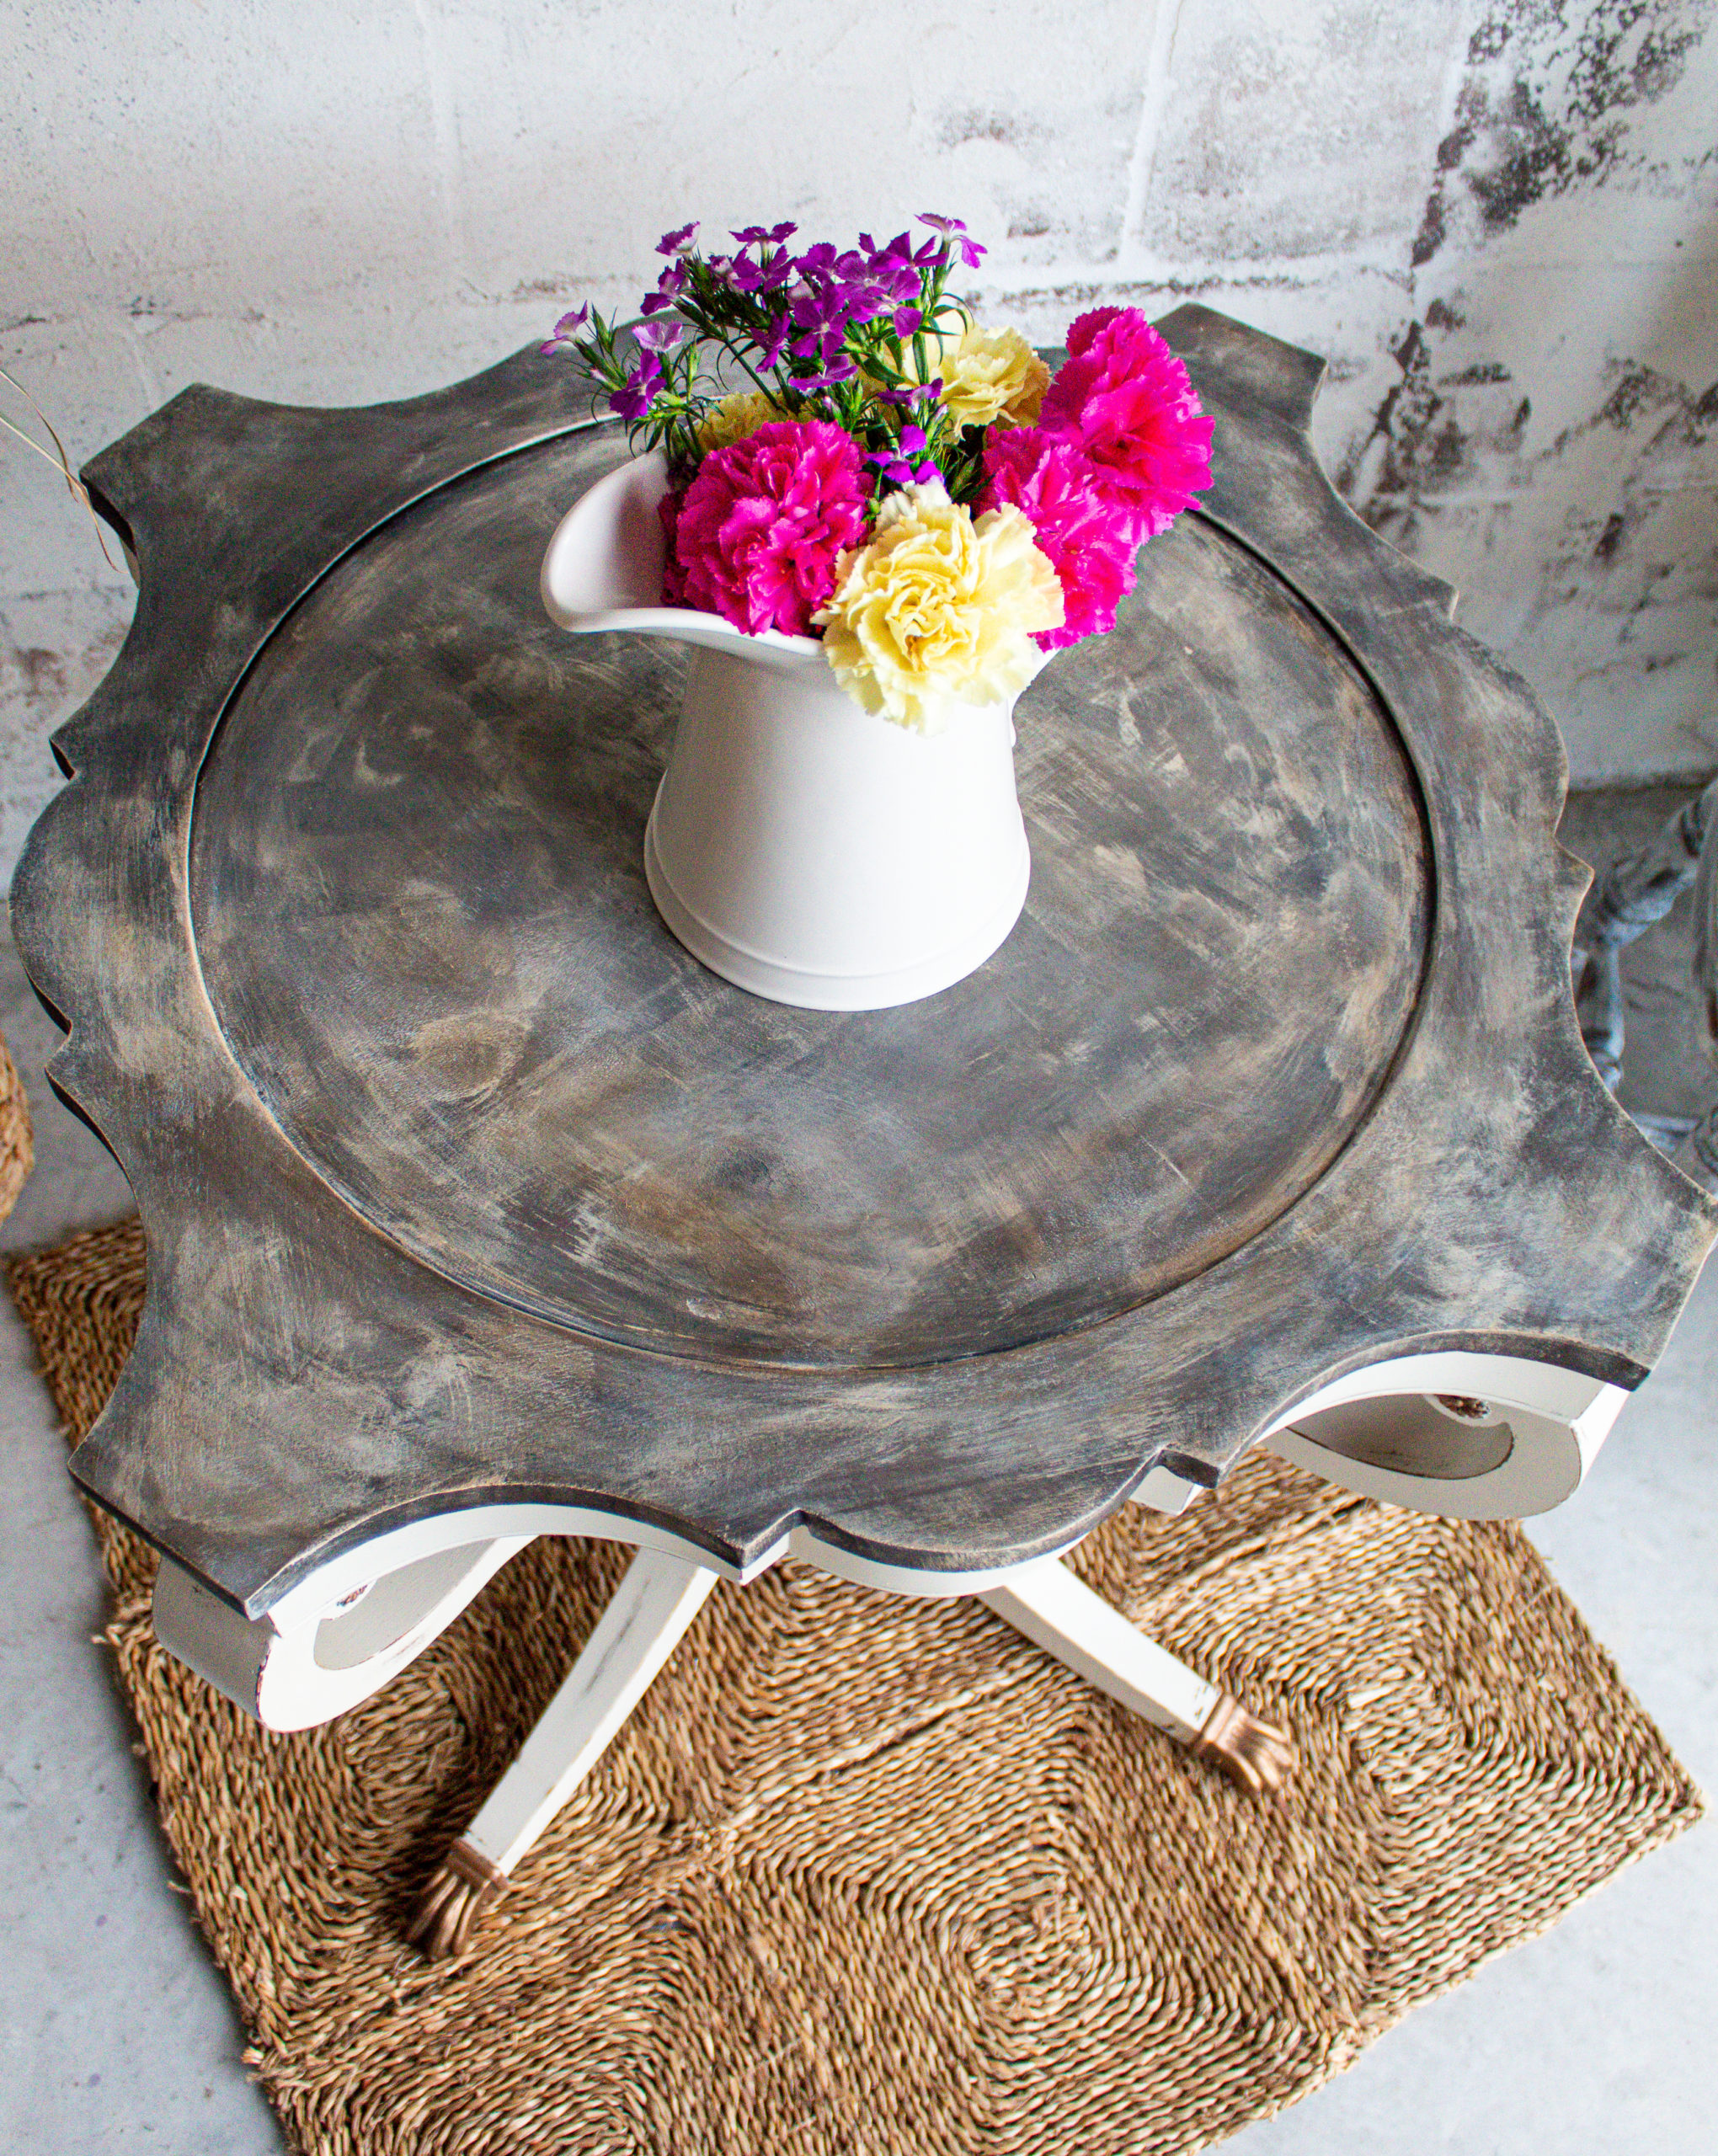
I regularly play with stain colors on my wood surfaces. I like to see what hues can result by layering different stains. I first applied a coat of Fusion Mineral Paint’s Driftwood Stain & Finishing Oil. I was hoping the gray would tame some of the orange.
I think this is a lovely stain but maybe not potent enough for the aged pigments in the wood of this table. It helped to mask some of the orange but it didn’t add much of a gray tone. Below is the picture of the table top after one coat of the Driftwood stain.
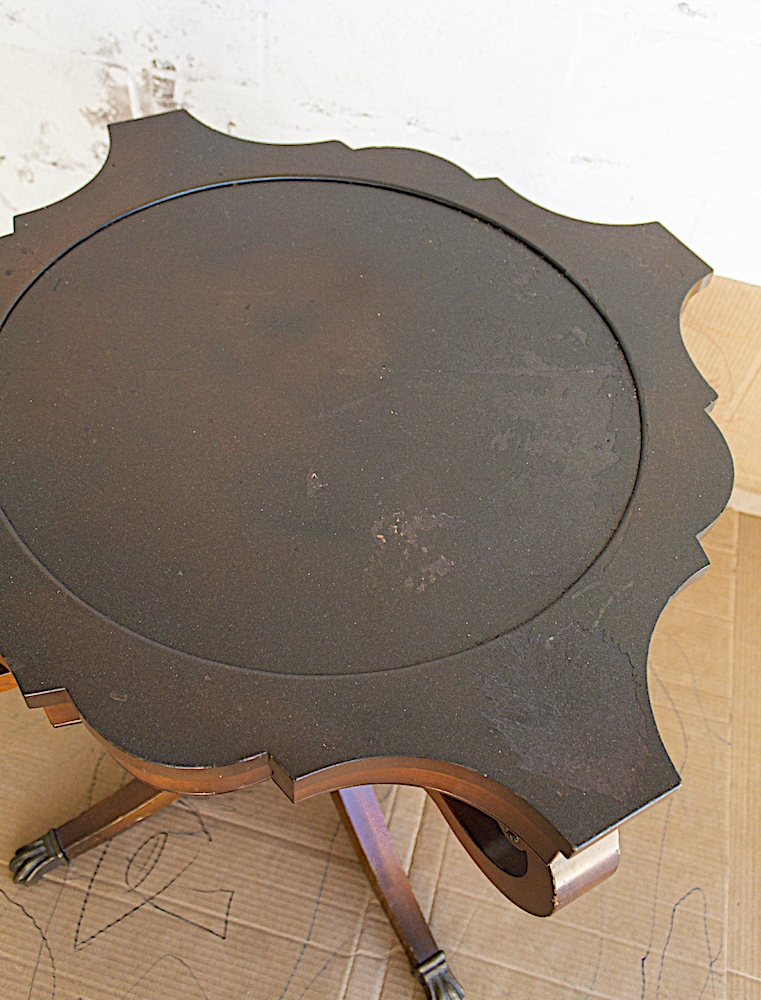
You can see the damage of the table top in the picture. I will show you in the next few steps how I used the imperfections to create beautiful character.
Second Stain Color
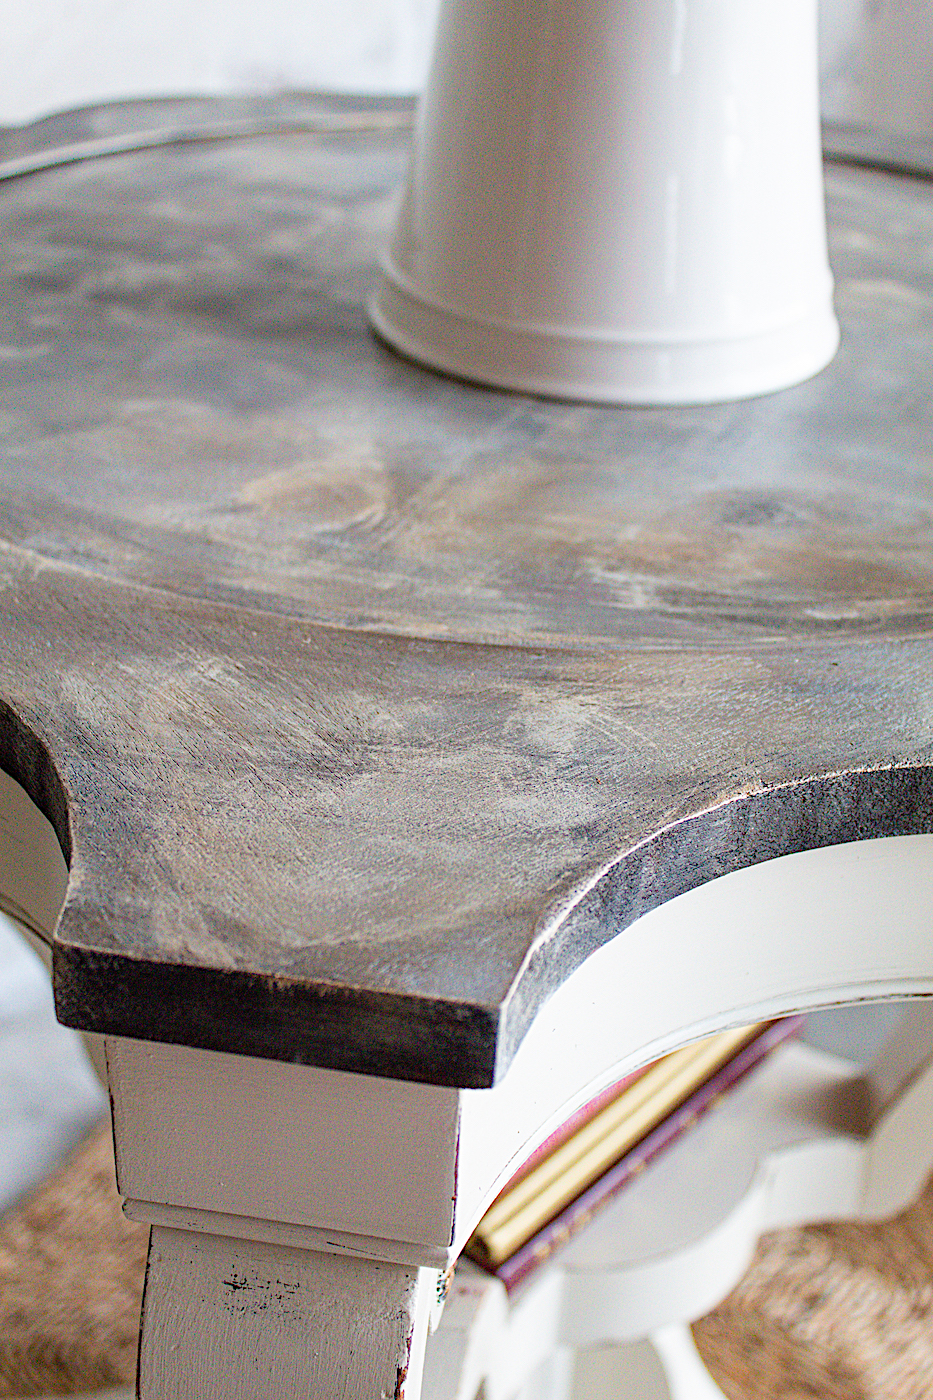
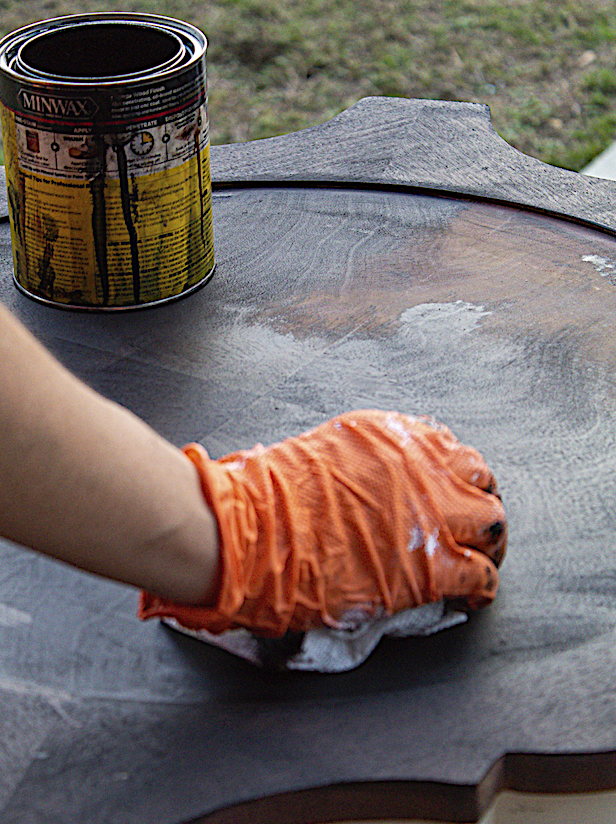
I couldn’t wait to try my ebony stain on this table top. I thought the dark contrast with the white paint would be perfect for the style I was aiming for.
I’m not very patient and I typically don’t wait long between coats. Luckily the wood absorbs stain rather quickly so it’s not an issue when I add a second stain soon after my first color!
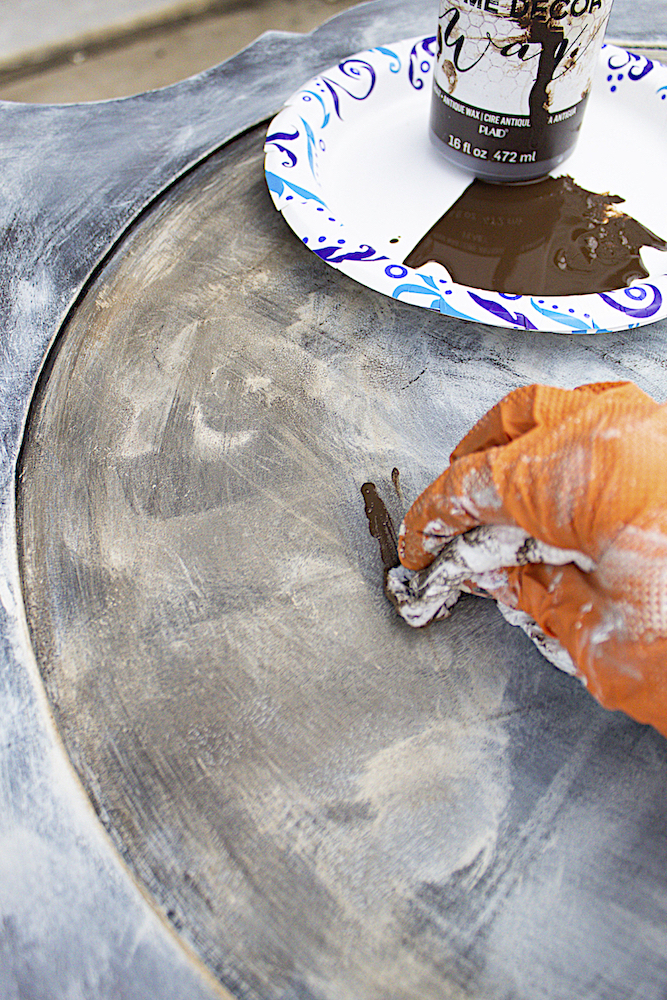
Now To Create Some Farmhouse Character
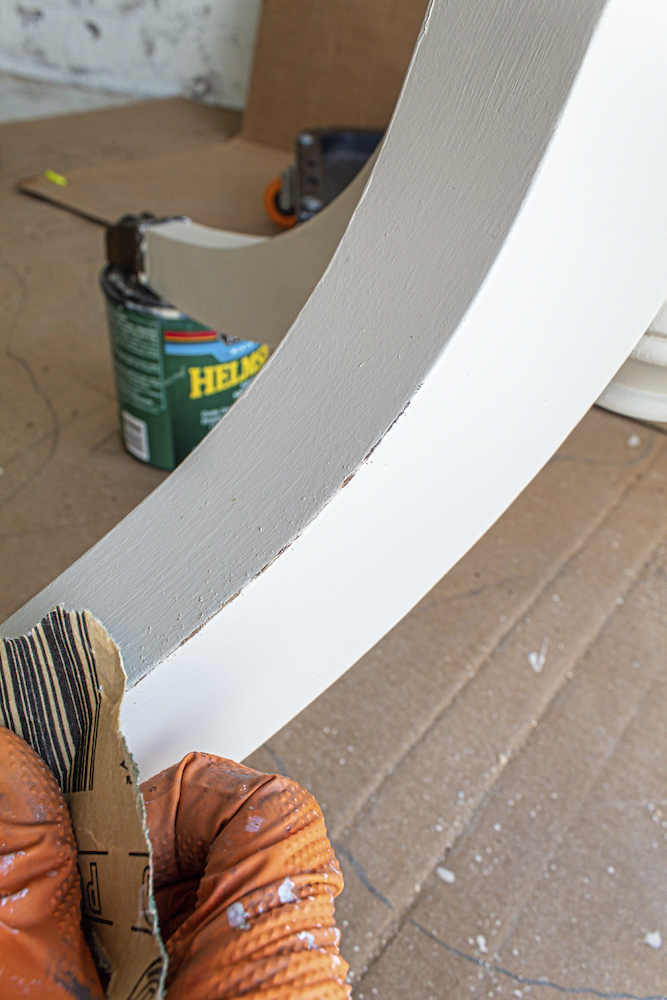
To give the table top its farmhouse appeal I decided to work with the texture of the damaged parts on the top. Dry brushing paint is a great way to pull texture out of your wood surfaces. I painted light swift strokes of my Champlain paint and I worked in small sections at a time. Going over the nicks in the wood with my brush made things look more textured and added dimension.
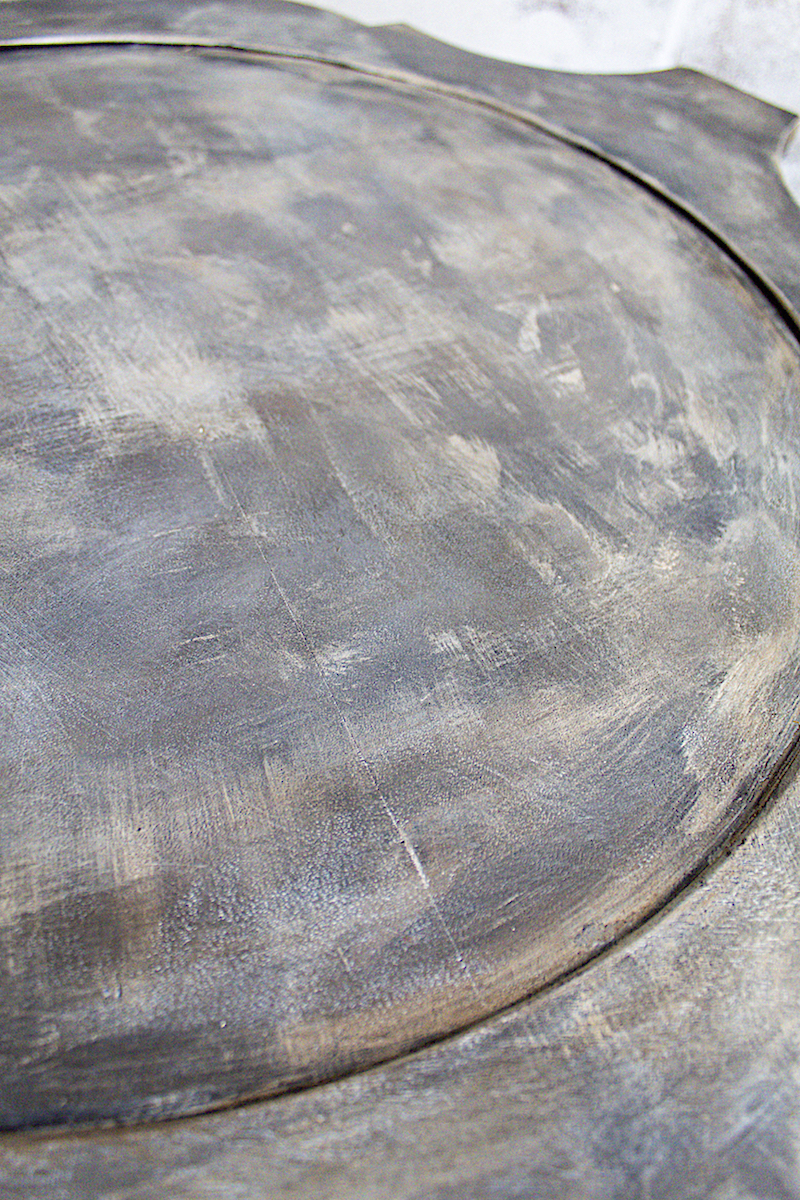
Soften Your Paint Strokes
For this look I didn’t want strong brush strokes so as soon as I painted on a couple of strokes, I would go back over them with a paper towel rubbing some of the paint off and blending it in a little. Around corners and edges I did not blend as I wanted these to be more vivid.
Make sure that you are leaving brown parts exposed. The white is only meant to soften and highlight but not to completely take over.
I also took my round chalk paint brush with a little bit of paint on it and did some light strokes in circular motions over the top. This helped to add a little more dimension and pull things together.
My secret ingredient for a fabulous finish on the top was my Folk Art Antiquing Wax. I rubbed on one coat using paper towels.
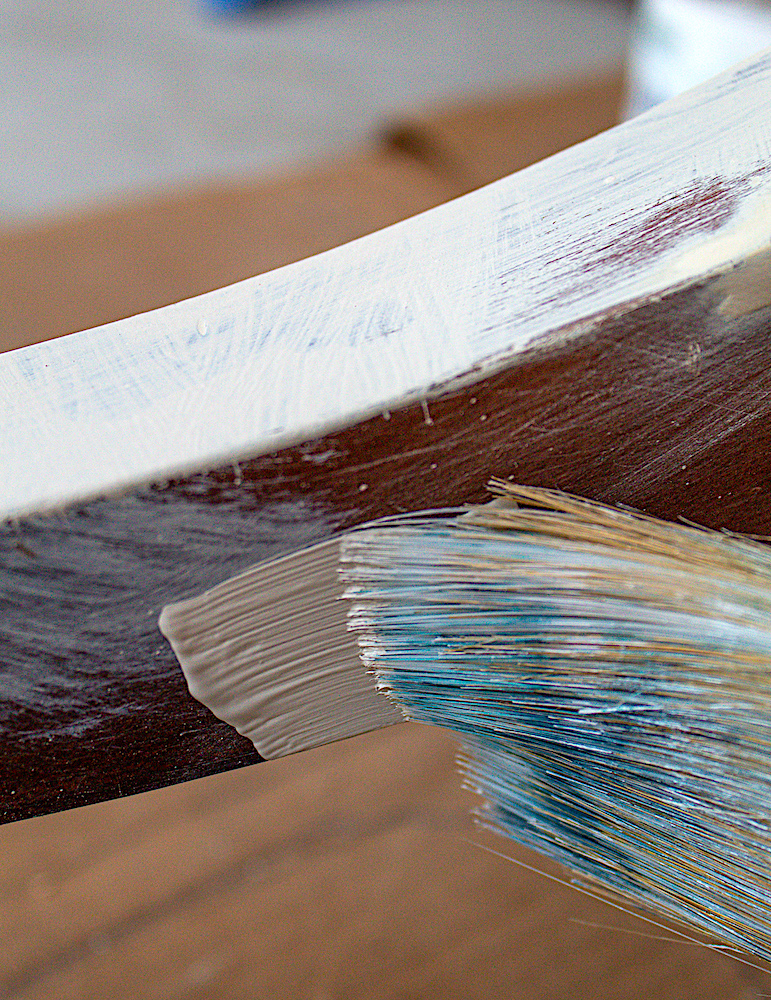
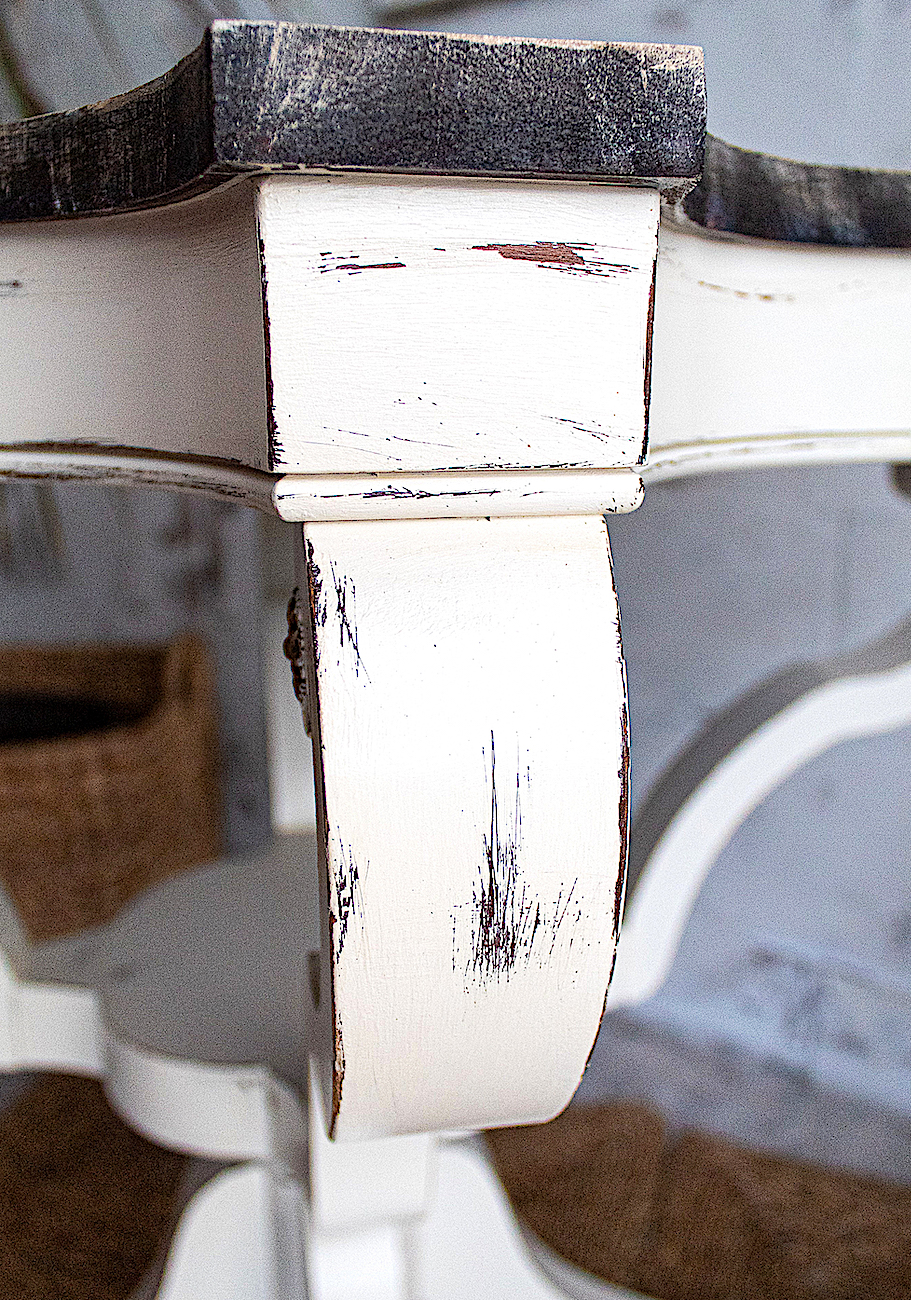
Painting the Base
I gave the entire base a rough sanding with handheld sand paper. Then I added one coat of Shellac as a primer.
For a fresh and light farmhouse feel I picked Fusion Mineral Paint’s Champlain color. I used my misting bottle to keep my paint slightly wet as I painted. Using a fine mist bottle helps to keep chalk and mineral paint moving on your surface.
Distress For Character
To add some rustic charm to this piece I decided to lightly distress the paint. I took a piece of sand paper and rubbed it along straight edges and some random parts.
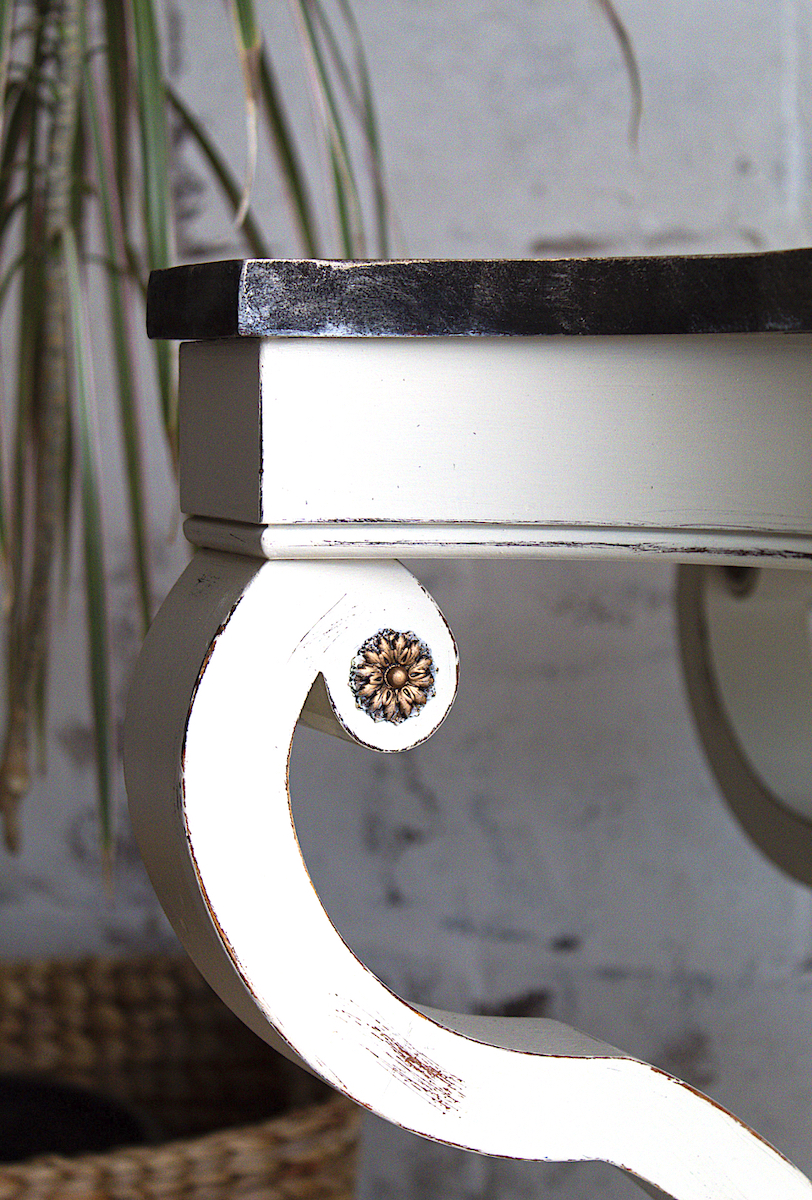
I sealed the paint on this table with one coat of satin clear coat.
For a finishing detail I rubbed some Aged Brass Metallic Wax on the feet and the medallions. The wax brought the tarnished metal back to life.
Disclosure: Some of the links provided are affiliate links. By purchasing through these links it supports this blog and the work we do and there is no extra cost to you. If you would like to read our full disclosure, click HERE.
And that is it for the transformation of this cute table. Let me know what you think in the comments below and be sure to SUBSCRIBE at the bottom of this page so you never miss a thing!