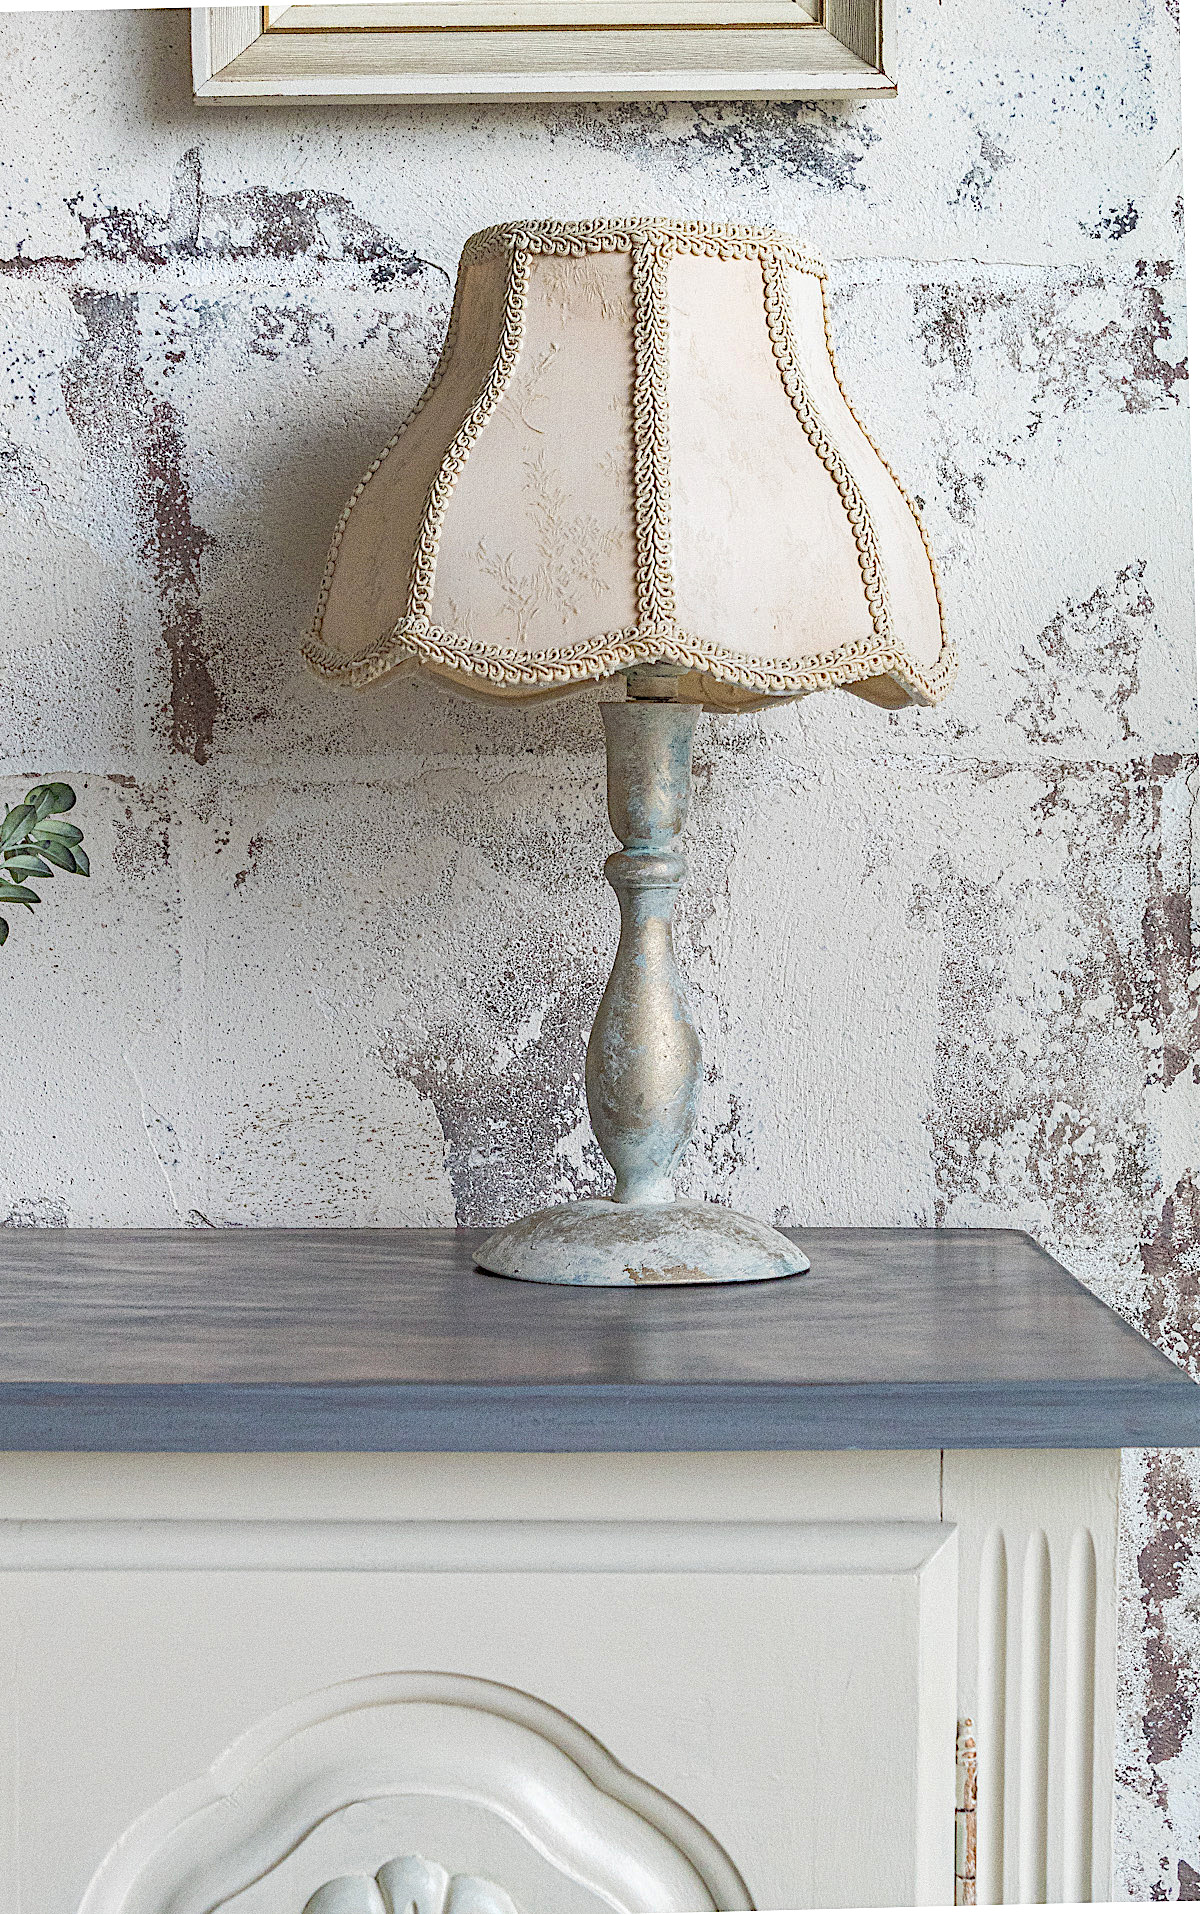
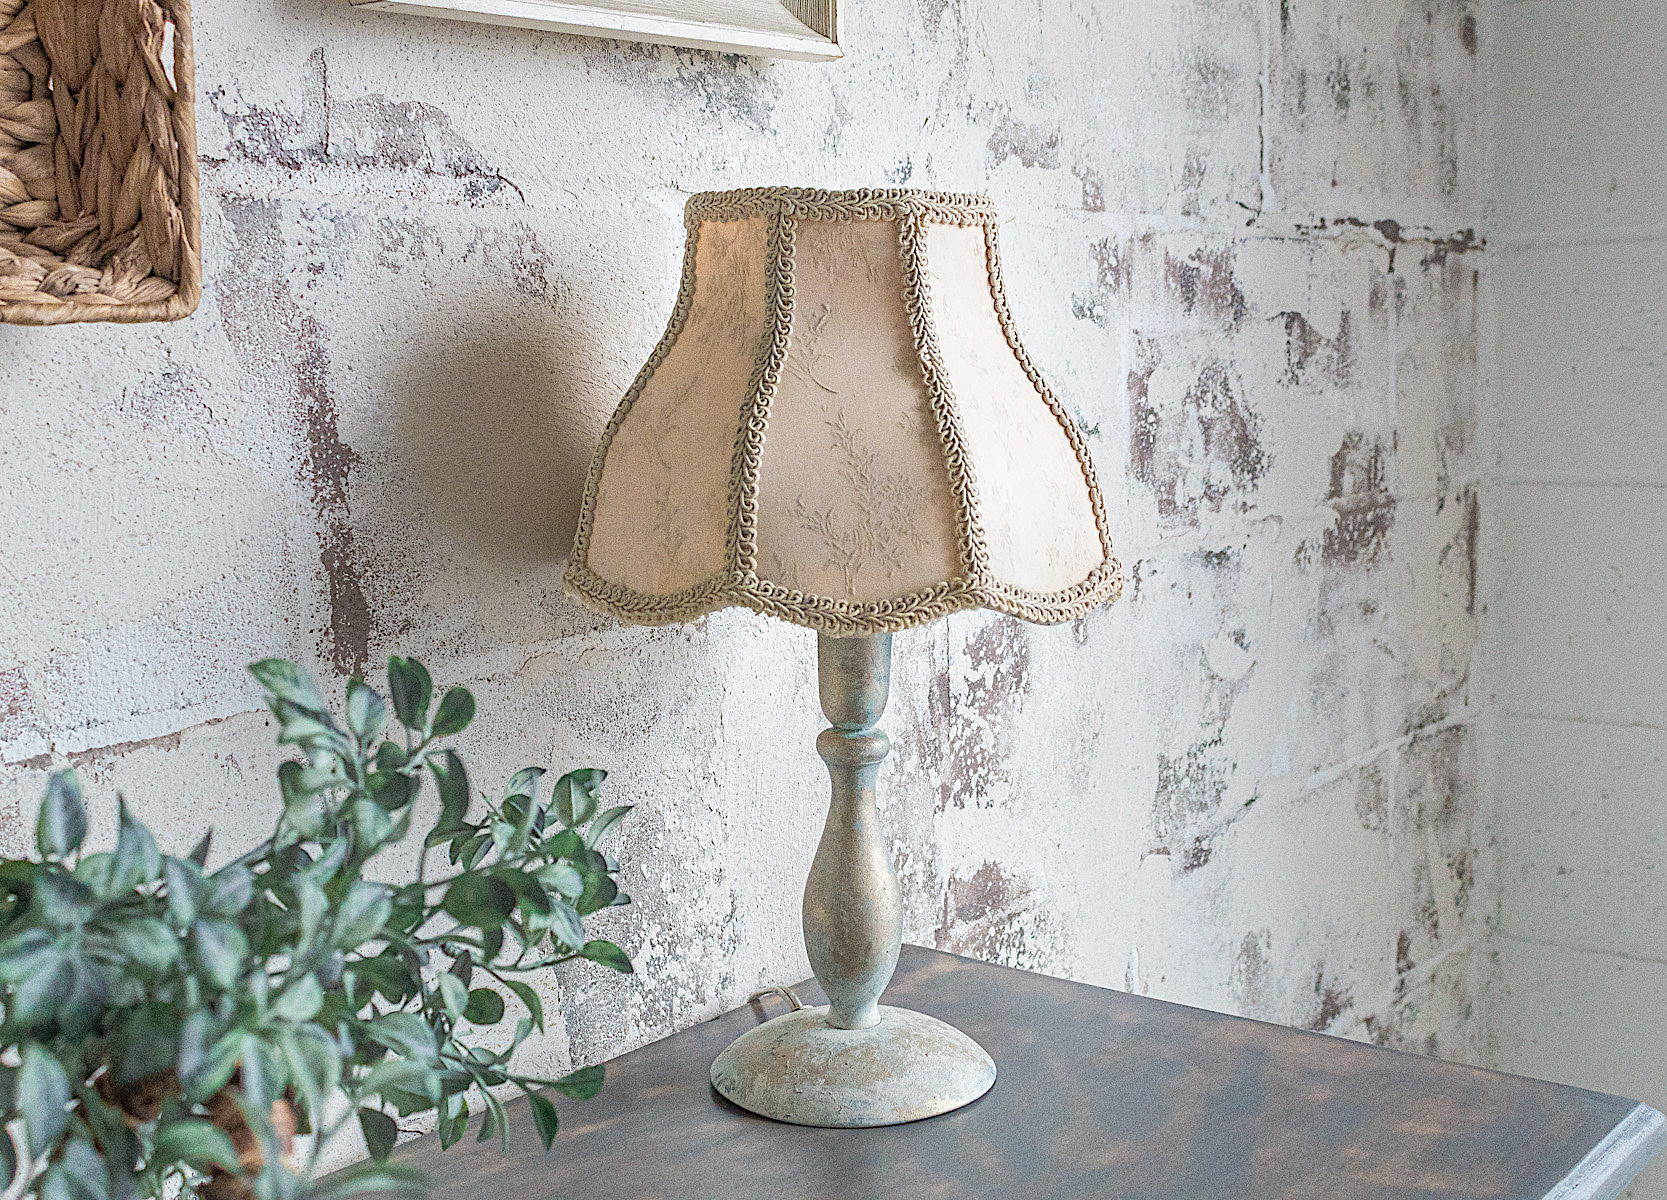
This curbside lamp had great potential for a lovely vintage renovation. She came out so beautiful and now adorns my bedside. In this tutorial I will show you how wonderfully easy it is to create this look.
Disclosure: Some of the links provided are affiliate links. By purchasing through these links it supports this blog and the work we do and there is no extra cost to you. If you would like to read our full disclosure, click HERE.
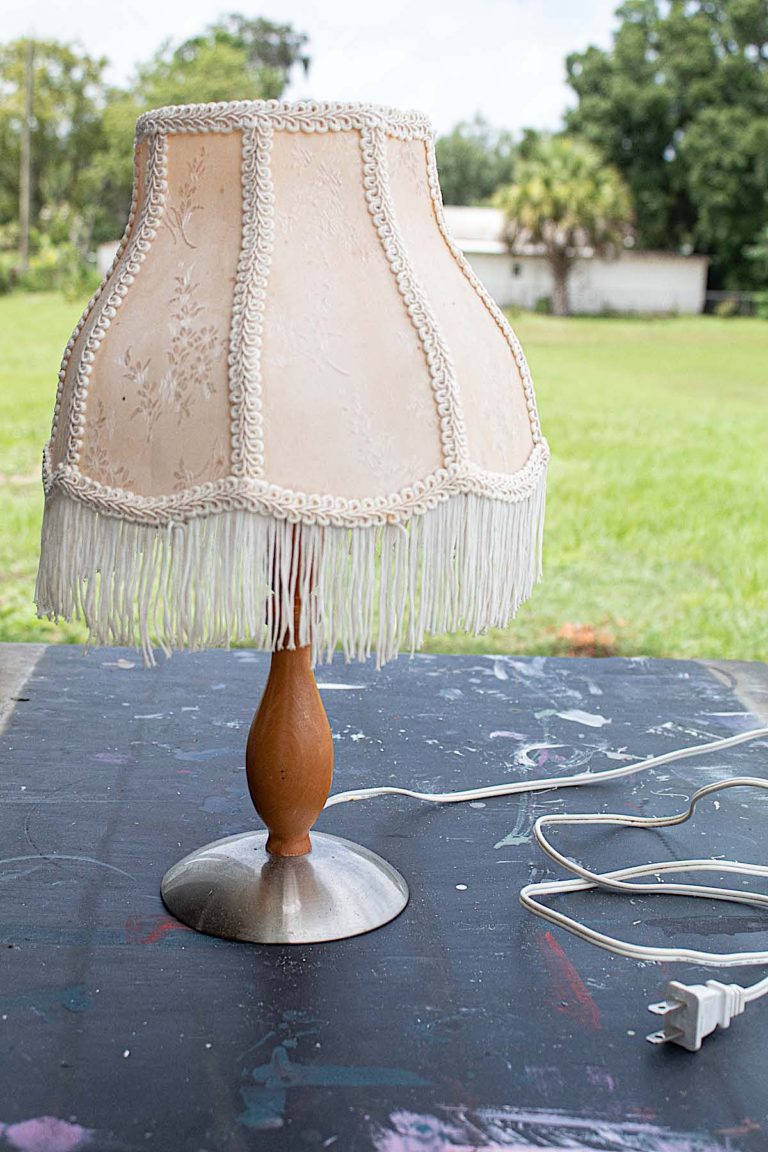
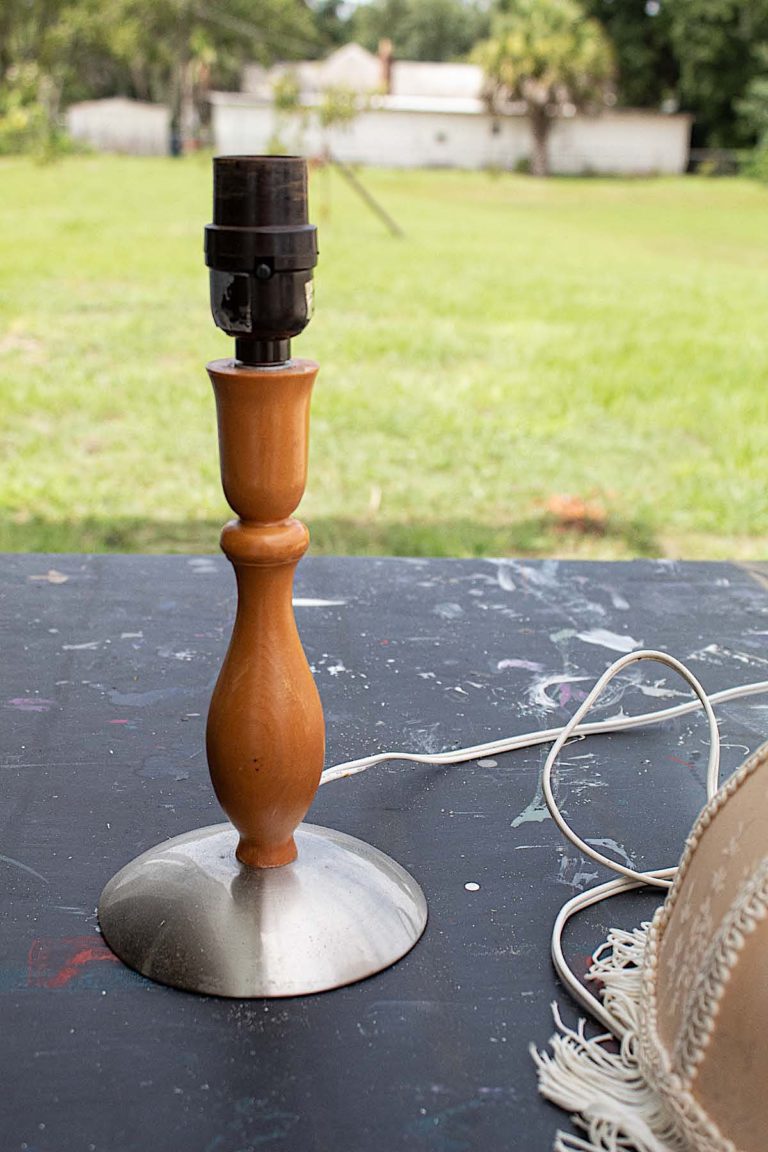
This little lamp was in fairly good shape. The shade needed a good washing and the base would get a new look.
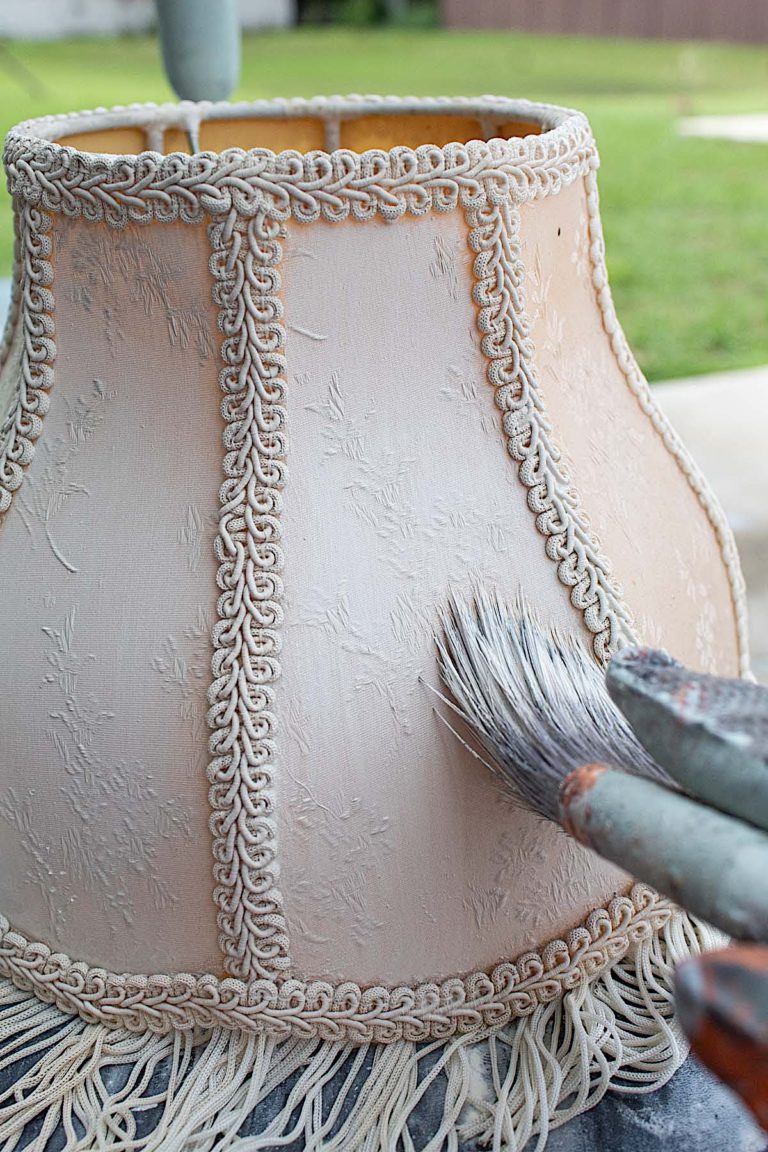
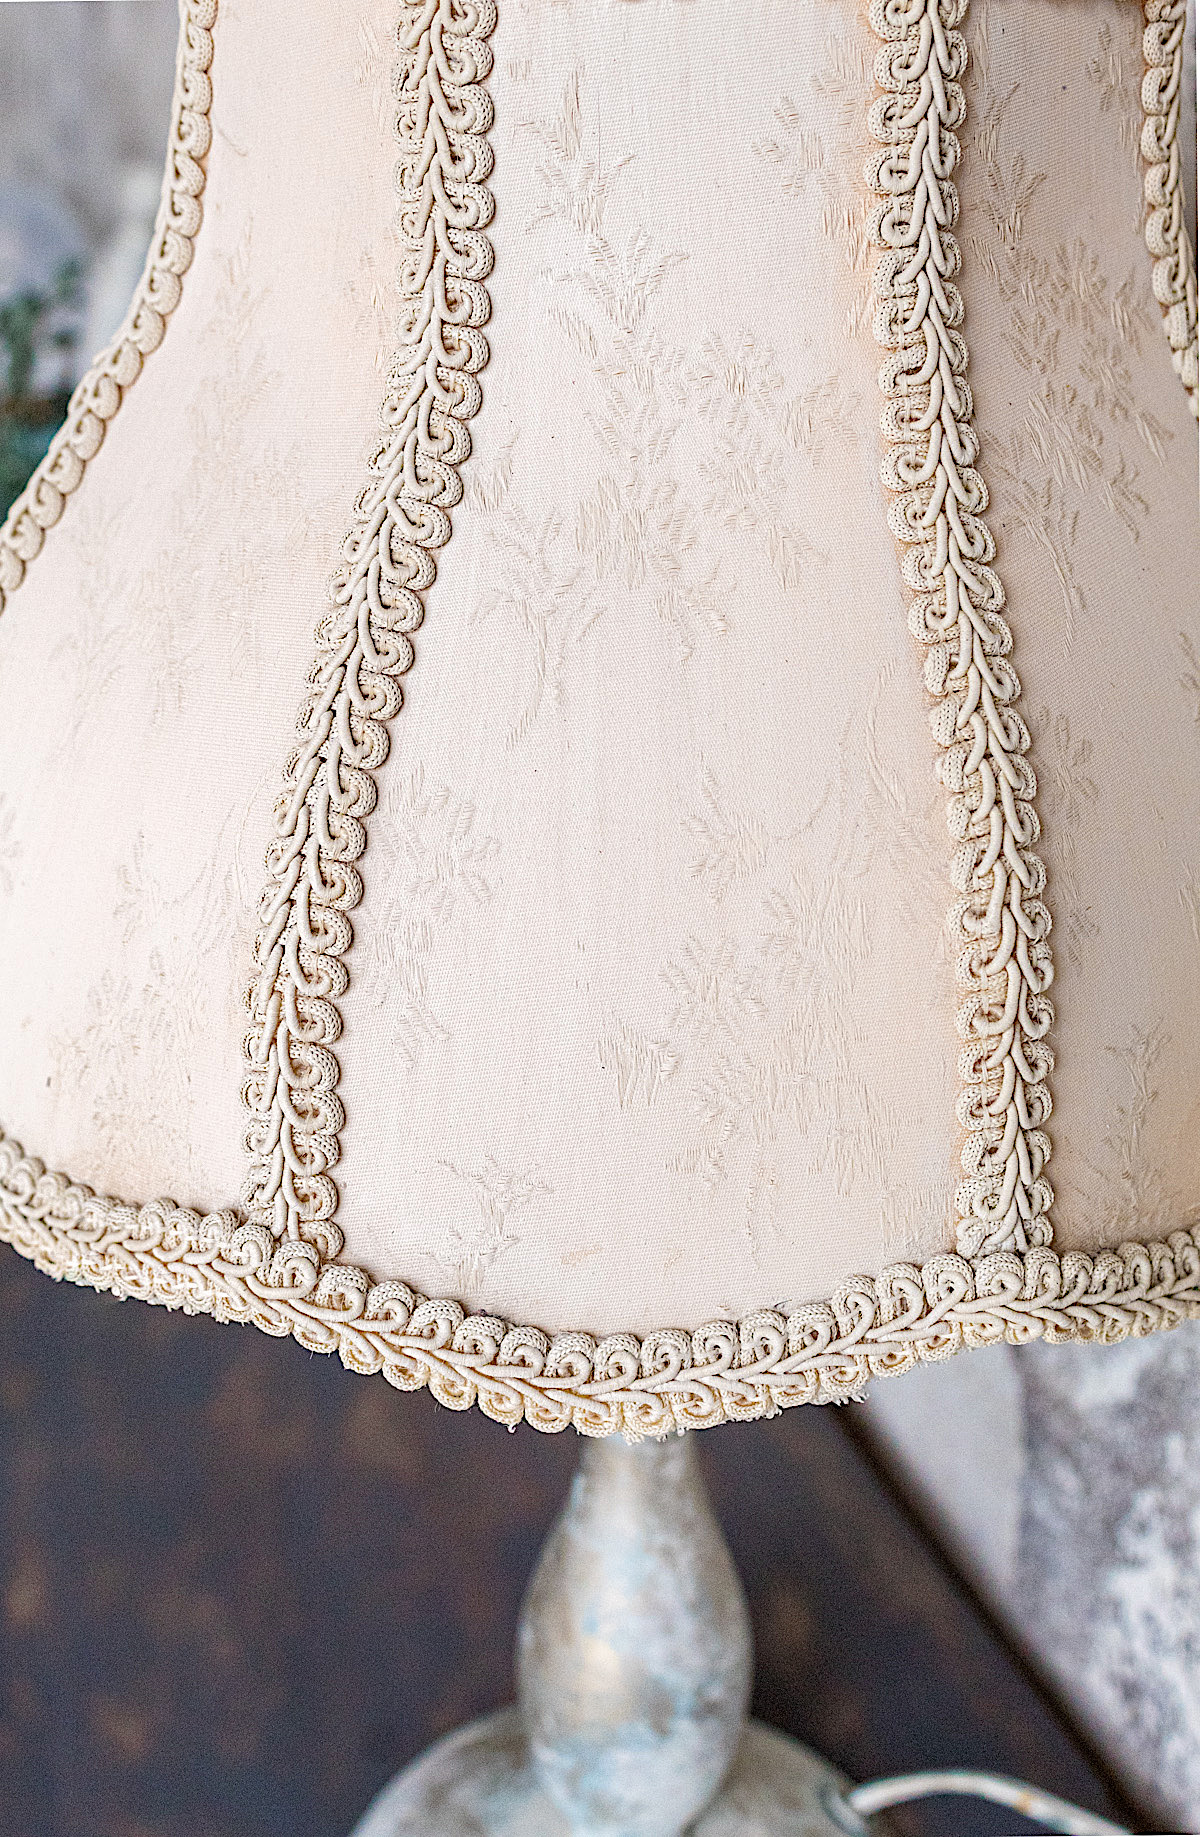
I gave the shade a good scrubbing with soap and water inside and out. Because it had an old orange tone I decided to chalk paint it for a new fresh finish.
The trick to painting fabric-type surfaces with chalk paint is to mist a lot as you go. Keep the surface wet with your misting bottle as you apply paint. I applied two coats of Fusion Mineral’s Champlain Paint on the shade.
I lightly sanded between coats and after the final coat to soften the chalk paint feel.
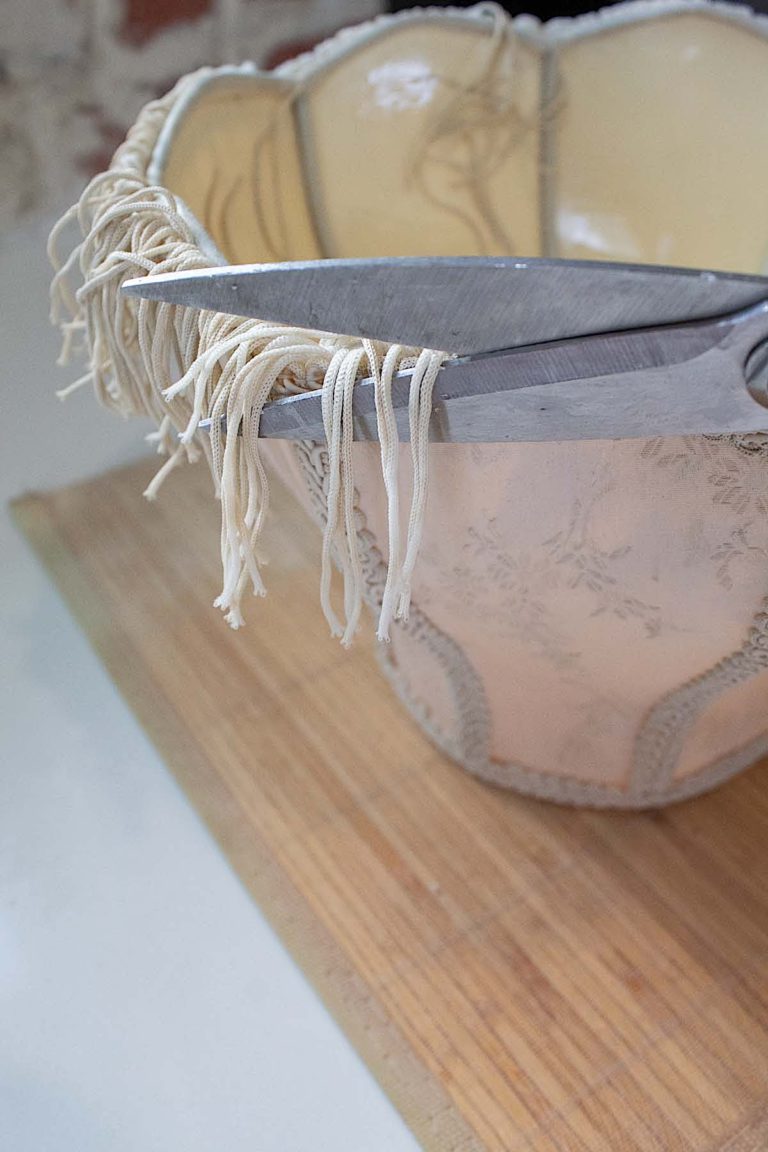
I decided to cut off the tassles with some kitchen scissors. They weren’t in the cleanest of states.
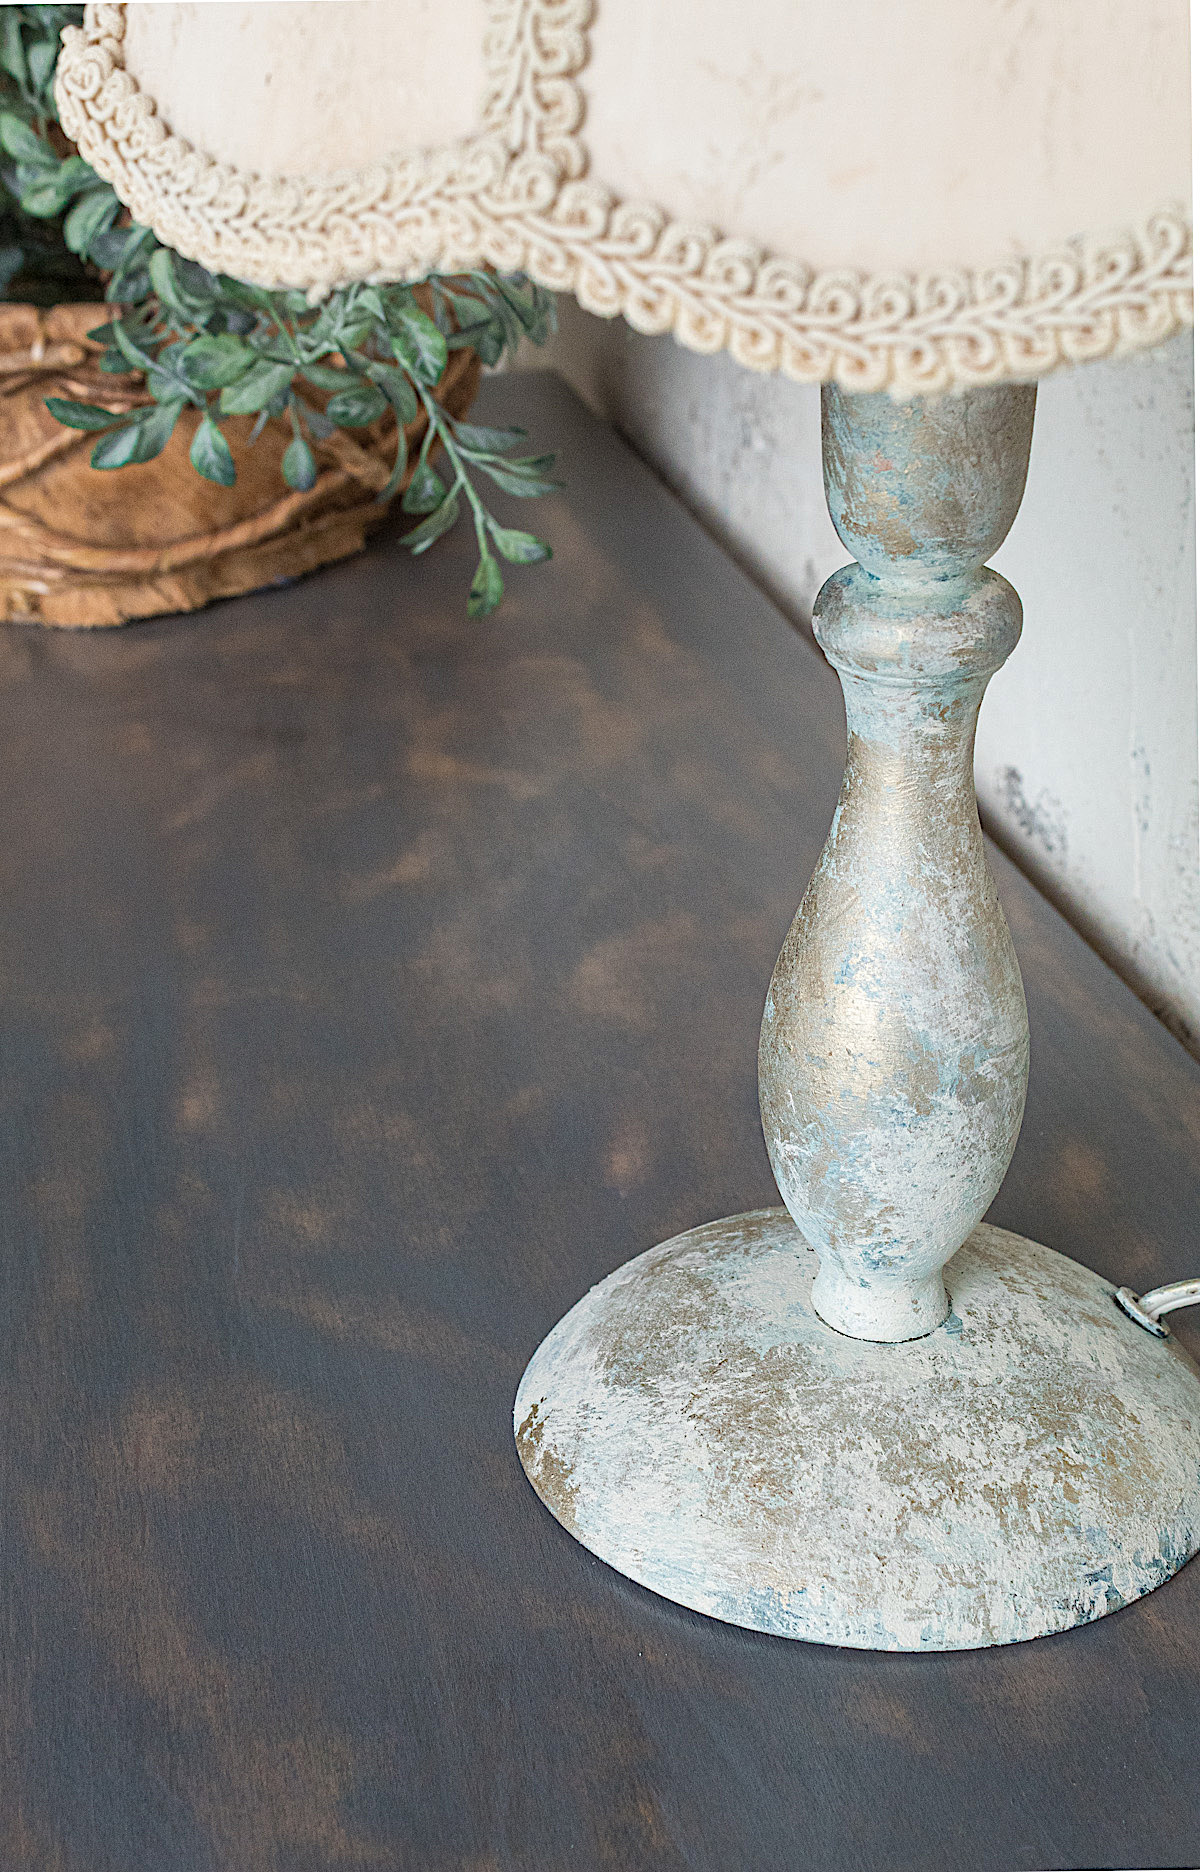
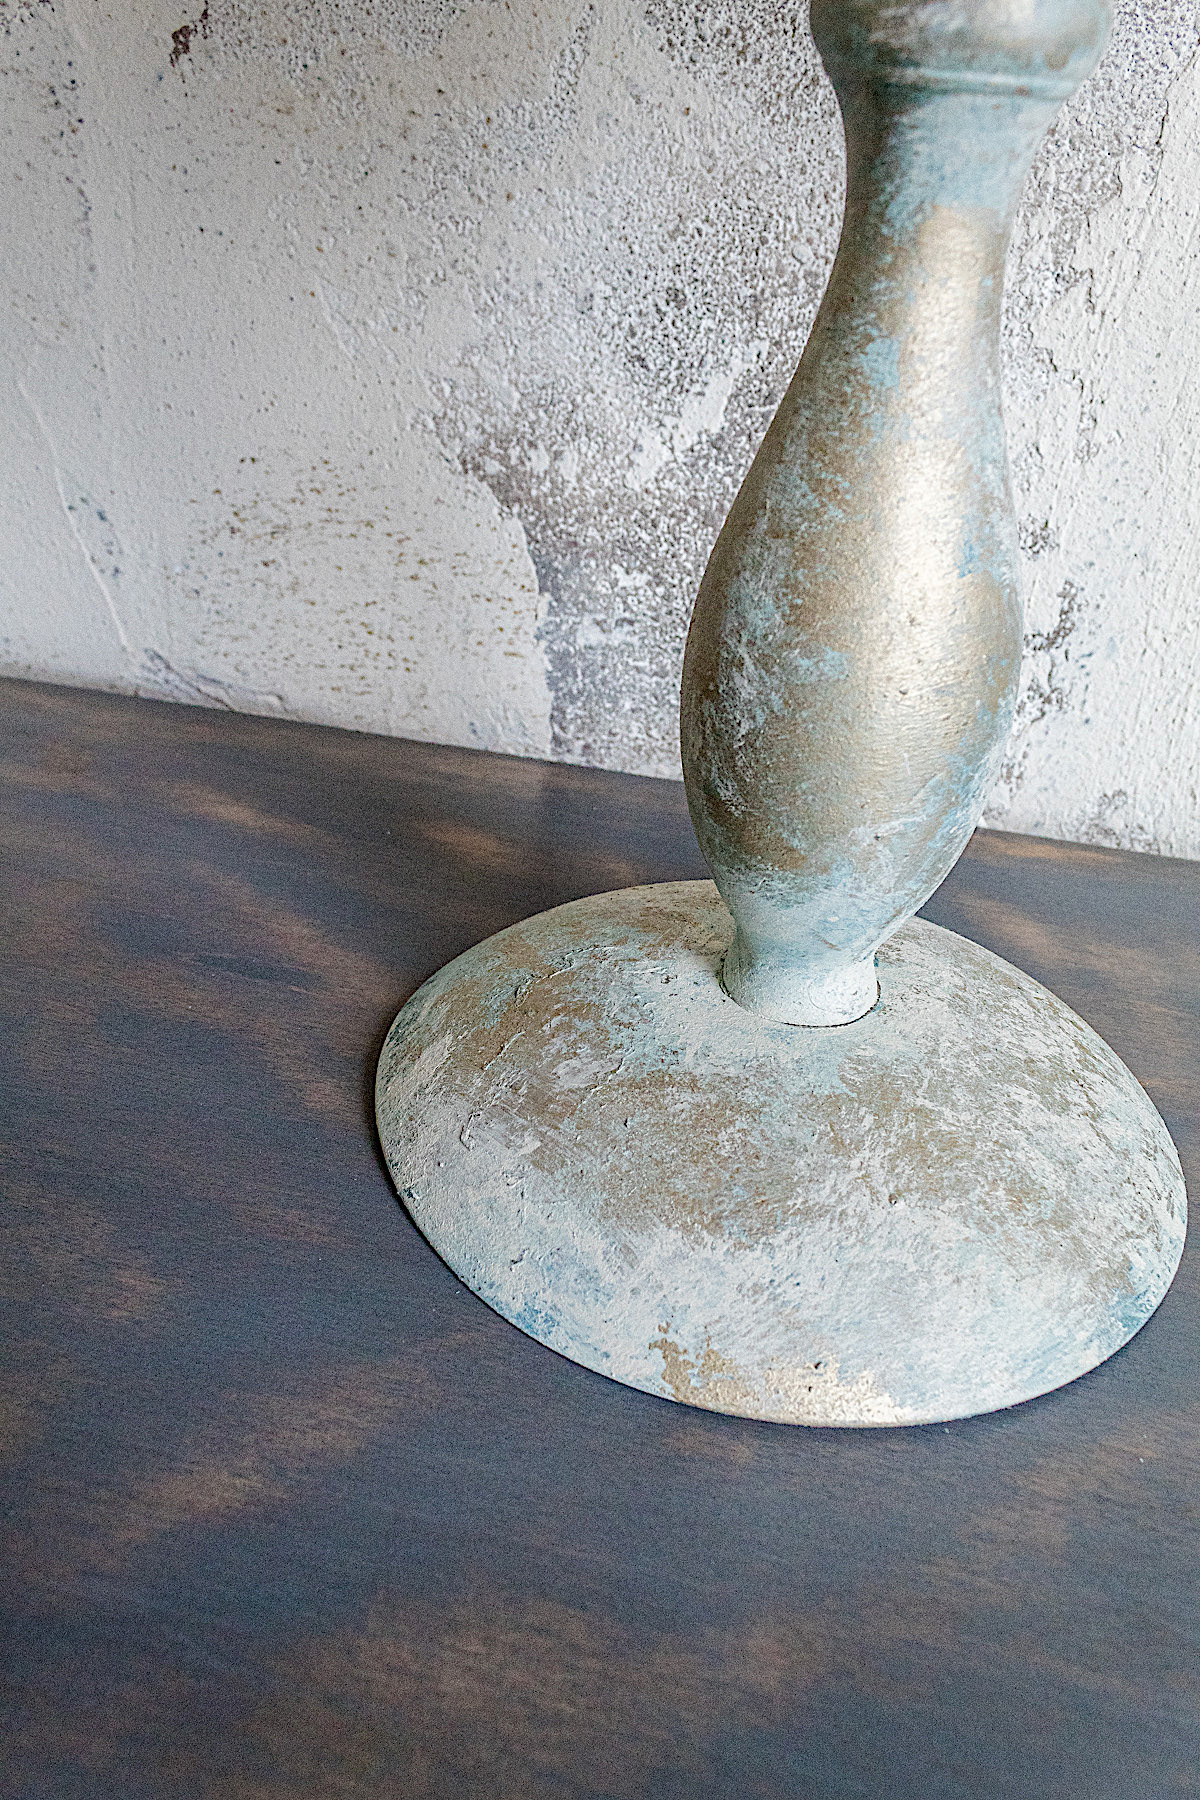
The Base
I used five layers of paint on this little lamp to get the finish I wanted. I know it sounds like a lot of work, but it wasn’t. Painting with chalk paint, especially out in the hot sun like I was, is a super fast process. By the time you finish one part of your surface, the other part is already dry.
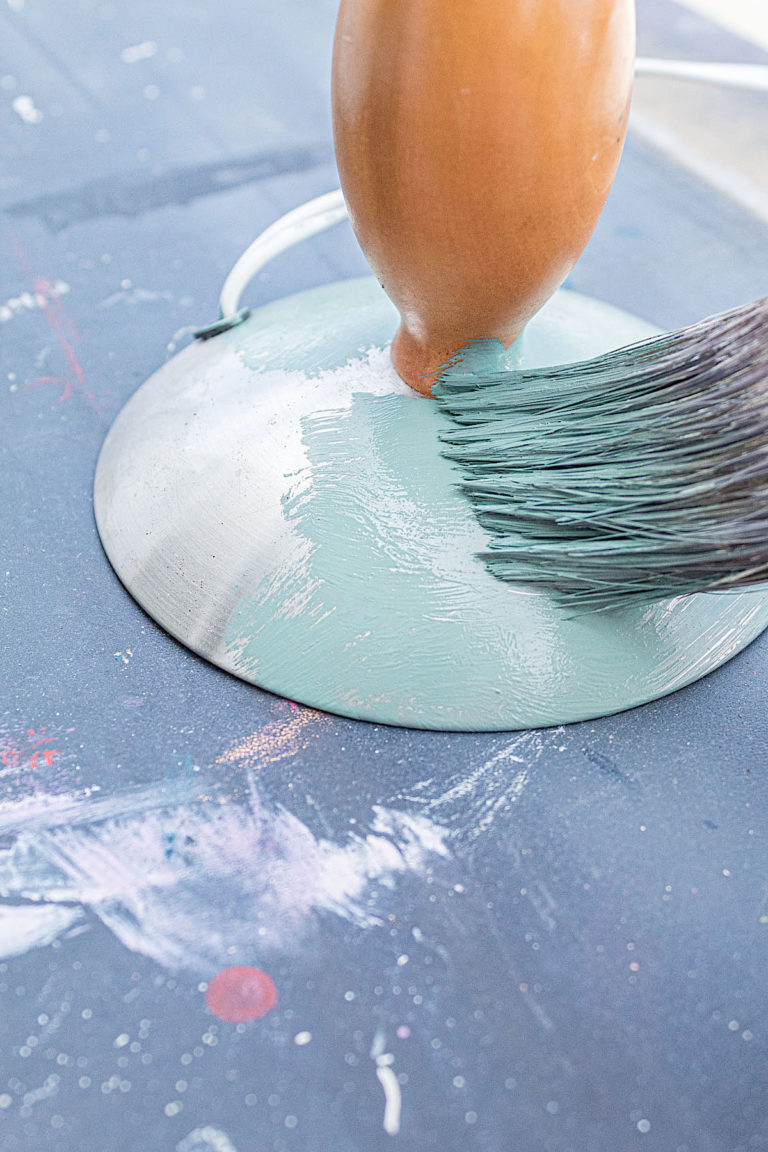
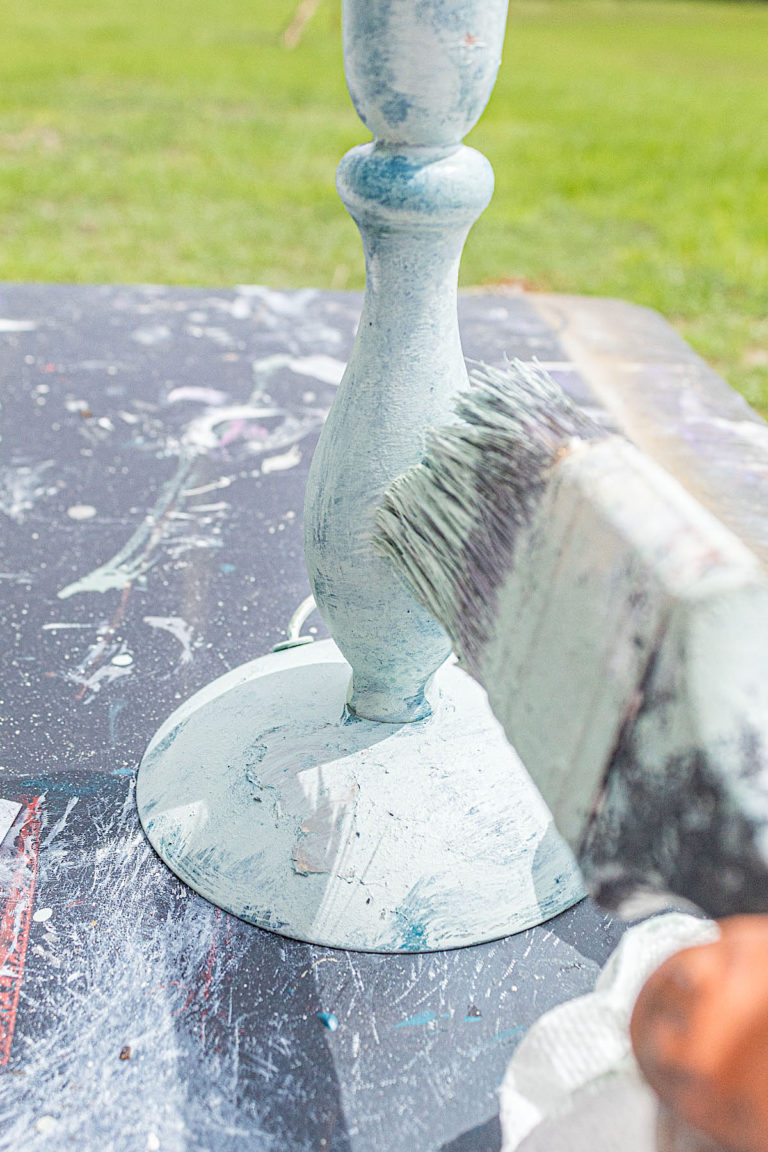
Coat 1. Minty Greens
Painting on layers is an easy way to get a rich vintage aesthetic. I simply slopped on some paint with my brush. I created texture with the paint by dabbing and pushing the brush onto the surface. Because I will do some blending on the second coat, I painted the darker green on the bottom half and the lighter green (Green Balsam) on the top half.
Don’t worry about coverage at this point. It’s going to look sloppy before it gets better. With more coats everything will adhere nicely.
Coat 2. Blending
I blended the two greens on my second coat. I used my misting bottle to keep the paints moist as I applied both colors. Once both colors were on (dark green on the bottom, light on the top half) I blended them by brushing over both colors with my paint brush.
To blend I typically start where both colors meet in the middle and brush outwards in both directions, top and bottom. I brush until the two colors look seamless.
Again don’t worry if things don’t look finished yet. We are setting the layers up.
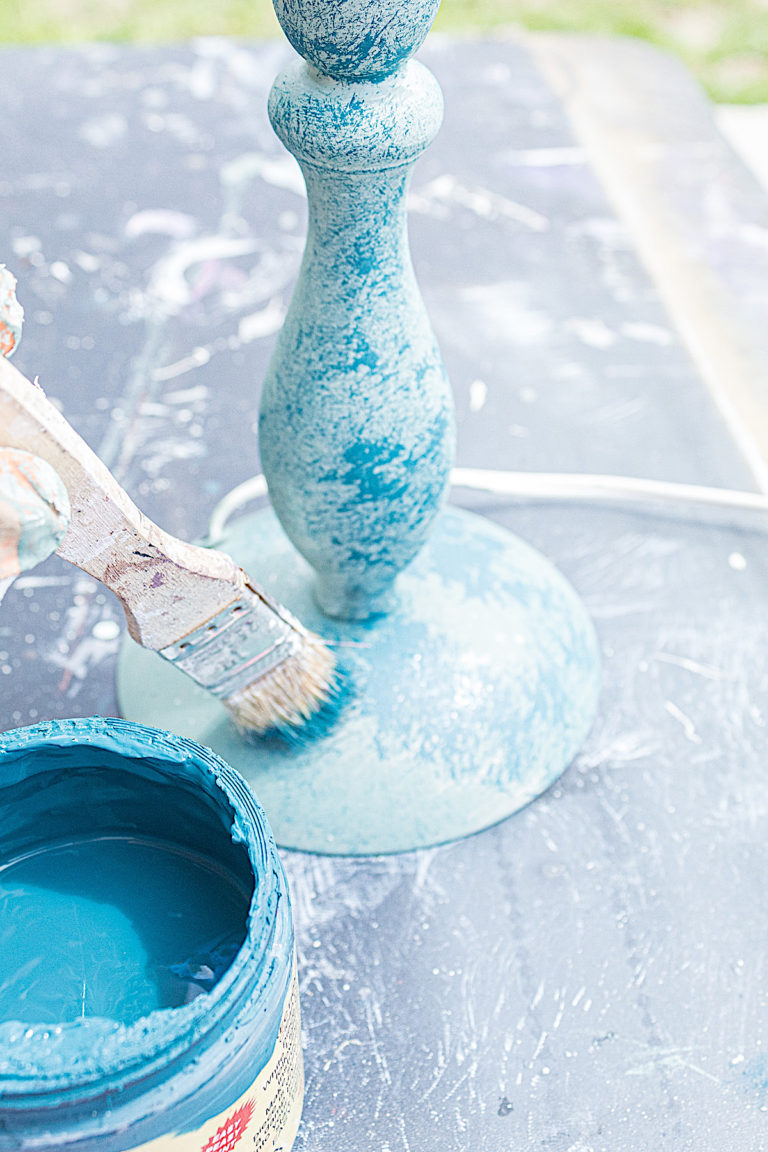
Coat 3. Teal
Next I dab on some of my darker teal, Antebellum Blue. I don’t cover everything with it, I’m just accenting. With the next coat of paint, much of this color will be covered but the teal undertones will play a role in adding dimension to the finish.
Coat 4. Light Green
I cover a lot of the teal by dabbing on another coat of Green Balsam. As I paint I use a paper towel to press down. This helps create texture and character. I spray with my misting bottle also to thin out the paint and expose some of the under colors. I demonstrate this technique in the video at the end of this post.
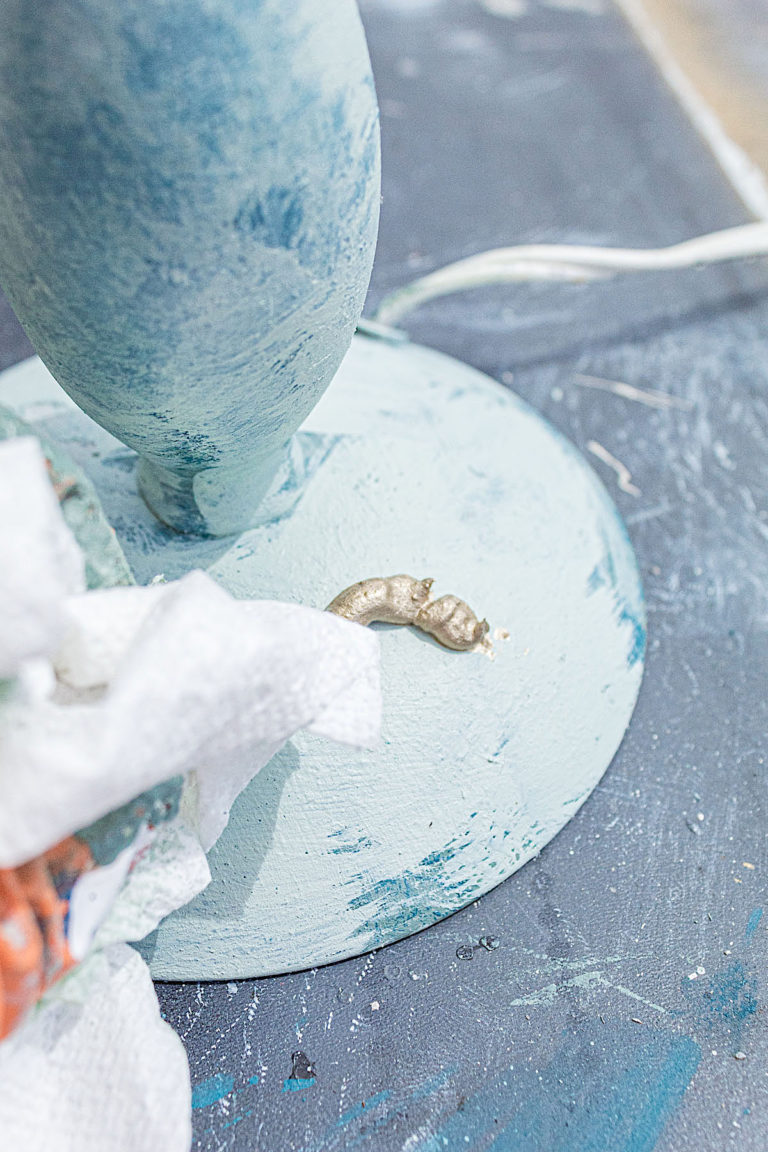
Let's add some sheen
I love what you can do with metallic waxes. They add dimension, character, sophistication or age to your pieces, depending on how and where you use them.
I love Art Alchemy waxes. I have them in all sorts of colors and they last me forever. I chose White Gold for this lamp to give it a pretty vintage finish.
I simply rubbed it on in random parts with paper towels.
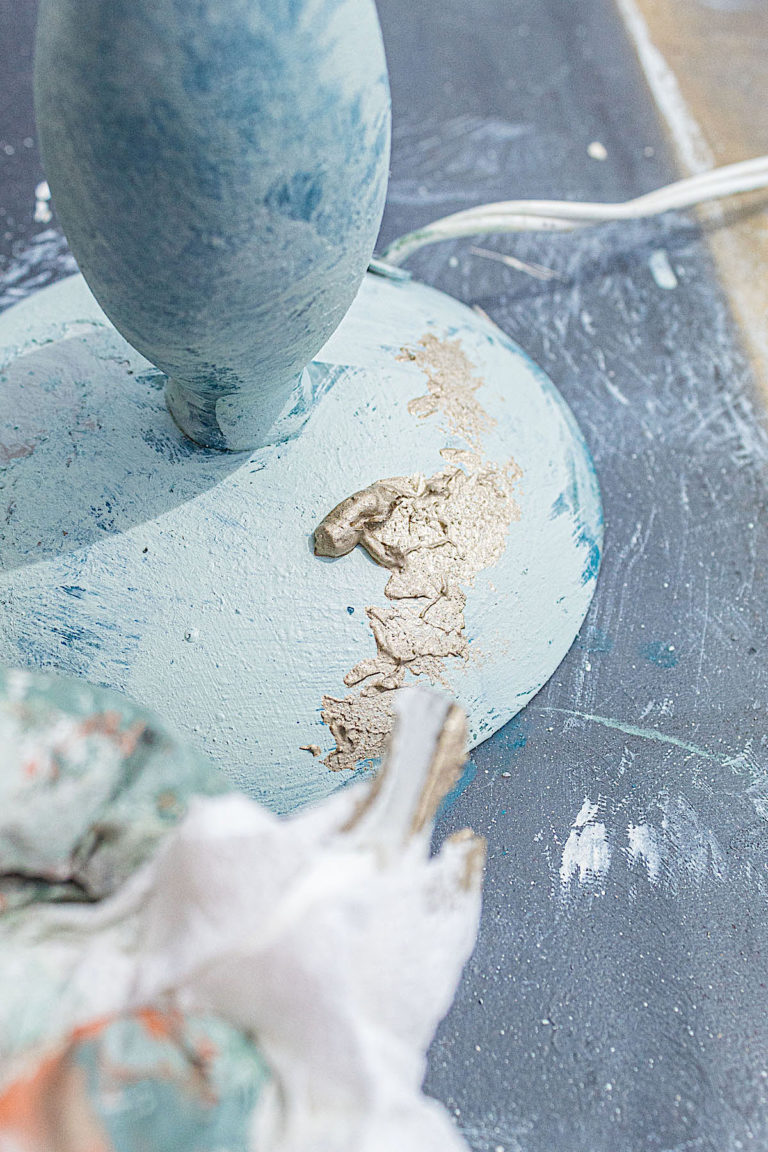
Now we have all our metallic wax on the lamp and it isn’t looking all that cohesive. Our final paint coat will take care of that.
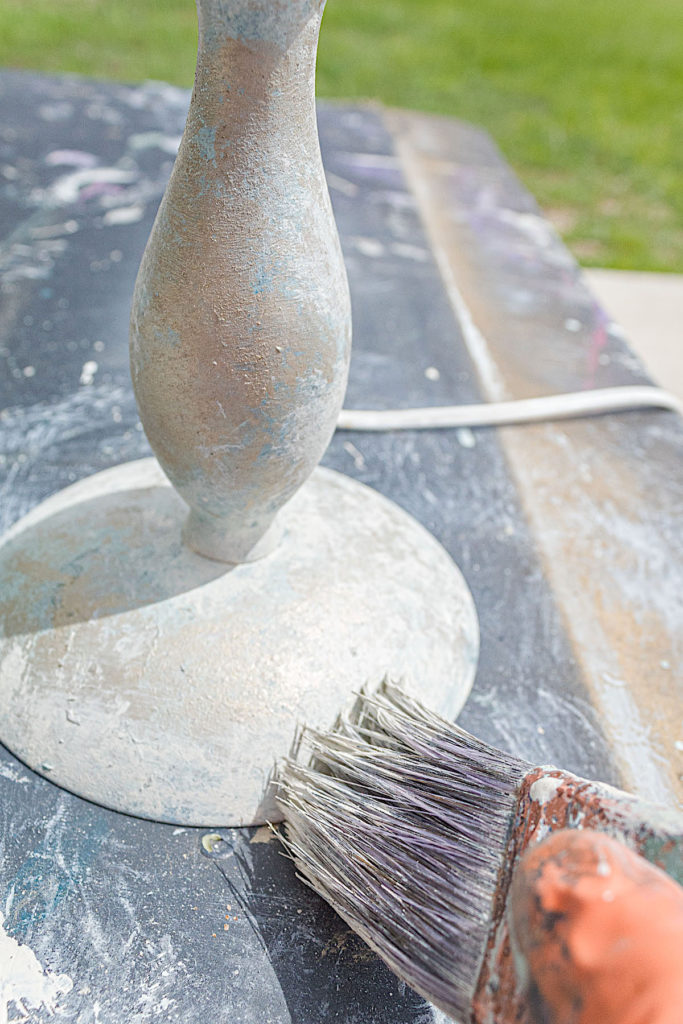
5. Final Coat, Champlain
I used the same off white as I used for the shade, Champlain by Fusion Mineral Paint. I also use the paper towel technique where I paint and press down with my paper towel. As you add your final coat, you will see how it pulls everything together brilliantly.
Now the vintage look is complete with all its texture and beauty.
Here's another look at the before and after.
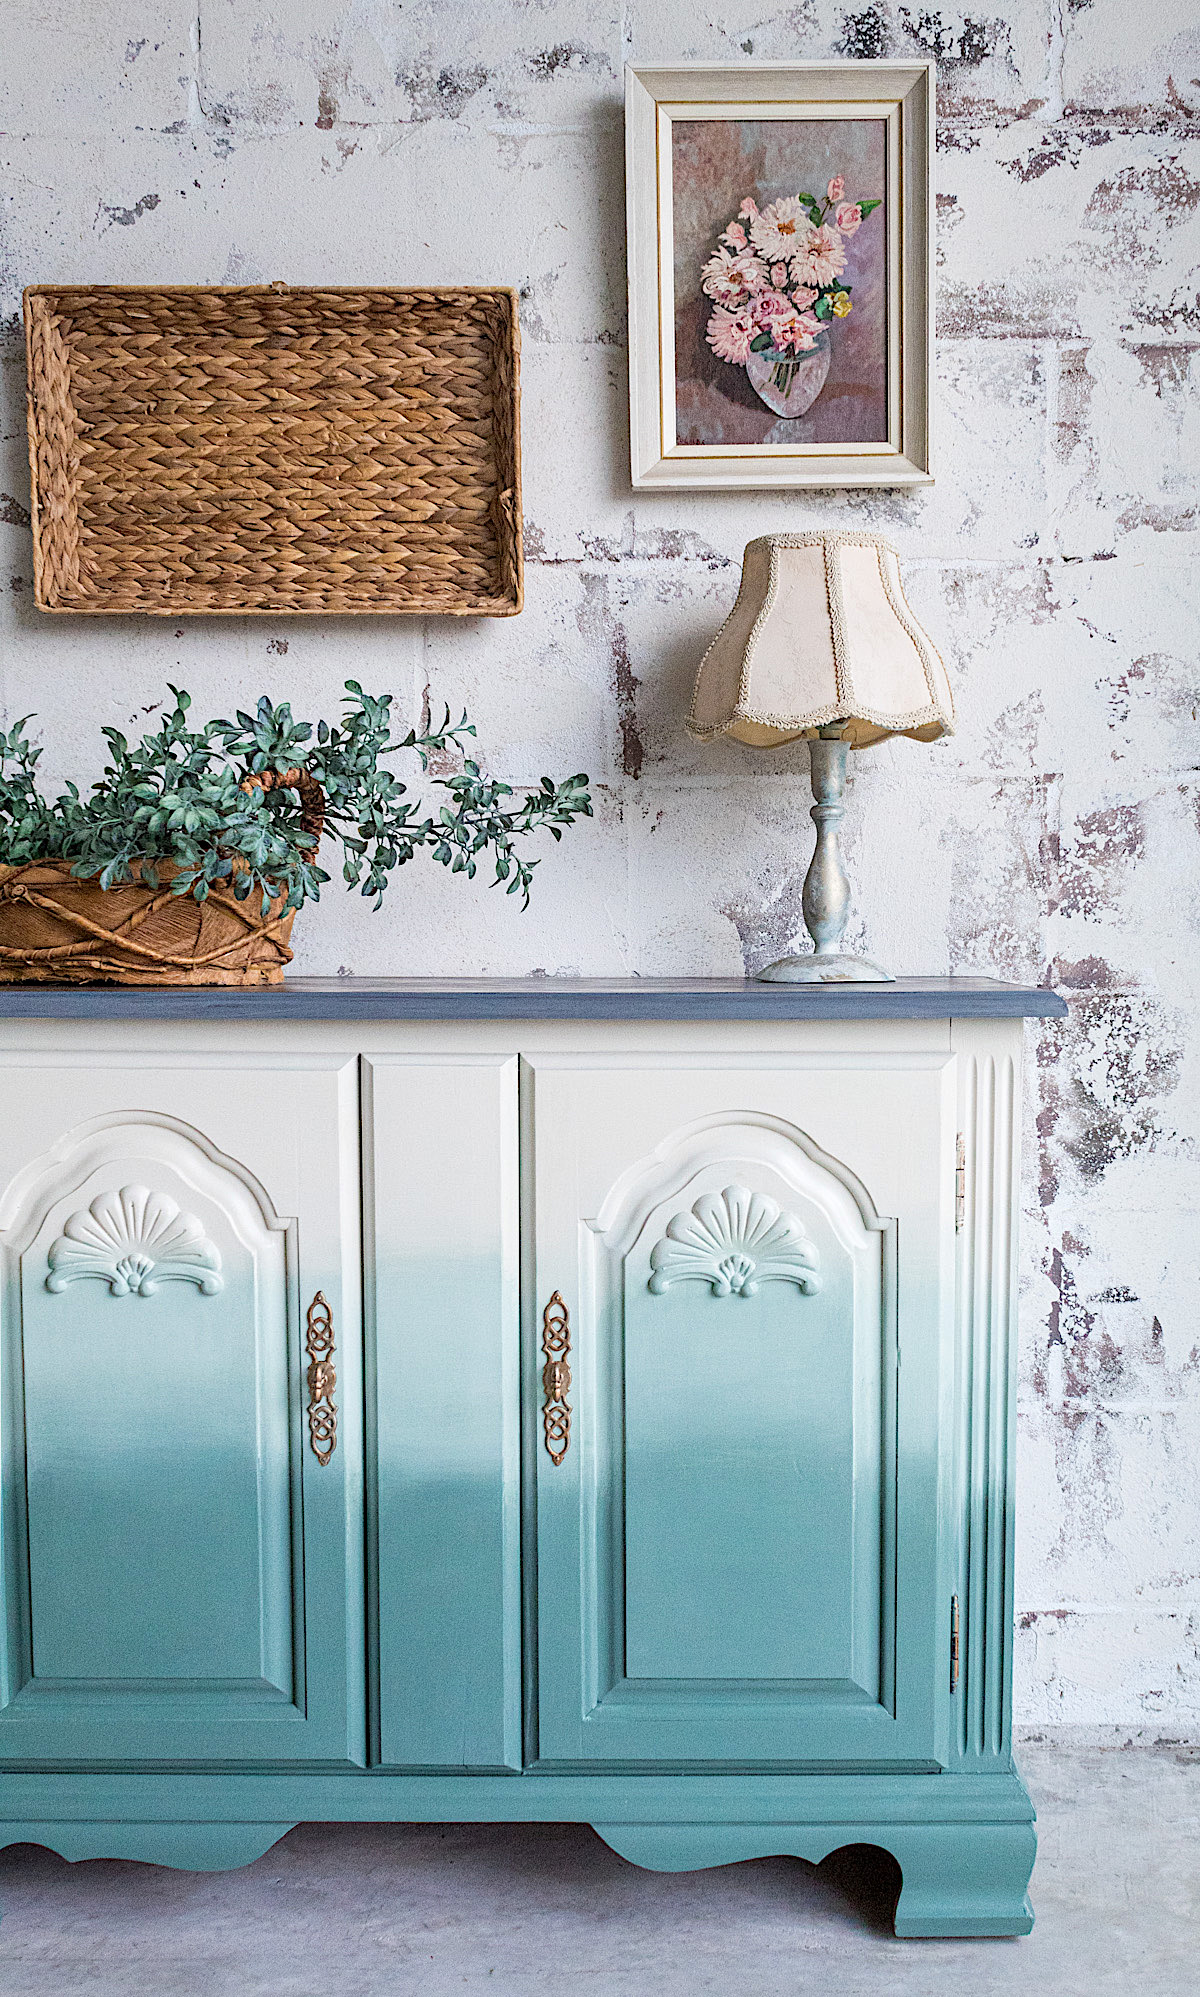
There is something so rewarding about restoring salvaged pieces. I love breathing new life into old relics with my own take on style and vintage.
Dear lovely reader, thank you for taking the time to be part of this tutorial. I hope you enjoyed it! Be sure to SUBSCRIBE at the bottom of this page for more fun tutorials!