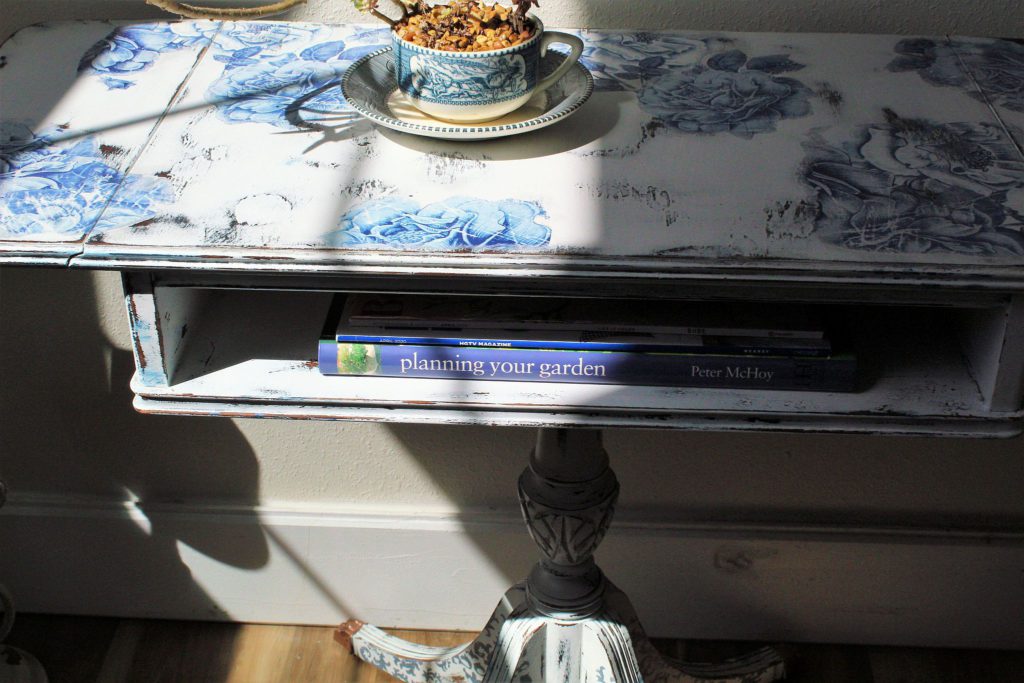
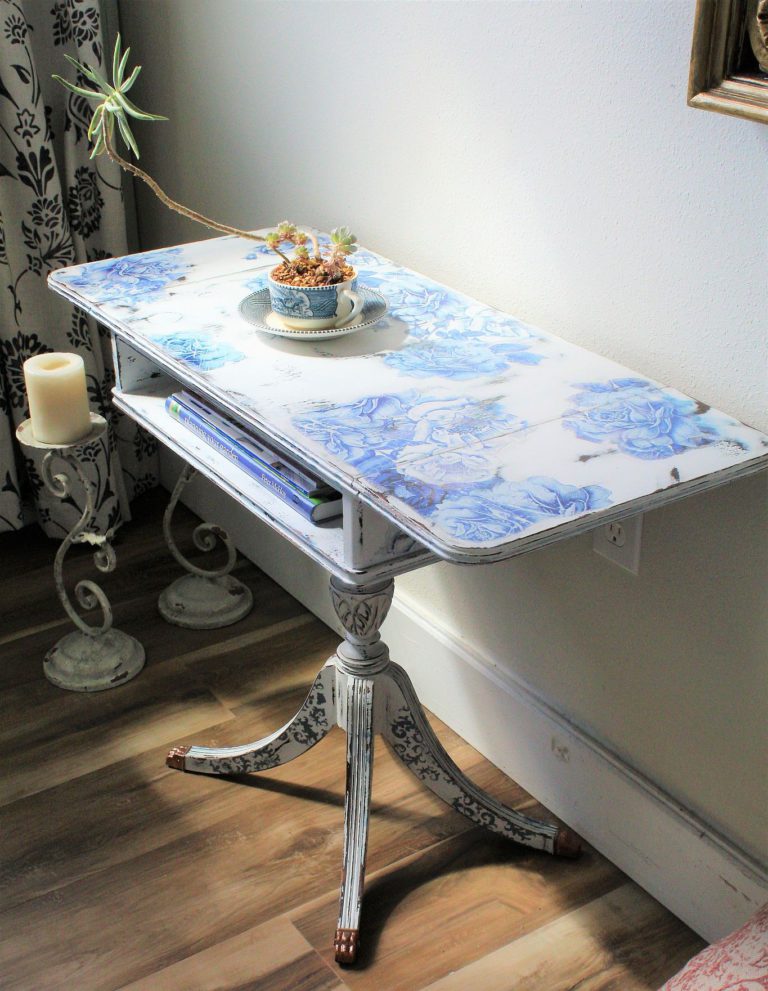
This drop leaf table spoke to me of a feminine new look, one to match its soft features and vintage style. When I have traveled to France I have felt as if I was walking through a beautiful magazine. Cobblestone streets, old buildings dripped in ivy and window boxes full of the most breathtaking blossoms. Cozy chalets lined with creaking wooden floors and simple, yet perfect decor. (she sighs)
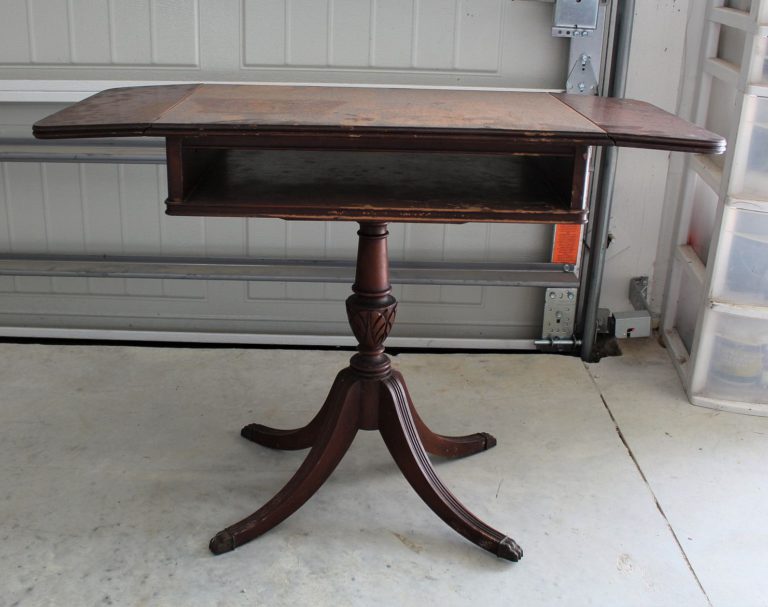
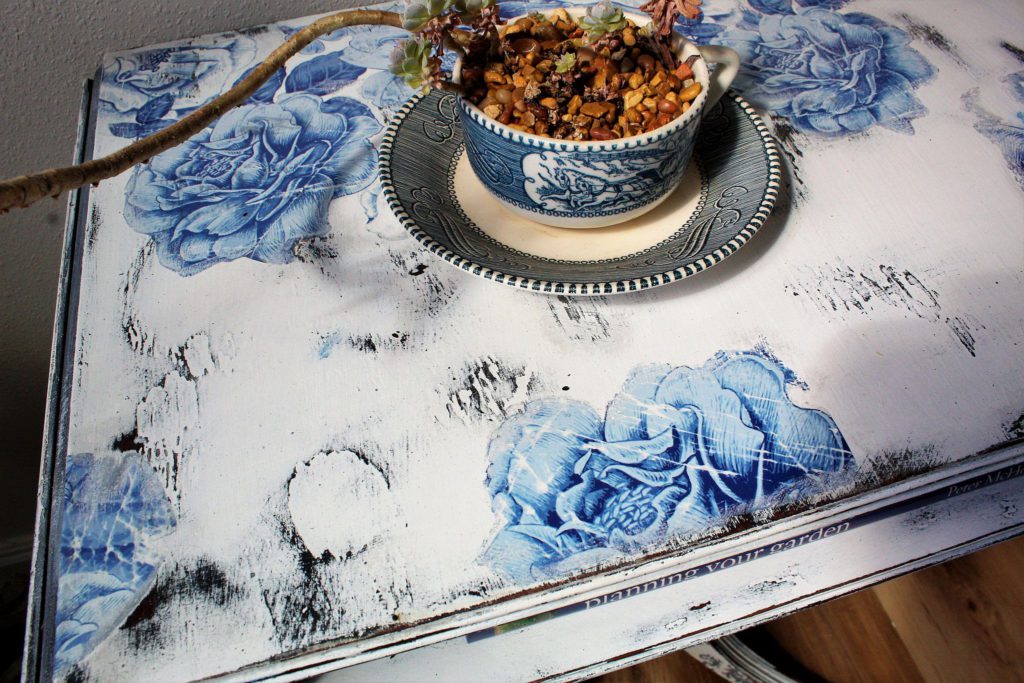
Here she is before, a neglectful sight. I envisioned a light palette with florals and an aged and worn feel—a piece you might find tucked in a cozy corner of a picture-book French cottage. The French Ceramics II Prima Redesign transfer with its beautiful blue flowers I had in my stash was just perfect for this piece.
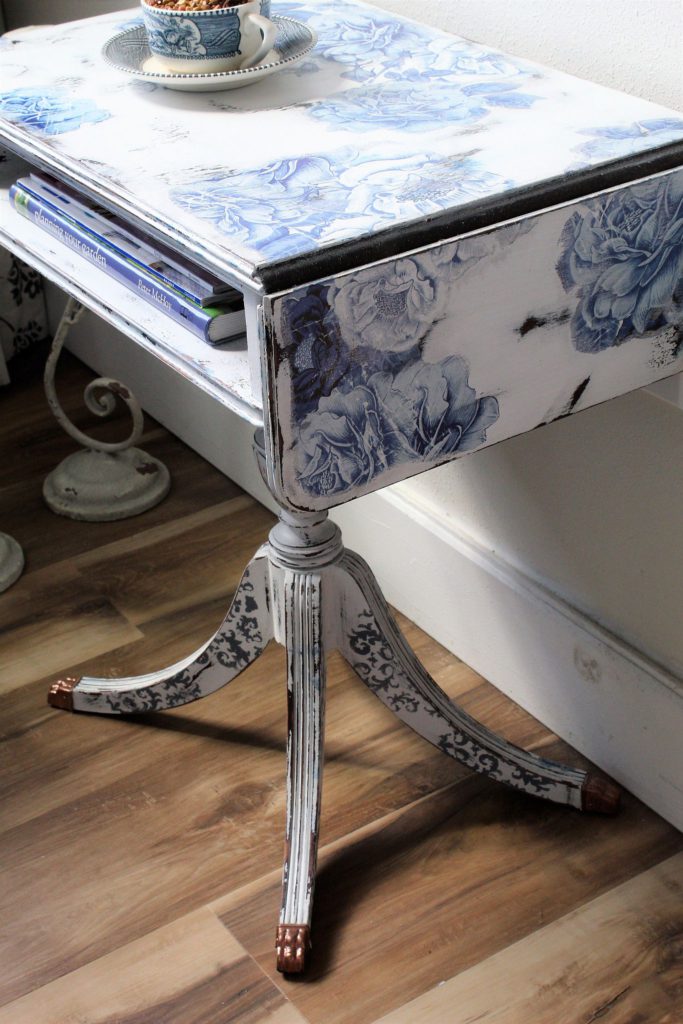
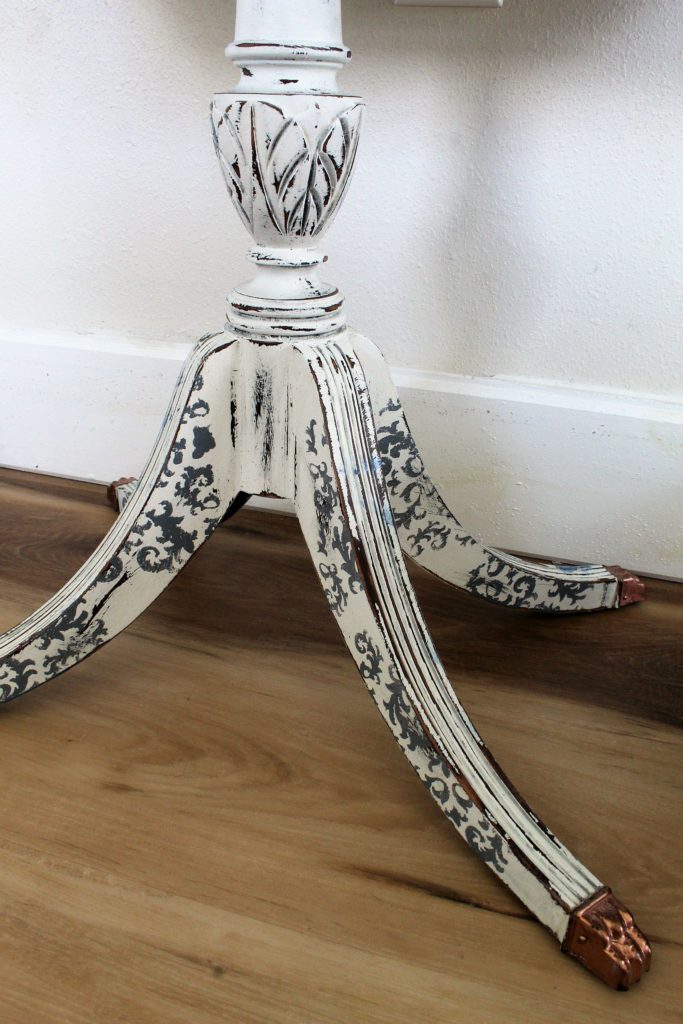
The first thing I did was spray paint the feet copper. Once dried I taped them up. Next I applied two coats of Glidden’s Onyx Black paint to the entire piece. I chose black for two reasons. I felt if I picked a dark base color, I could (lazily) avoid having to prime. (although it probably would’ve been quicker to prime!) I also liked the idea of a black and white contrast where the black would come through with distressing.
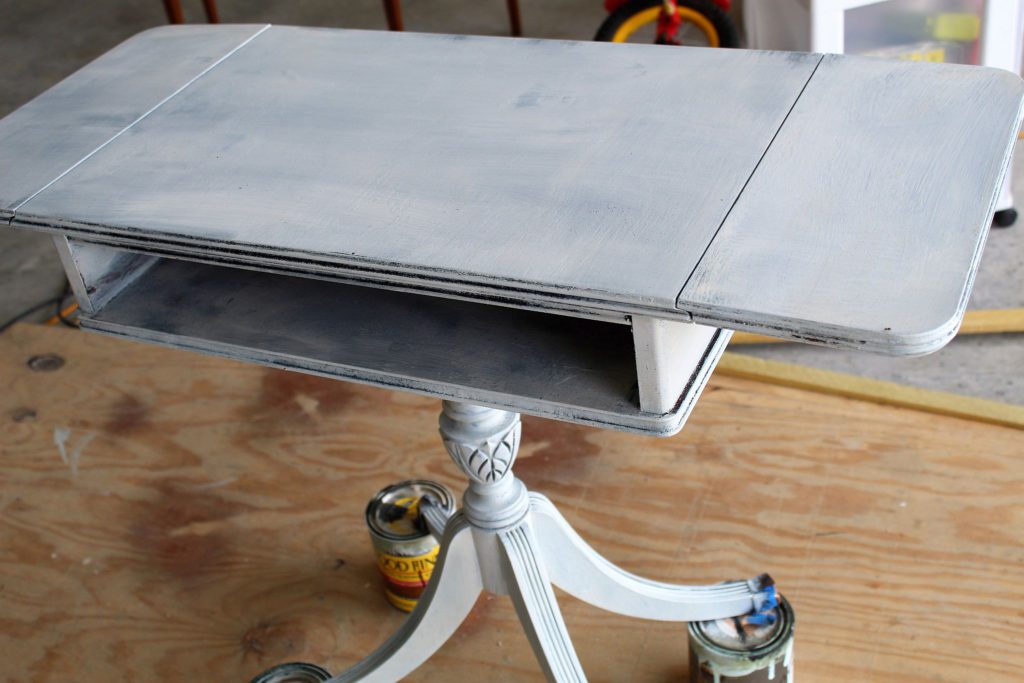
Once my two coats of black were dry, I added two coats of Behr’s Ultra Pure White. The picture above shows the piece after the first coat of white. I know it looks meek, but not to worry!…the second coat changes everything.
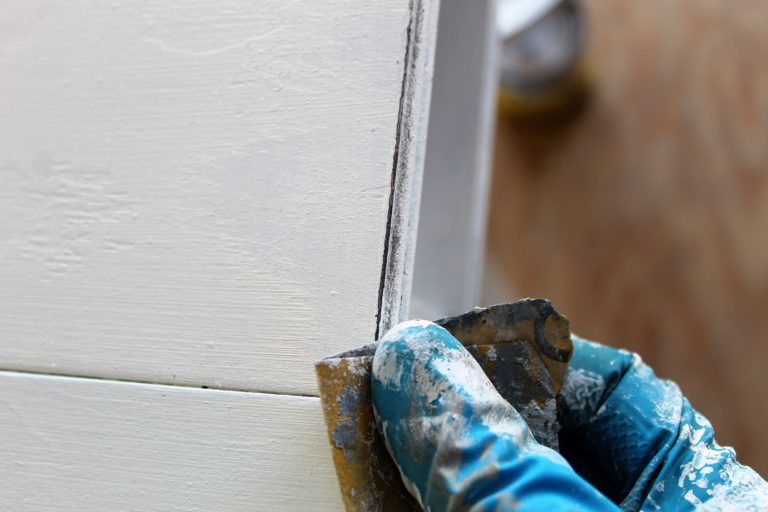
Next came the distressing. I distressed before applying the transfer since I wanted to have distressed parts coming out naturally from under and around the flowers.
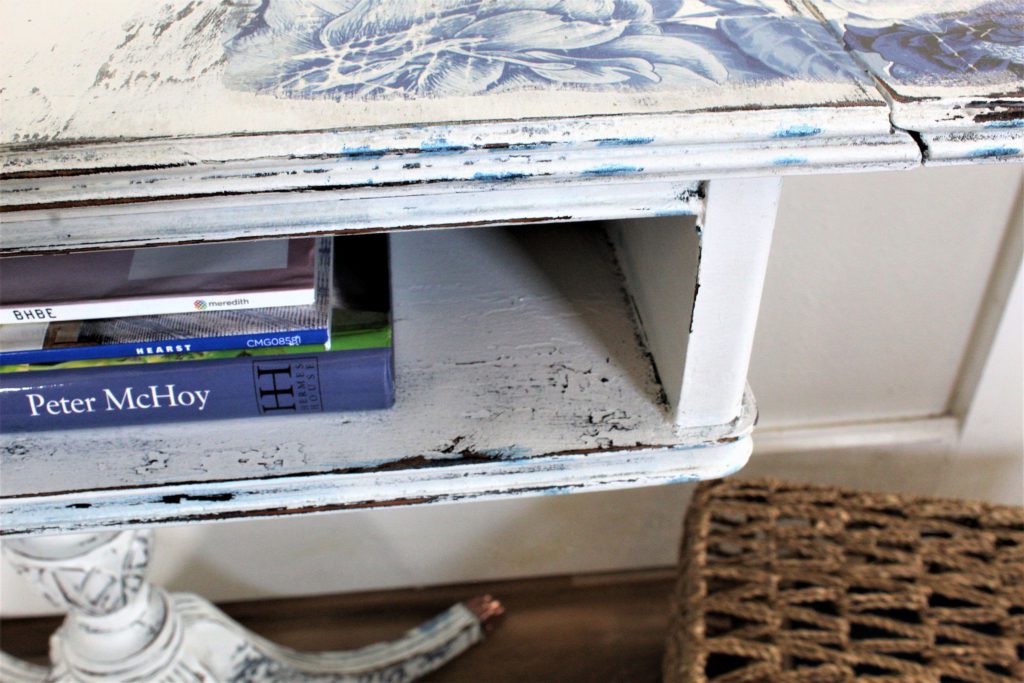
Be prepared, the distressing does take some time and elbow grease. In some parts I used the 80 grit sandpaper to rub open a distressed spot and with the 120 grit I’d go around the edges of that spot to soften any sanding marks. I sanded all over— top, sides, edges, legs revealing both the paint and wood underneath in random parts. You can do heavy or light distressing depending on the look you are aiming for.
Once I was happy with the amount of distressing, I cut my transfer in sections and applied them. You can set your flowers where you like best….this is the fun part of the creative process 😉
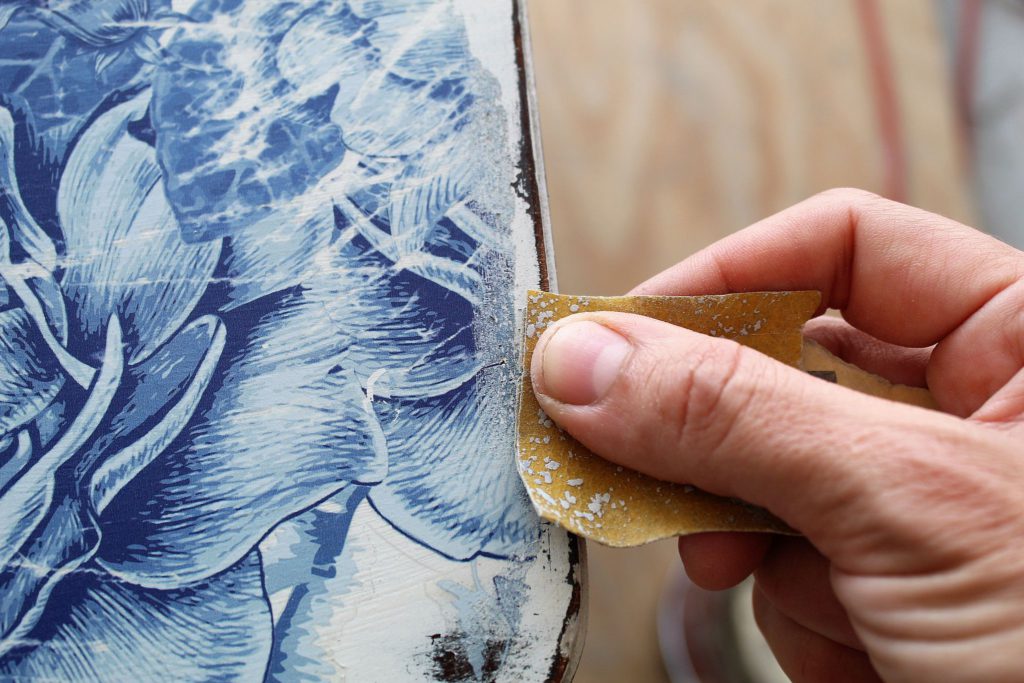
I have a full tutorial on how to apply a rub on transfer HERE. After applying my transfer, I distressed around its edges and some parts on top of the flowers. I used the 120 grit sandpaper for the transfer was careful to be gentle. I sanded just enough for the the transfer to look more blended in.
To add a bit more detail, I painted the legs using a pretty stencil I had. This was the finishing touch to the vintage french look. The top of the table received a durable top coat and the rest of the piece was waxed with my favorite beeswax finishing wax.
What did you think of the new French Ceramics look for the drop leaf table? Comments, questions? I have to admit, it’s sitting in my house right now and it gives me such a wonderful feeling every time I glance at it. This table is now available SOLD on my Etsy Shop.