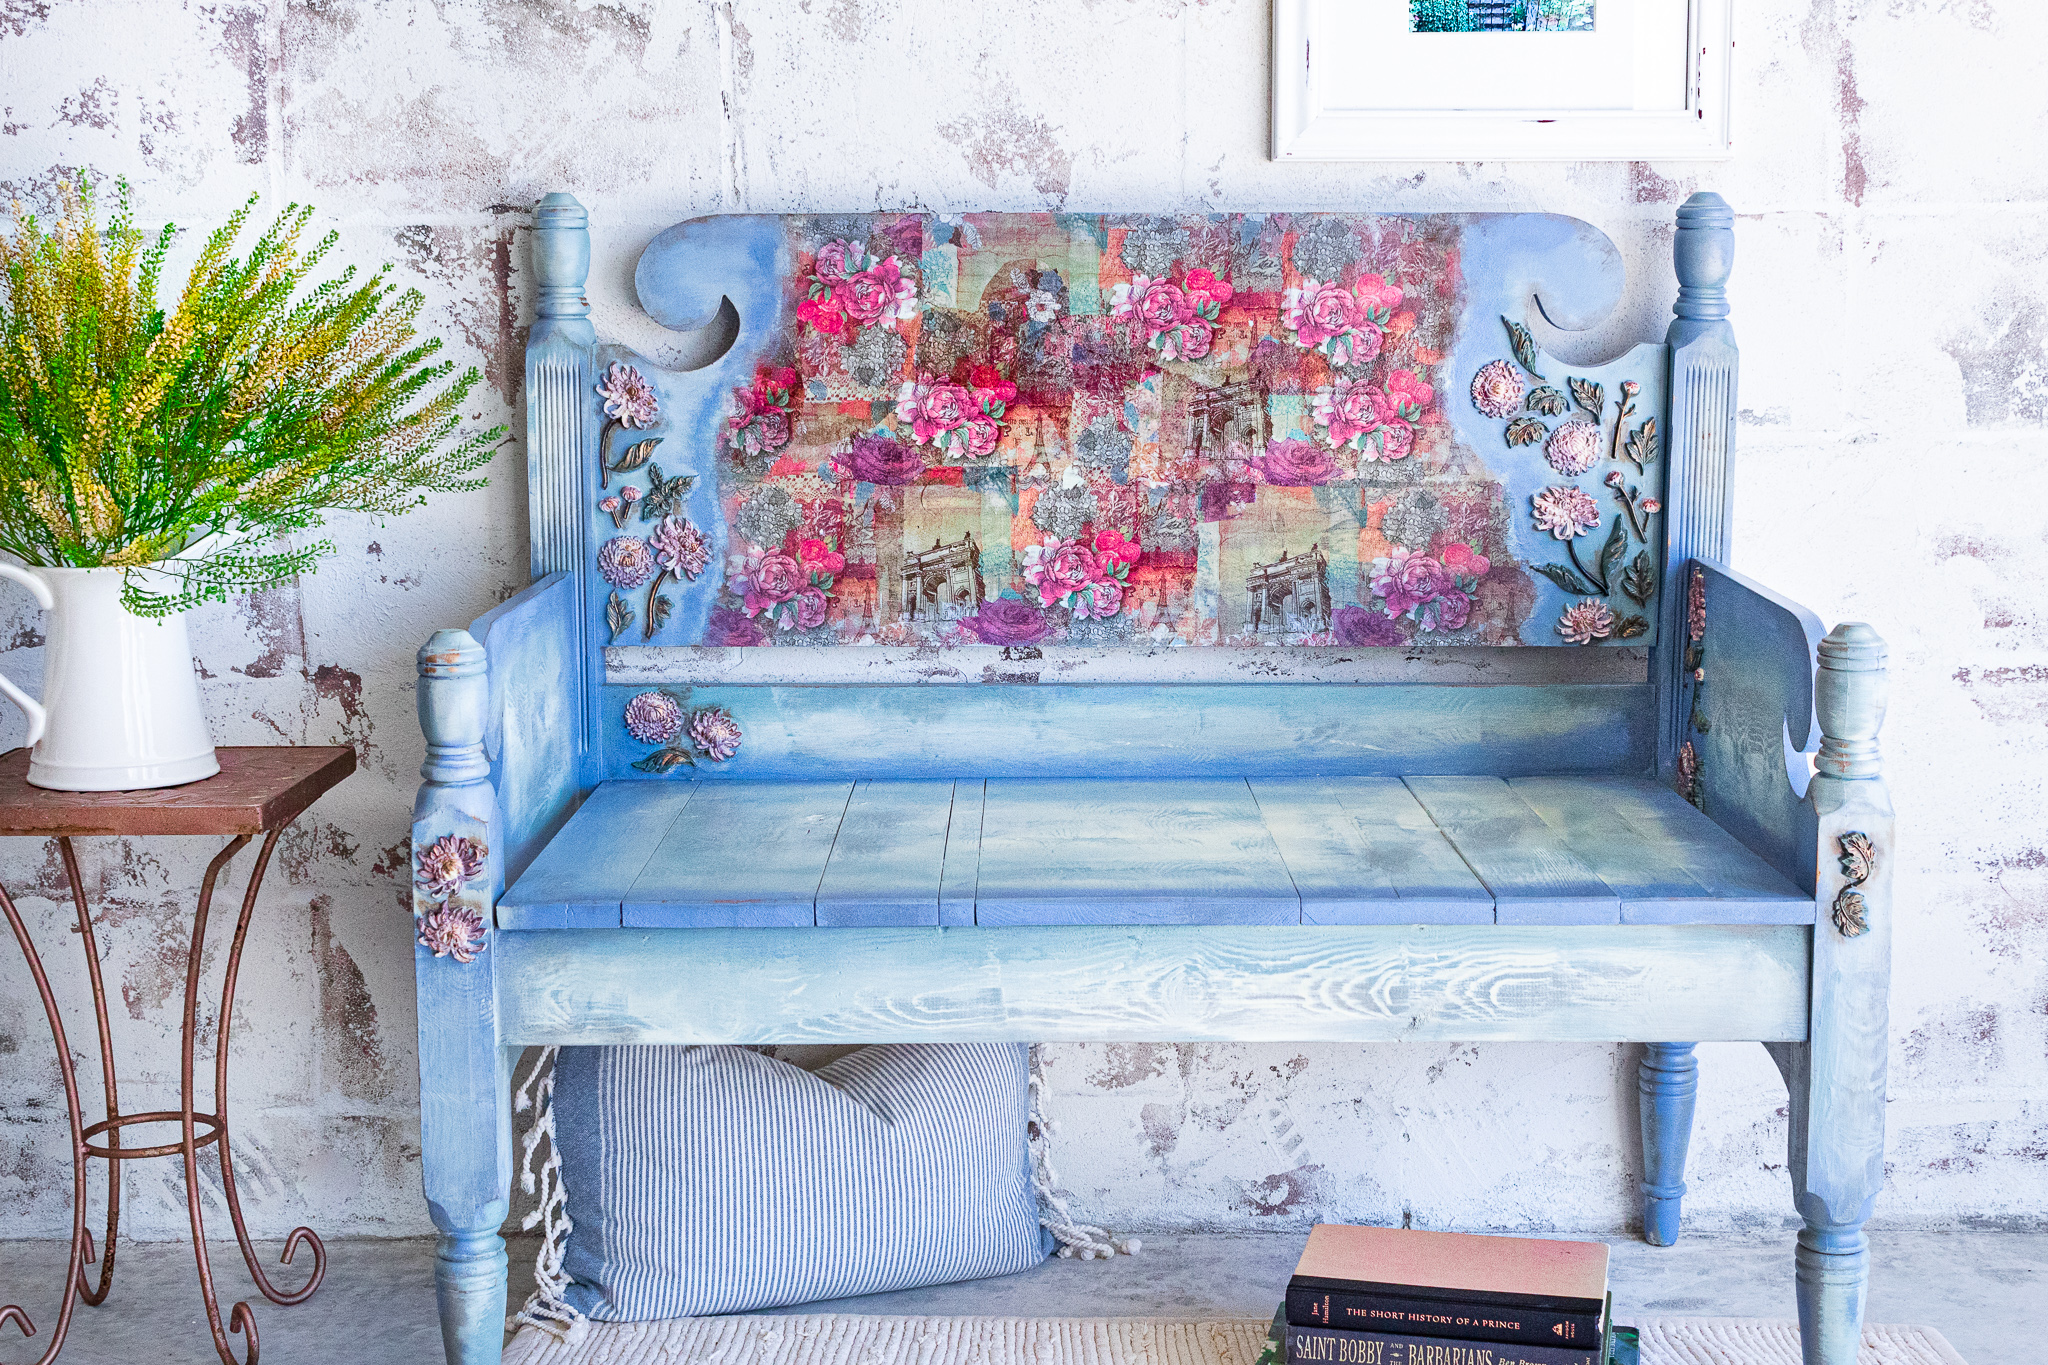
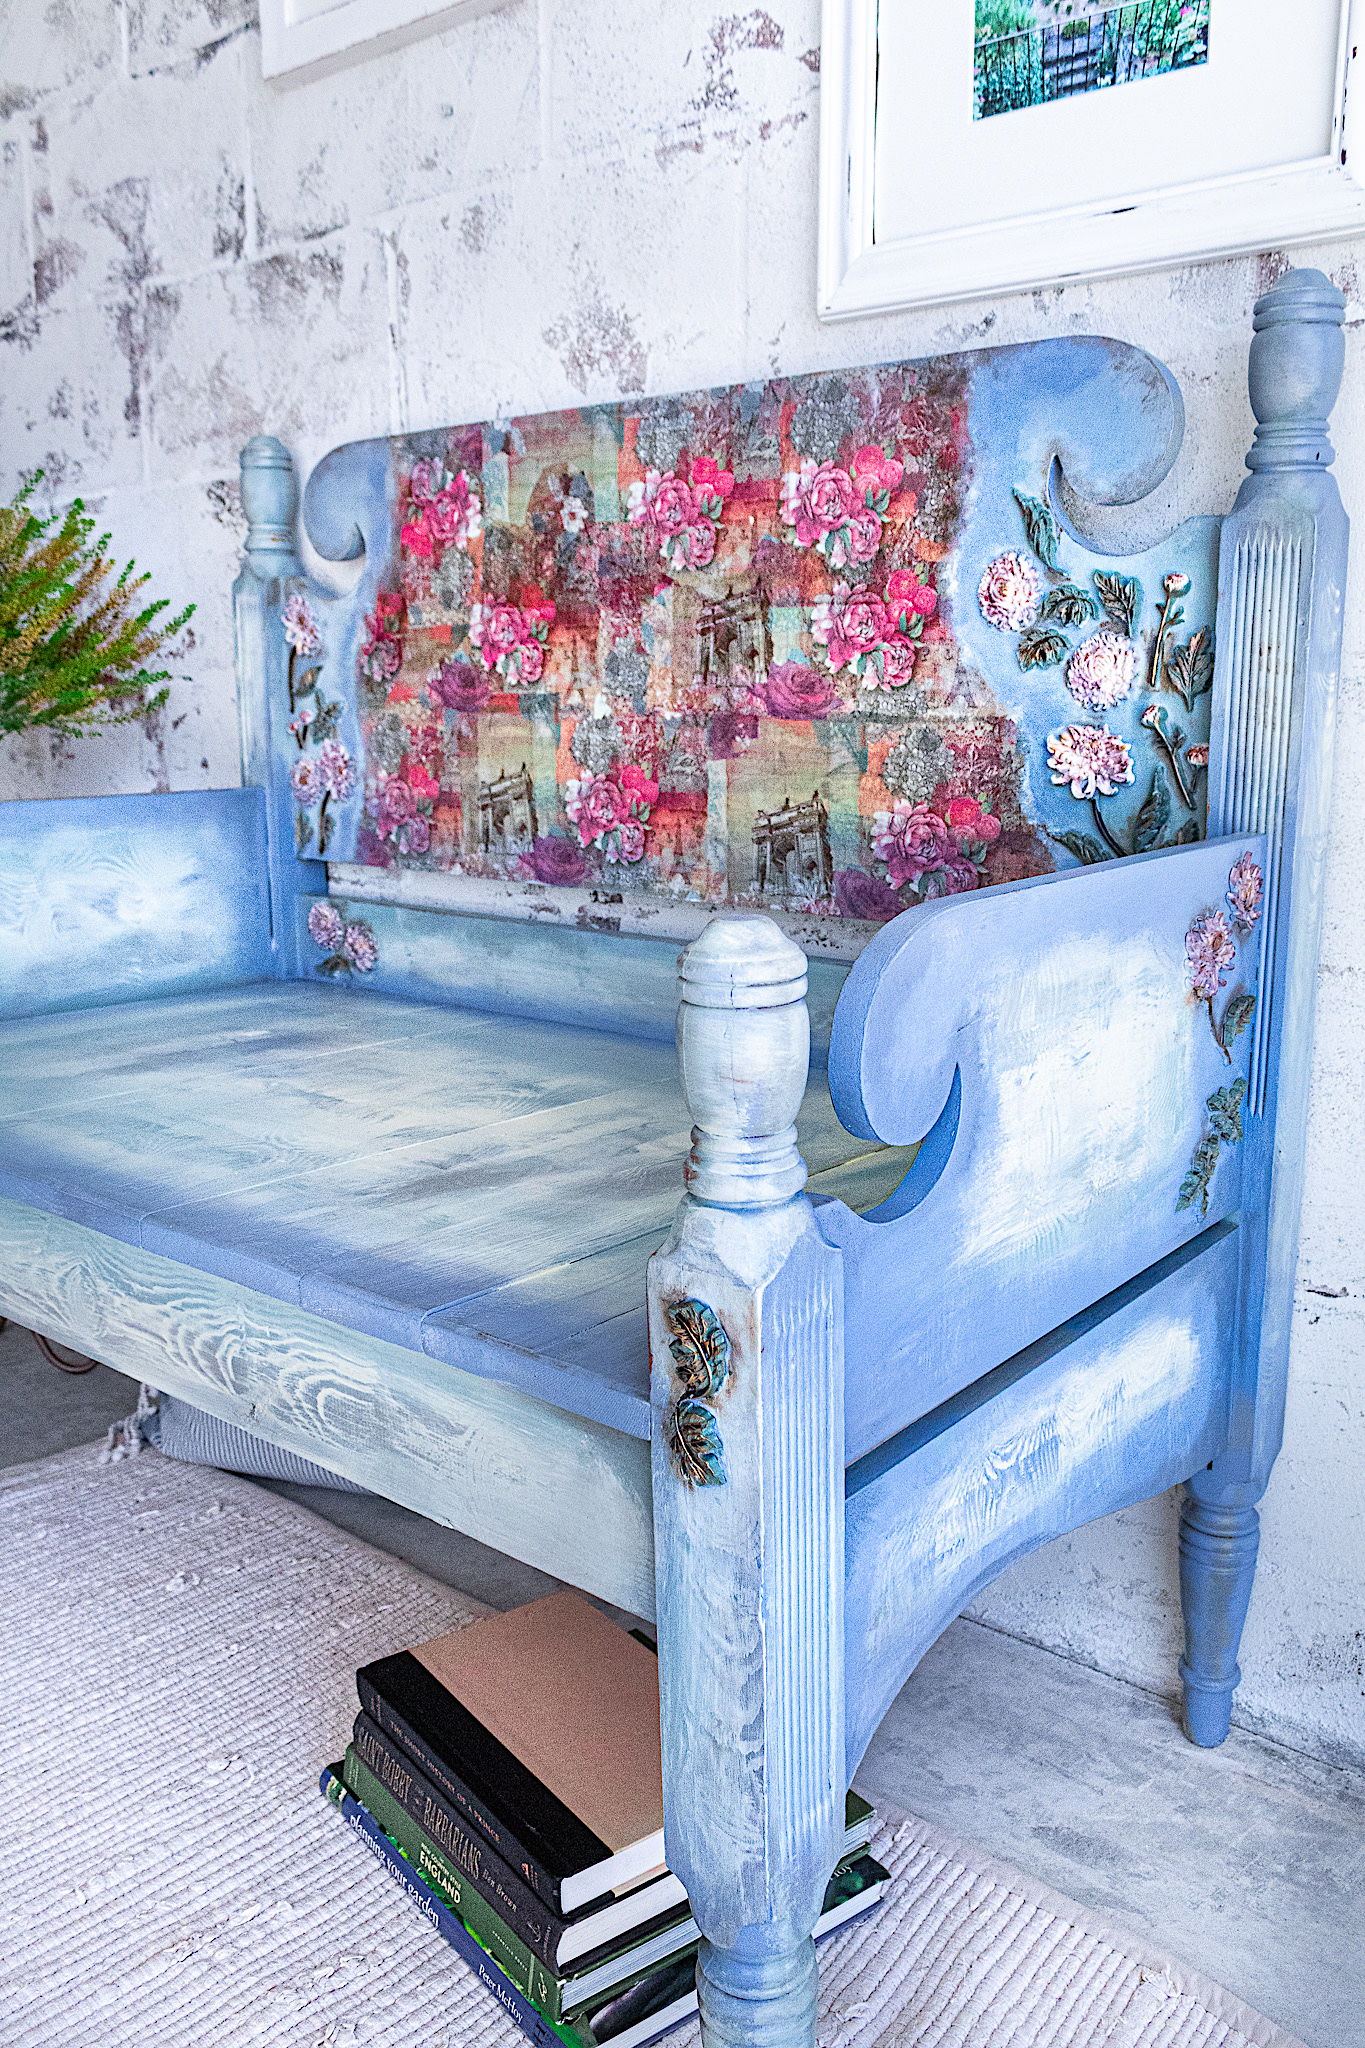
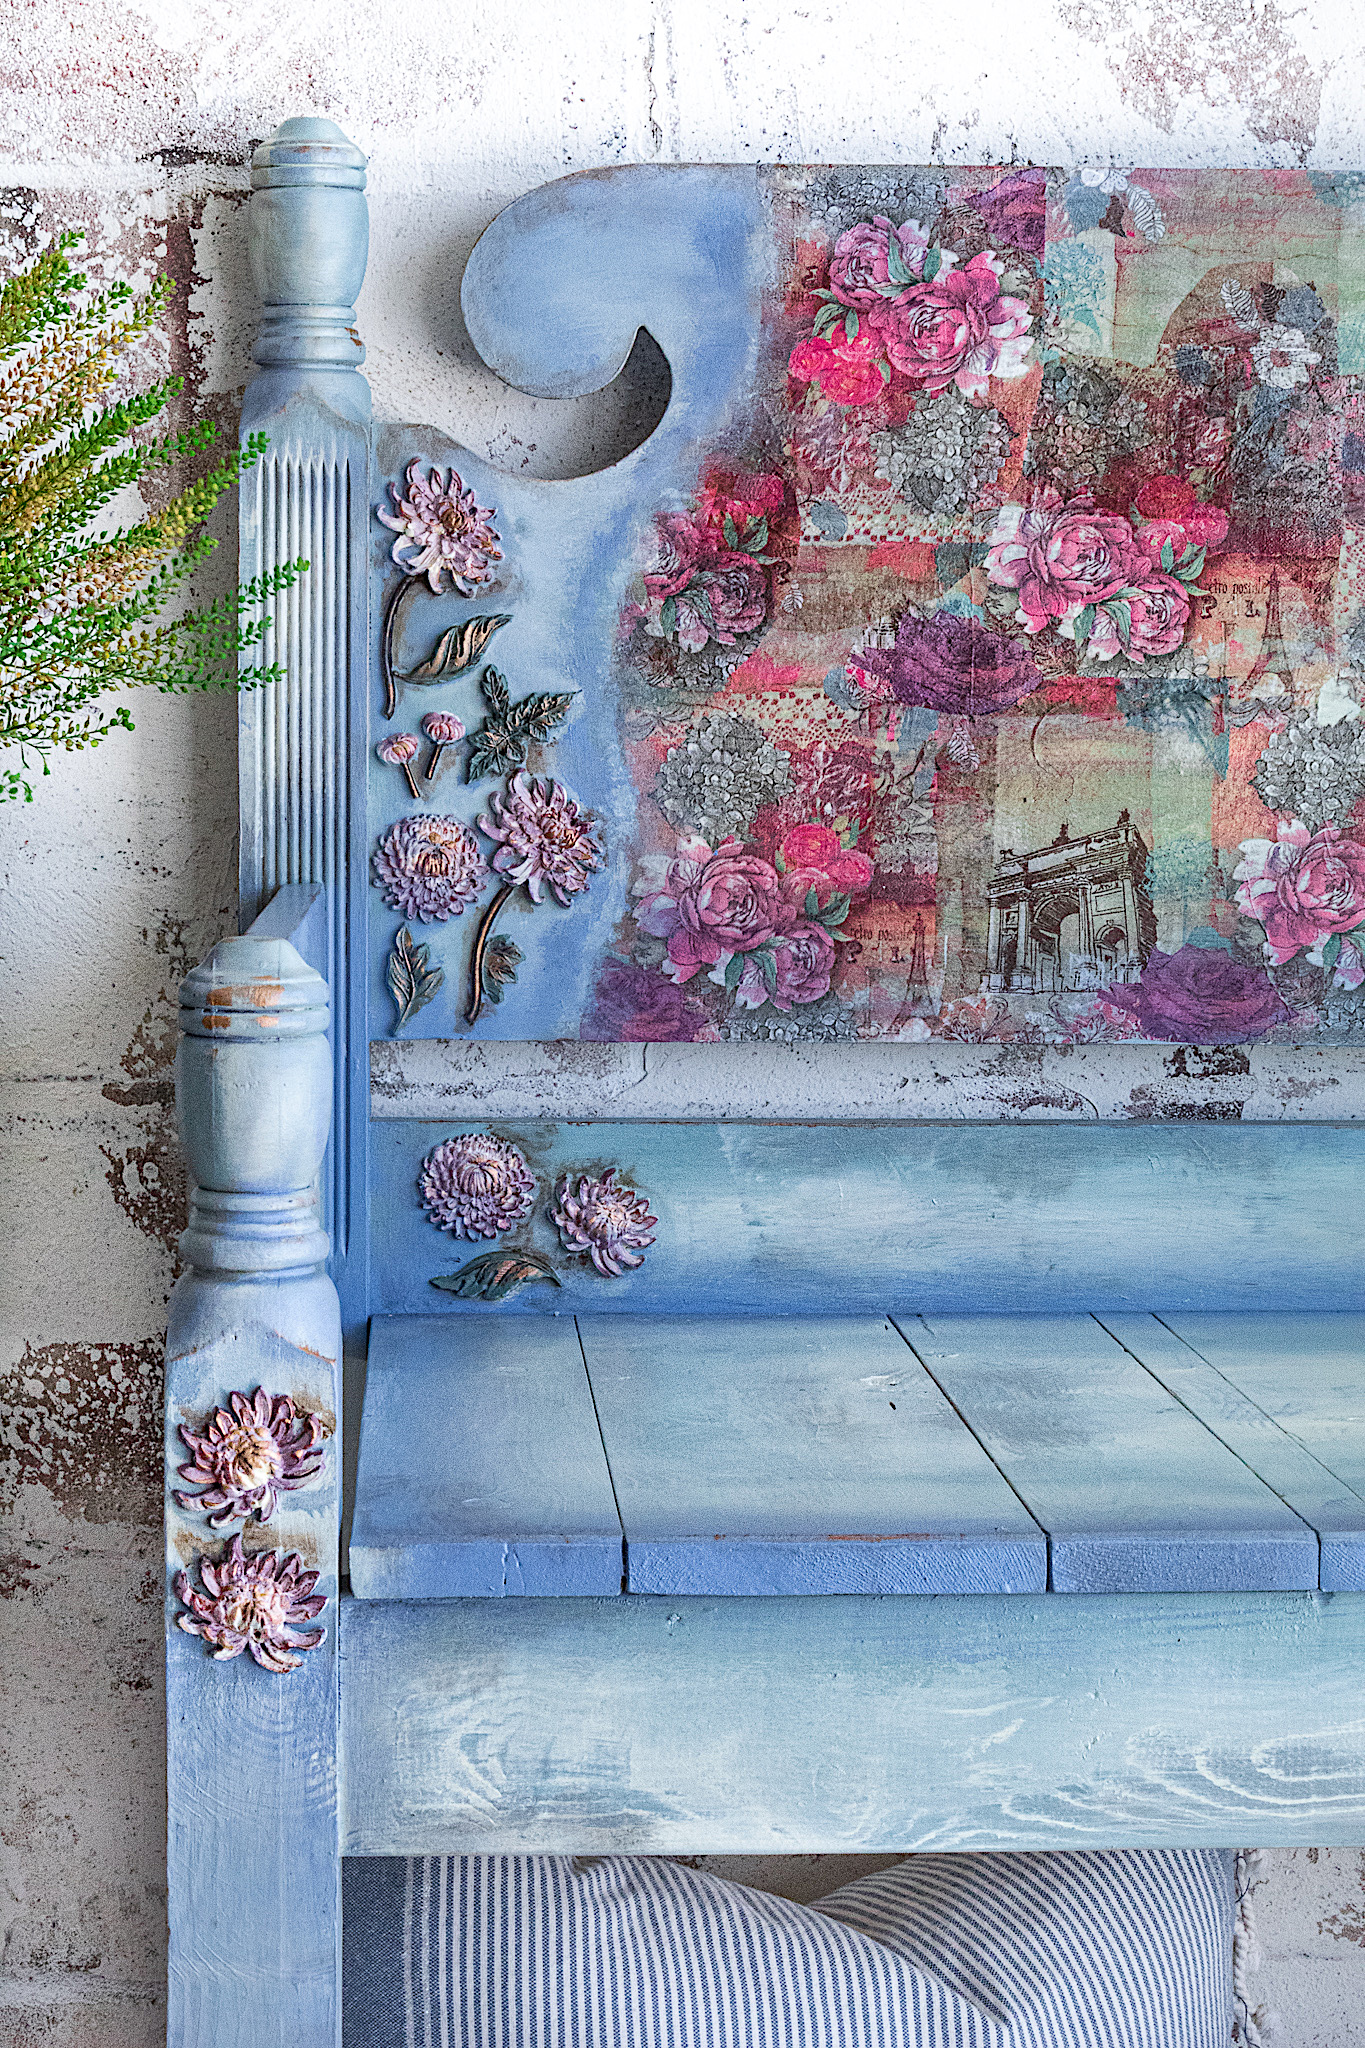
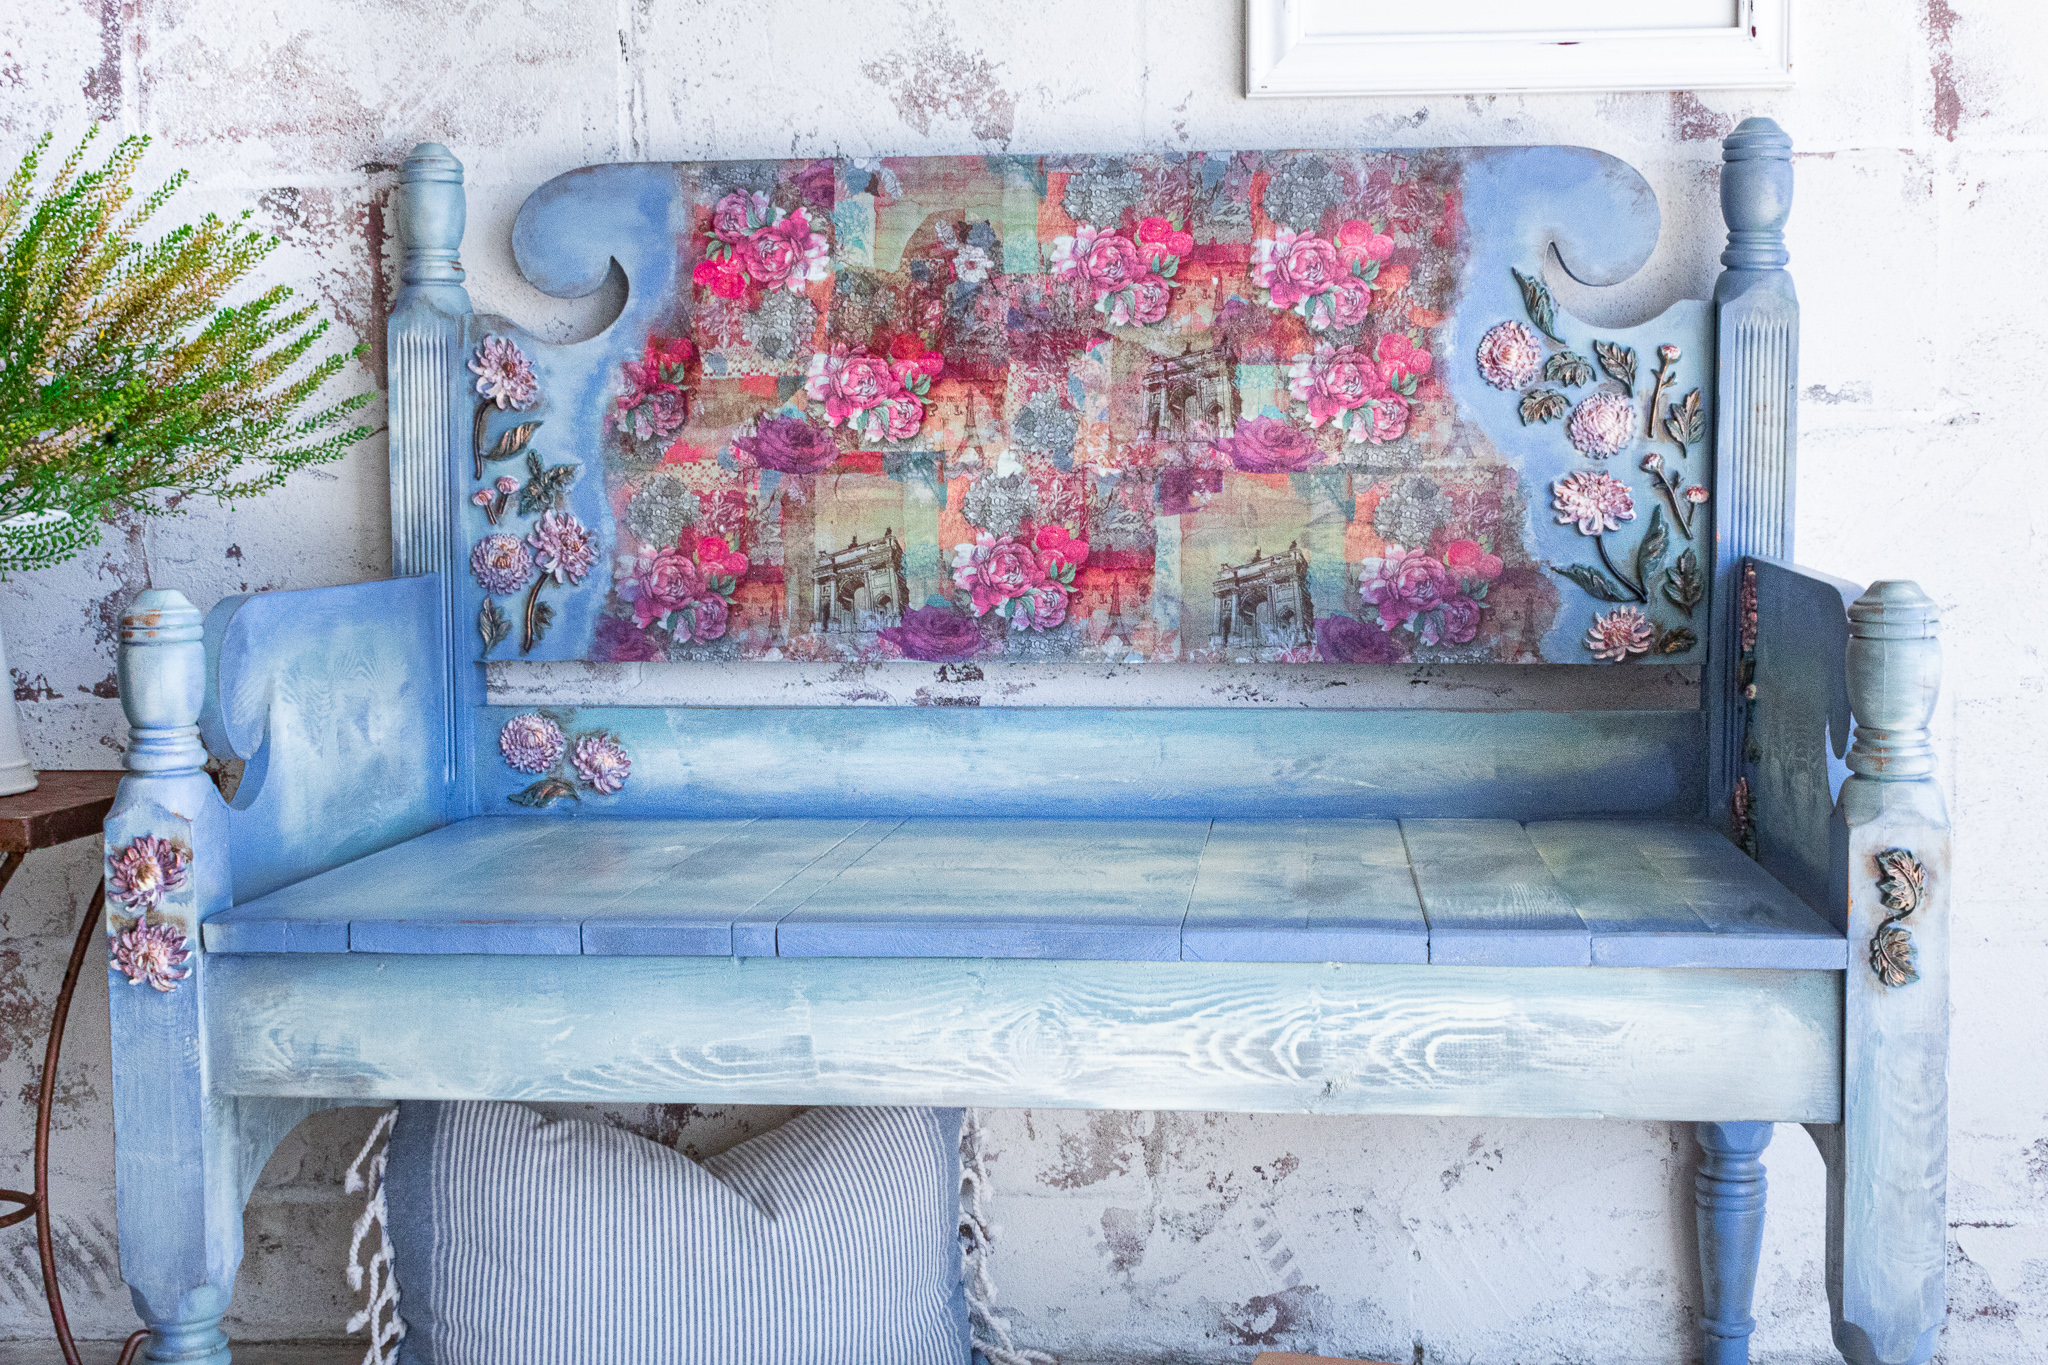
My treasures, do I have a treat for you! This bench was a two-step process. First, converting the twin-size headboard and footboard into a bench. (click HERE for bench build tutorial). Second, the design process. I truly poured my heart and energy into making her pretty. Even though these projects are labor intensive, I can’t wait to get up each morning and work on them. Creative outlets are so important in life. I hope you may find the time to incorporate these in your busy routines.
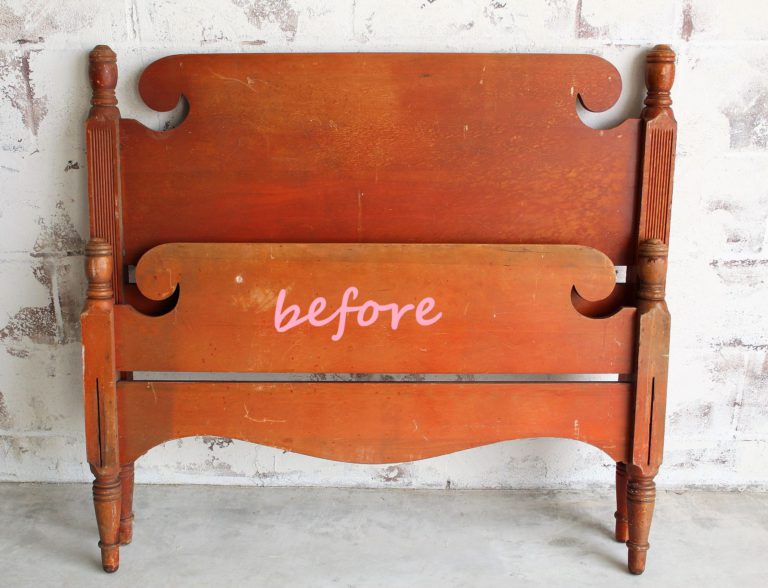
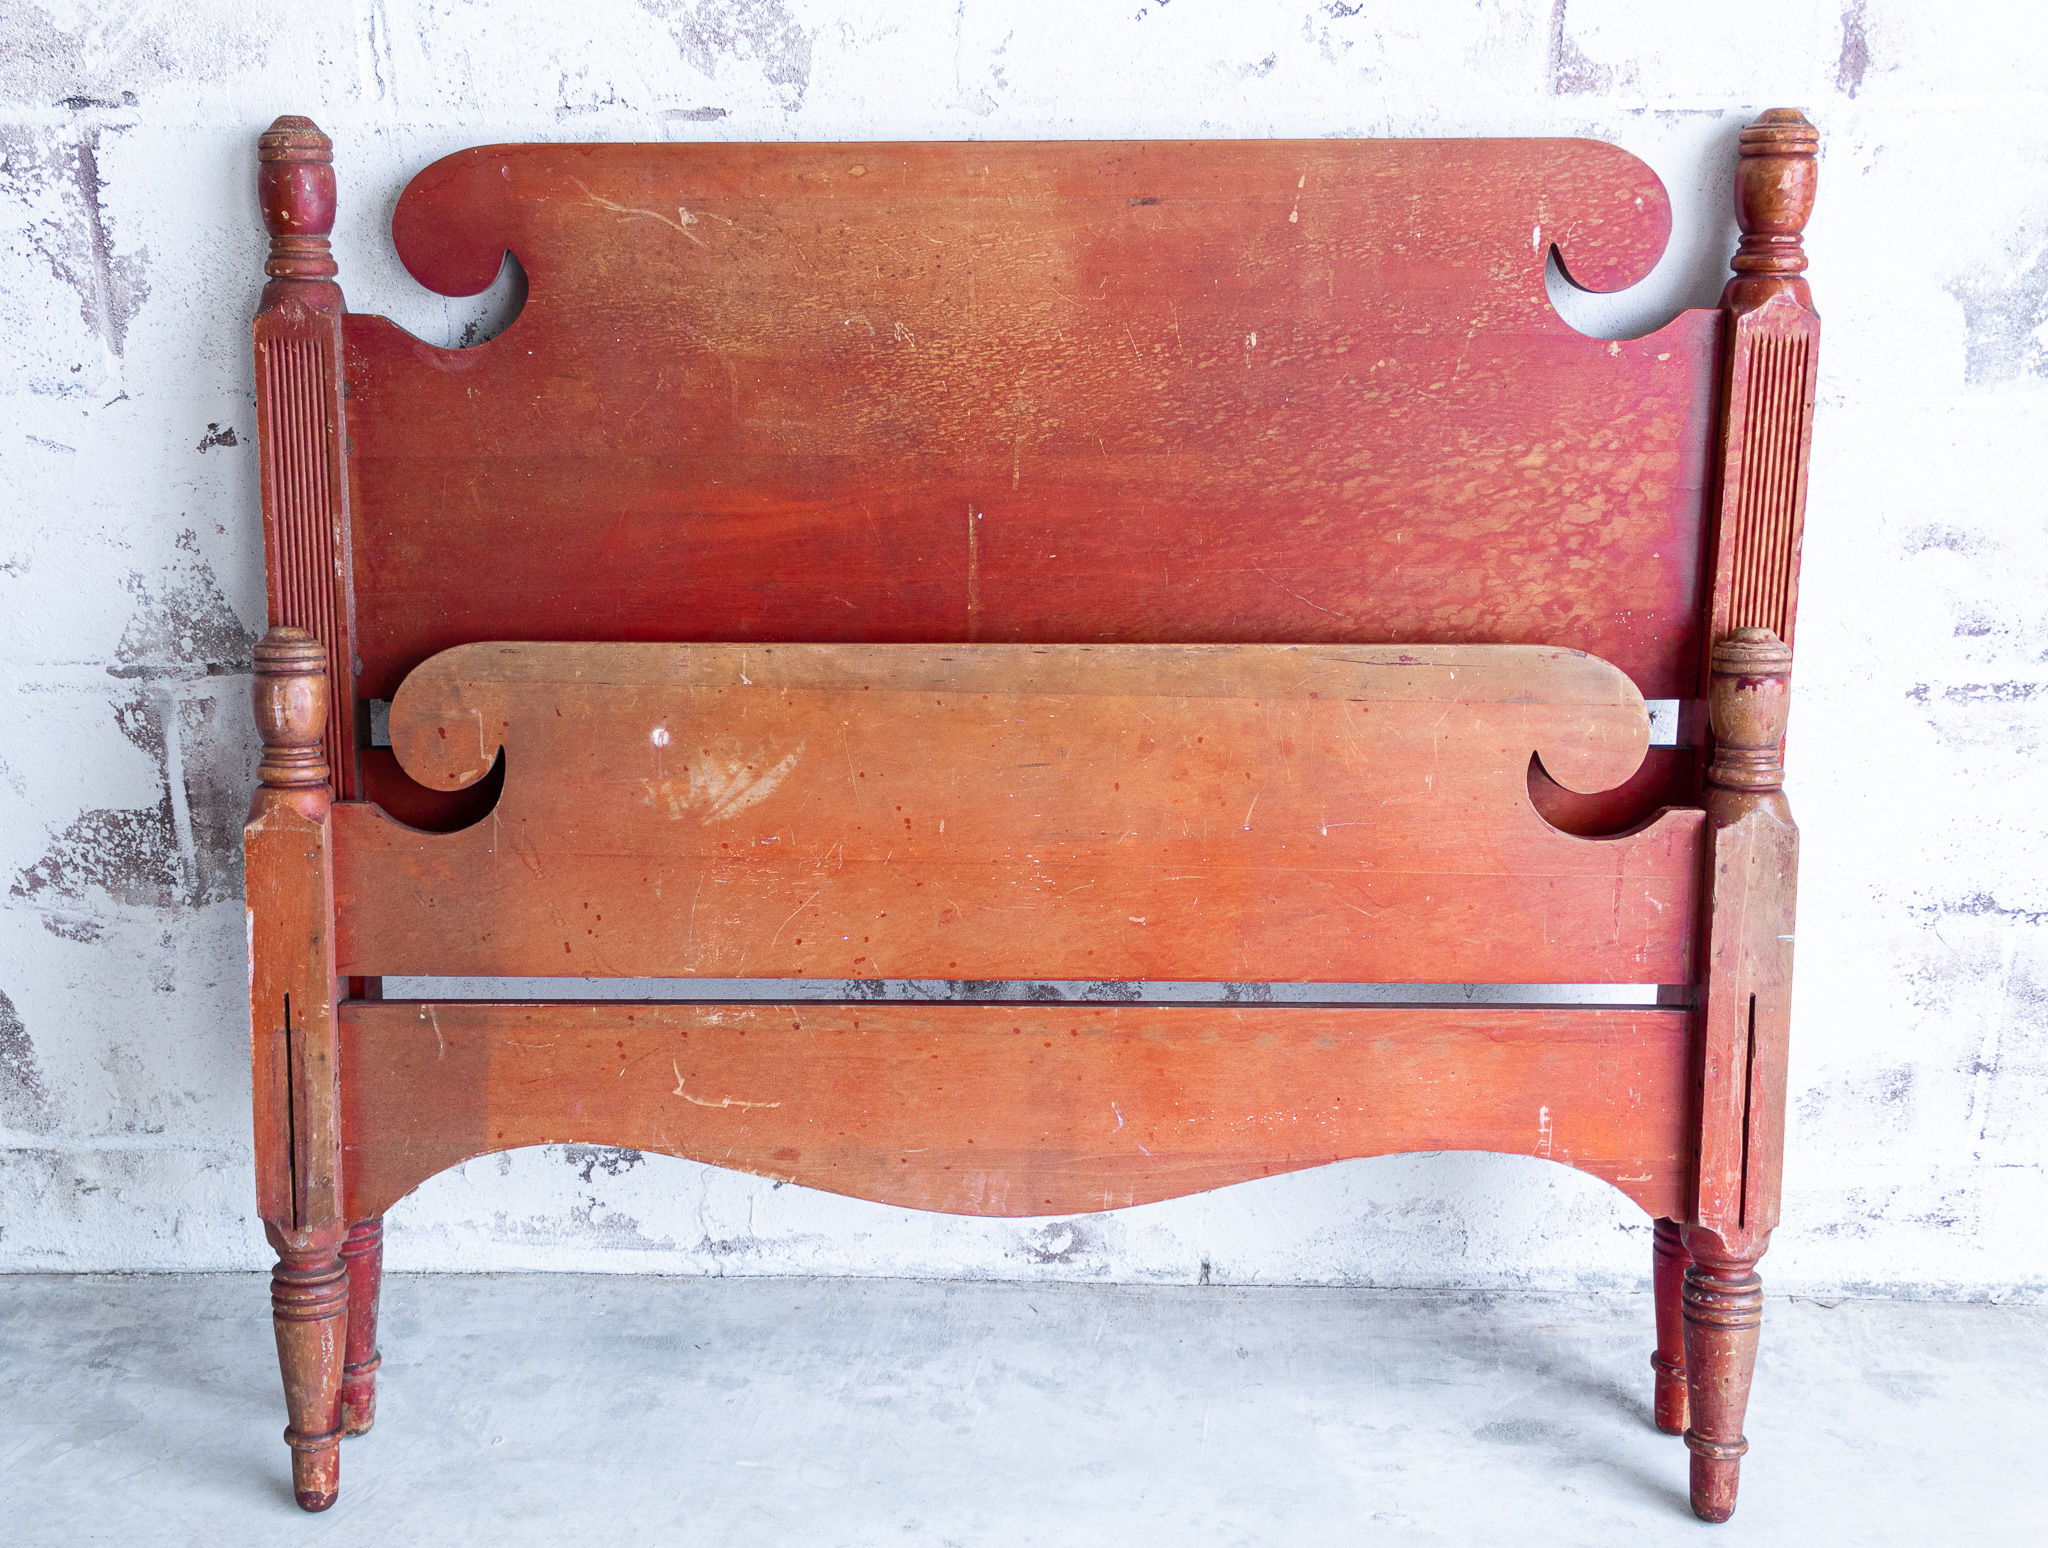
This facebook markeplace find was solid wood and I loved the curved details. I actually picked up three twin bed sets so I can make two more benches custom made! Message me if interested.
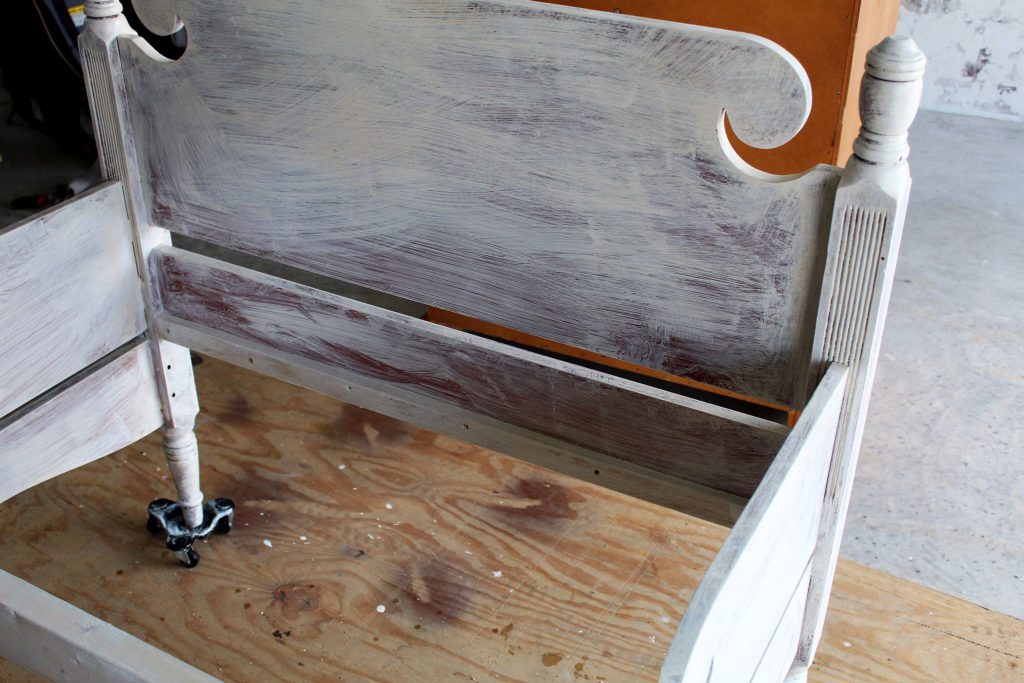
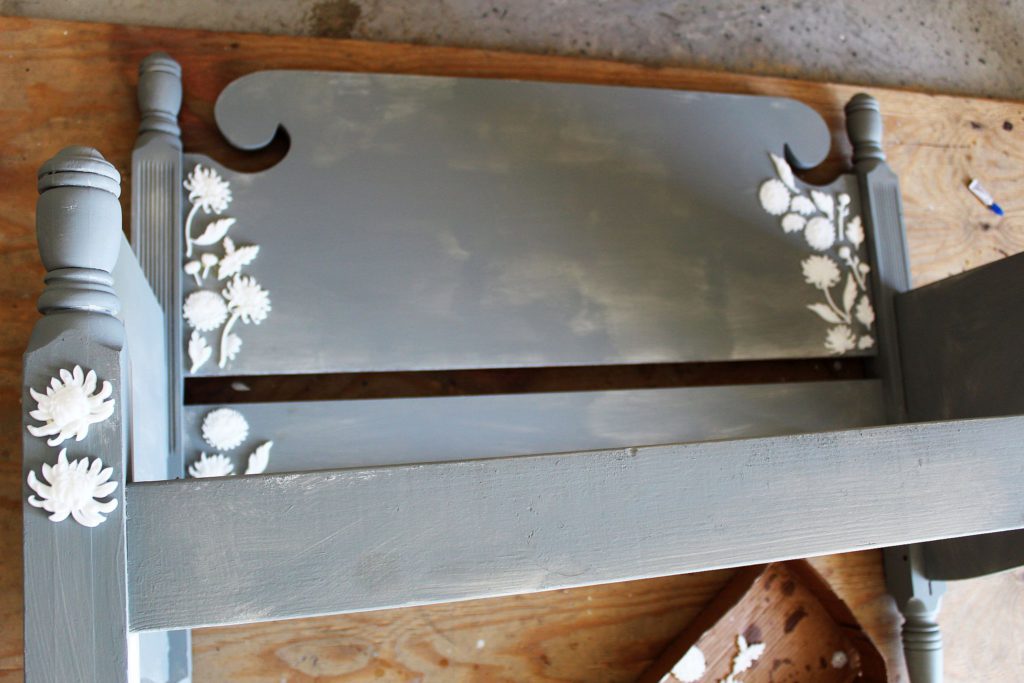
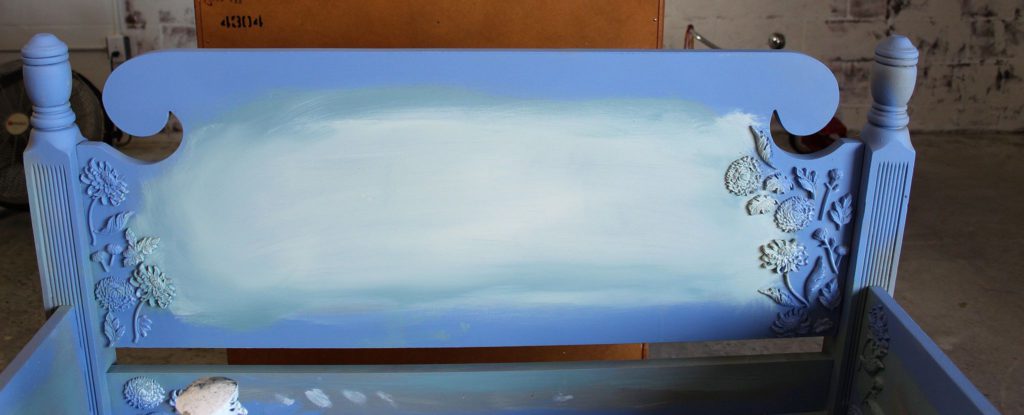
Once we got the bench put together, I primed everything with two coats of my Zinsser Primer. For easier access, I waited to nail on my seating boards until my paint primer and base coats were applied. For my base coat I used Behr’s Giant Gray which I chalked using this recipe.
Disclosure: Some of the links provided are affiliate links. By purchasing through these links you are supporting this family blog and the work we do and there is no extra cost to you. If you would like to read our full disclosure, click HERE.
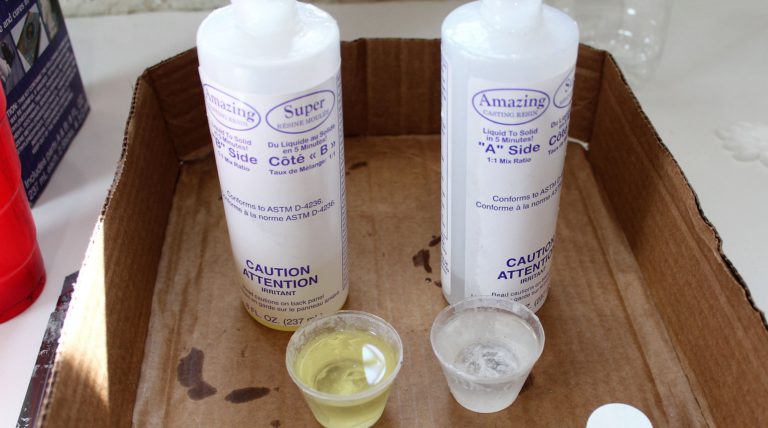
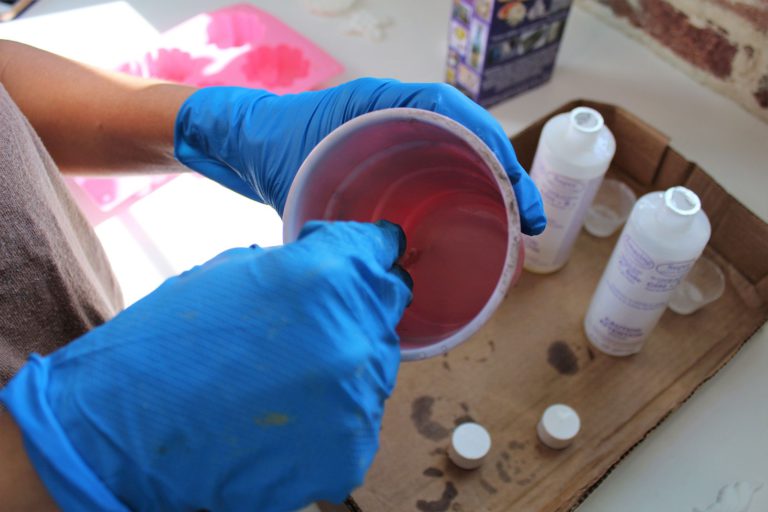
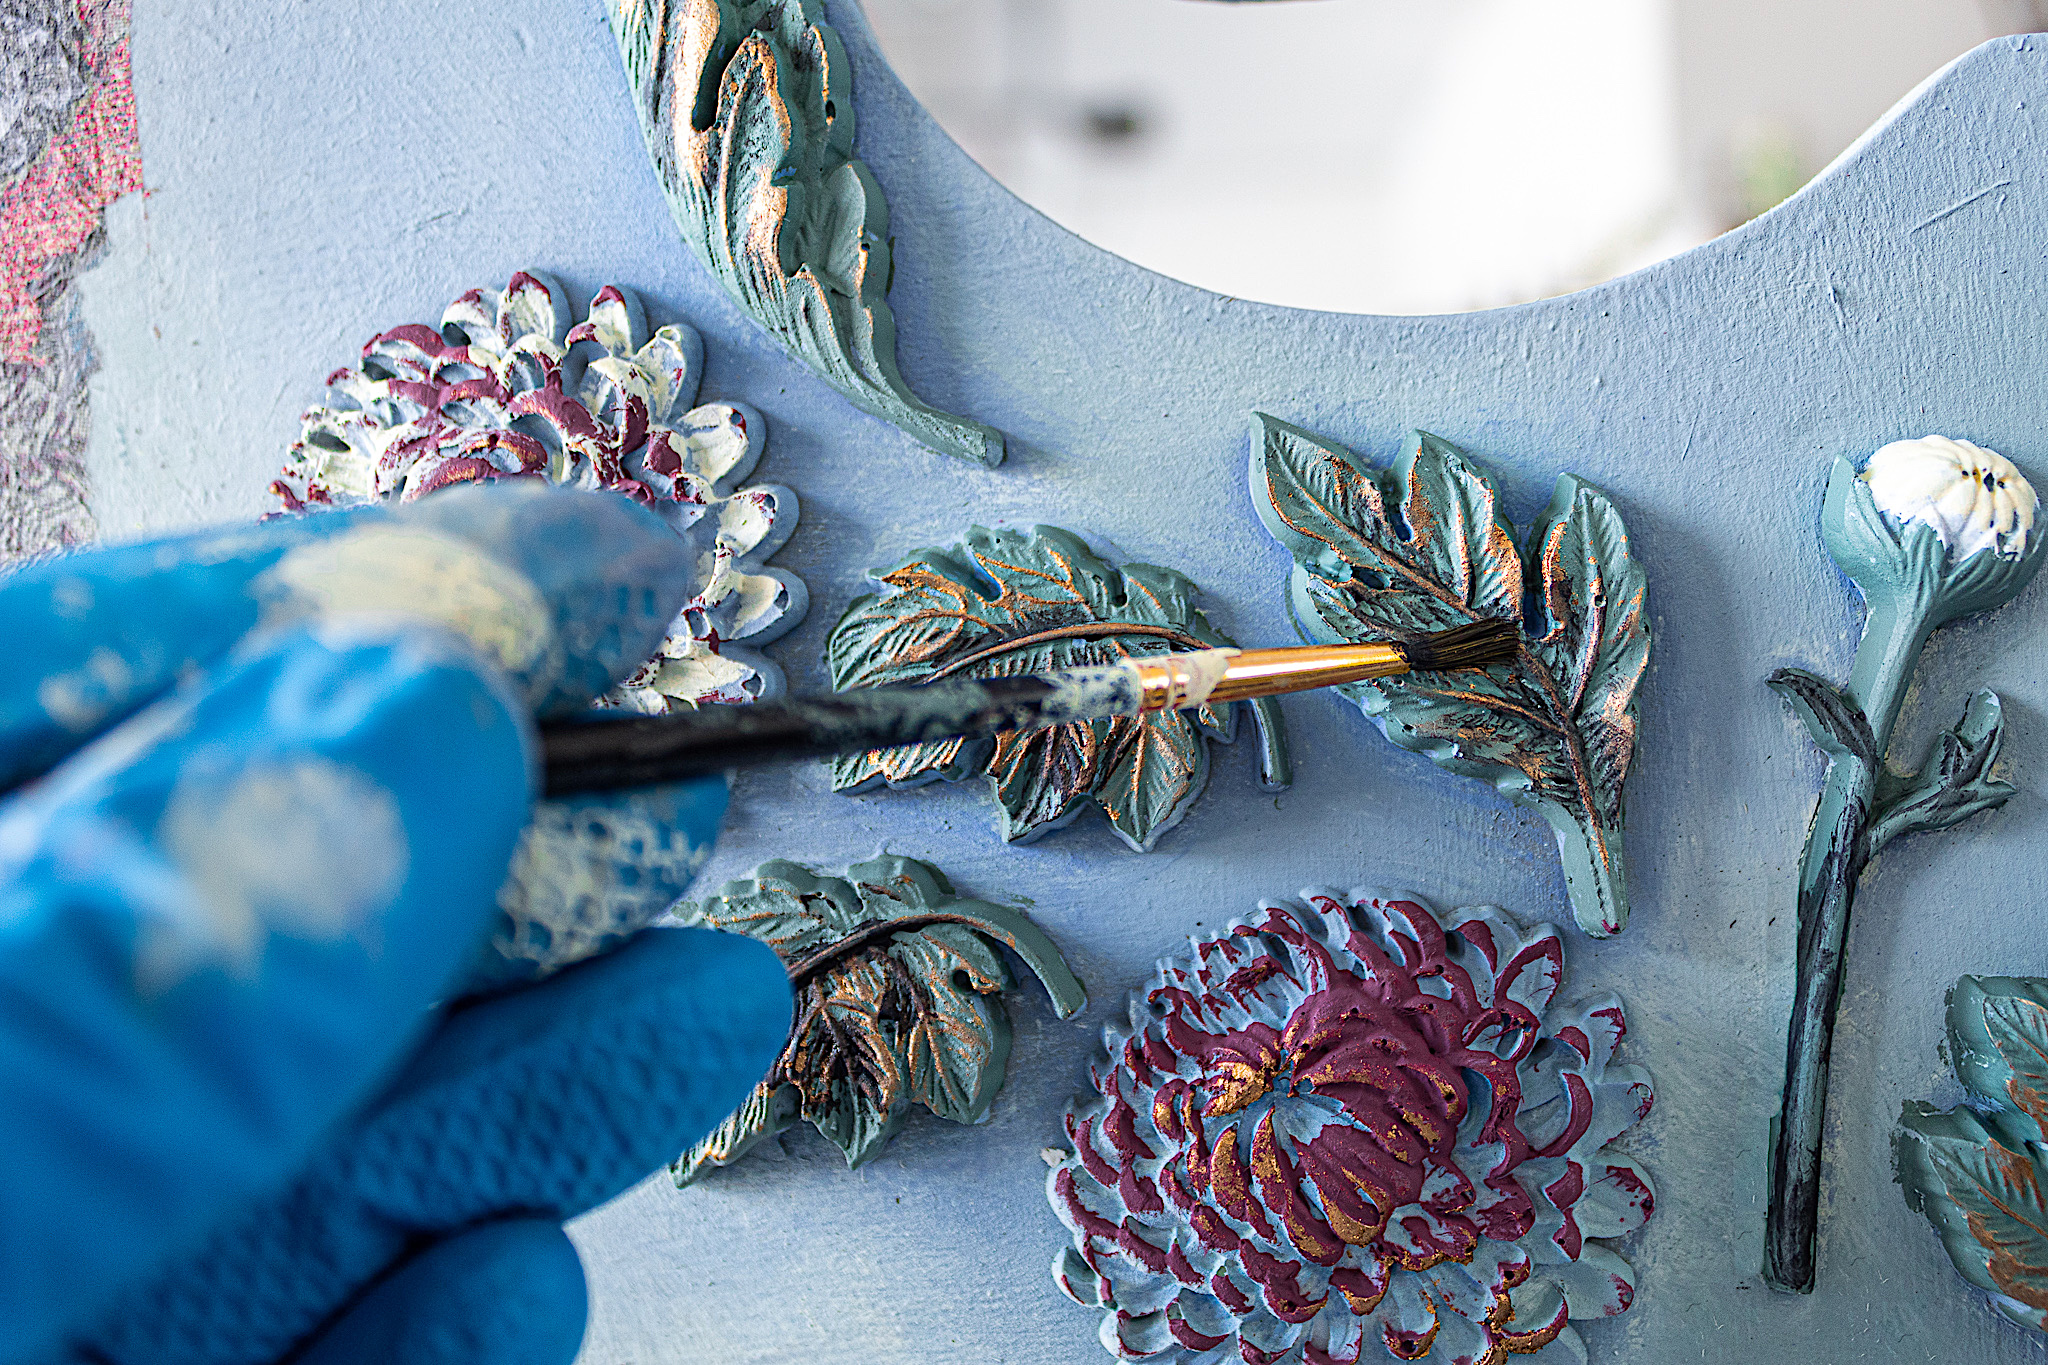
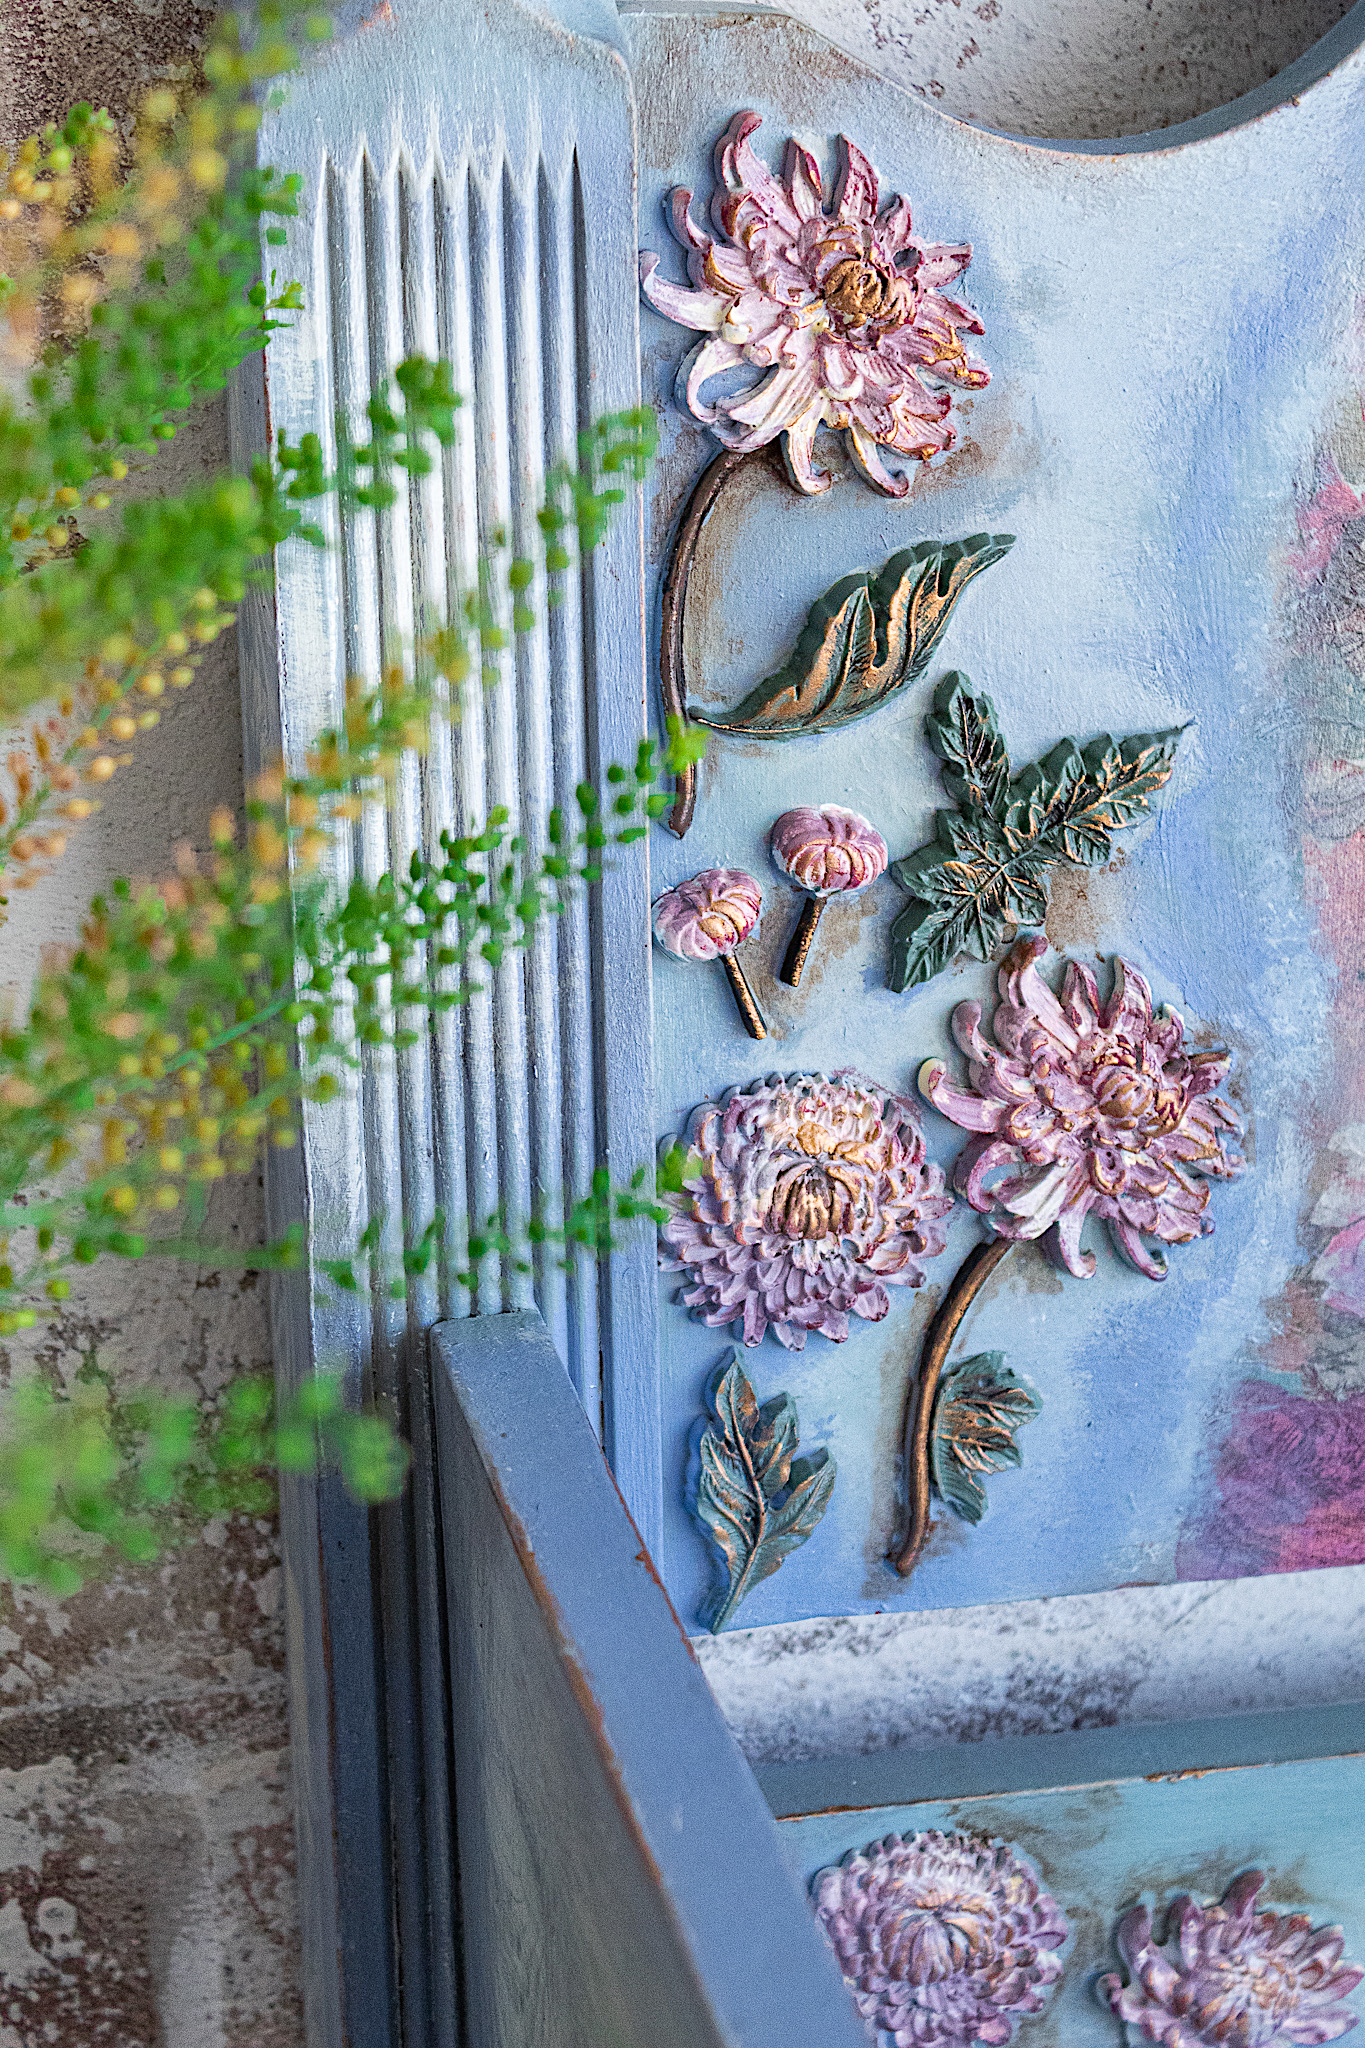
Next I made my decorative flower moulds. Please remember to wear protective gloves as you are working with chemicals. The casting resin kit I used came with two bottles, two small cups, and two stirring sticks. Pour equal parts of each liquid bottle into the small cups.
***Next steps require you to work quickly as the resin hardens and heats up quickly*** –Pour the contents of your small cups into one larger plastic. –Use the stirring stick to mix thoroughly for 30 seconds.
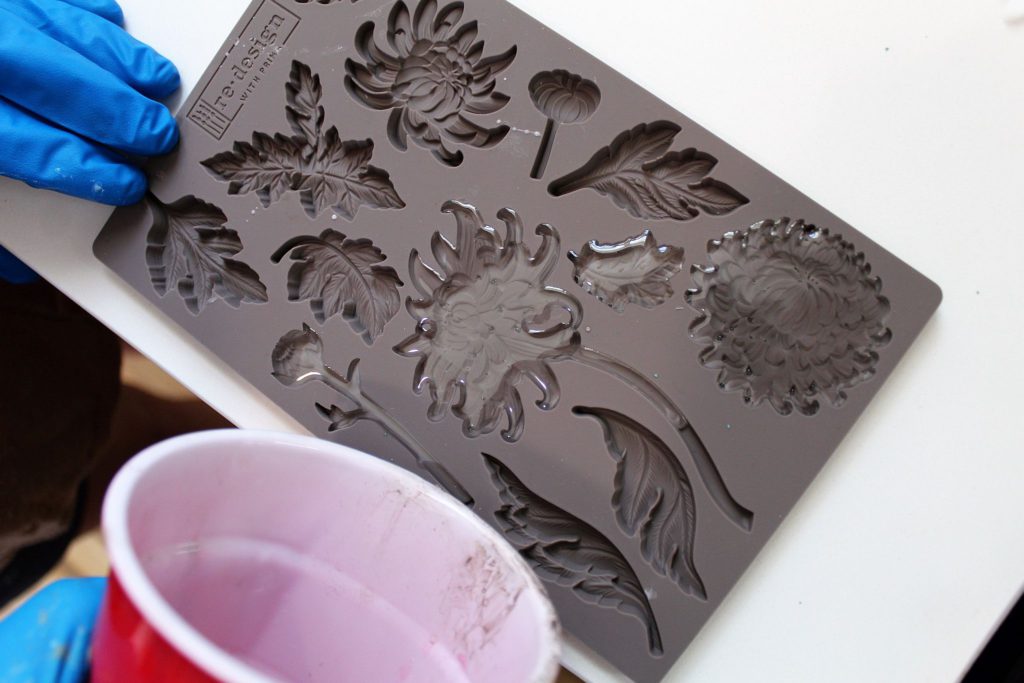
Pour carefully into your mould. I chose this Botanist Floral Mold by Redesign. I moulded four times to get enough flowers for my piece.
The liquid pours clear and dries white. After 10 minutes you can lightly touch it for hardness. I gave it 15 minutes to be on the safe side.
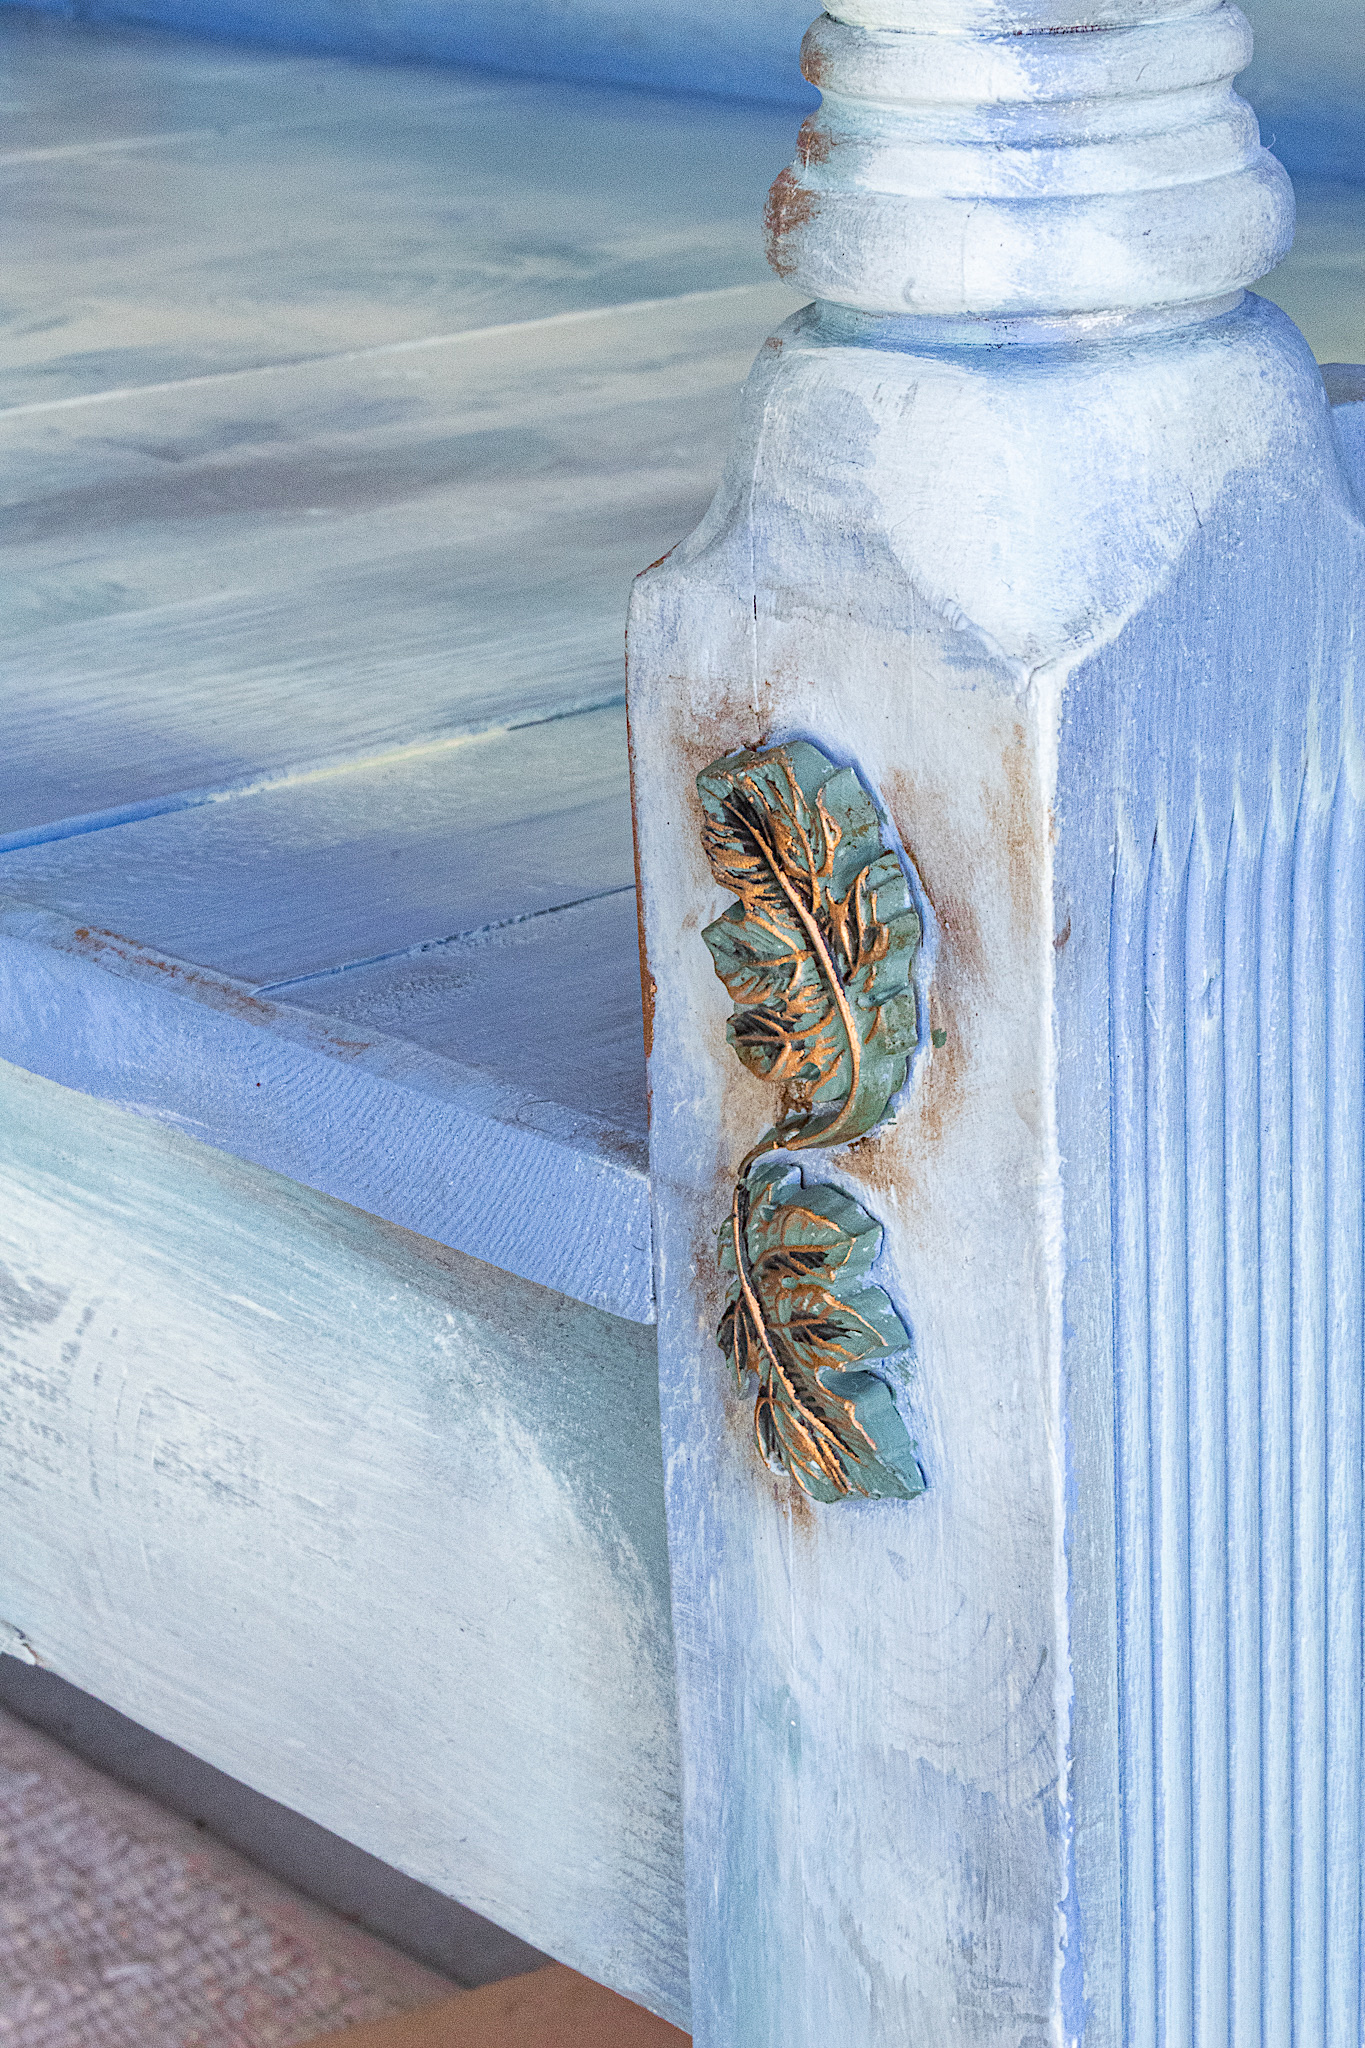
I played with the arrangement of the flowers before gluing them on using titebond. I laid the bench down to make sure nothing moved while it was drying!
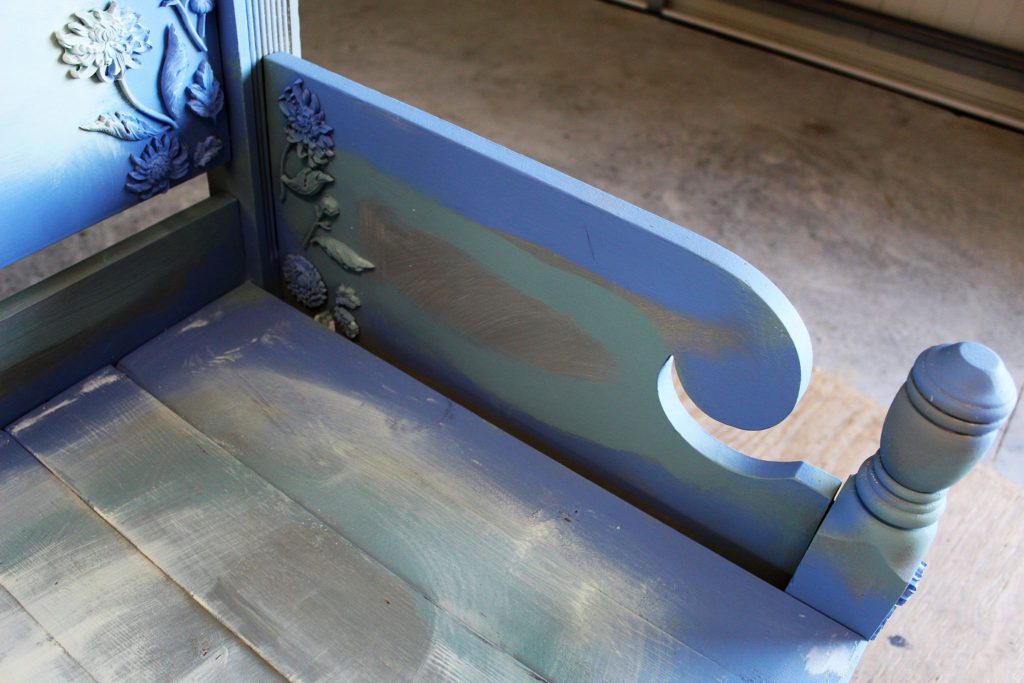
Next came the decorative painting process on the bench! For my first coat, I outlined all the sections of the bench in Blueberry.
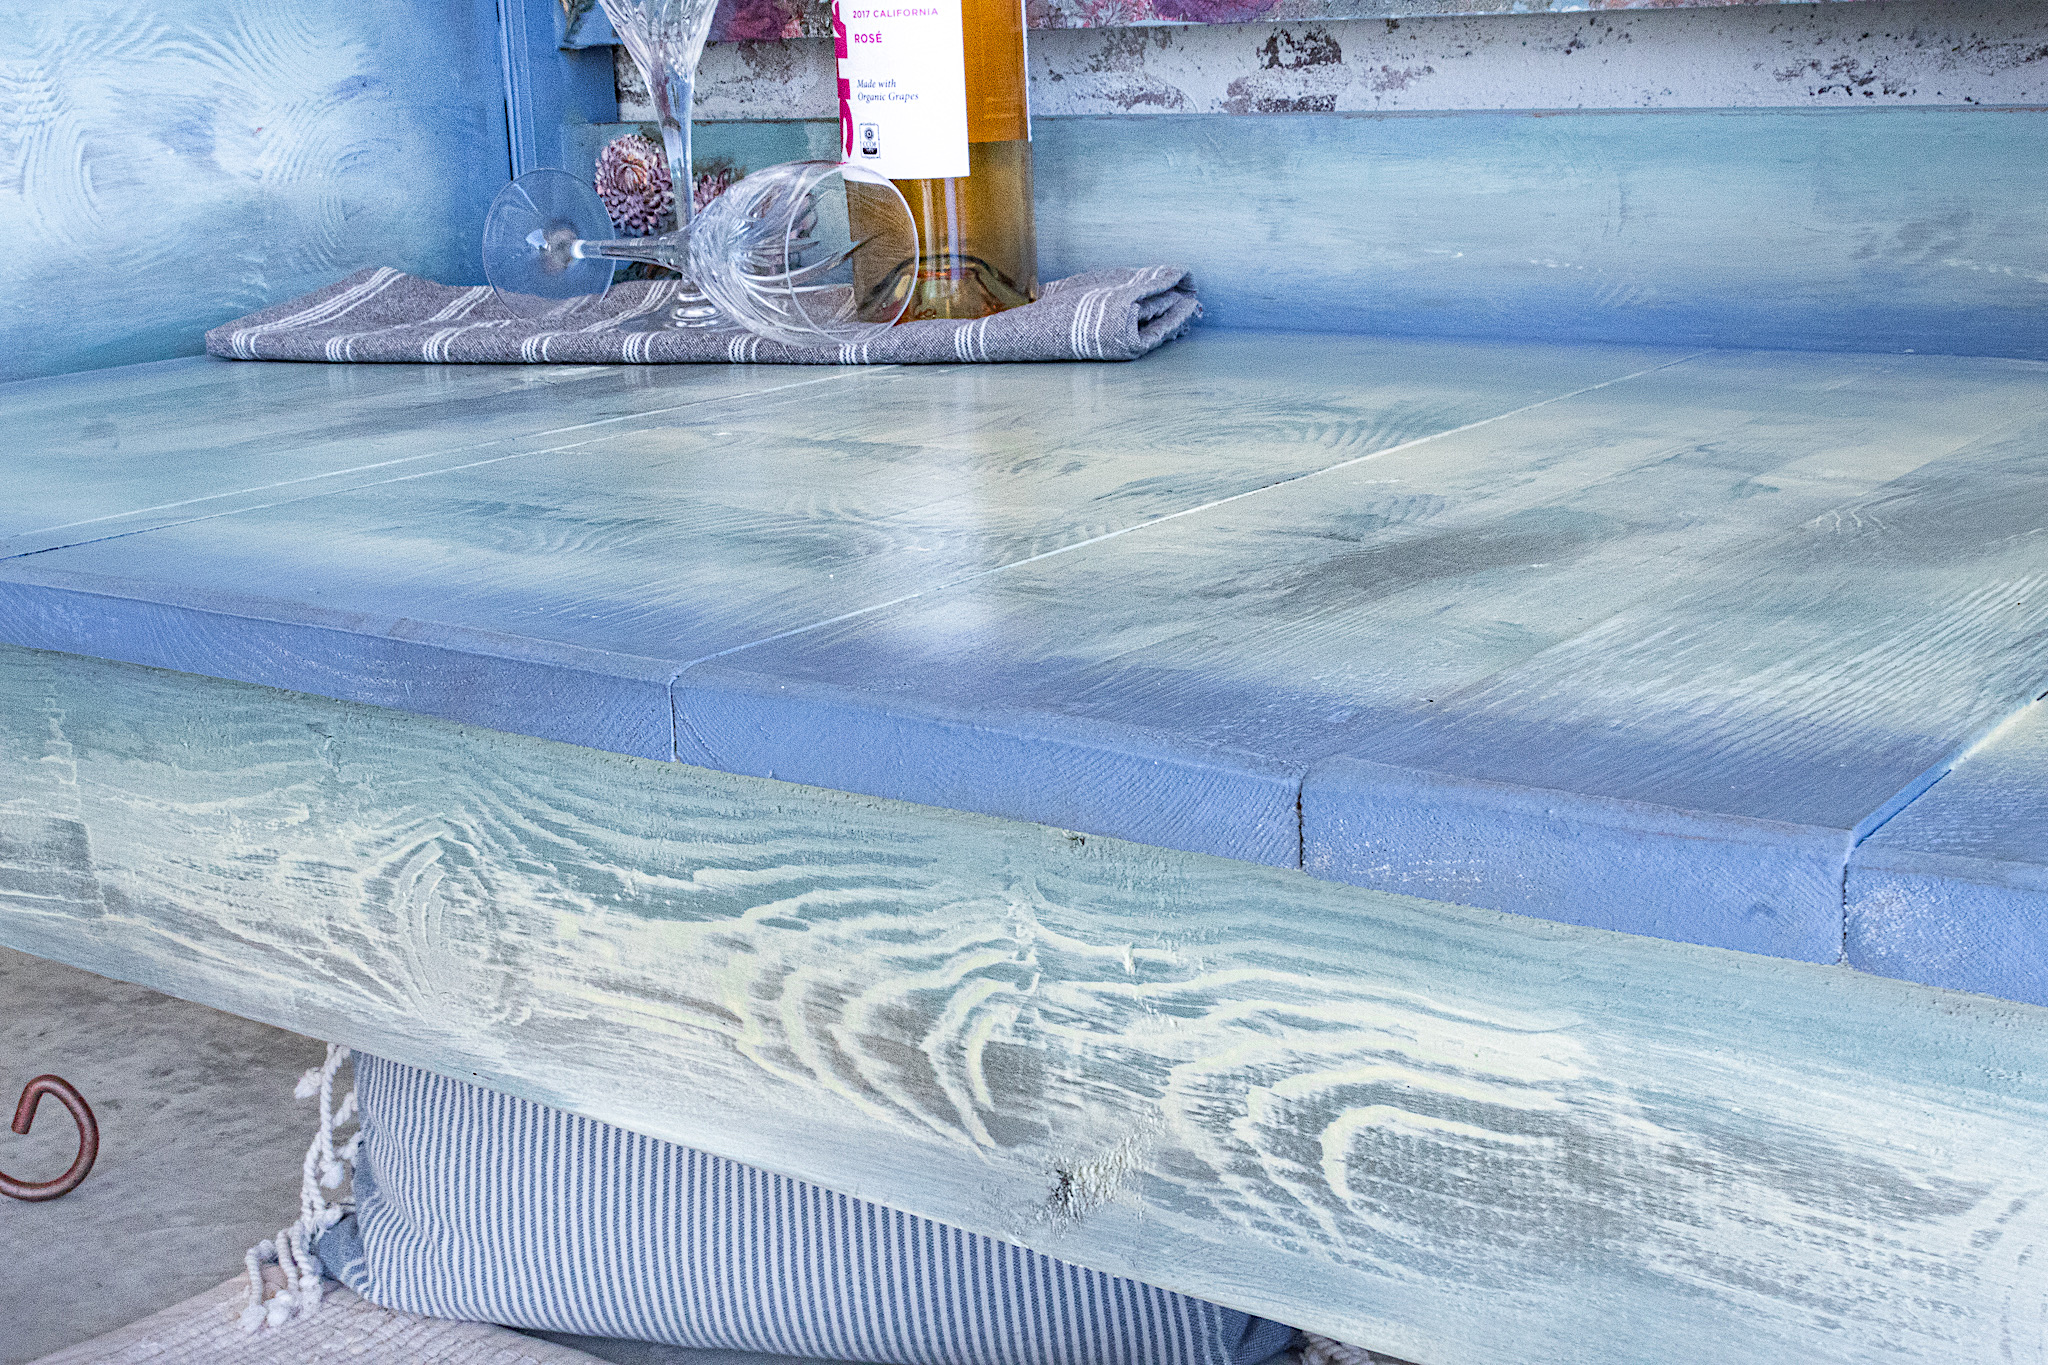
Then I took some of the Vintage Duck Egg and outlined under the Blueberry. With the Lemonade I filled the center parts. No need to worry about anything fancy for your first coat. The second coat is where all the magic happens. I got so caught up in painting and creating patterns that I didn’t take any pictures! But I did a 1 minute video demo of the wood grain look on a sample piece. Sorry about the subtitles not displaying properly!
In parts of the bench I used the wood grain tool horizontally and in other parts vertically. It created exquisite patterns. The tool does the blending for you so there’s no need to spend much time on a perfect blending technique. I love anything made easy for you! Important tip**Make sure your paint is wet before using the tool. If it’s even a little dry, the tool won’t pull it up into the pattern.
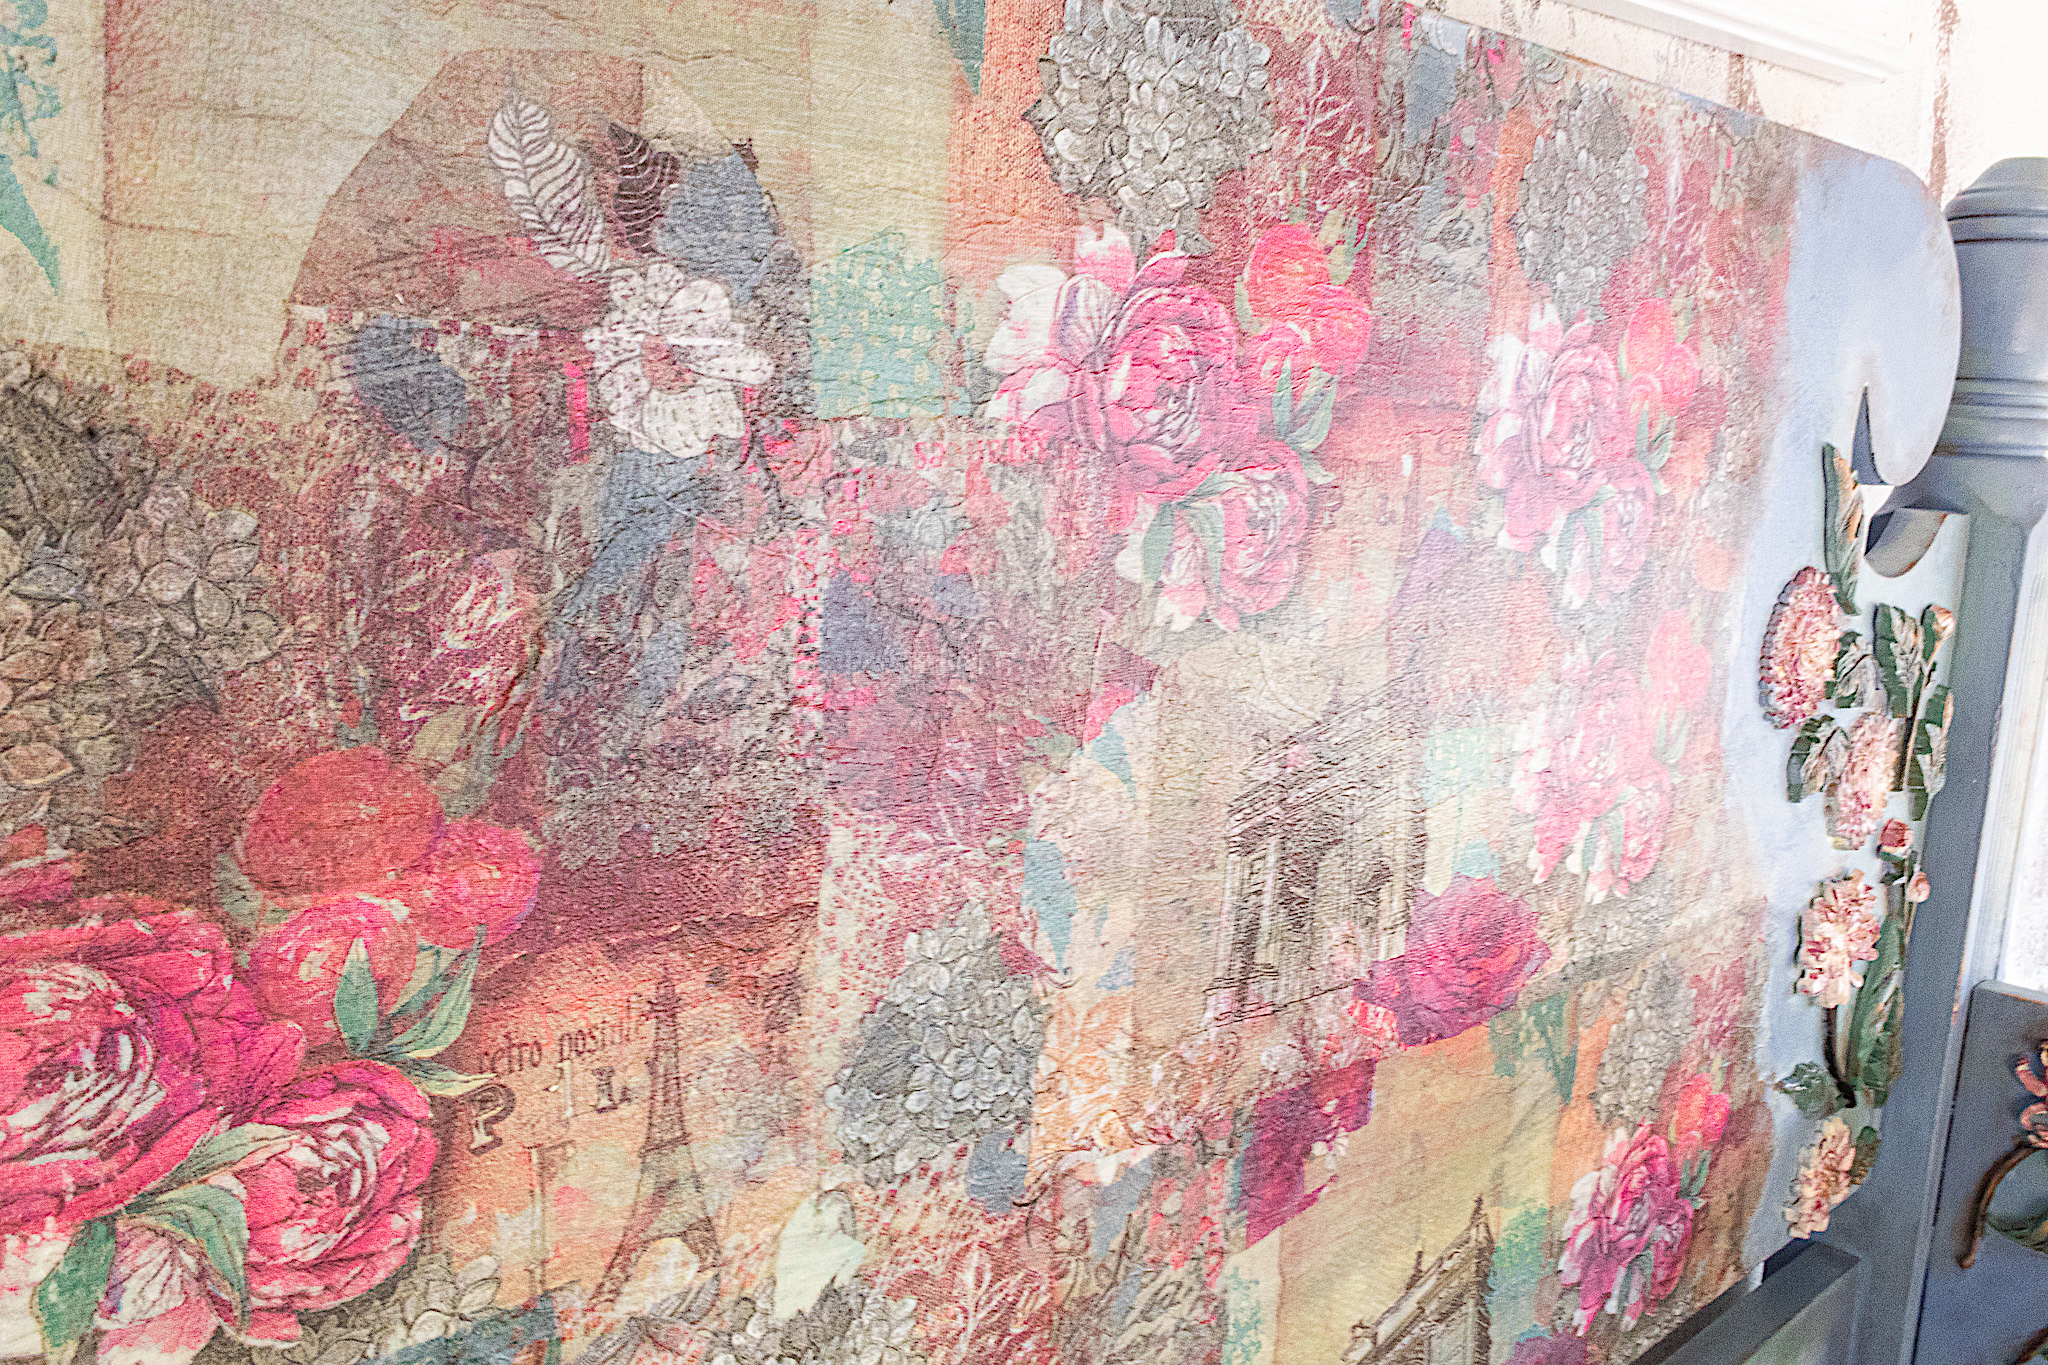
For a final touch, I decoupaged my decorative napkins on the headboard part of the bench to add a beautiful statement. I do not have a demonstration of this technique but am planning to do a whole post on decoupage soon! As a quick summary, I basically took my napkins, making sure to separate the ply of each napkin so it was very thin. Then I cut and placed them in a pattern I liked on the bench. Then I coated them with my liquid gel medium.
Schew…I’m glad this project is behind me. It sure was ALOT of work. But I enjoyed every minute of it, because I was CREATING. I hope you too are finding moments out of your busy lives to do something that thrills and satisfies you. I would love to hear your thoughts on the Floral Moulds and Decopage Bench! Please share a comment below.
I usually don’t paint the back of my pieces. But in this case, I wanted the bench aesthetic to be whole.
And here’s one more view of the before and after.
These are some of the products I used for this project and would recommend