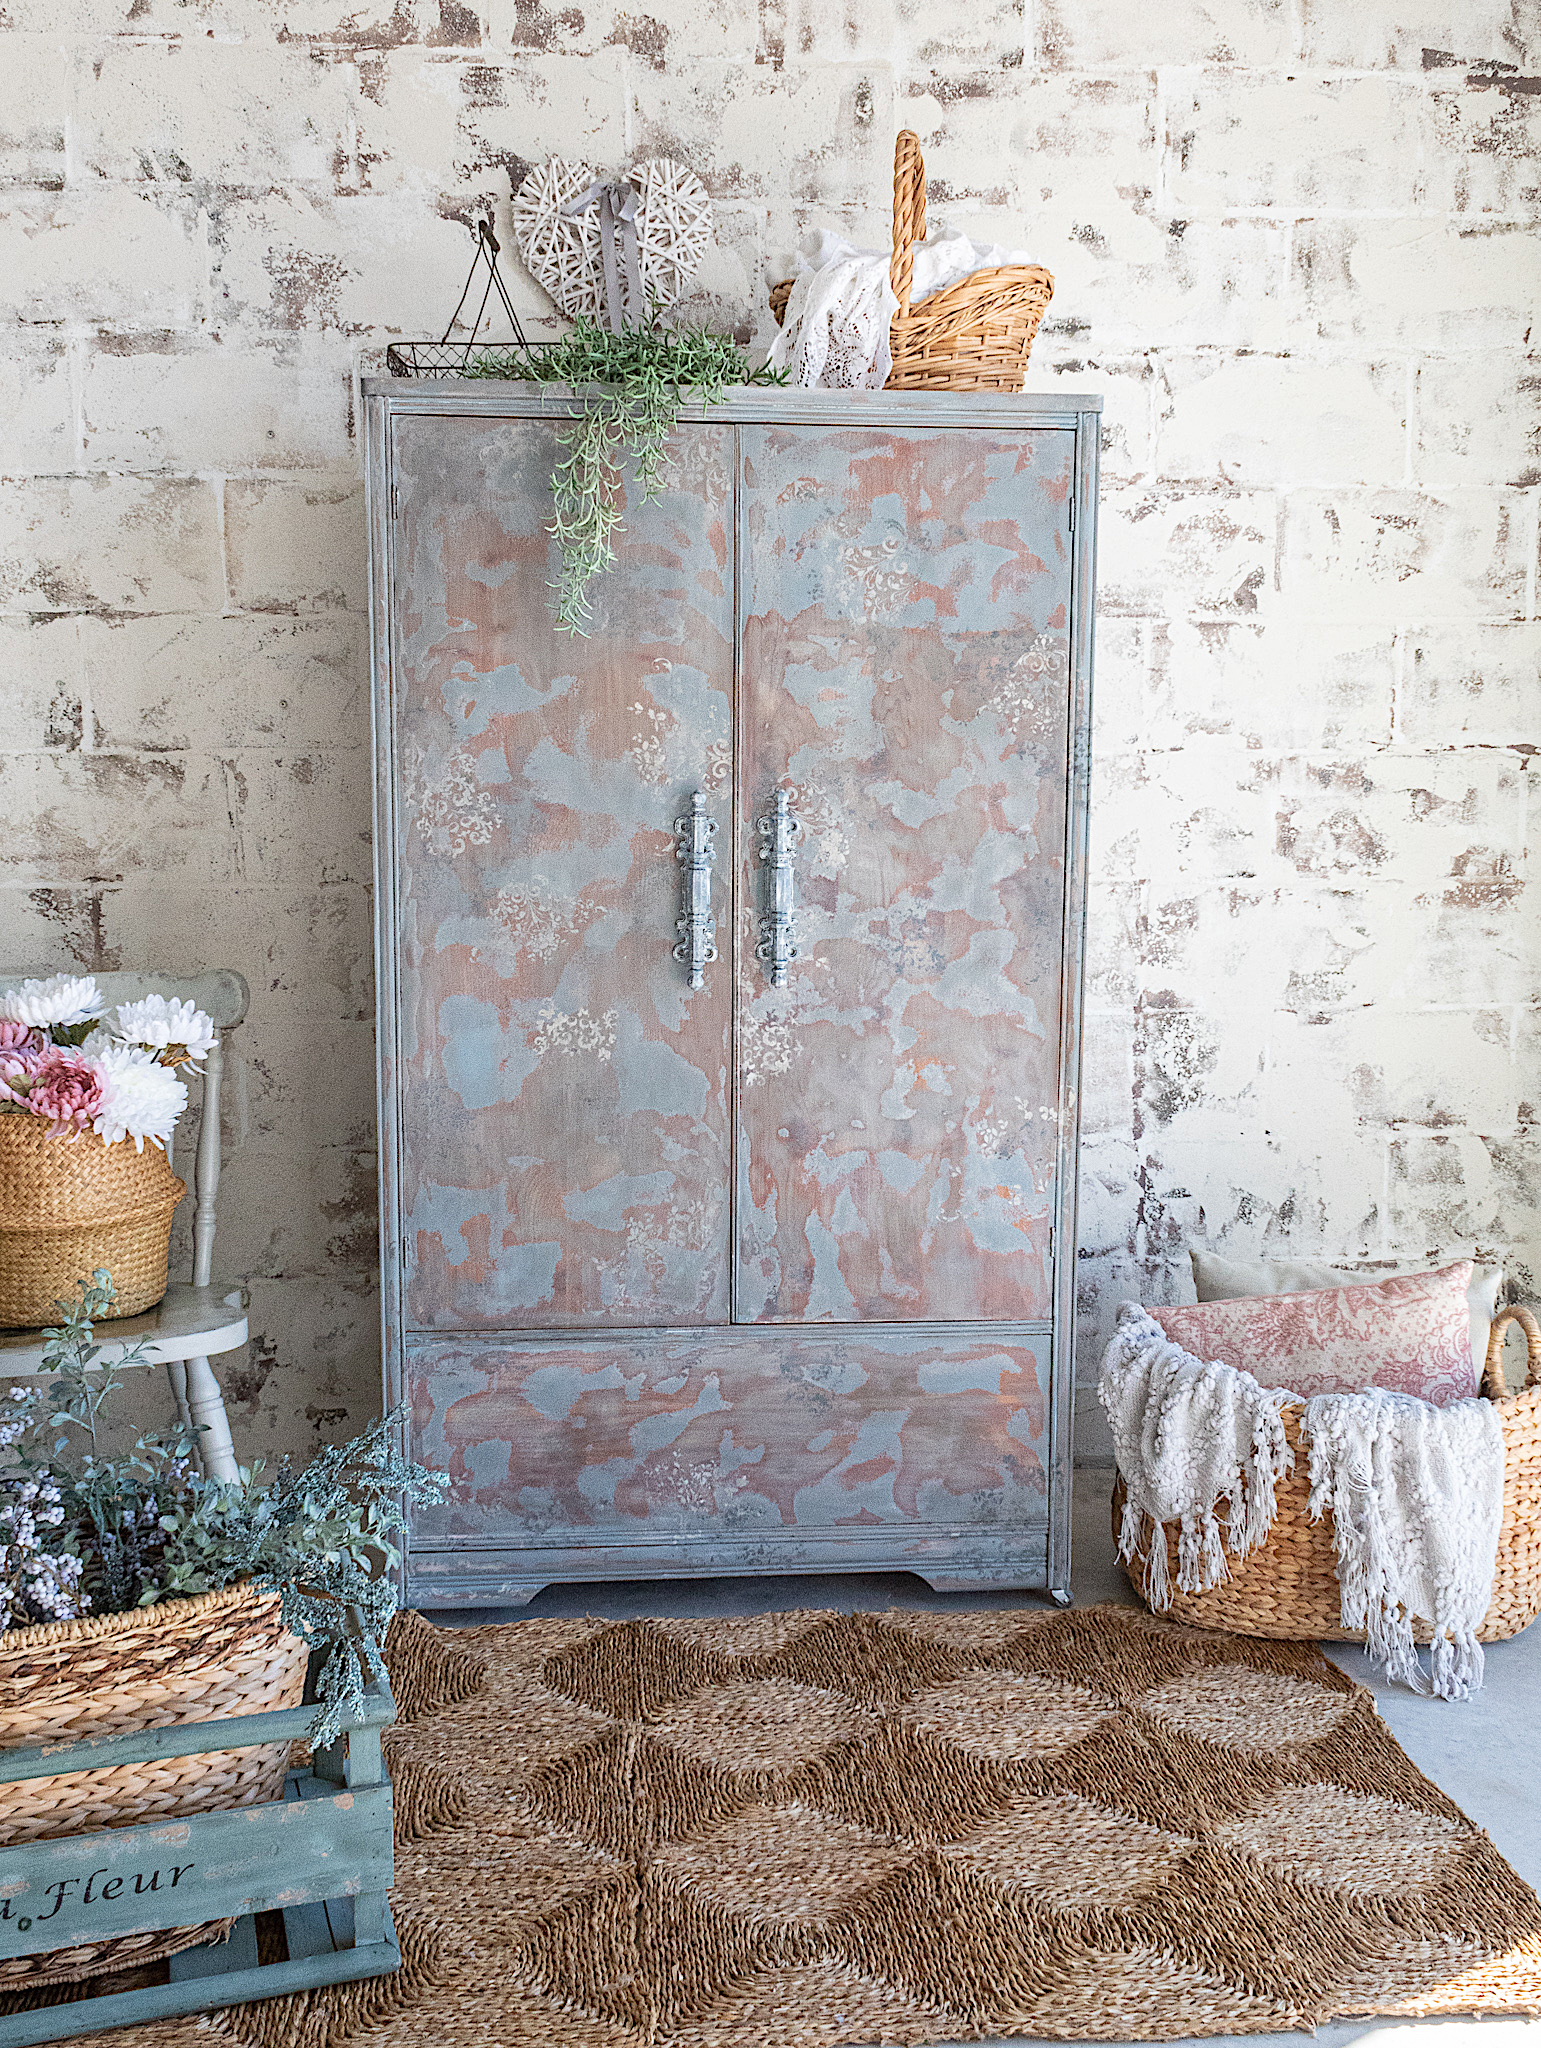
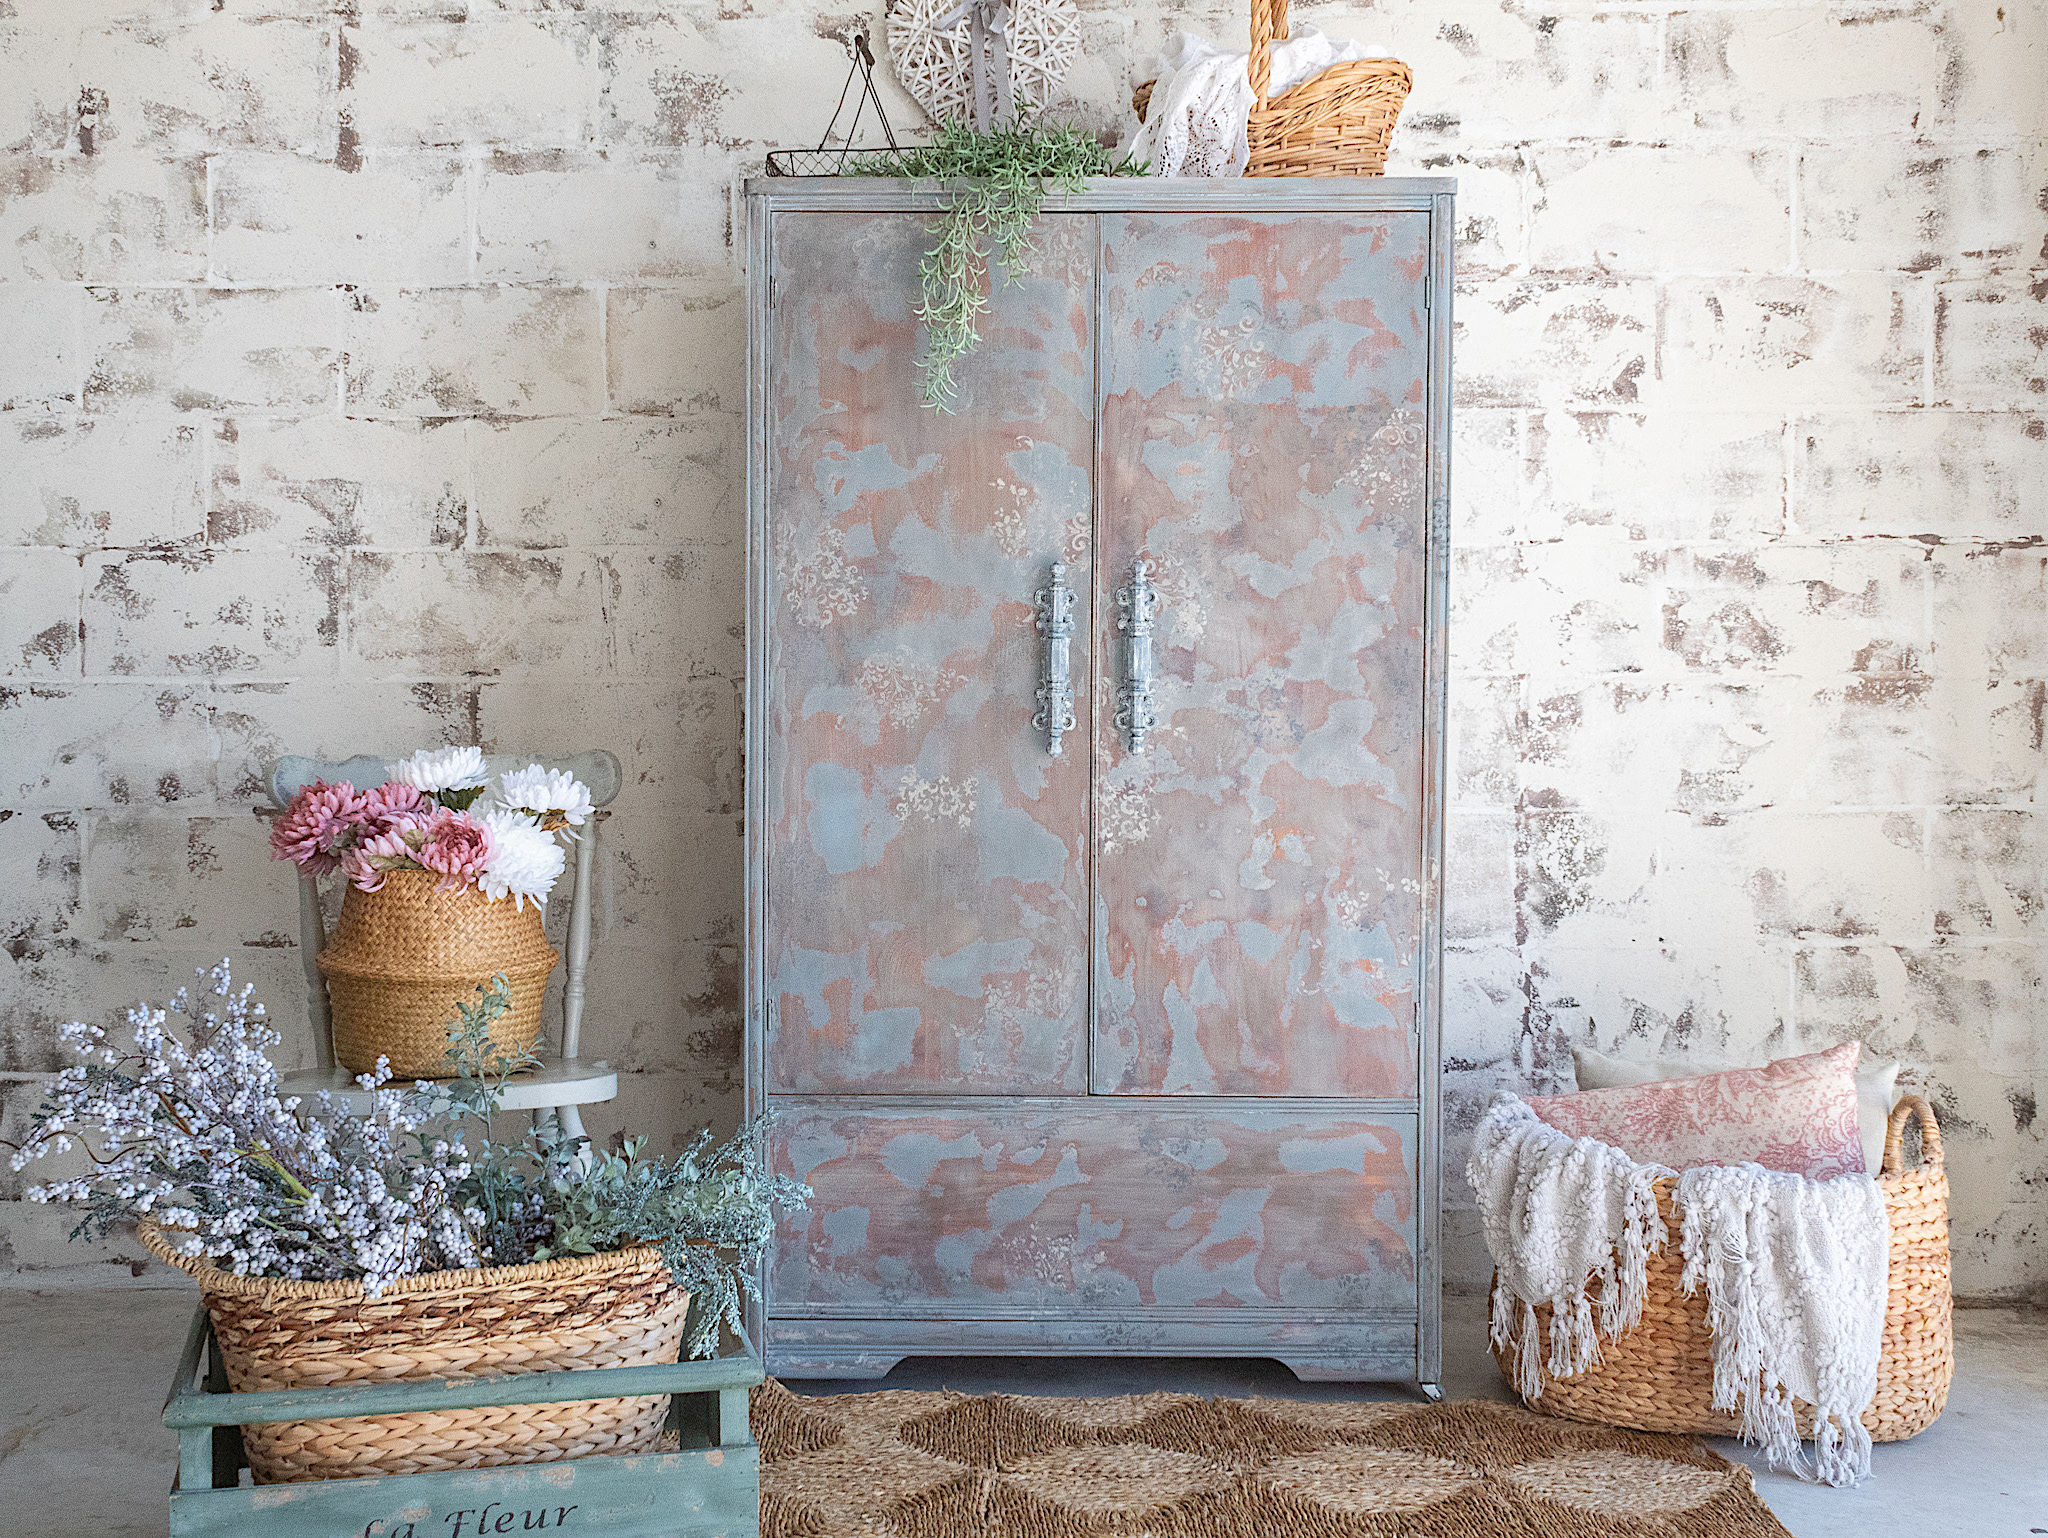
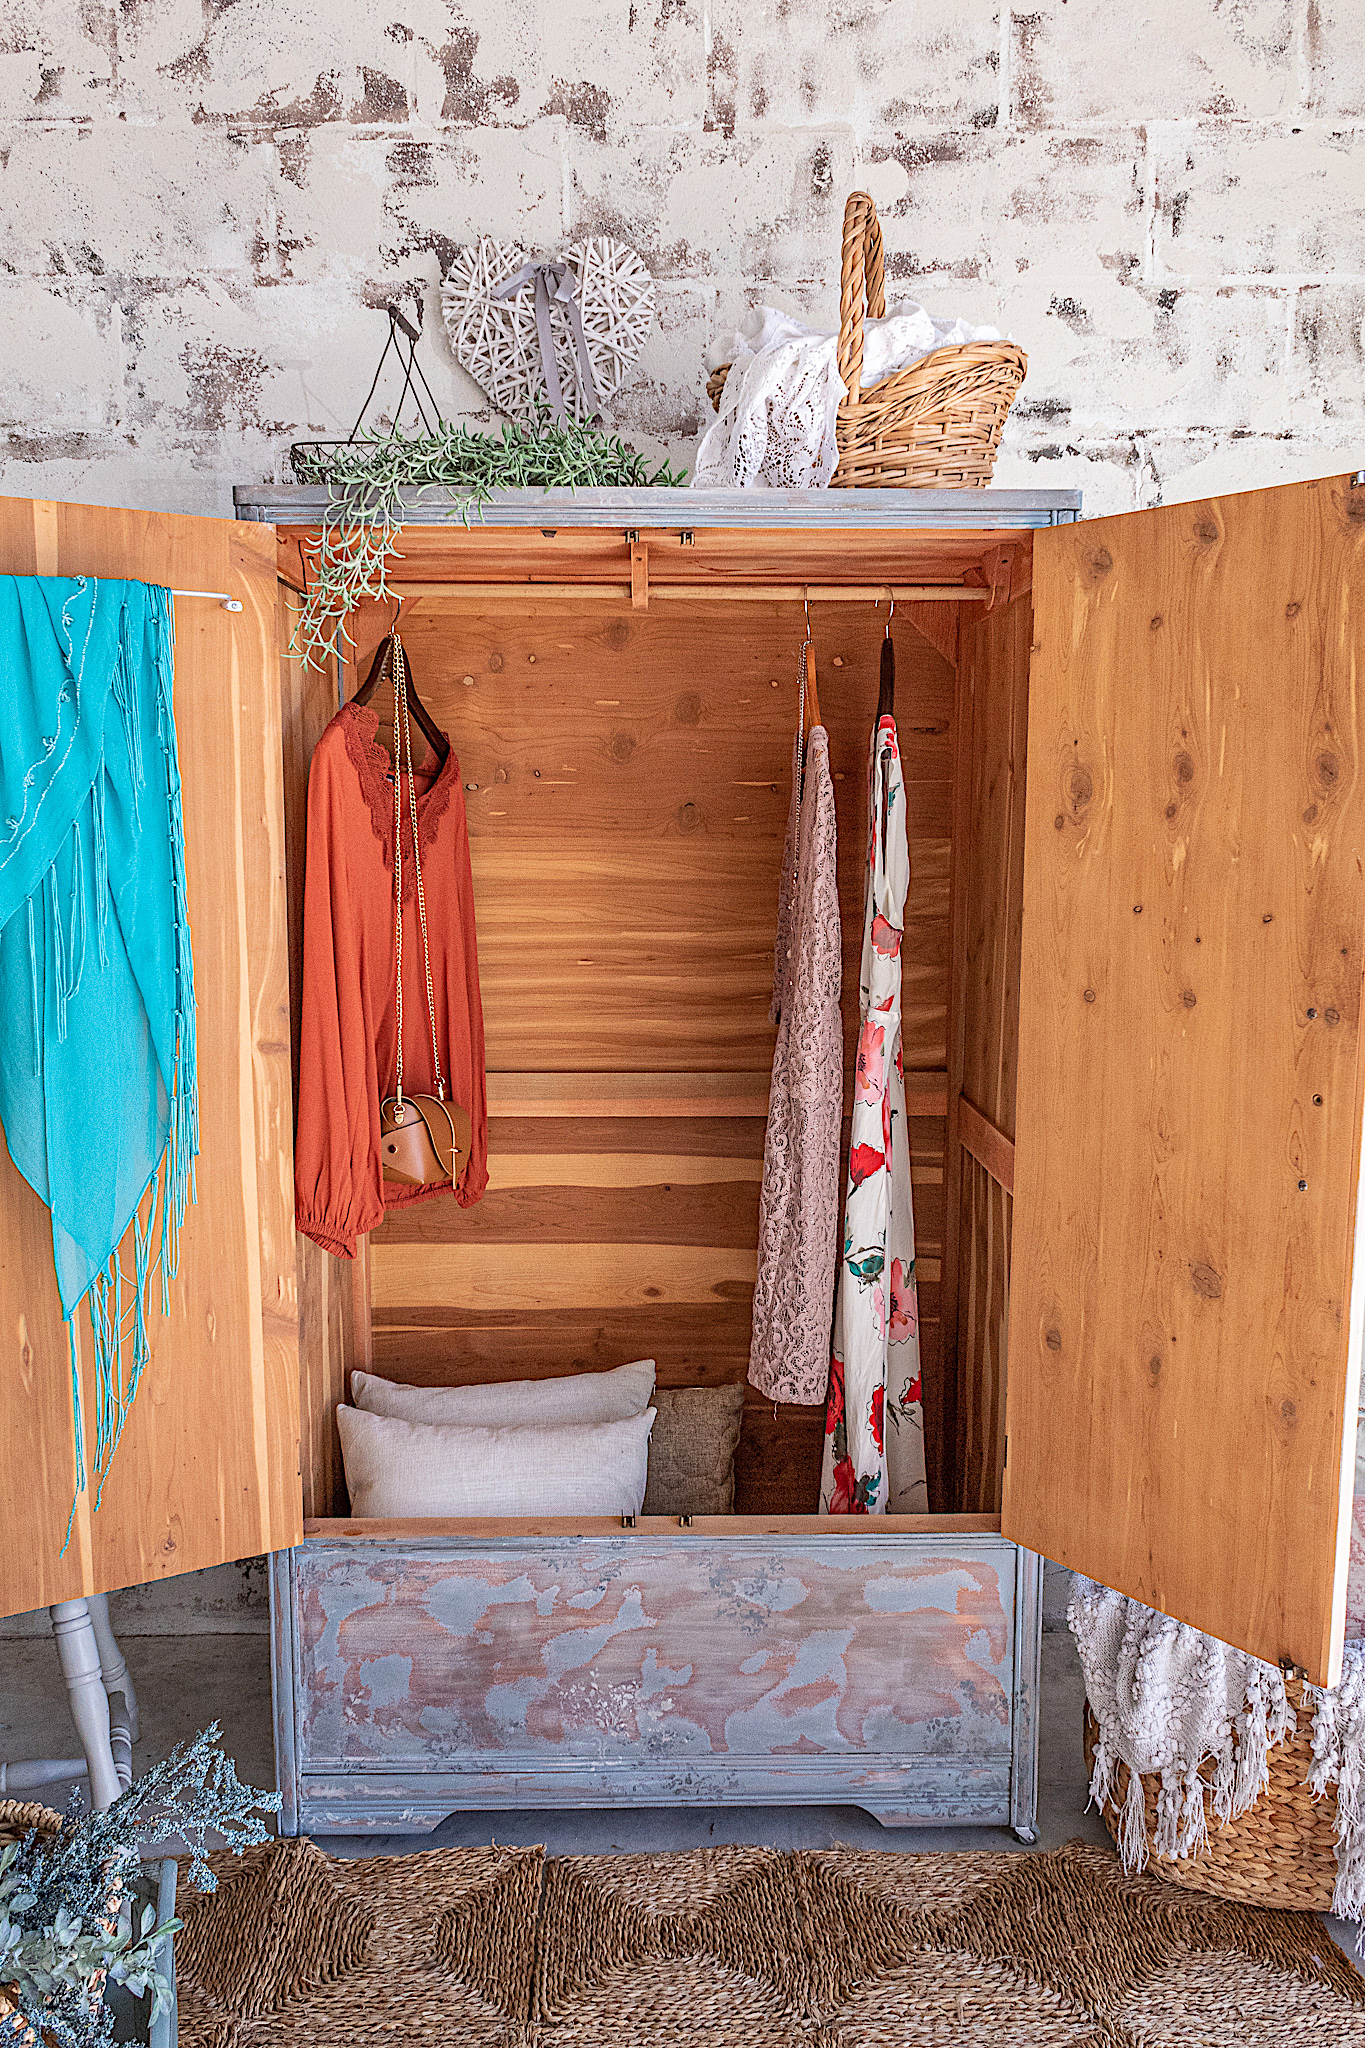
Dear friends, I wish you could see in person how dreamy this renovation came out! I’m not sure my pictures will do it justice. This circa 1940’s wardrobe was in need of some loving. Take a look at the before picture.
Restoring antique pieces can be a lot of work following years of wear and tear and exposure to different environments. But the ability to be able to bring something historic to a new life is something I find so rewarding. Let’s get started on renovating this piece.
I sanded with 60 grit paper to remove the finish of this piece. It had become orange over the years and was full of nicks, marks and odors. I even sanded all the interior and to my delight a pleasant cedar smell was revealed. Once I bring a piece home and study it, I decide how much sanding will be required. Typically I just give the exterior of pieces a rough sanding but this piece needed some more.
2. Painting
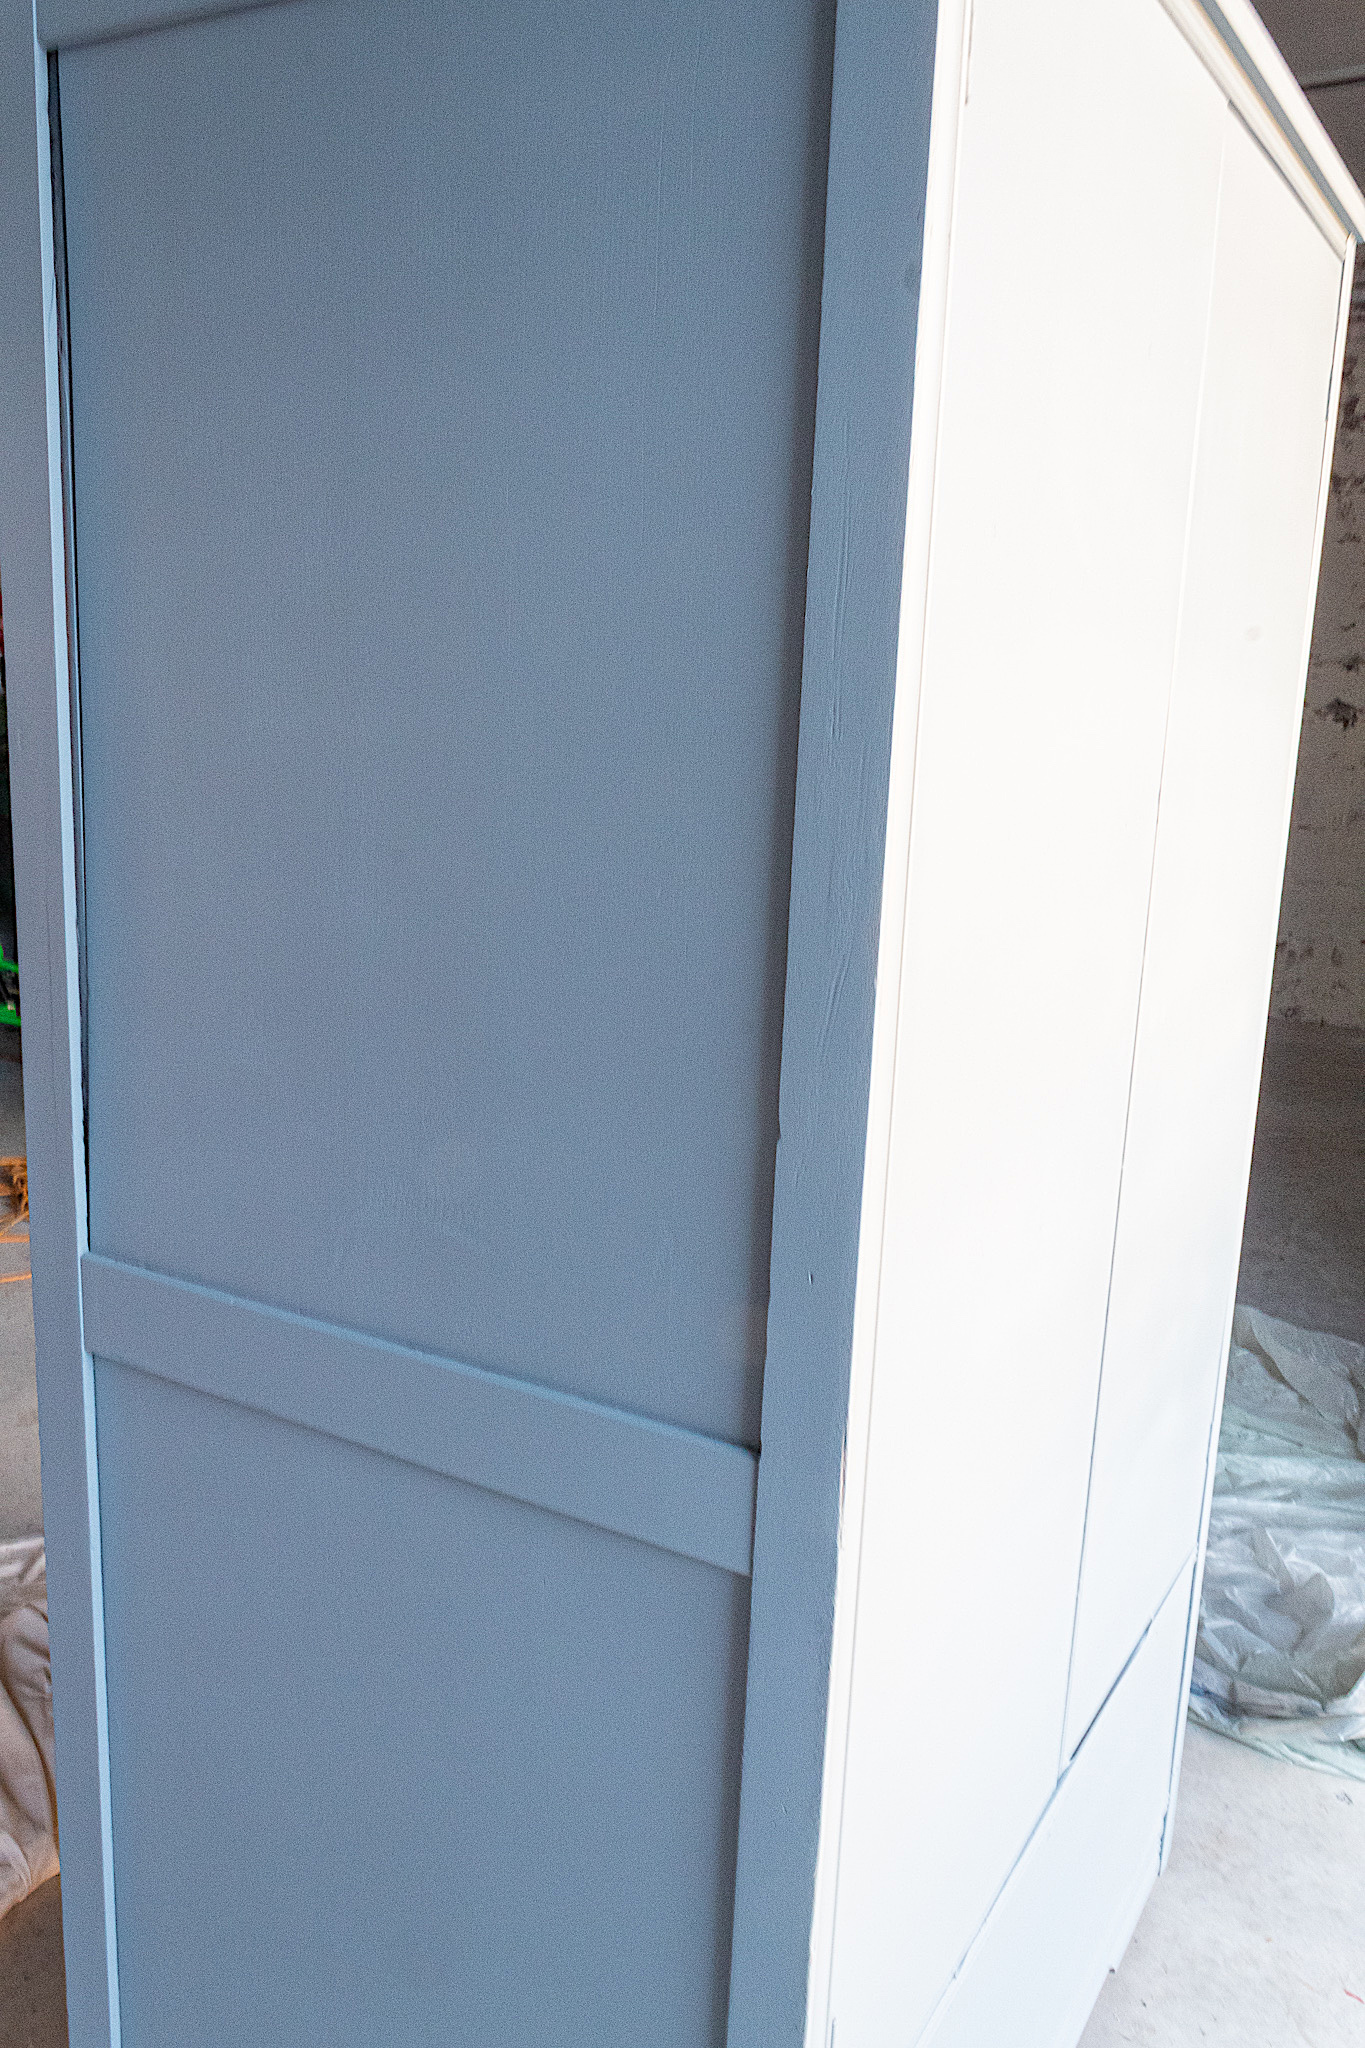
To prevent wood bleed through (when your wood bleeds through your paint and it looks like a stain) I added one coat of primer. The next picture shows the wardrobe with one coat of primer. If I were doing a solid paint finish on this piece, I might have added two coats of primer. But I am going to be distressing so a perfect paint finish is not essential.
Next I spray painted the piece with two coats of my blue paint mixture. Here is a picture of the wardrobe with one coat of blue.
3. Distressing
If you scroll down or click HERE you can see a full video tutorial of the entire renovation. As far as the distressing goes, I basically took my orbital sander with 60 grit sand paper and went all around the piece. I heavily distressed for a vintage look.
4. Stenciling
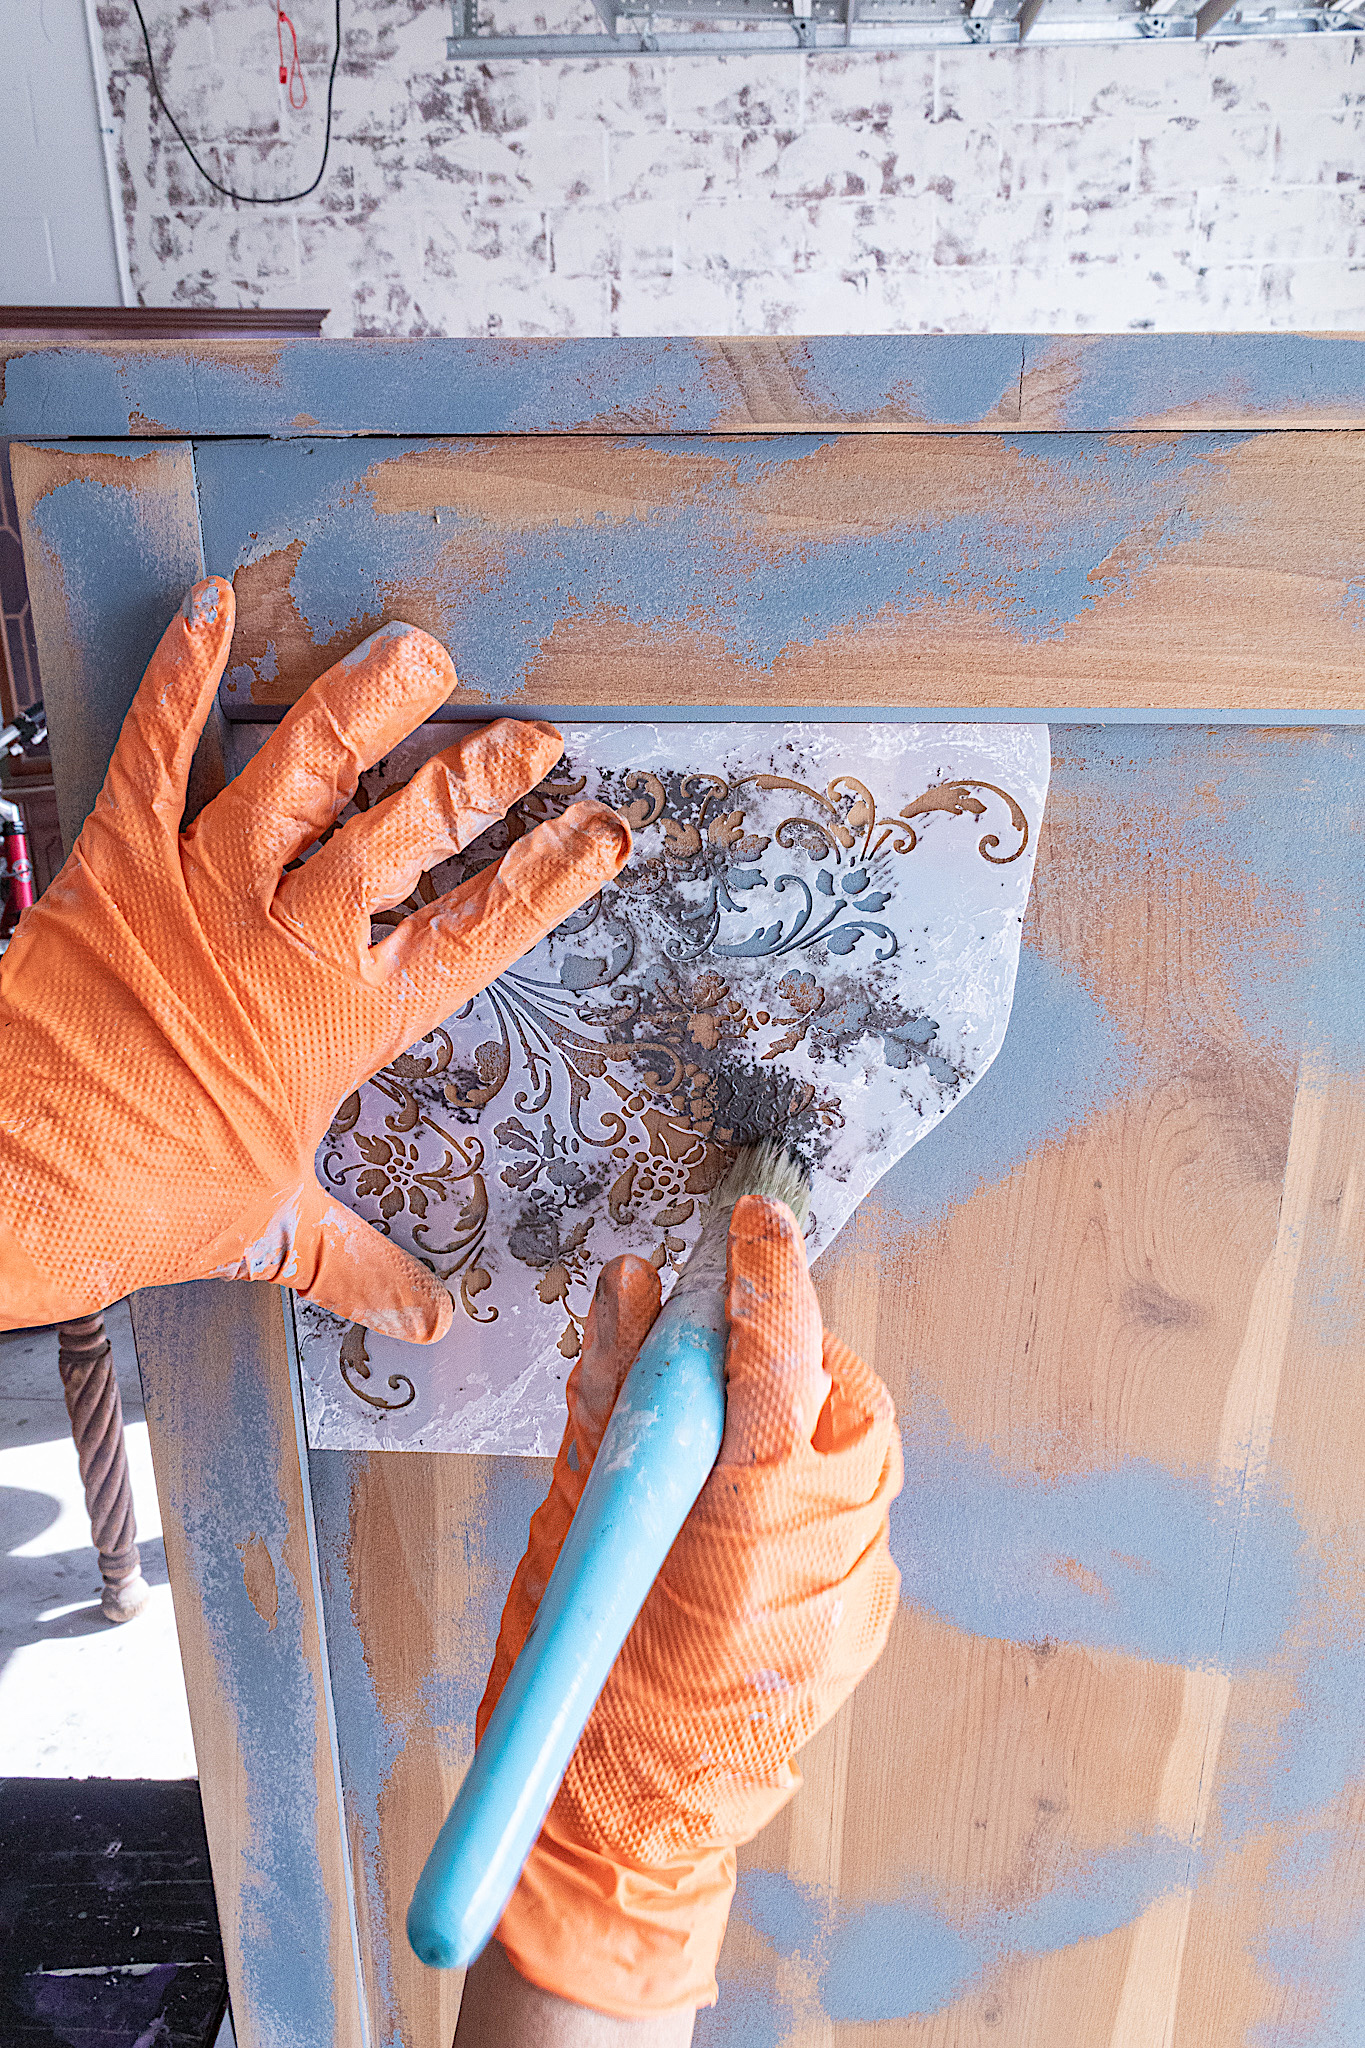
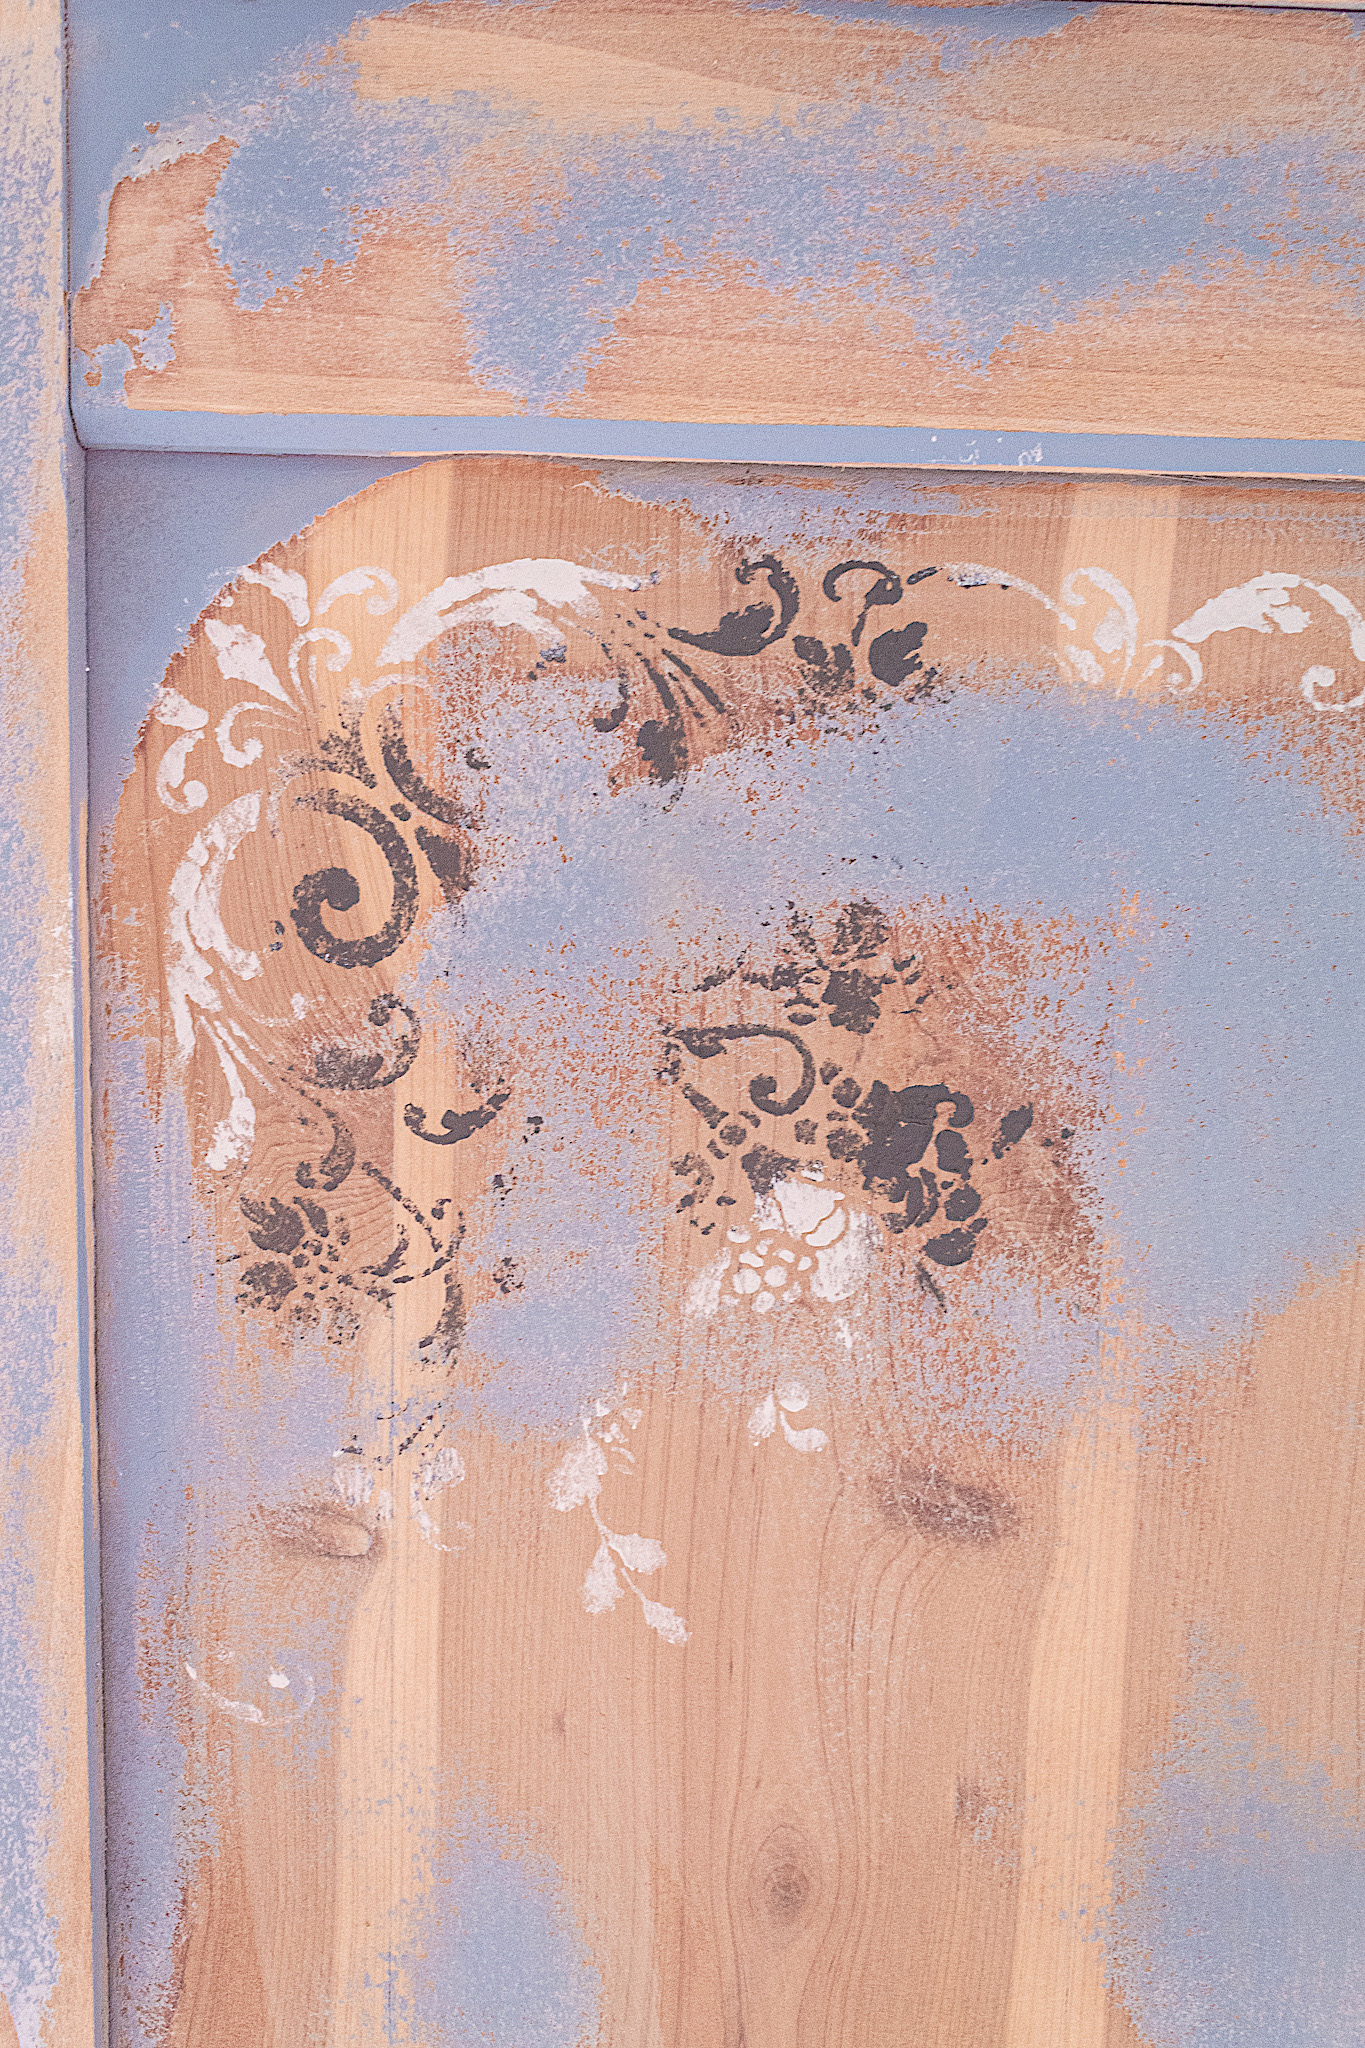
I added my stencil in random parts and in some of the corners of the piece. I picked a stencil with a delicate feel to it for a French inspired look. Remember to always dab up and down with your stencil brush and to not stroke sideways when applying paint to a stencil. You don’t want your paint to seep underneath the stencil.
I varied my application for each stenciled area. I painted some gray, some black, some white and some with a different colors in the same stencil. I thought this would give dimension and a whimsical touch to the finish.
I tried not to stencil over painted parts to give the illusion of a faded pattern in the background.
5. Staining
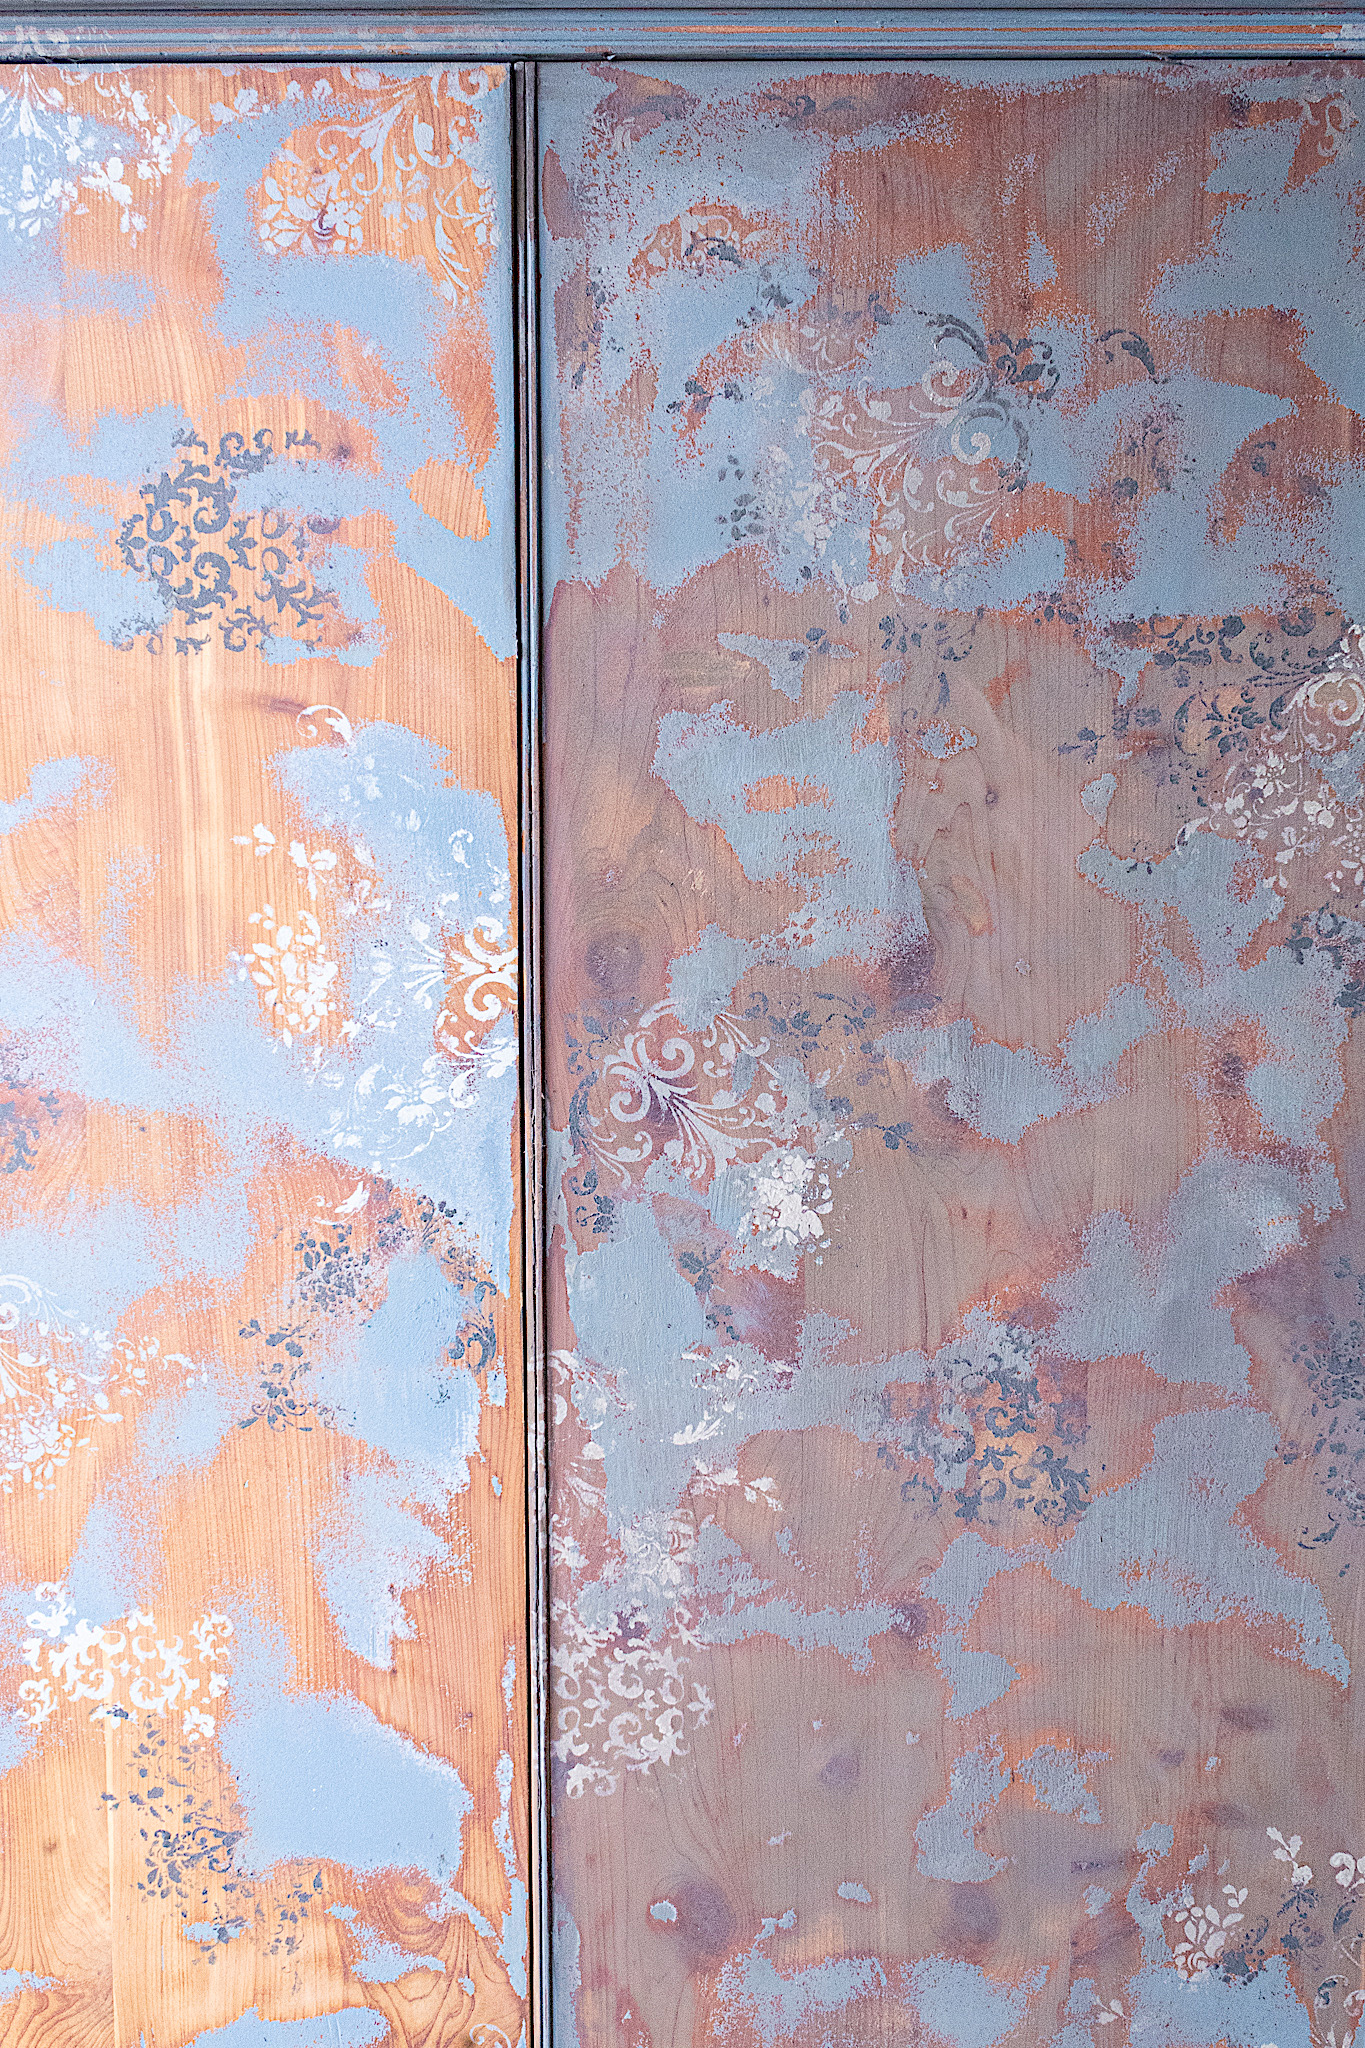
You may choose not to stain with your piece. Although I sanded my wood down a bit, it was still pretty orange. To tone down the orange, I applied Briarsmoke stain to the entire piece. I used a paper towel and went over all parts, paint and stencils included. I wiped the stain back a little when I went over the paint. The stain helped to change the wood color and to add another layer of smoky goodness. Take a look at the difference between the doors. One is stained, one isn’t.
6. Waxing
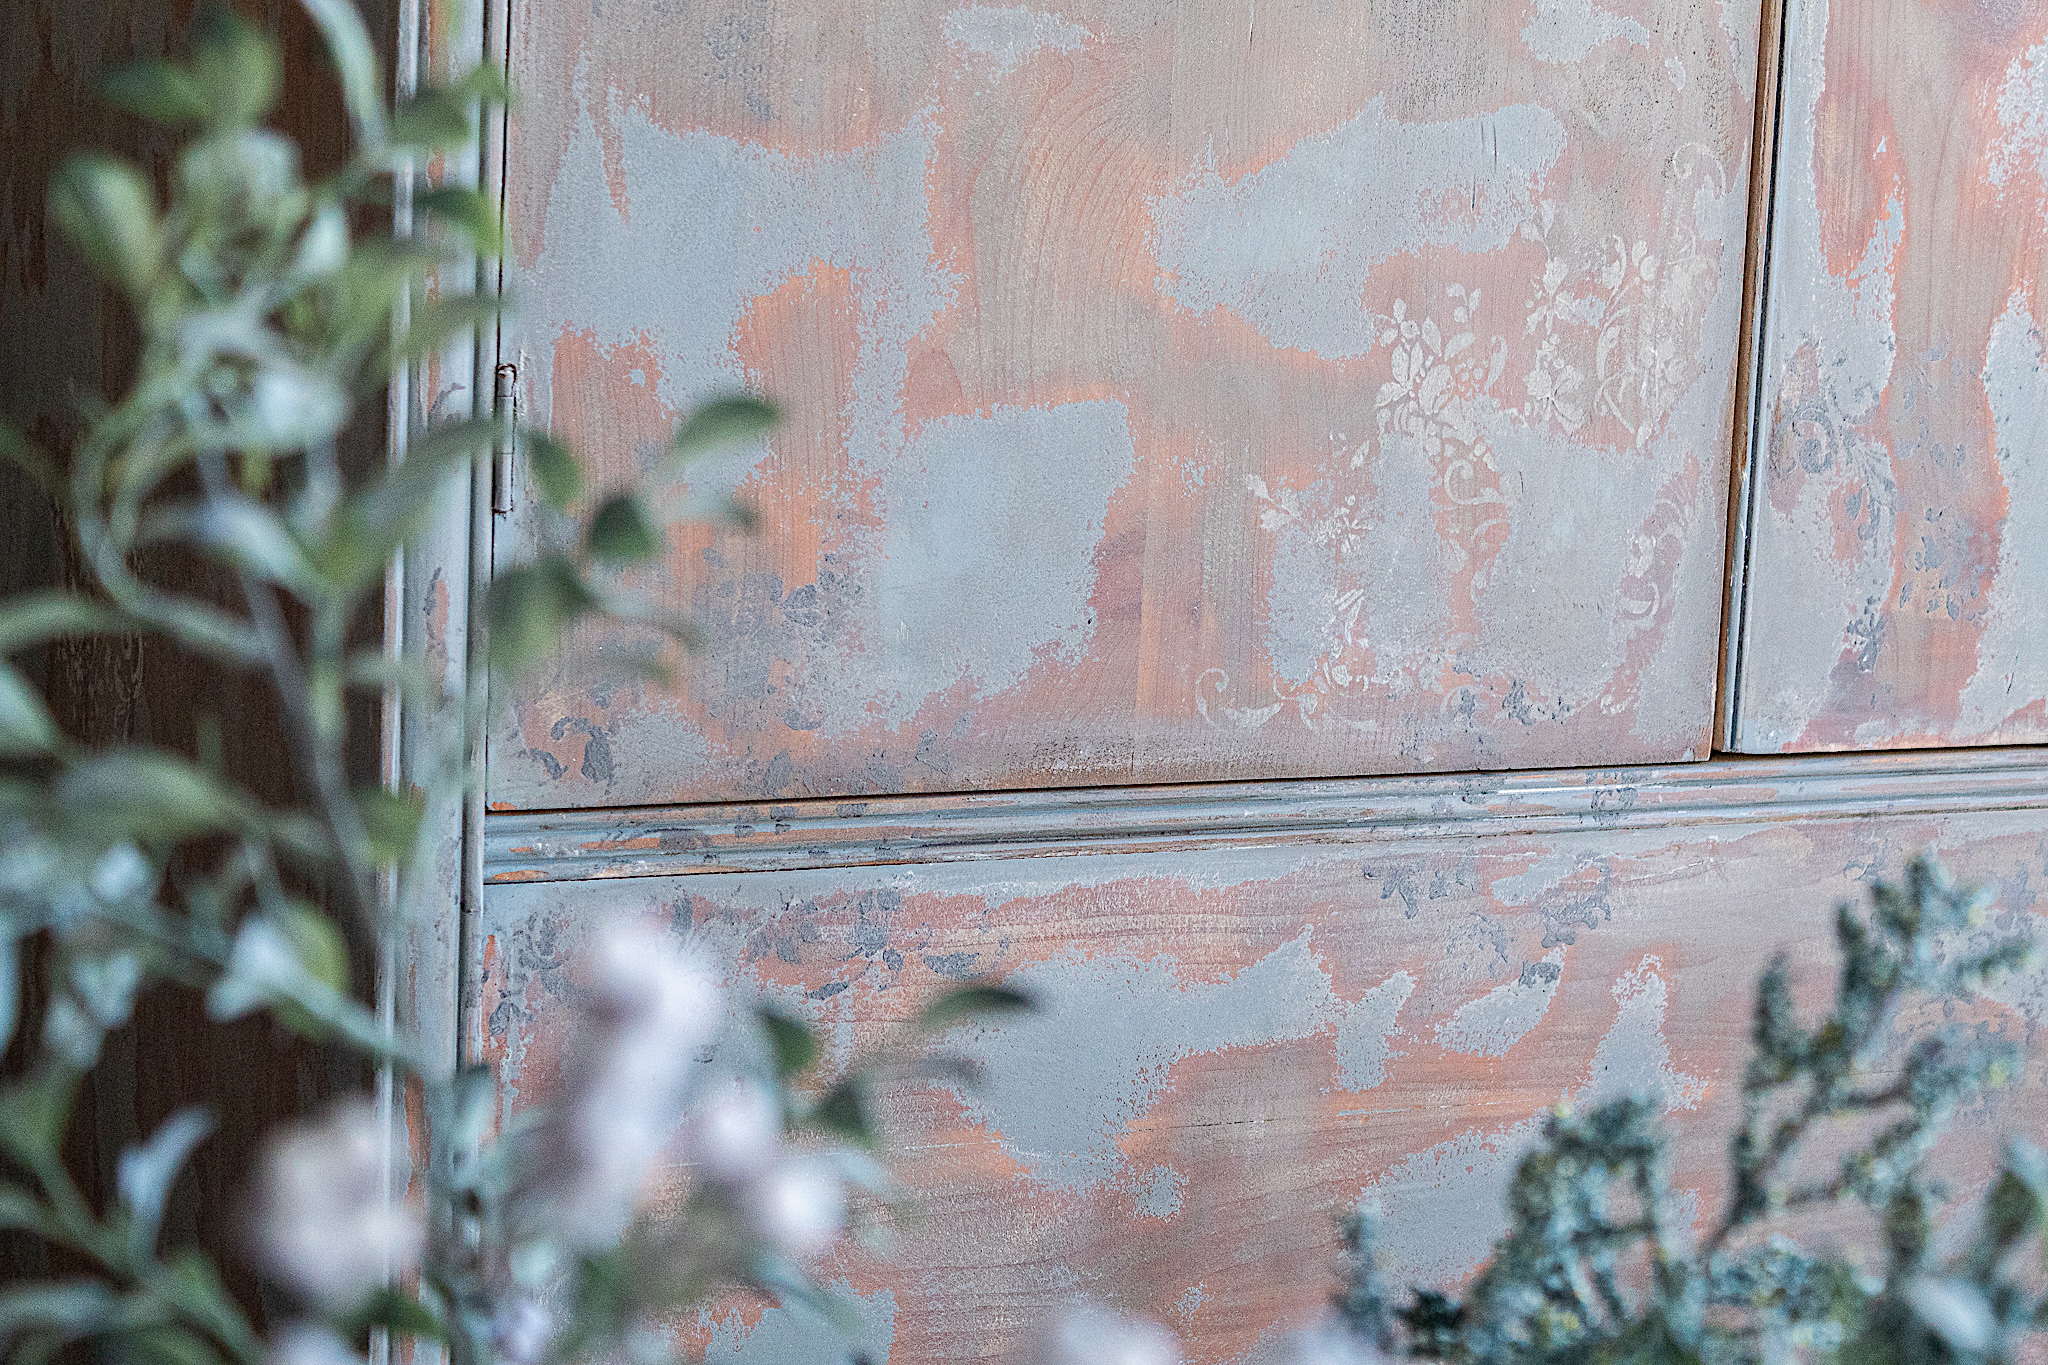
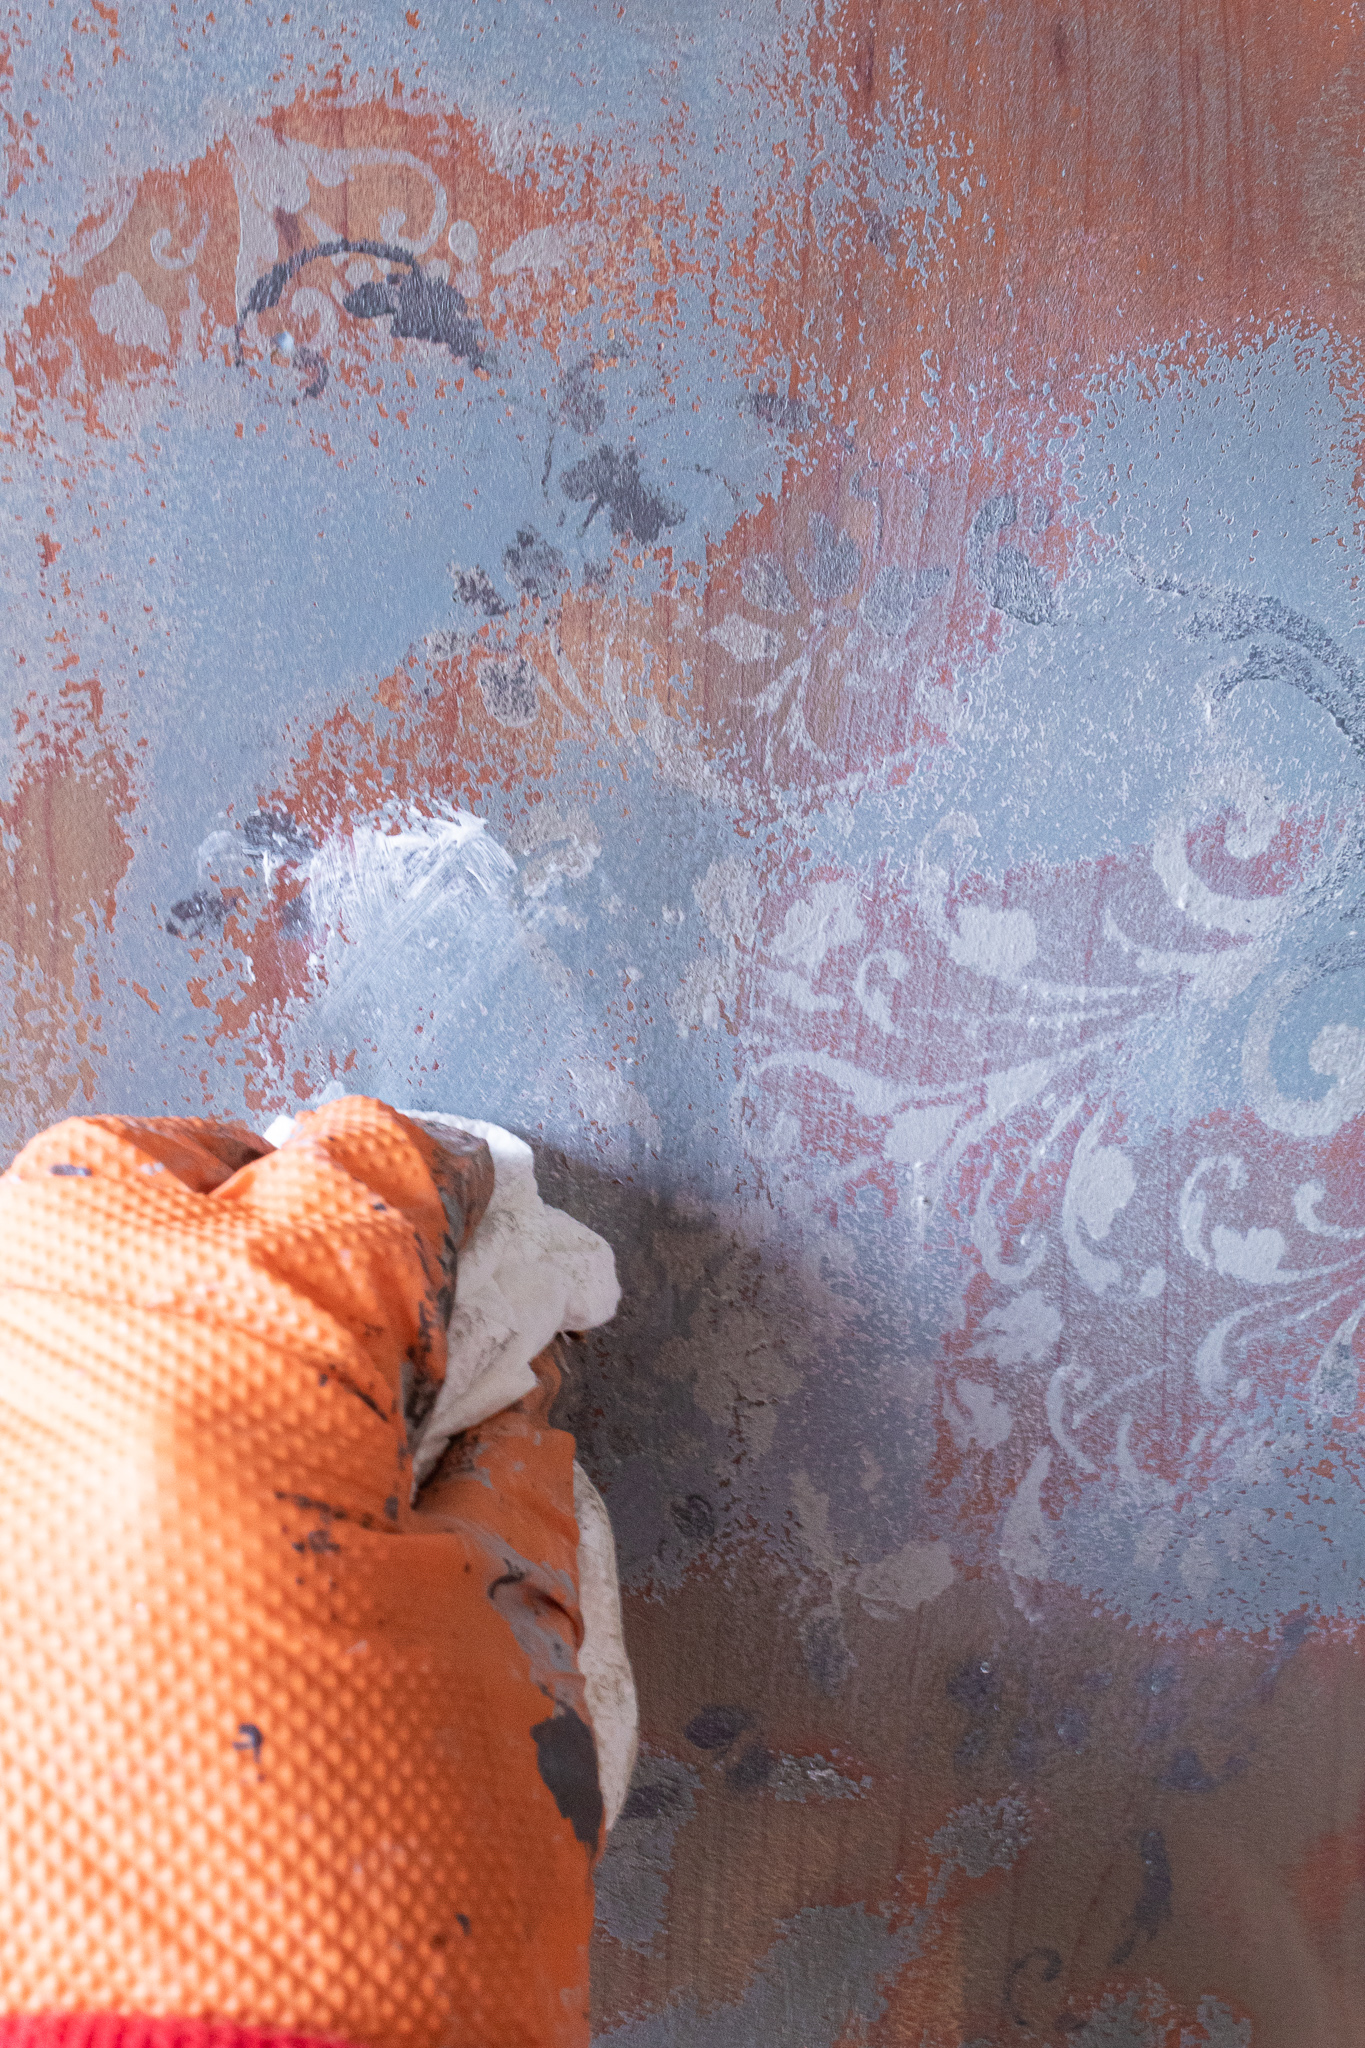
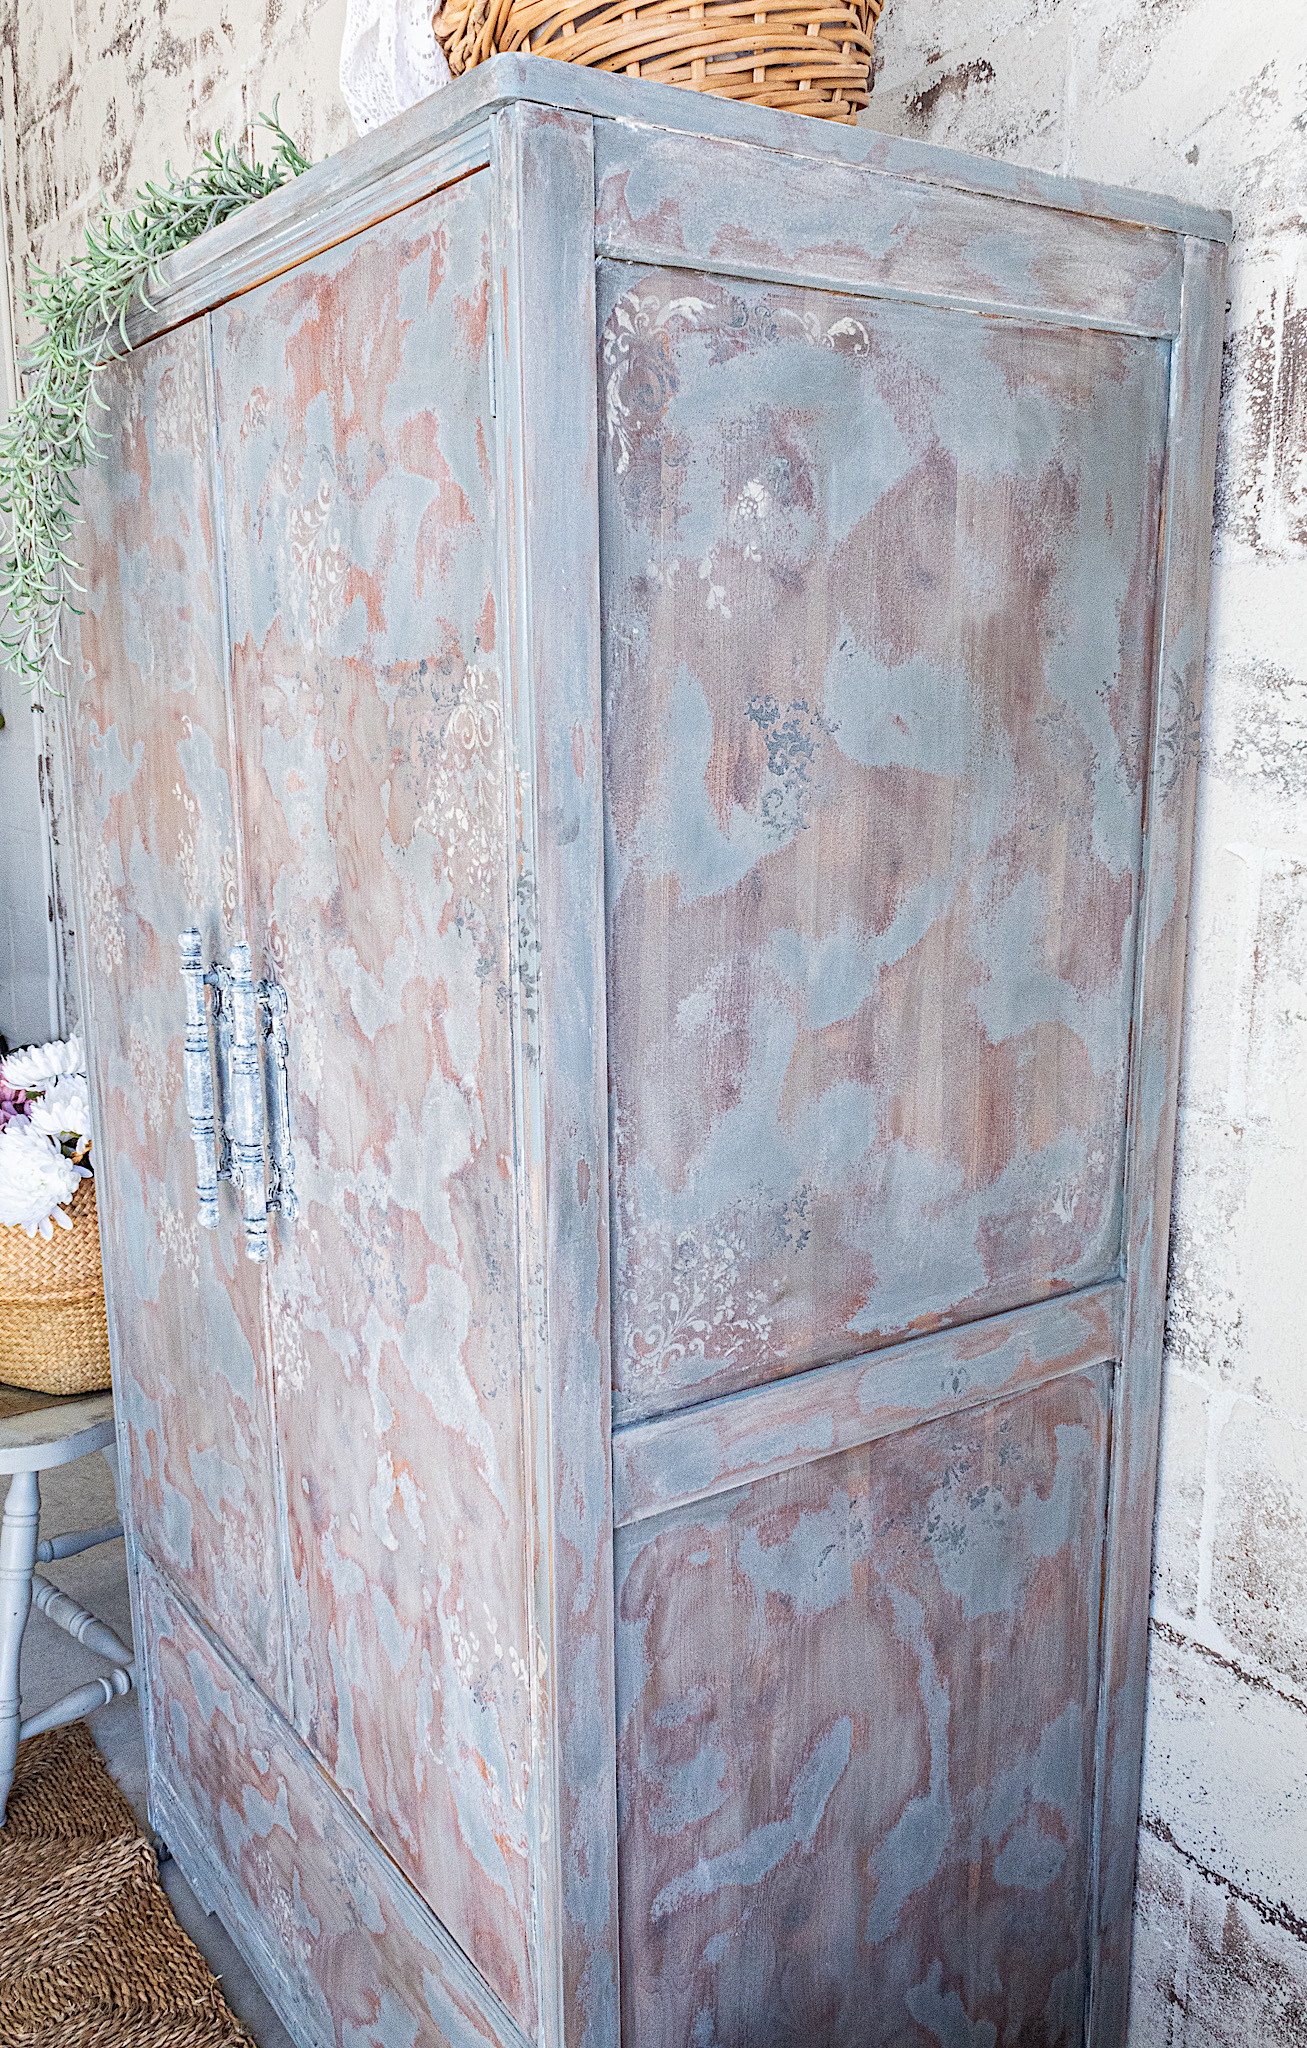
Even though I really liked how the stain changed things up and gave the piece a richer look, I still wanted to lighten the aesthetic a little and bring back some of the blue in the paint. Cerusing wax is my superhero for softening and lightening finishes. I just love its effect. I rubbed it all over the surface in circular motions with a paper towel.
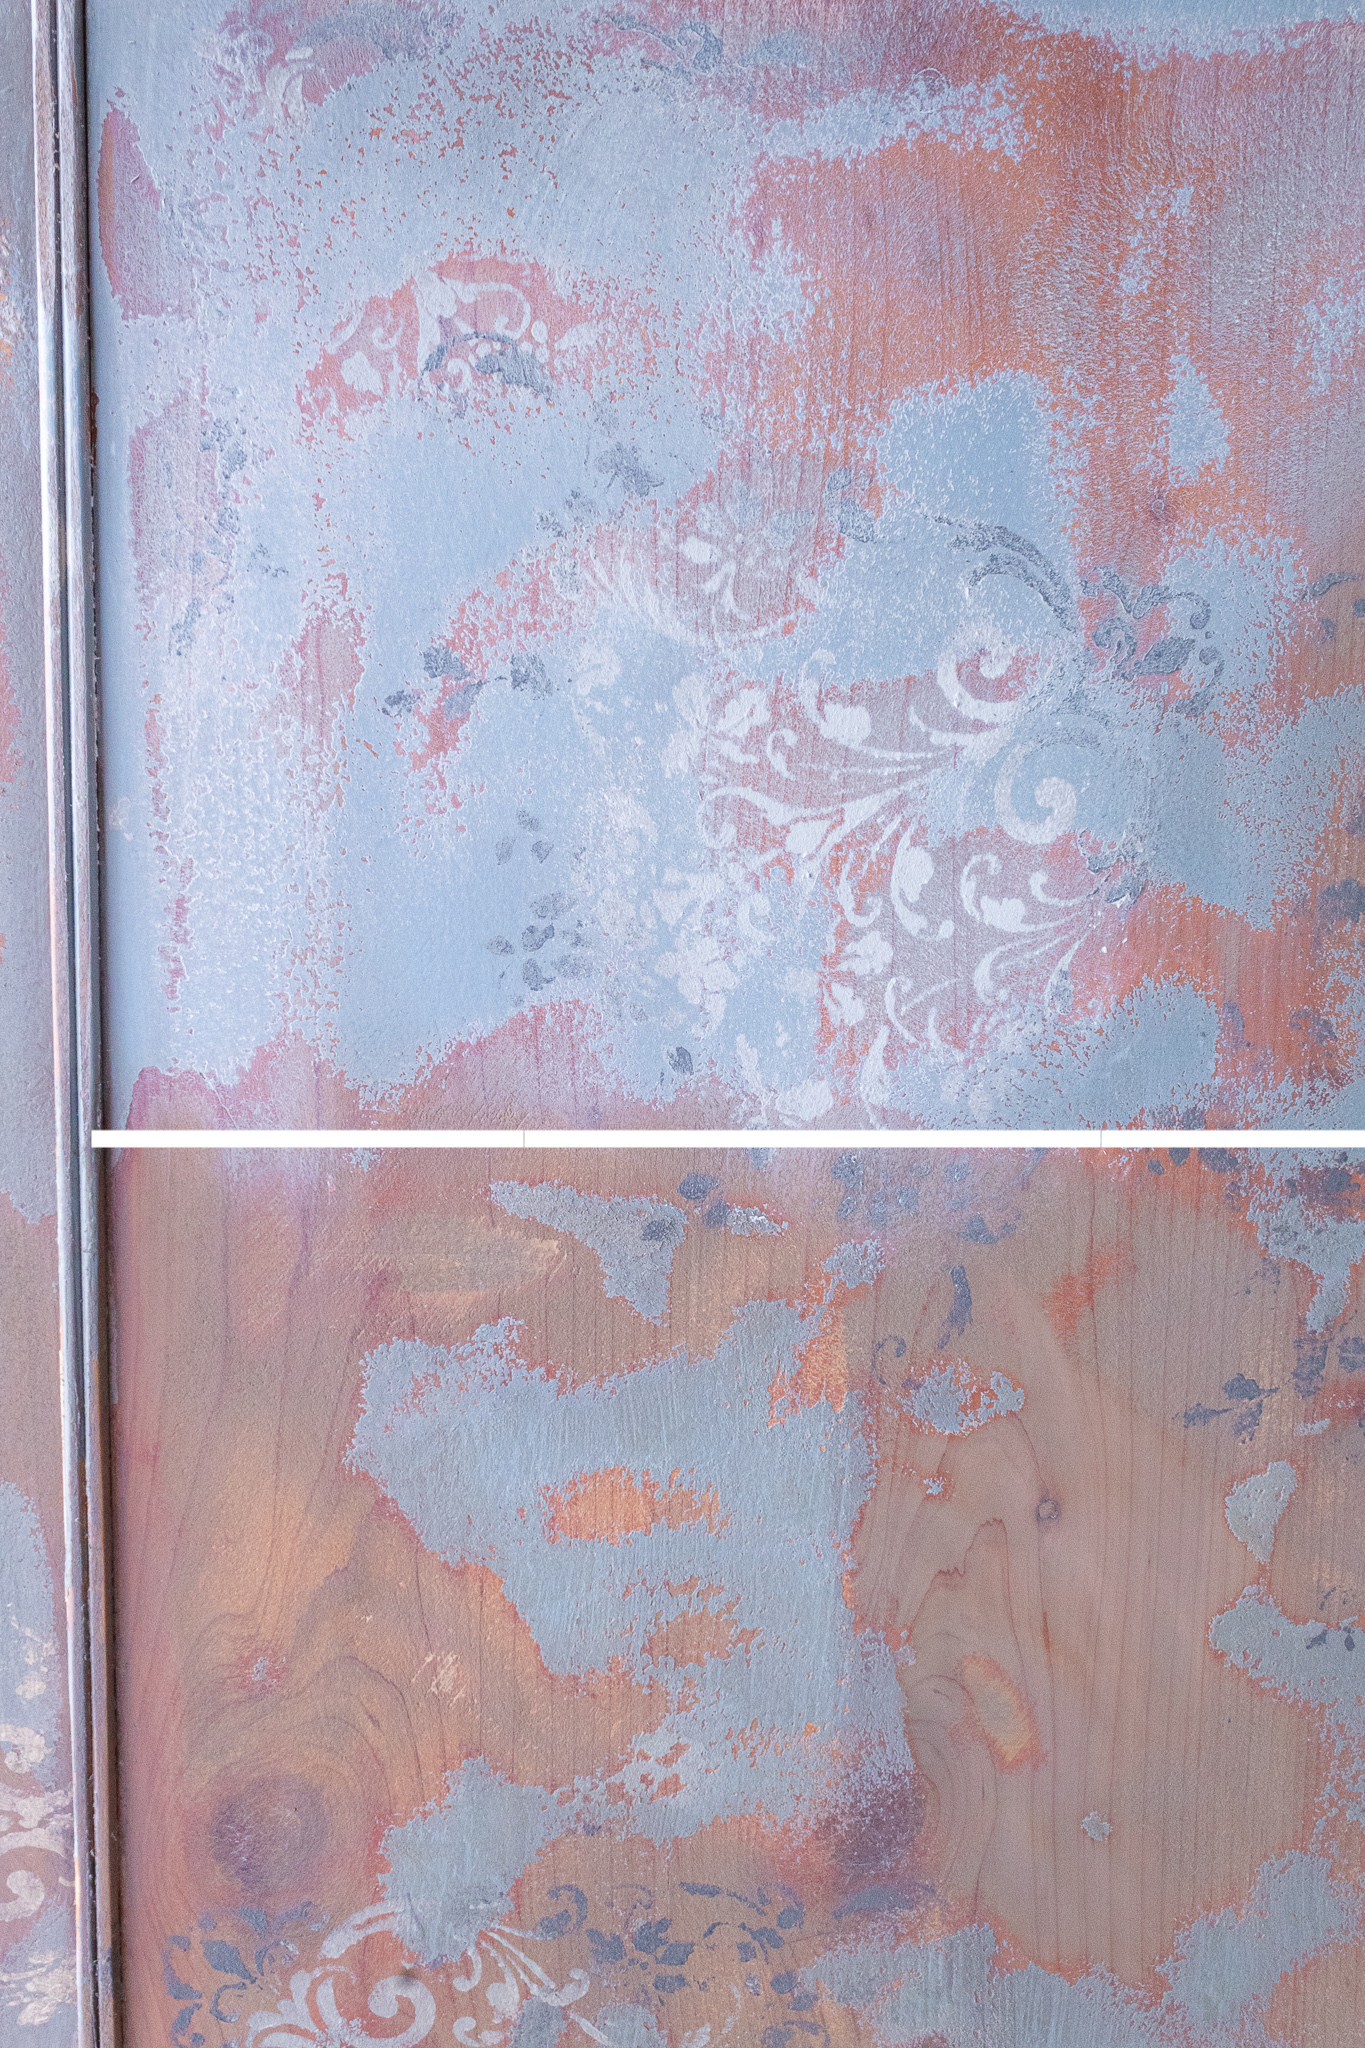
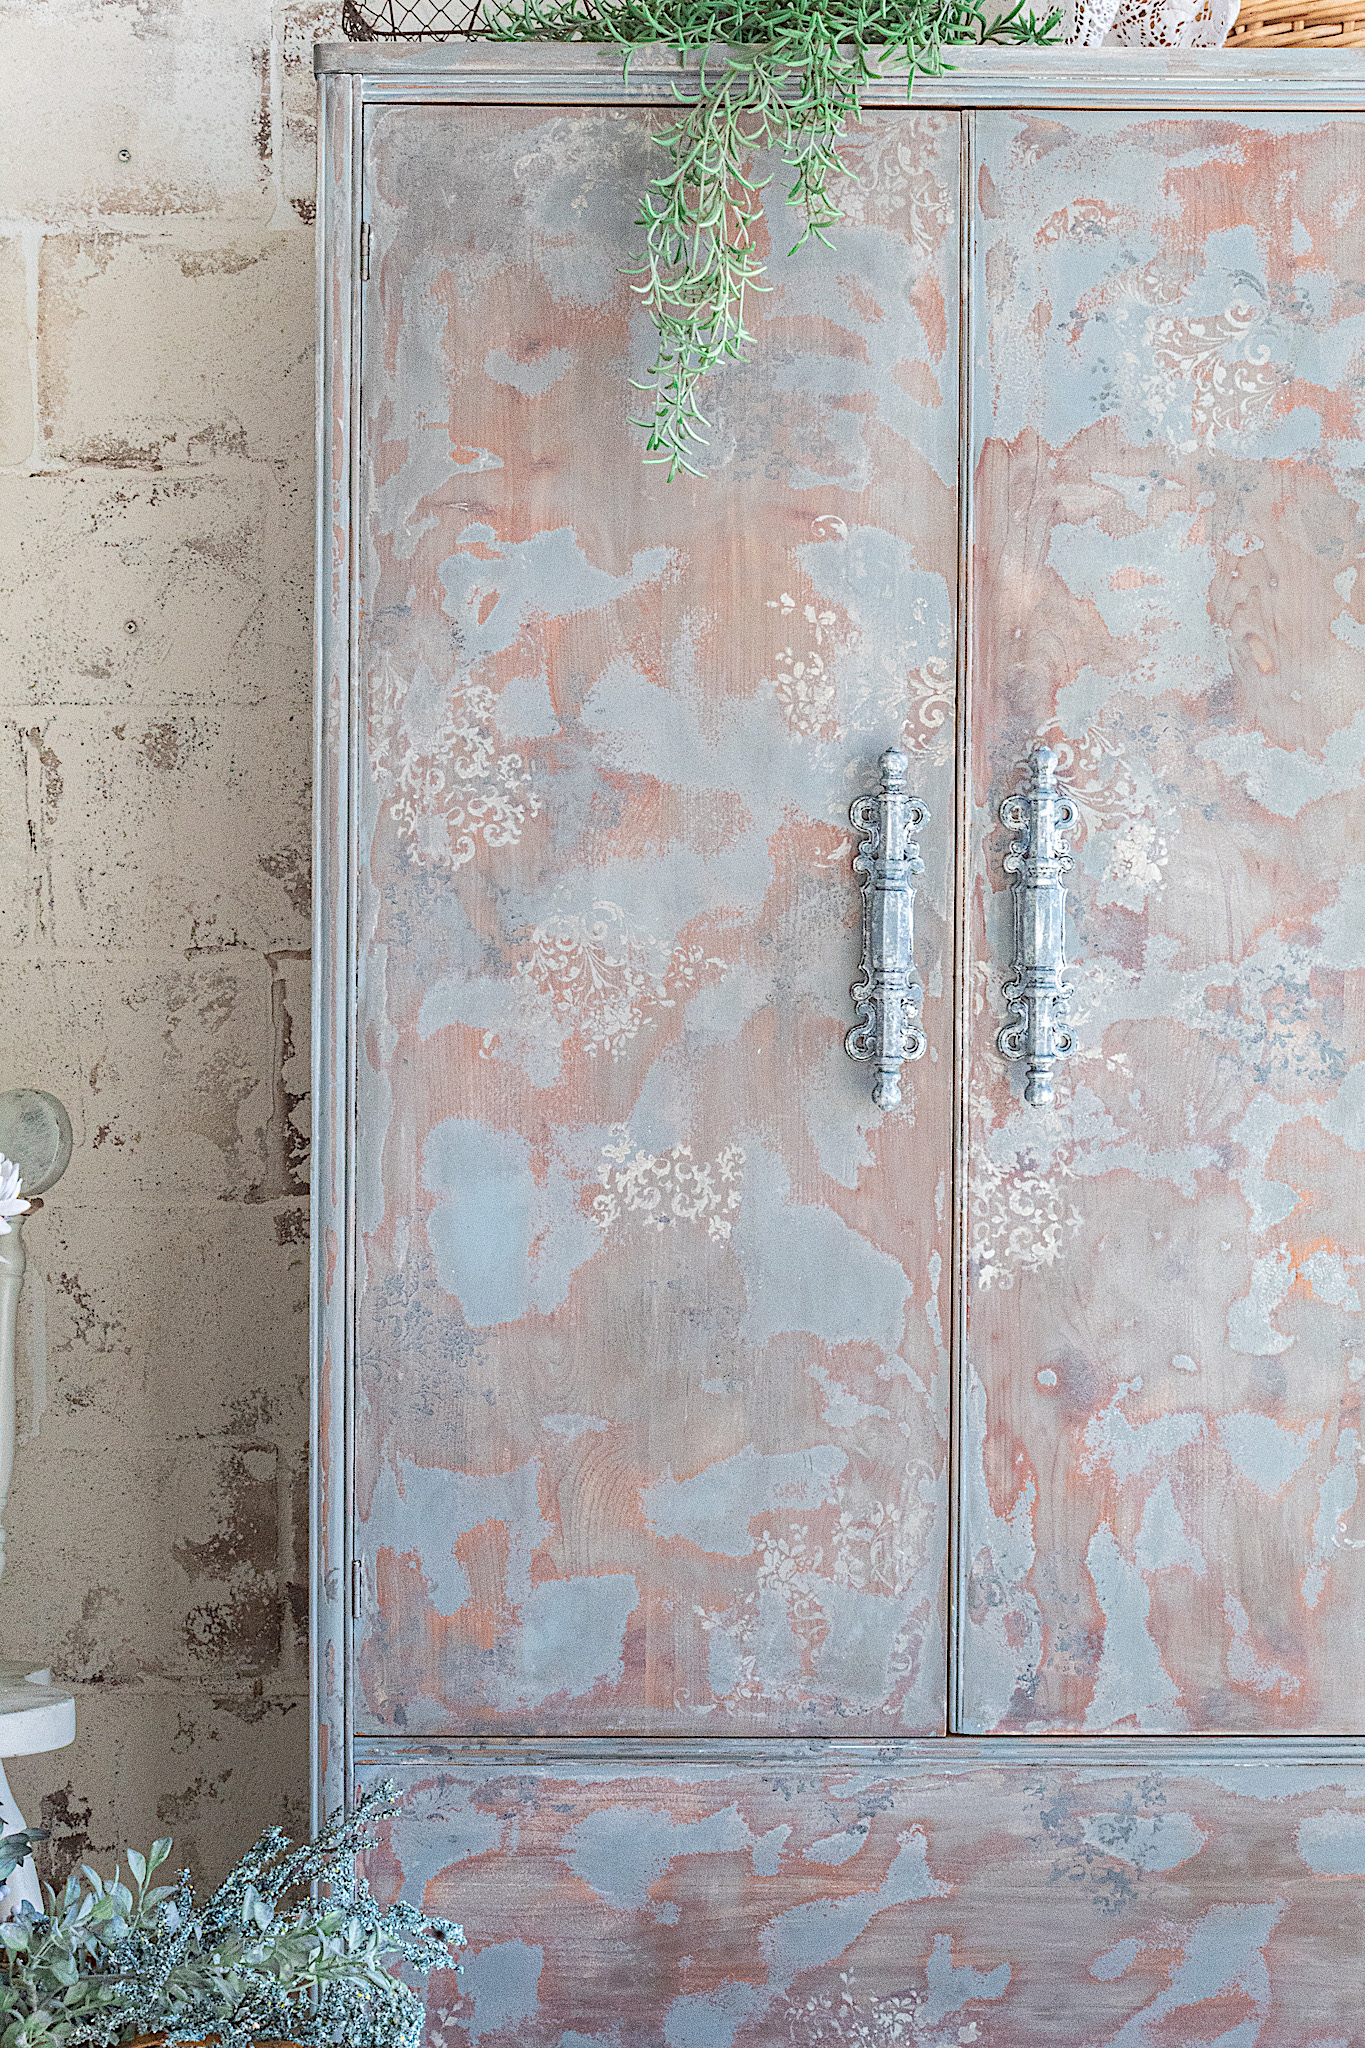
What cerusing wax does, in my opinion, is create a level of airiness or cloud-like appearance. I like to apply it over stains or wood for rustic appeal. It was the needed finish for this French vintage inspired wardrobe. Although the effect is subtle, the impact of is big. Just take a look at the picture below. The top half shows how the wax brought out the blue and the colors of the stencils and how it softened the whole palette.
7. Final details
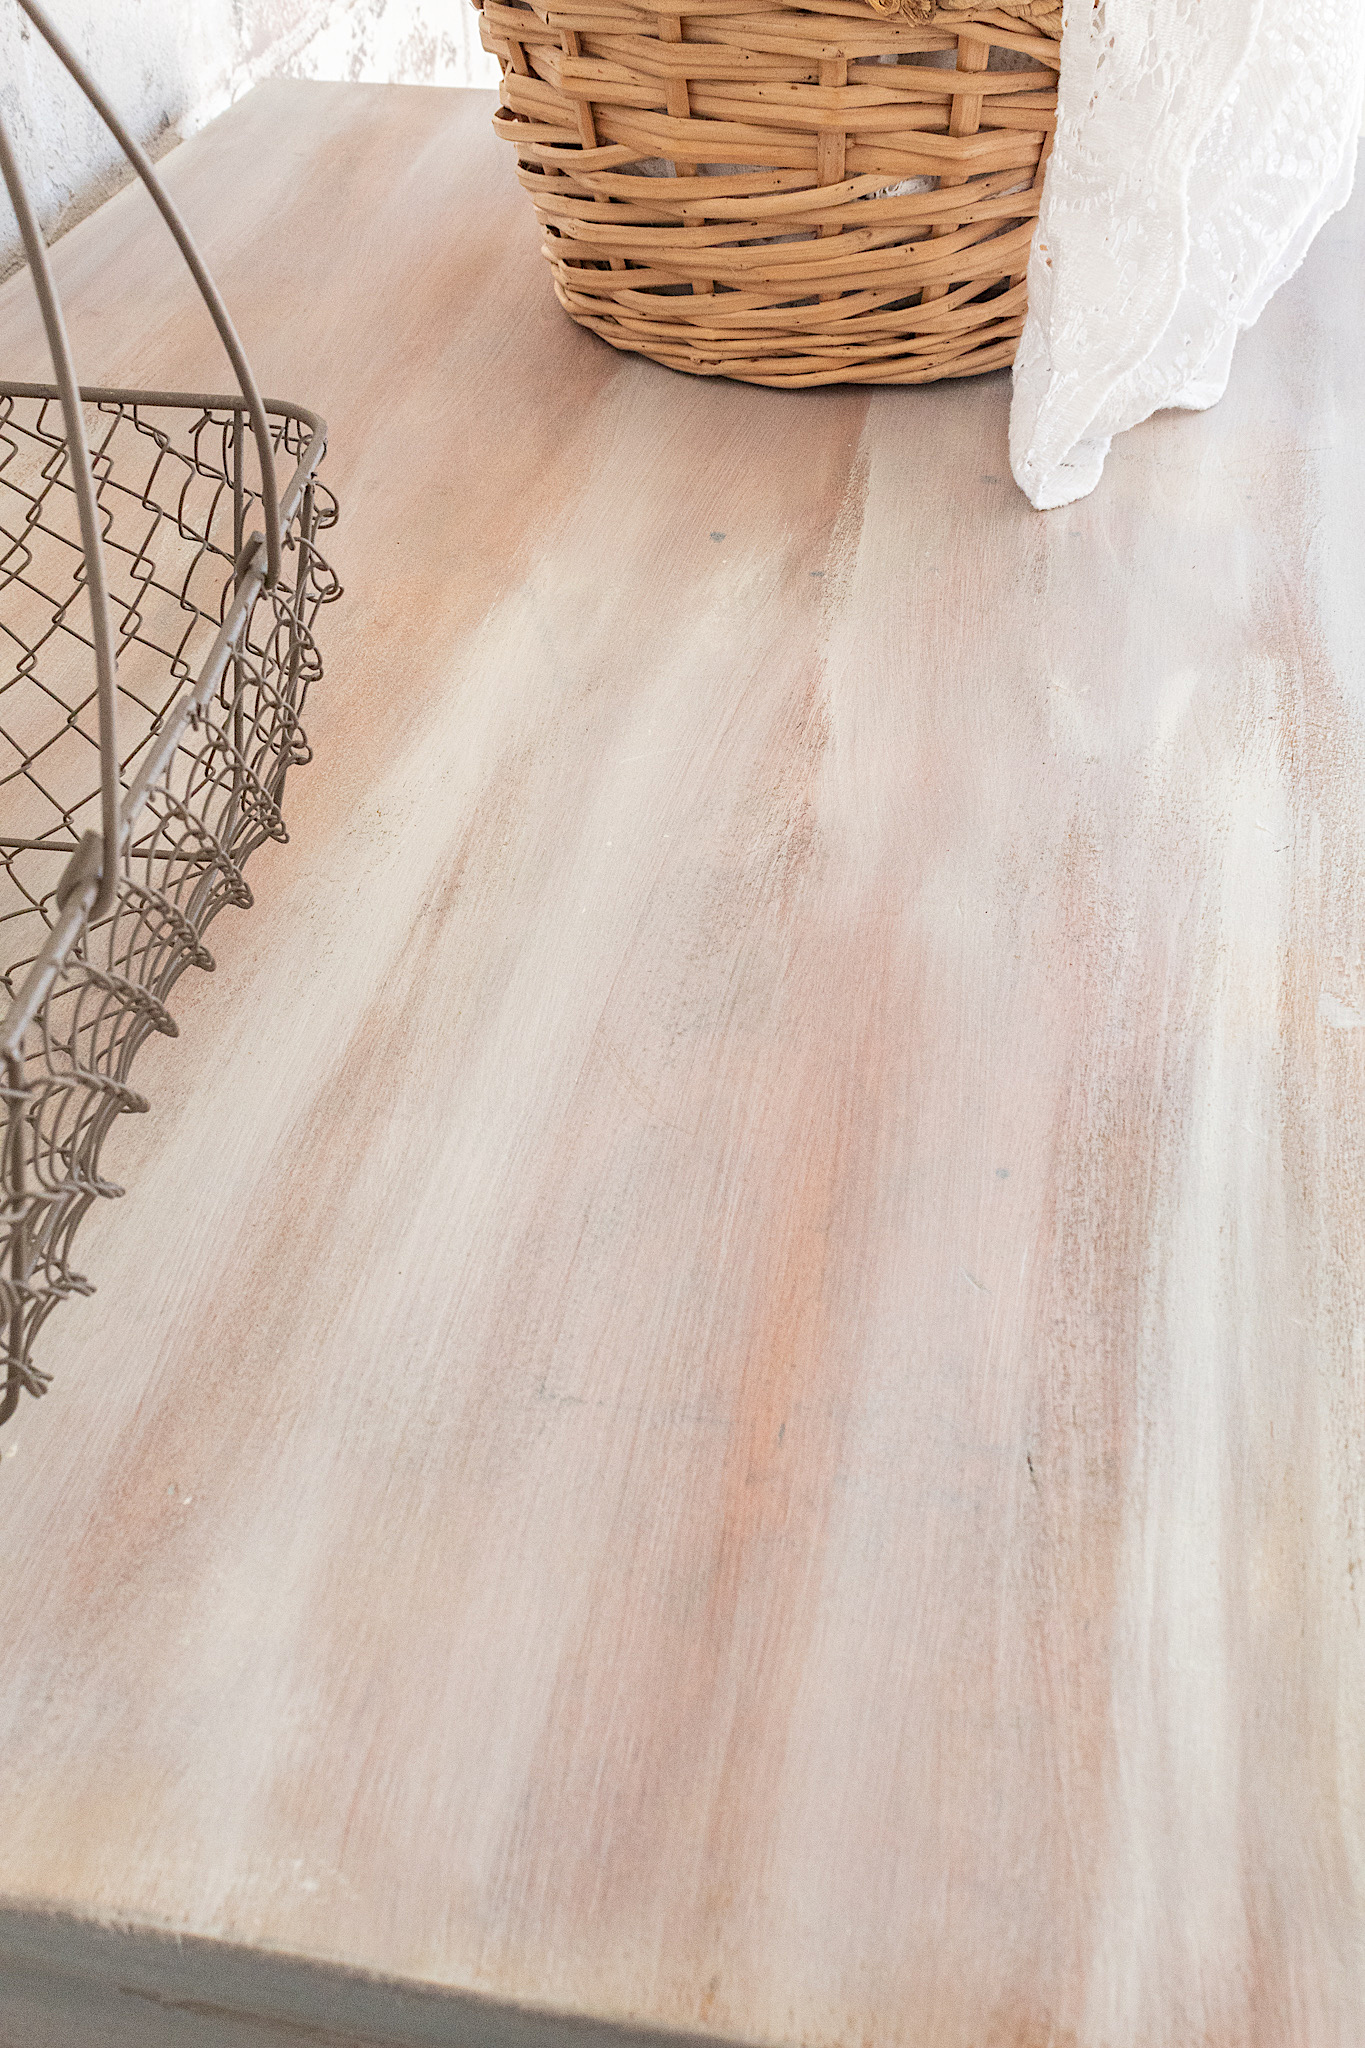
To finish this piece I stained the top followed by streaking it with some white paint for a pretty rustic touch.
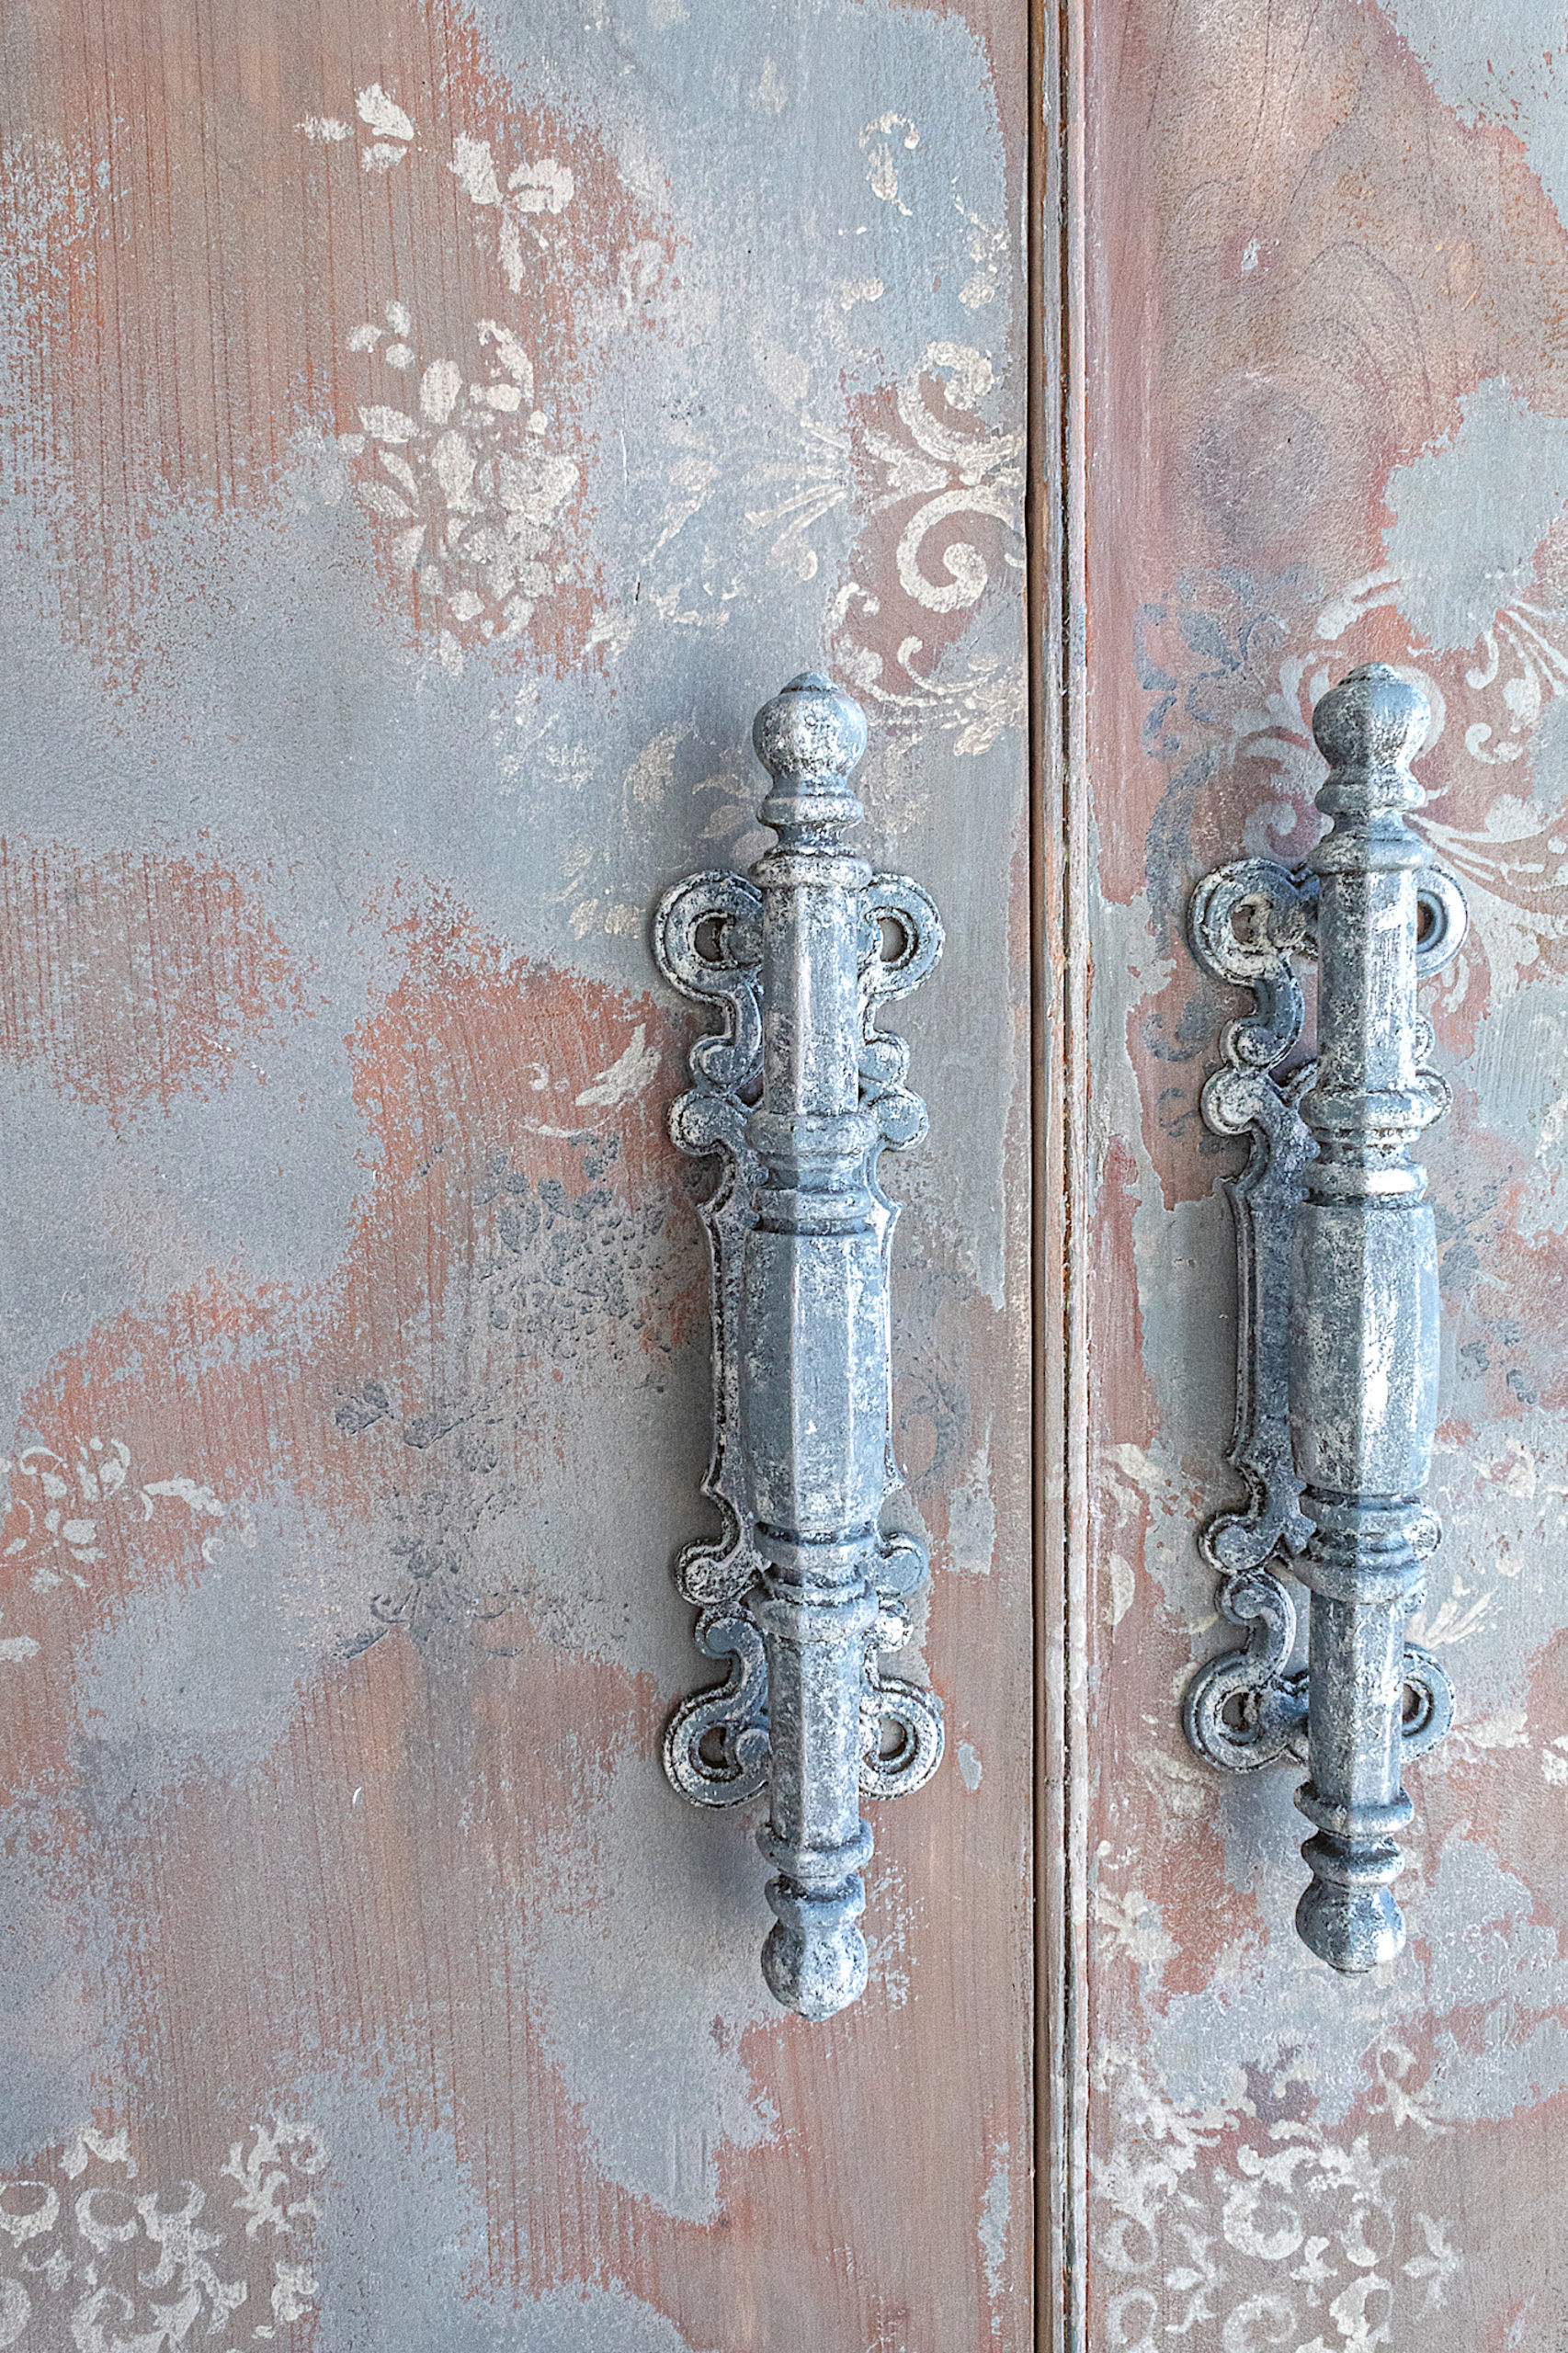
I removed the old hardware and replaced it with bigger and bolder hardware. This is a tall piece and can handle larger hardware. In the video tutorial I demonstrate how I spruced up two long pulls I had left over from a previous renovation. Don’t they look fabulous on the vintage backdrop?
And that is it for this tutorial. What did you think of this renovation? I’m so happy with the end result and all the pretty details. It really does speak of French decor to me which I can’t help but try to capture in my renovations all the time! If you’d like to see how I applied all these easy techniques you can view the video below.