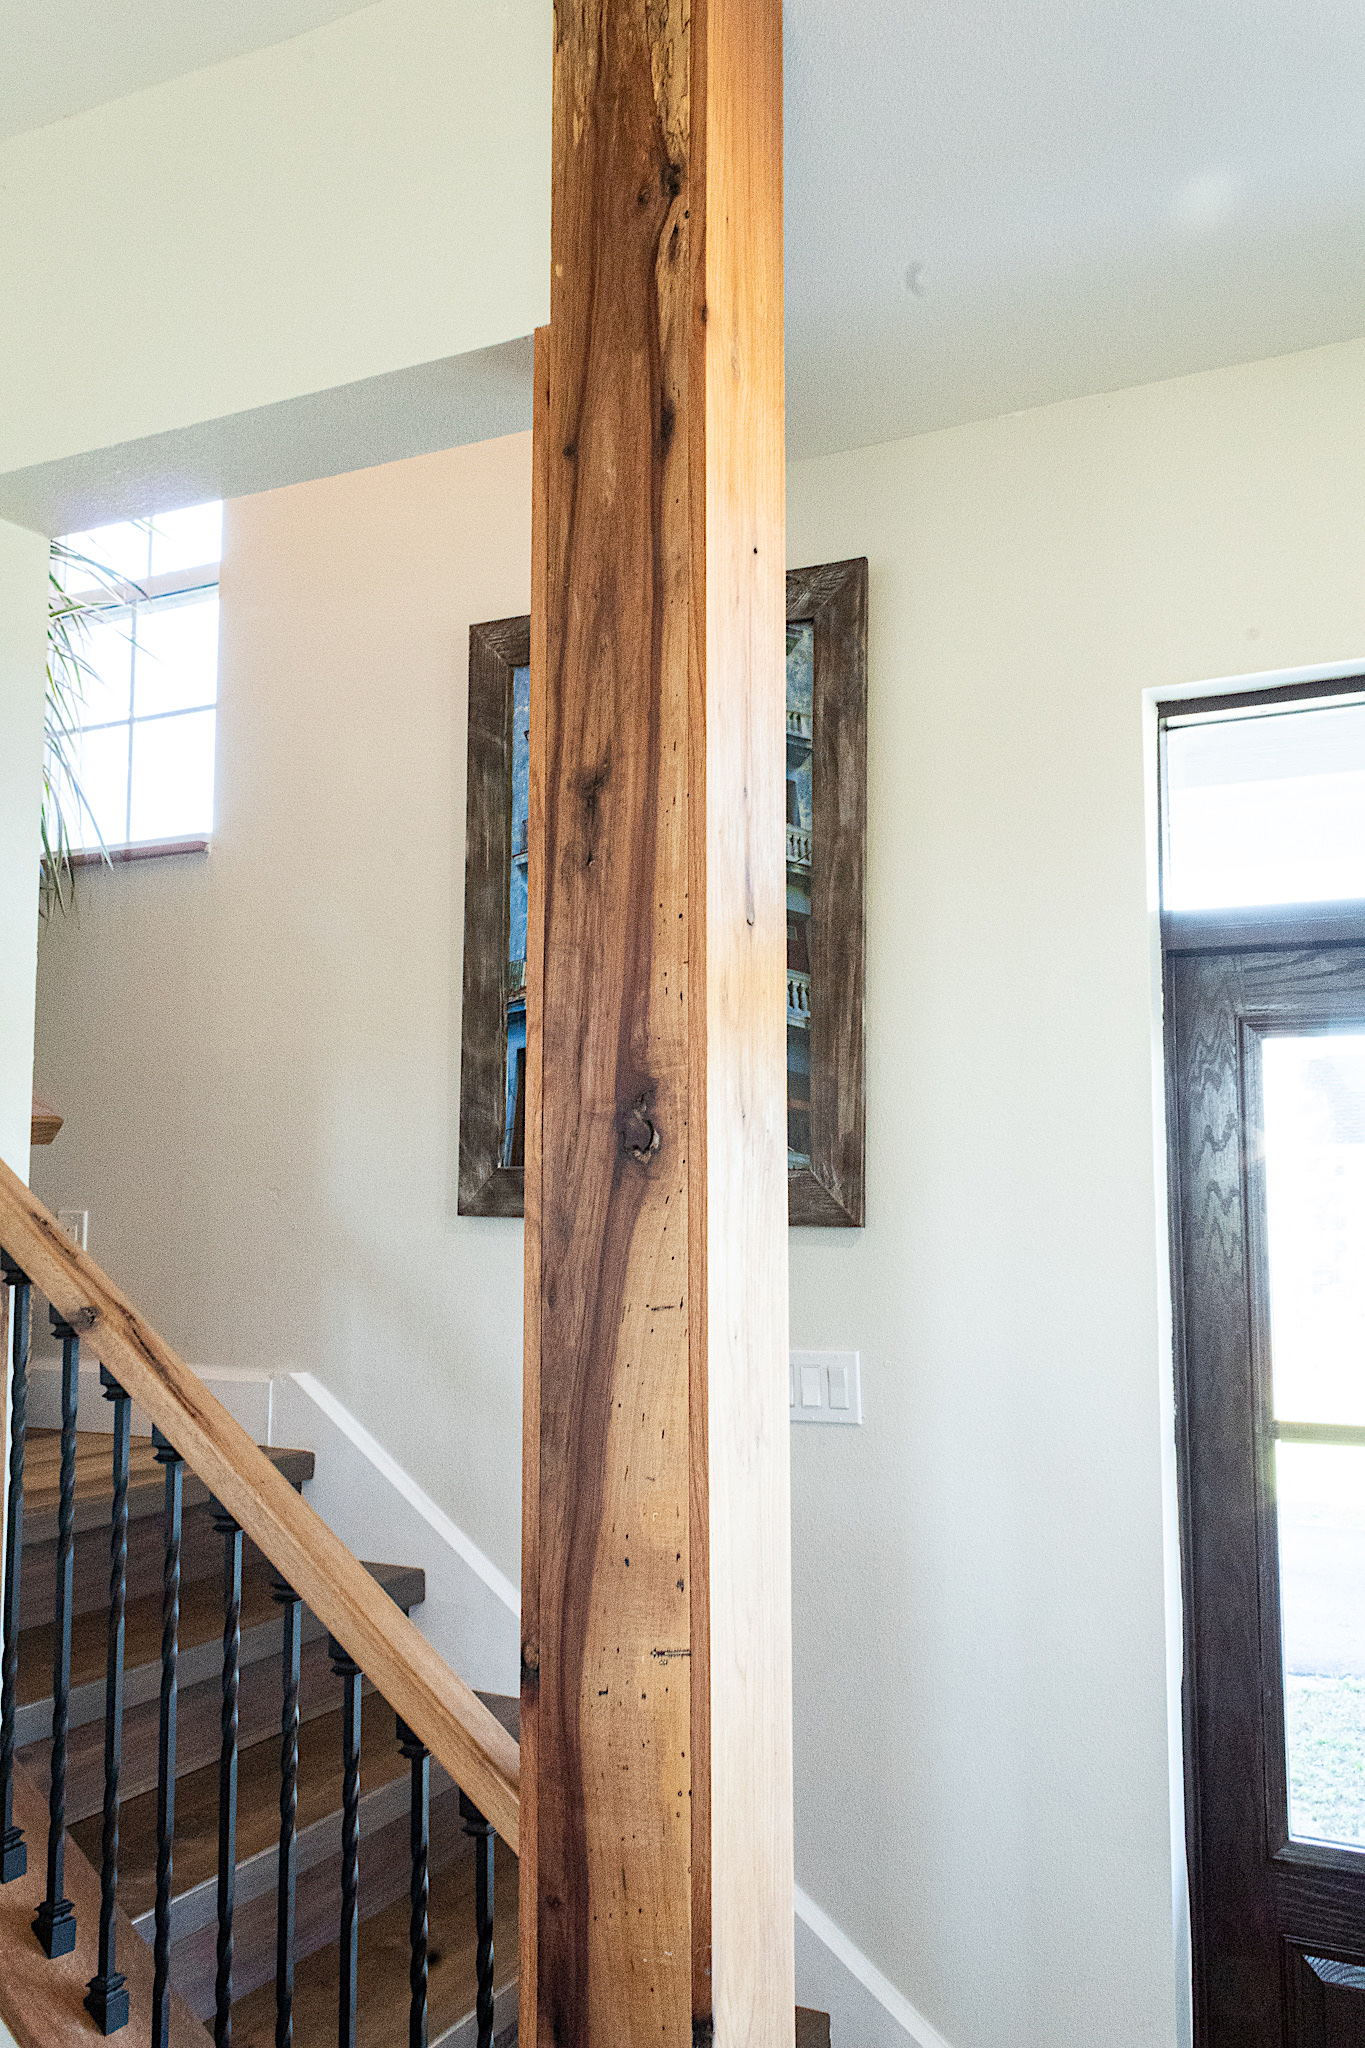
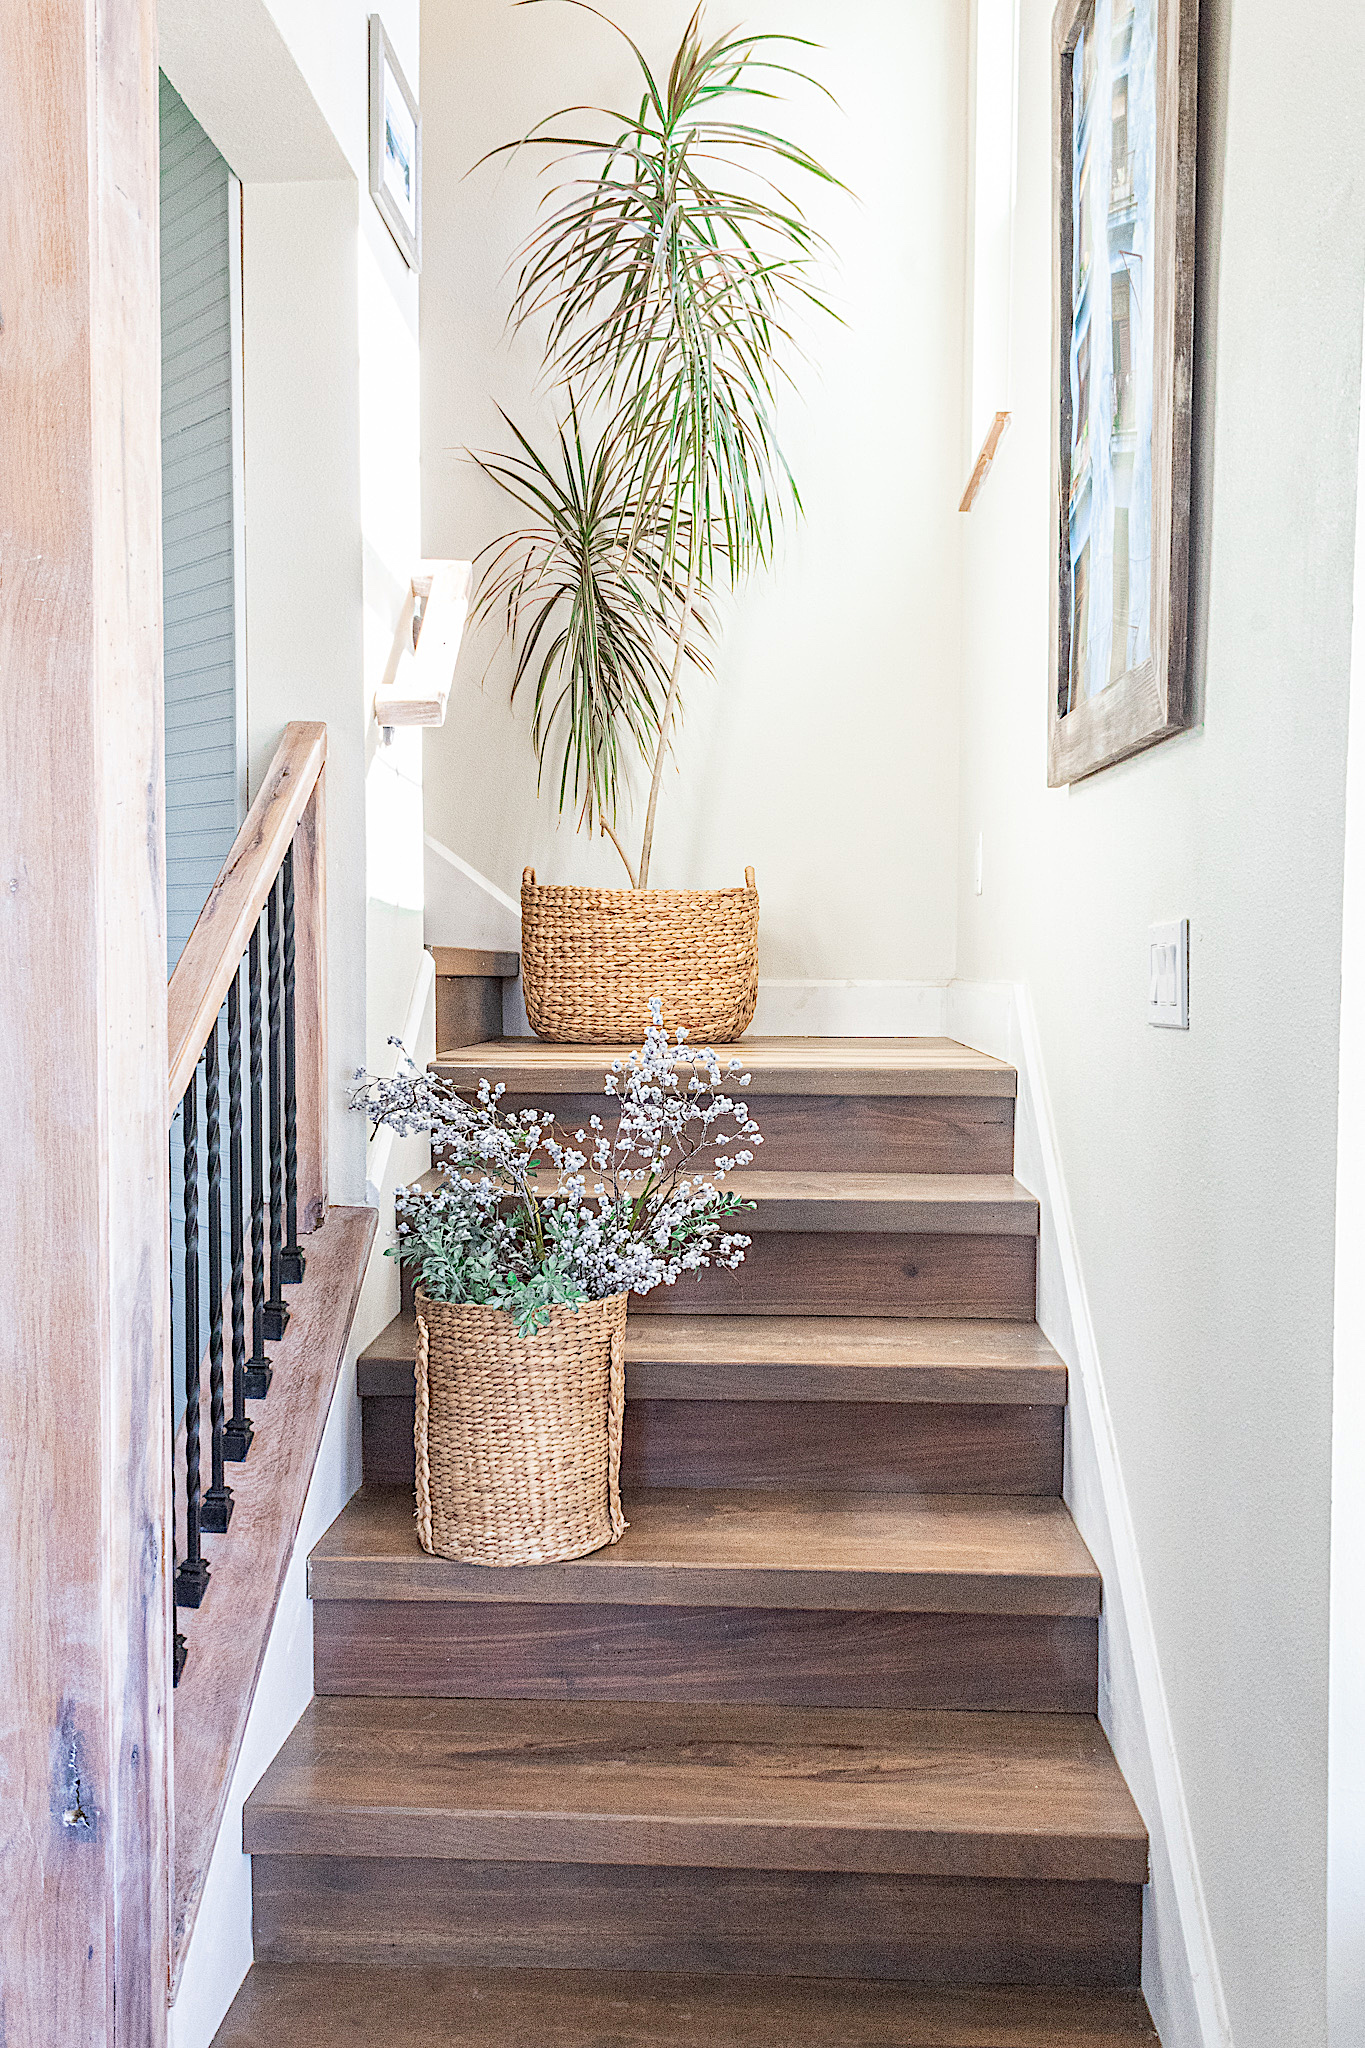
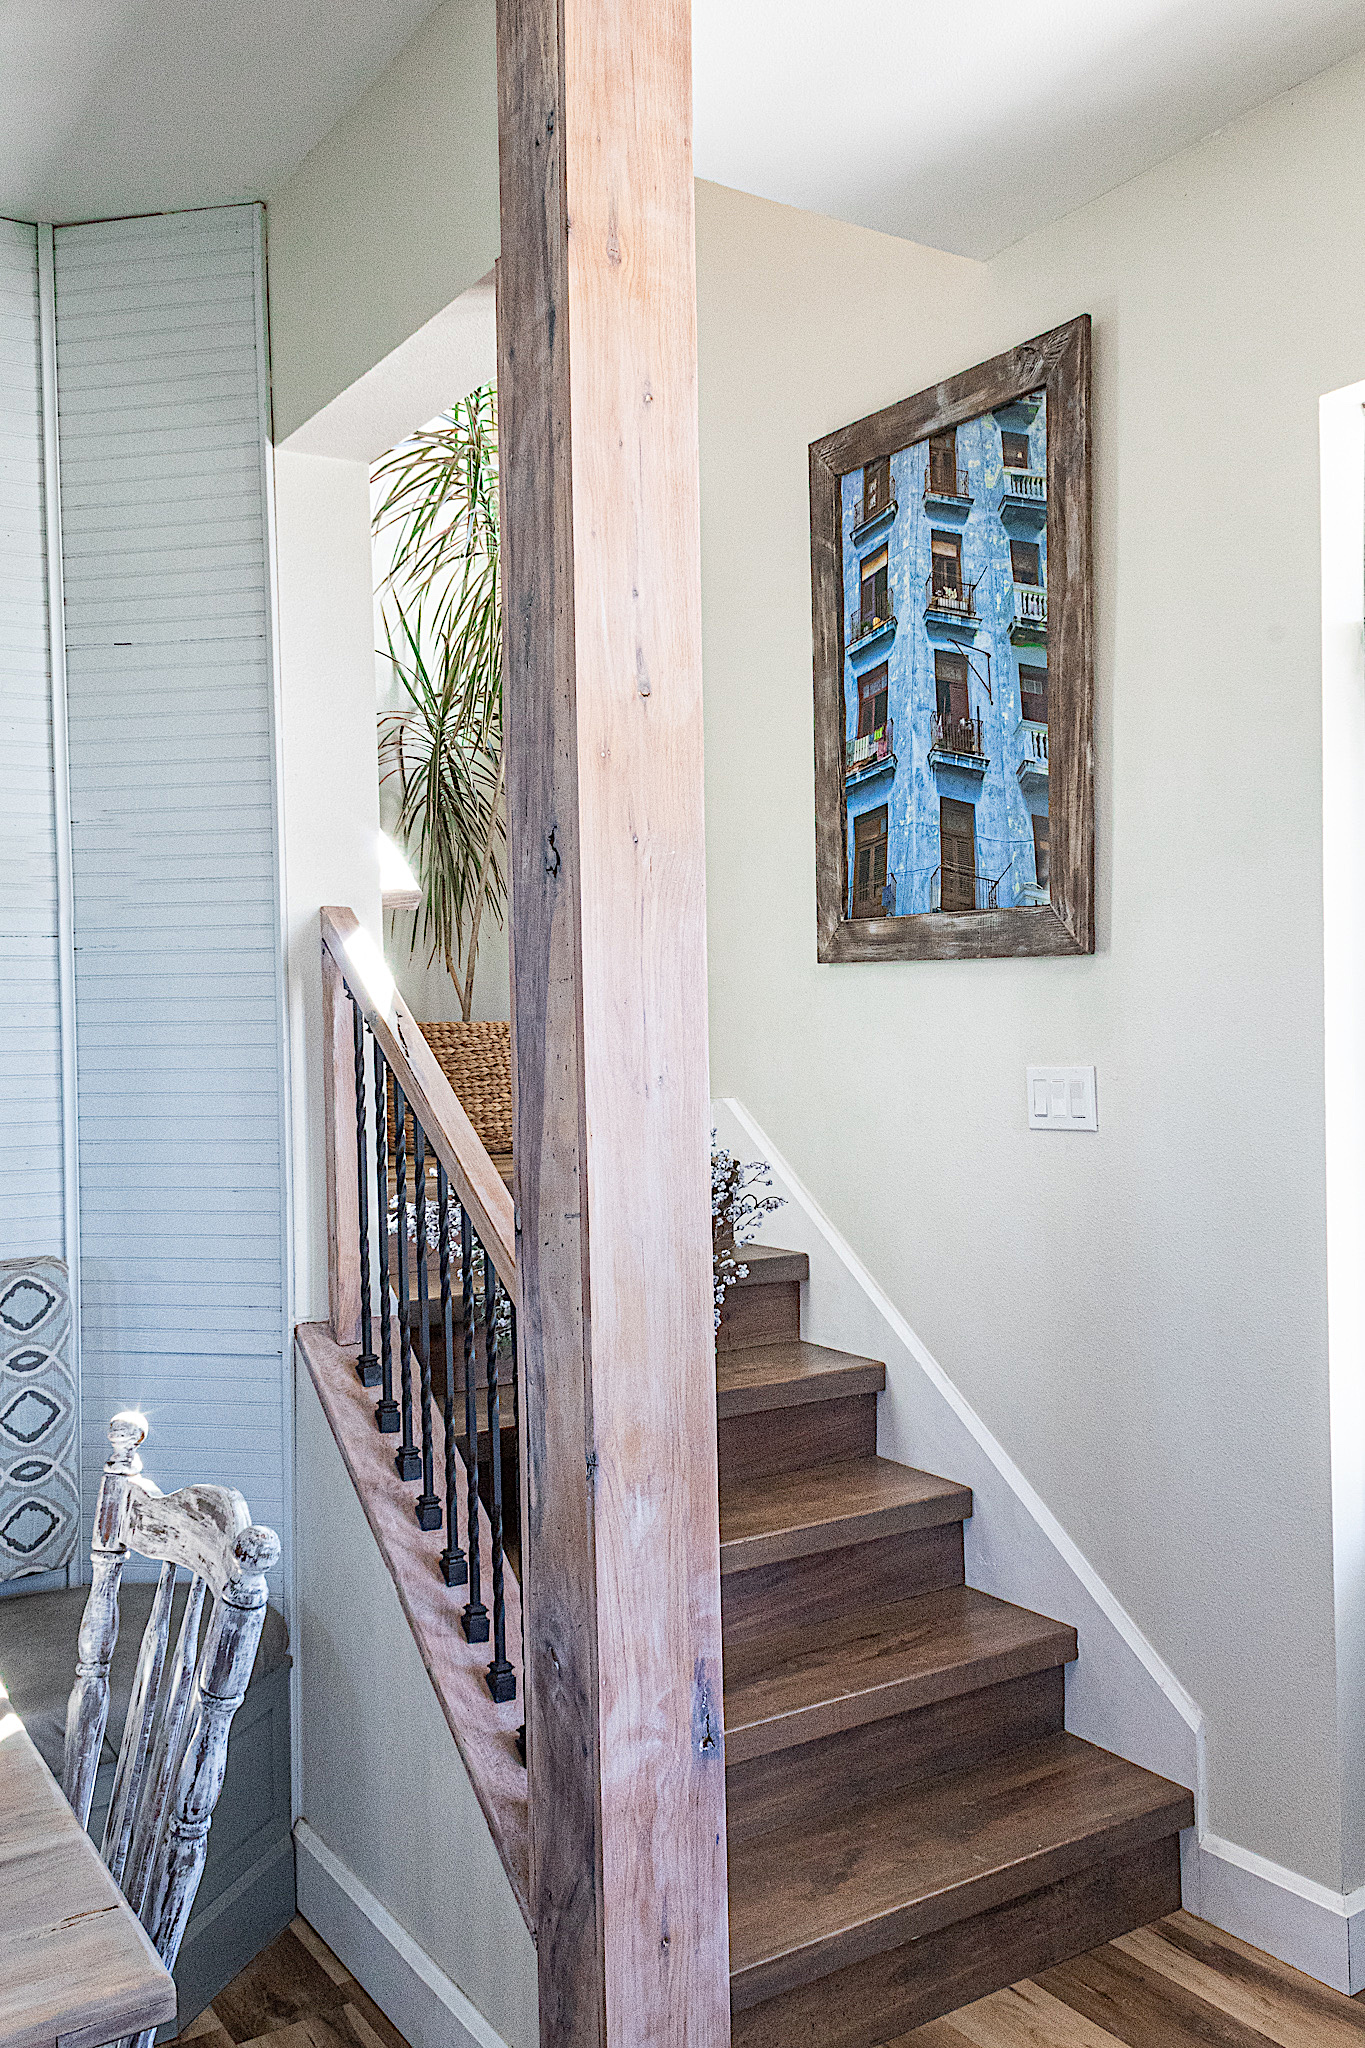
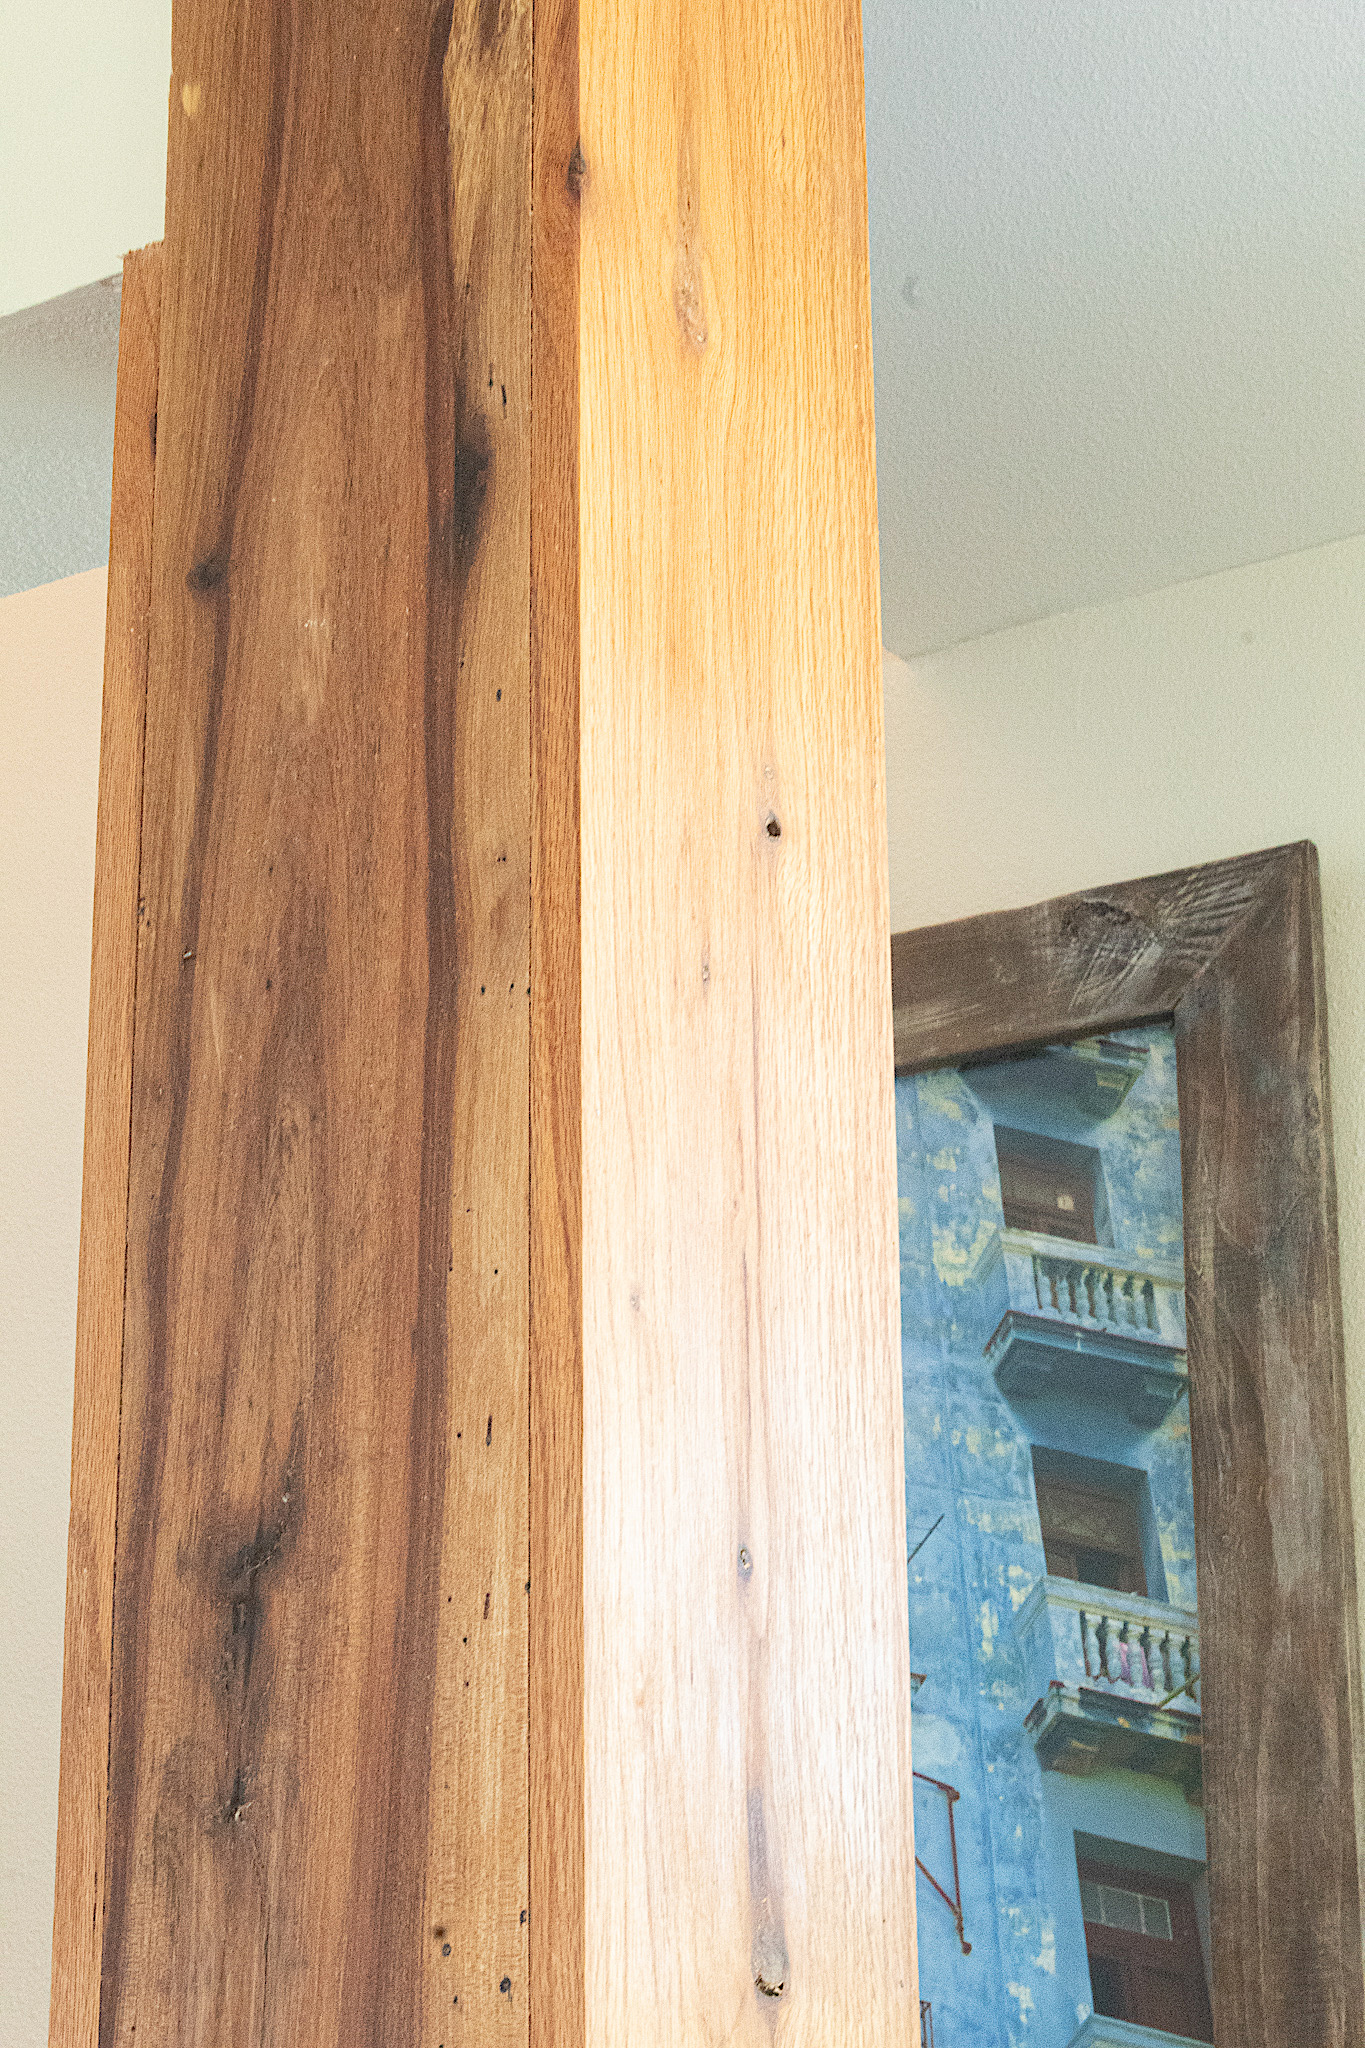
Hi friends! I’m so excited to share this transformation with you! SOOOO easy and so wonderful. The wood of our stair rail and column is very beautiful. We had it made by a local wood worker when we owner-built our home. It is rich in grain and beautiful details. Unfortunately it had started to orange over the past year and a half. Just take a look.
Disclosure: Some of the links provided are affiliate links. By purchasing through these links you are supporting this family blog and the work we do and there is no extra cost to you. If you would like to read our full disclosure, click HERE.
I had used danish oil on it when we first moved in. The danish oil helped to bring out all the wood’s character, but I did not know it would eventually result in the wood turning orange. So I thought on it a while. What would be a way to tone down the orange while preserving the wood’s beautiful grain? Then one day it came to me.
Liming wax! That would be the fix for this problem. It whitens the aesthetic without saturating the surface. I use liming wax and cerusing wax a lot because of the beautiful haze and rustic detail they leave on finishes. They also, in my opinion, give things a French Countryside feel.
I recently redid an antique wardrobe using cerusing wax and it turned out so marvelous. You can see the French Farmhouse Inspired Wardrobe TutorialHERE. Now let’s get started on this tutorial. You will not believe just how easy it is.
The first thing I did was sand the wood using my orbital sander with 60 grit sandpaper. I sanded the surface enough to knock off some of the orange. However, I was careful not to over sand so as not to wear down my wood.
Danish oil, like stain, seeps deep into the wood when applied and I knew I wasn’t going to get all the orange out. I gave the wood one final quick sanding using 400 grit sandpaper for a smooth finish.
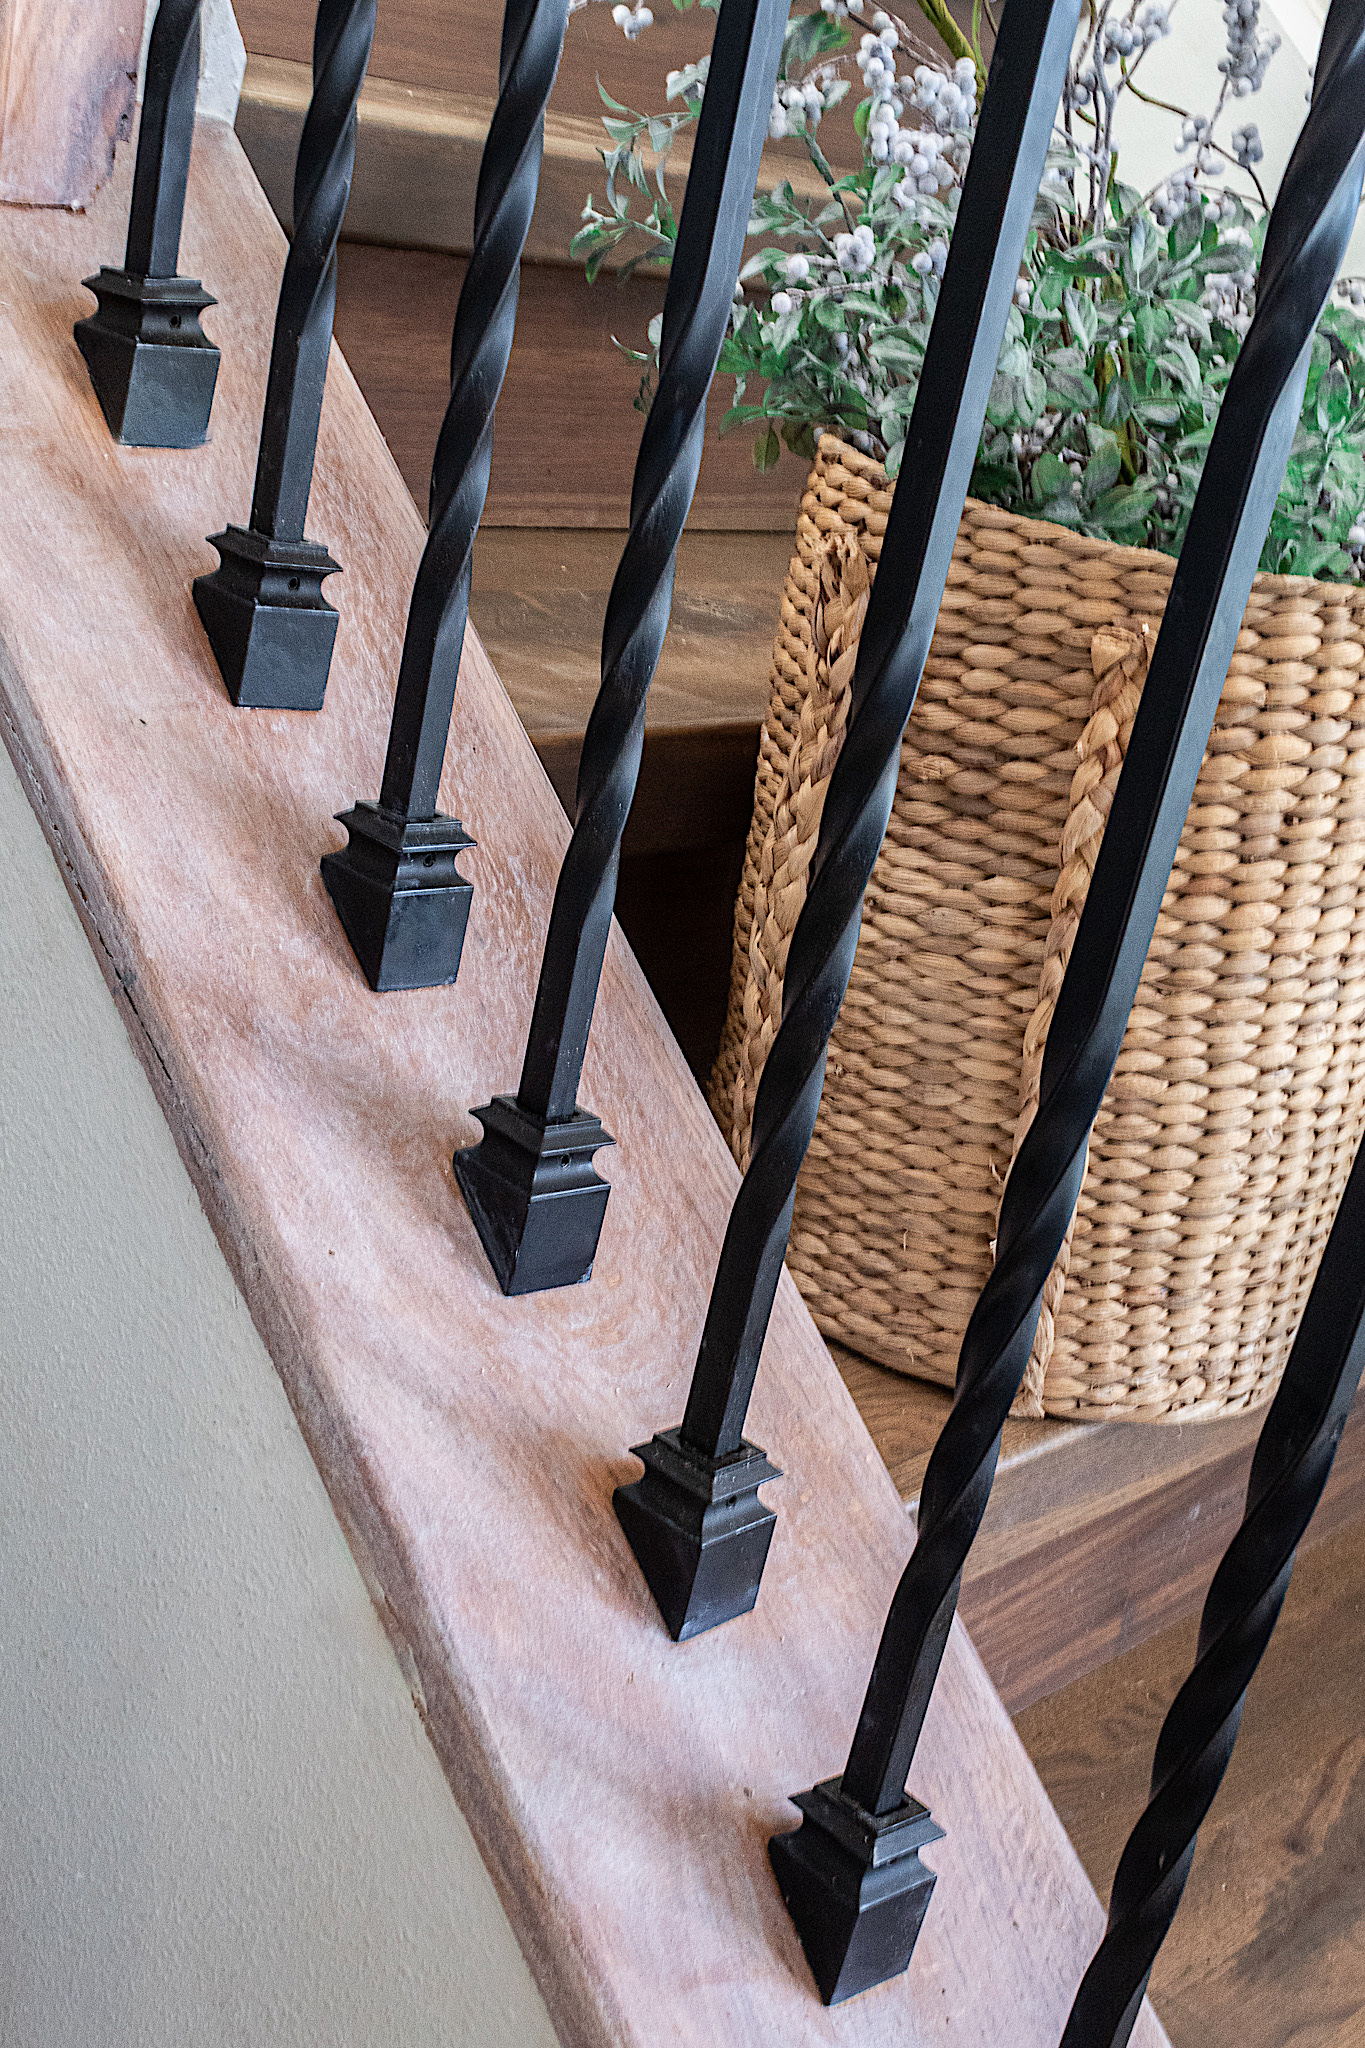
My next and final step and yes—THE final step of this tutorial—is to apply the liming wax. I simply rubbed on one coat in circular motions using a small amount at a time on my paper towel. A little of this product goes a long way.
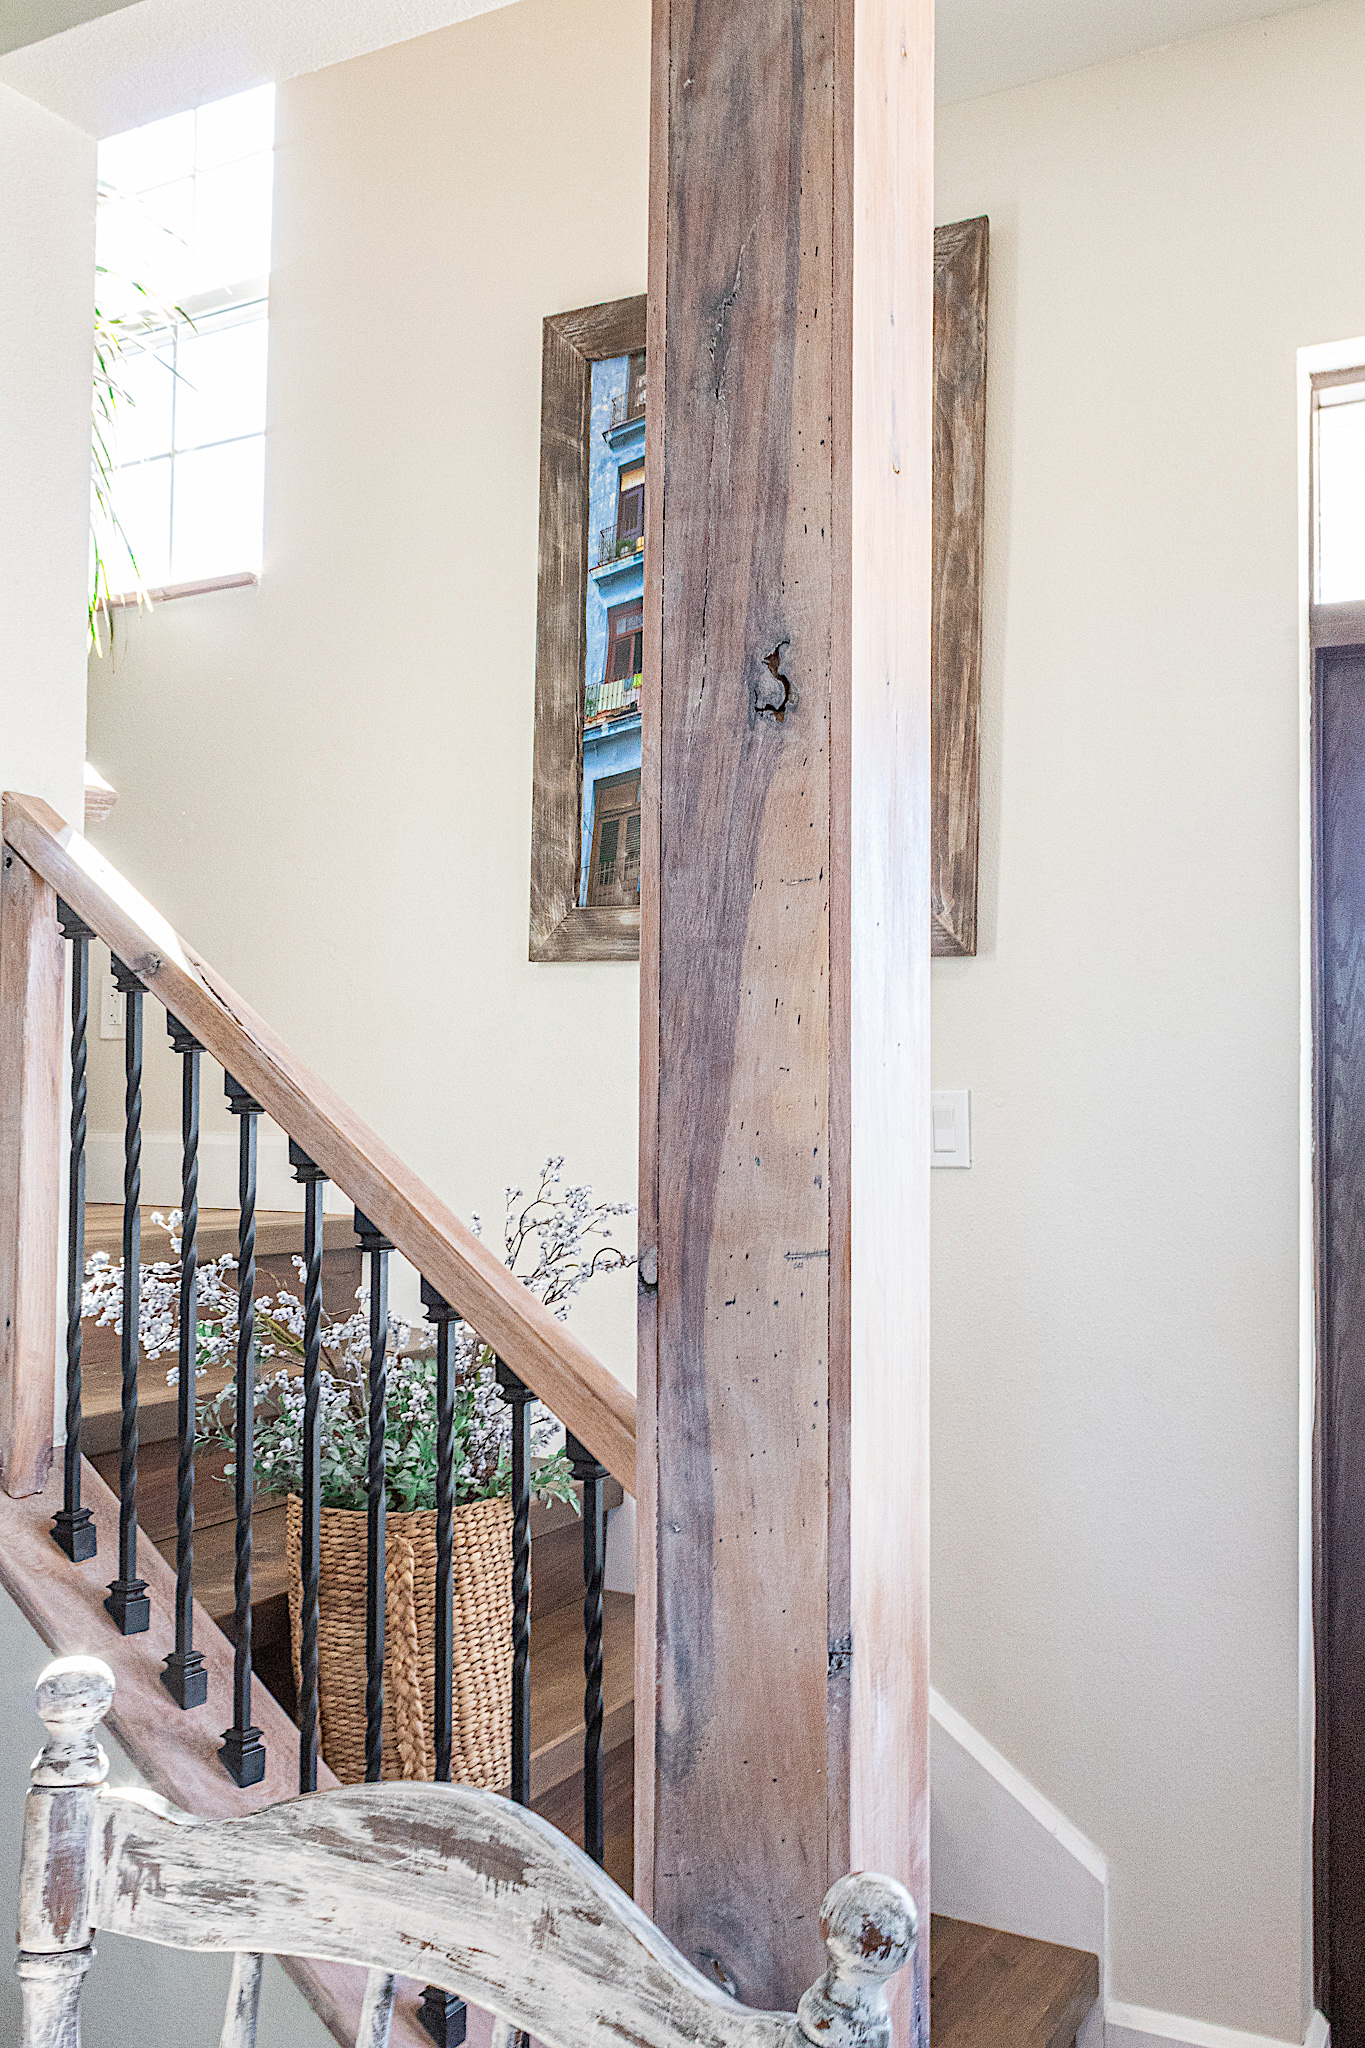
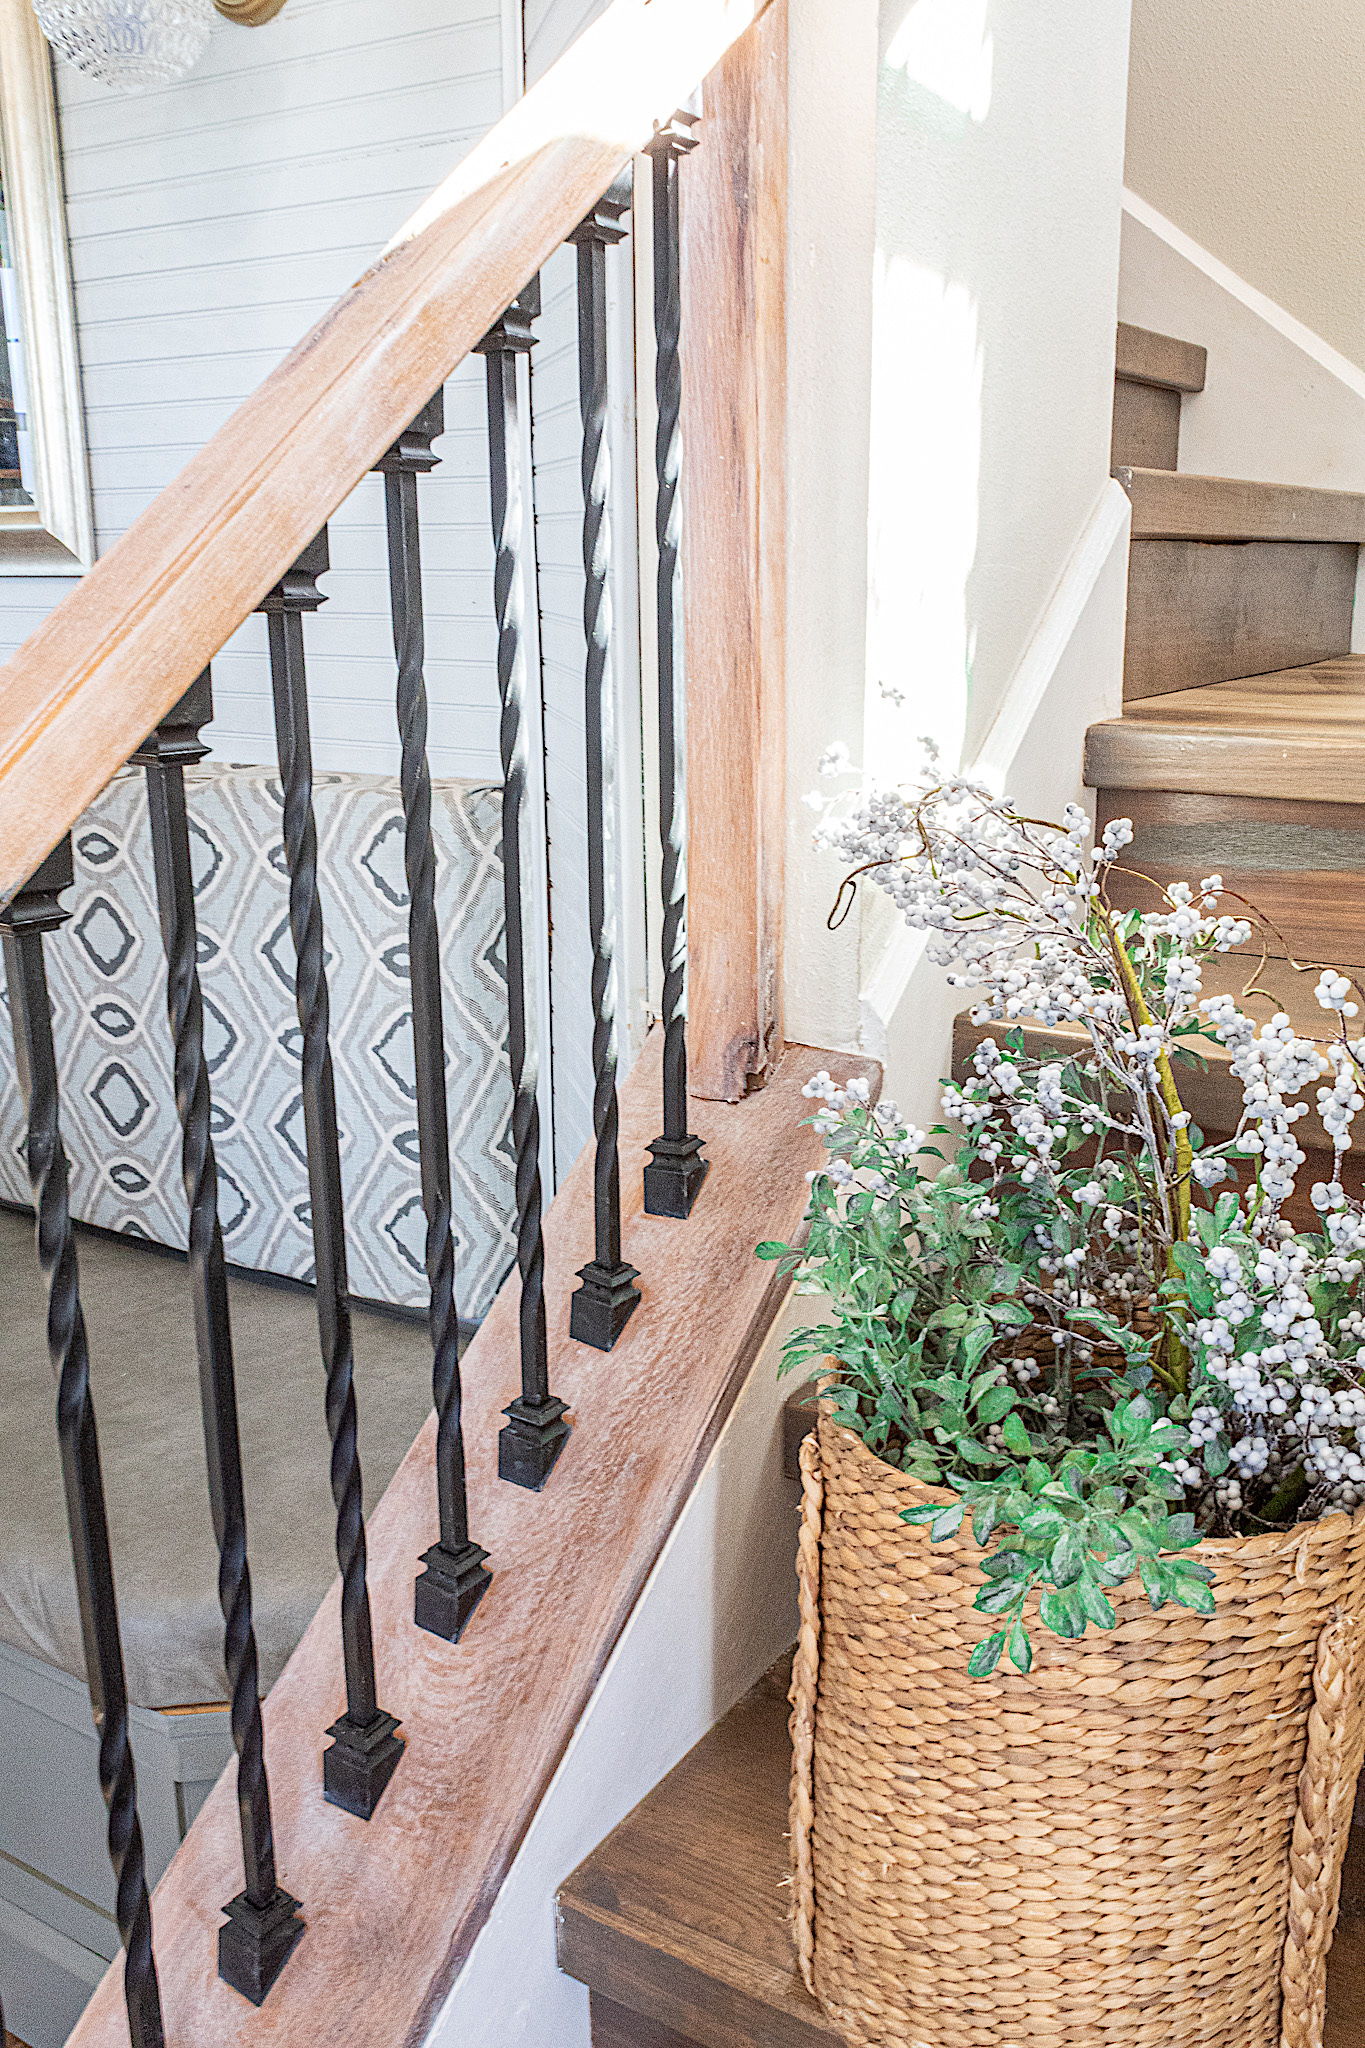
I loved how the wax beautifully transformed the wood right before my eyes. It gave everything an airy and soft look although the wood grain is more hazy, you can still see it. I really love the results. Here is a side by side comparison to give you some perspective of what white liming wax does to a finish.
I love how this subtle change in the woods aesthetic gave the entire room a different feel. I’m really digging the French Countryside look in the living and dining nook area now.
Watch My Video Demo
Do you have any wood or furniture in your home that you could try this technique on? I would love to hear.


