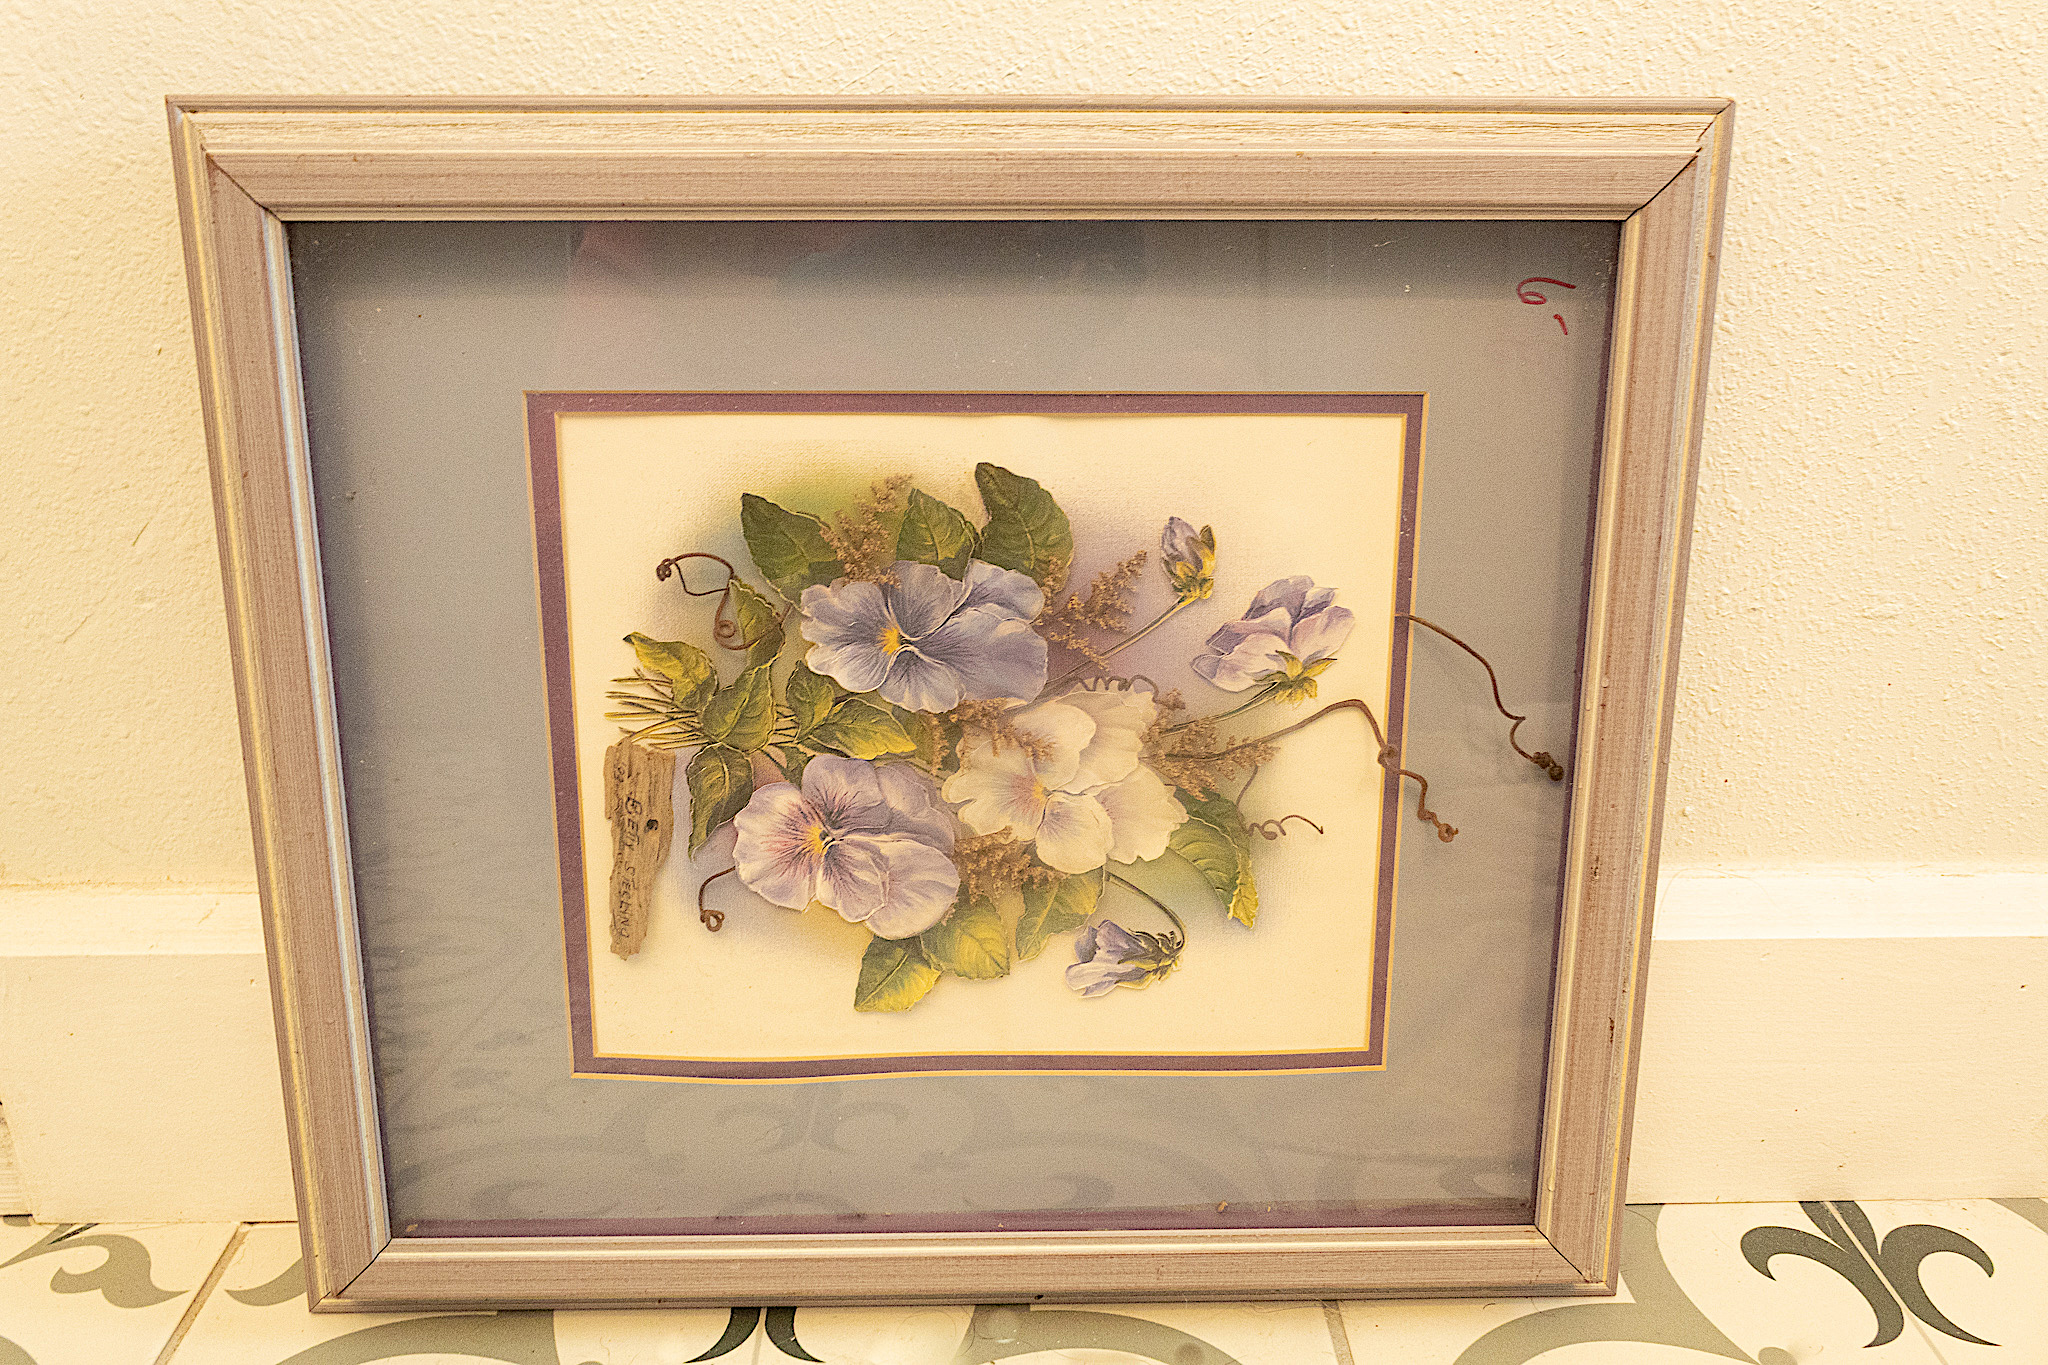
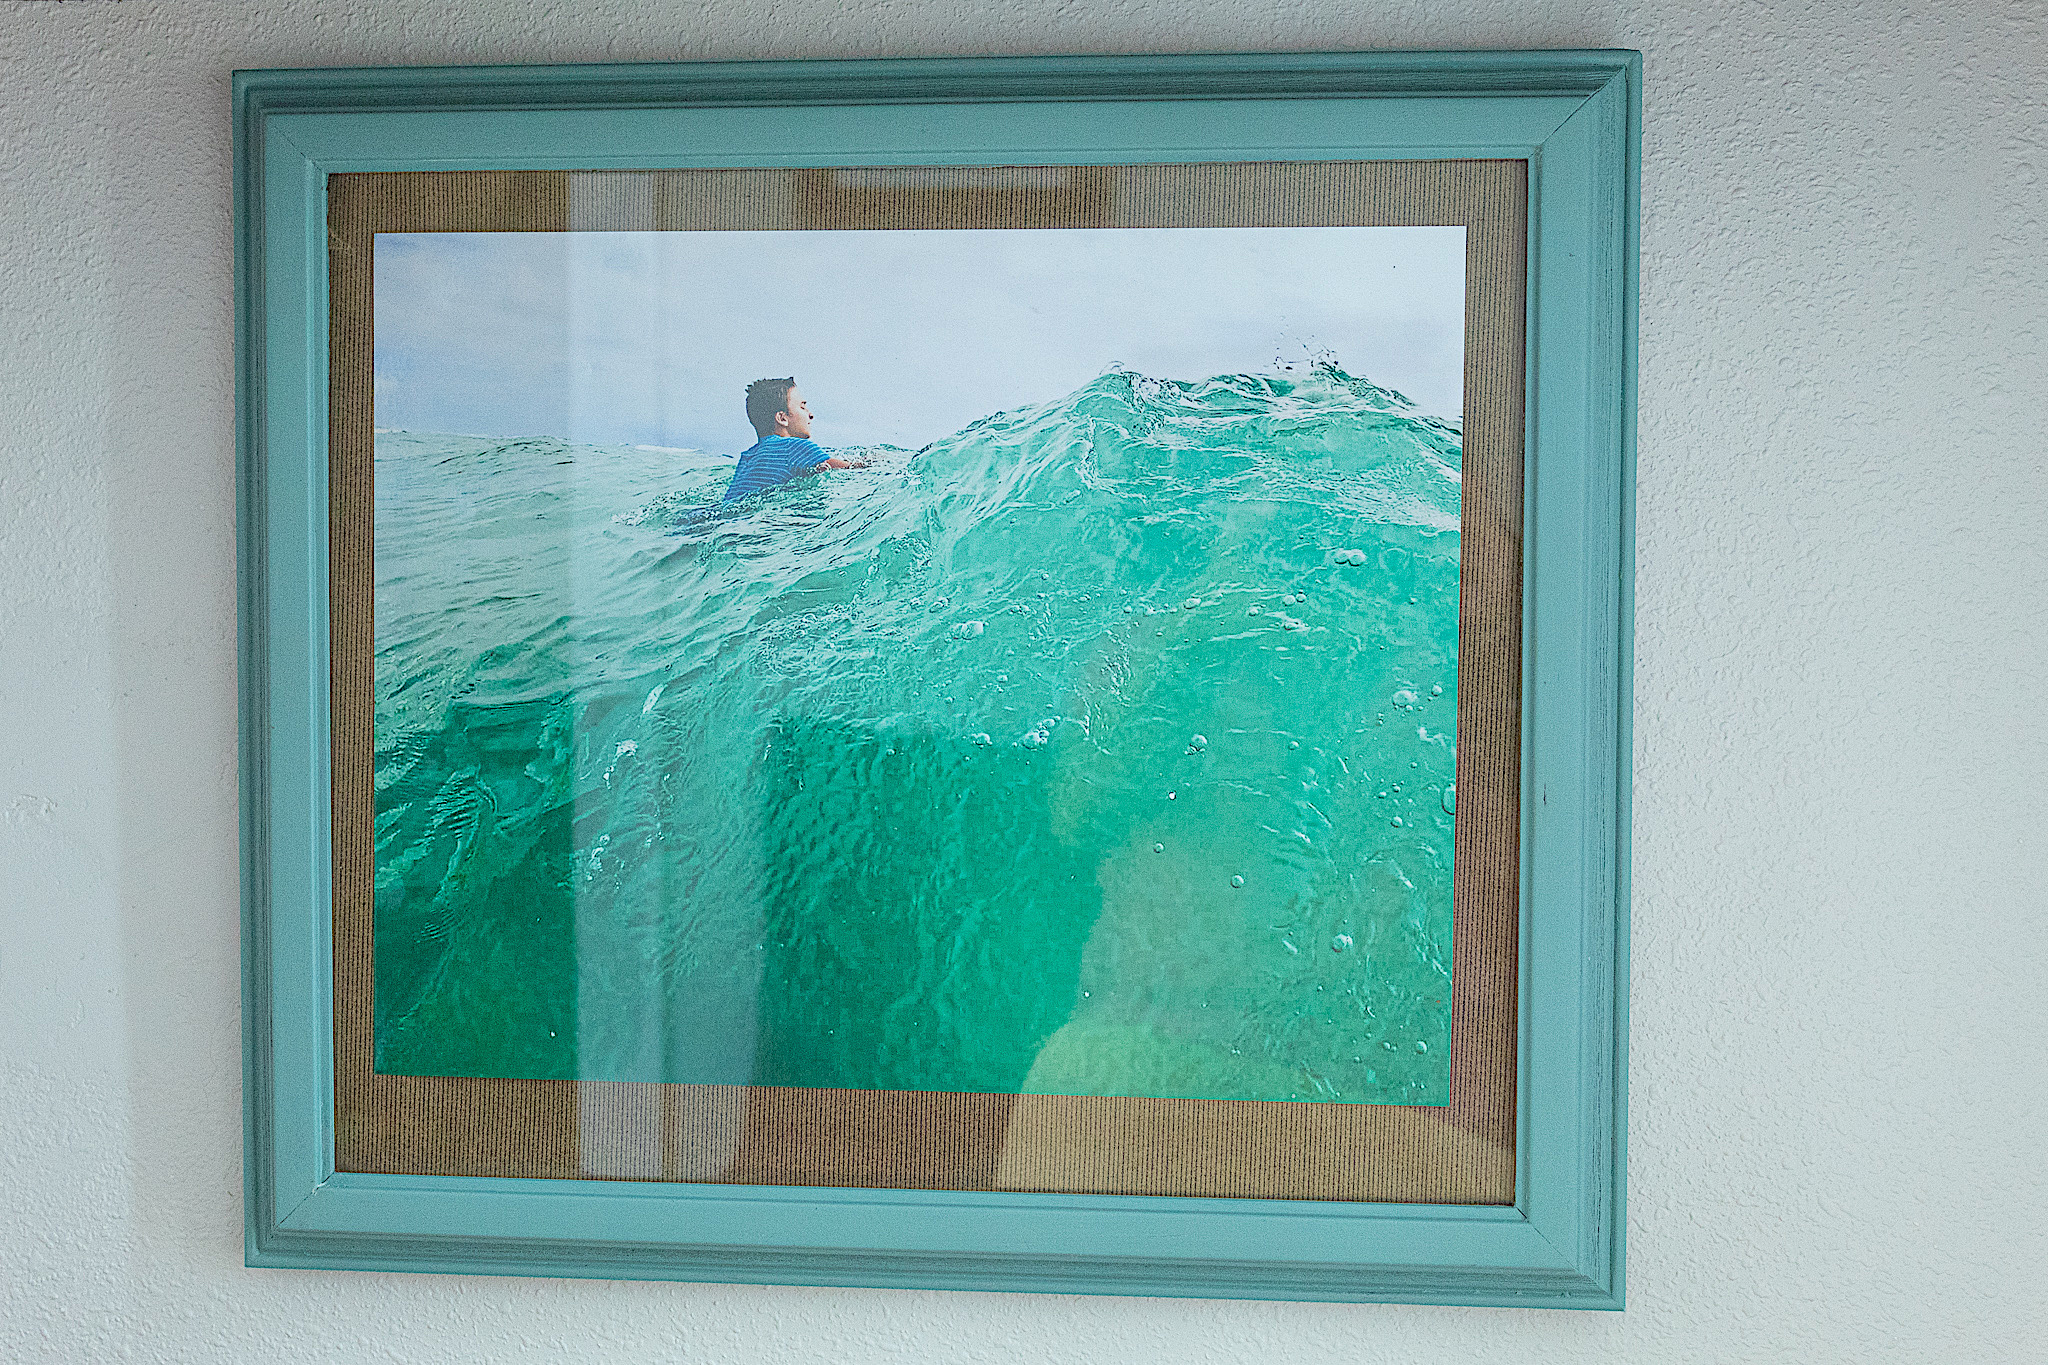
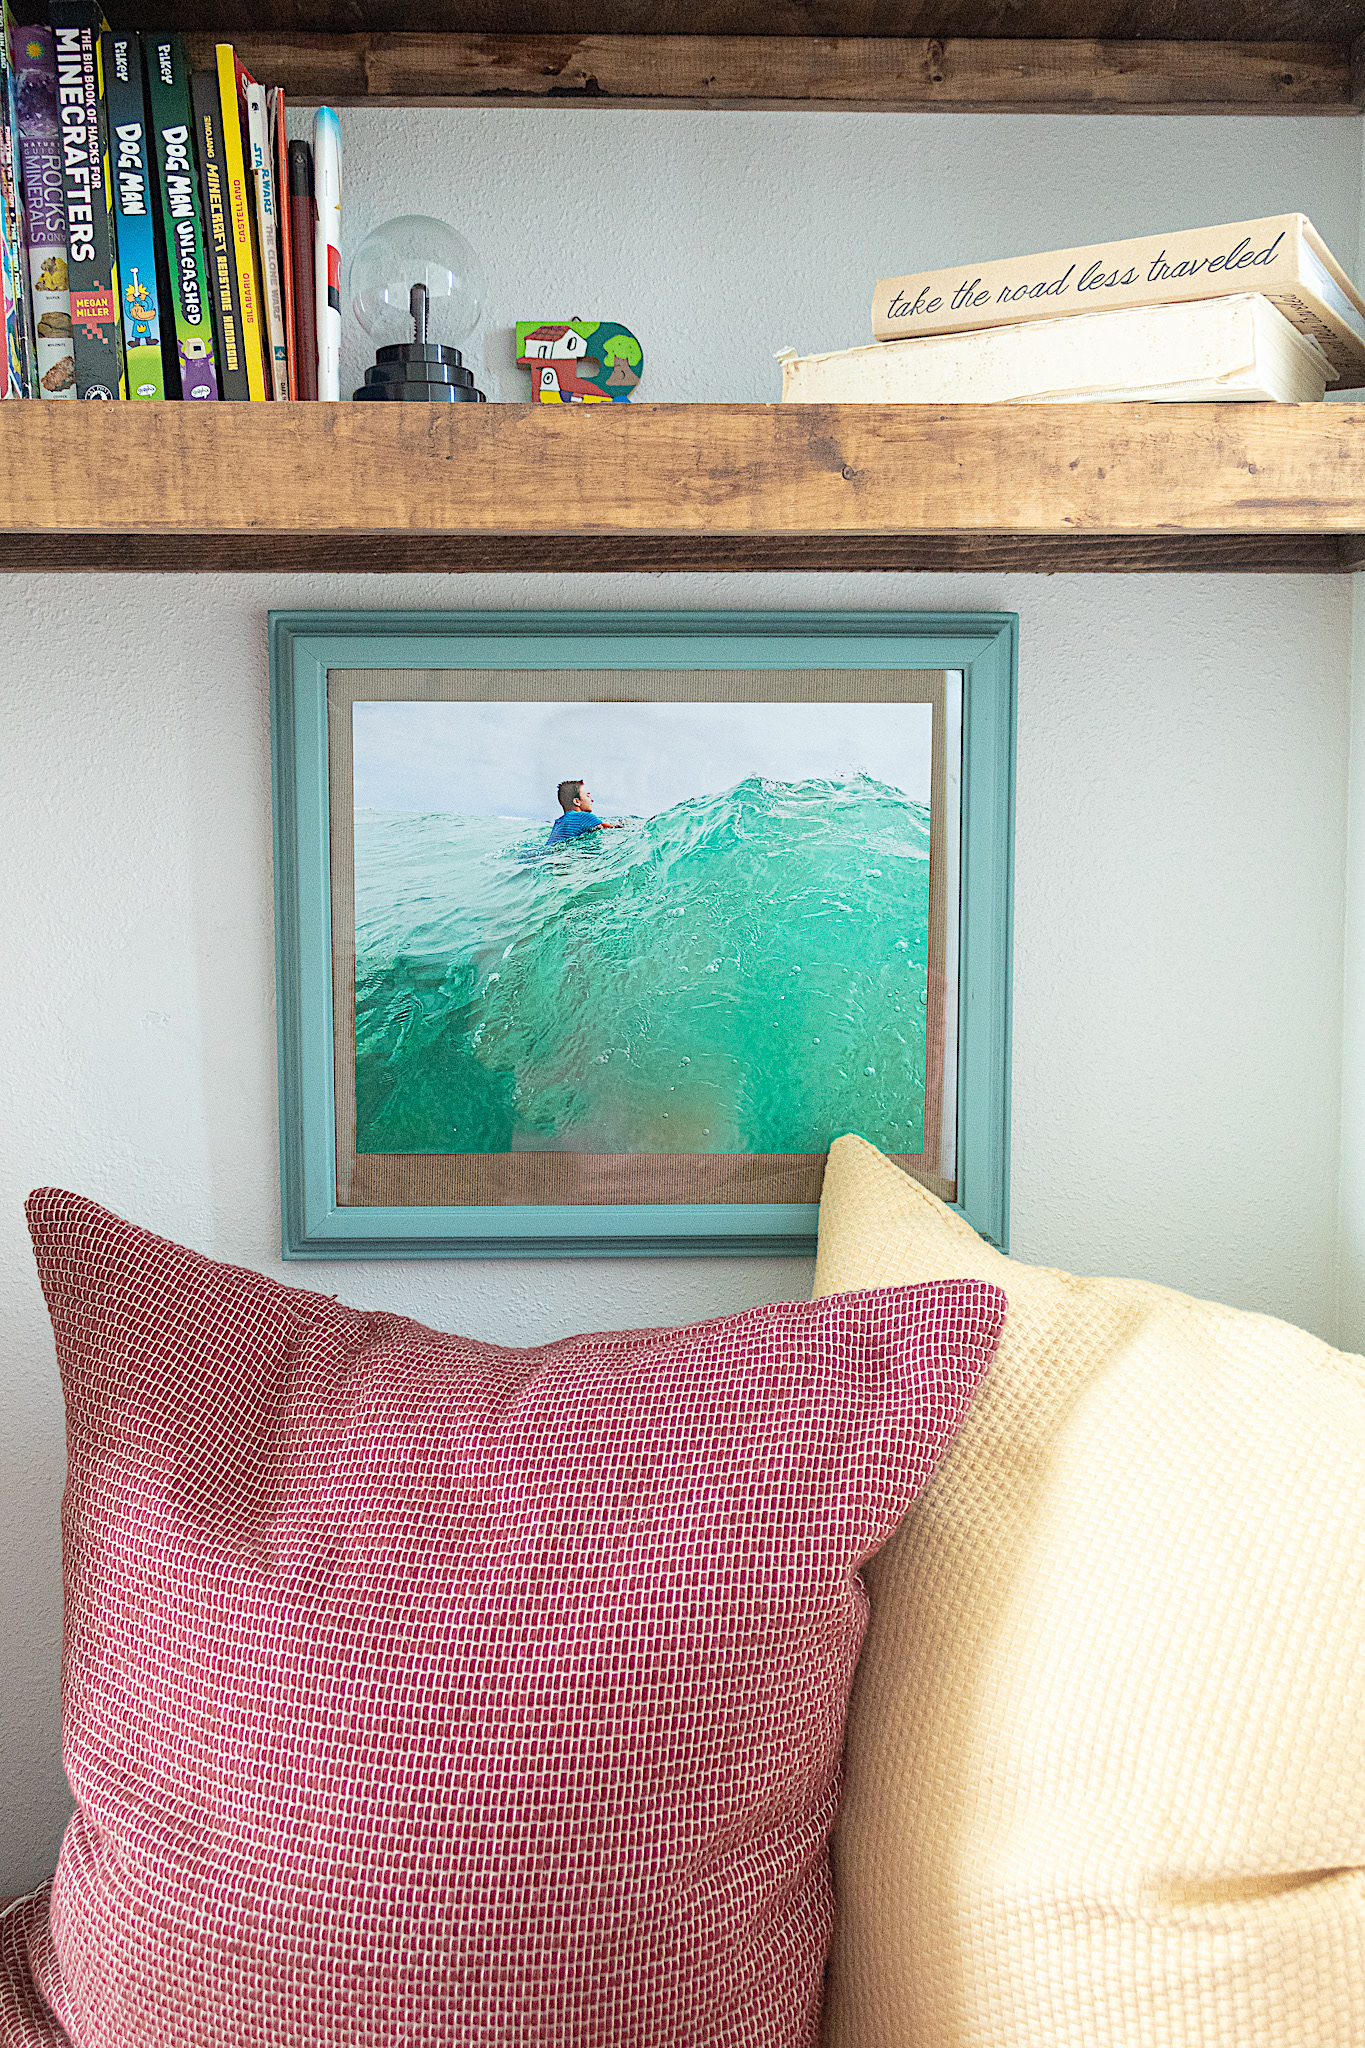
This old and outdated thrift store picture frame was the perfect solution for a photo I’d been wanting to hang up. I just had to find a way to give it some cool factor. Many of my projects, especially some of my furniture renovations, are very laborious, often taking days of work and require multiple materials. This tutorial is quite the opposite. It is quick, easy and inexpensive. Nothing fancy, but a cute way to display a picture you want to frame. Take a look at the before and after.
You will need:
1 salvaged picture frame
wrapping paper of choice
chalk paint color of choice
paint brush
scissors
scotch tape or glue stick
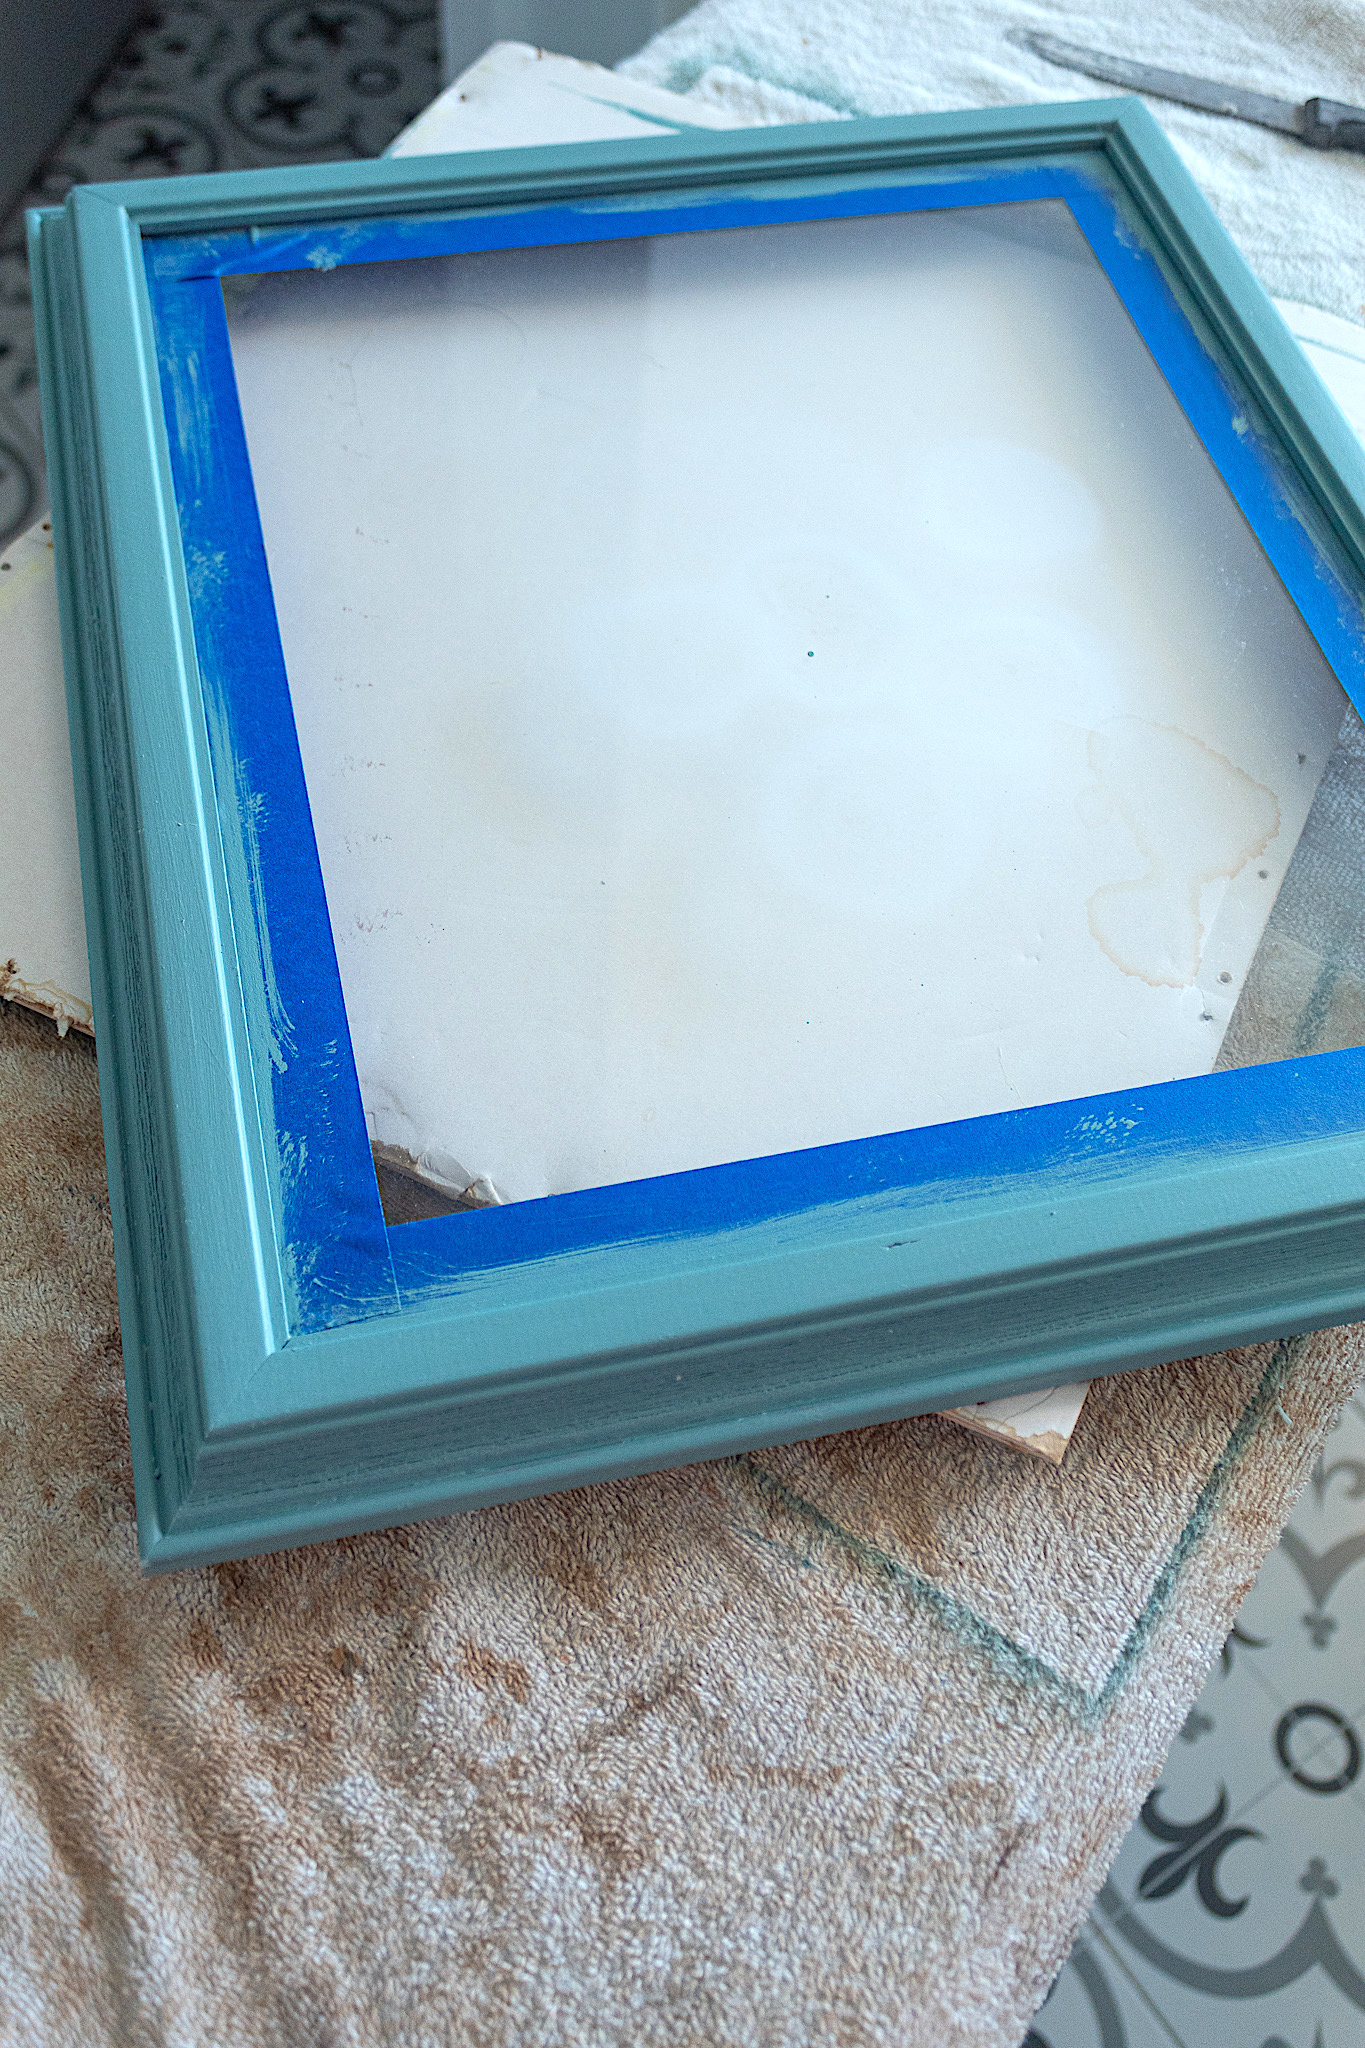
1. Prep your frame
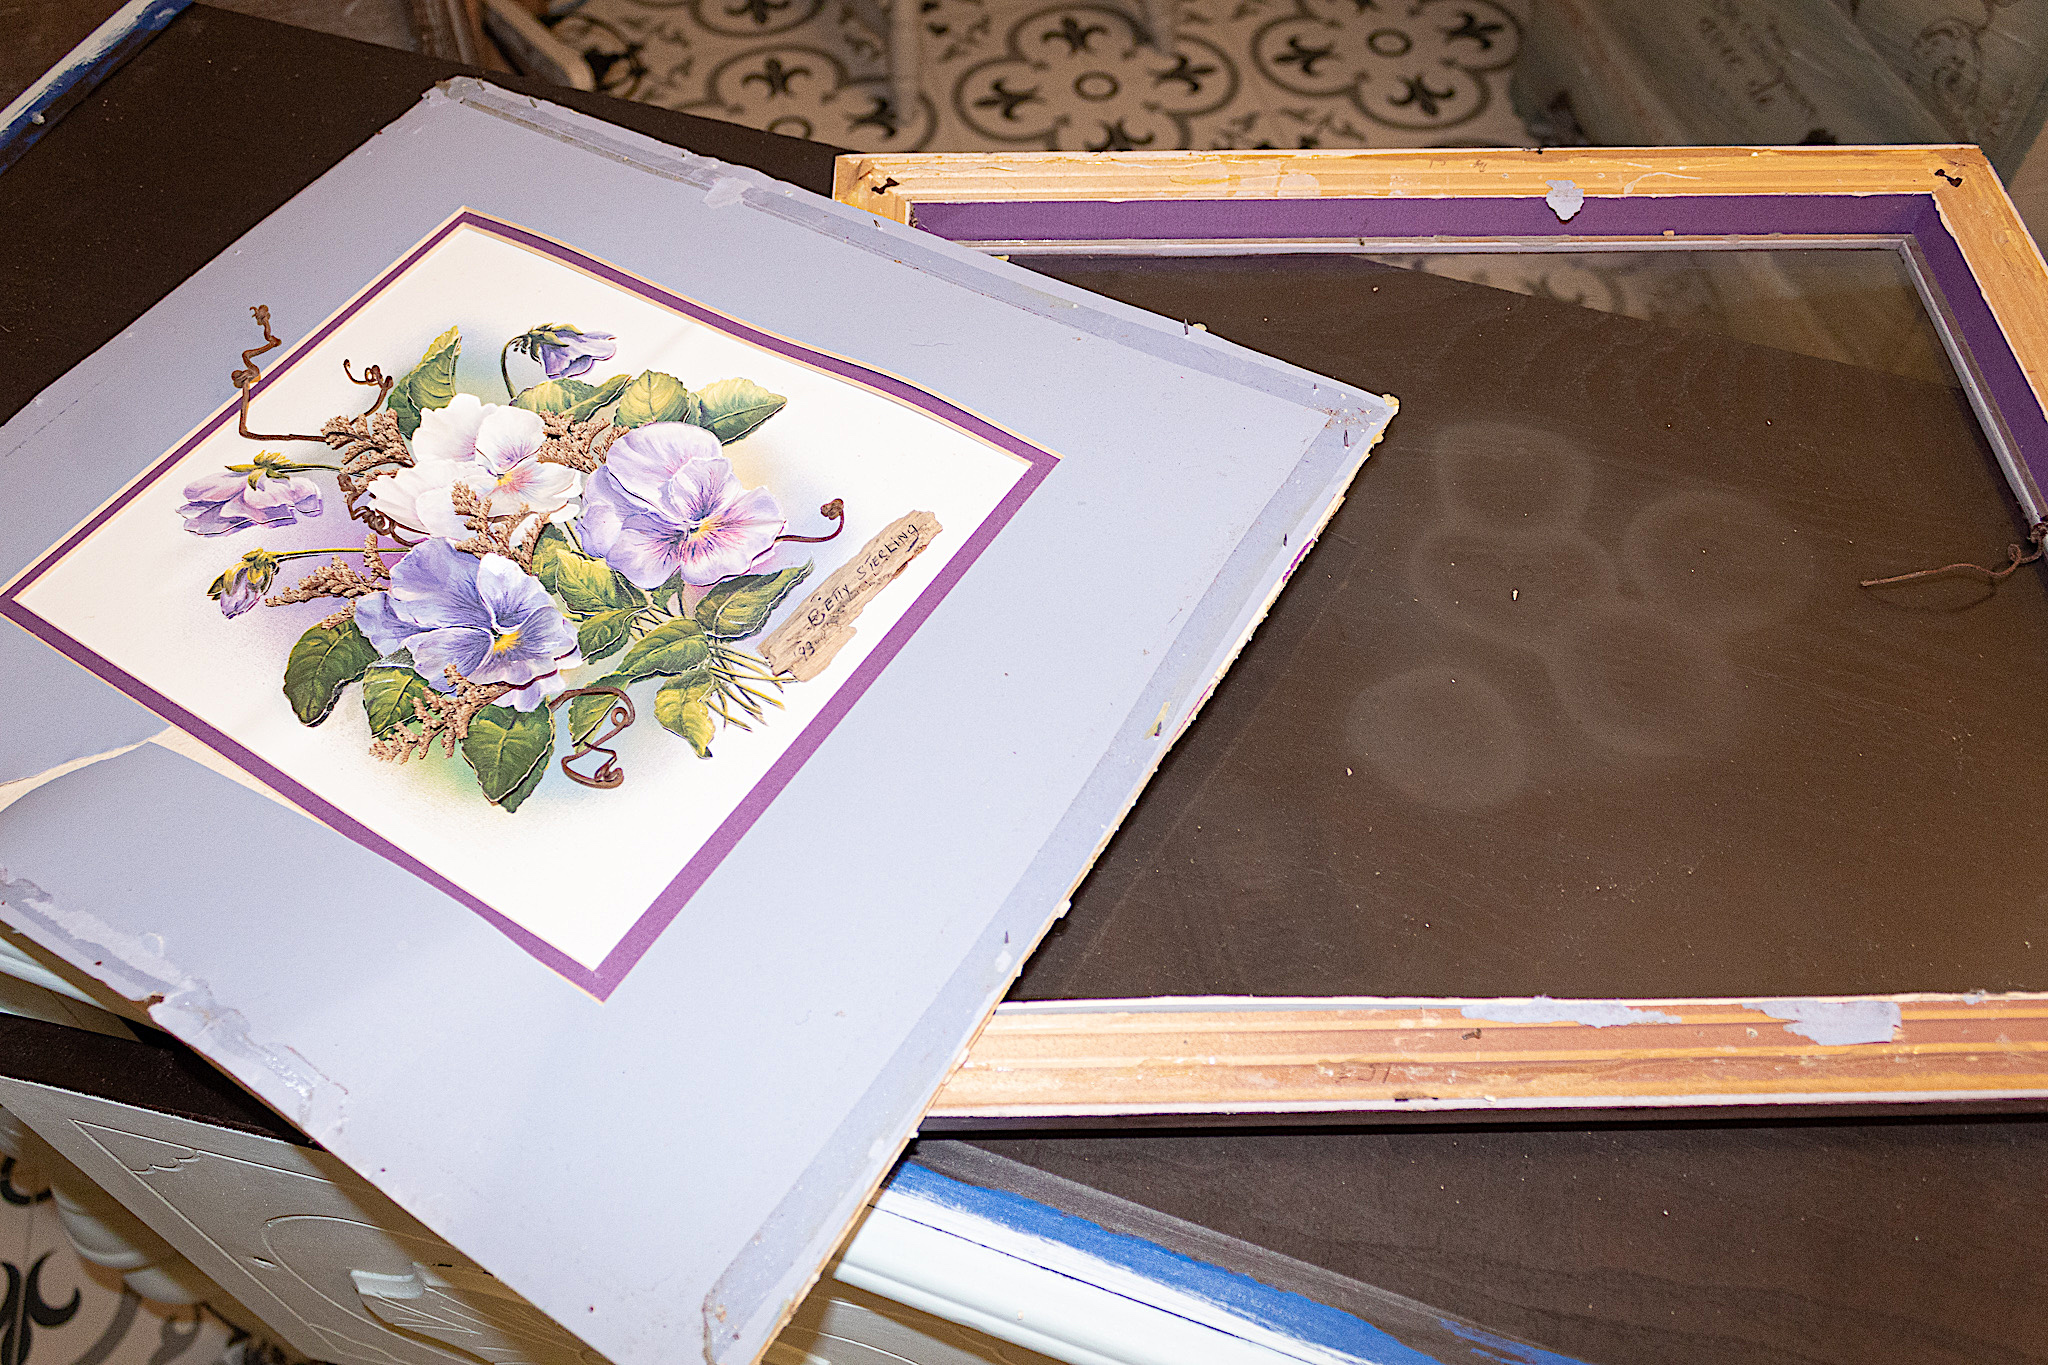
To prepare my frame for painting, I removed the cardboard floral backing. I then cleaned the wood part and the glass. I would’ve removed the glass for ease of painting but it wasn’t budging easily and I was afraid it would break. So instead I applied painters’ tape around the edges.
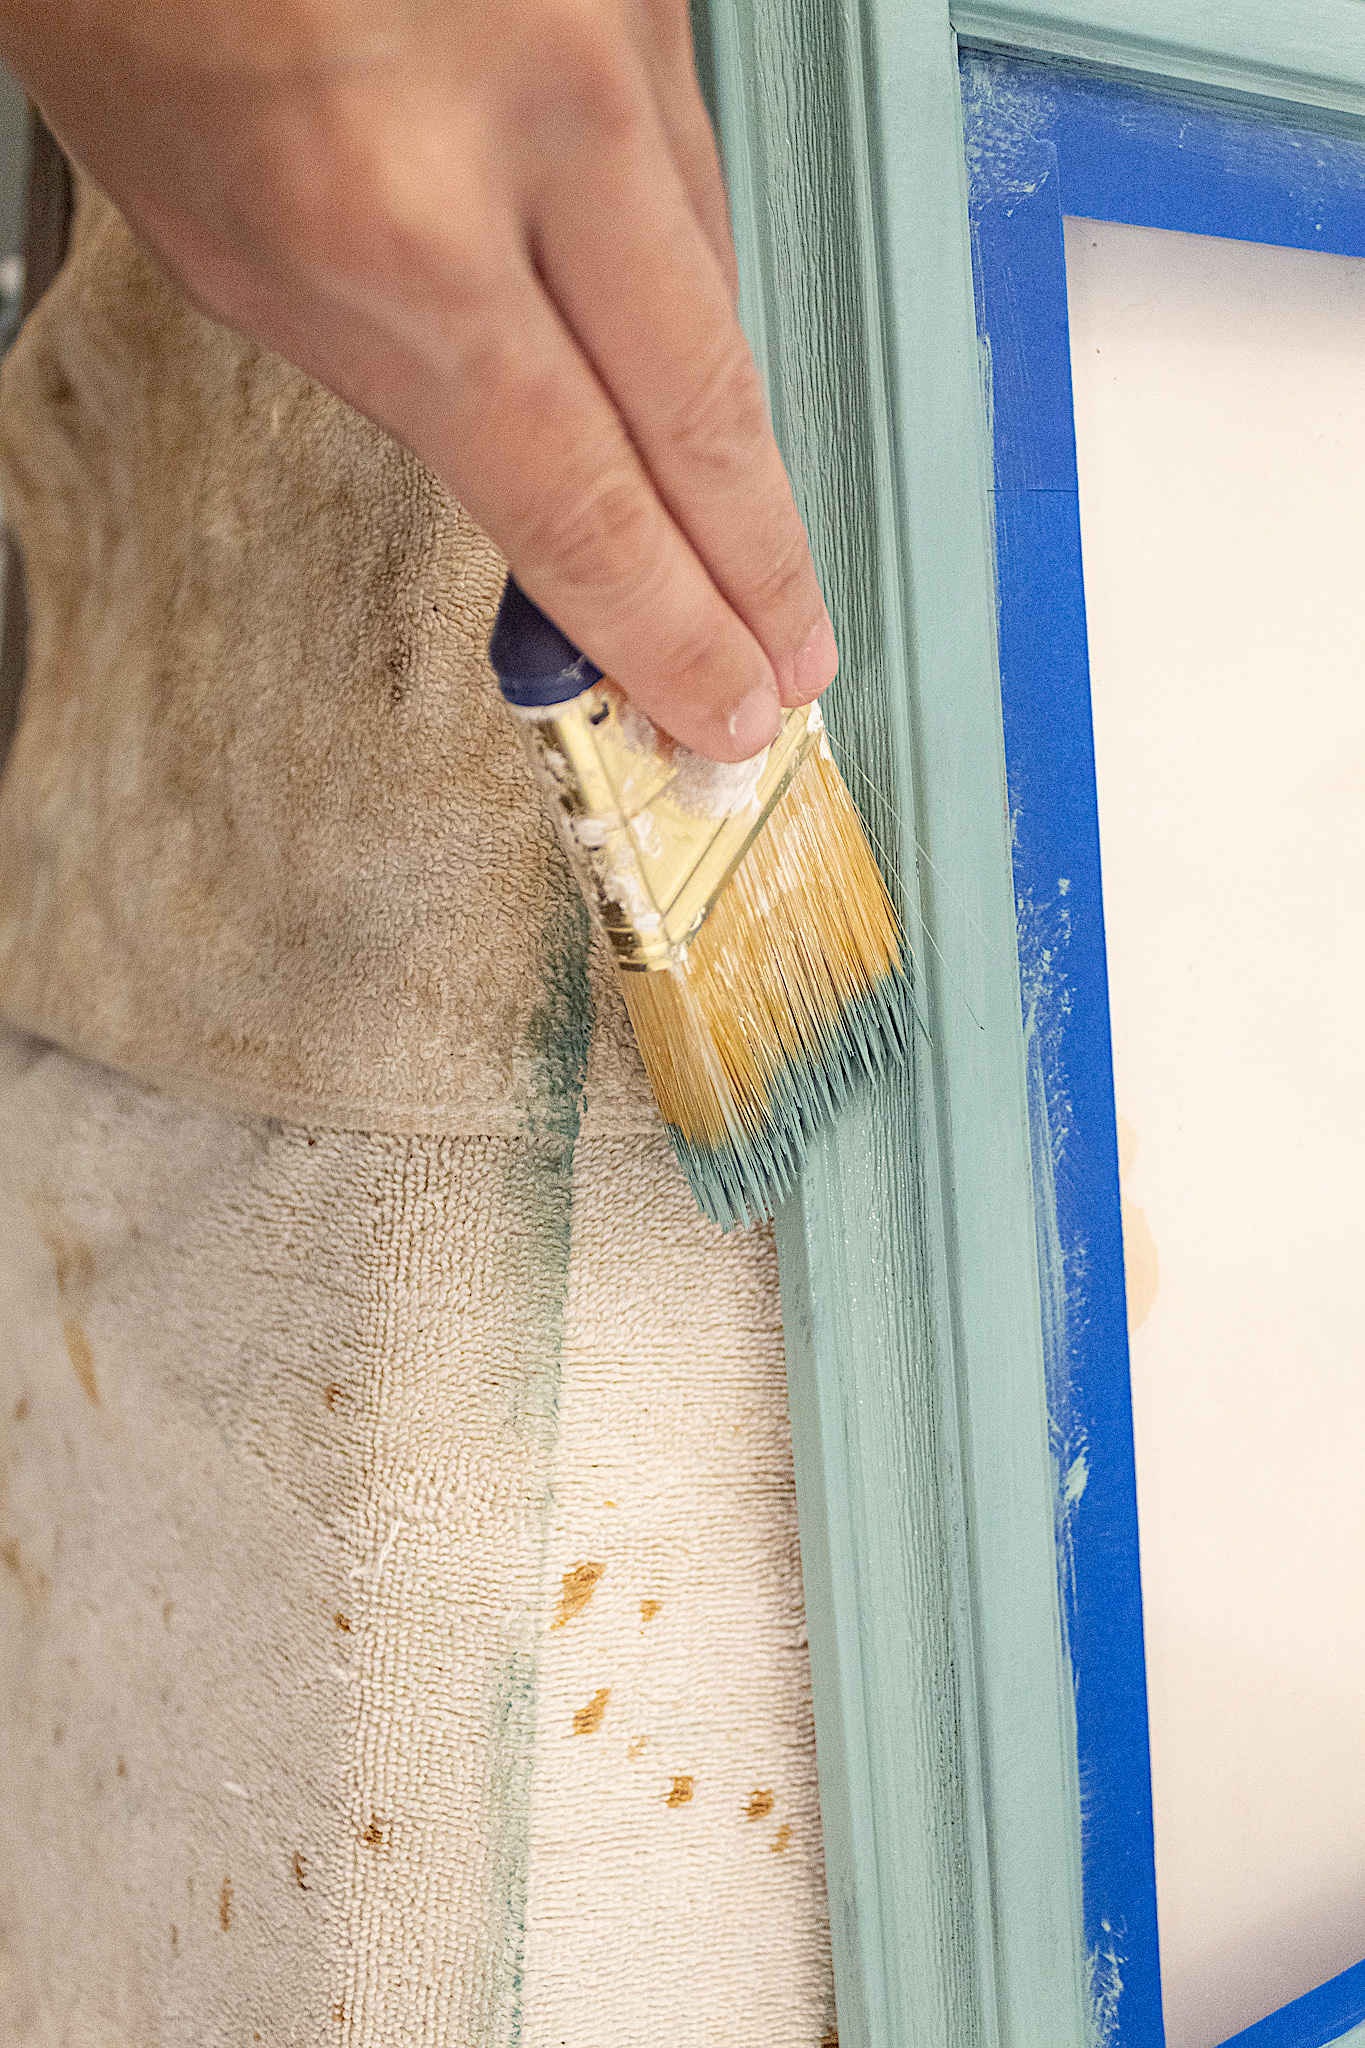
2. Paint
I chose Behr’s Boreal Green for this project. It is a pretty minty green. Whenever I make my own chalk paint I use this recipe. Because chalk paint adheres so well, I only needed to apply two coats of paint.
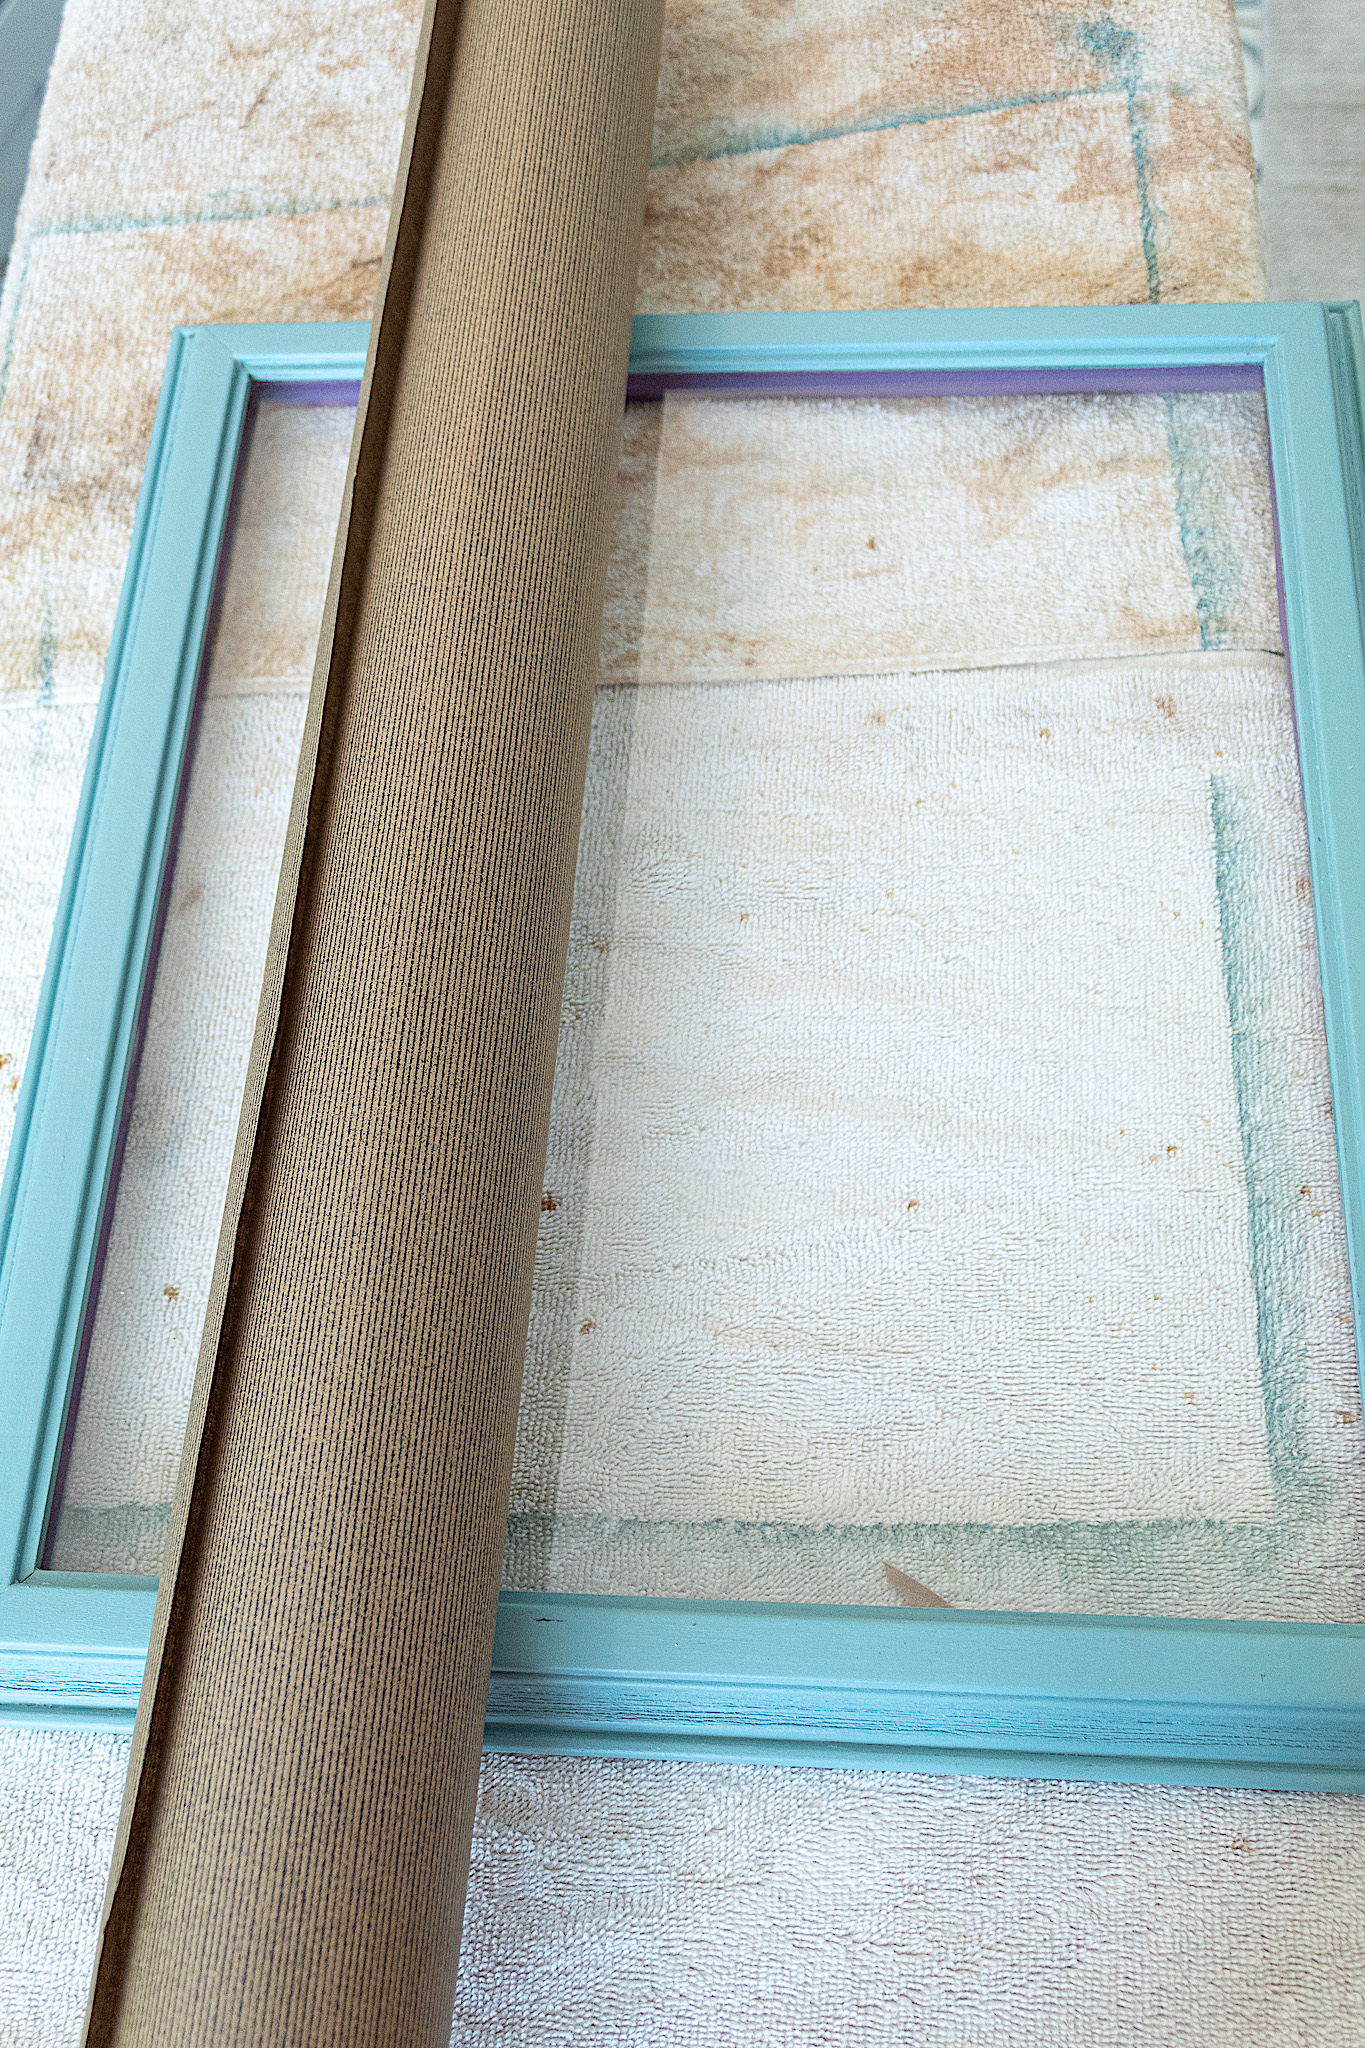
3. Make a frame mat
To create a mat for my picture I used wrapping paper. I chose a rustic brown paper with very tiny black lines. I liked how the paper was simple and wouldn’t clash with the picture but that it had a hint of a pattern for a pretty detail.
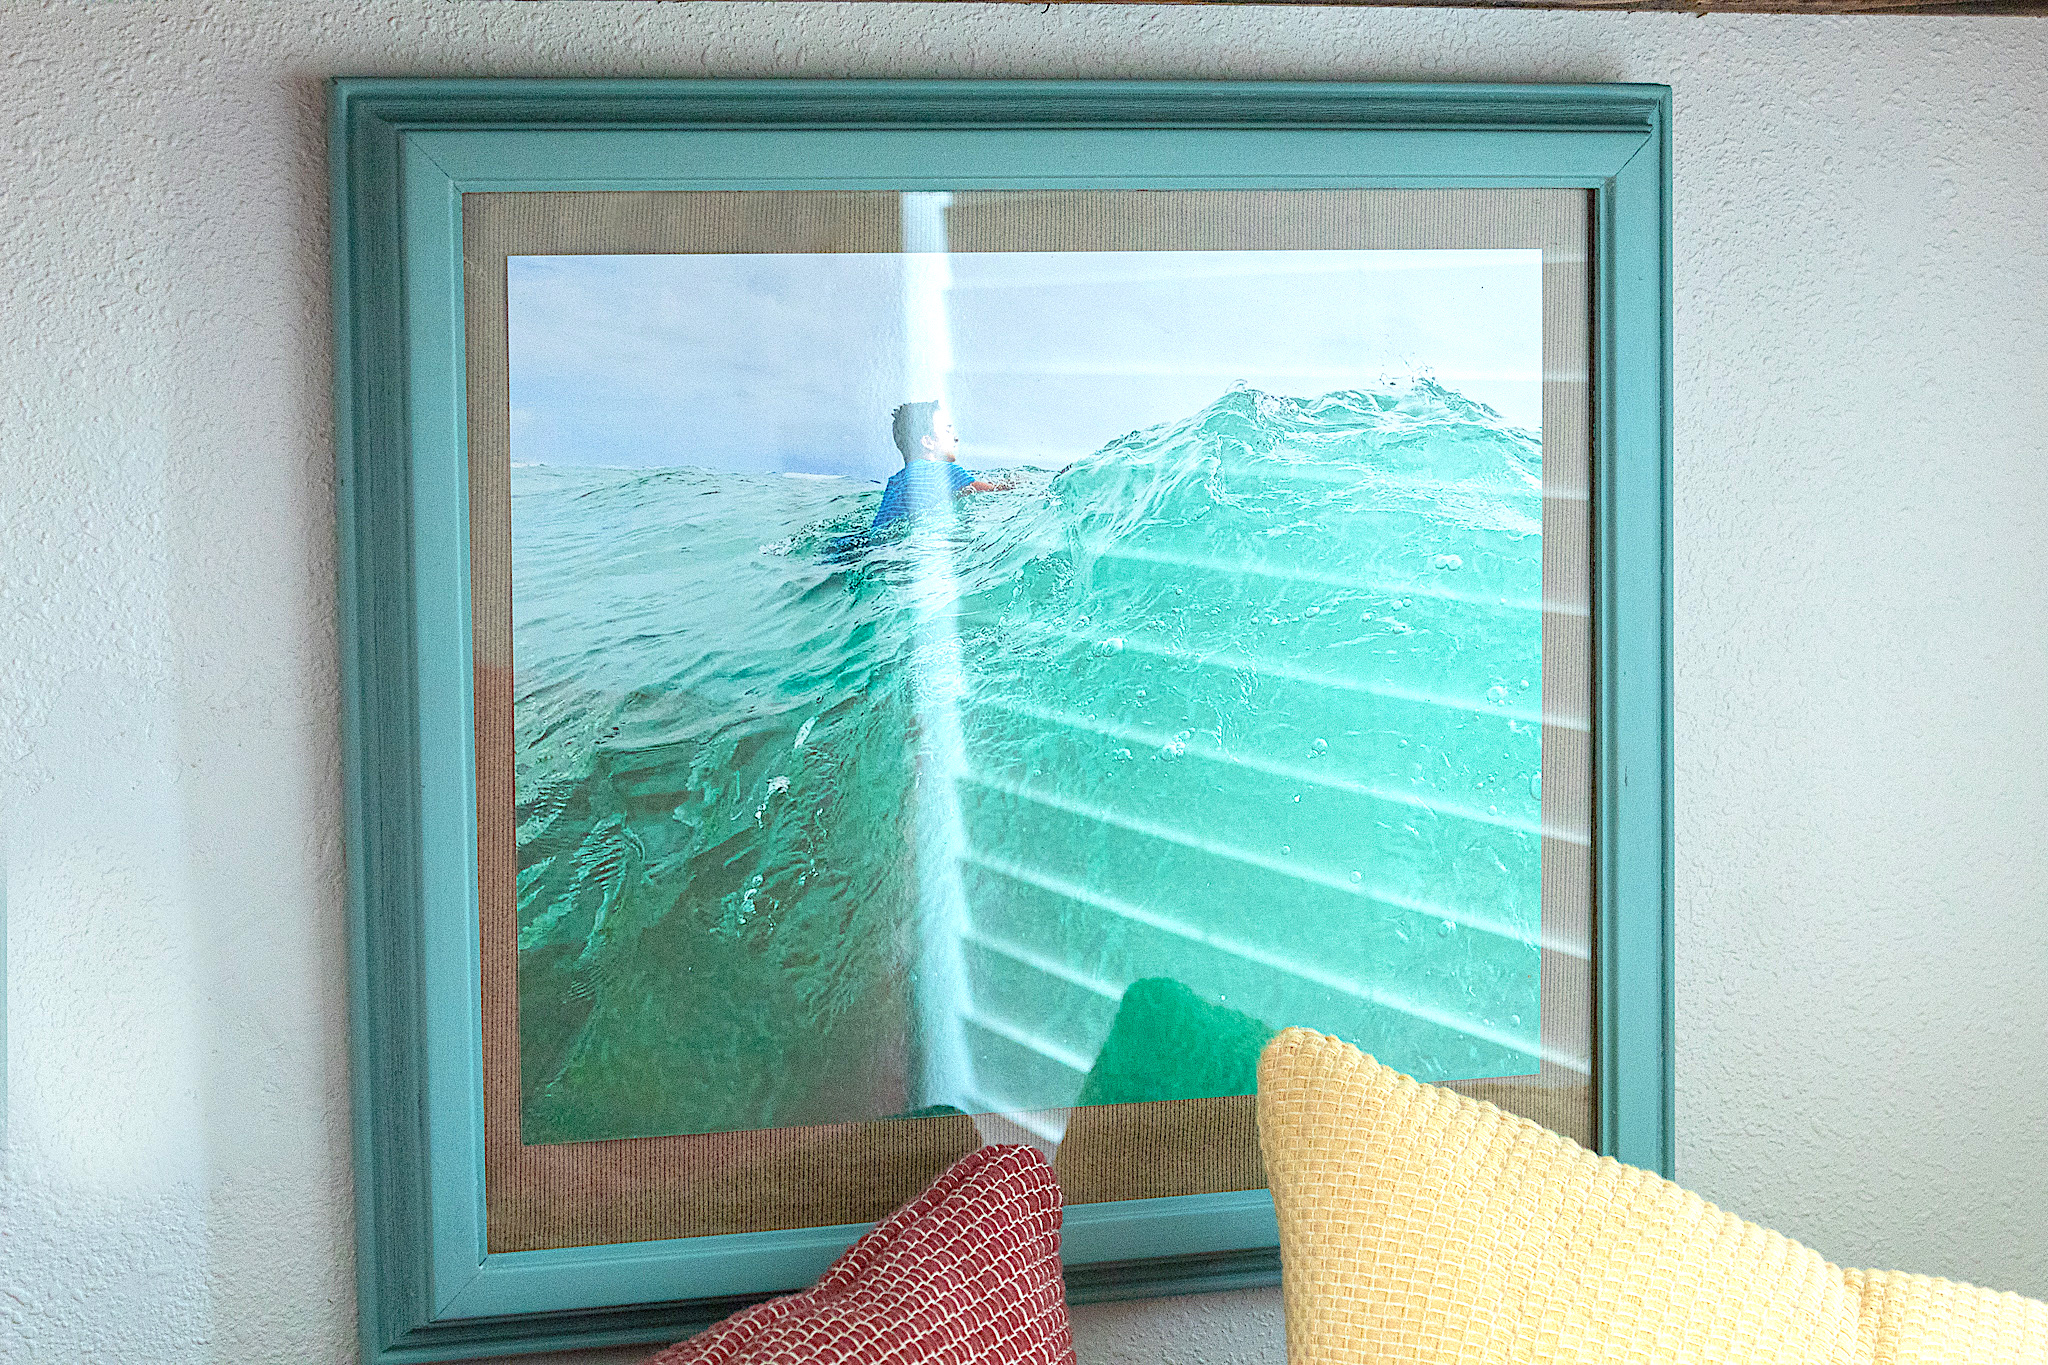
I cut the paper to the size of the glass and added tape to the back of my photo. Then, without touching the wrapping paper, I held the photo over the wrapping paper piece I cut. I positioned the photo centered on the paper and pressed down onto the paper. Make sure if you have a pattern or finish on the wrapping paper that it faces up. I kept the cardboard backing to support the wrapping paper and photograph. For my final step, I inserted the paper and sealed the frame. And that is it for this SUPER easy tutorial!
You can have fun with the paint color and decorative paper mat. I hope you enjoyed this tutorial and stay connected by subscribing so you never miss a post!