Hello NIB family! I am beyond excited to share our newly renovated dining table with you! I just LOVE how it came out.
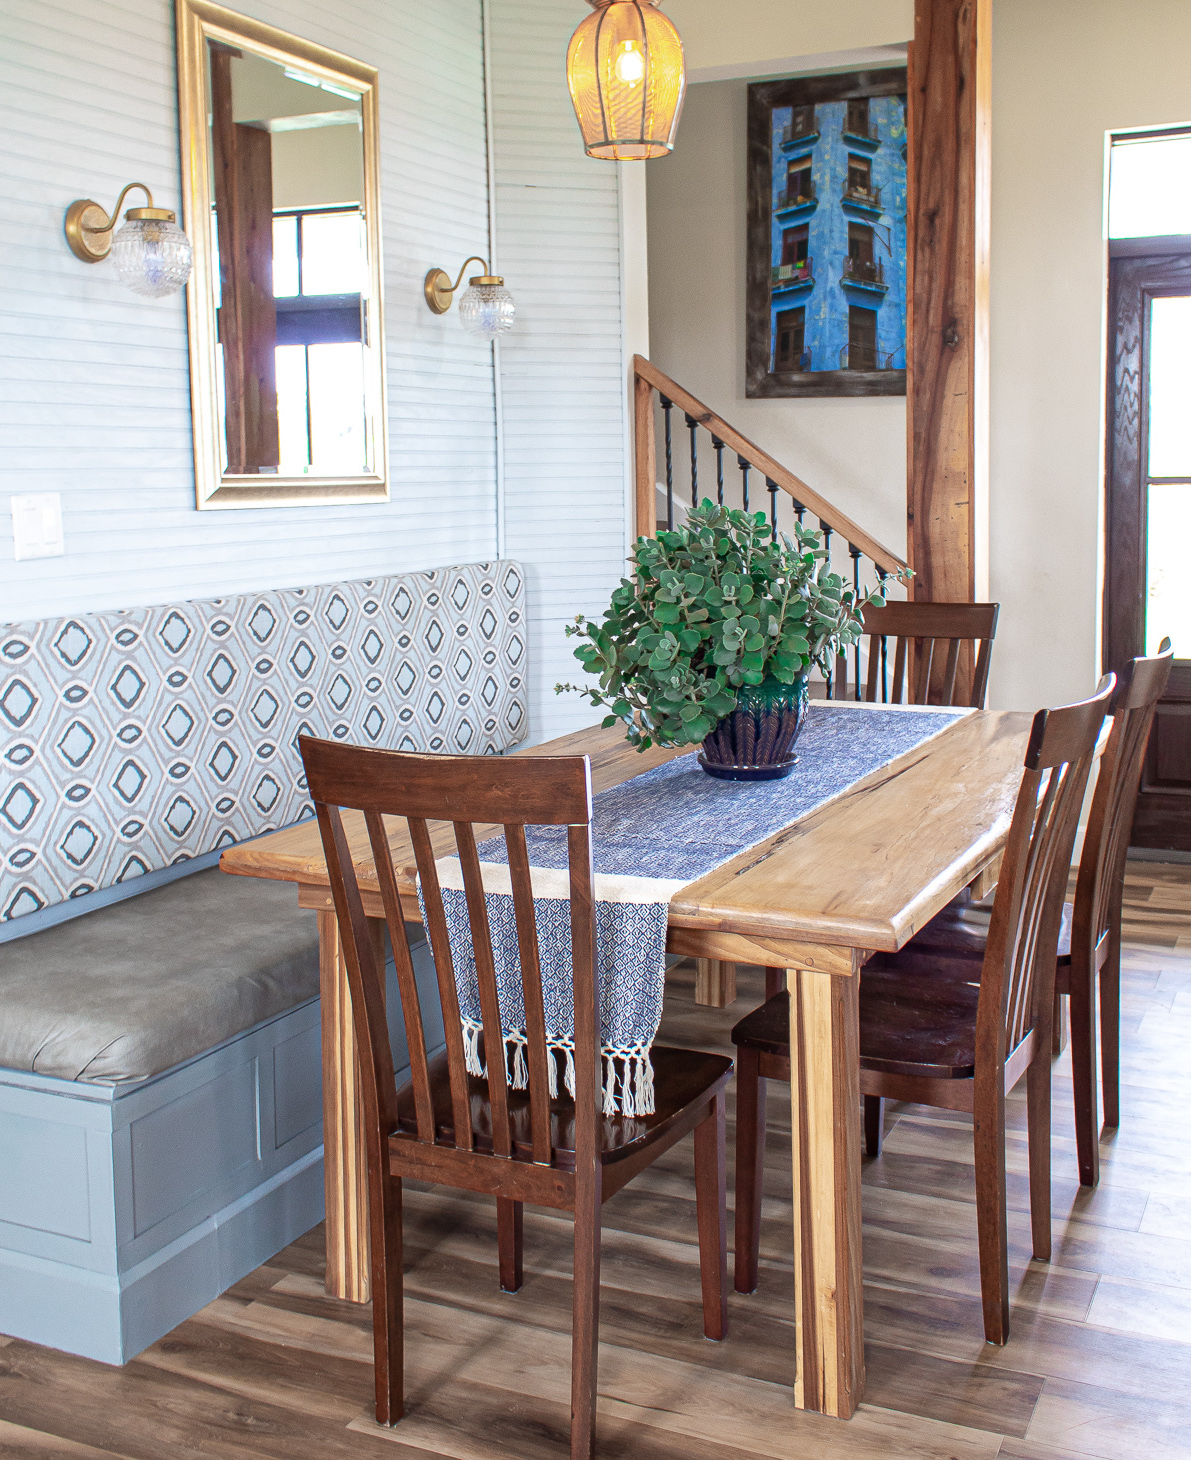
Our dining table is one of my most treasured furniture pieces in our home. When we built our house, we had a local wood worker build this table for our family of 6. My only requirement was that the wood be rich in natural character—and boy did he deliver. The gorgeous grain and details are something I admire every day.
Disclosure: Some of the links provided are affiliate links. By purchasing through these links you are supporting this family blog and the work we do and there is NEVER any extra cost to you. If you would like to read our full disclosure, click HERE.
When we first got the table, I oiled the raw wood with Danish oil and sealed it with polyurethane. It was beautiful for about a year but then it started to yellow. Take a look.
It had also seen its fair share of crayon marks and pencil stabbings.
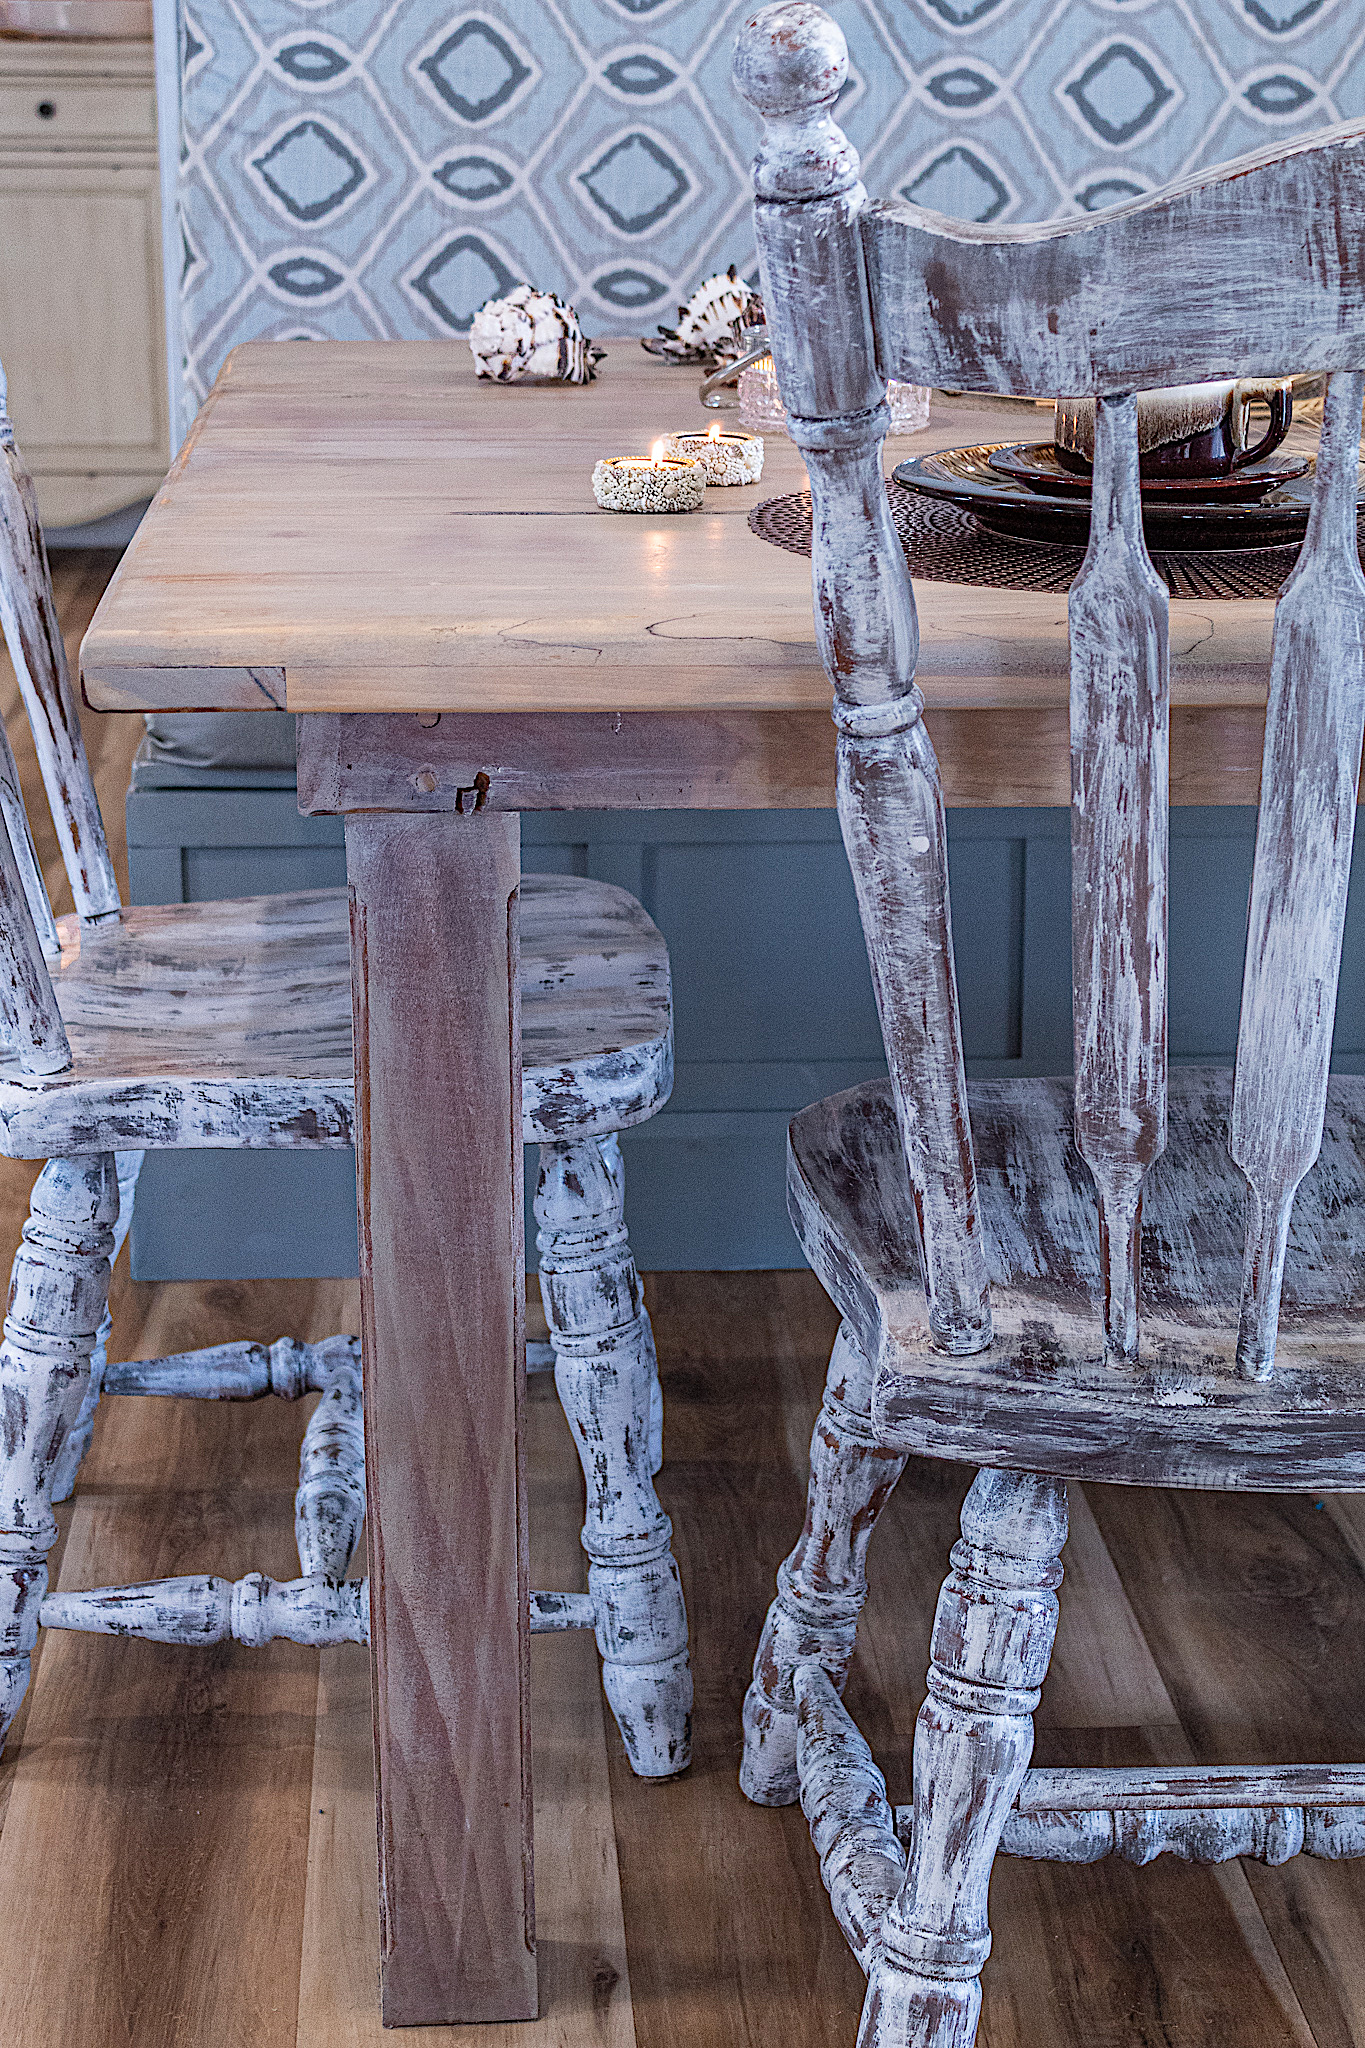
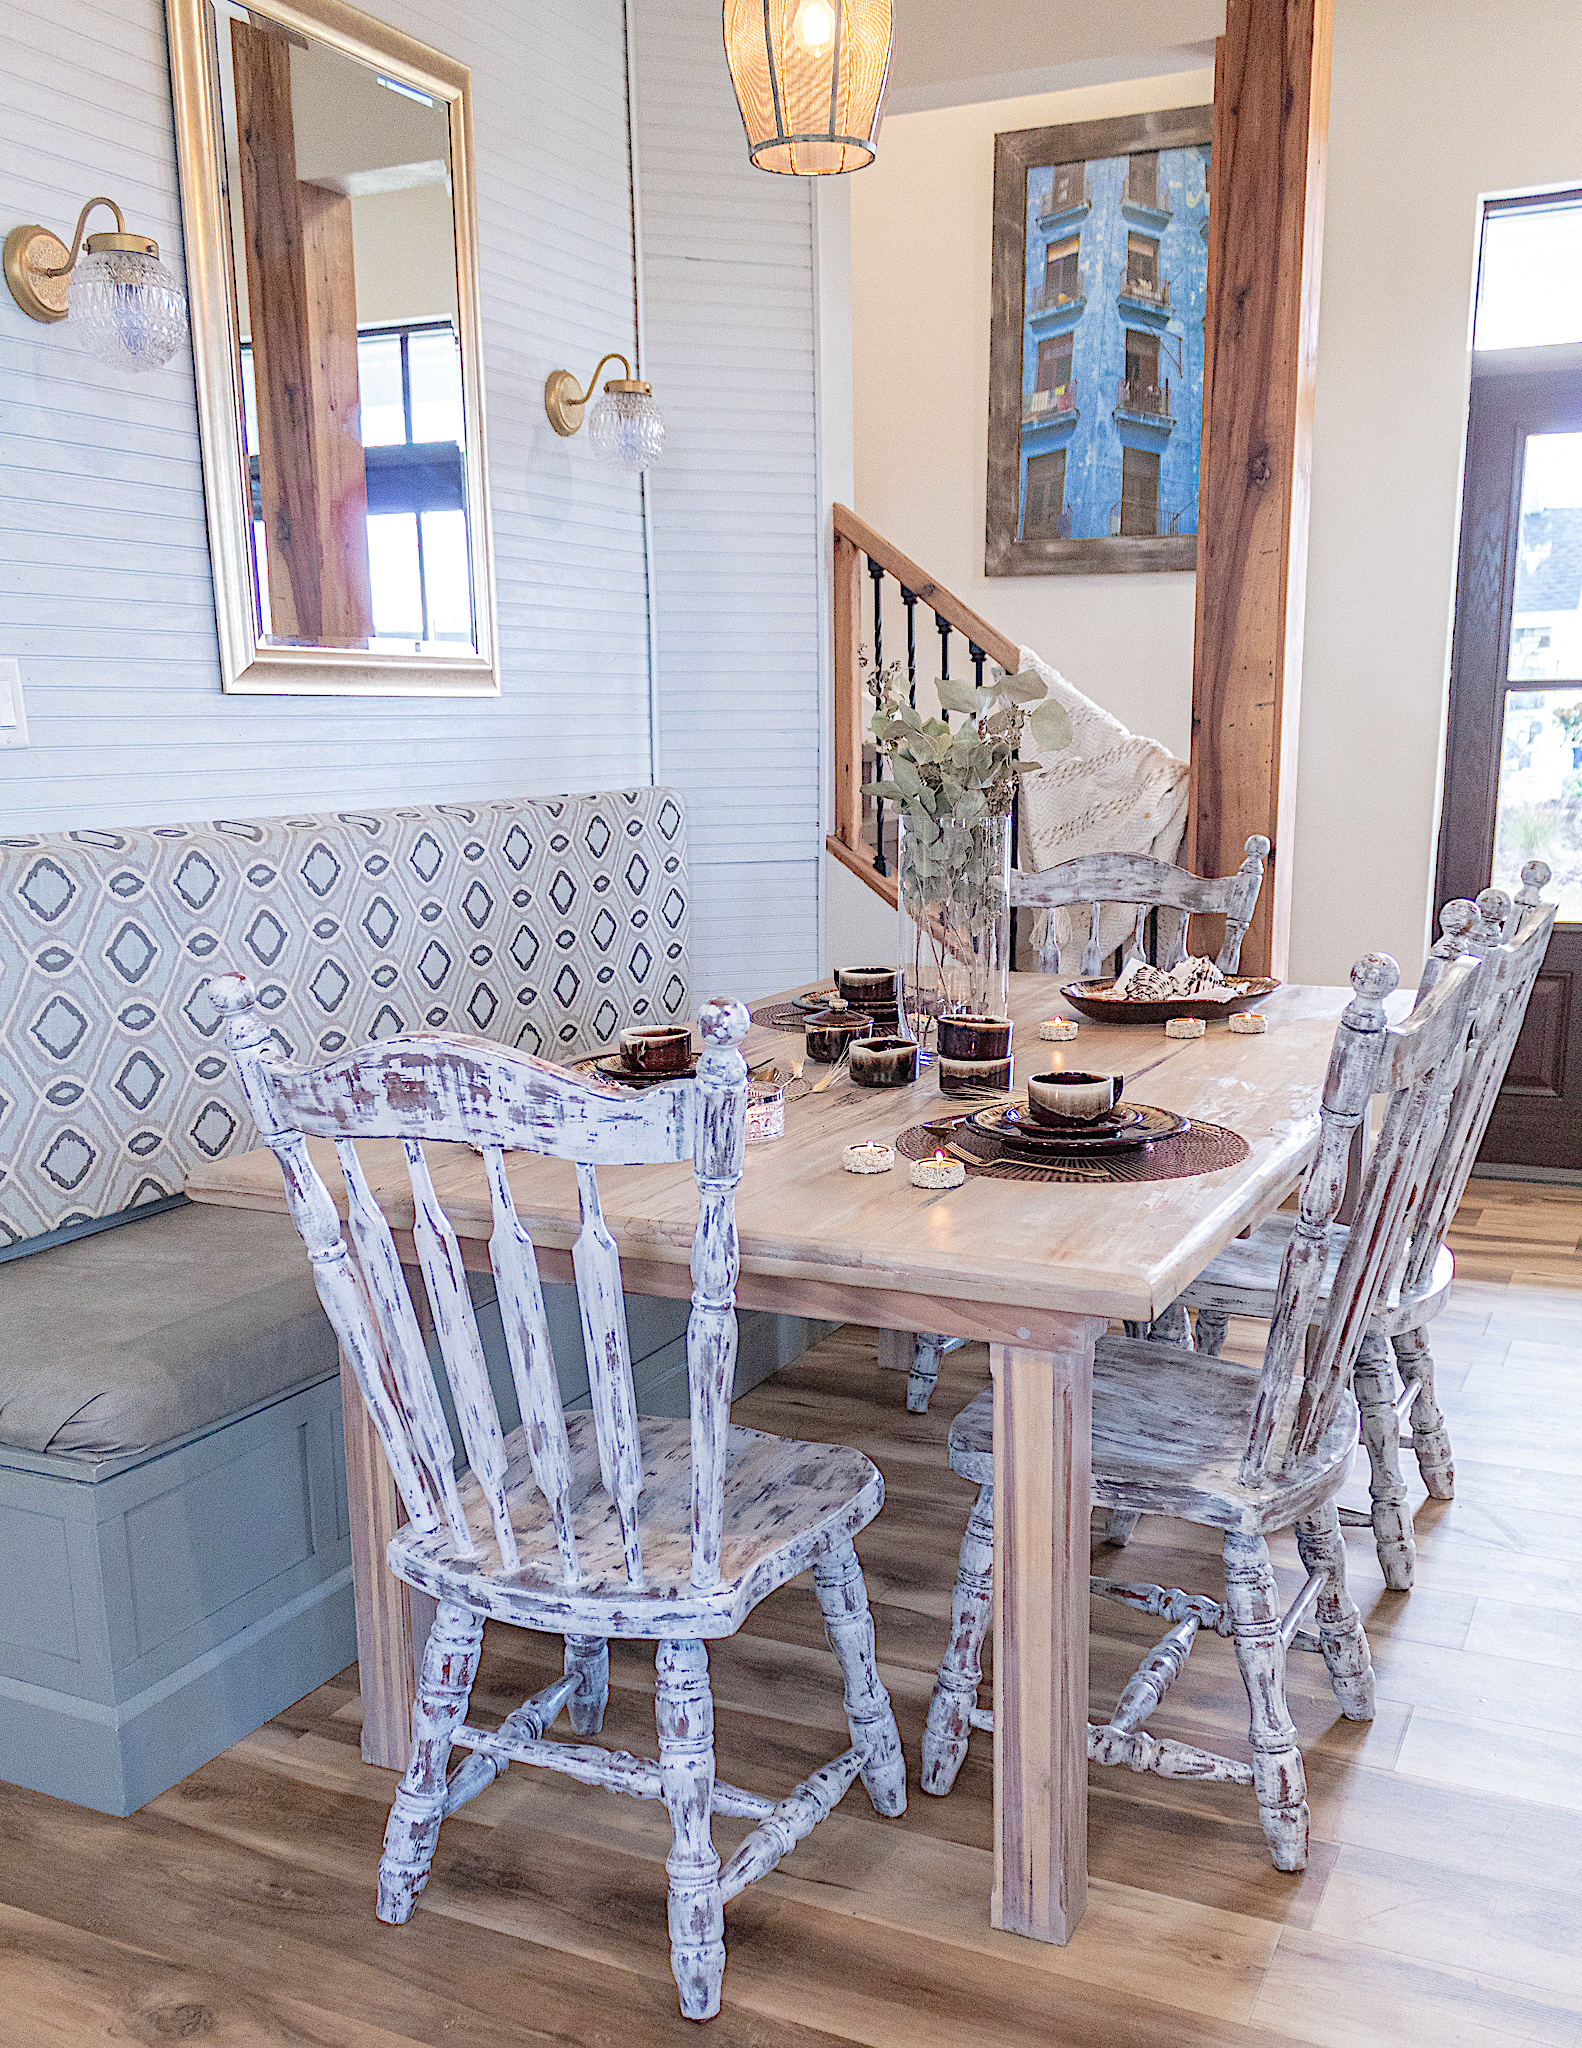
I had recently renovated our dining chairs with a chic vintage distressed look. To follow suit, I decided to give our table a subtle updo that would give off a French farmhouse vibe. Not wanting to lose the detail of the wood I would need to stain and not paint. Today I will show you how easy it was to refresh this table while preserving its natural beauty.
Anytime you want to stain wood you will need to remove any barriers to the raw wood. Be it paint, clear coat and in my case Danish oil. Although oil, like stain, seeps down into the wood when applied, I wanted to sand just enough to give the stain a chance to penetrate.
This is a relatively new table and I want it to last until hopefully the next generation of family members. Each time you sand a piece, you are in essence wearing down the wood structure. So I was careful not to overdo it. To remove the clear coat and the top yellow layer, I used 80 grit sand paper. Then I came back over everything with a 400 grit sandpaper to give the wood a baby soft finish. And here is what the table looked like after sanding. Already much better…
2. Staining
Prior to staining, I wiped down the sanded table with a damp rag to remove sanding debris. Afterwards I dried the surface with paper towels. I picked Varathane’s Sunbleached Stain for this project because I’ve used it before and thought it would work well for my French Farmhouse finish.
Stain results may vary depending on the type of wood you are working with. But I had a feeling this stain would create a light and soothing aesthetic on the white wood of the table.
This stain leans a bit gray. This was okay for me. In fact, to counteract any remaining yellow in the wood, I decided to tint the Sunbleached stain with some Briarsmoke stain to add an even deeper level of greige. You can always play with stains to create some pretty color combinations. I would suggest testing your mix on a sample piece before applying it to your project.
I used paper towels to apply my stain. Some may prefer to use a foam brush or paint brush to apply stain to ensure an even finish. I like using paper towels because I can control my stain.
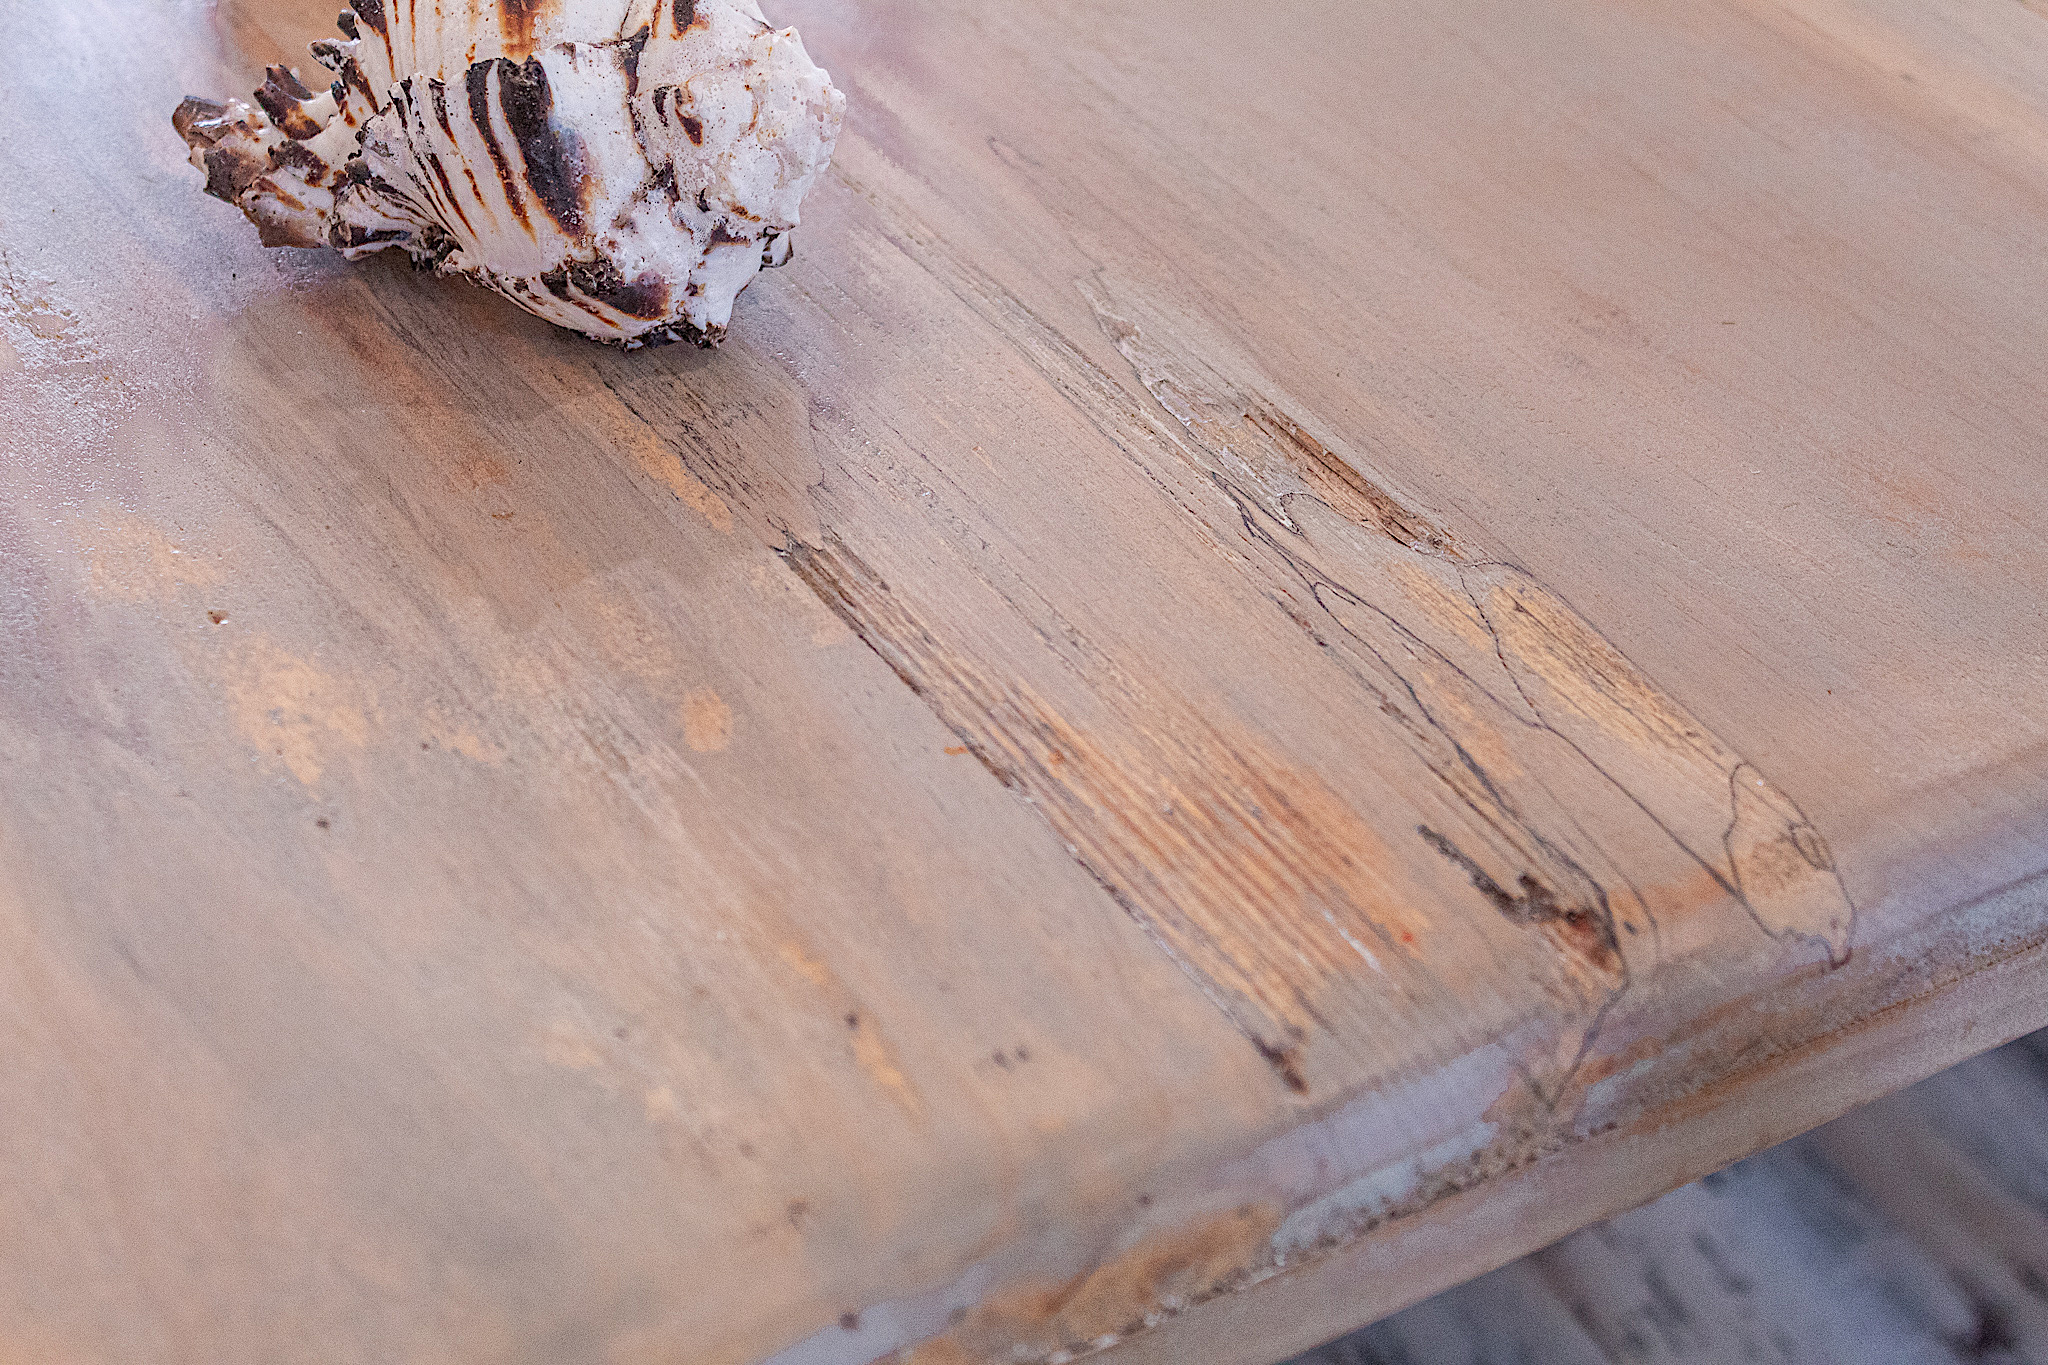
For this look I wiped some stain on and then I would wipe it back to thin out the finish. My goal was to slightly tint the wood with gray, while keeping some warm undertones visible, and of course, to preserve the wood grain look. I also wasn’t worried about a blotchy finish. The waxing step helps even everything out and a little unevenness with this look is okay.
3. Wax
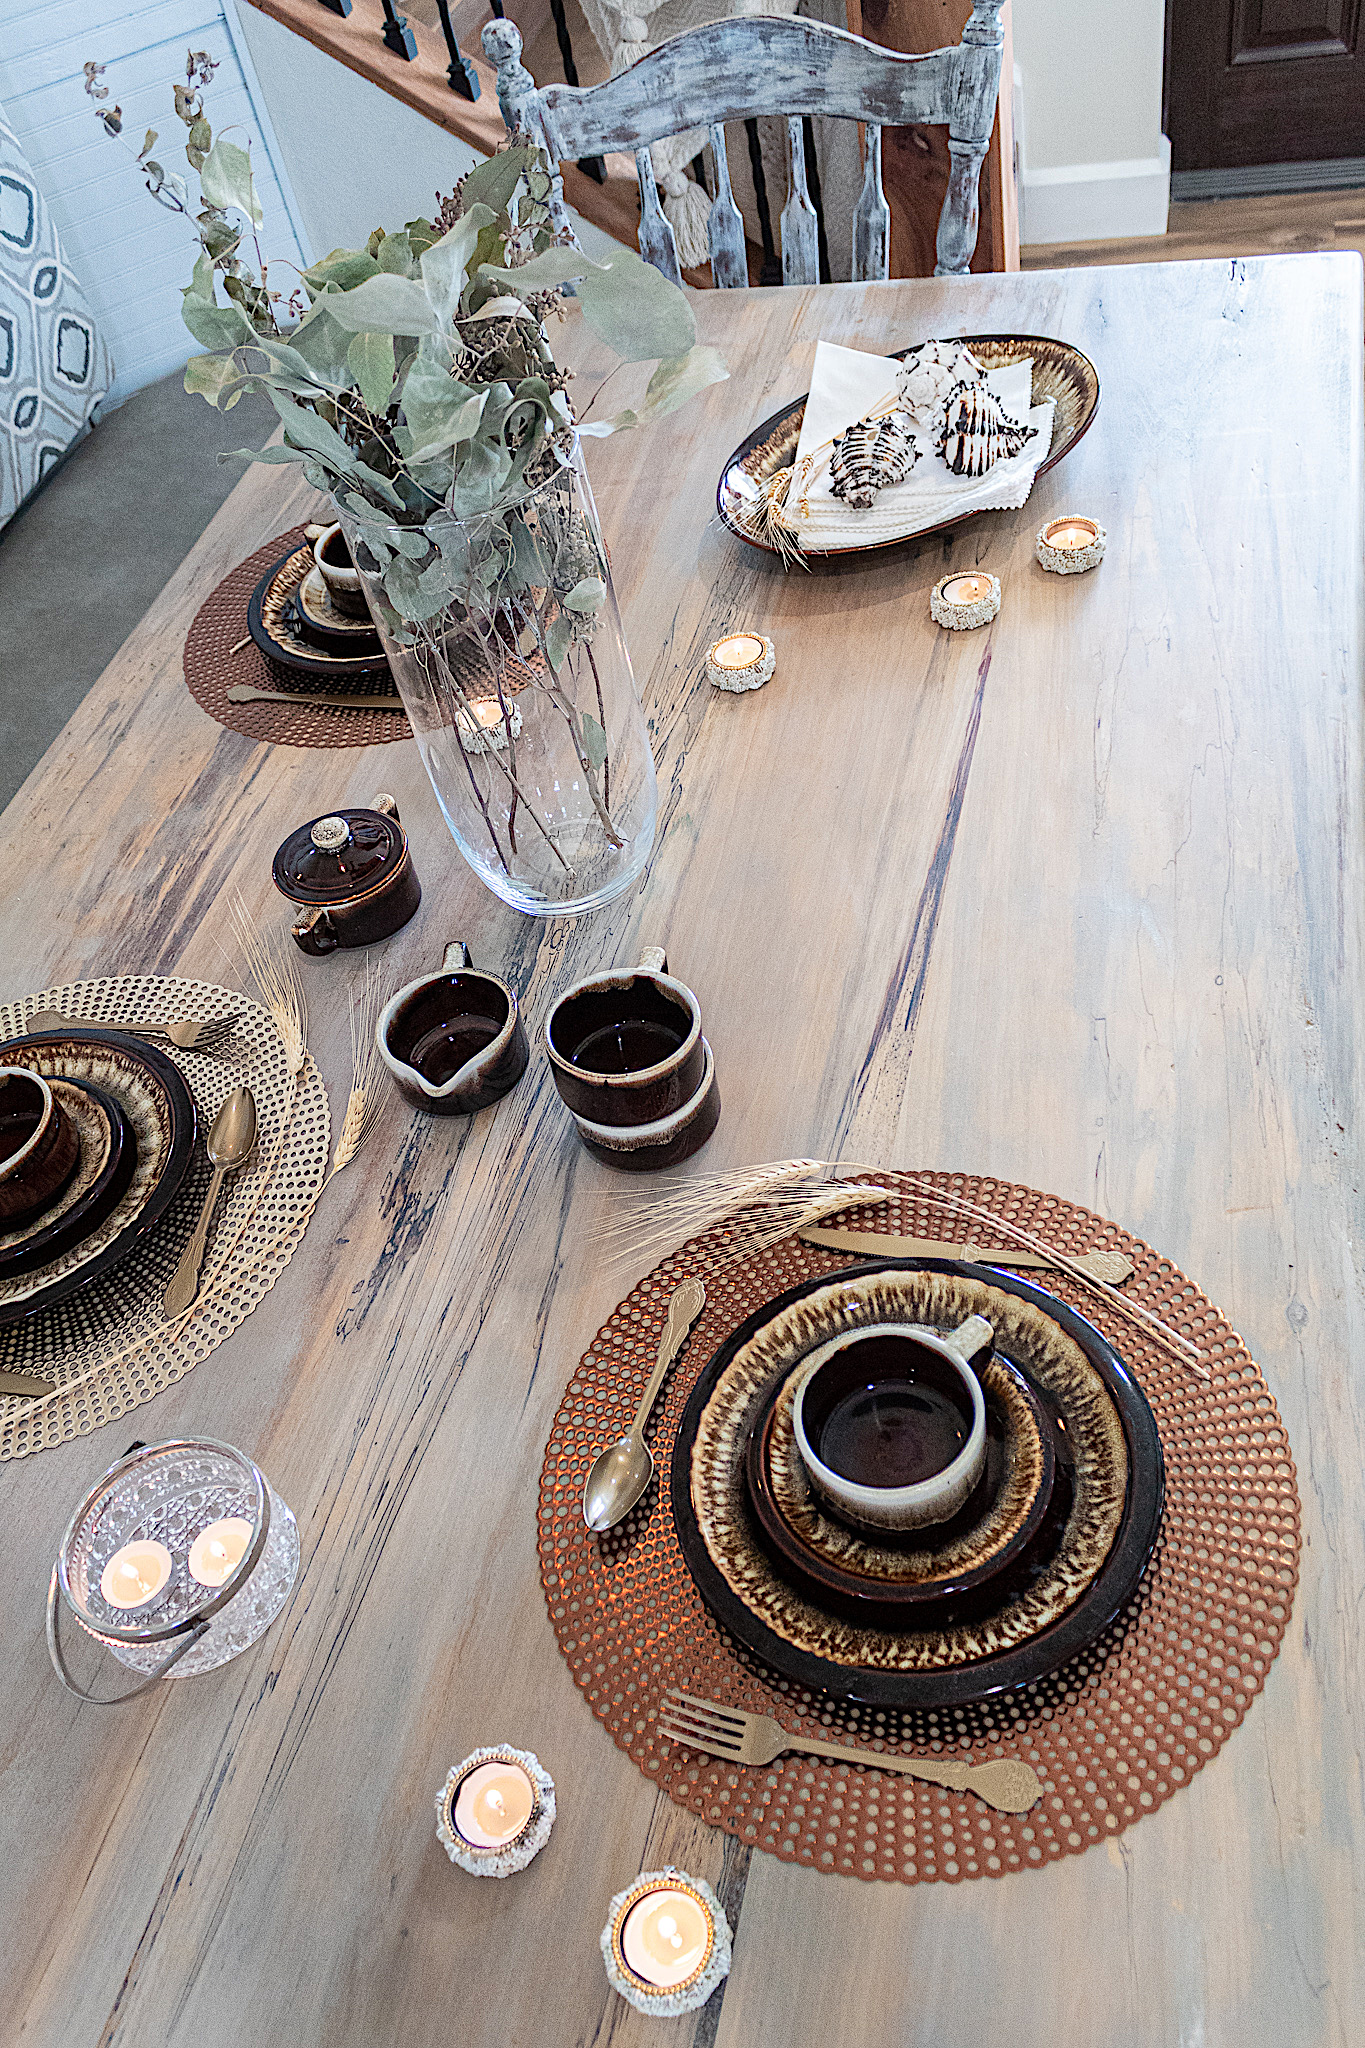
I envisioned the look of a table in the French countryside to be soft and natural, yet of simple character and somewhat aged. Leaving some of the warm wood parts exposed would create character in contrast to the stain. That’s why I mentioned a little blotchy because it helps create depth and contrast to achieve character and an aged appearance. Once my stain was dry, I applied a coat of white liming wax by rubbing it on with a paper towel. The wax slightly whitens the aesthetic and pulls out more character from the wood and details. It helps create a rich finish.
I gave the wax a day to dry and then I applied my clear coat (3 coats on the top for a protective finish). These are tips I find helpful in applying polyurethane: •Use a foam brush to avoid bubbles in your finish. •Apply in long strokes in the direction of your grain. In the case of this table, I started at one end of its length and ran strokes to the opposite end. •Wet your brush a couple times during long strokes. Clear coat dries fast and you don’t want to dry stroke as it will leave blotchy marks. •Don’t over wet your brush. You don’t want to create puddles that don’t dry evenly. •Work in a room where you avoid lots of airborne particles. I try not to apply outside so that I don’t get fuzzies and debris in my finish. •Try to work fast because of the quick dry time. ••Most important•• Once you brush on a stroke and it has been about 30 seconds or longer, DO NOT go back over it. Otherwise it can create a lighter color of poly in your finish. If you missed a spot, wait the recommended drying time and then add another coat.
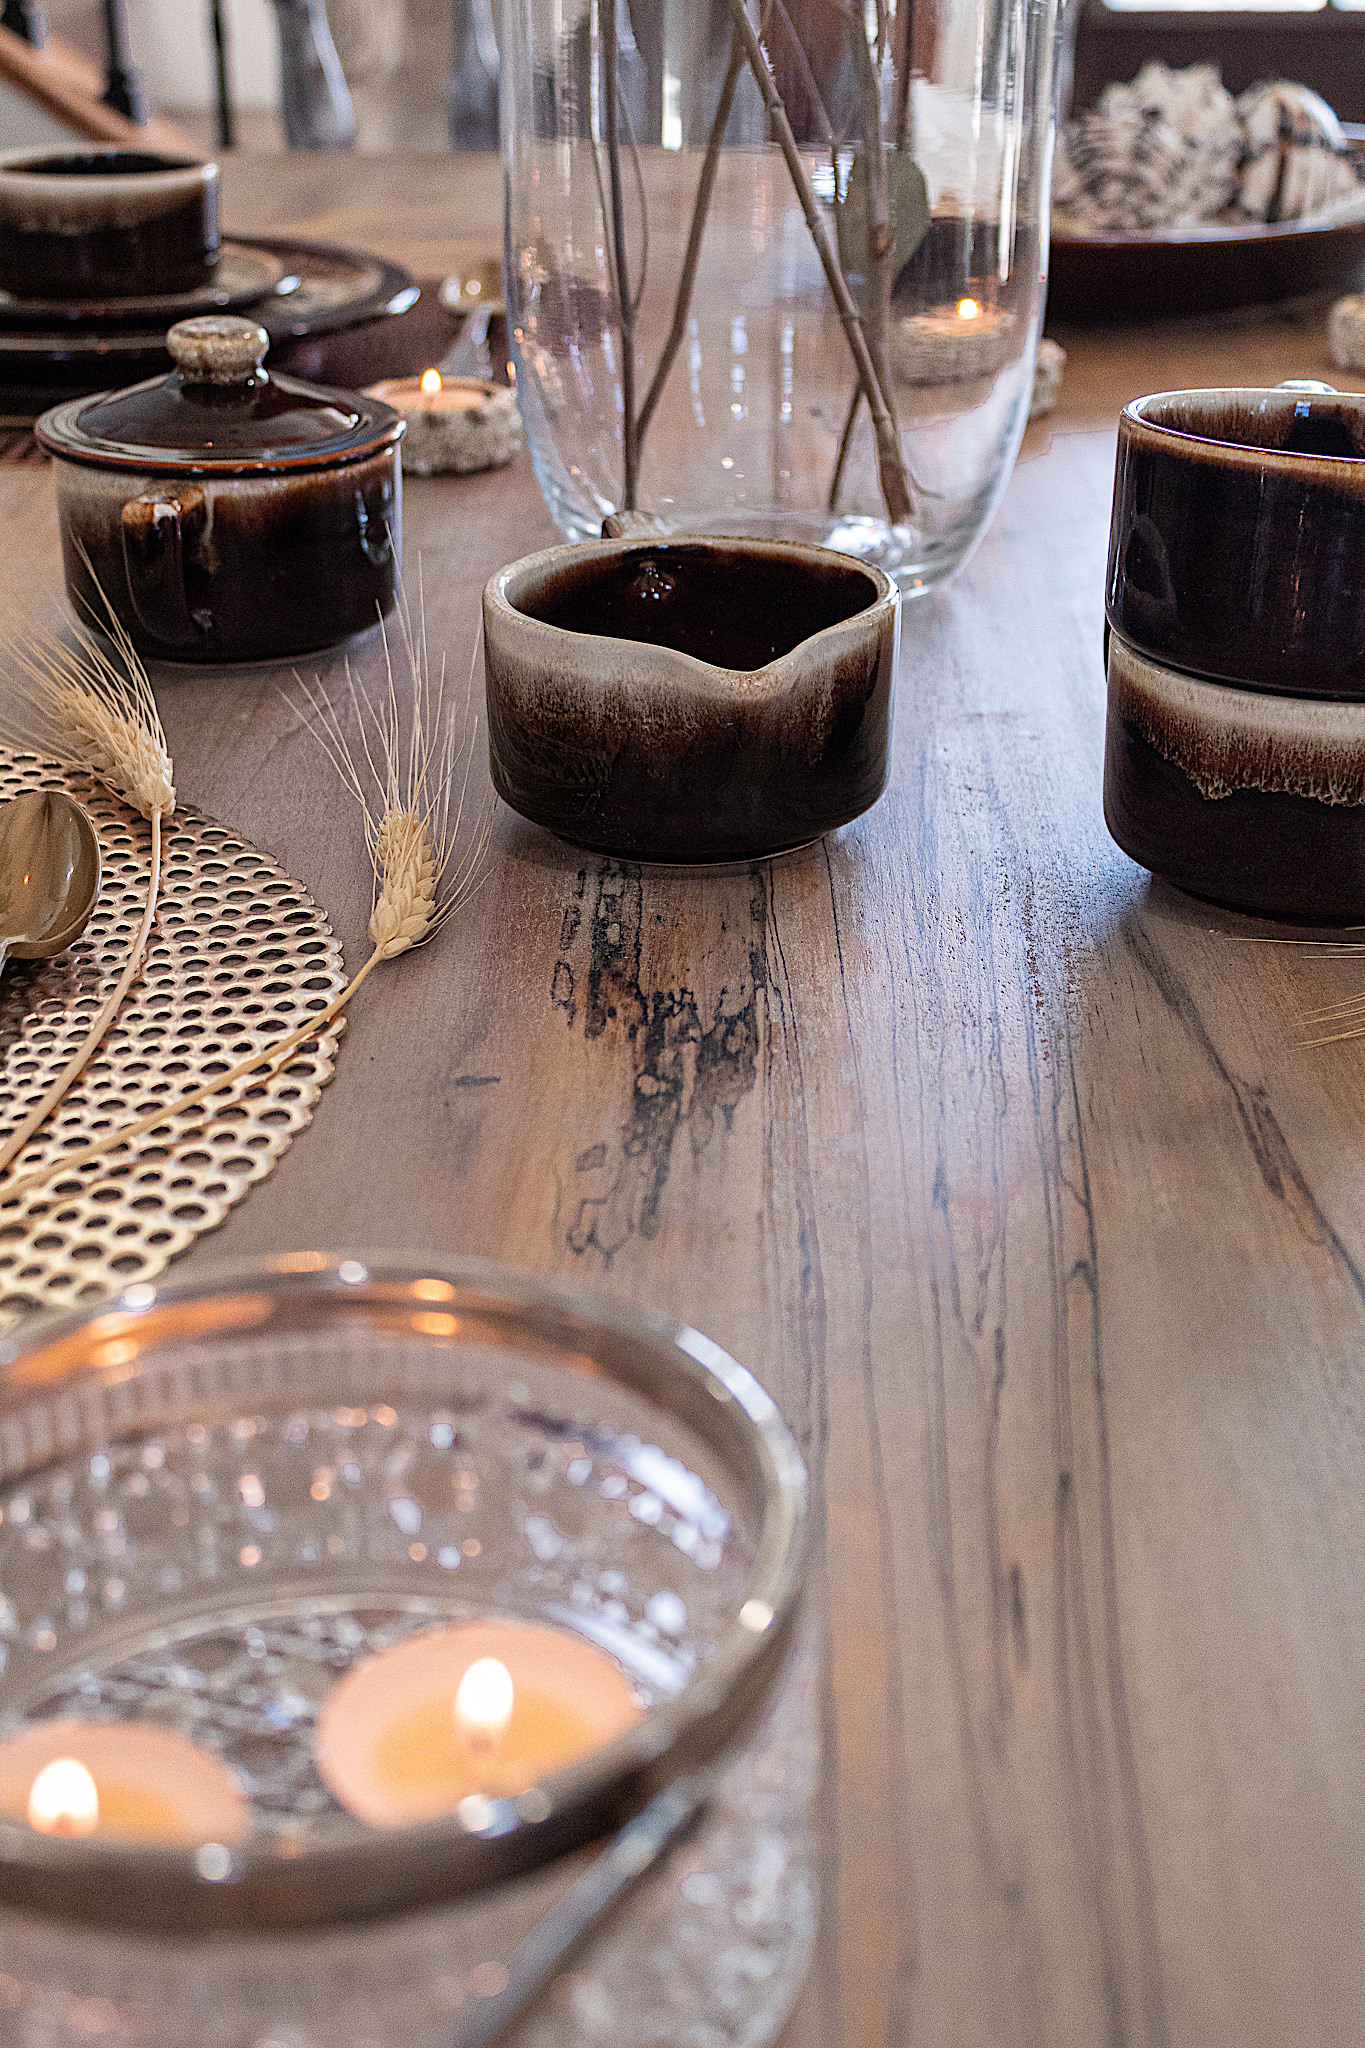
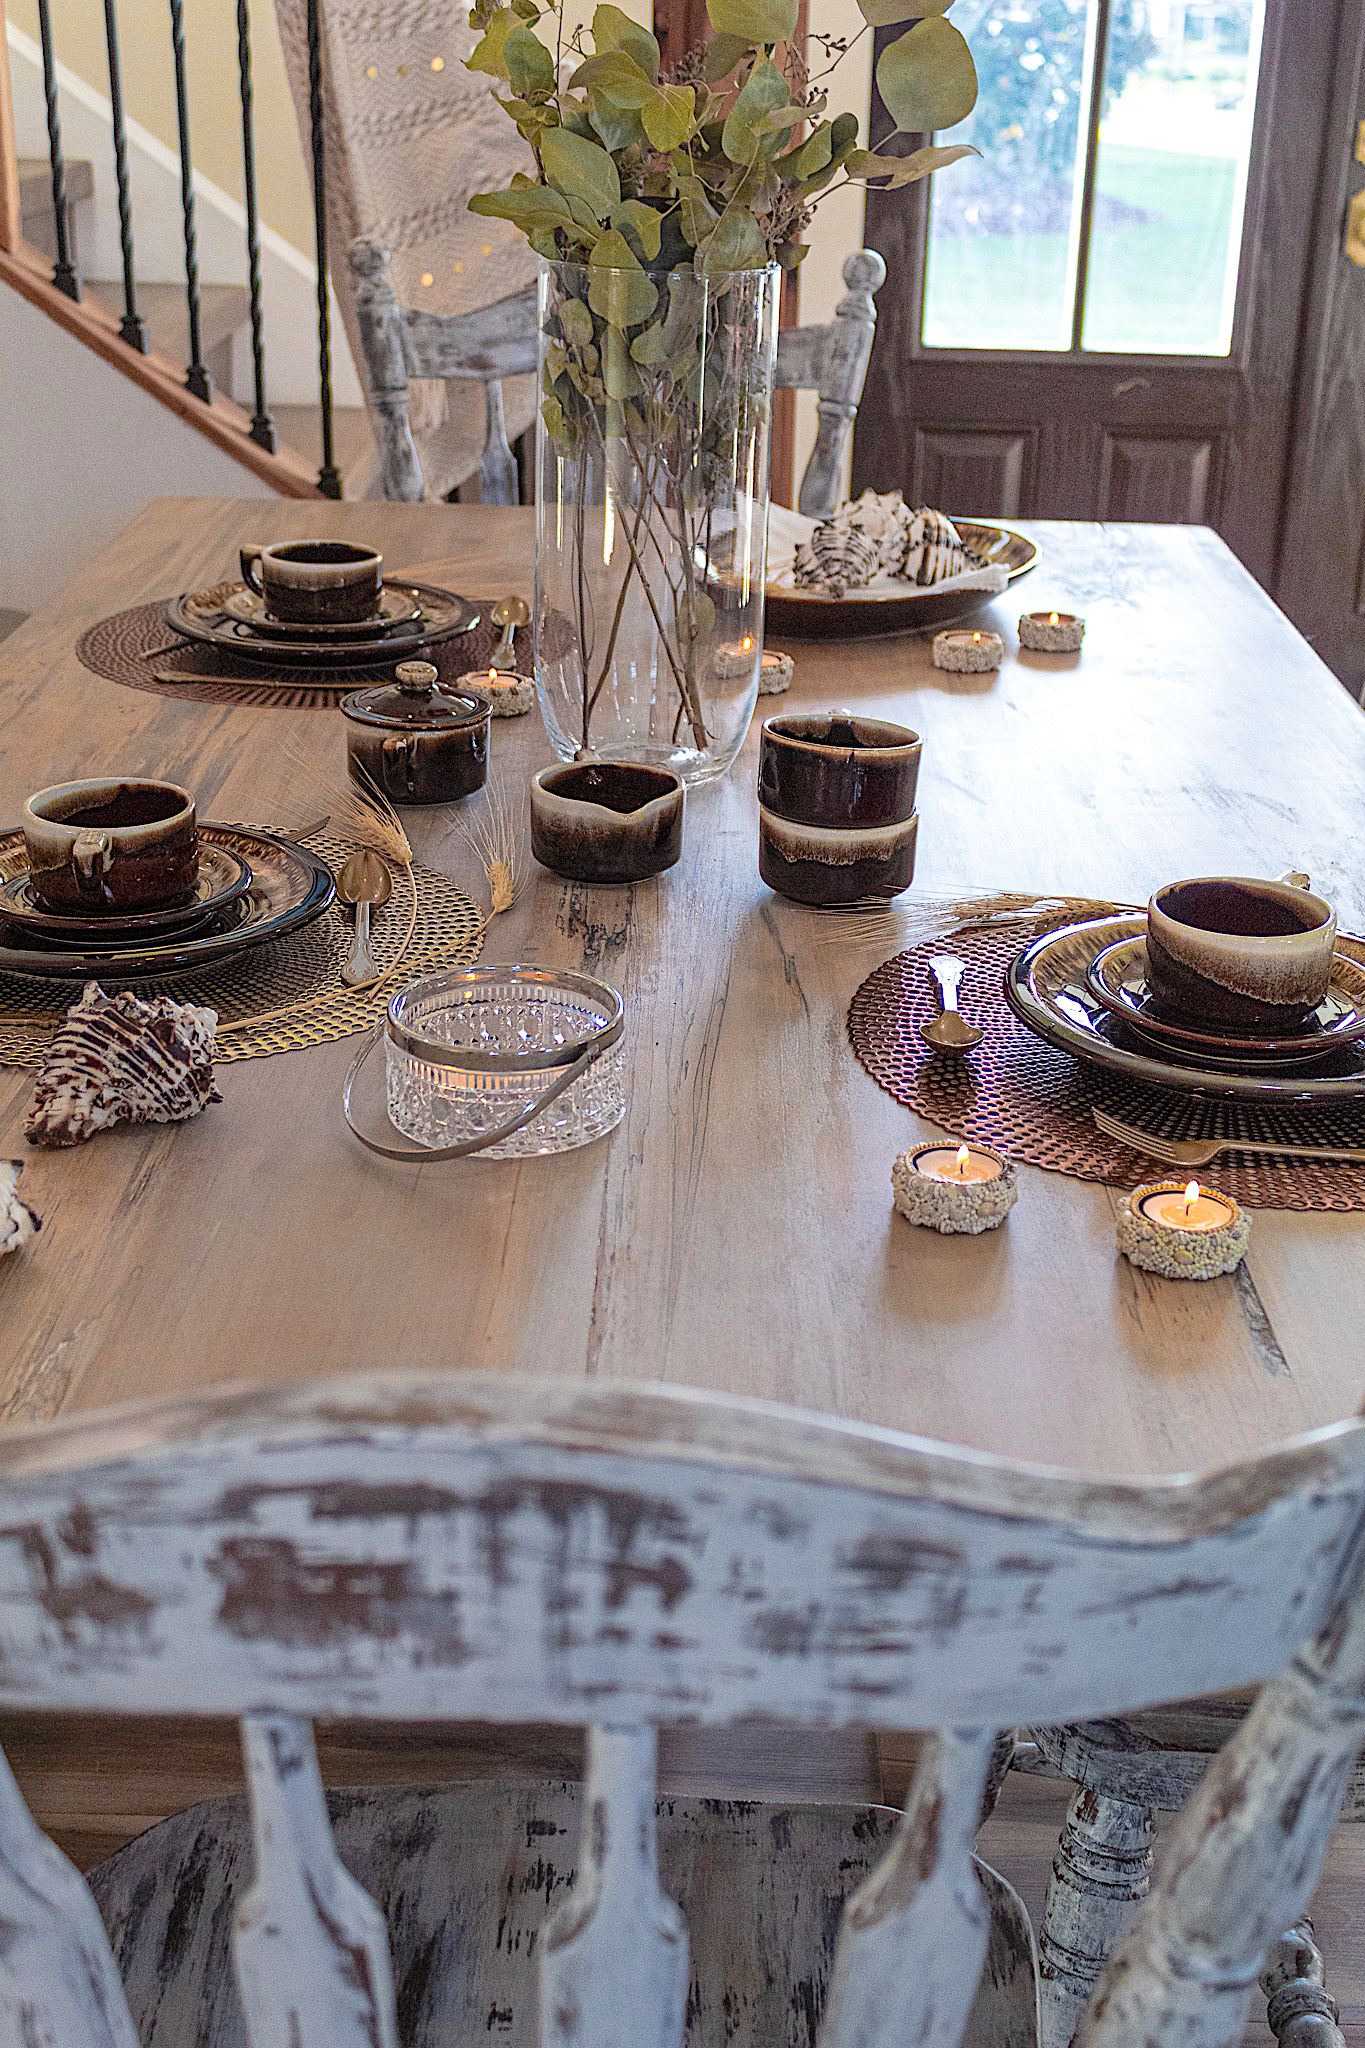
This was a subtle change for the table but sometimes all you need is a slight change to create a whole new look. The hazy grayish-white finish of the table, combined with the distressed chairs transformed the entire look and feel of our dining nook. Take a look at the before and after
A short video demo of the makeover
What did you think of this makeover? Isn’t it lovely? I also love that there was no painting involved and it was a rather simple process. I’ll be posting more exciting tutorials! Be sure to subscribe to stay informed.