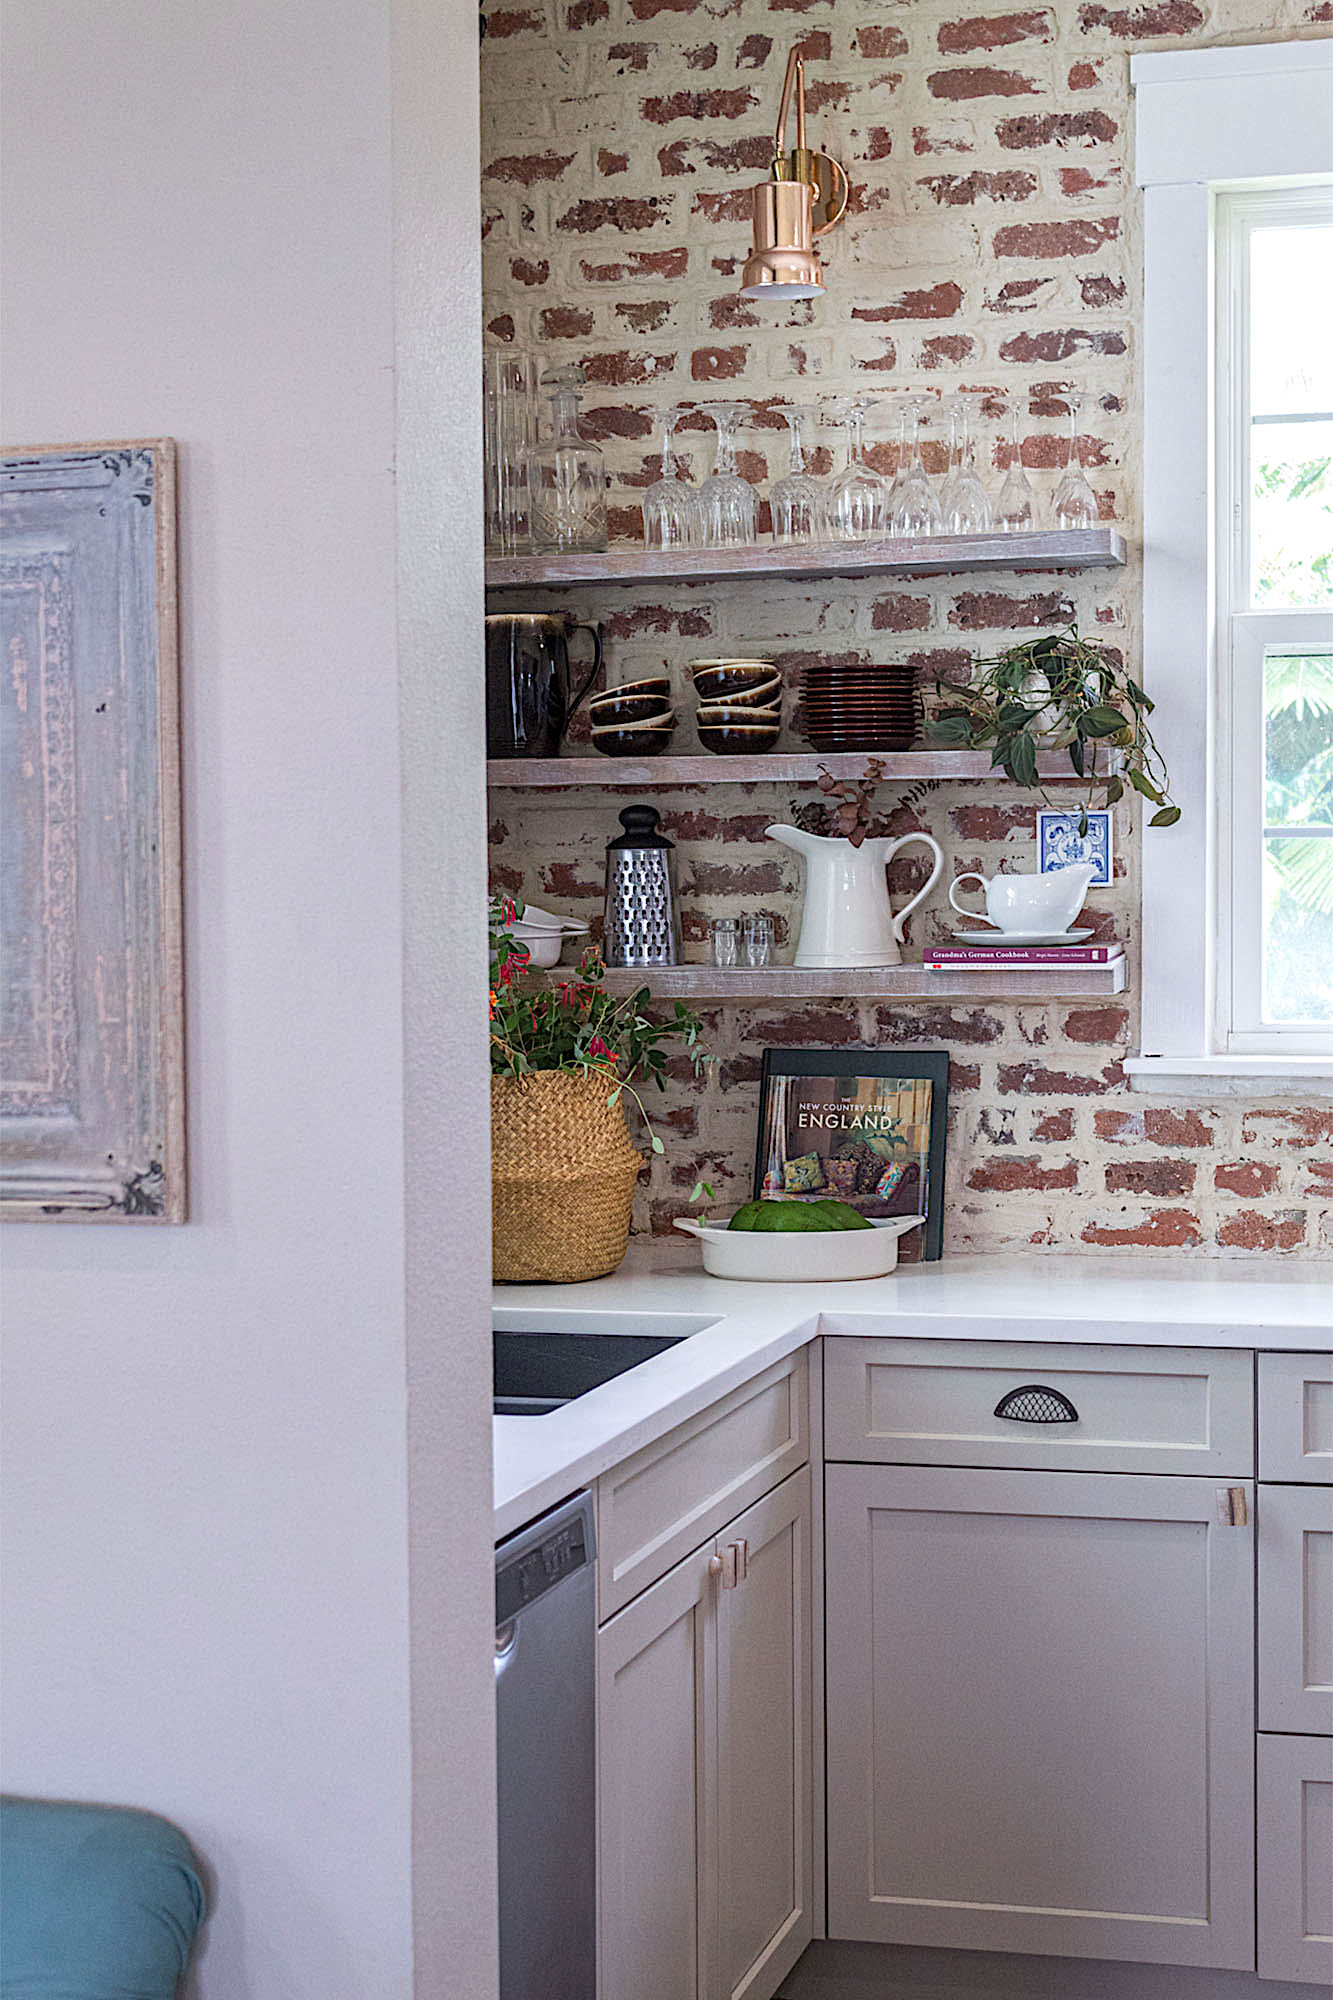
French and English Country styles are probably my top favorite design styles. The natural simplicity. The rustic elegance. The alluring beauty. I enjoy recreating the style in my home whenever I can.
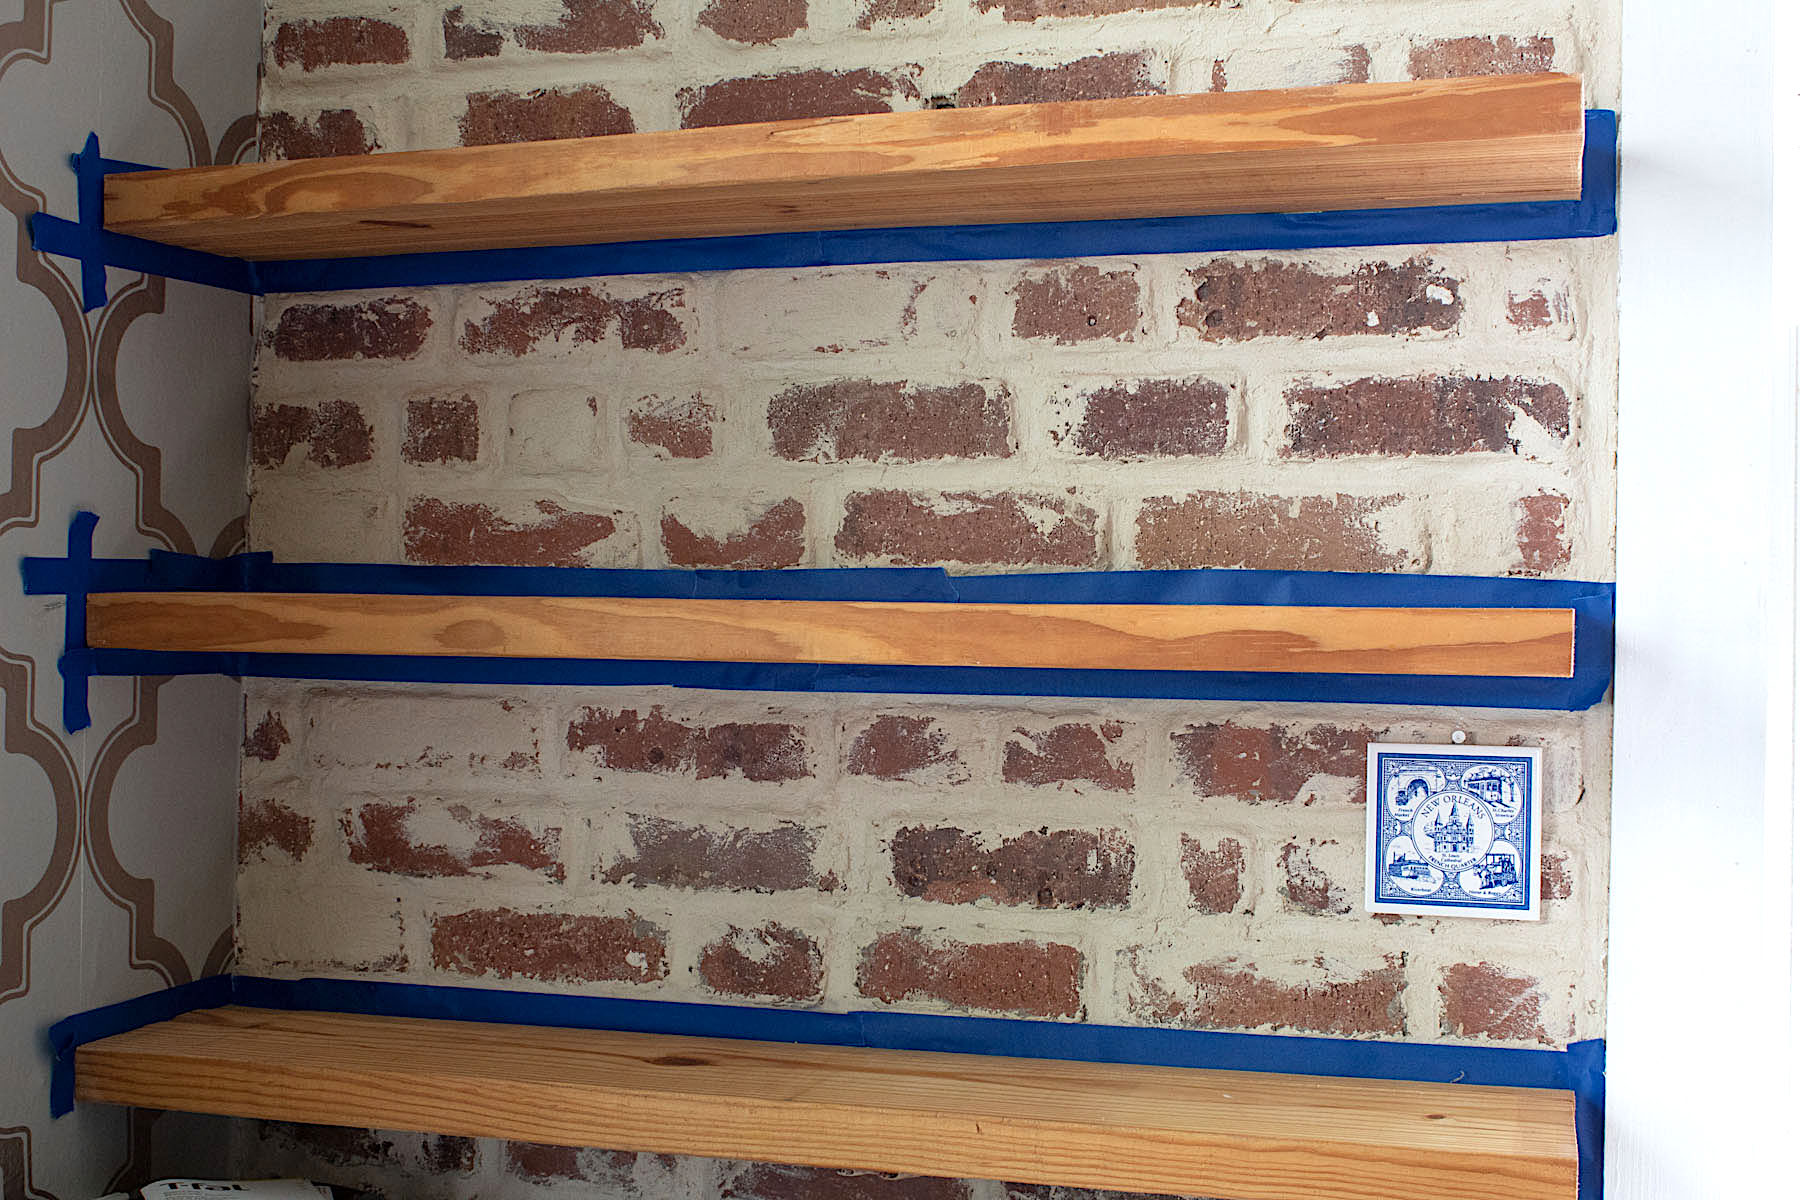
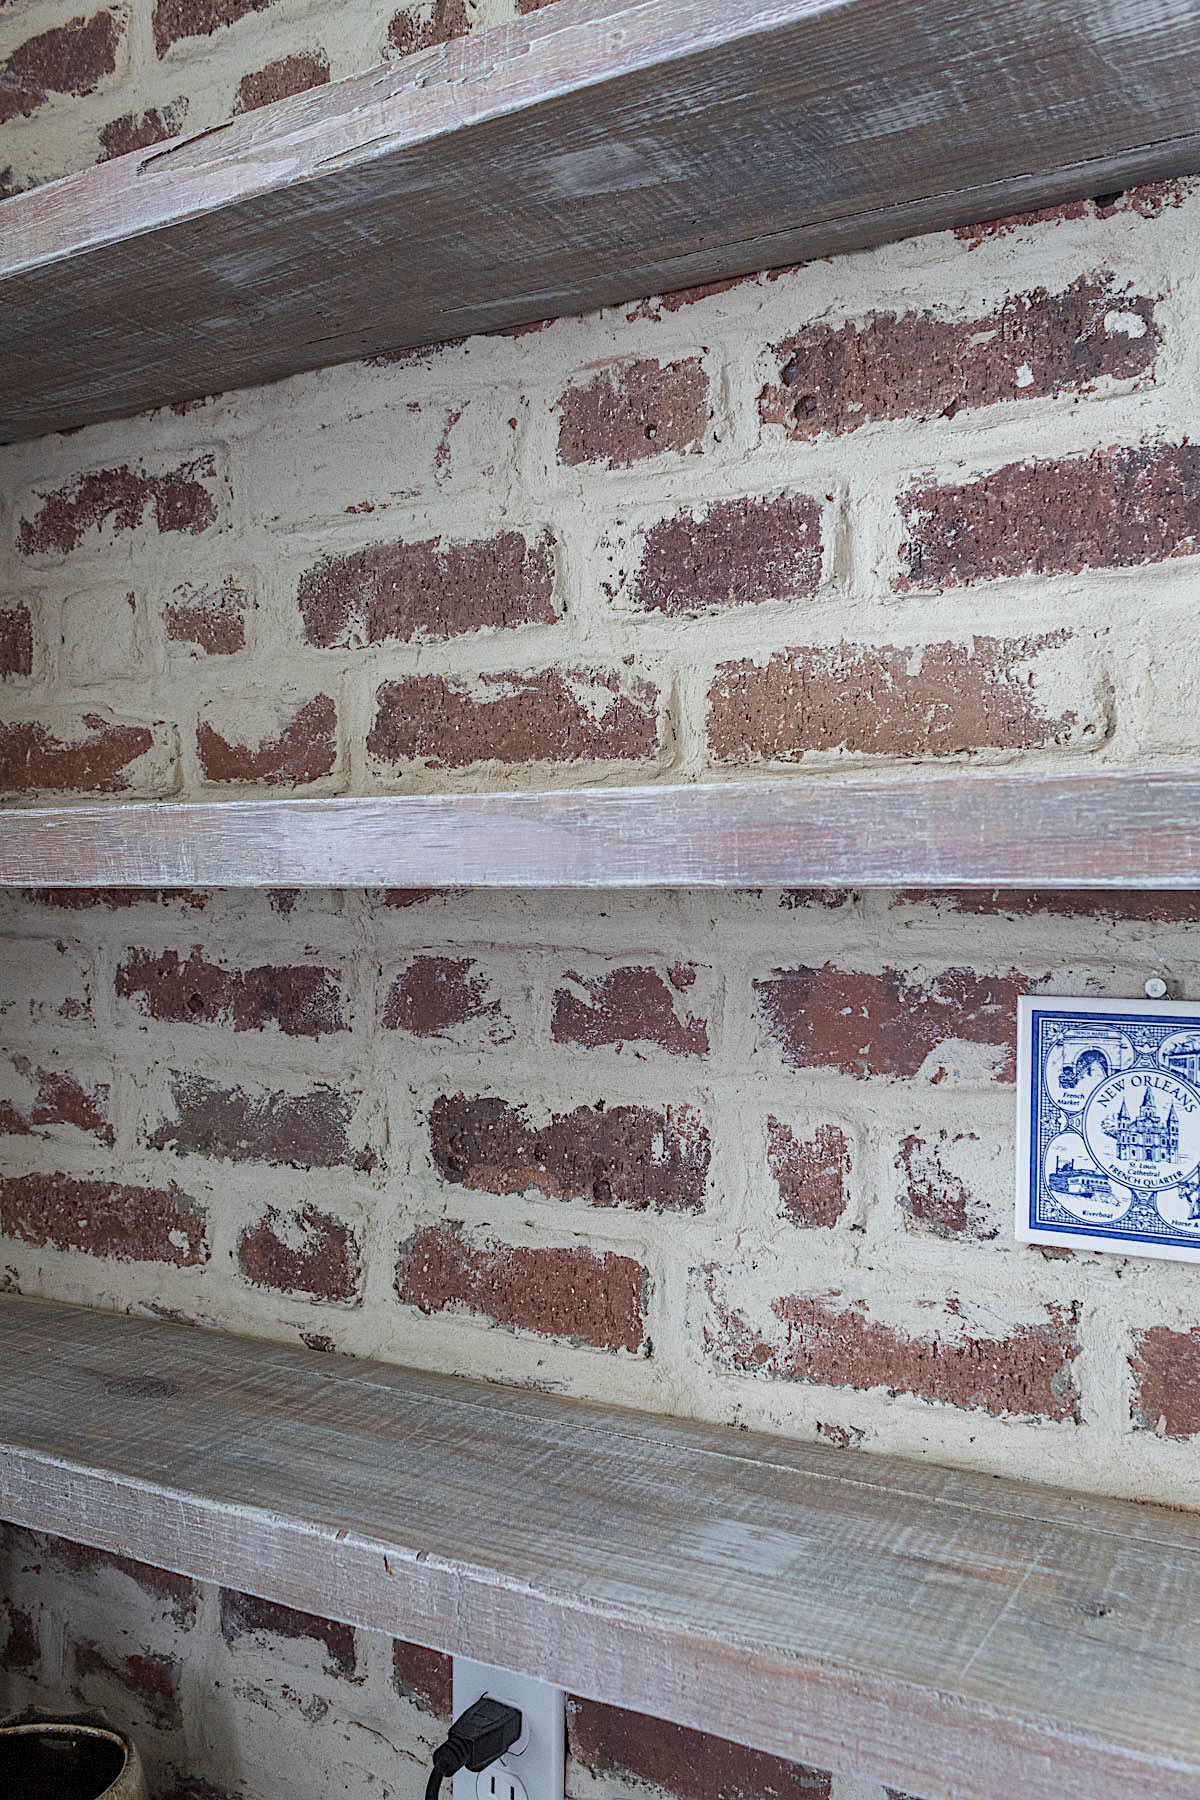
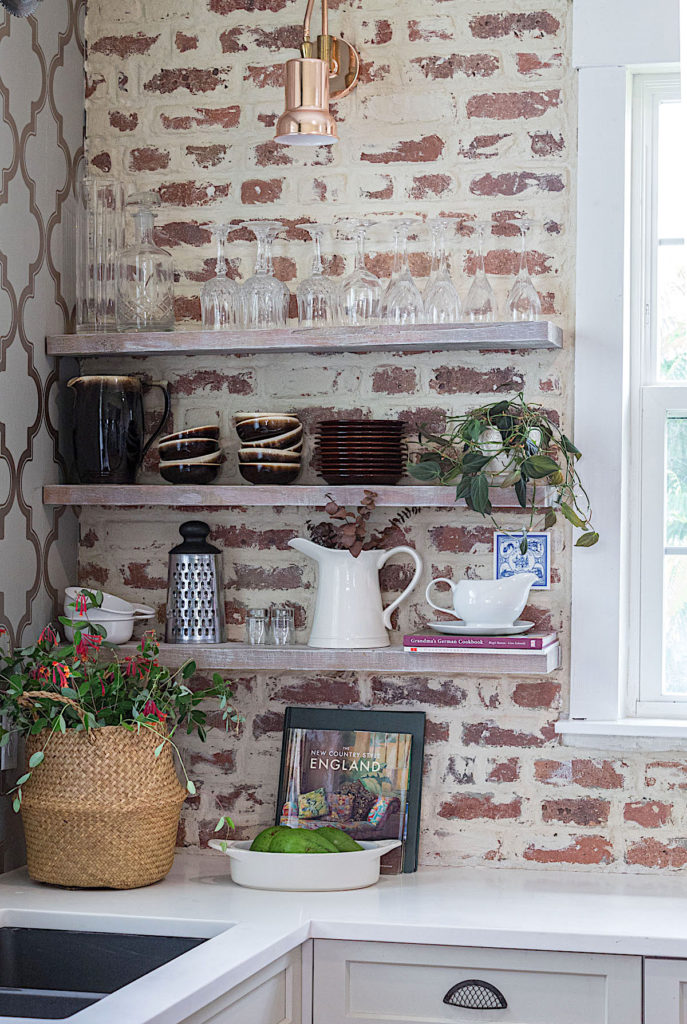
The floating kitchen shelves my husband had made when we built our home had turned a little too orange for my taste and it was time to update them.
Today I will show you how you can give any sanded or lightly stained wood surface a French Farmhouse aesthetic using this 2 step technique.
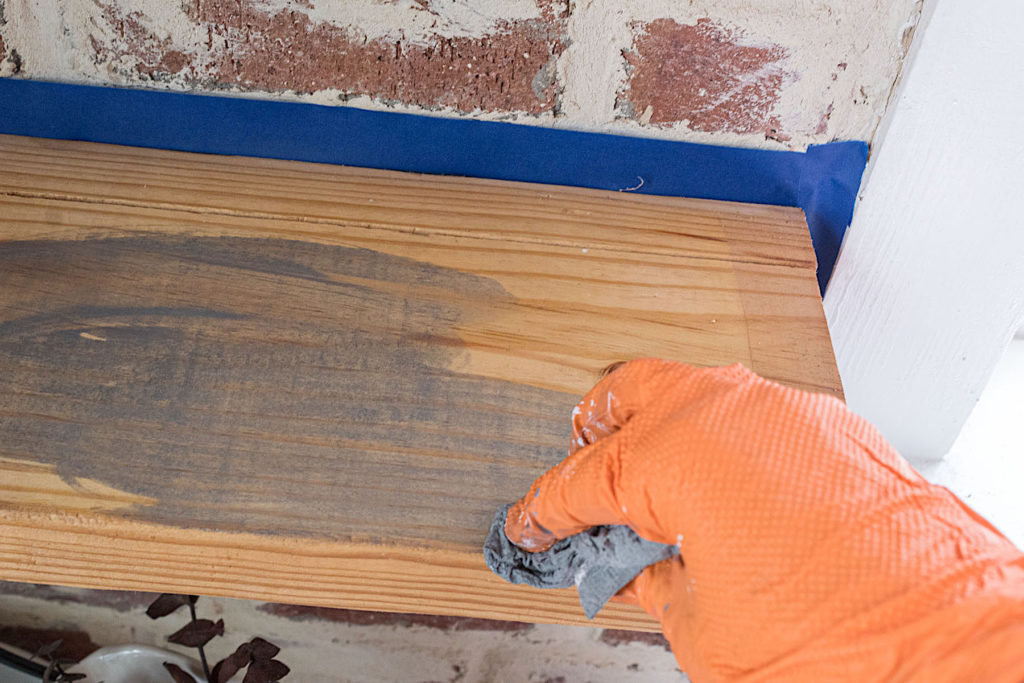
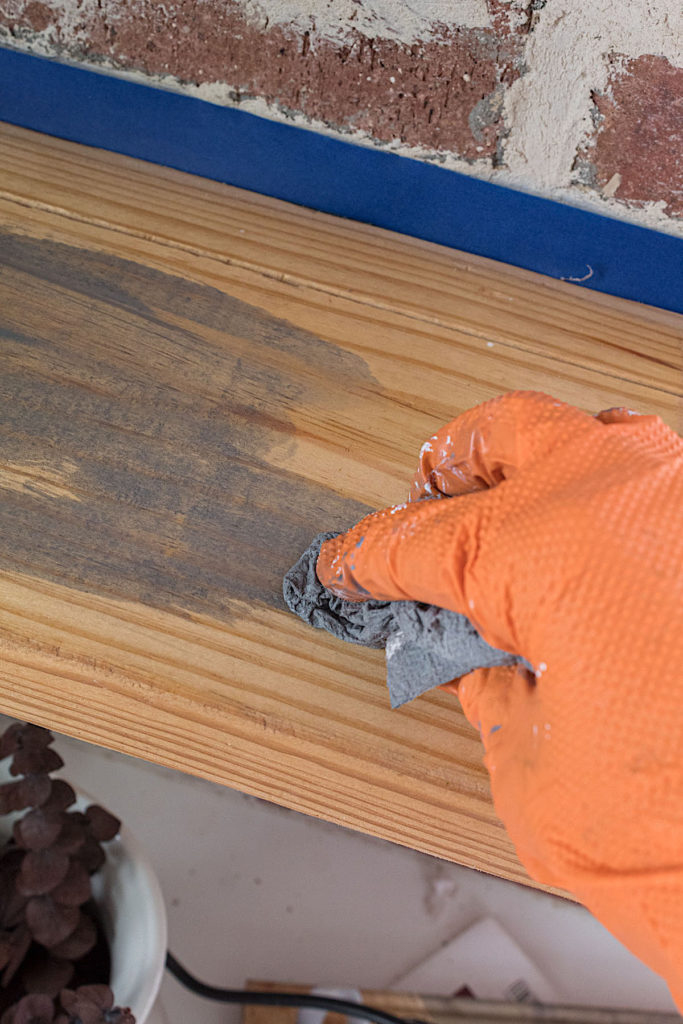
I first stained the wood with Varathane’s Weathered Grain Stain. I did a rough stain with a paper towel. Because the gray will be an undercoat, you don’t need to worry about it looking perfect.
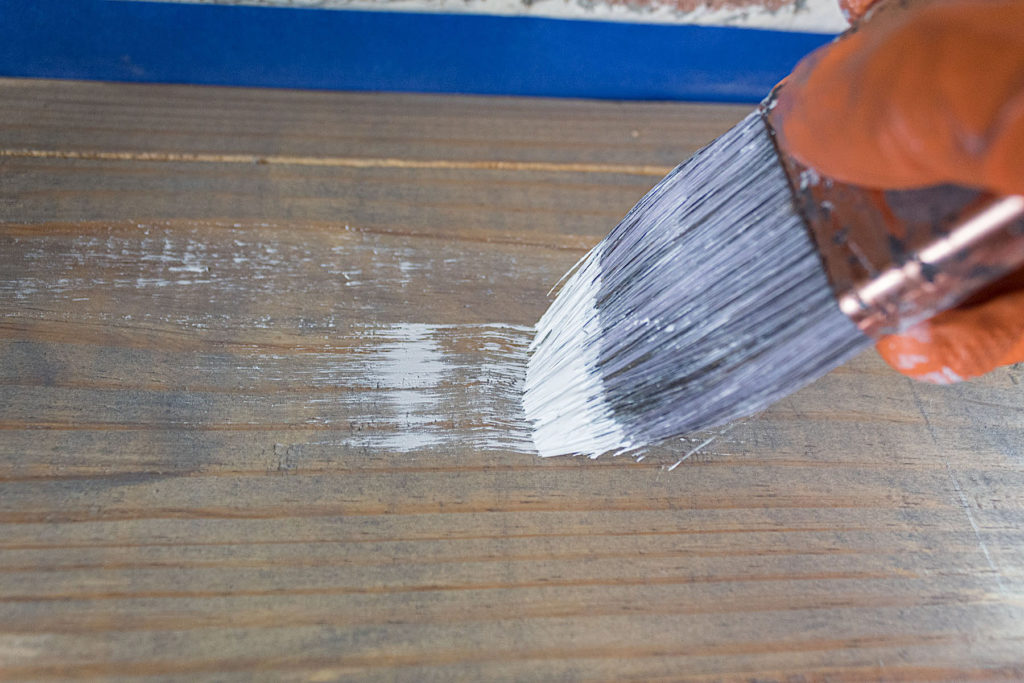
Step 2. Paint Texture
This next step is where you create your magic. We are going to use paint to add character and rustic French Farmhouse charm.
My Tips For Adding Texture With Paint:
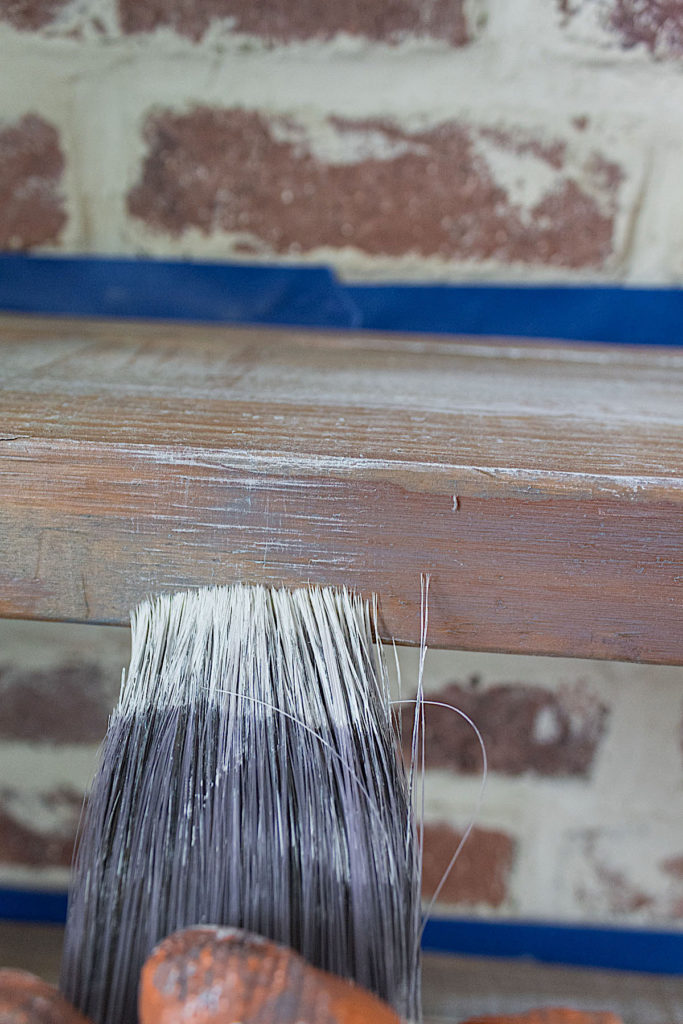
√ Use chalk paint: I like using chalk paint because it dries quickly and the chalk-like consistency is great for creating texture on wood. √ Dry brush: don’t add water to your brush or surface as you typically do when painting with chalk paint. For this technique we are simply working with paint on a dry brush. √ Keep paint light: Each stroke should have only a little paint on the brush. In fact, once I dab the tip of my paint brush in paint, I paint multiple strokes before re-applying paint. √ Minimal paint application: Only use paint to highlight the texture of the wood. I create a very thin, almost hazy coat over the wood. I’m careful to leave the wood undertones exposed throughout.
Disclosure: Some of the links provided are affiliate links. By purchasing through these links it supports this blog and the work we do and there is no extra cost to you. If you would like to read our full disclosure, click HERE.
The short video below shows how I did this technique on another piece. The sanding at the end is an optional step.
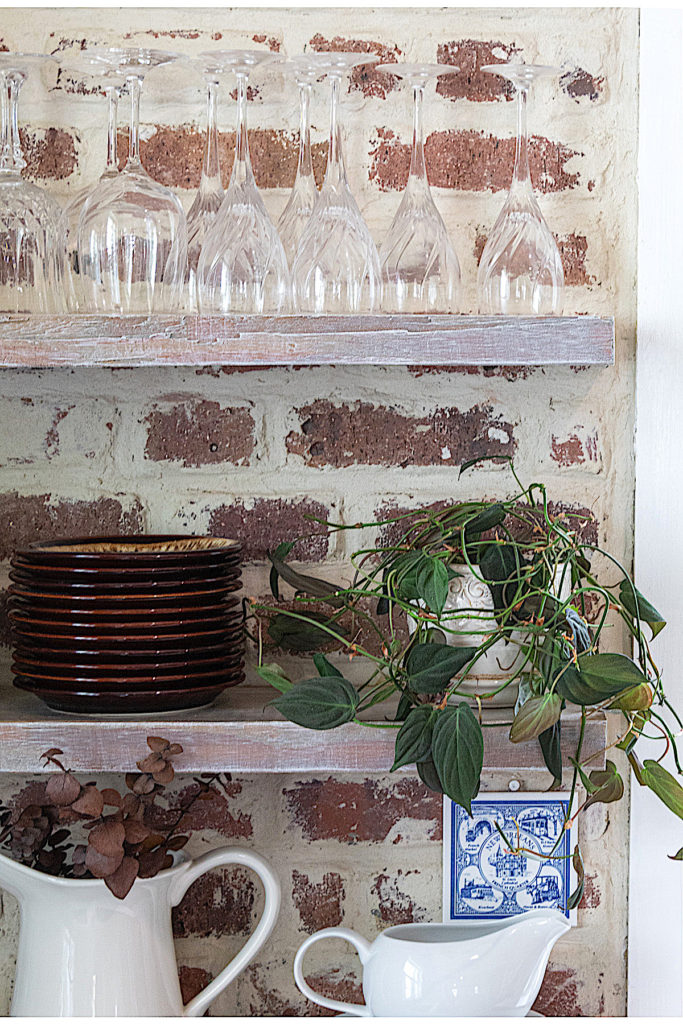
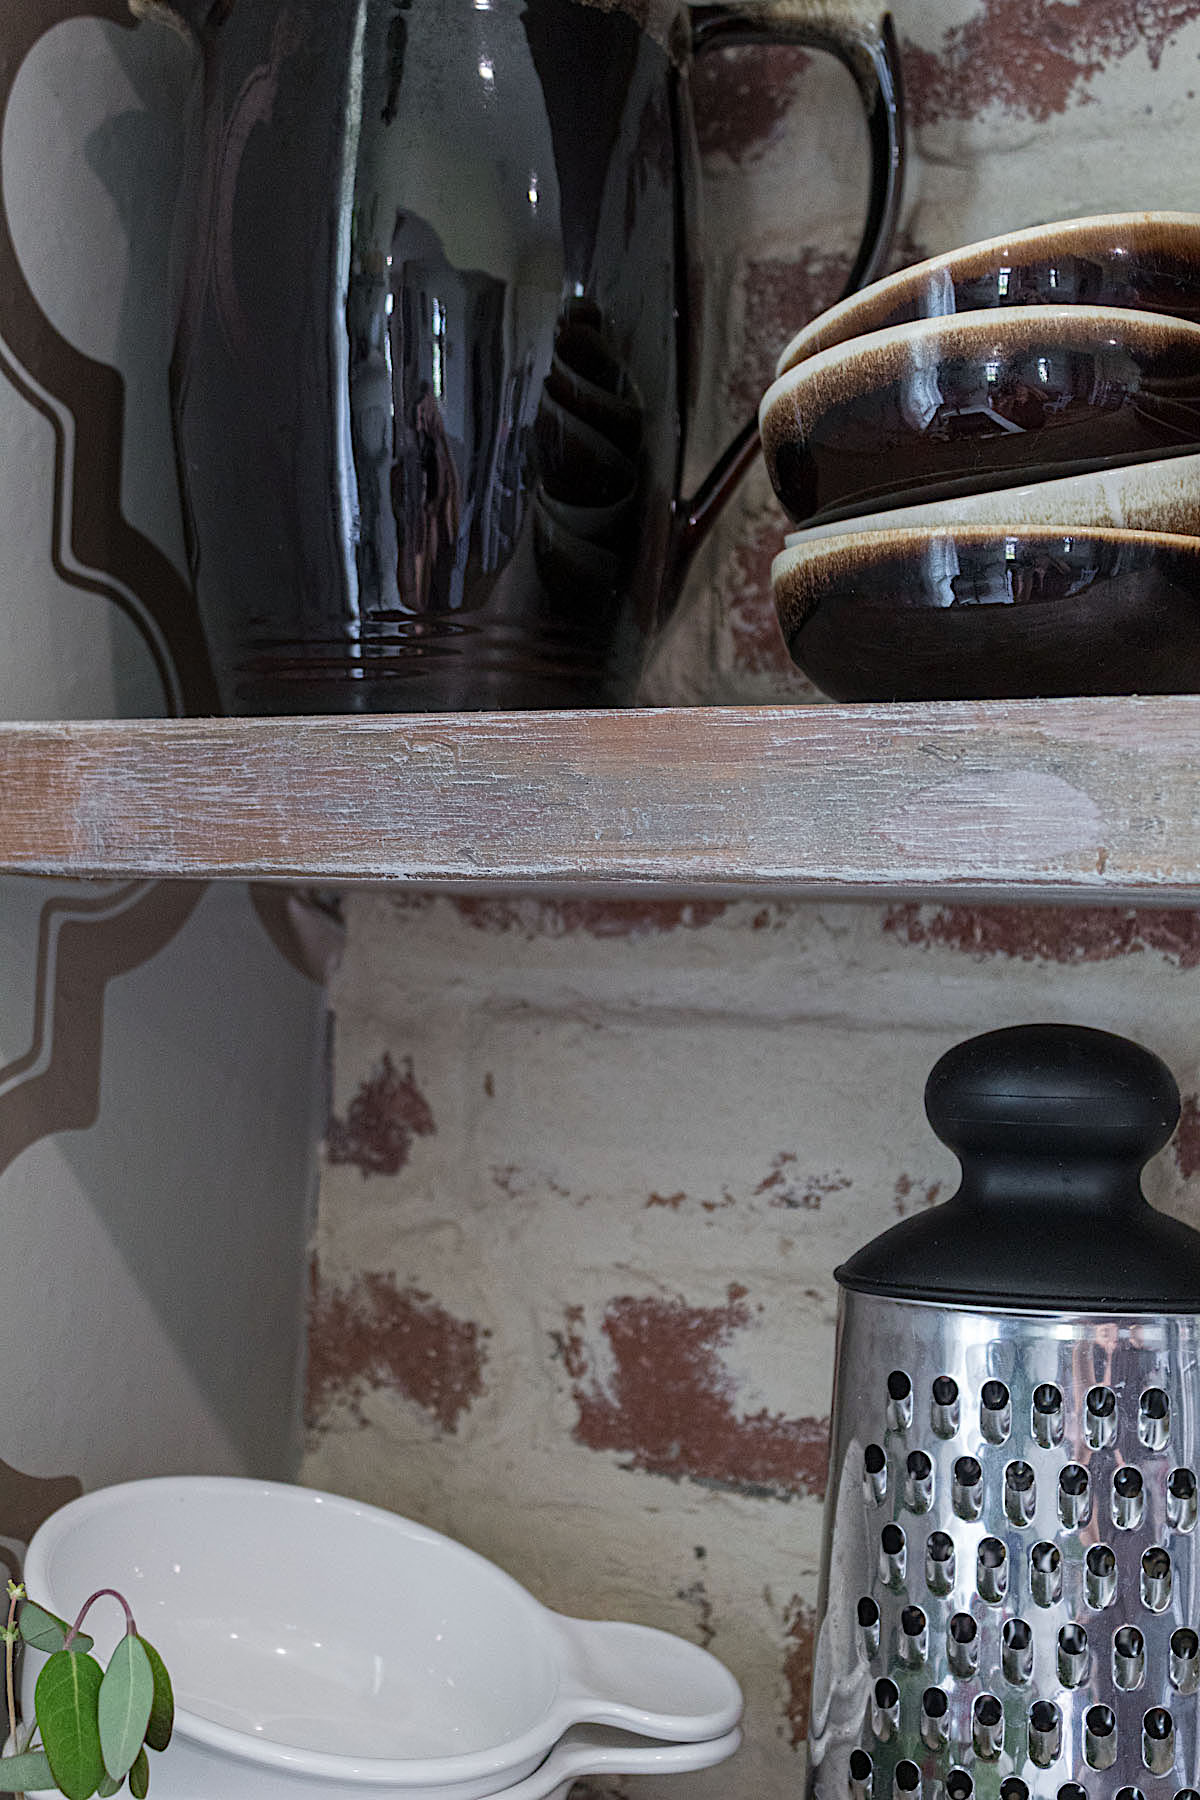
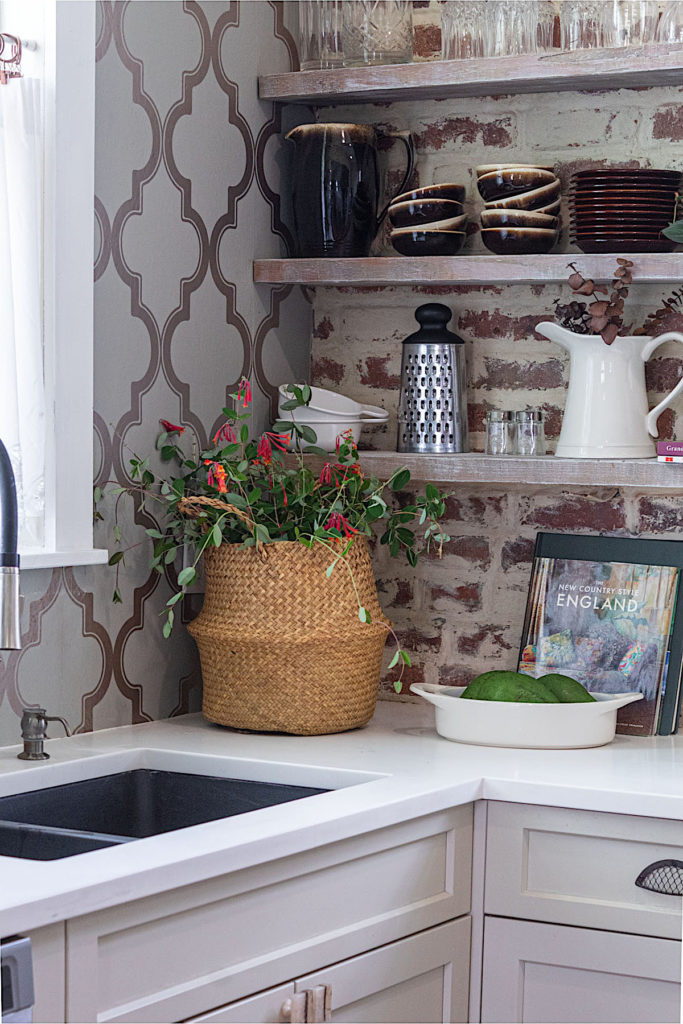
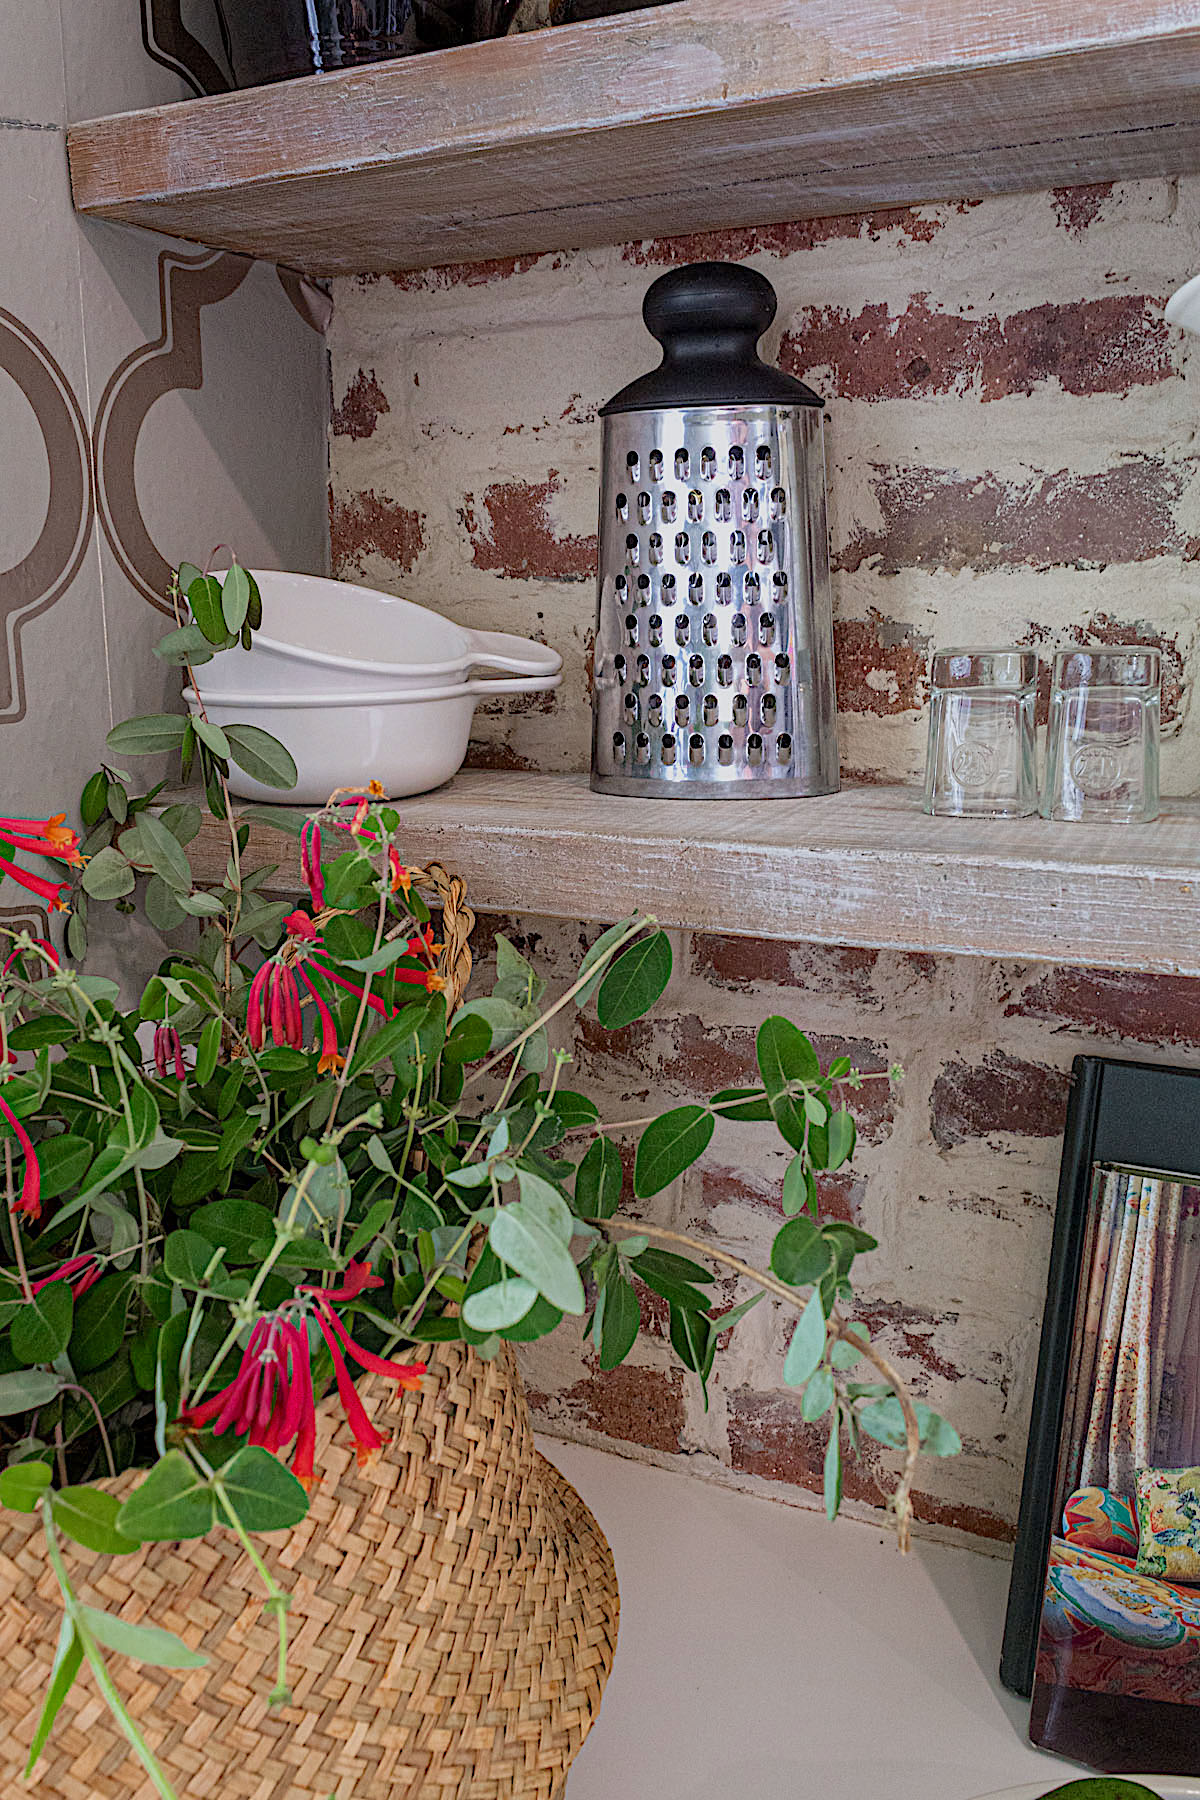
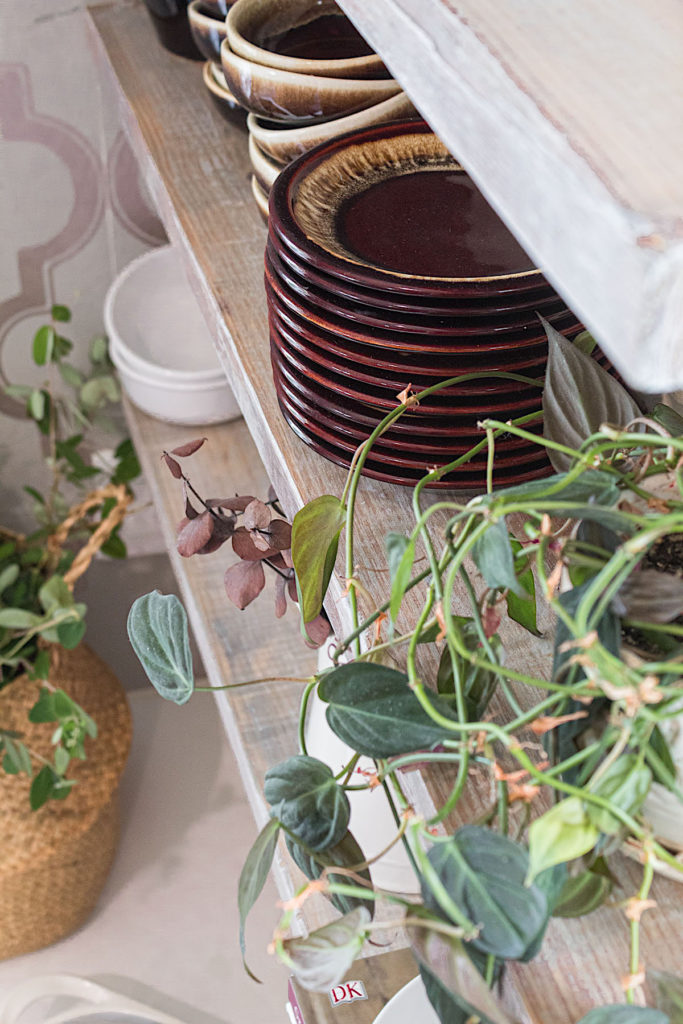
And that’s it friends! Two steps, stain and a little paint and these shelves went from orange and outdated to beautiful French Farmhouse.
You can seal with a flat sheen top coat like Flat Out to maintain that rustic look. Since I put clear contact paper on my kitchen shelves I did not worry about sealing.
I hope you liked this tutorial and I’d love to hear of any projects you may like to try this look out on. Be sure to SUBSCRIBE at the bottom of the page for more fun tutorials. Now I leave you with one more view of the before and after.