Hello lovely readers! I am SO excited to finally reveal to you a space in our home that I’ve never posted about. I’ve mentioned before how we carved out a small bonus room in our house plans, but truthfully it has been under-utilized until now.
What was staged as a guest room has not been quite practical. It lacks a proper window and it is too small for guests to spread out comfortably. But as an arts and crafts room, it is perfect!
This room set up is also suitable as a homework room or home office. A few DIY’s and we transformed 4 walls into a creative space for the entire family. I love finding my kids in here engrossed in their latest master pieces.
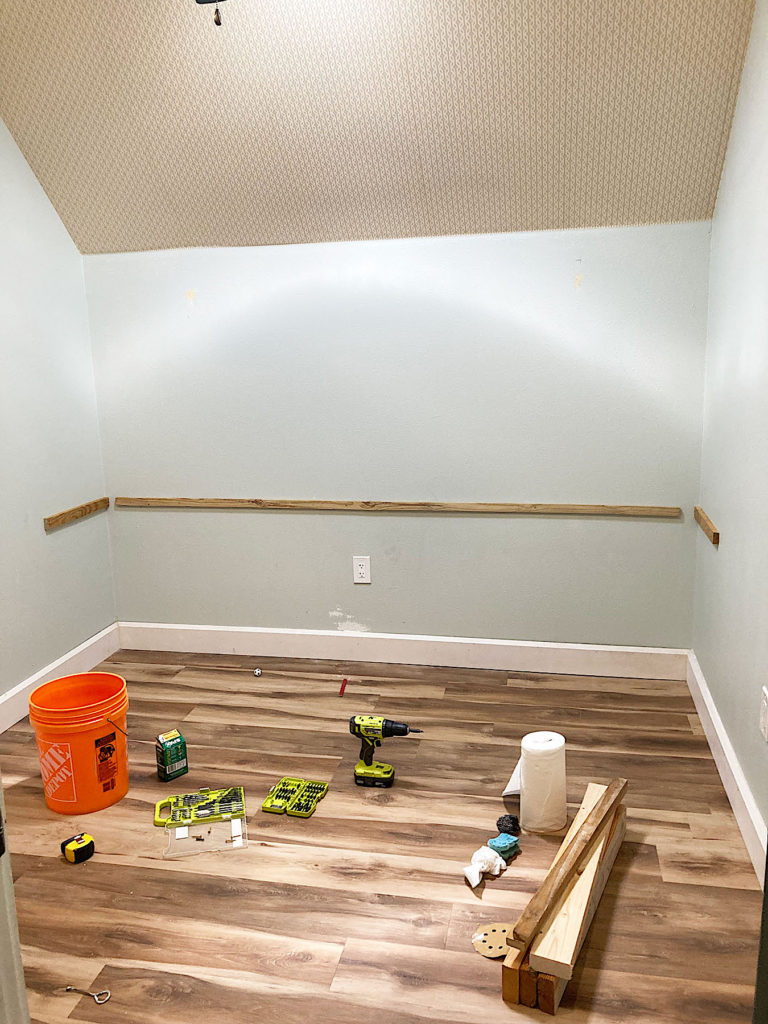
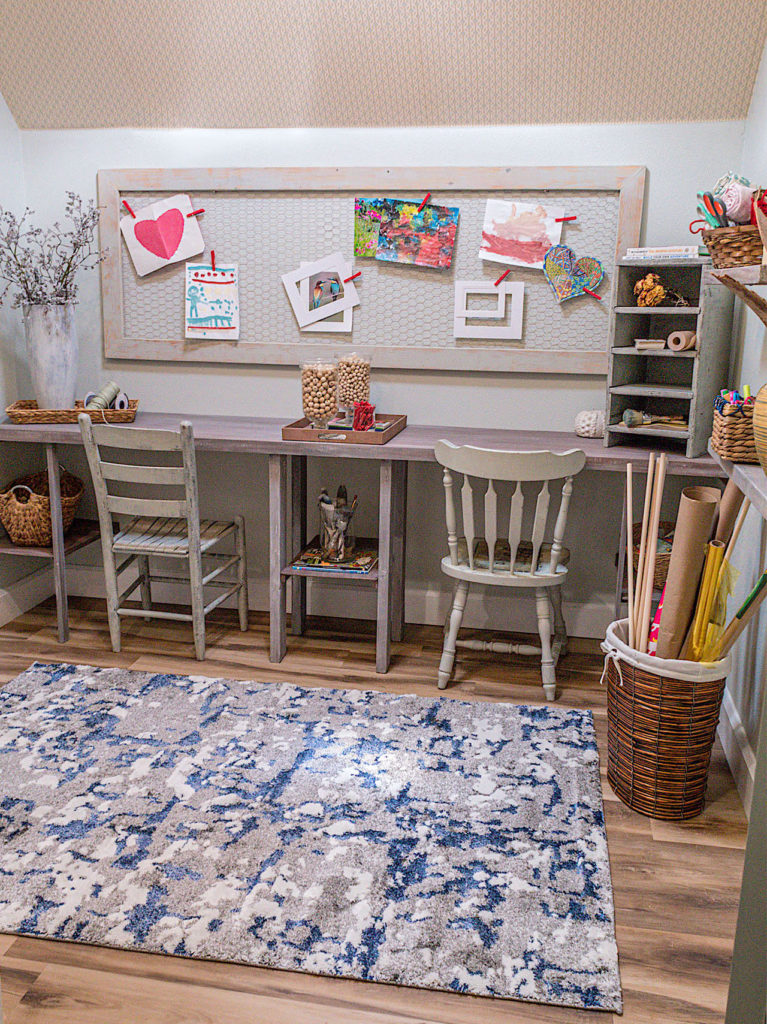
We started with a blank canvas. I wanted to create one long workbench-type desk where the kids could spread out. I remembered to snap a before picture just as my husband began constructing the desk.
Building The Desk
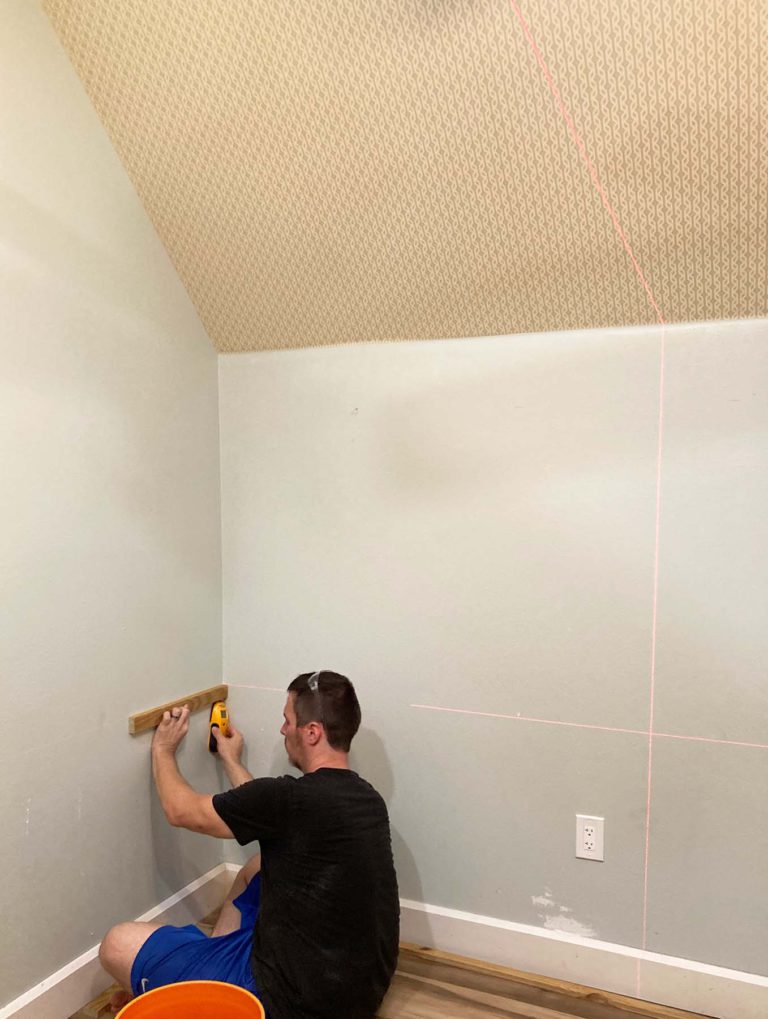
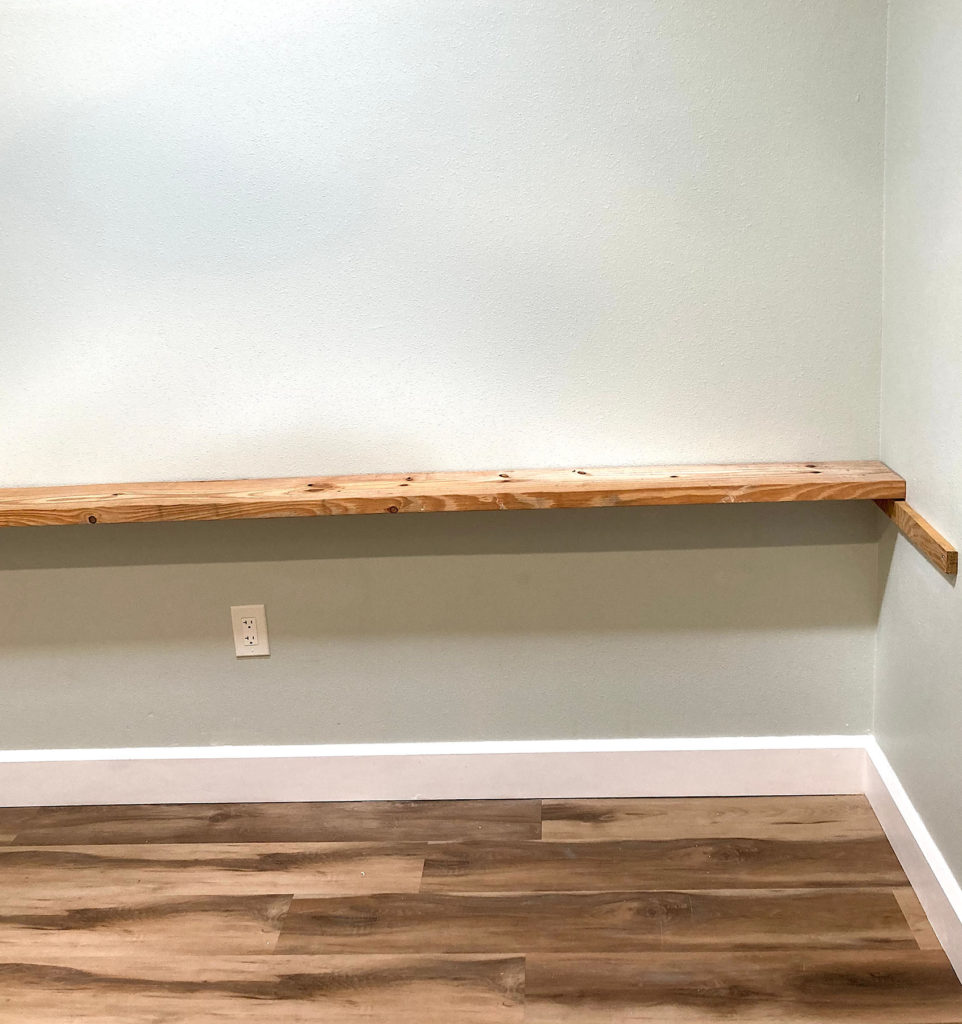
My husband Ronny mounted some thin wood strips to the wall that would support the table top. He used our laser level to make sure everything was nice and level. We’ve used this Bosch laserfor so many projects around the house. It is quite handy. You simply stick it on the wall. It has a magnet that attaches to the corners and edges of the drywall. Then the laser beams across the entire room.
Ronny used the laser line as a guide to make sure all the wood pieces were level. I also used this laser when I did the exposed brick wall in our kitchen. It was a life saver when it came to making sure all my bricks were level!
2 rows of long pieces of 2″ x 6″‘s that we had in our garage covered by a thin, smooth plywood made the top of the desk. I wood-filled seams and re-applied stain to minimize the lines.
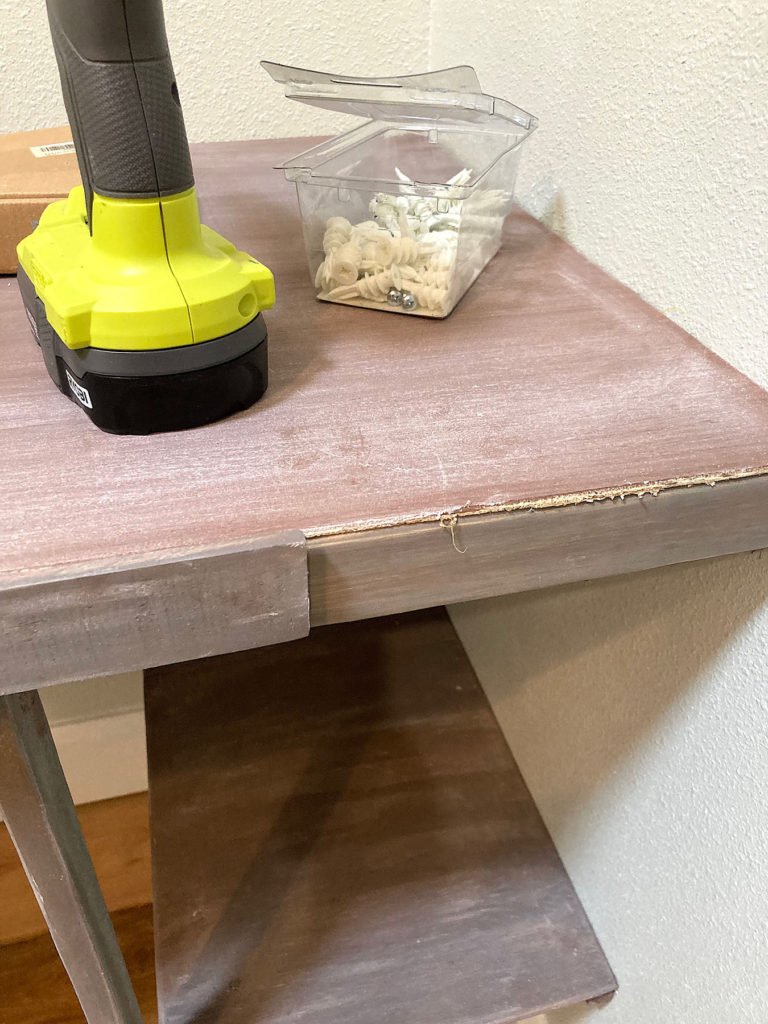
I used trim on the front for a finished look. I nailed it on with our nail gun.
Function is just as important as aesthetics.
You may have heard me talk about form and function in home decor before. Our home is not very big so I like to put every inch to work.
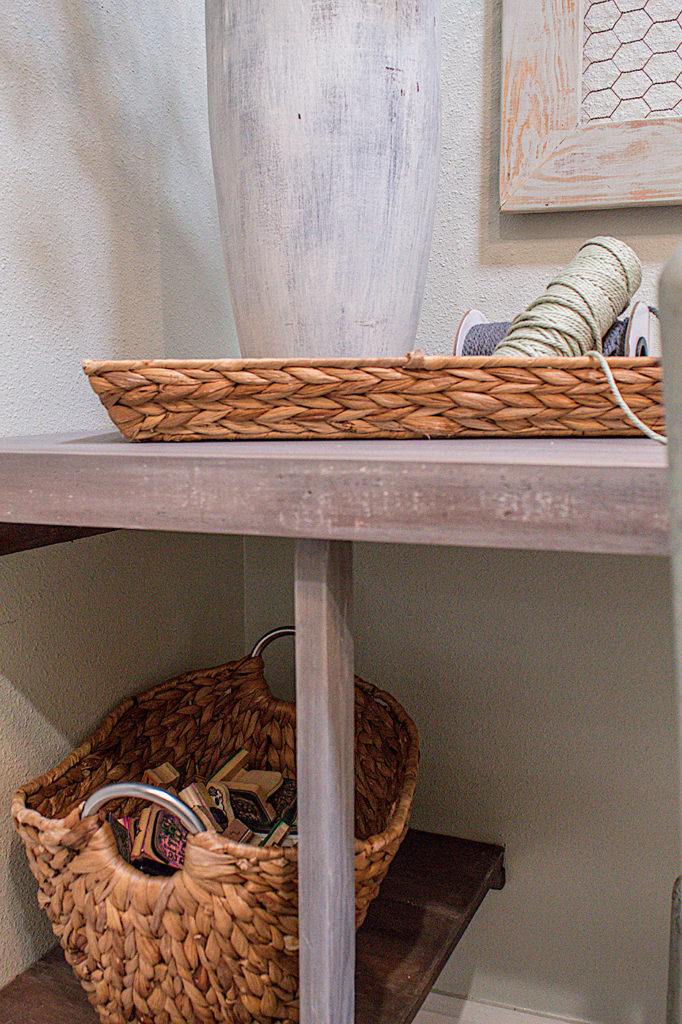
I’m constantly looking for pieces that are both decorative and practical. Incorporating shelves into the desk aesthetic was a no-brainer. Ronny made legs out of 2″ x 4″‘s and used thin pieces of plywood for shelving.
Optimize Your Vertical Spaces
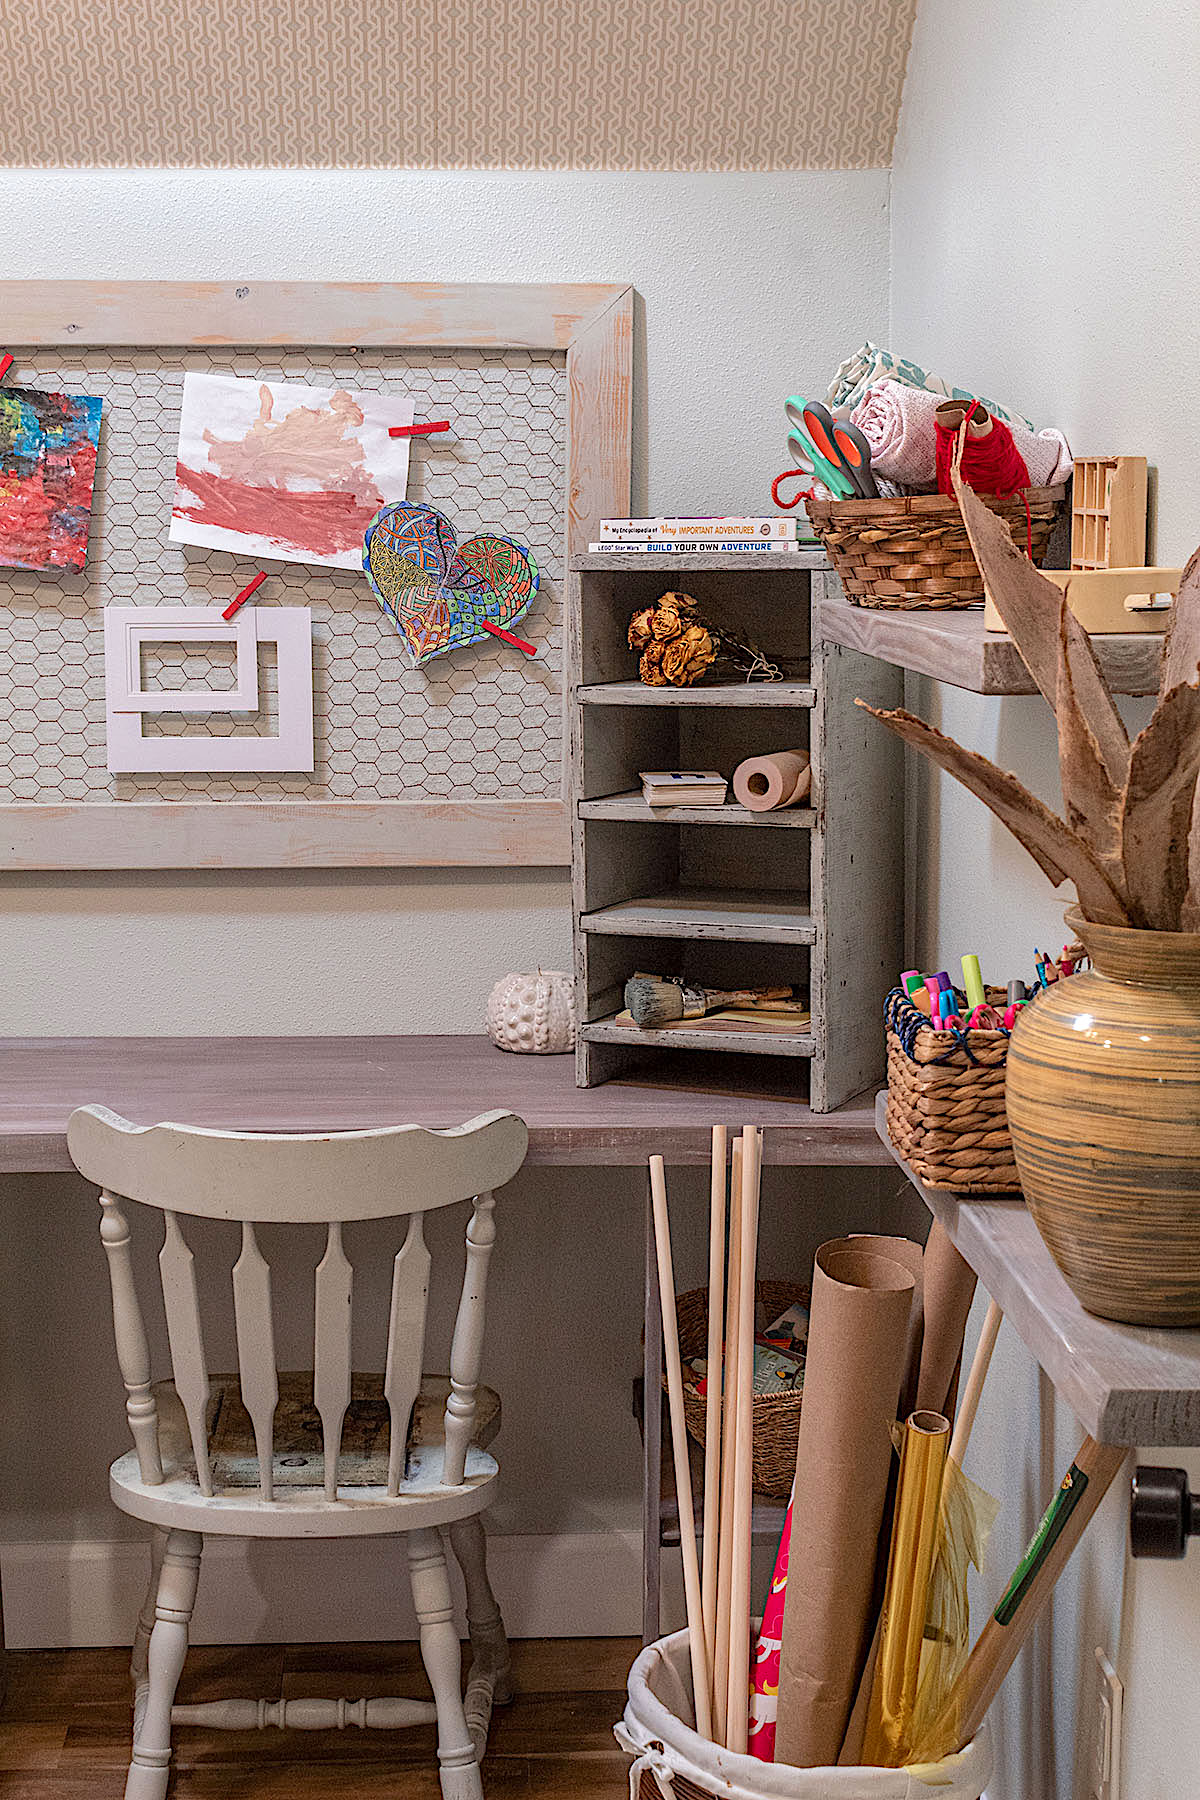
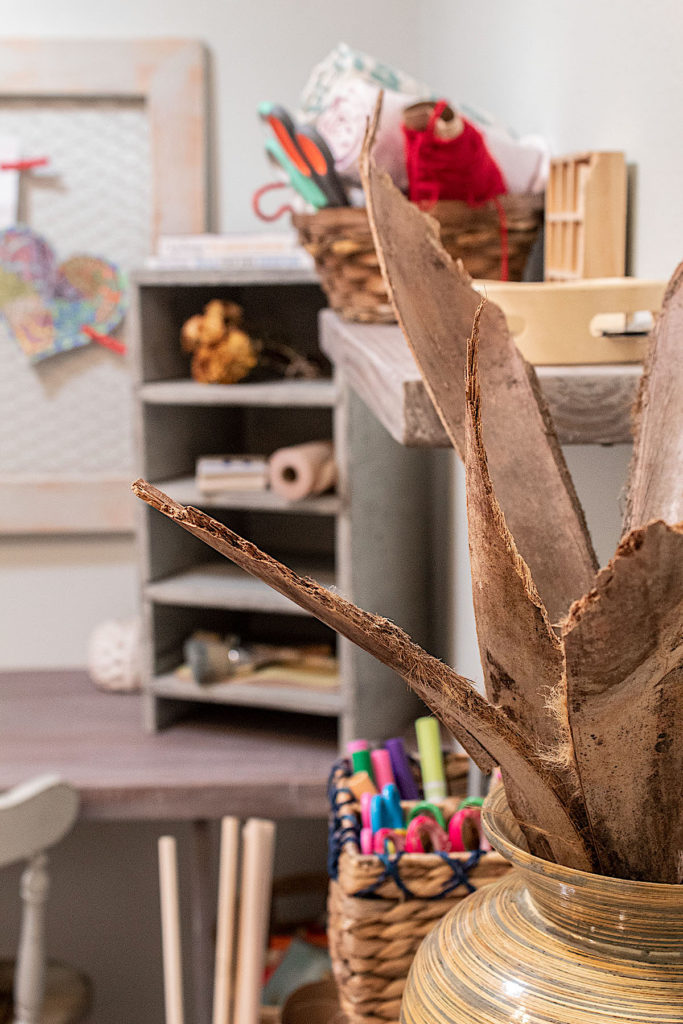
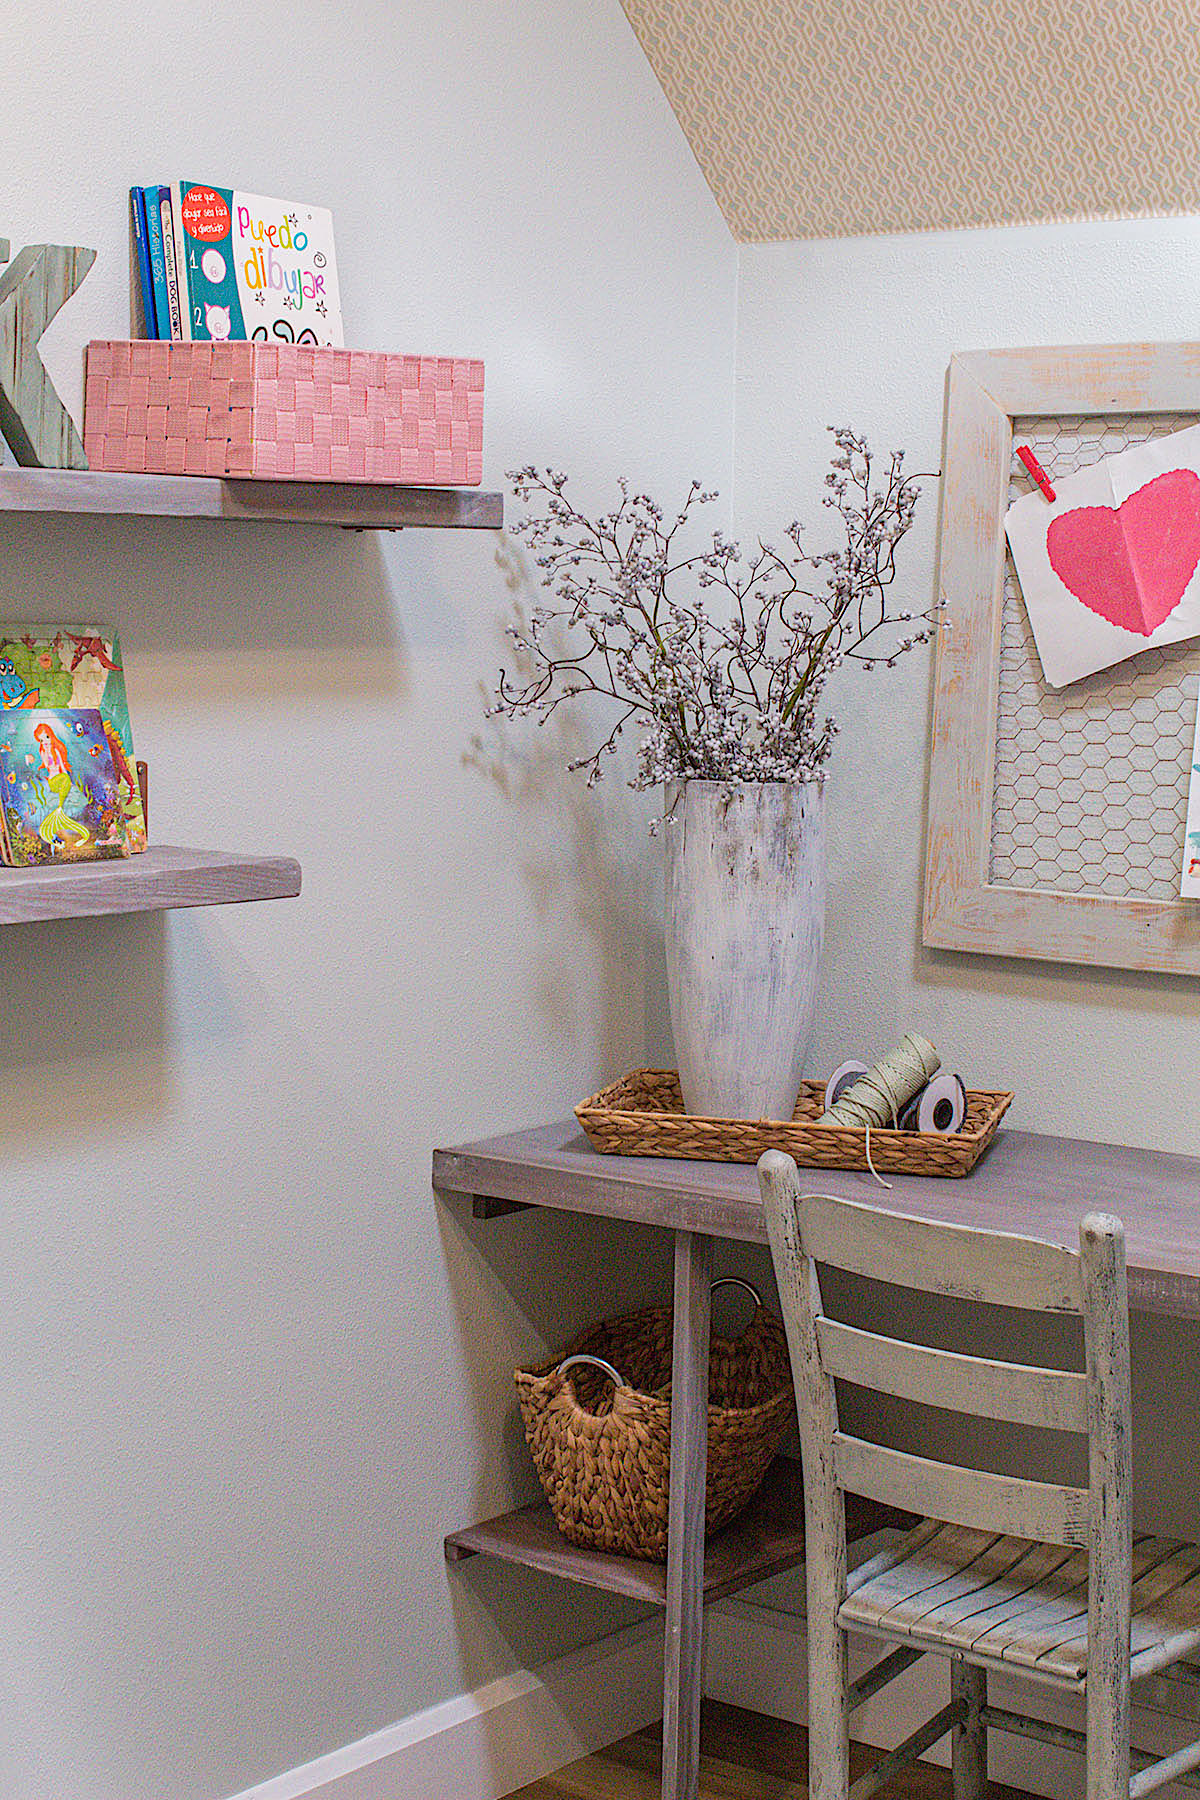
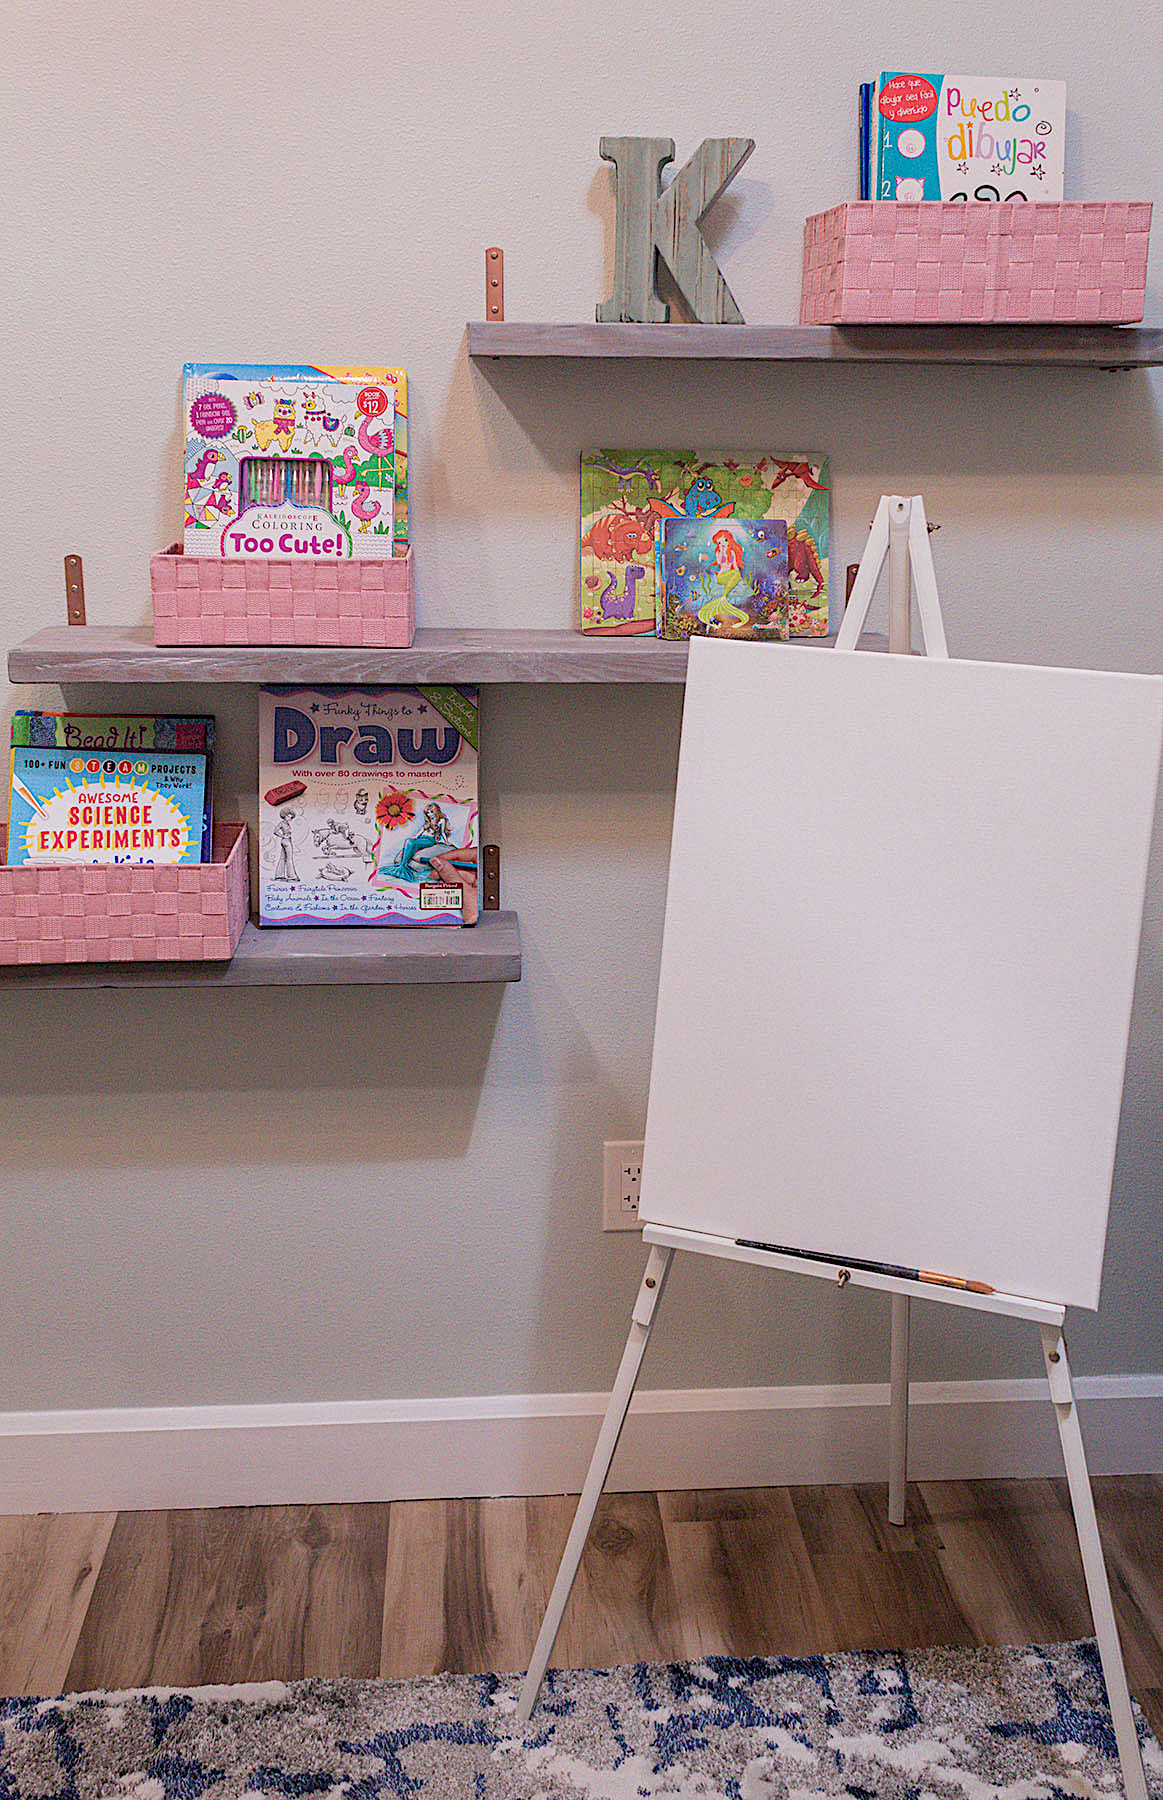
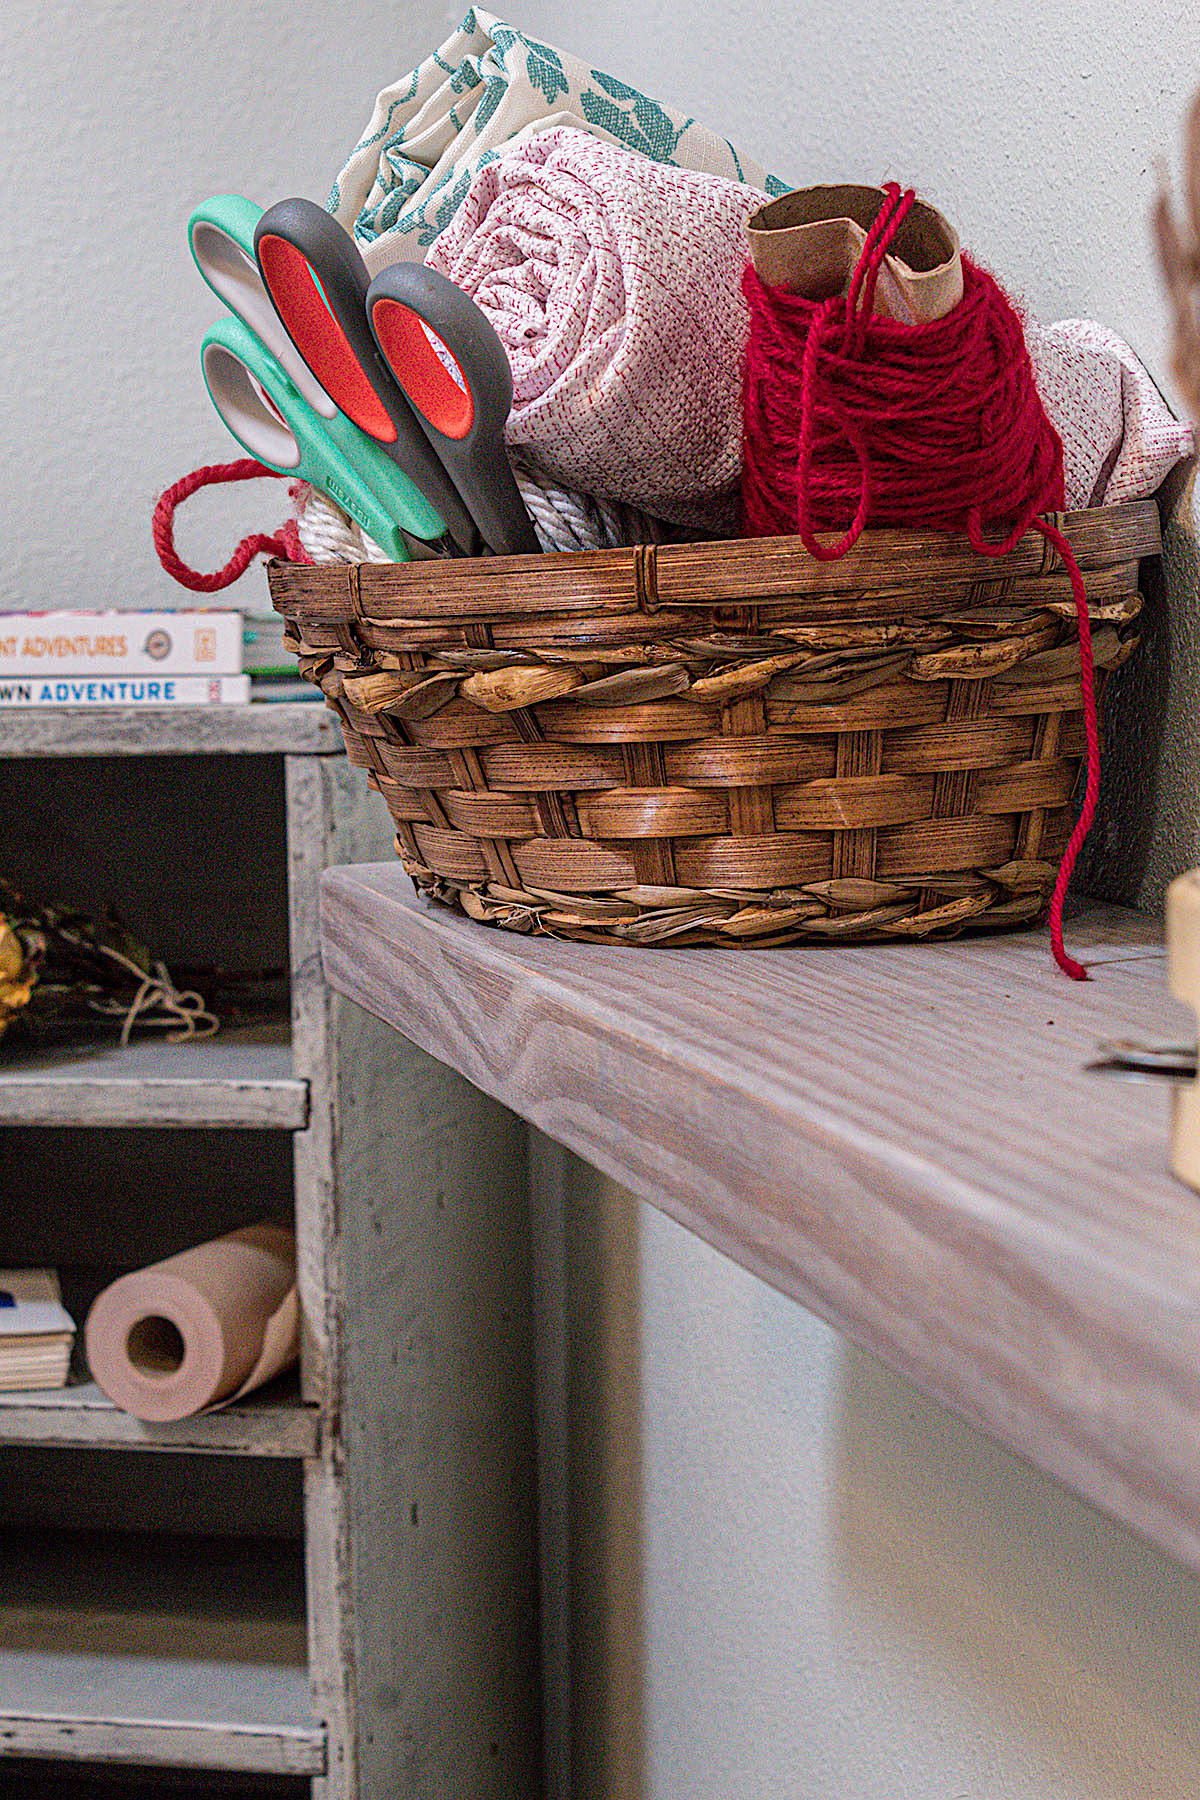
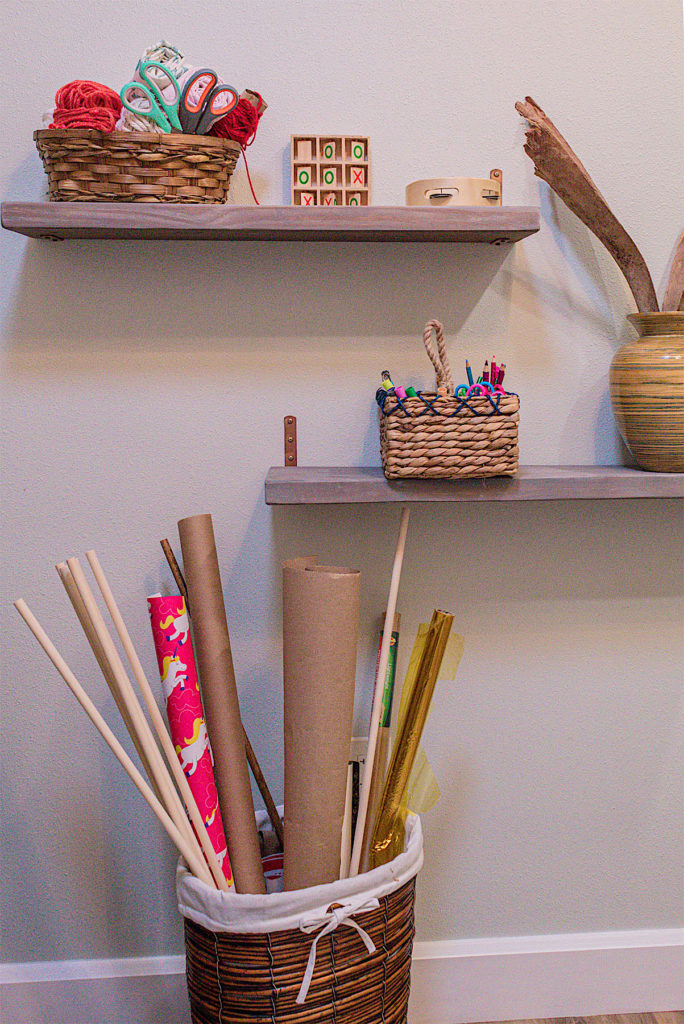
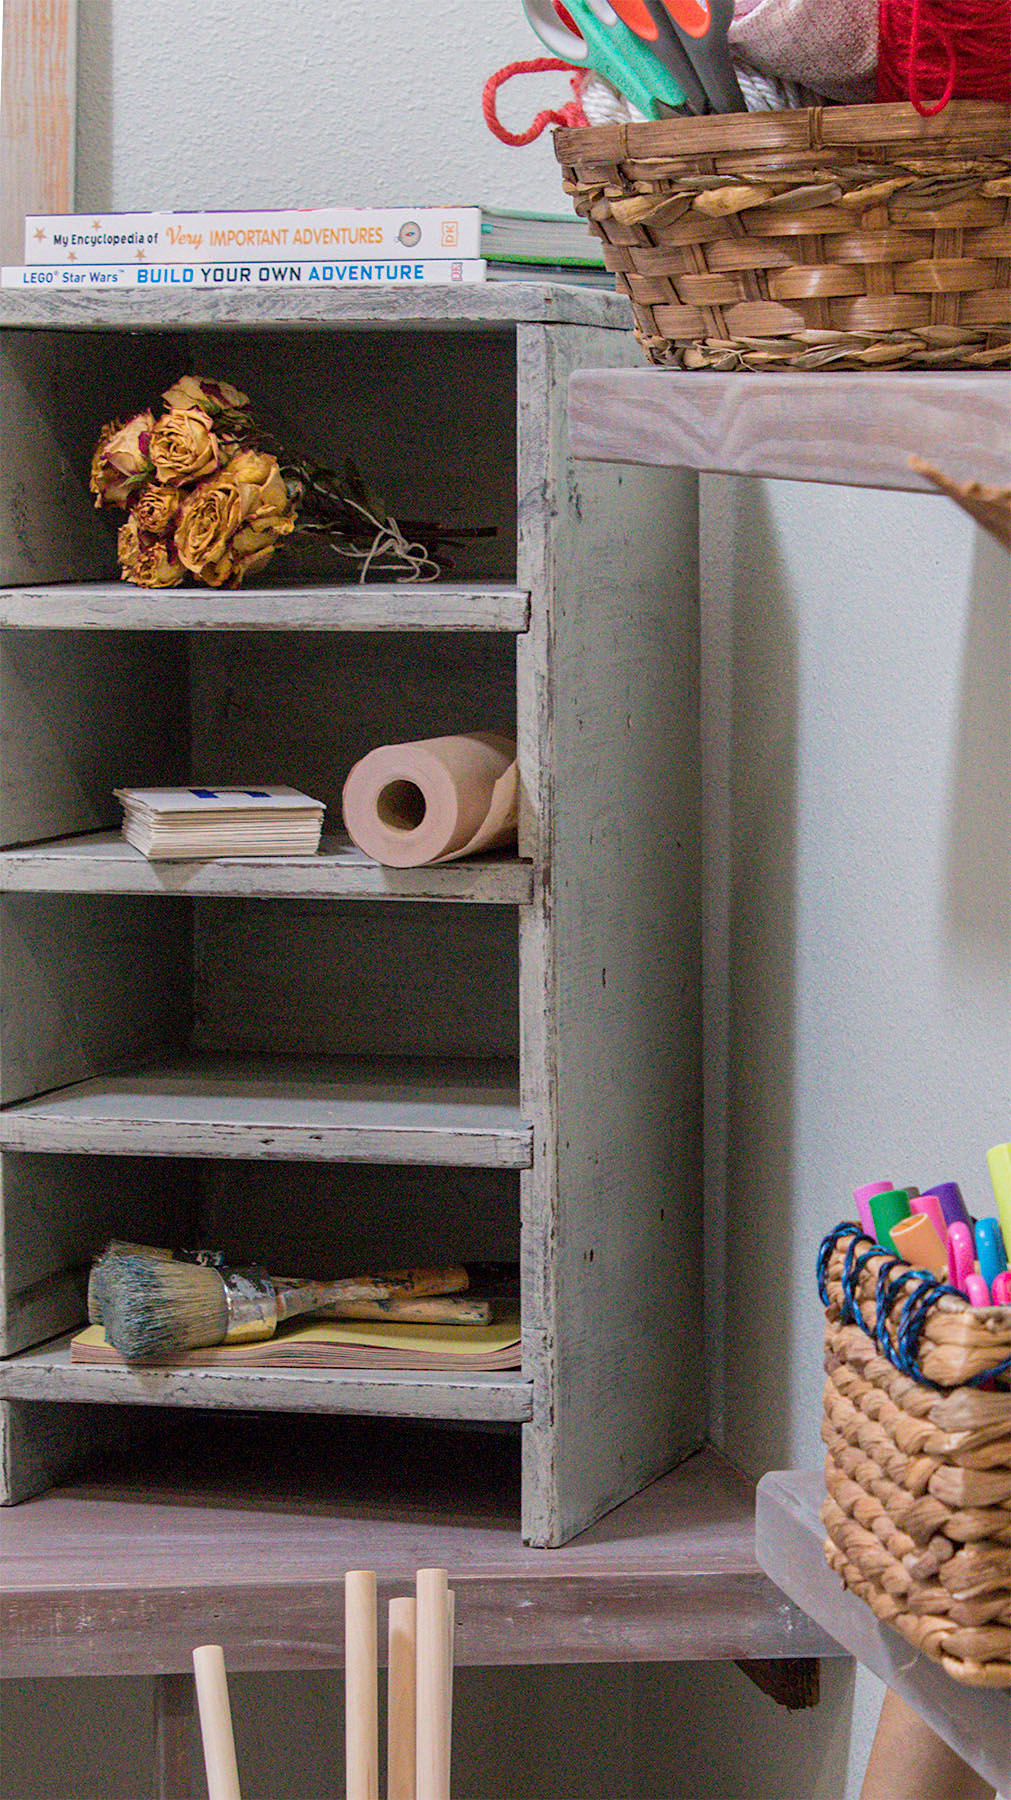
In a compact space, room for storage can get tricky. I look to my vertical spaces to do the work. Floating shelves not only add both modern or rustic charm to a space, but are perfect for displaying decor and for housing your supplies.
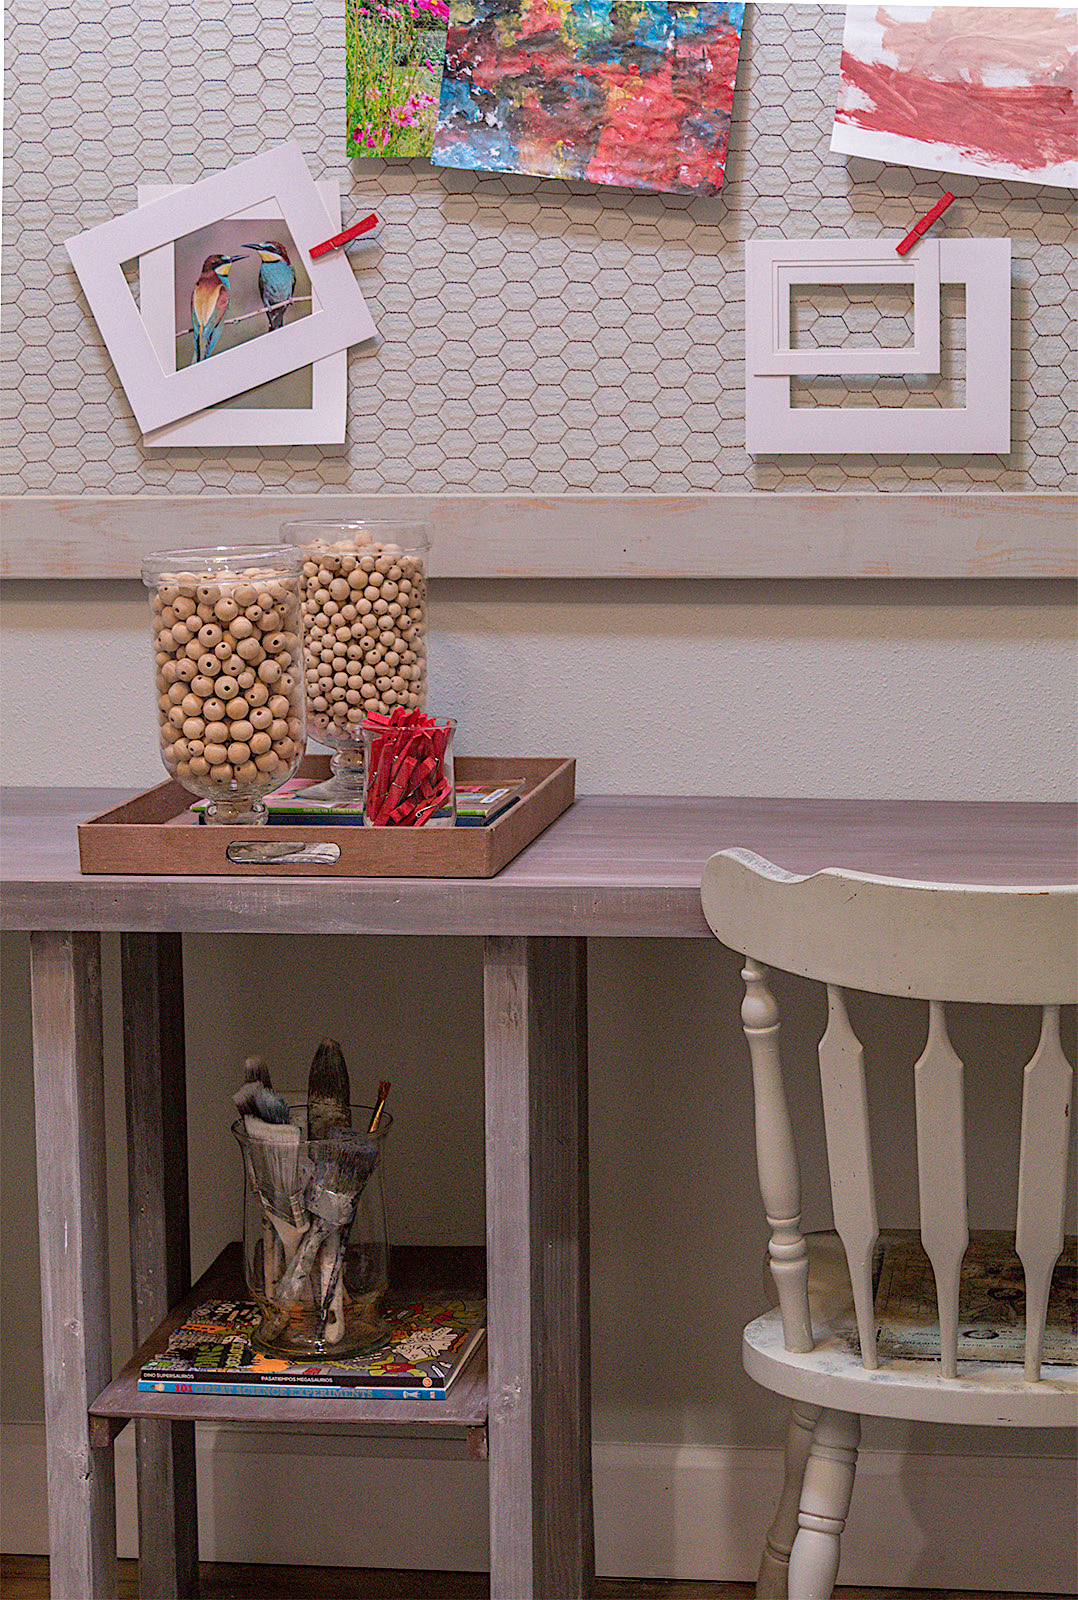
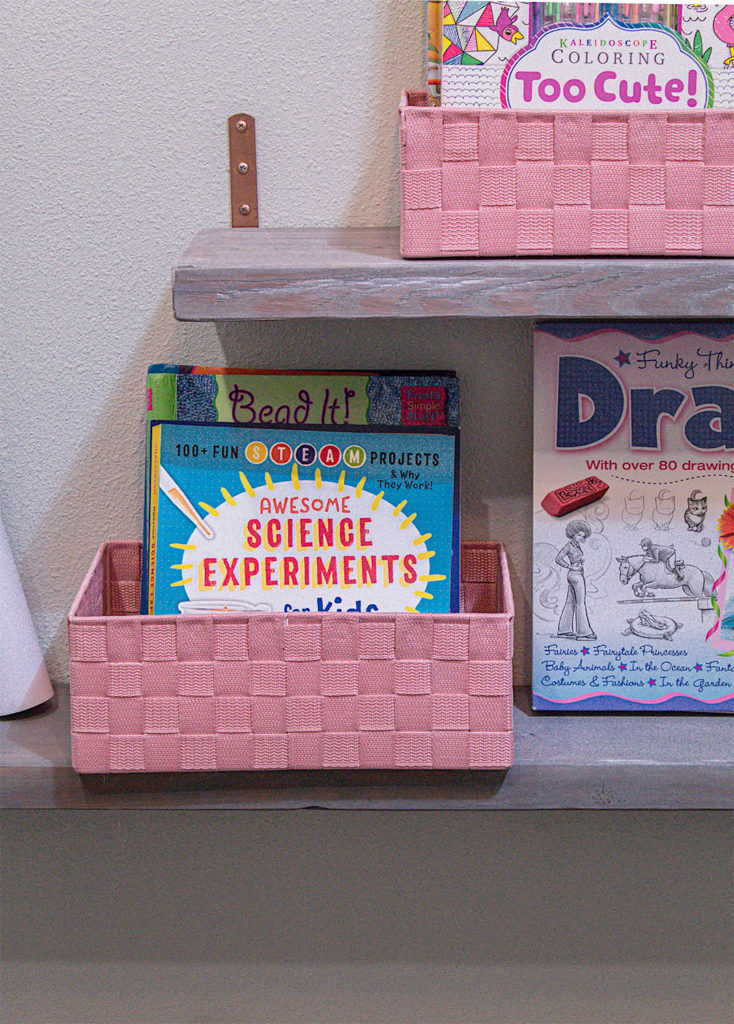
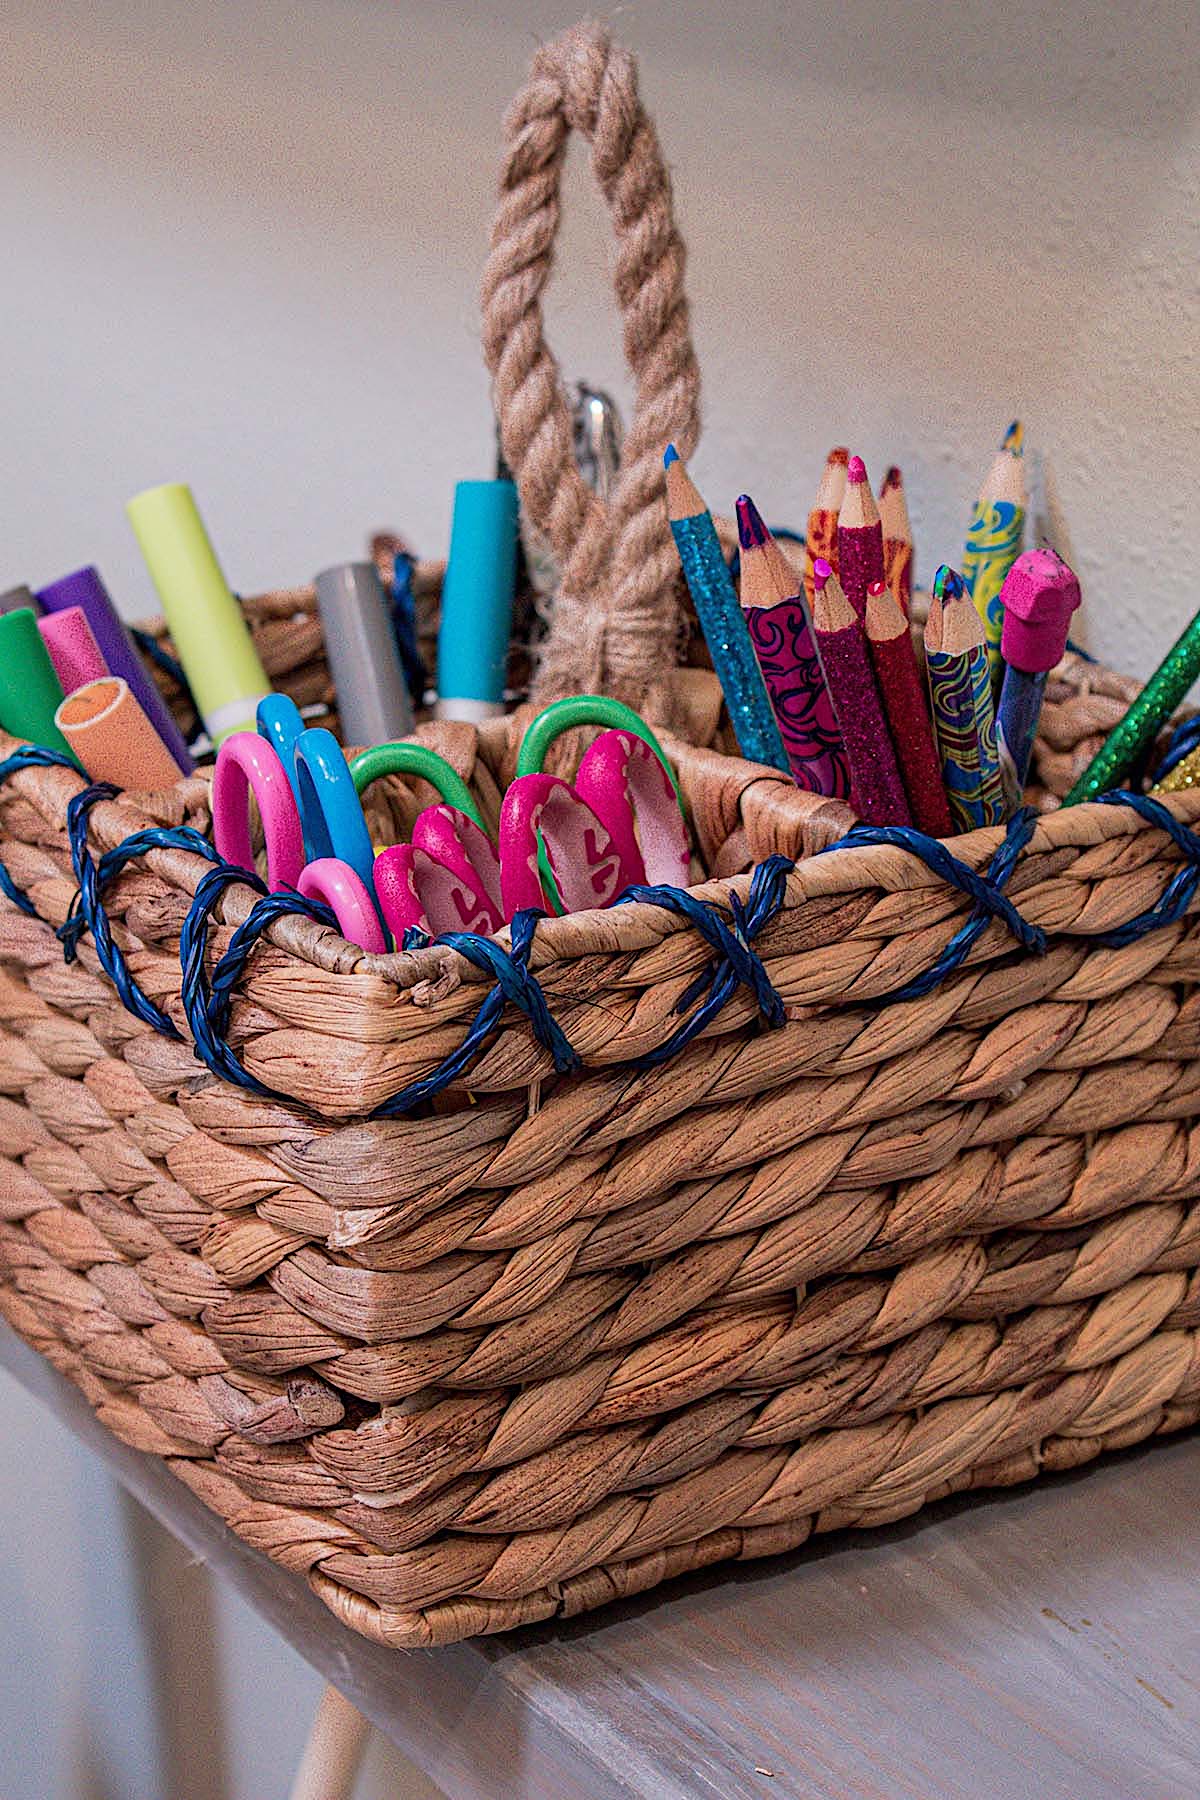
I bought a variety of inexpensive baskets from Ross and used them to organize coloring books, markers, crayons and random art supplies.
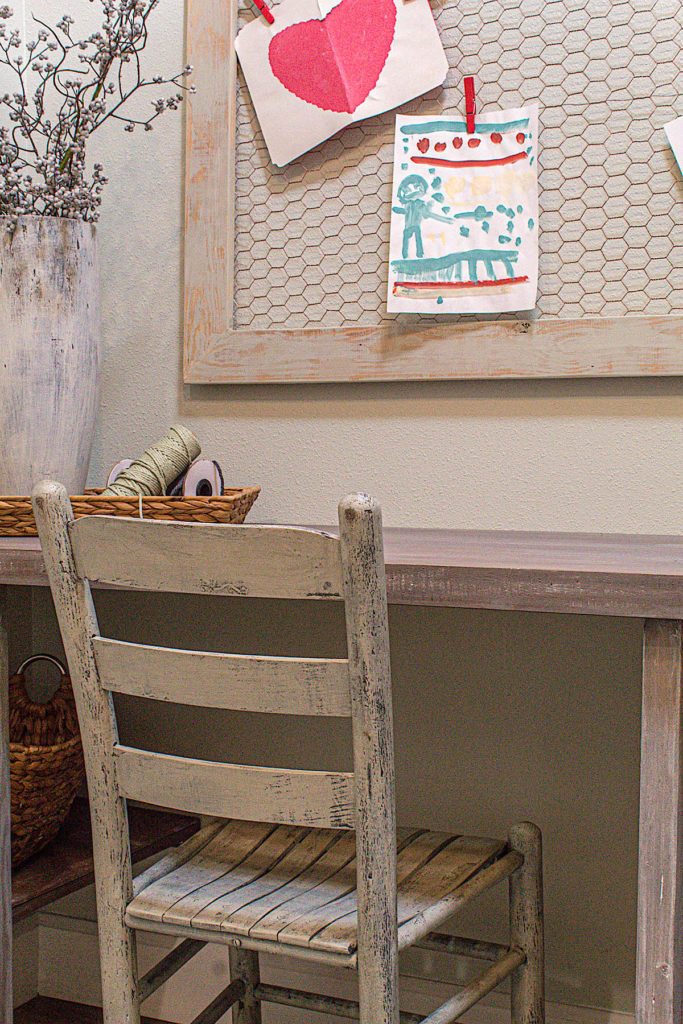
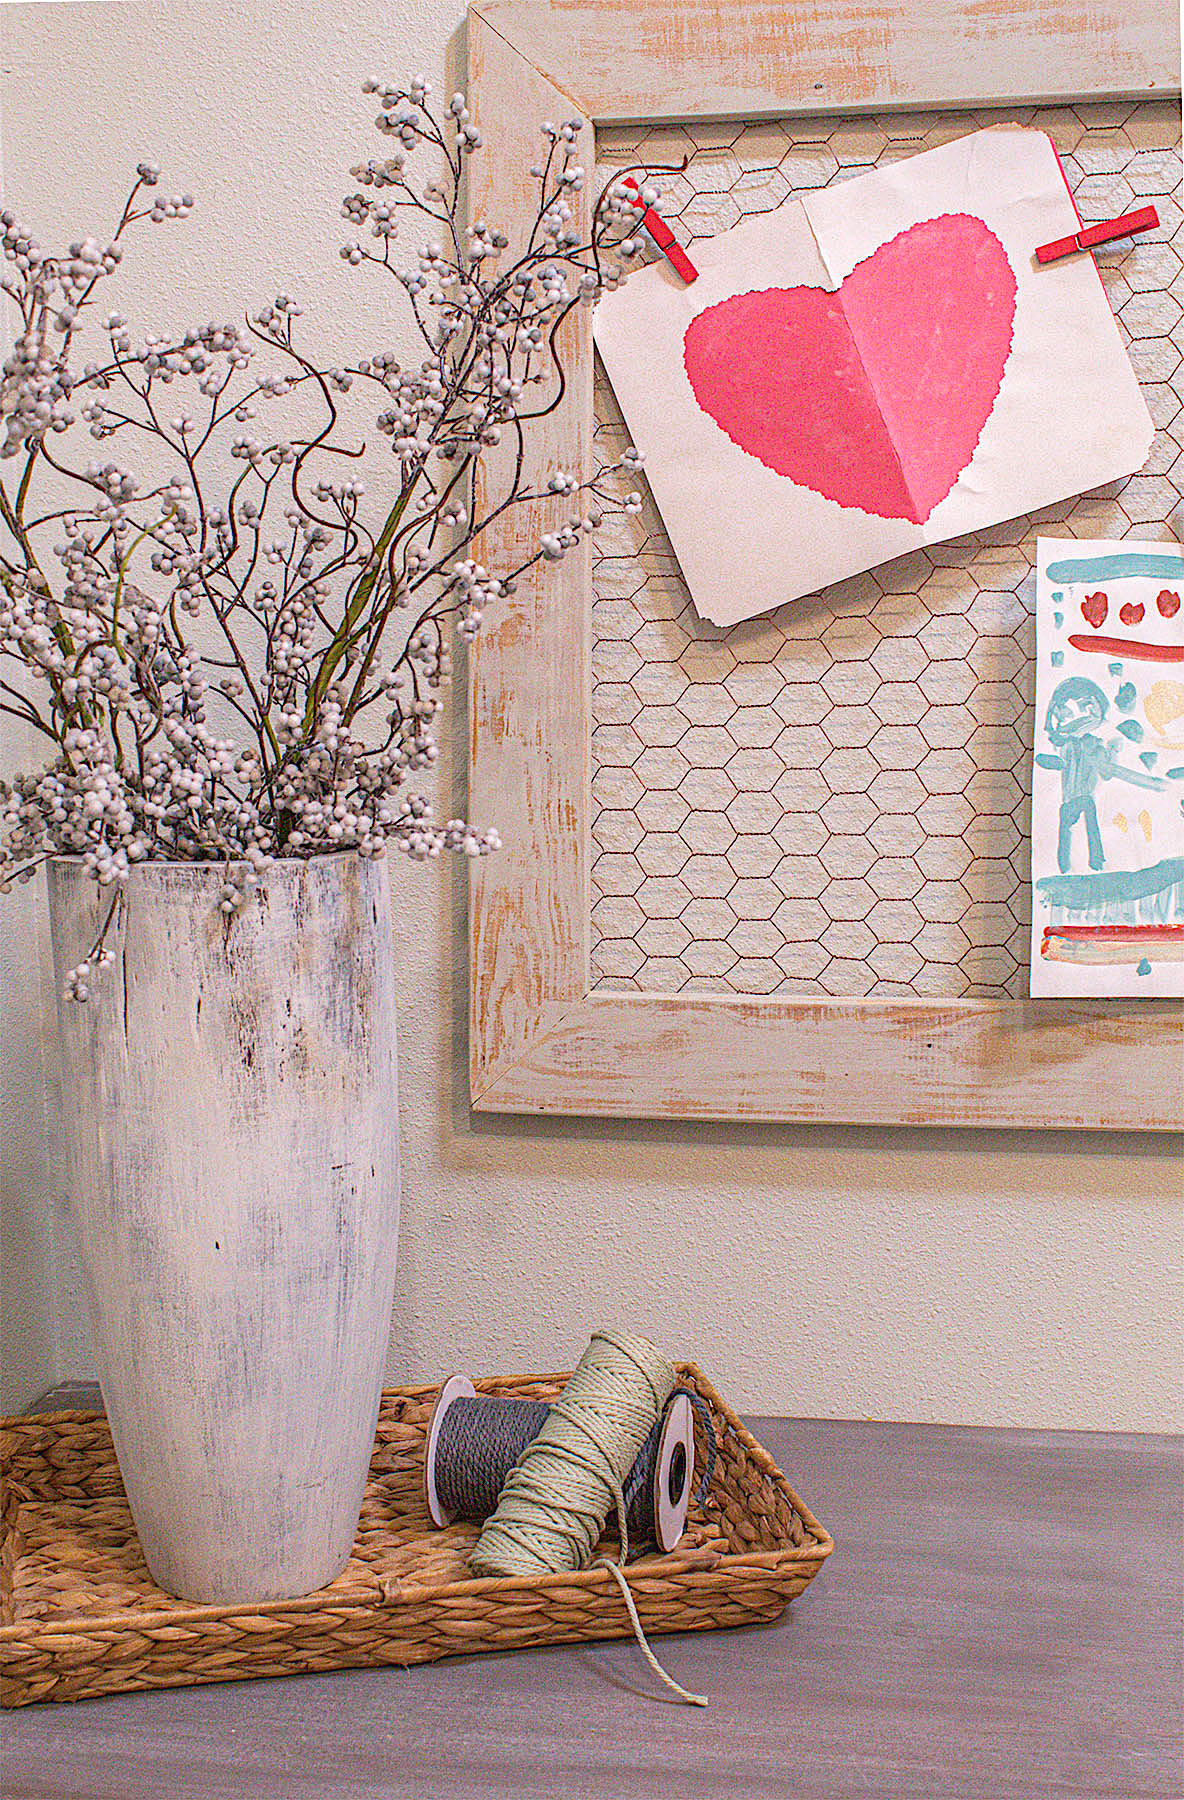
A DIY Farmhouse Pegboard
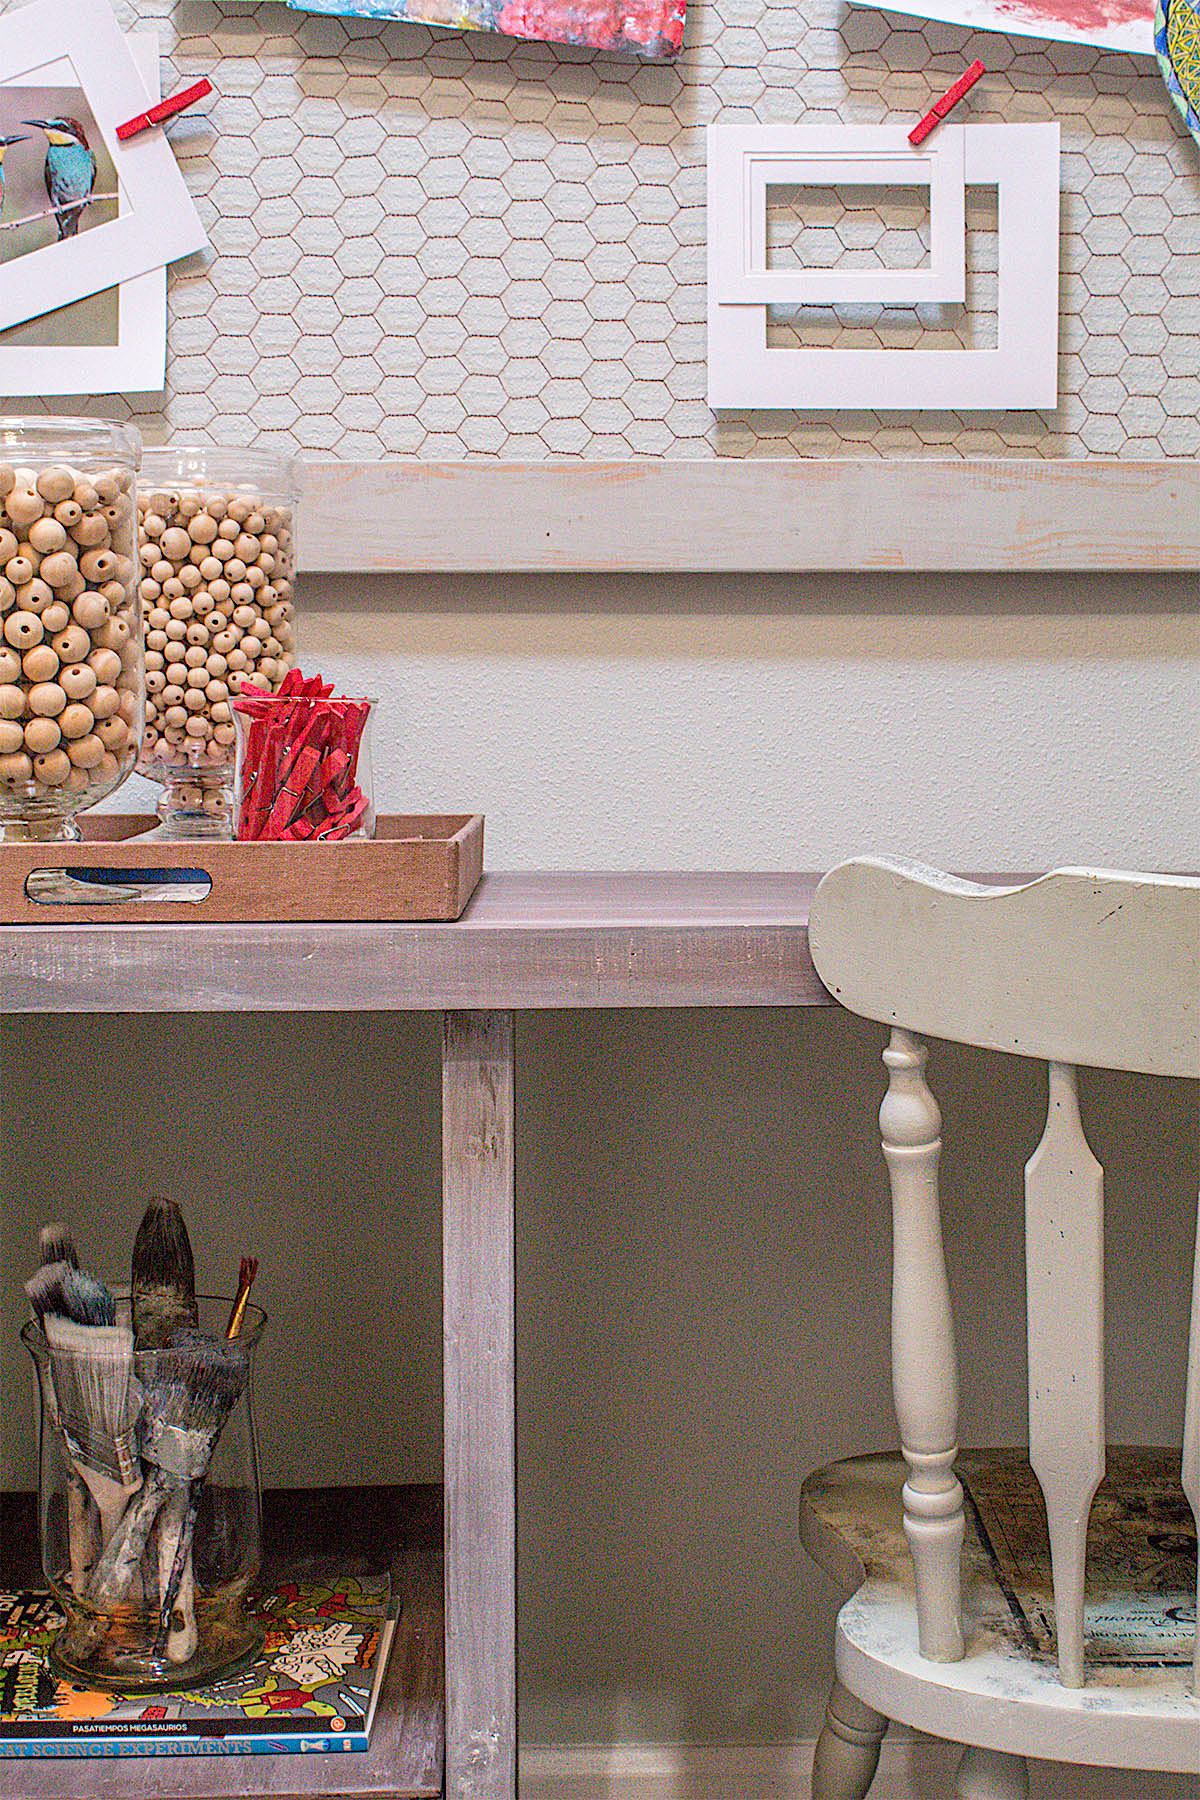
Because what can be better than a pegboard with farmhouse charm! This was an impromptu DIY that paid off. I just love how it filled the room with character and how it offers an entire wall to display artwork.
I’ll soon be posting a detailed tutorial of how we made this chicken wire pegboard so stay tuned so you can learn how to make your own stylish pegboard.
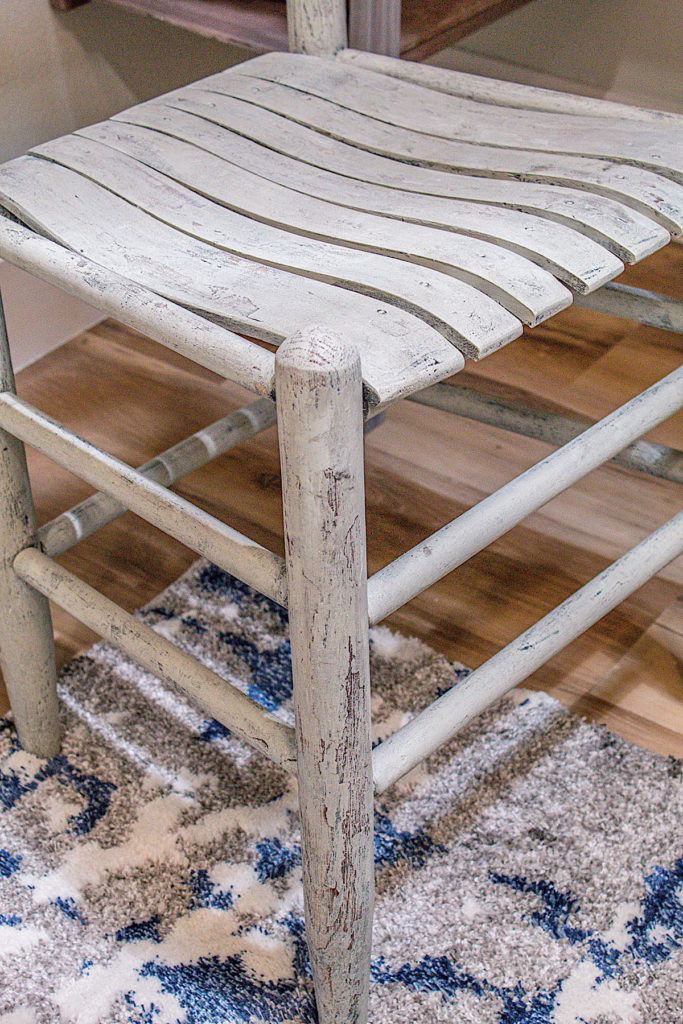
For a warm vintage palette in this space I stuck to rustic grays and earthy colors, painting thrift store chairs and wood surfaces to follow suit. I wanted it to be a soothing and inviting spot.
A Timeless Wood Aesthetic
I like to create finishes with a timeless look. I’ve learned from my constantly evolving design taste that it’s a good idea to stick to a versatile base. Giving my walls and furnishings a look that will stand the test of time no matter the trend is a valuable design tool in my toolbox.
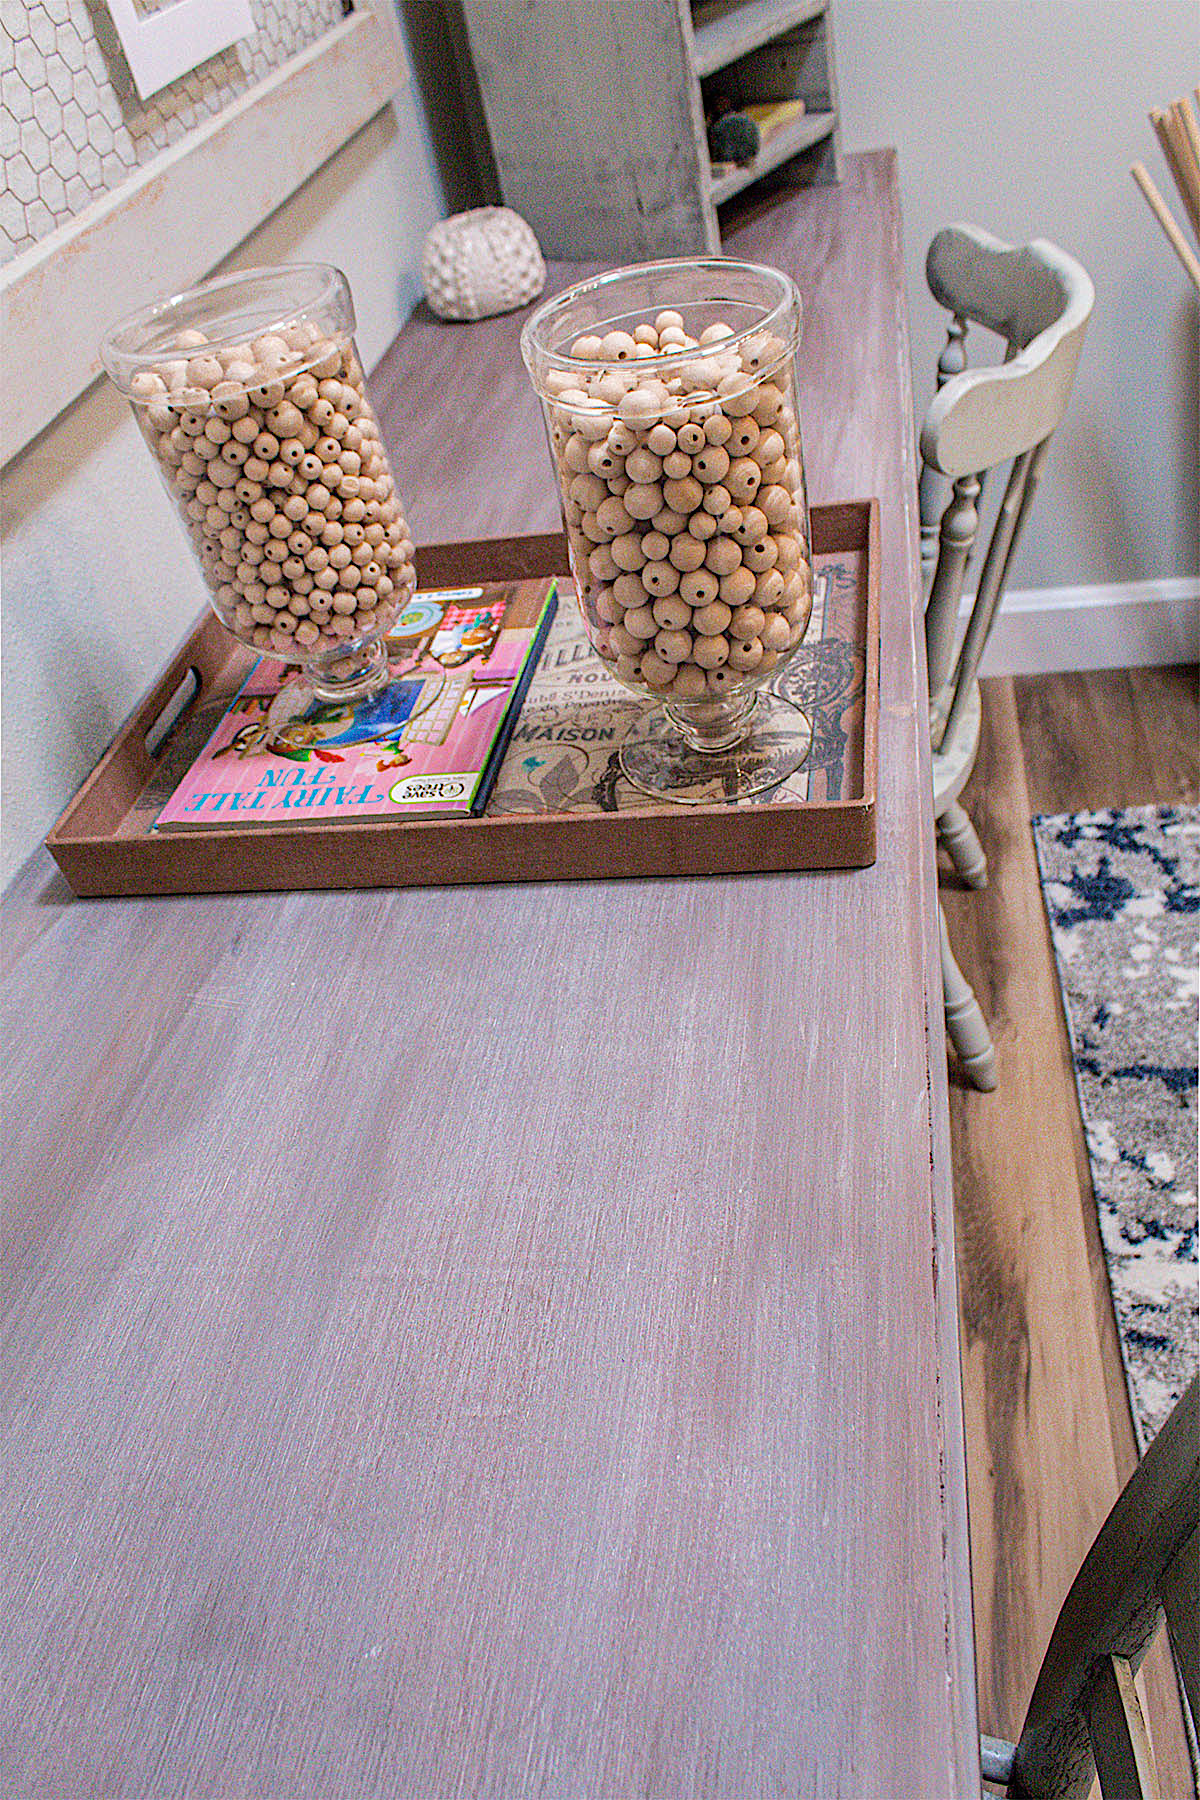
I used a simple stain and paint technique to give the workbench/desk and the wall shelves a beautiful rustic finish.
I mixed some stains to achieve a color I felt would complement the vintage yet artsy vibe in the room. The purple and gray hues add a contemporary touch and pair nicely with a wide palette of color accents.
How I created this look on the wood is another DIY I will be sharing with you soon!
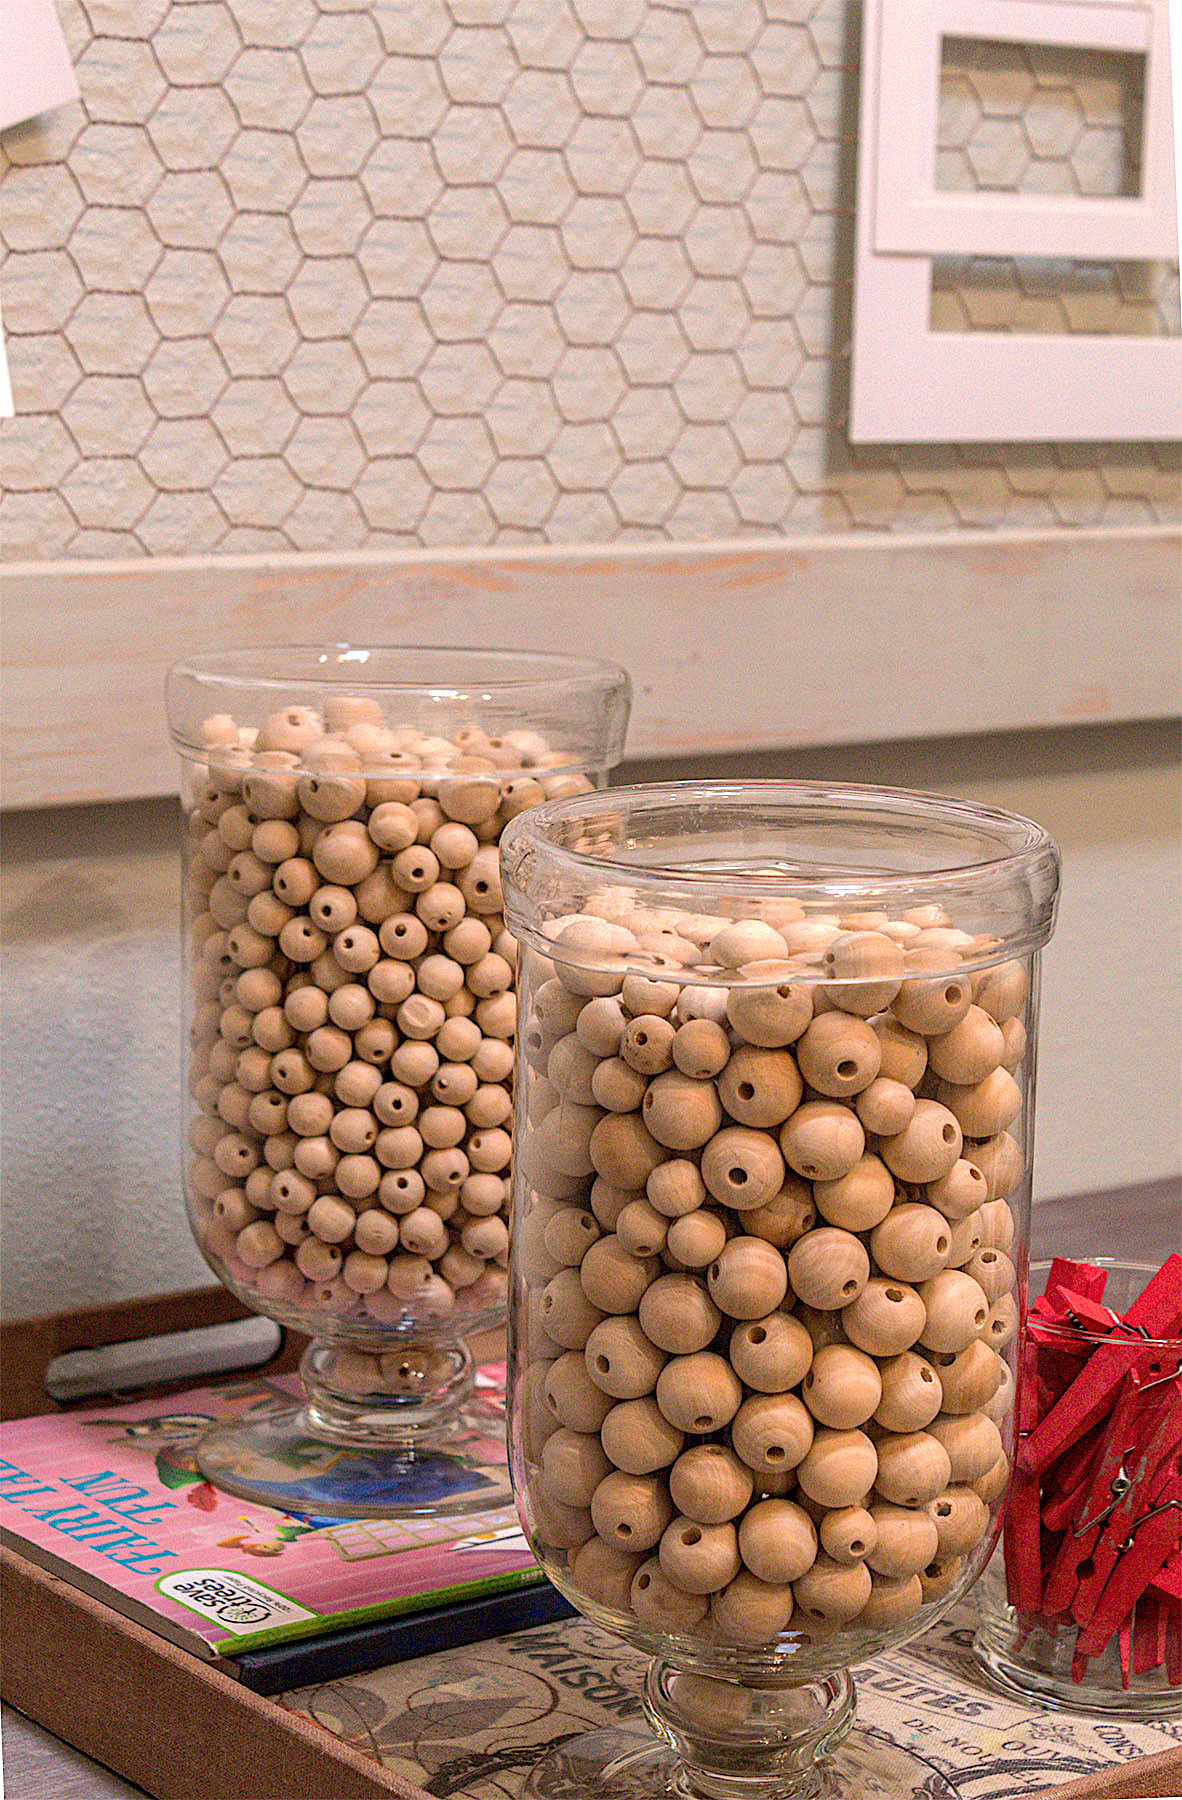
Having things open and accessible in a crafts room keeps the creative juices flowing. Our kids can simply look around the space and reach for what they need. It’s easy for clean up too. Simply throw everything back in a basket or slide it onto a shelf.
My go-to decorating process involves DIYing and loads of resourcefulness. I like the feeling of leaving a personal imprint in every room of the home and of course saving money is always a bonus!
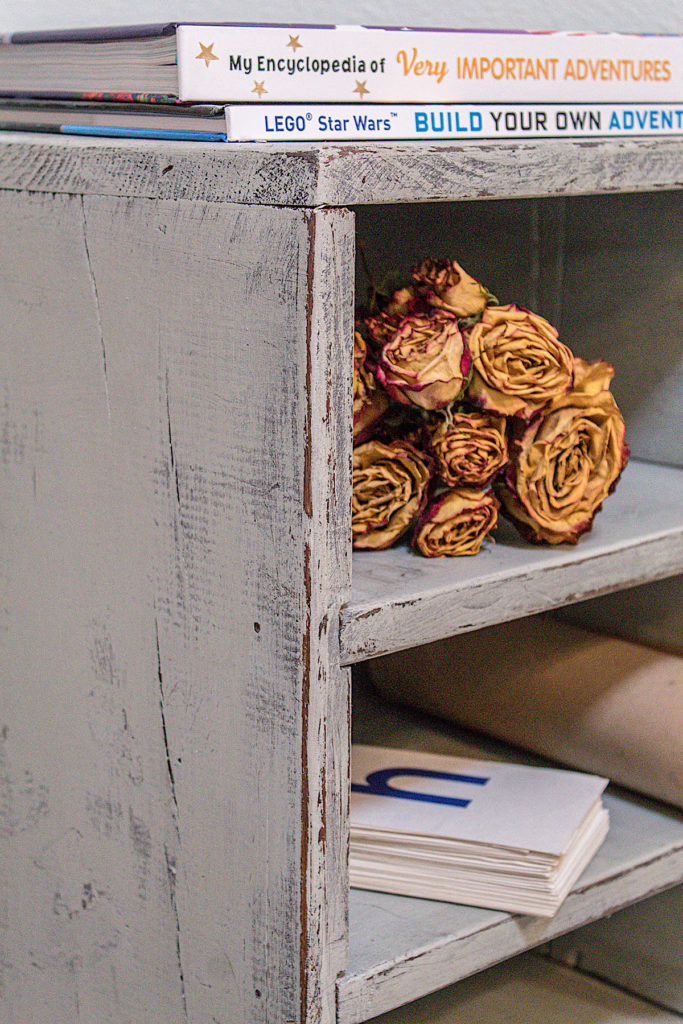
I painted a roadside small shelving piece in Behr’s Foggy London paint to match the chairs. It did not look like much when I found it but now it is a charming and useful addition to the room.
Disclosure: Some of the links provided are affiliate links. By purchasing through these links it supports this blog and the work we do and there is no extra cost to you. If you would like to read our full disclosure, click HERE.
As I mentioned previously, the set up of this room is conducive for many other uses. The open concept with abundant surface area and storage would make for a wonderful home office or home schooling room in the home.
One More Look At the BEfore & After
Nooks In Bloom family, I thank you again for all your support in following us on the blog. It truly means a lot! I hope that you enjoyed this tour of our new Arts & Crafts Room. Let me know what you think in the comments below and be sure to SUBSCRIBE at the bottom of the page so you never miss a thing!