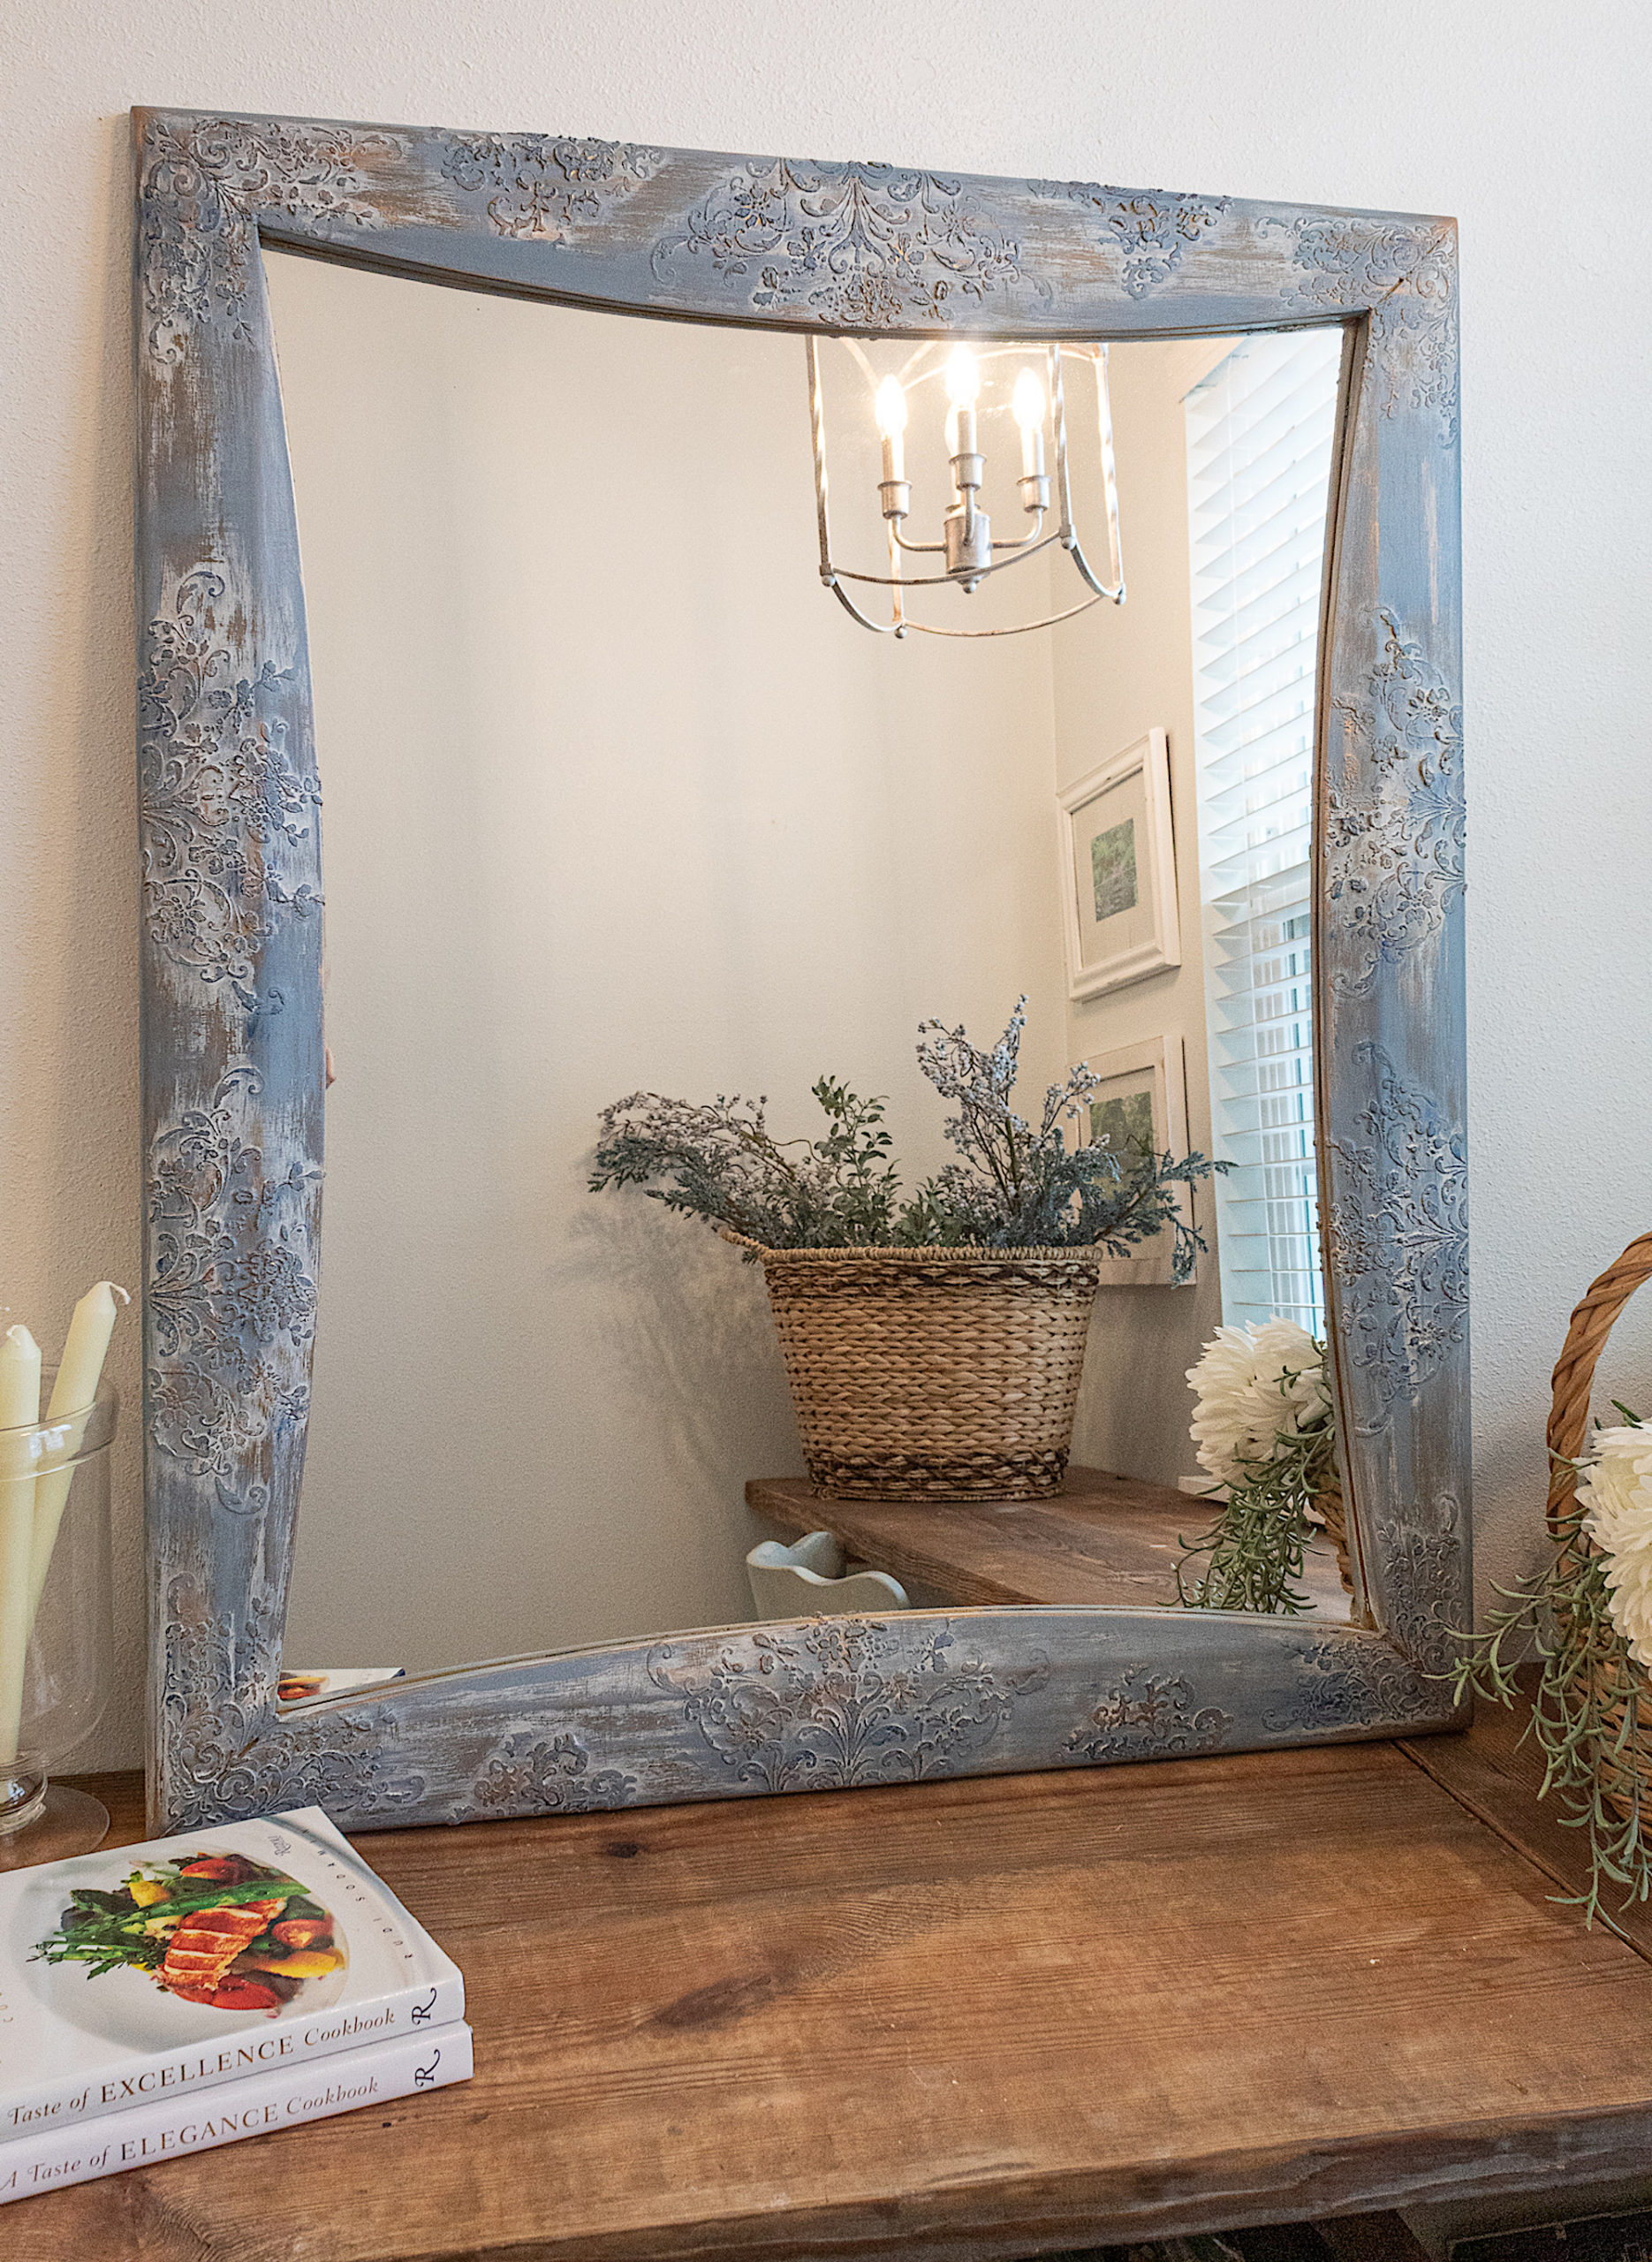
THIS PLAIN MIRROR IS TRANSFORMED TO FRENCH VINTAGE USING RAISED STENCILS!
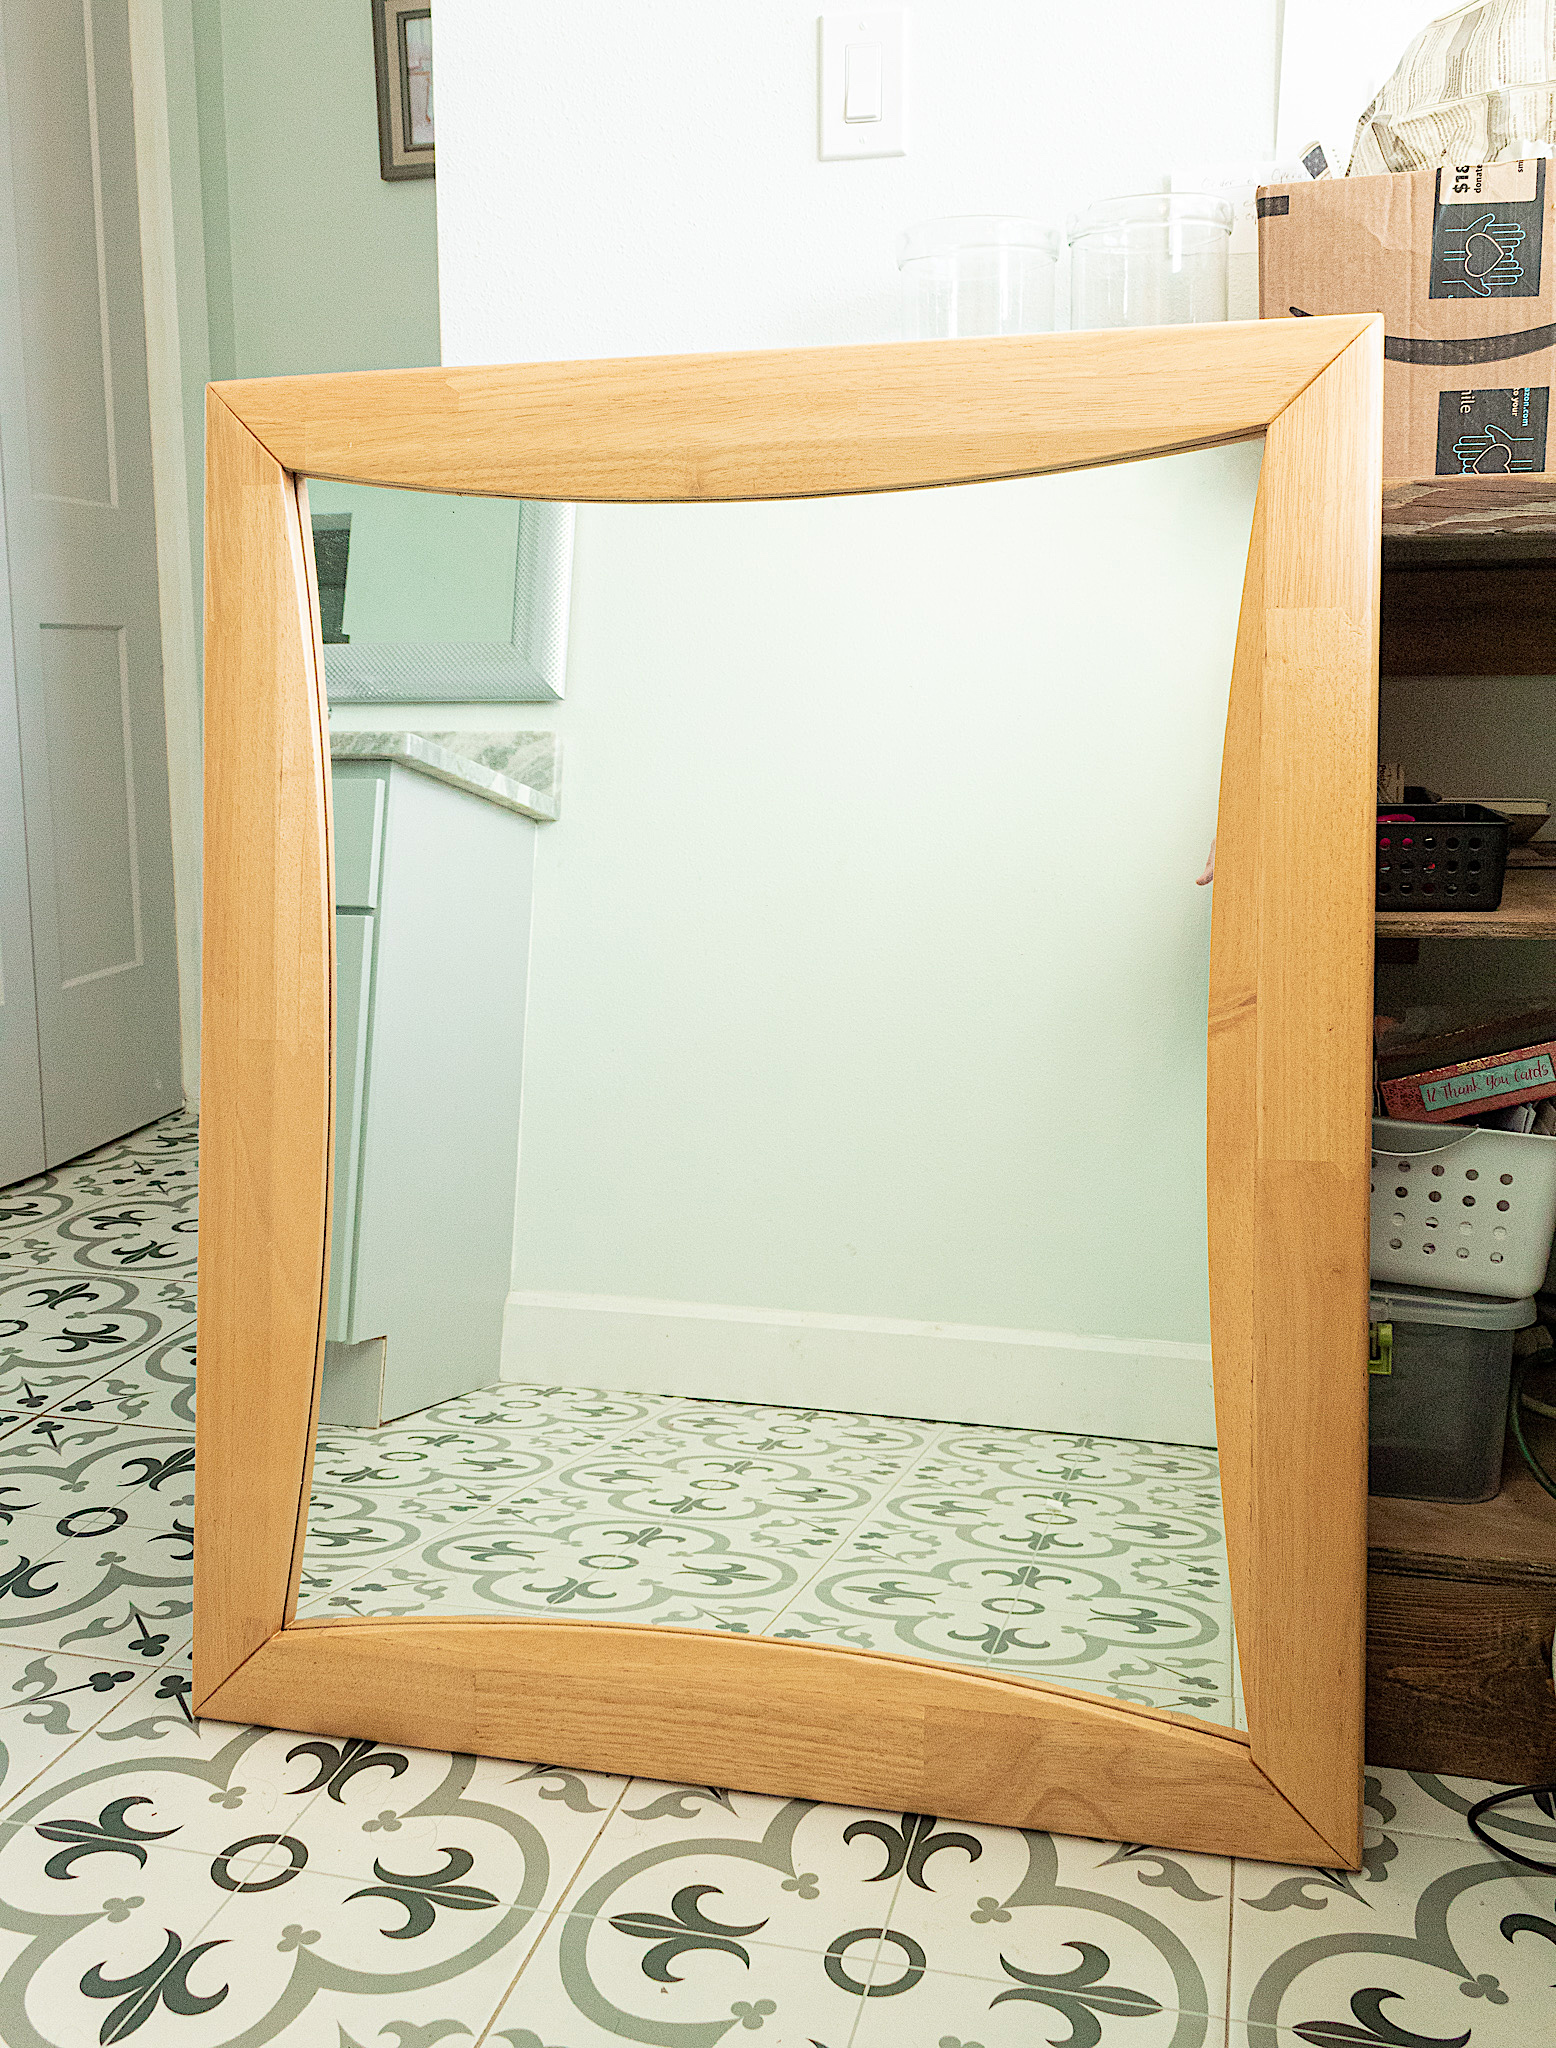
Raised stencils can completely transform the look and feel of a furniture piece. This thrift store mirror, although large and made of solid wood, was rather plain and a bit outdated. Just take a look…
Since I love French vintage and French countryside decor, I decided to give this mirror an aged look with lots of ornate details to create a French inspired finish. To achieve the level of texture I was looking for, raised stencils were the way to go. And the aged feel would be achieved through paint layering and distressing. So let’s get started!
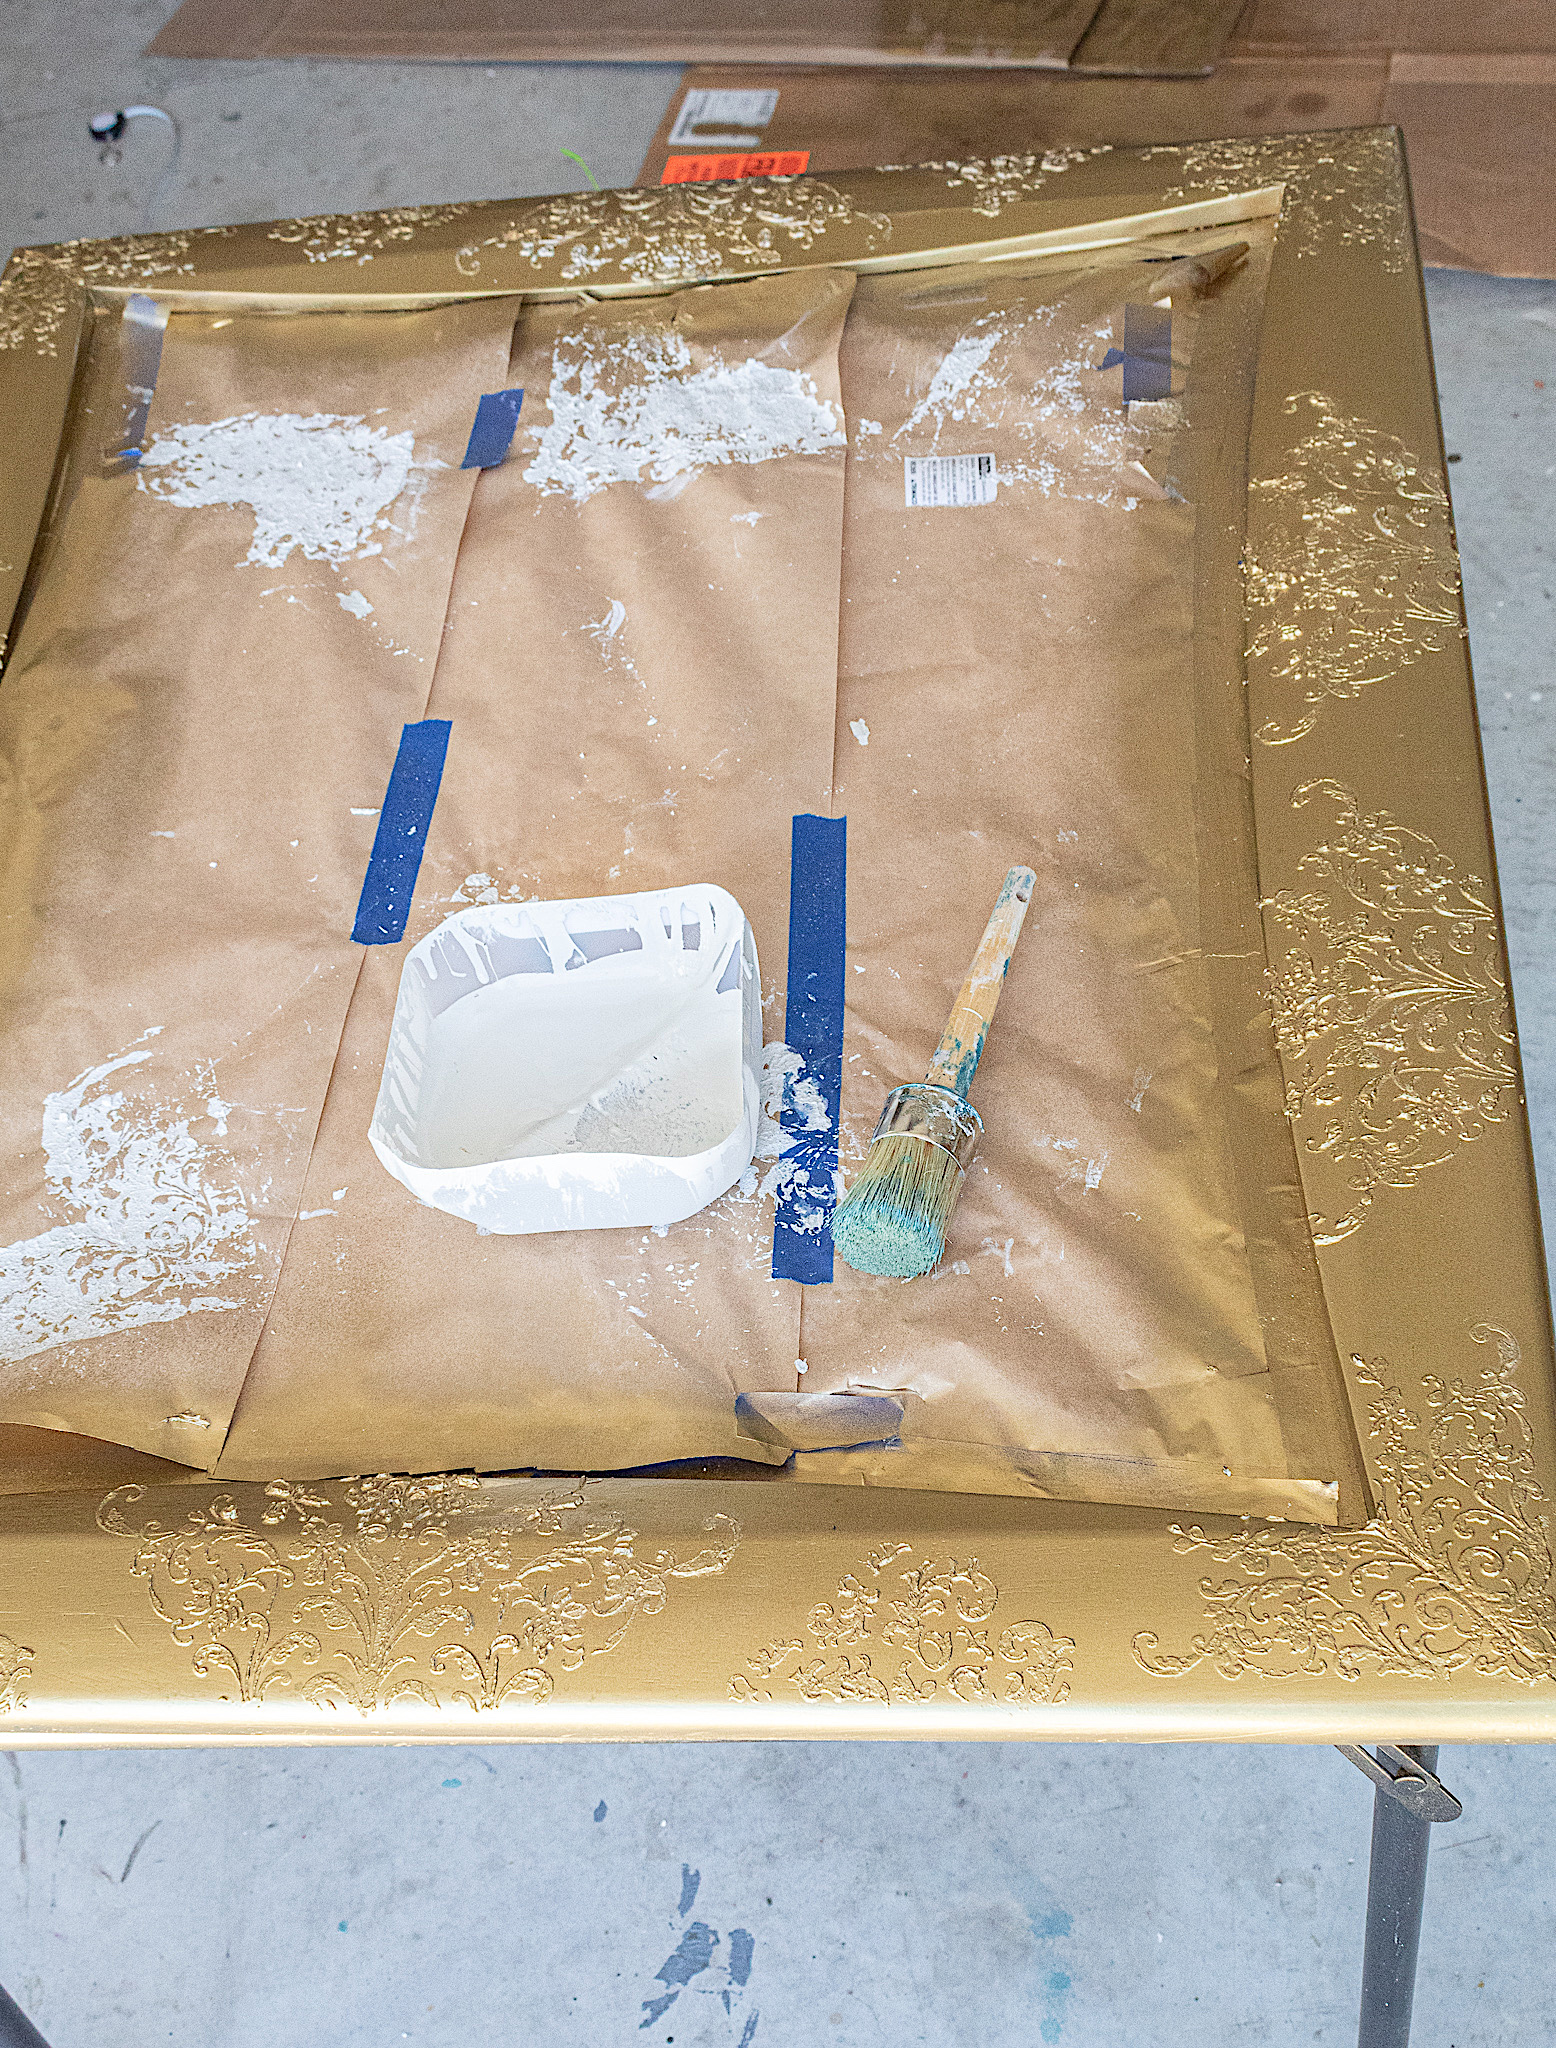
I gave the frame of the mirror a light sanding by hand with my 80 grit sandpaper. It was a quick sanding, just enough to give the paint some grit. Then I cleaned it all off with a soapy sponge and paper towels. Prior to painting I covered the glass of the mirror with masking paper.
Disclosure: Some of the links provided are affiliate links. By purchasing through these links it supports this blog and the work we do and there is no extra cost to you. If you would like to read our full disclosure, click HERE.
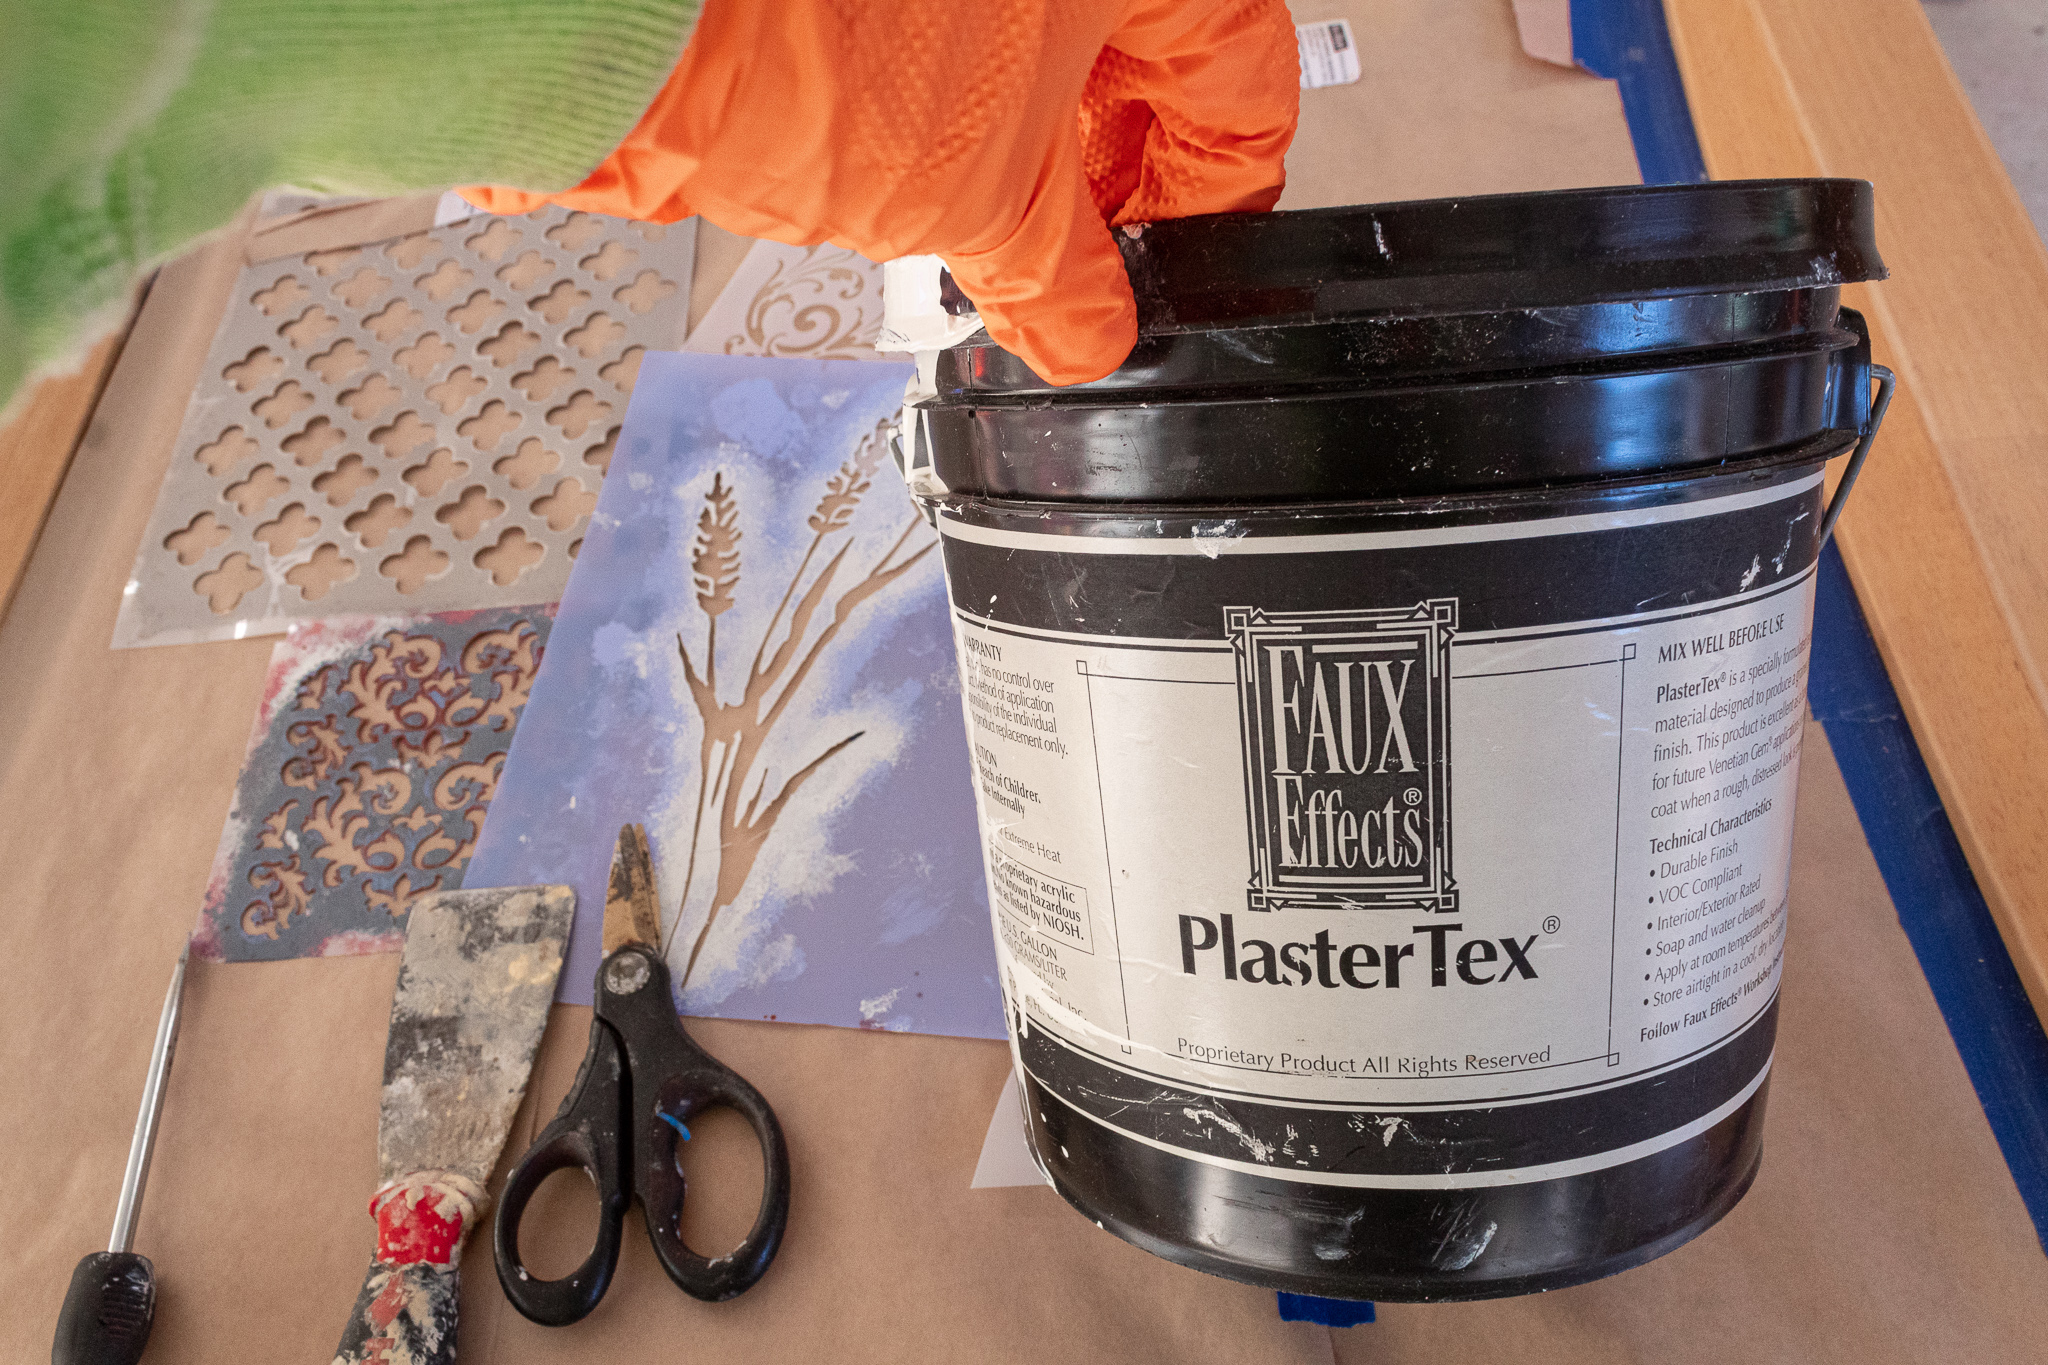
2. Making Our Raised Stencils
I pulled out a few stencils to see what look would go best with the style I wanted. I ended up deciding on my Flower Mandala stencil. I loved how the flowers and details laced out like a fan. I thought this would look beautiful all around the mirror’s frame.
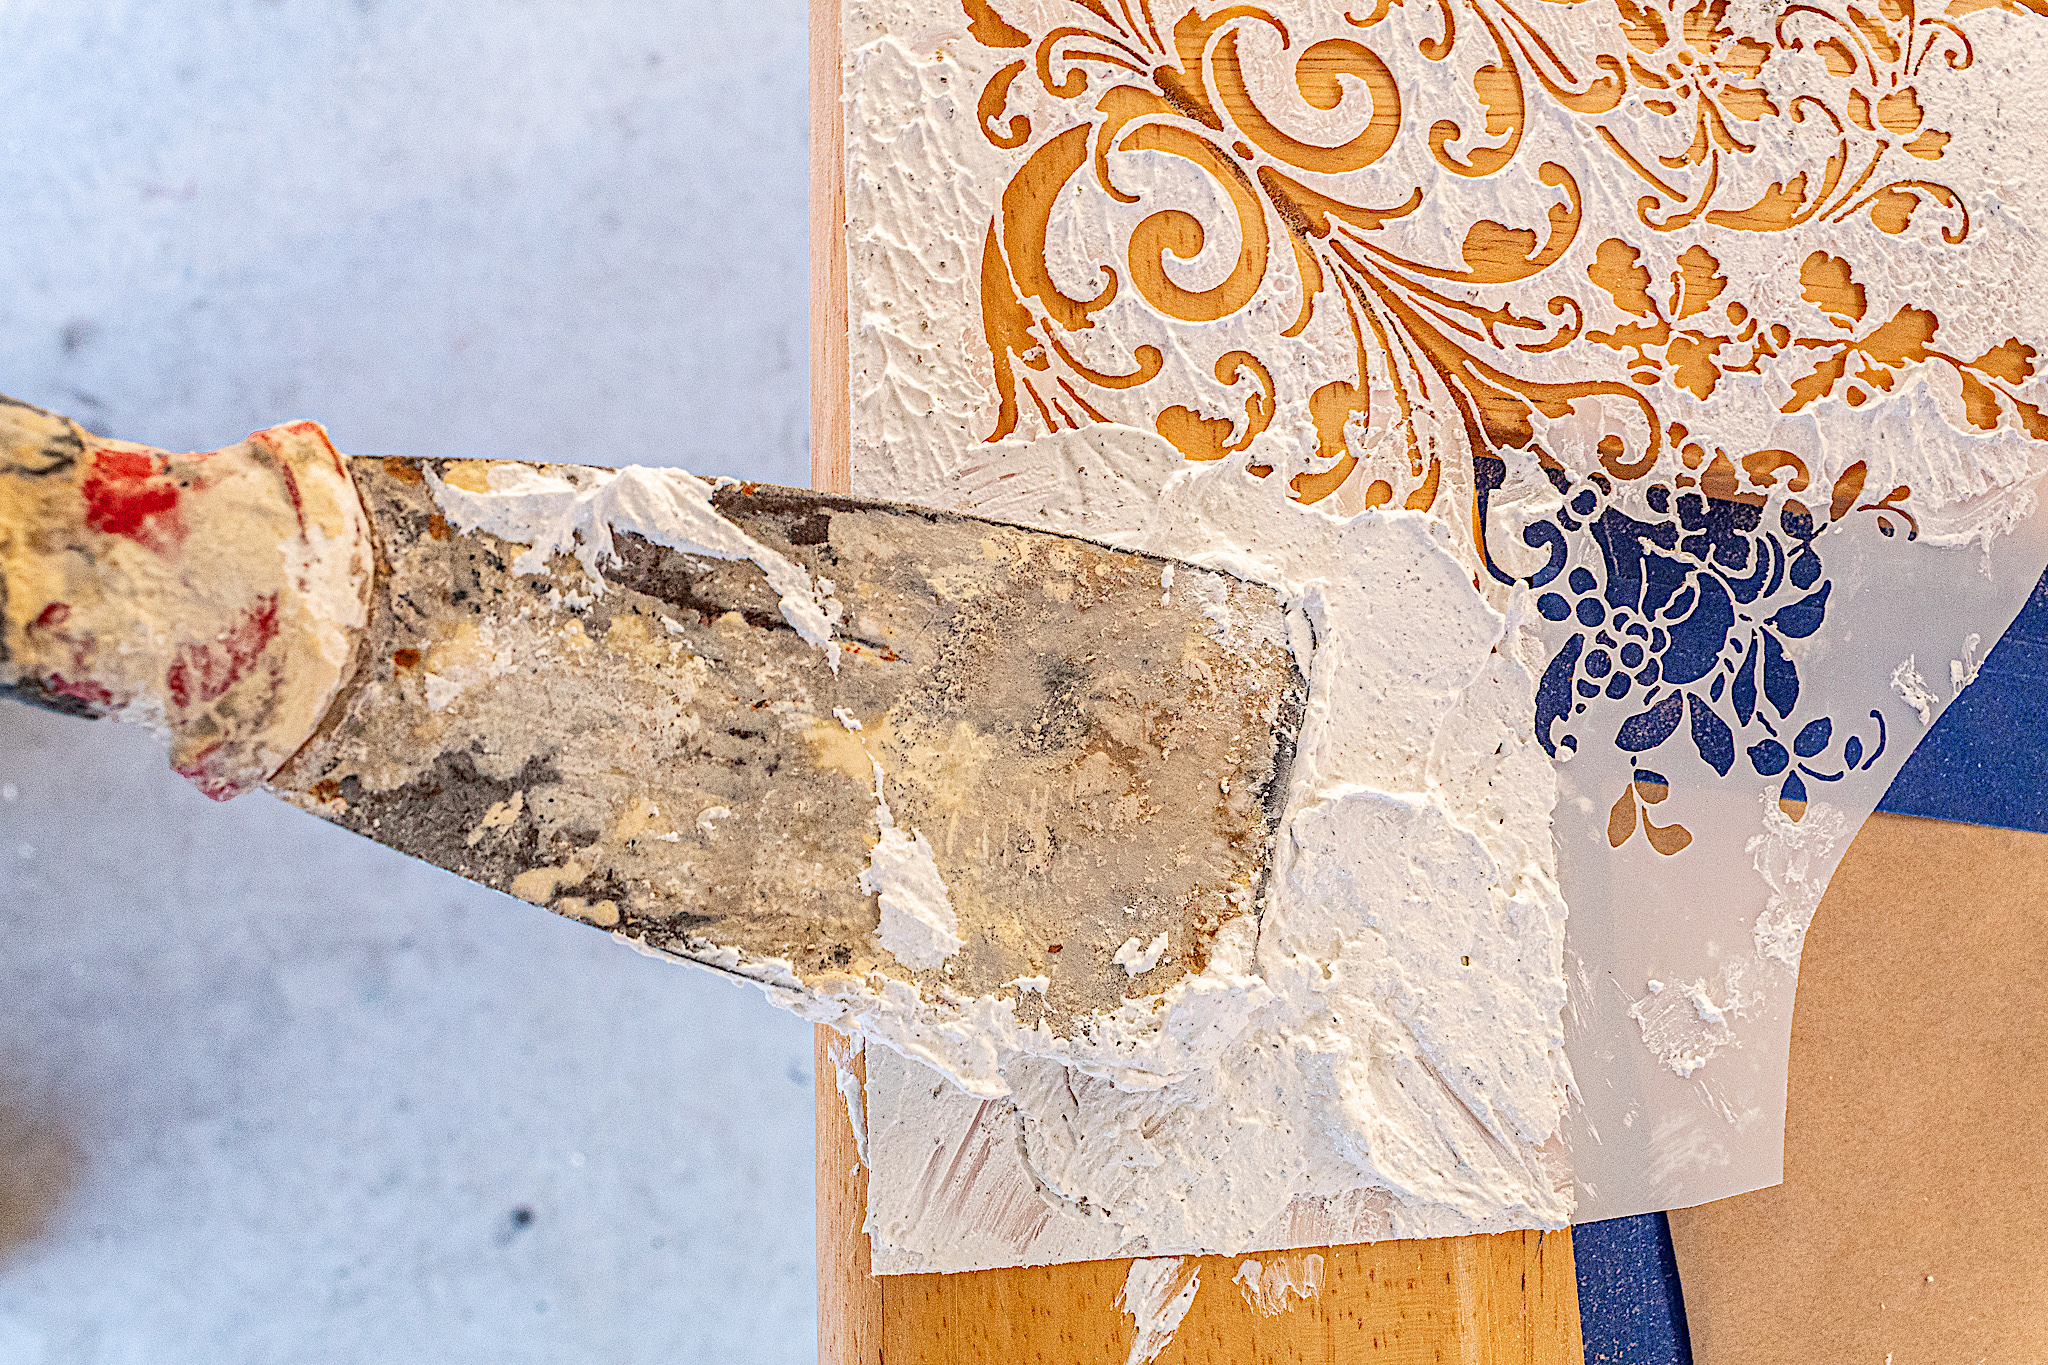
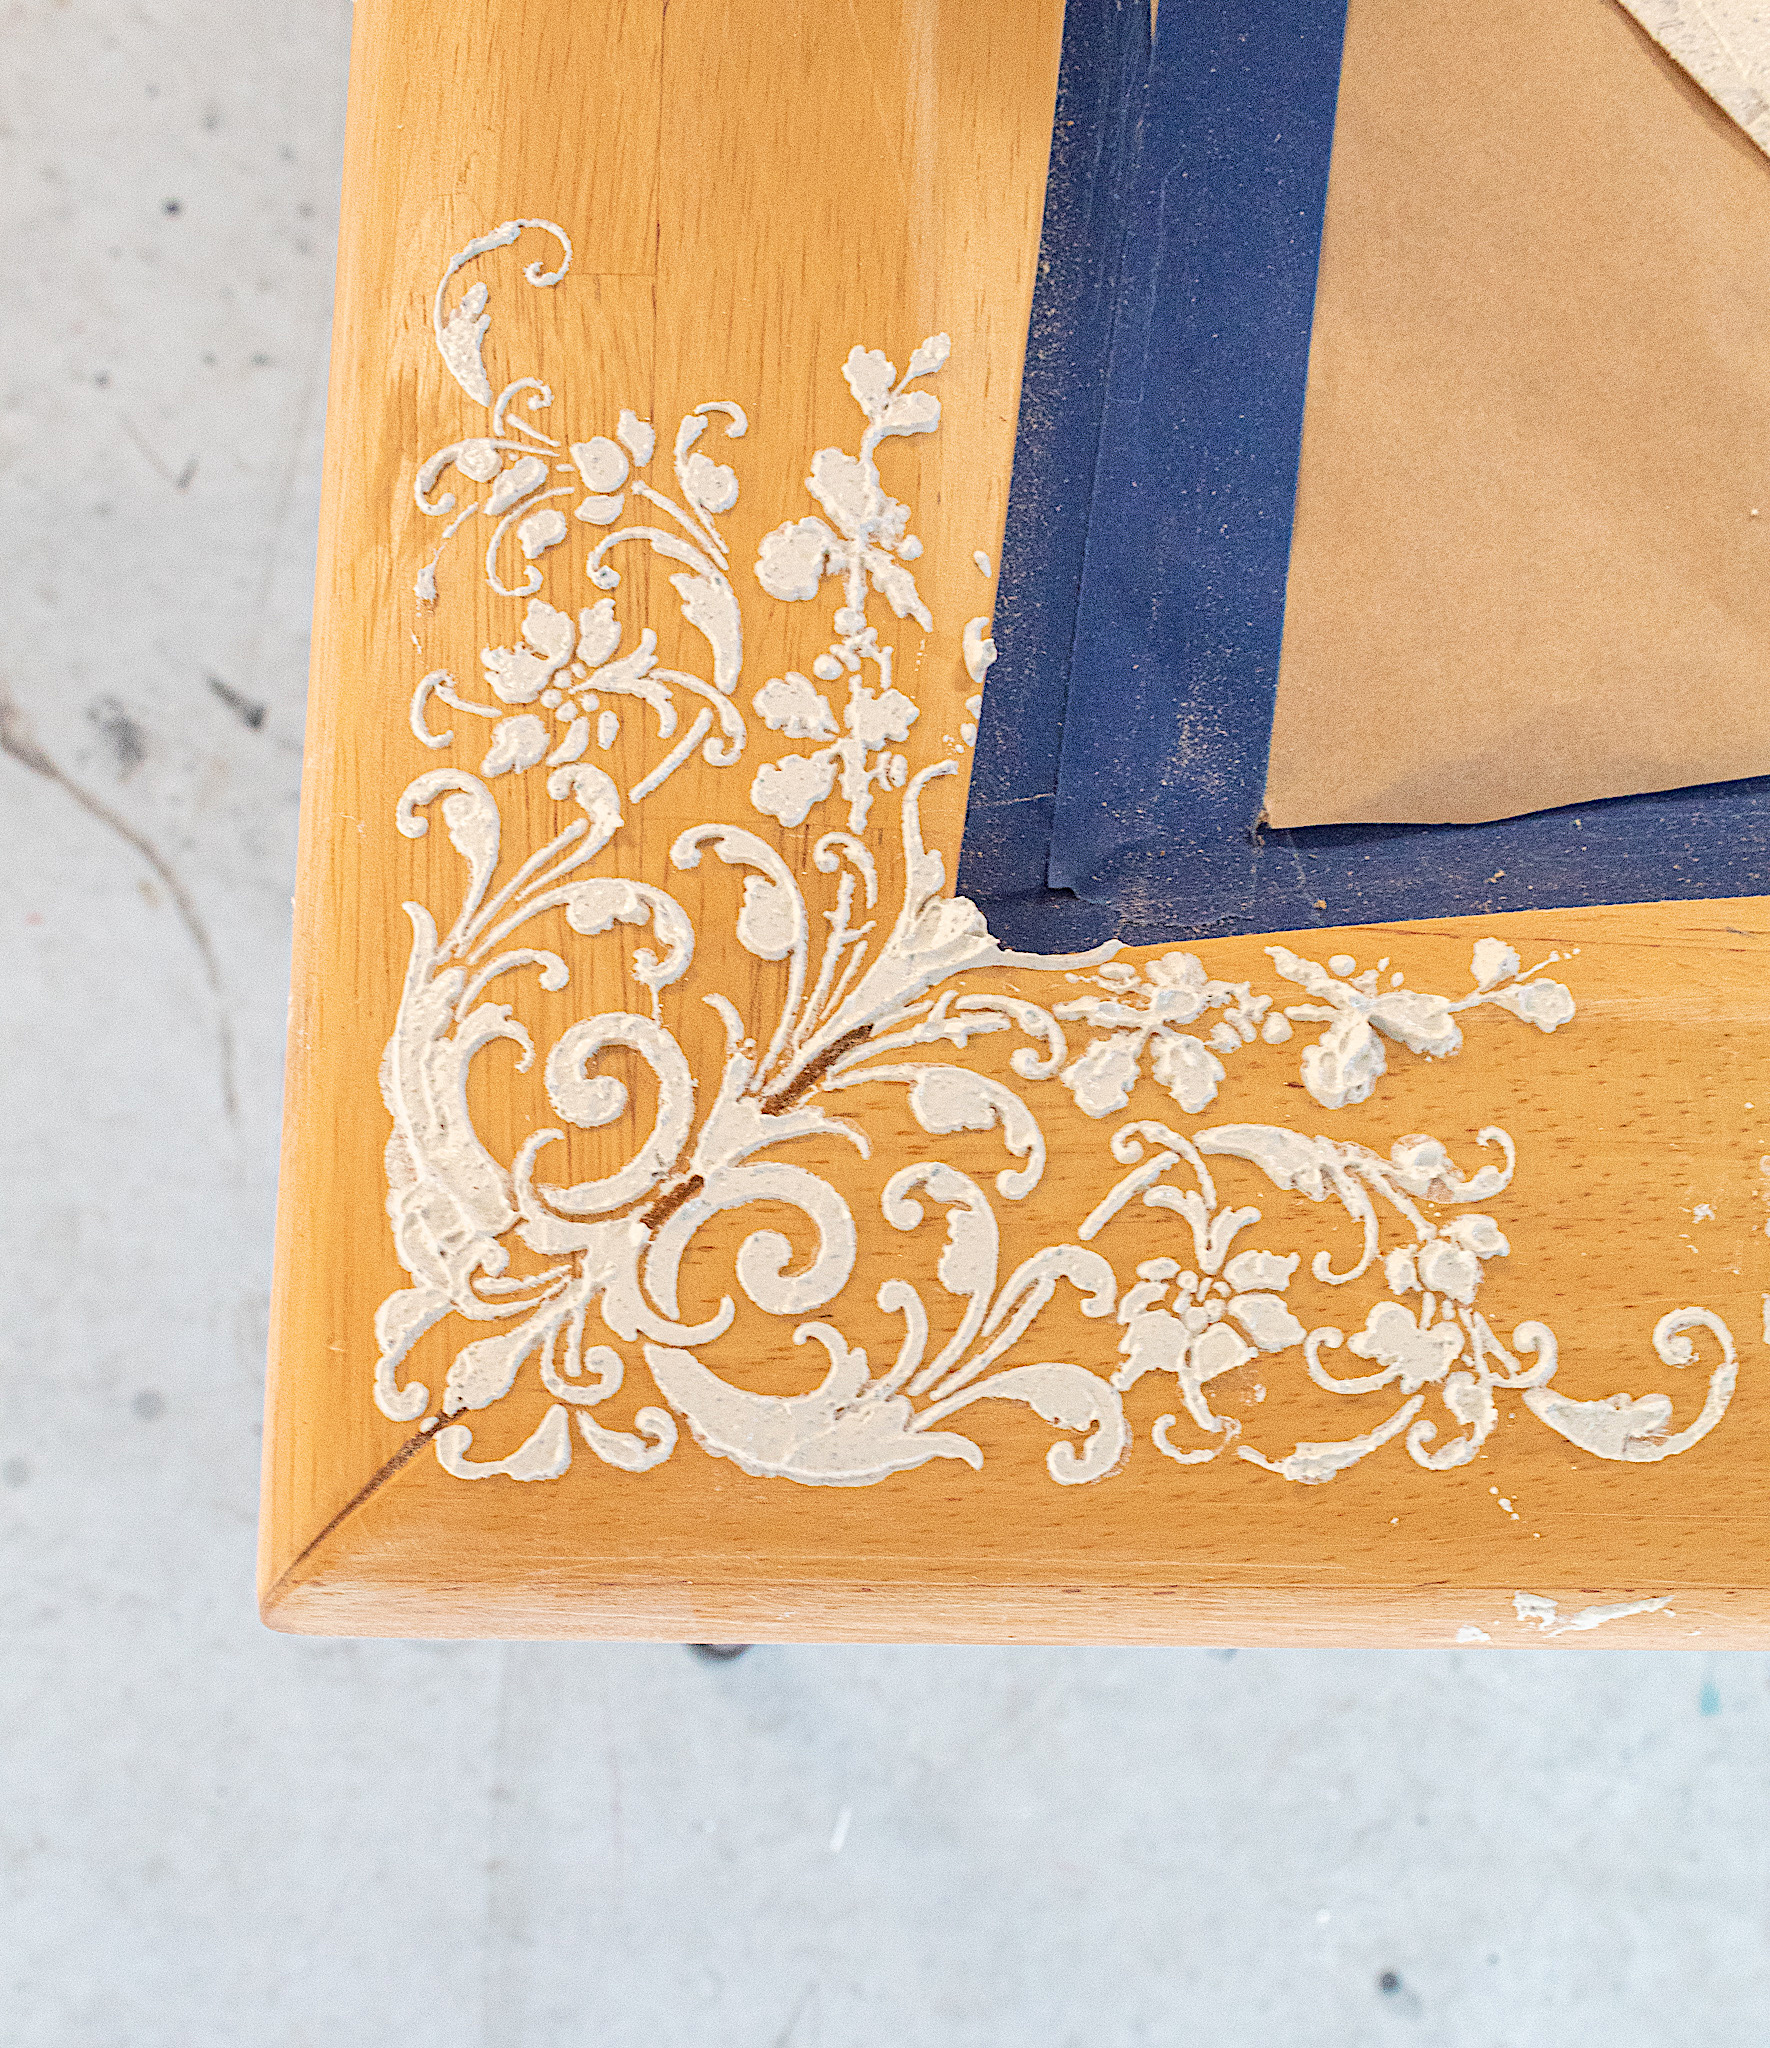
To begin stenciling I placed my stencil over one of the corners of my frame. I simply held it in place with my left fingers as I began slowly adding my plaster using my putty knife. Try to apply your plaster or compound in a flat direction over the stencil.
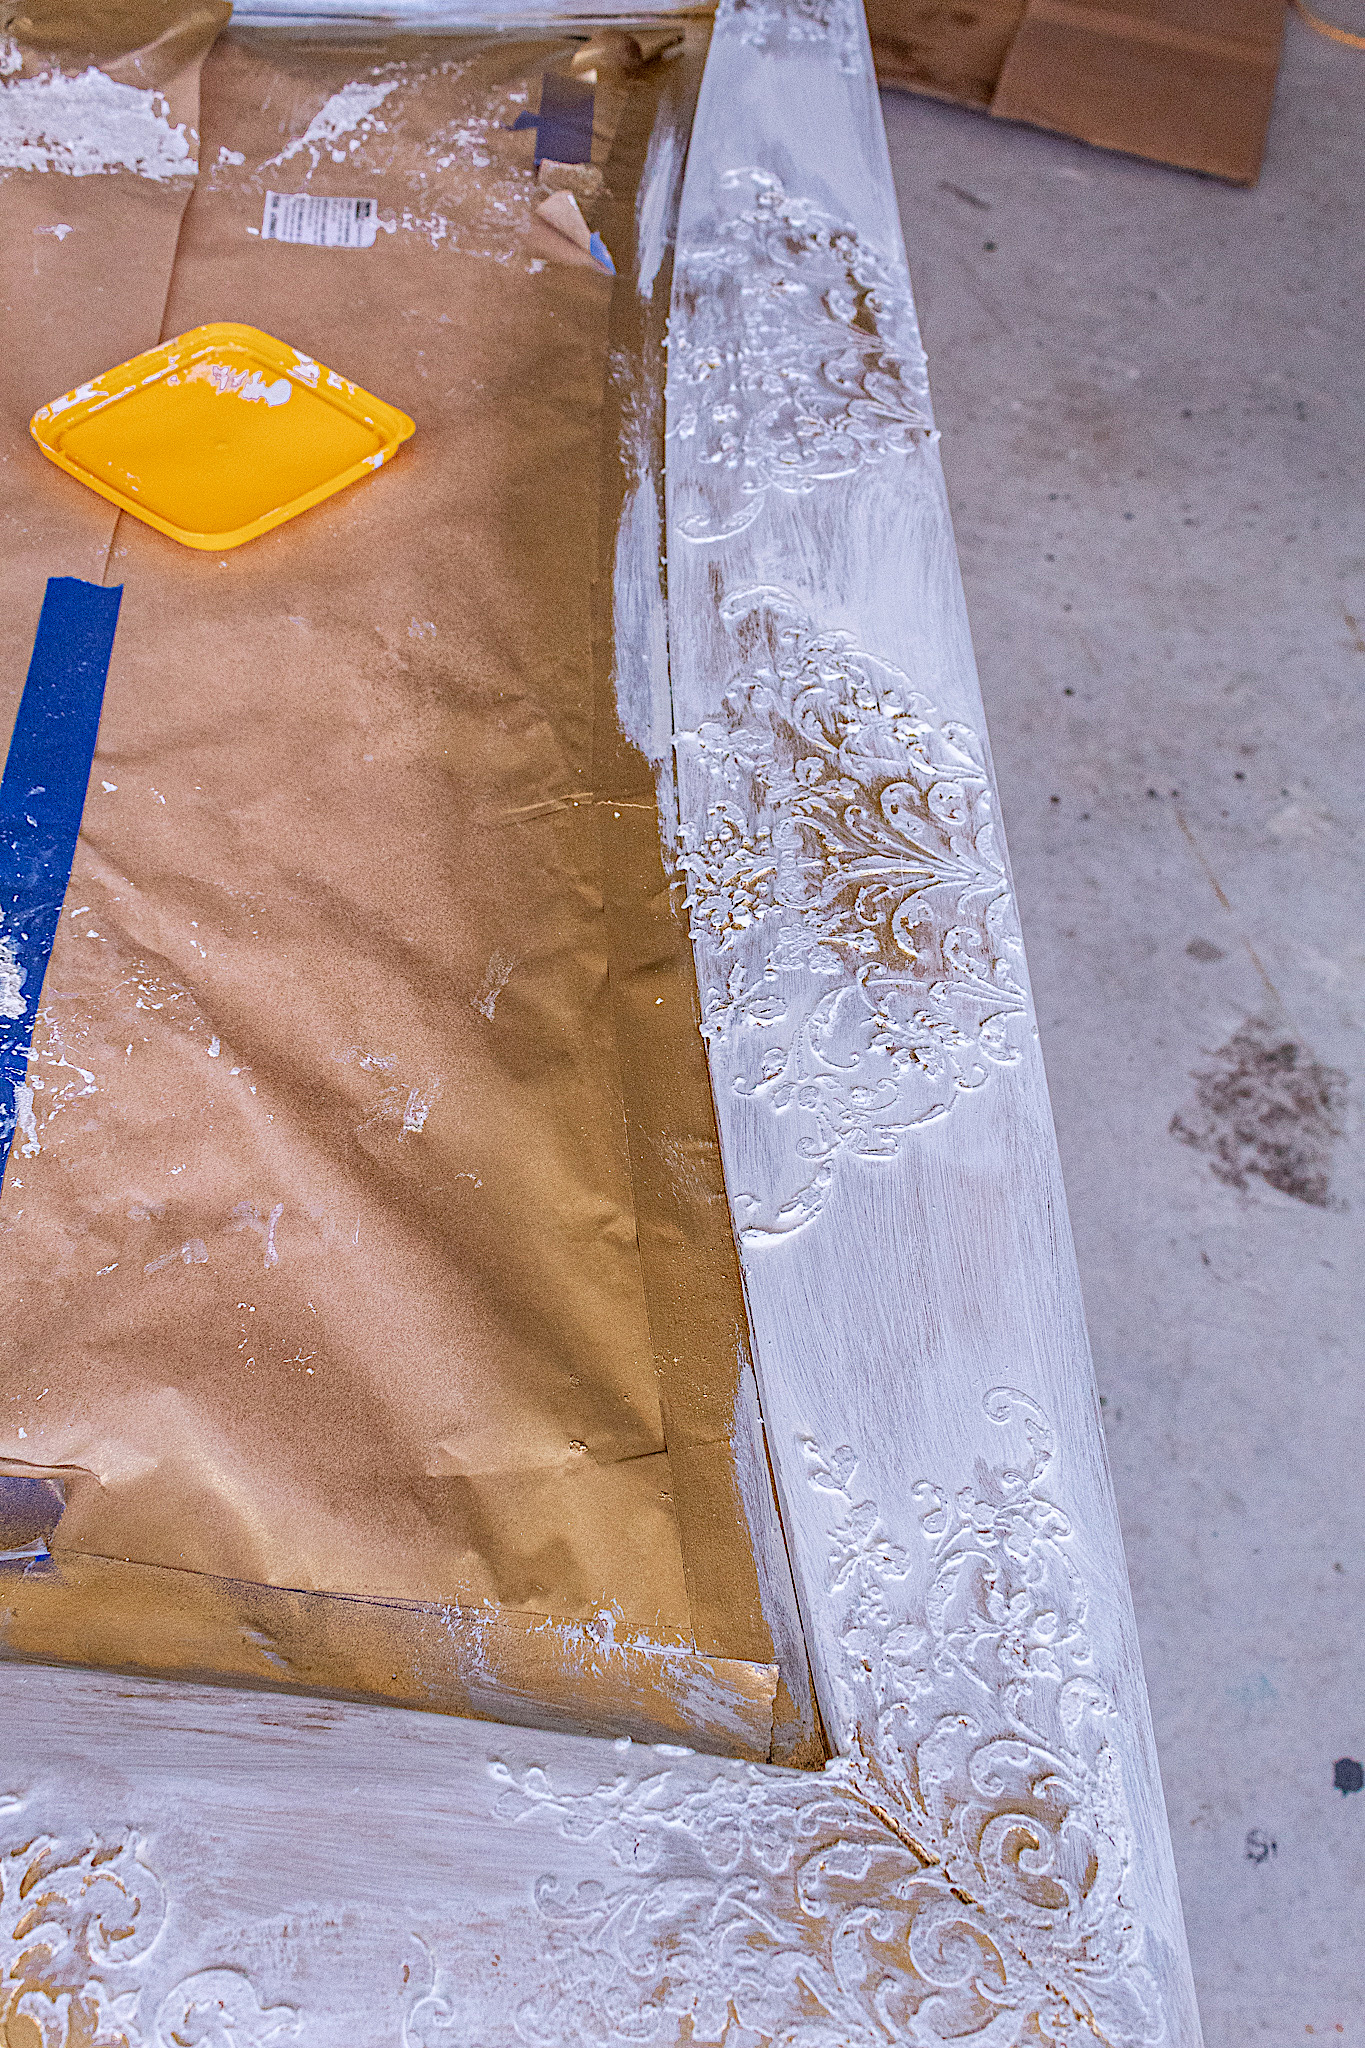
Once I covered the stencil details generously with the plaster, I used my putty knife to carefully skim it back. I skimmed the plaster down to just right over the level of the stencil. You don’t need a lot of plaster to create elevation.
Next I slowly peeled off my stencil to reveal the beautiful pattern.
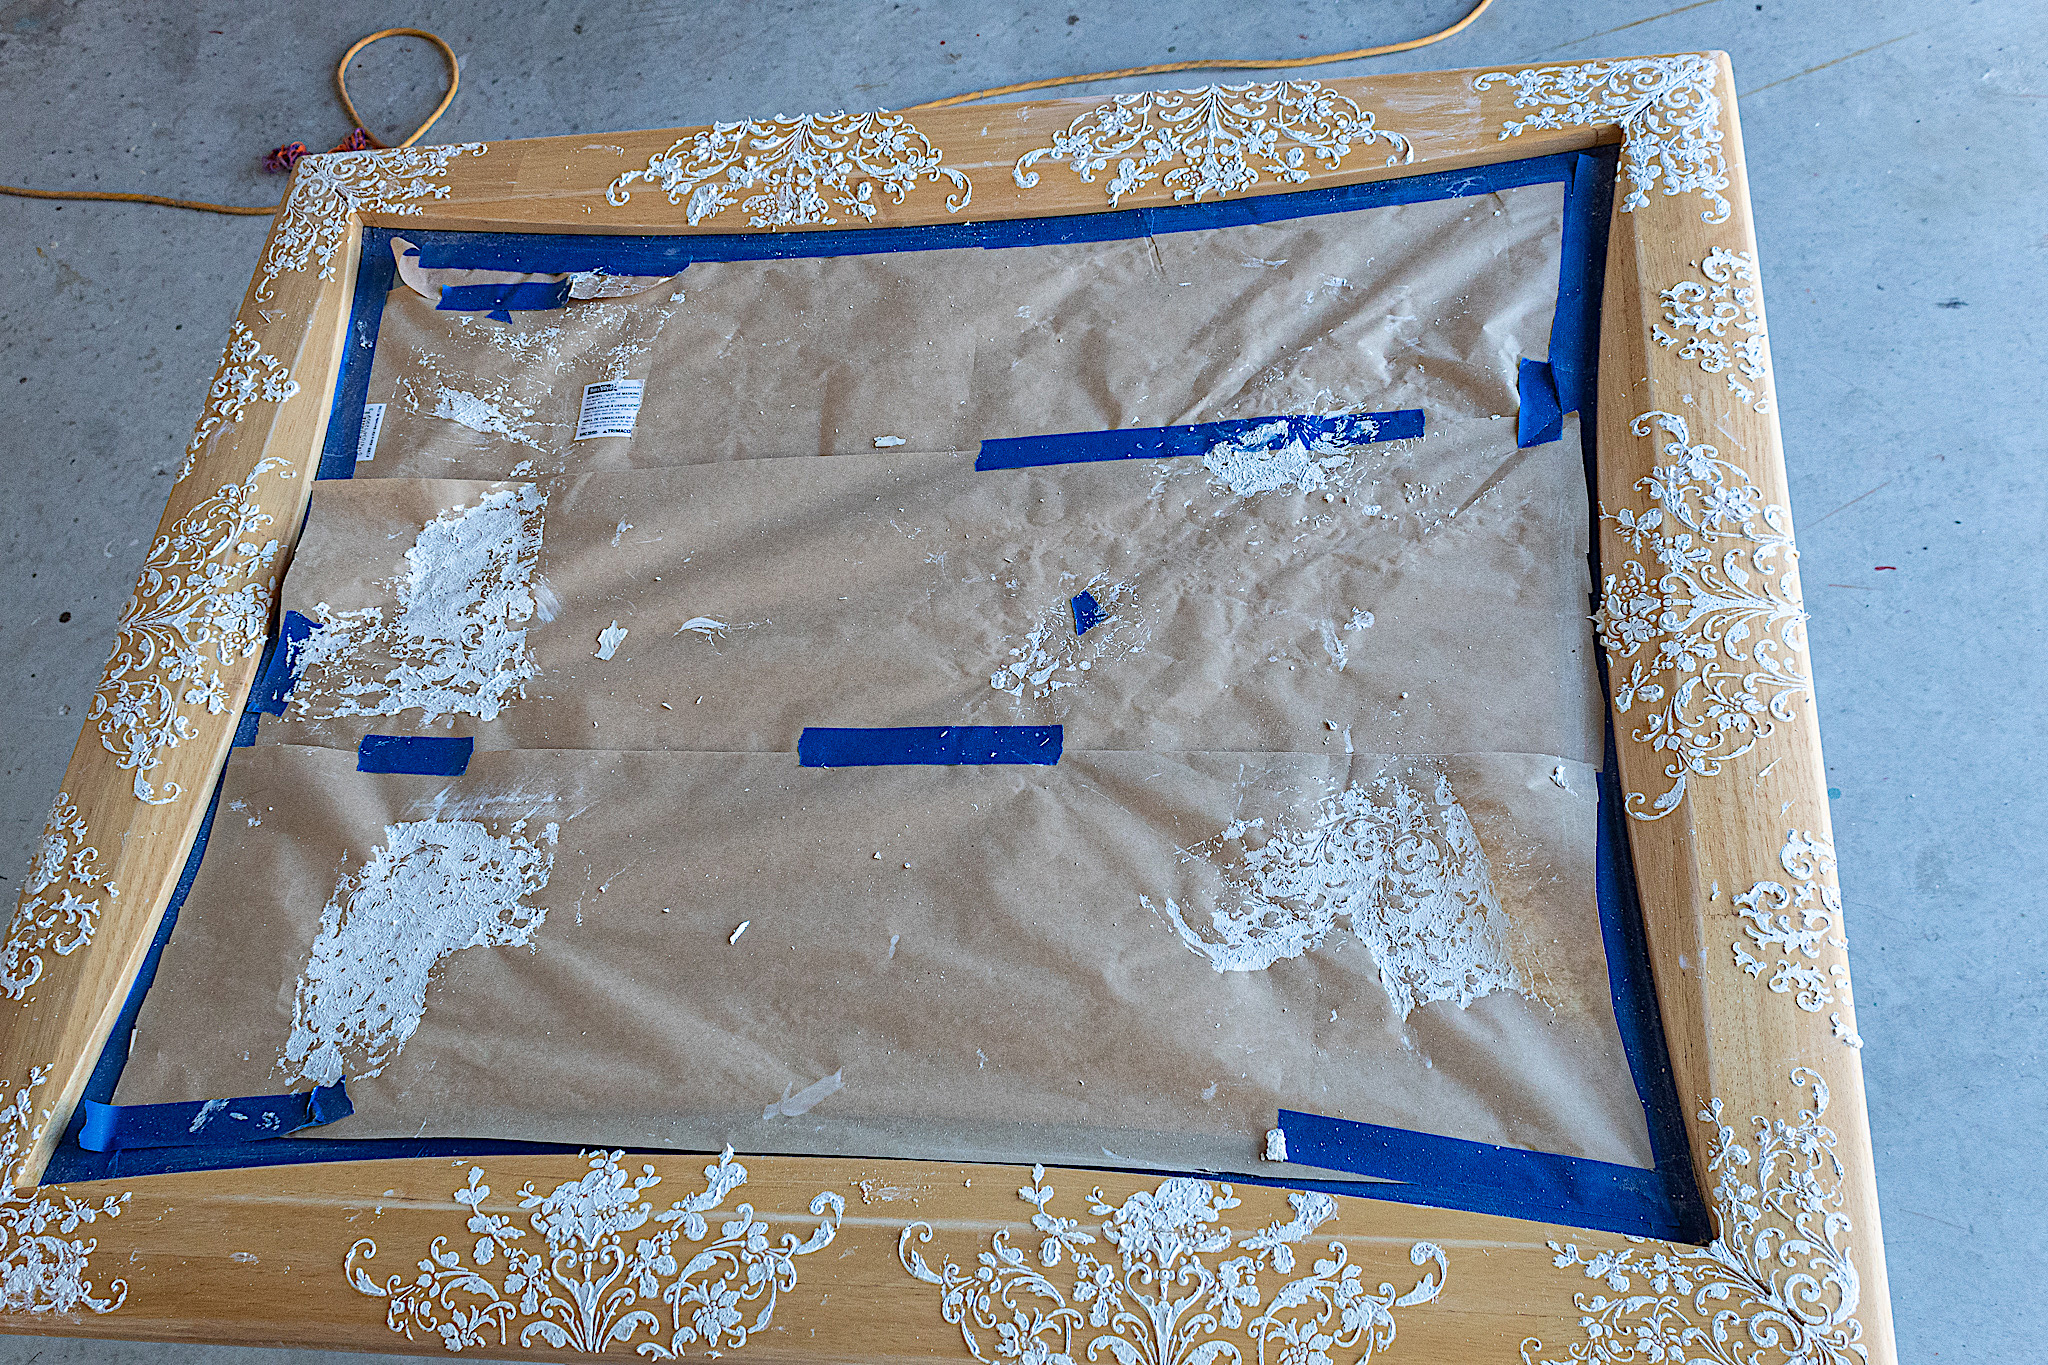
In the next picture you can see how I repeated the stencil process all around the frame. Already the frame looks so much richer with all those beautiful details.
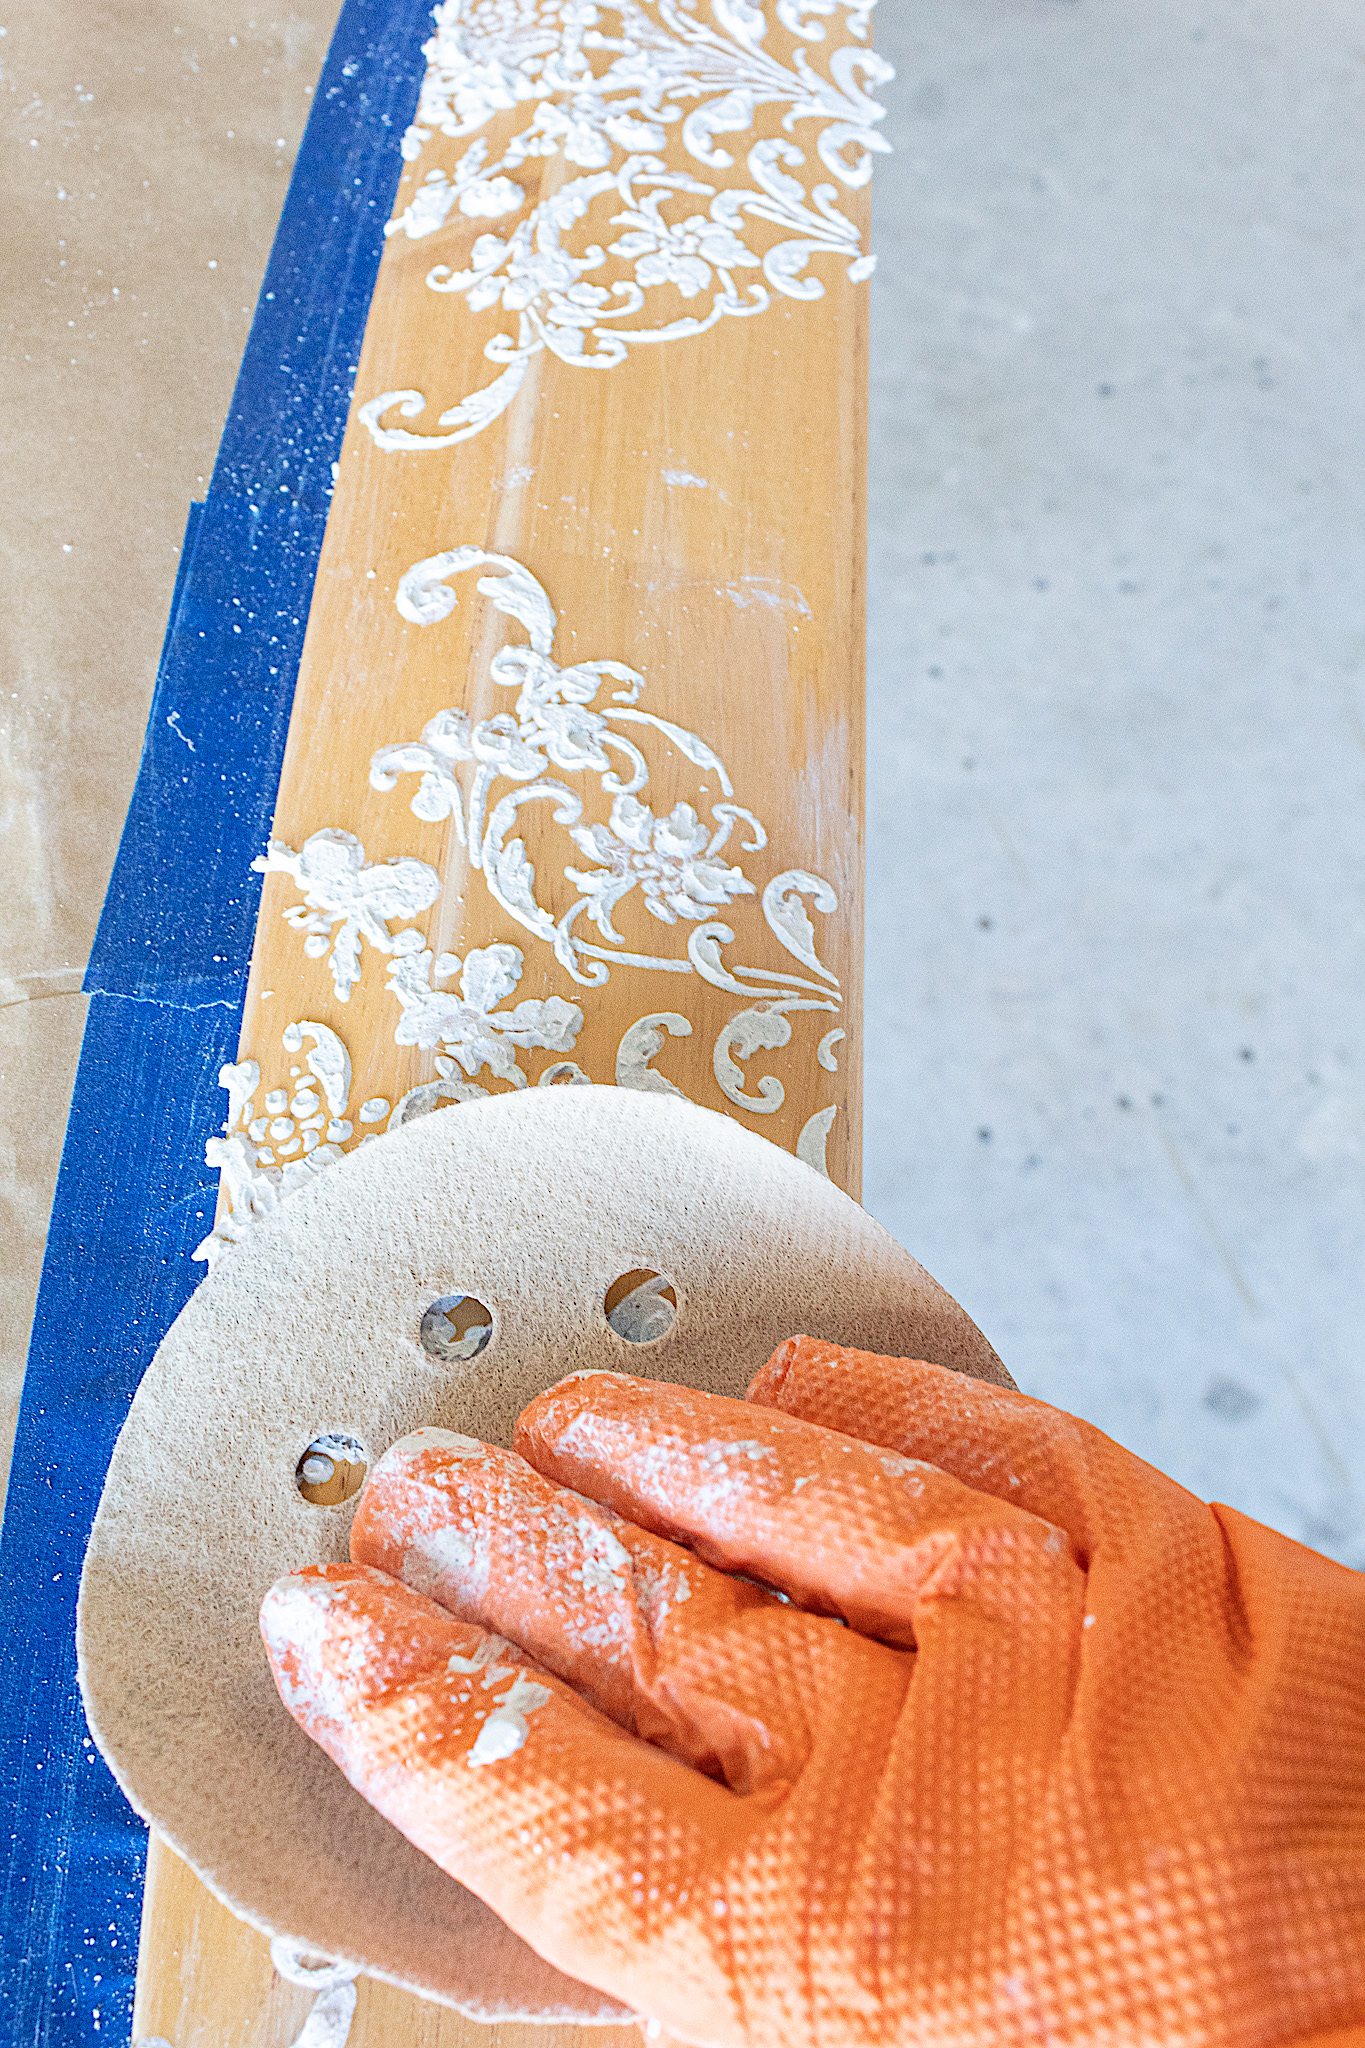
Before the plaster dried, I used a dampened paper towel to carefully wipe off any bits of plaster that had gotten on in any unwanted spots. I also used an exacto knife to finely go around smudged edges of the stencil details. With a hose I rinsed of the stencil between applications. Finally, I took my sanding paper and lightly sanded over the raised stencils. This helps to even things out and give the stencil a smooth finish.
1. First Coat Of Paint
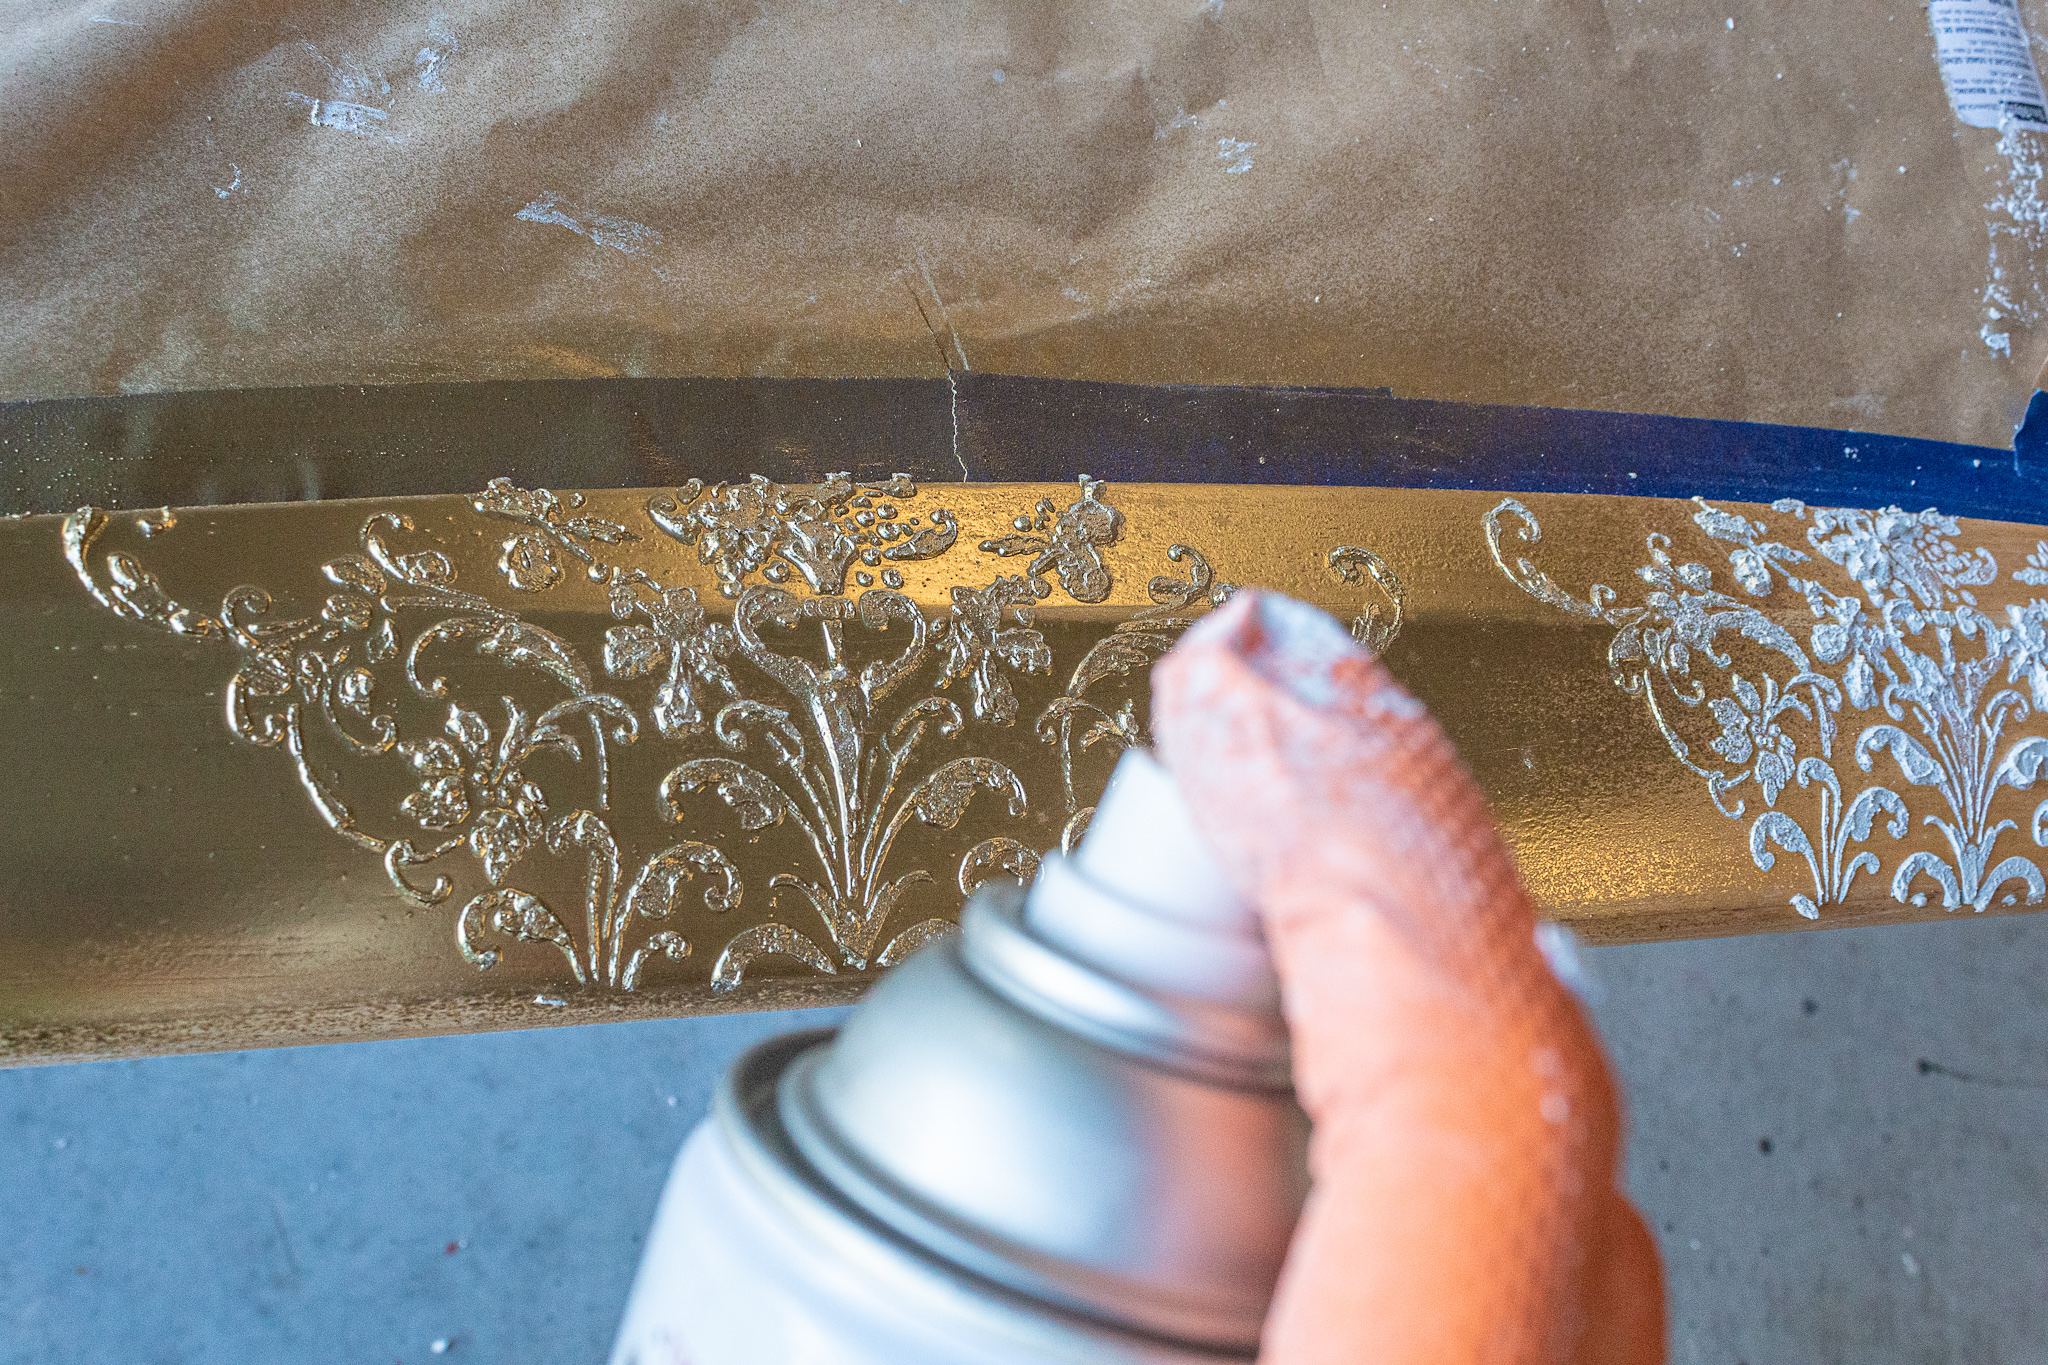
Now to apply our first color. Giving the mirror two good coats of gold spray paint is going to provide a beautiful undertone for this vintage inspired look. I have found the best way to apply spray paint is by doing long spray strokes and thin coats. Don’t get too close with your bottle and don’t over spray. Your second coat will ensure good coverage.
Here is the frame after the two coats of gold. I was tempted to leave it just like this. It already looked so pretty with the raised stencils and the gold!
2. Second Color Of Paint
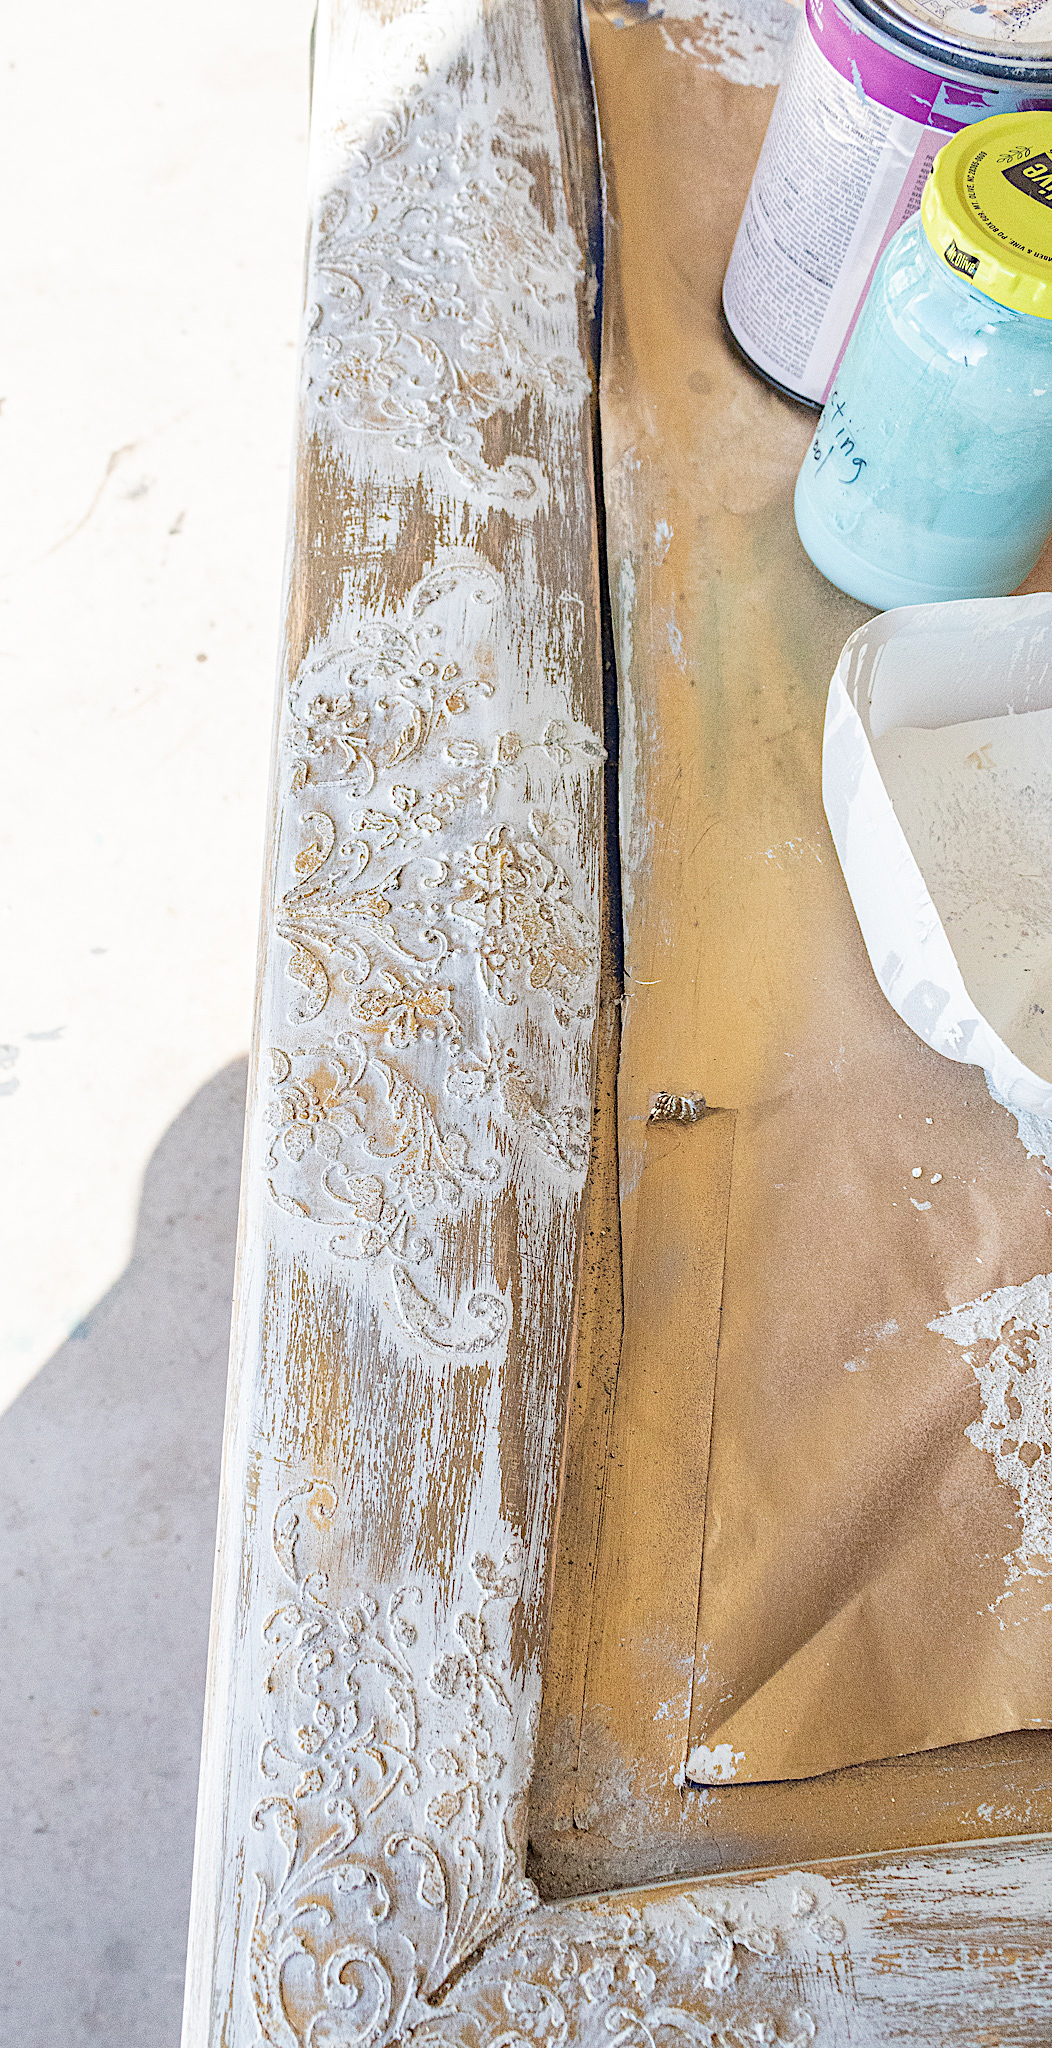
Next we apply our Wheathered White. You can pick any colors for your layers. I chose white because I thought it would be very French to have the gold and white coming through as undertones. Using my chalk paint brush I dry brushed my white over the gold.
I’m went easily over the stenciled areas as I wanted to purposely leave some of the gold exposed. As you can see in the next picture my coat of white paint was a rough coat. You don’t really need to worry about full coverage since this is not your final color.
Once the white had dried I took my sandpaper and distressed the white to have the gold come through in parts. I was gentle to try and prevent the gold from coming off as well.
And this is what it looked like after I had distressed around the frame over the white. Again I was tempted to stop here as I simply LOVED how it looked with the gold and the white. But I decided to proceed with one more color for extra depth and texture. I don’t have pictures demonstrating the process of applying the top coat of blue. It is the same process I did with the white.
3. Finish
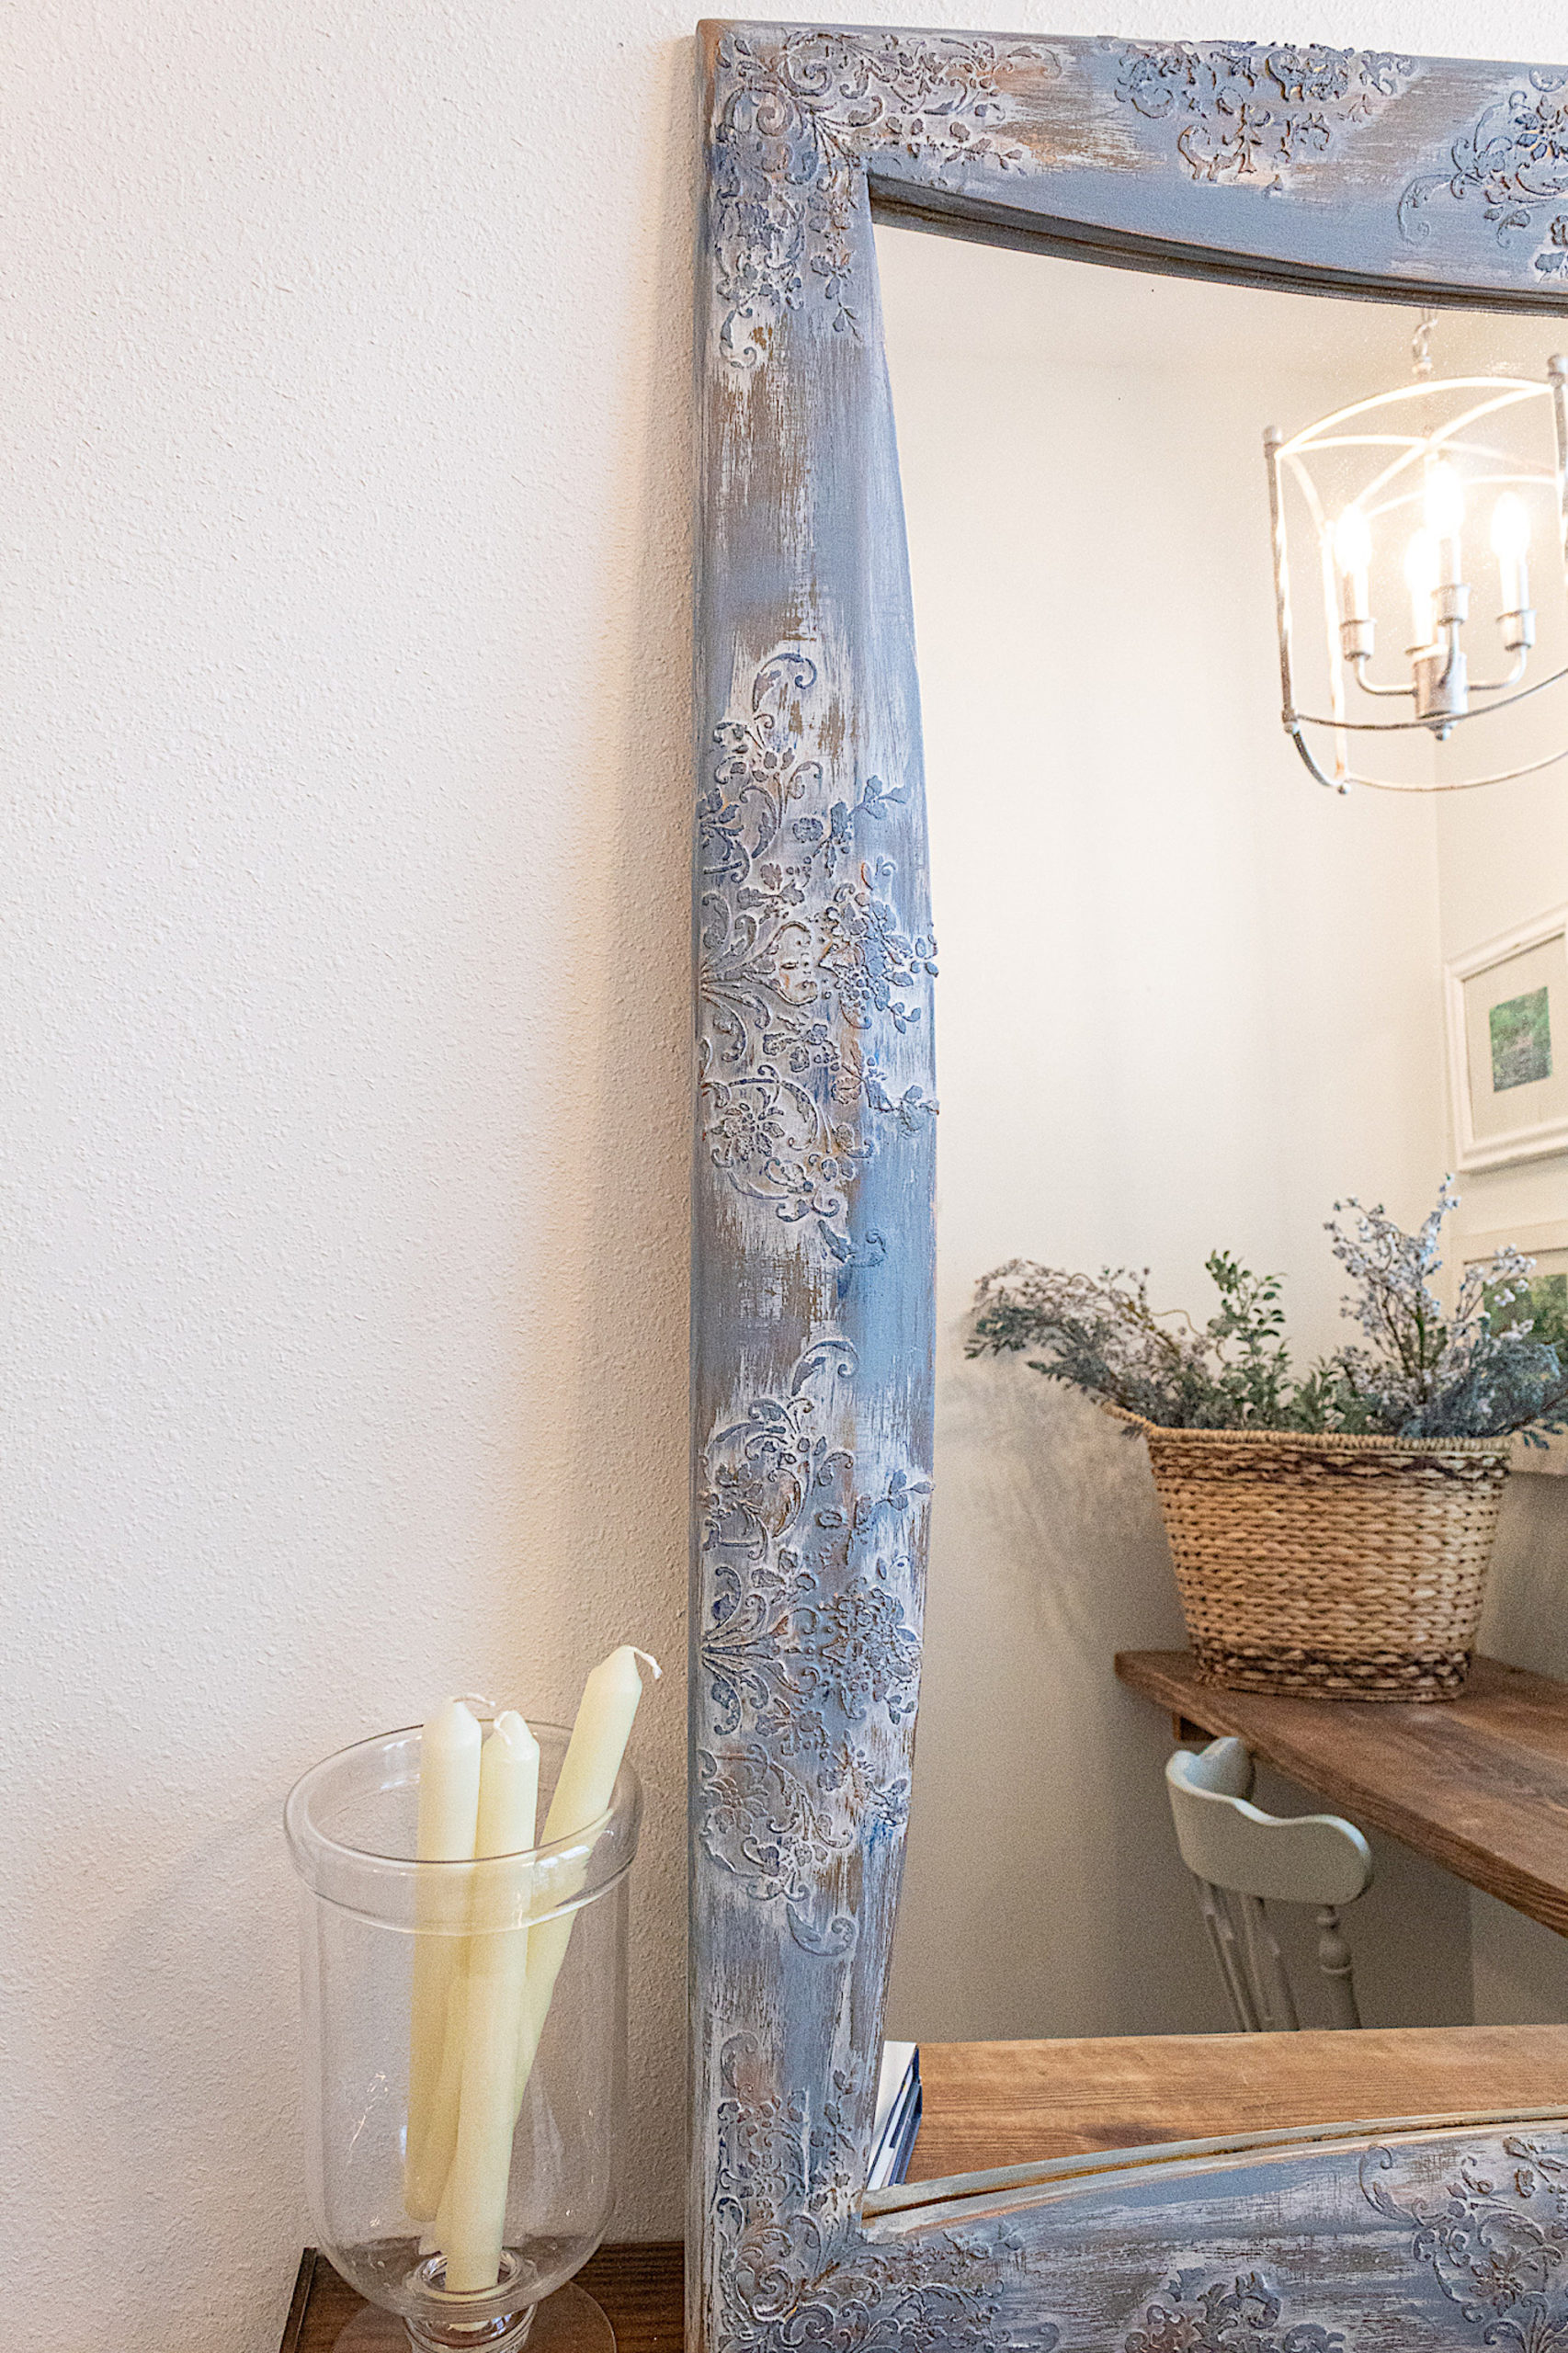
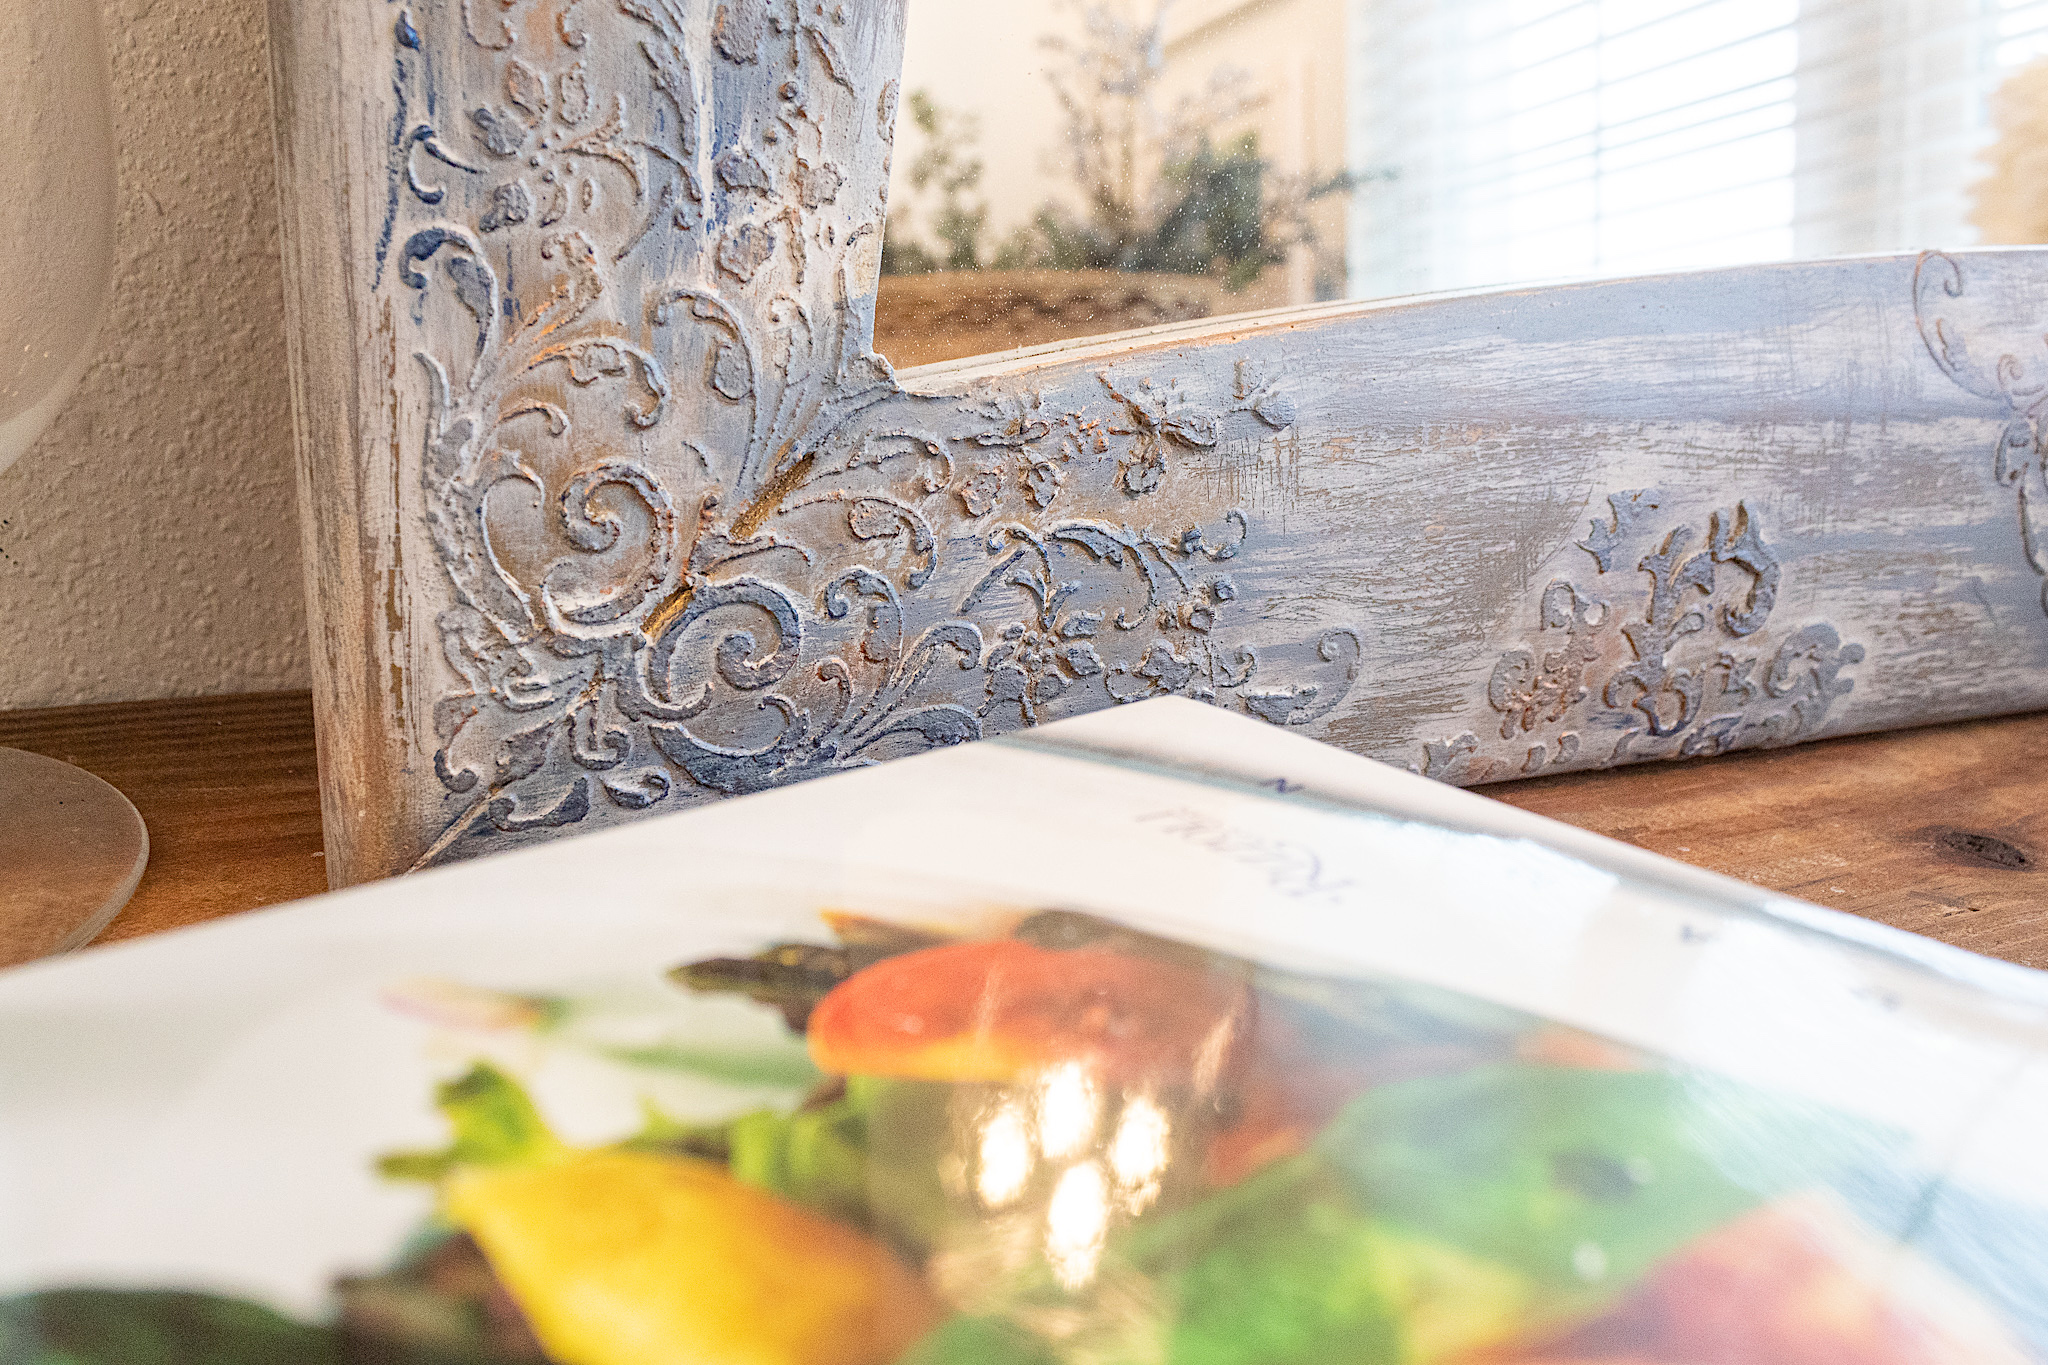
For added character, I took my Old Denim and Aged Brass Metallique Waxes and with my gloved finger went over details. I did this sparingly. The wax is wonderful at helping define details. With only a little on my finger, I went over parts of the stencils, corners, and edges.
Using a foam brush I sealed everything with Flat Out clear coat. A flat sheen helps preserve the rustic aesthetic that I was wanting.
Video Tutorial of This Renovation
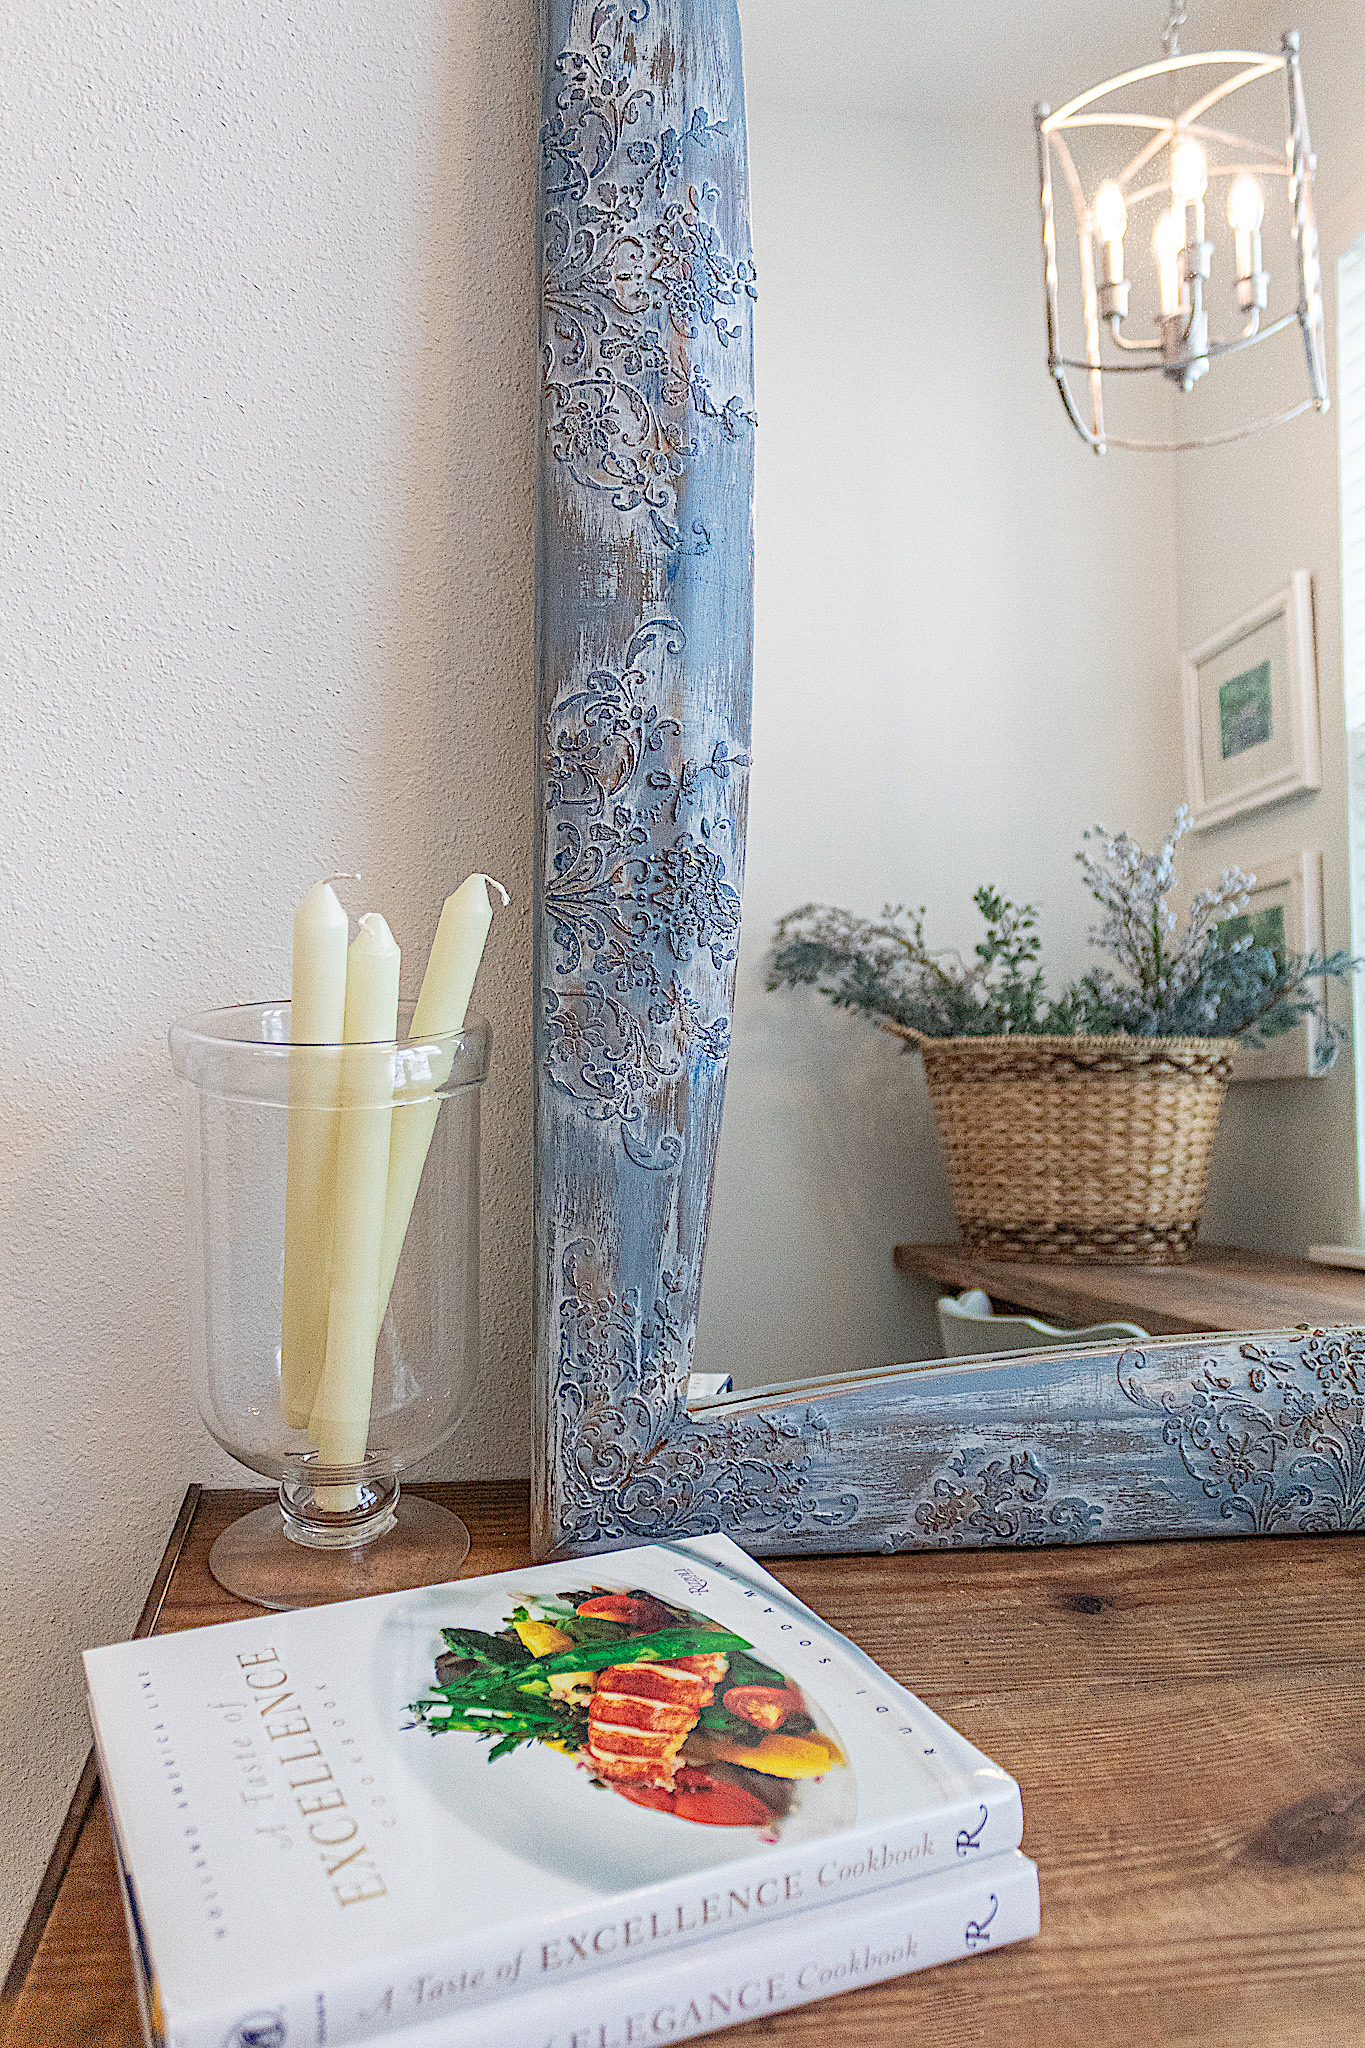
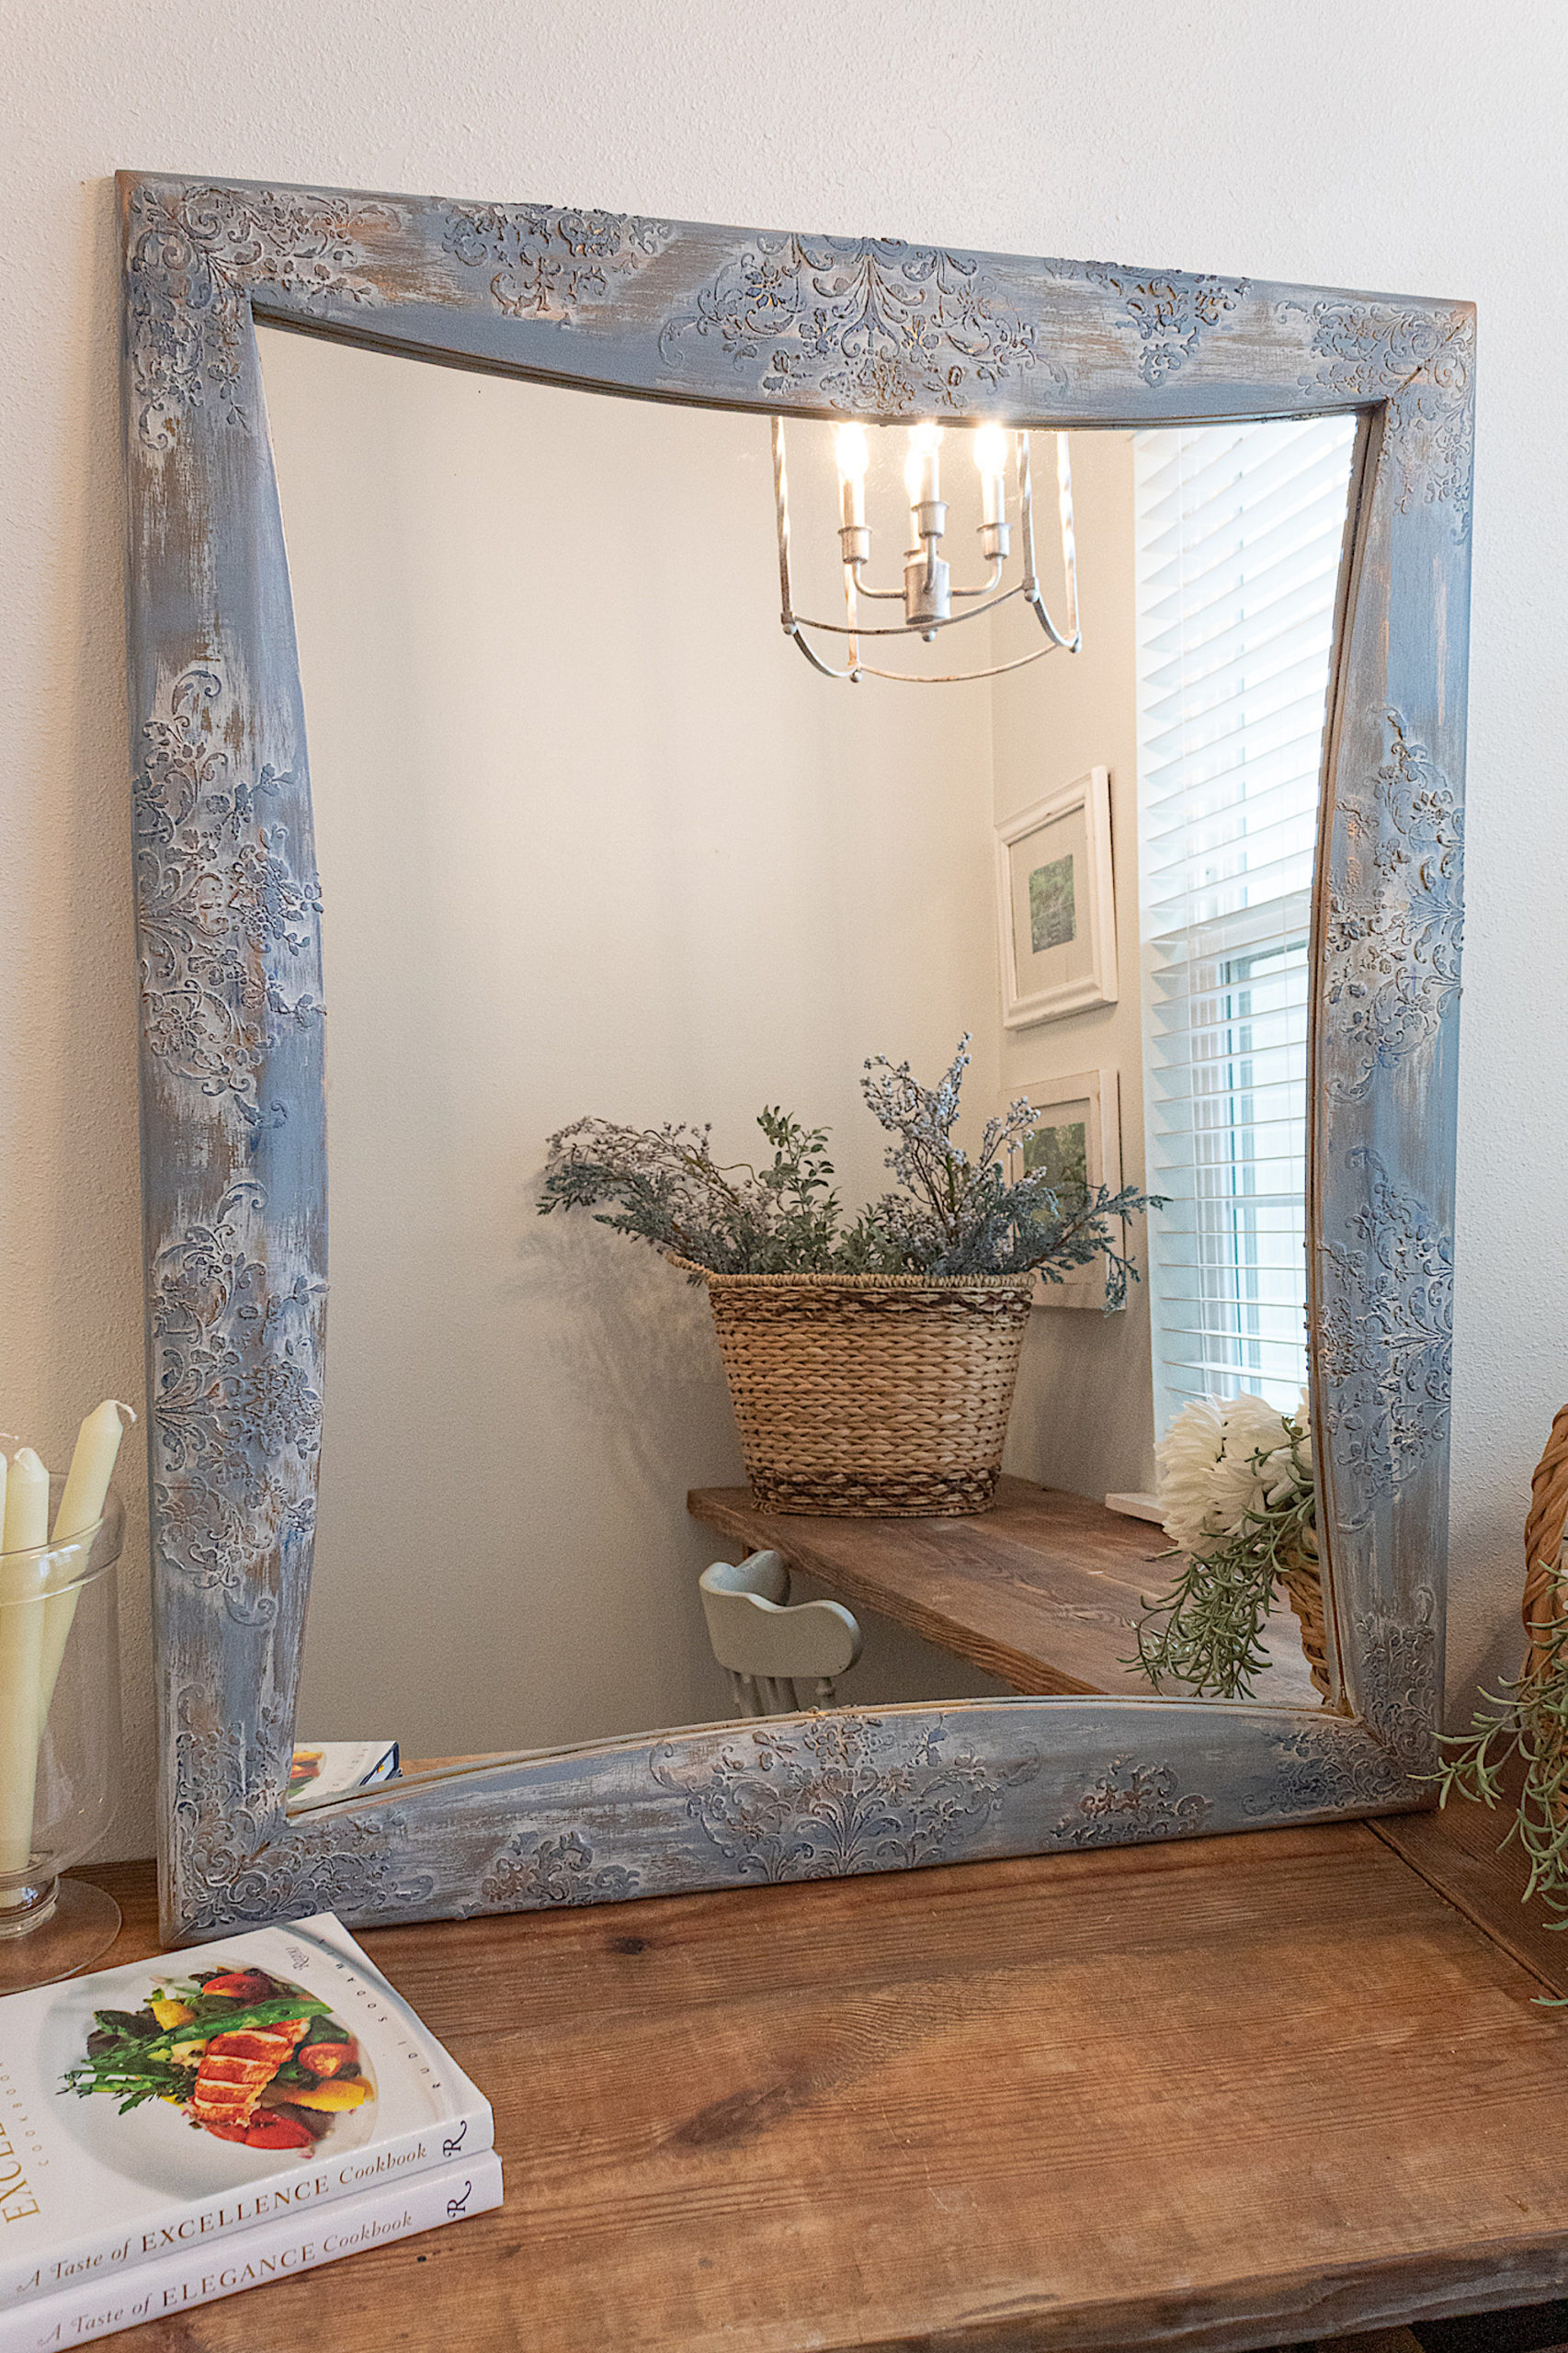
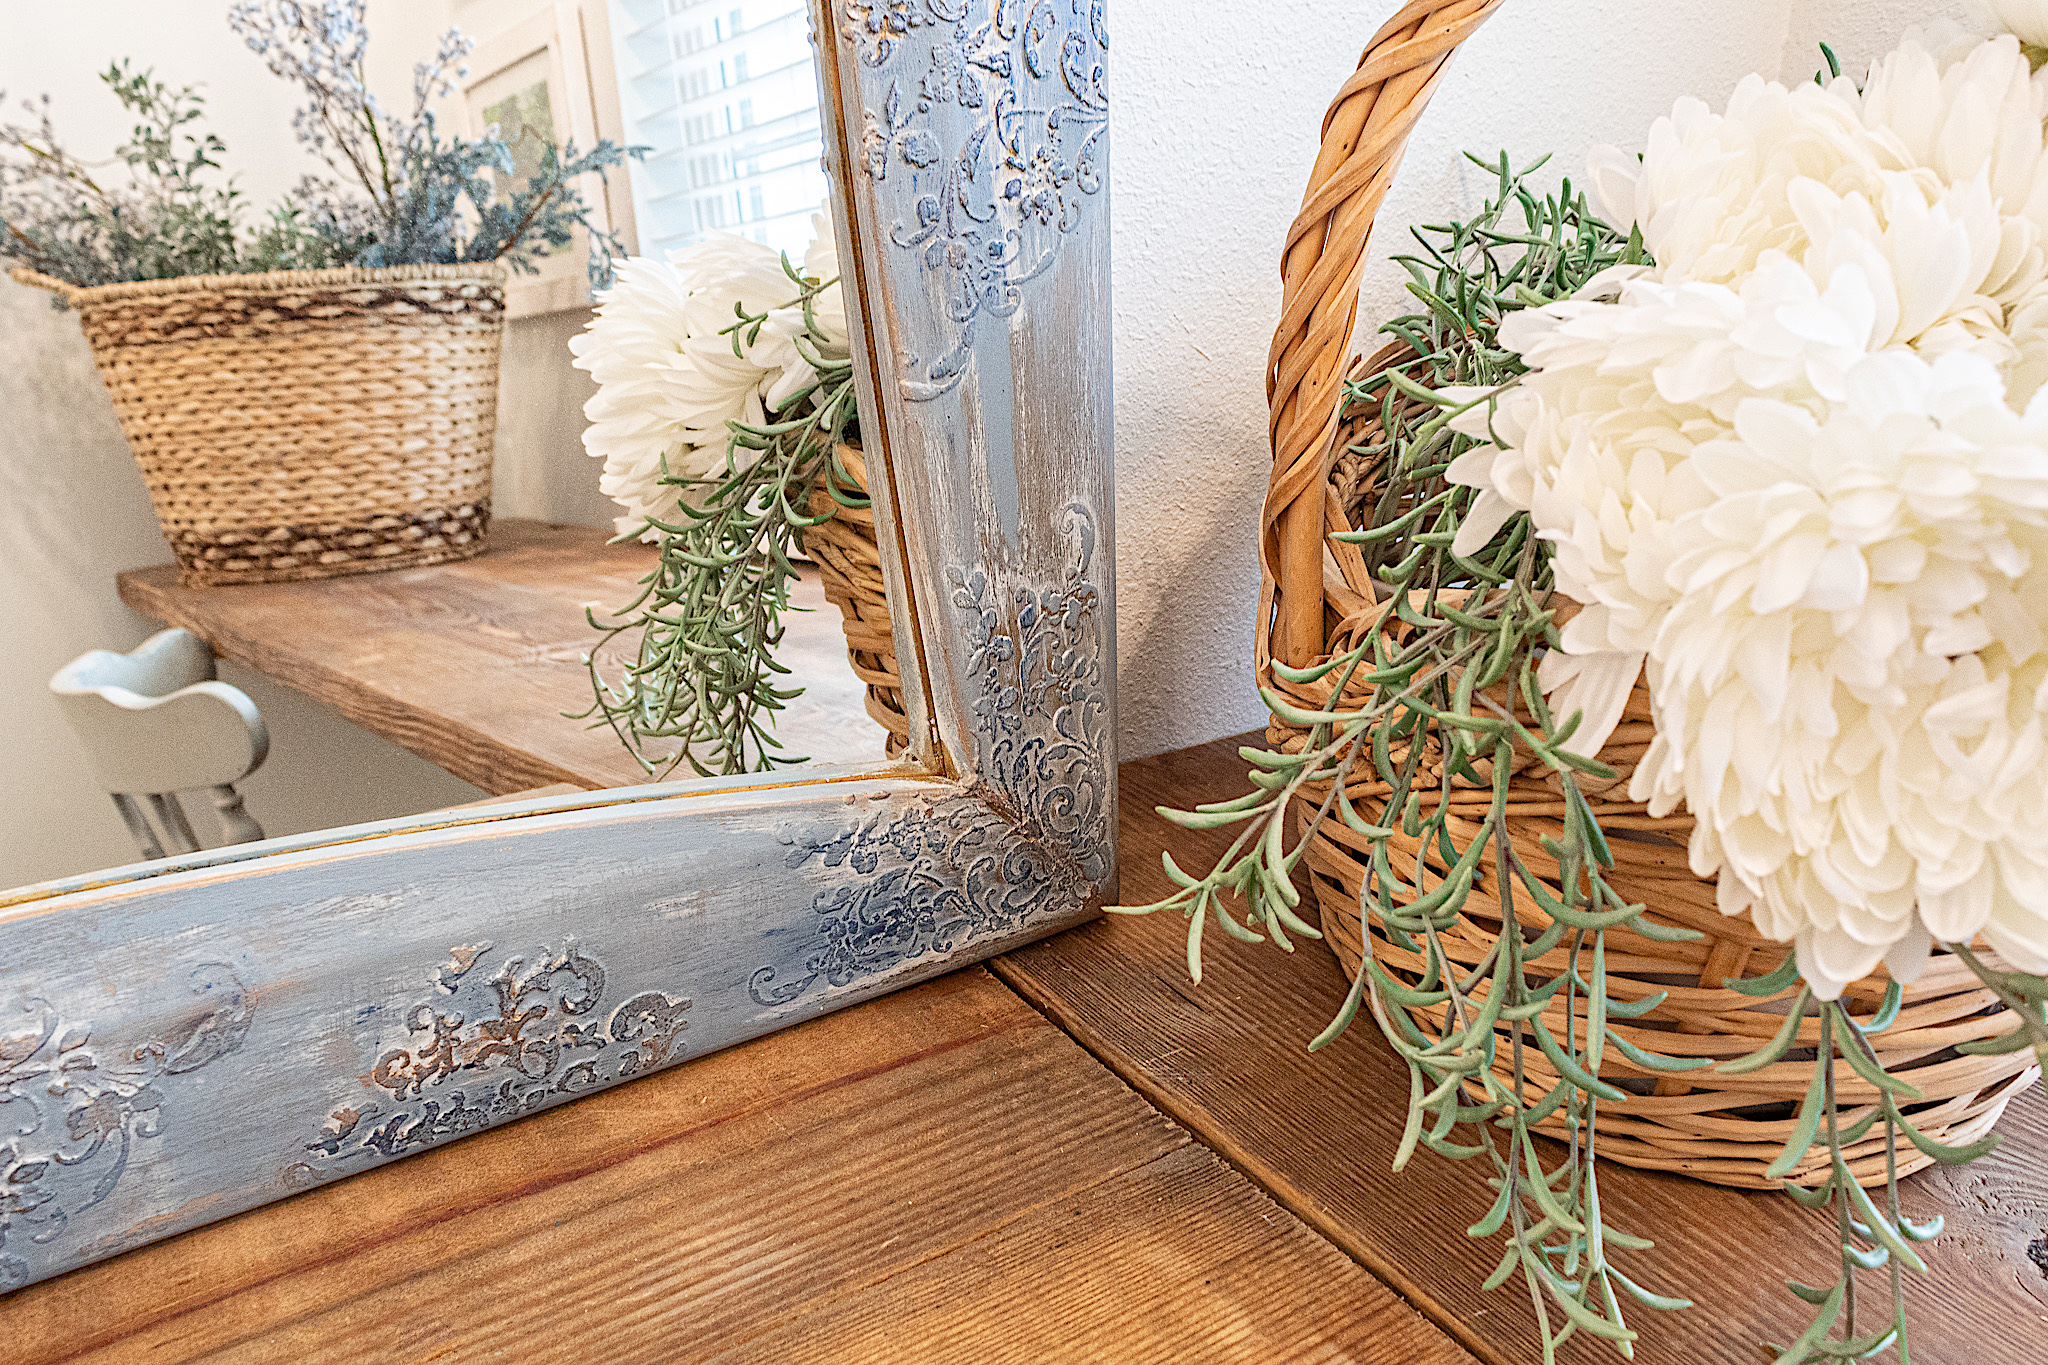
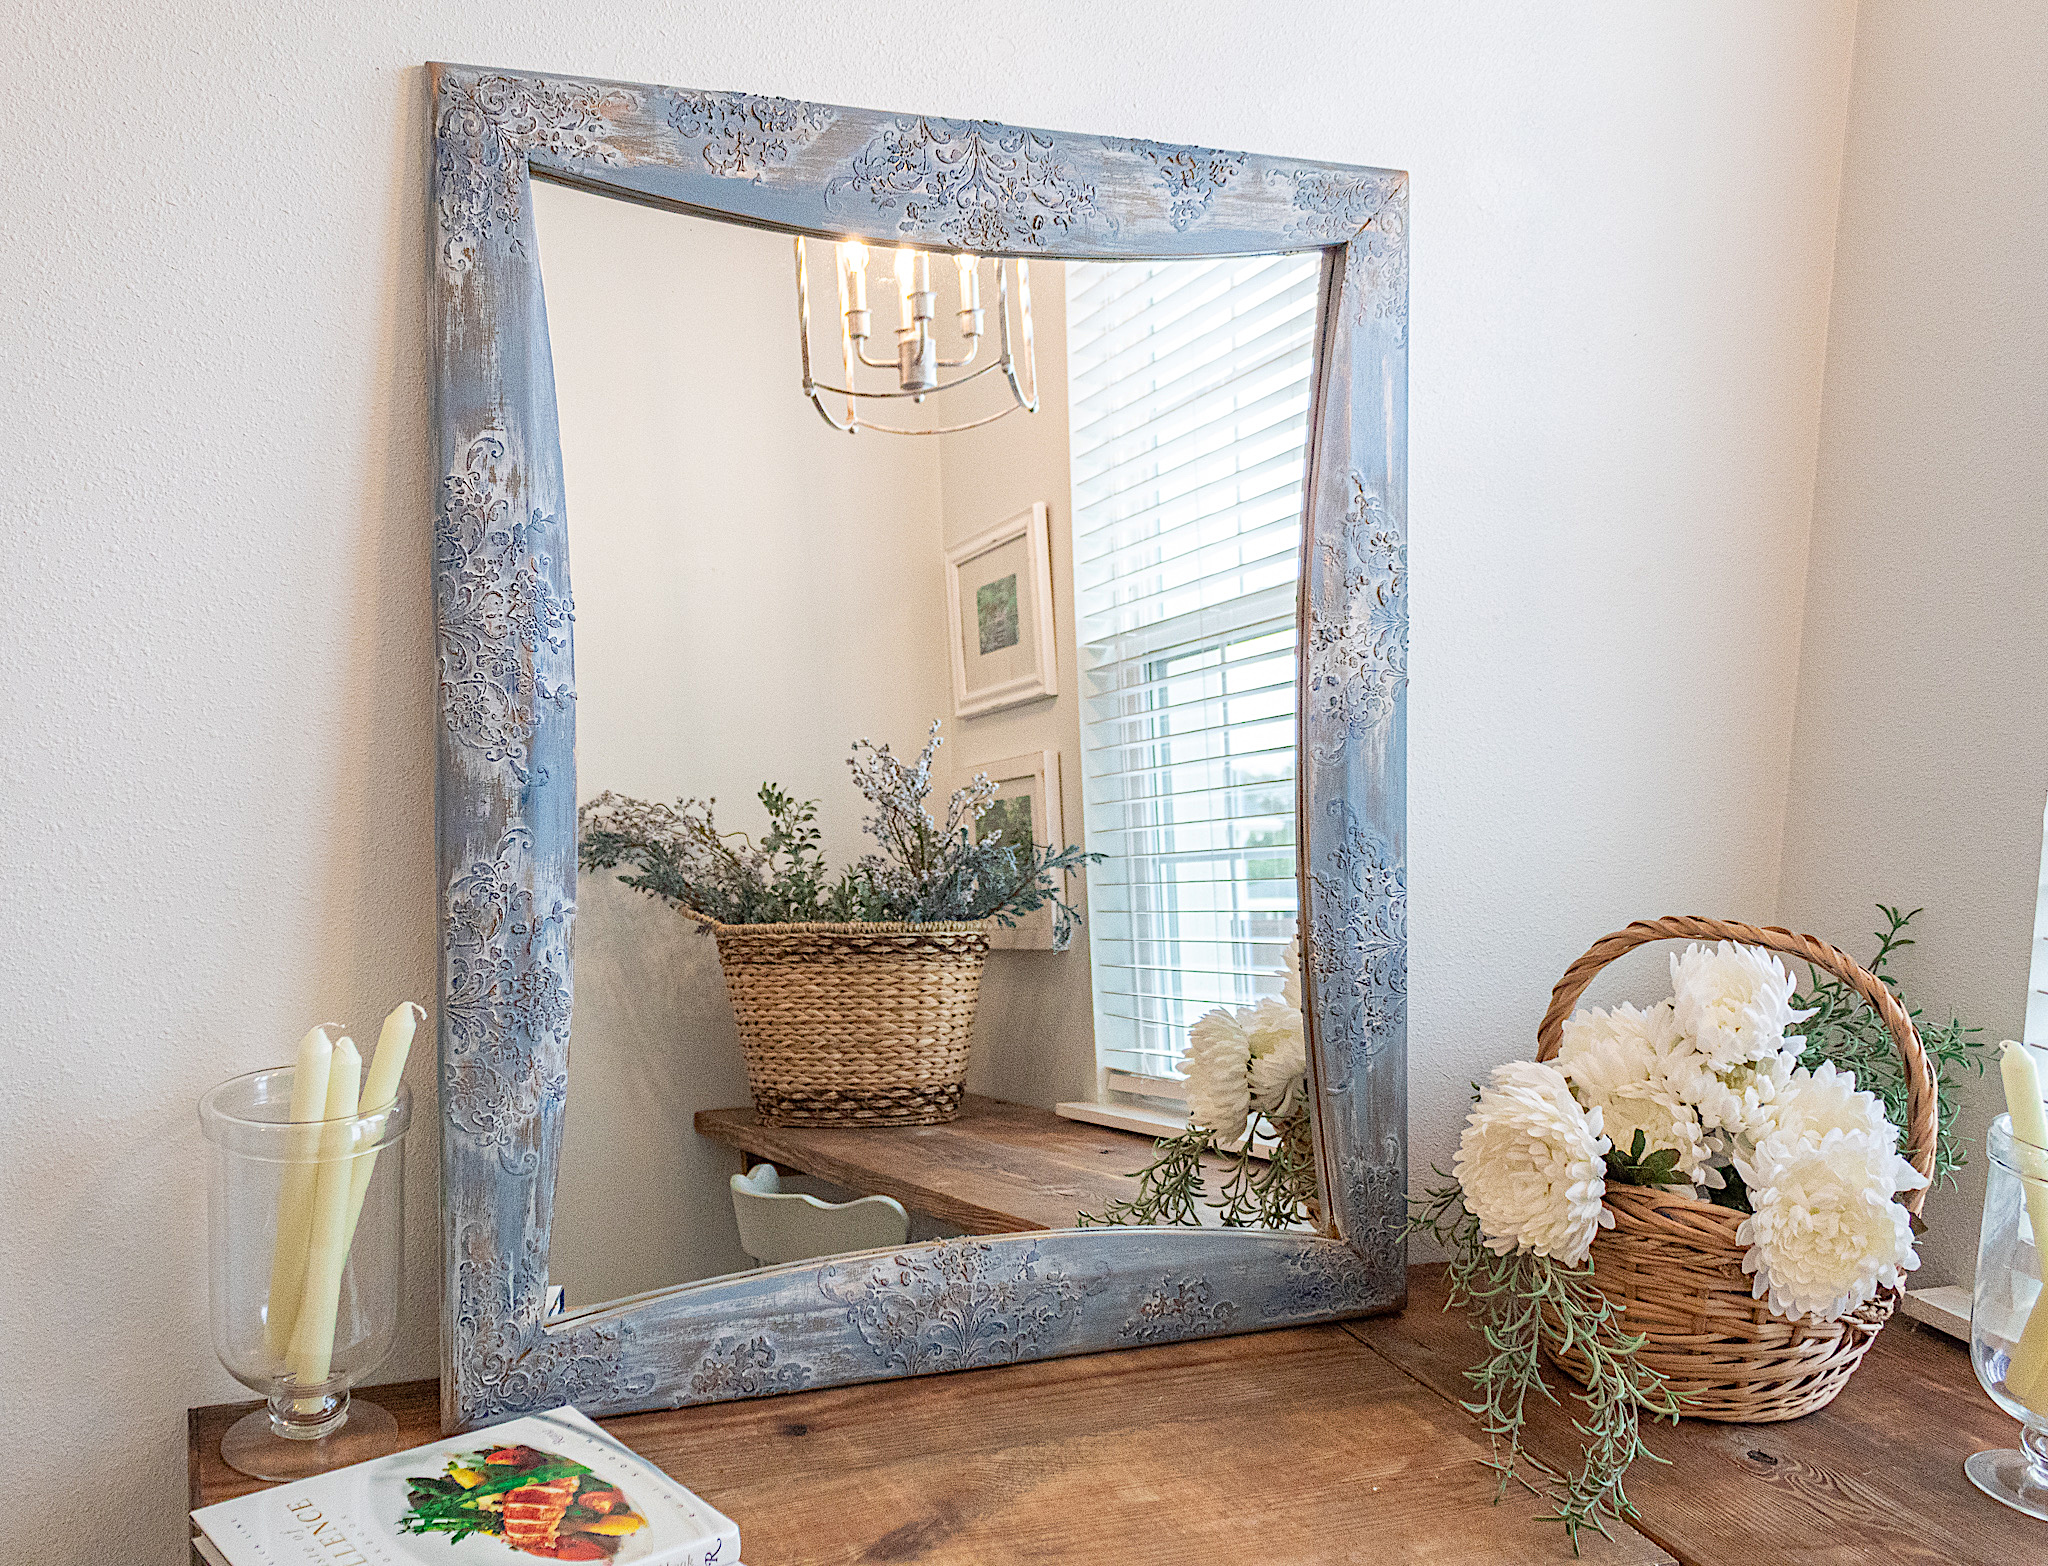
What do you think of the finished mirror? Is this not a dream! I’m totally in love with this look. It looks aged and is rich in details and texture. I’m very happy I finished the piece in the blue. I think all the colors work together magically.
Here’s one more look at the before and after. Hope you enjoyed this tutorial friends! Be sure to subscribe to receive more fun tutorials.