It finally happened…I’ve fallen in love with the simple and natural look of dried orange garlands for Christmas decor. I have to say it was a look that grew on me and now I can’t get enough!
I am so into primitive holiday scenes with natural elements and subdued vintage touches these days. The dried orange garland is a nod to Christmas traditions of earlier times where fruit and popcorn garlands were what was available to trim the tree.
Today I’m sharing how easy it is to add a touch of vintage charm to your holiday decor even if but one small garland wrapped around a chandelier.
Let's Get Started With Our Garland!
Materials Needed:
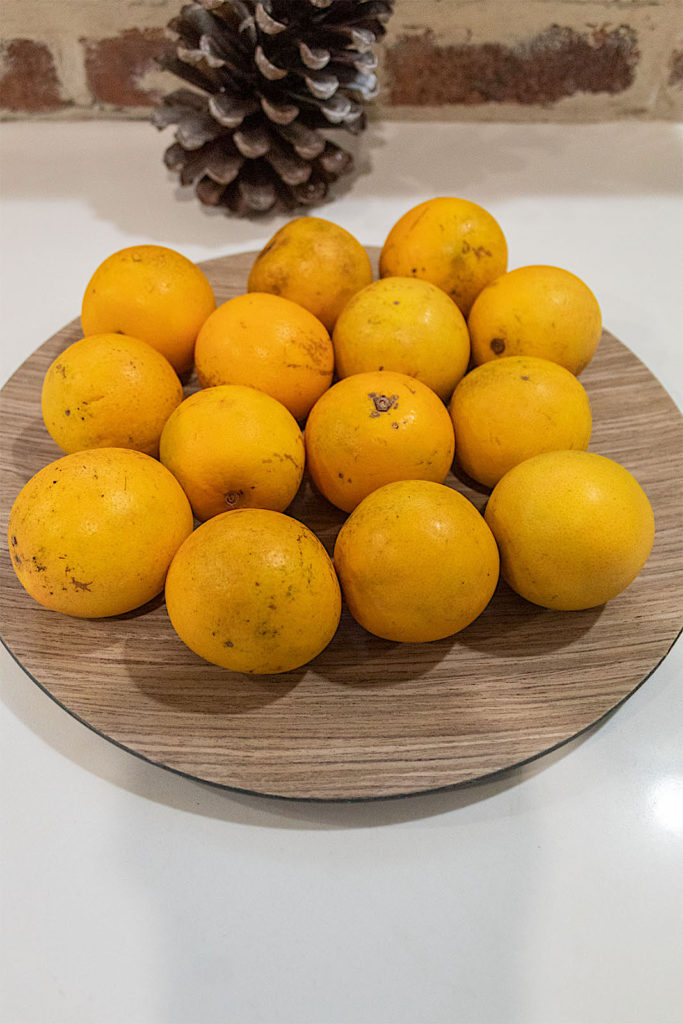
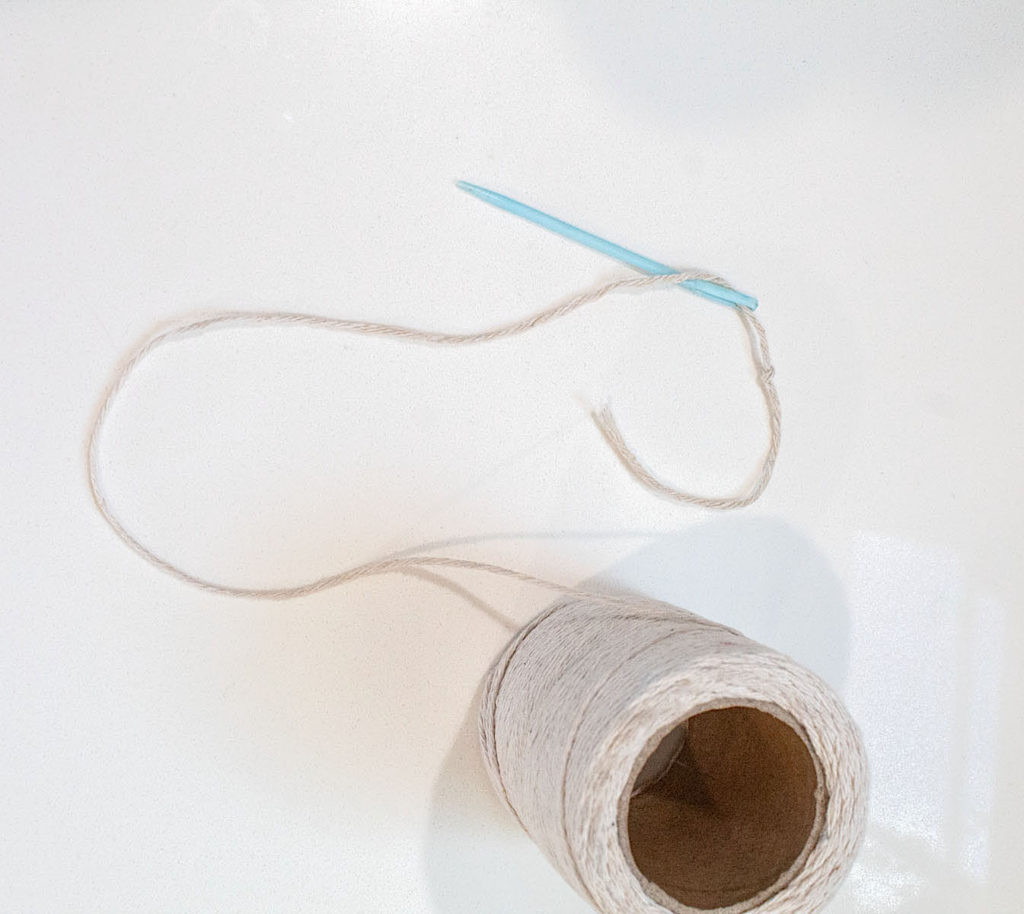
√ A bag or two of oranges, depending on how long you want your garland. 10 oranges gave me about 3 feet of garland. √ Kitchen knife √ Craft string √ Large eye needle for crafts
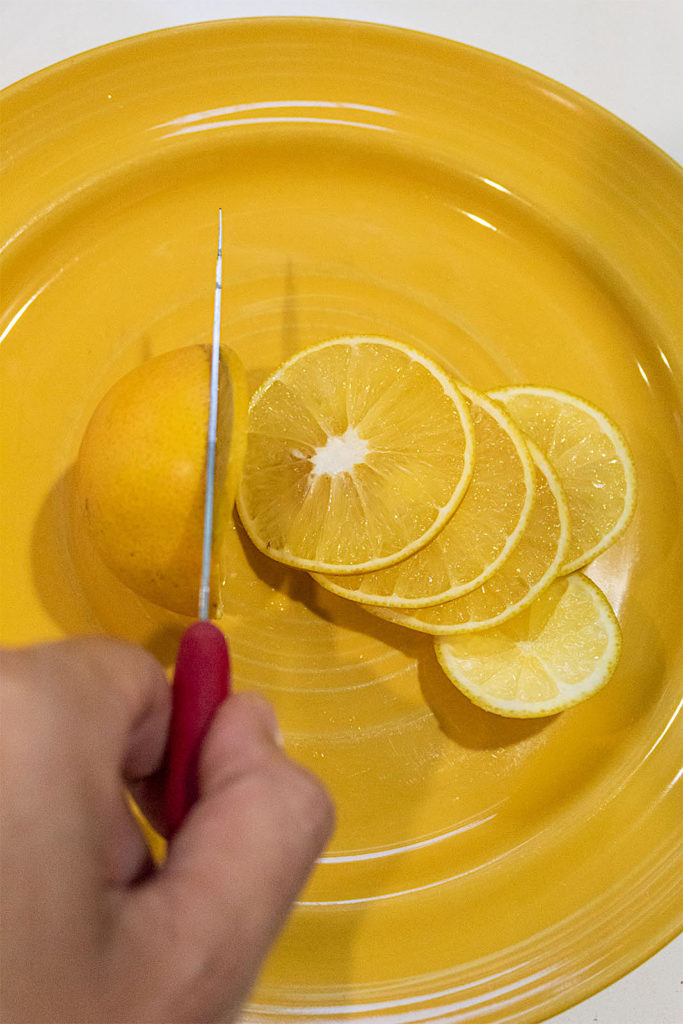
Step #1. Slice Your Oranges
I cut slices a little less than 1/4″ thick. You don’t want them too thick or too thin. If they are too thin your string may not hold well and too thick, in my opinion, looks a little bulky.
Disclosure: Some of the links provided are affiliate links. By purchasing through these links you are supporting this family blog and the work we do and there is no extra cost to you. Full disclosure HERE.
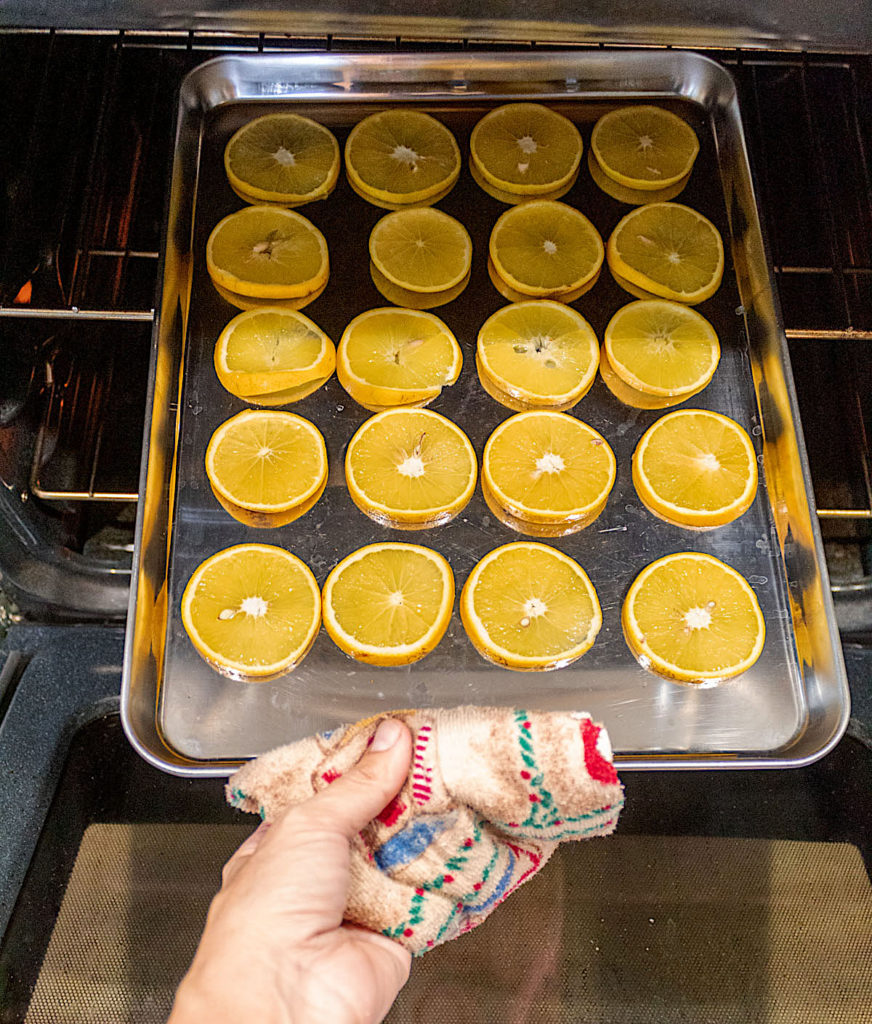
Step #2. Bake them up!
My friends, this was my first time making the dried oranges and this is what I learned. Even if you are following a recipe it’s important to monitor how your oranges do in your oven.
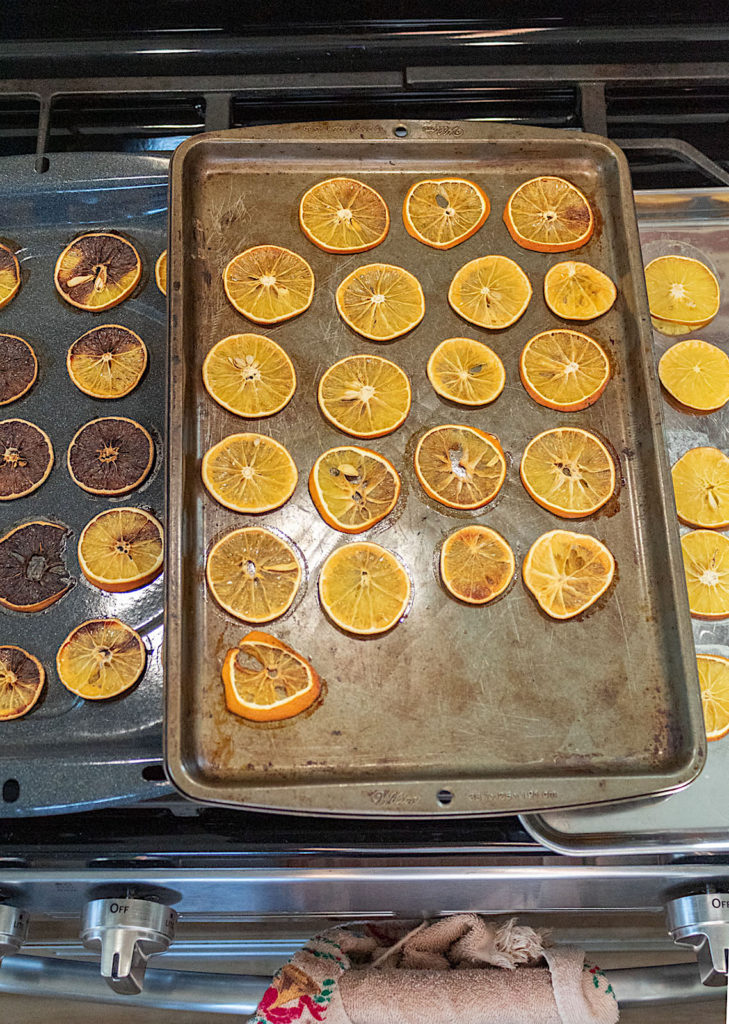
I set my temperature to 250° and the cook time to 3 hours. By the second hour I started to smell burning and sure enough some of the oranges were getting a little toasty! I dropped the temperature to 170° and continued cooking for another hour. This was a better temperature for the oranges with my oven.
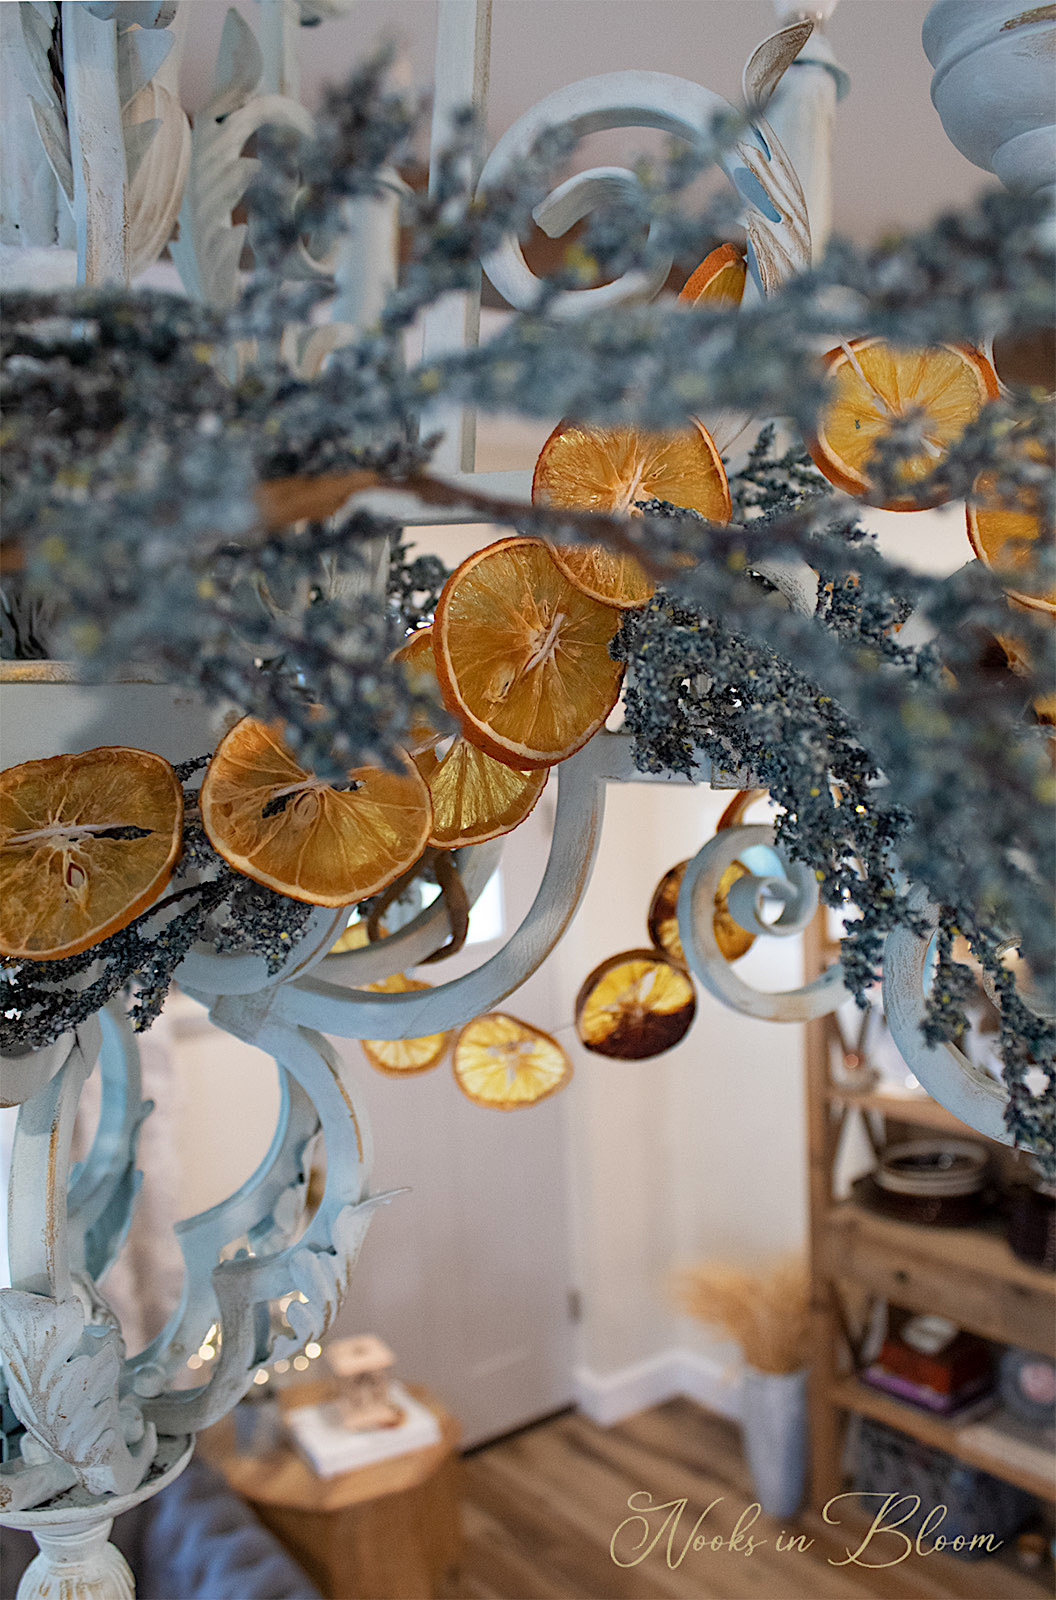
But I have to say it was a happy accident because I really liked the variations in darker and lighter colors in my orange slices.
Notes
It’s best to flip the slices at least once so they evenly dry while in the oven. Let them cool down well after they’re done baking.
It’s also recommended to let the oranges dry further over a few days by placing them over something warm like heat ducts or outside if you live in warmer climates. I was impatient and didn’t do that. Once the oranges were cool I got busy threading!
Step #3. Thread Your Garland
This next step is so easy and one your kids will have fun helping with. Start by threading your craft string through your needle leaving about 2 inches on the end. Tie a knot on the short end so your string stays in place while weaving.
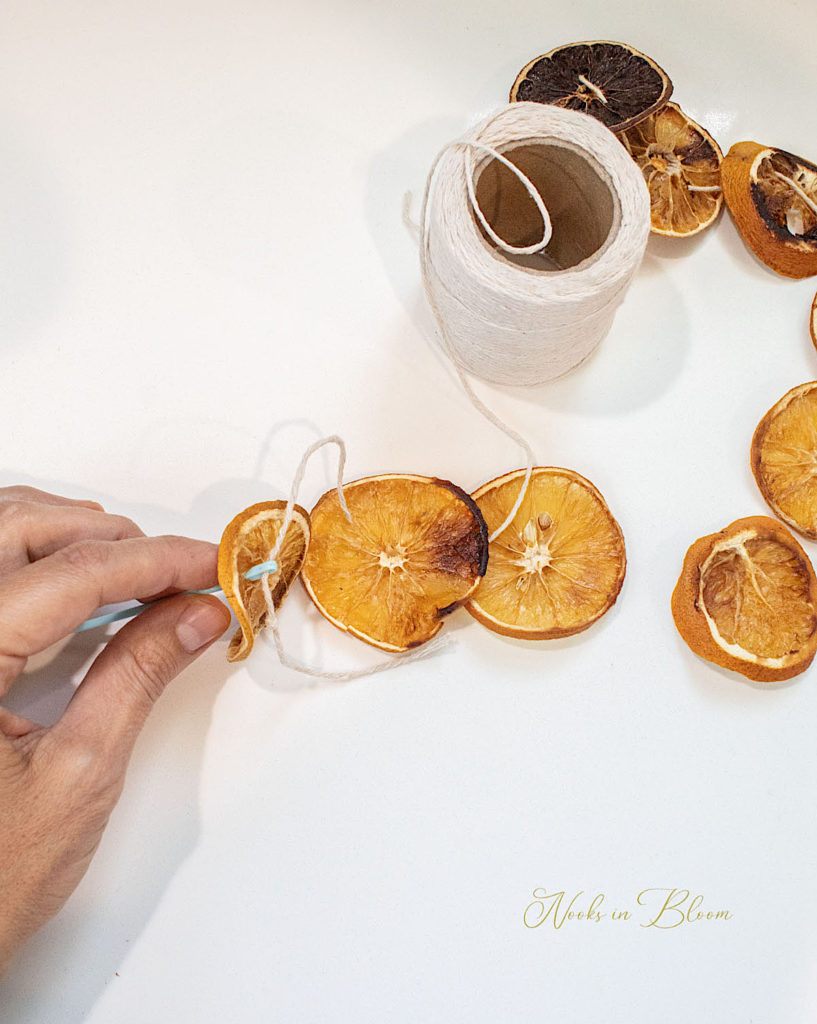
Next, start threading your needle through your orange slices. There wasn’t a particular spot on each slice where I poked my needle through. It was just random each time but I tried to stay on the same level.
I lined my orange slices facing up and side by side as I went. You can spread them out or keep them closer together depending on the look you want.
Time To Hang Your Garland
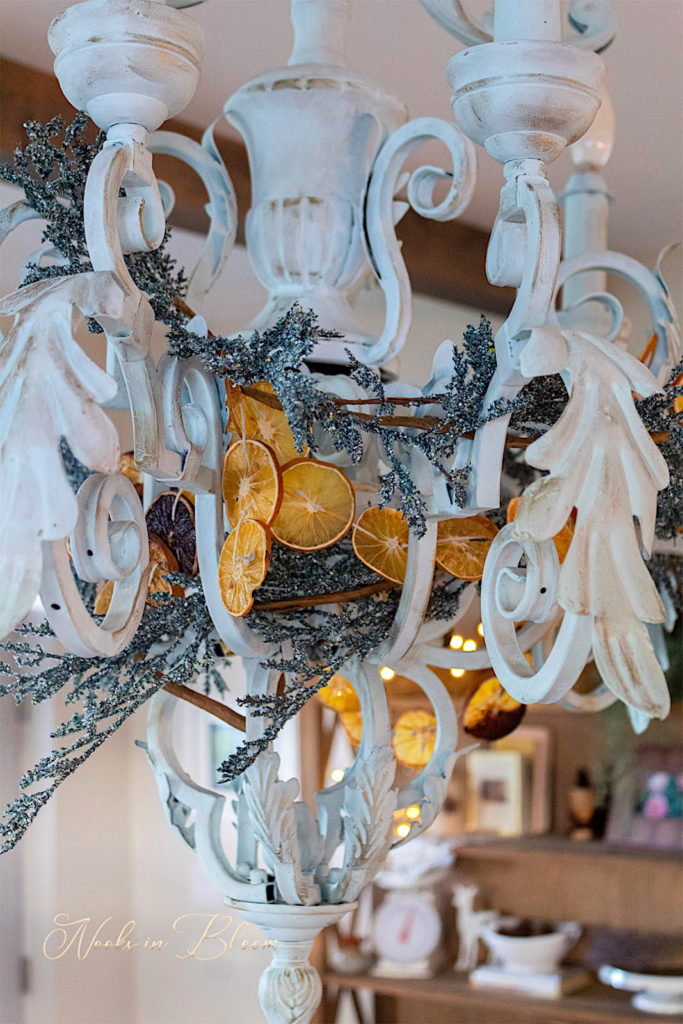
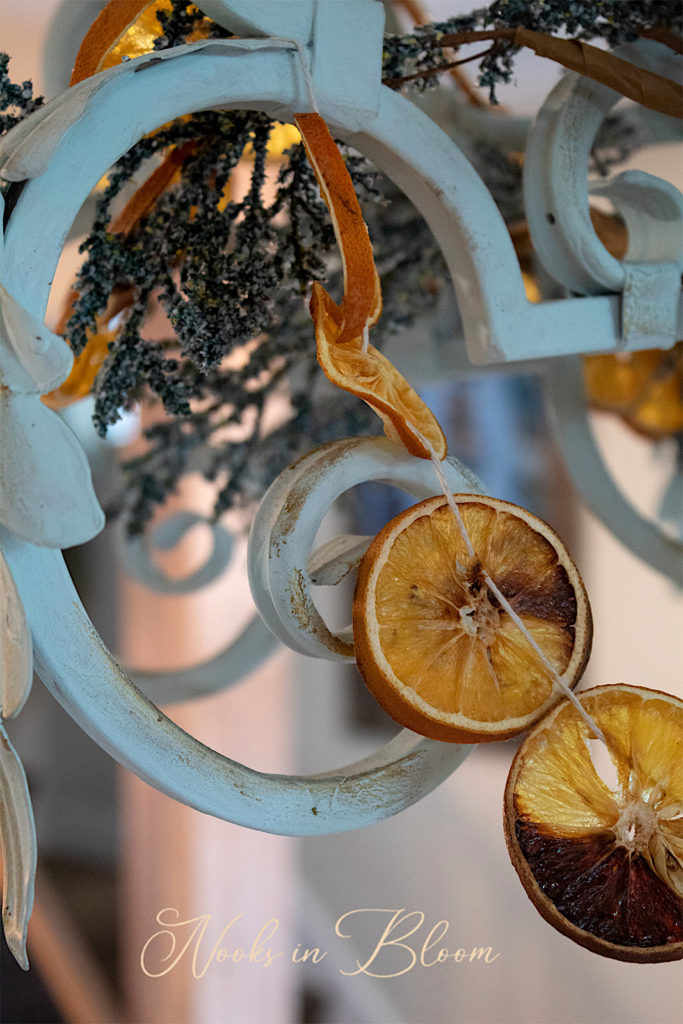
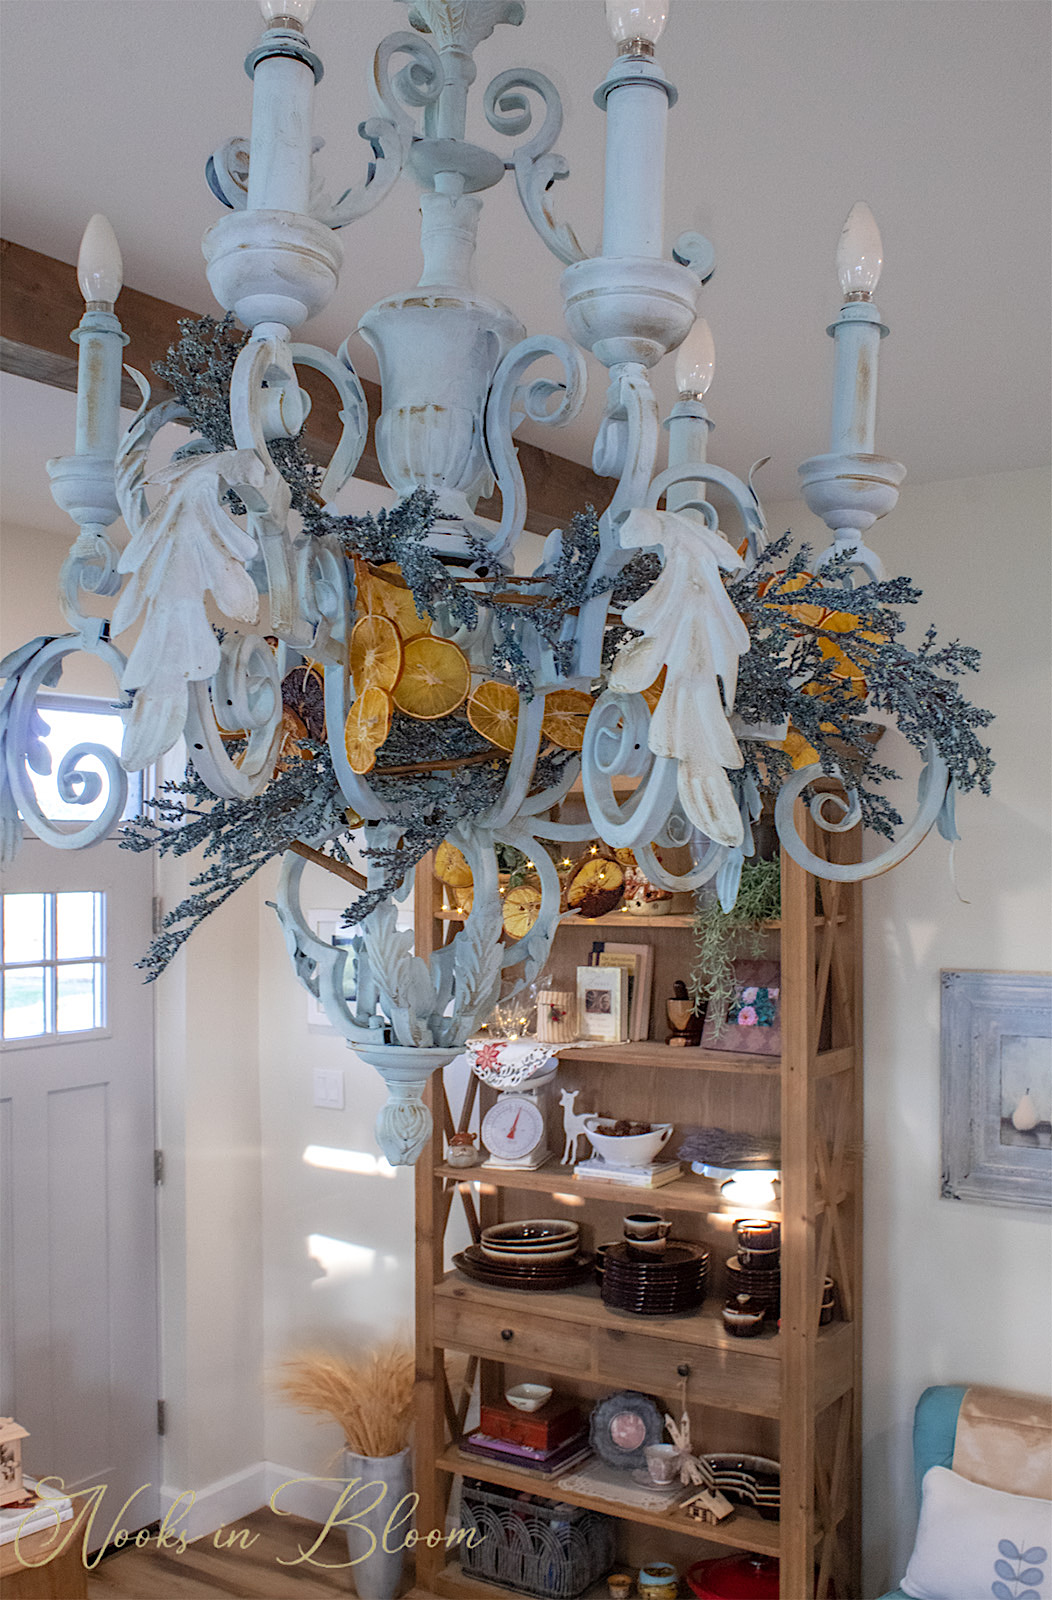
I wove my garland through our living room chandelier along with some faux greenery I had. I love how the dried oranges looked against the light blue of the chandelier. The aesthetic tied in to my French Farmhouse Christmas Theme.
I can think of many other places to show off your garland— strung across a mantel, a stairwell, a bed headboard or draped over a range hood, window or doorway.
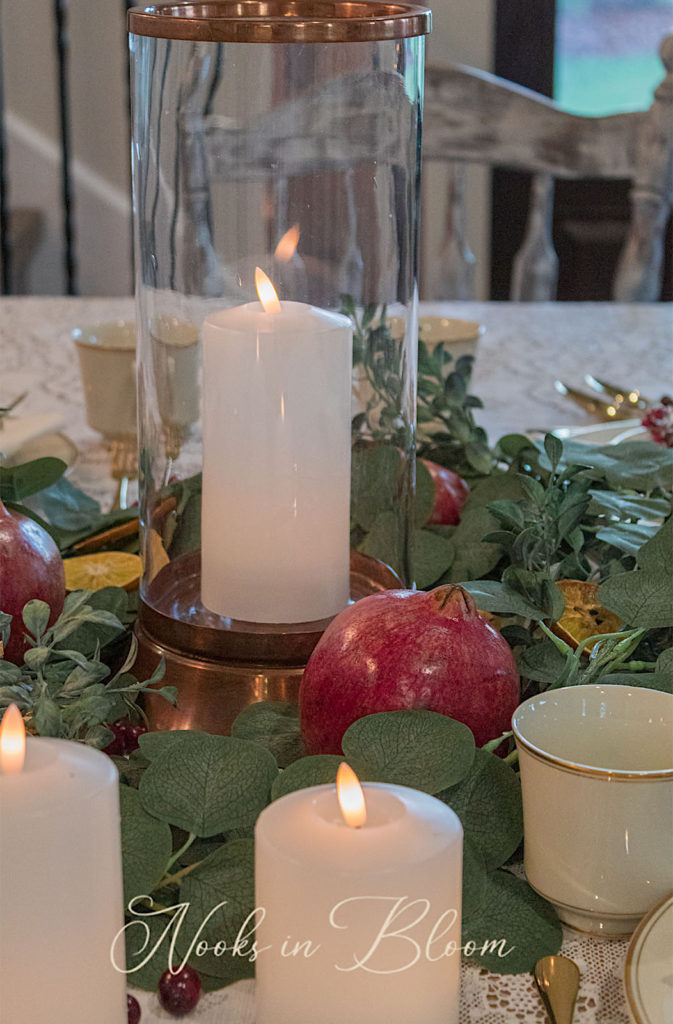
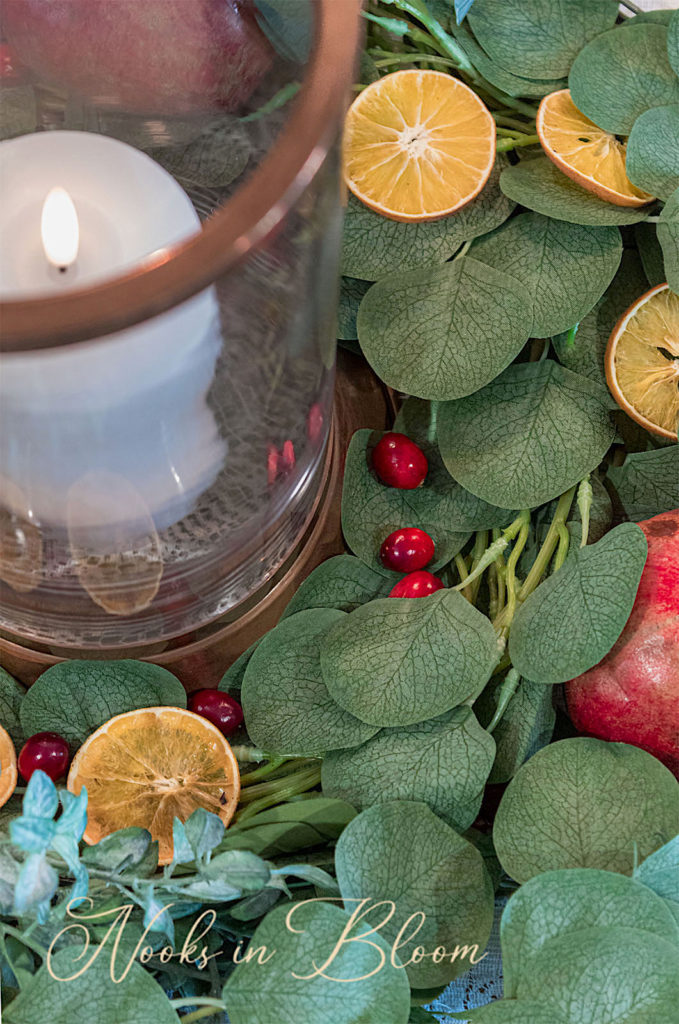
I used leftover dried oranges for my holiday centerpiece. They added subtle bursts of colors and vintage appeal to the table gathering.
If you’d like to see more photos of how I dressed the house up in French Farmhouse Vintage for the holidays, visit this post. I share simple decorating tips, a few easy DIY’s and tons of photos.
NIB readers, do let me know what you think of the dried orange garland. Would you try this at home and do you have a spot in mind for the garland? I’d love to hear!