How To Make GORGEOUS Dollar Store Ornaments

Today we are making affordable and gorge holiday ornaments!

I have to tell you I was skeptical of how these very cheap plastic ornaments would come out. But I am loving them. They came out elegant and sparkly, perfect for my French Farmhouse Vintage Christmas Theme.

Disclosure: Some of the links provided are affiliate links. By purchasing through these links you are supporting this family blog and the work we do and there is no extra cost to you. Full disclosure HERE.

What You Will Need:

√ Assortment of plastic ornaments (with caps) from Dollar Tree or ones like these would work too
√  Linen White chalk spray paint
√  Glass glitter
√ I used this ribbon but unfortunately it is no longer in stock but I think this similar ribbon would be lovely too
Elmer’s Glue
Glue gun
√ Scissors
√ 2 or 3 qtips
√ 1 paper plate or small container

French farmhouse was my inspiration for this year’s Christmas Decor. So I decided to trim the tree with soft white ornaments with a touch of sparkle.

I’ve found shopping for ornaments, especially the ones I typically fall in love with can get quite expensive.  So I hit Dollar tree for my assortment of ornaments. They didn’t look fancy at all, but I was excited to get my DIY’ing hands on them!

Let's Get Started

Step #1: Paint Your Ornaments

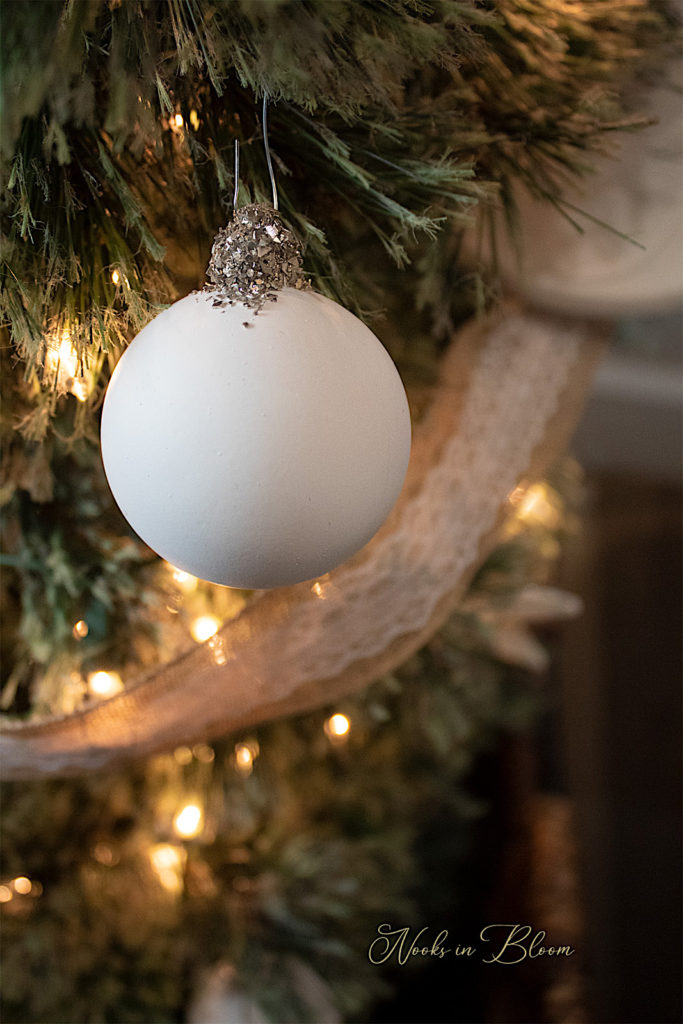
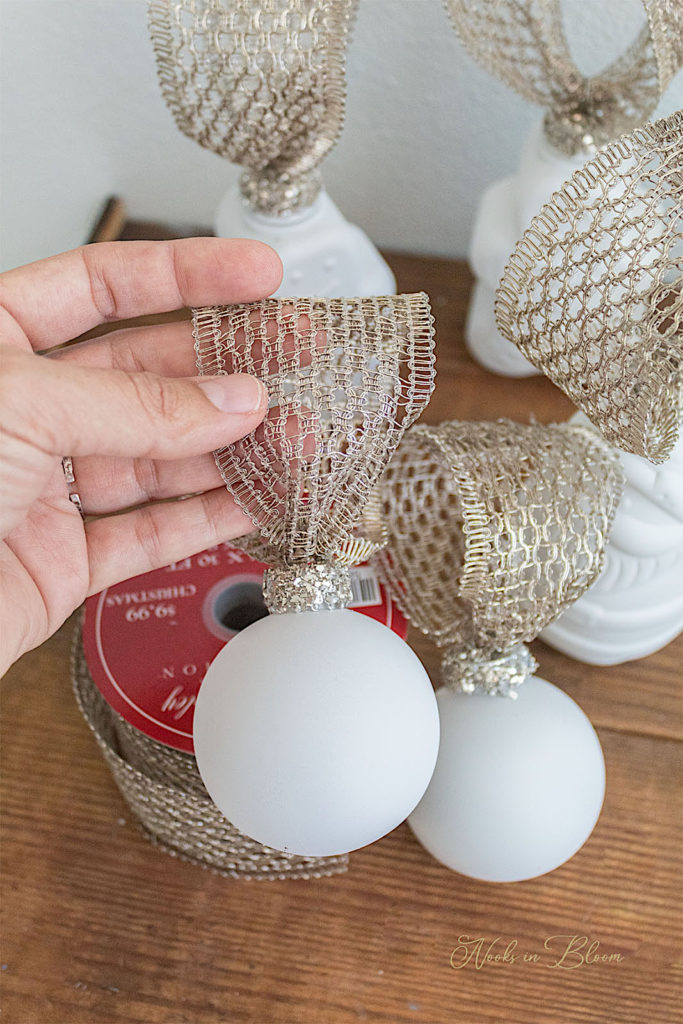
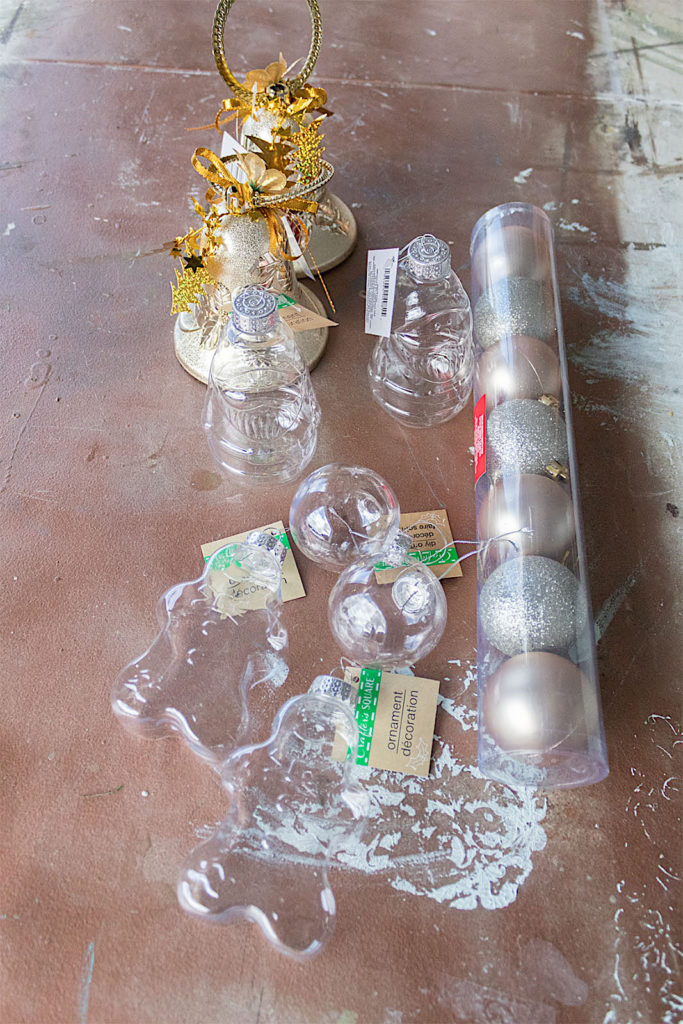
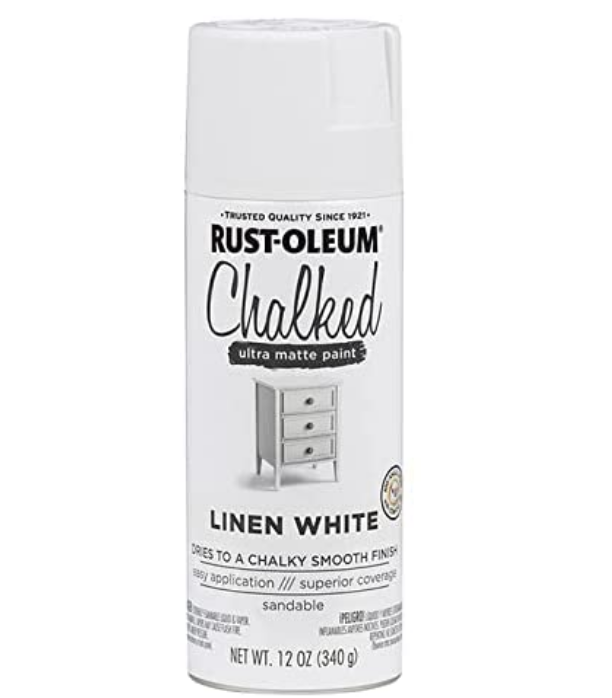
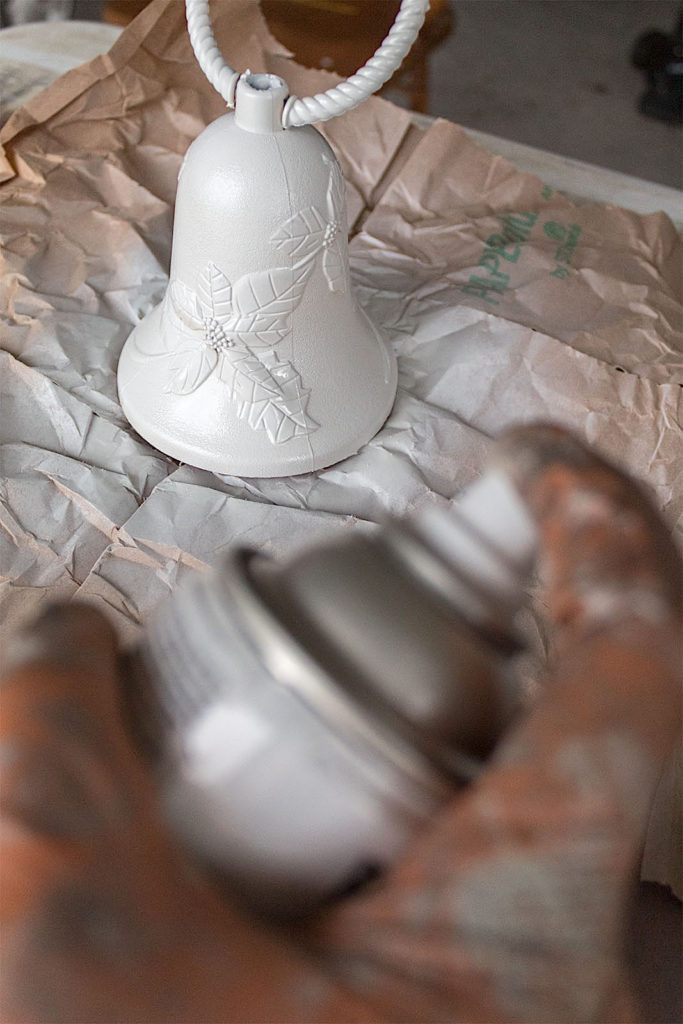
I picked Linen White Spray Paint for my French look. I didn't want anything too stark or yellow-ey. It's best to use a chalked spray paint for adhesion onto the plastic surface.

To get good coverage you will need to spray your ornaments 3, maybe 4 times. Luckily using a spray paint makes it quick and easy to apply and doesn’t take very long to dry in between coats.

I really liked the way the spray paint looked over the ornaments that had a little texture.

Step #2. Add Some Sparkle

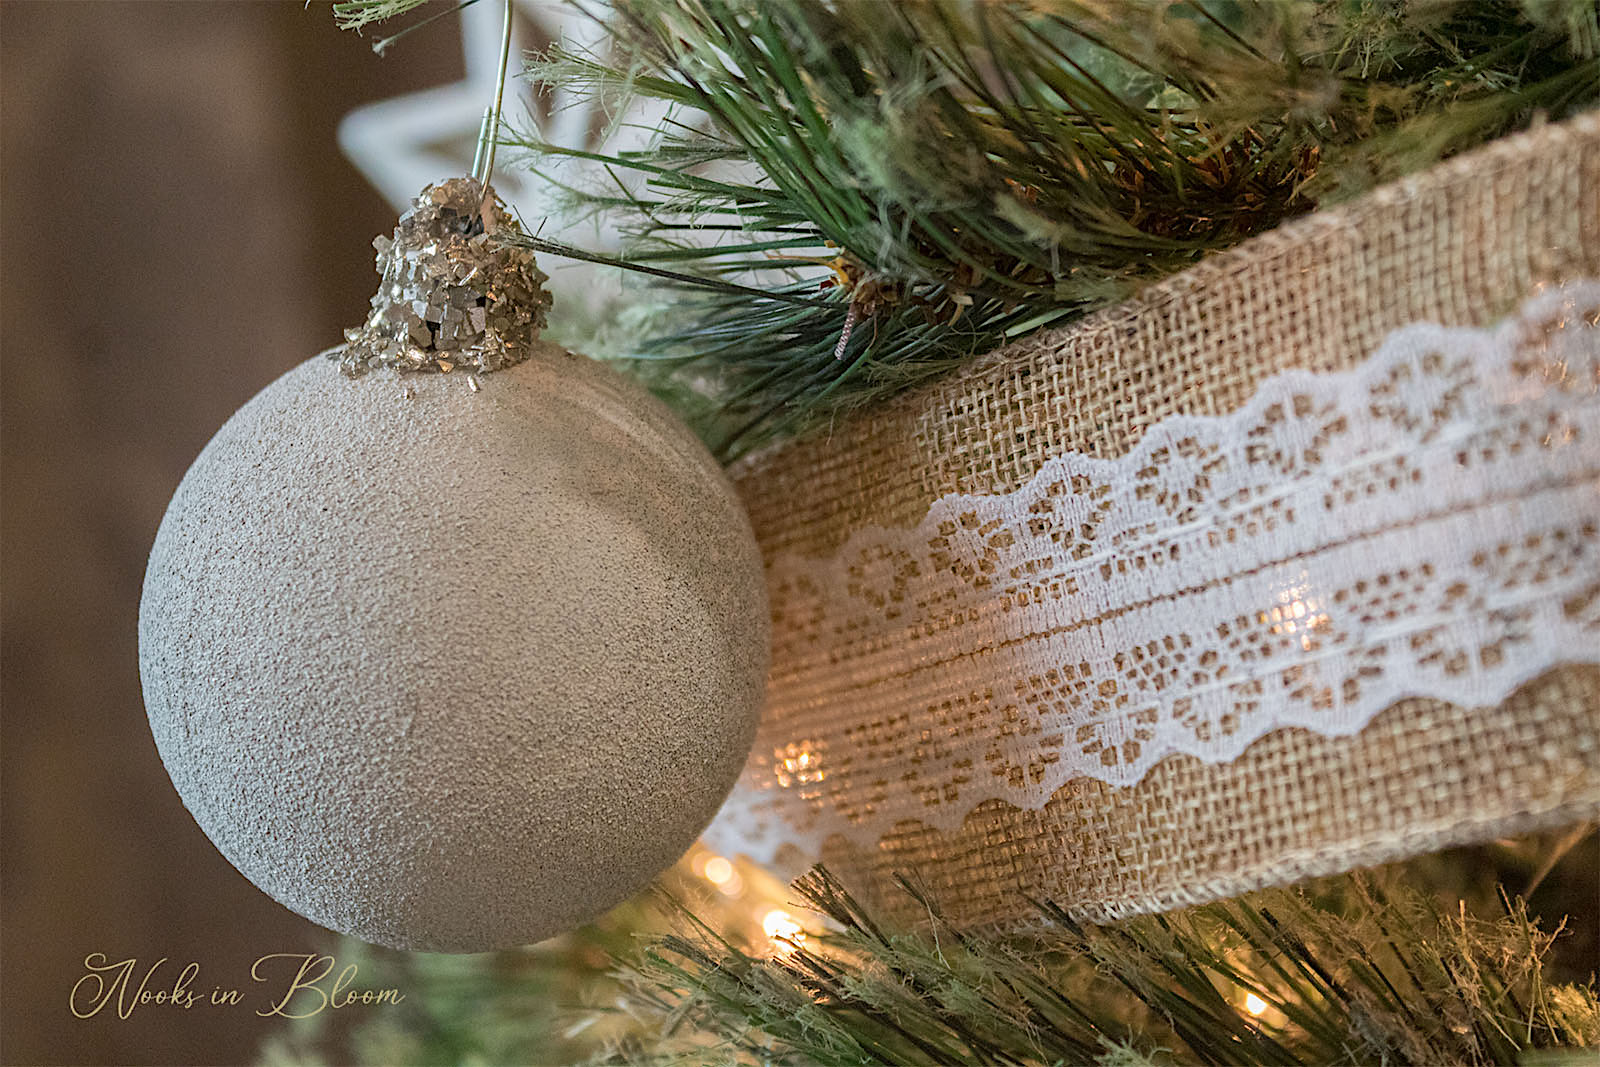
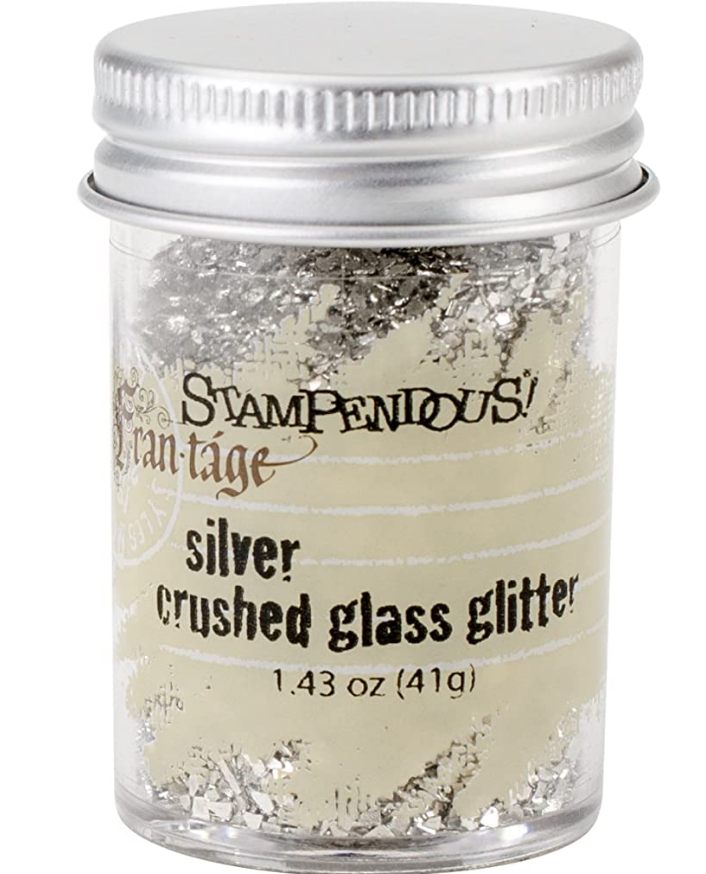
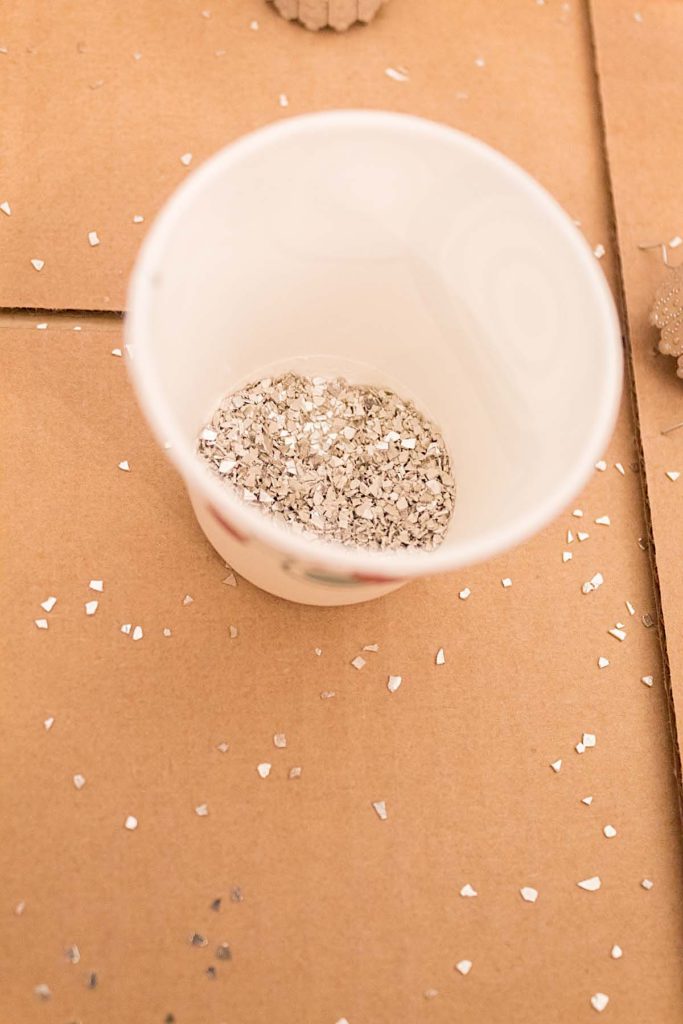
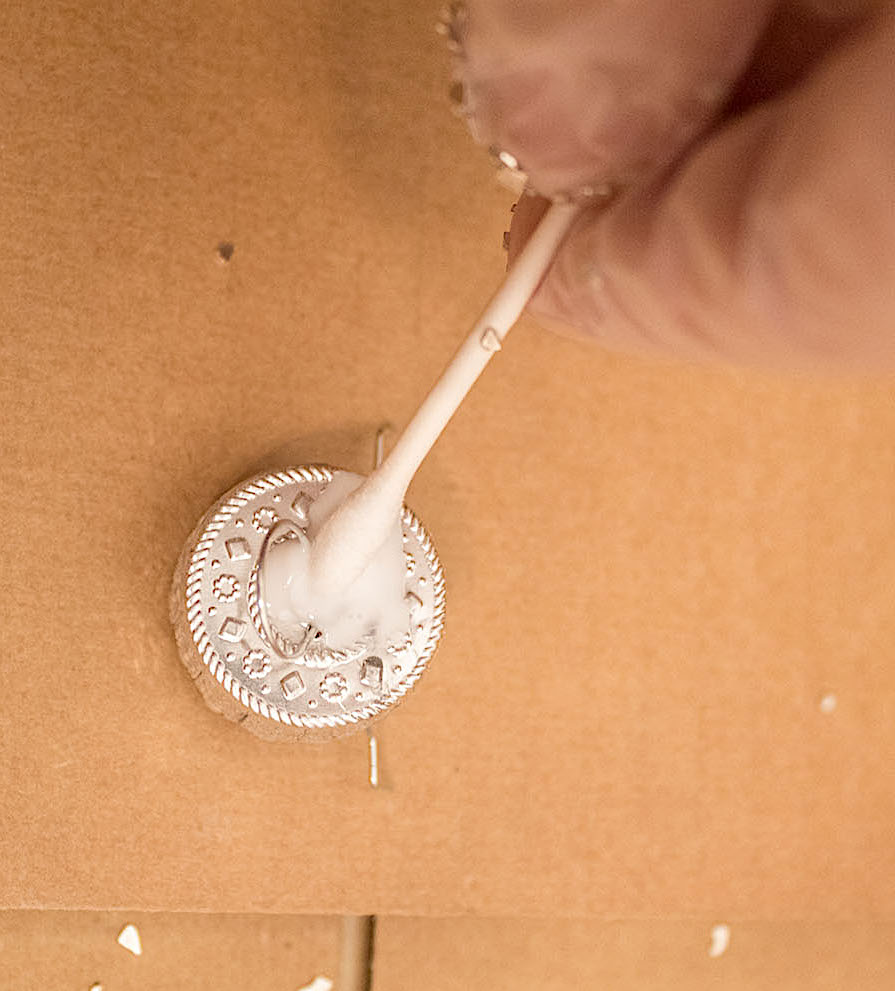
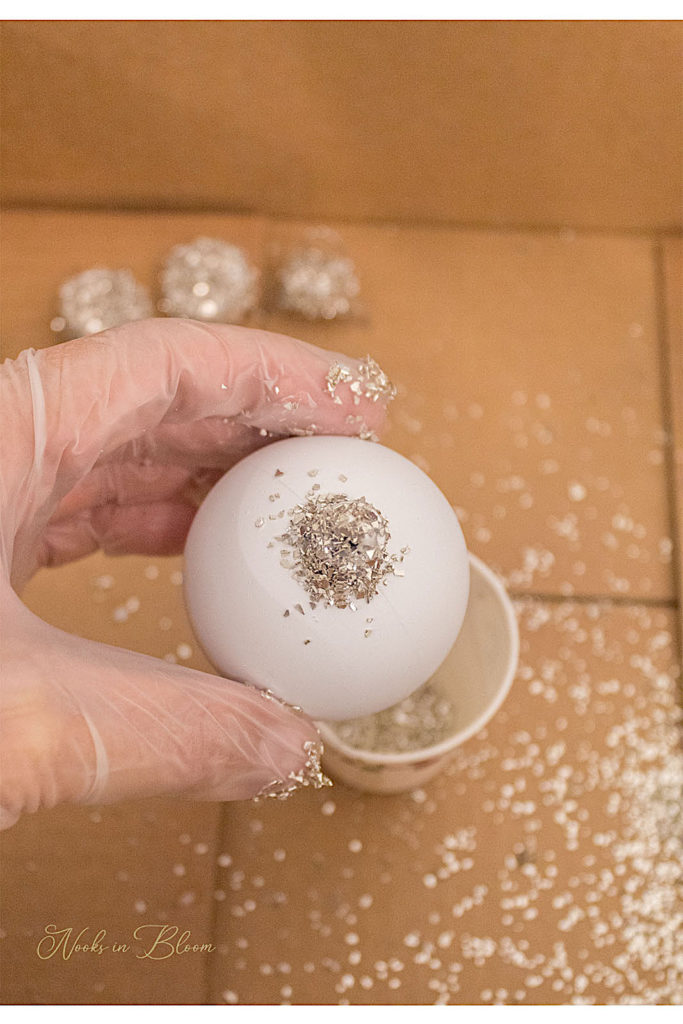
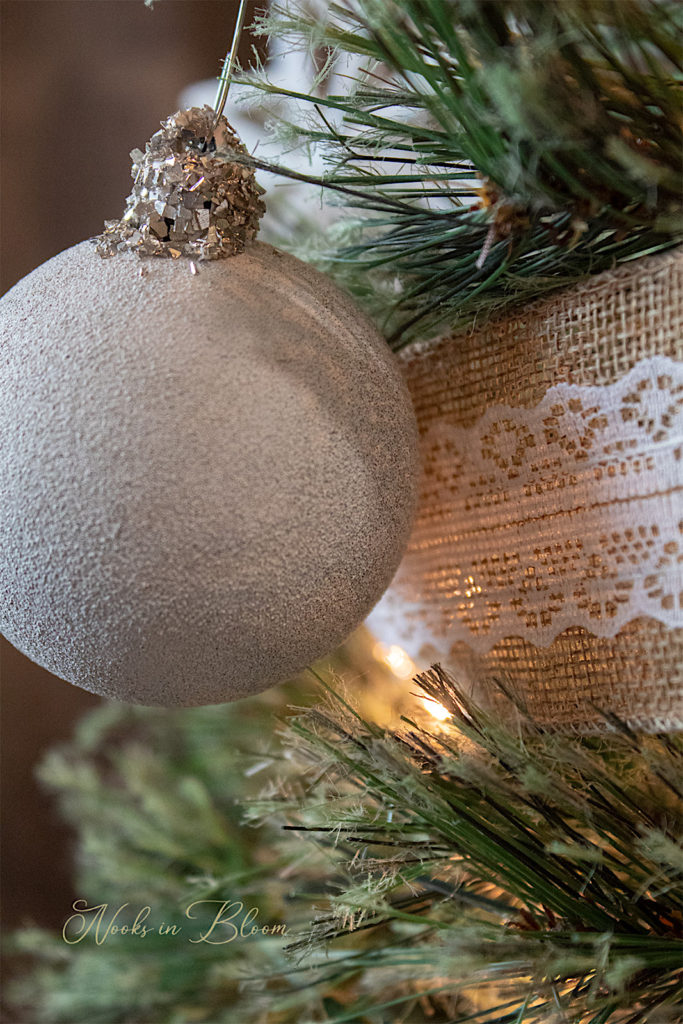
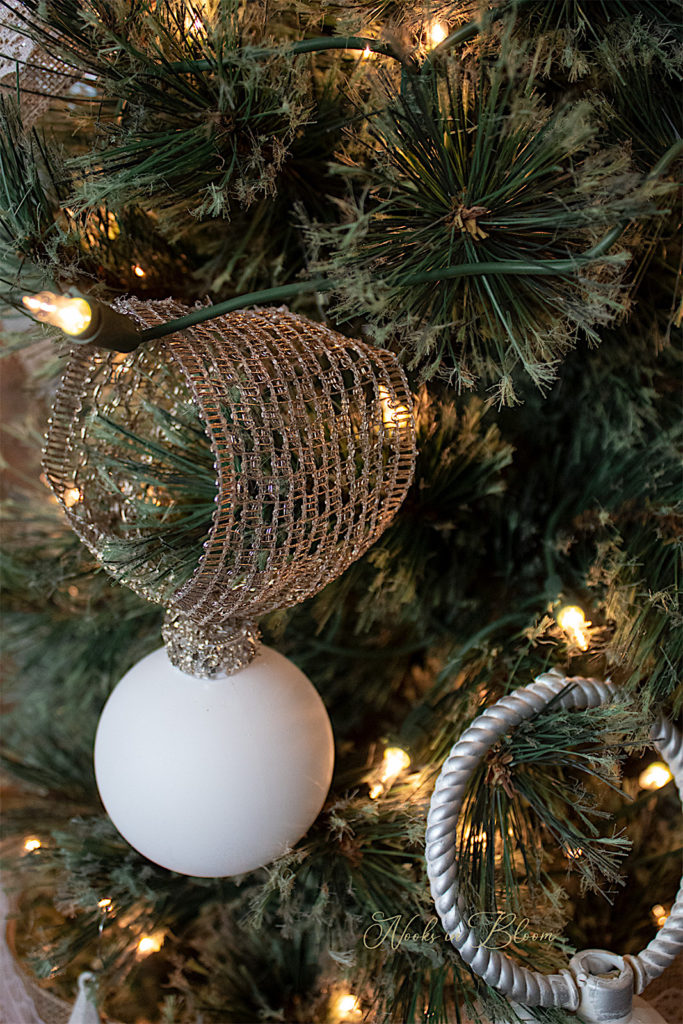
This was my first time using glass glitter and it was awesome. Although it does get a little messy, it is more course than glitter so it is easier to work with. I love the chunky bits of SUPER sparkly glitter. This was just the level of glam the painted ornaments needed.

I poured a little of the glass glitter into a dixie cup, but I recommend using a paper plate instead. It got a little tight working in the dixie cup.

You want to make sure that the ornaments you get have a cap. There are ornaments that don’t have them. Without the cap you can’t easily add that lovely sparkle detail.

With a Qtip I rubbed Elmer’s Glue on and around the caps of each ornament. If you have ornaments where it’s not easy to take the cap off, try to only get your glue on the cap part and not on the ornament. The glass glitter is going to stick to anywhere you have glue. The Qtip helps to keep the glue application more precise.

Once your glue is on, pinch some glass glitter over the glued cap. Keep adding glitter until you don’t see any more of the white glue.

Step #3: Add Your Ribbon

I had this beautiful wire mess ribbon for some time. I had picked it up at Hobby Lobby and knew I could use it for something special in the future.

Unfortunately this ribbon seems to be out of stock. Finding something with a metallic mesh is what I recommend for this look. This is a similar ribbon, slightly more gold which would be lovely too.

To add the ribbon to each ornament:
• Cut approximately 8″ of the ribbon.
• Pinch or fold one end together.
• Slowly and carefully slide the ribbon through the ring of your cap.
• Hold the ring with one hand and pull the ribbon with the other.
• Try not to rub your dried glitter as you slide the ribbon so that the glitter doesn’t fall off. If some does, you can use your glue gun to re-adhere.

Once you get your ribbon half way through the ring, pull up both ends to make sure they are the same length.

Then add a few beads of glue to one end. Quickly connect both your ends, overlapping the none-glued edge over the glued and squeeze both ends together. Hold the ribbon together for a few seconds so the glue cools and secures. Be careful not to burn yourself as I did!

The metallic sheen, the elegant mesh pattern, and the width of the ribbon give the white ornament a glamorous wow factor.

Watch The Video of This Tutorial

Now you can hang and enjoy your new, fancy ornaments. I really am happy with how they came out and how they look on our tree!

What do you think of this transformation? Do you think you would try it? I’d love to hear your coments!

If you didn’t get a chance to see my entire living room French Farmhouse Christmas decor, head to THIS POST. I enjoyed the simplicity and warmth of incorporating vintage and French inspired details into this year’s holiday aesthetic.

Sweet friends, thank you for reading this post! I’m wishing you each a blessed and joyful holiday season this year. Follow along for more fun tutorials by SUBSCRIBING to the Nooks In Bloom tribe at the bottom of this page….see you real soon!

Leave a Comment

Your email address will not be published. Required fields are marked *


The reCAPTCHA verification period has expired. Please reload the page.

nooksinbloom

•Creating and Making the Home Pretty
•Inspired by European & Grandmillenial Styles
•Budget-Friendly DIY’s
🙏🏽
Blog ⬇️

Jessica
Load More Follow on Instagram
Scroll to Top

Sign Up So You Never Miss A Post!

Your information will never be shared or sold to a third party.