How We Stained Our Concrete Floors

Hello beautiful beings! I’ve been going through my old footage from our previous home and trying to catch up on past content. Life is moving fast! I would be remiss not to share this post of when we stained our concrete floors in the addition of our former home. They came out SO beautiful that, although belated, it is a post you must see!

I had this idea to create a unique look on the floors in a way that enhanced the concrete, and gave it some character, but without creating an overly-glossy look. I found a contractor who was willing to work with me on bringing to life the vision I had in my mind.  Together with Albert from Lucas Designs Decorative Concrete we were able to make the floors come out ahhmazing.

Step 1. Prepare the floors

before

Albert spent quite a bit of time cleaning and preparing the floor. Since this space had basically been a construction site for the past few months, the floor had to be scraped of debris and paint and other materials that had spilt and stuck to the floor. Next he brought in a large, heavy duty floor sander with some powerful sand paper. He worked the floors with this machine until they looked like freshly poured concrete.

before

The Vision In Mind

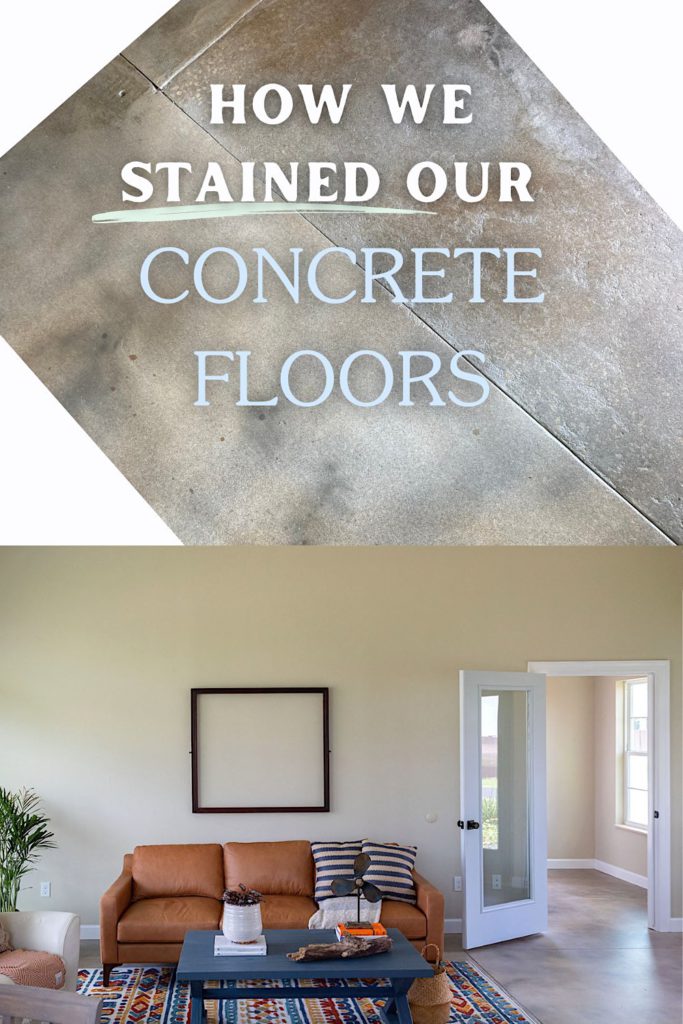
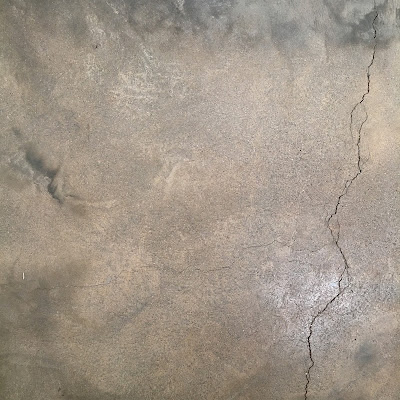
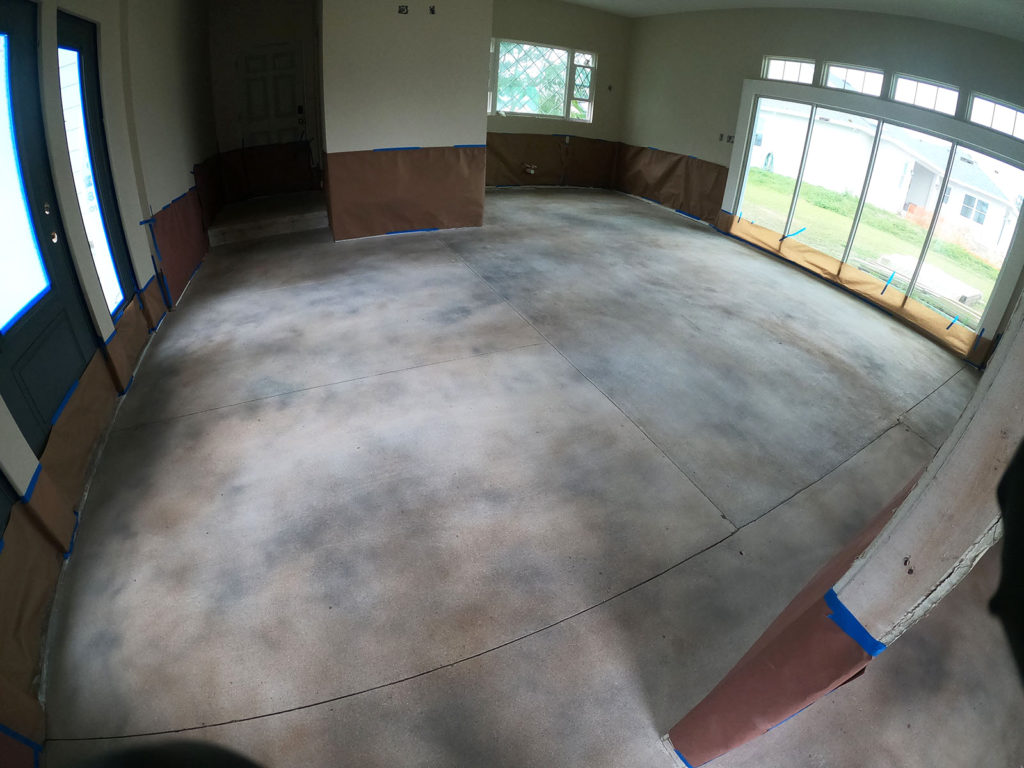
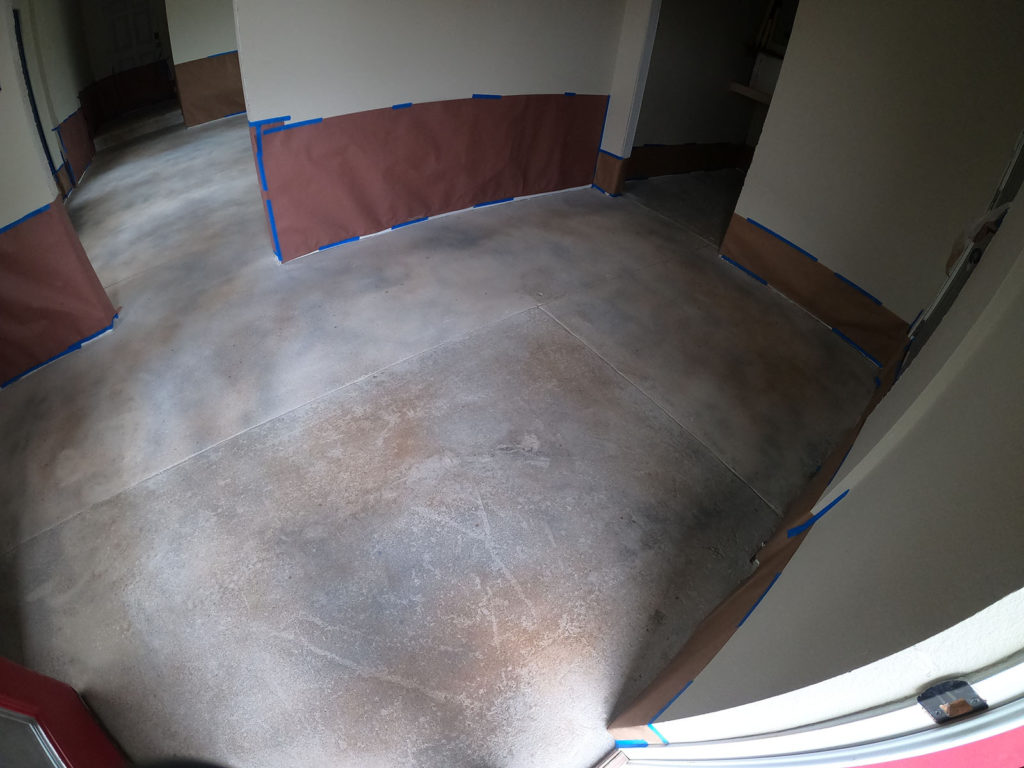
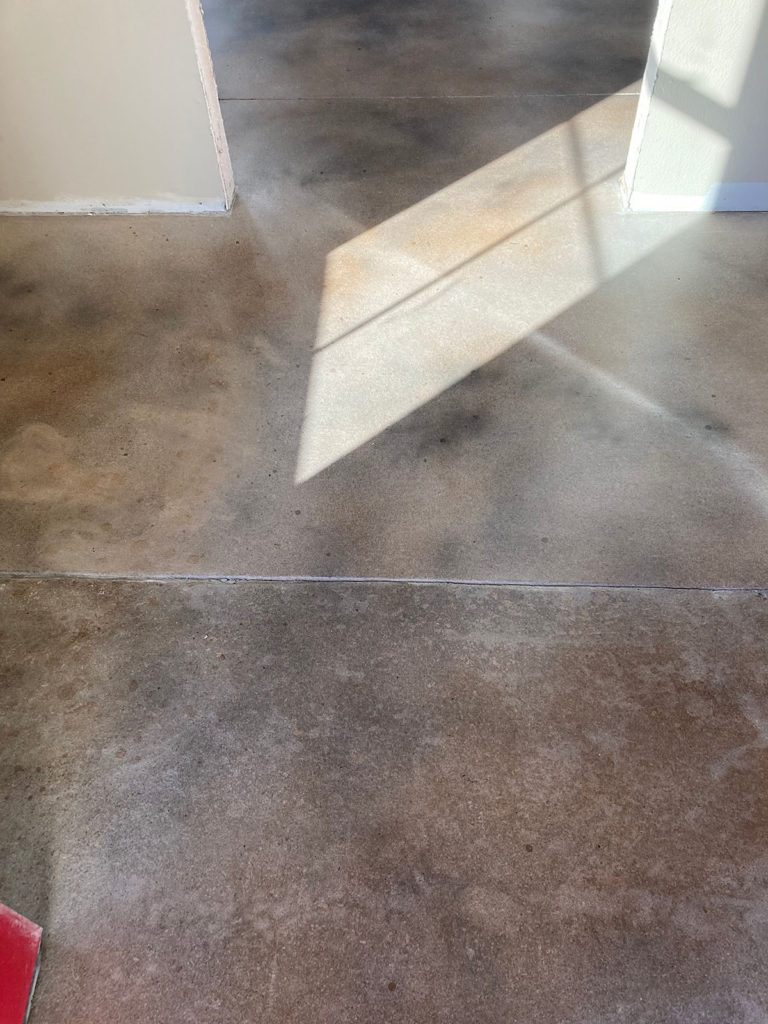
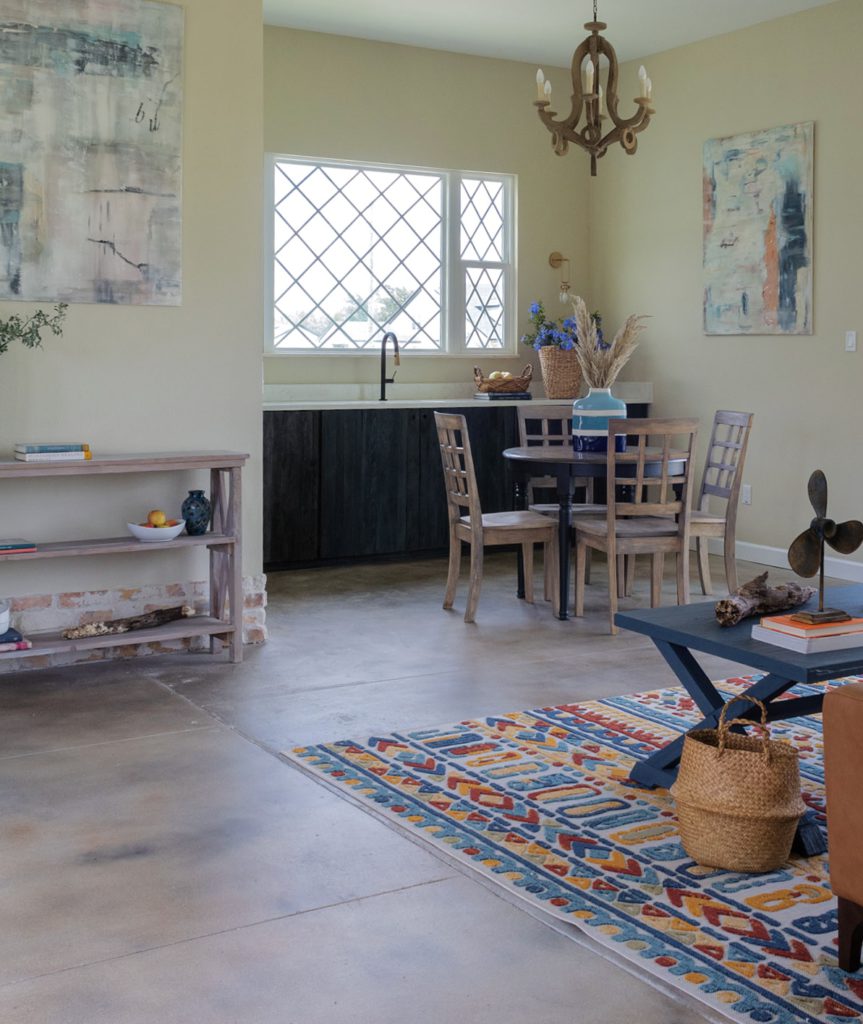
I sent Albert some examples of stained concrete floors from the internet that I liked. He then picked some colors of stains that he felt would achieve a similar look. I really love blogger Brittany's (from Duchess of York) floors and wanted to replicate that aesthetic. This is one of the pictures we used as a guide. In the end I think we matched the look pretty well.

Step 2. Getting your stains ready

 Perhaps this is a project that one could DIY at home. But even with my painting experience I was not willing to risk making a costly mistake on floors! So I would recommend partnering with someone who specializes in decorative concrete work and seeing if they would be open to you implementing your vision and style along with their expertise.

Albert brought a few colors of stains to our home. These are special stains for concrete floors. Once we decided on which colors we would try out, Albert diluted each stain in a type of paint thinner solution. (I’m not exactly sure if this was a mineral spirits or similar product).

It’s important to dilute the stain so that you don’t start out too dark on the concrete and so that you have a good amount of liquid to spray over your entire surface area.

In the next picture you can see the brown color that Albert mixed in a bucket. It was like a sandstone color. The natural hue of your concrete can also influence the final look so ask your concrete specialist about that too when picking out your colors.

If you’re worried about the colors looking too light when they are being mixed or diluted (like I was), give them a try first. Once the stain dried on the floors and the top coat was added, having gone darker, in my case, would have been the wrong decision. You can always darken the stain and add more layers, but you can’t make it lighter. So I suggest taking baby steps with this process.

Step 3. Applying your stains

Our subcontractor had all the necessary equipment and tools for the job which he brought on site. He had a large plastic container with a fine mist nozzle on it. He poured the stain mixture into the receptacle and would use this to spray each stain color.

It’s a little hard to see in this next picture, but a layer of the dark gray color has already been applied and now Albert is applying the sandstone color. The two colors are working together beautifully to create that rustic, worn look I was wanting.

At this point Albert turned the sprayer over to me and I got to spray the remainder of the floors with the brown color. I was able to create the patterns that I wanted and Albert gave me plenty of tips that helped me not to mess things up:

•Make sure your sprayer has the right flow control so that the stain does not pour out too quickly or thickly. The trick here is thin, light mists of stain creating patterns of color. (watch video demo below).
•Use circular motions when spraying. Avoid horizontal or linear motions. This will produce a more natural result when the stain dries.
•Move quickly as you spray without stopping. Don’t stand in one place too long as you don’t want to over-spray in any one area or create drip marks.

Albert had a little bucket in one hand in which he would put the nozzle whenever he would stop spraying. Any residual drops would be caught in the small bucket and not on the floor. There were occasional drip marks inevitably, but I actually liked the added character in certain parts.

Here’s what the floor looked like after the dark gray was applied.

Here’s a picture with both the brown and the gray colors. From this angle it looks a little blotchy, but it really isn’t. Additionally, the epoxy clear coat will give it a richer, more blended aesthetic.

This picture shows a better view of the floor with both the brown and gray. I’m loving all the character. This is before the final clear coat has been applied.

Watch The Video Of This Floor Transformation

Step 4. Finally, seal the floor

After the stains had dried, Albert applied an epoxy clear coat. He made it so that the sheen was matte and not glossy, per my request. It did add a slight sheen which looked actually really, really nice. The clear coat did a good job of pulling everything together. I’m so happy with how these floors came out!

I don’t have the best pictures of these finished floors unfortunately—these pictures really don’t do the floors justice. Since we’ve moved out of the home I can’t take more photos, but I hope this post may give you an idea of what this process entails. (the video above shows a more clear and accurate view of the finished look)

Thank you so much for reading this post! I’m so grateful you stopped by. Be sure to subscribe at the bottom of this page so you don’t miss a thing!

2 thoughts on “How We Stained Our Concrete Floors”

Leave a Comment

Your email address will not be published. Required fields are marked *


The reCAPTCHA verification period has expired. Please reload the page.

nooksinbloom

•Creating and Making the Home Pretty
•Inspired by European & Grandmillenial Styles
•Budget-Friendly DIY’s
🙏🏽
Blog ⬇️

Jessica
Load More Follow on Instagram
Scroll to Top

Sign Up So You Never Miss A Post!

Your information will never be shared or sold to a third party.