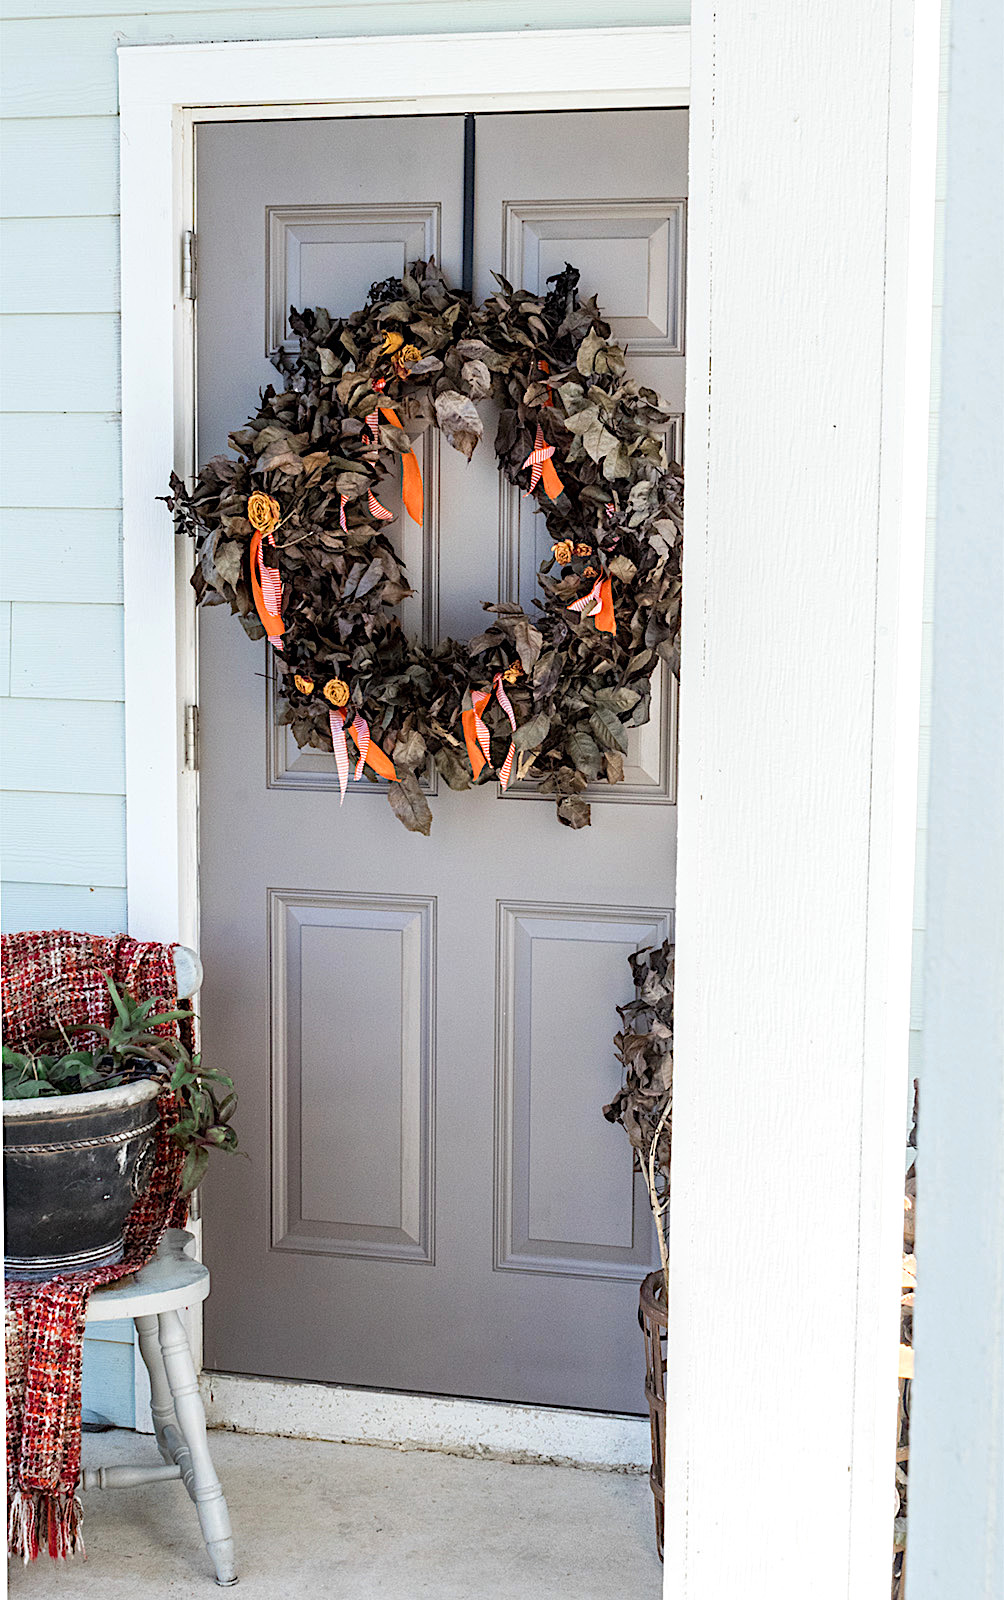
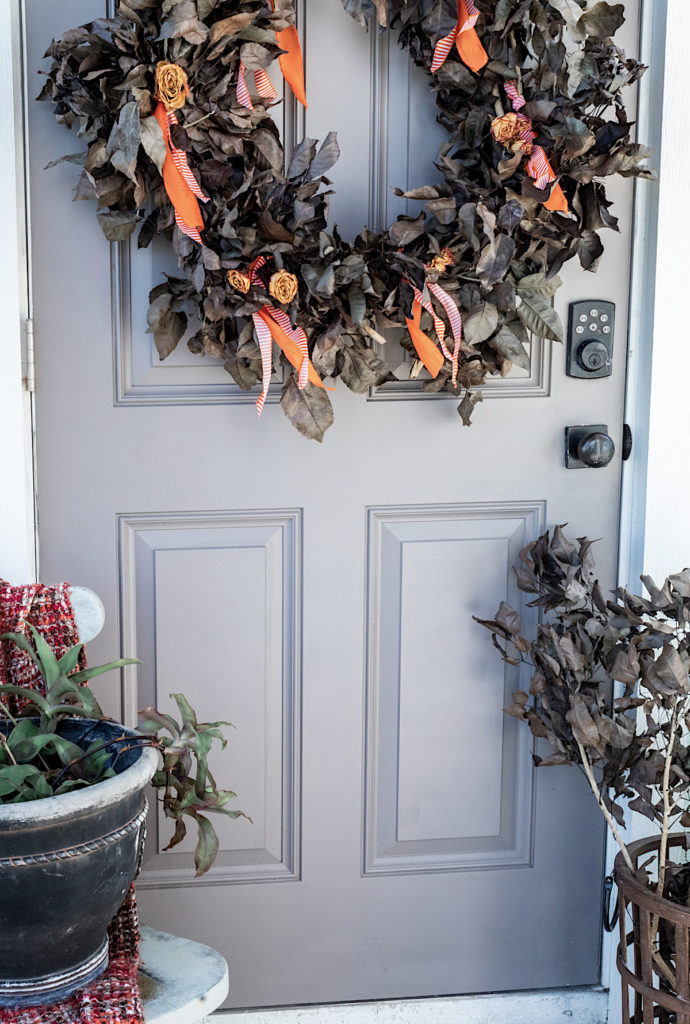
Hello lovely readers! Today I have a spooktacular, minus the spook, Halloween-inspired door wreath to share with you.
It is rustic. It is huge. It is fabulous. We are shopping our yard to create this SO very easy show stopper. Come along and I’ll tell you all about it!
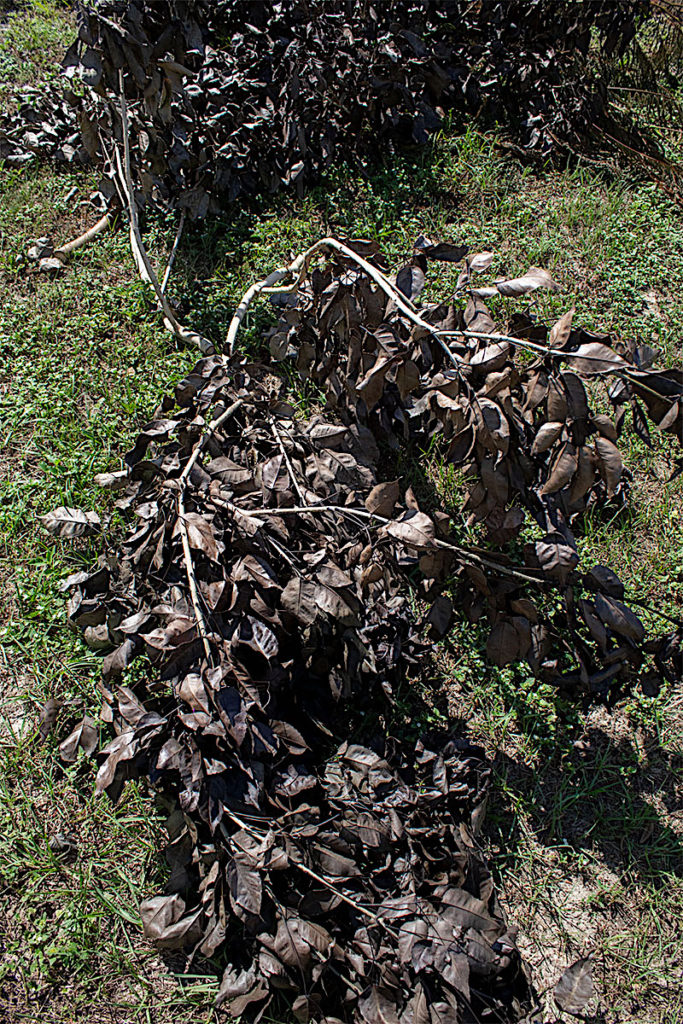
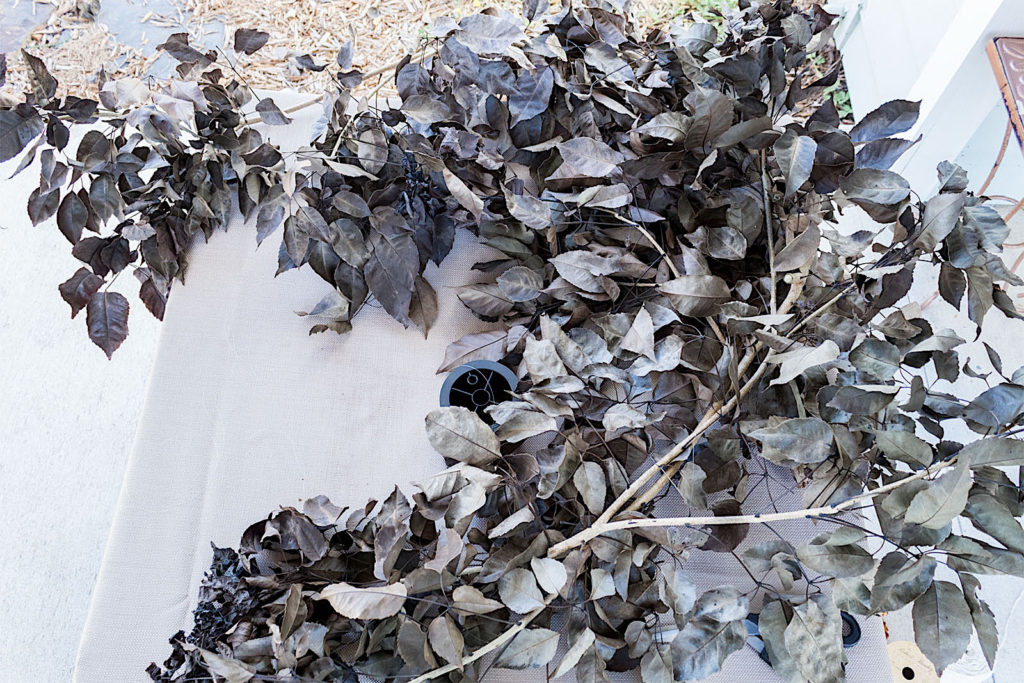
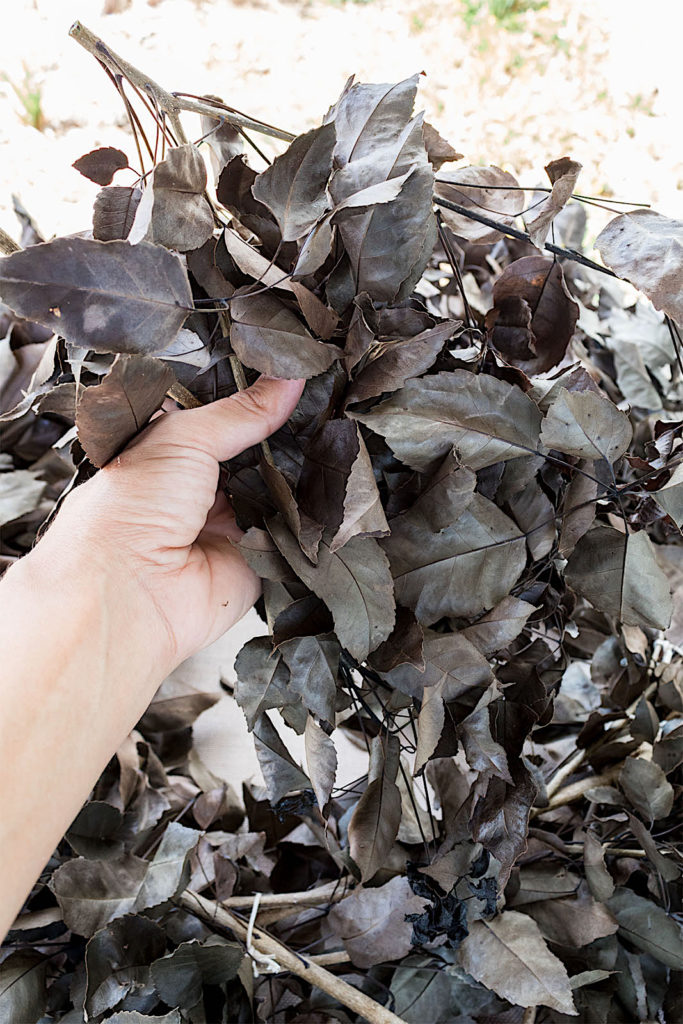
Last week we pruned our Tabebuia tree and the pile of branches sat for days on end in our yard thanks to other priorities and perhaps a little procrastination.
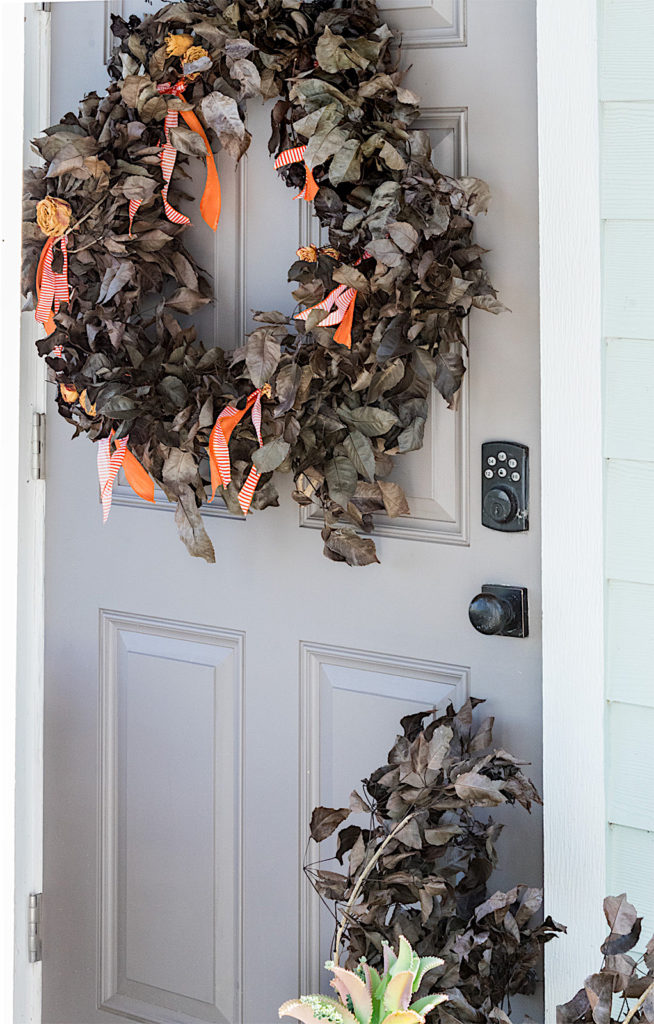
The bright green leaves of the Tabebuia branches had turned a dark gray-brown and black in some parts.
And then it happened. On the six day of walking by the pile of foliage the idea hit me. These wonderfully darkened branches would make the perfect Halloween wreath!
If you think about it most plant leaves when they die or dry out turn burnt browns, yellows and orange—all perfect Fall and Halloween colors. So you could easily try out different Halloween wreath looks using debris from your yard.
You could also spray paint fresh foliage if you don’t feel like waiting out dry times.
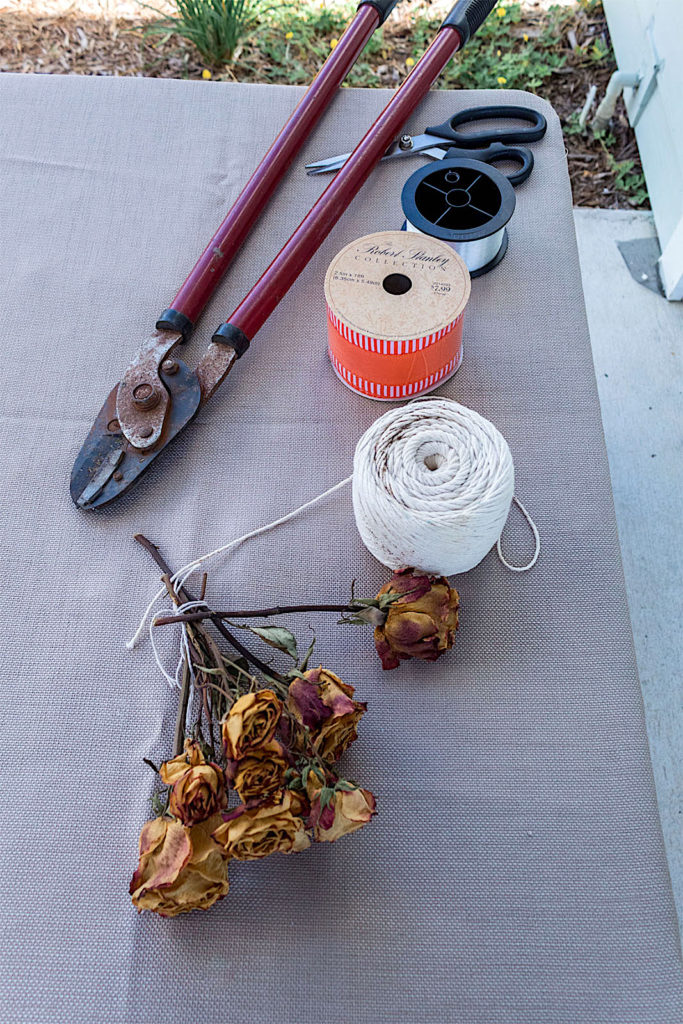
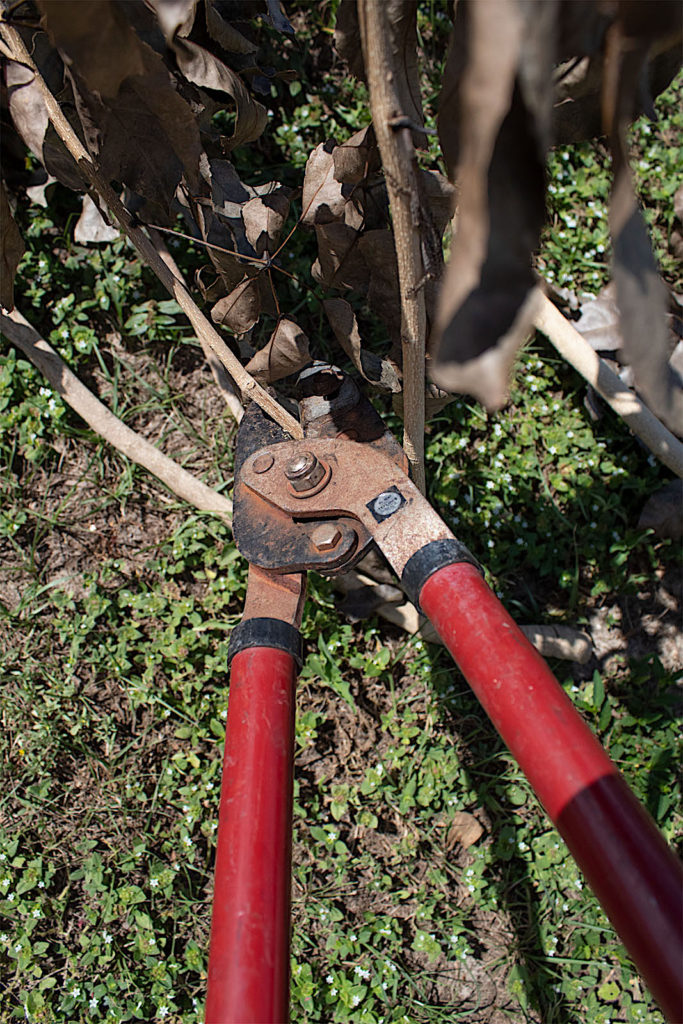
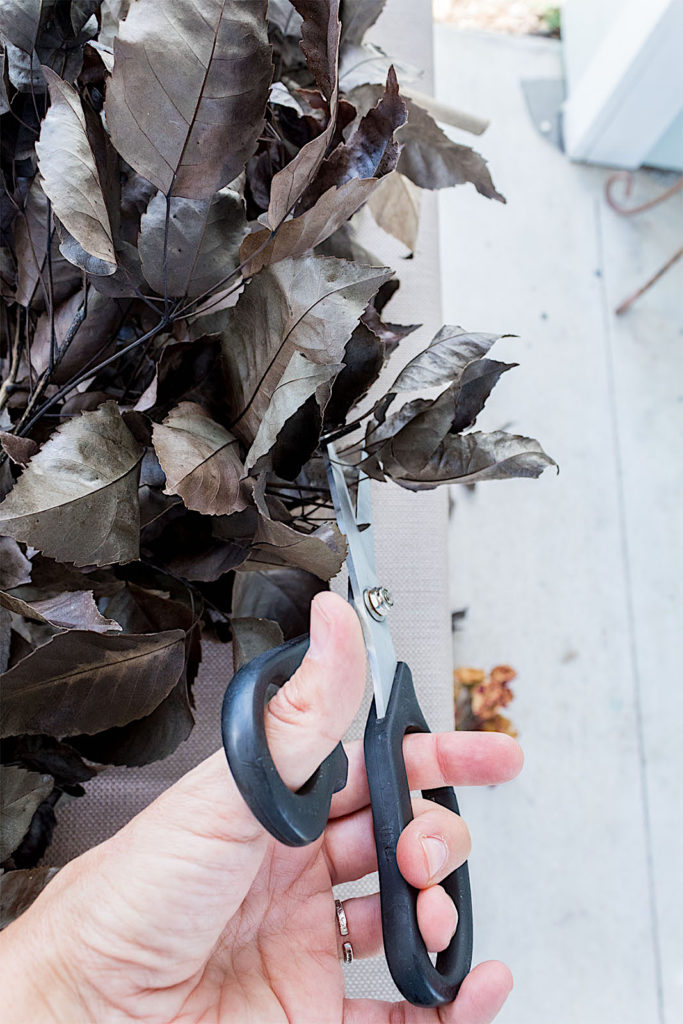
Using large garden shears I cut the branches to approximately 2 – 3 feet in size. Four to five branches should be enough to complete the circle of your wreath, but it really depends on how long your branches are.
Step 2. Tie Your Branches
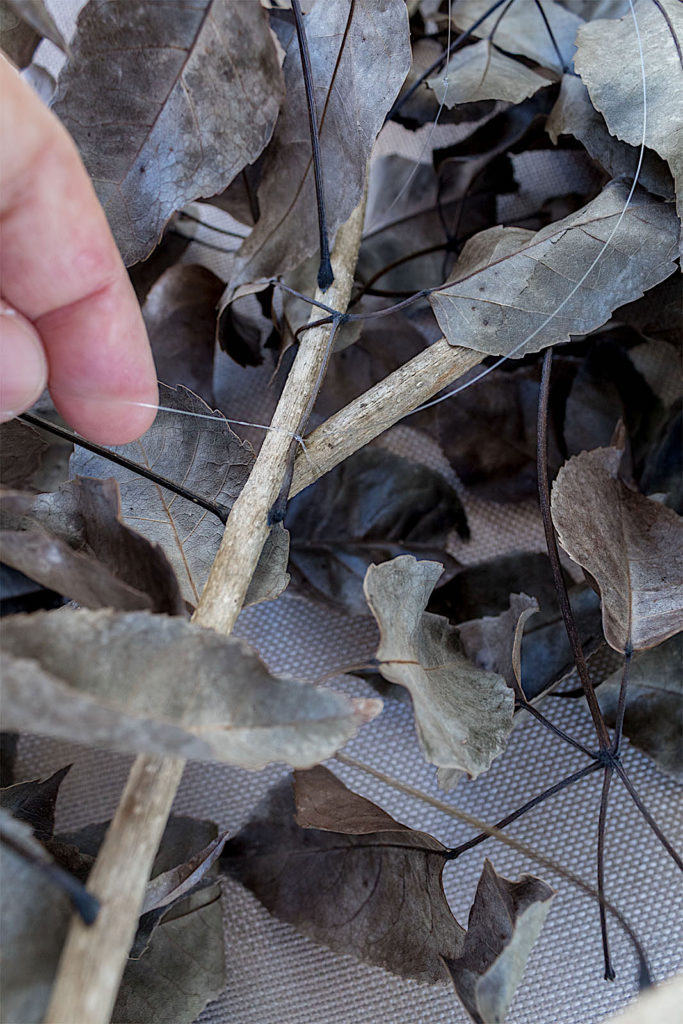
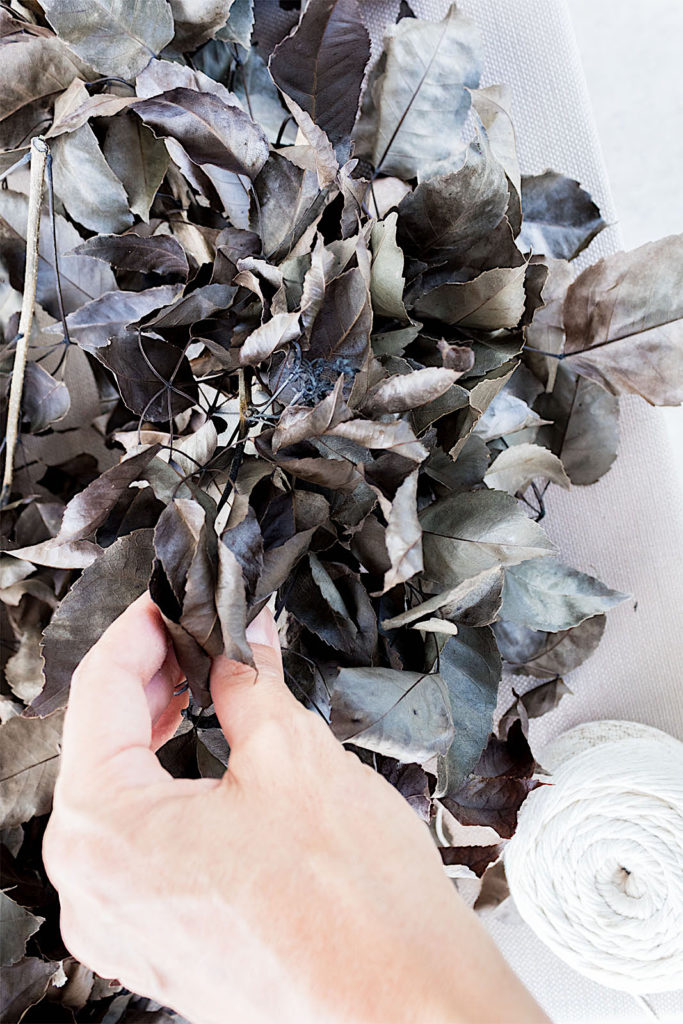
These thin branches were flexible enough to somewhat bend them into a curved shape. I started with two of the branches, bending them slightly into a curve and overlapping them. With my fishing line I began tying the wood part of the branches together.
I tied in several parts to secure the two branches together. Once the first two branches were tied, I added a third branch and I continued this process, forming a large circle with the branches.
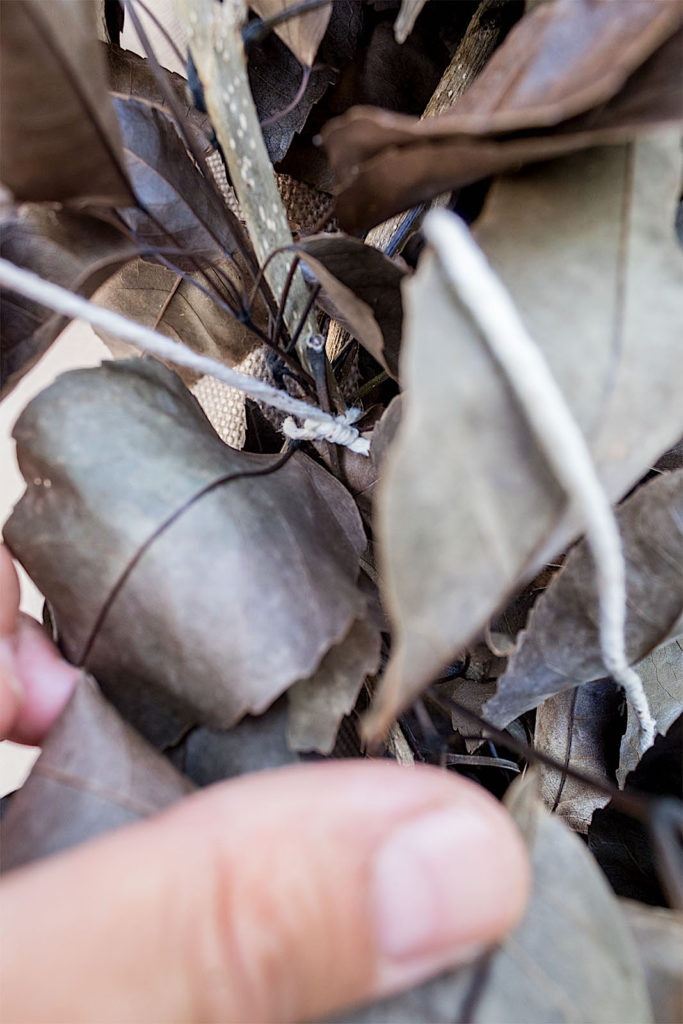
I first did all my tying with the clear fishing line. You may want to hold your wreath pieces up every so often to see if it’s holding. If you feel branches are too wiggly or loose, you should probably tie in a few more spots.
Once I tied all my branches using the fishing line, I came back around in a few spots with my craft string. The string will add extra support to the structure.
I attempted to hide any visible string under leaves. Anything I couldn’t hide I would later cover with the ribbon.
Step 3. Decorate With Ribbon
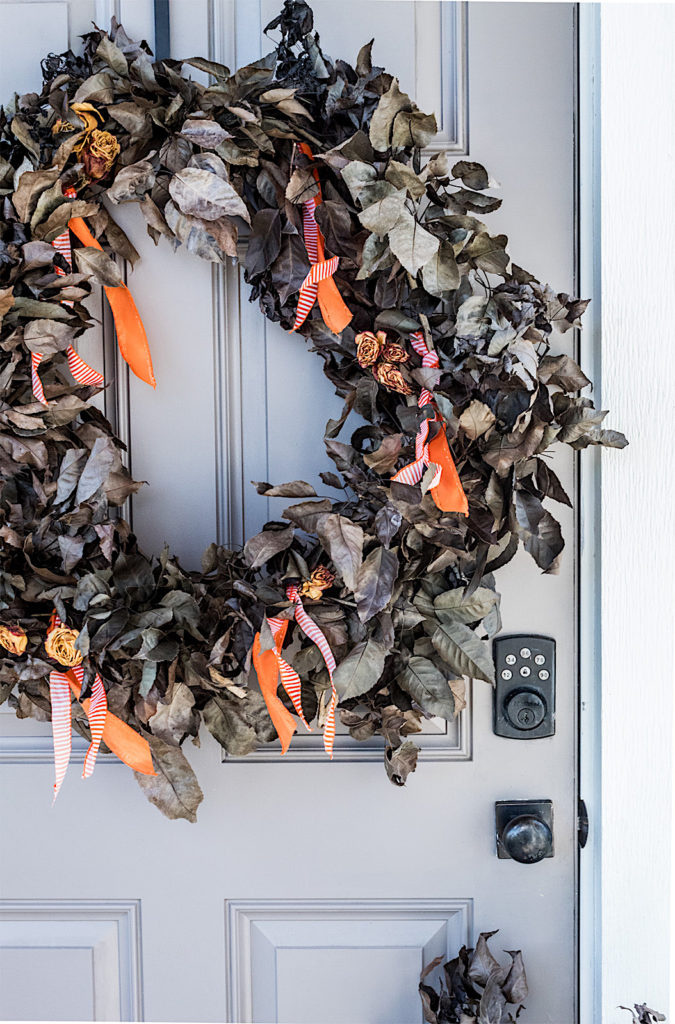
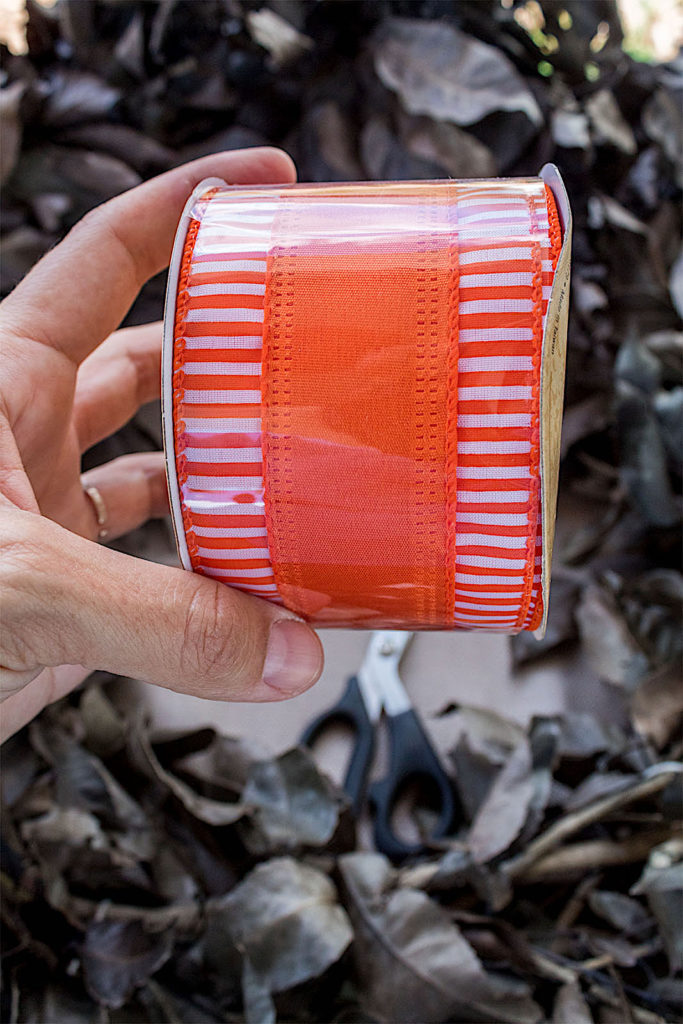
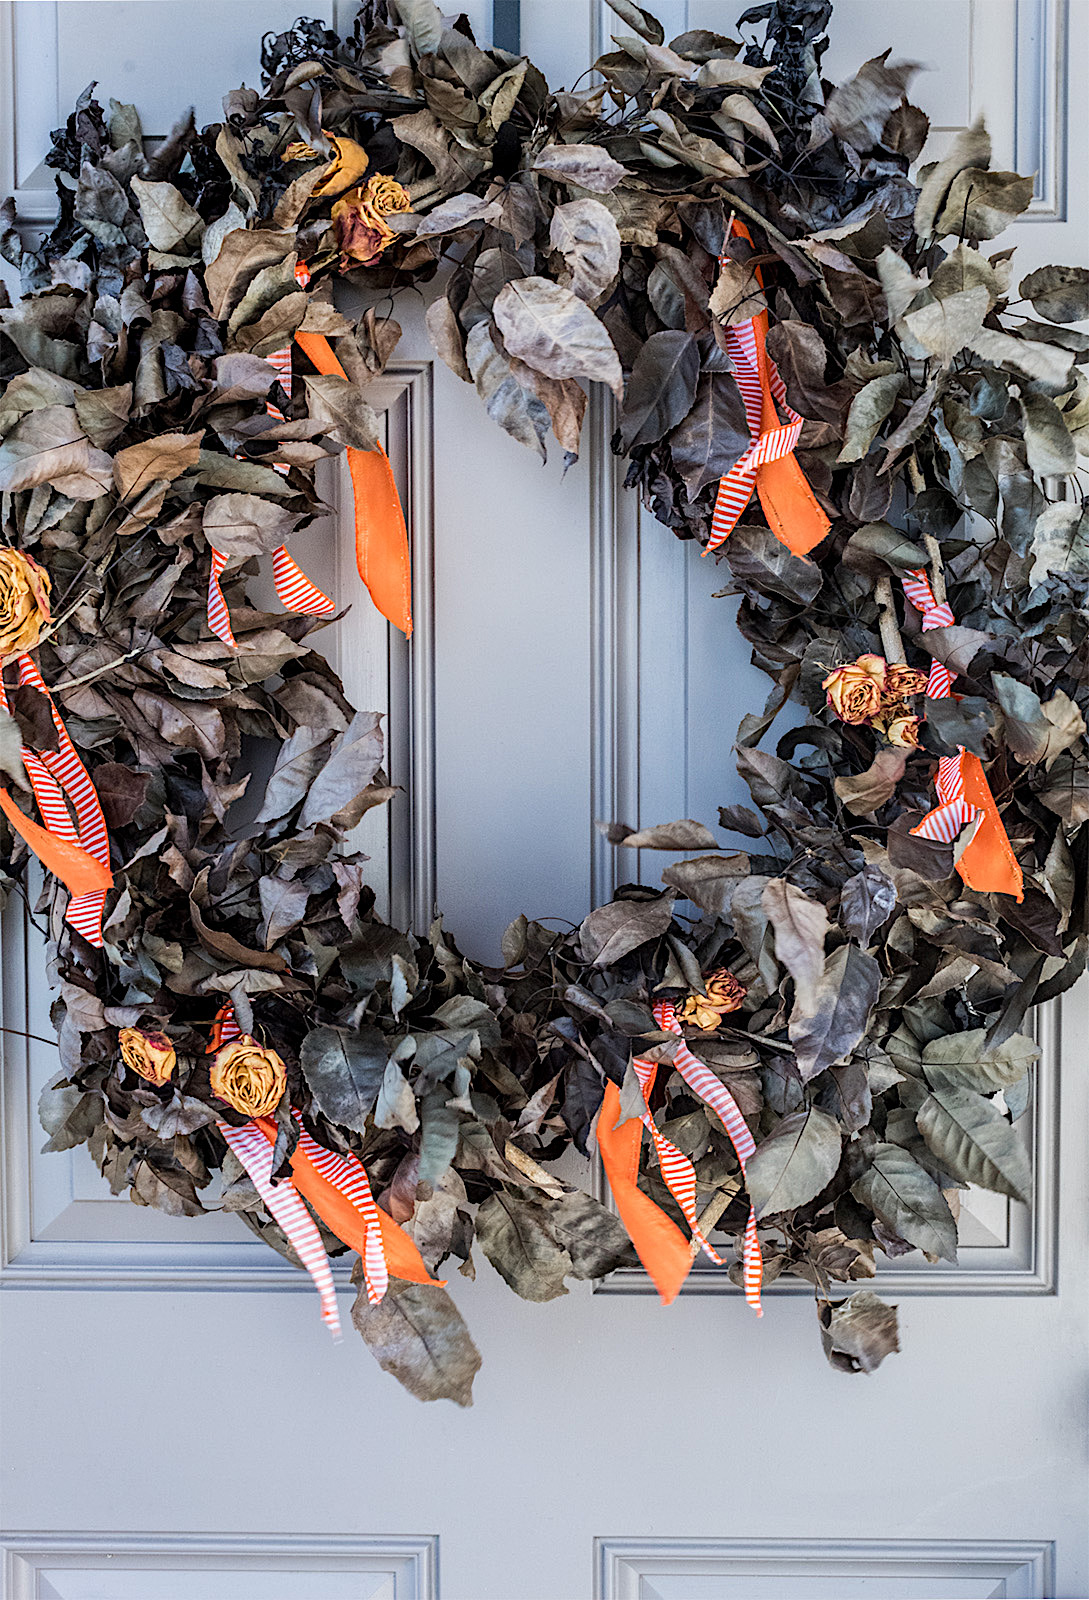
Now that our wreath is put together it’s time to add some festive color. I found this pretty orange ribbon at Hobby Lobby.
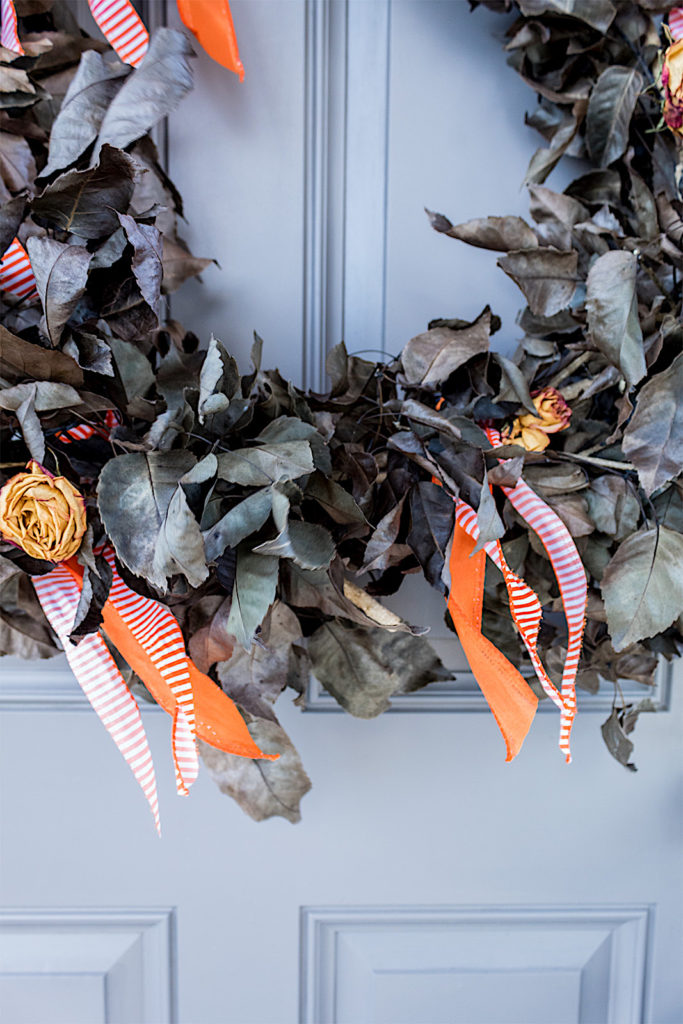
Instead of making dainty bows, I decided hanging shreds of ribbon would be more Halloween-like.
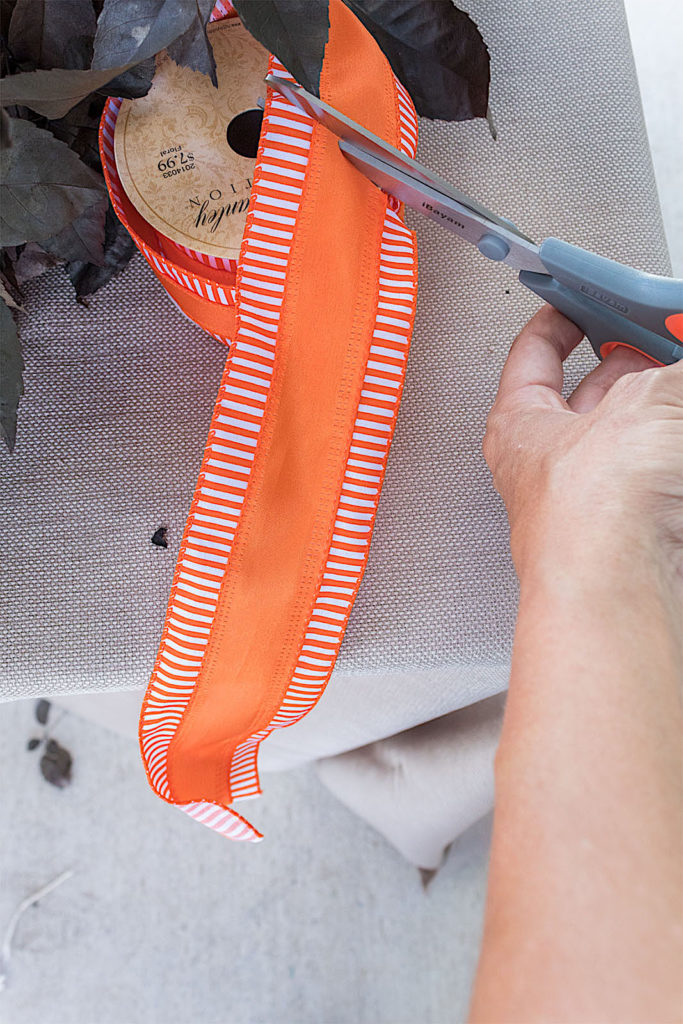
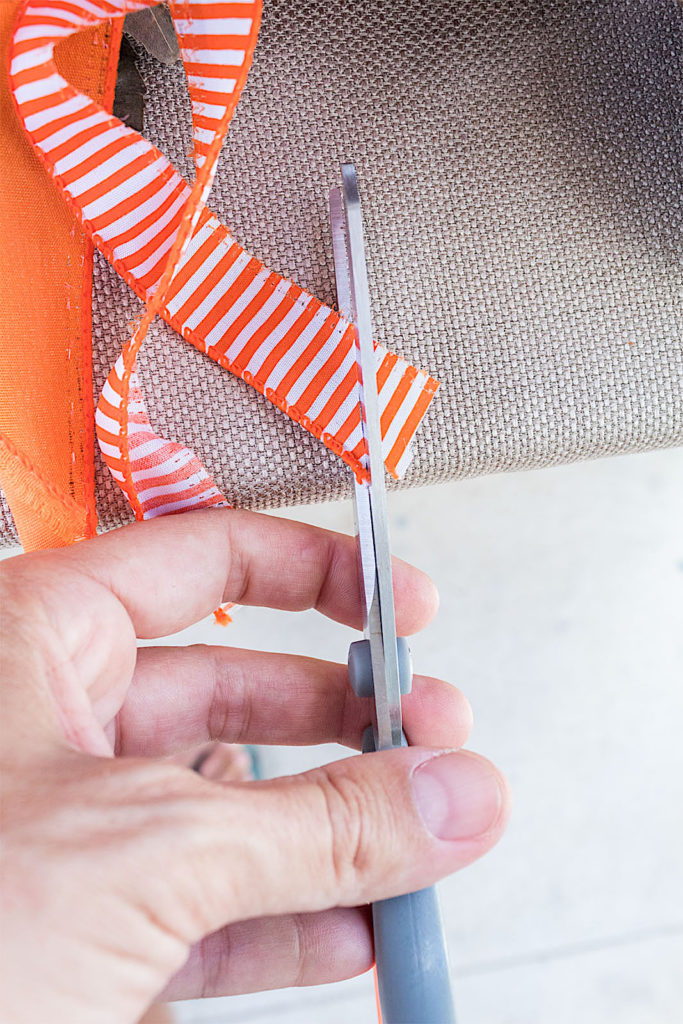
I first cut a few pieces of approximately 10″ in length using my craft scissors.
Disclosure: Some of the links provided are affiliate links. By purchasing through these links you are supporting this family blog and the work we do and there is no extra cost to you. If you would like to read our full disclosure, click HERE.
This ribbon was easy to rip apart because of the seams it had. If yours doesn’t have seams you can always use your scissors to cut long strips of the ribbon.
Make sure you don’t cut all the way to the end of your 10″ piece. You’ll need an intact end to tie around the wreath.
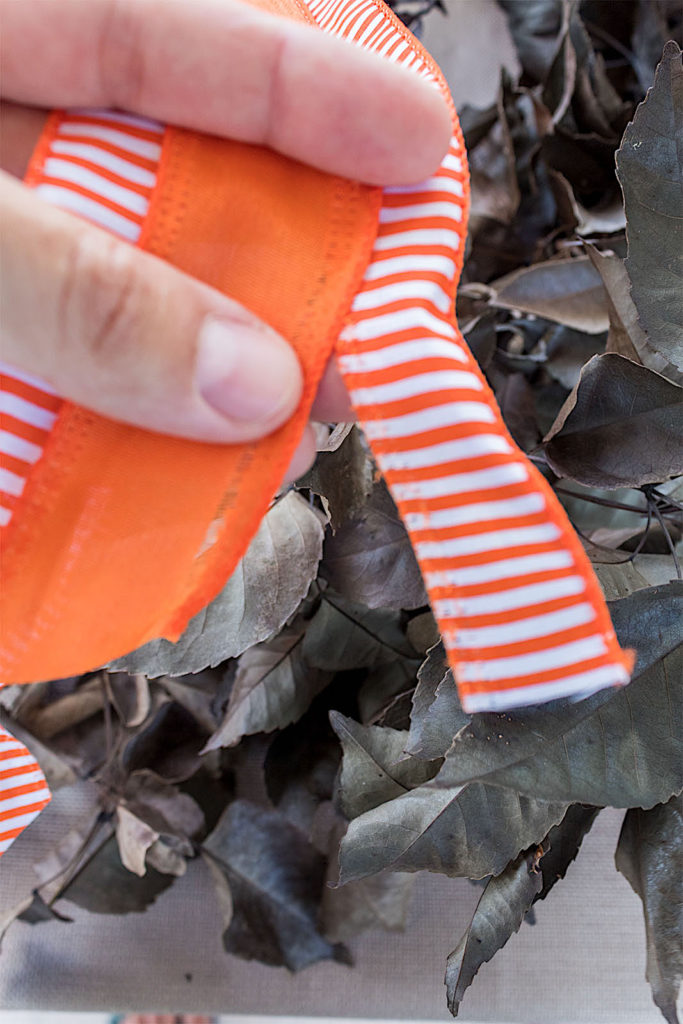
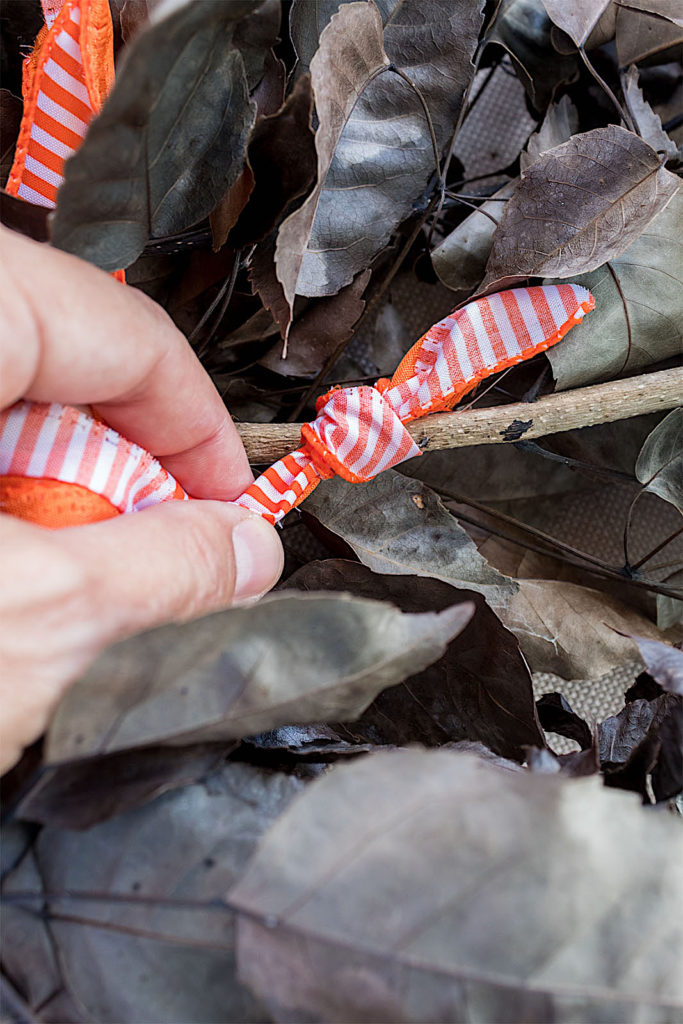
I cut the ends of the strips of ribbon at an angle for a nice finished look. Then I tied one end of the ribbon around the wreath branches, tucking the knot under leaves.
I added ribbon around the wreath in a few spots. You can add more if you want more orange accents.
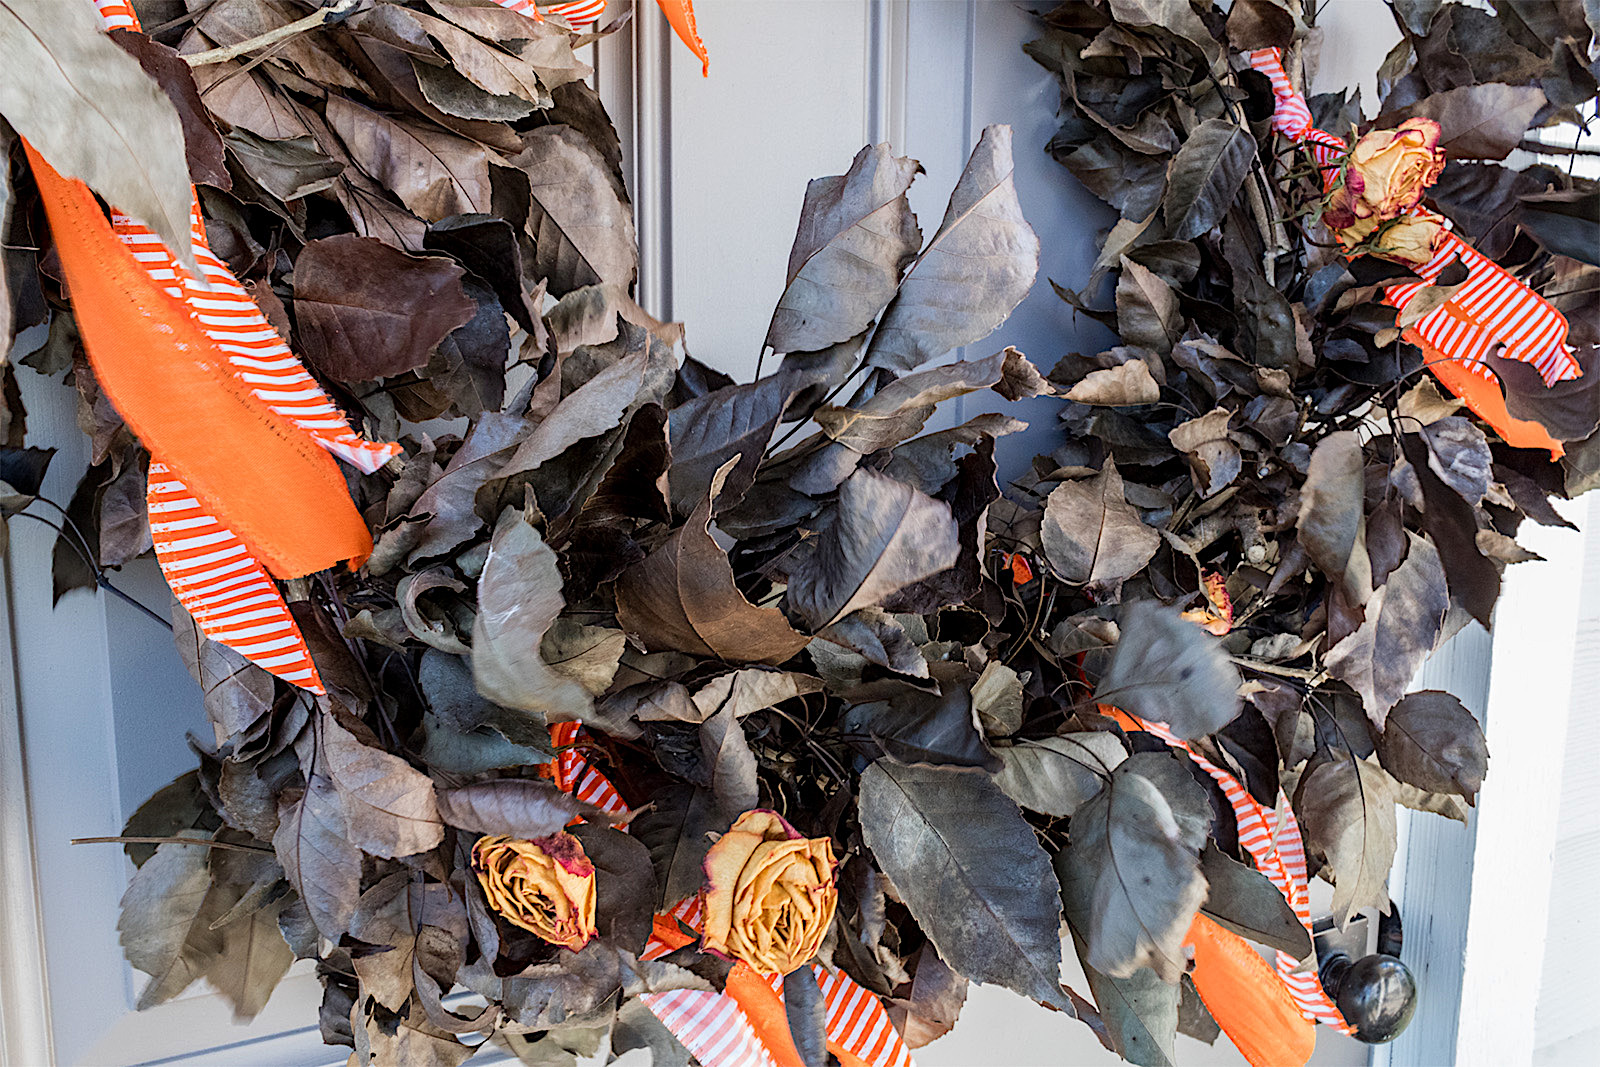
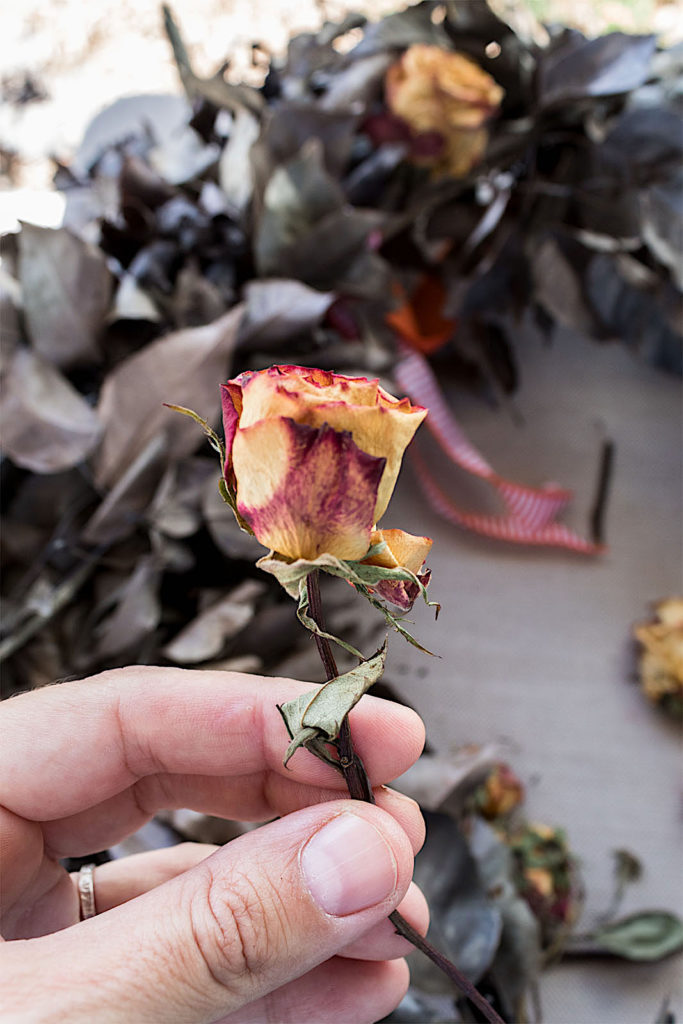
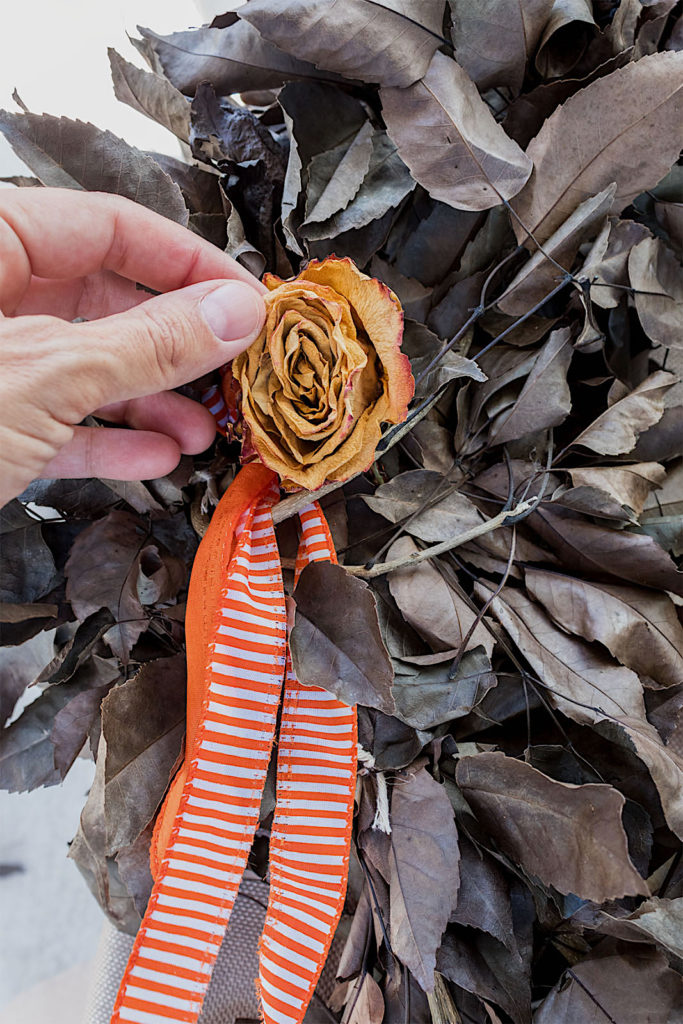
Step 4. Dried Roses For A Vintage Touch
I had a few roses I had dried from a bouquet I once got. These were perfect for my pretty Halloween look. I suggest dried florals in orange, yellow or red hues for this look versus using fresh flowers. We want things to look rustic and dried out to achieve a Halloween vibe.
I nestled my roses snugly in between branches and leaves at the base of my ribbons. The roses help cover up any of the ribbon knots and complete the look. You can also tie the rose stems using fishing line if you want to make them more secure.
Step 5. Final Step Fill & TrimYour Wreath
This last step is optional but I found that it enhanced the overall look of the wreath.
I took some smaller bundles of leaves and used these to fill in parts around the wreath that were a little more bare or uneven. I also used them to cover up any remaining visible string.
Finally, I used my scissors to trim any pieces sticking out unevenly around the wreath both around the outside part of the ring and the inner part.
Watch My Video Tutorial Of This Wreath
So friends what do you think of the not-so-scary Halloween wreath? Isn’t it grand! I only hope it may inspire you to create your own amazing decor to kick off the seasonal festivities.
If you’re enjoying the blog, please be sure to follow me on Instagram (scroll to the bottom of this page). I share lots of extra content on Insta and would love to connect with you there!