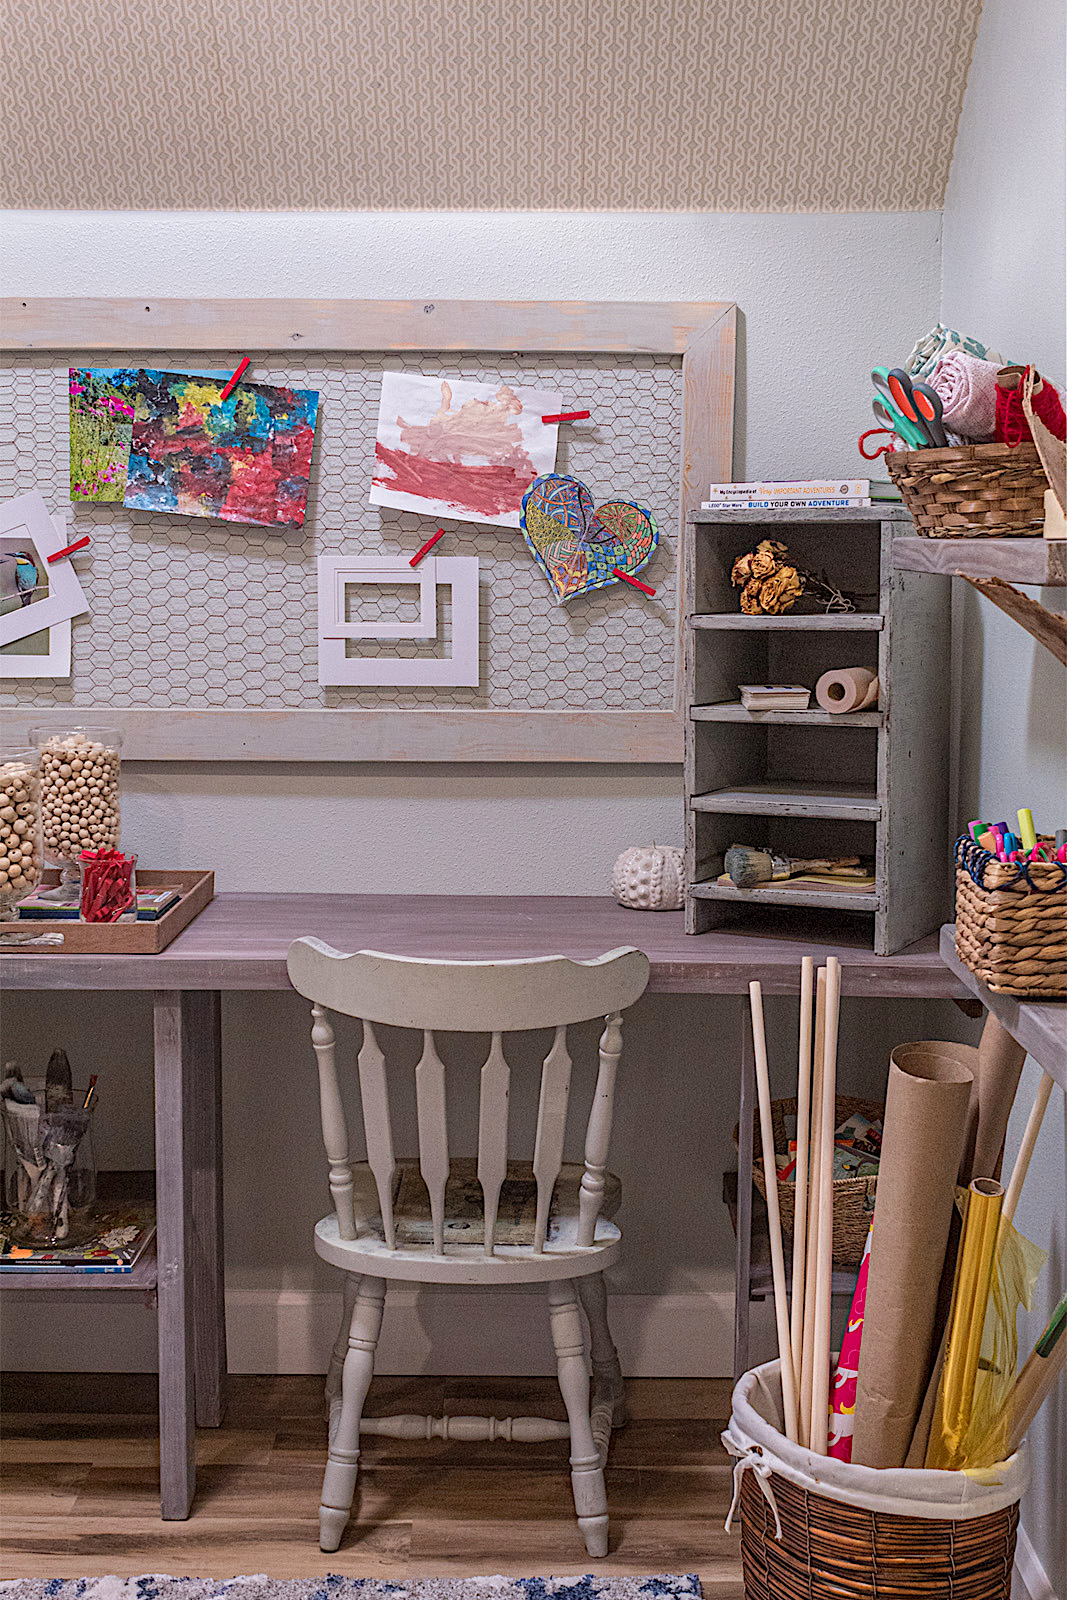
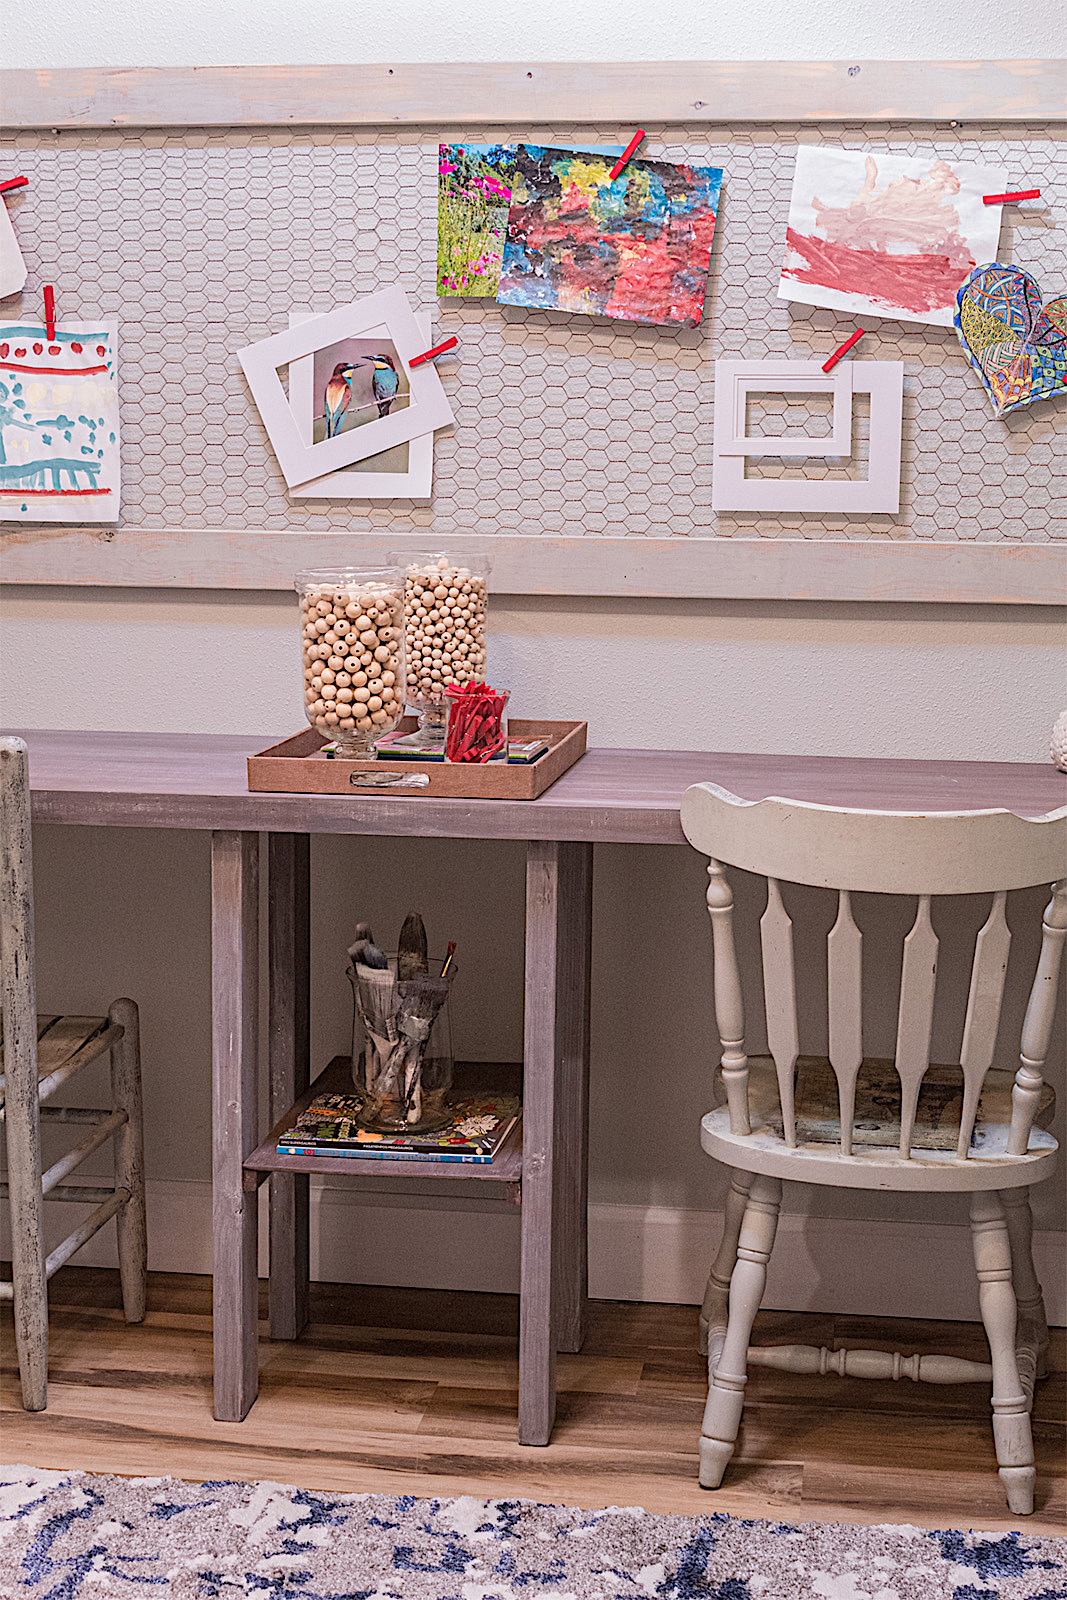
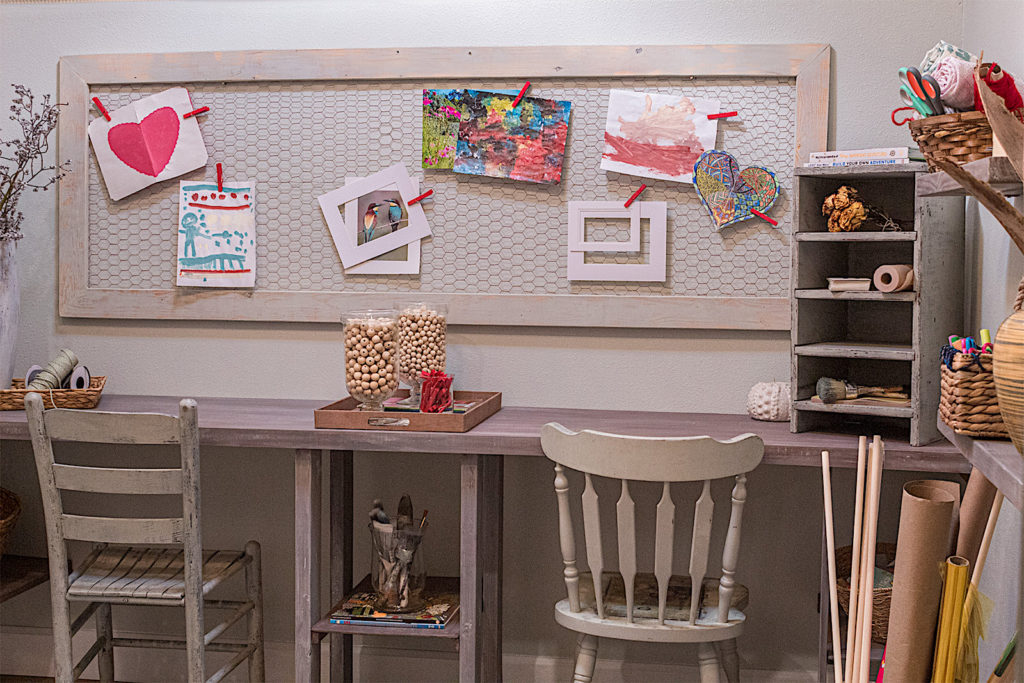
Today we are putting together a beautiful Farmhouse style pegboard. This pegboard is not like anything you’ll find in a store. It is grand. It is stylish. It is a functional wall feature that makes a stunning design statement.
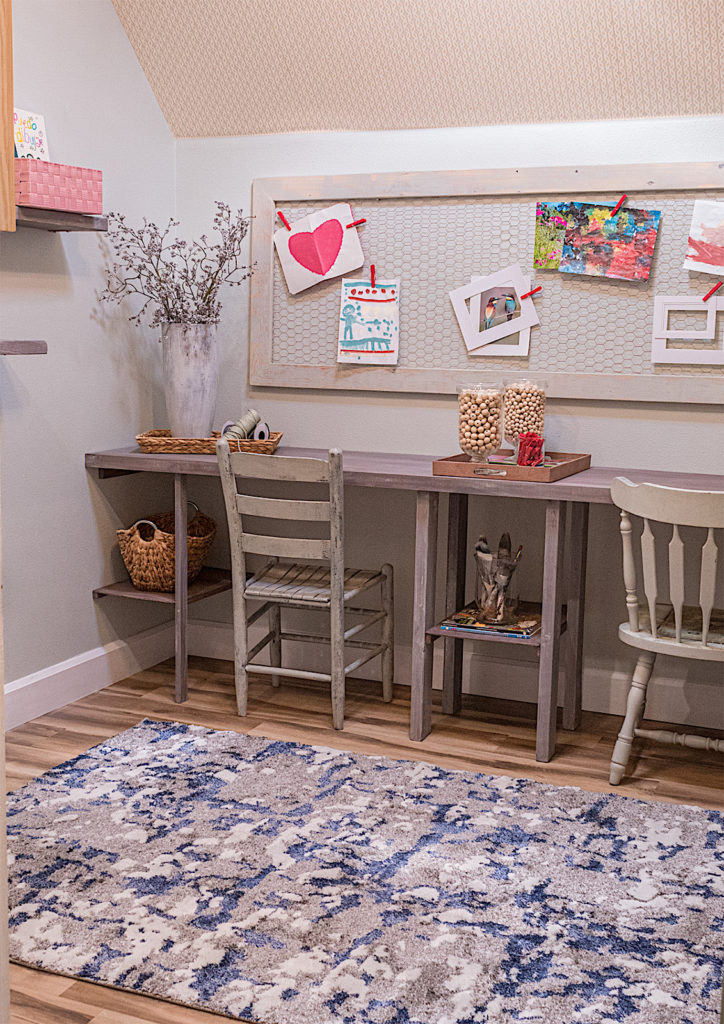
My husband and I made this pegboard to display artwork and projects in the arts & crafts room we recently designed and created.
I see this pegboard being useful in many rooms of the home, from displaying recipes in a kitchen, to organizing documents in an office or home schooling room. Now let’s dive in!
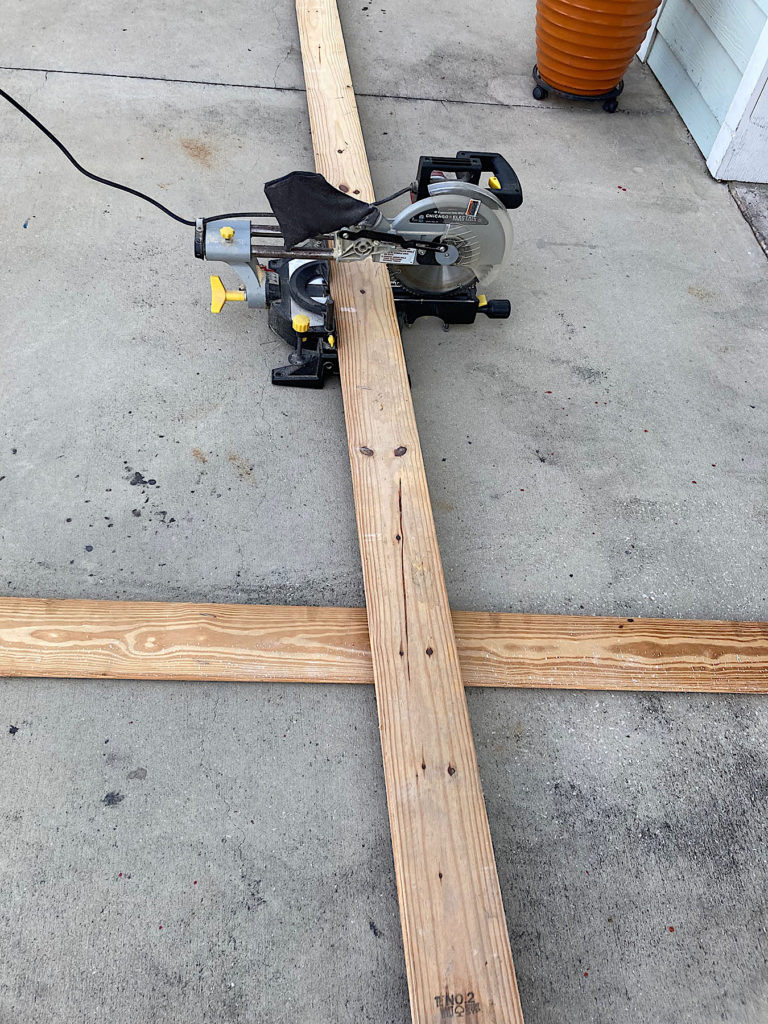
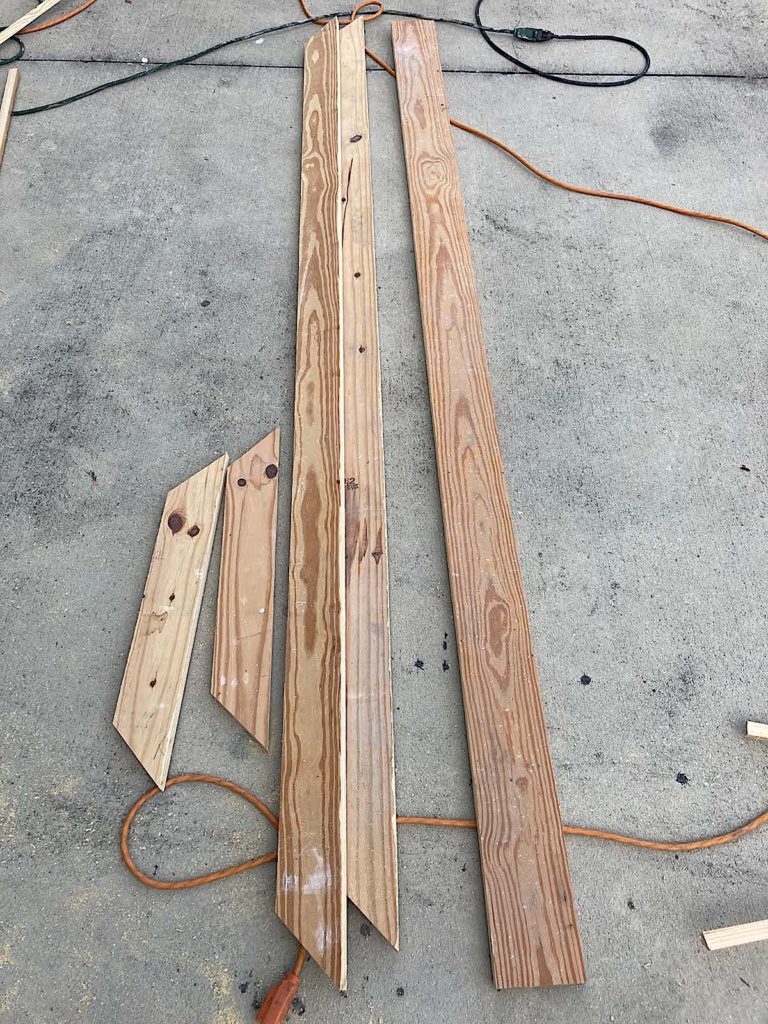
**Use scrap wood or 2″ x 4″s–enough to make your desired size pegboard. We made ours 28″ x 80″
Step #1. Cut Your Boards
We used some old baseboards to frame our pegboard. My husband Ronny cut off the edges that had some groves in them. 2″ x 4″ wood pieces would work well for this look too.
Since our chicken wire was 24 inches wide, we made our frame 28 inches wide. Making the frame a little wider than the width of the chicken wire is a good way to avoid having to cut the entire length of your chicken wire.
To create a nice framed look, you will want to miter cut the corners using a miter saw set at 45 degrees.
Disclosure: Some of the links provided are affiliate links. By purchasing through these links you are supporting this family blog and the work we do and there is no extra cost to you. If you would like to read our full disclosure, click HERE.
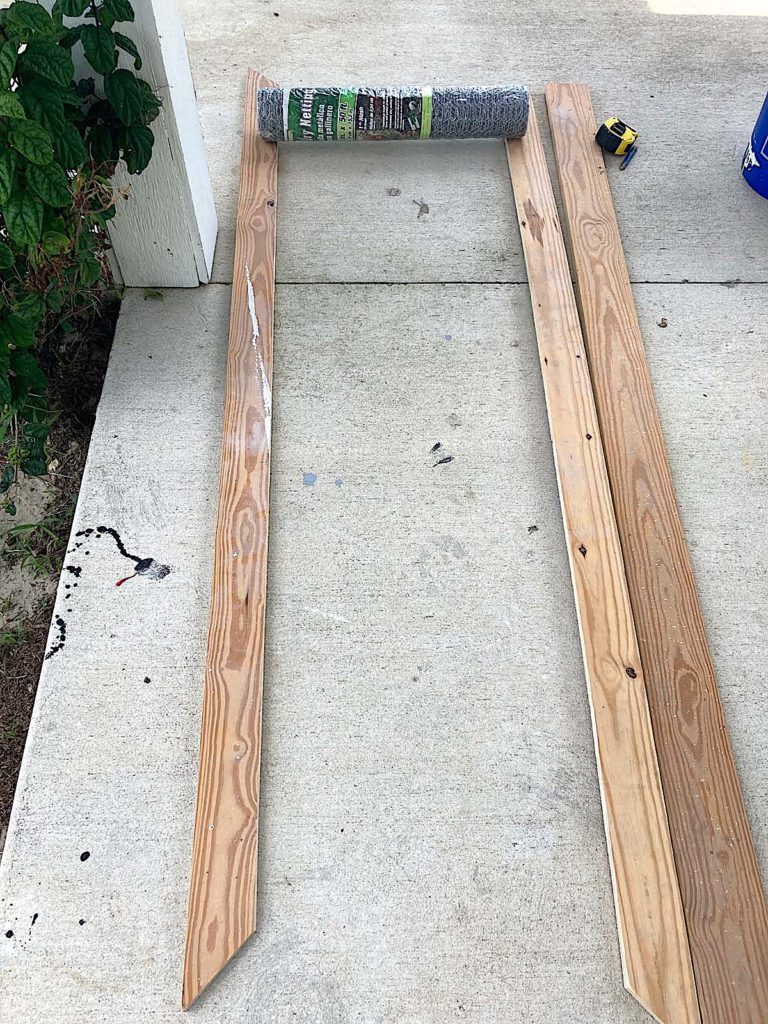
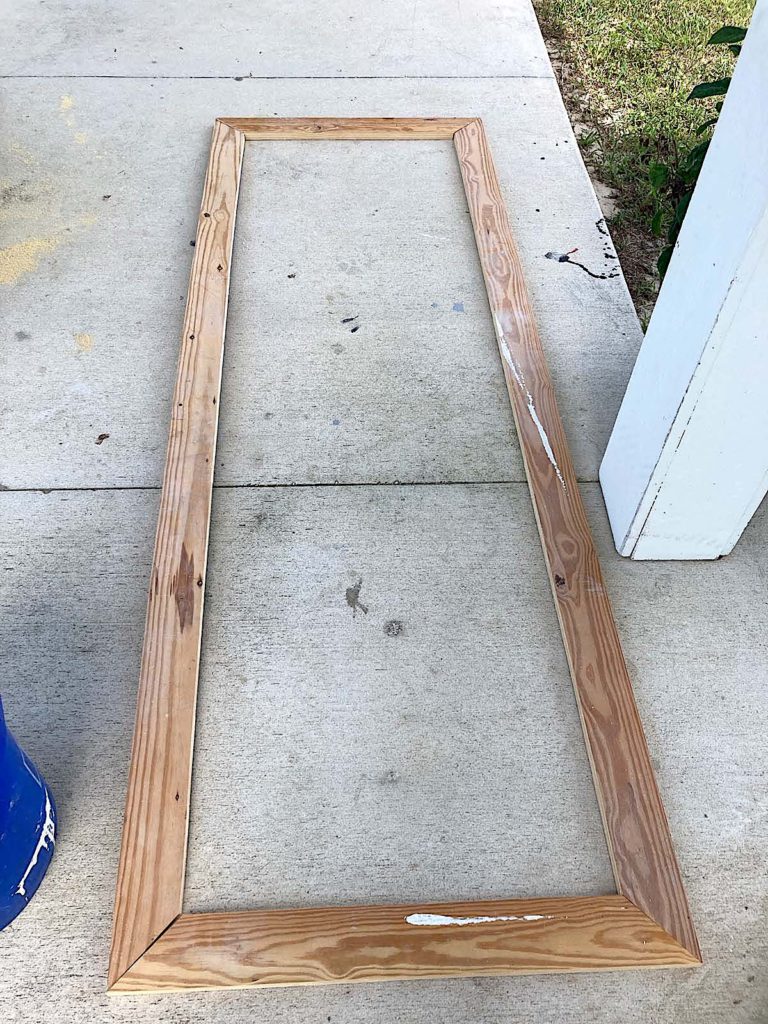
Step #2. Assemble Your Frame
Lay your cut boards on a flat surface and position them together to form your rectangular frame. Using wood glue, I like Titebond, or screws, secure your pieces together.
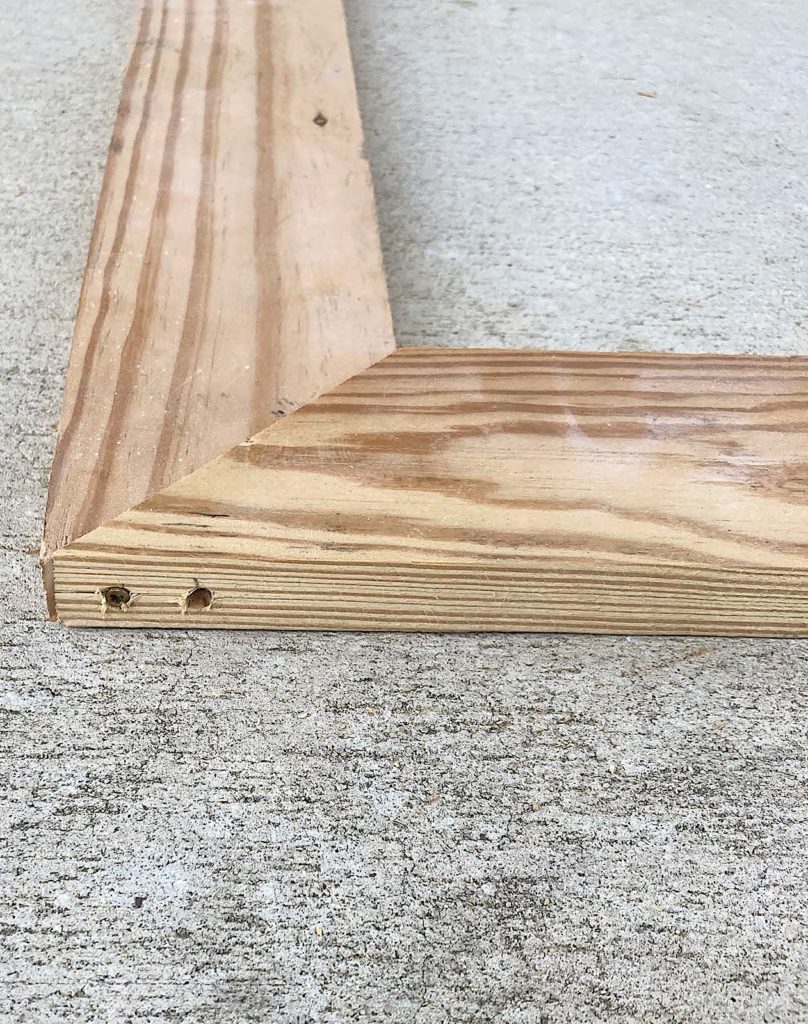
Since I wanted to get this put together quickly, rather than wait a few hours for glue to dry, we instead used wood screws to assemble the frame. Ronny drilled two 1.5 inch screws in each corner. I later used wood filler to hide these.
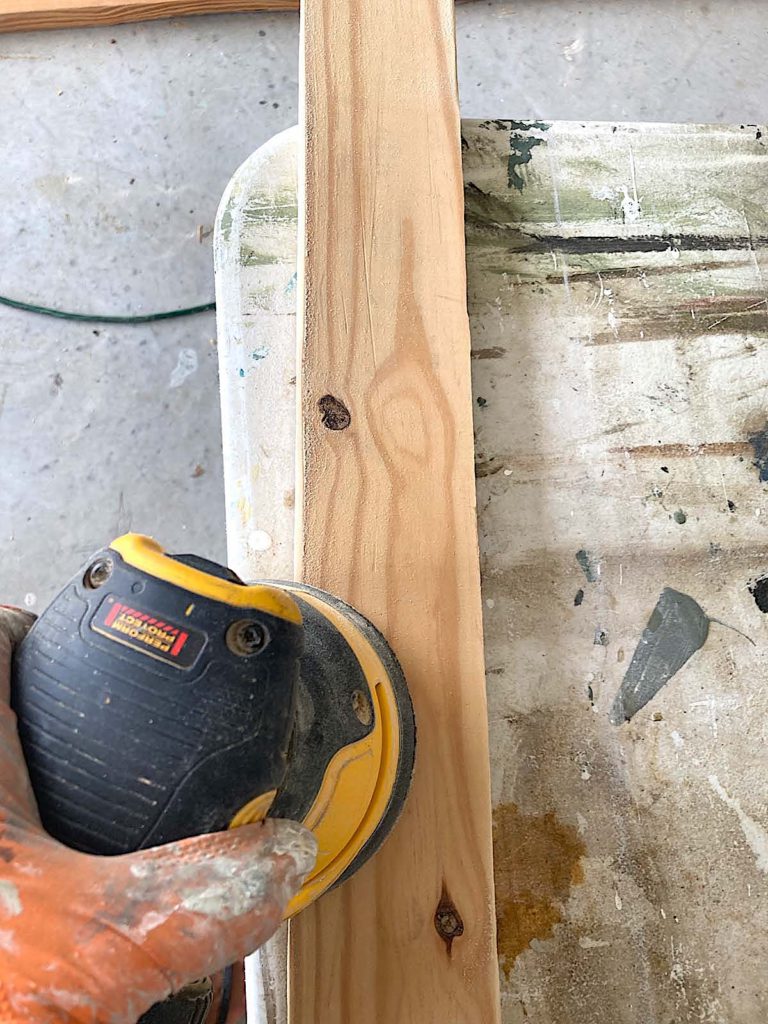
Step #3. Paint Your Frame
Prior to painting I sanded the wood boards using my orbital sander. I like to get everything sanded down nicely with a low grit sand paper, like 80 or 120 grit. Then I use a higher refined grit, pretty much anything about 300 to get a final smooth finish.
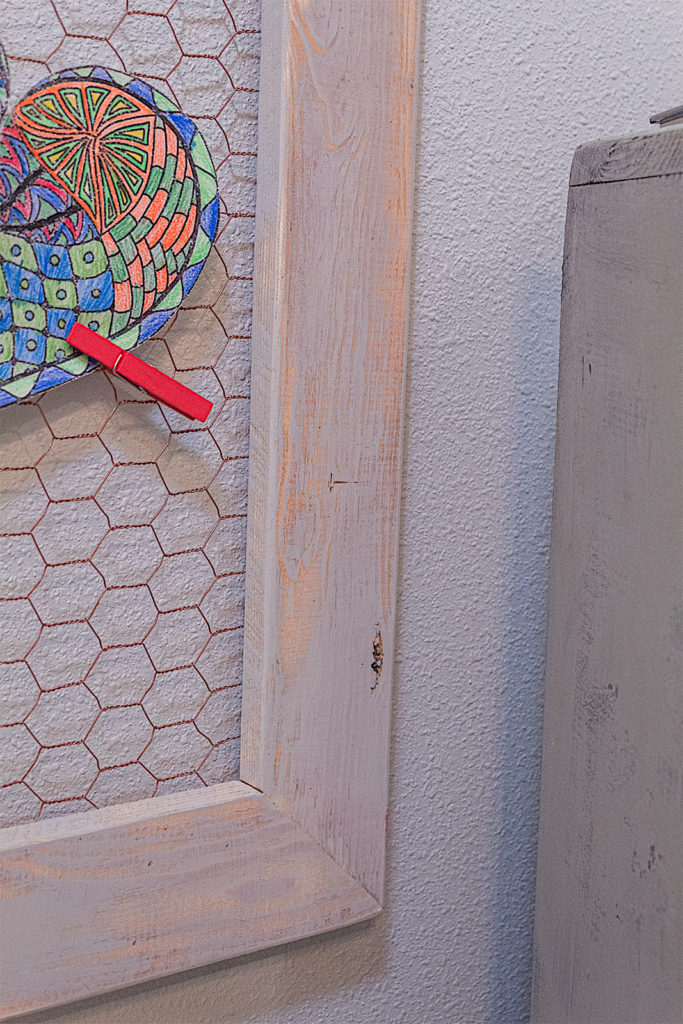
I also like to create a beveled look around all outer and inner edges of the wood and around the corners. I think it gives the frame a more professional look.
To do this I run my sander at an angle around the edges. The video at the end of this post shows how I do this.
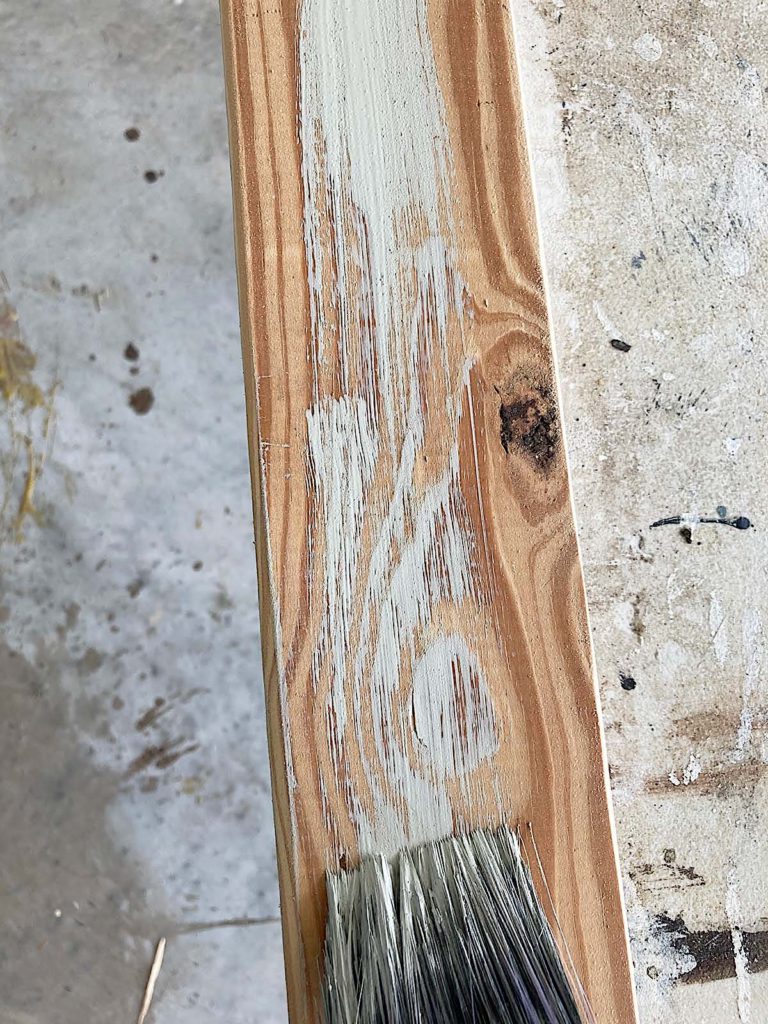
For my rustic farmhouse look, I made chalk paint from Behr’s Foggy London paint I got at Home Depot. I used this recipe.
I dry brushed the paint on the wood. I kept coverage light leaving parts of the wood grain coming through. Only get a little paint on your brush at a time and stroke over the wood without reapplying paint until your brush barely yields any more paint. This will create a textured look.
*I demonstrate this technique in my video below.
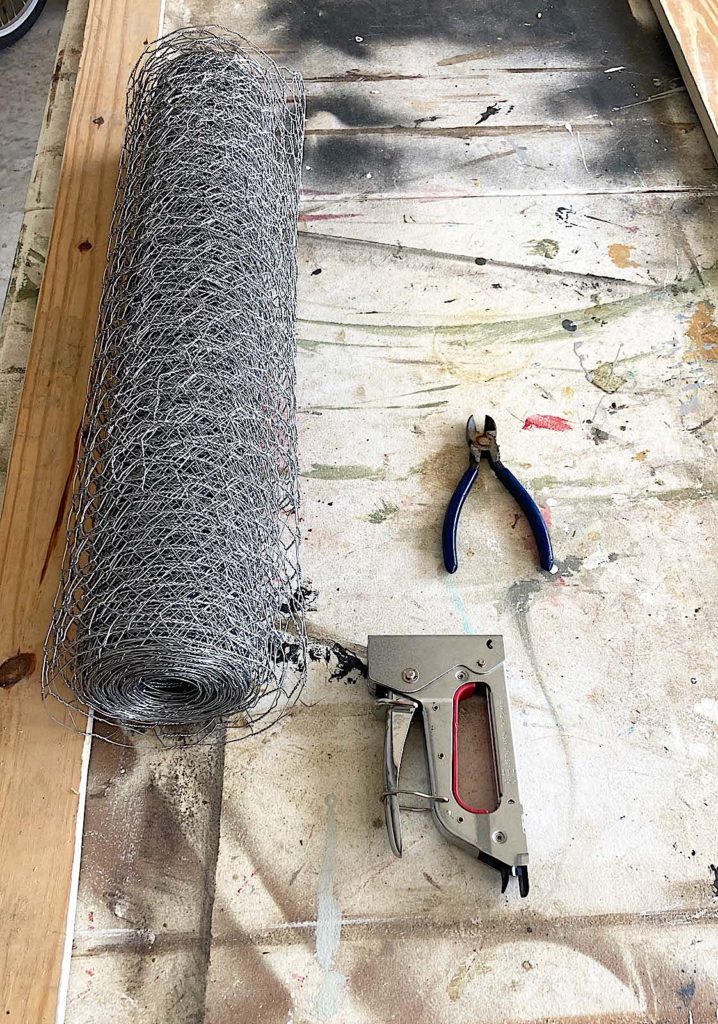
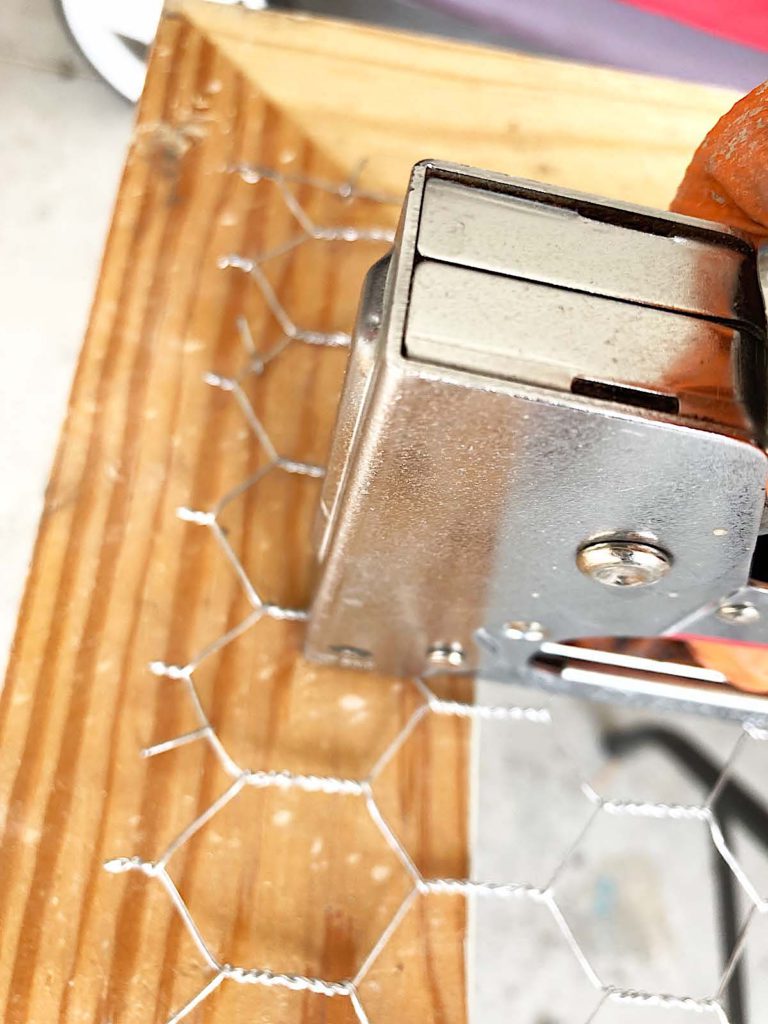
Step #5. Add Your Chicken Wire
Now that the frame is painted, we are going to attach our chicken wire. Please be very careful when handling chicken wire as it can be very sharp. I suggest using protective gloves.
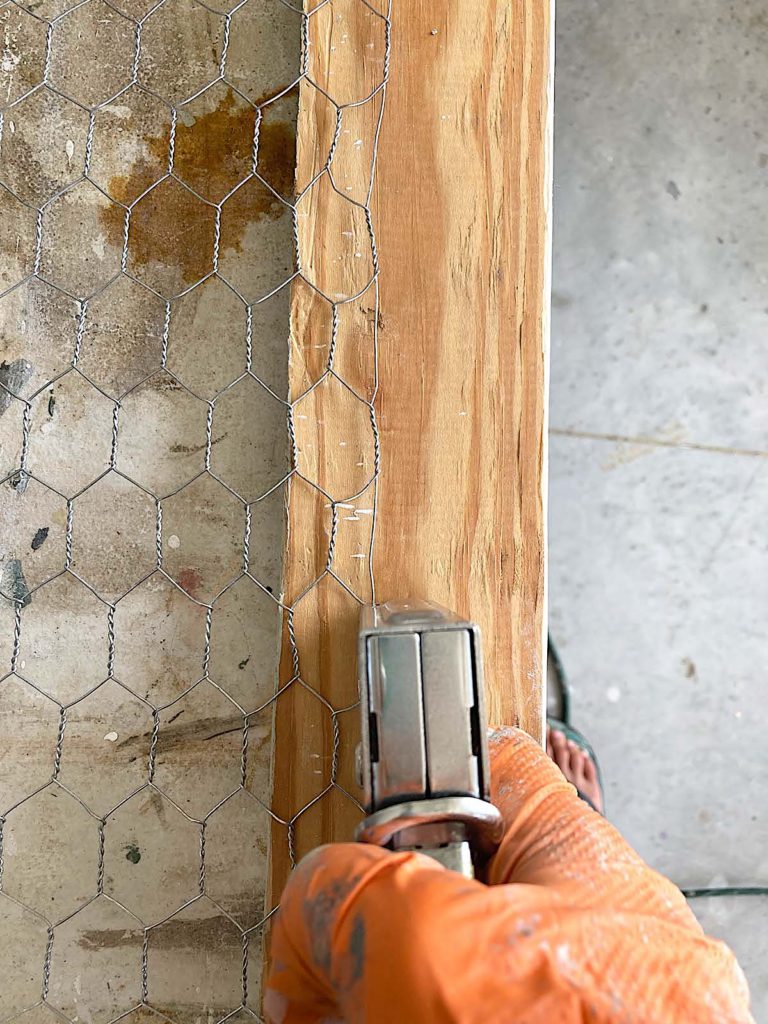
I place my frame on a table with the unpainted side facing up. The chicken wire backing will be attached to the underside of the frame. This will give the pegboard a nice, seamless look.
I use my staple gun to begin stapling the wire at one end of my frame. I add staples all along the end of the chicken wire making sure the chicken wire edge is level with the edge of the wood frame.
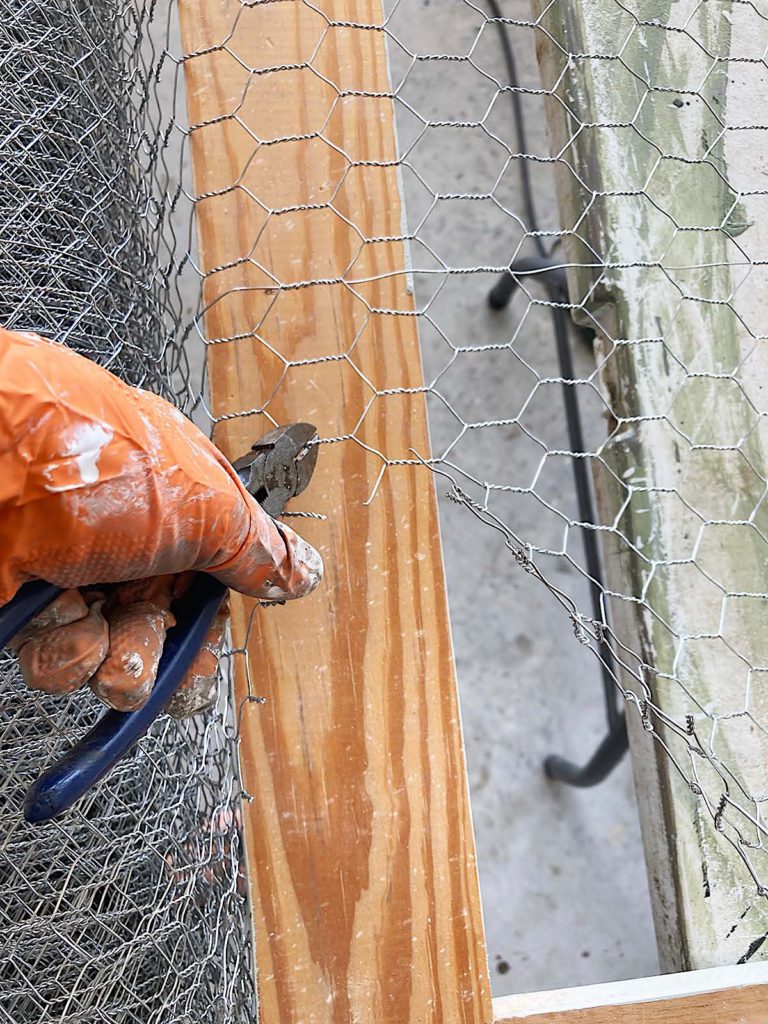
Once the first side is stapled on, I begin rolling out my chicken wire. I tighten any slack as I go. You want to make sure you get your chicken wire as tight as possible so it doesn’t later sag. I continue stapling along the length of the frame.
When I finally get to the opposite end of the pegboard frame, I use my wire cutters to carefully cut the wire. Then I staple the wire along the final side.
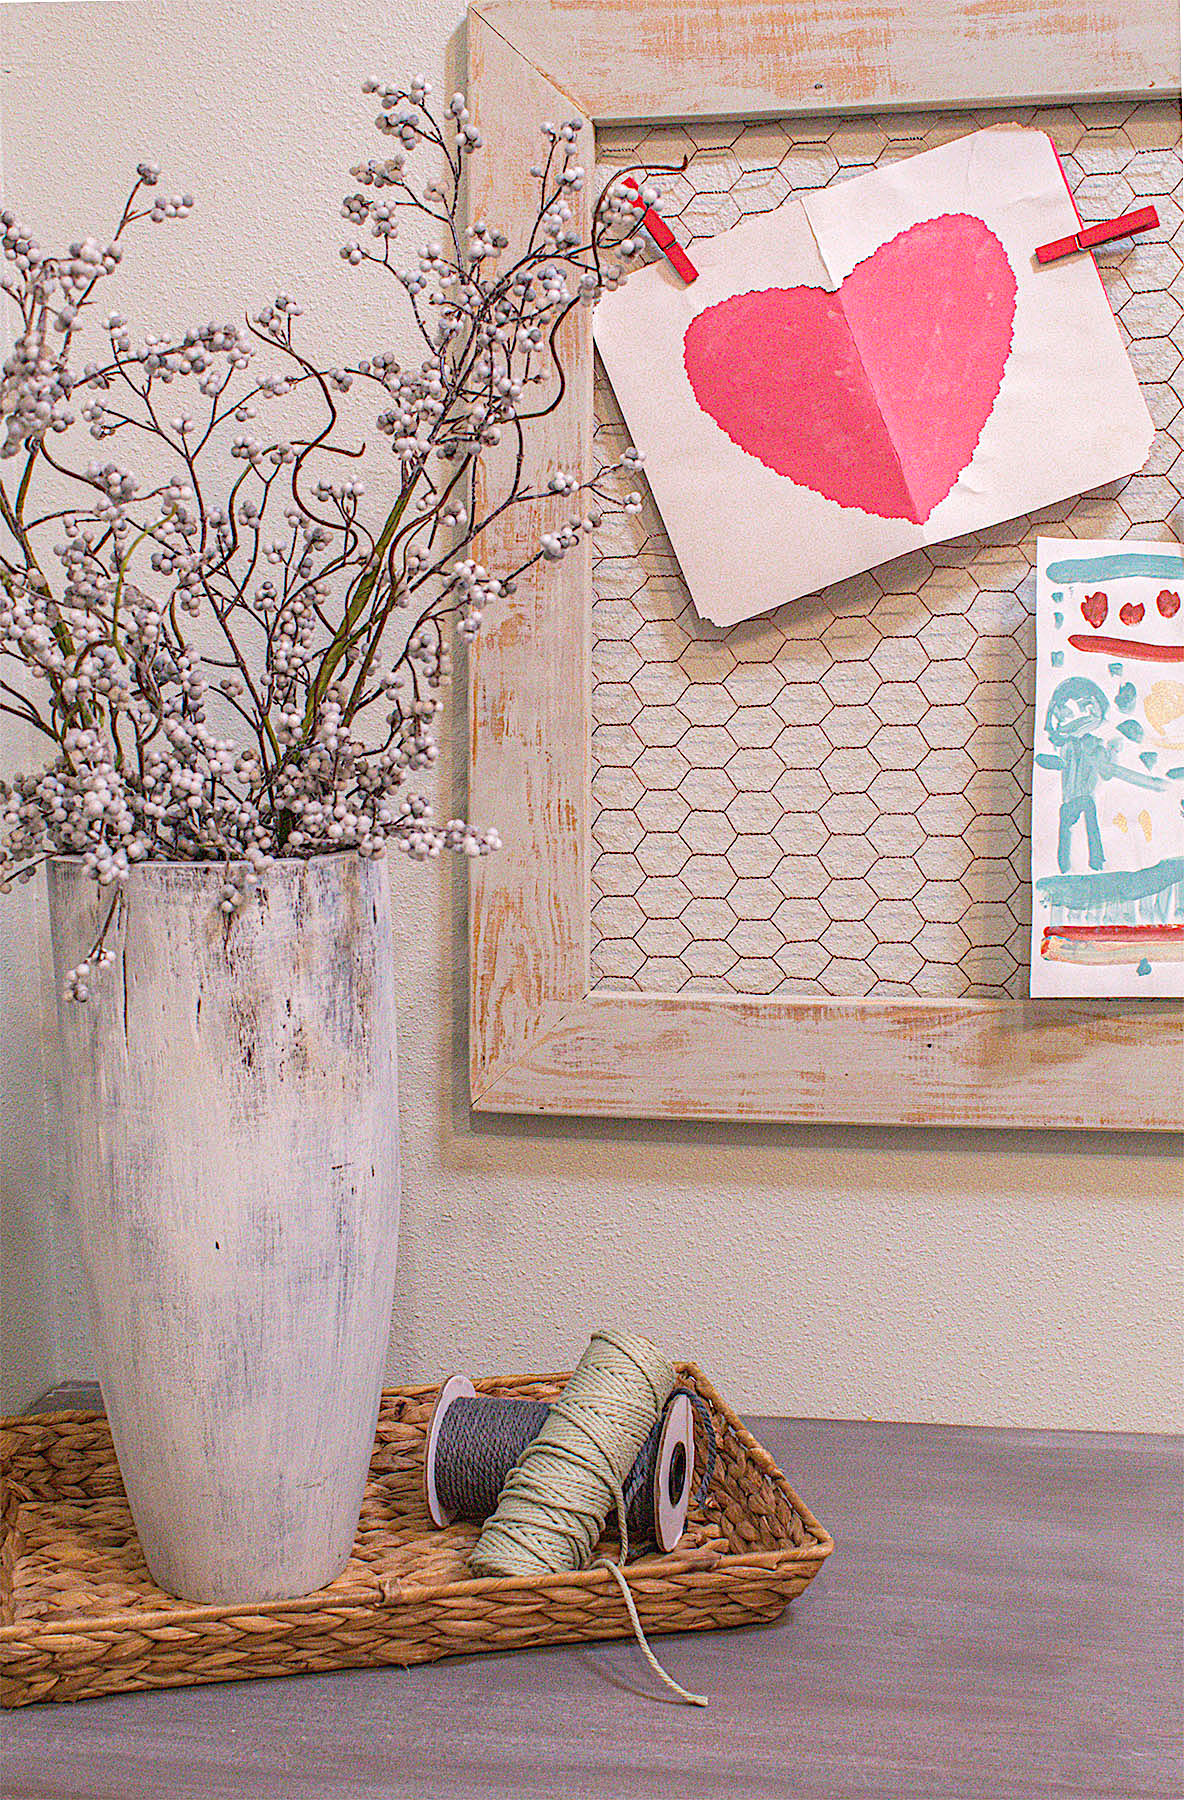
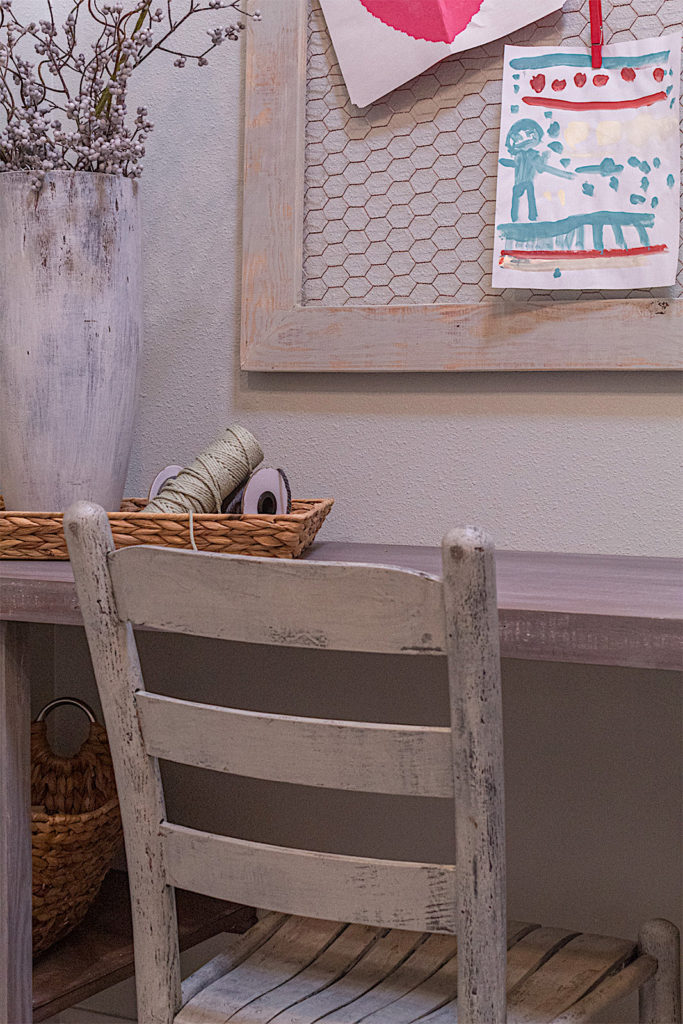
Now Your Pegboard Is Ready To Hang & Show Off
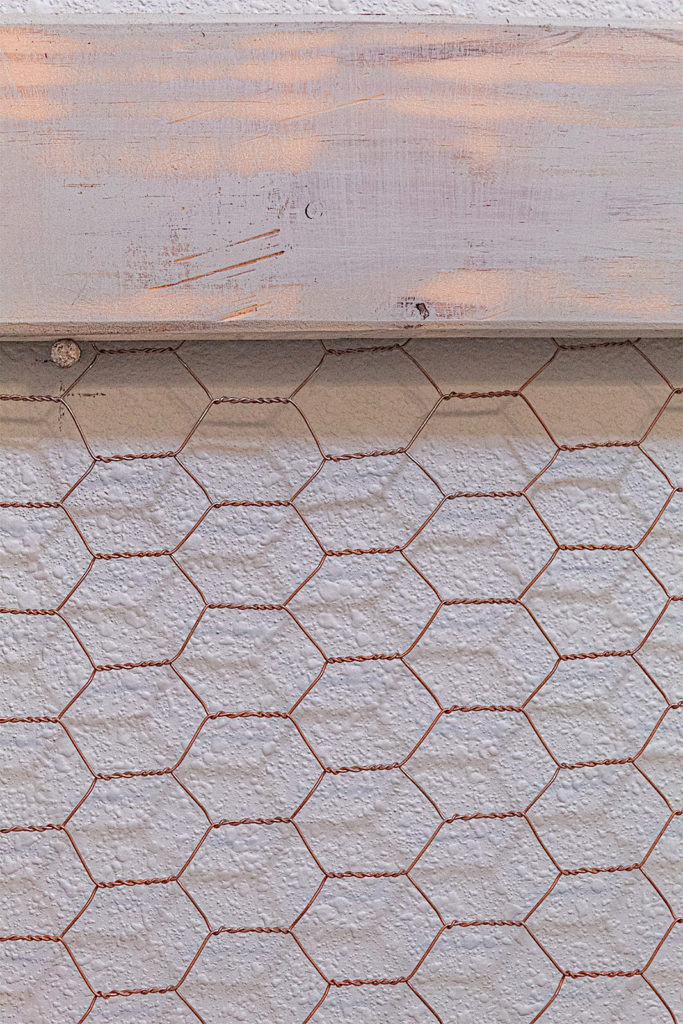
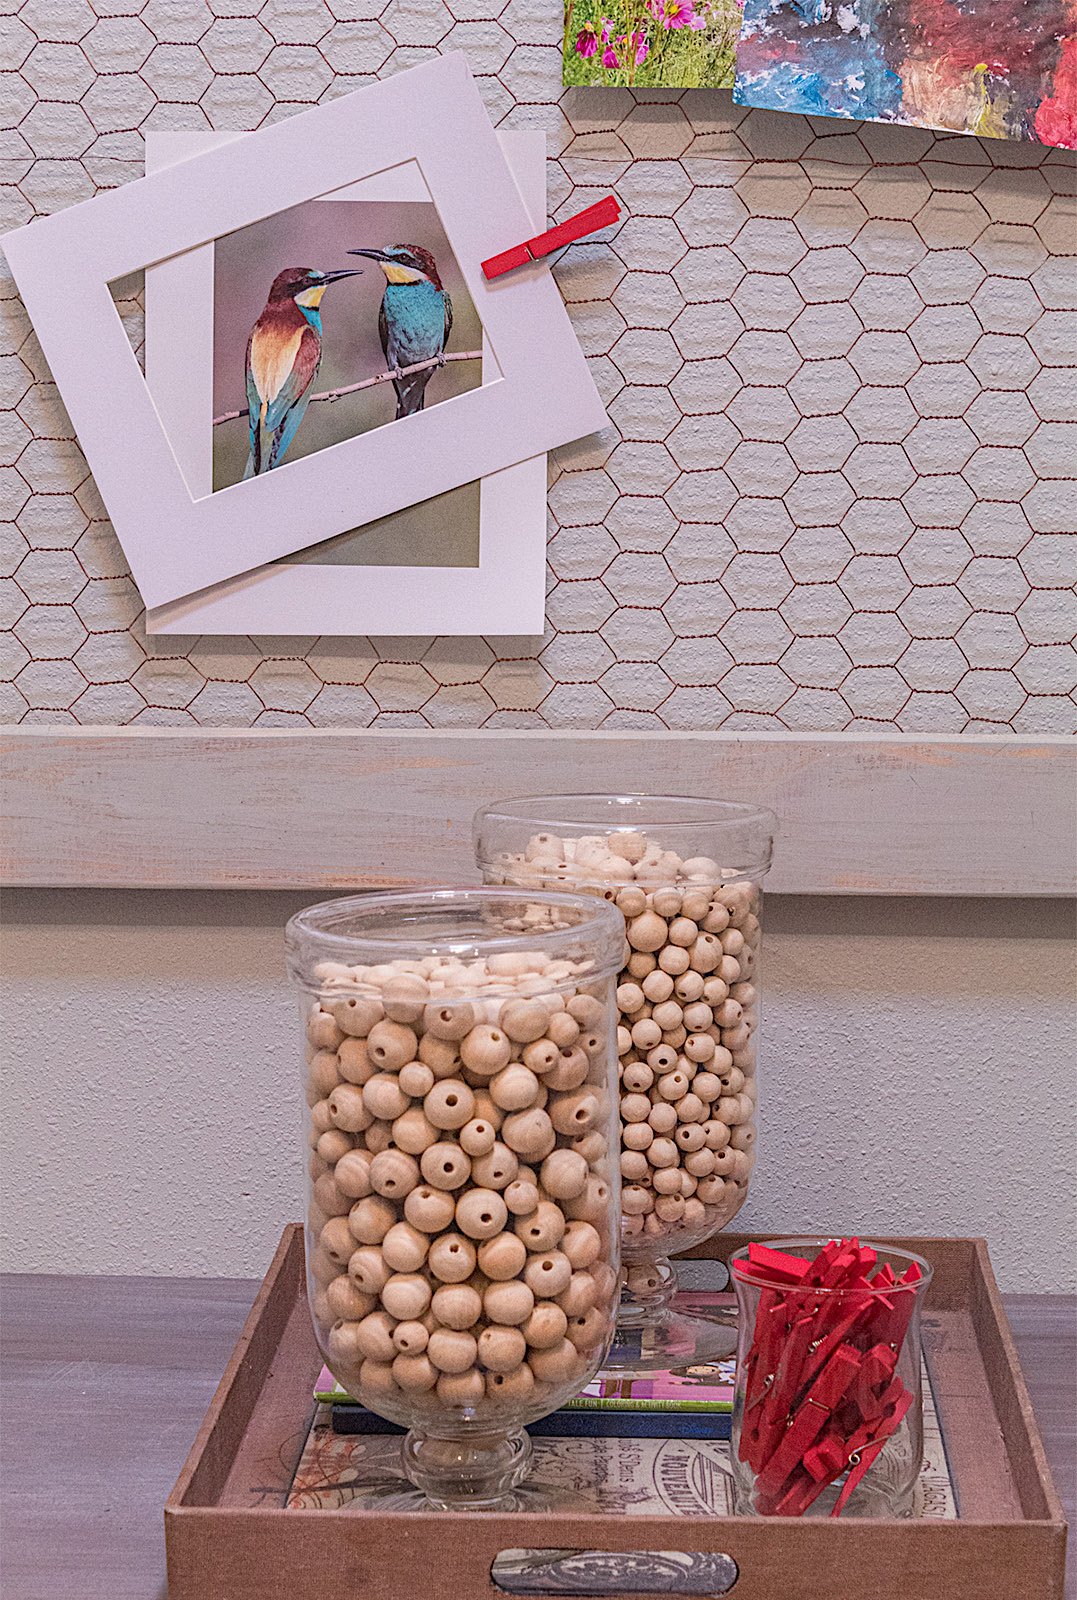
An optional step is to give your chicken wire a little color using spray paint prior to hanging your pegboard. I gave mine a quick coat of copper spray paint and it added a lovely touch of vintage.
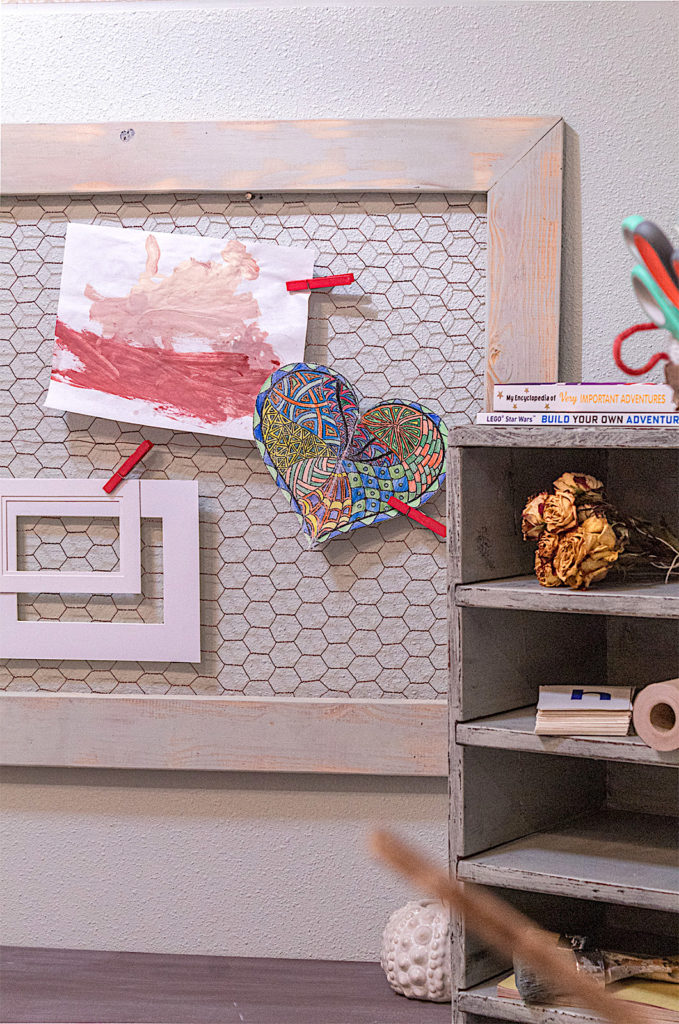
I bought these pretty red clothespins to use to hang our kids’ artwork. They add a fun burst of color.
So my friends, do you like the pegboard we created? It has been the hit of our arts and crafts room. It is currently overflowing with colorful drawings, construction paper monsters and toilet paper dolls!
Watch The Video Of This DIY Pegboard
Stay tuned for more home decor tutorials and be sure to SUBSCRIBE at the bottom of this page so you don’t miss a thang!