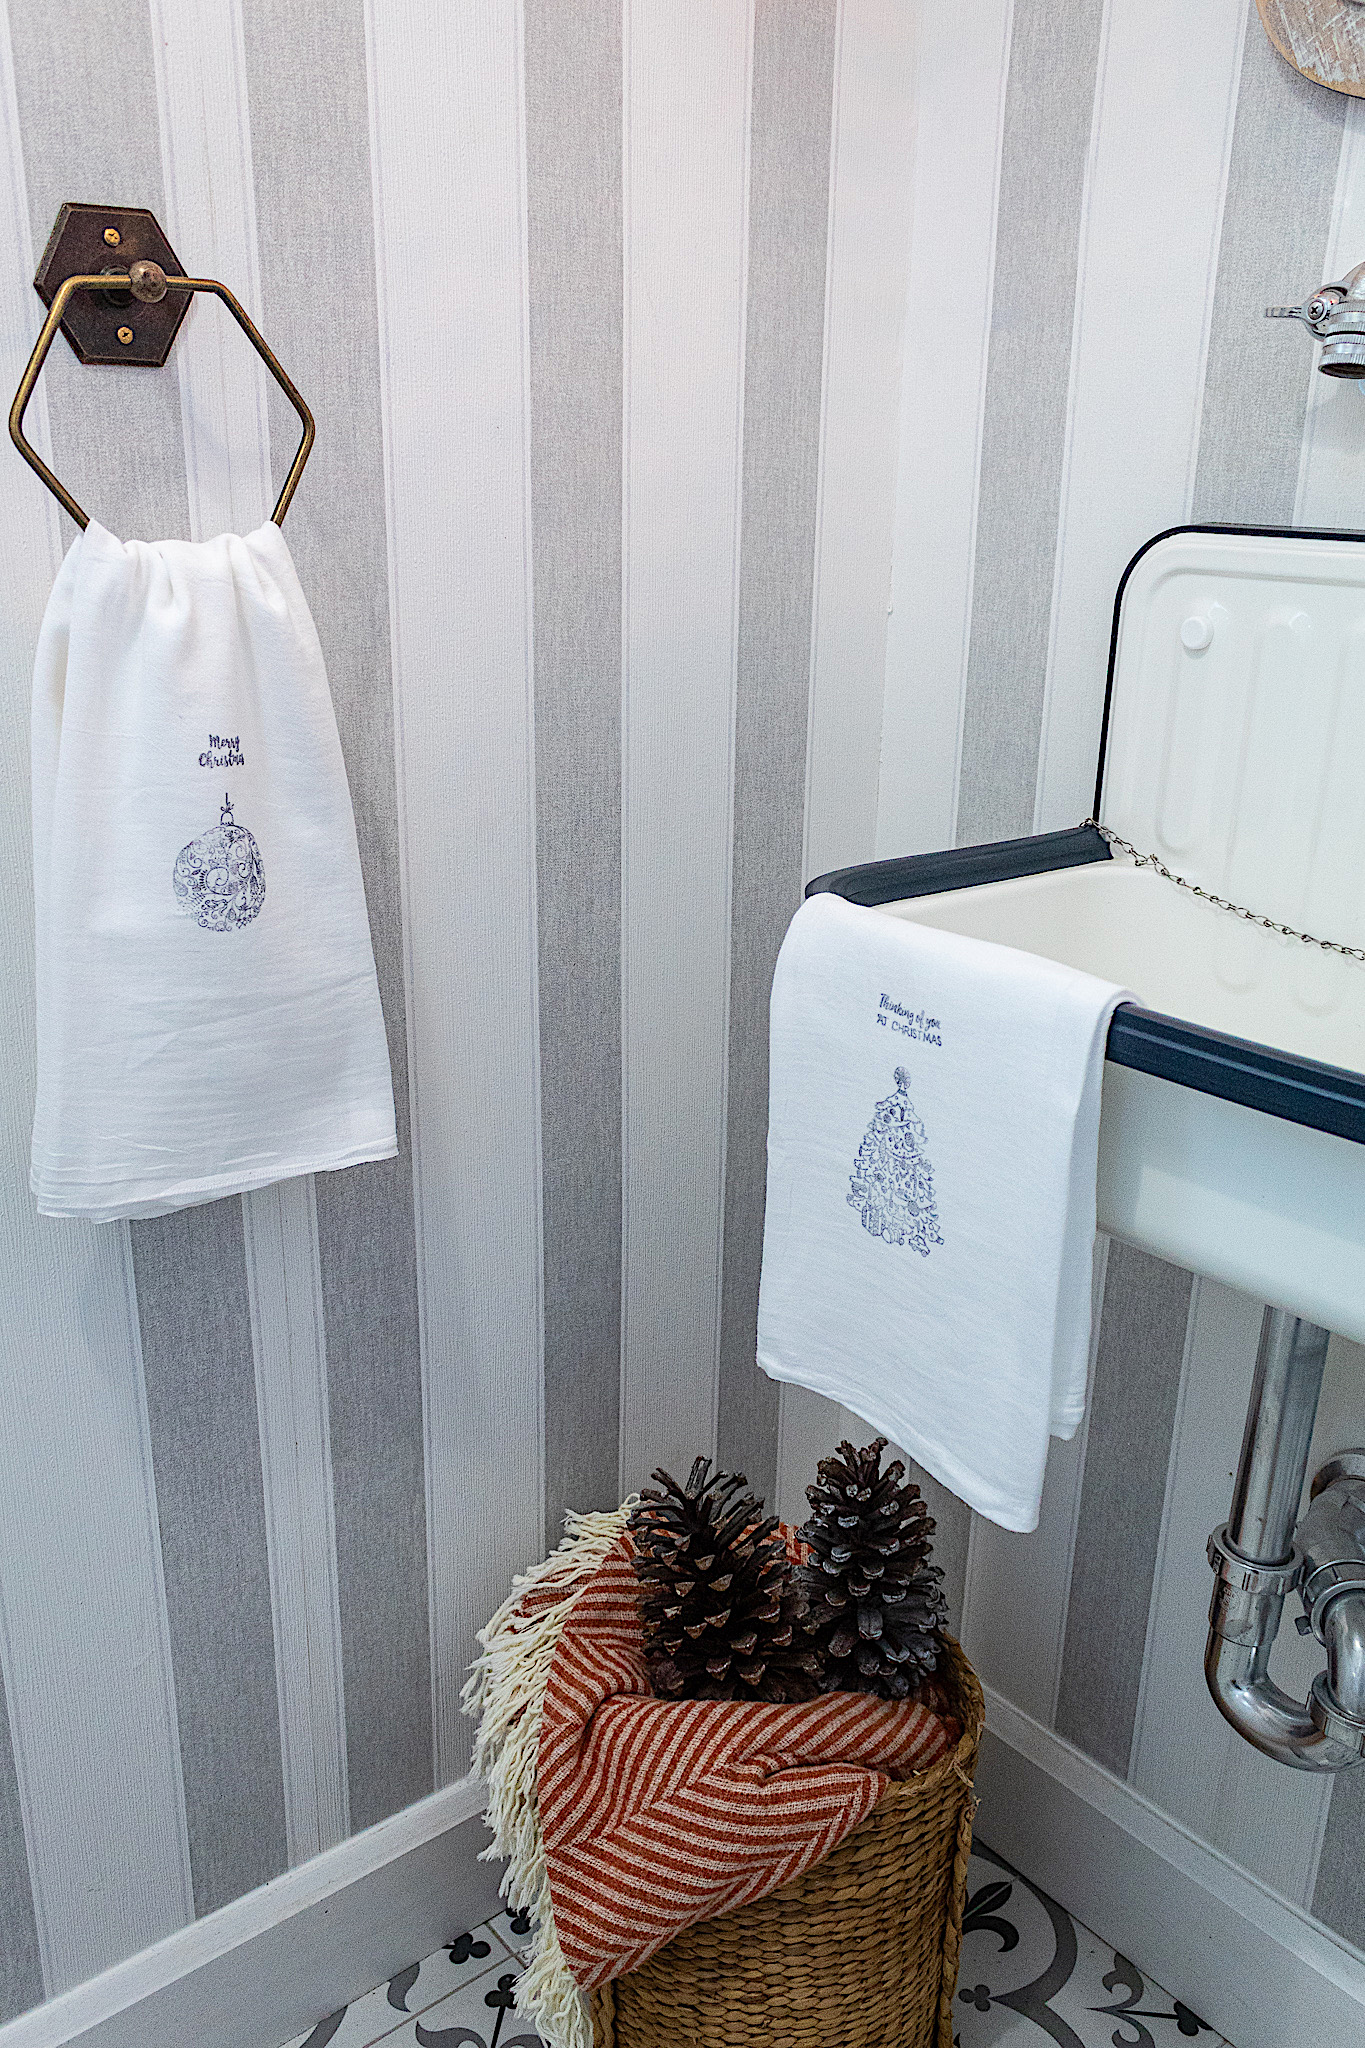
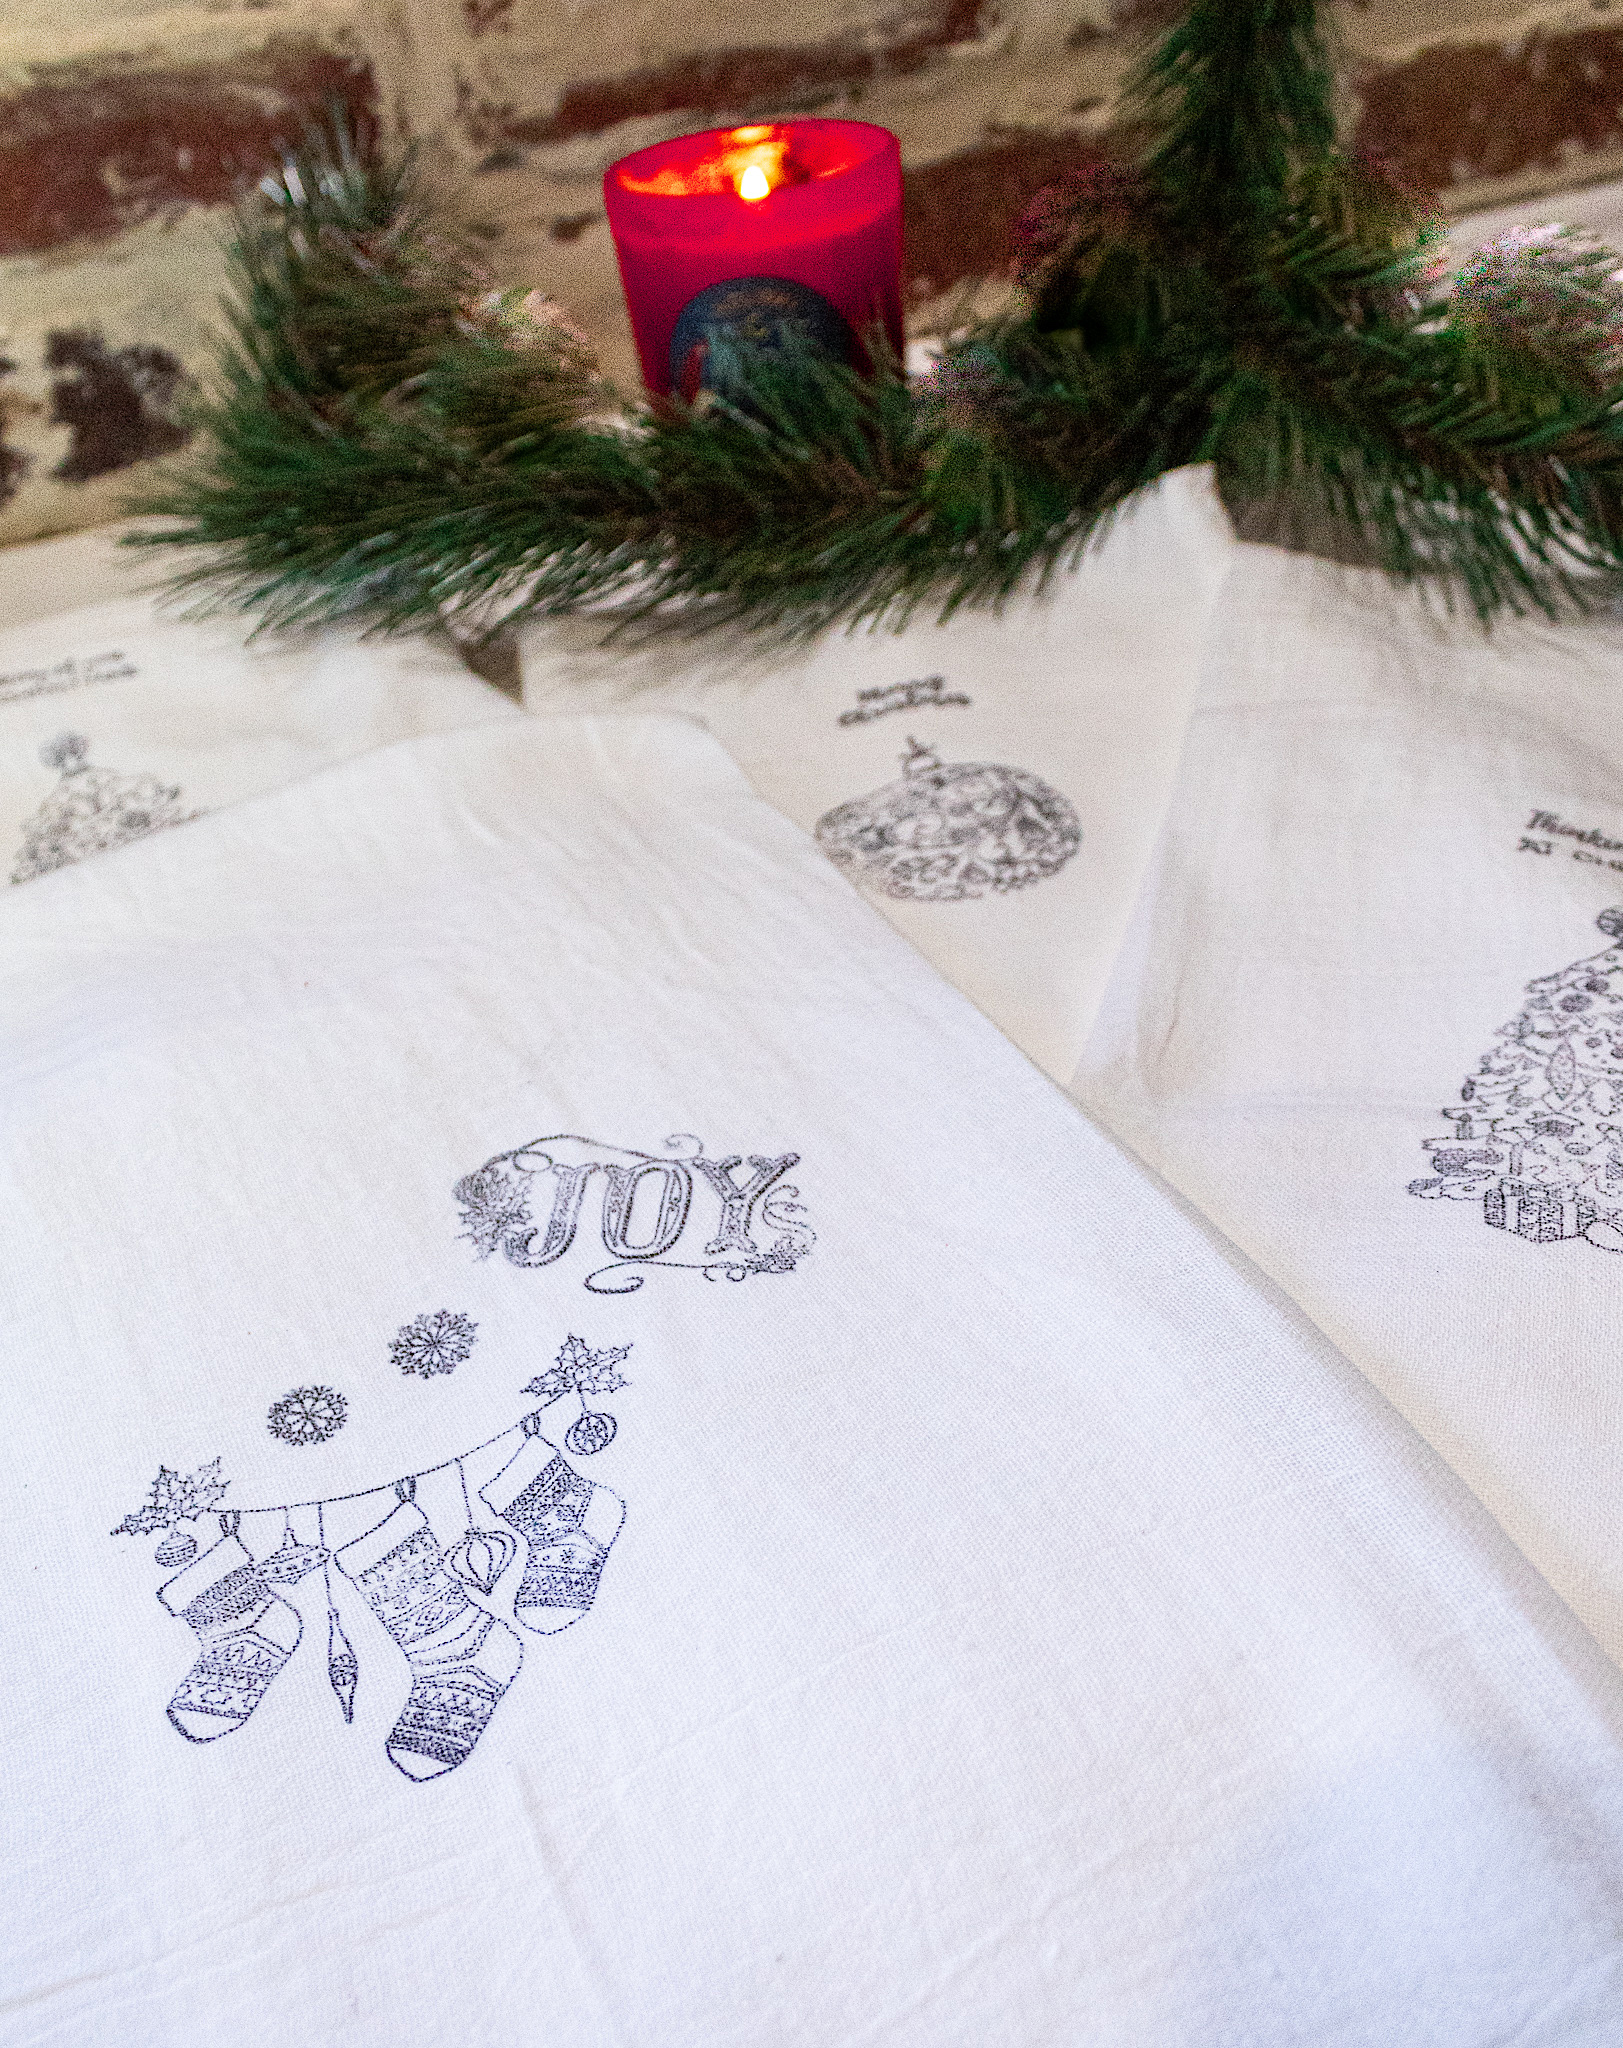
Hello beauties! I can’t believe it’s only three days until Christmas. How are you with your Christmas preparations? I just have gifts to wrap but hopefully that’s it for shopping. The kiddos are counting down the days and I’m looking forward to unwinding a little. I have one more Christmas DIY to share with you this season. These towels make such perfect little gifts and can be made lickety-split.
Disclosure: Some of the links provided are affiliate links. By purchasing through these links you are supporting this family blog and the work we do and there is NEVER any extra cost to you. If you would like to read our full disclosure, click HERE.
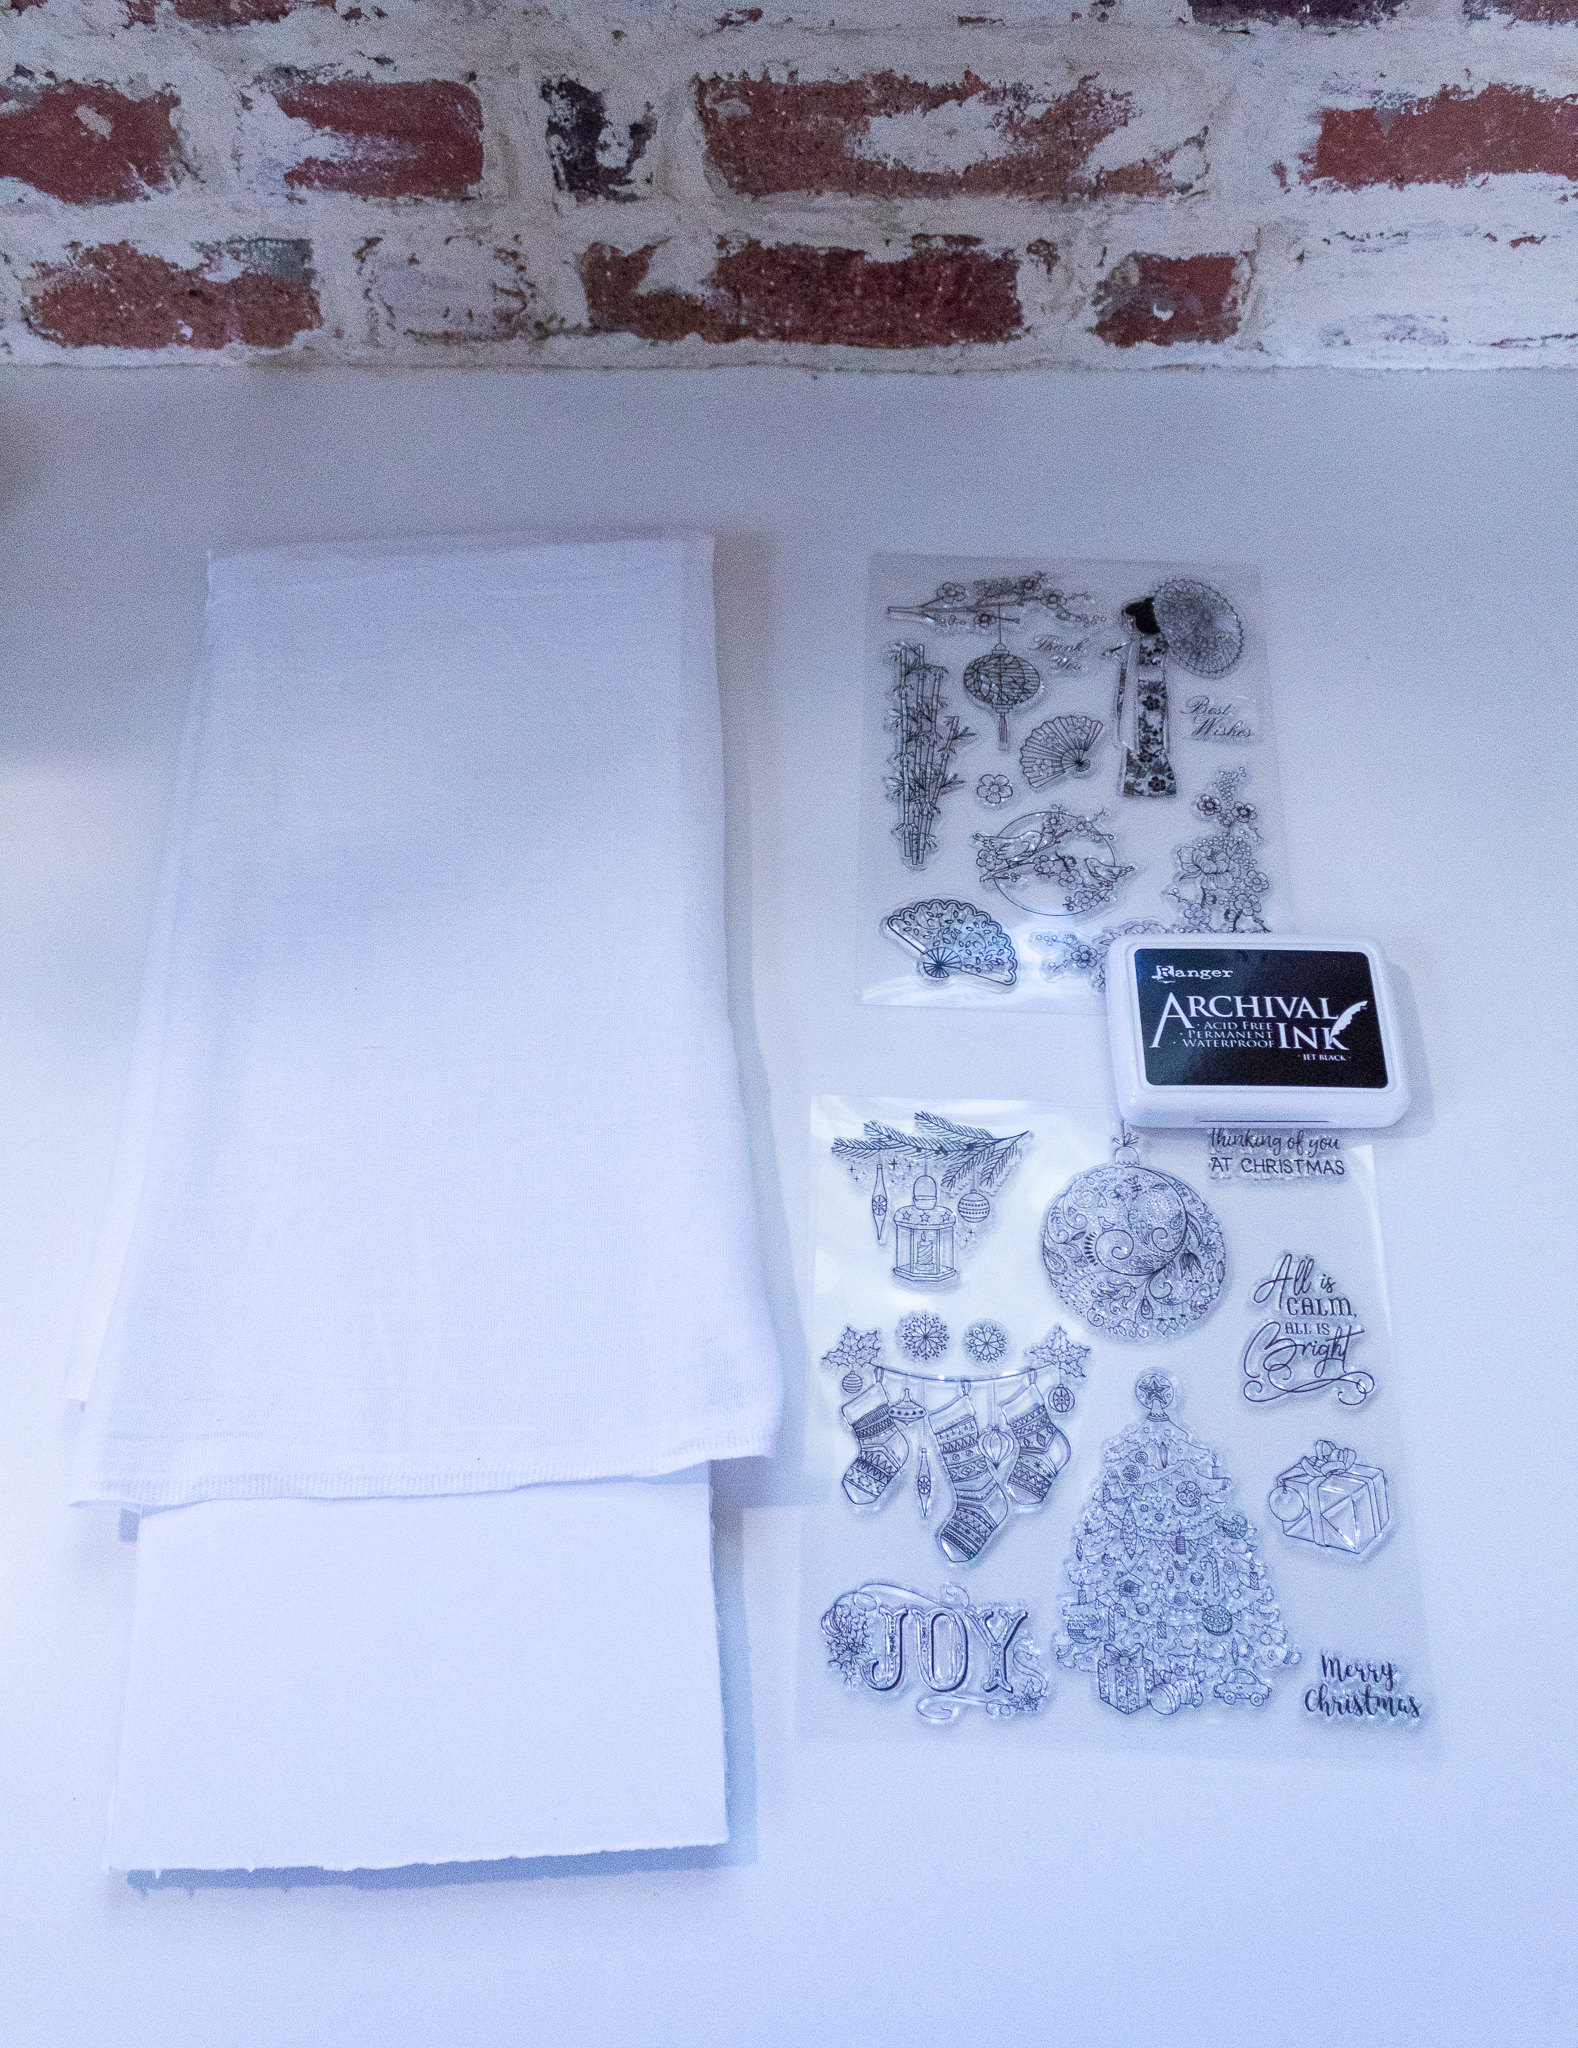
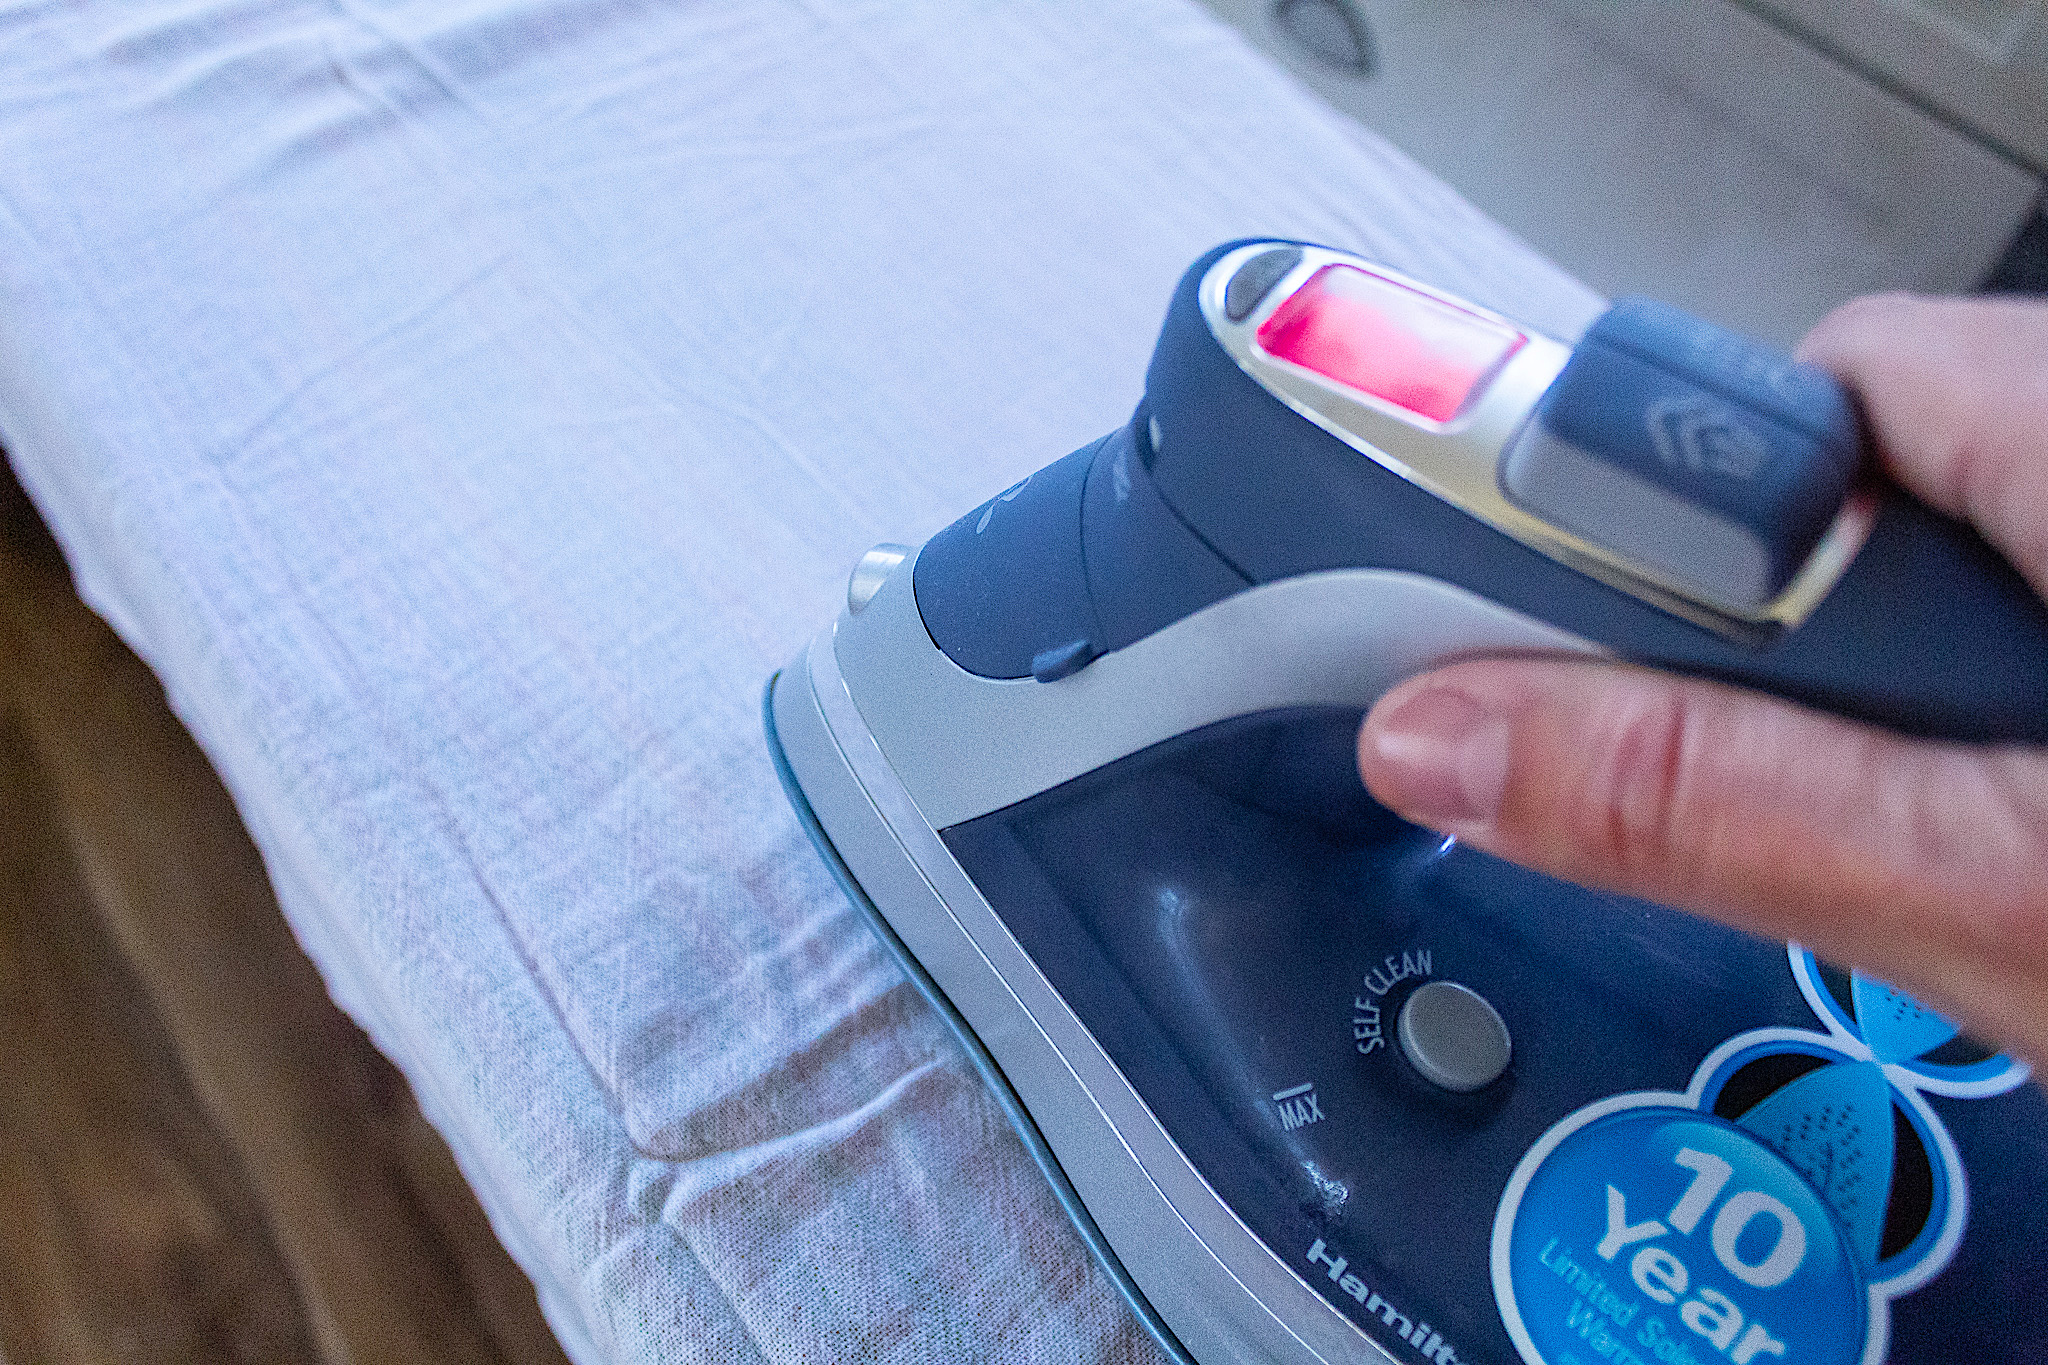
I started by ironing my flour sack towels. You want a nice flat surface for good stamp adhesion.
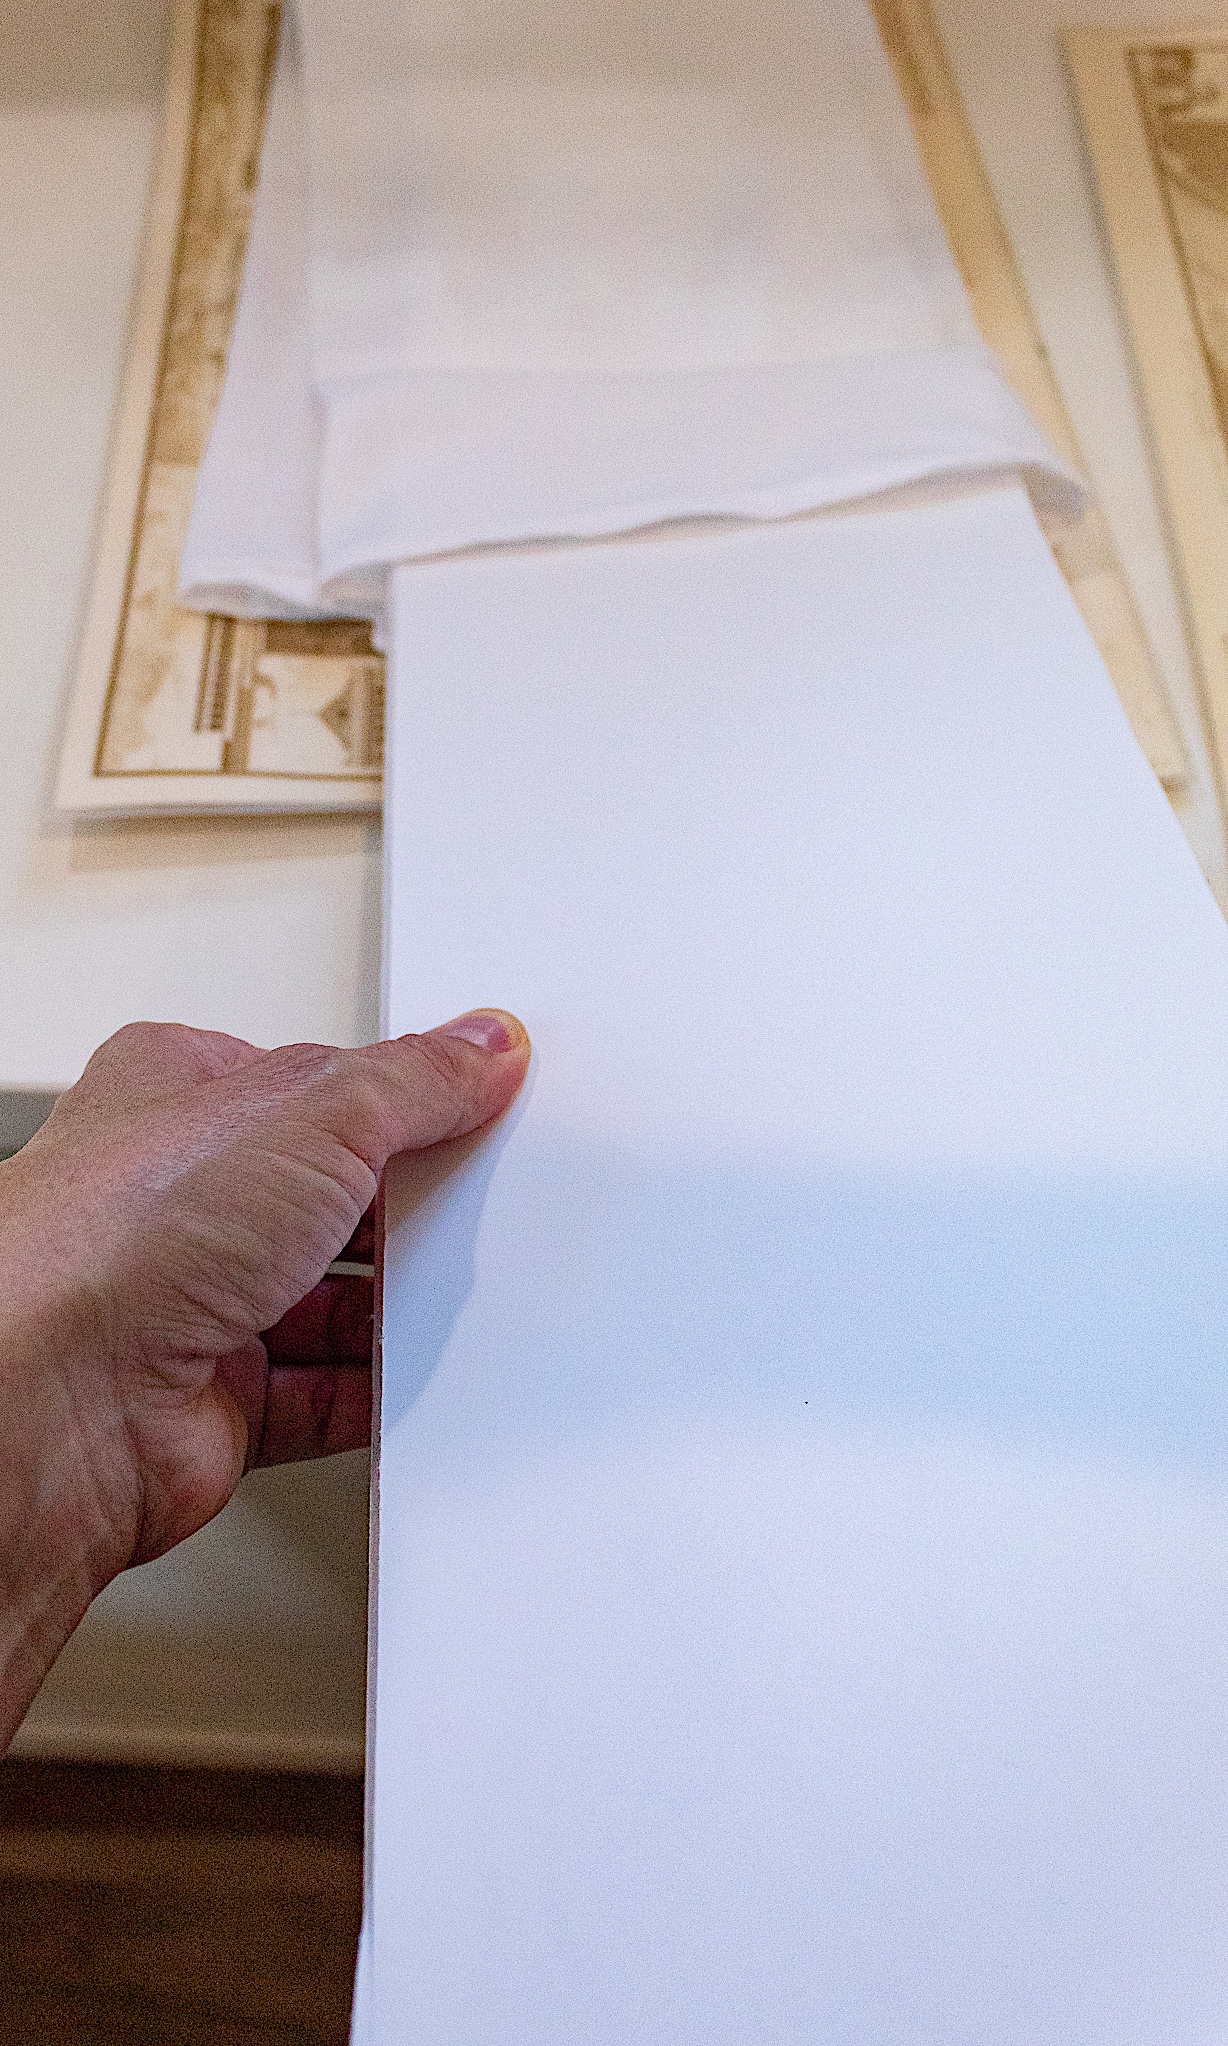
2. Insert foam board
Fold your towel leaving the center section facing up or the section you want stamped. Cut a piece of foam board to the size of that center section or a little smaller. Then slide it under the fabric. The foam board will keep any ink from leaking through.
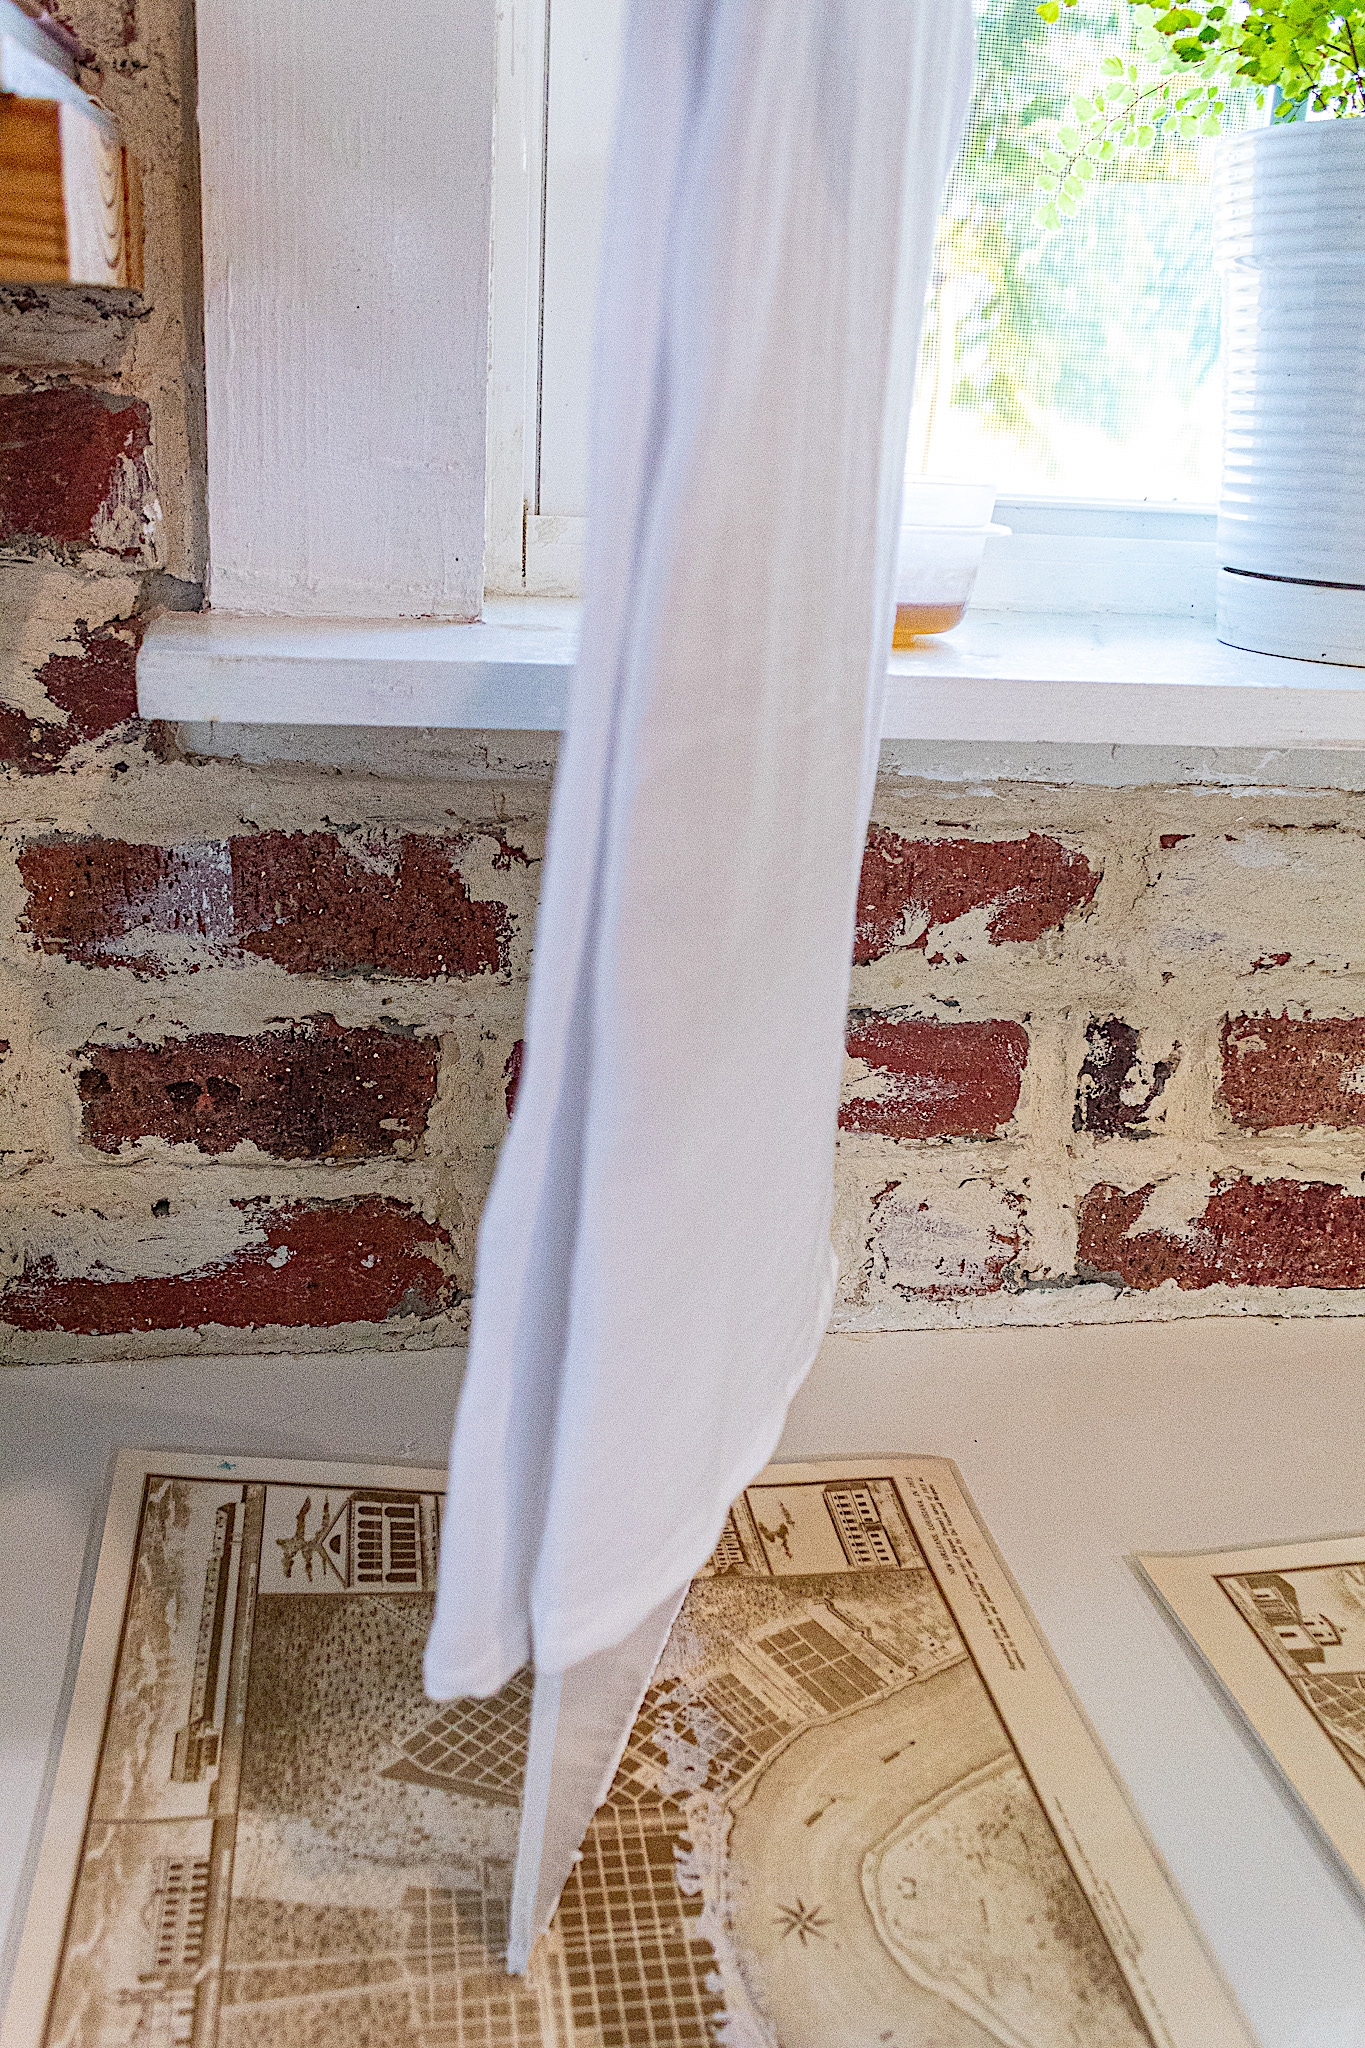
I folded the towel as if I were to hang it on a holder. This gave me an idea of where the stamp design would look nice.
3. Prepare your stamps
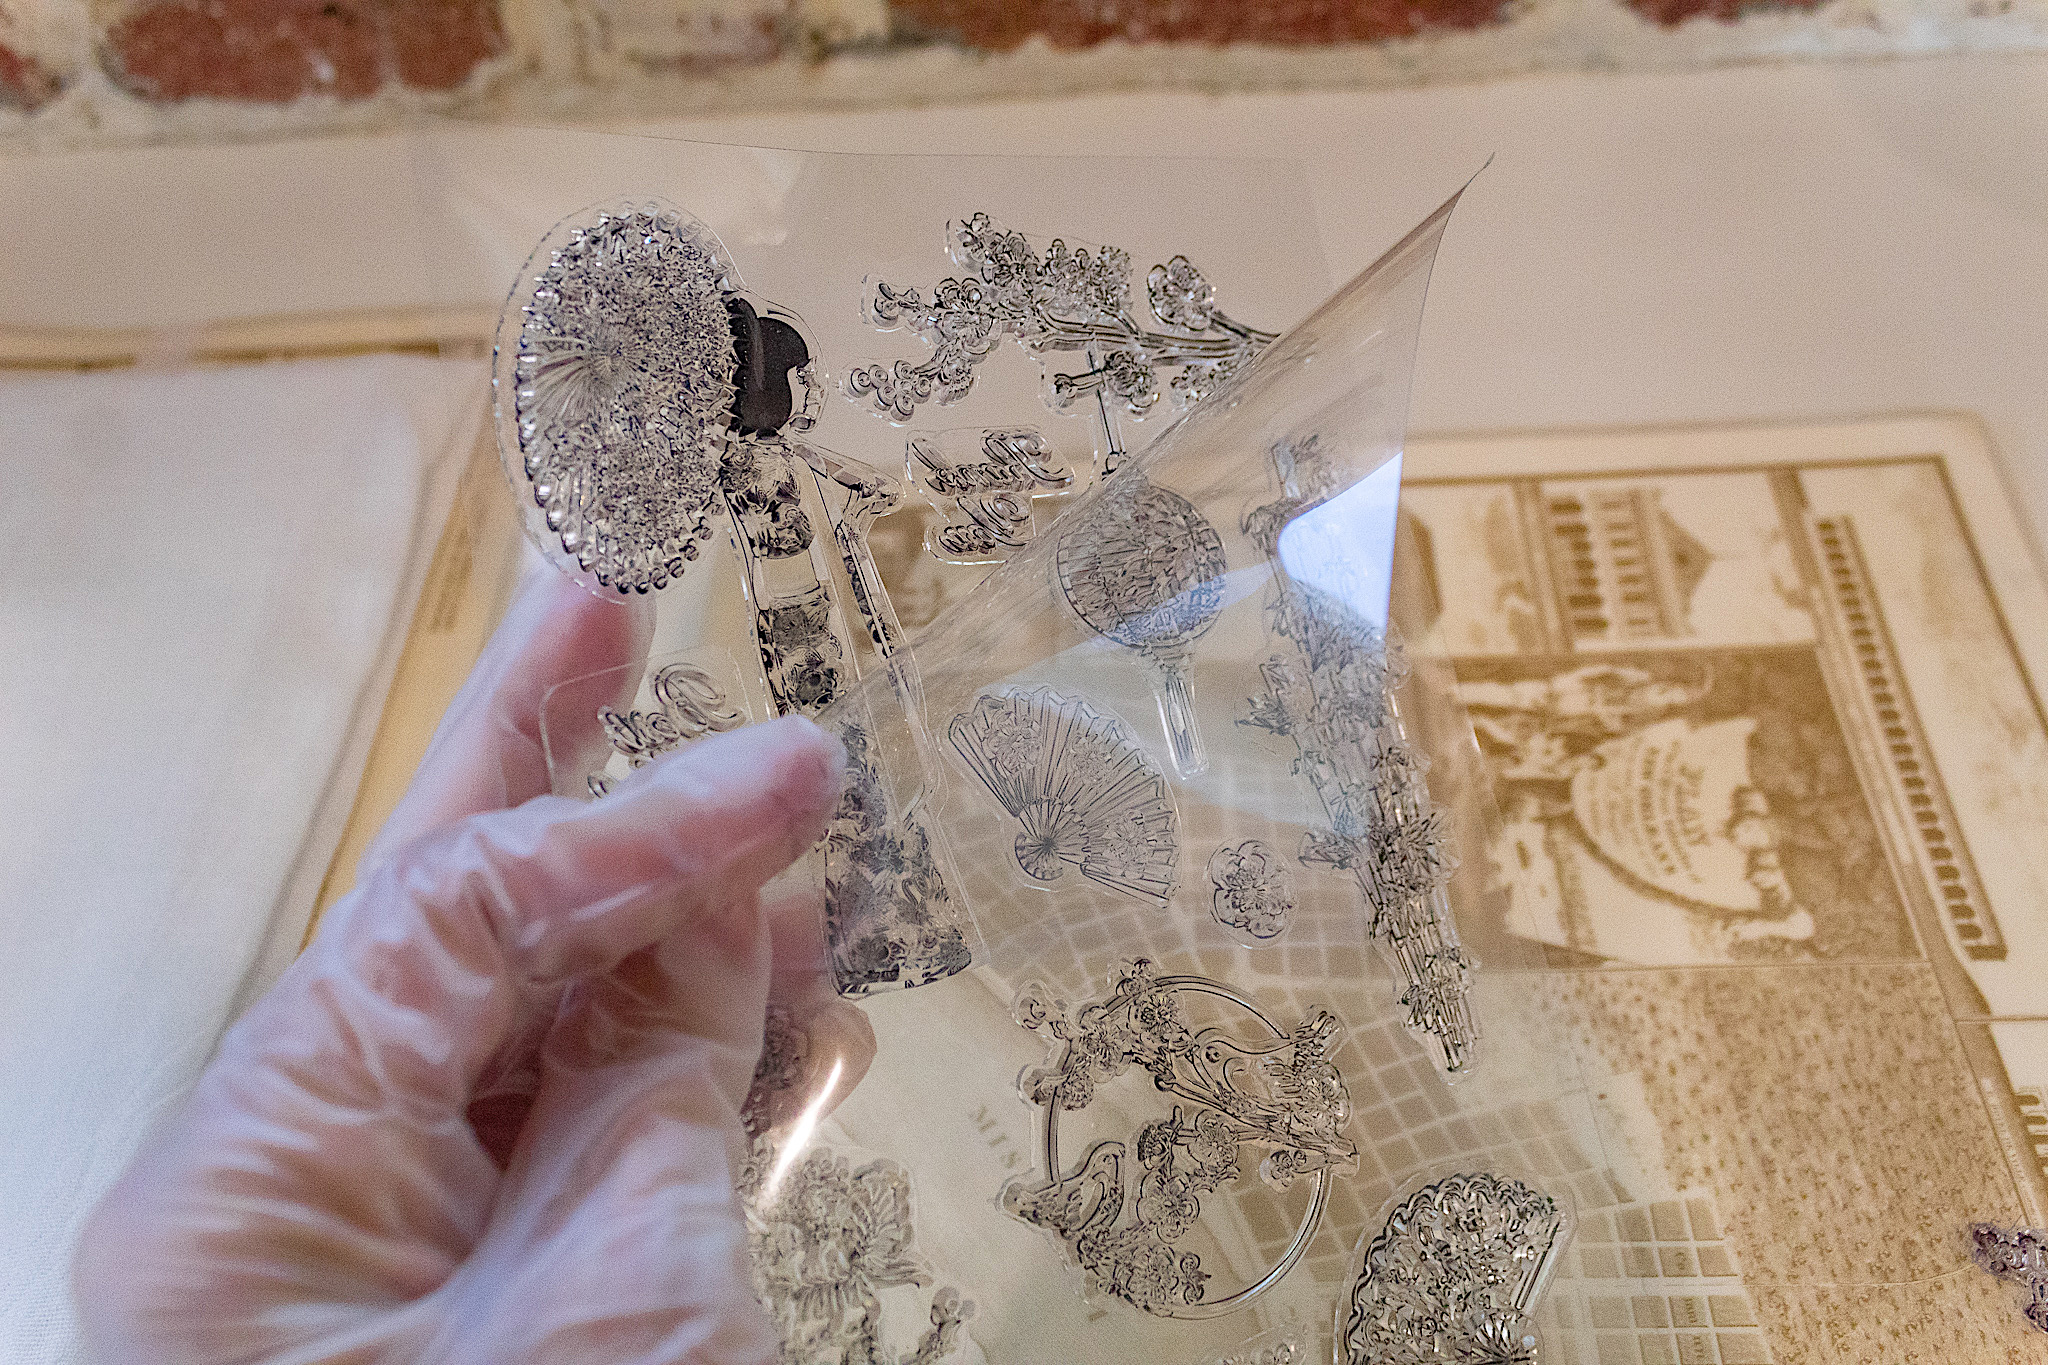
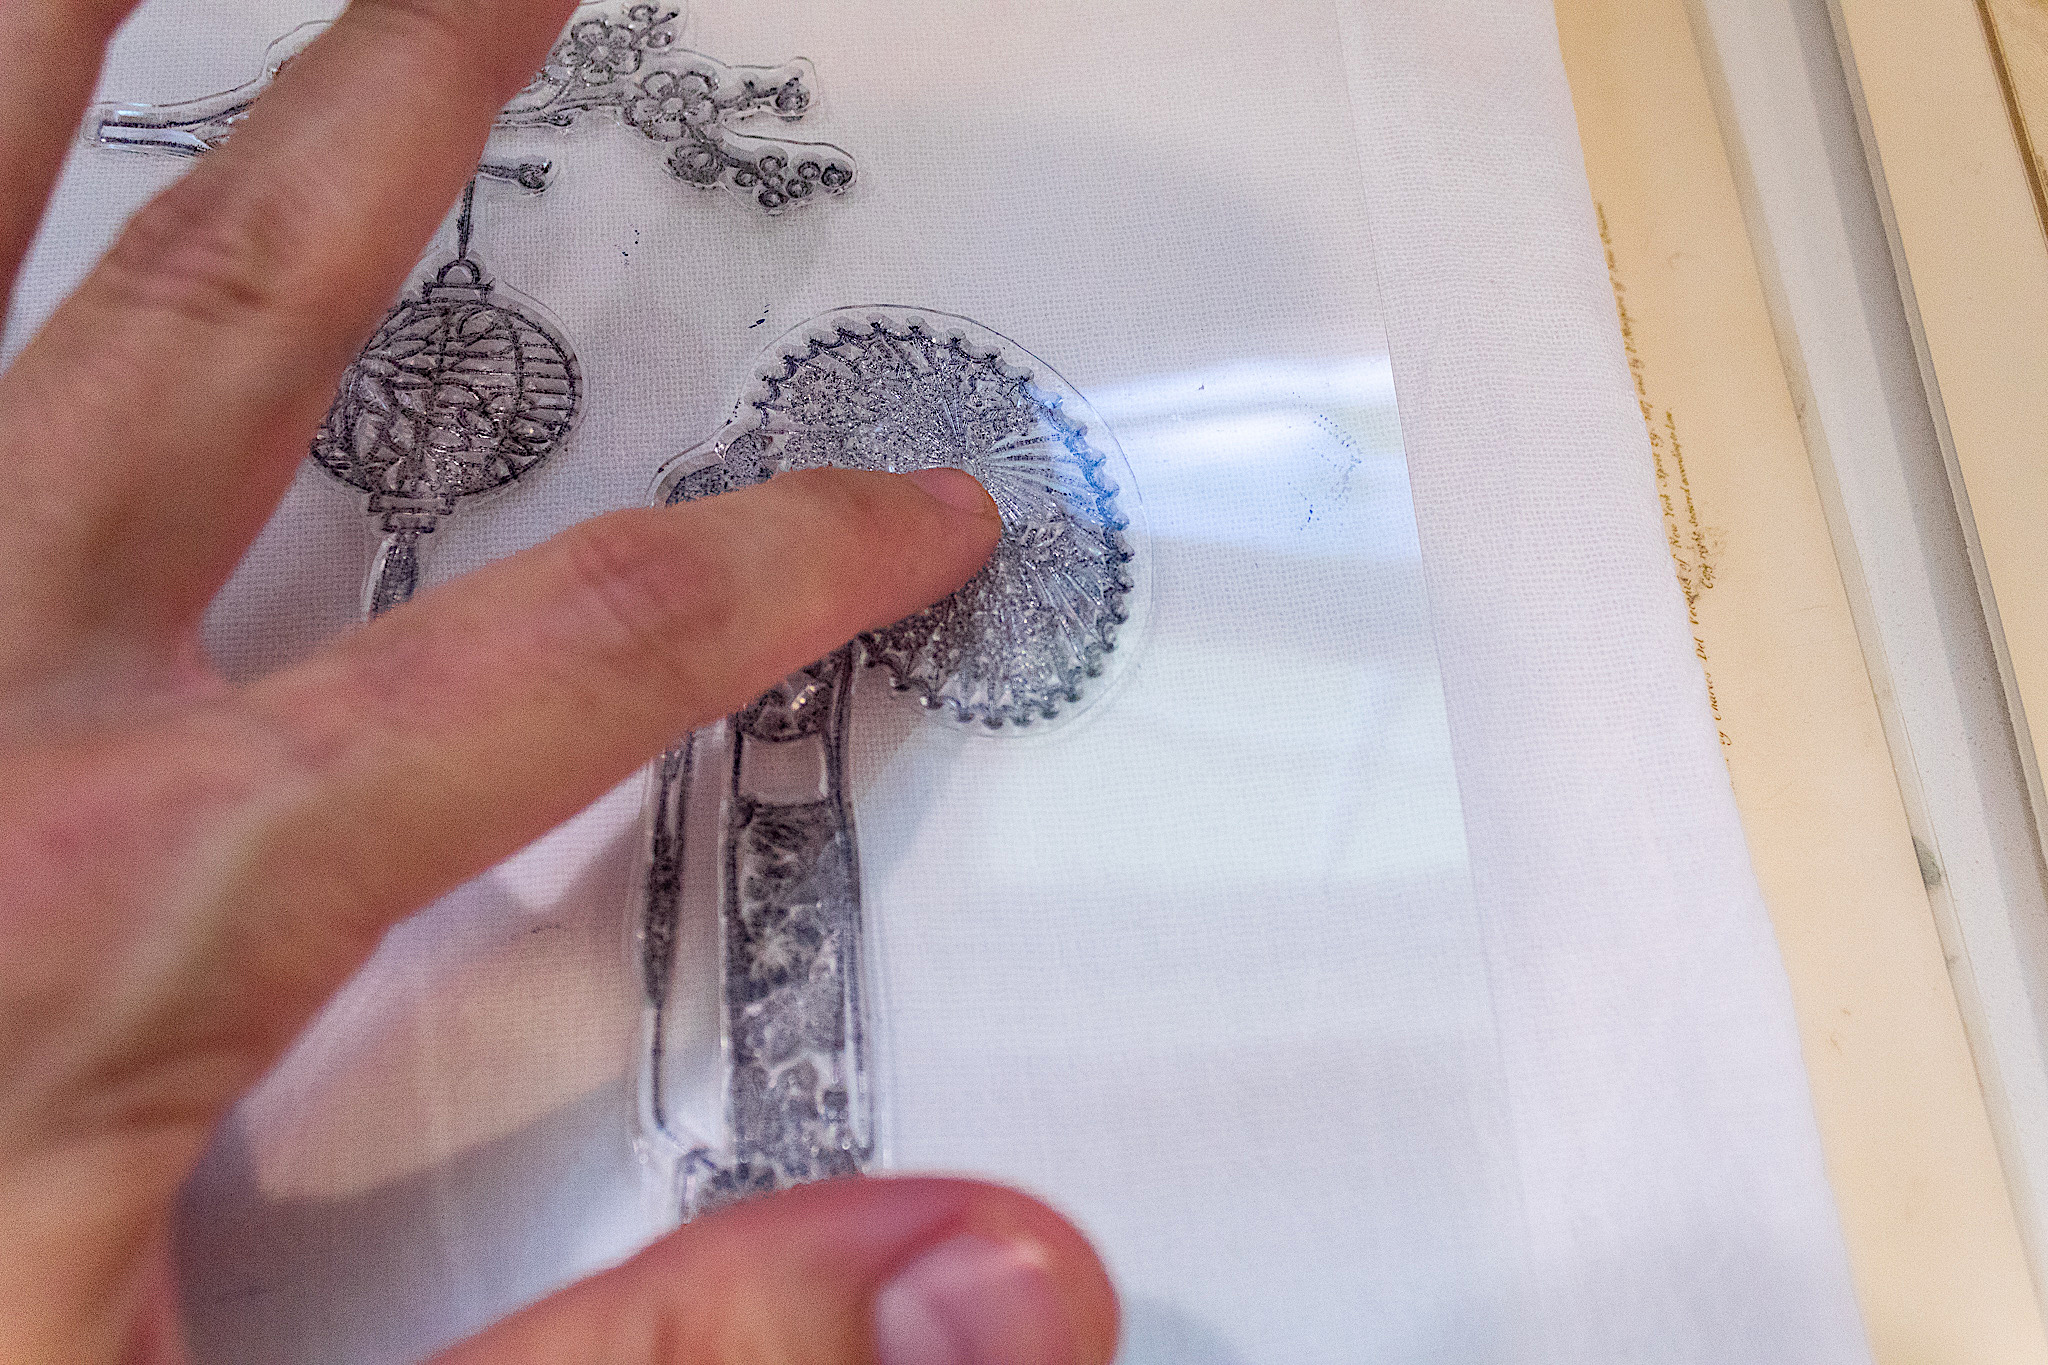
These clear stamps come with two plastic sheets: one they are stuck on and a separate sheet you will use for stamping.
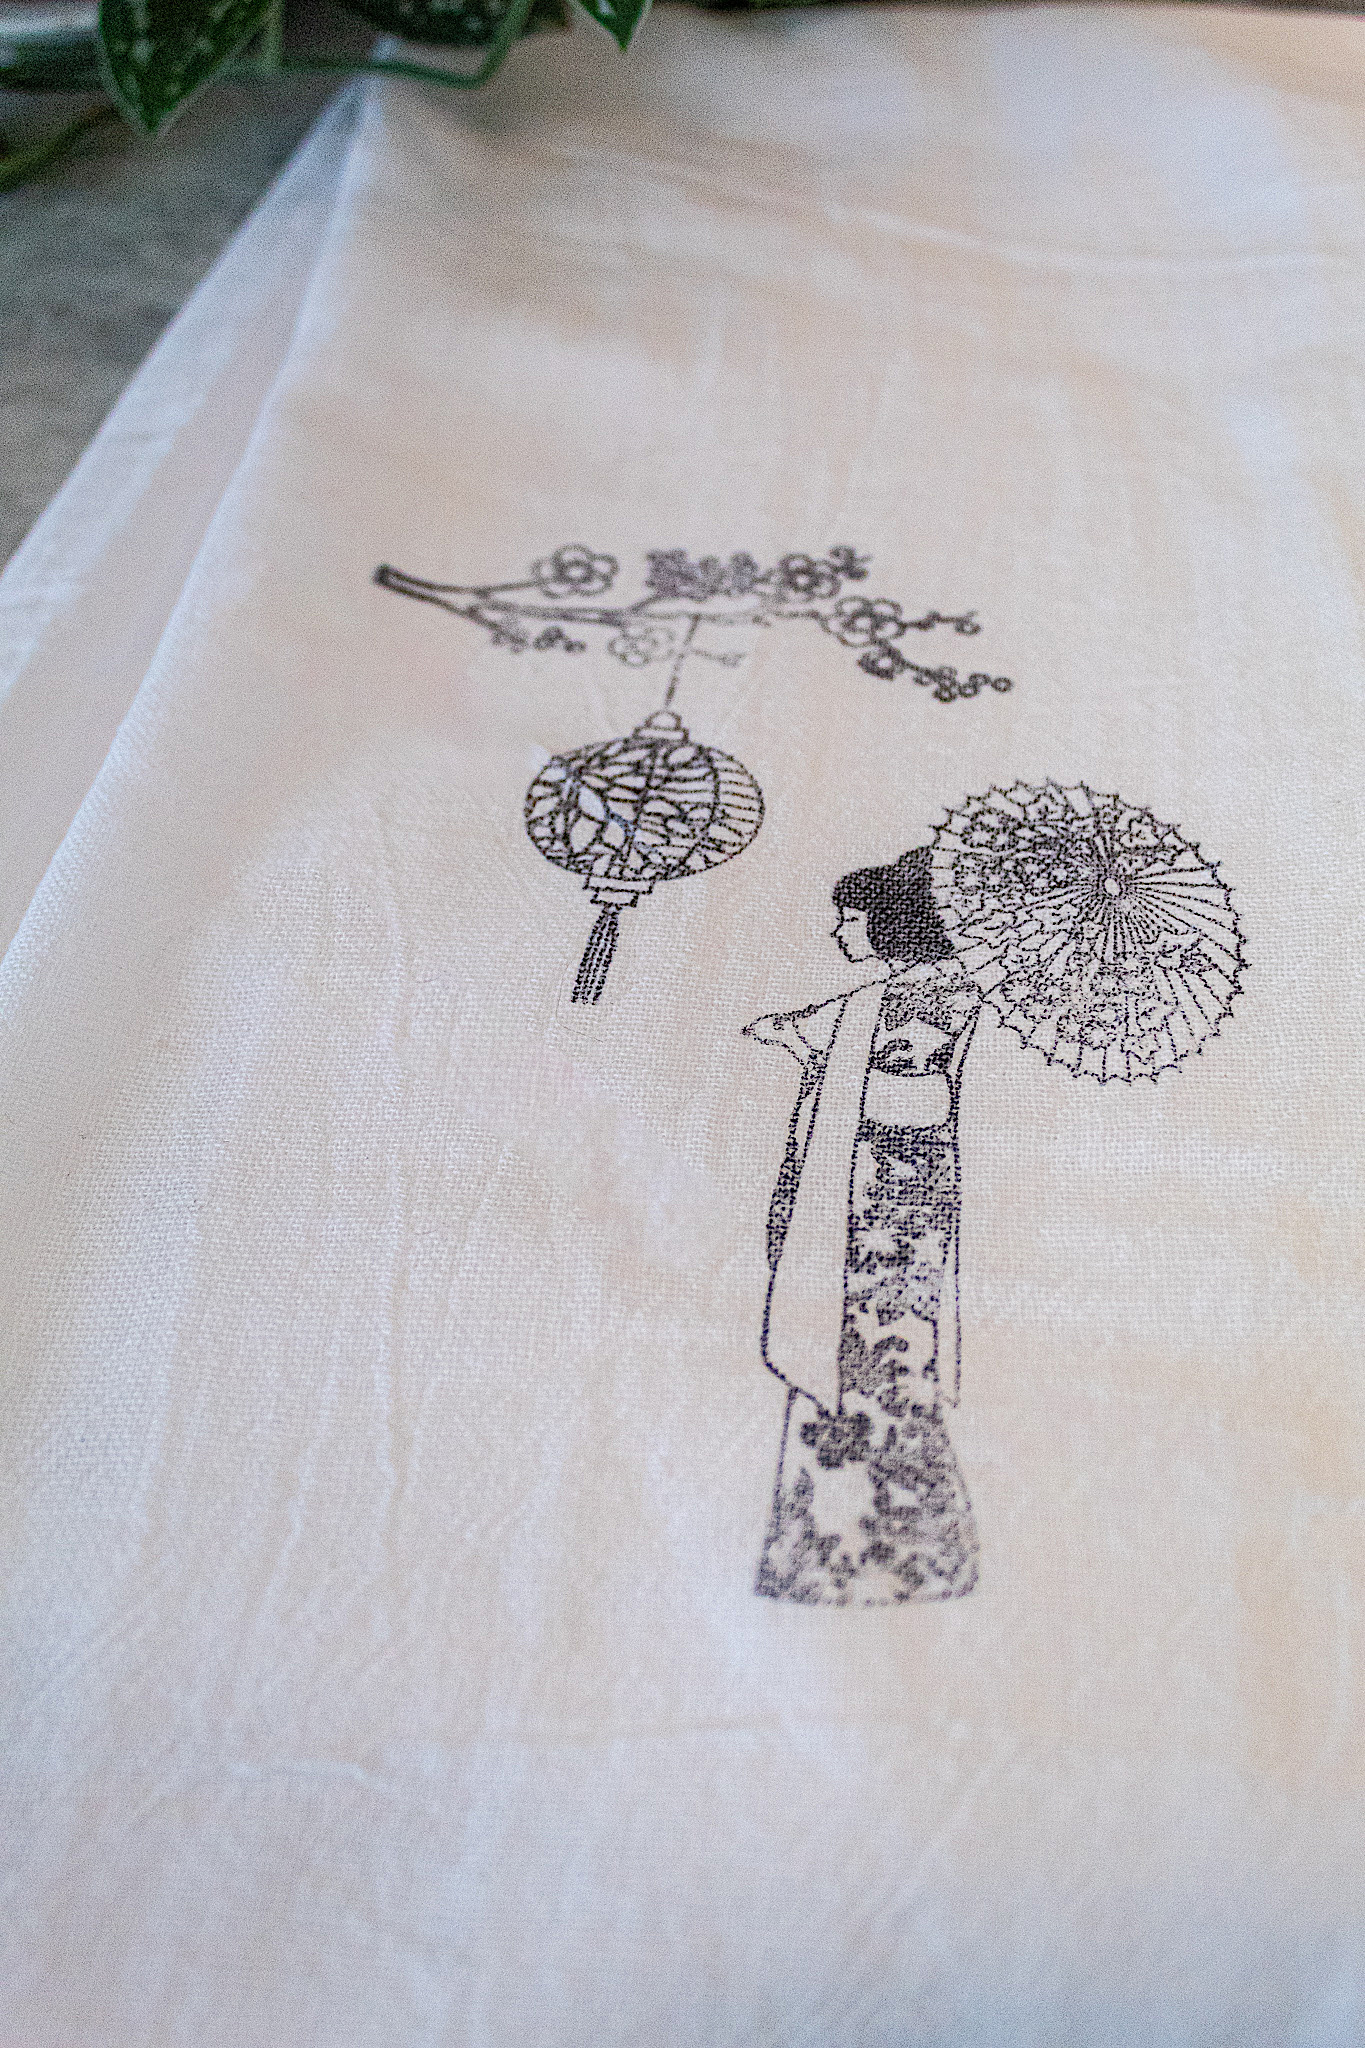
Start by picking one or several stamps for your design and slowly peel them off of the plastic sheet they come stuck on. You want to be careful not to rip the rubber of the stamp as you pull it off. Here I am using my Sakura Flower Japan stamps.
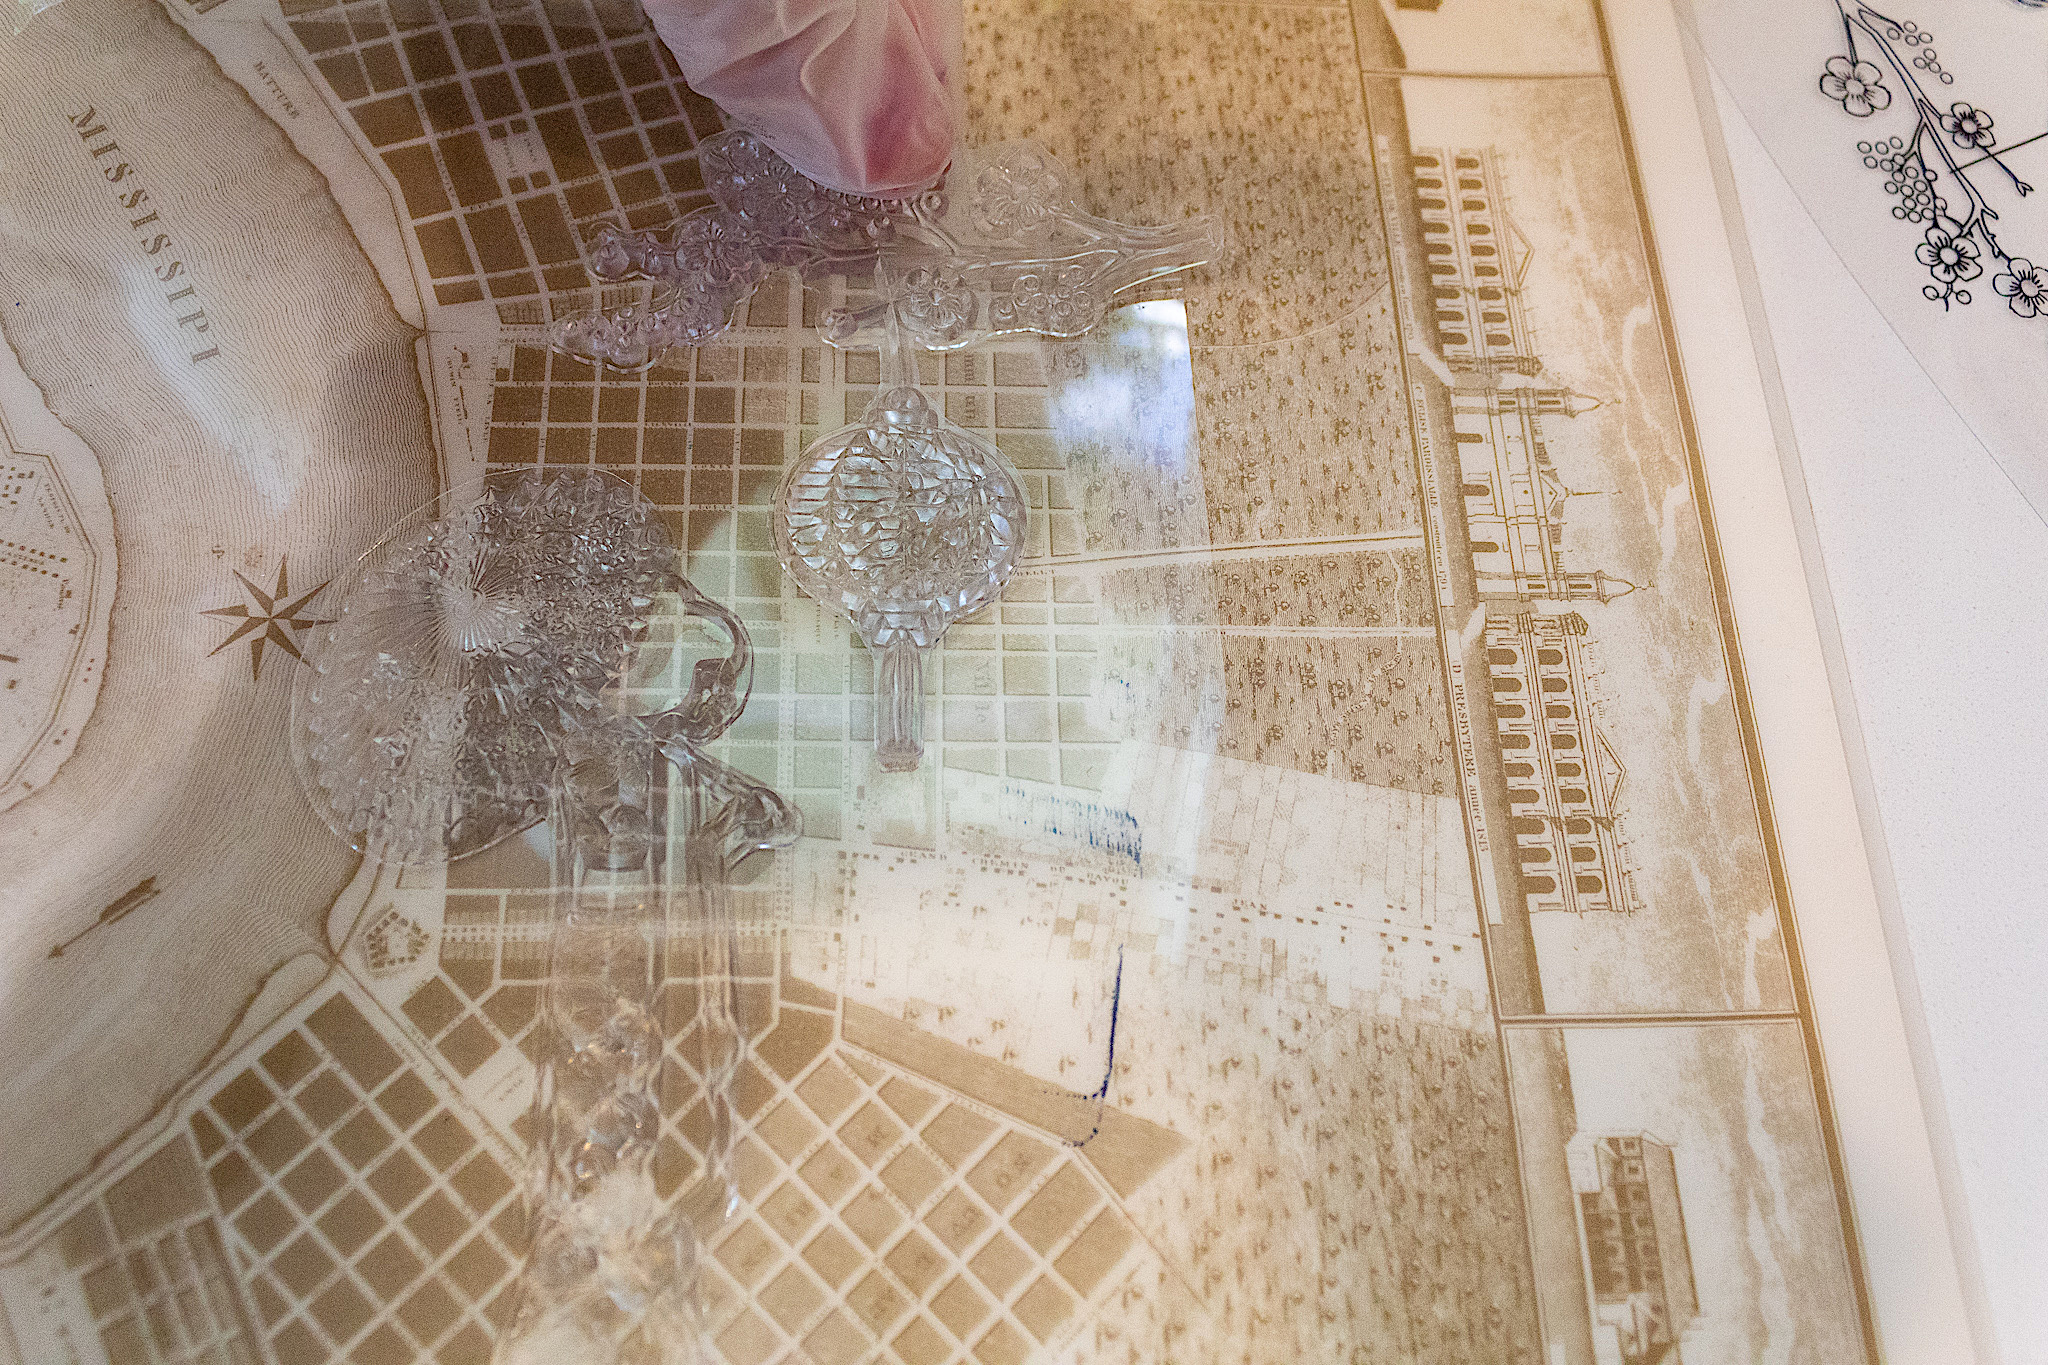
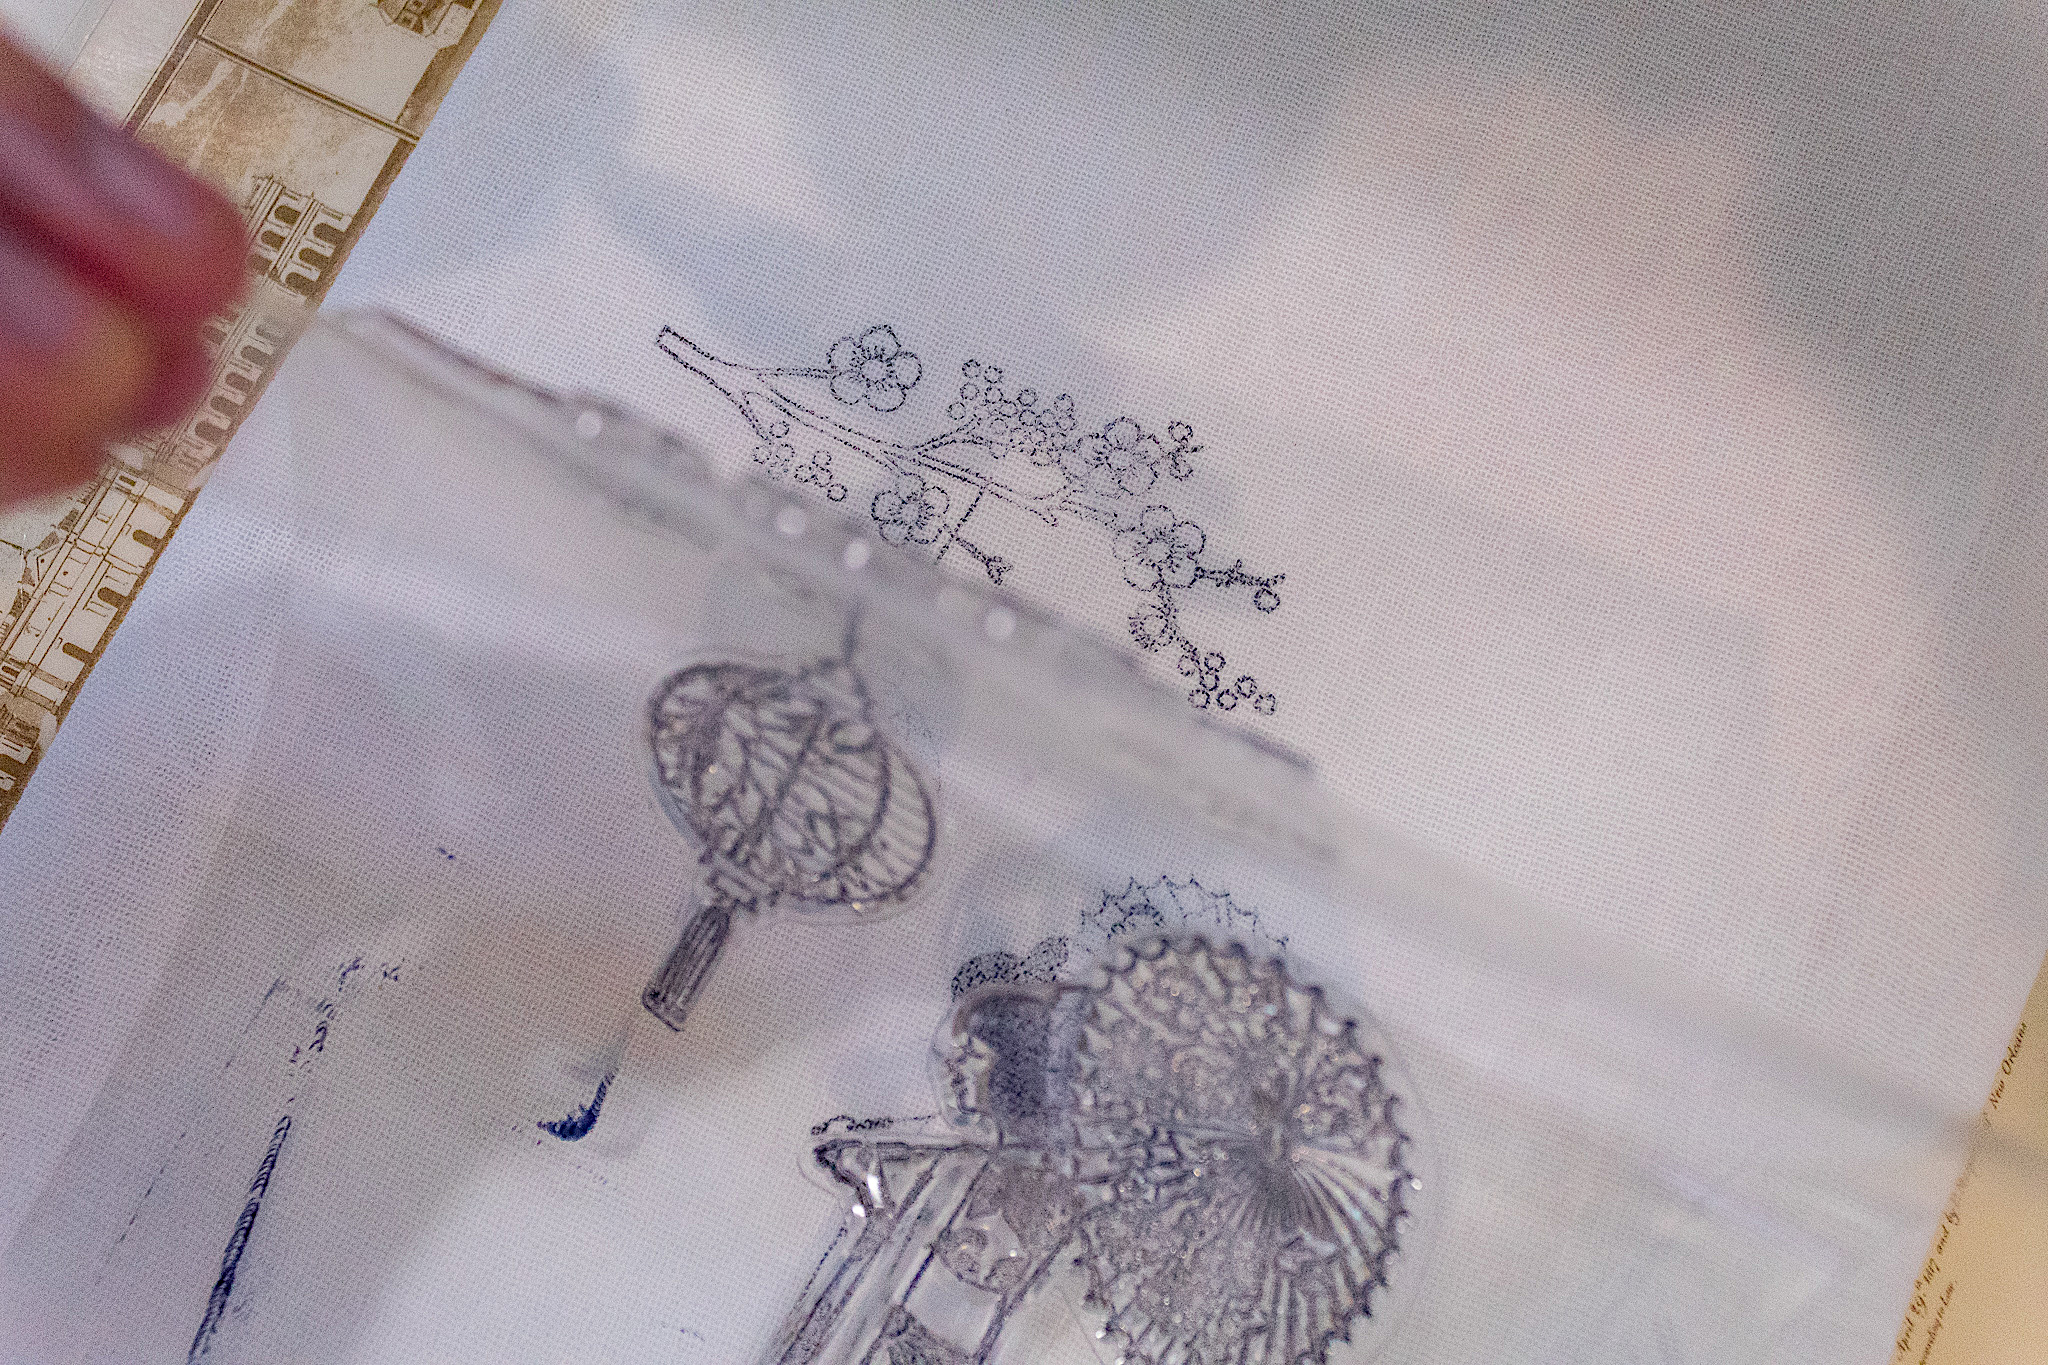
Next you will place your peeled stamps onto the second plastic sheet. I picked two of the stamps for my first look. A girl holding an umbrella and a hanging lantern with some flowers on top. I’m sorry it’s hard to see clearly in this picture. I shouldn’t have placed a busy place mat underneath!
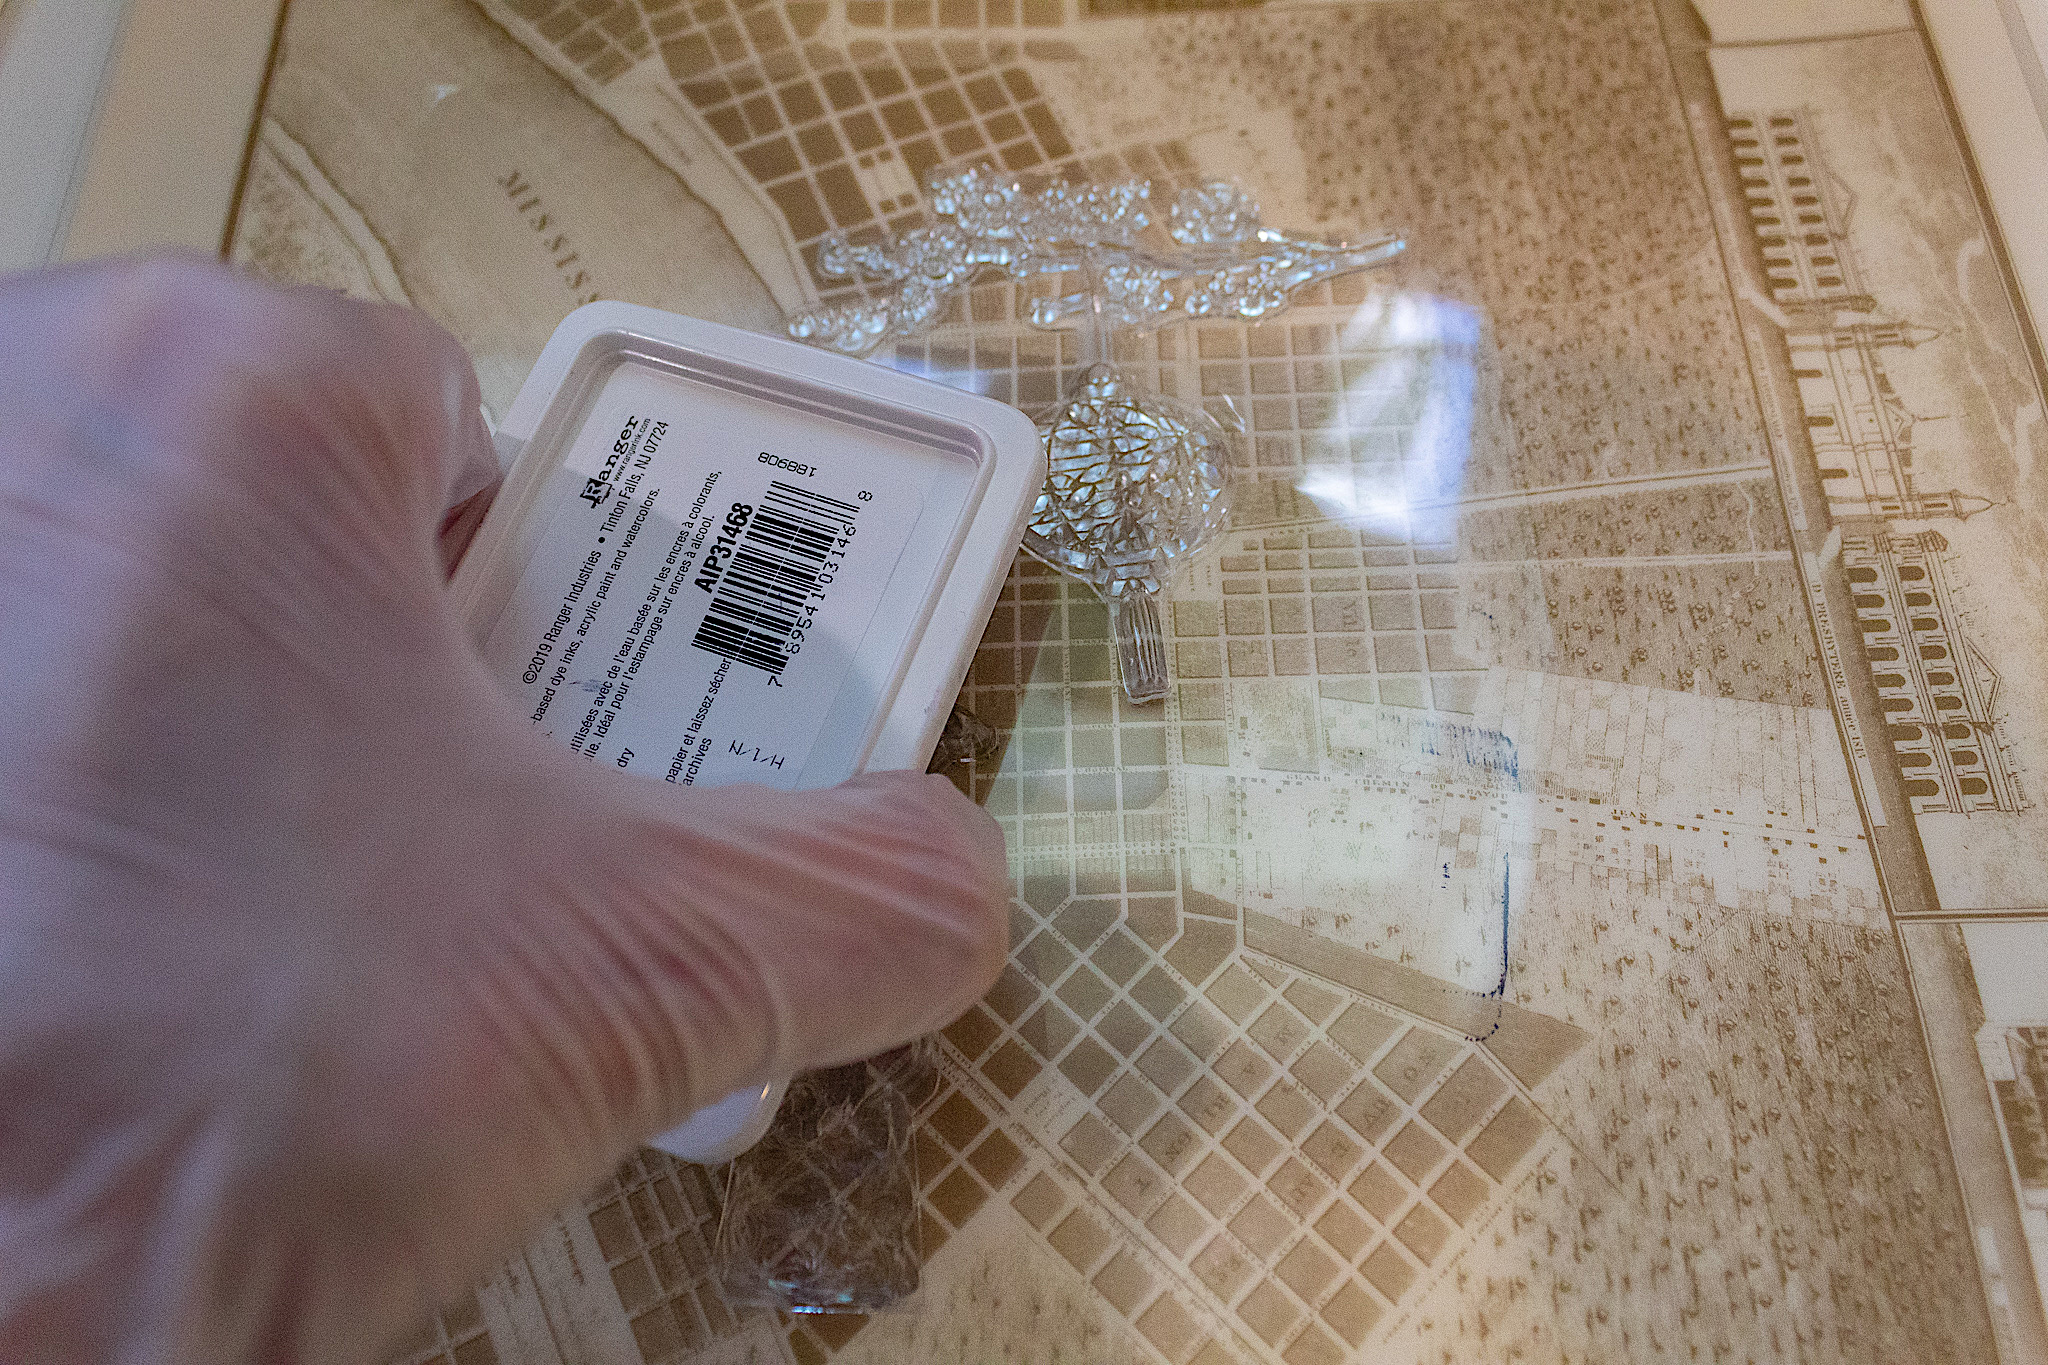
4. Ink your stamps
For this next step I like to wear plastic gloves. Even if I’m super careful I always seem to get ink on my fingers. So I where gloves while I’m putting the ink on my stamps so that I won’t later get ink on the fabric in places I don’t want. The ink I used in this project came out very nice. However, after one wash of the towel the ink had faded significantly. So I am not recommending this ink. I listed another fabric-specific ink in the materials section above. According to reviews, this ink seems to hold up well to washing.
To apply the ink I tap the ink pad over my two stamps I adhered to the plastic sheet. I tap over and over until all the details of the stamps look well covered.
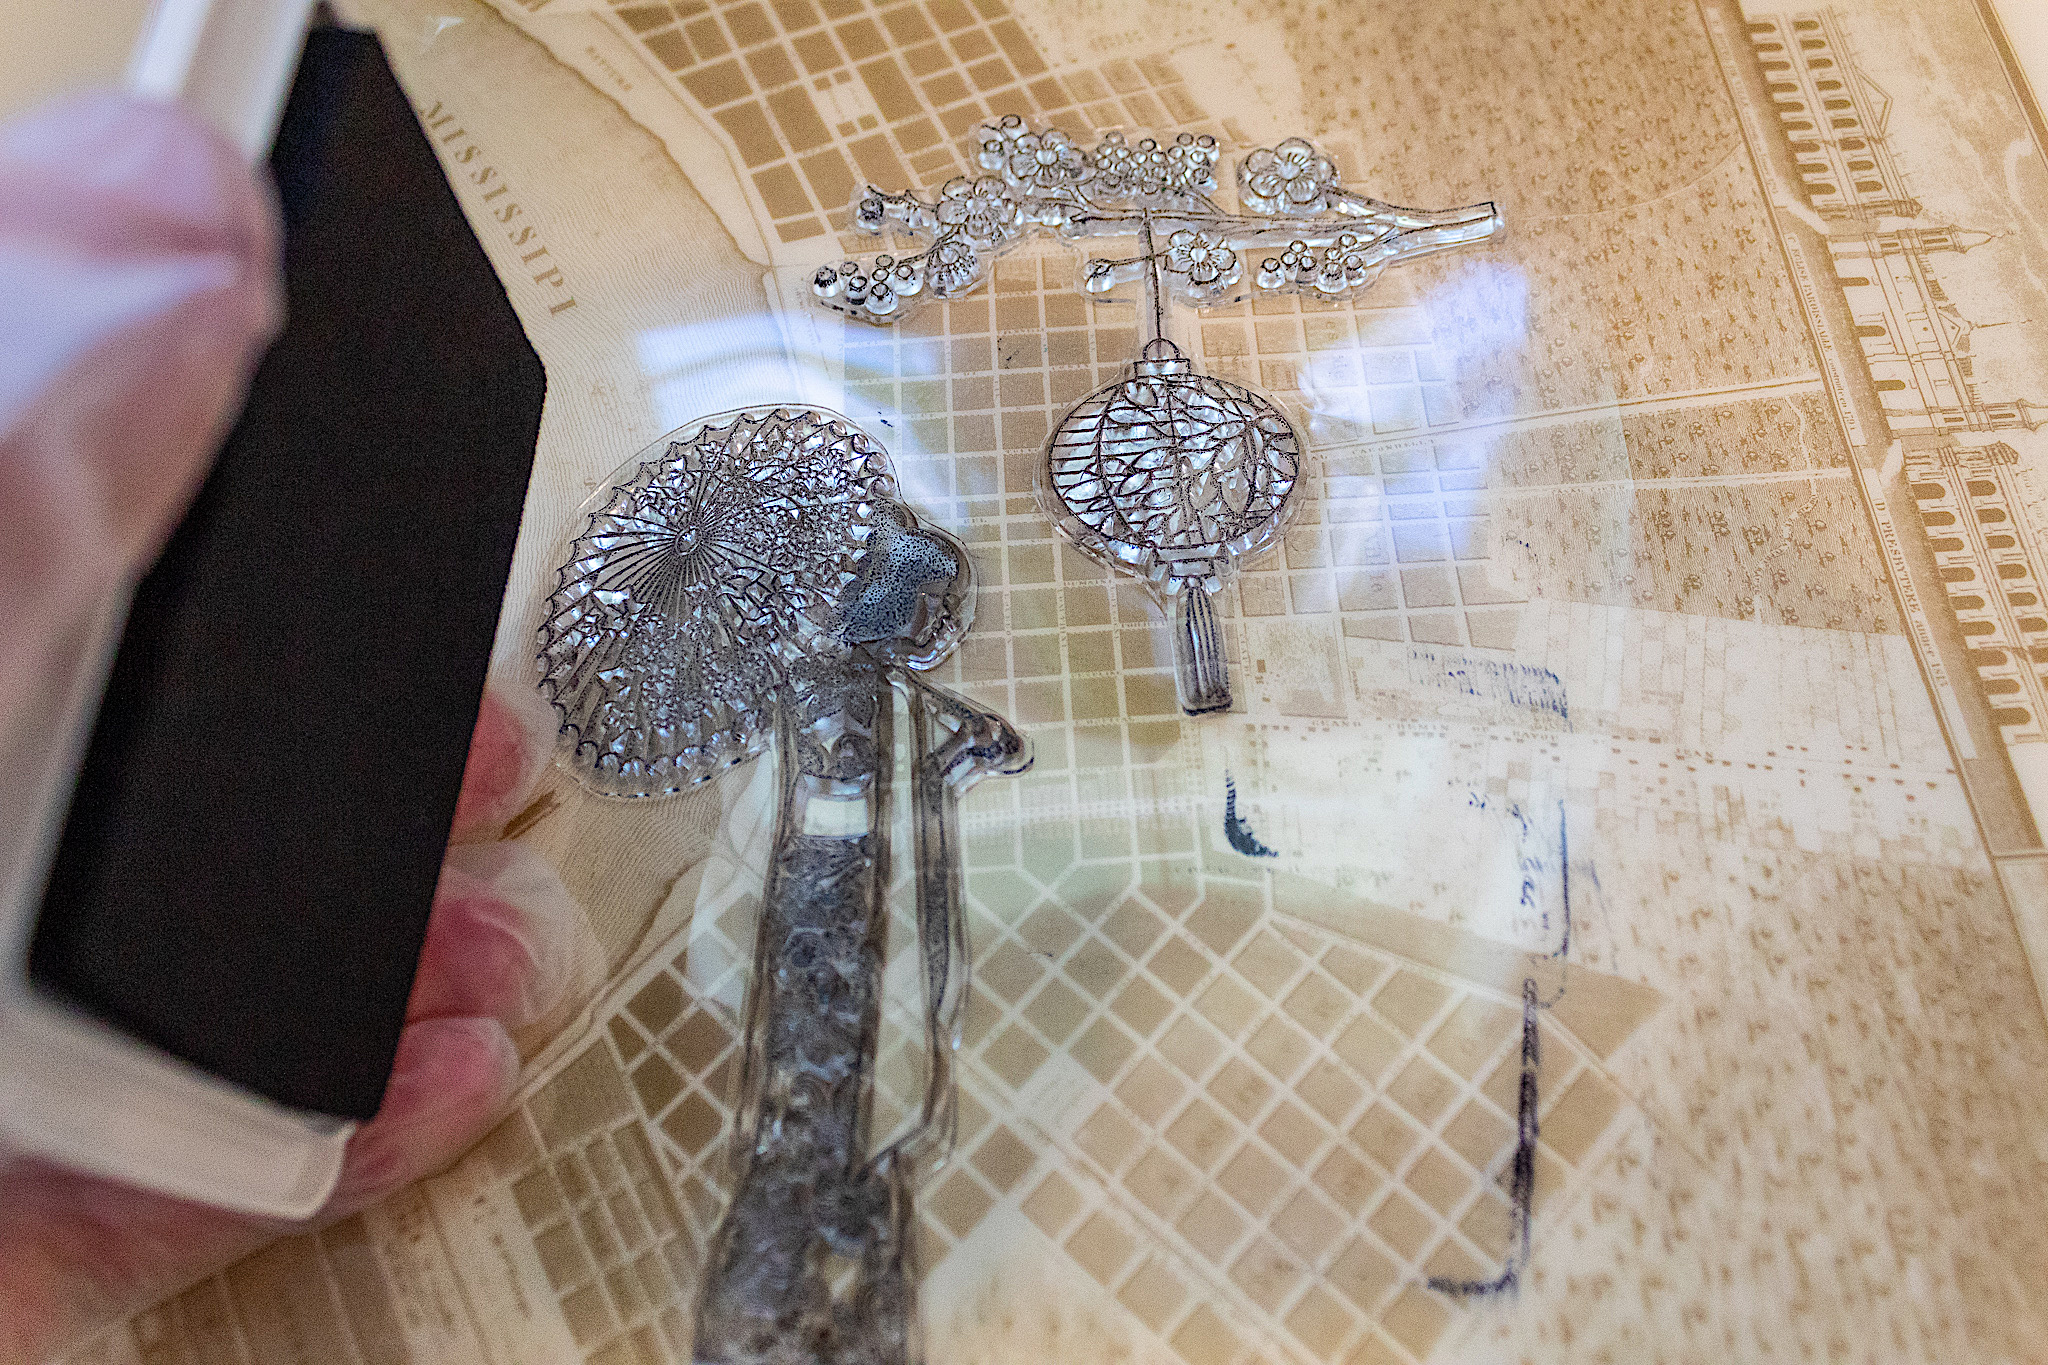
5. Apply stamps to fabric
Before I apply my inked stamps to the towel I make sure to remove my gloves. That way I have ink-free hands for managing the fabric. I place my plastic sheet with the inked stamps face down onto the towel. I have one shot to do this so I look carefully where I will place before actually touching the fabric.
Once I press it down onto the towel I am careful not to move the sheet in any direction to avoid smudging. I simply take my fingers and lightly tap the plastic sheet over the stamp details. I take my time doing this, tapping gently over and over again.
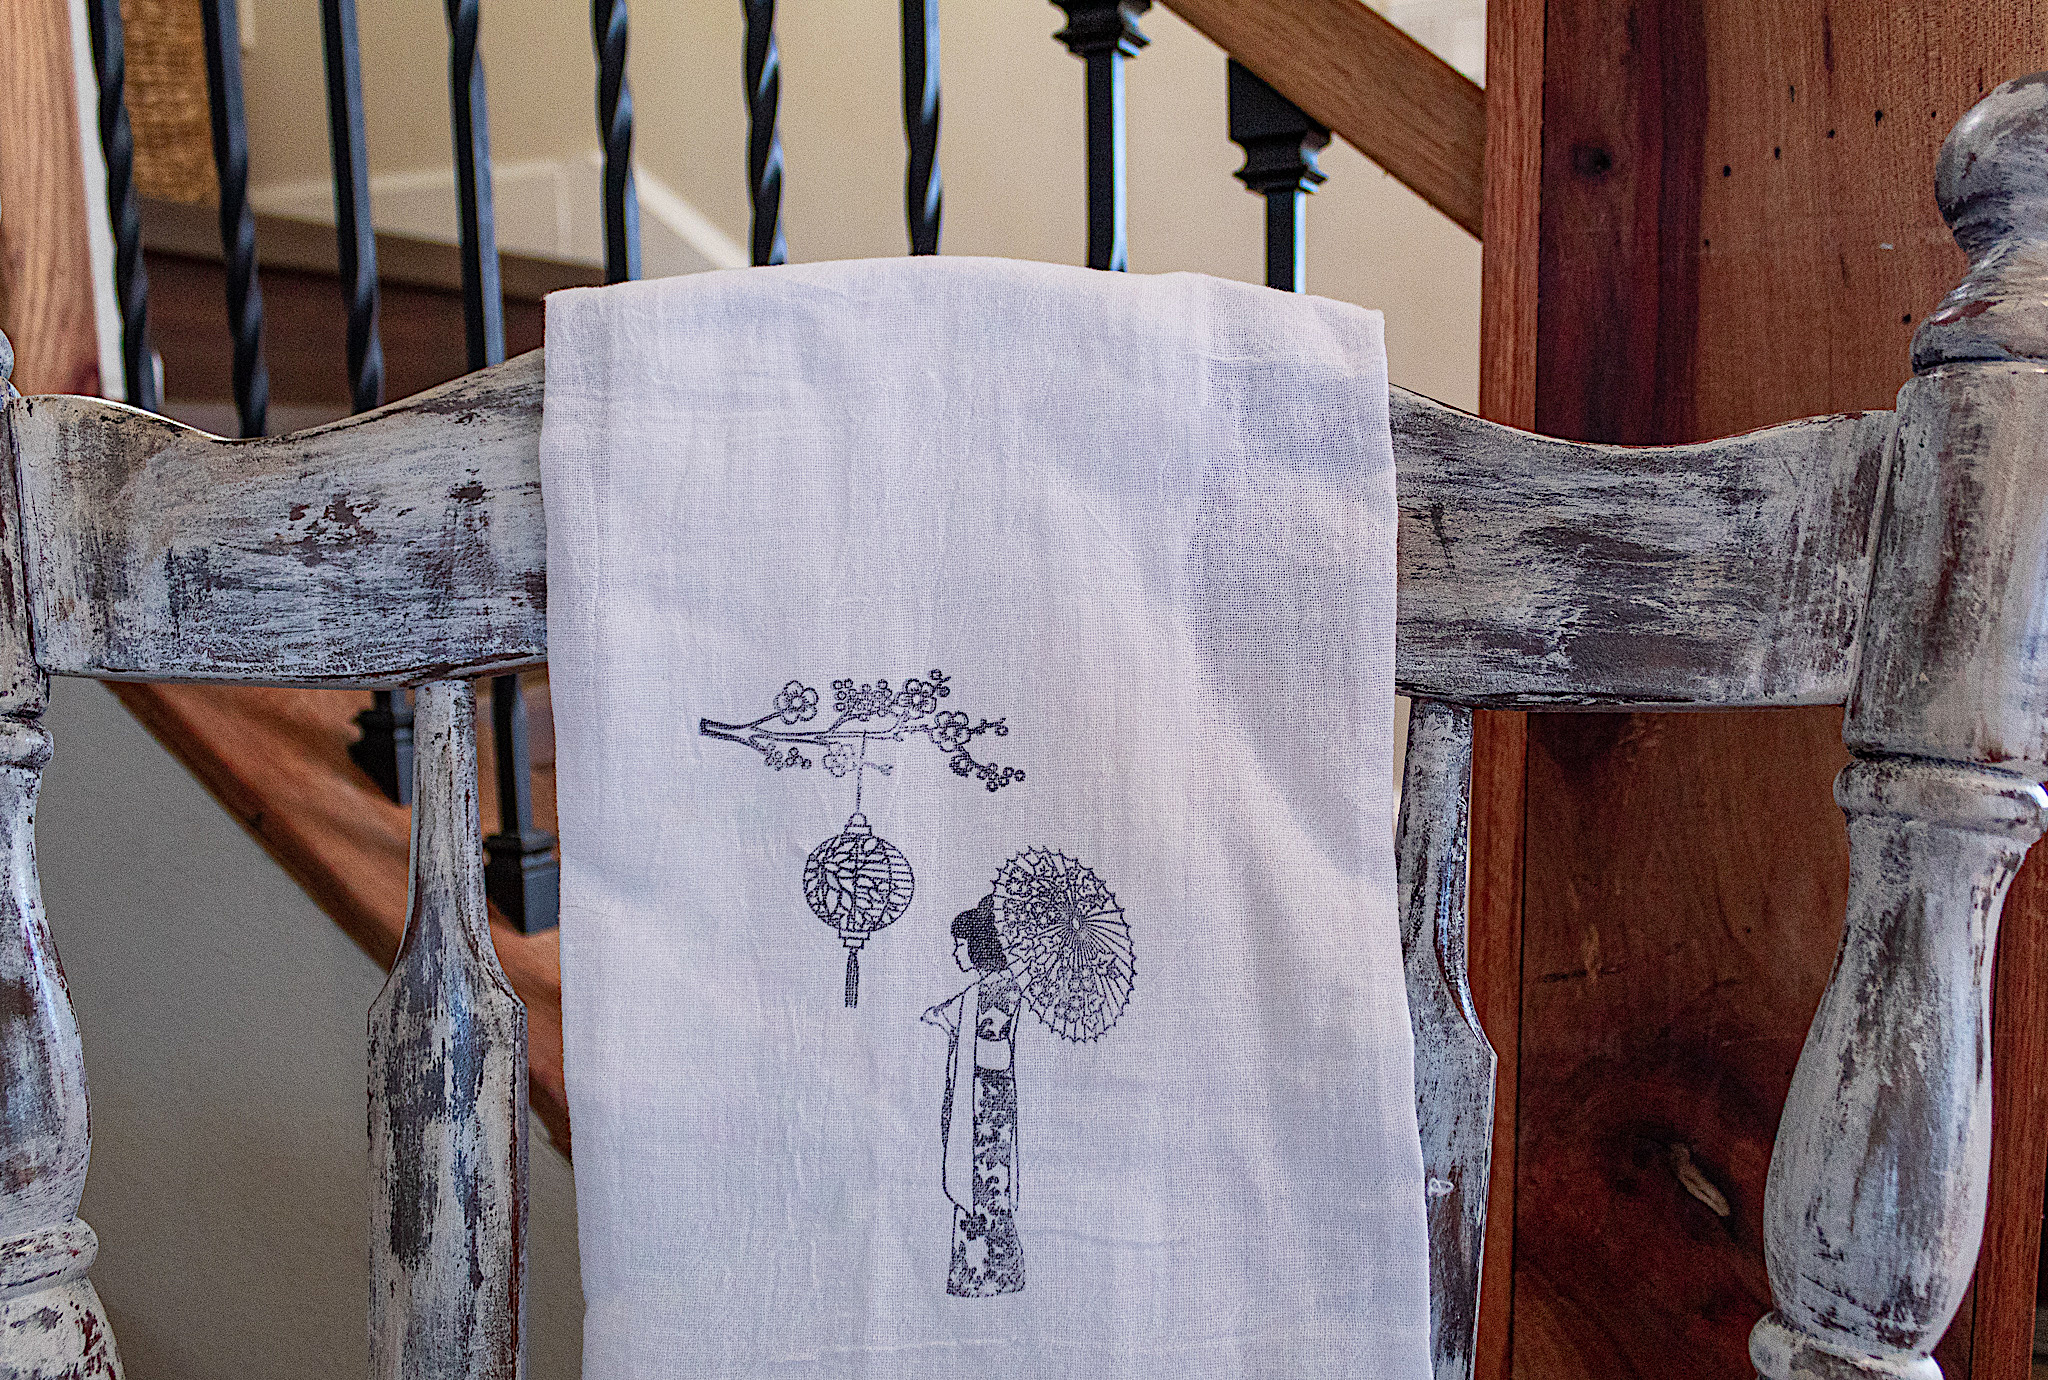
Once I’m finishing tapping I carefully pull off my plastic sheet to reveal the stamped fabric.
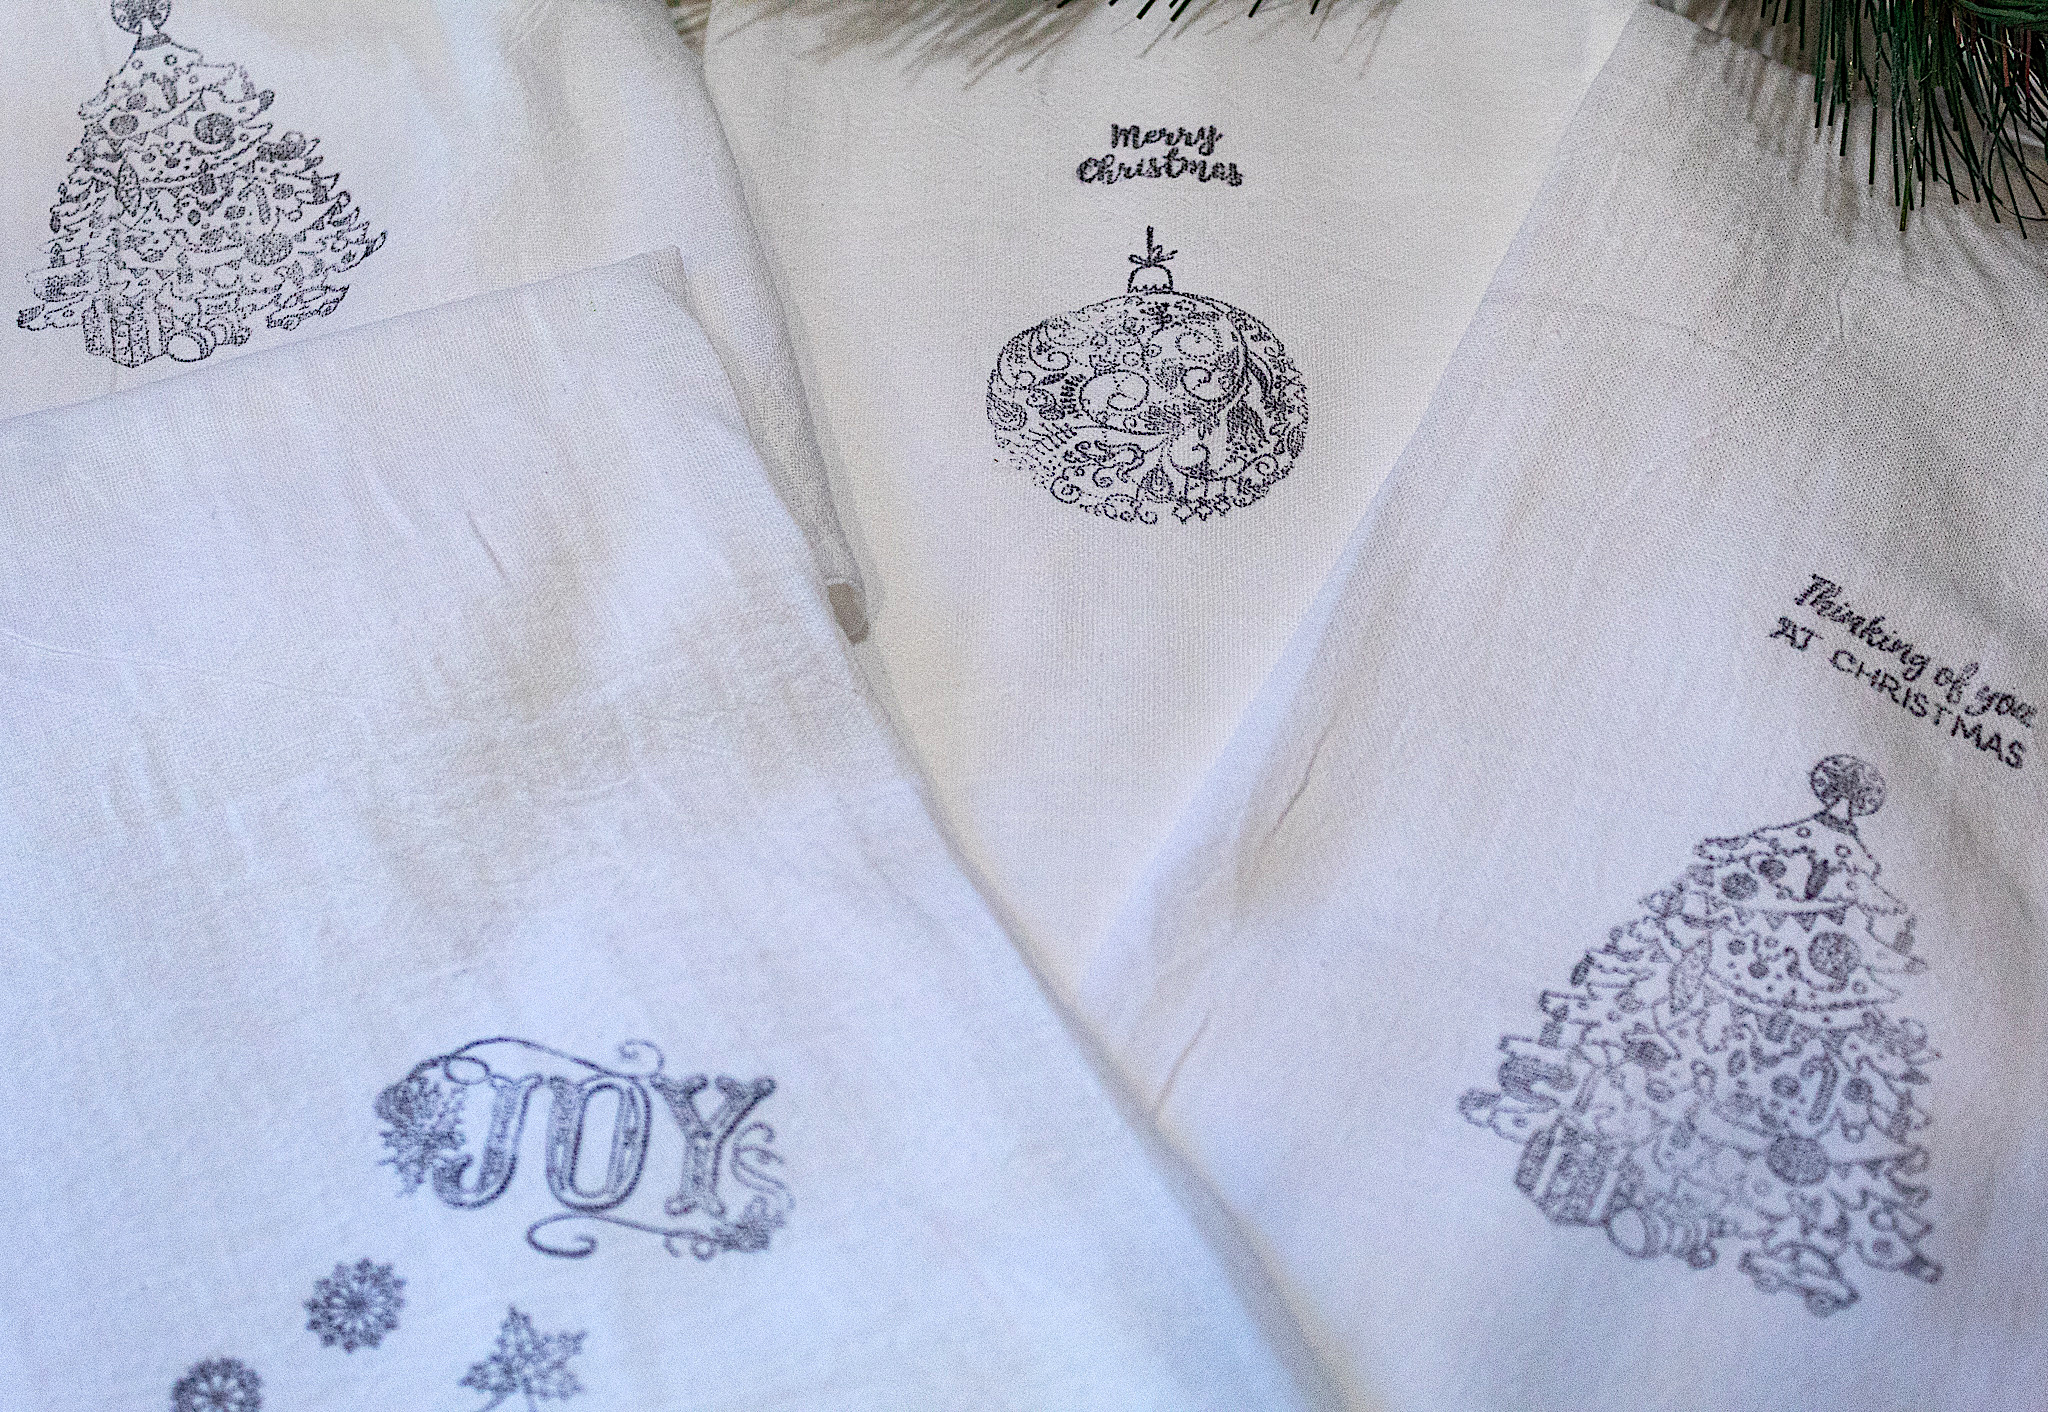
And that is how easy it is to make these pretty hand or kitchen towels. I made10 of them in less than one hour. They are wonderful to have around the house or to give away as presents.