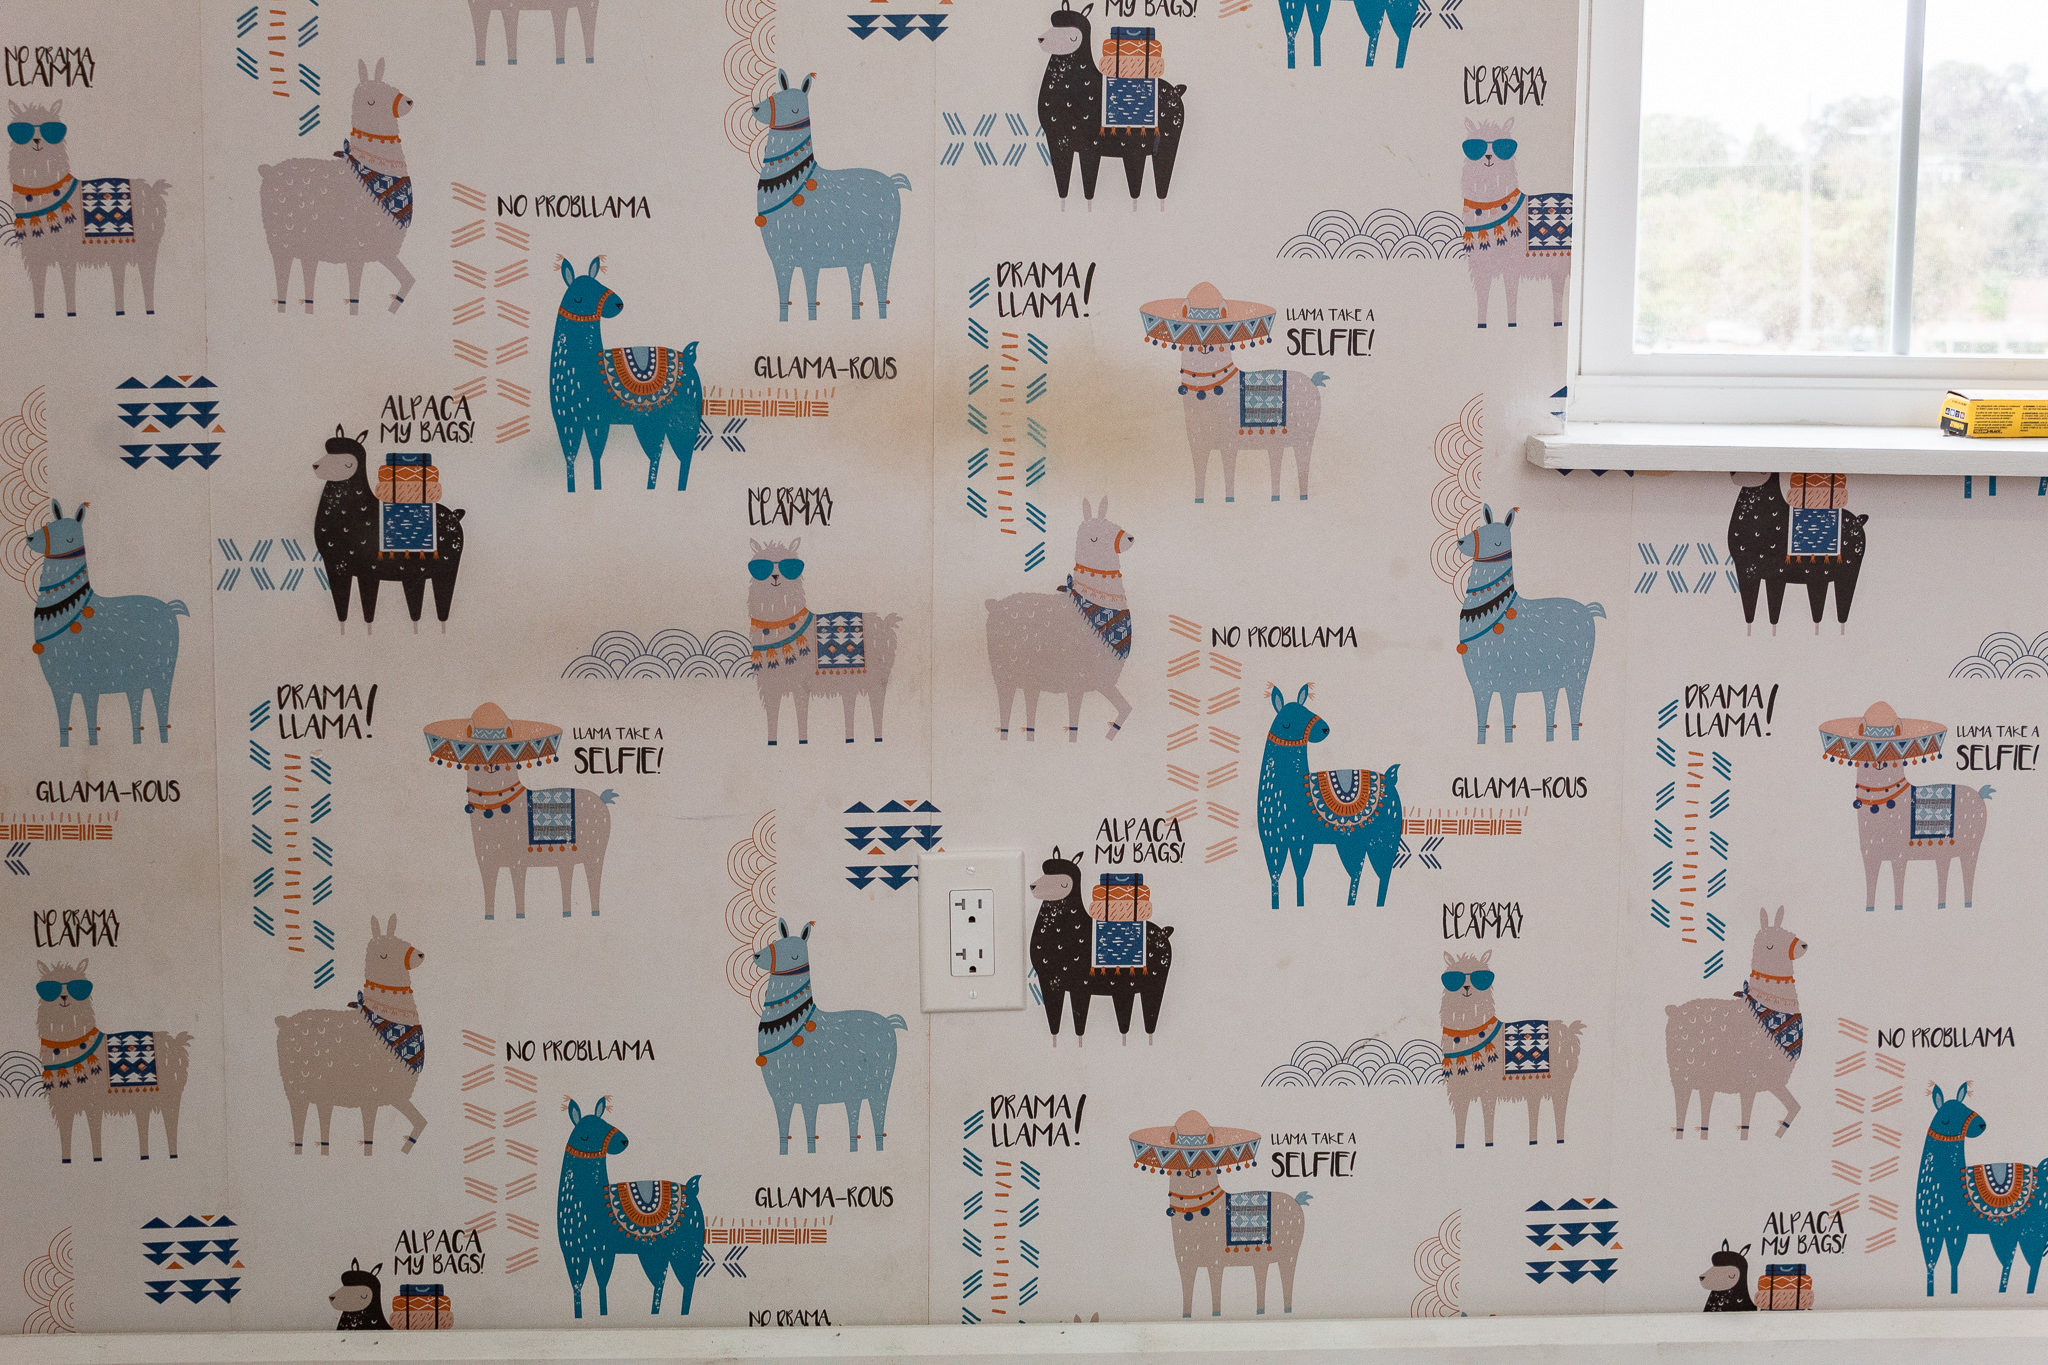
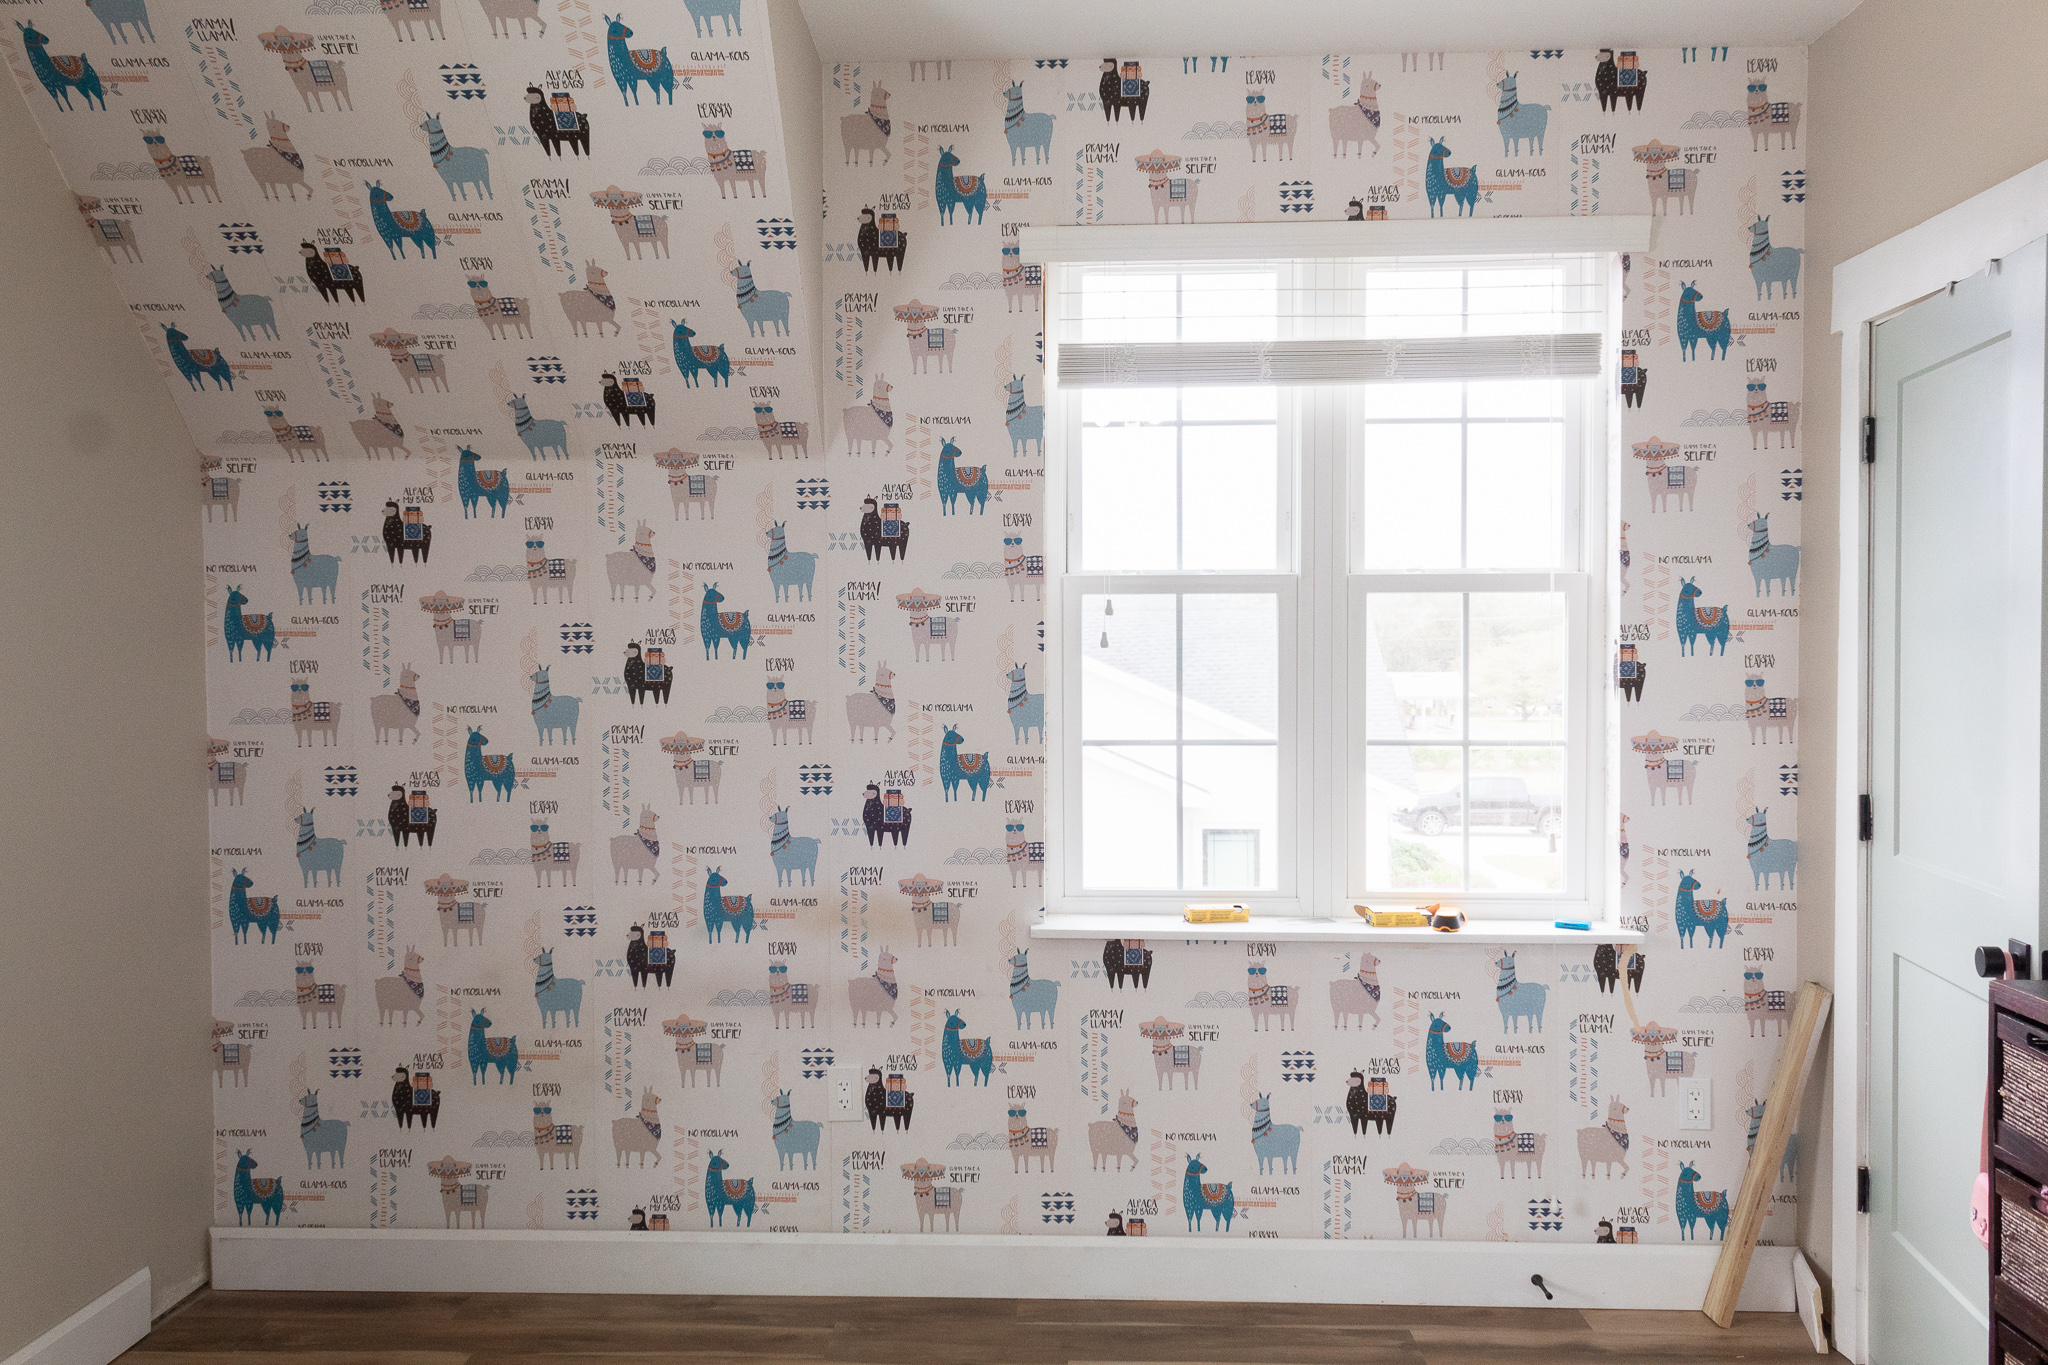
It was time to do something about the beaten up llama wallpaper in our youngest kids’ bedroom. I loved the wallpaper but I am now re-thinking permanent wallpaper when you have active kids in the home.
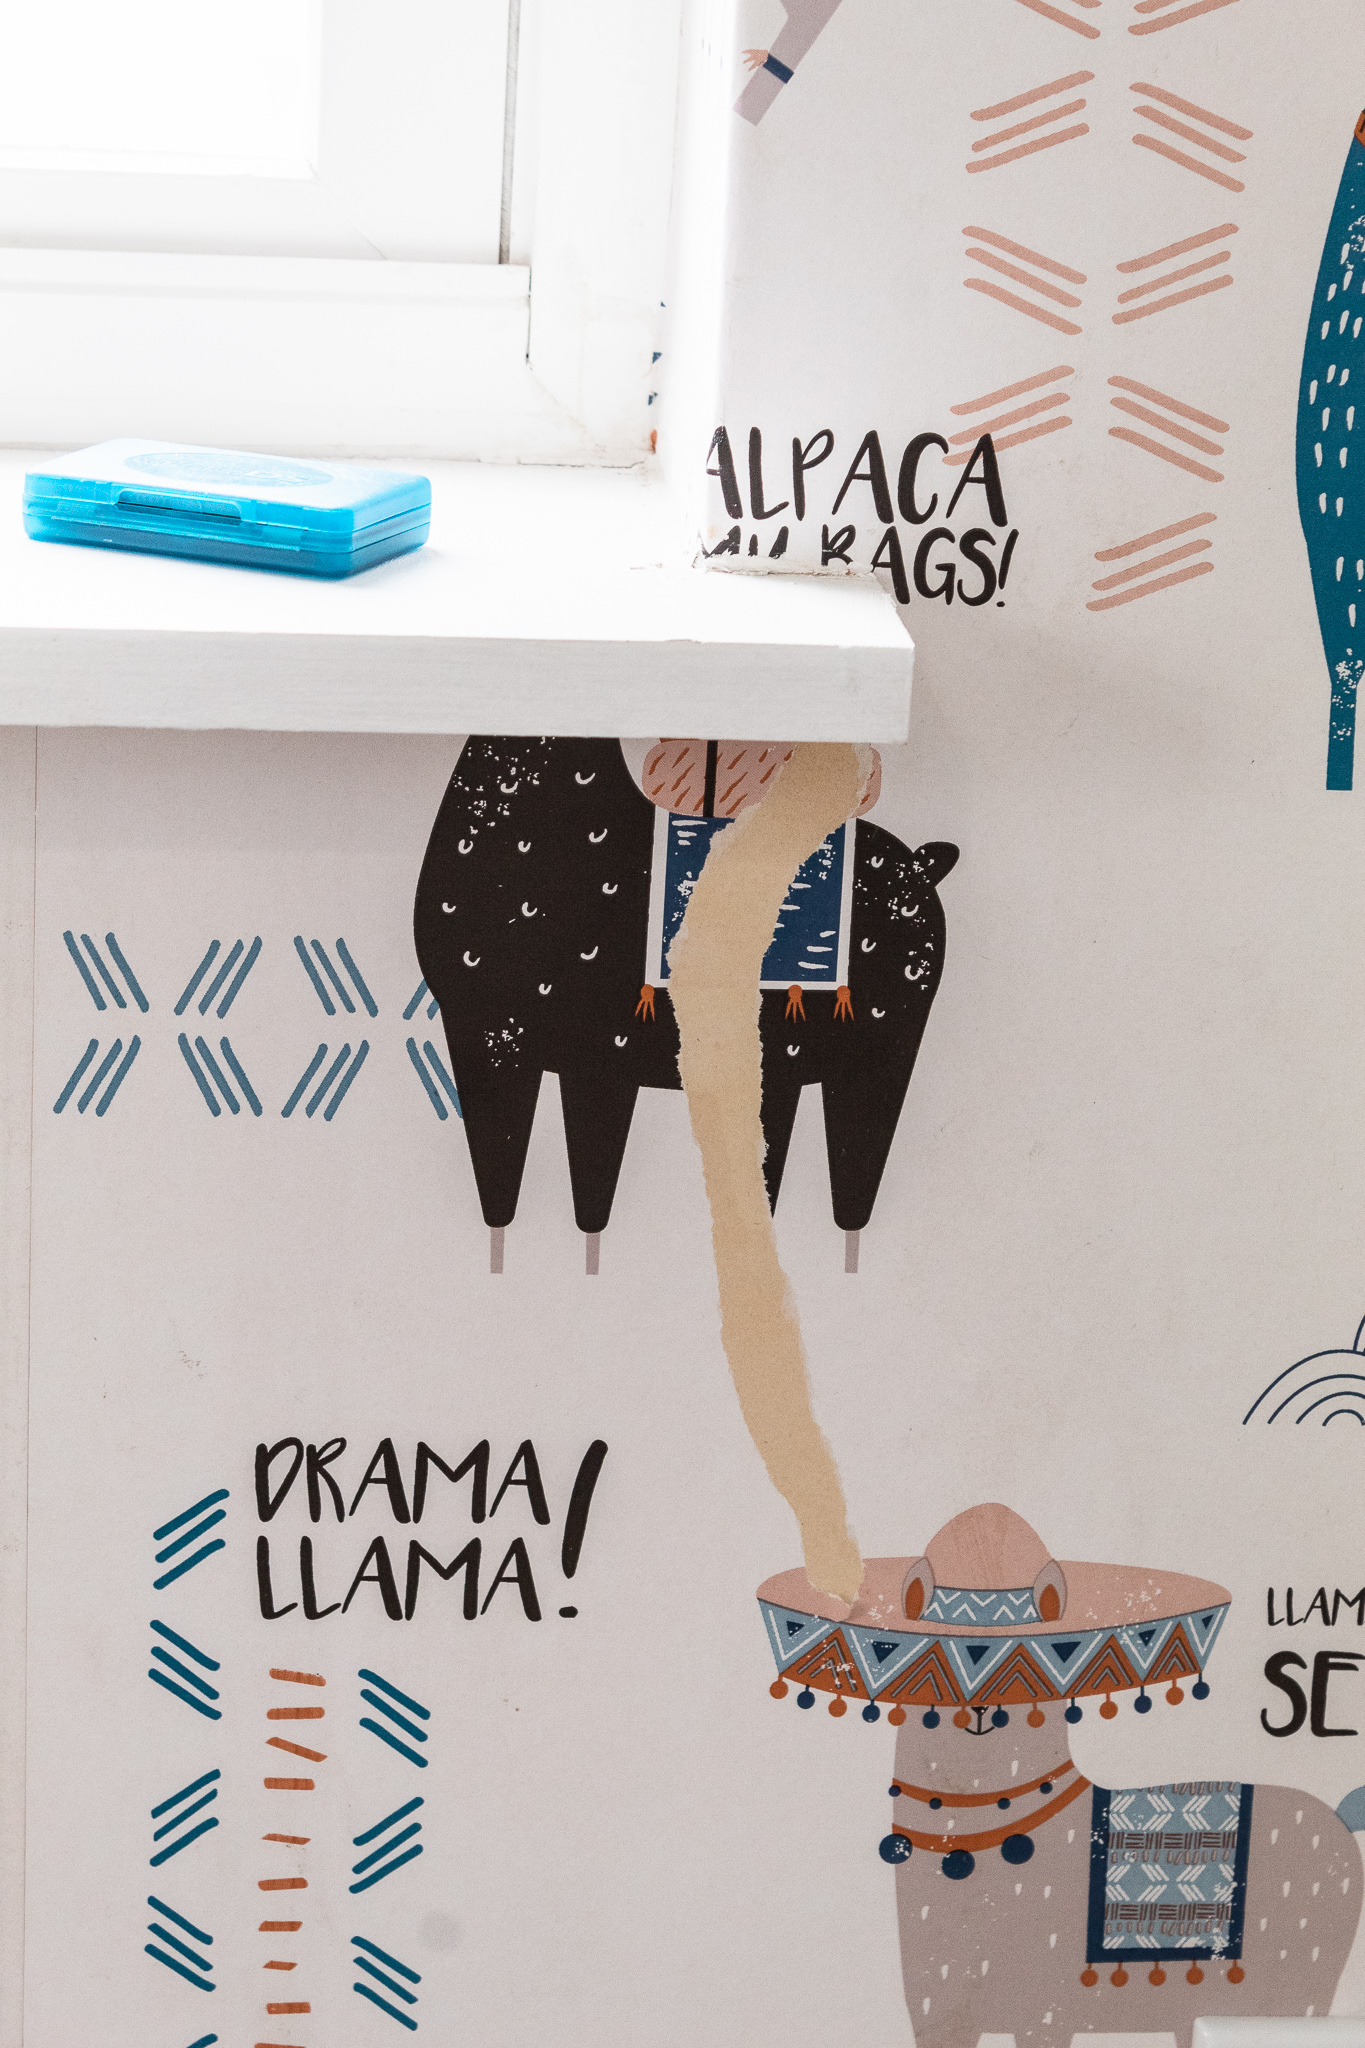
The paper had received its fare share of stains and tears and it was no longer looking pretty. In fact it had become quite the eye sore.
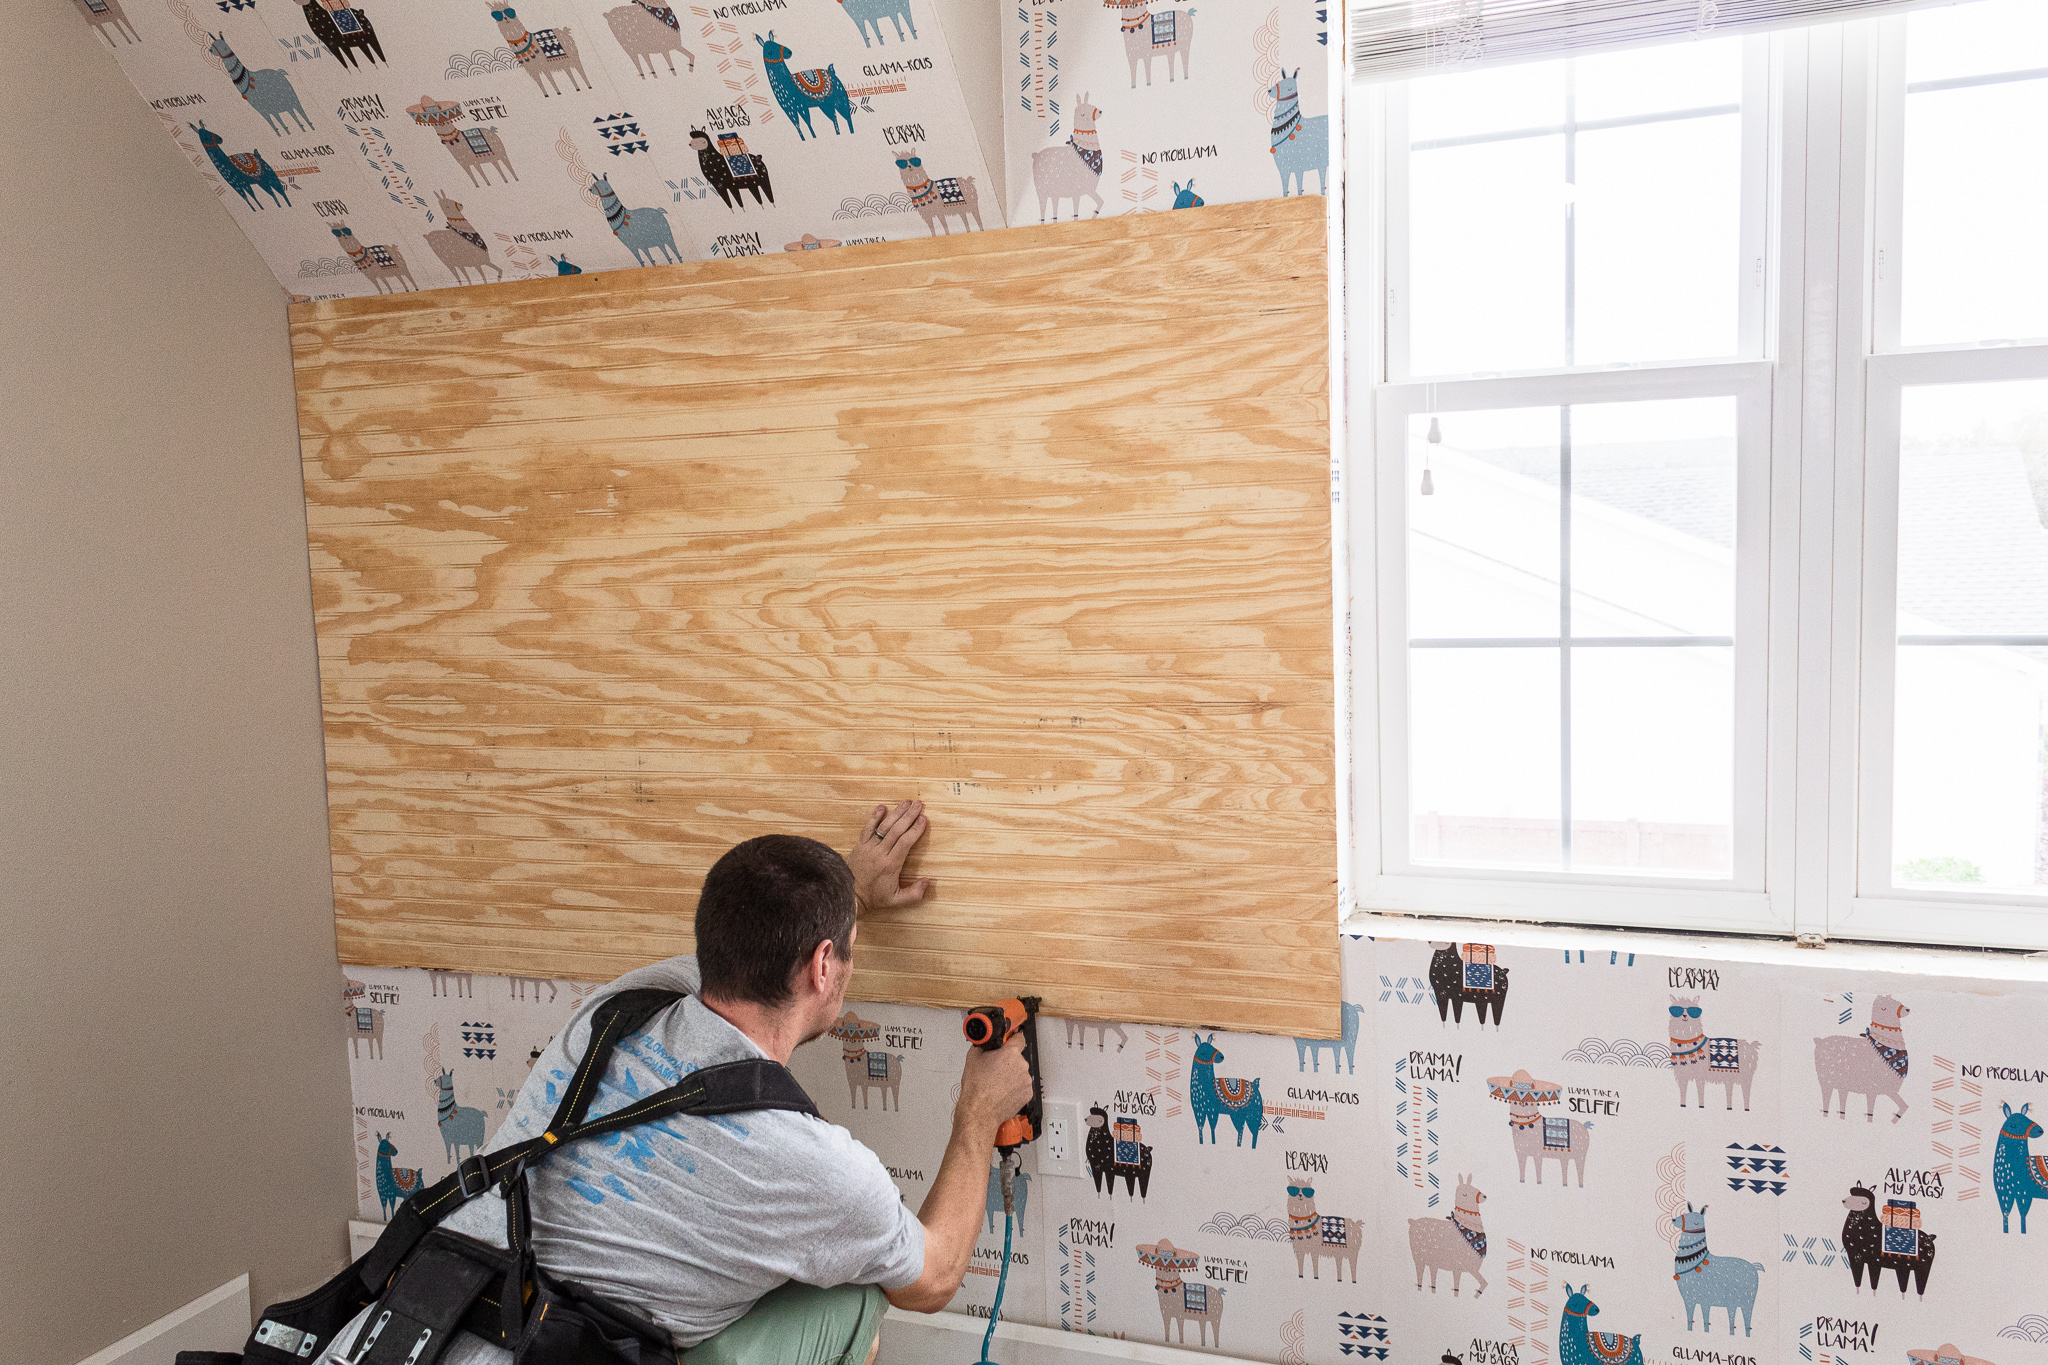
Rather than attempting the tedious and laborious process of taking down glued wallpaper, I opted to for a short cut and just to cover the thing up!
I love the look of beadboard. It always take me back to my childhood on my grandfather’s farm. Beadboard is a staple in many farmhouses and I just really like the feel it brings to a space. Today I’m sharing how we created the beadboard accent wall that transformed this bedroom.
1. Cut your beadboard
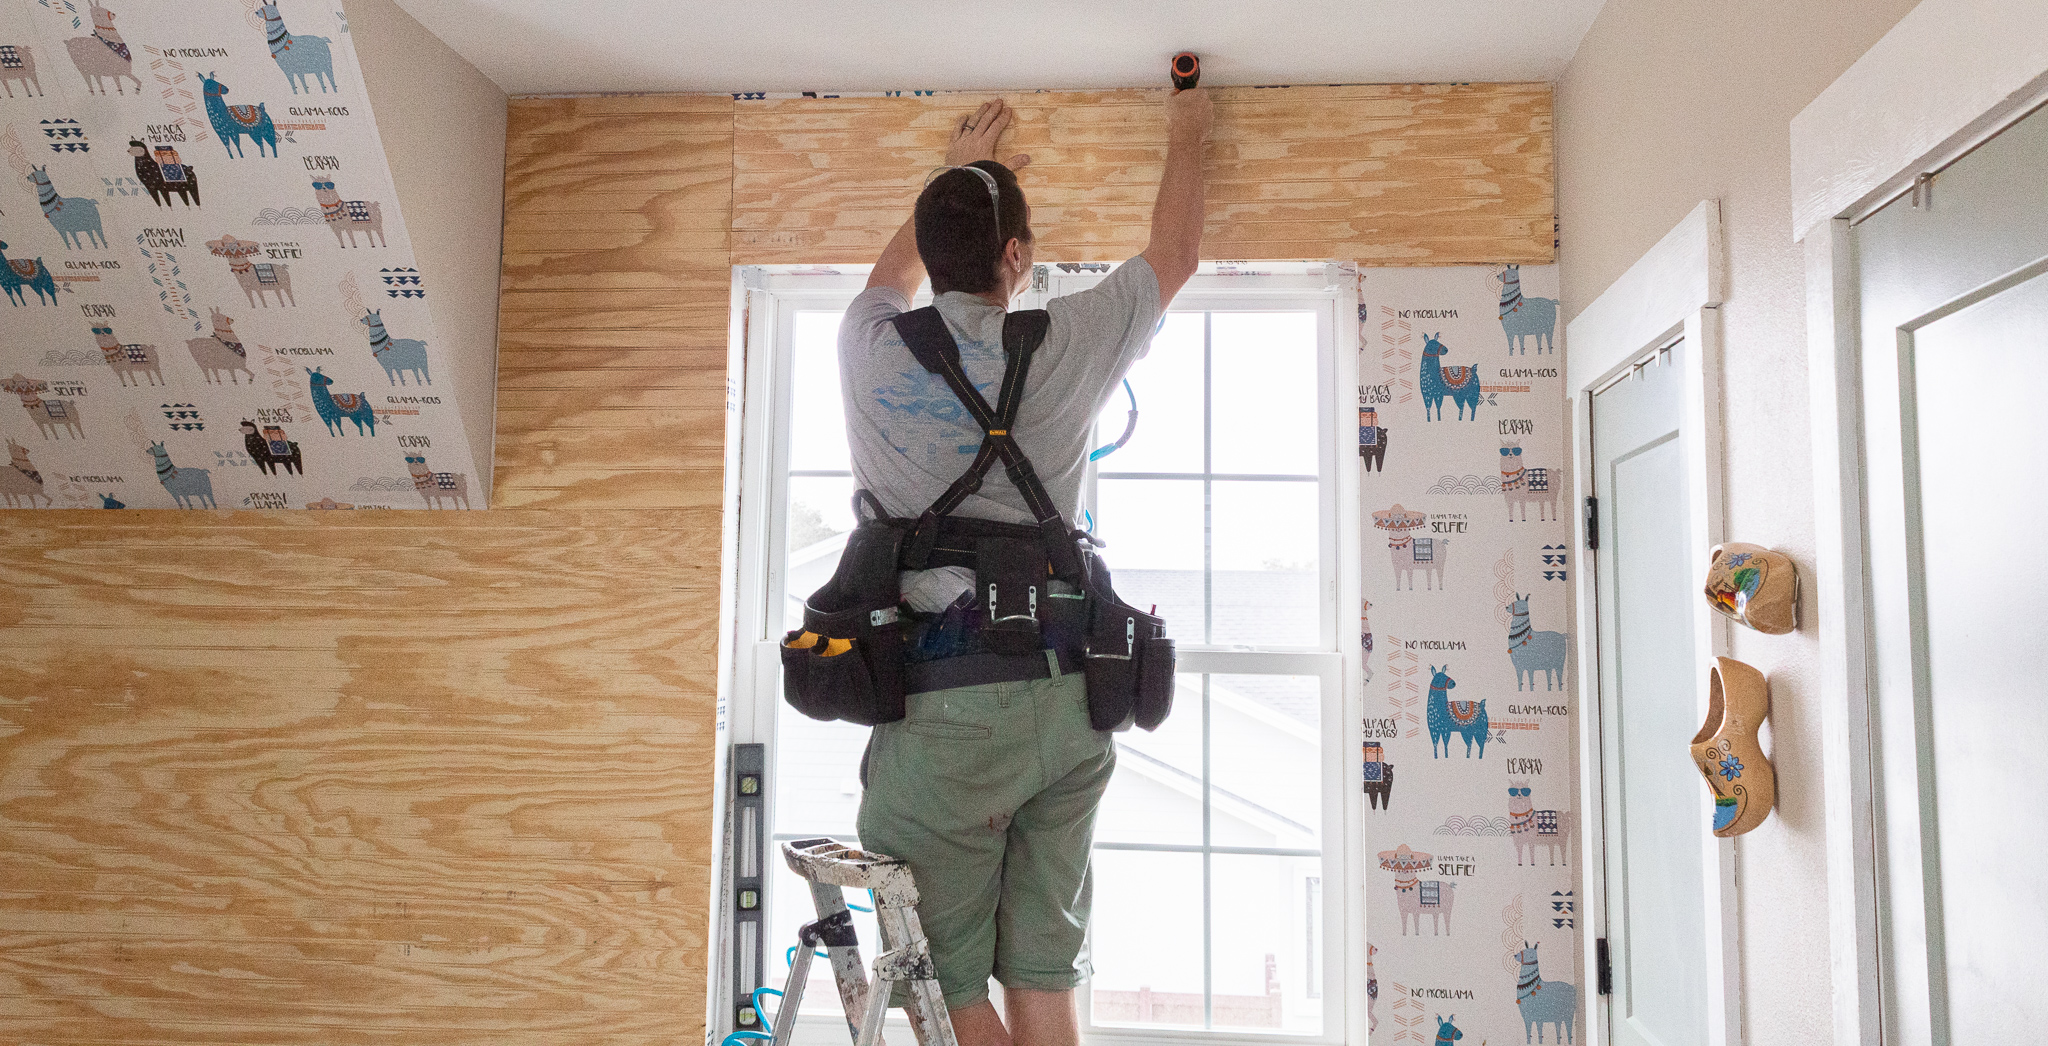
Although it takes some patience and muscle, hanging beadboard is not rocket science. It is a pretty straightforward process. You measure, cut and hang your beadboard pieces as you go. Ronny used a circular saw to cut the first piece and hung it going top to bottom on the wall. He left the ceiling slope for the very end.
Disclosure: Some of the links provided are affiliate links. By purchasing through these links you are supporting this family blog and the work we do and there is NEVER any extra cost to you. If you would like to read our full disclosure, click HERE.
Important tips when hanging beadboard.
Make sure each piece is level. Use a level or have someone stand back and guide you.
Match line patterns. Whether you are hanging beadboard vertically or horizontally, you will want the pattern of the beadboard to flow cohesively across the entire wall.
The edges have a groove that will connect with another piece. If you reach this point between pieces, move them around in an attempt to interlock them or at least so that edges are tucked away.
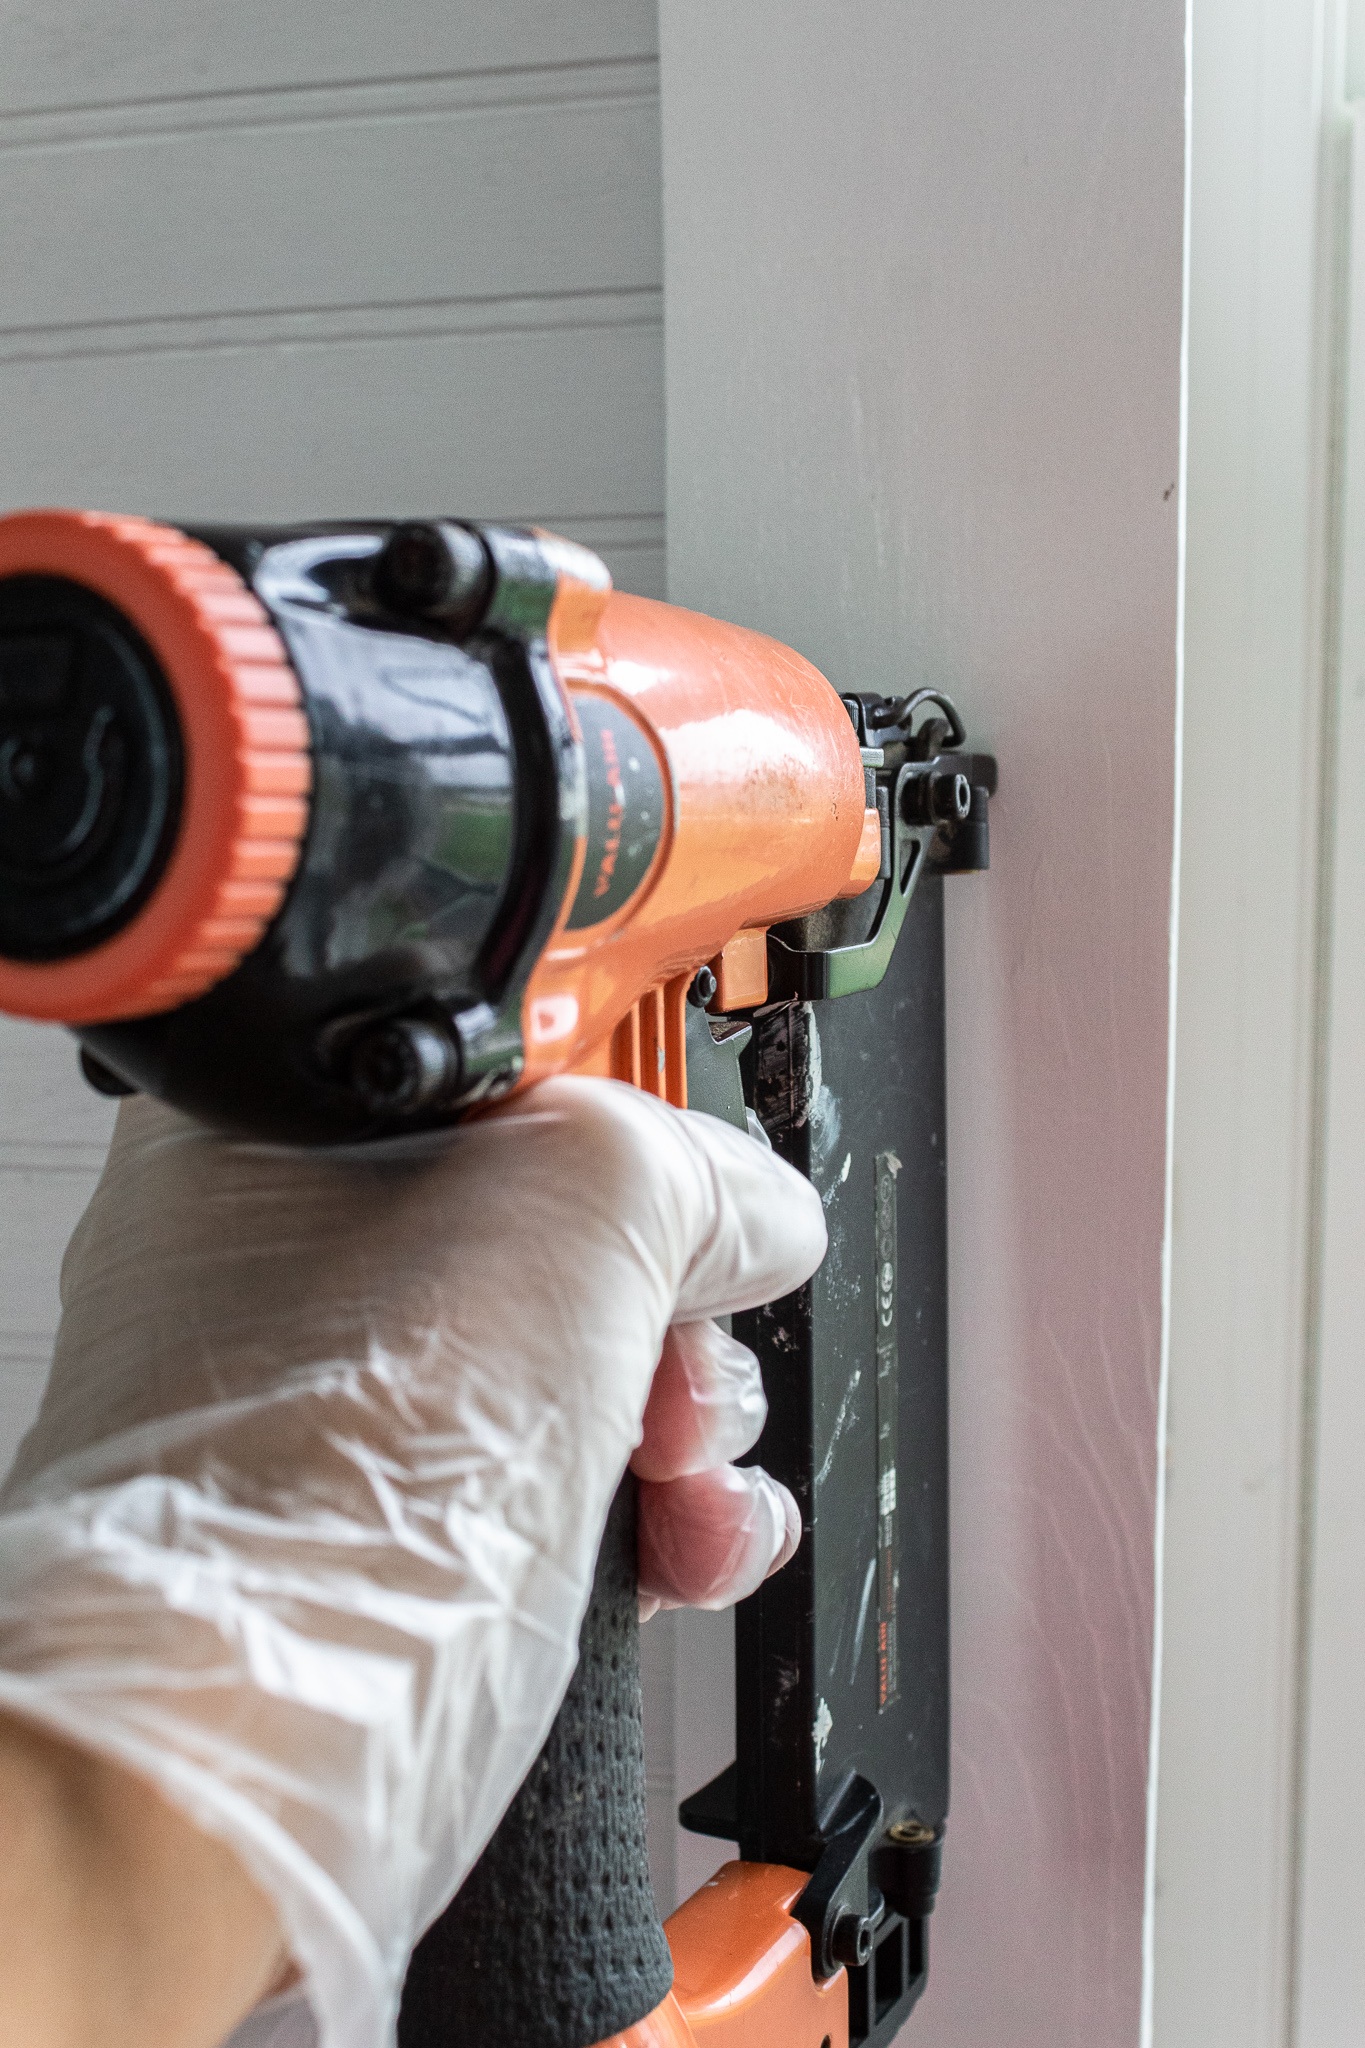
Sometimes beadboard is bowed. Use pressure and your nail gun to make pieces as flat as possible to the wall.
2. Cut window trim
It’s best to remove any existing baseboards and window trim prior to hanging your beadboard. In our case we did not have trim around the window, just the wallpaper. To create a basic farmhouse trim I cut a 1″ x 6″ for the top piece and for the window sill. I framed the rest of the window using 1″ x 4″ pieces. I nailed them using my nail gun.
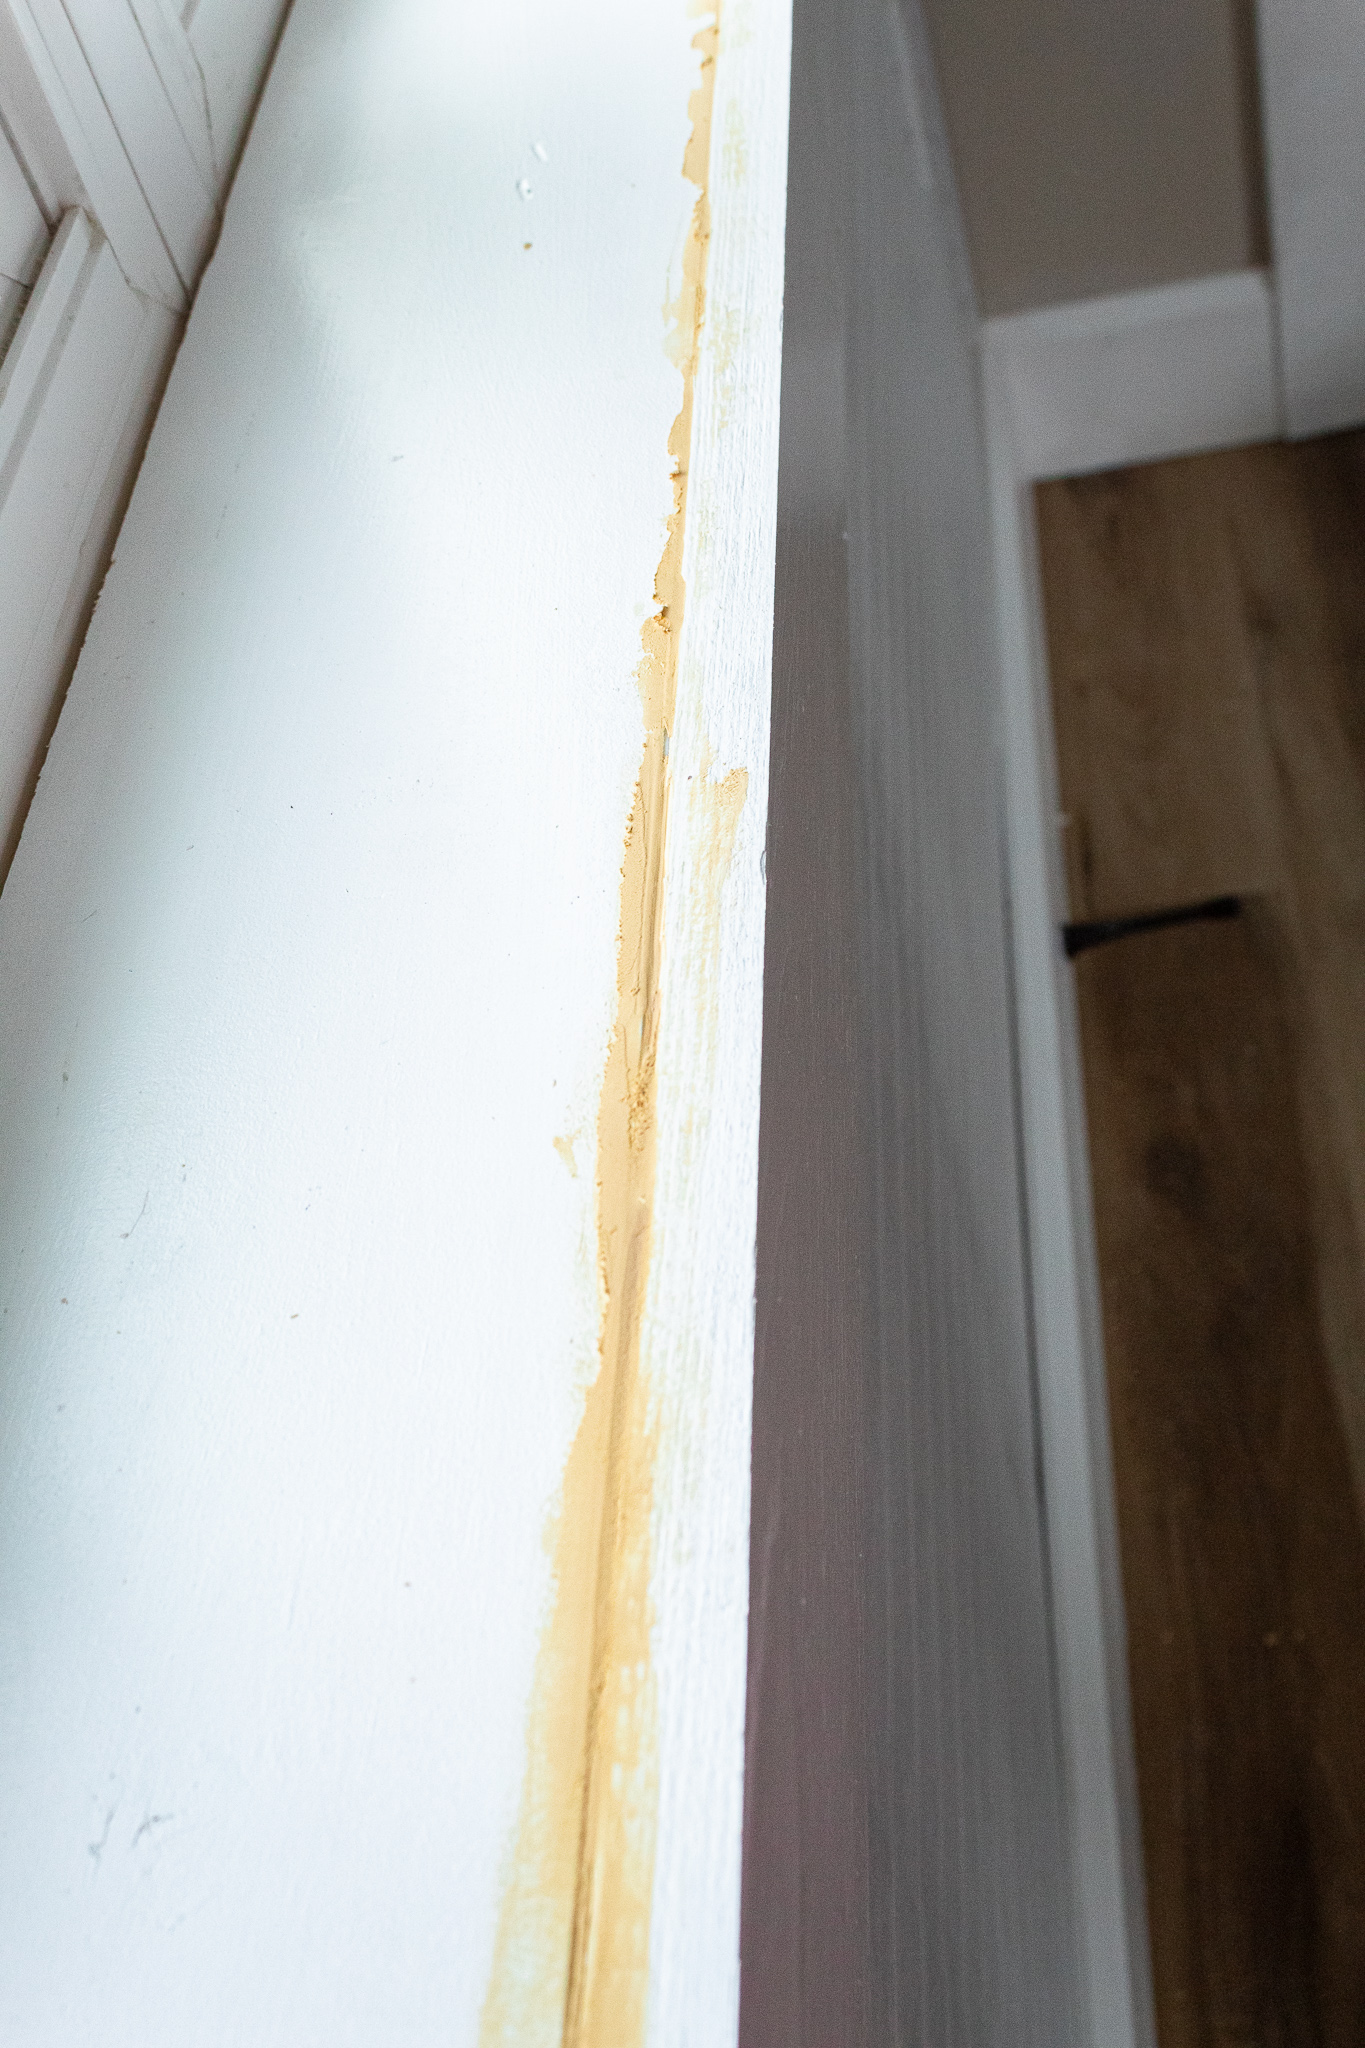
Then I used wood filler to fill in any gaps or seams.
For a smooth, seamless finish, I sanded down the wood filler once dried. Then I gave the window trim three coats of Behr’s Ultra Pure White.
3. Trim around perimeter
We added trim around the entire perimeter of our beadboard. Depending on how straight and close your beadboard cuts are to surrounding walls and ceiling, you may opt to skip trim. This is a matter of personal preference. We had some gaps and figured things would look better with finished edges. We chose to keep things simple using a thin trim (approximately 1.5″ x 3/4″) pieces with a flat surface—no details or grooves.
I purposely left seams between beadboard pieces exposed because I actually like the look. I like the imperfections you find in beadboard of old and appreciate trying to replicate that. You could easily hide seams using wood filler or some other type of sealer.
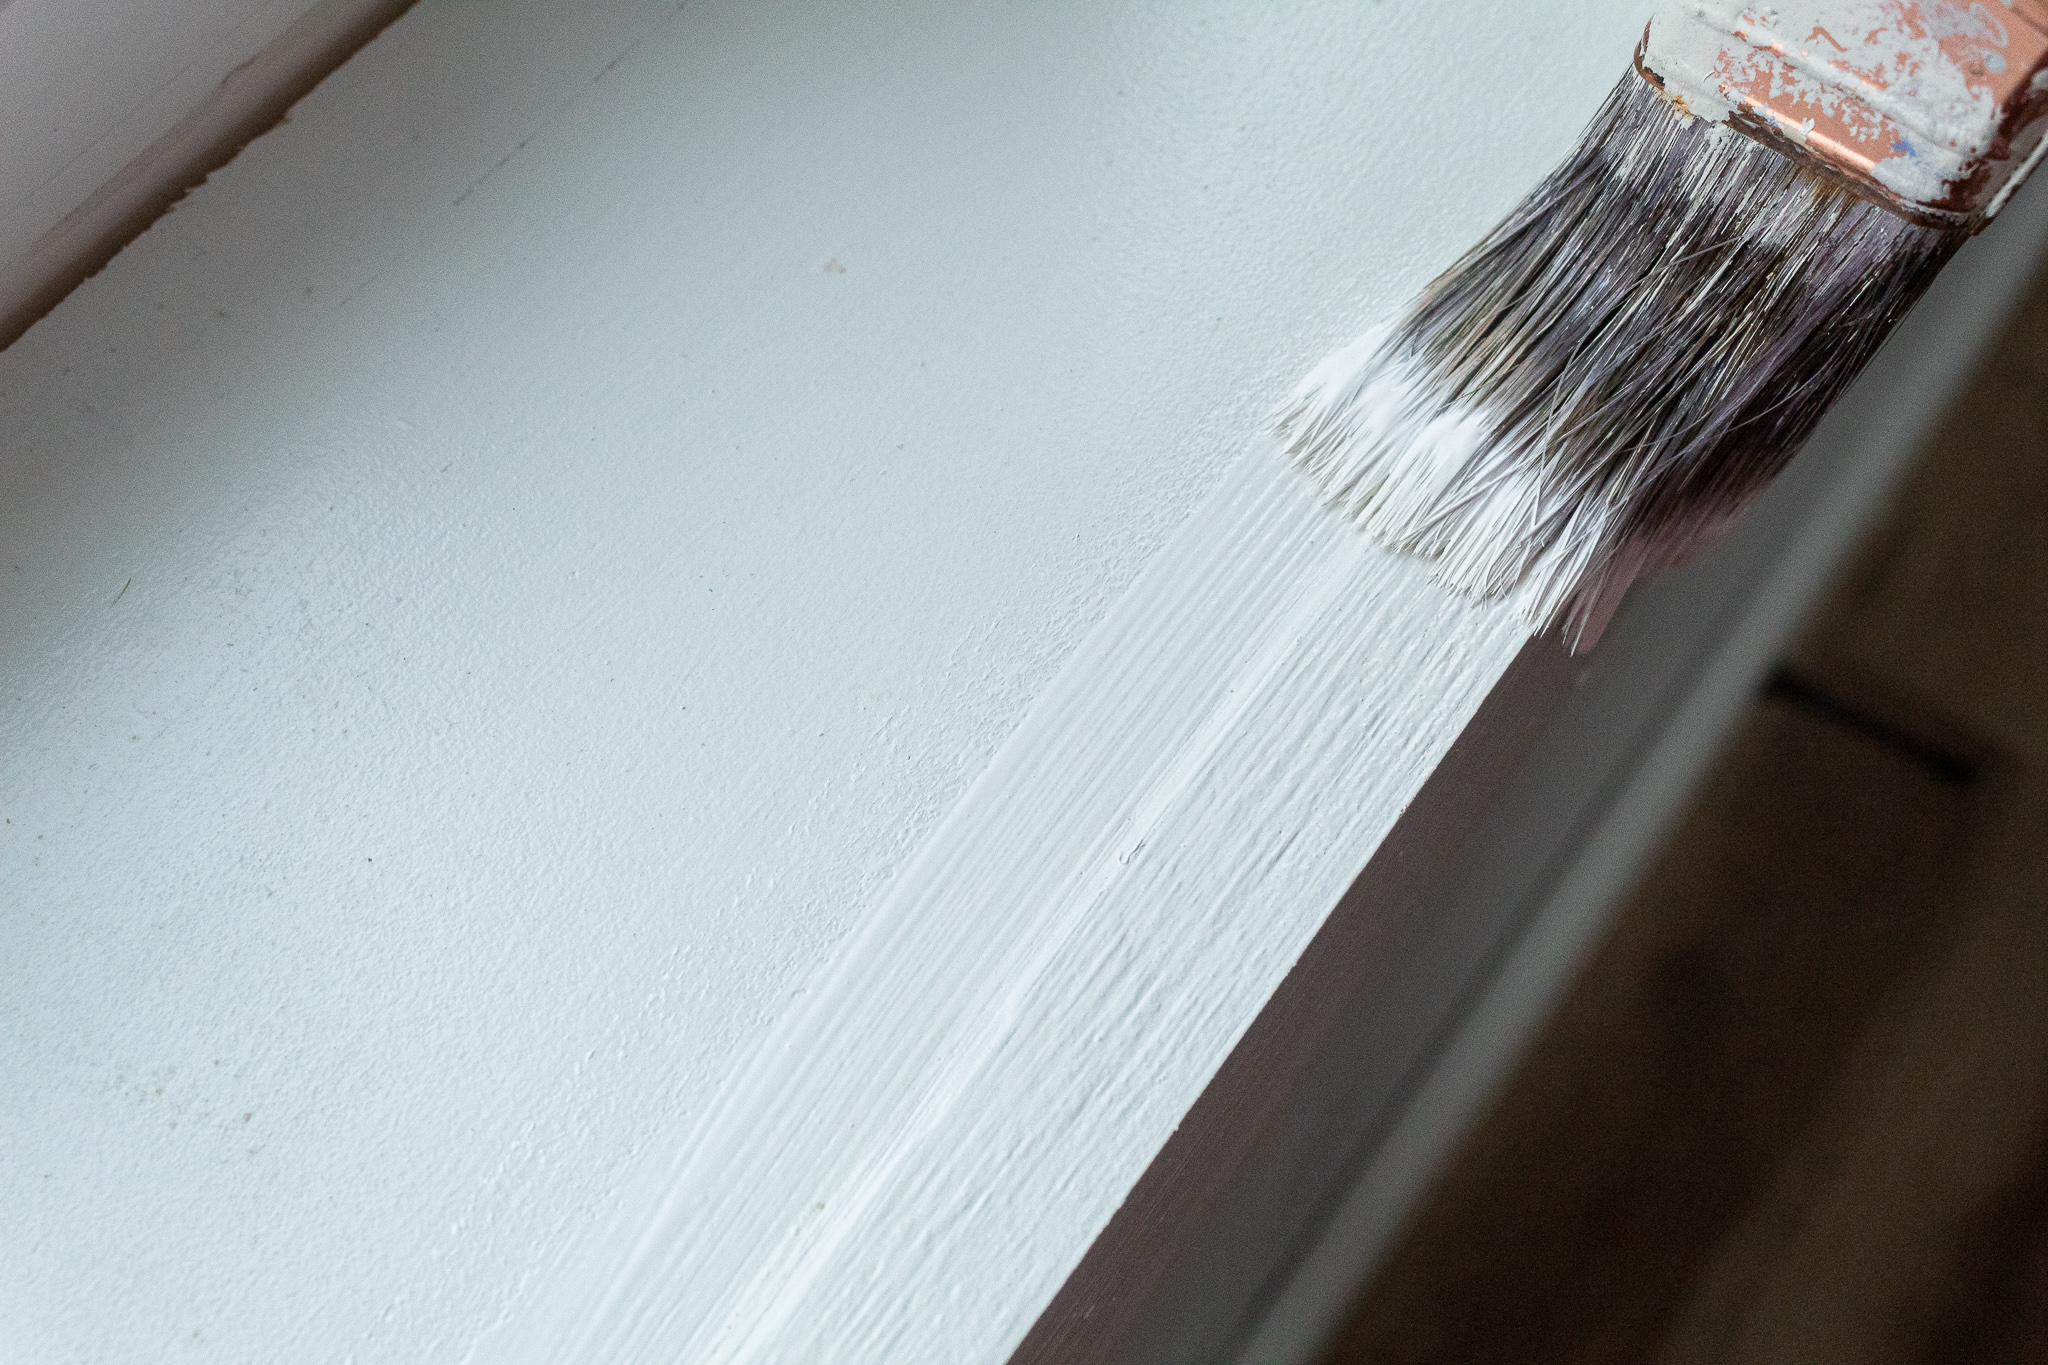
4. Paint
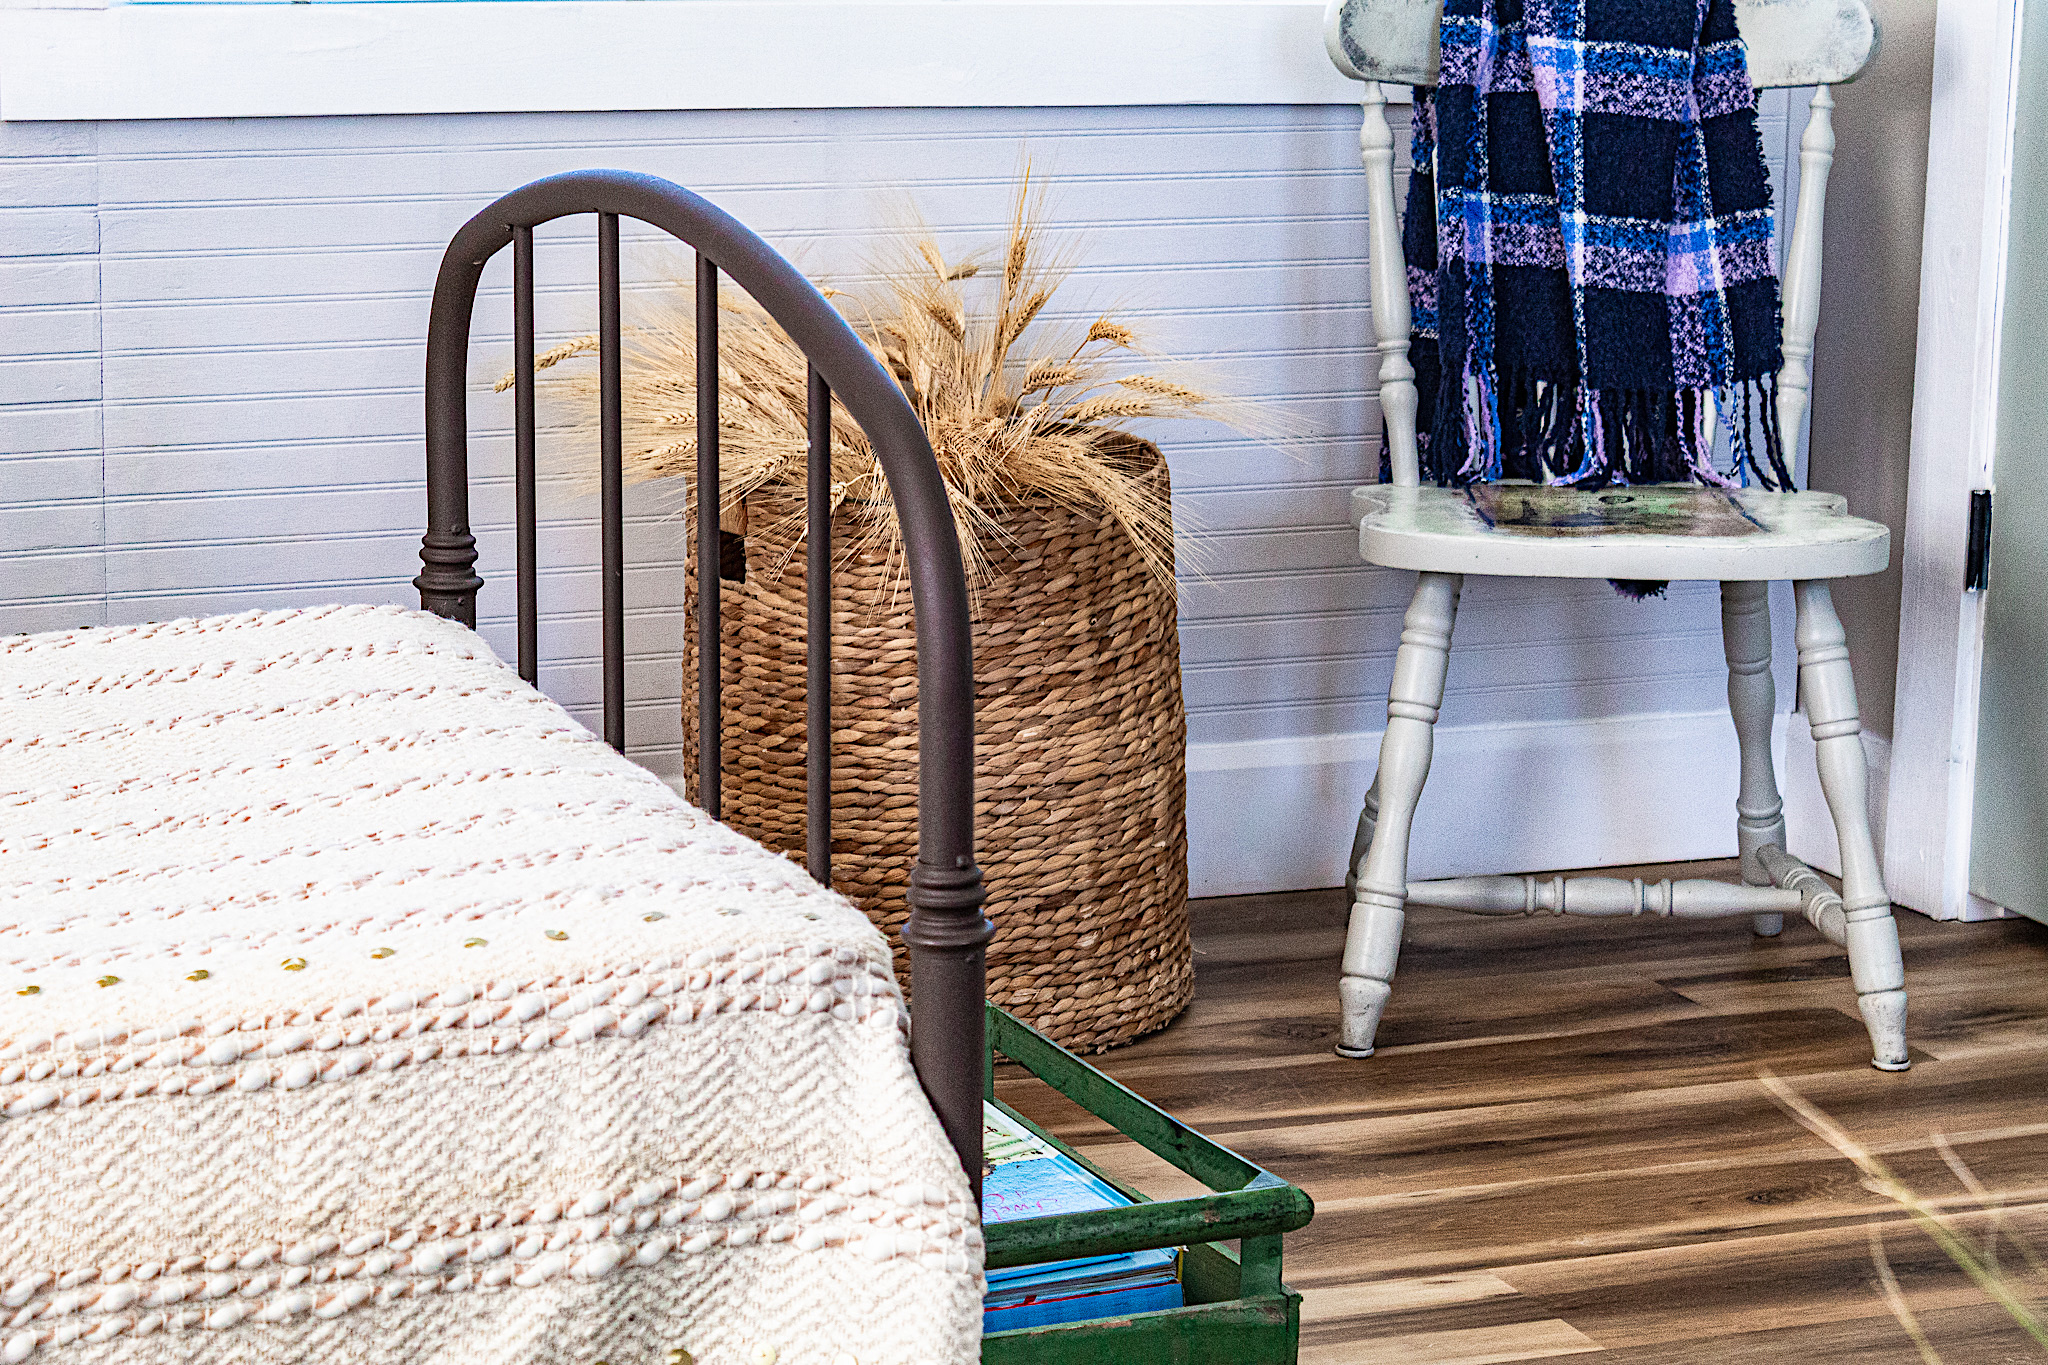
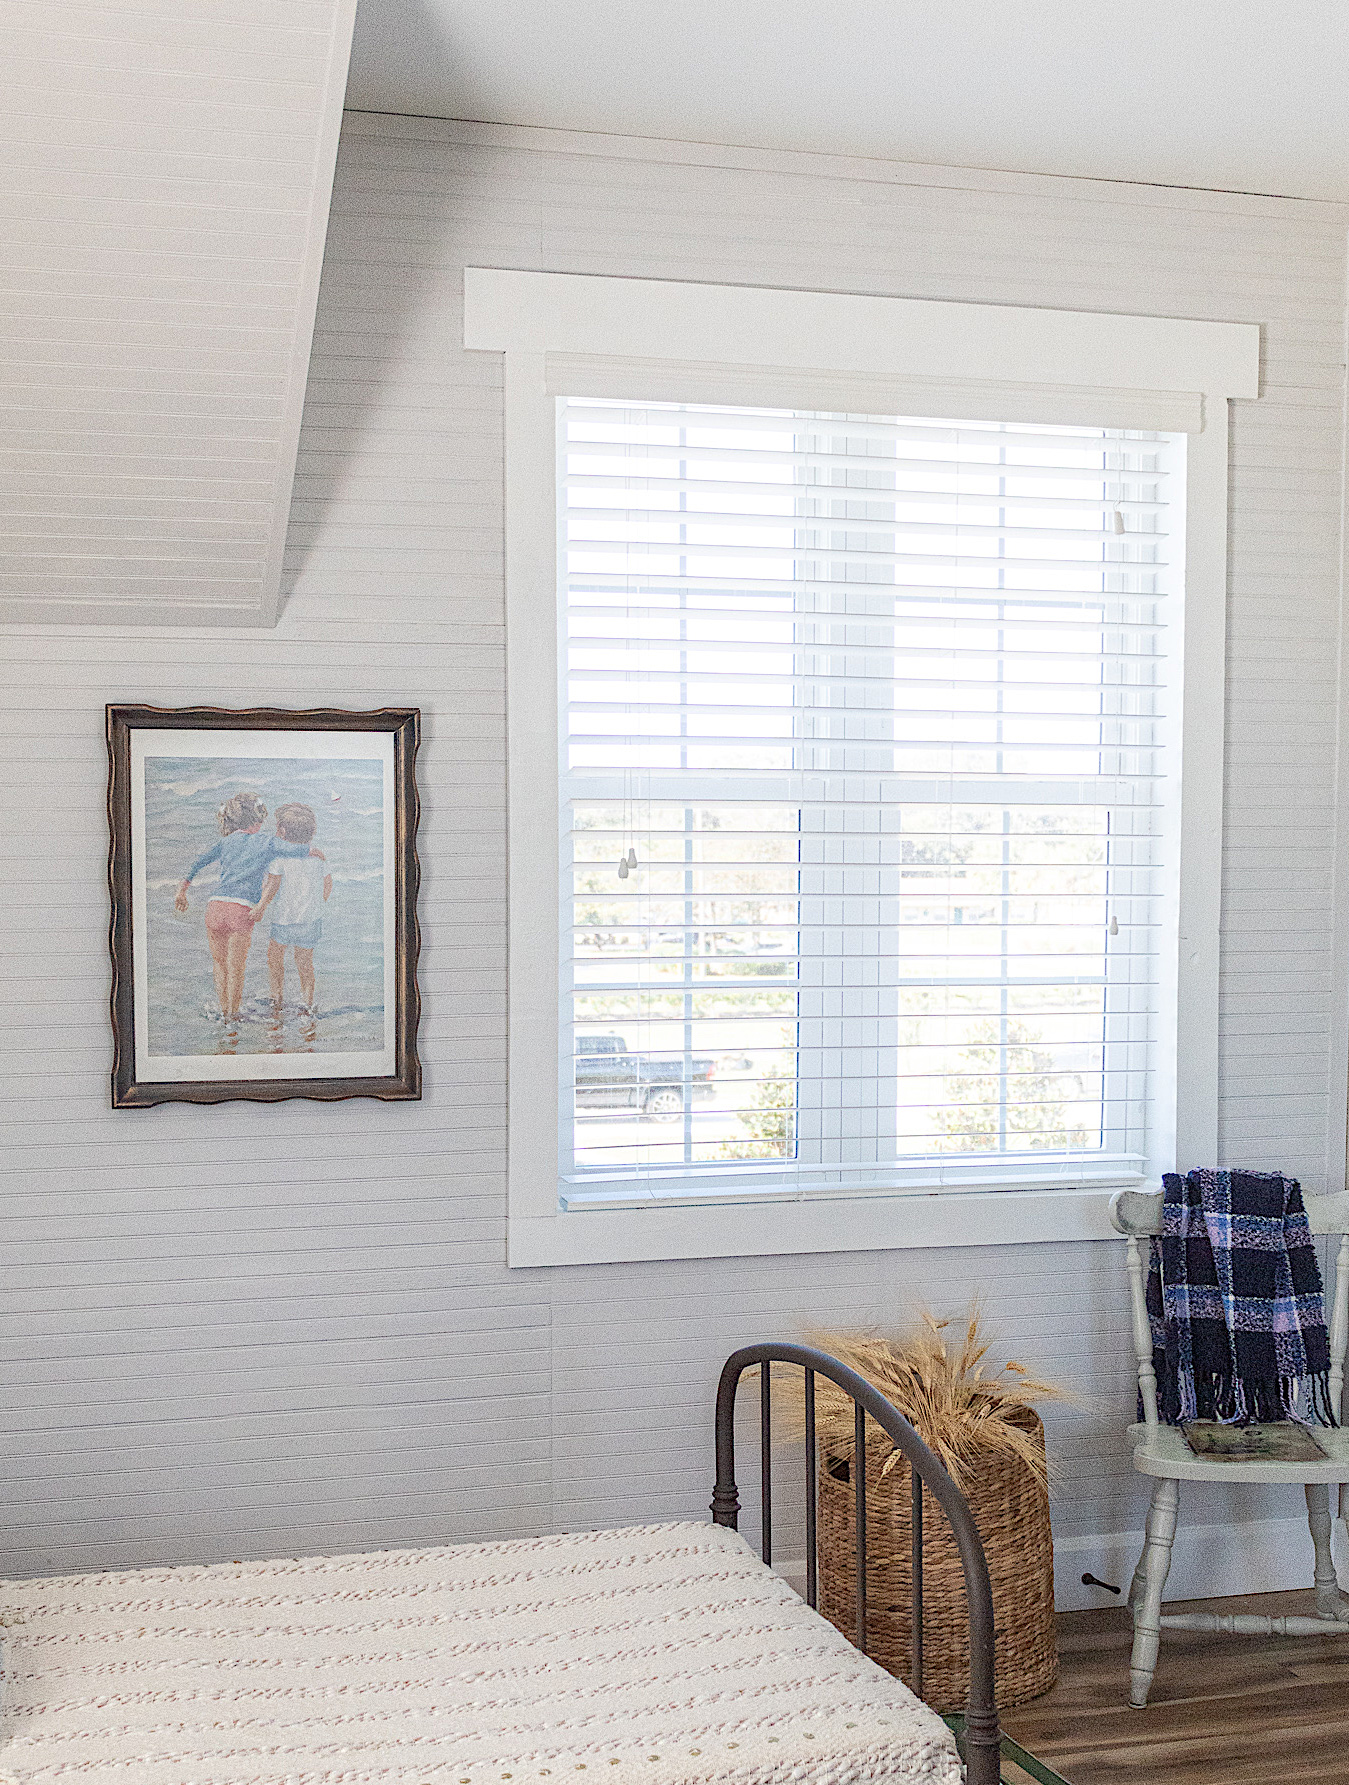
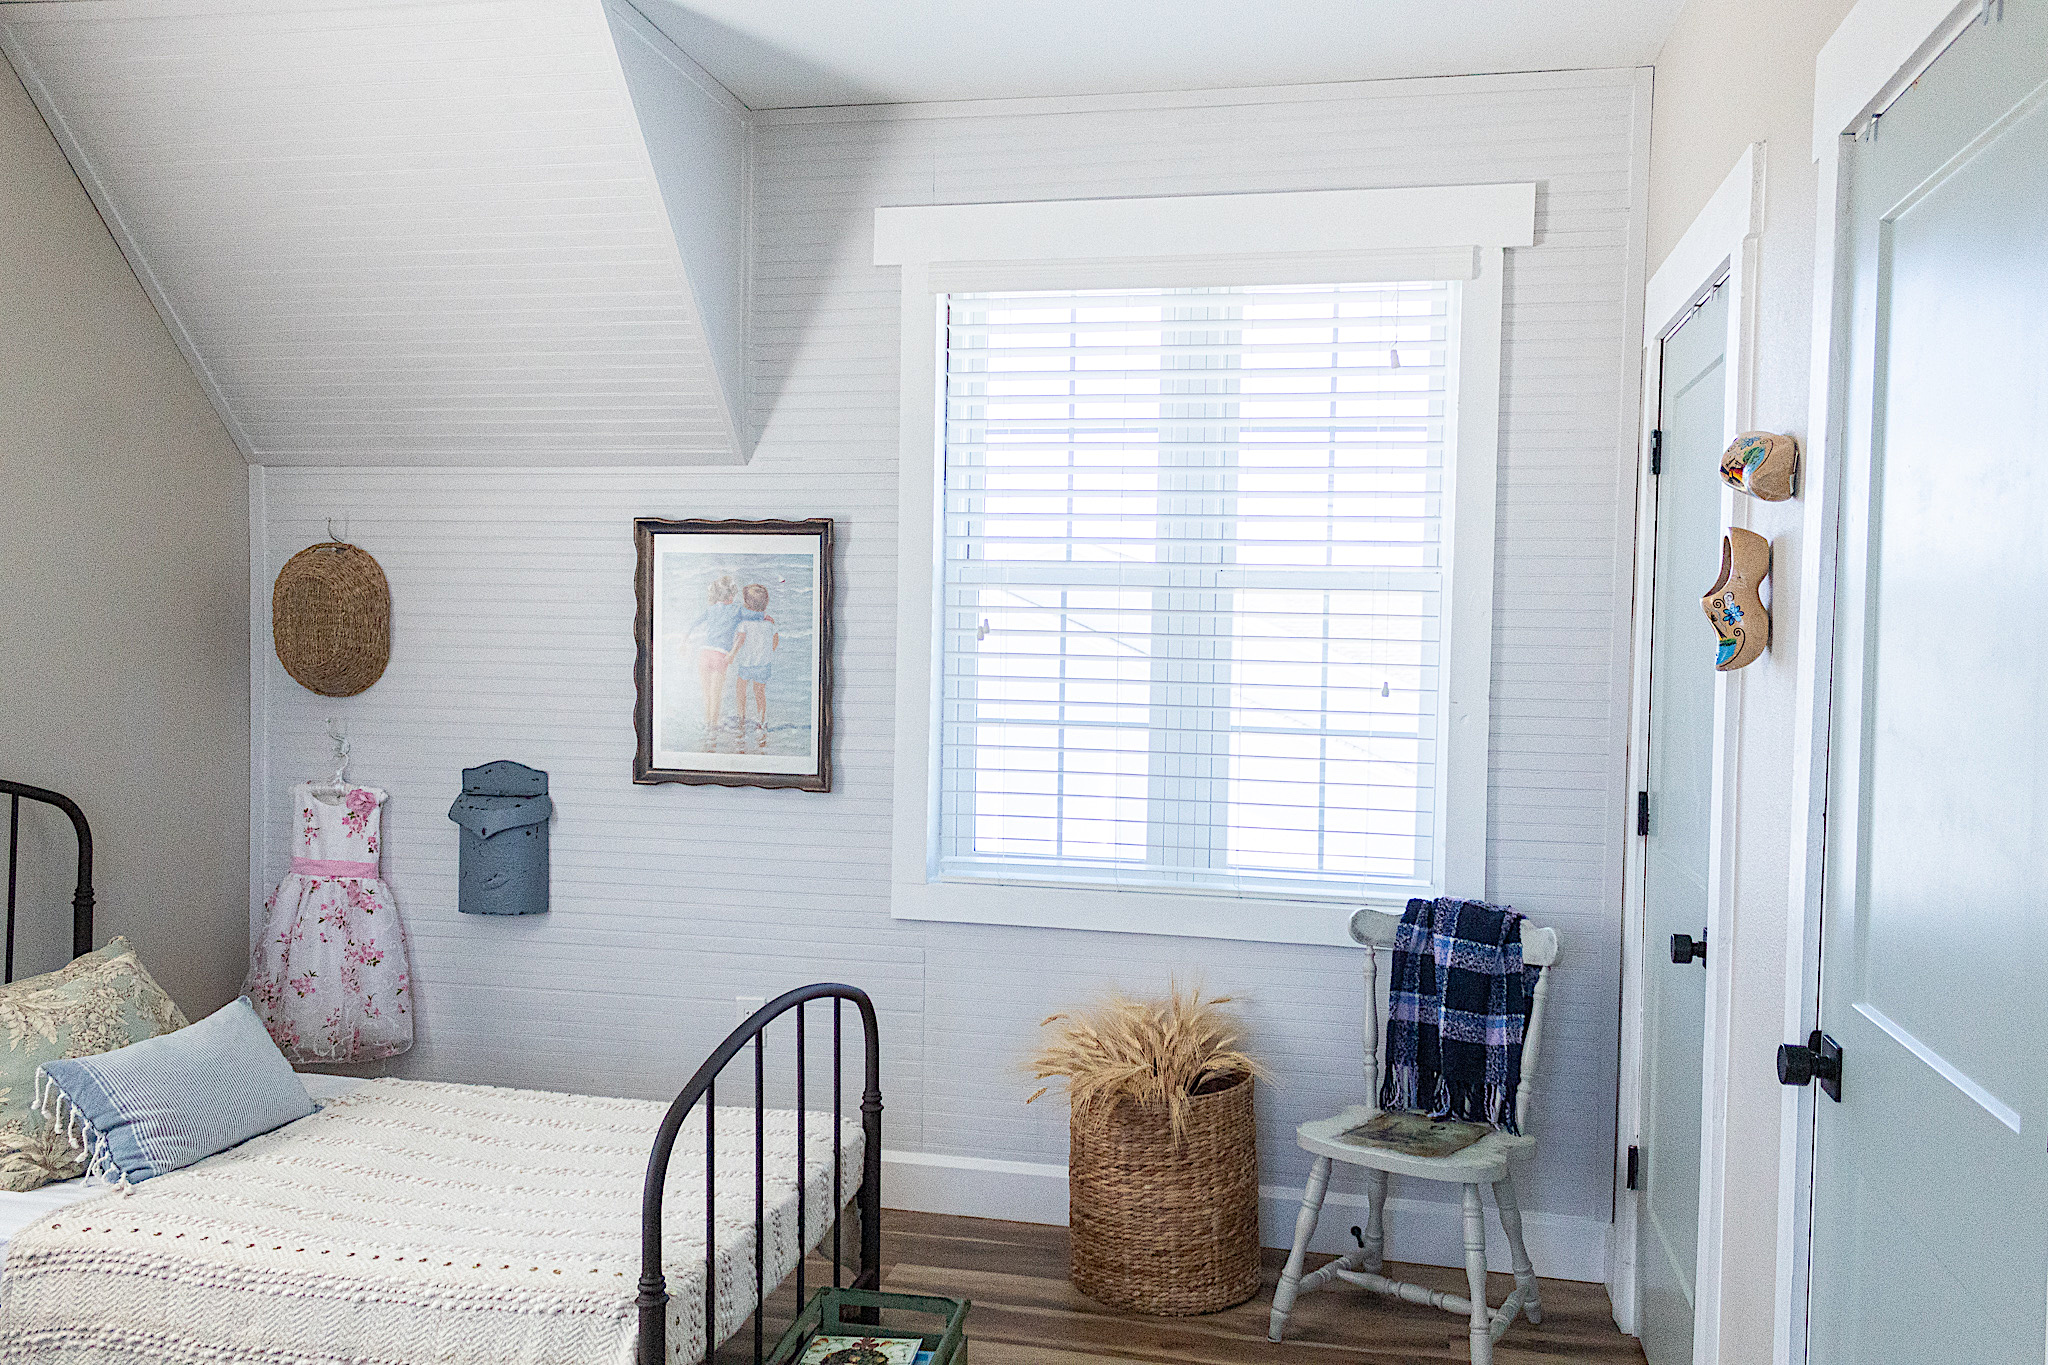
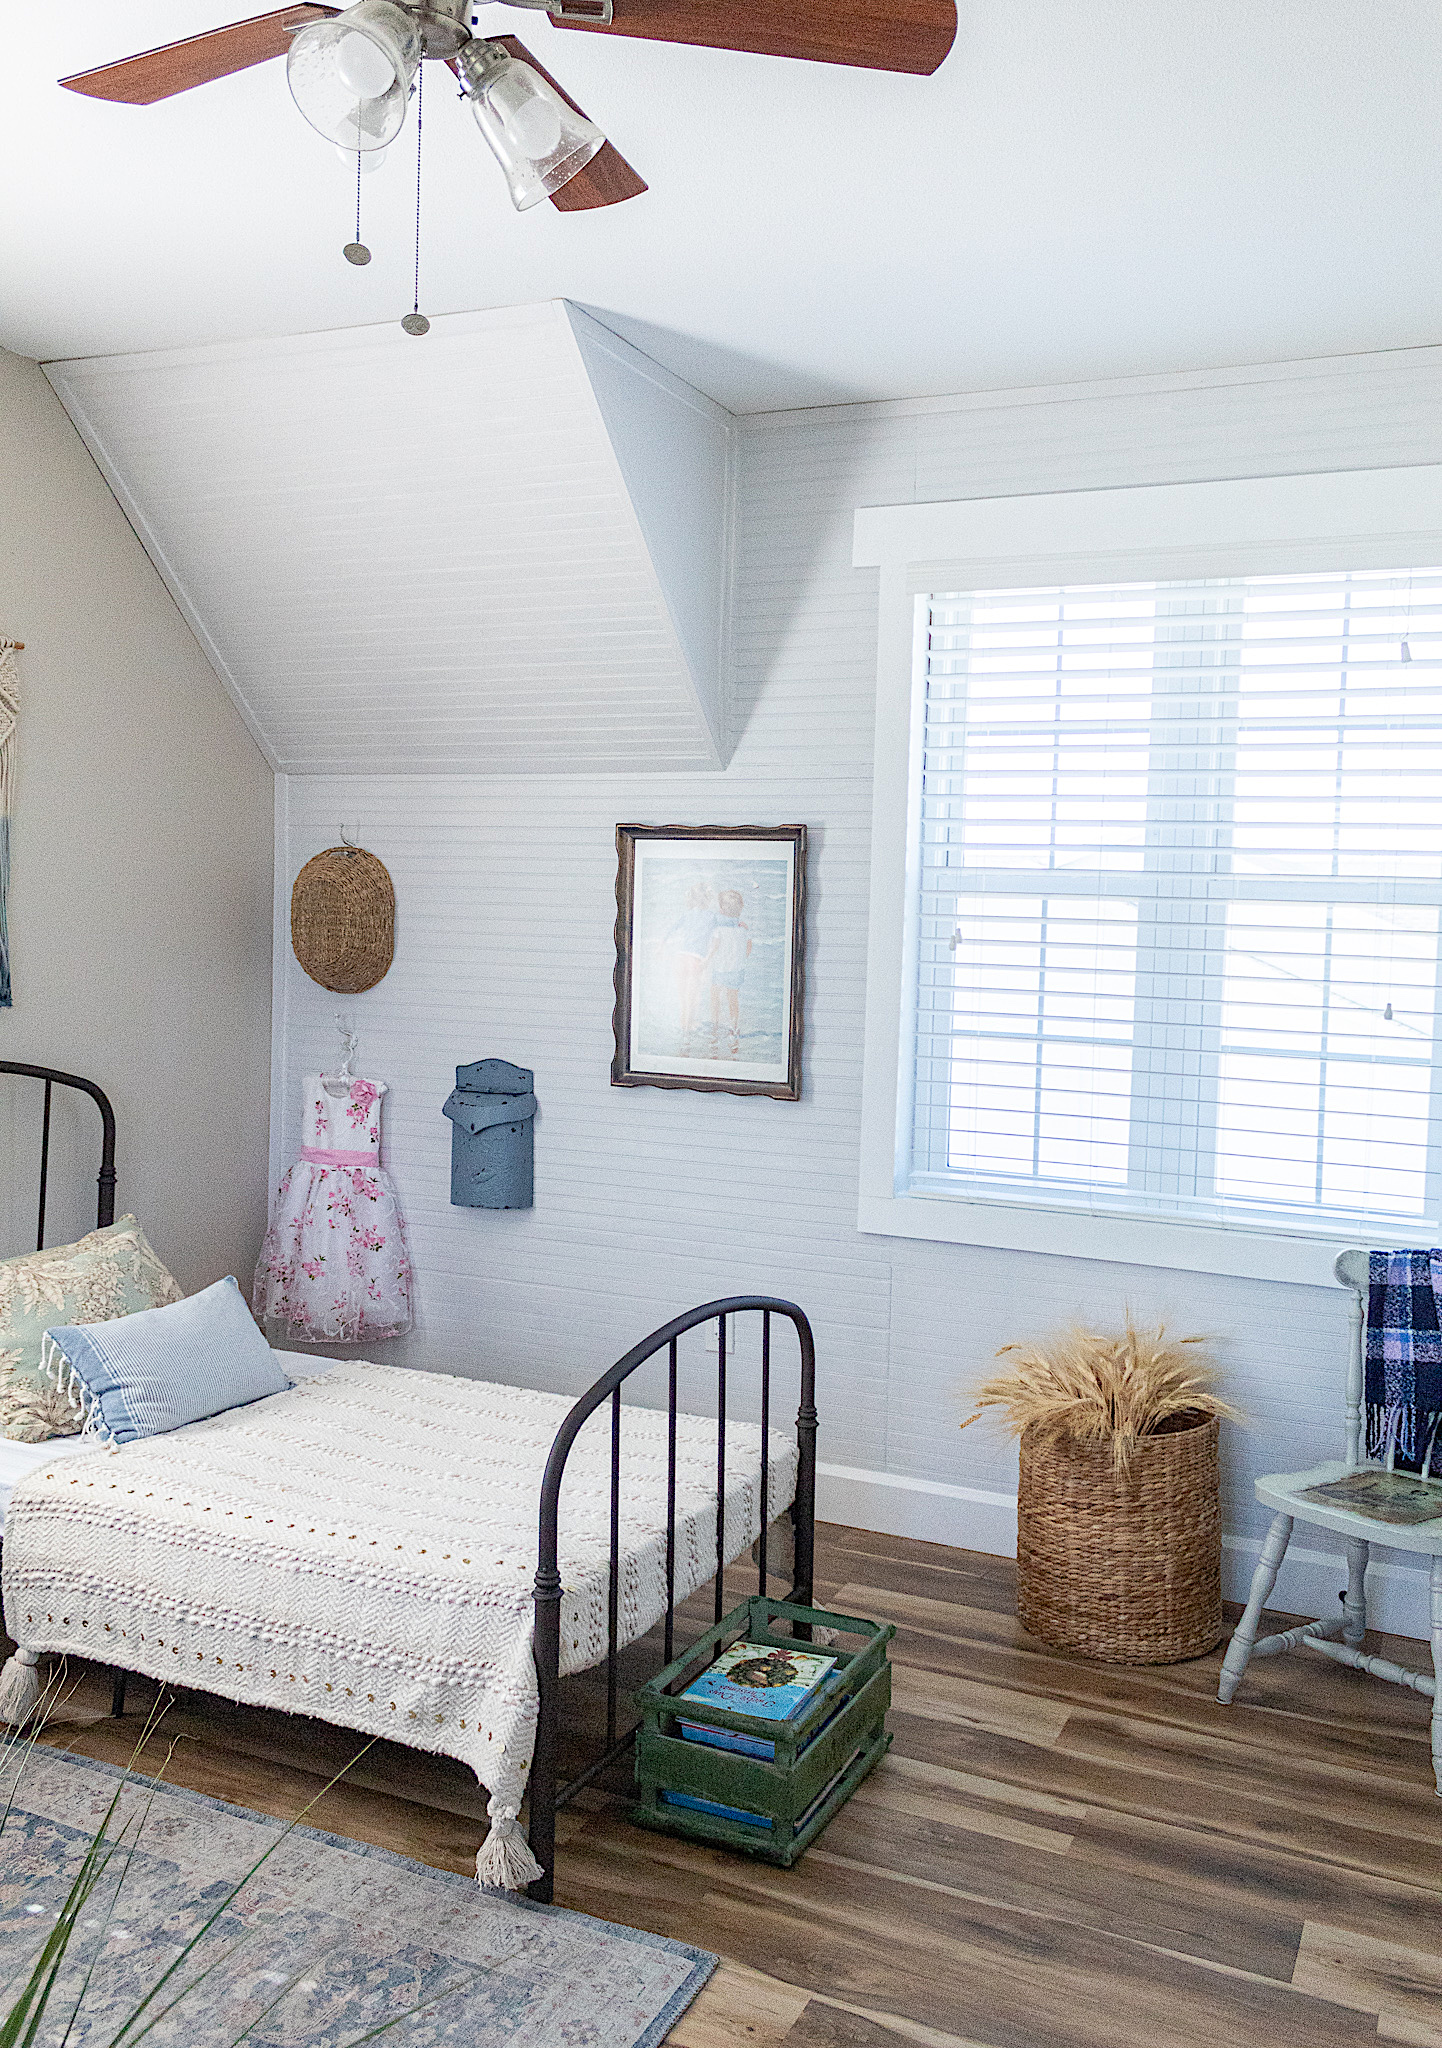
I could not wait to paint our new beadboard! I knew that even a light, neutral color would bring our new wall to life. To honor the farmhouse style of the room’s new look, I decided on Sherwin William’s Touch of Grey. It is a beautiful light gray and reads just a tad blue which worked nicely with the rest of the walls already painted in a very faint tan/greige.
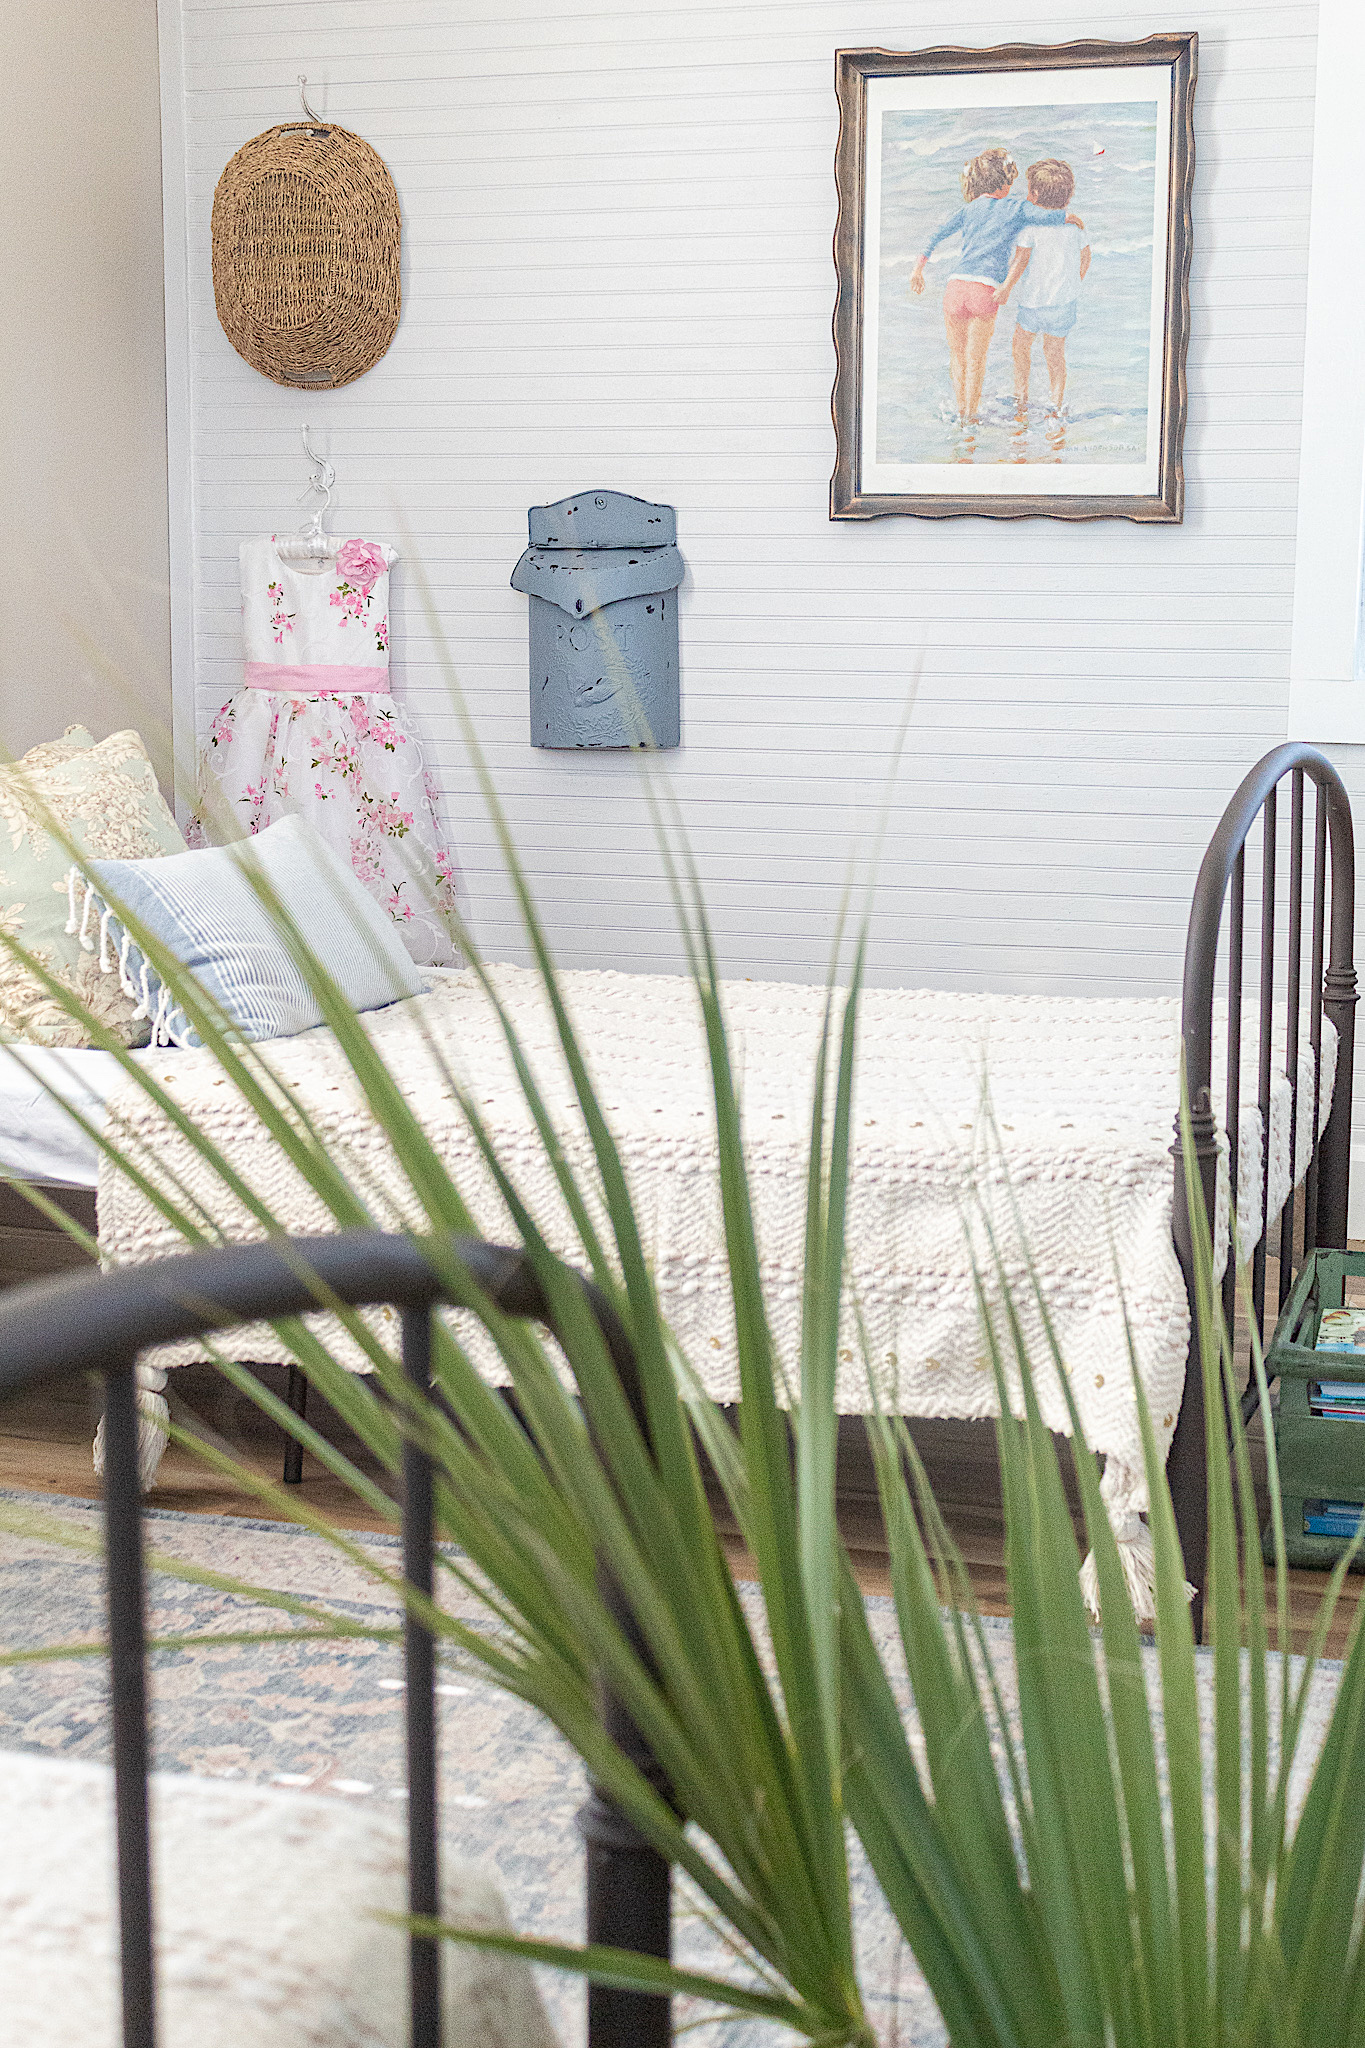
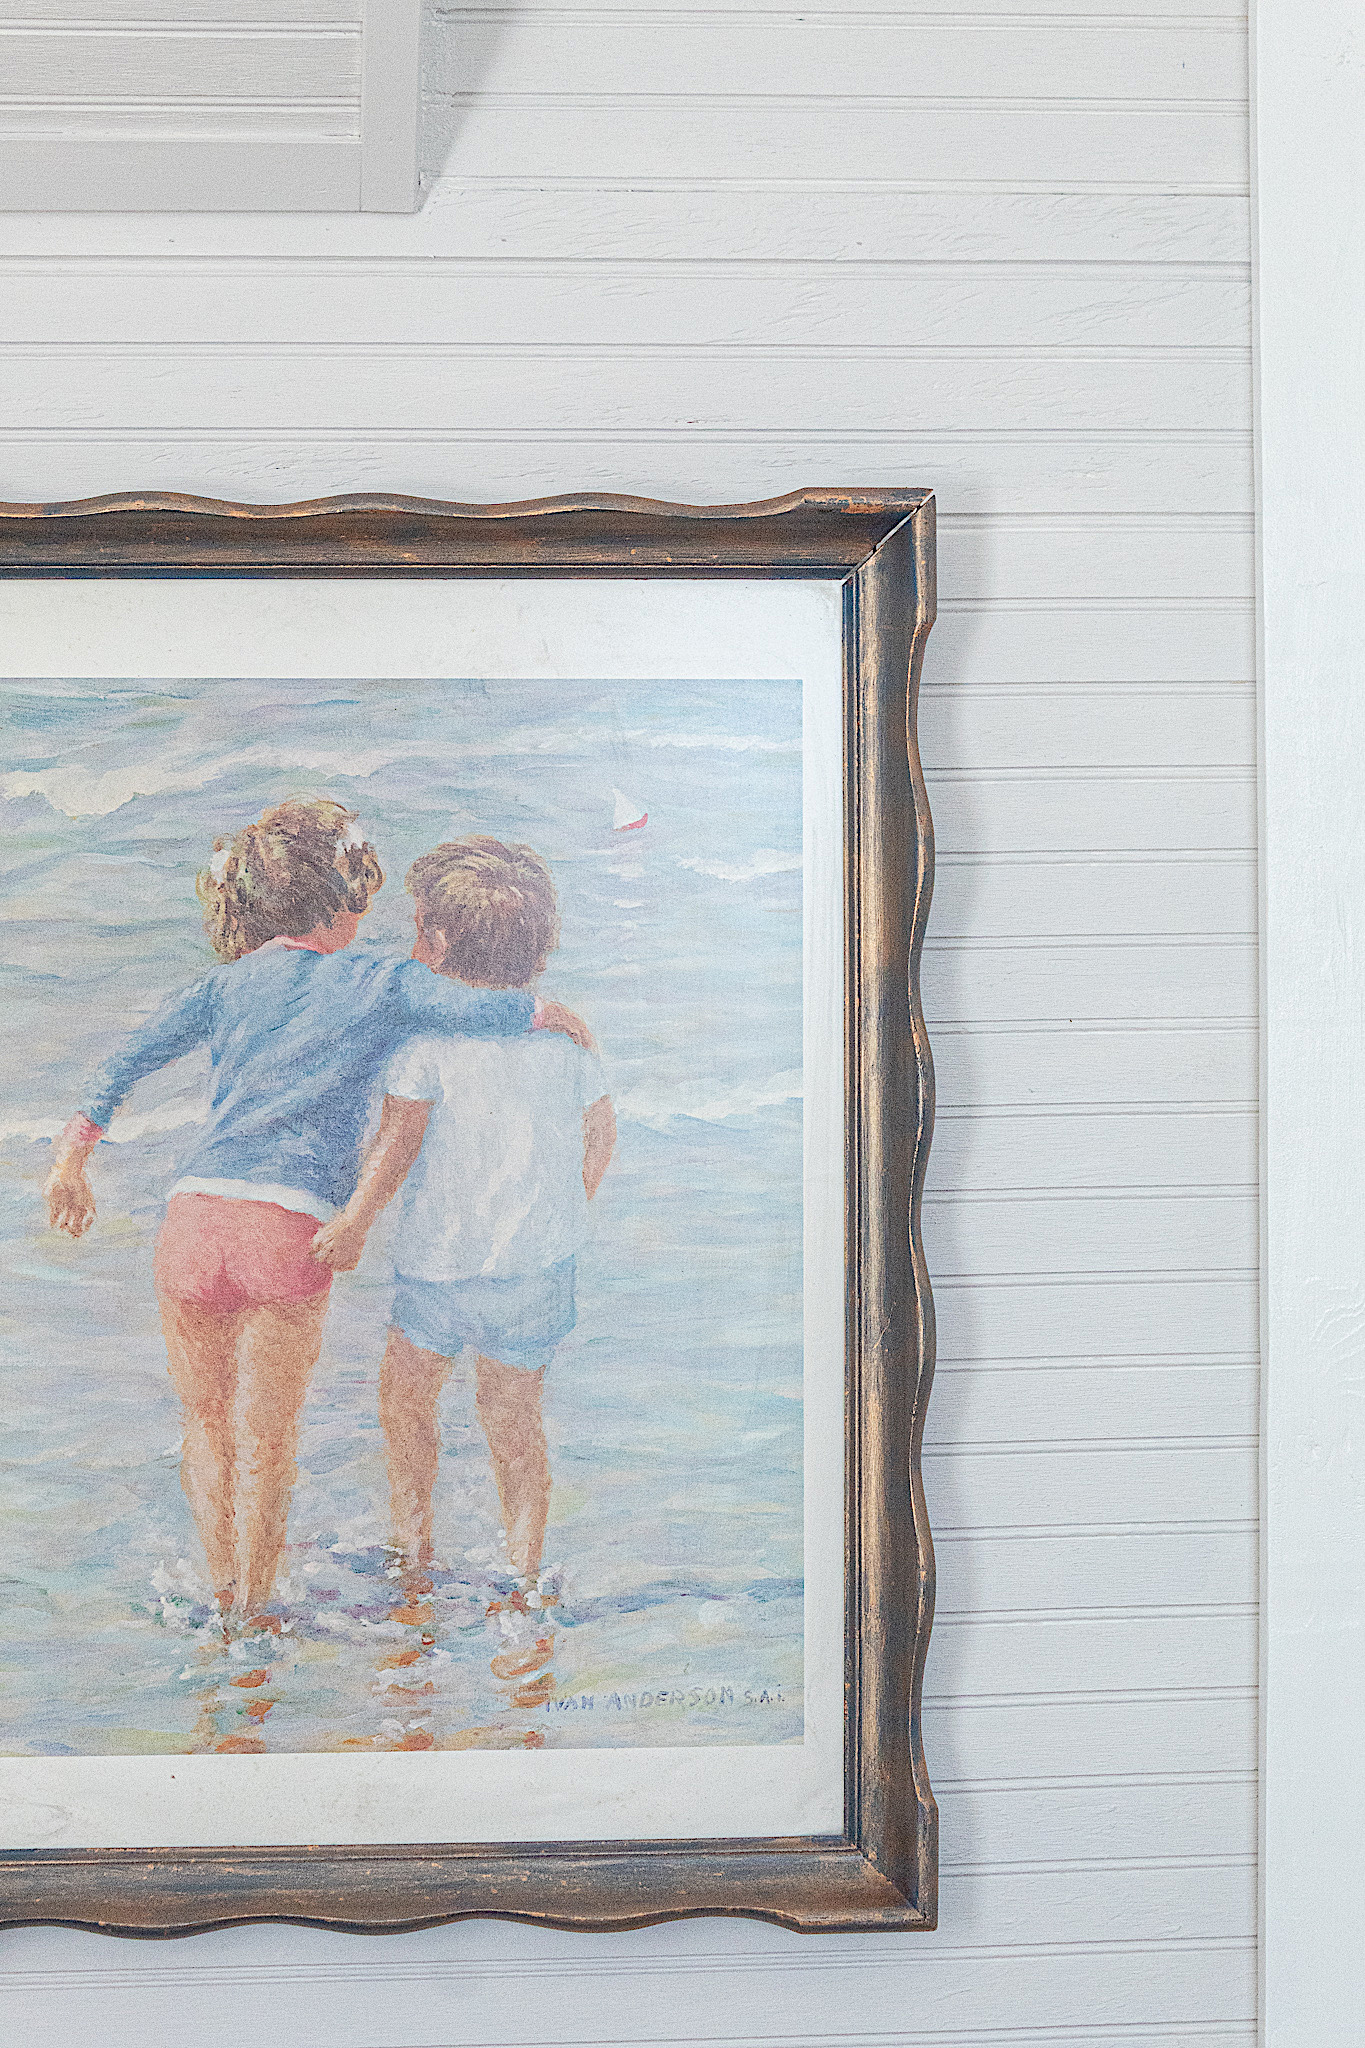
This project made all the difference in the room. I just LOVE the new wall and how the beadboard looks like it was always there. It freshened and softened the room. I picked touches of decor with a time-honored feel. If you’d like to see the entire bedroom reveal, head over to the Upstairs Bedroom No. 2 tutorial. And here is one more look at the before and after…
Nooks In Bloom family I do hope you enjoyed this tutorial. Make sure you subscribe so you never miss a post. I do love connecting with you! Stay tuned for more DIY’ing fun…
Materials
Beadboard siding – There are several types and finishes but we went with this more budget-friendly version.