Hello thrift store transformation! Don’t you love it when you can take something old and outdated and make it a fav decor item in the home?
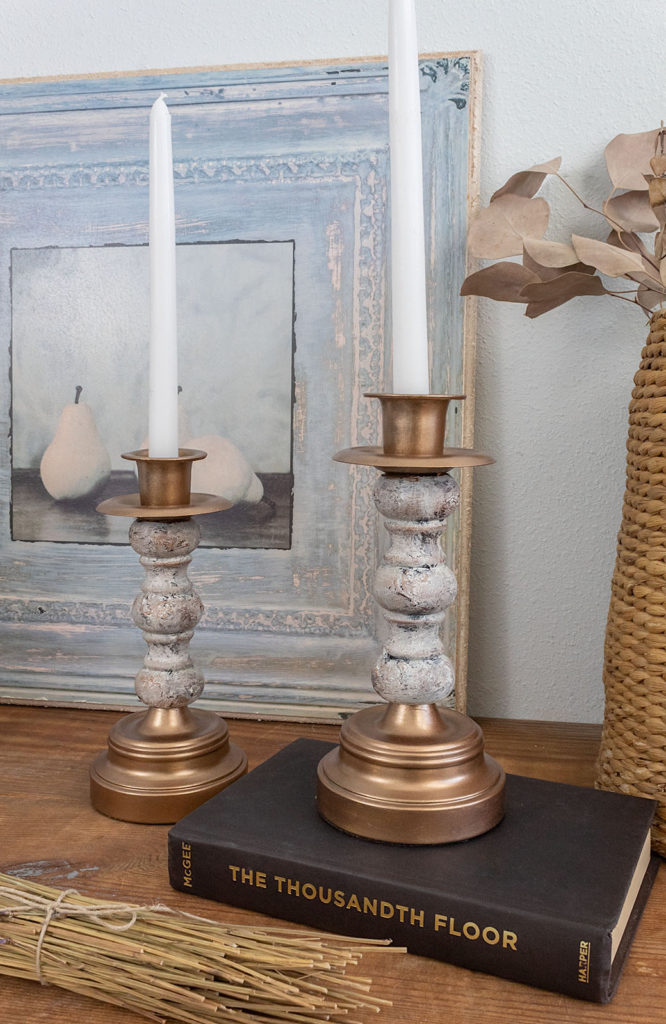
These $6 candle holders have been given a ravishing new French Country look. With a little paint, some waxes, and a special technique for creating texture these beauties are boring no more!
The techniques I’m going to share with you today can be used on so many things around the house–furniture, vases, mirror frames, walls and the list goes on. Take a look at just how fun it is to create this look.
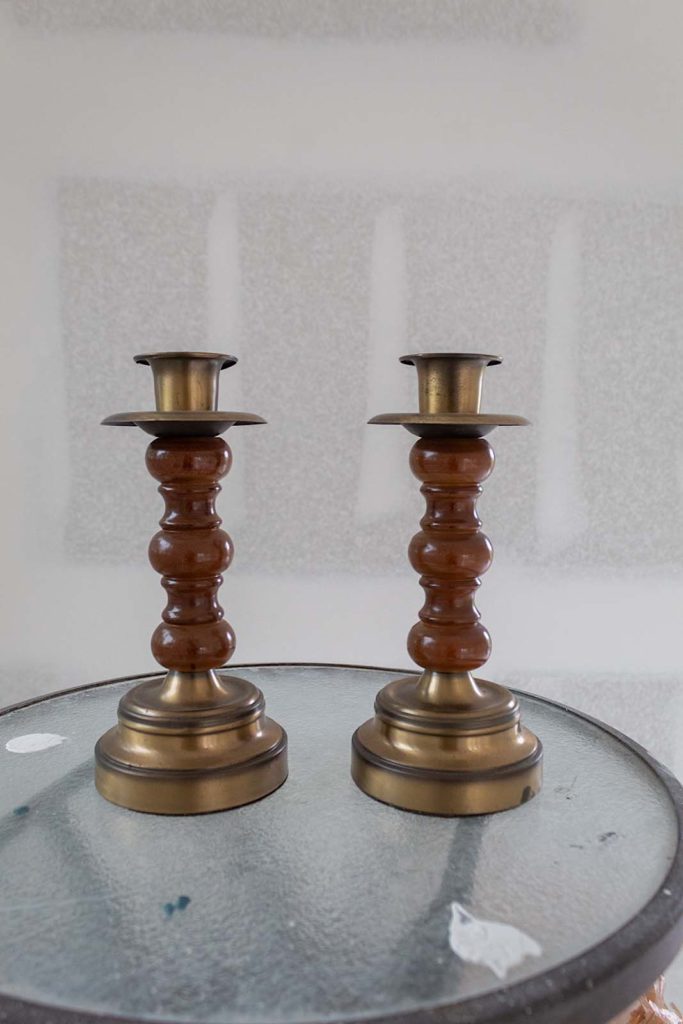
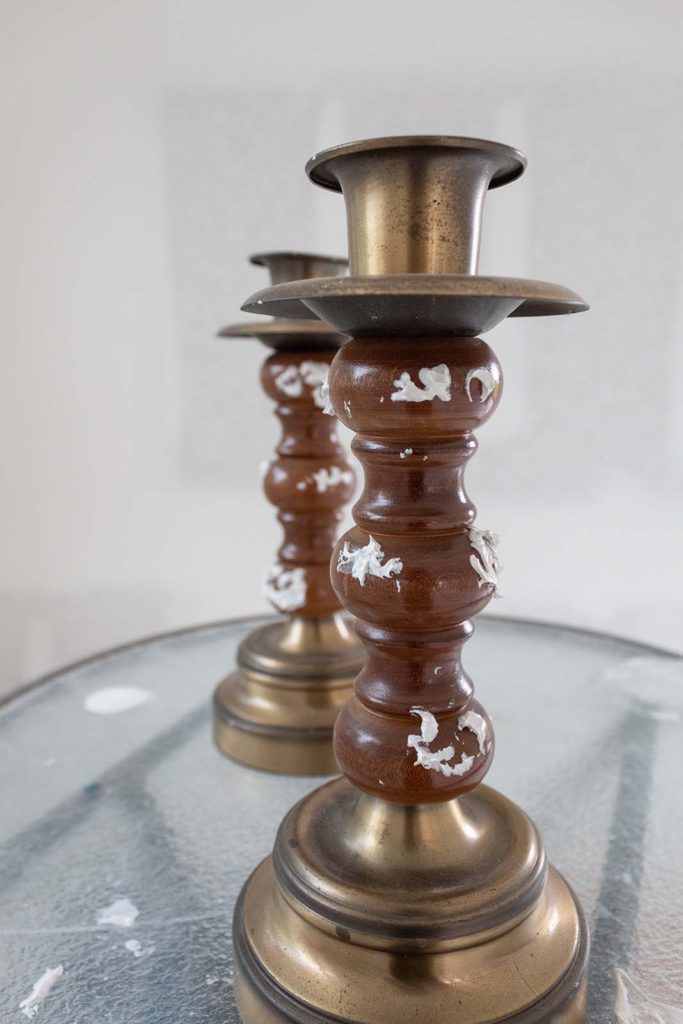
I picked out these candle holders at the thrift store because they were in overall solid shape. I figured I could do something stylish with the wooden stems and freshen up the metal parts.
Disclosure: Some of the links provided are affiliate links. By purchasing through these links it supports this blog and the work we do and there is no extra cost to you. If you would like to read our full disclosure, click HERE.
Let's Get Started!
Step 1. Add some raised stencils
You may have seen me use the raised stencil technique in other posts like the Stately China Hutch Postand the Seaside Cottage Desk Post. I love working with them because there are few things that can add such level of texture and beauty to a surface.
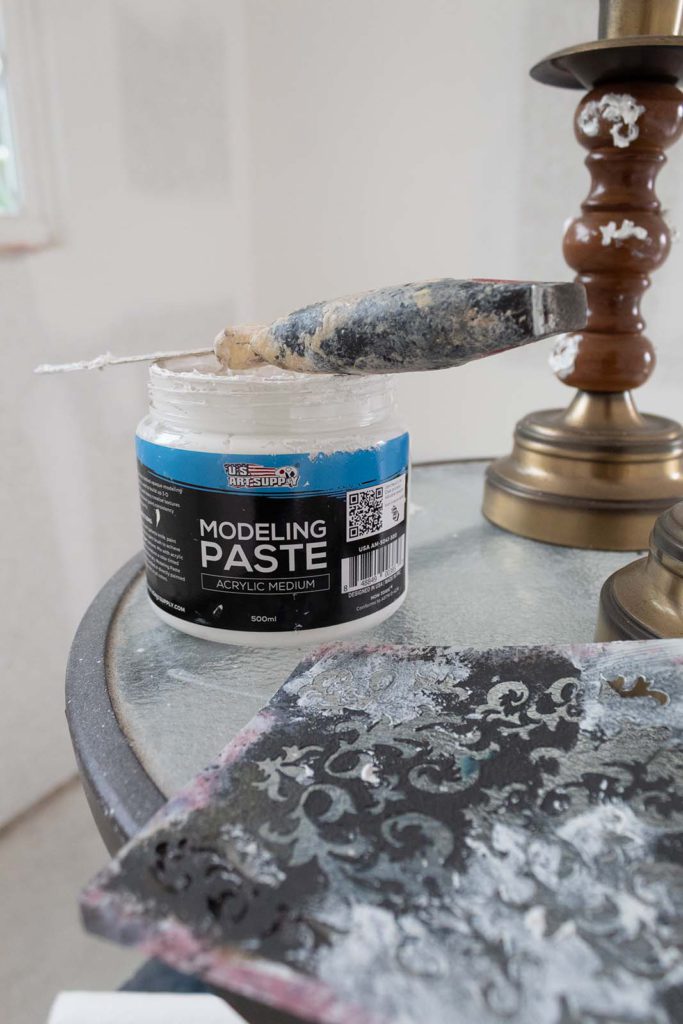
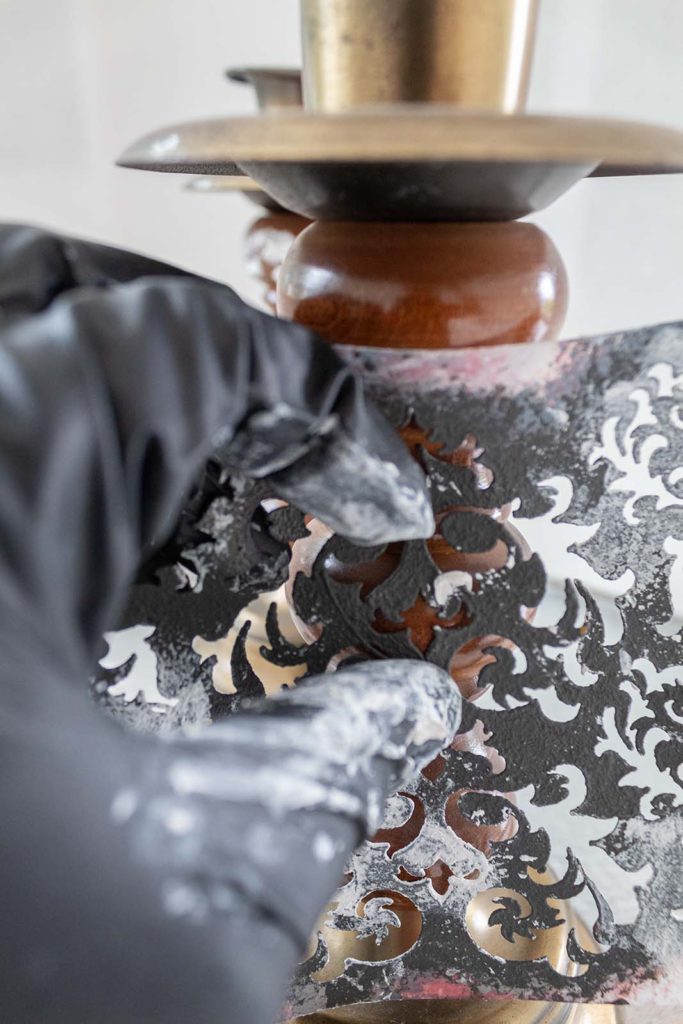
To begin making my raised stencils, I use a small decorative stencil and my modeling paste.
Please bare in mind that only small parts of the stencil will get stenciled on because of how small the surface is. This is okay. The only purpose of adding these, is not really to decorate, but instead to add texture. This texture will contribute to creating a stone look.
I position my stencil over the candle holder and hold it up with one hand. Then I dip my putty knife in the modeling paste and begin applying the paste over the stencil. Always use parallel motions when applying the paste. Try to keep the putty knife flat over the surface so the paste doesn’t squish under the stencil.
For some reason I do not have a picture of me applying the paste. But you can watch the whole process in the video at the end of this post.
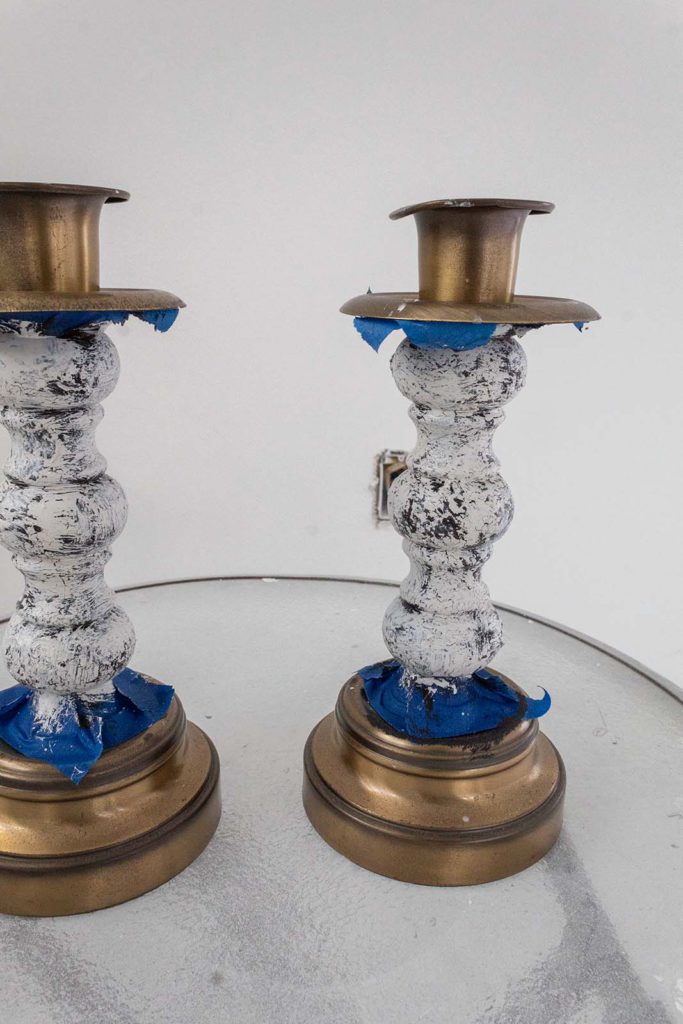
As you can see below, the raised stencils are just small parts of the stencils distributed around the stems of the candle holders. Doesn’t look like much now, but later you will see why these are important.
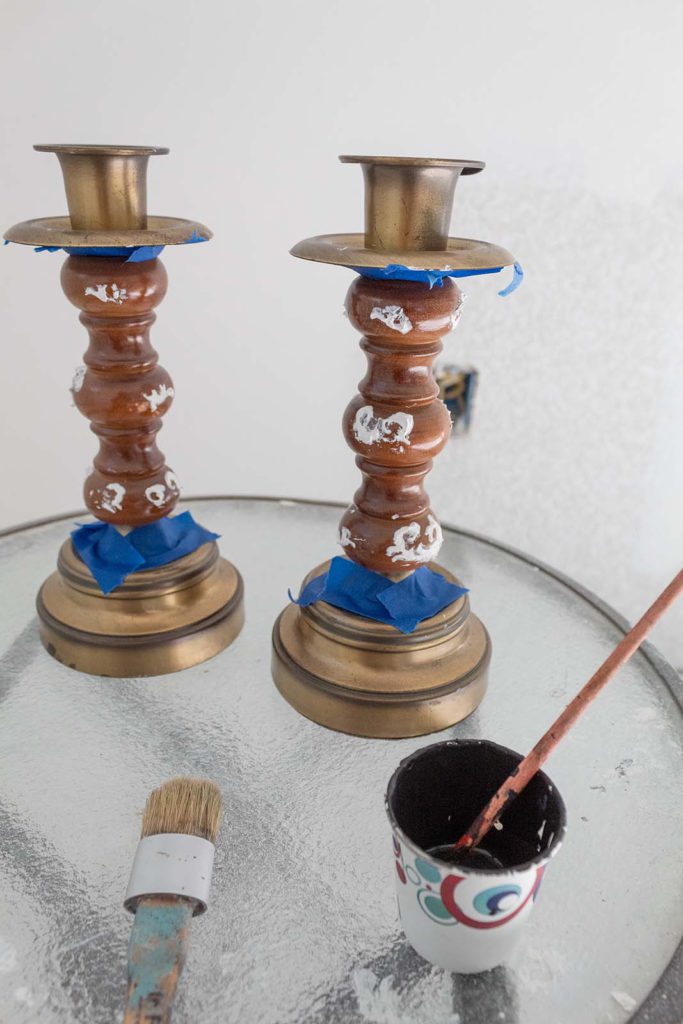
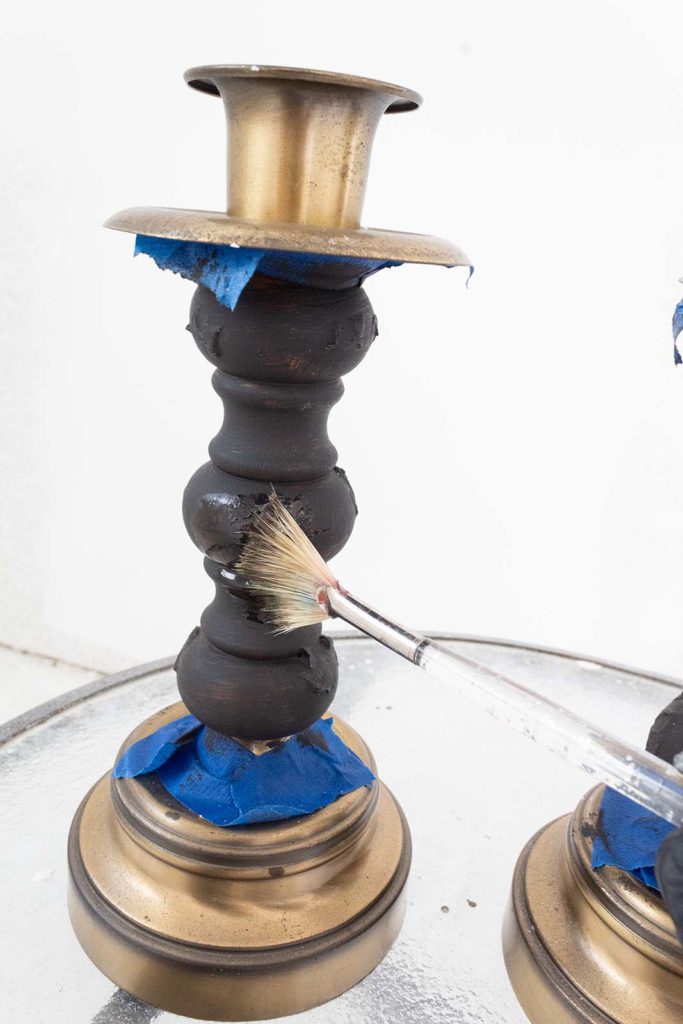
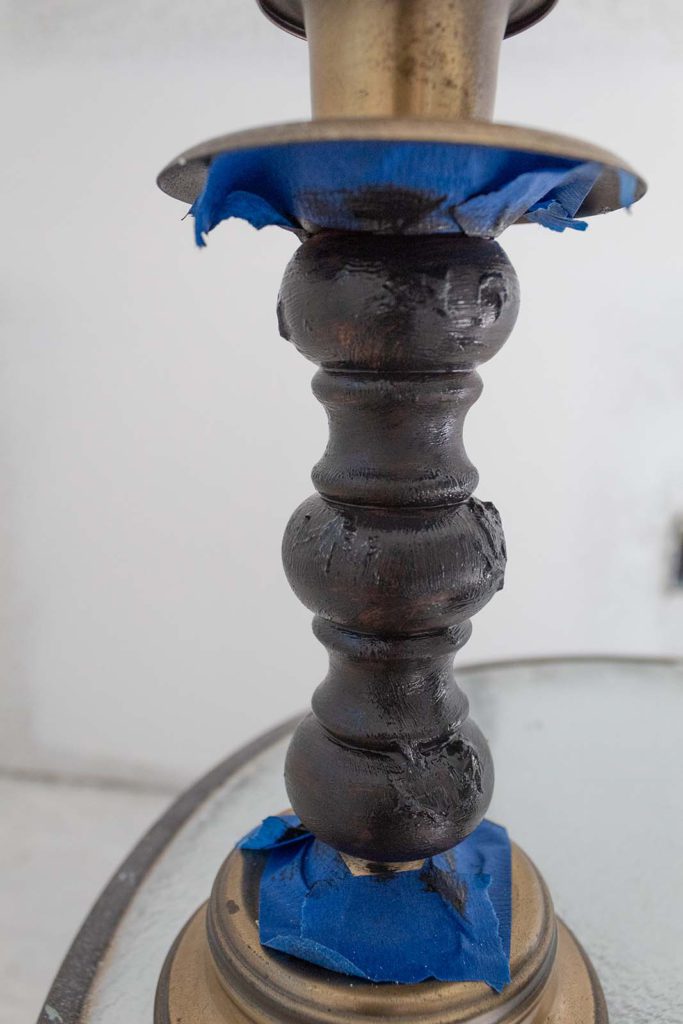
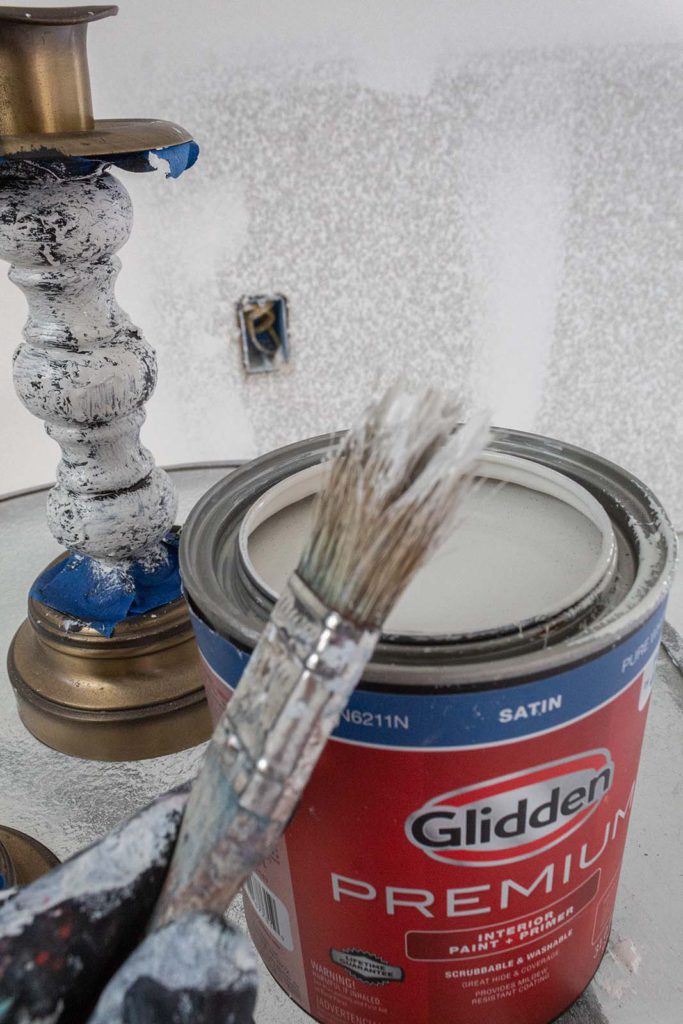
Step 2. Apply 1st paint color
I allowed the paste from the stencils to dry about 2 hours (you may not have to wait this long). Next I will be applying a base color using black chalk paint. I recommend using chalk paint for this look. It’s going to adhere better and add to the rustic appeal.
Using a small, flat chalk paint brush, I add the black paint around the stems of the candle holders. To keep the amount of brushes you have to buy down, you can simply wash the paint brush and use it for the next color. I just always have several brushes in my arsenal and I like to apply the paint on with a dry brush for these techniques, rather than a wet brush I just washed.
This is a no-fuss coat. Simply get it on your surface. Don’t worry if it’s not perfect. It will be mostly covered up in the end.
I allow the paint to dry (about 30 minutes) before moving on to the next step.
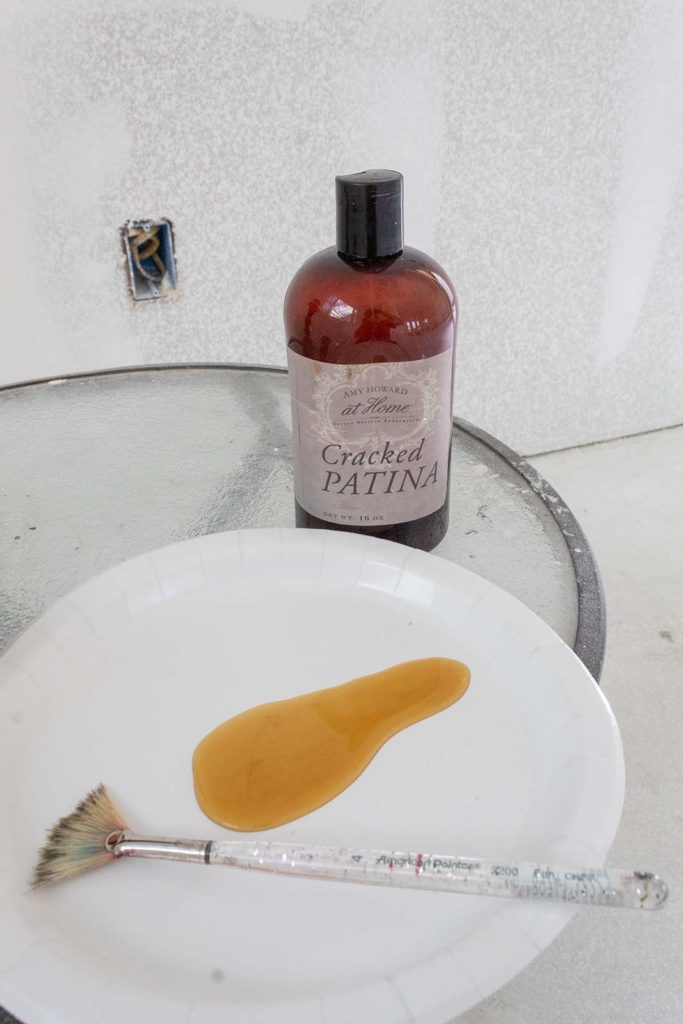
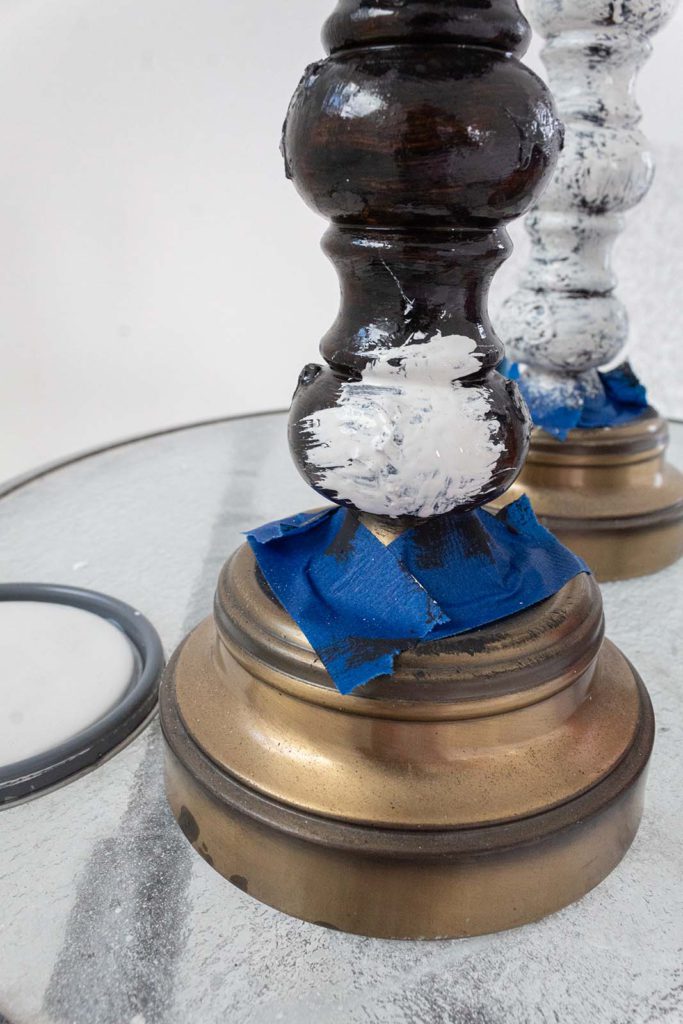
Step 3. Adding cracked patina
Cracked Patina is one of my favorite products to work with. It literally cracks the paint, giving your pieces a beautiful weathered look. Check out what I did with our pantry door in this post. I love how the cracked patina helped create add a beautiful vintage aesthetic to our pantry door.
Today I’m going to use the cracked patina on the candle holders to help create the “stone” effect.
I’m using a small fan brush to paint on the cracked patina. It will go on wet and dry with a wet look also. But don’t worry about the sheen. This is going to get covered up. We just want the cracked patina all over the surface so it will help the next layer of paint crack.
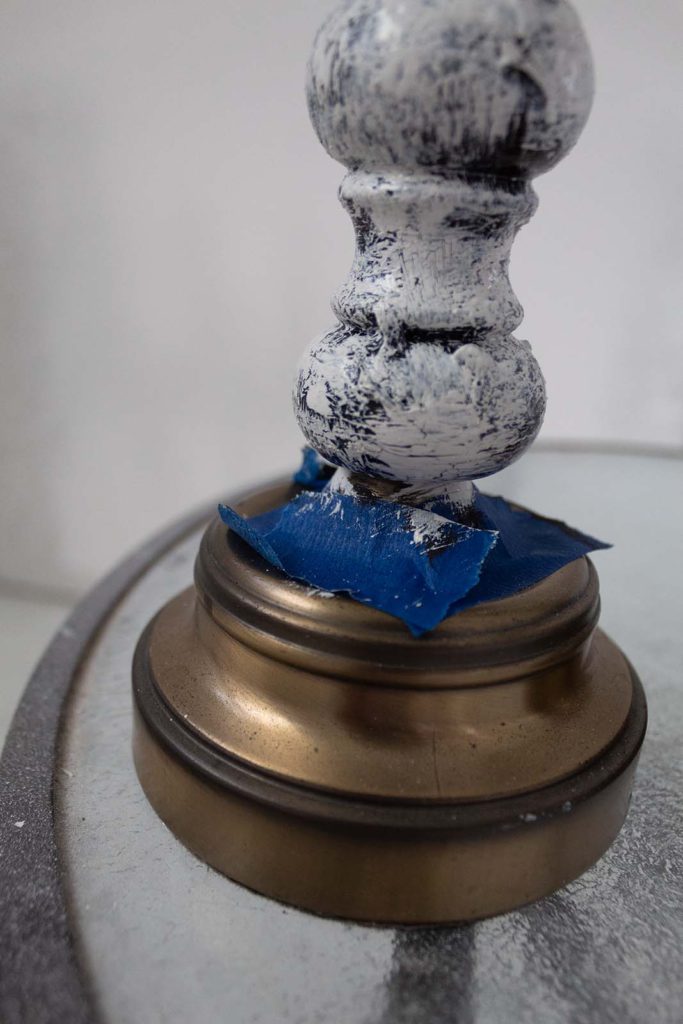
This is how things looked once the patina had dried. Next we are going to dive into the fun part!
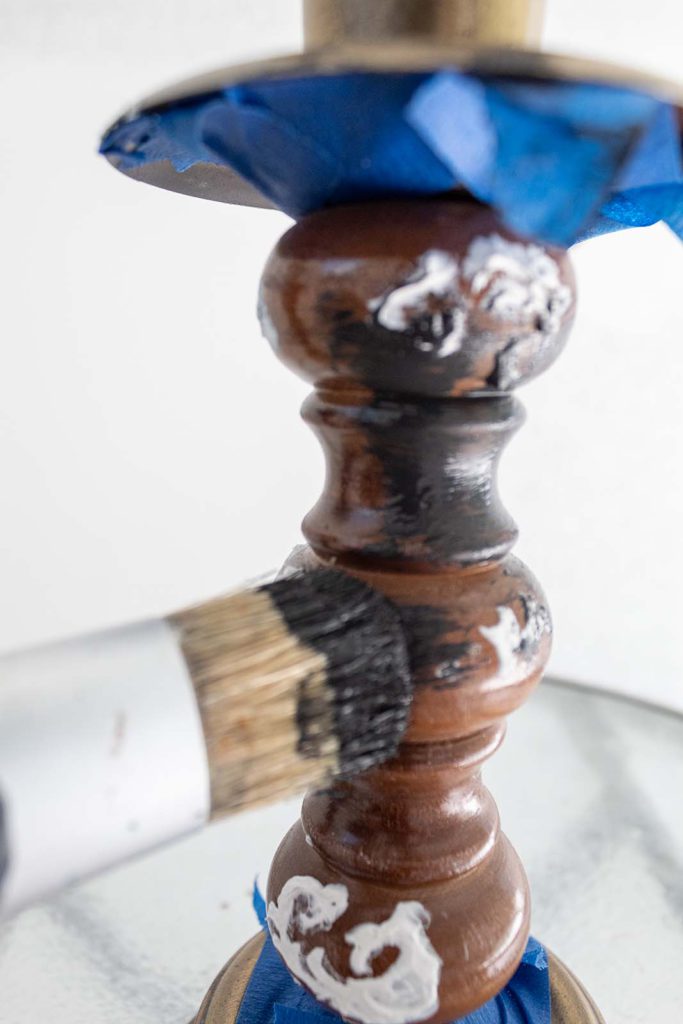
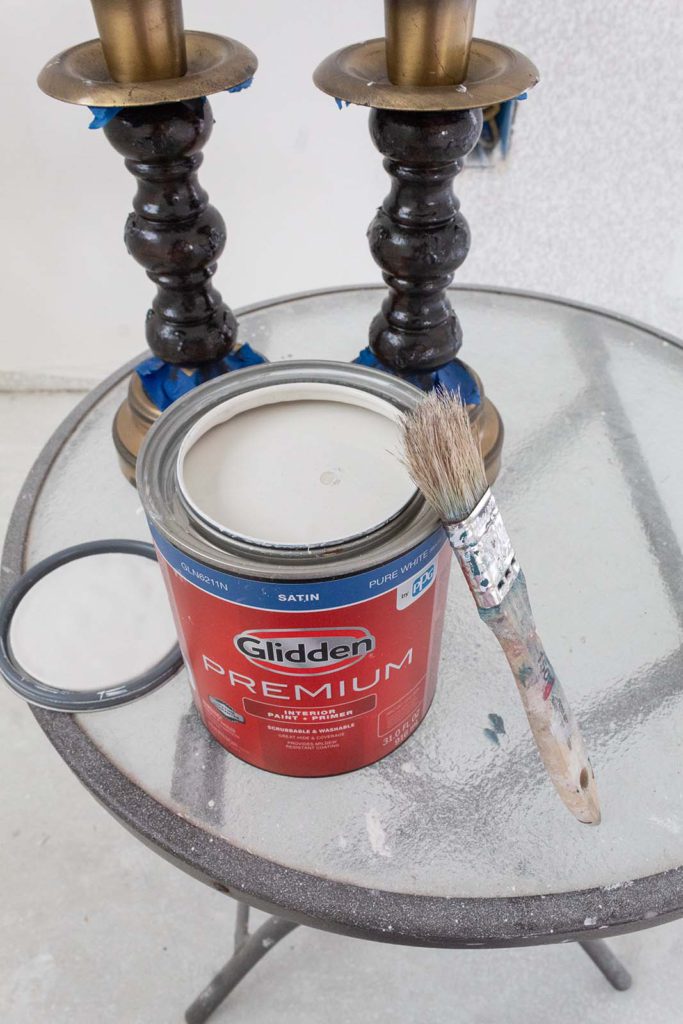
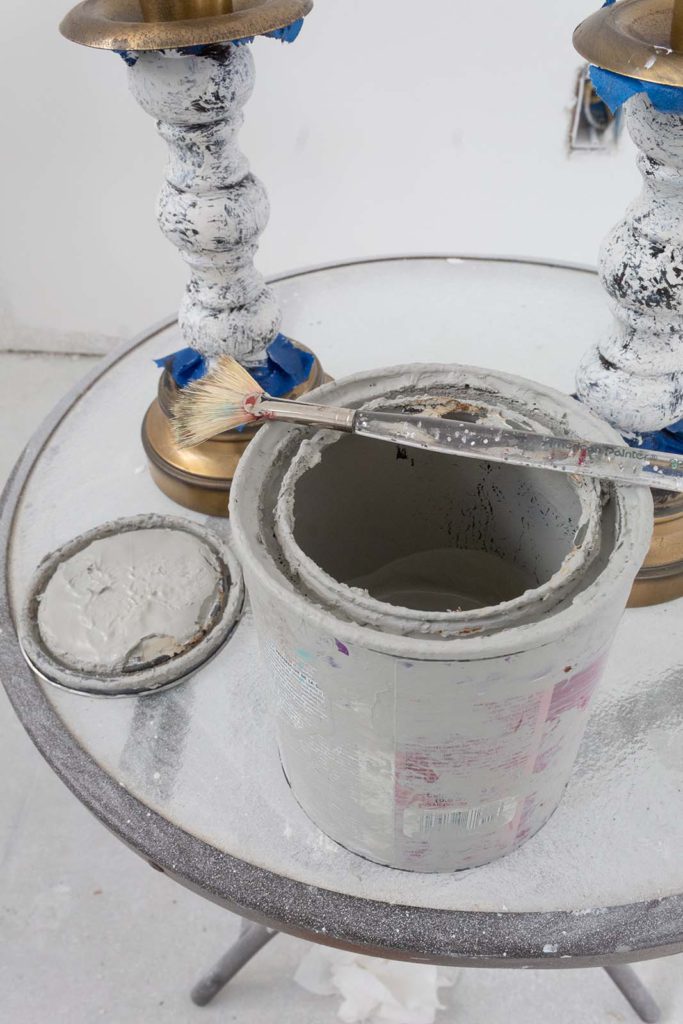
Step 4. Adding The Second Paint Color
I’m going to be using weathered white paint (which I’ve converted into chalk paint) for the next color on the candle holders. I love this color and use it a lot in my projects. It is not a stark white, but more like an off-white. It will be lovely for creating an aged stone look.
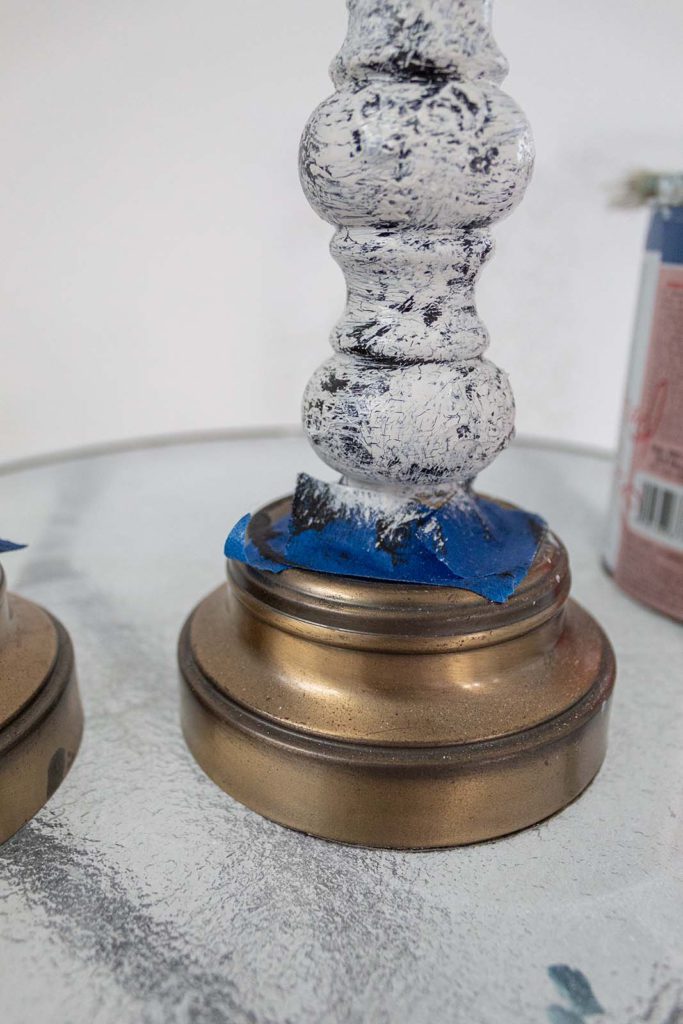
I add only a small amount of the paint onto a dry chippy brush.
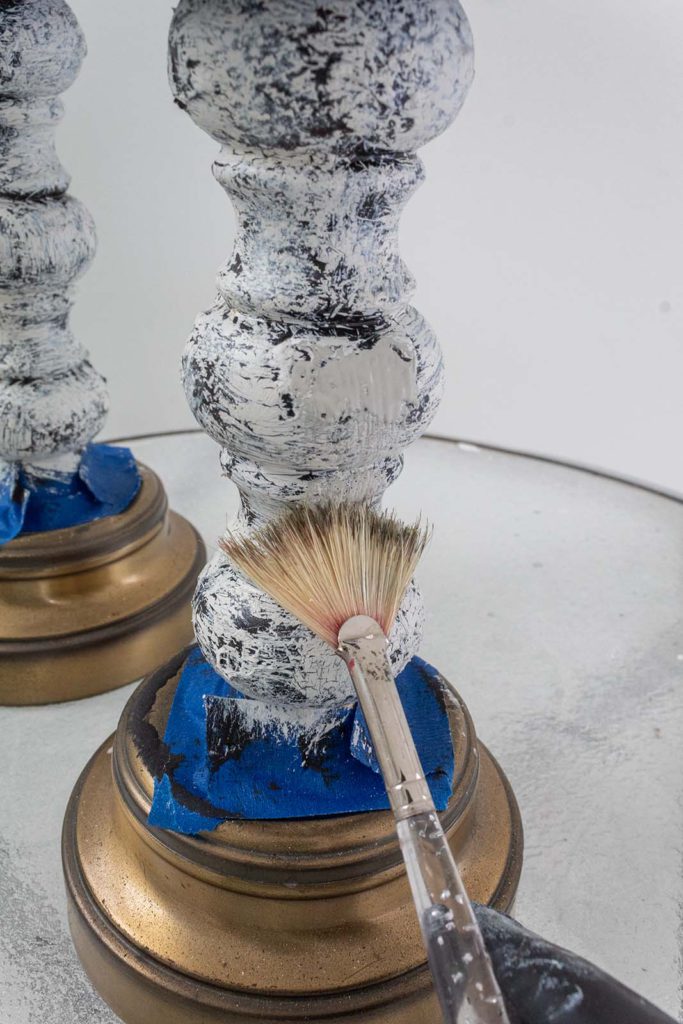
Next I begin applying the paint to the candle holders. I apply enough coverage to get the paint on in each section. But after I apply it in a section, I don’t touch the paint again…at least for a couple of minutes. I leave it on and slowly, you will notice parts starting to crack.
In some parts I will come back over them, tapping them with my brush. Doing this will cause the brush to pick up and off some of the white paint, exposing the black underneath. This is another cool way to distress using cracked patina. **you can see how I do this in the videoat the bottom of this post**
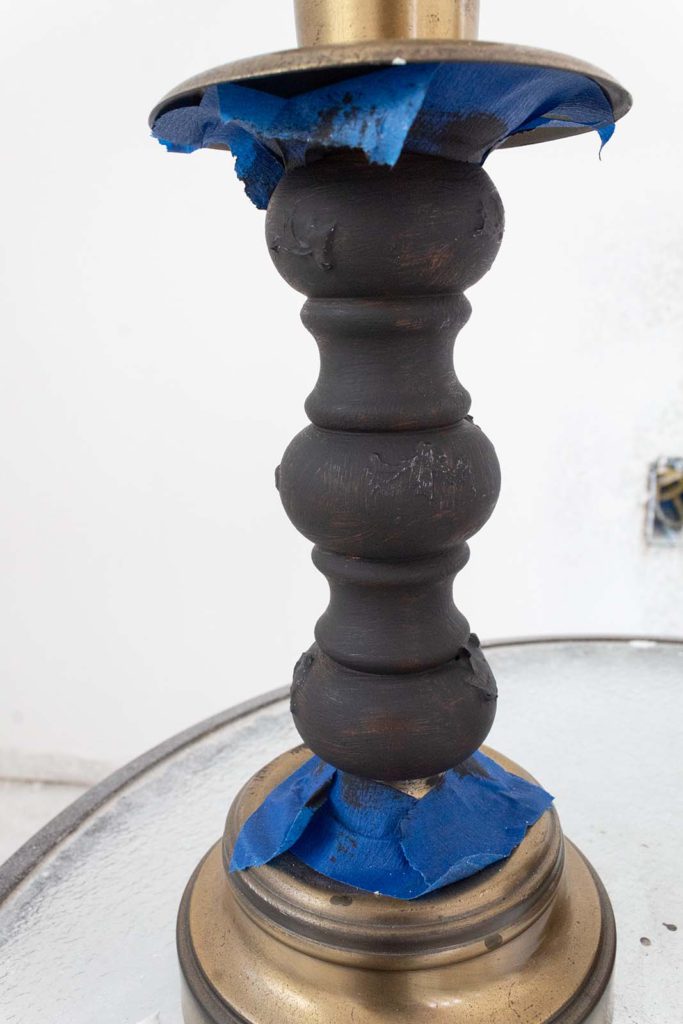
So as you can see the candle holders have now taken on a whole new look! I’m pretty obsessed with the stems now. I’m going to add one more level of character with a different paint color…take a look.
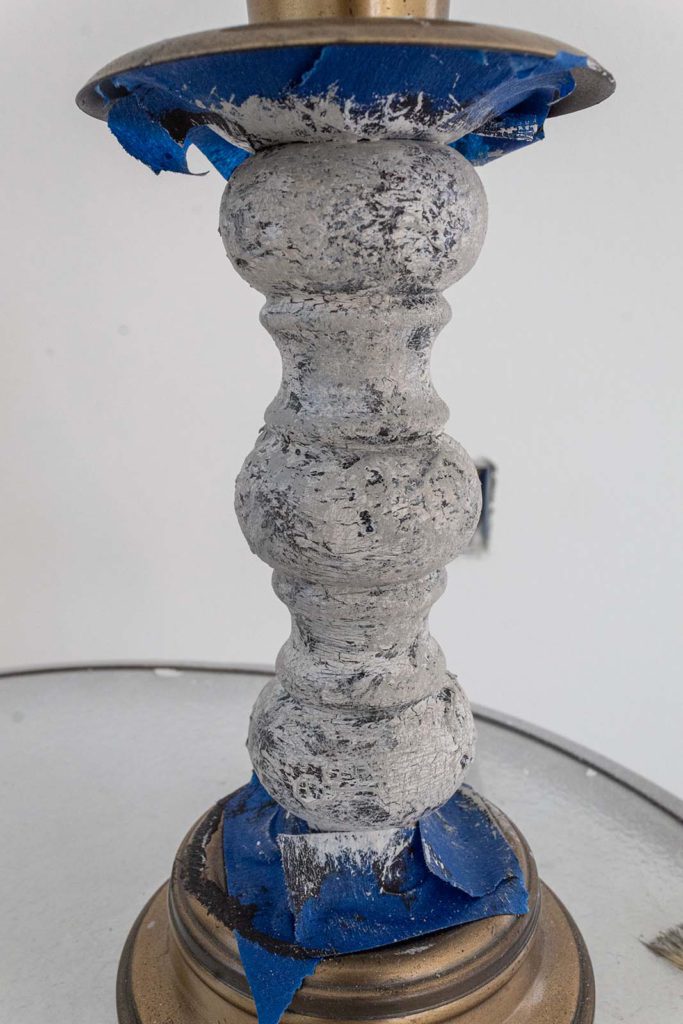
Step 5. Touches of Grey
Using the same fan brush I used to apply the cracked patina, I’m going to add a little bit of grey paint from Behr over the white. The grey will create more depth in our stone look while toning down the white just a tad. But I’m only applying light amounts of the grey.
I put a little bit of paint on my dry fan brush and whisk my brush lightly and quickly over the surface over and over again, without reapplying paint. By not adding paint to my brush until absolutely needed, the brush and grey paint will work to create subtle hints of the grey.
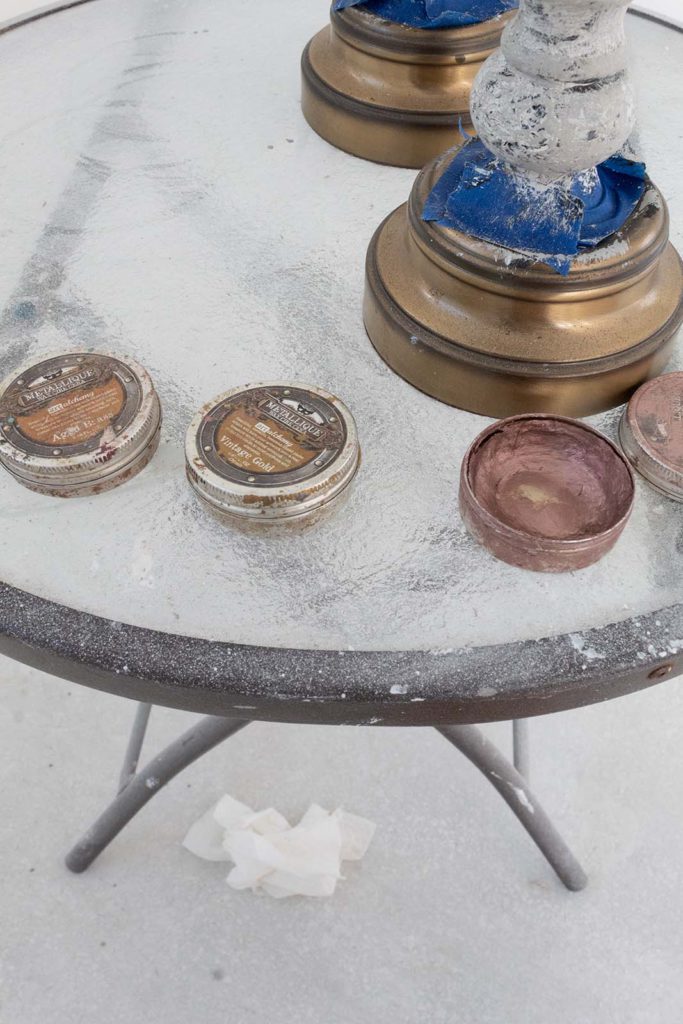
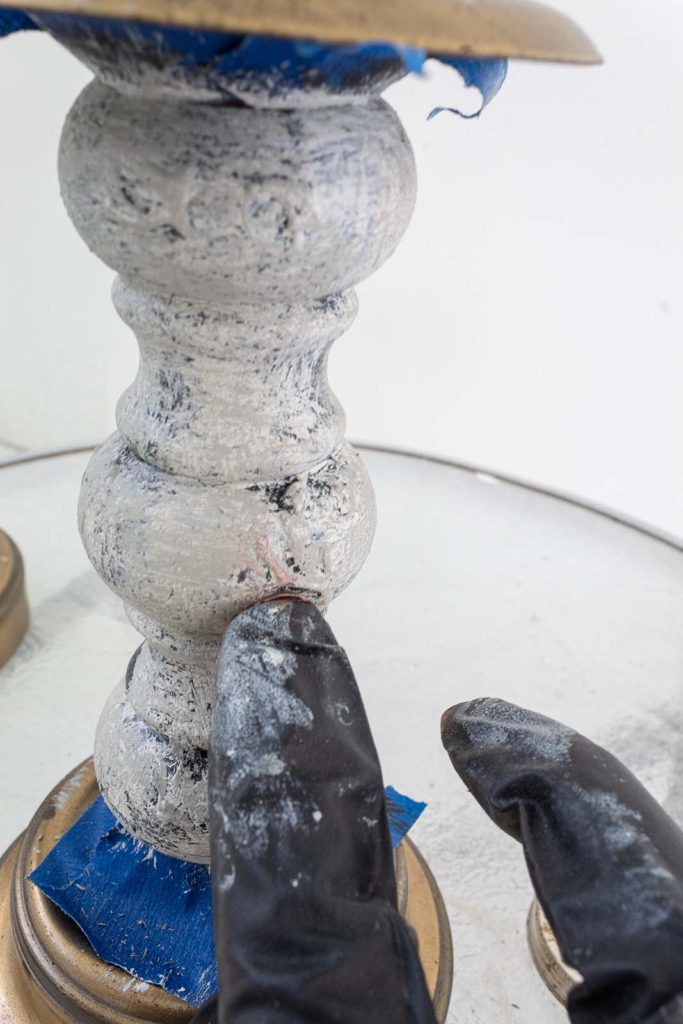
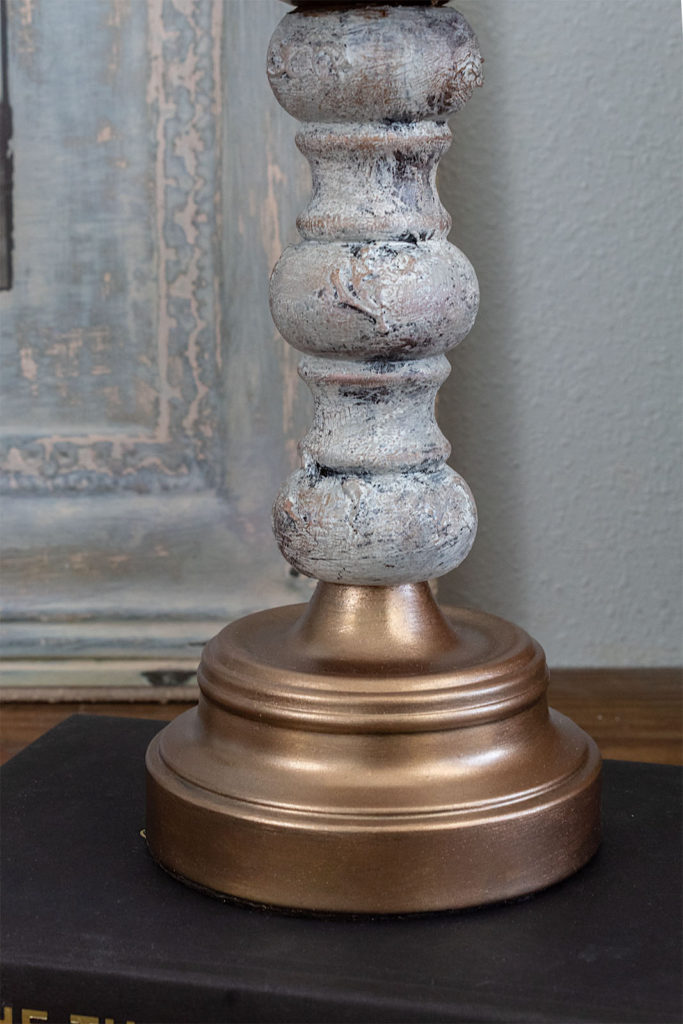
Step 6. Metallic Waxes
For the final step on the stems of the candle holders, I’m going to add some metallic waxes. These waxes are going to create definition and age. Today I’m going to use rose gold and aged brass colors by Art Alchemy.
I rub the waxes on with my finger in random parts. I’m careful not to overdo it. The waxes are going to create slight traces of color. They also help bring out the shapes of the stenciled and textured areas.
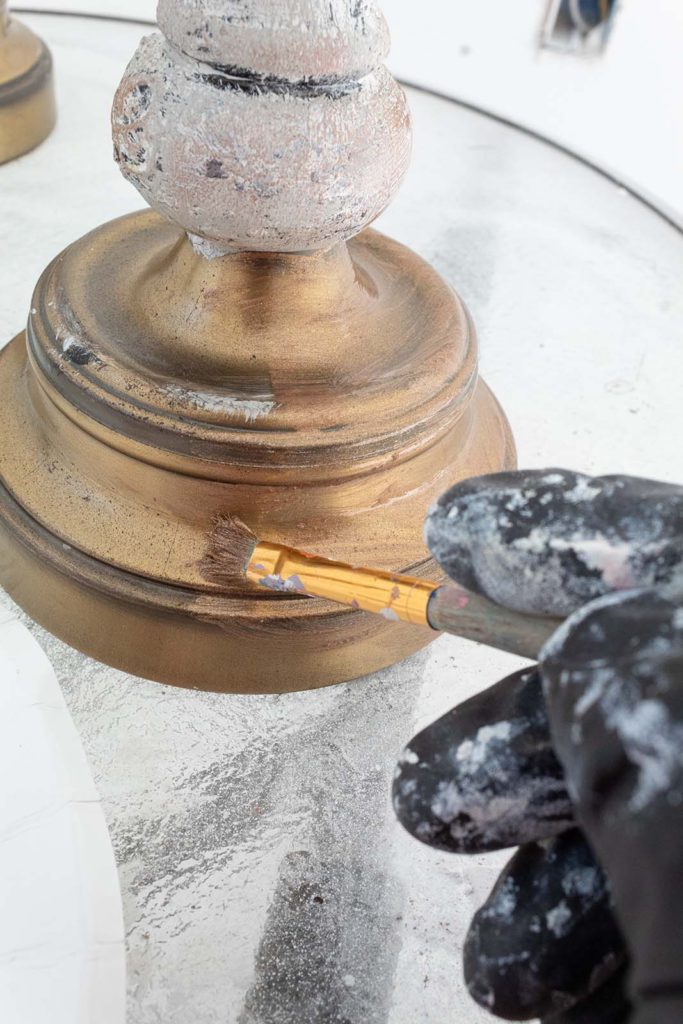
Step 7. Painting the metal parts
I’m using bronze metallic paint and a small painter’s brush to update the brassy extremities of the candle holders. I love this paint because it dries very quickly so I can easily and swiftly apply several coats. Three coats and the metal is completely updated in a beautiful bronze.
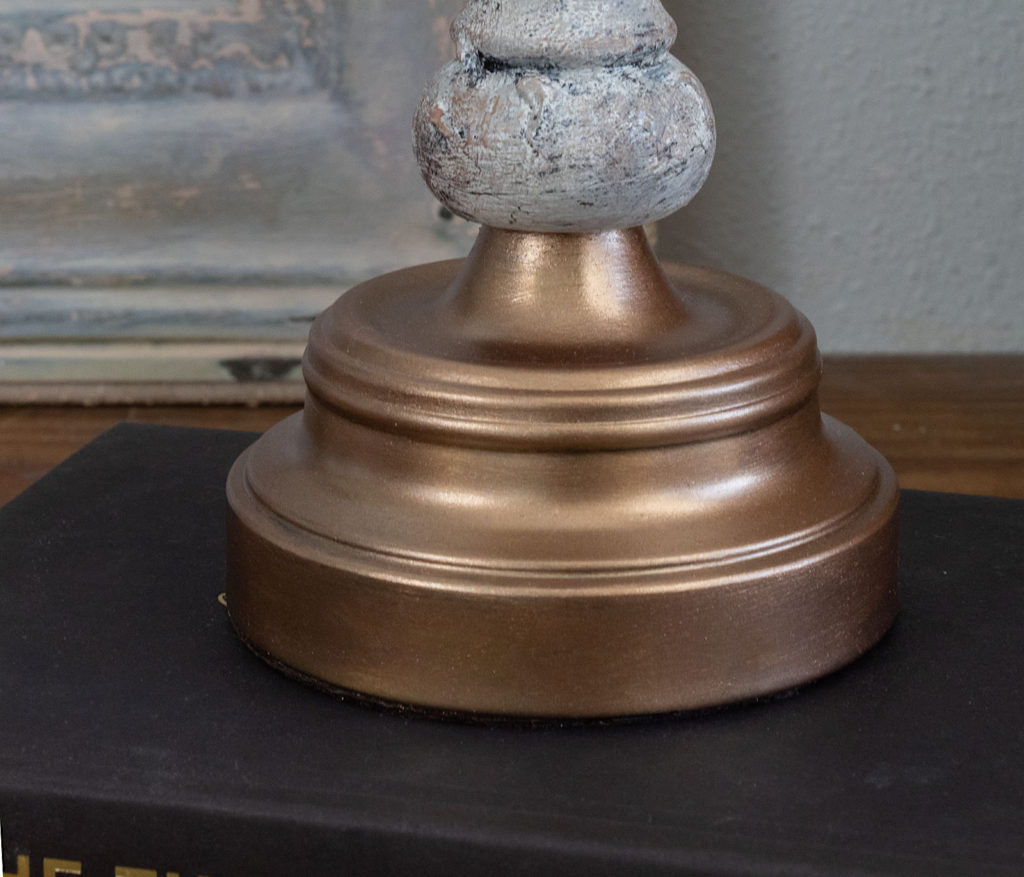
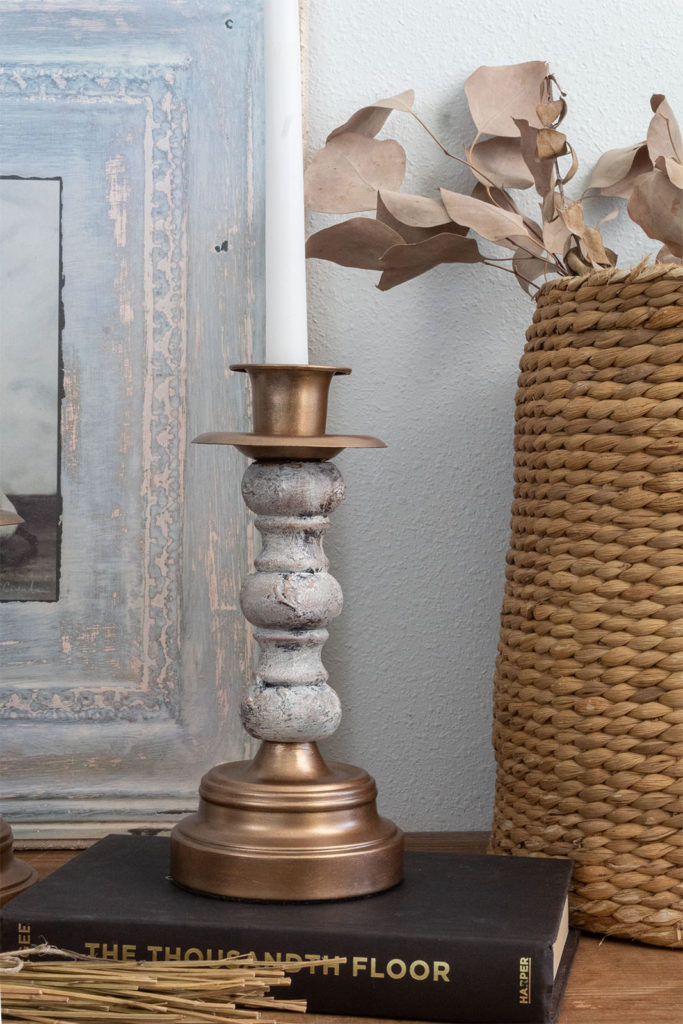
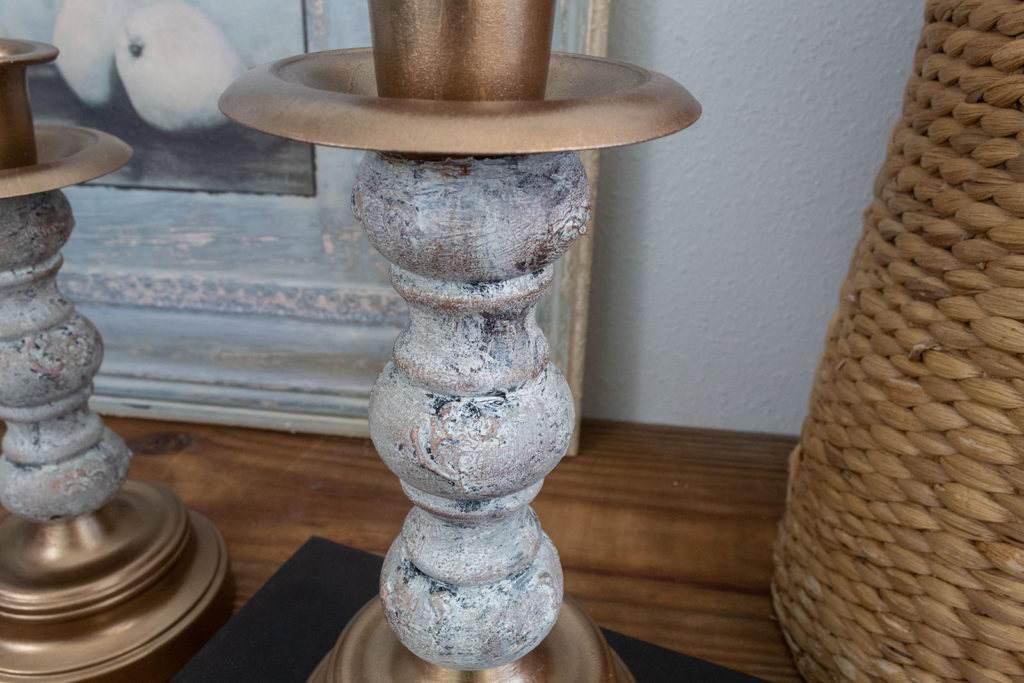
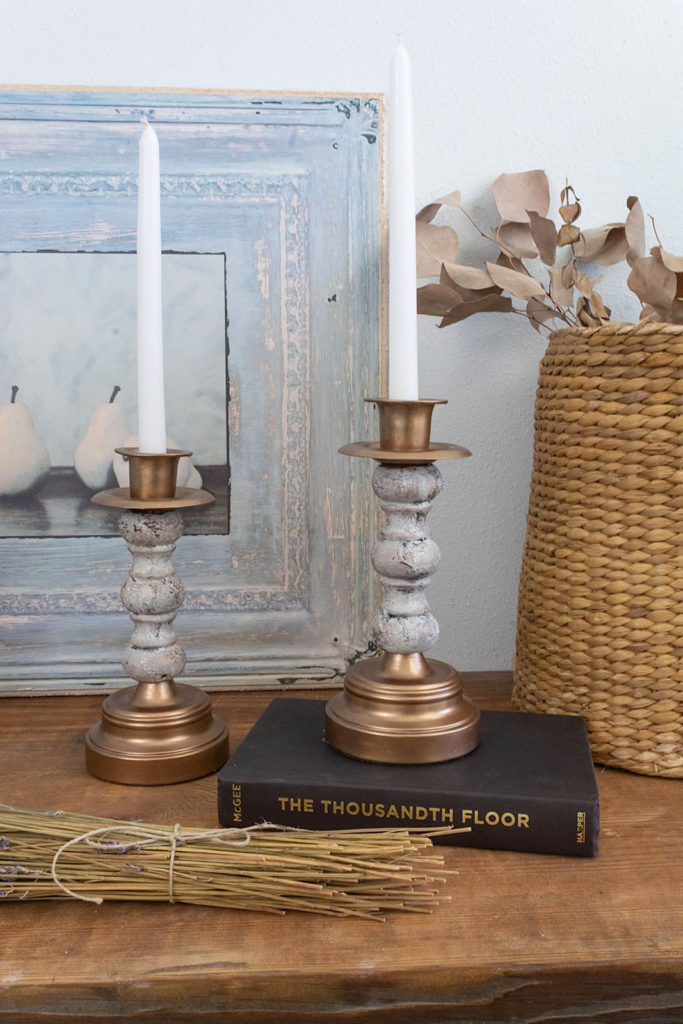
The Final Look
So guys, did you like this renovation? Let me know what you think in the comments below or if you have any questions. Be sure to watch the video of this reno below! Now I will leave you with one more view of the before and after.