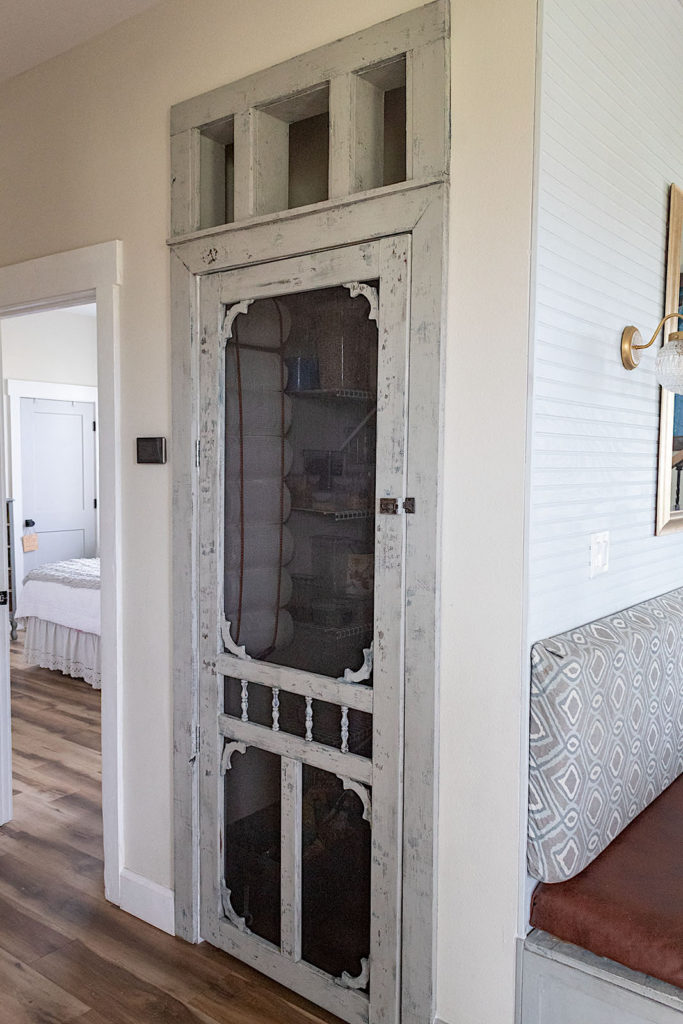
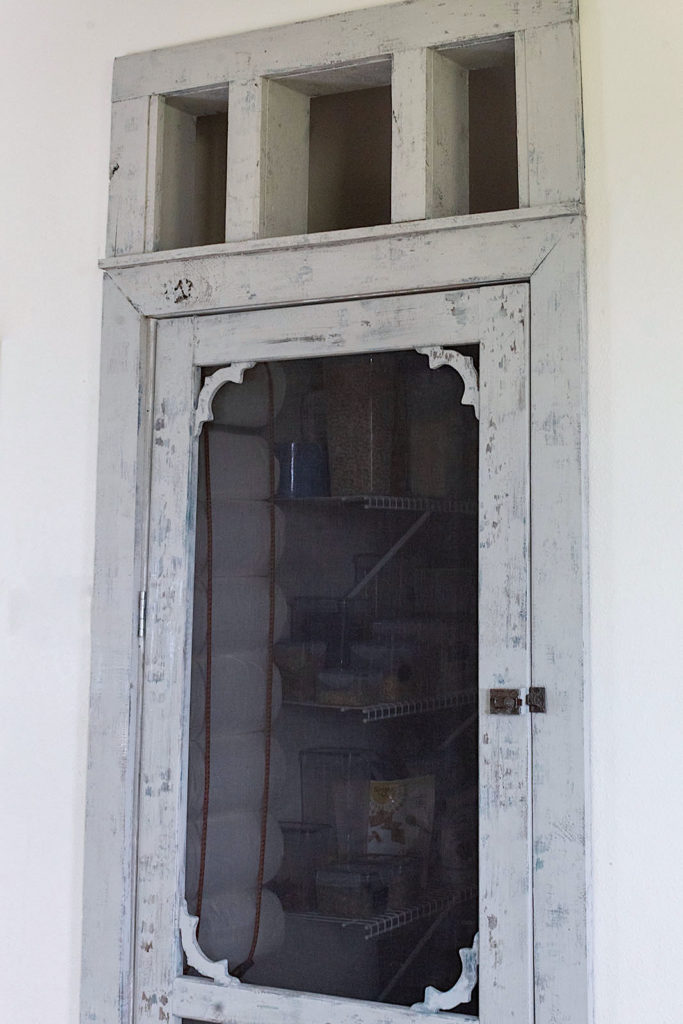
Greetings friends, Today’s home renovation has me swooning over our pantry door! I transformed this screened door into an old, weathered beauty in a few simple steps. I am so digging all the yummy texture and hues. This is a technique that can be used to give any of your home’s doors a fabulous vintage look.
In this tutorial you will learn how to paint layer and use one of my favorite products, Cracked Patina, to achieve beautiful dimension and texture. Let’s dive in to create our fabulous vintage door!
Disclosure: Some of the links provided are affiliate links. By purchasing through these links it supports this blog and the work we do and there is no extra cost to you. If you would like to read our full disclosure, click HERE.
I’ve always loved the concept of a screen door indoors—yielding a relaxed, farmhouse feel while subtly hiding the contents beyond.
I originally painted our pantry screen door in latex paint. Over the years, and in the thick of daily traffic, the paint took a beating, chipping off in various places. It was high time for a re-fresh.
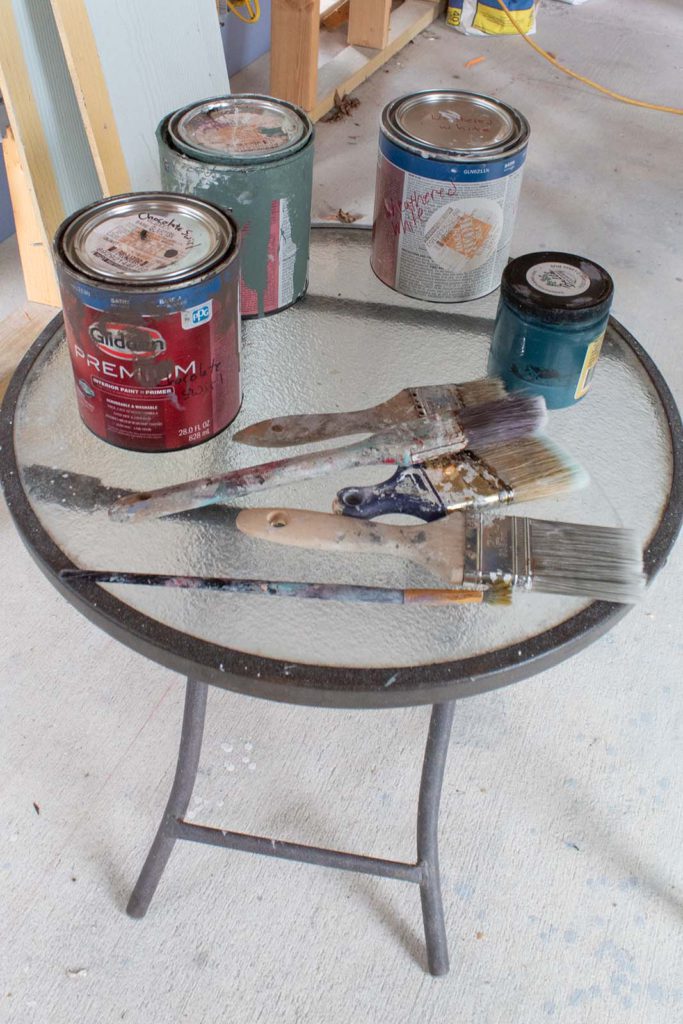
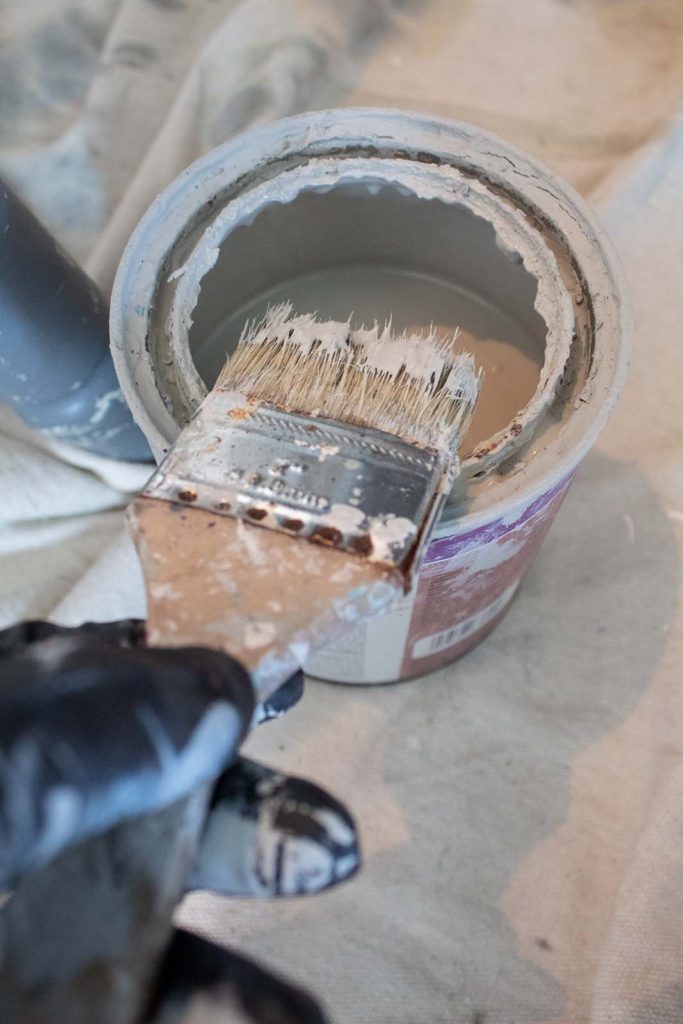
Pick Your Paints
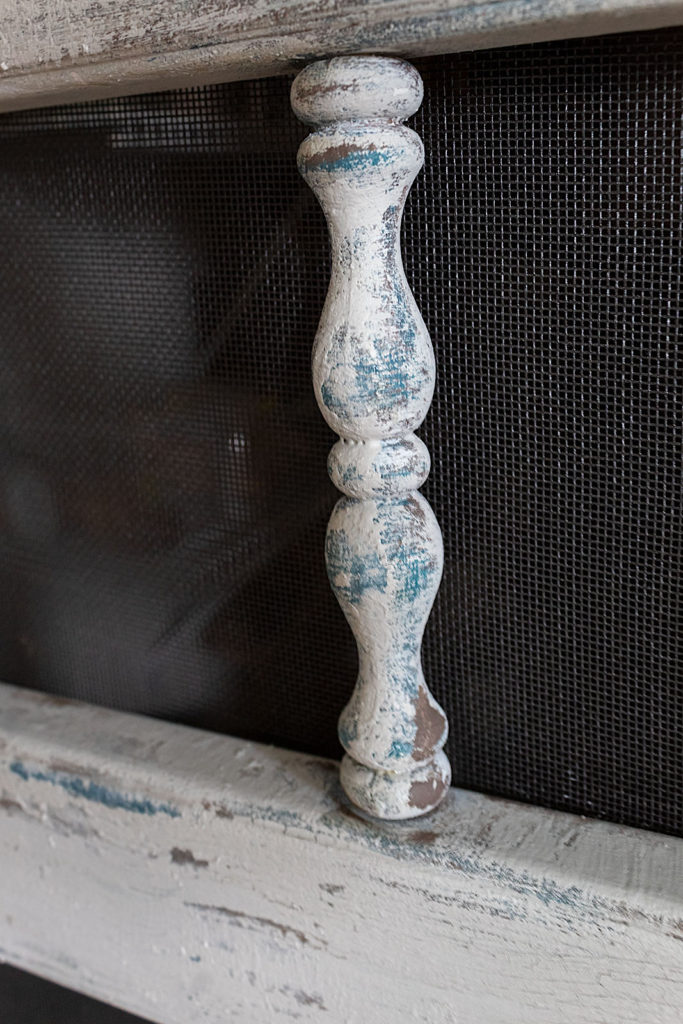
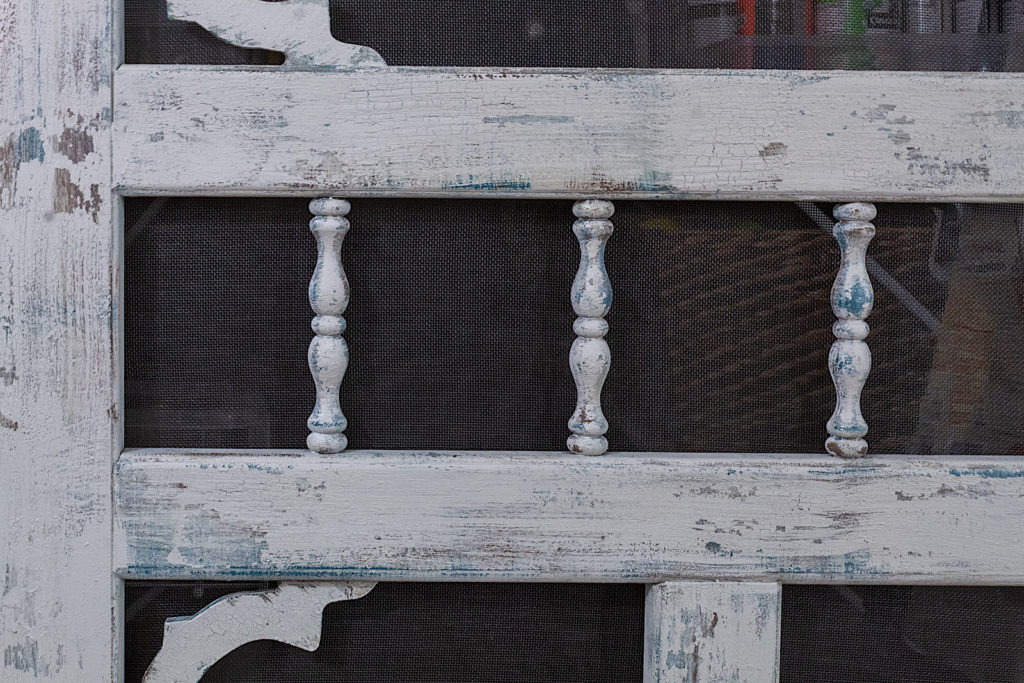
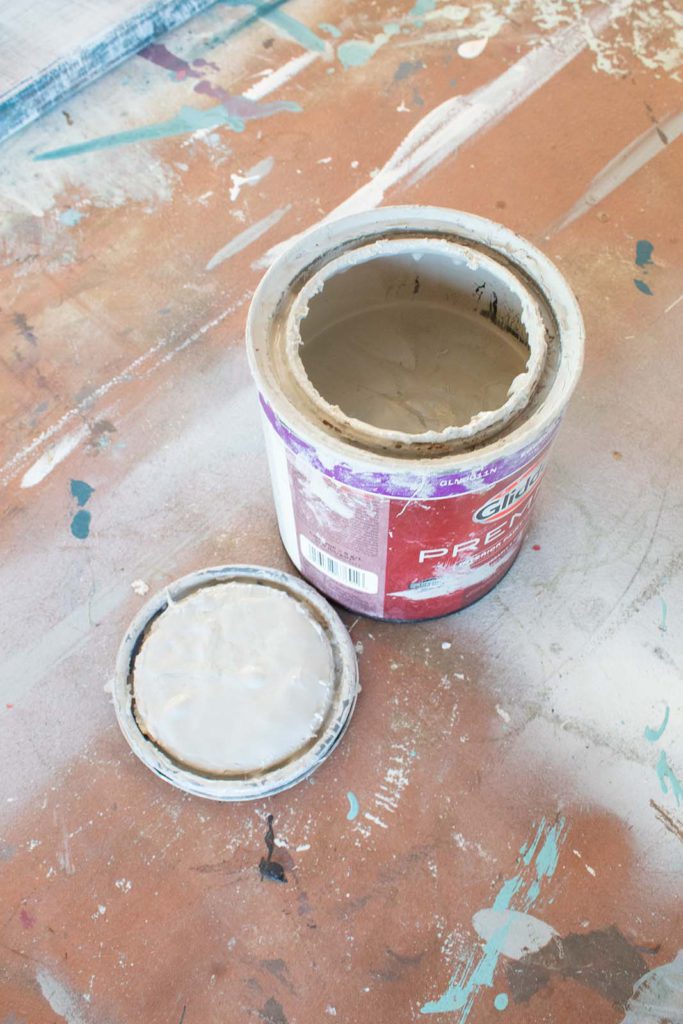
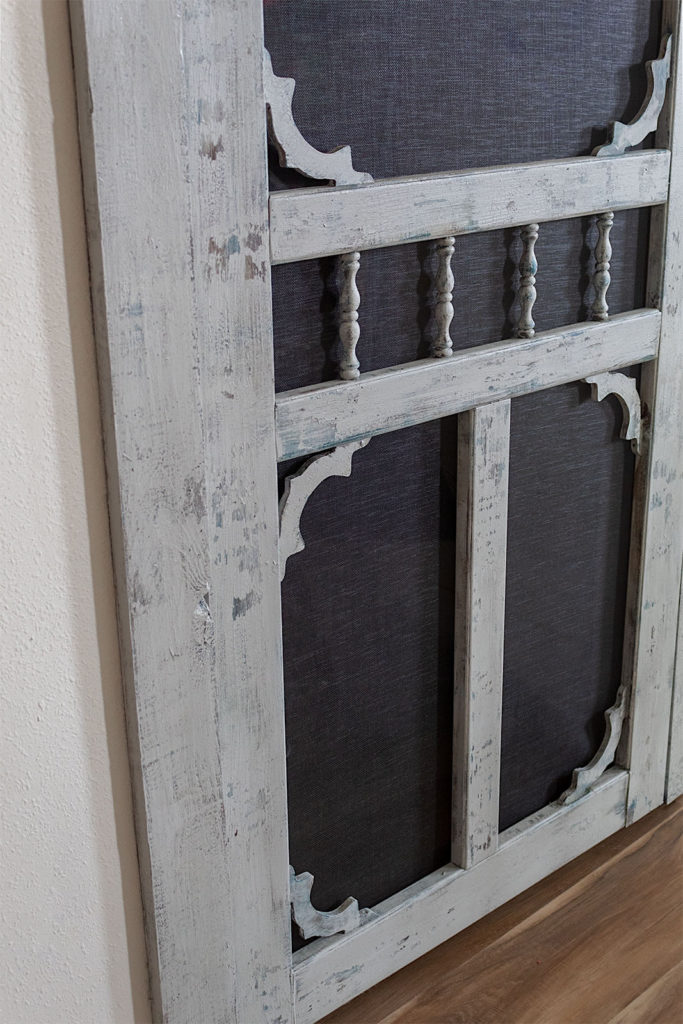
Think of the palette in your home and in your decor prior to starting this project. I have neutrals and some pastels in my home. I picked a top color, Behr’s Grey, to keep in tune with the muted palette in our living room and kitchen. The under colors, brown, teal, and white work together to create depth and texture while adding hints of color. Make sure you are using chalk paint. This is the paint that I find works best for this look.
If you want a bolder look with your door, pick a stronger top color. I decided to keep the aesthetic rich in texture and age, but subtle in color.
Step 1. Prep
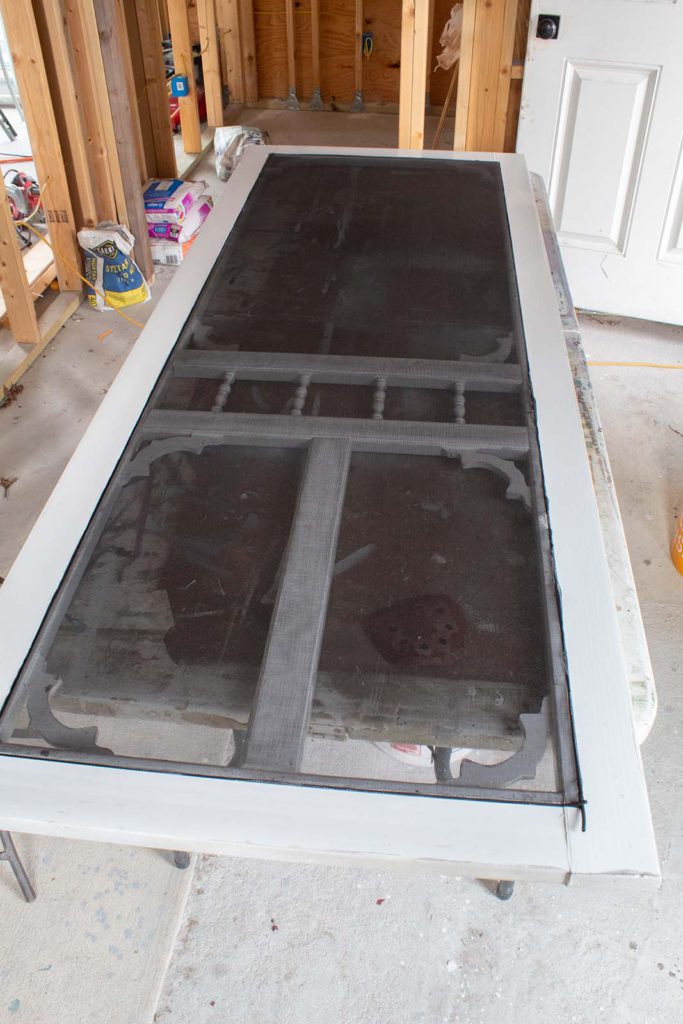
If you have the ability, I recommend unhinging your door and placing it on your table. I think this is an easier way to work on it. But if not, you can paint it while hanging.
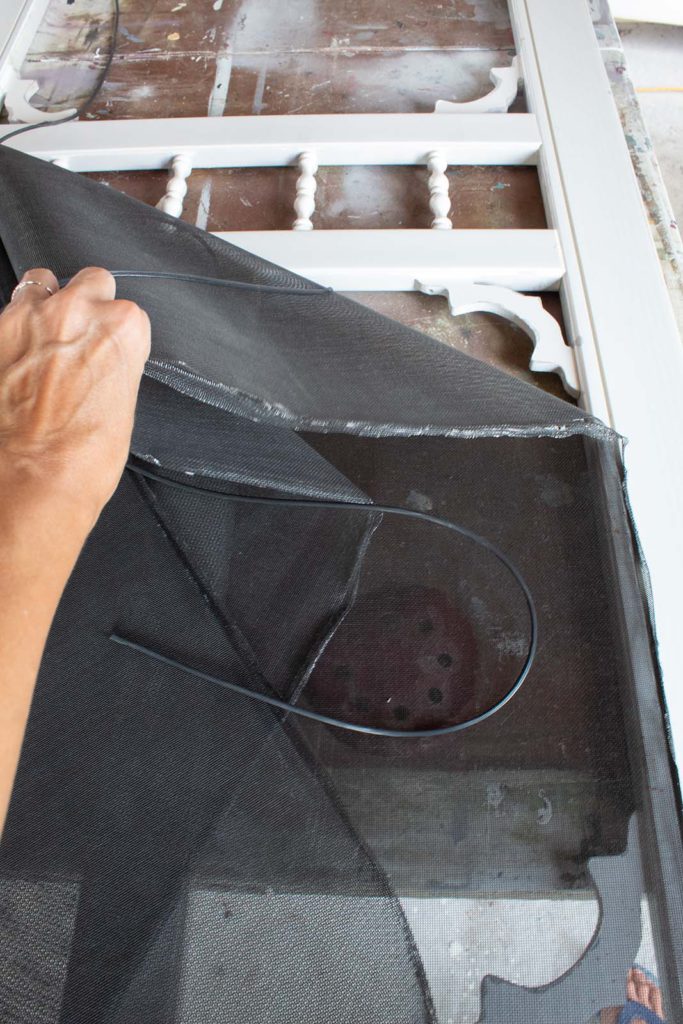
I removed the screen for ease of painting the frame.
Step 2. Begin painting
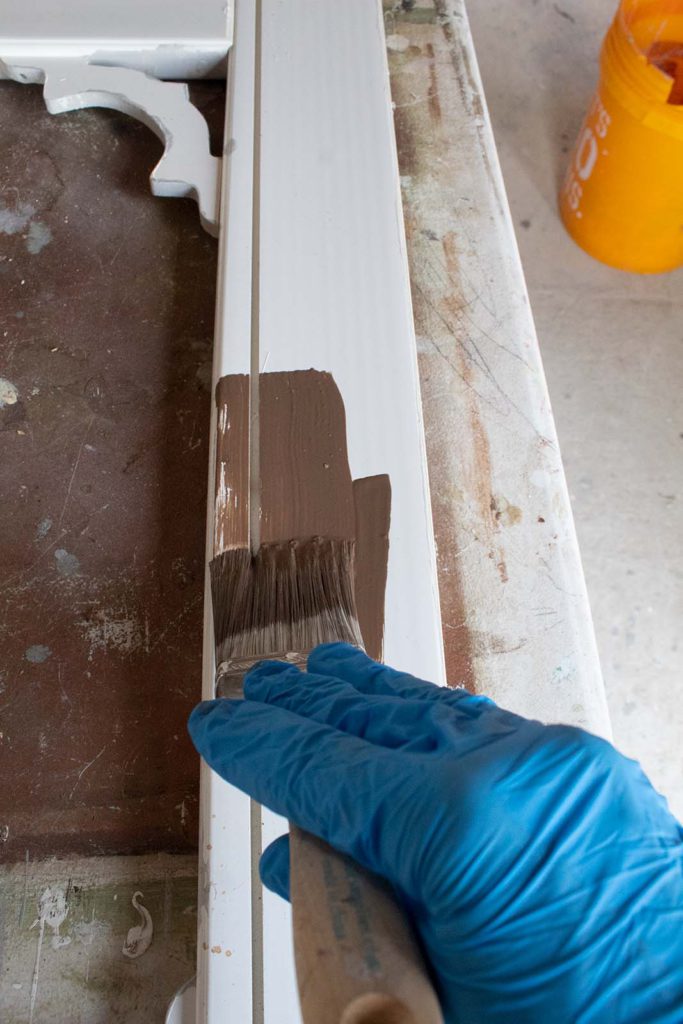
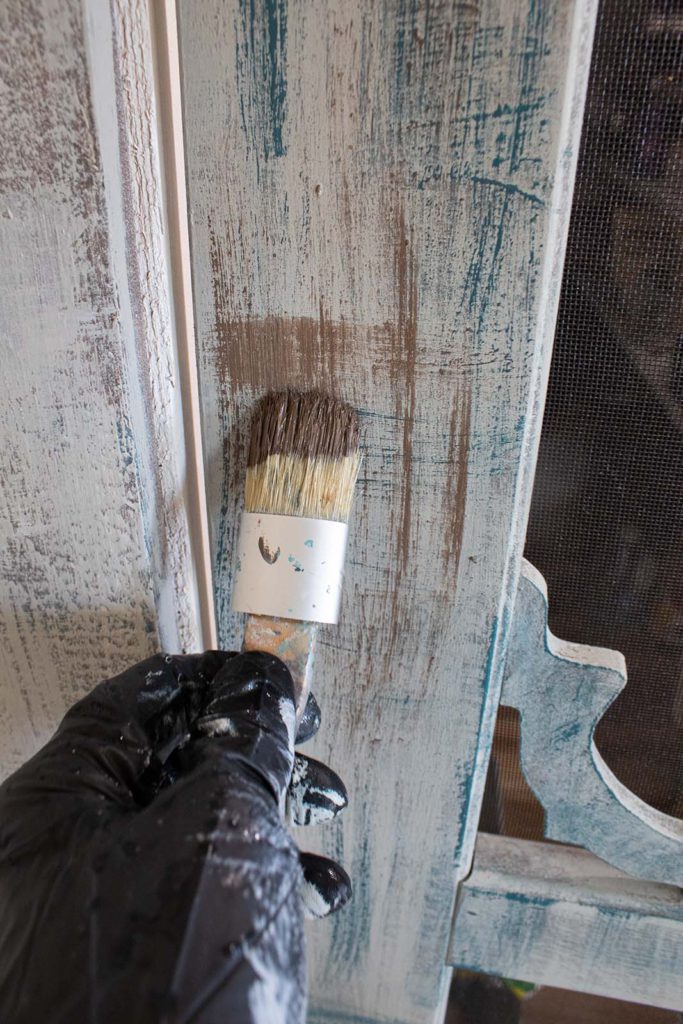
Brown
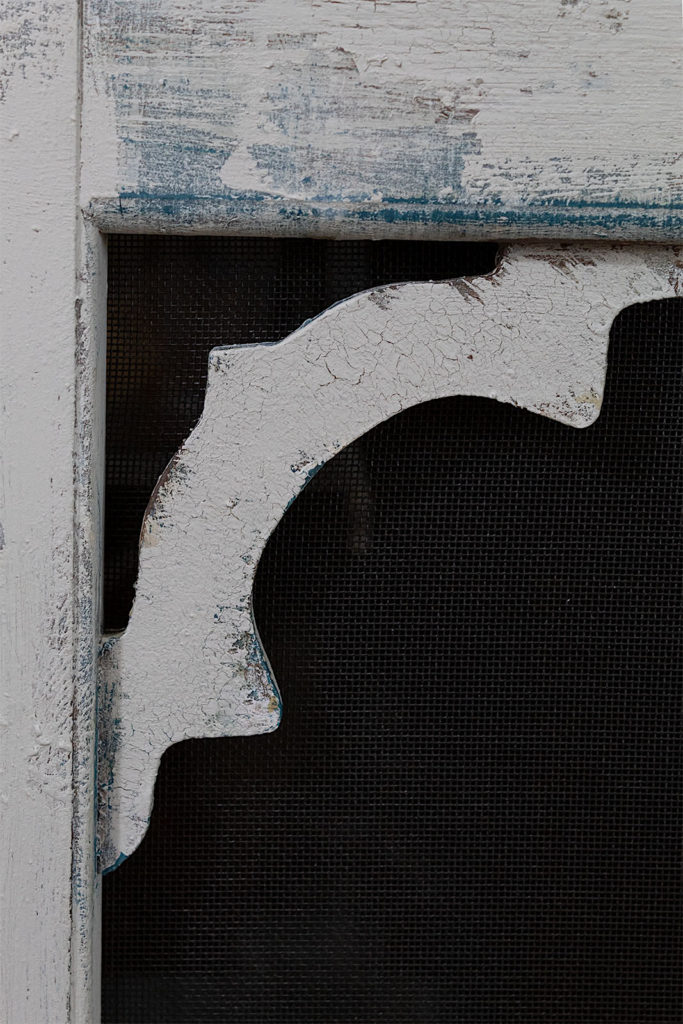
If you’ve followed me for a while you know how much I love the paint layering technique! It is one of my favorite techniques to use on furniture renovations. Layering paint colors in conjunction with brushing techniques creates gorgeous faux effects. With paint layering you can take a plain surface to whole new levels of wear, distressing and “age.”
Today I begin by slapping on a coat of my brown color, Chocolate Swirl.
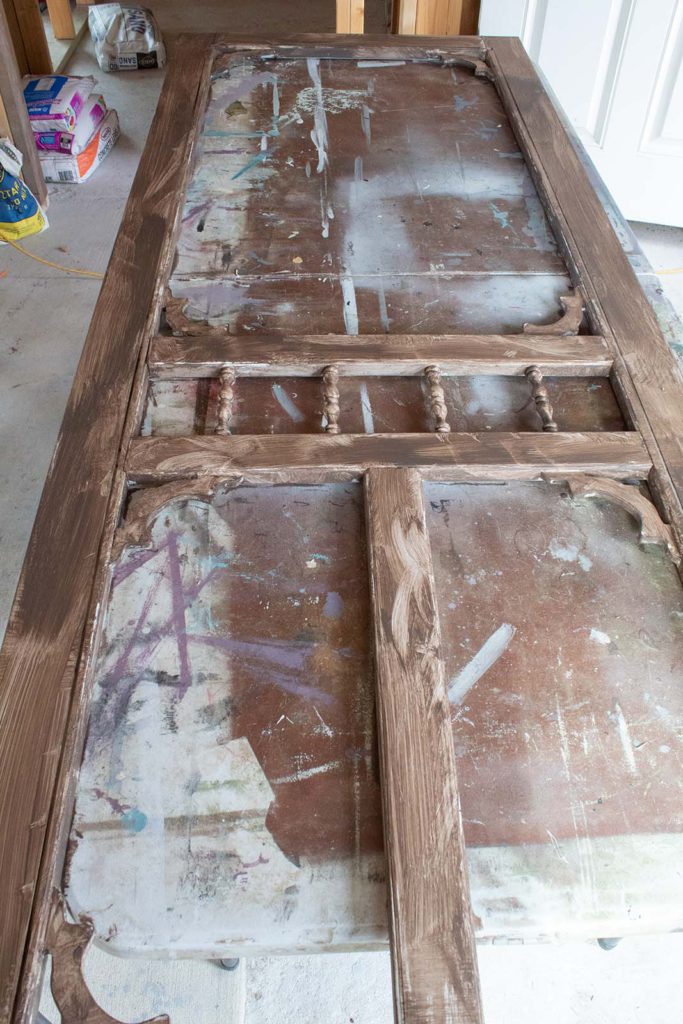
This first color gets a no-fuss application. I simply paint one coat over the frame of the door. Don’t worry if the coverage is sparse. This is simply a base on which to begin adding layers. Below is how the door looked after the brown was applied.
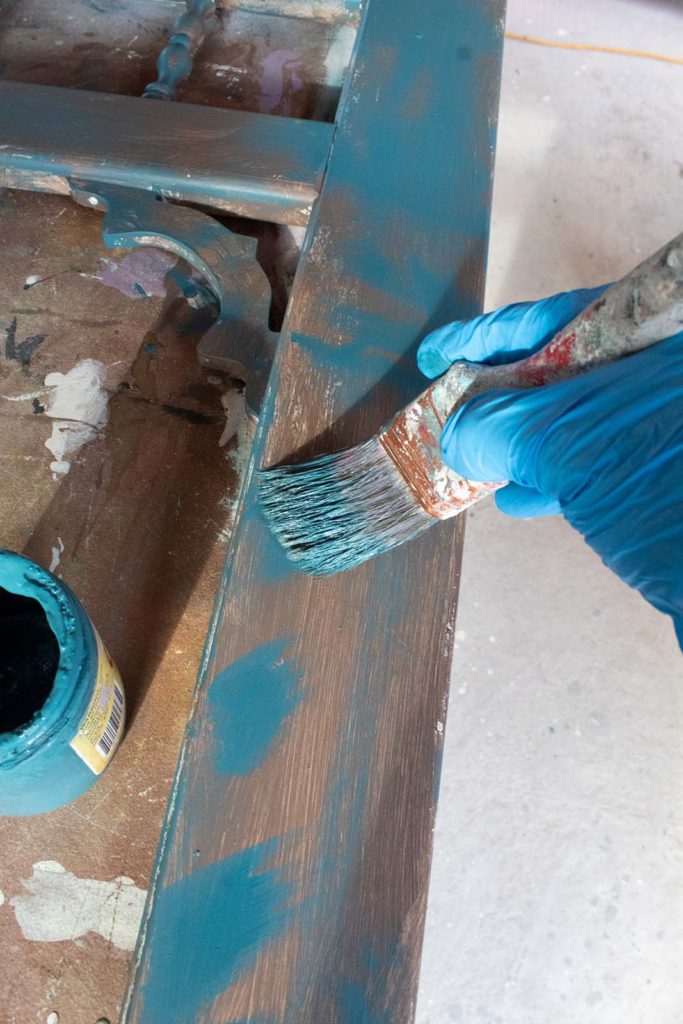
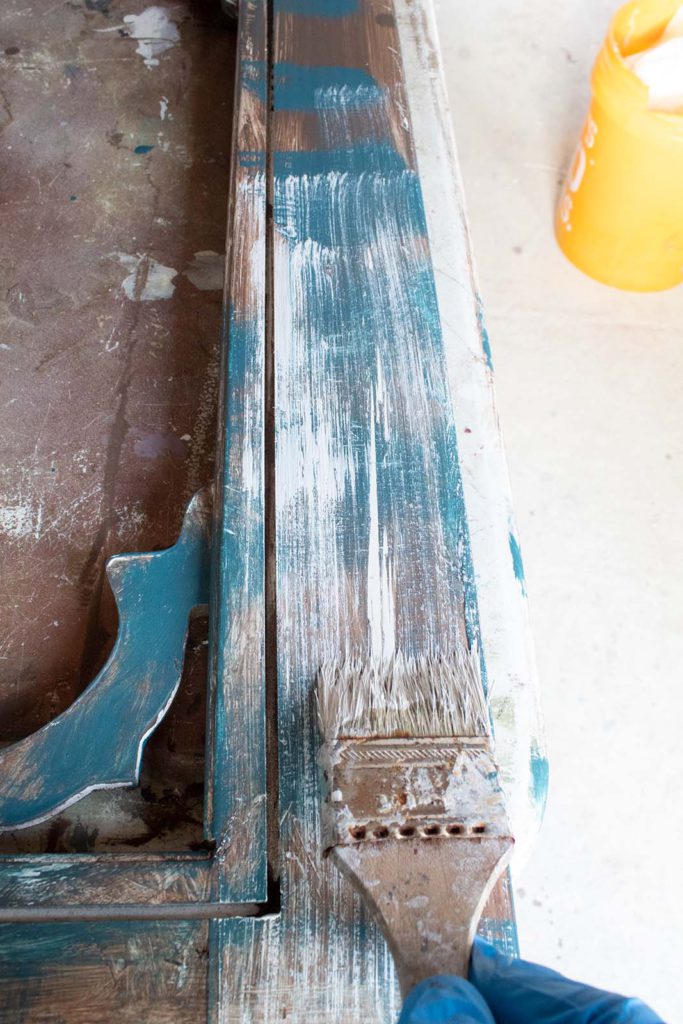
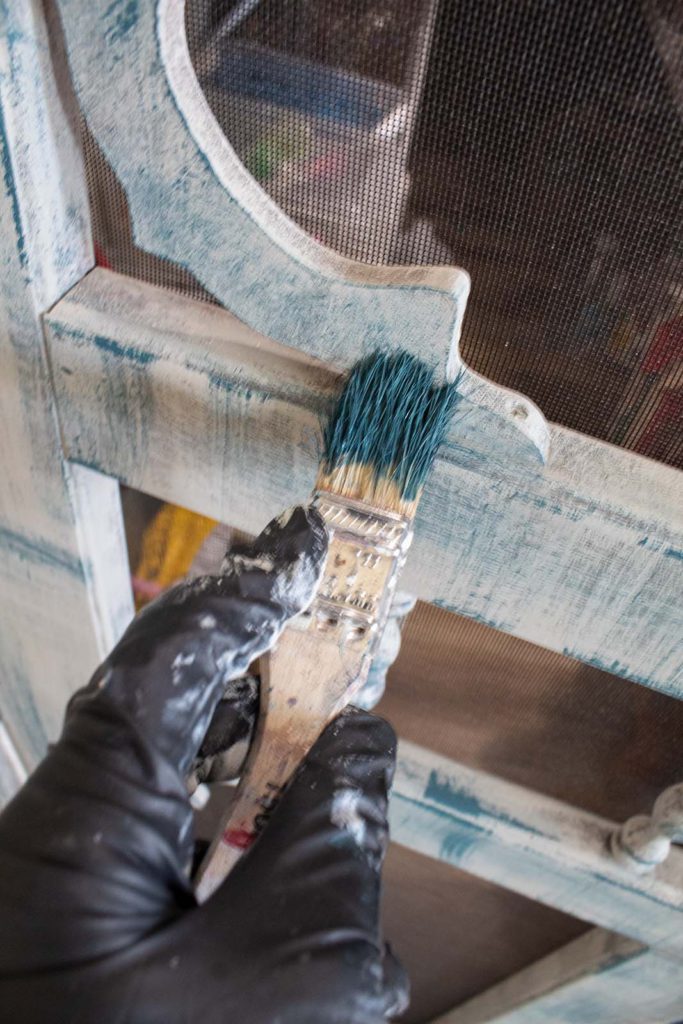
Teal
The next color I apply is my Antebellum Blue by Dixie Belle. This time I take my paint brush and apply the teal color in blotches all around the frame. In some places I add a little more coverage and in other spots I leave it more scant. I’m also dry brushing—meaning I’m not adding any water to my brush or surface.
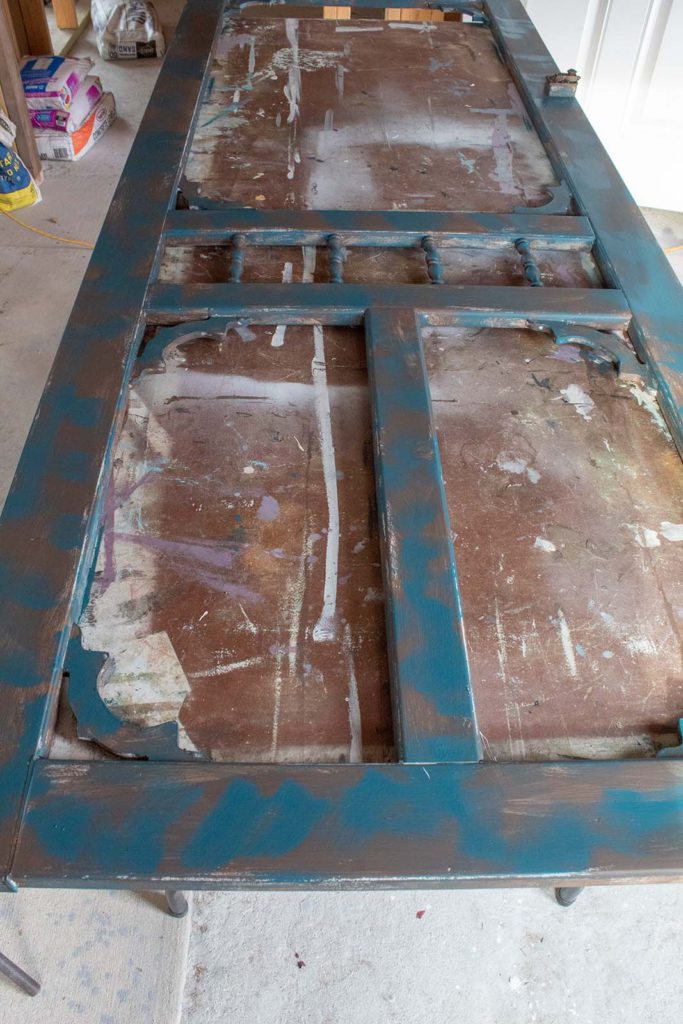
It’s important to remember that these next few layers are adding to the overall look so it is okay for things to look chaotic for a while! Below you can see how the door looked after the teal had been applied all around.
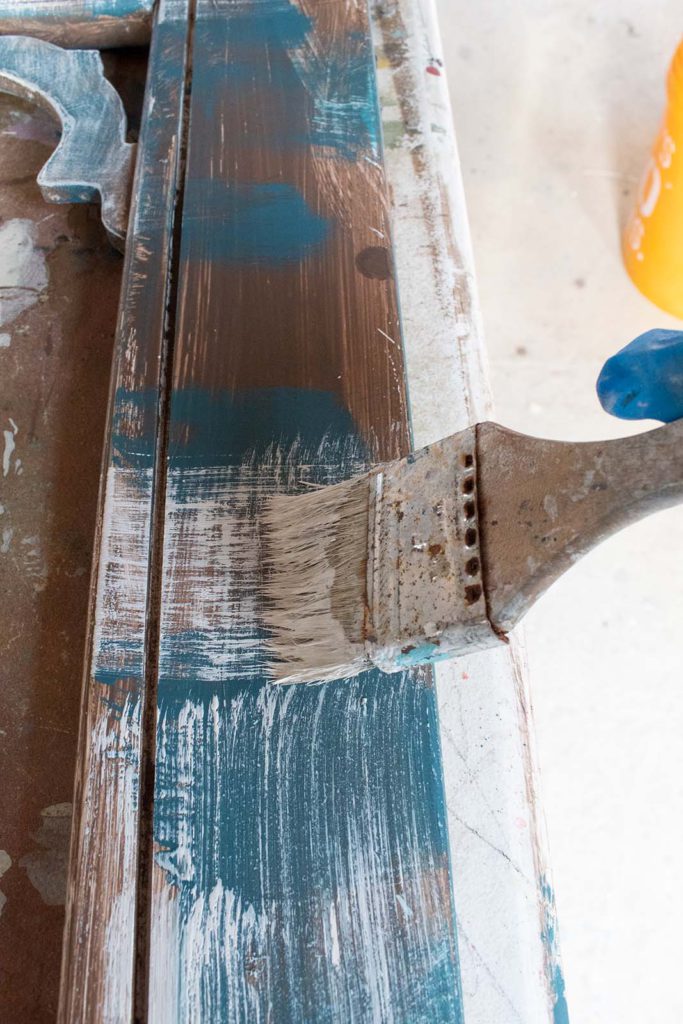
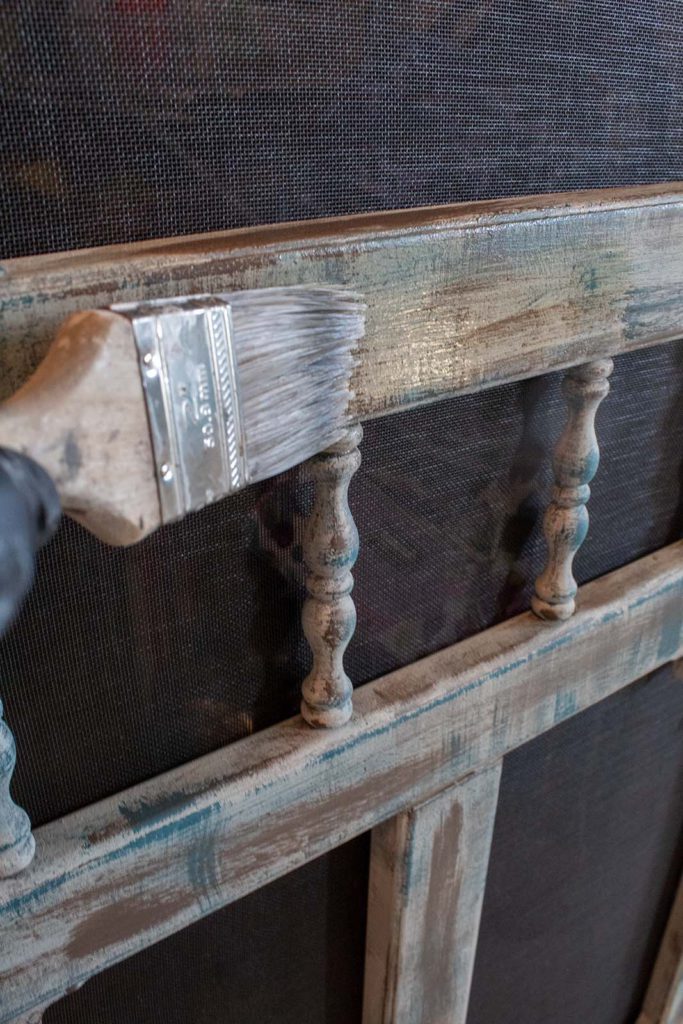
White
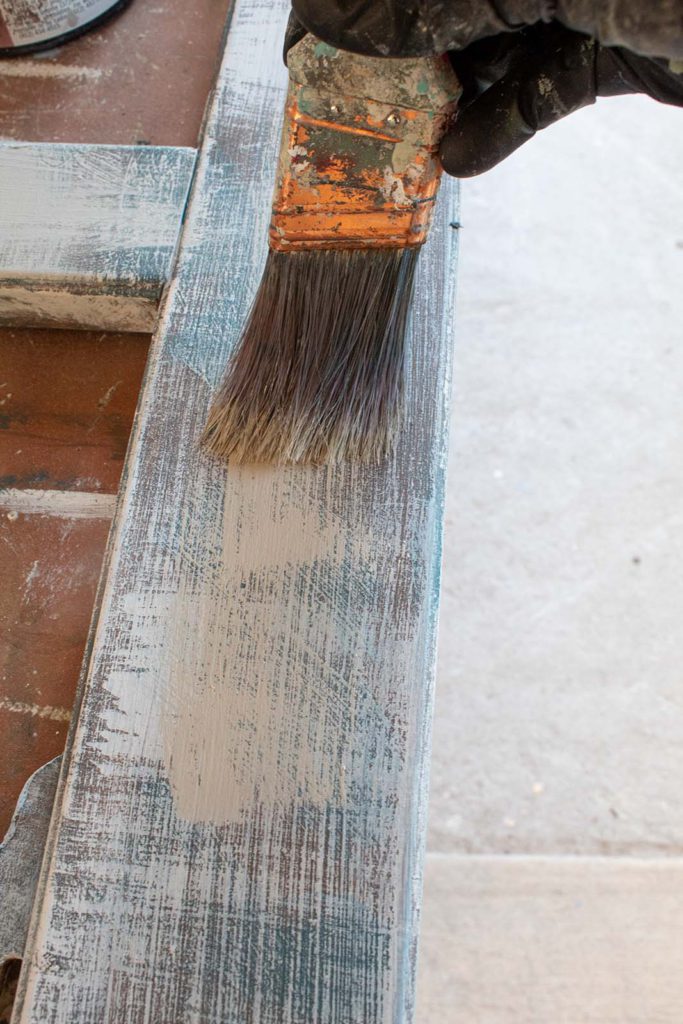
With the next color, Weathered White, I am going to be using a slightly different painting technique. I am going to dry brush strokes in both horizontal and vertical fashion, making things look a little bit more cohesive than the prior two colors. I’m not going to use a lot of paint on my brush because I want to create texture with this layer. I keep my brush parallel to the surface as I paint.
**You can view the technique in the video at the end of this post**
I am careful to leave some of the colors underneath exposed in parts, while using the white to even things up.
This technique of combining horizontal and vertical strokes is going to create a beautiful rustic look, contributing to that vintage aesthetic that I am seeking.
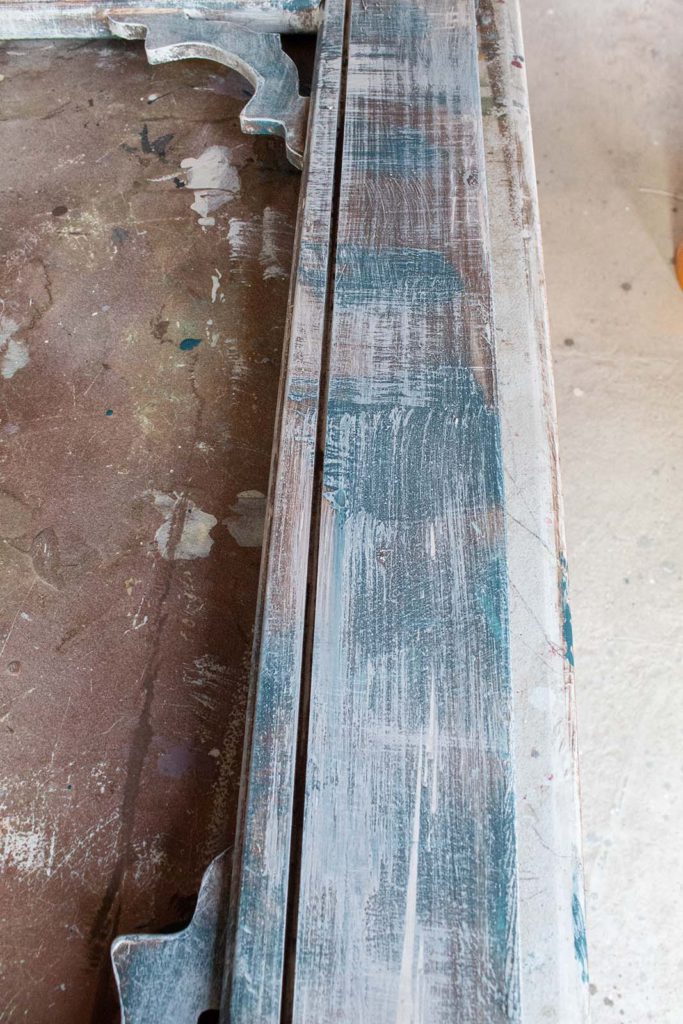
The door is starting to look pretty cool at this point! Loving the various hues coming through and the weathered appeal.
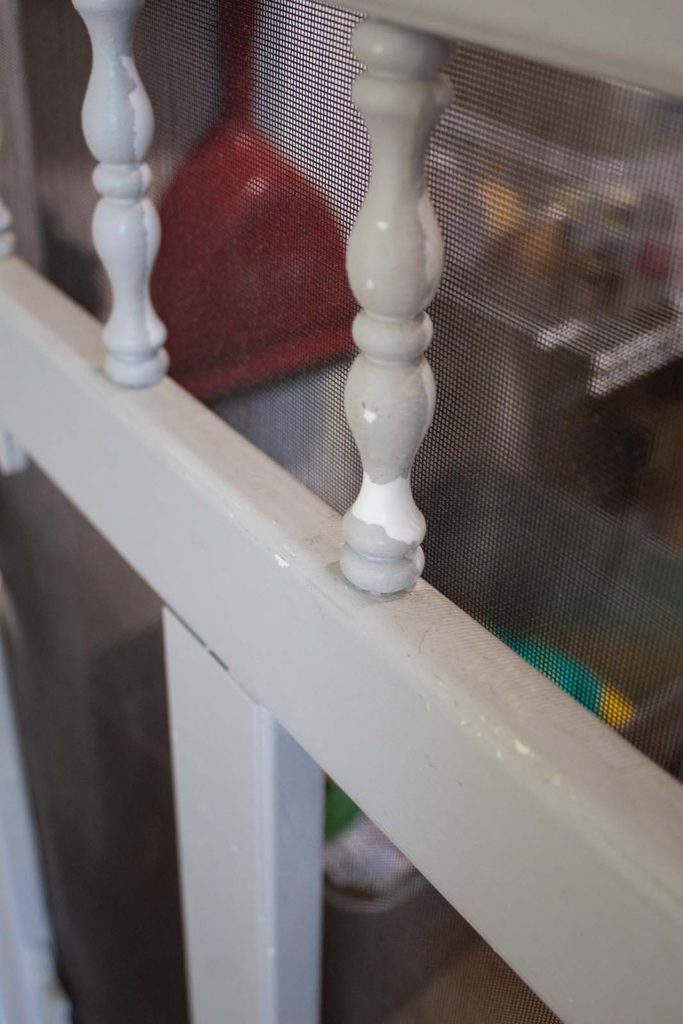
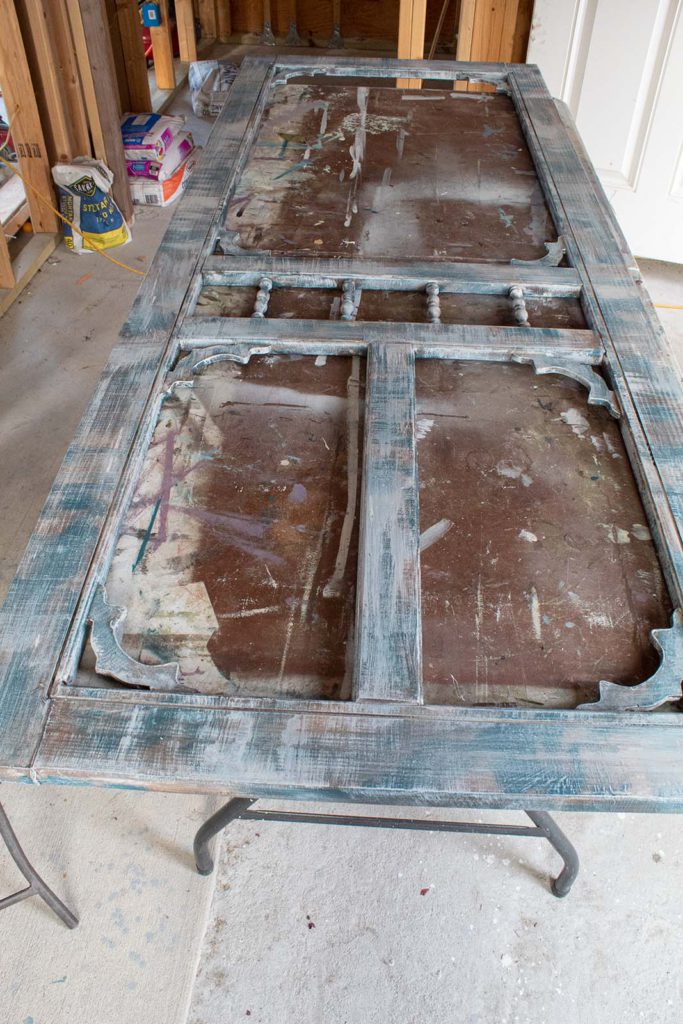
Grey
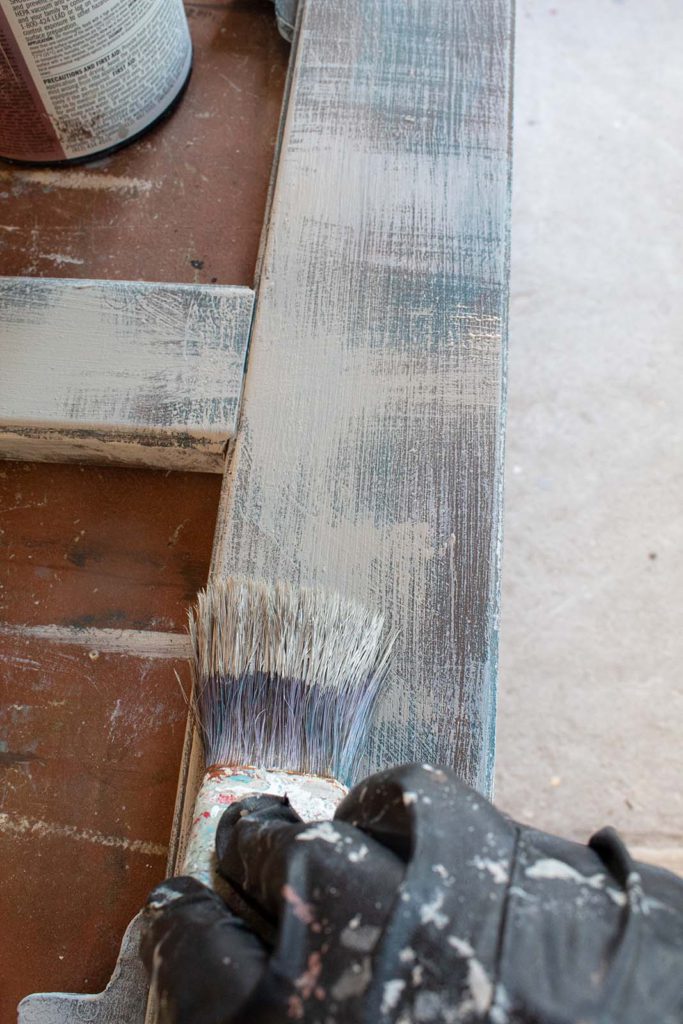
For my final color, I’m using Grey by Behr. This is a lovely grey that leans slightly taupish. I’m going to use the same technique that I used with the white paint in my previous layer.
The grey is going to tone down the other colors and brush stroke marks. I’m using it to pull everything together nicely while still keeping hints of the colors underneath visible.
You can add as much or as little coverage at this point, depending on how distressed or rustic you want your door to look.
What happened next...
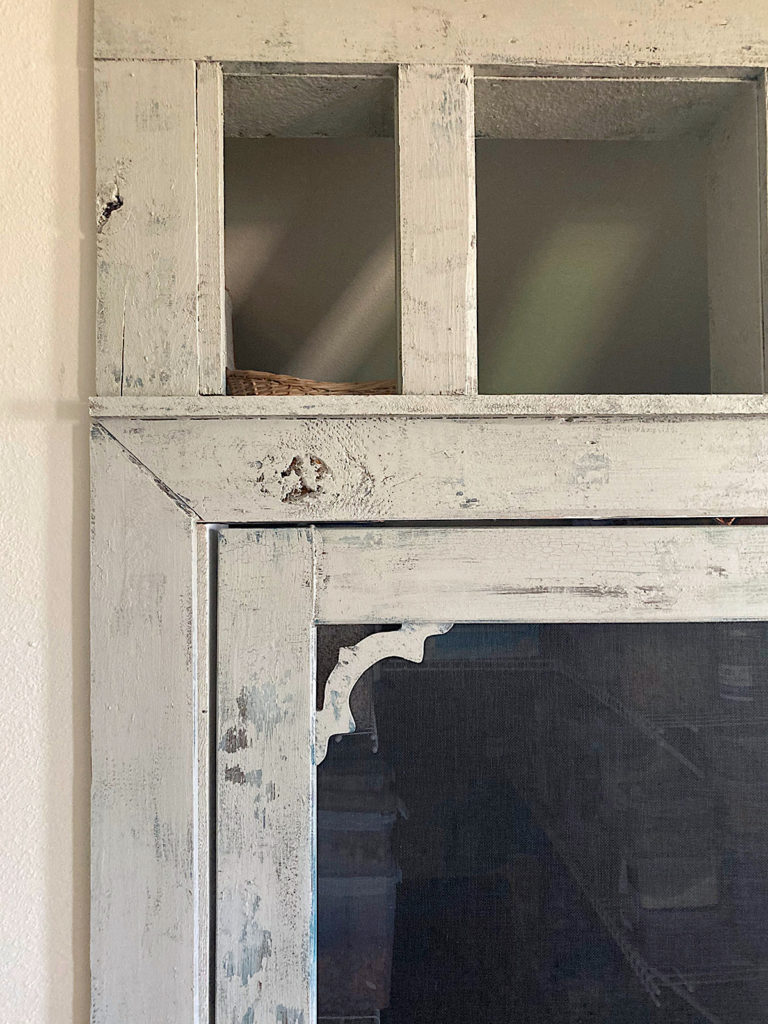
Okay guys so more often than not, when doing renovations, things don’t go exactly as planned. Such was the case with my painted screen door. Once I hung the door I wasn’t fully digging it. It was missing something.
What had looked gorgeous on the table in my garage, now seemed to fall flat against the muted palette in my home. This is a risk I took by removing the door from its surroundings. It’s important to check how colors and dimension will harmonize in the space.
I’m going to add cracked patina to the screen door to turn the “worn” aesthetic up a notch or two. But first I have to apply some quick layers of the prior colors. The effect of this product is more pronounced over contrasting colors.
Step 3. Repeat Brown & Teal Colors
Without taking the door back off, I apply some more of the brown, the Chocolate Swirl. But this time I don’t go as heavy. I simply stroke some brown in parts. I do the same with the teal.
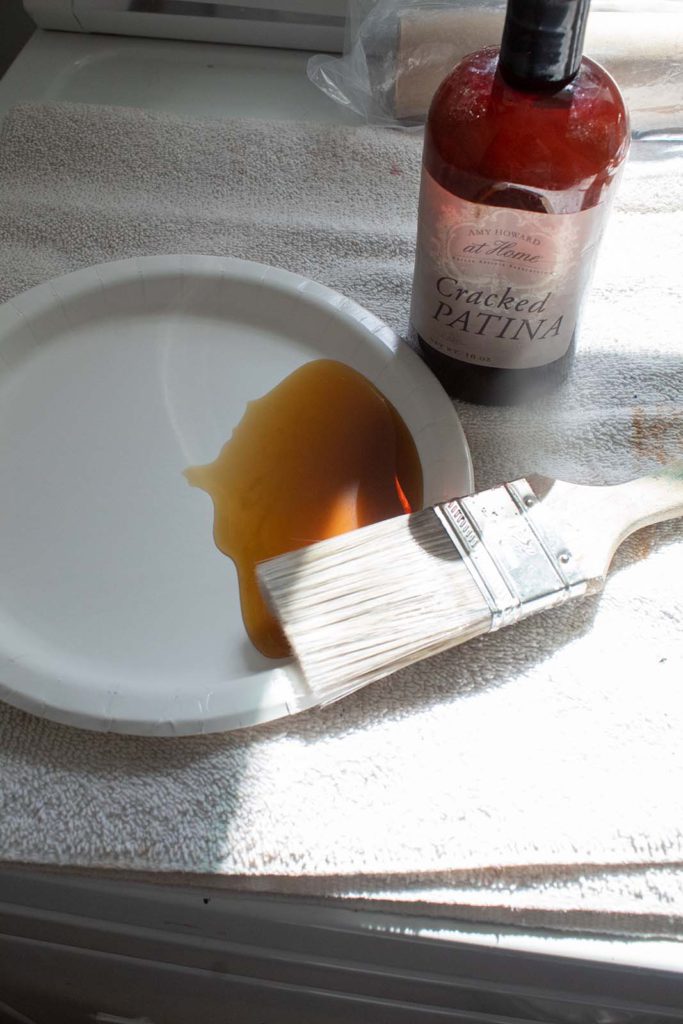
Step 4. Apply Cracked Patina
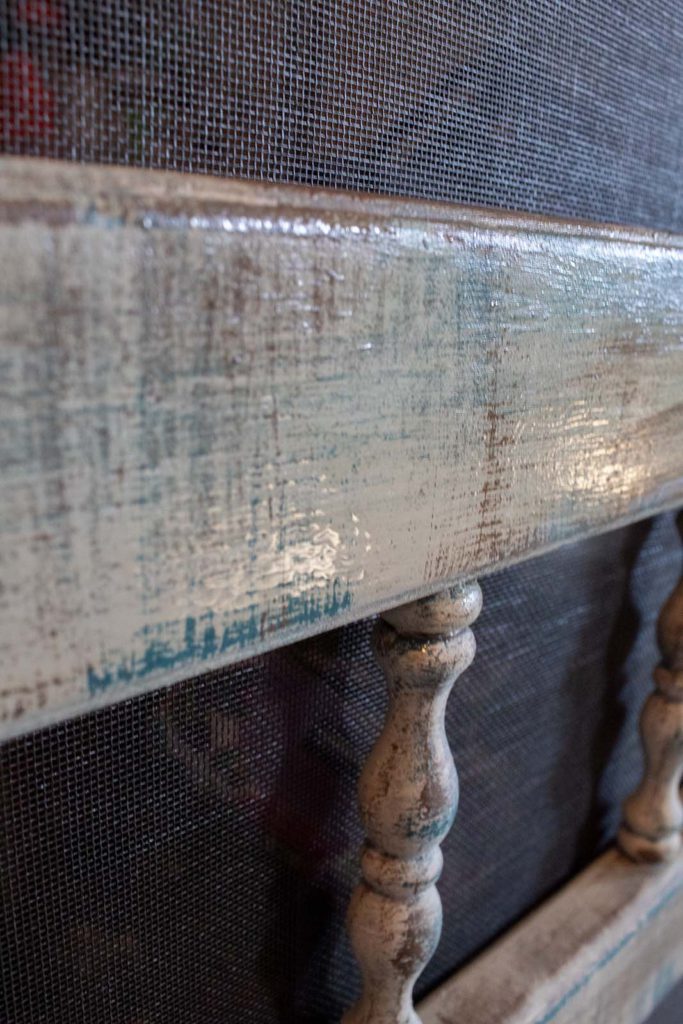
After a few minutes (these small streaks of chalk paint dry very quickly) I begin applying the cracked patina. I simply paint it on. You will see how it goes on wet and dries with some sheen and a slight change in the color; almost antiquing the colors in place a little. But this will be covered anyway with our final coat of paint.
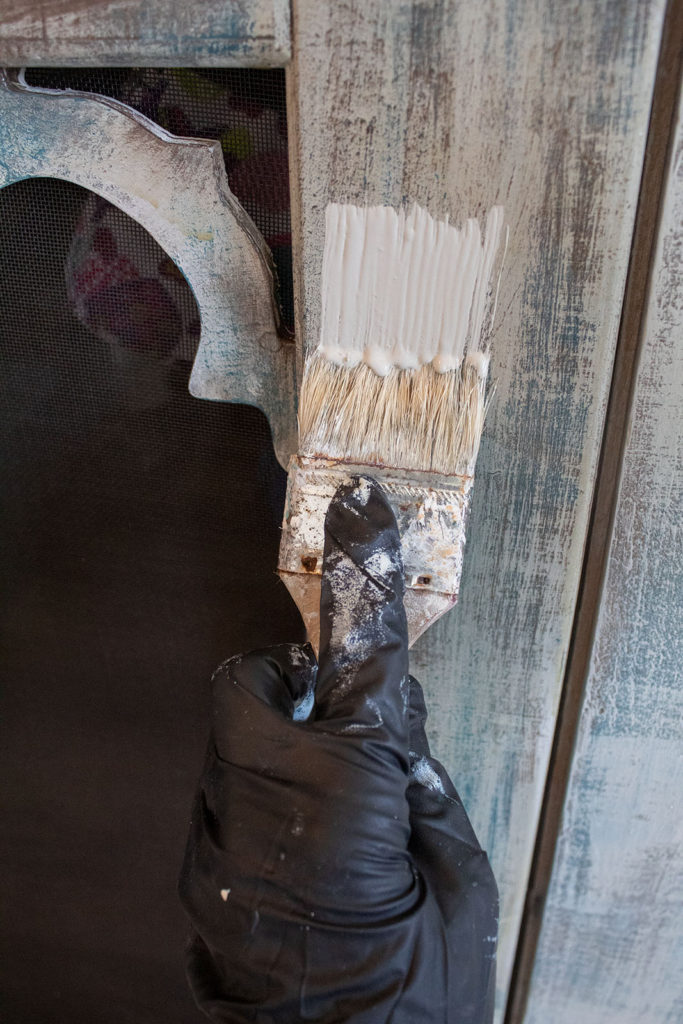
Step 5. Final Step, More Grey
I wait an hour for the cracked patina to dry. Next comes the magic! I use my Grey paint, the same one I used before as my top color, and I begin applying it over the door frame with a chippy paint brush.
Working in small sections at a time, I apply a thick coat of my paint with my brush parallel to the surface. I wait for that section to dry for a couple minutes.
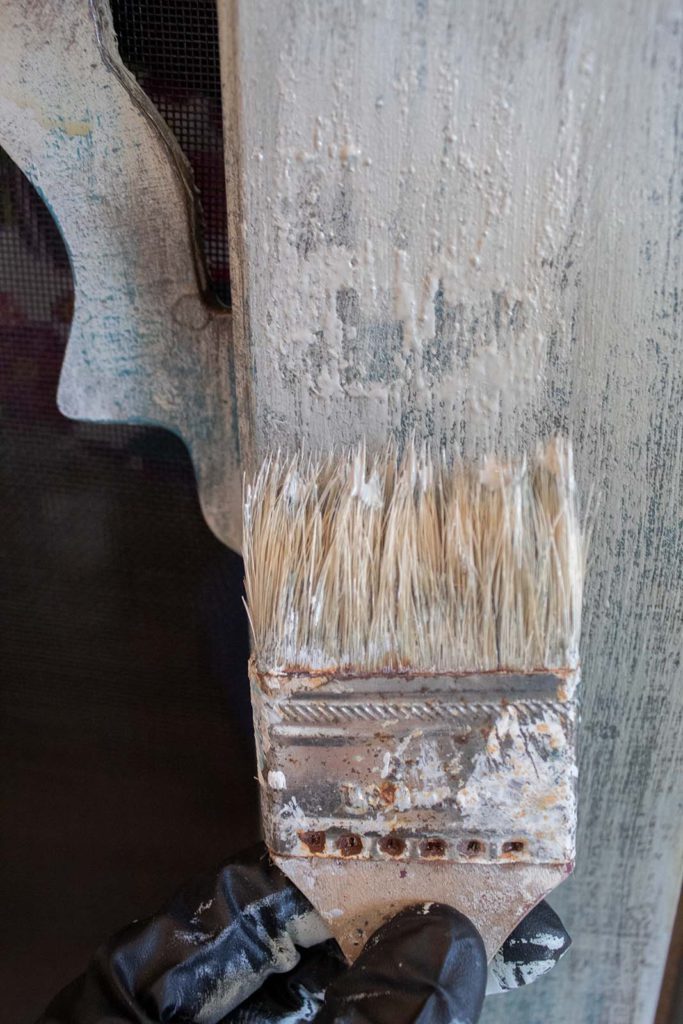
Then, with the same brush and still parallel over the area, I tap the brush onto the painted area in several spots. You will see how the brush pulls off some of the paint. This creates a beautiful distressed look.
This is why you want more colors underneath because once the grey lifts in sections, the colors and textures come through in a wonderfully aged way. Wherever you tap the brush, the patina product will also make the paint more textured, which is what I wanted for this look.
Check out the video of me doing this at the bottom of this post. It is so satisfying!
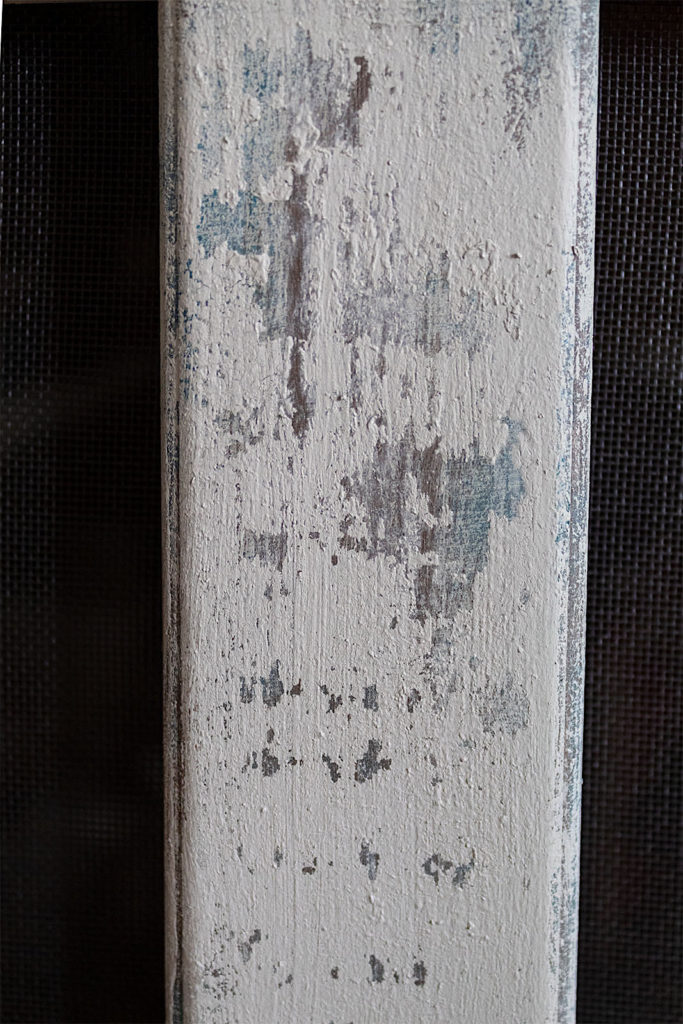
You can also experiment with different types of strokes and paint amounts around your door. I liked the variation in aesthetic that resulted from trying different things. In some places I didn’t do any paint lifting. I just let the paint sit and after a while it started to crack. So cool!
Watch the Video of this Renovation
To learn more about how we made the opening for our pantry door look like an old farmhouse, visit ourKitchen Post.
So my friends, isn’t the door just dazzling with all its texture and wear! Do you have a door you would like to try this out on? Let me know in the comments below. I always love hearing from you!