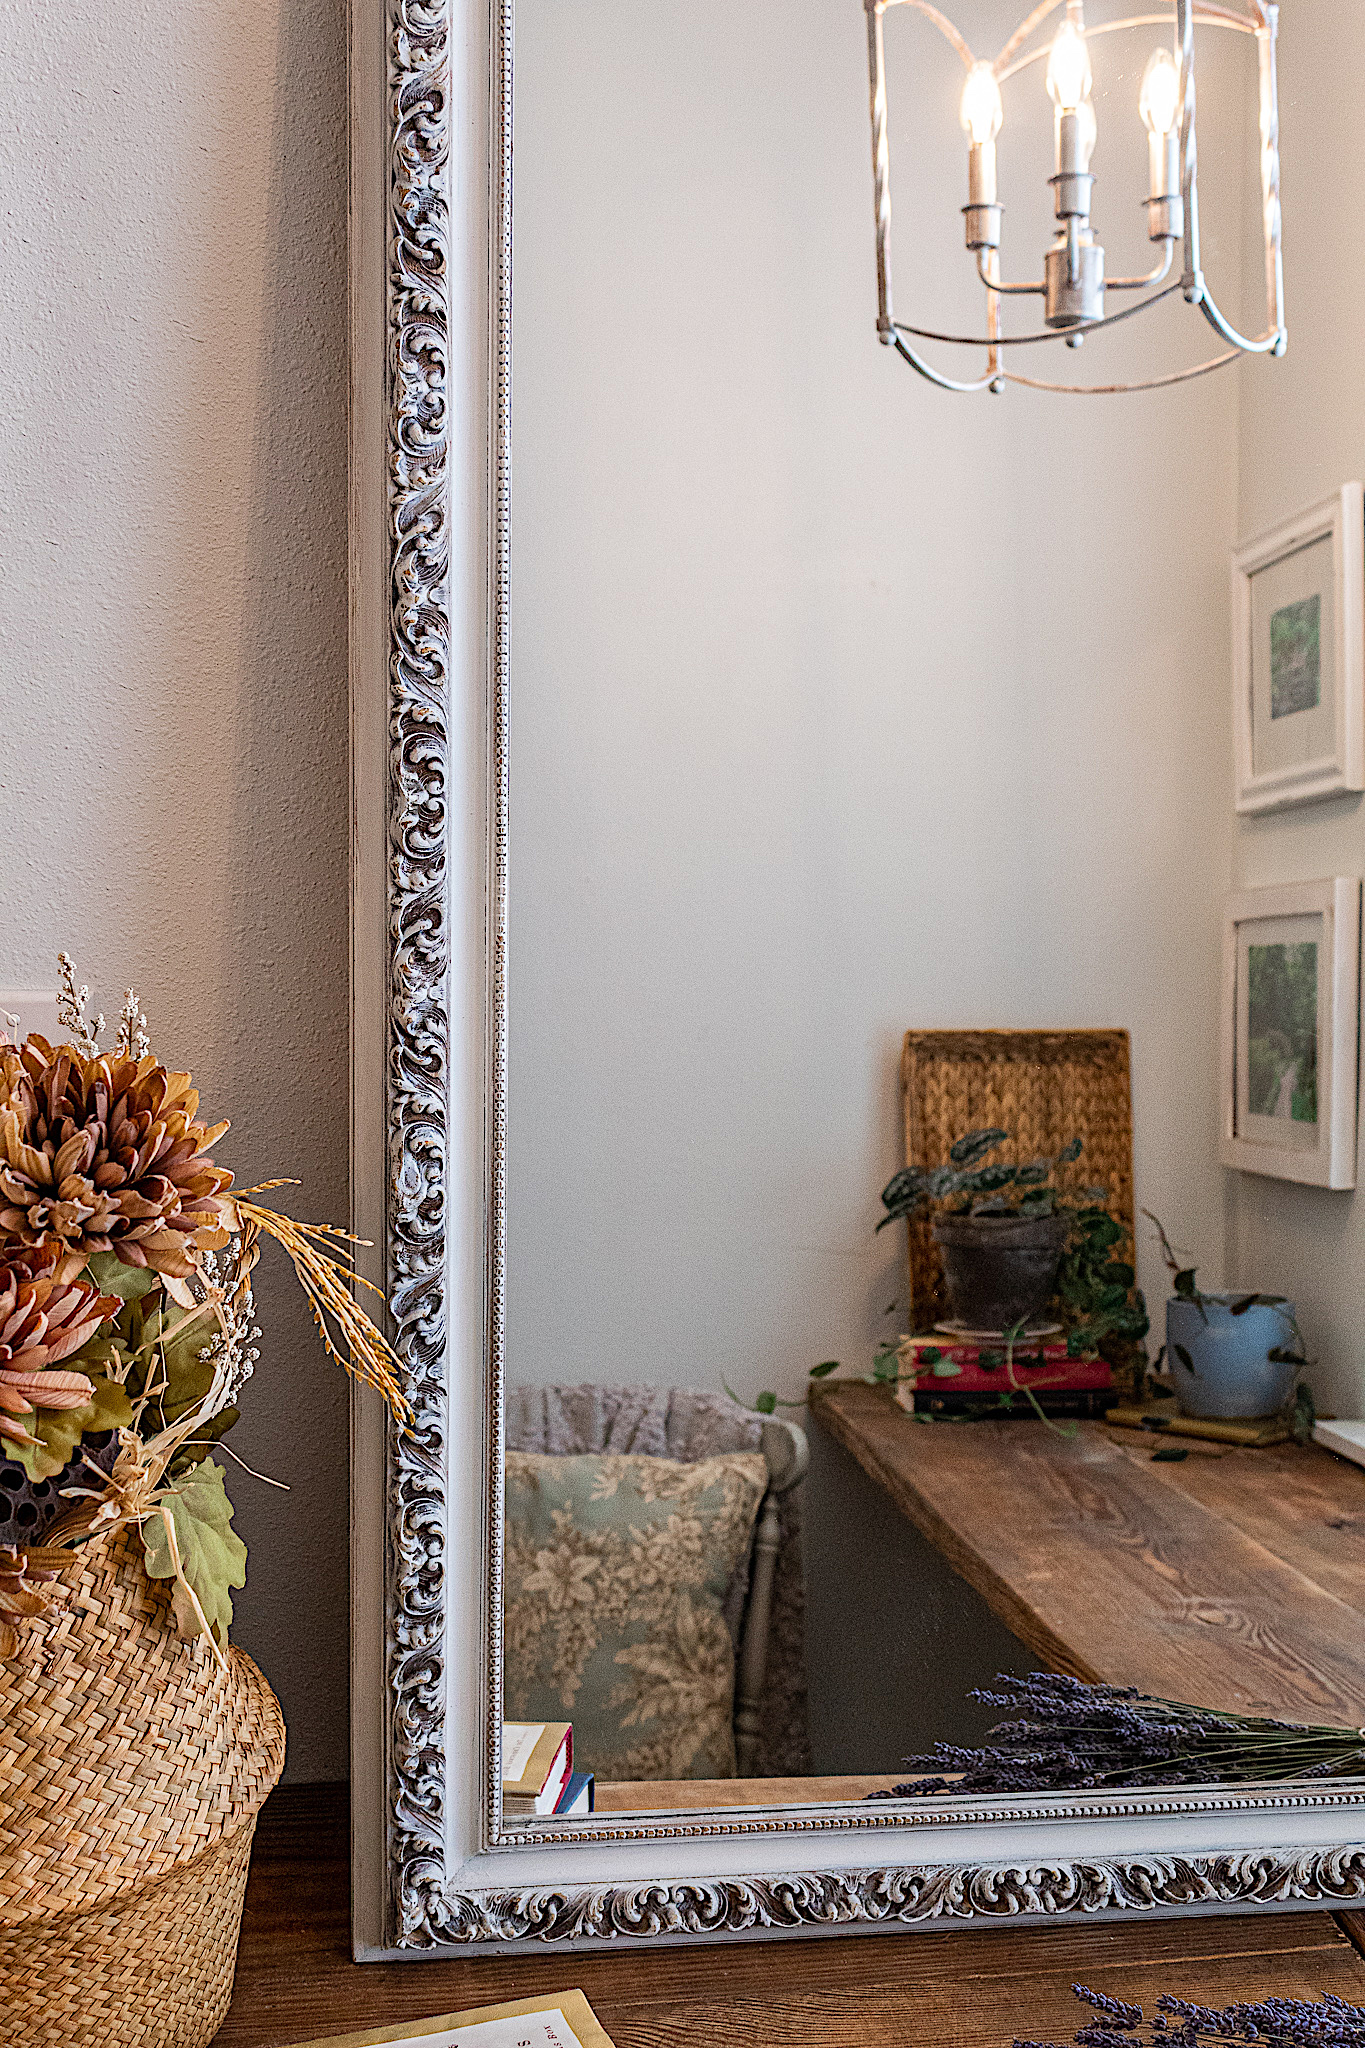
Oh the ornate yet effortless aesthetic of French decor…I am so captivated by it. I often find myself inspired to replicate French styles through my projects. This mirror, with all its fine details and grand size, spoke to me of a vintage, French Provincial look. This tutorial shares the steps I took in an attempt to create a combination of rustic and elegant beauty. Take a look…
I first lightly sanded the mirror frame— just a rough sand to prepare for painting. Next I cleaned the mirror using a big soft bristle cleaning brush. The brush was helpful for getting into all the crevices of the mouldings. For my final cleaning step I sprayed the frame with my vinegar solution.
Here is a look at the mirror when I bought it. Someone had painted a bright blue stripe all around. That had to go. But the gold was a keeper because it would serve as a perfect vintage undertone.
2. Paint
Because this mirror already had some gold paint on it, I did not need to add a color for my first layer. I would recommend if you don’t have a metallic already on your piece, to spray paint it in gold or bronze, nothing fancy, just a rough coat. Once you distress, the metallic will come through your top paint color beautifully.
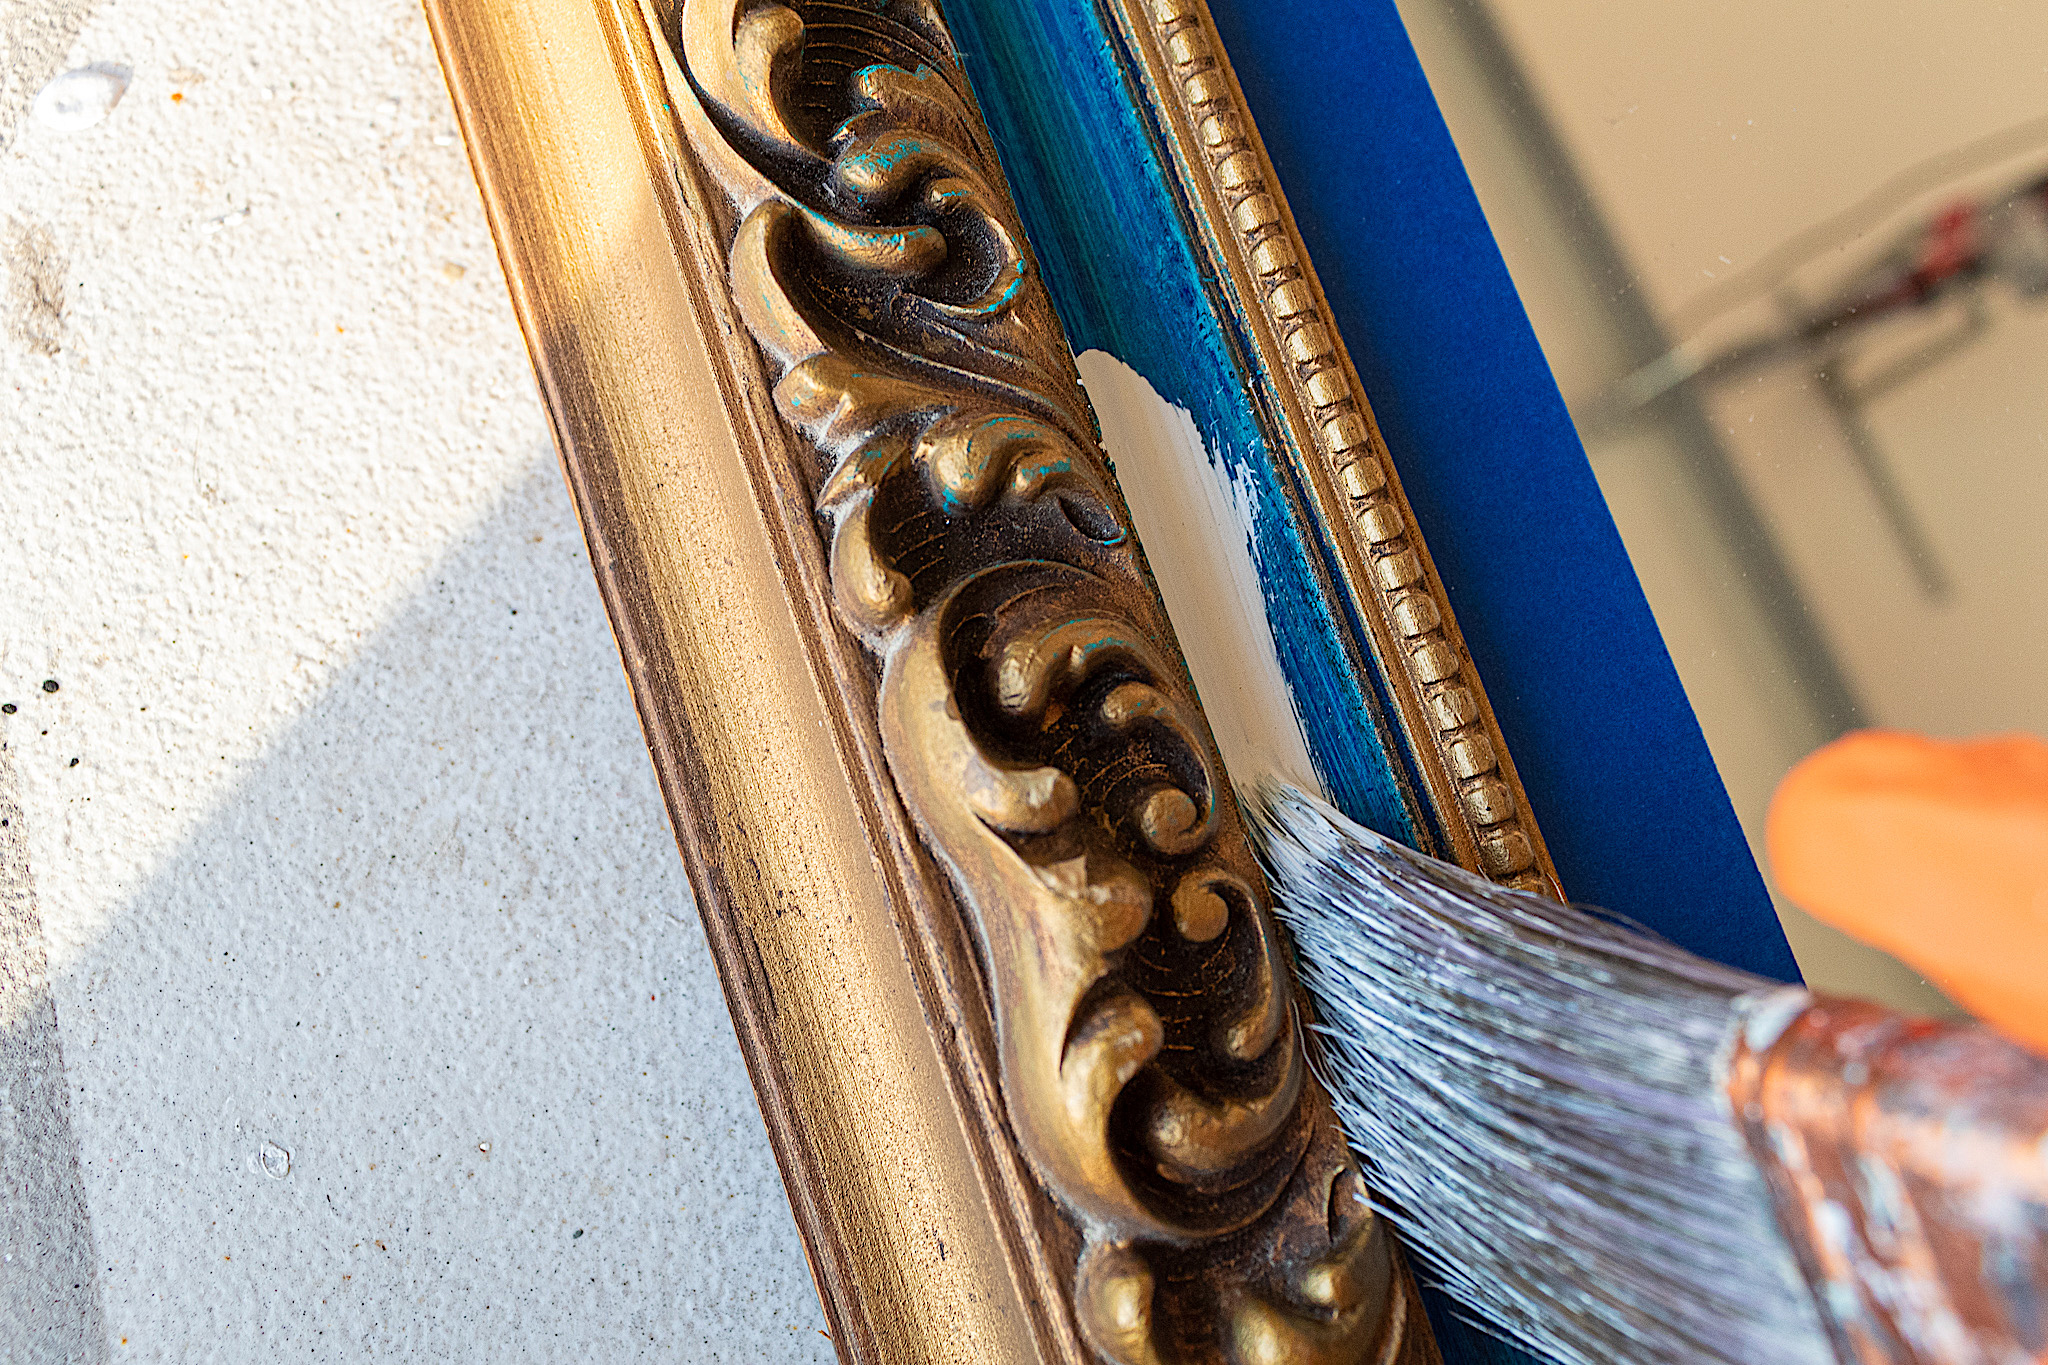
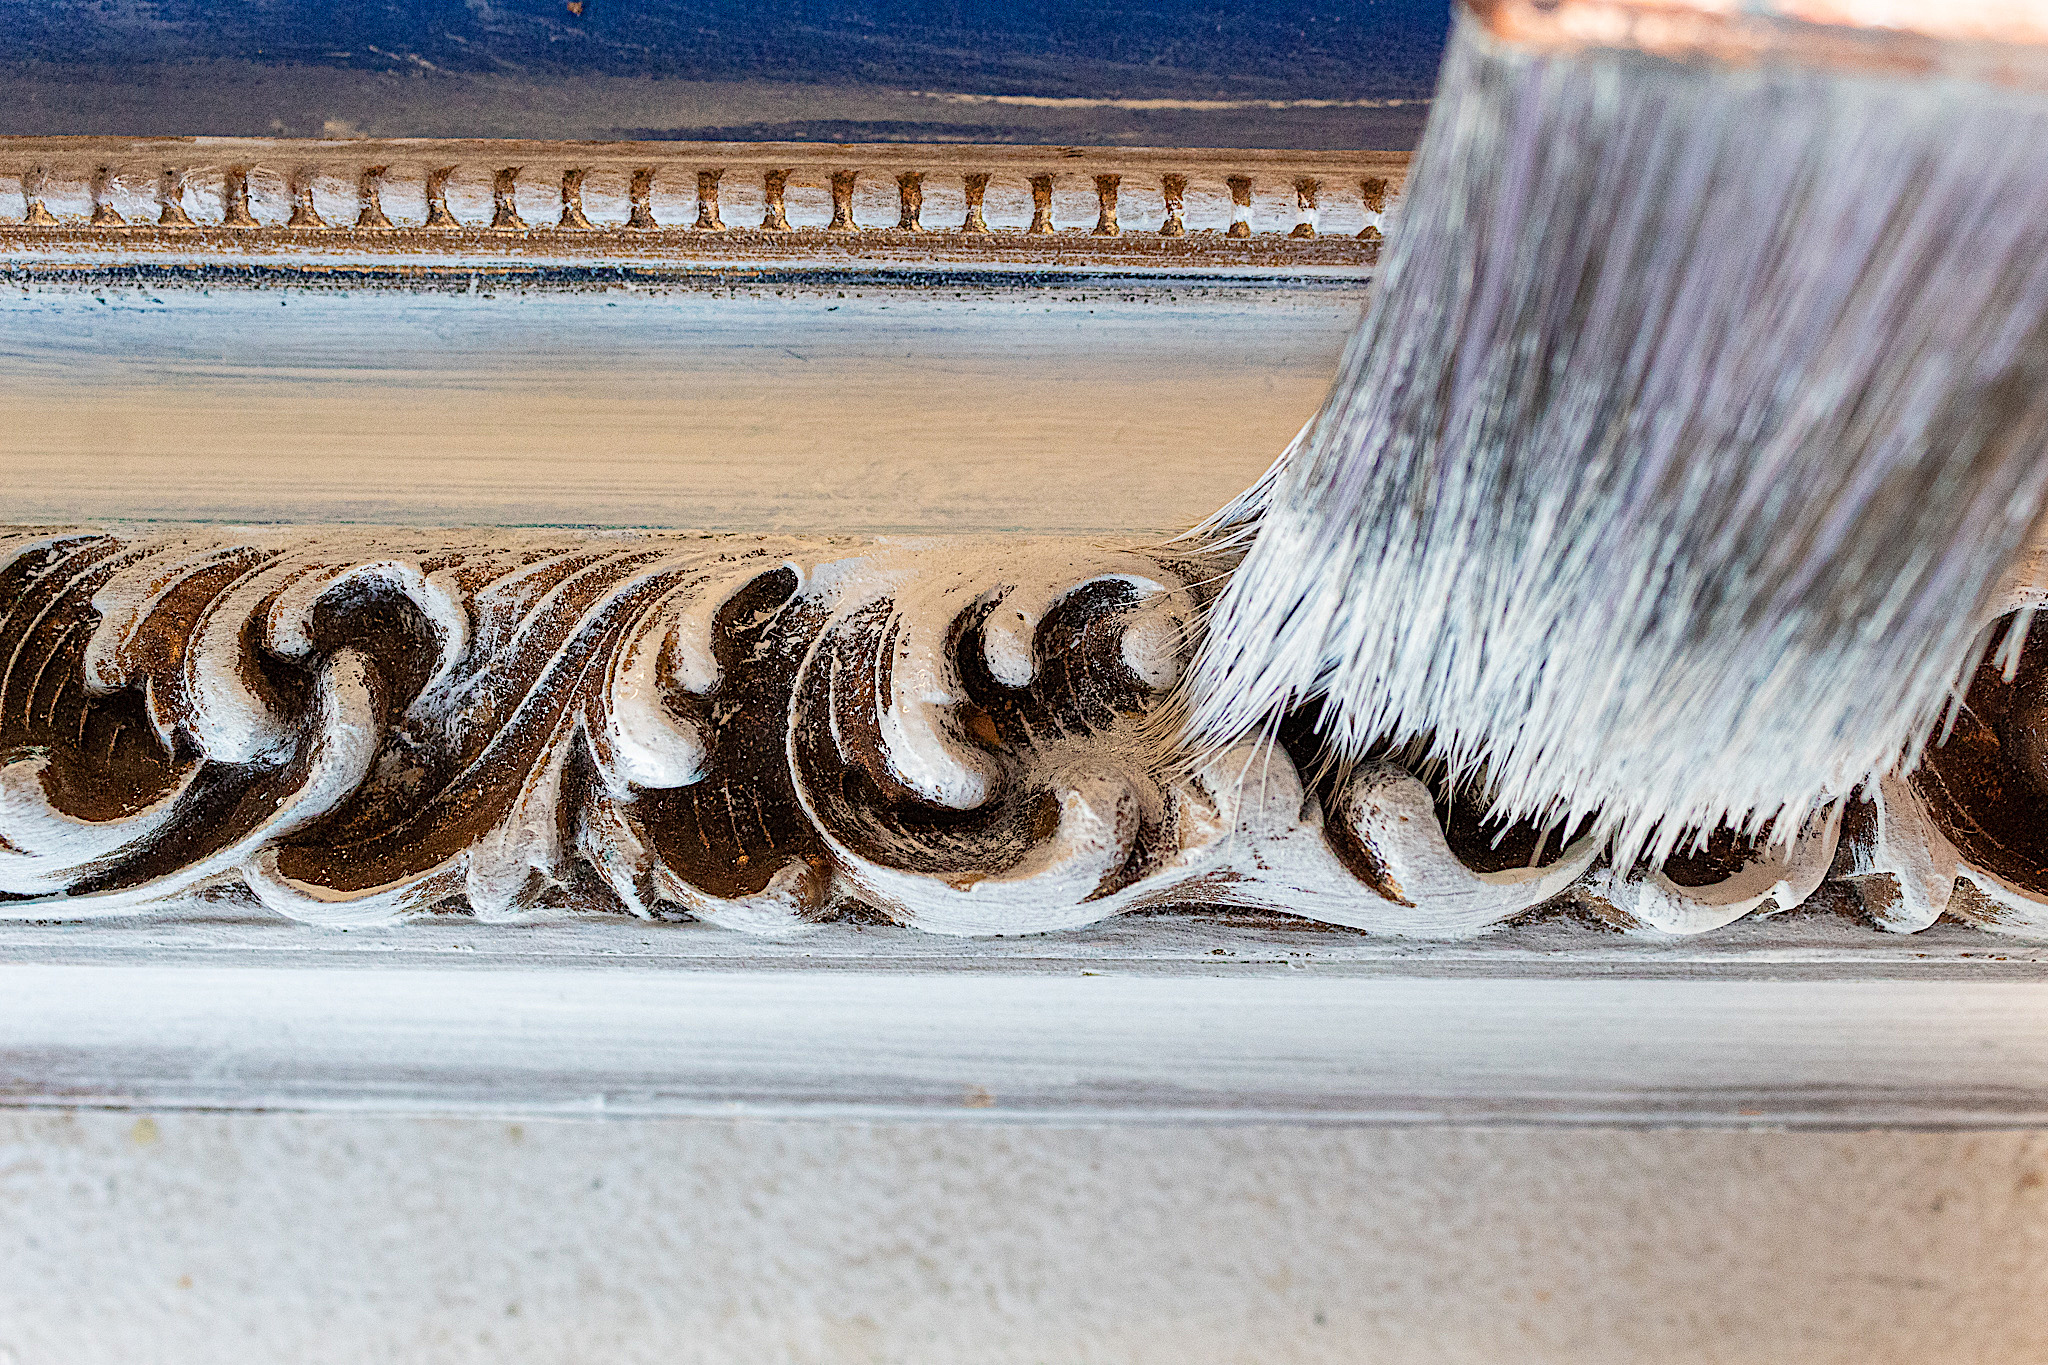
My first task was to paint over the blue stripe. It took 3 coats of my Wheathered White paint to hide the blue. For the details of the frame I used a dry brushing technique. Your technique is what will help create that vintage appeal.
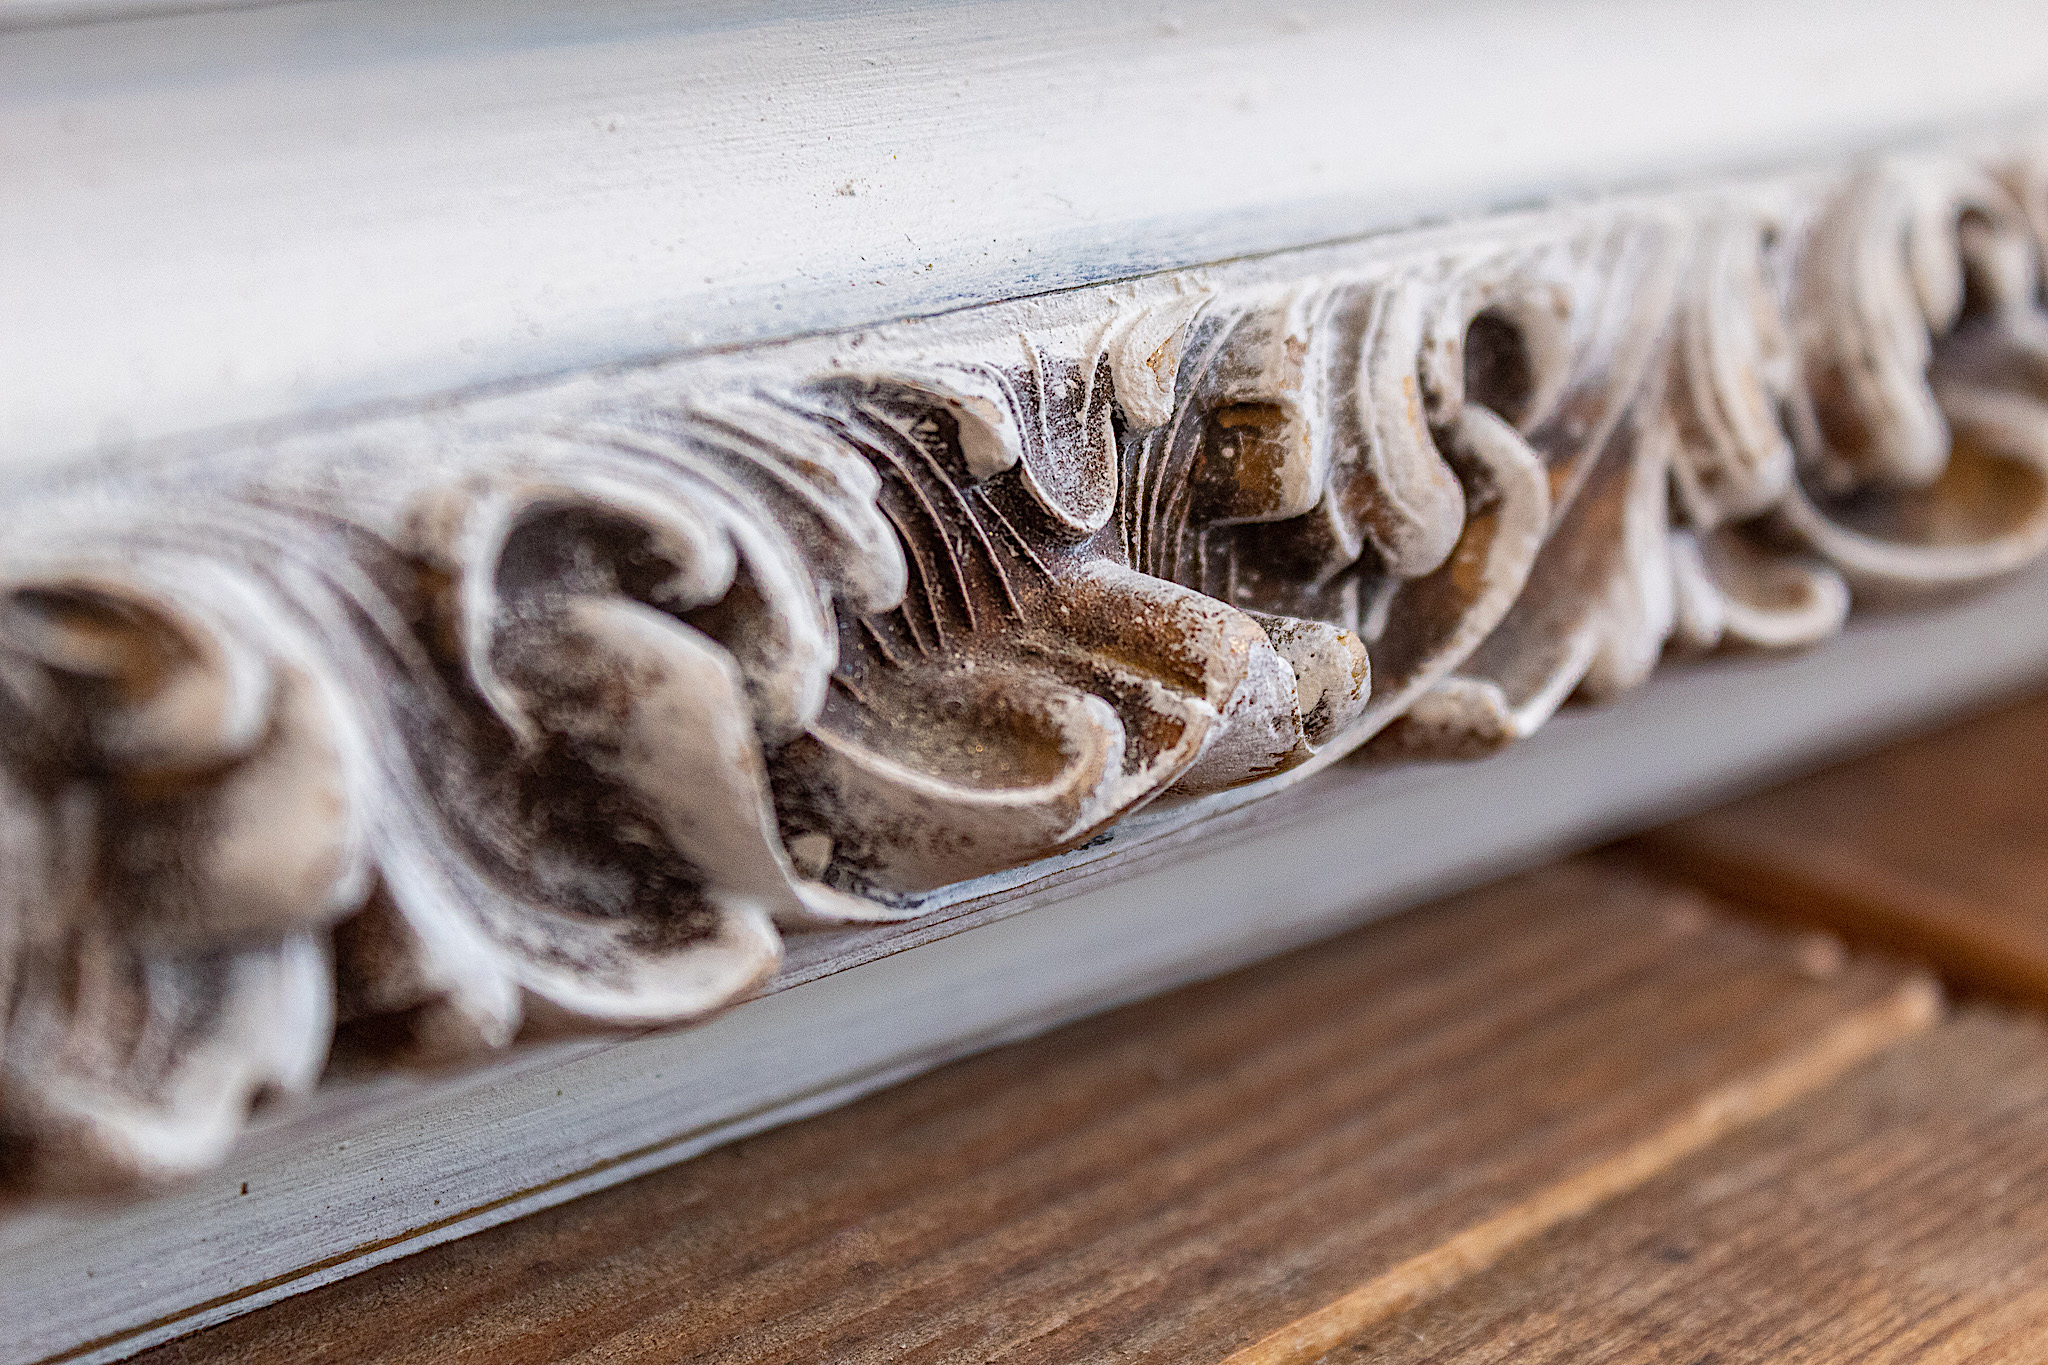
You don’t want to entirely paint over the mouldings. You want depth and detail definition with the two tones of colors. Simply take your brush and whisk it over your mouldings using only a small amount of paint on your brush. Leave some of the gold exposed. I used a lot of circular motions as I went over the frame’s carved details.
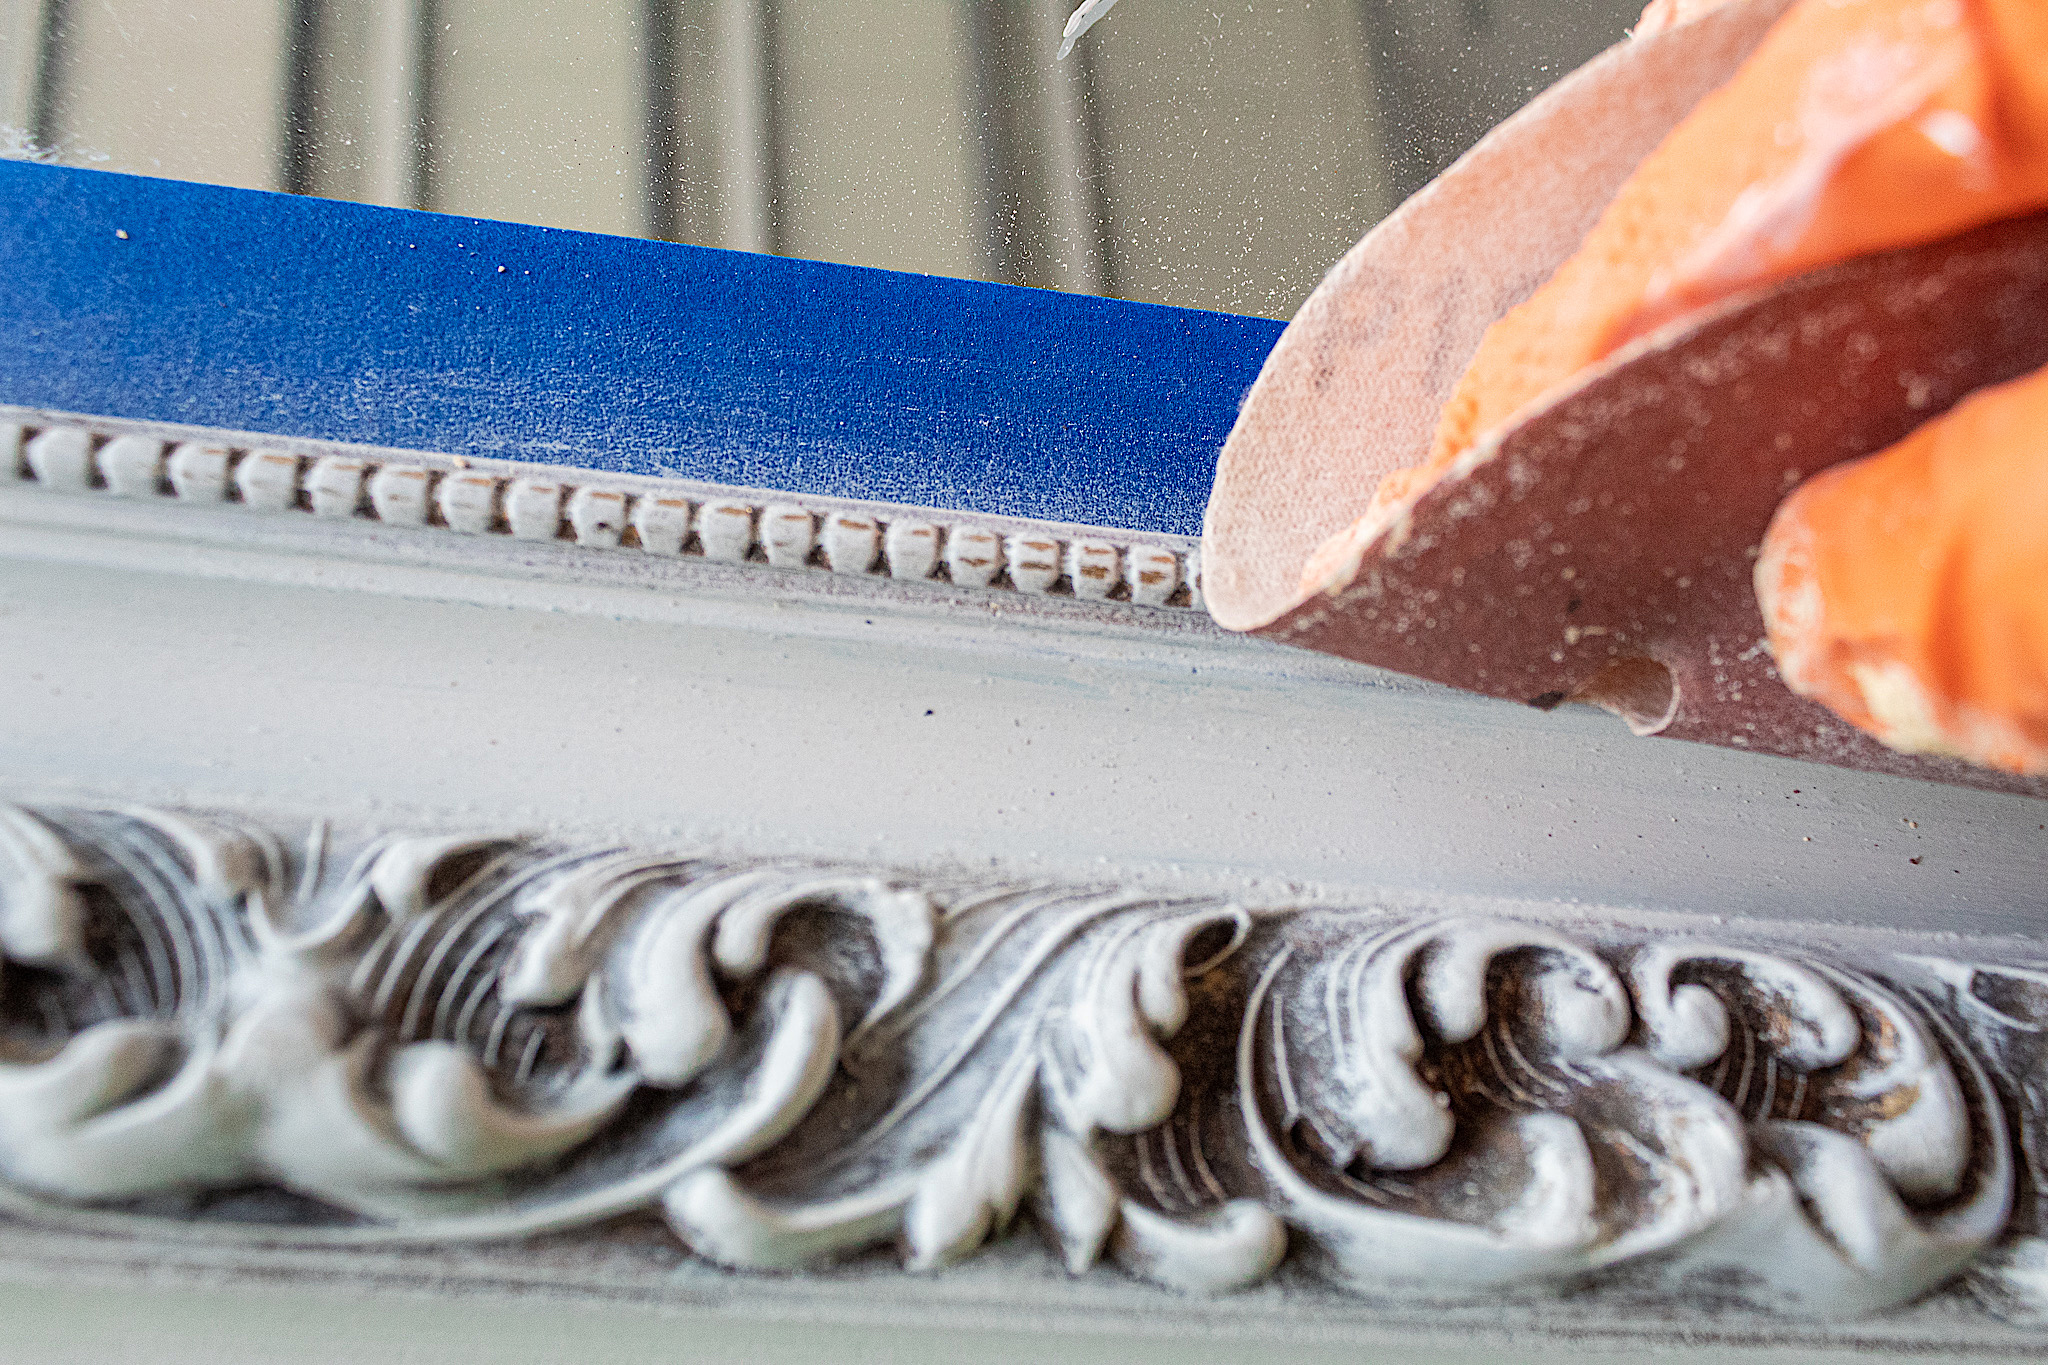
3. Light Distressing
Once your paint is dry you can begin your decorative distressing. Using high grit sand paper (140 or higher) gently go over the mirror frame exposing the gold from your first layer. If you press too hard you can risk removing the pretty gold and going straight through to the wood.
You only need to distress enough to create a subtle detail. The look here is not a heavy distressed aesthetic. We are aiming for elegantly aged.
Disclosure: Some of the links provided are affiliate links. By purchasing through these links you are supporting this family blog and the work we do and there is no extra cost to you. Full disclosure HERE.
My Video Demo Of Distressing & Waxing
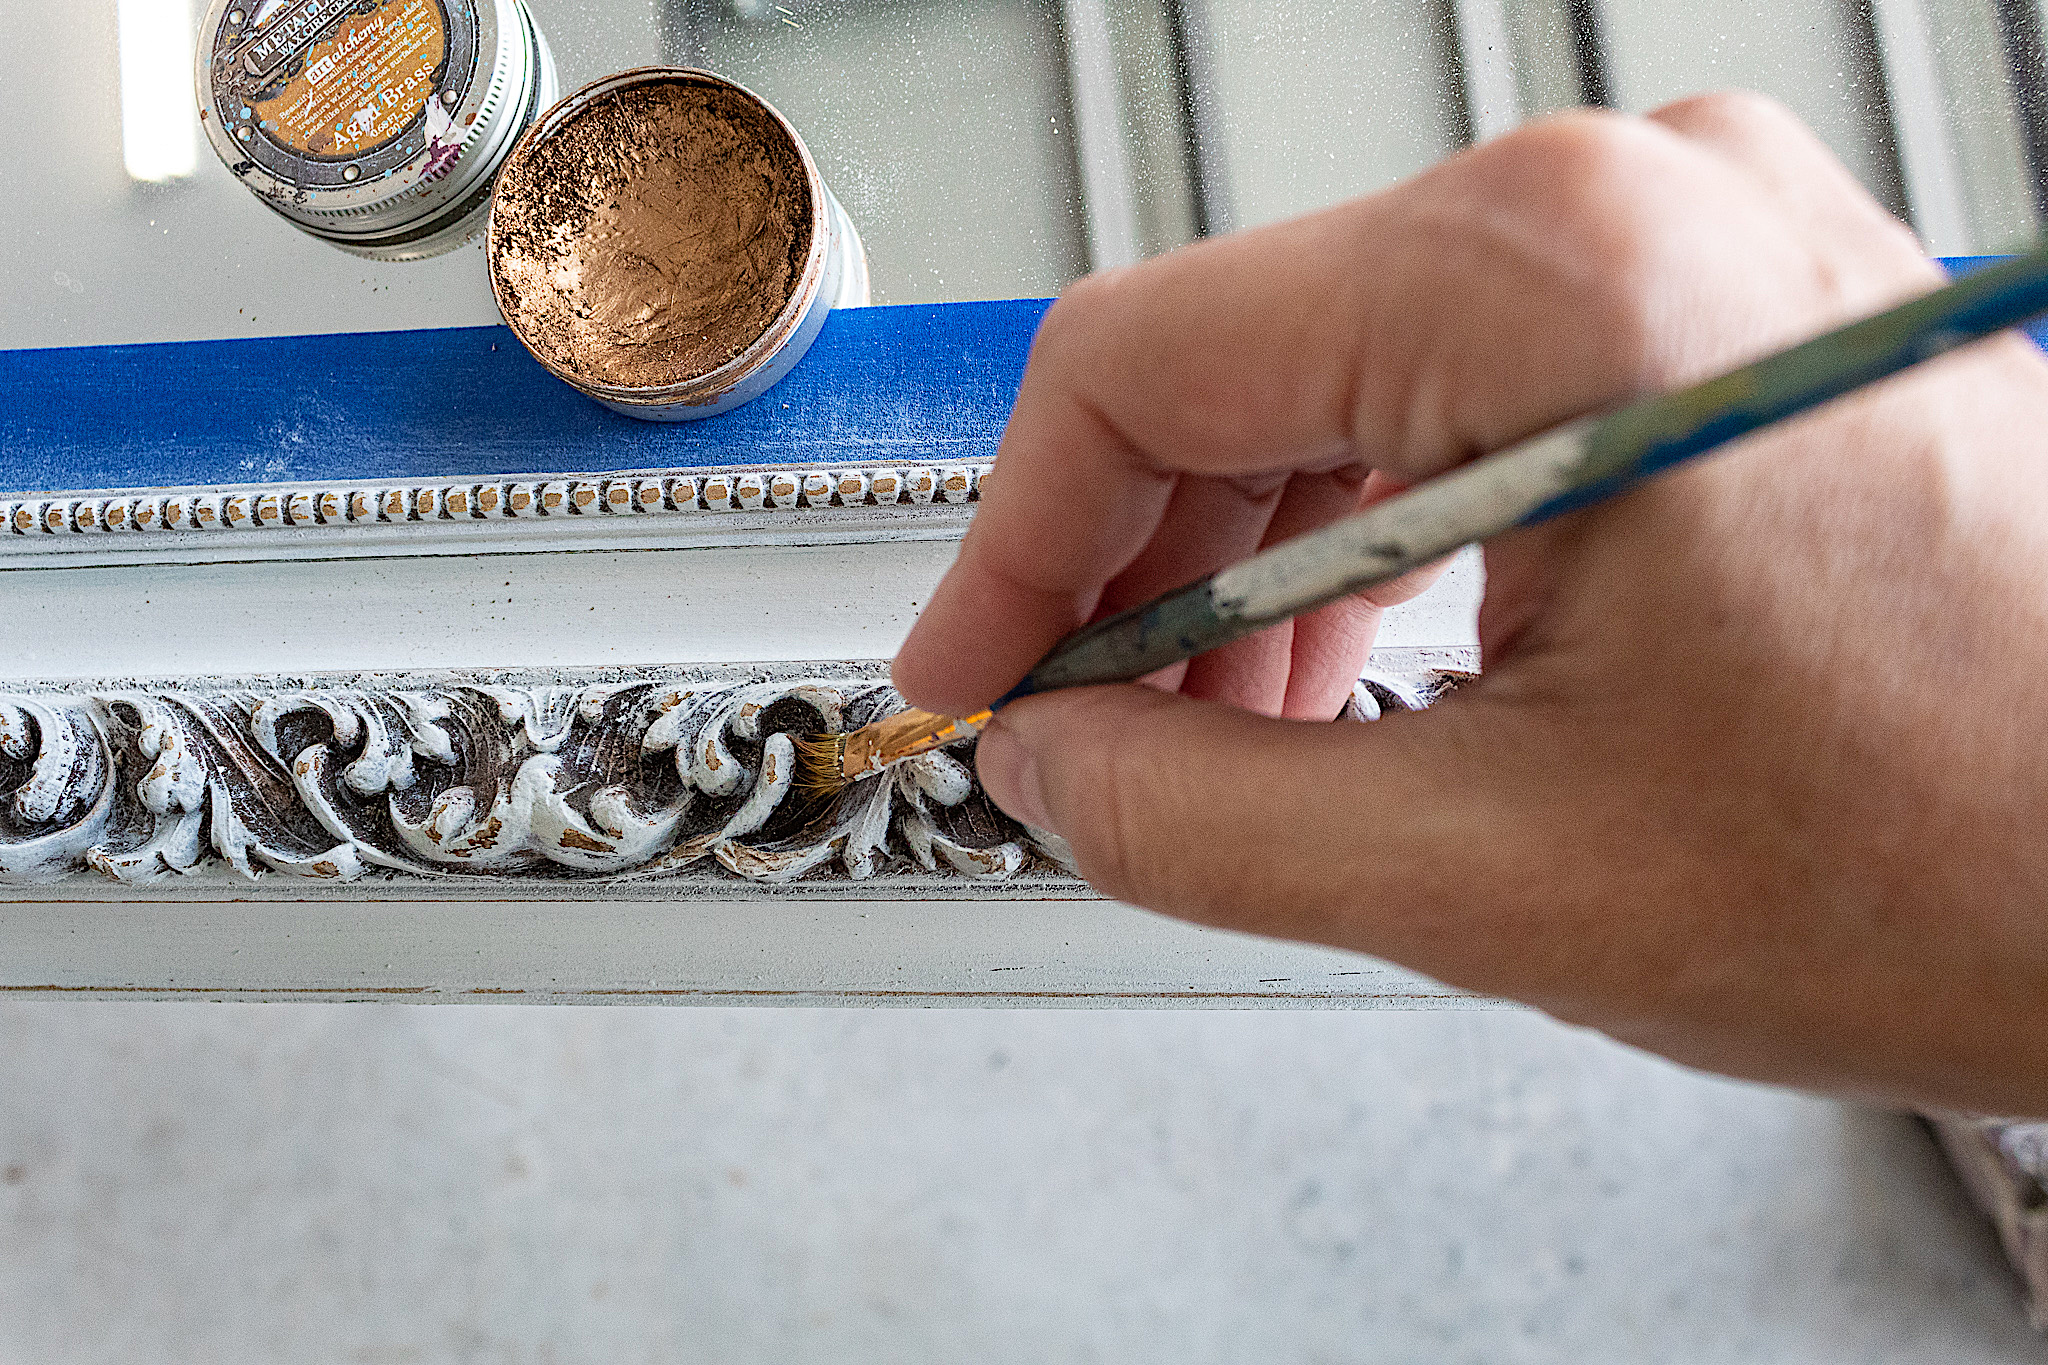
4. Metallique Wax
For a final detail, I applied my Aged Brass Metallique Wax all around the carvings. By adding some metallic sheen in a deeper color I’m creating even more depth and elegance. I used a small painting brush to get the wax in the crevices of the mouldings. I didn’t overdo it—only enough to add some sparse detail.
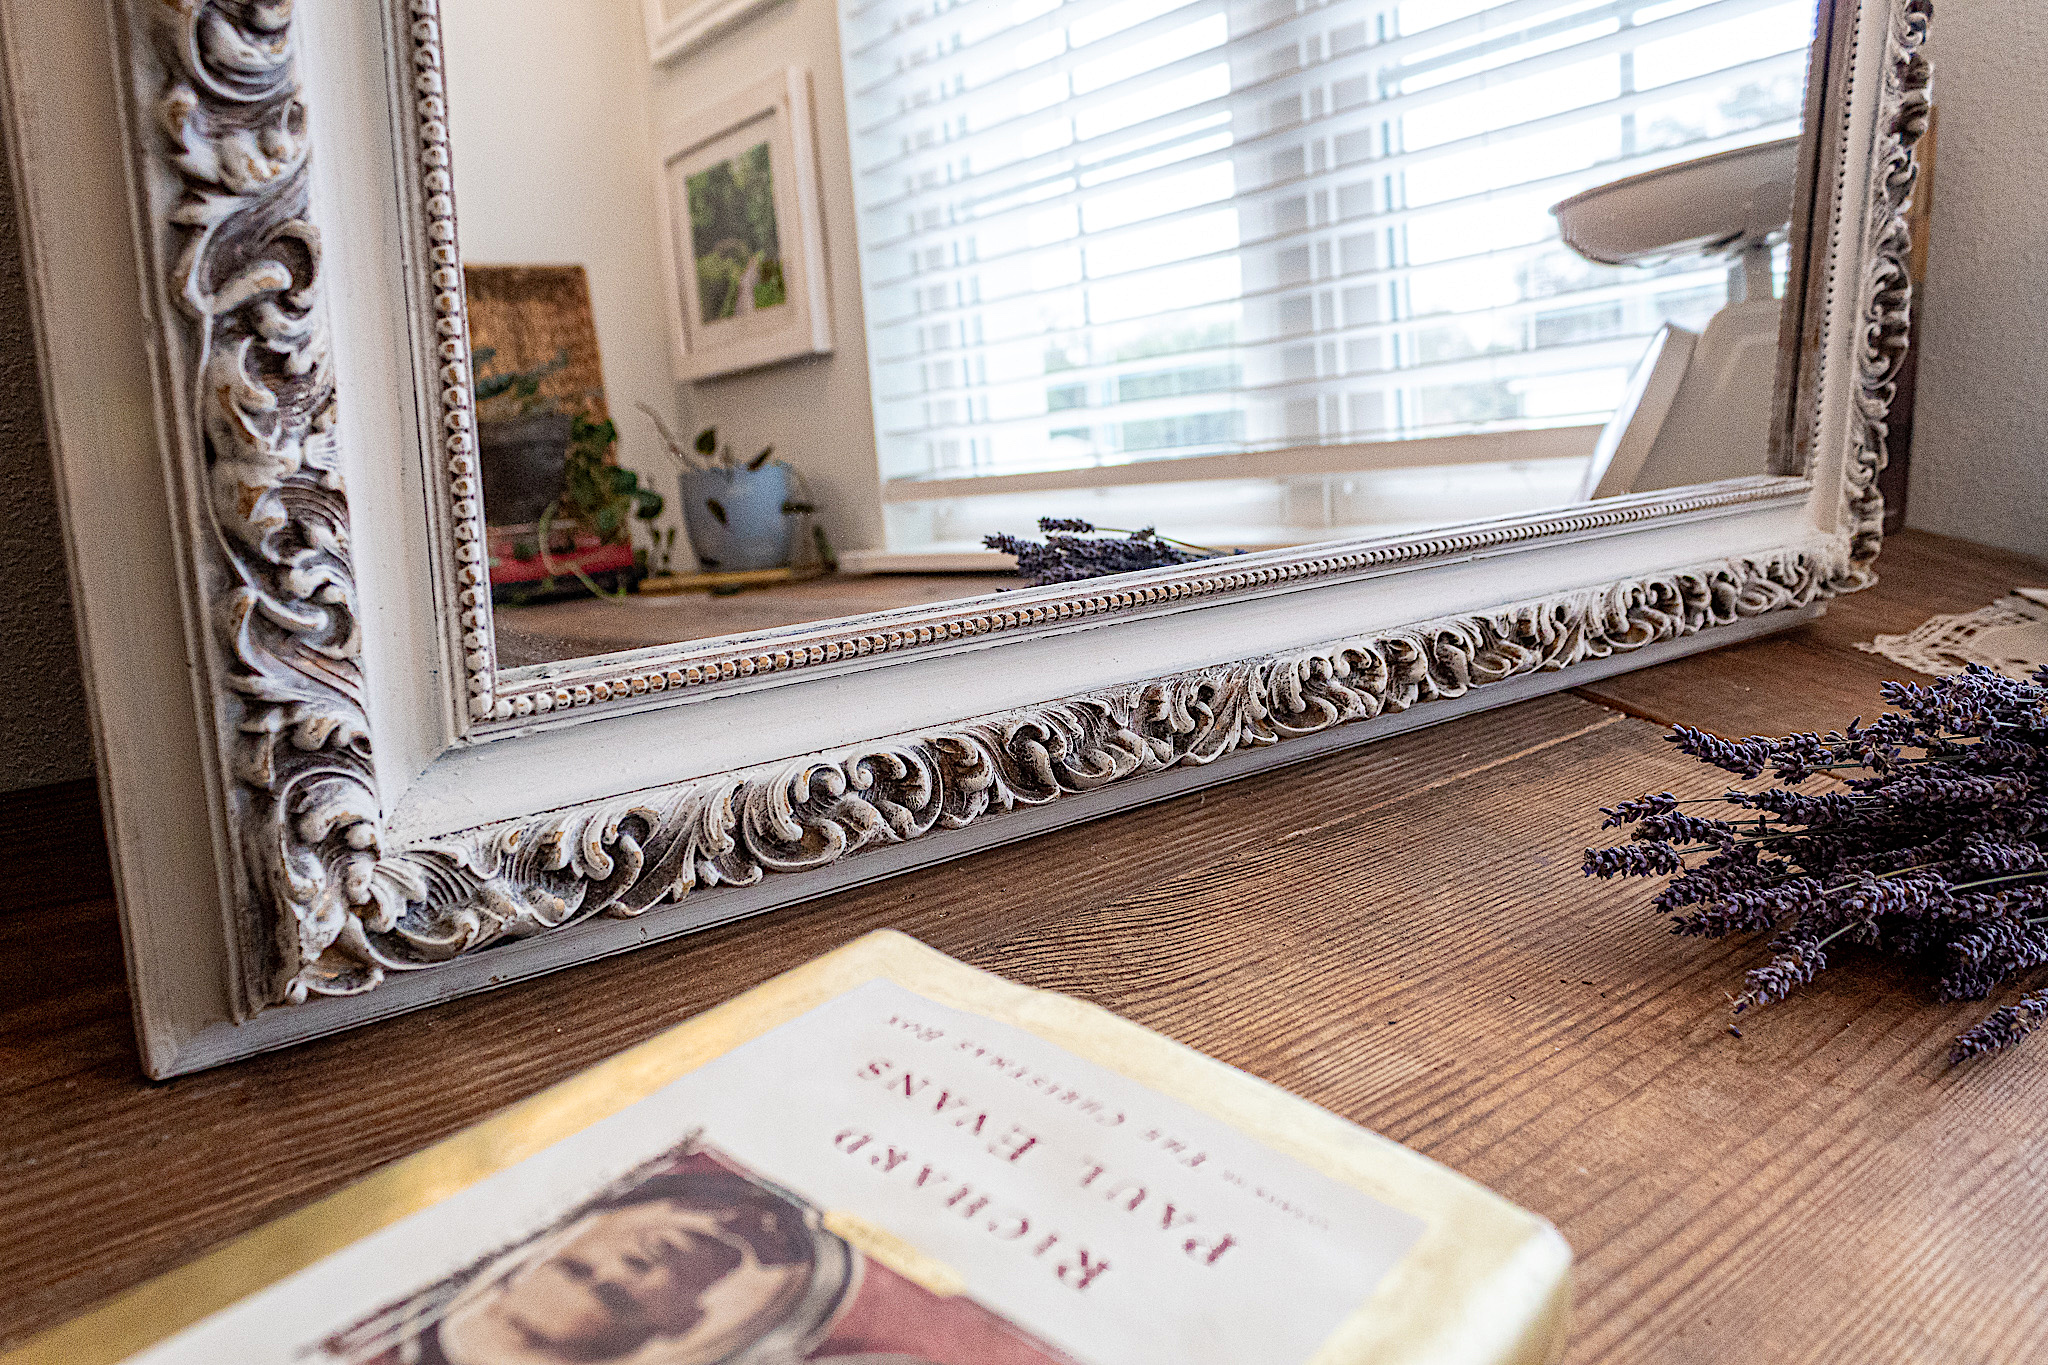
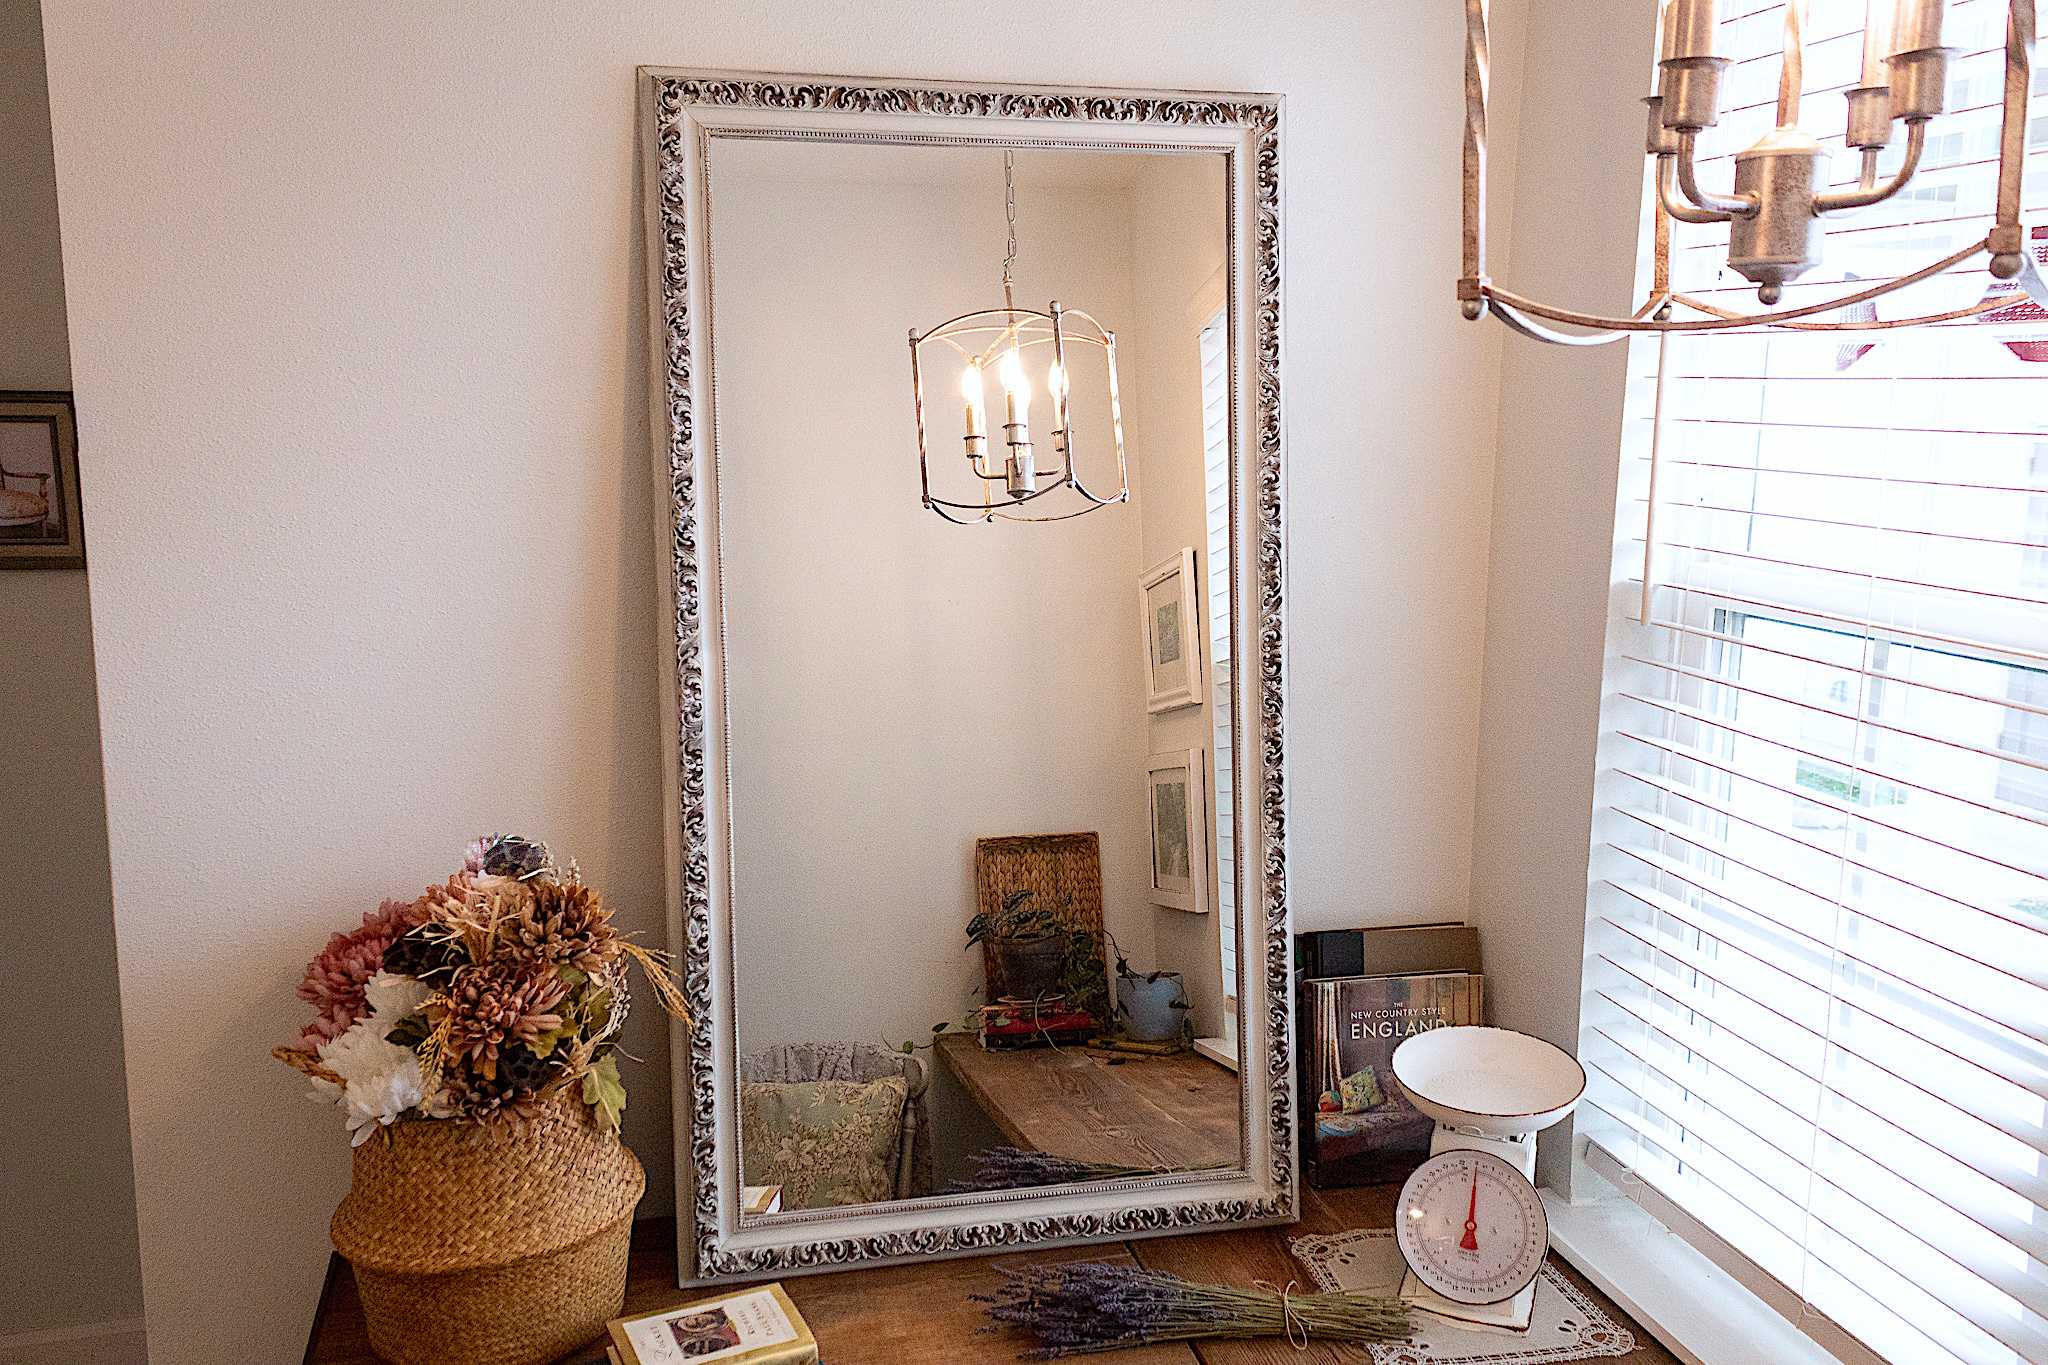
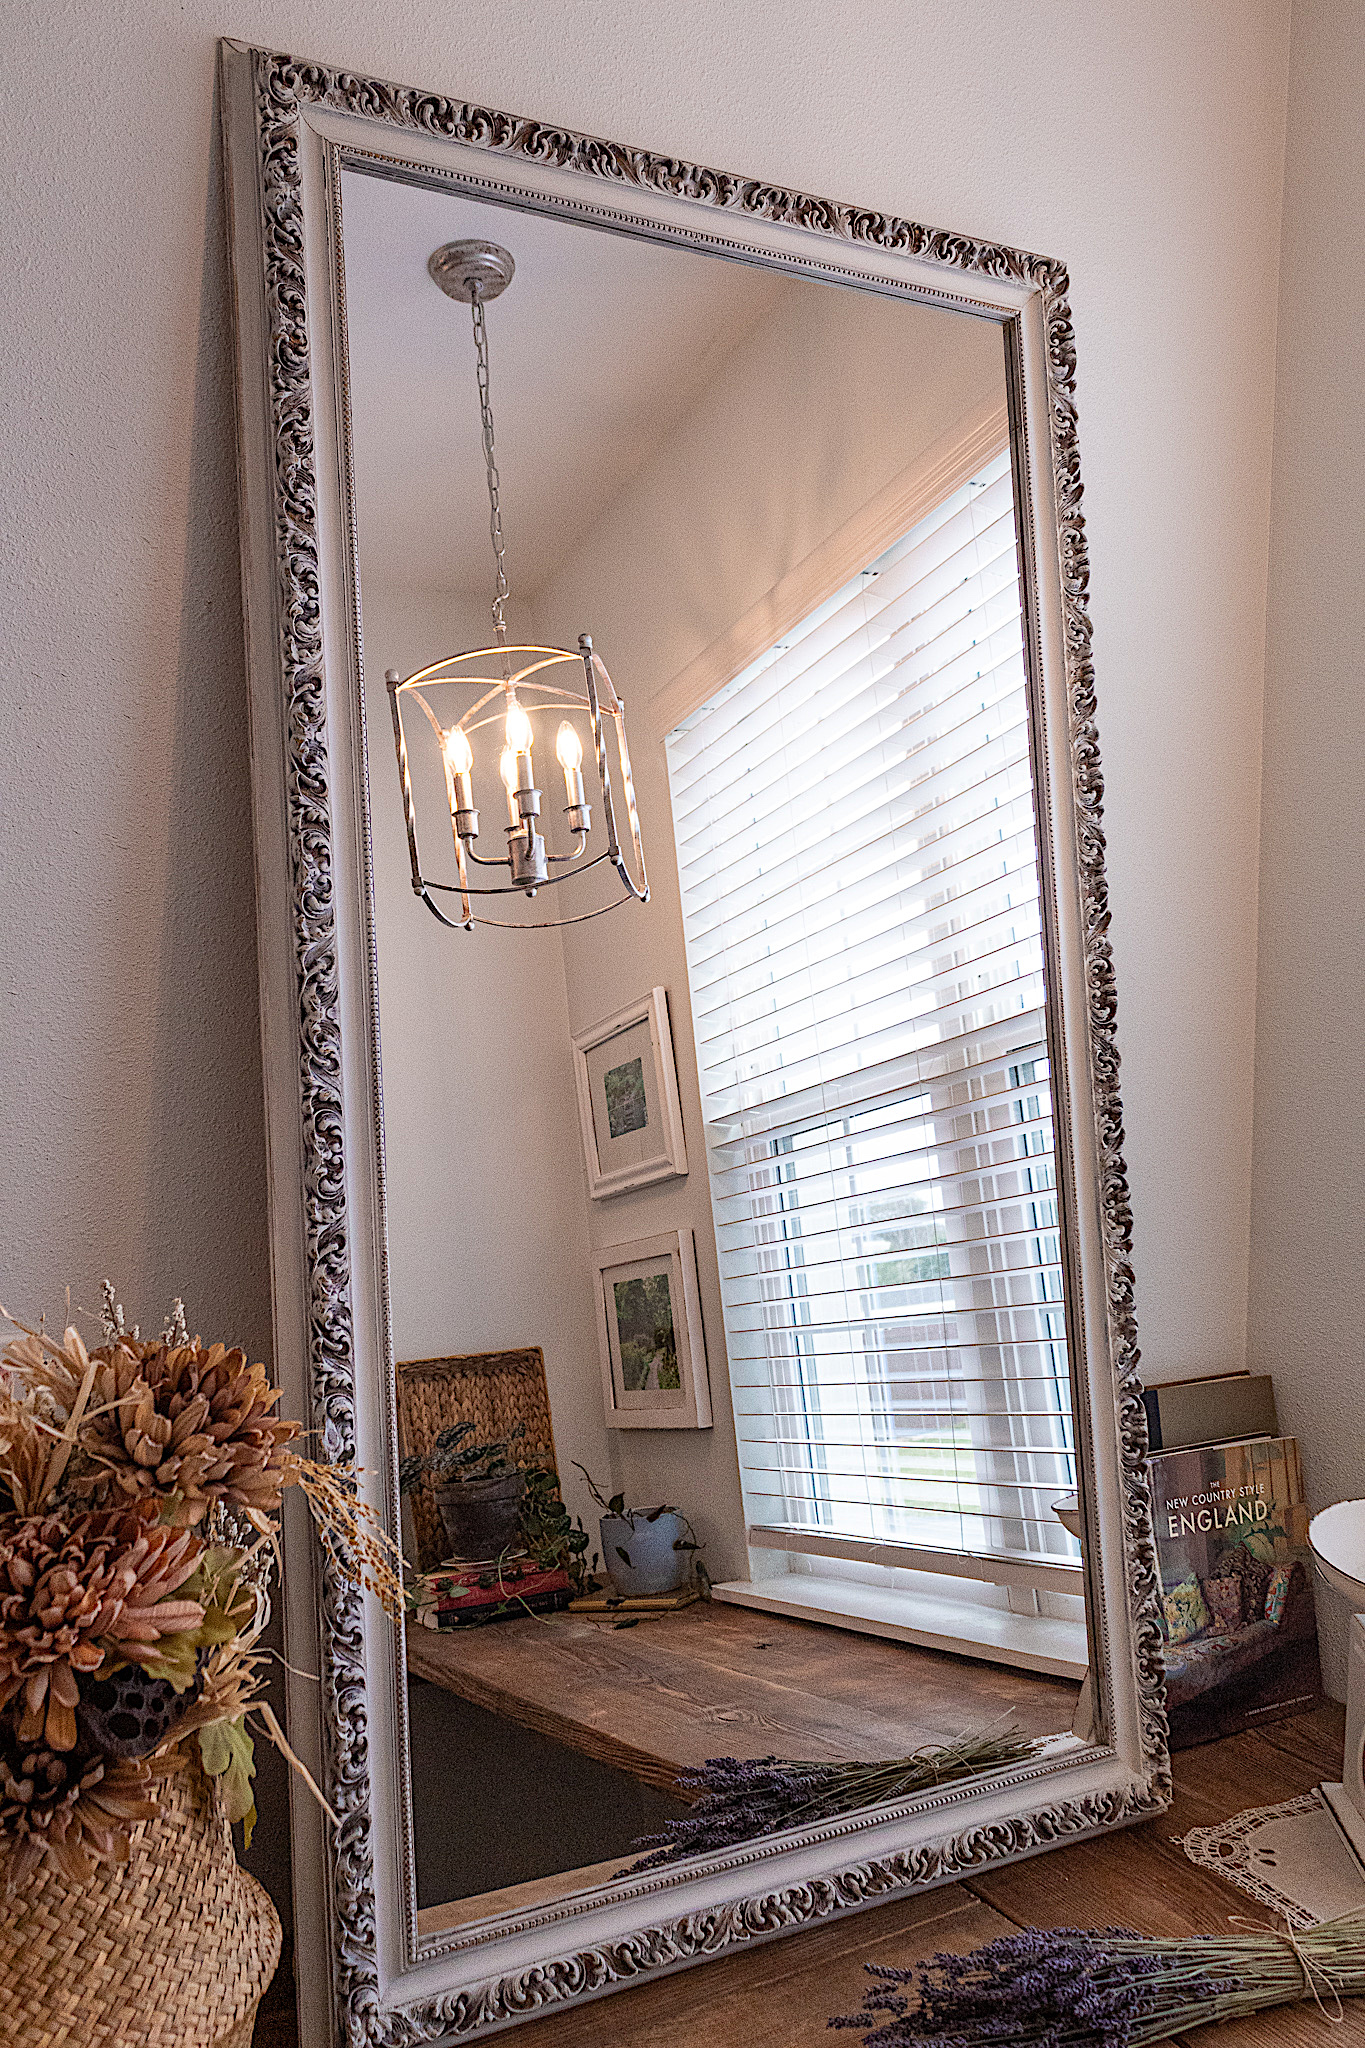
And that completes this look. I chose not to add any clear coat. I just left the chalk painted finish as the final look because it looked perfect for my French Provincial style.
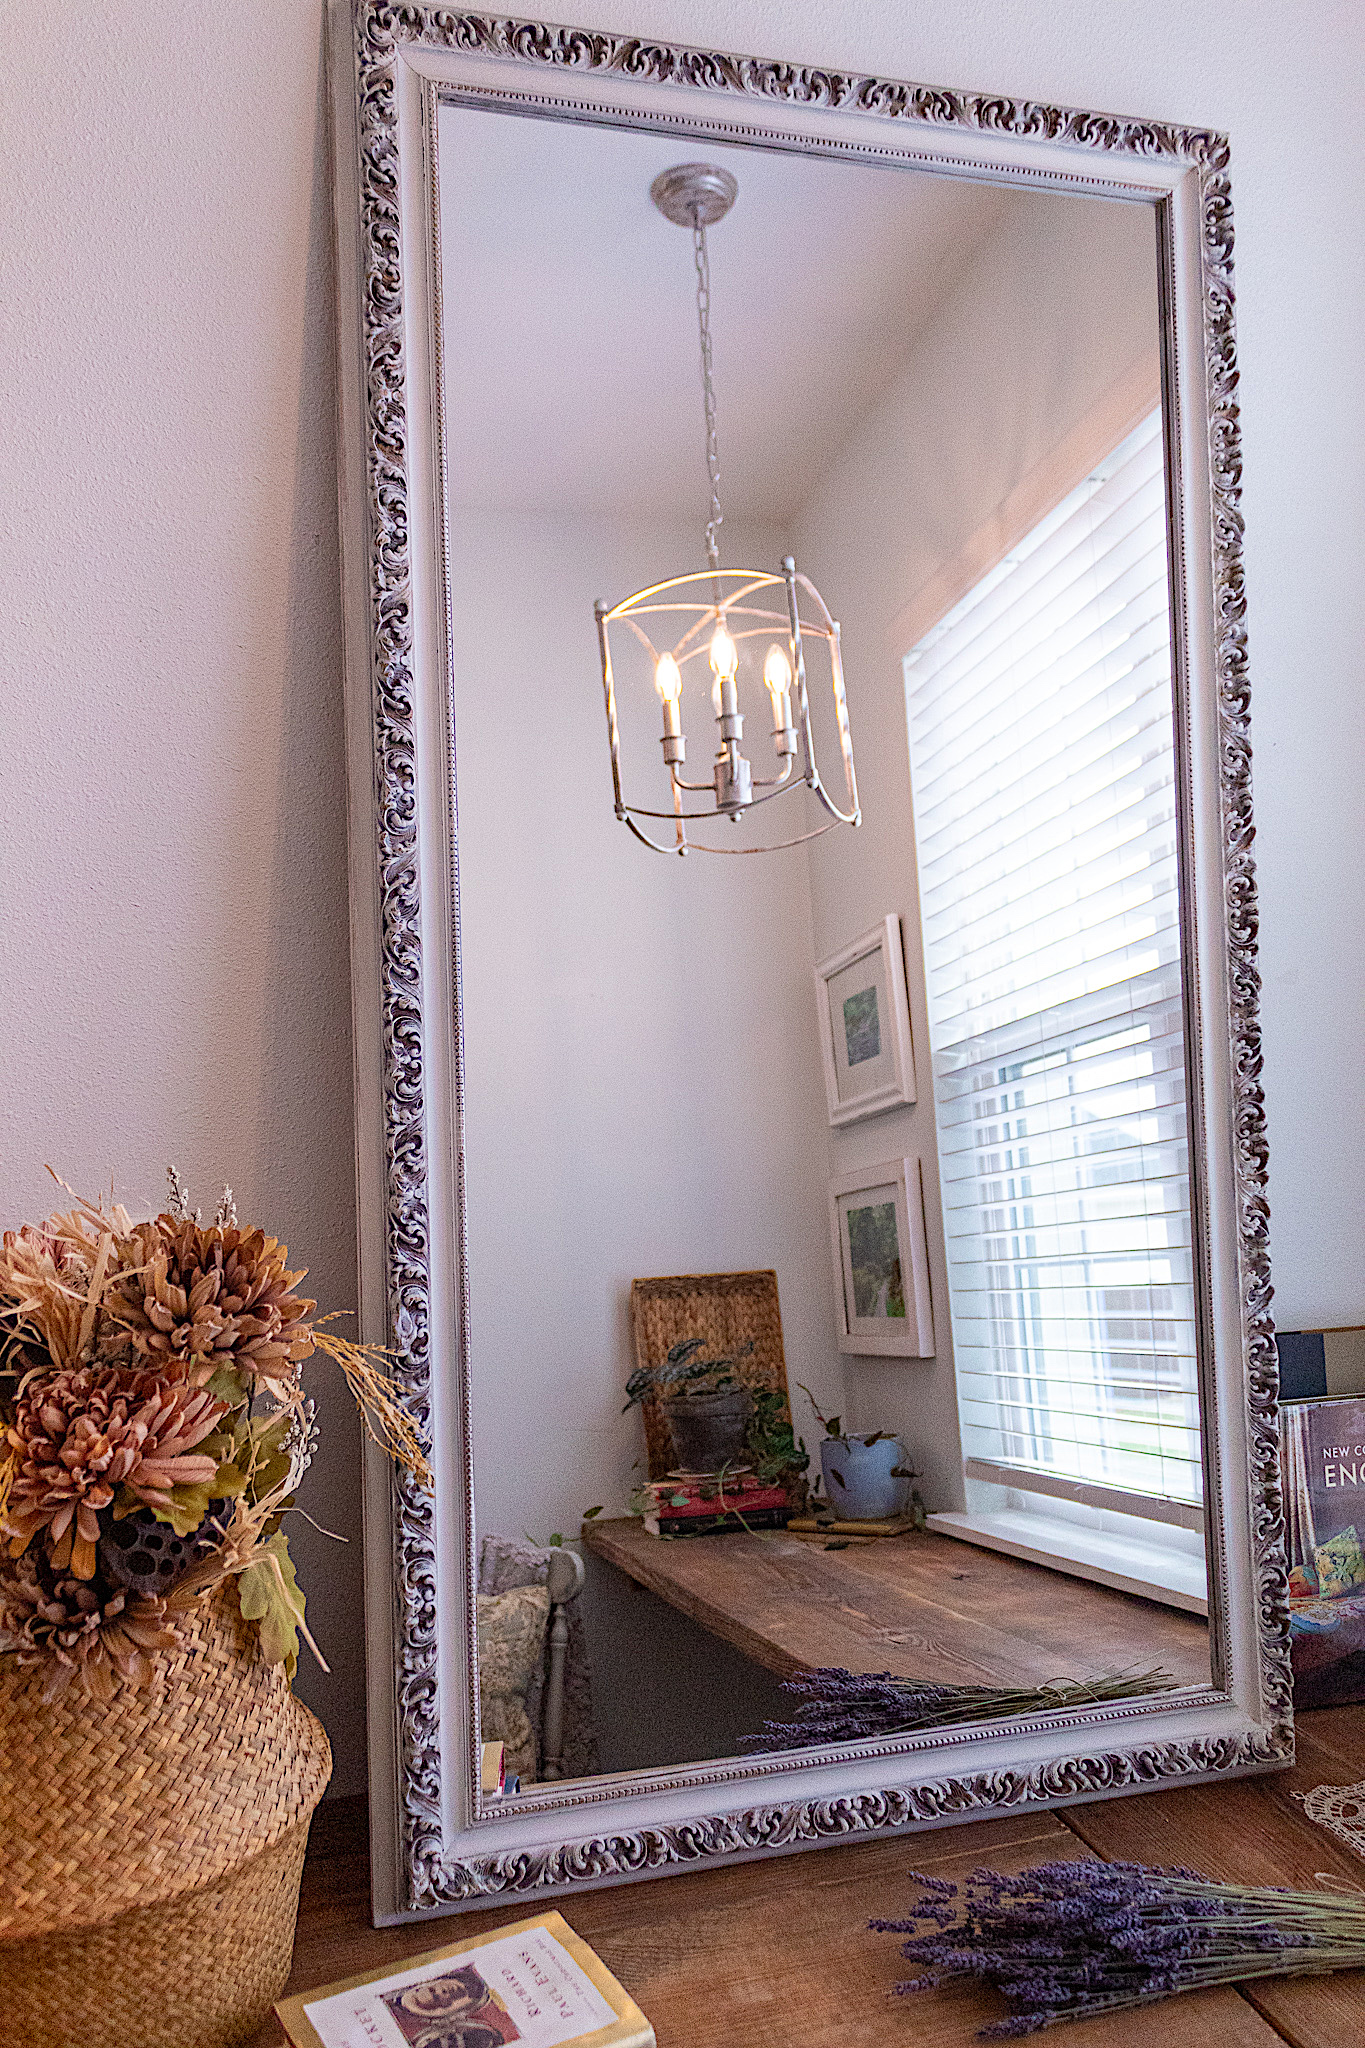
Large floor mirrors are so on trend these days and I just love how they look leaned up against a wall. I’m so happy with how this mirror came out. I can imagine it in a dreamy French setting! I hope you enjoyed it too. Please let me know if you have any questions.