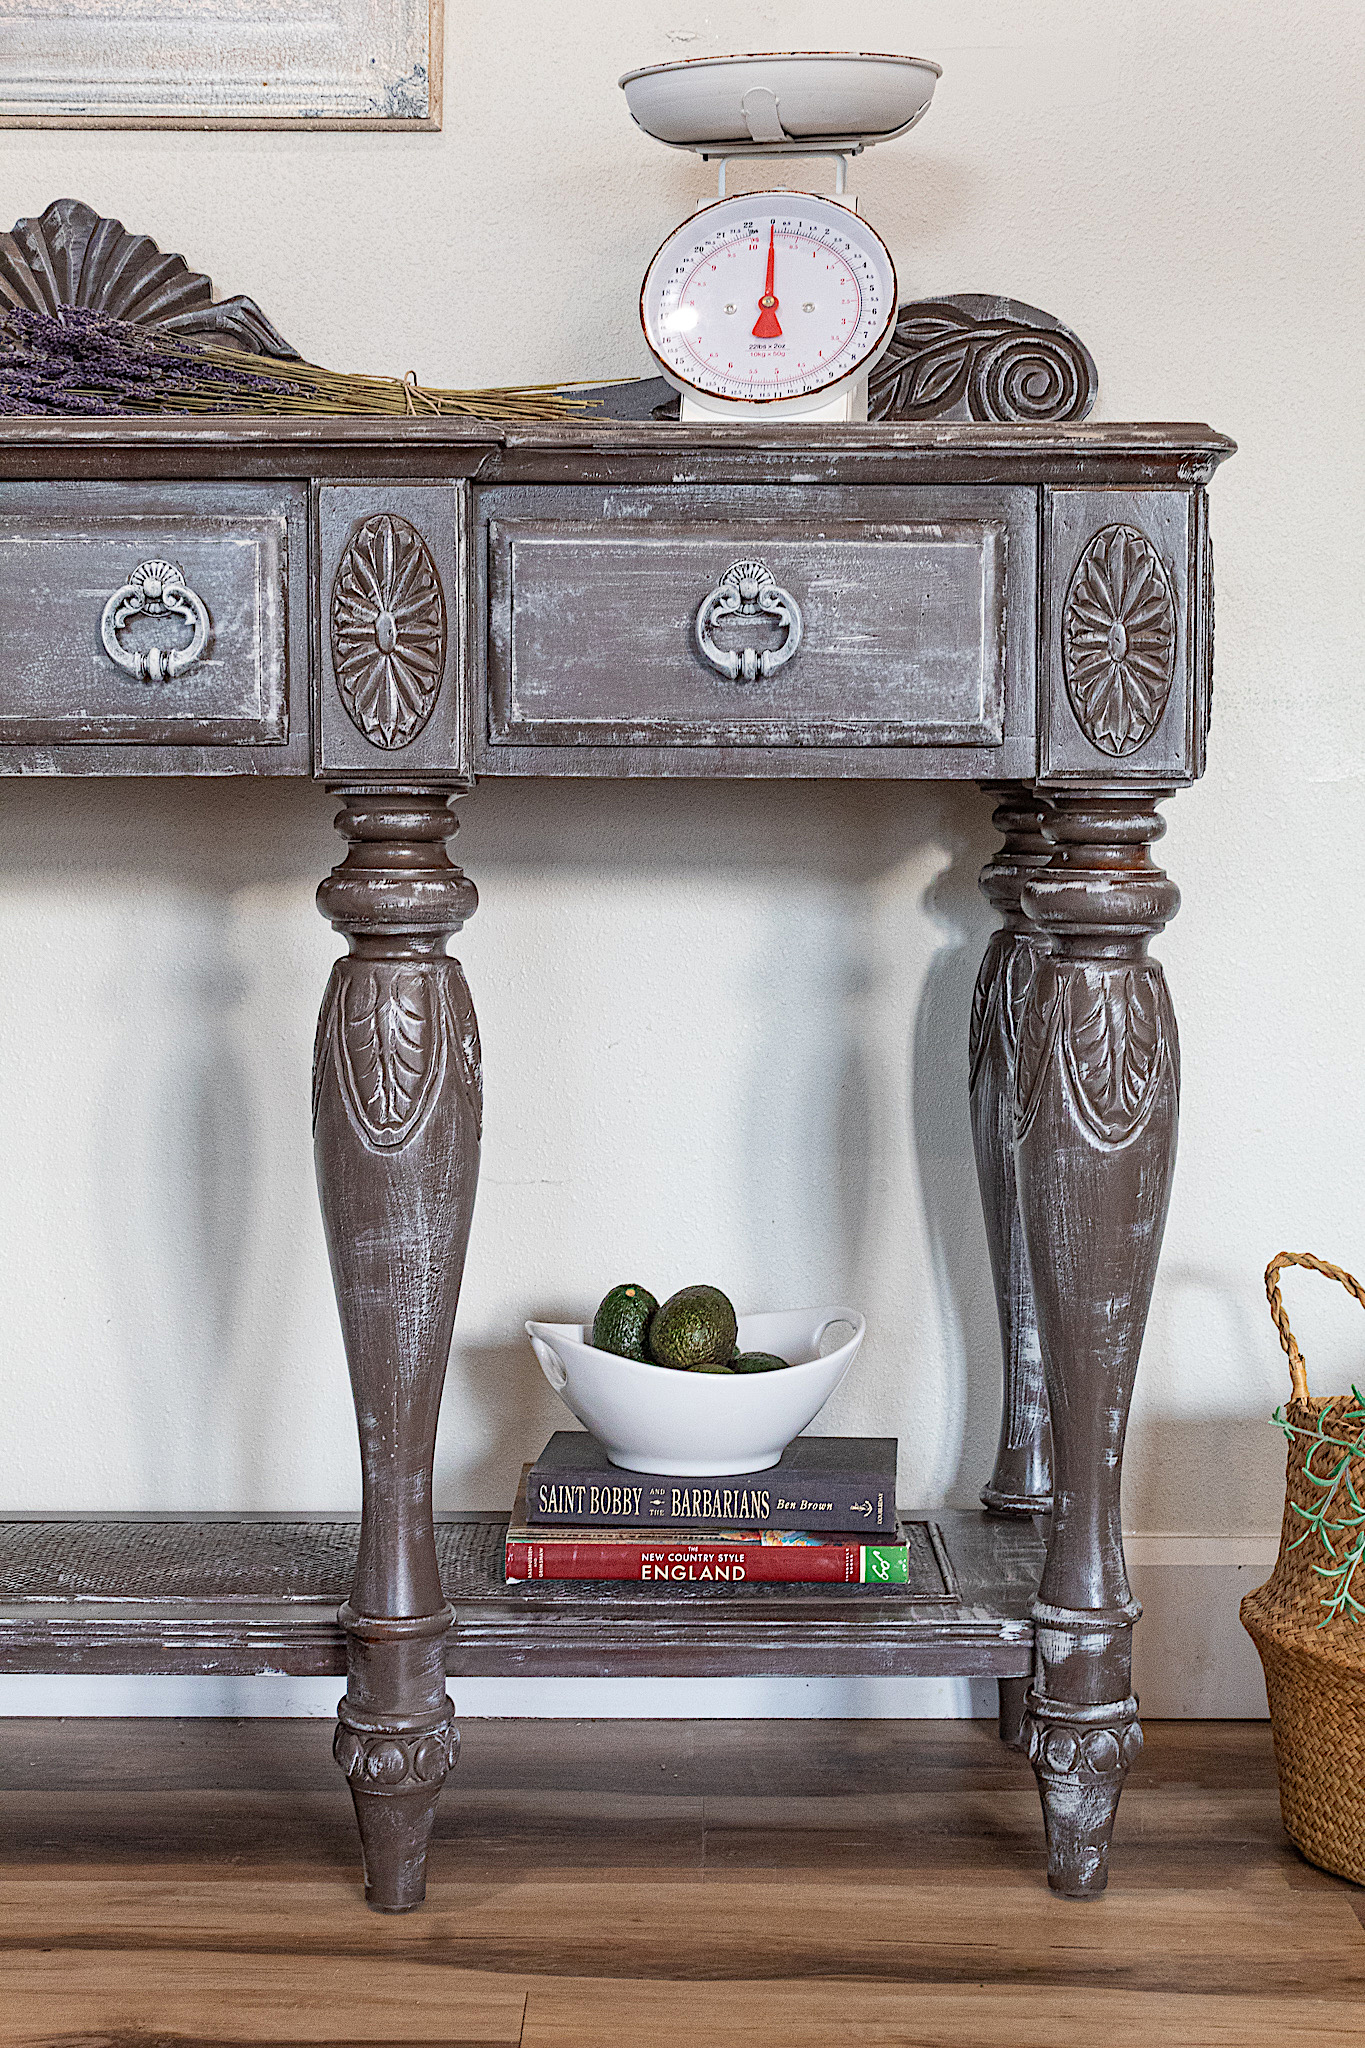
Hiya friends! What can I say about this piece, but I’m in love. We have it in our small warehouse storage and I stop and stare at it every time I walk by. I can’t really take much of the credit for its beauty. The ornate details and those magical legs…let’s just say I was captivated when I spotted it in a local thrift store. I had to haggle hard to get the price down, but luckily I’m in there so much that they worked with me so I could bring her home!
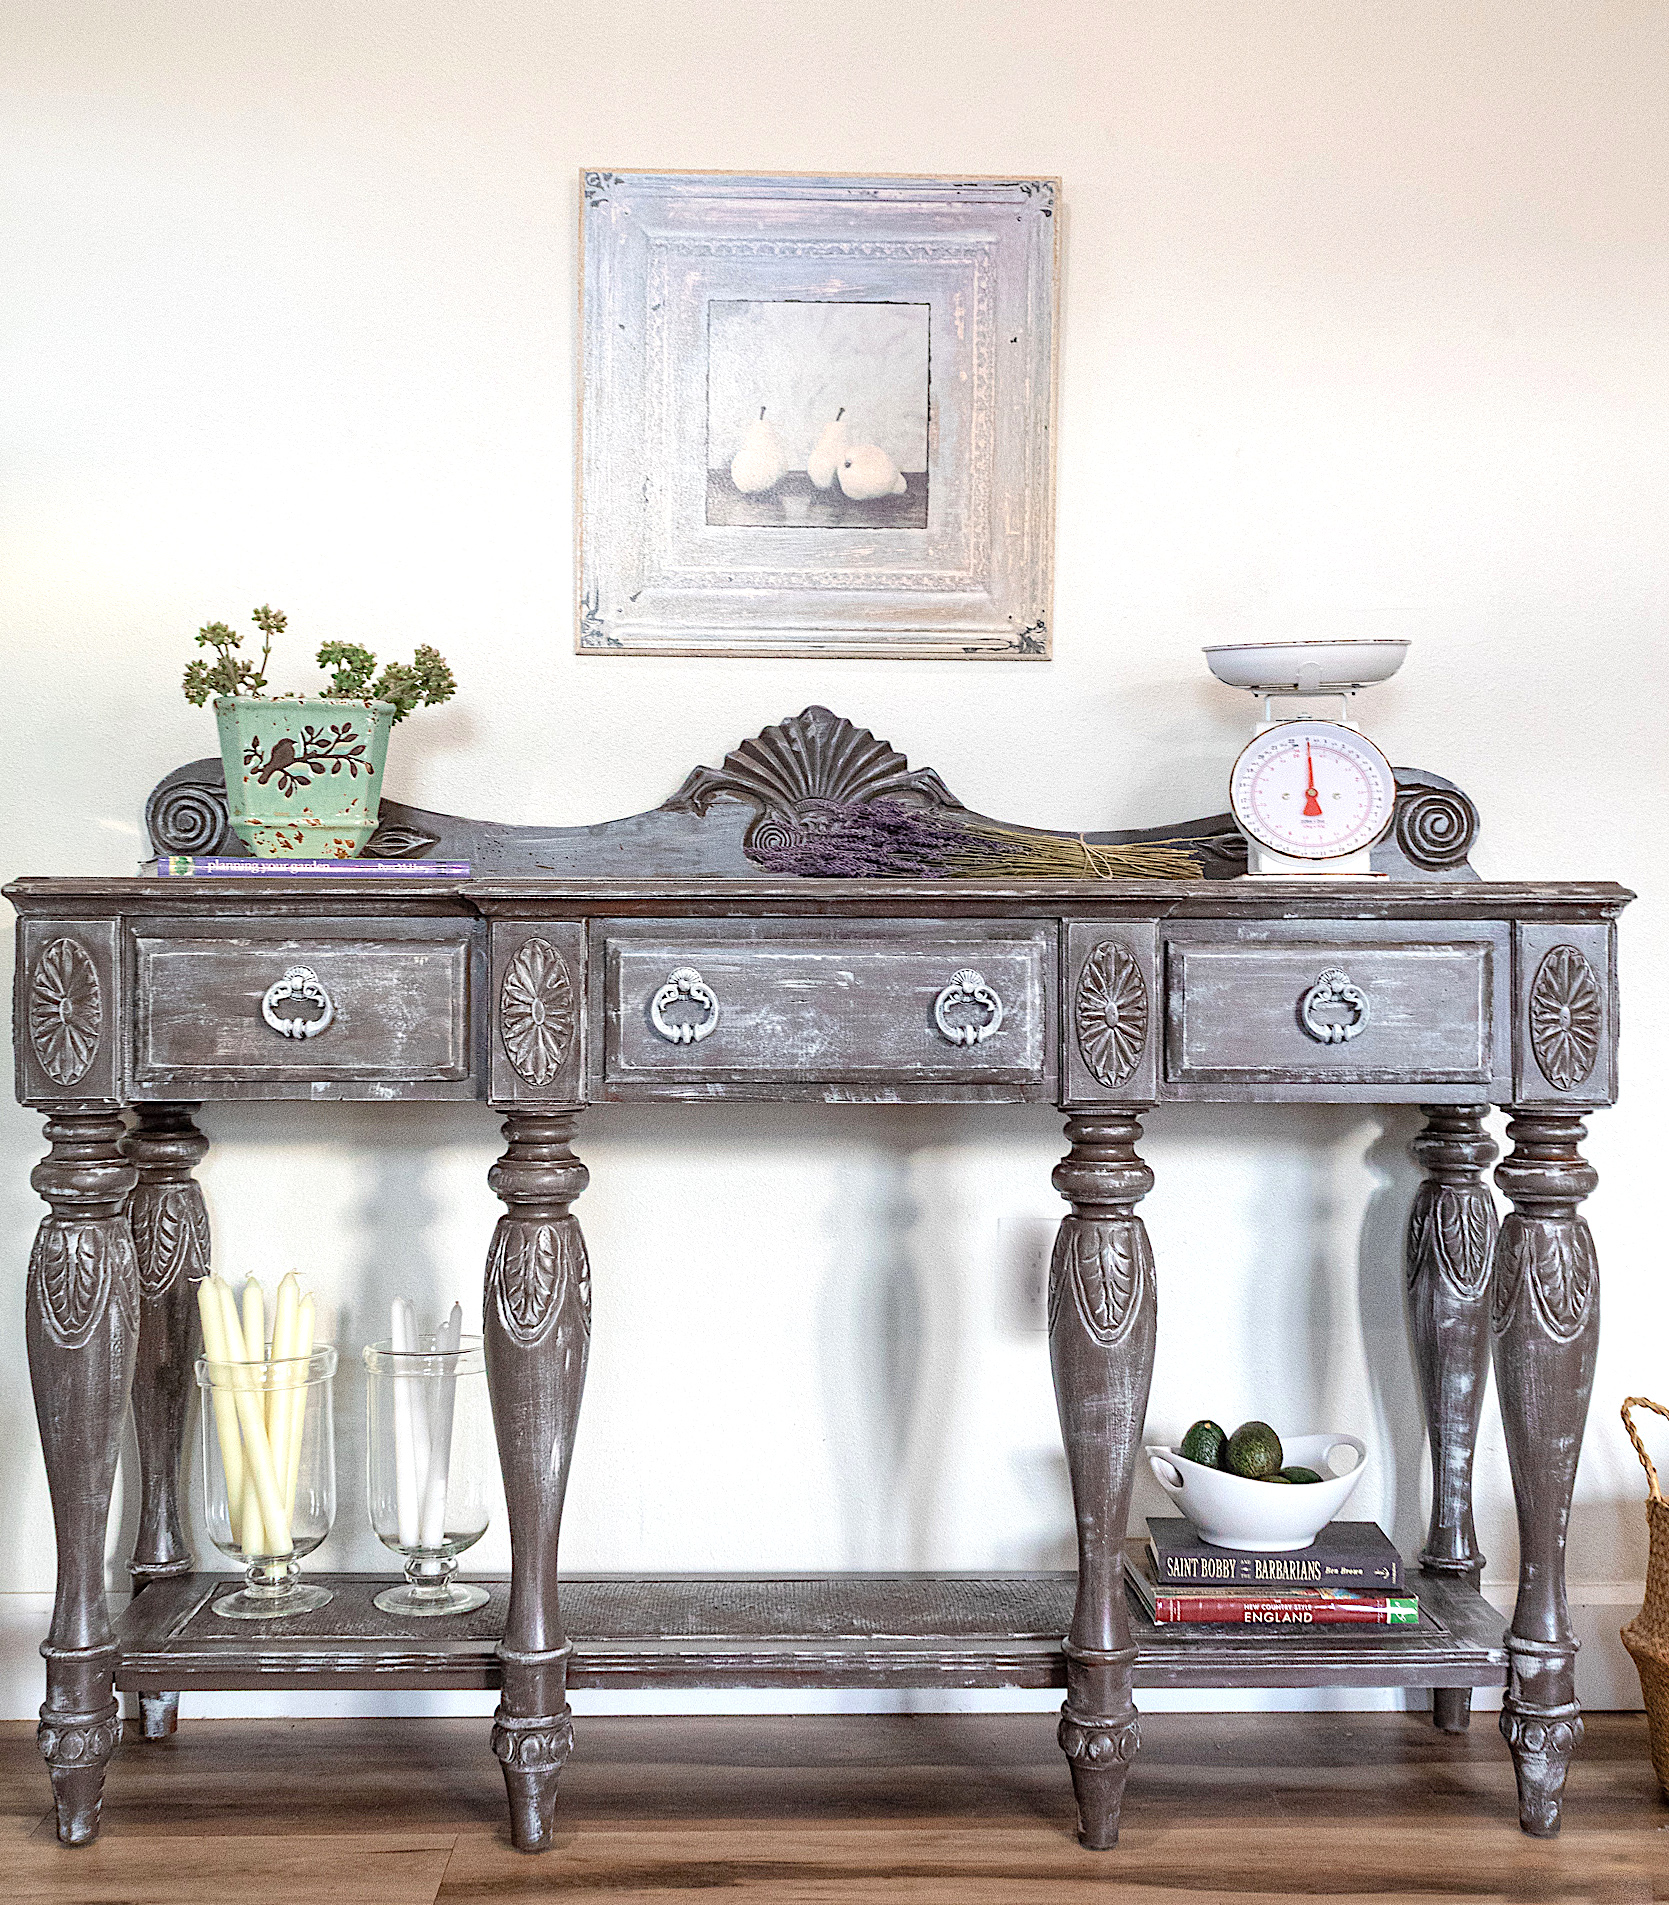
The look that spoke to me for this renovation was French Country Style. I chose a luscious chocolate color to be accented with white details for a distressed aesthetic. Let me show you how to create this magnificent “aged” look.
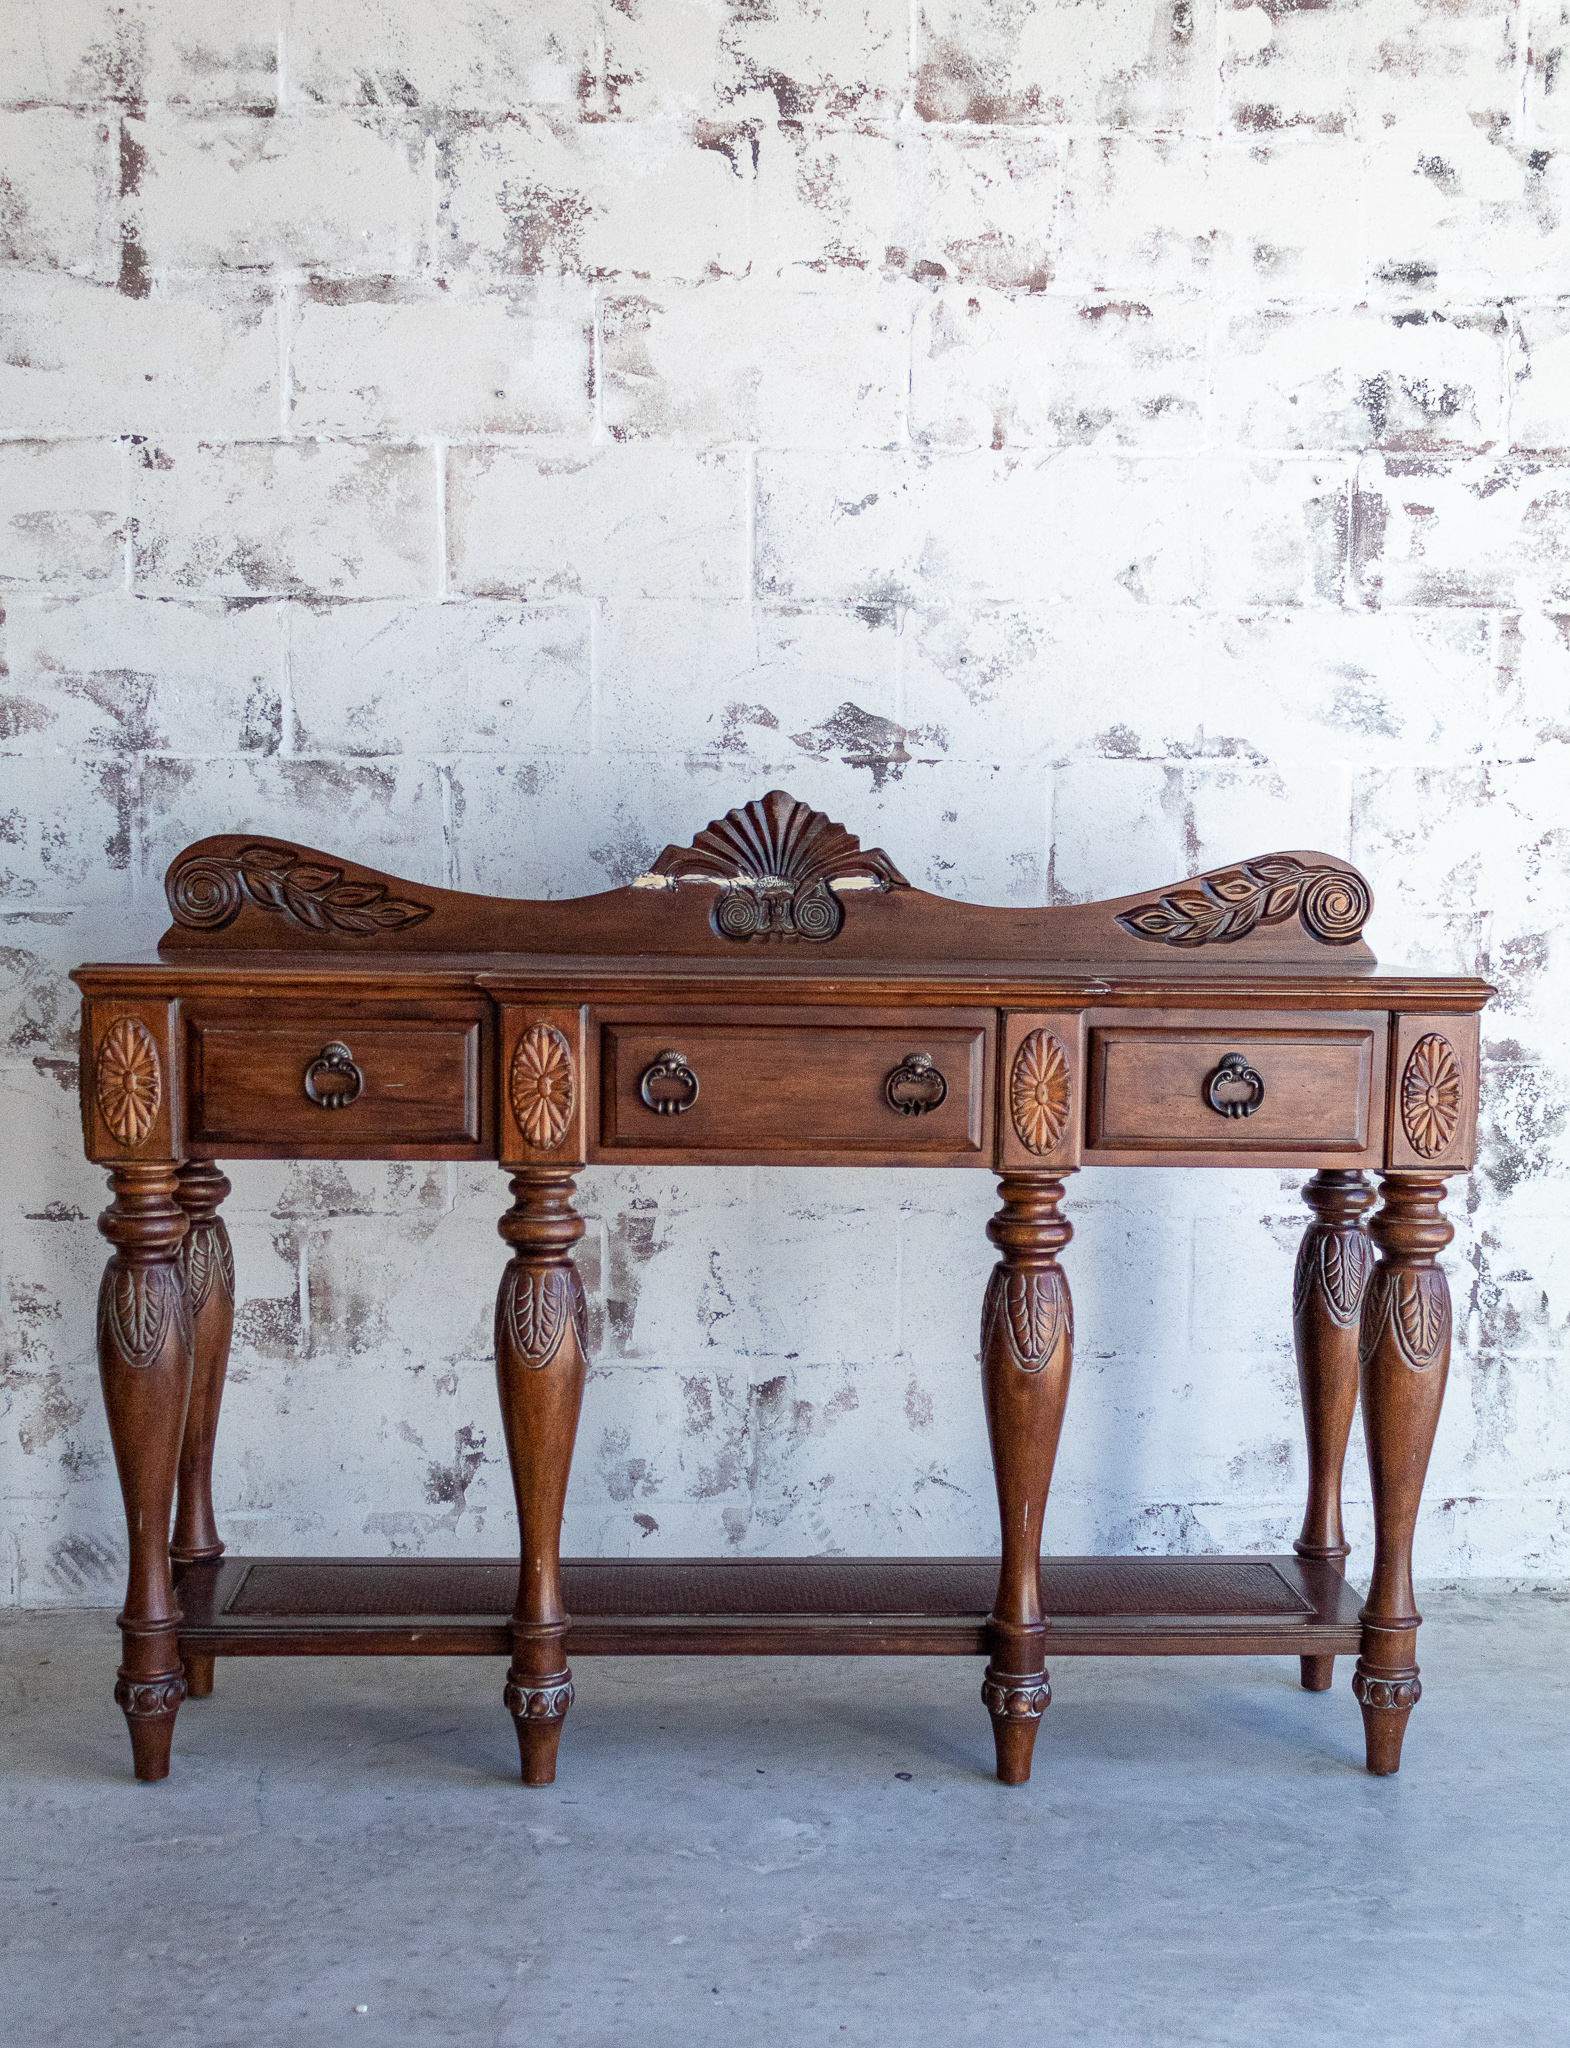
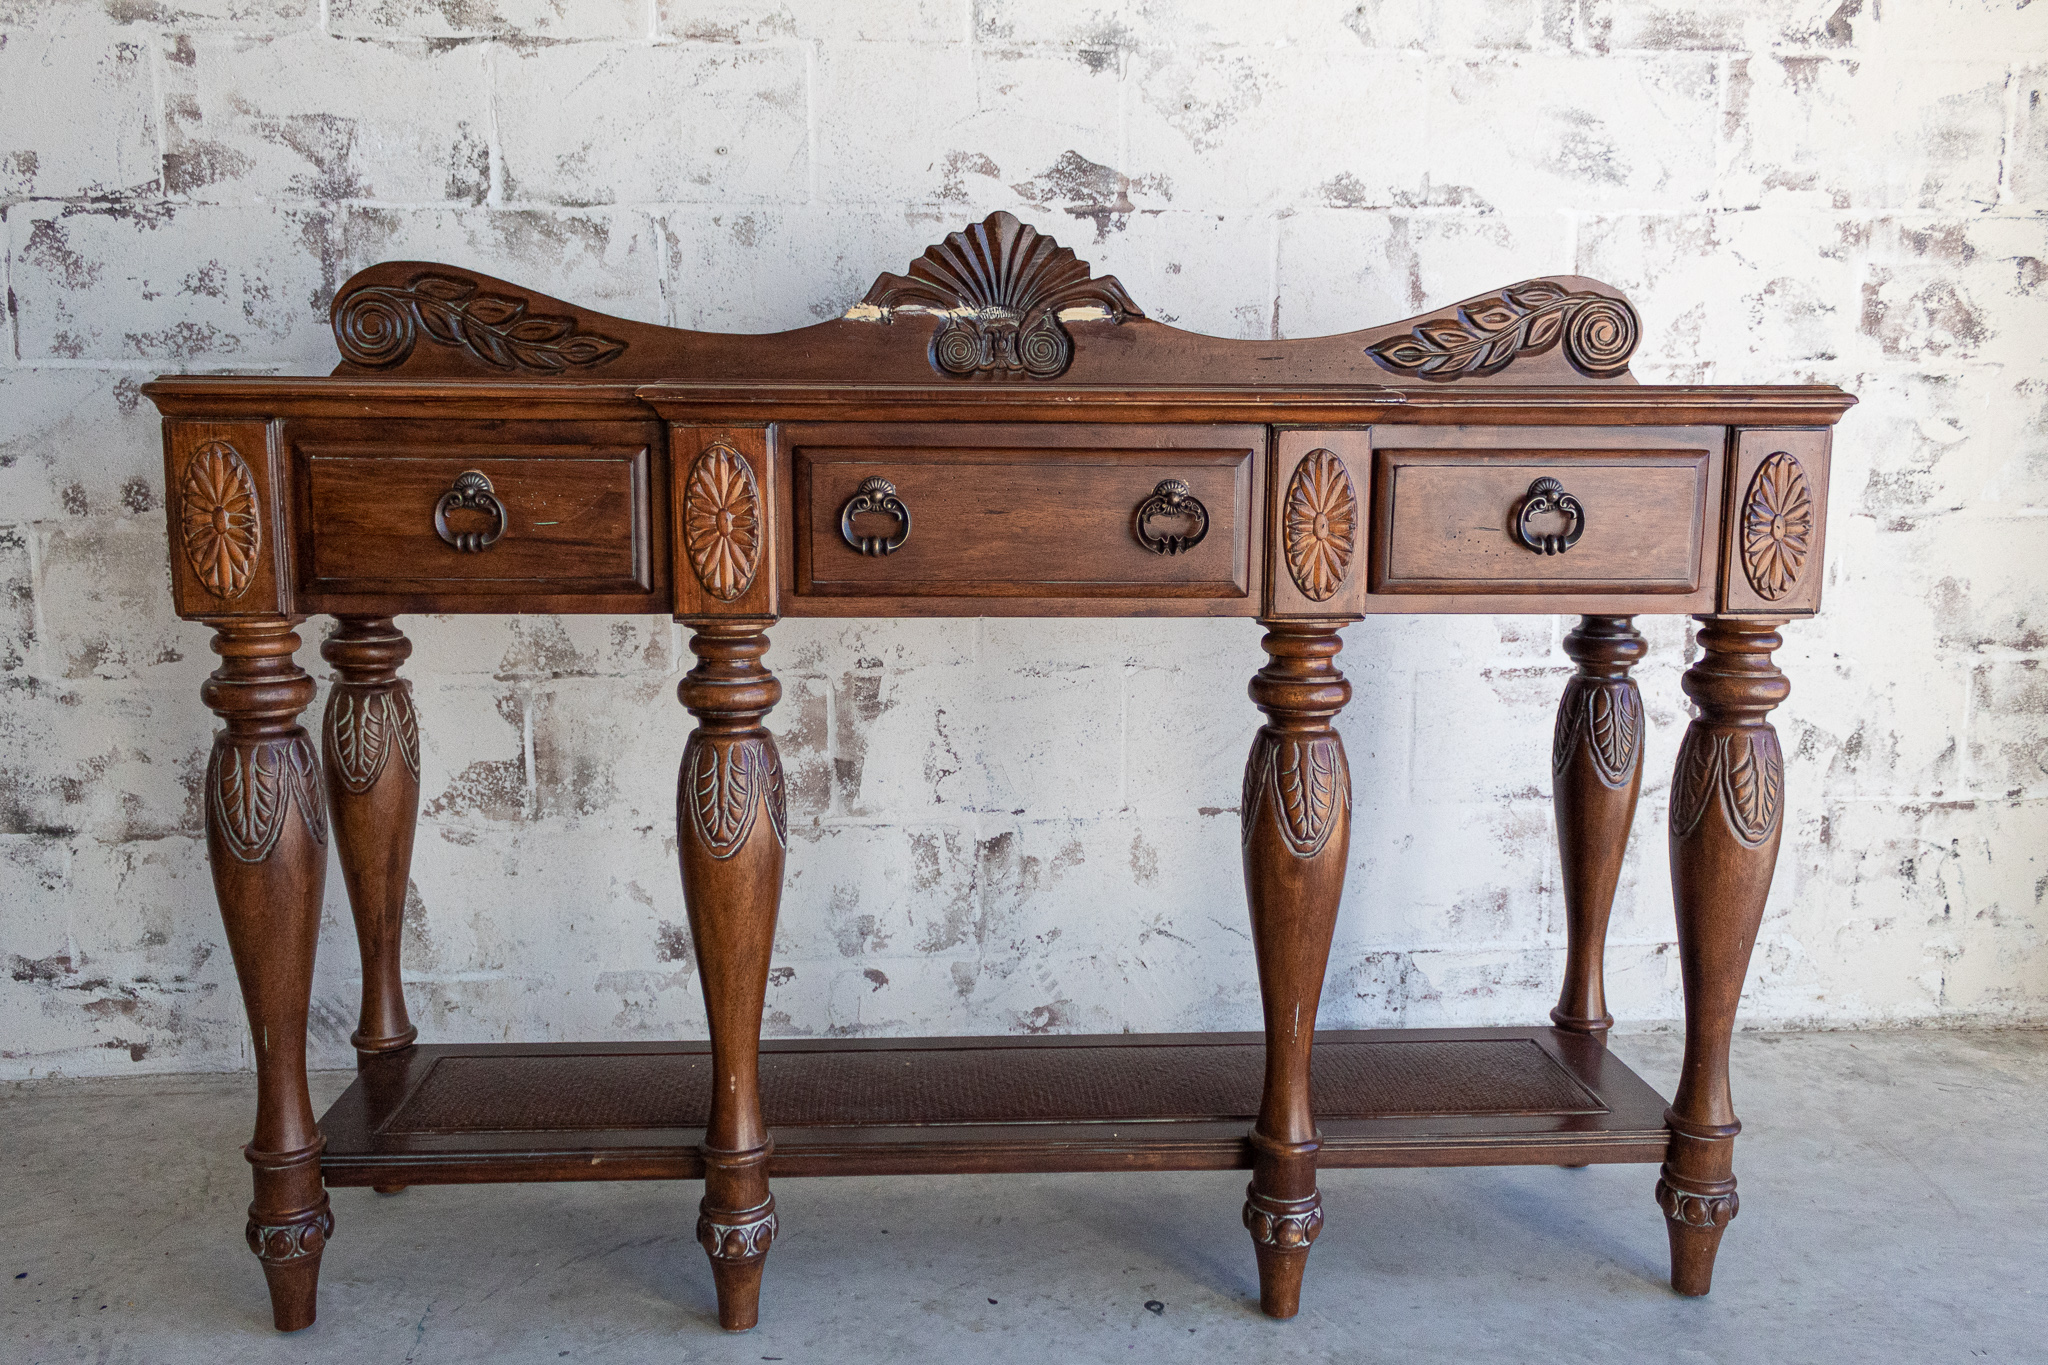
So let’s get started. Here is a picture of the sideboard before. I have to first share a small tragedy that occurred with this piece. My husband went to pick up the sideboard from the store. When he arrived home he had that look he gives me when he’s trying to deliver bad news or when he’s in trouble for something. It’s a “trying to be sweet” face but it comes out awkward and a little weird totally giving himself away.
So turns out this happened: In transit, although the piece was strapped down, a random pothole caused it to fall on its side breaking off the top piece of the beloved details. I almost cried when I saw it! Nevertheless, I got to work repairing it. It took me a couple days, but thank goodness I was able to piece this beauty back together.
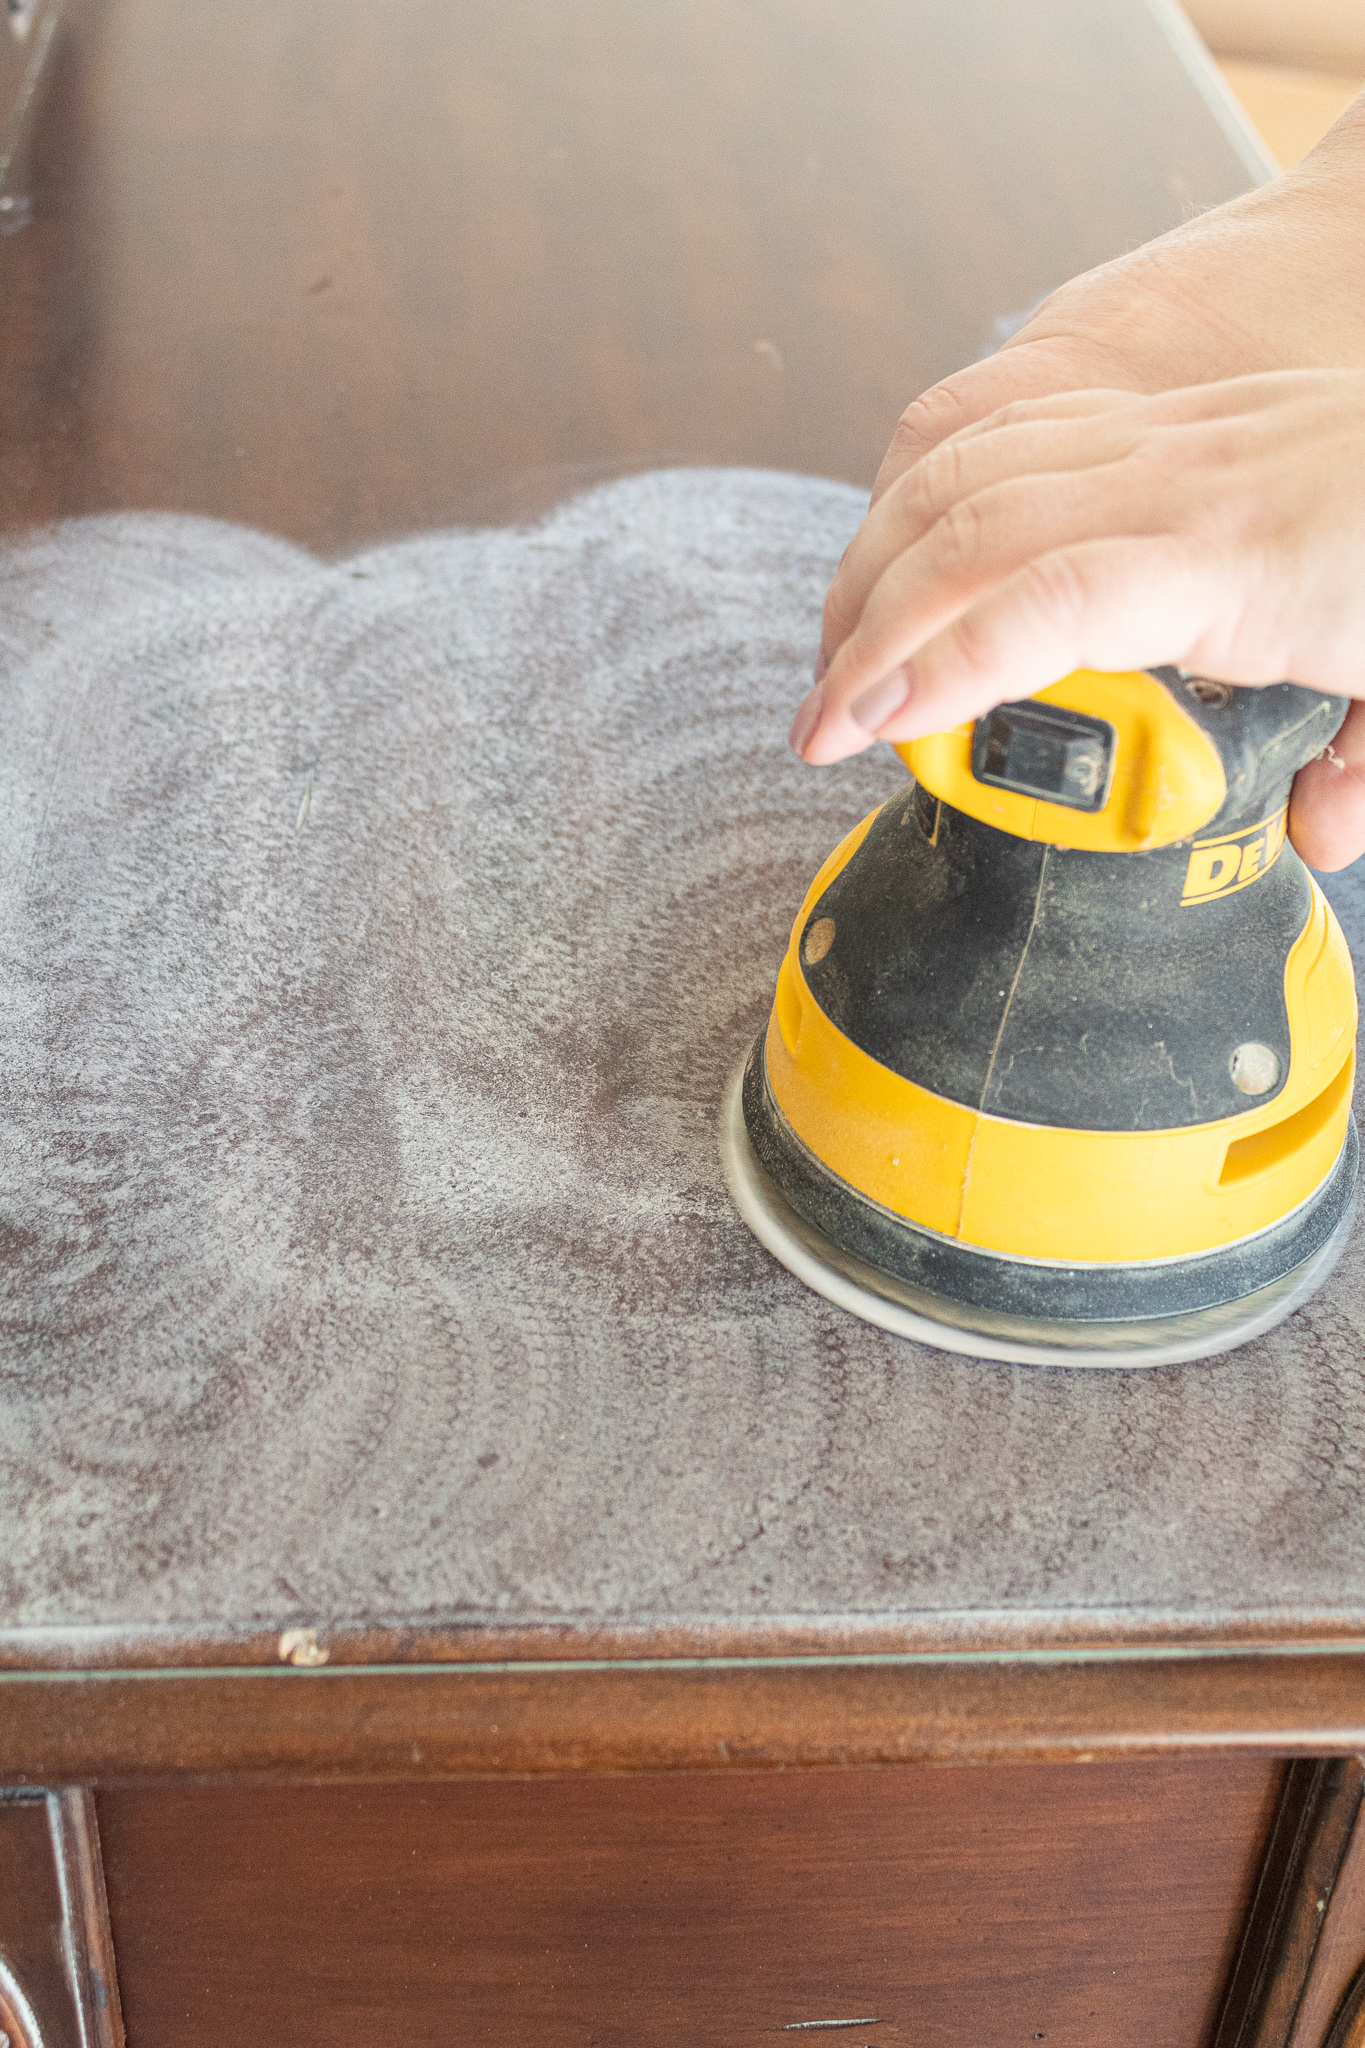
1. Sand
First things first, a light sanding using my orbital sander and an 80 grit for a quick sanding and a 400 grit for a soft final sanding on the top. I normally do this as part of my prep for chalk painting. It helps give the paint some grit and it knocks of any debris.
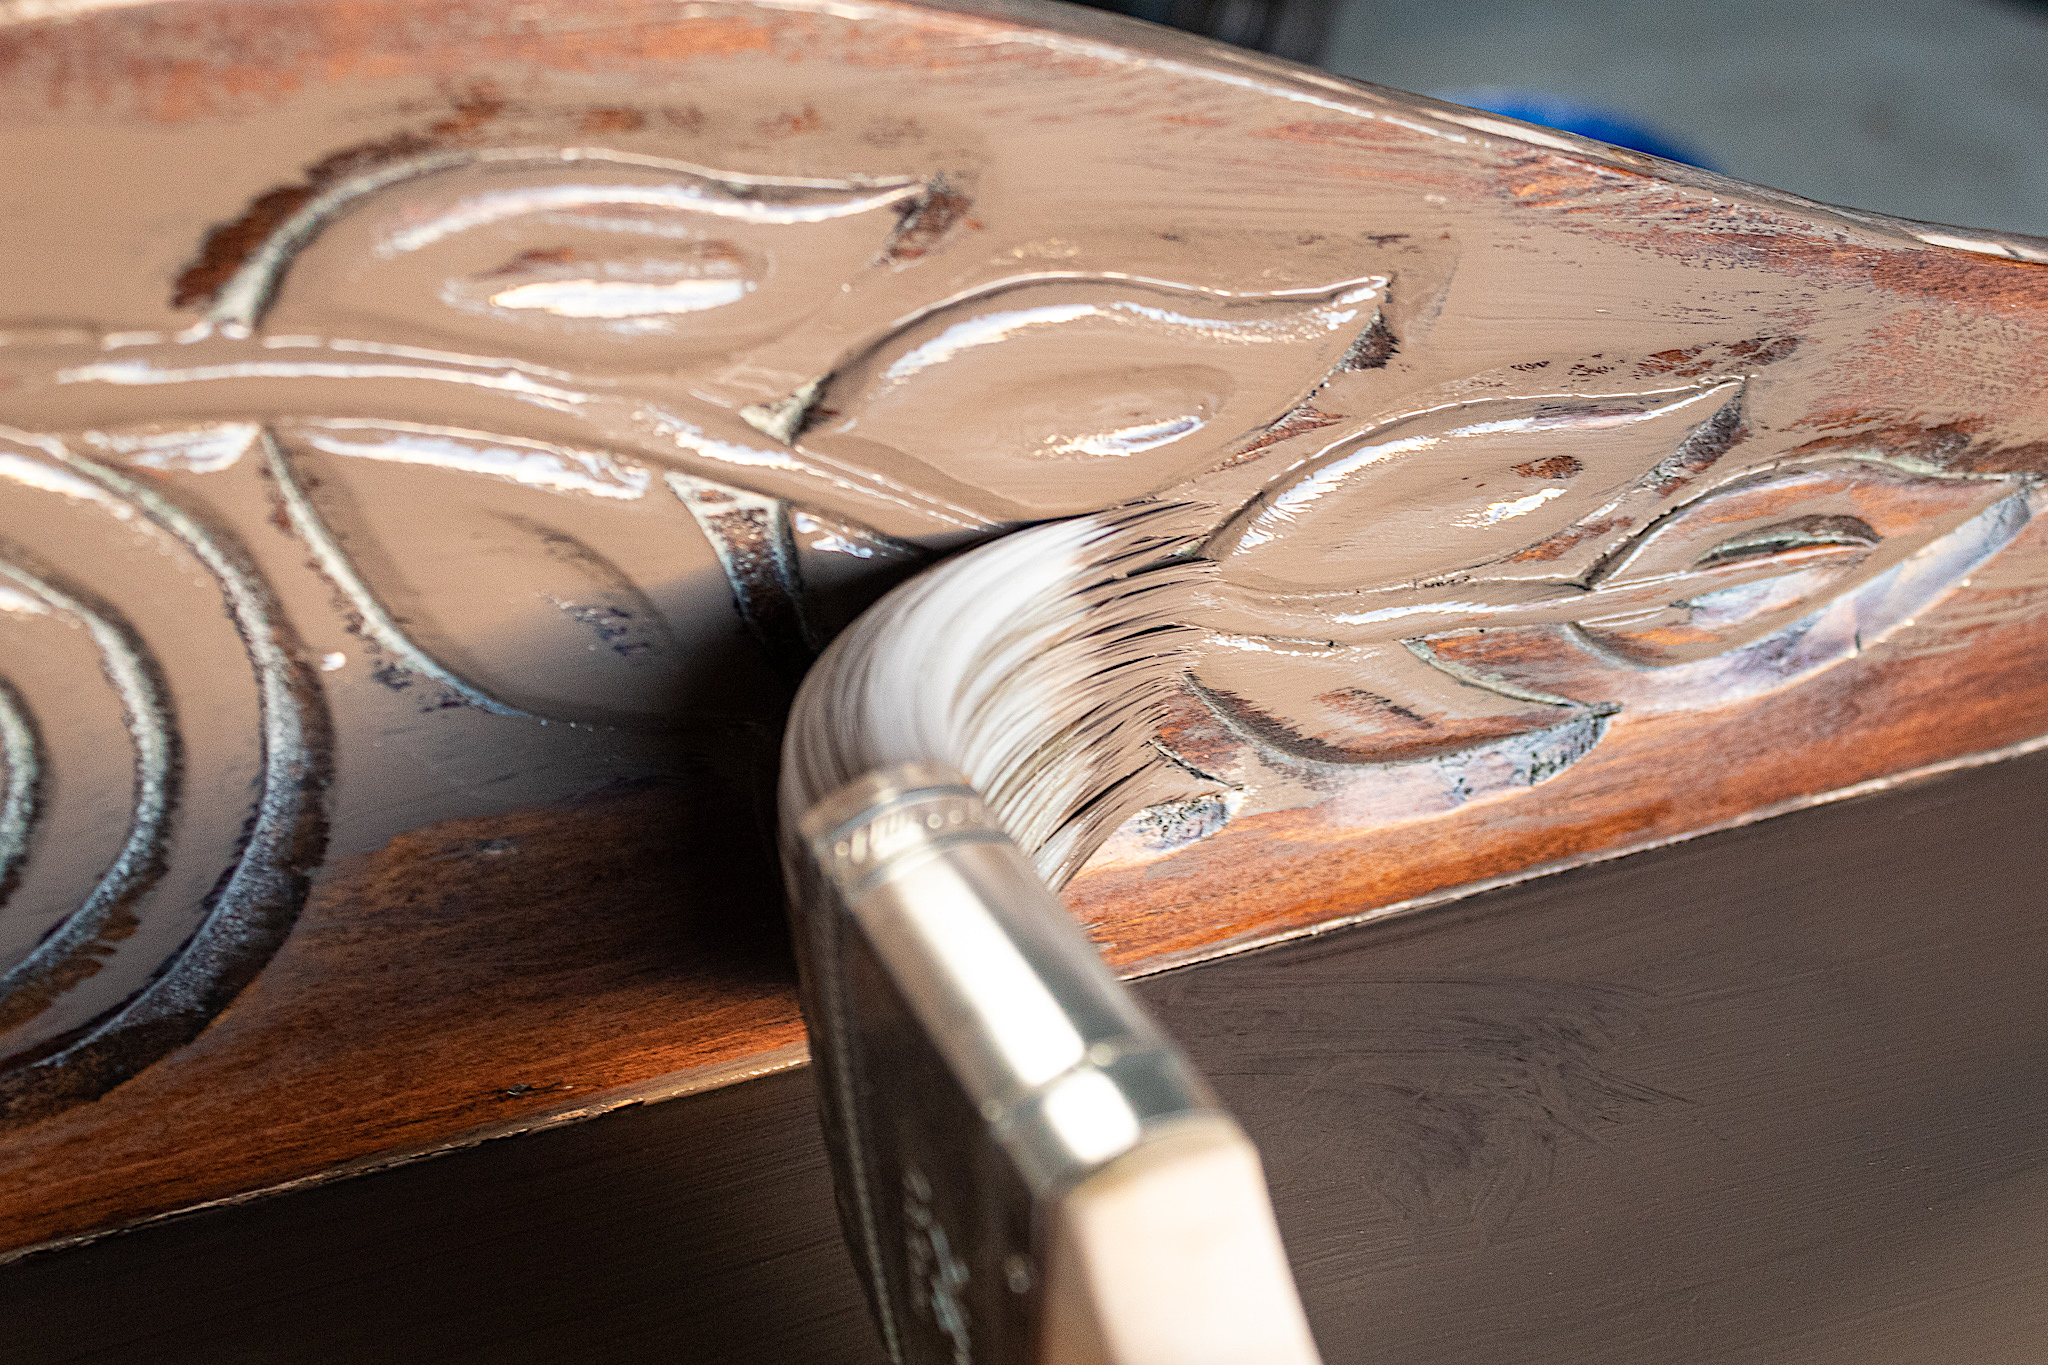
2. First color of paint
I chose Chocolate Swirl, a beautiful rich brown paint for the primary color of this piece. You will often find dark earthy, rustic furniture pieces in contrast to a light canvas in French Country decor.
If you’d like to see how I make my own chalk paint, click HERE. The best way to apply chalk paint is to use a misting bottle to keep the paint moist as you spread it on. Spray here and there as you go. Don’t worry about perfect coverage on your first coat.
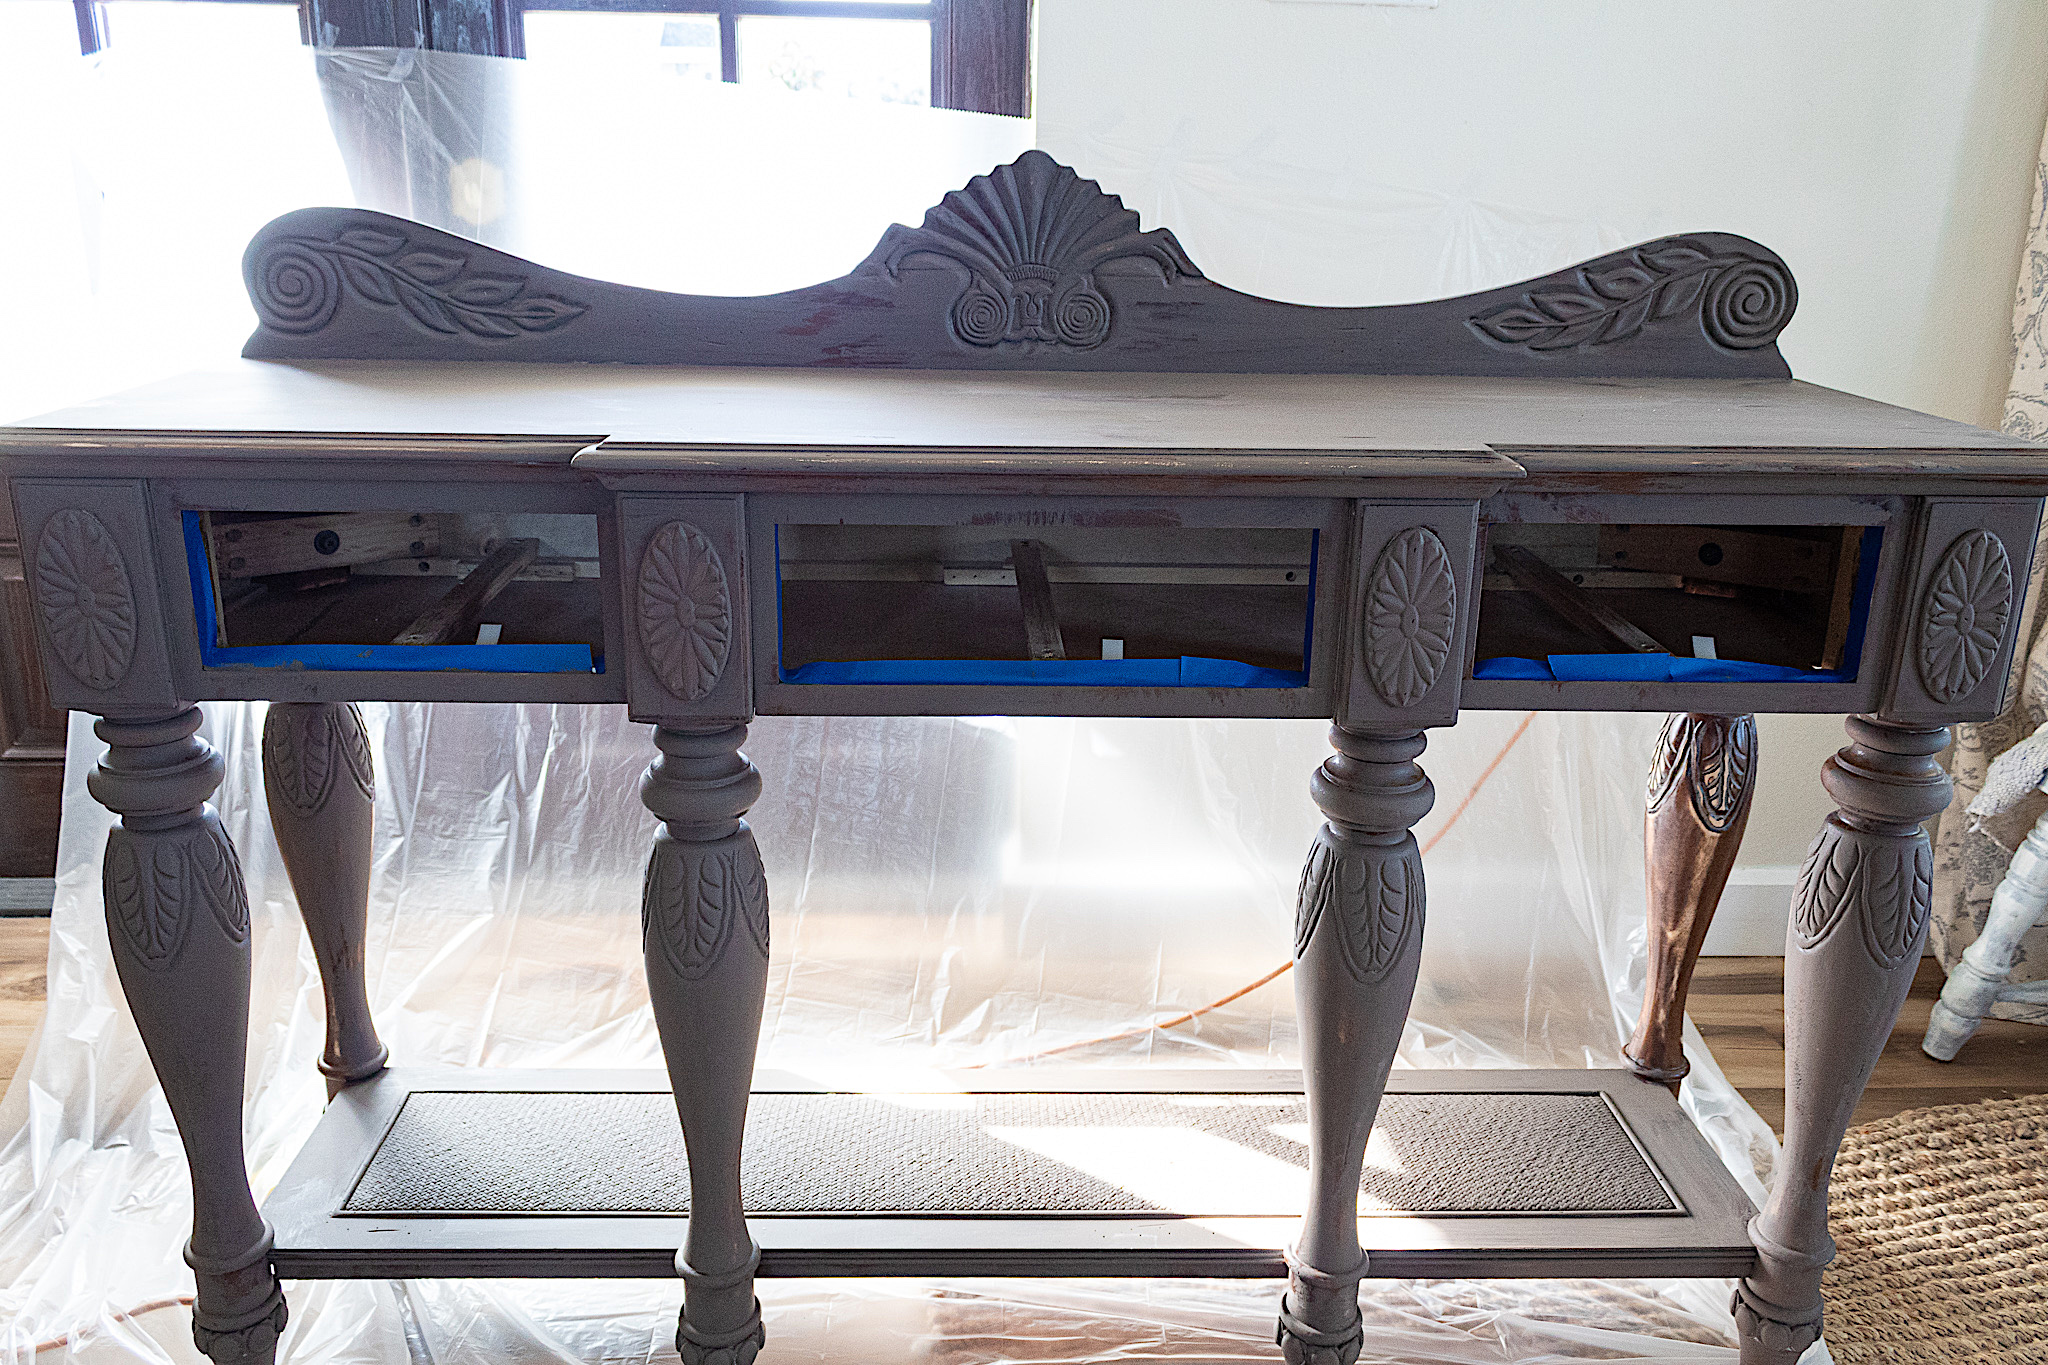
Here is the piece after one coat of paint. Some spots I purposely left unpainted as part of the distressed look. One of the advantages of using chalk paint is that it dries very quickly. It saves time on your renovations. And the coverage comes together remarkably on your second coat.
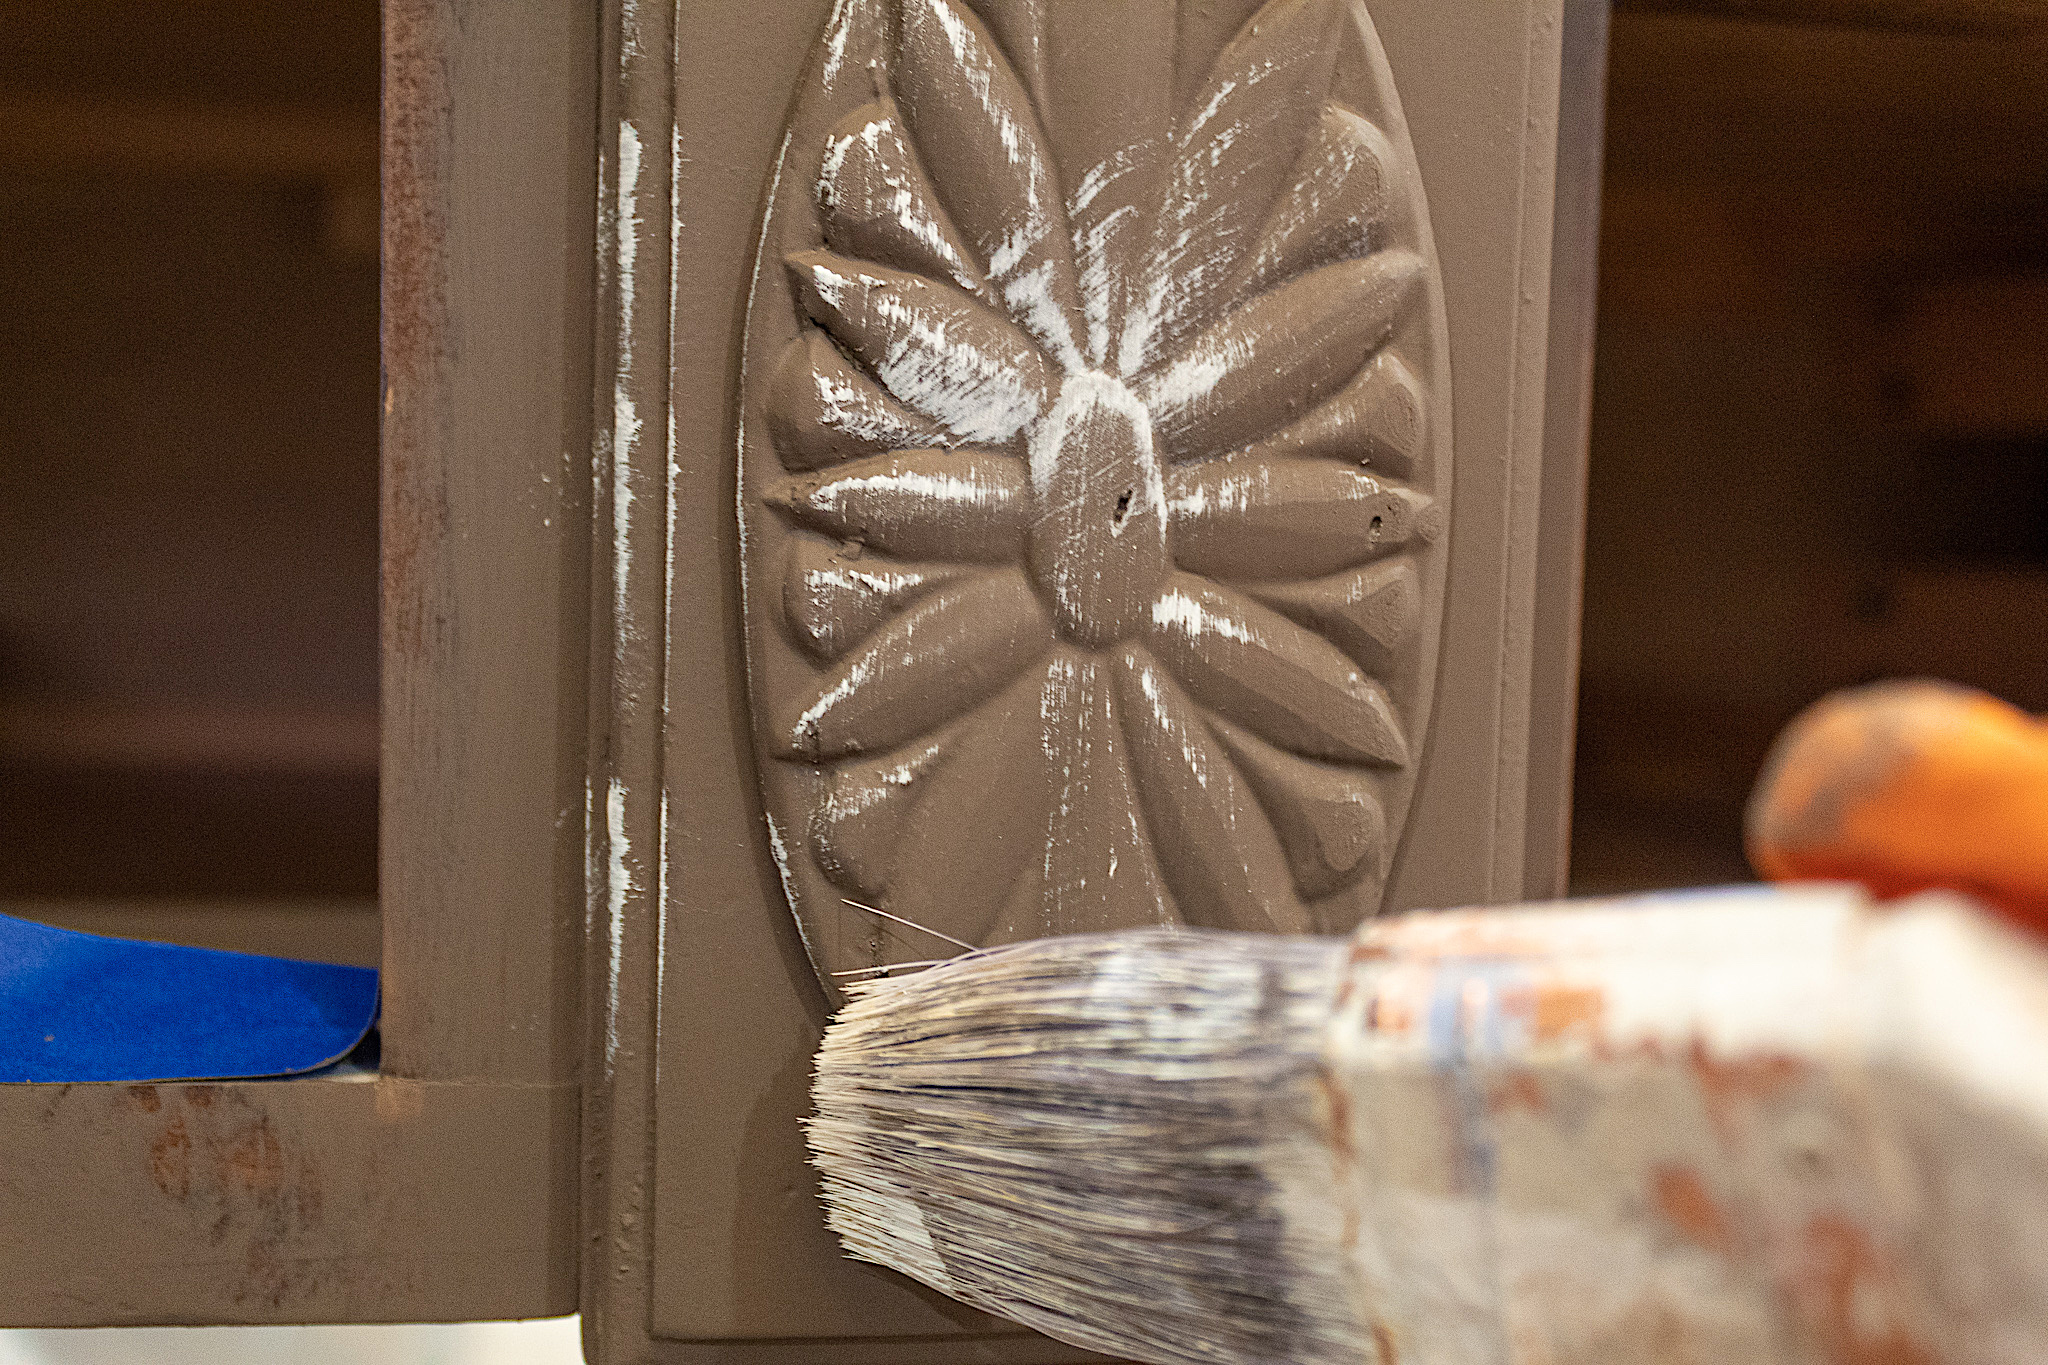
3. Second color application & distressing
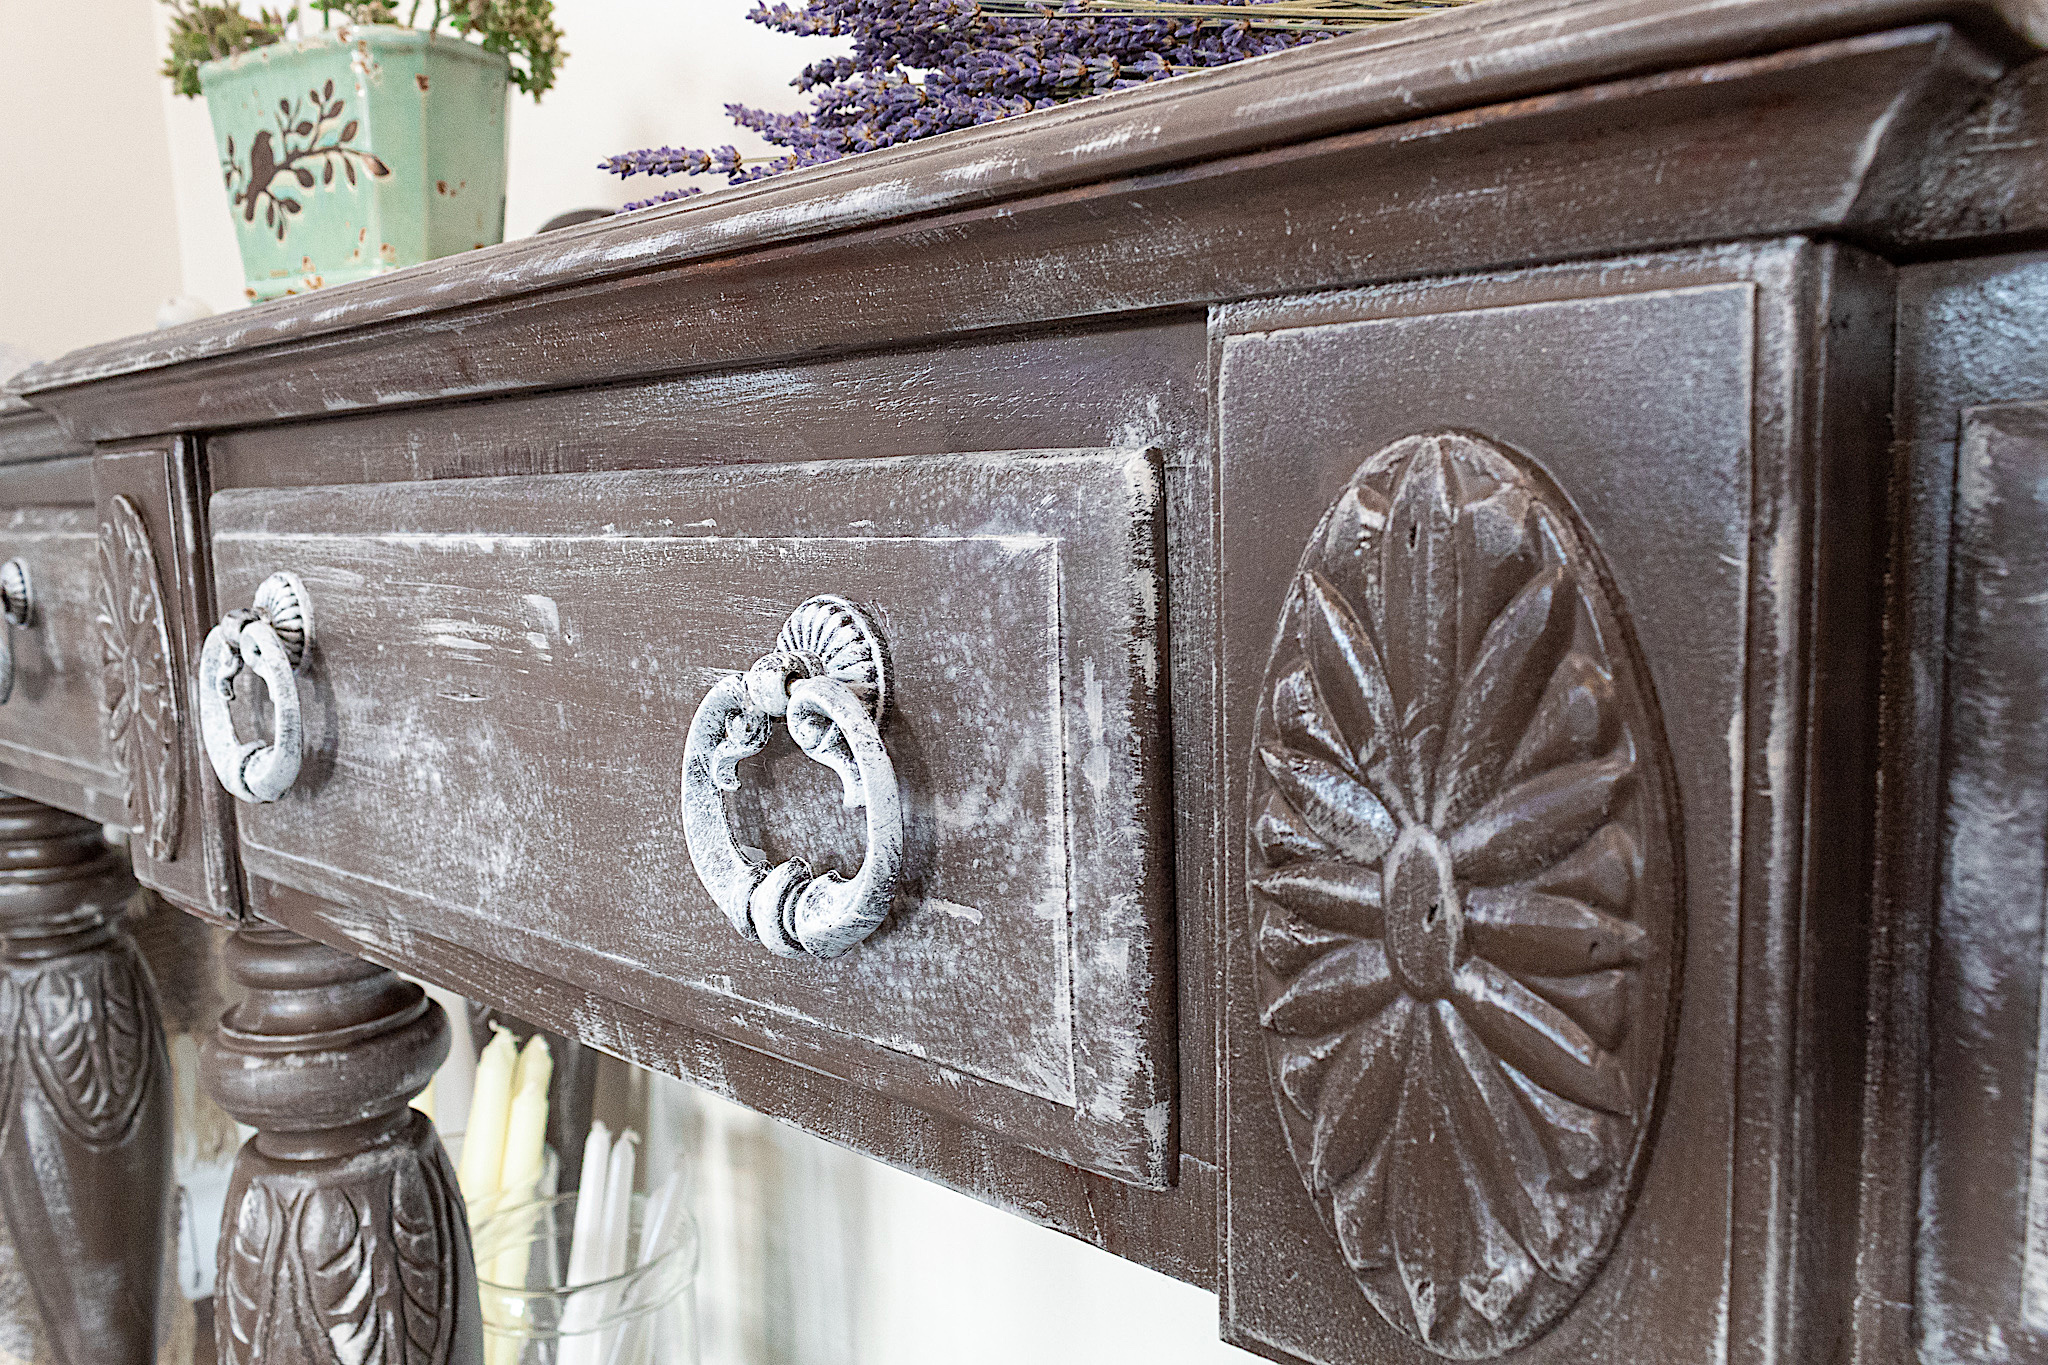
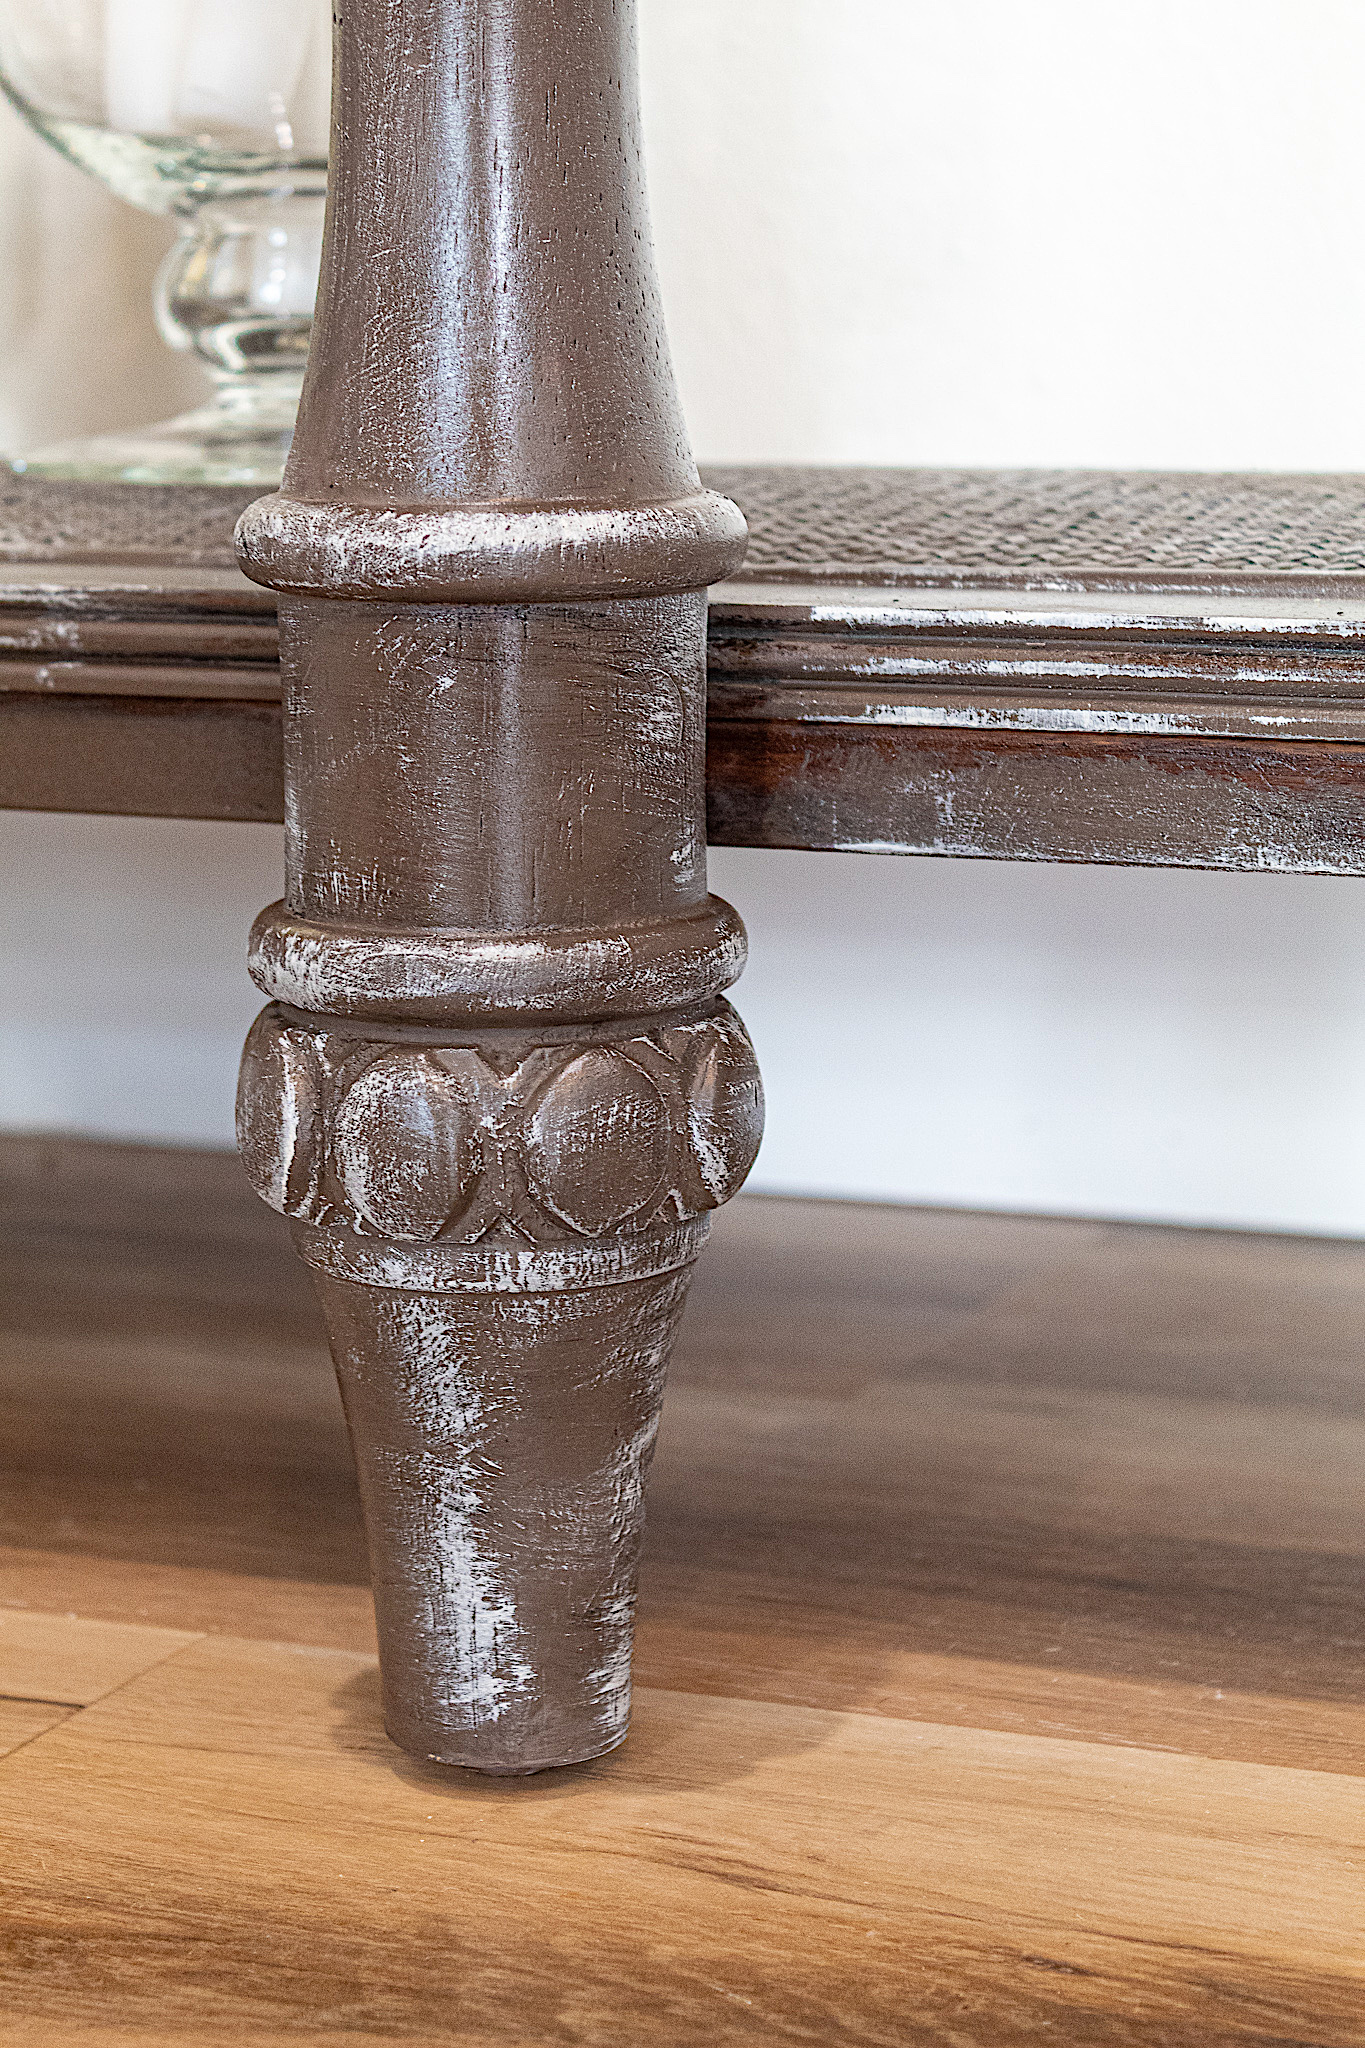
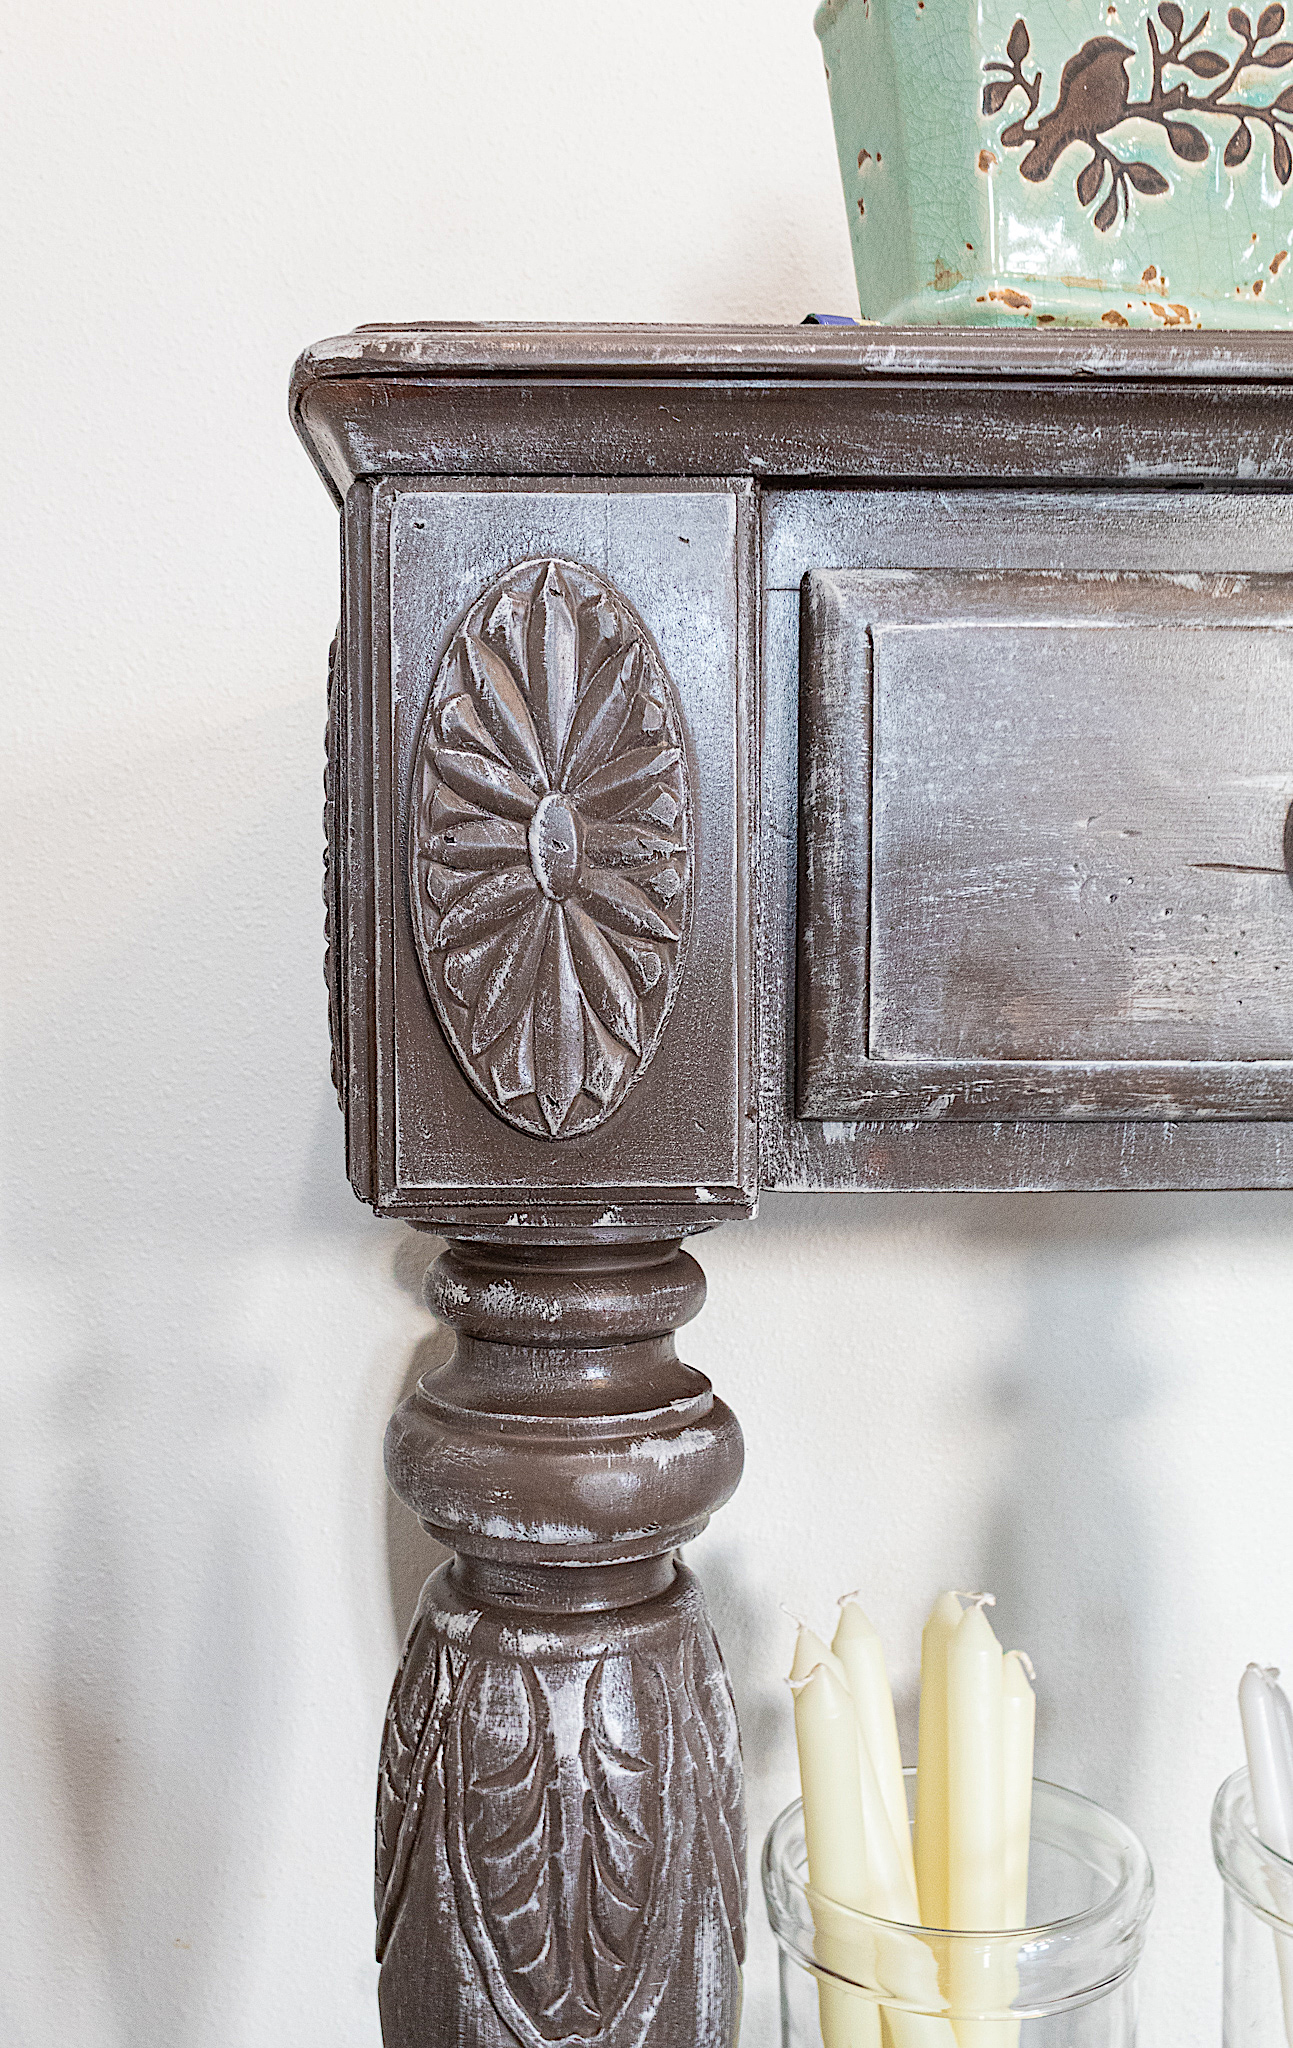
With the second color of paint we can start creating some beautiful design on this piece. Because this sideboard has loads of detail, I can use my light color to bring those details to life, while creating a distressed look. I love this technique because it does not involve heavy sanding or wet distressing. I have arthritis in my hands and this method of “aging” furniture is gentle and produces beautiful results.
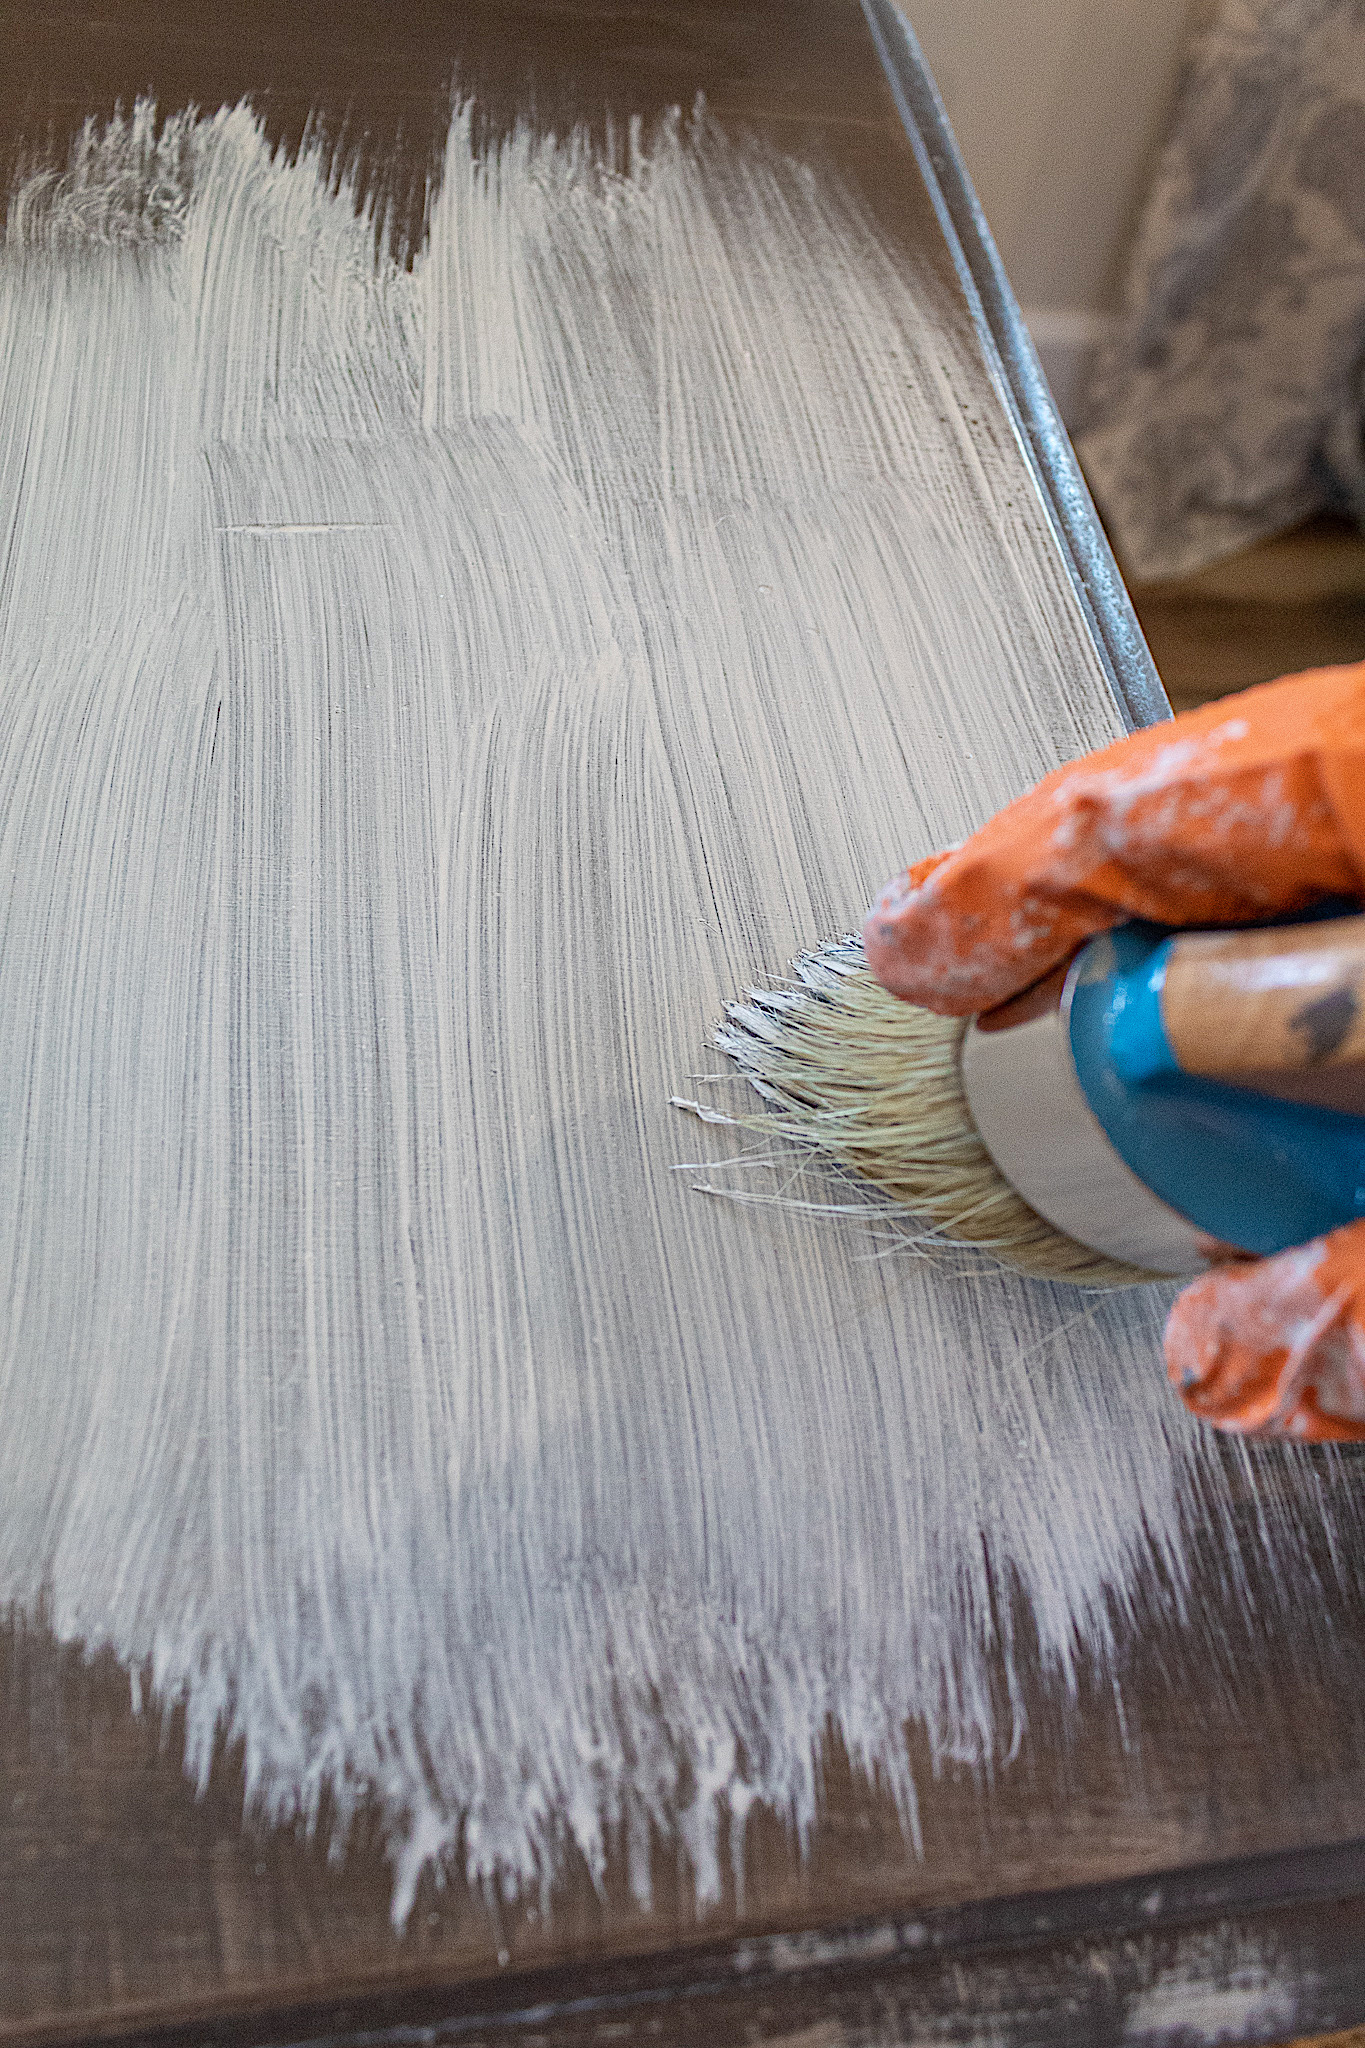
For the first part of this technique I simply dry brushed the Weathered White paint ever so slightly over the entire piece as follows: •dip only a tiny tip of the brush into your paint so that there is only a smidgen of paint on the brush •lightly brush over your details, corners, edges •use feather-like strokes…avoid applying heavy pressure with your brush •on long sections like legs and table tops, whisk strokes in long directions and some short strokes •don’t over do it with your secondary color…this is a simple accent •if you apply too much in one section, simply come back over it with your primary color
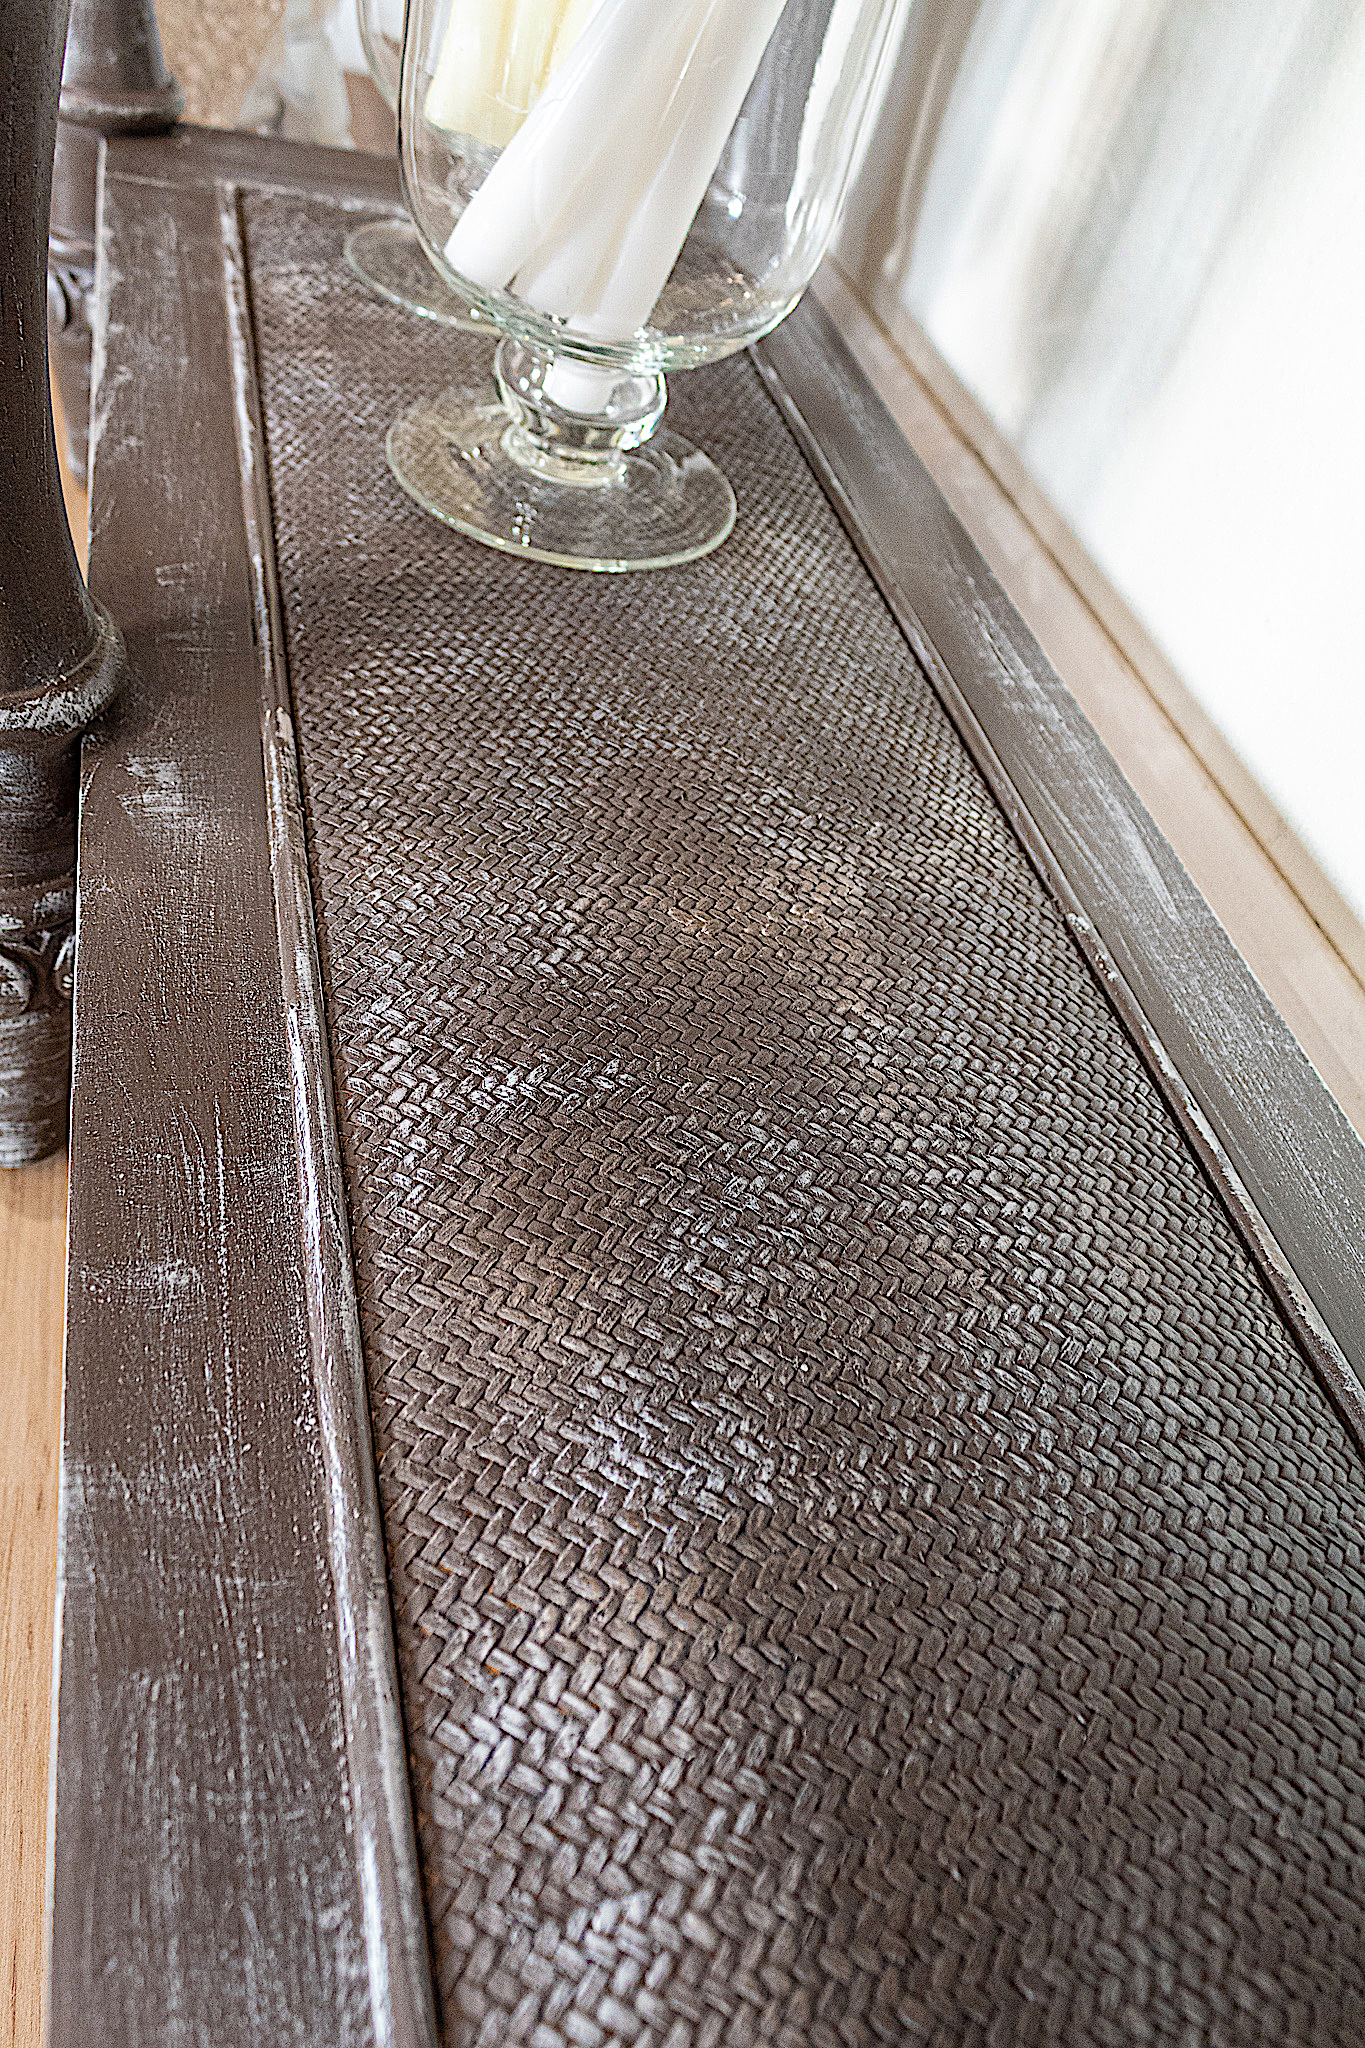
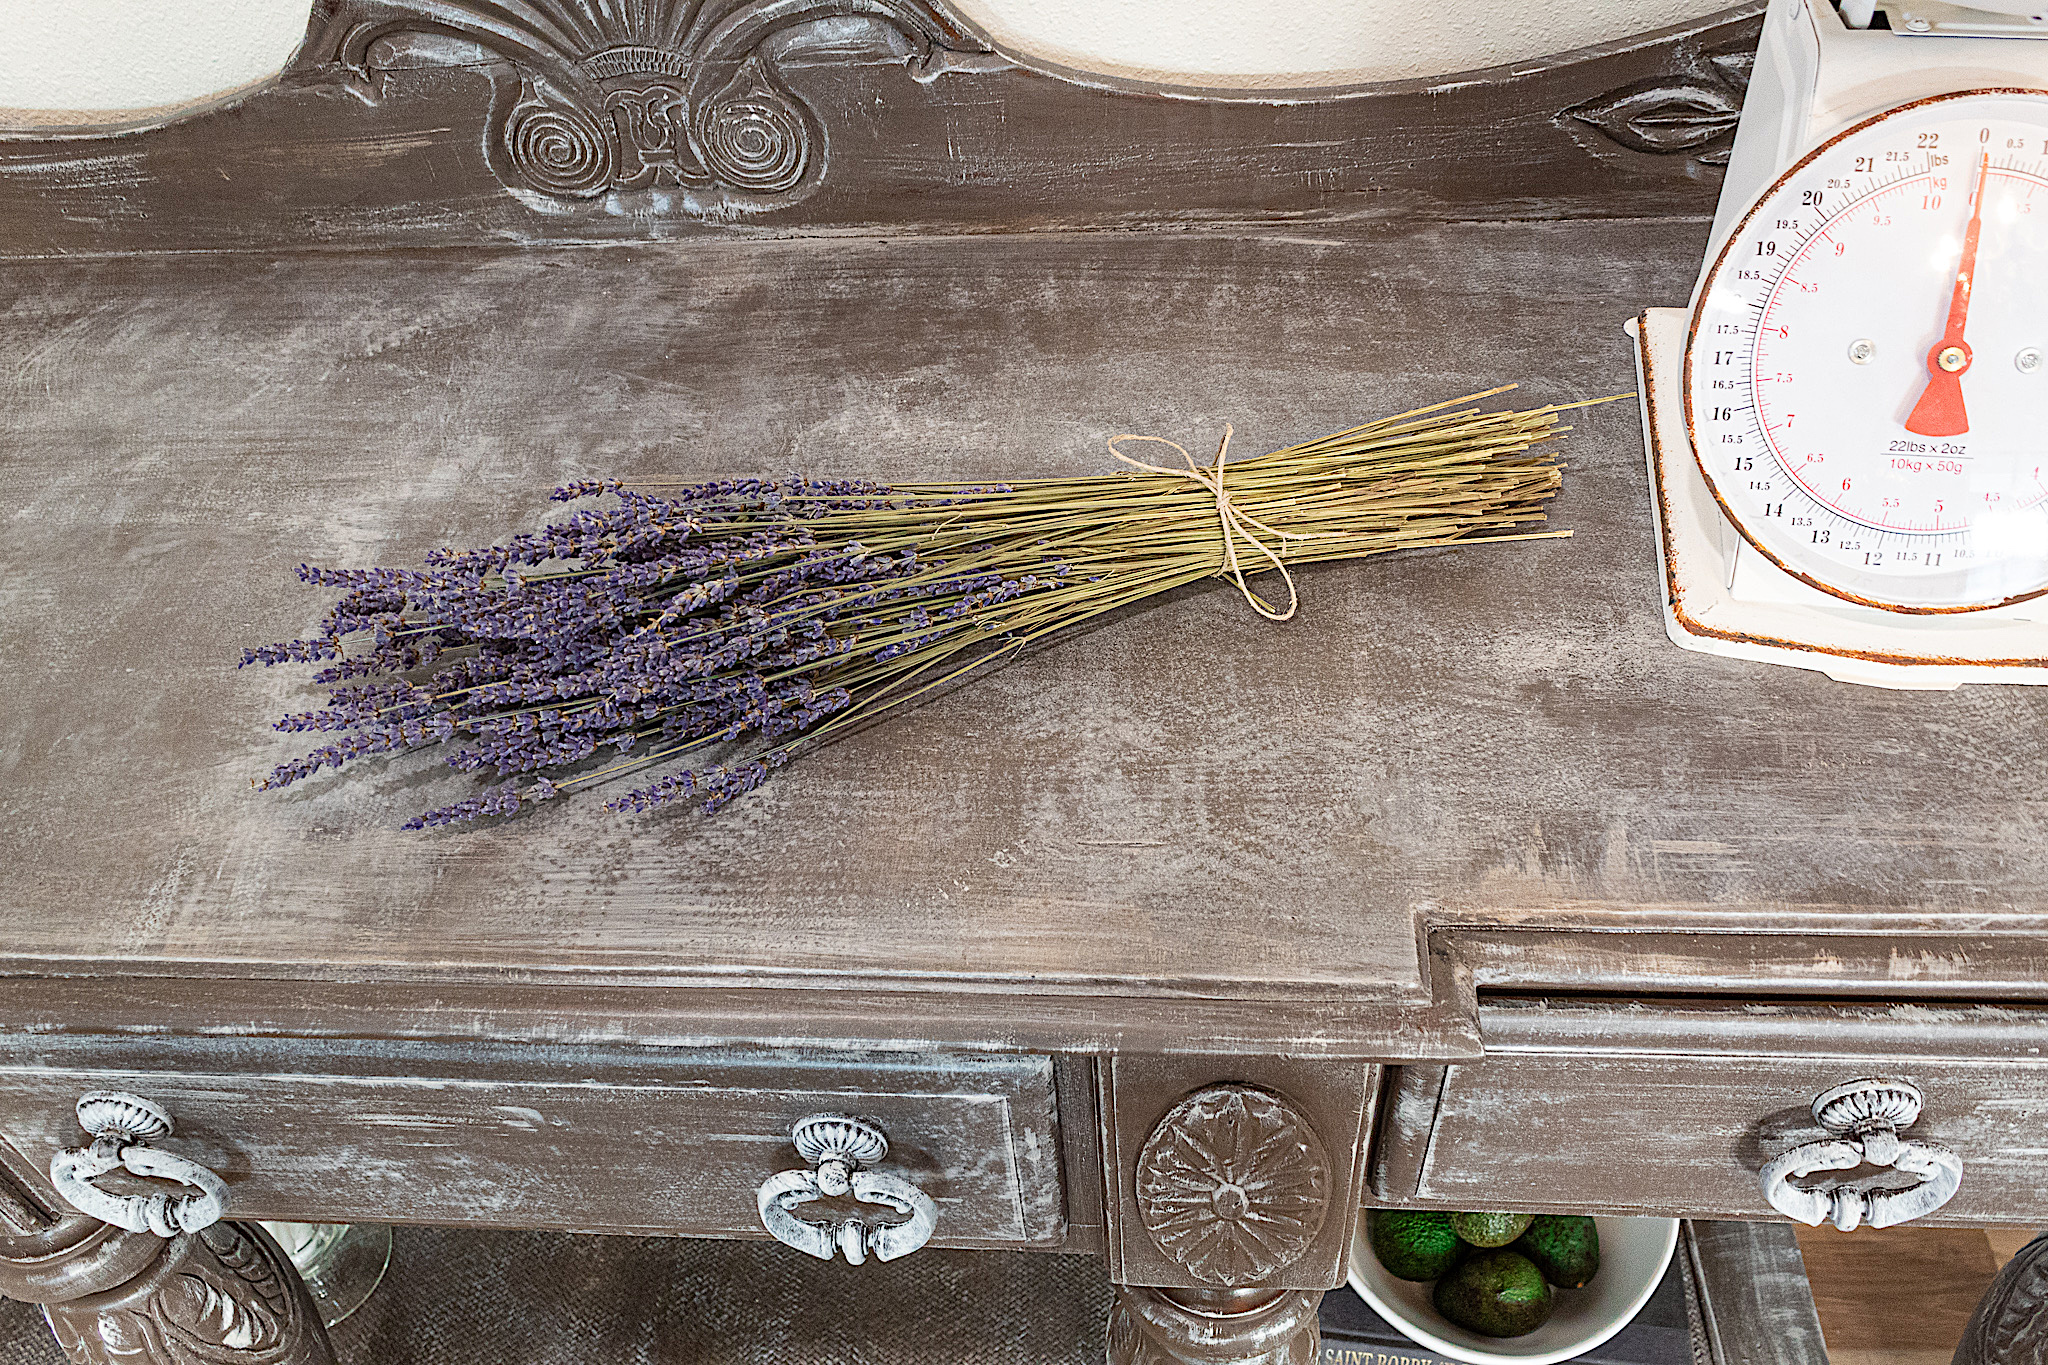
4. Paper towel effect technique
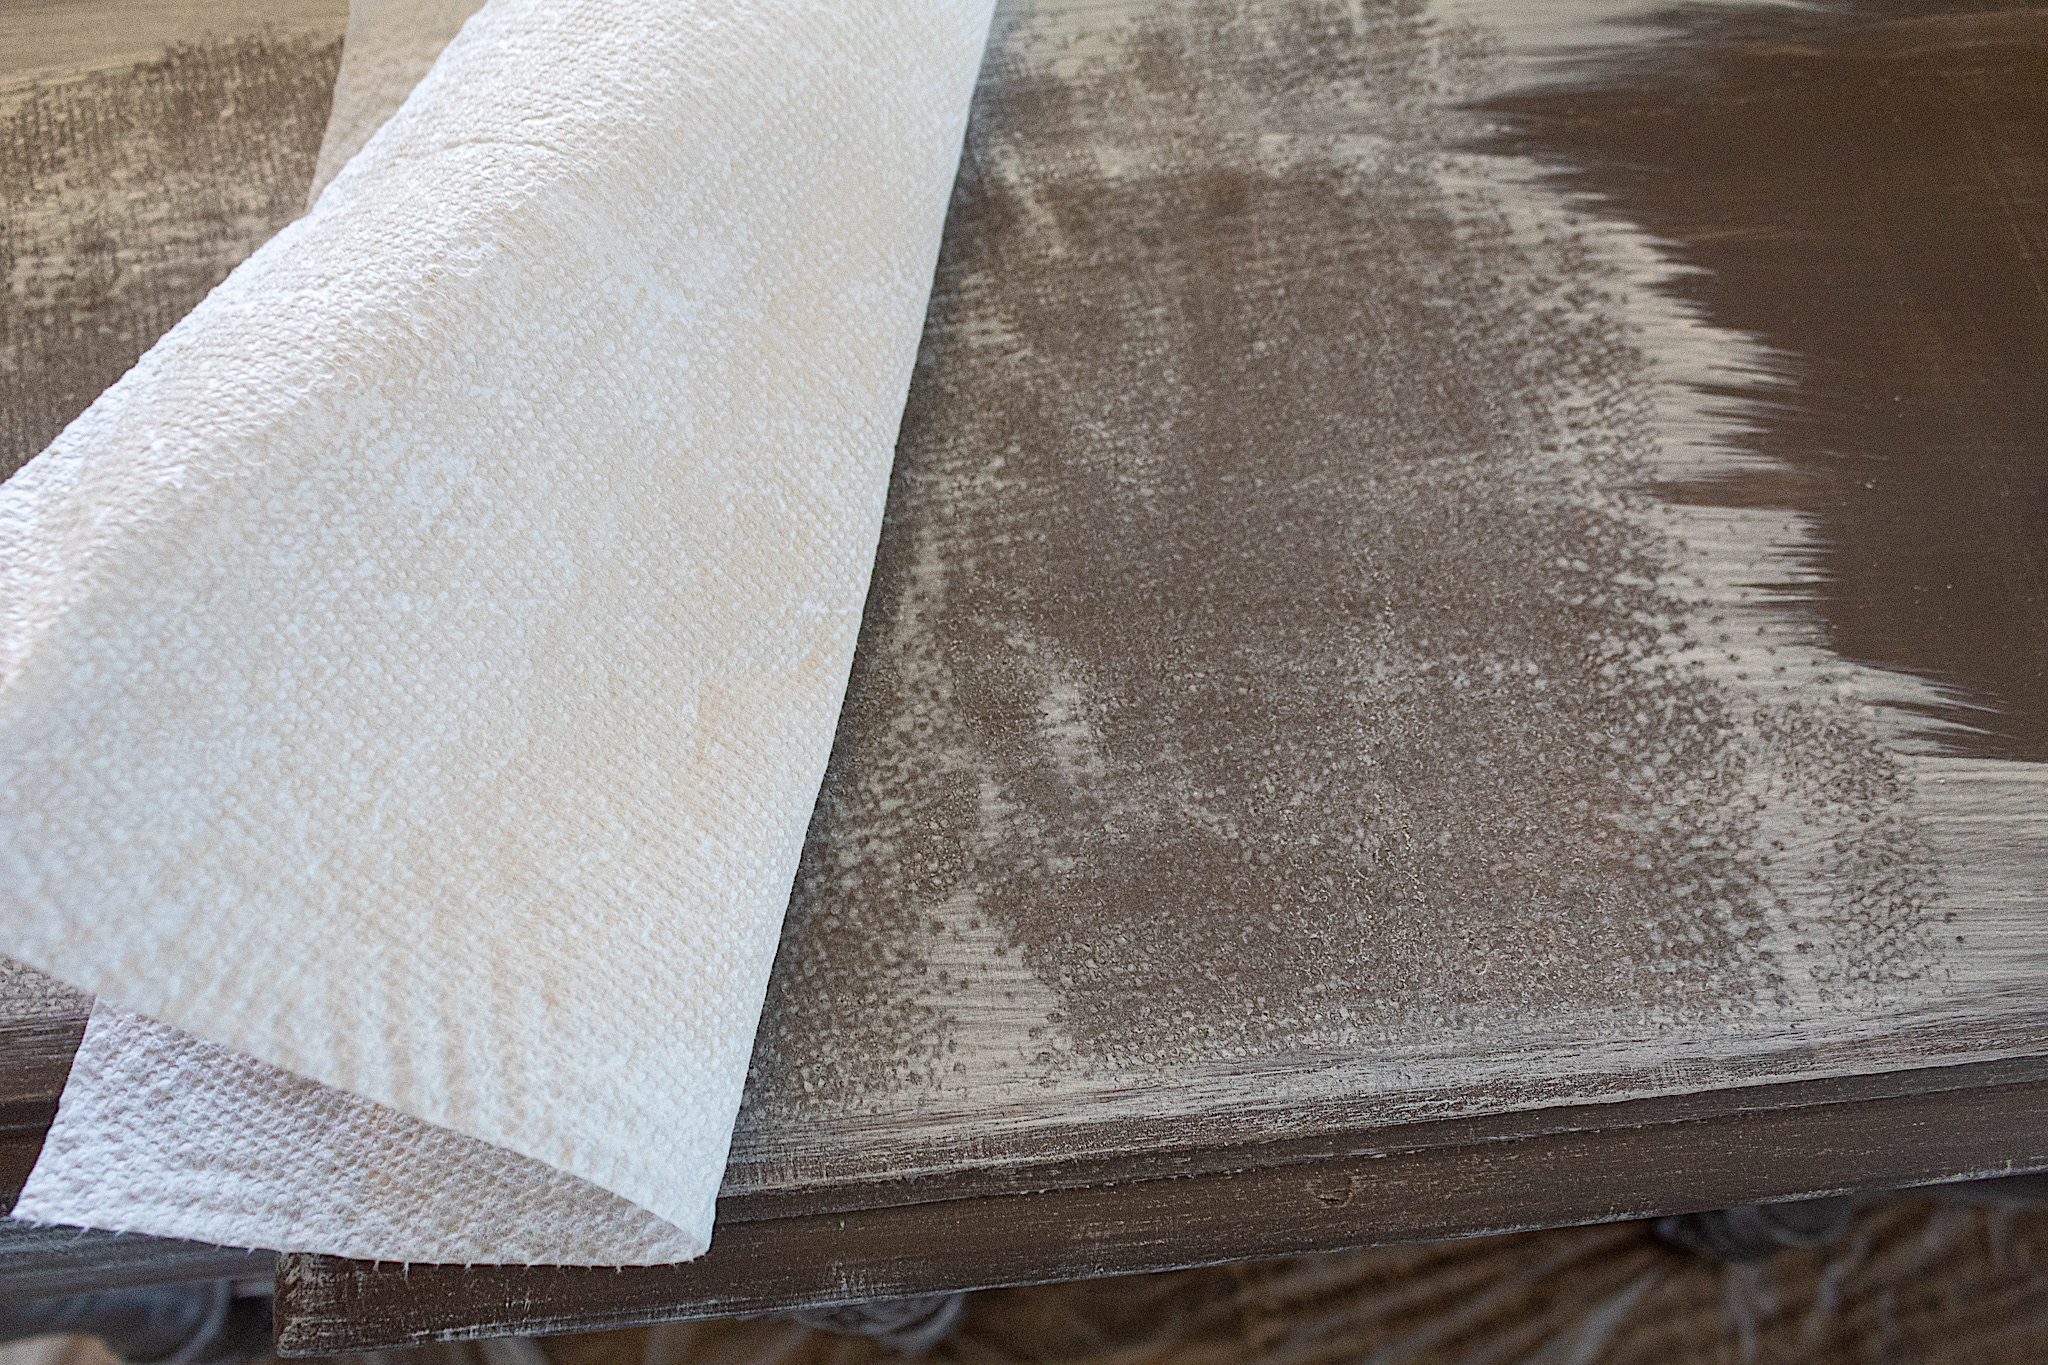
This next technique is one I stumbled upon when I was renovating this small vintage table. It was so easy and the results were gorgeous! Ifelt this look would be very fitting with the French Country Style. You will need some paper towels that have a raised pattern or texture on them. I believe most paper towels are like this.
Working in sections I started by misting the surface and painting on a coat of the Weathered White
Once the paint was on, I took a full sheet of my paper towels and placed it over a section of the paint, textured side facing down. I pressed down on the sheet with my gloved hands. Then I peeled the paper towel back to reveal the pattern.
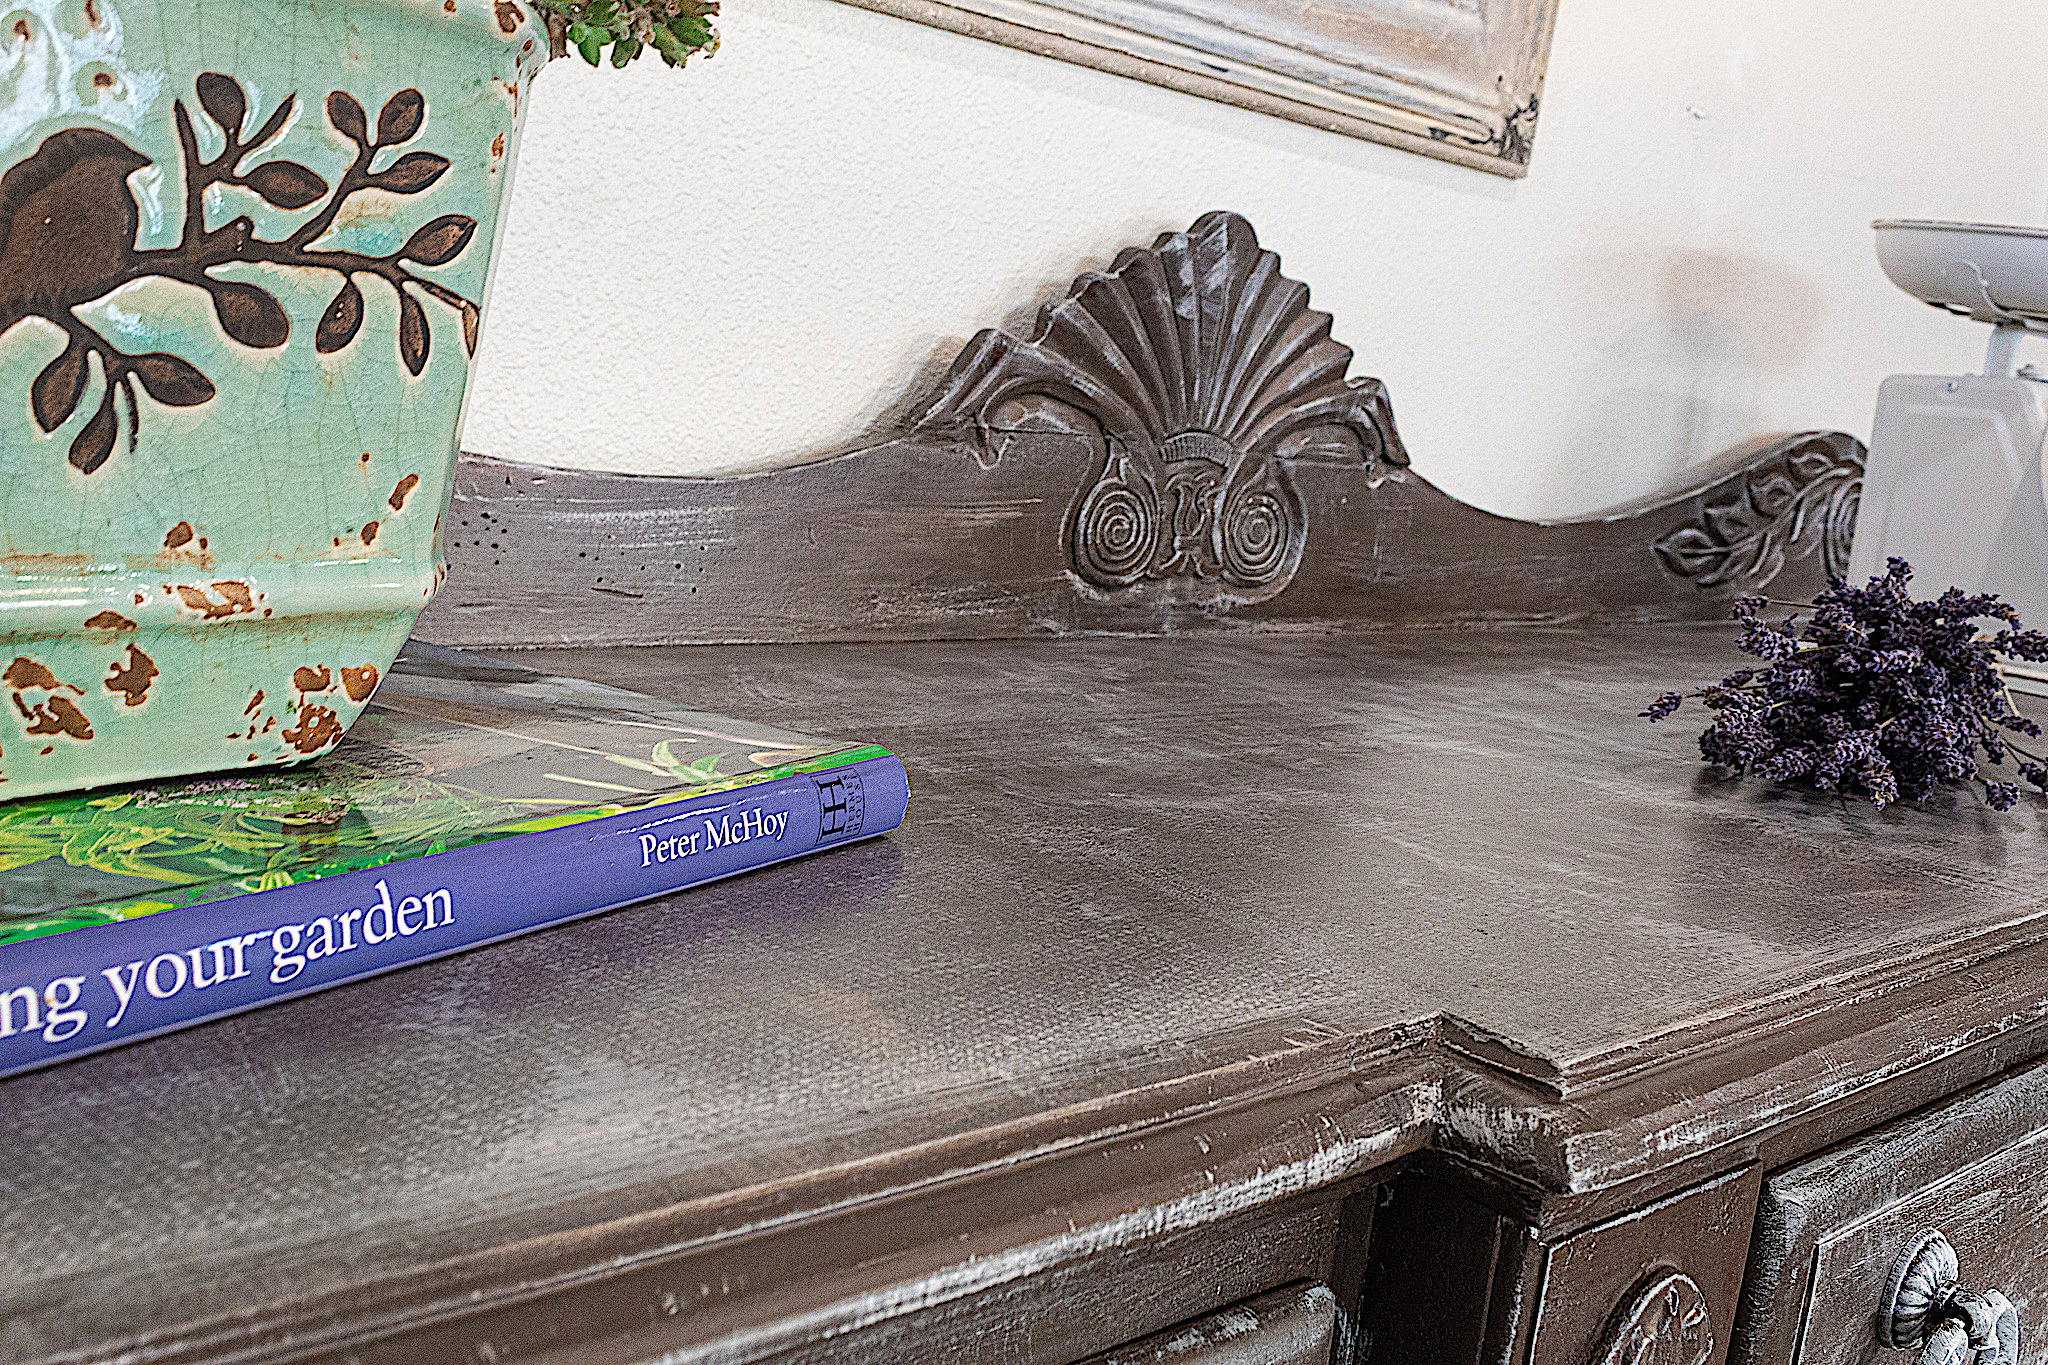
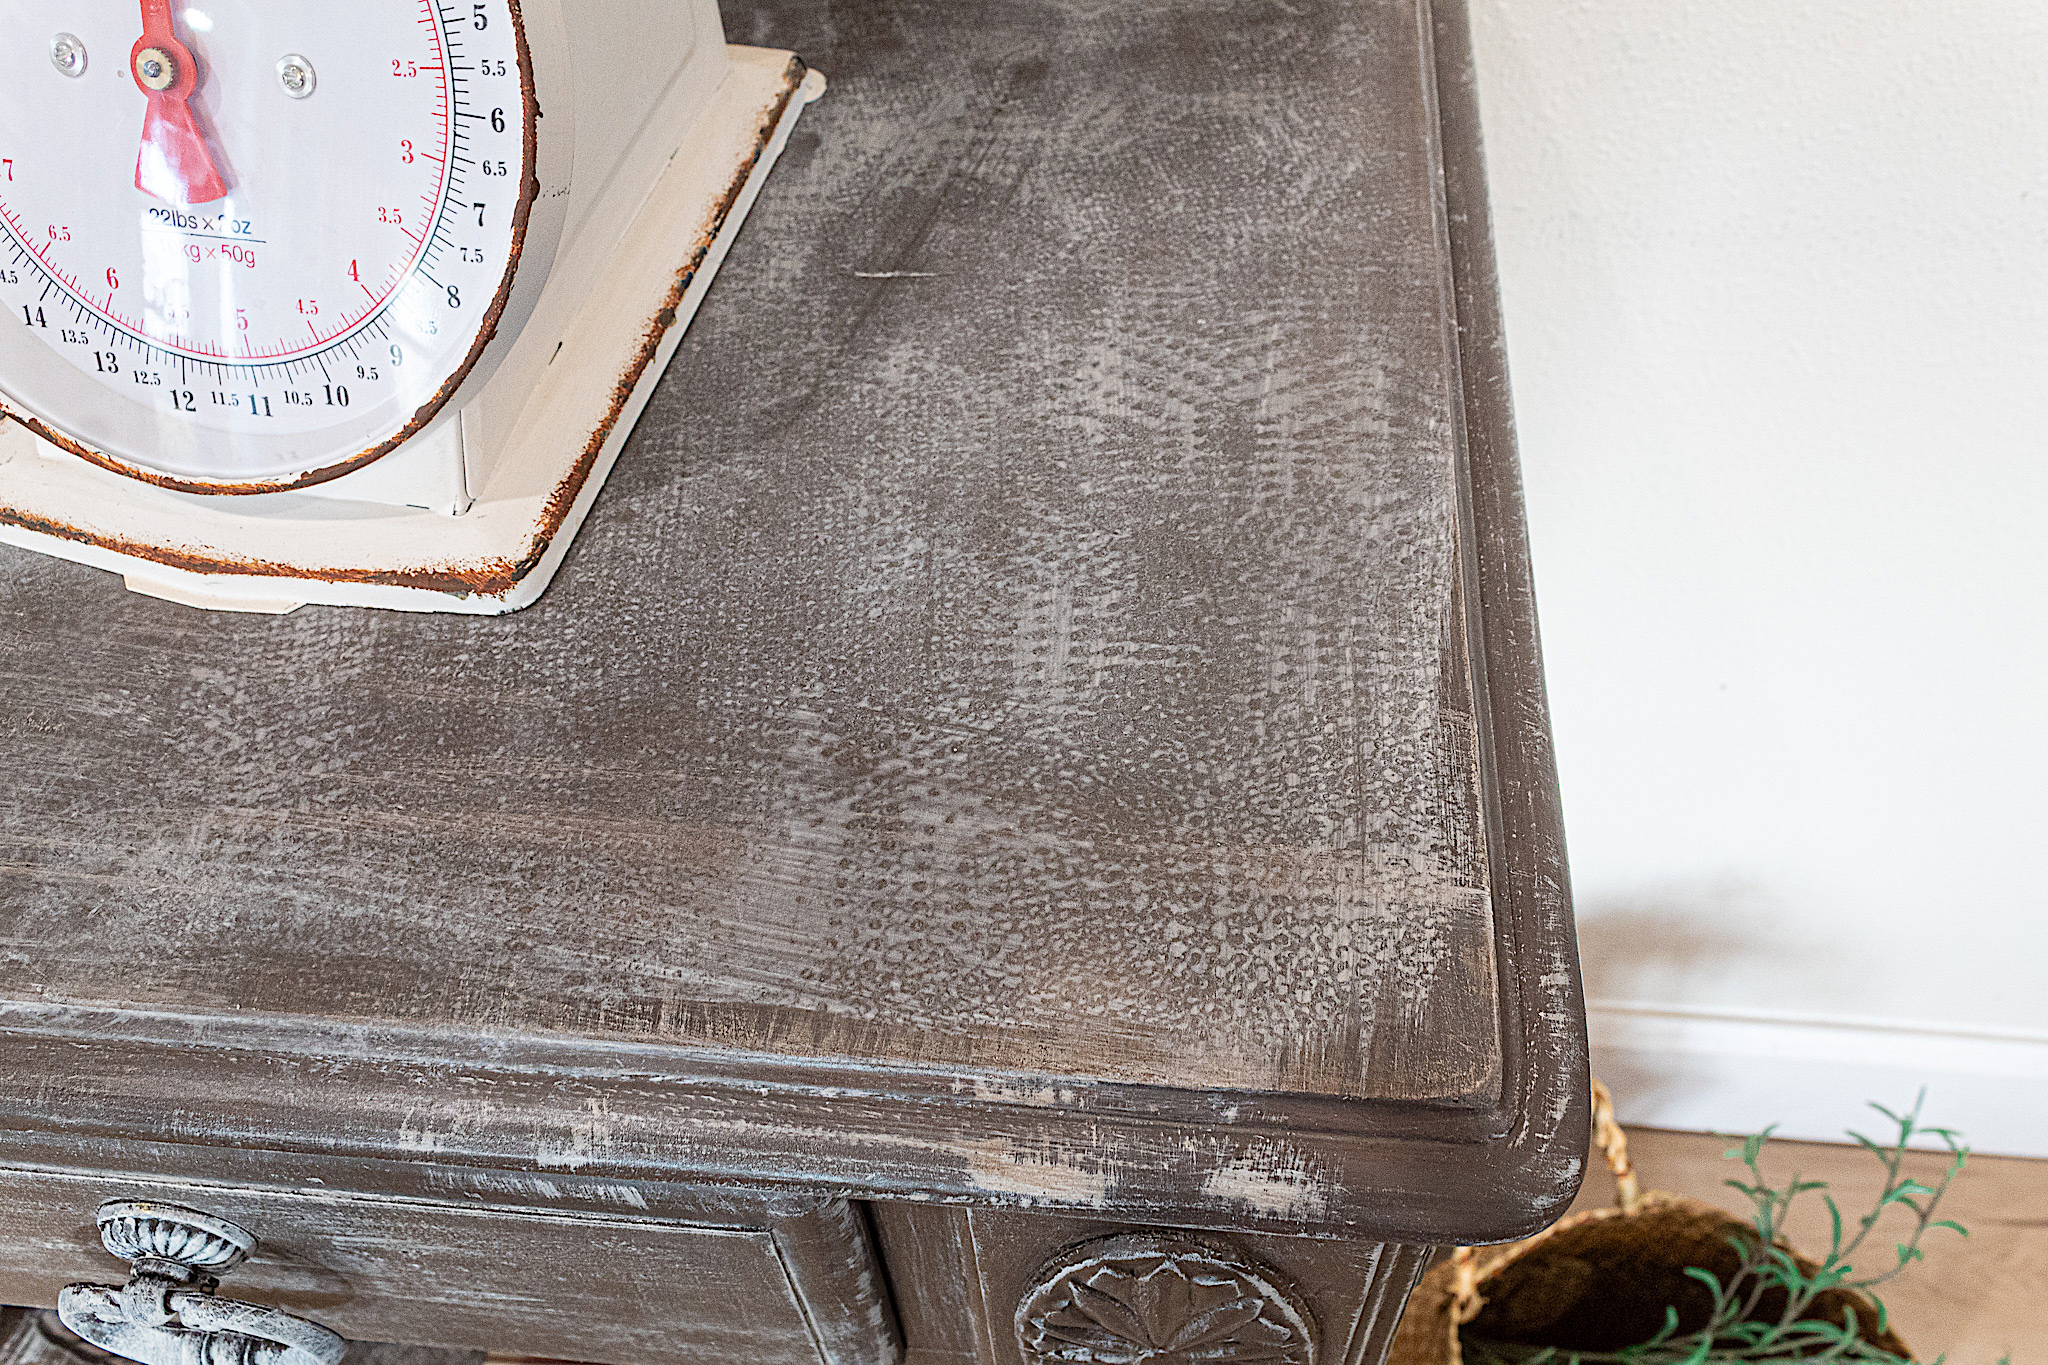
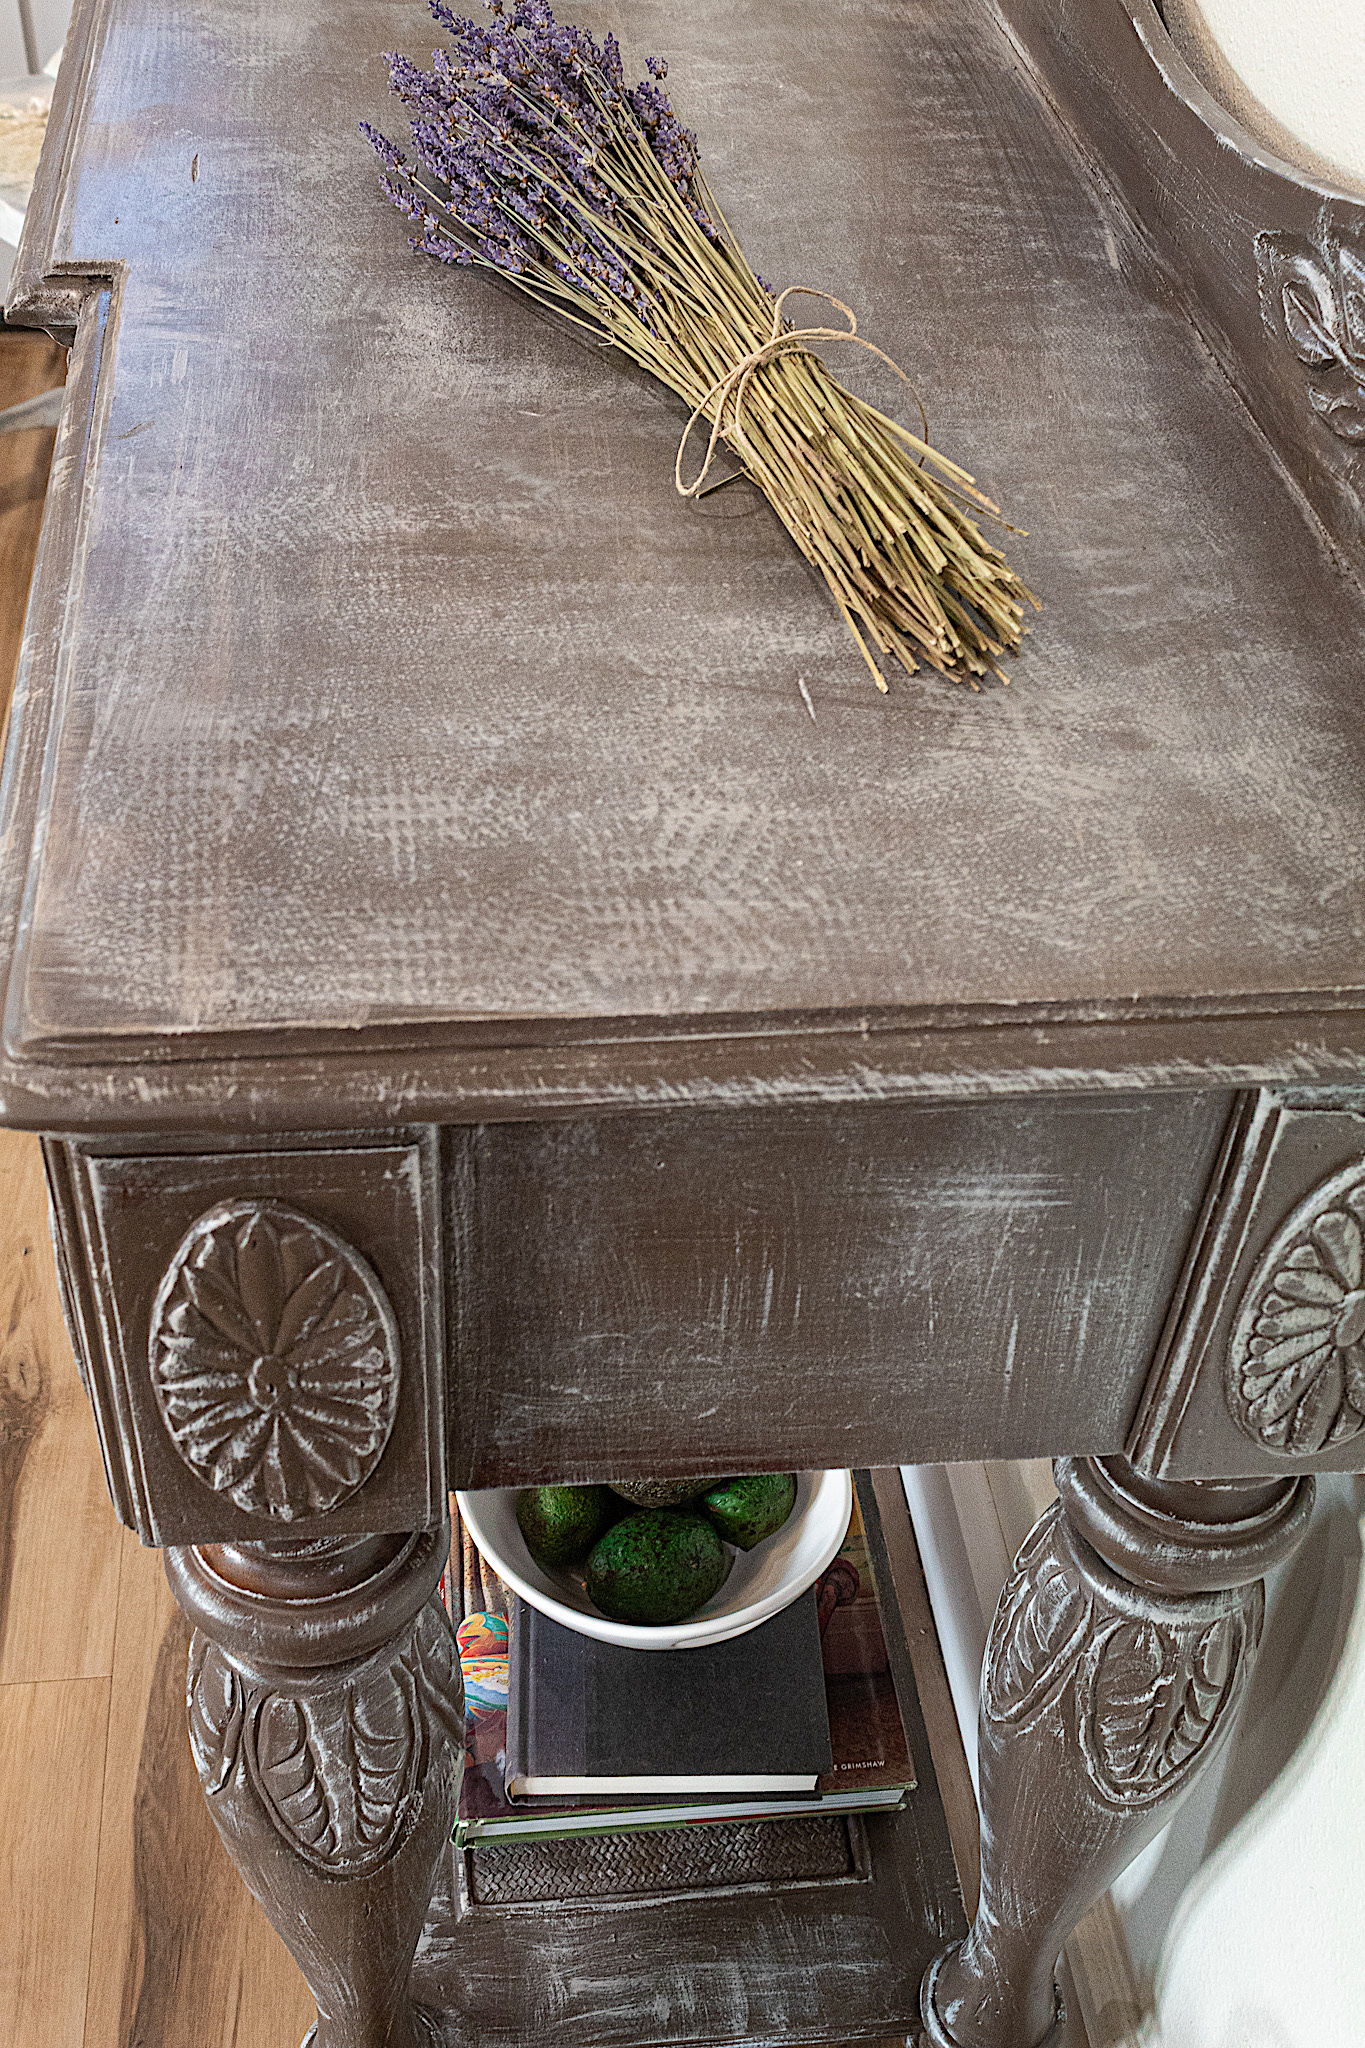
I did the entire top of the sideboard and then I repeated the process (minus the part of adding paint) to thin out the look even more. By misting you reactivate the chalk paint. By re-pressing paper towels, it brings the brown out more. Because I wanted the white to just be a distressed detail, repeating the process kept the top from becoming too white.
Here is a video demonstration of these two “aging” techniques.
5. Finish
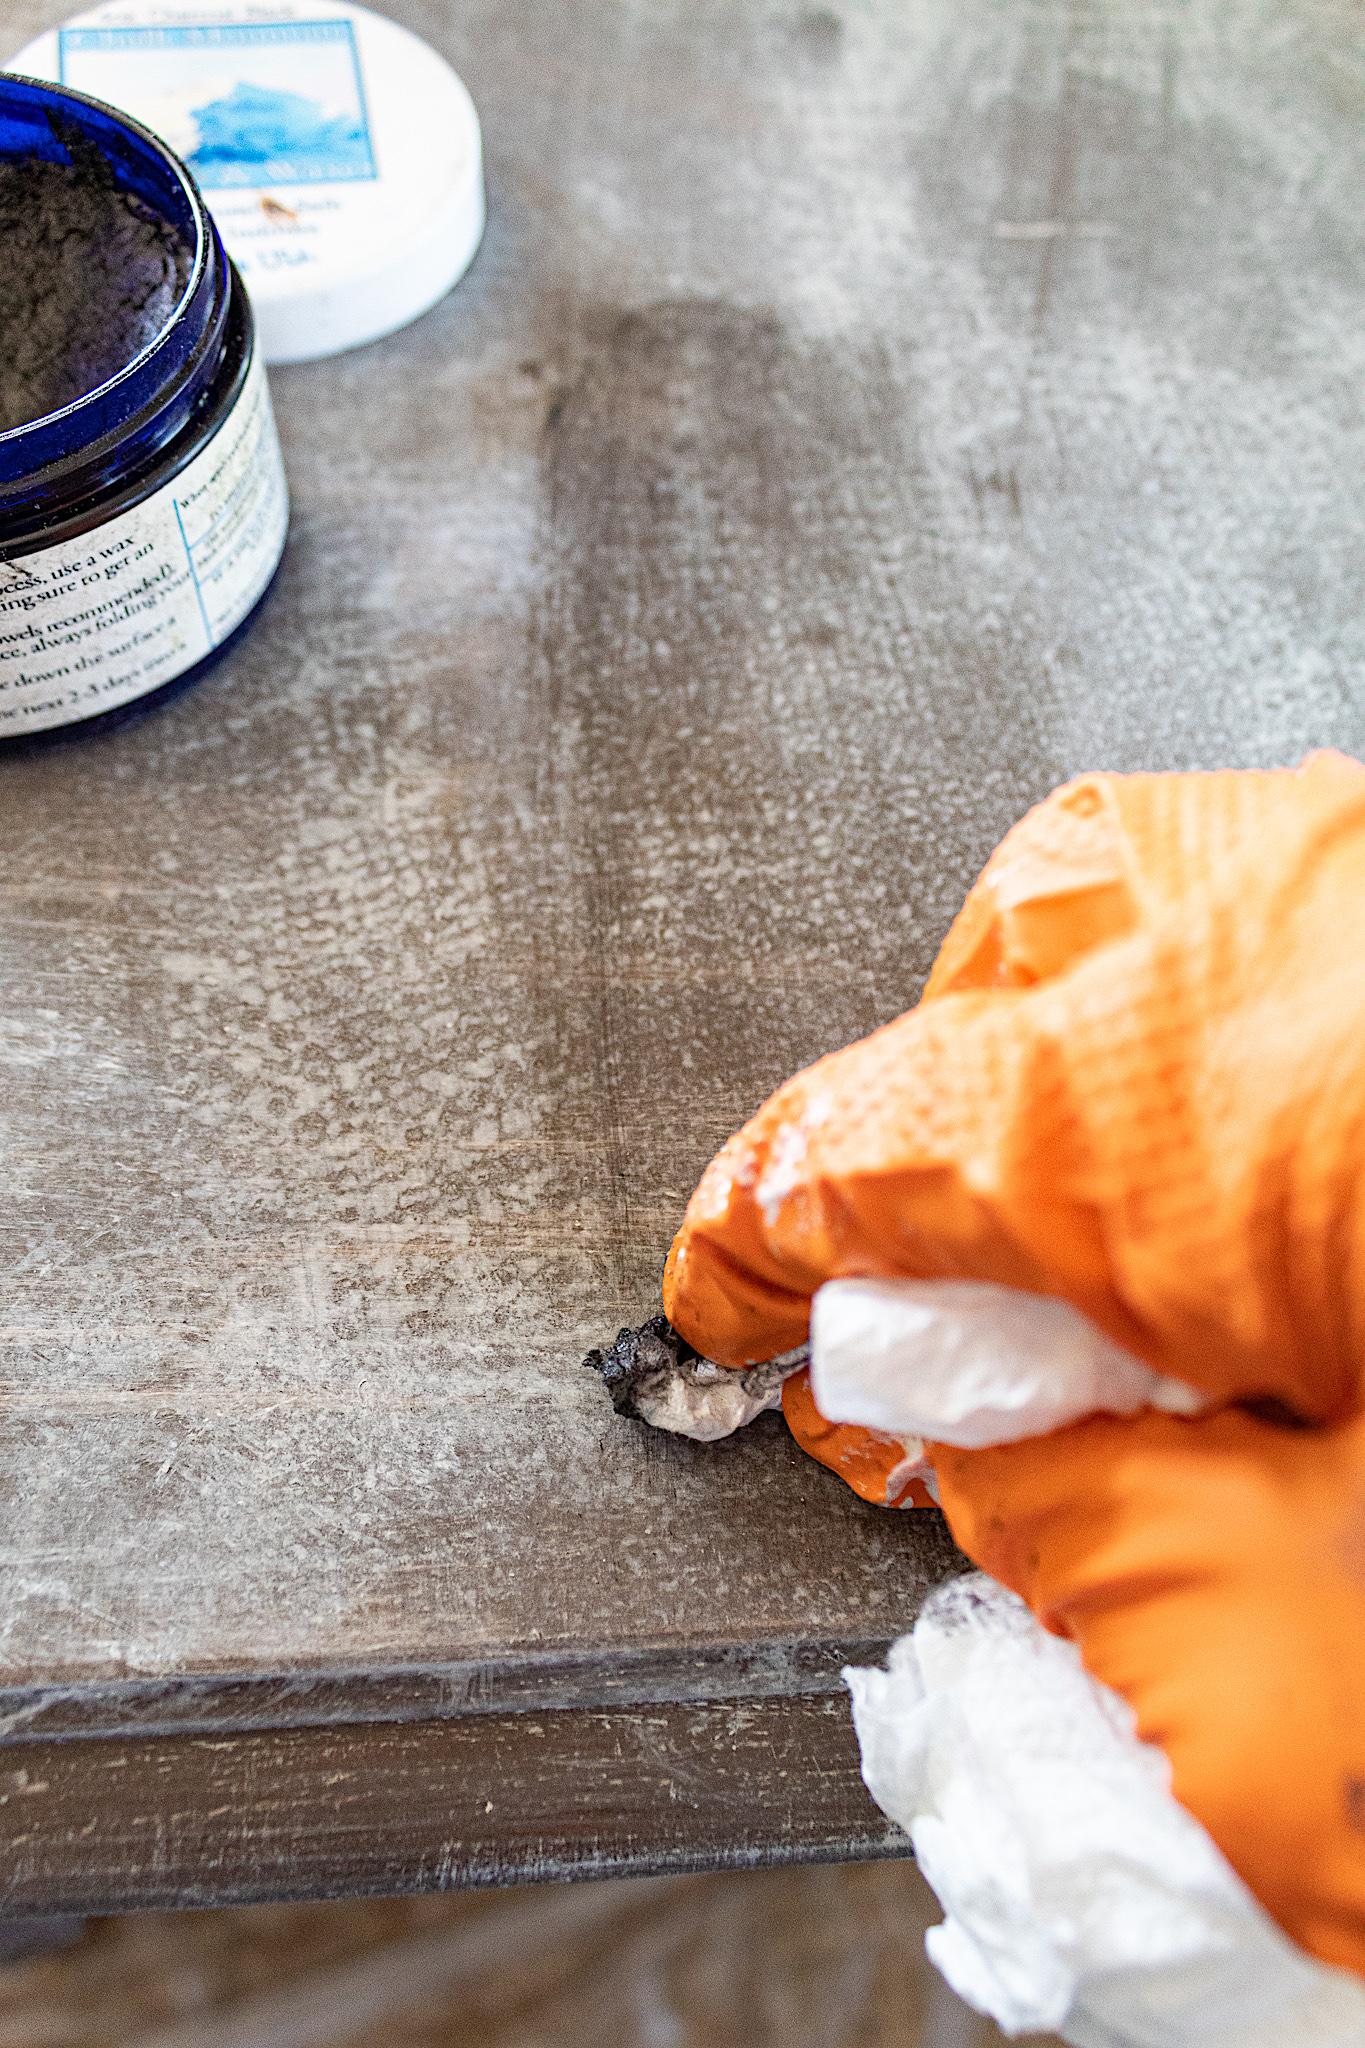
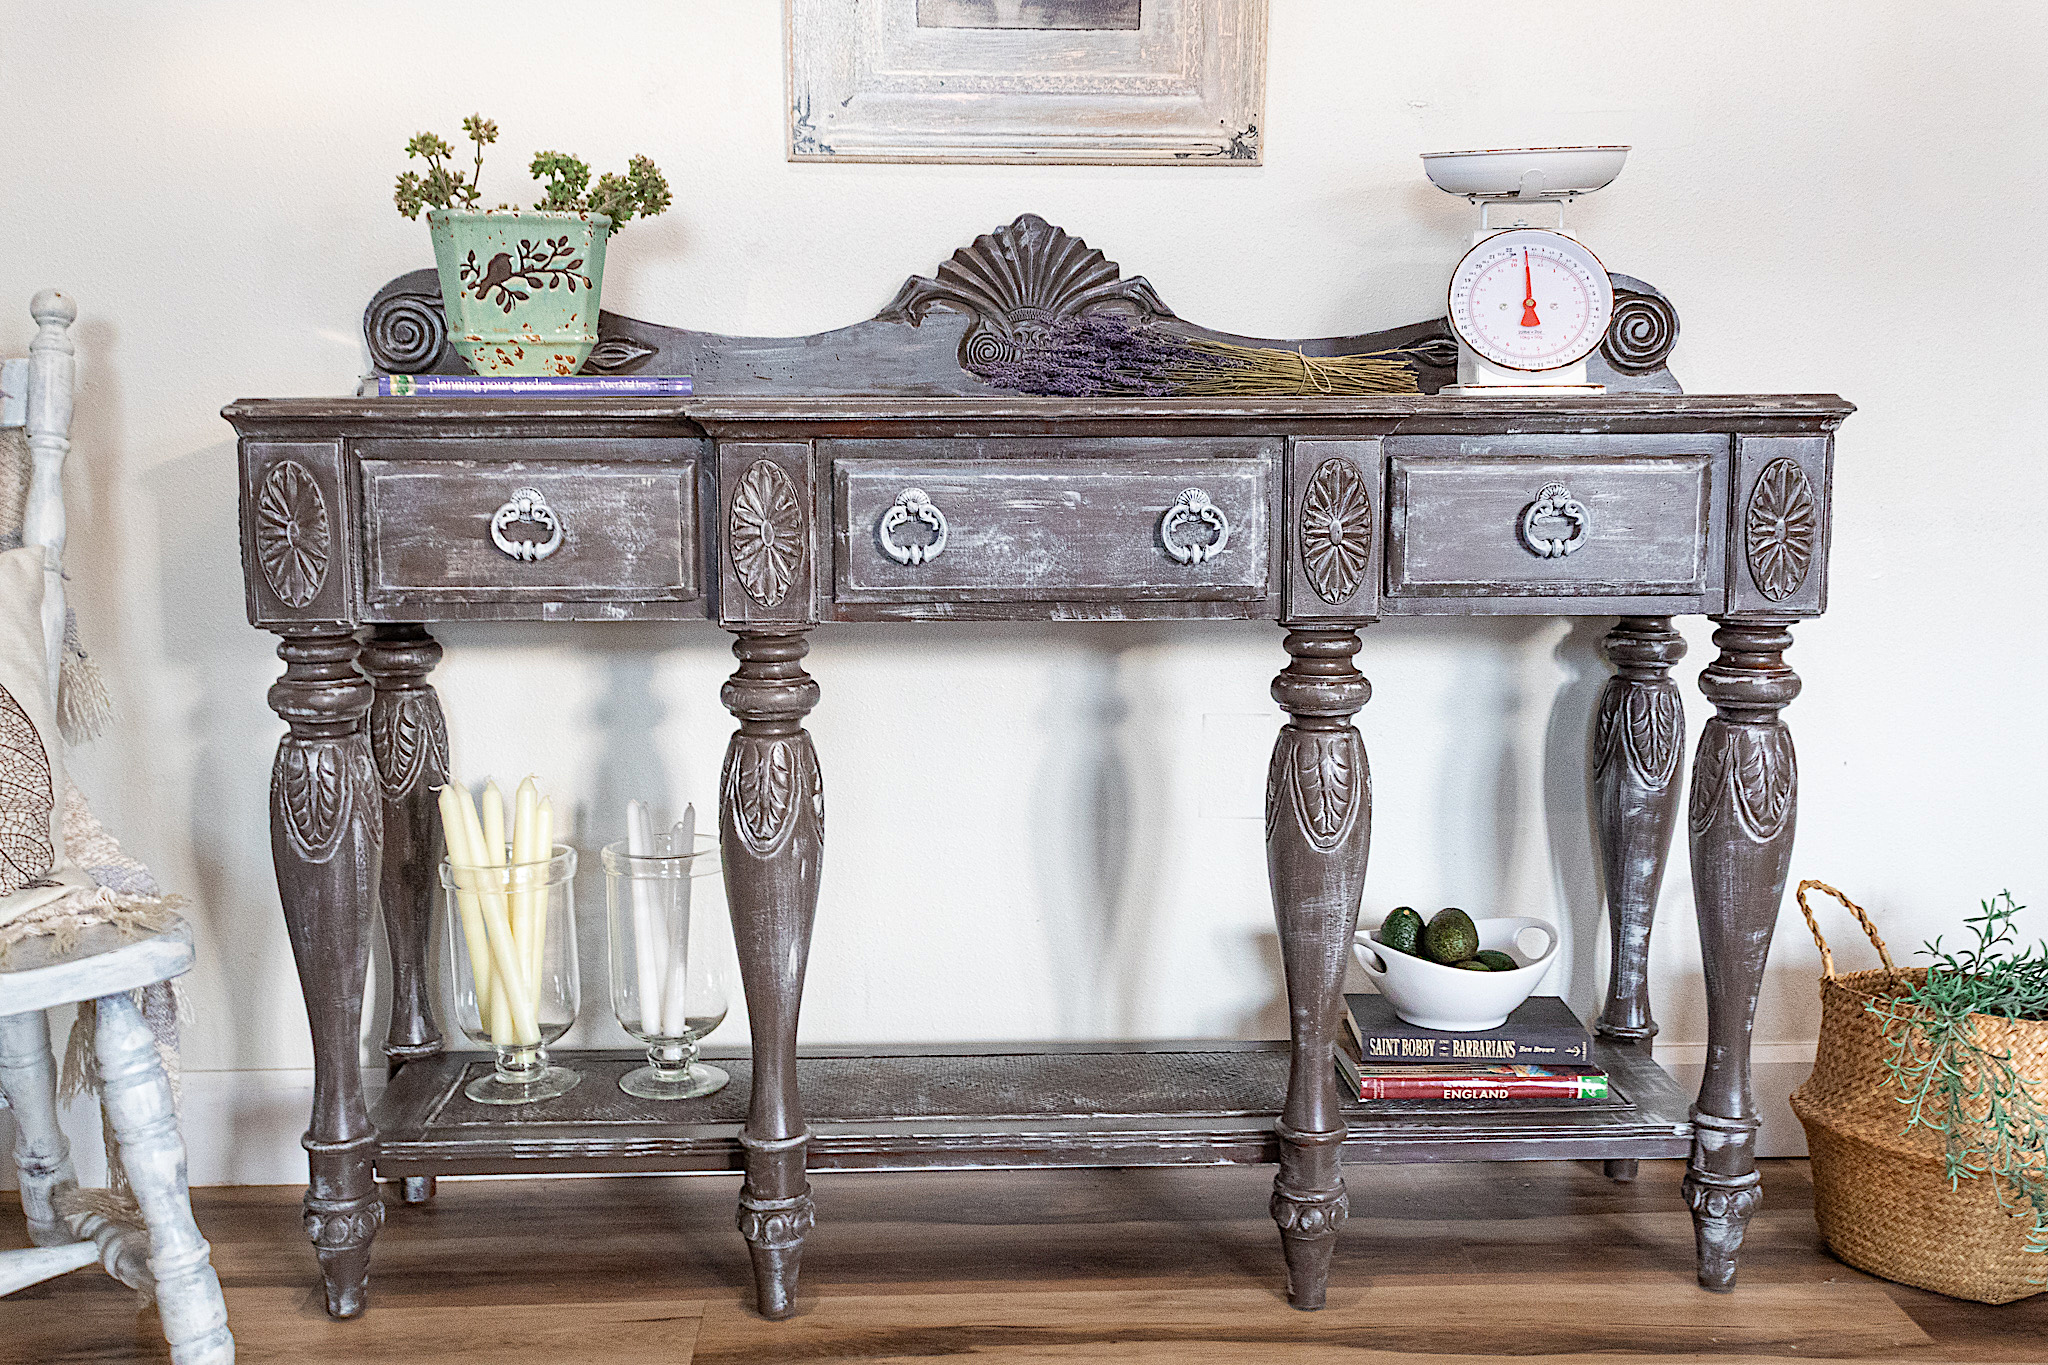
For my final step I added my charcoal black wax to the entire piece. I love this wax when I’m painting with dark colors because it not only seals your finish, but enriches the look of your paint. It adds beautiful dimension. You can apply it with a brush, but I simply use a paper towel and rub it in.
What do you think of this French Vintage Look sideboard? Isn’t it stunning? I love this brown and how it looks on this piece. I love the contrast with the white and all the “aged” details. The touch of pattern on the top is a unique detail and an extra layer of dimension that I think came out really nicely. I’d love to hear your thoughts on this one. Stay tuned for more fun projects friends!