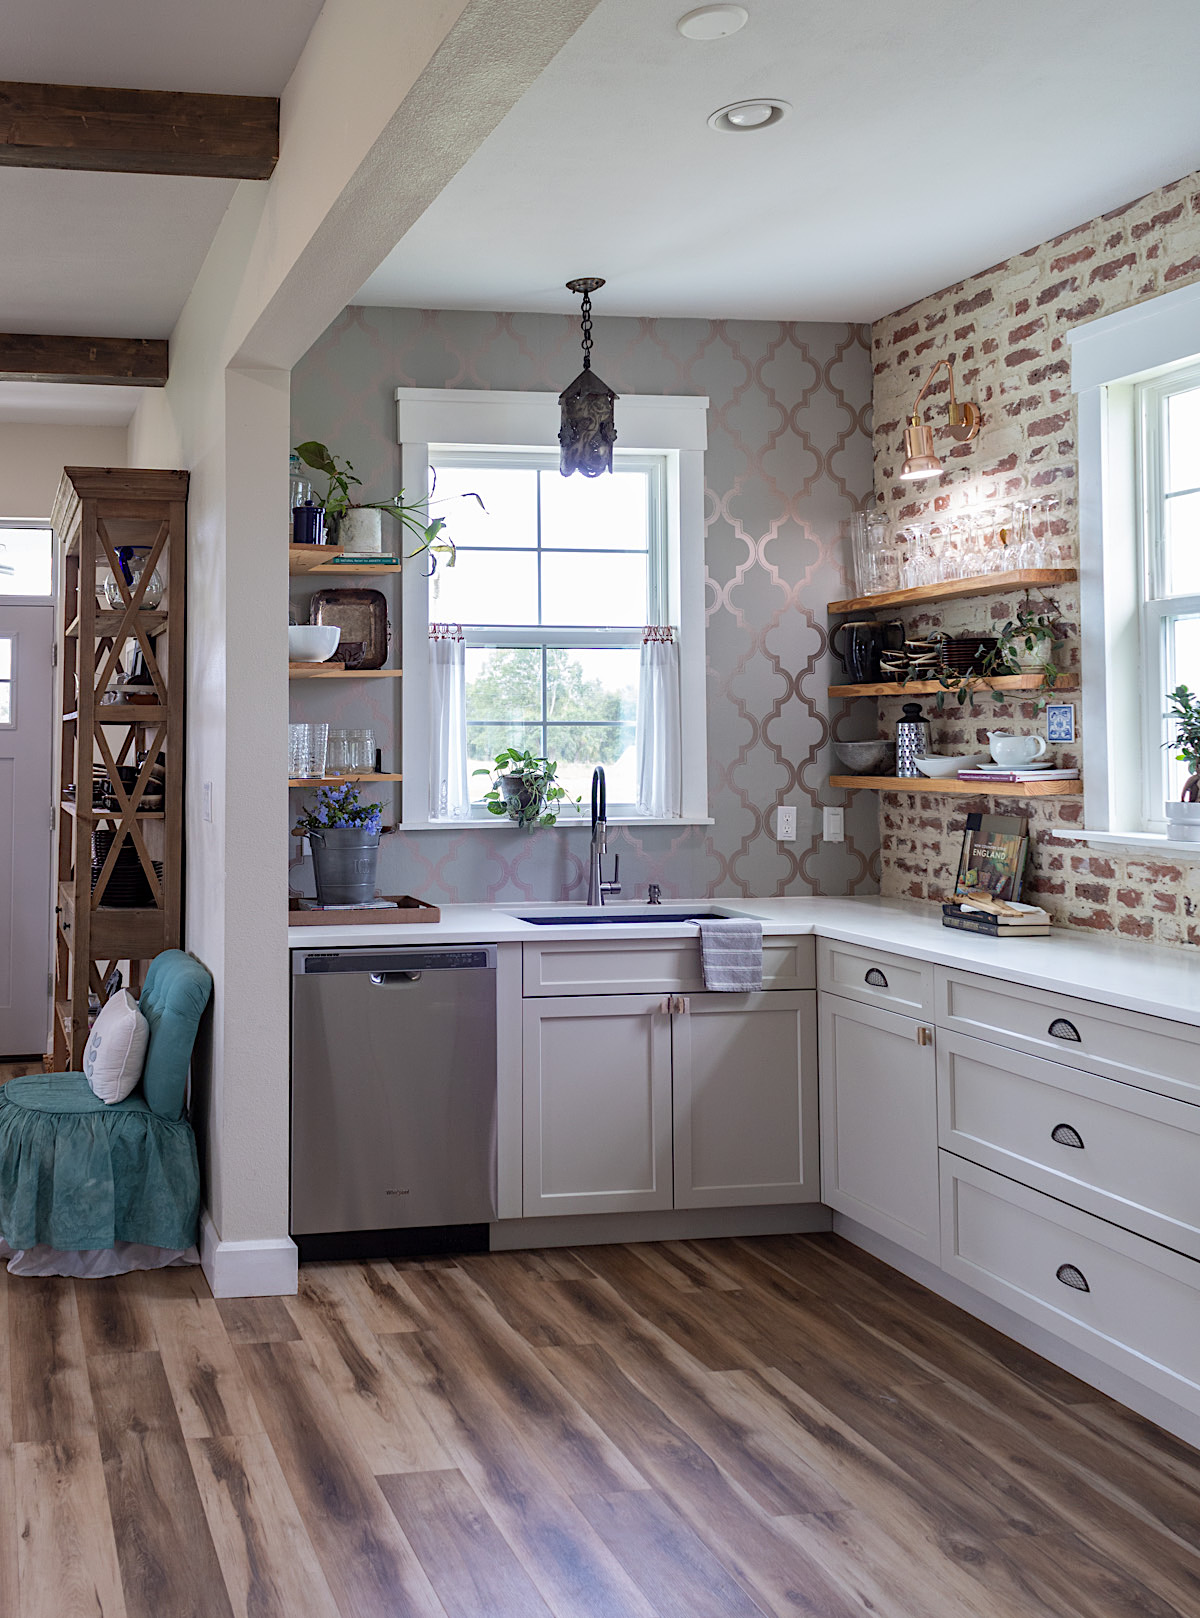
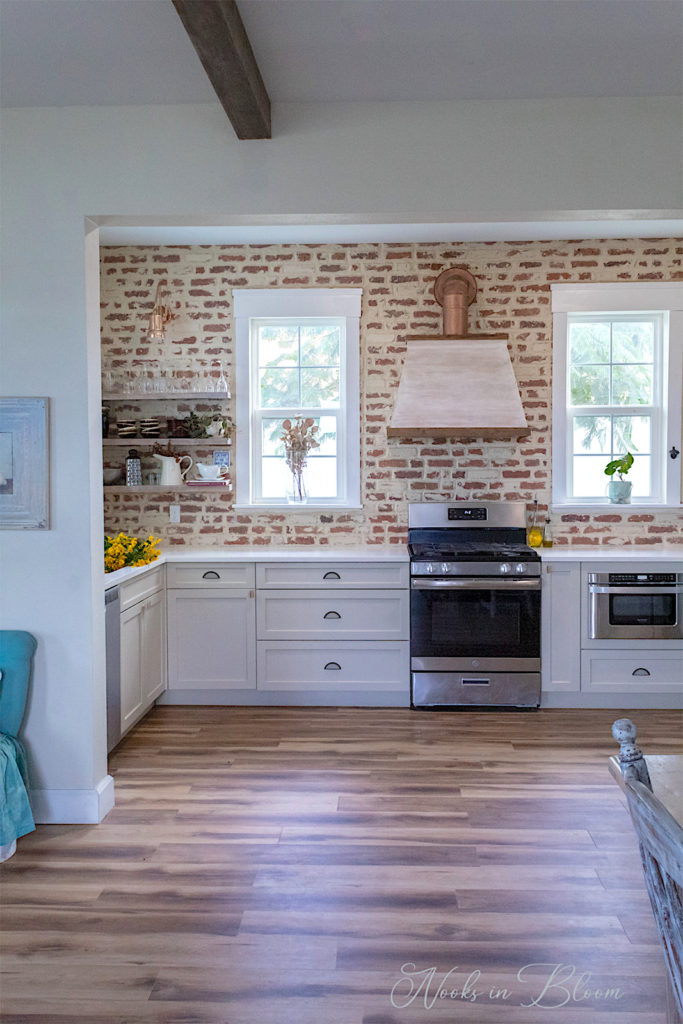
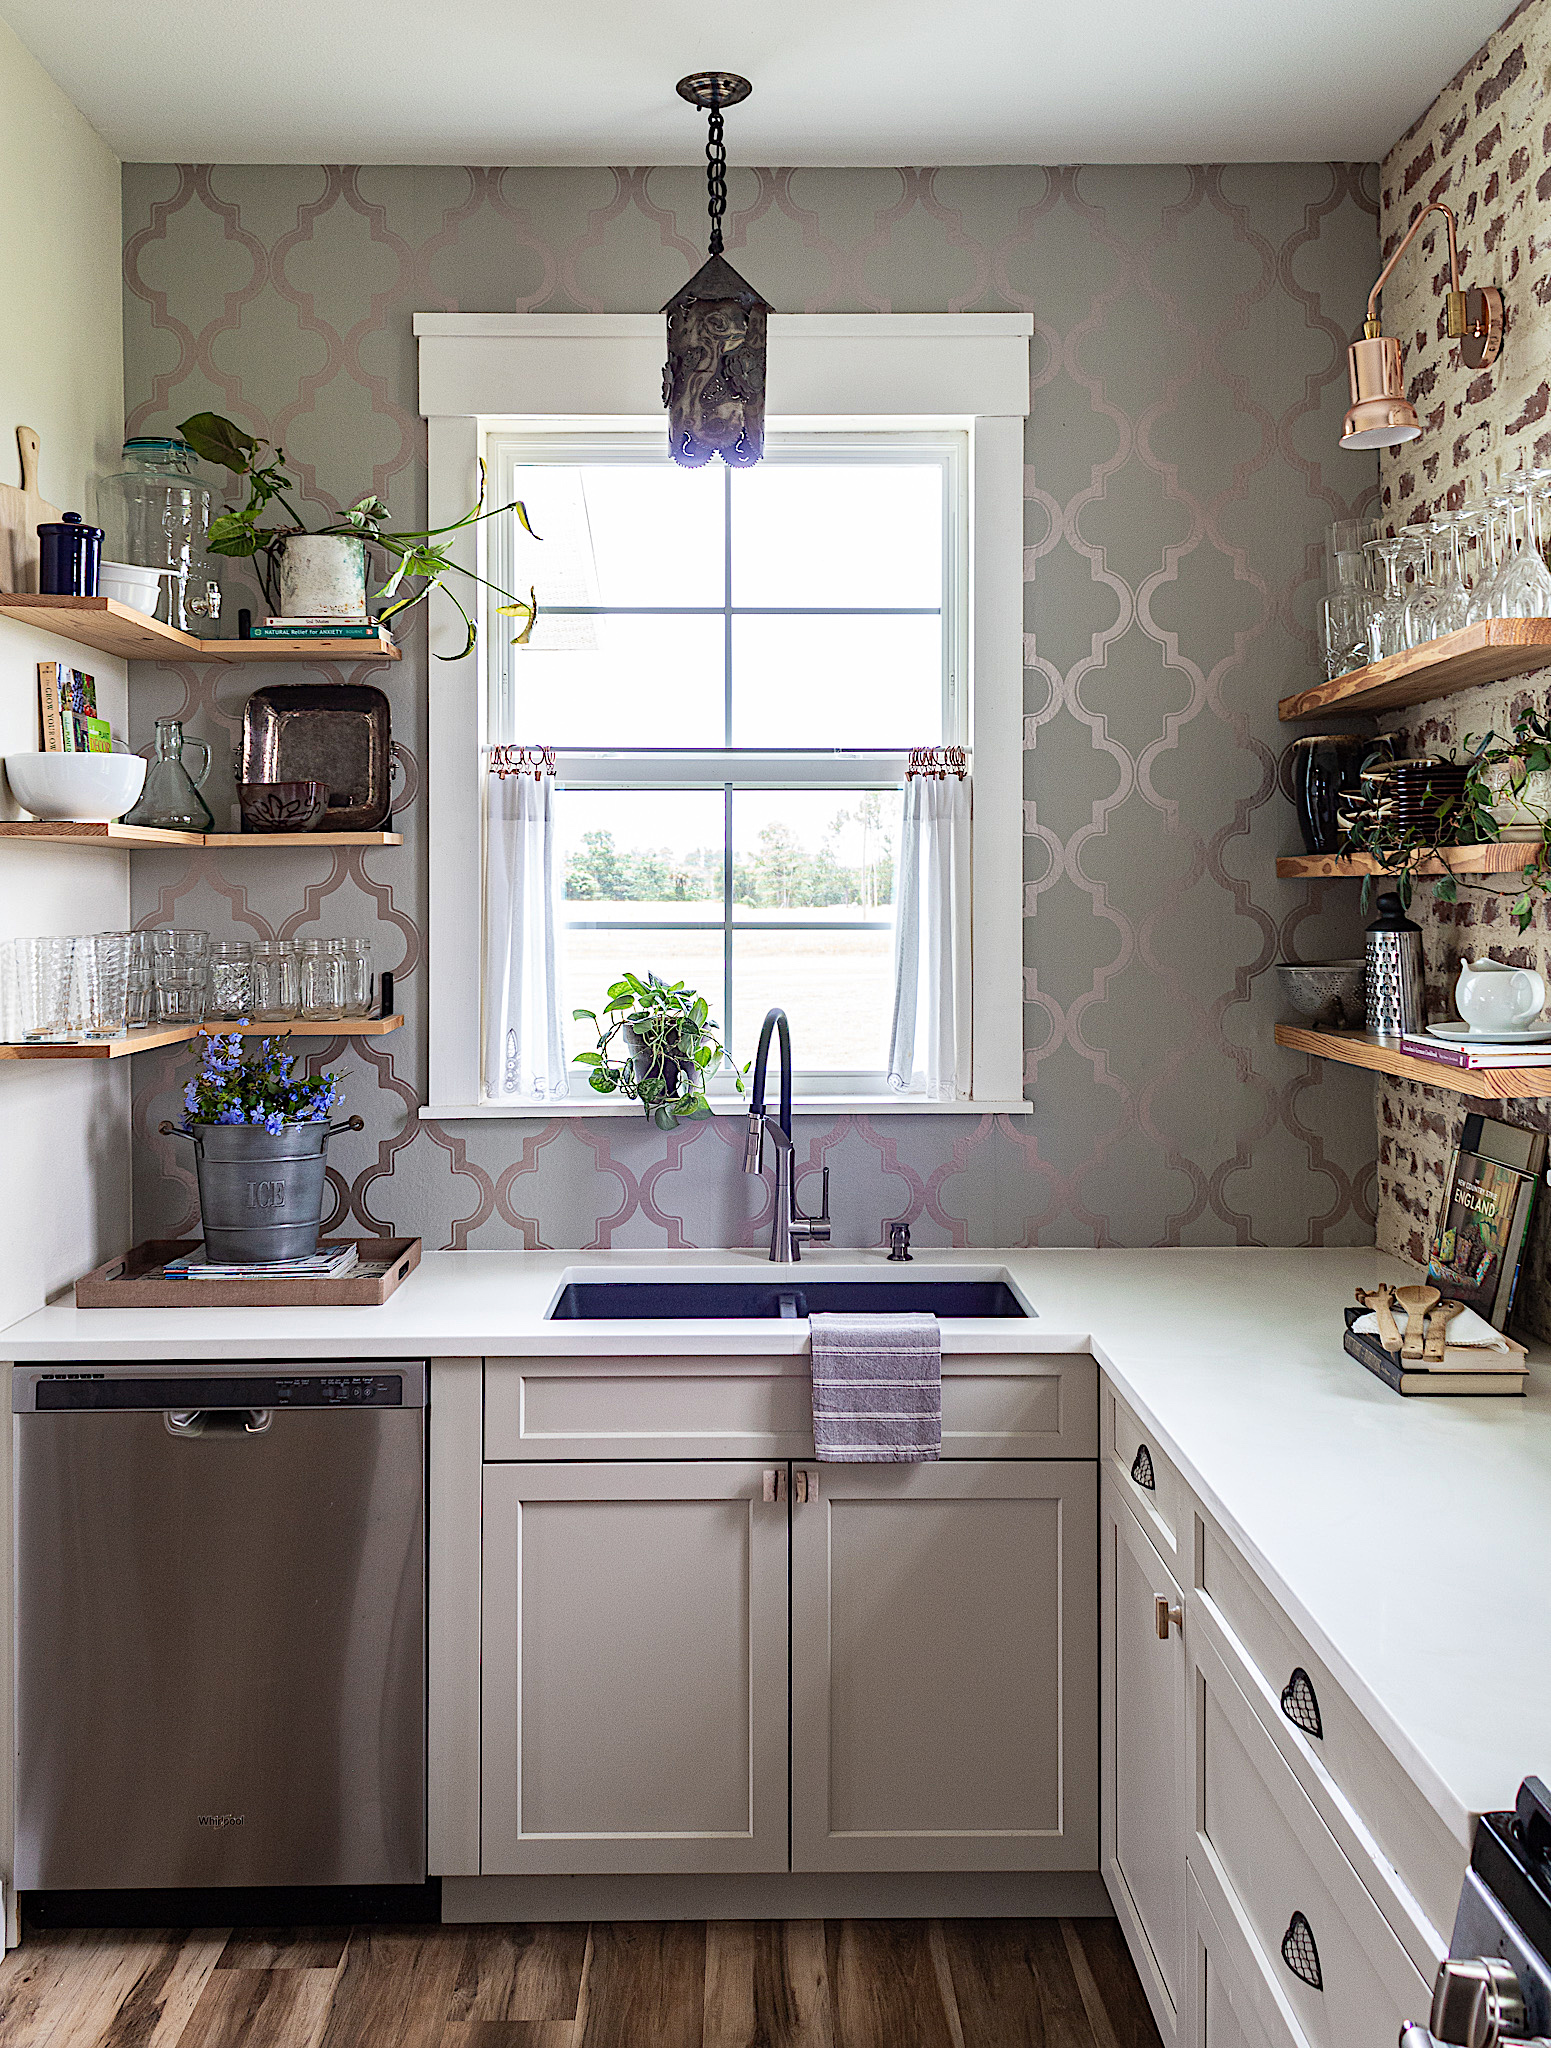
From a functional perspective ample counter-space and openness were on the priority list when we were designing our kitchen. Although islands yield additional counter space and storage, we had one in our last home and it just always seemed to be in the way. It was also the family’s favorite dumping spot. Even without the island we now have more counter space than we did before and things feel much more open.
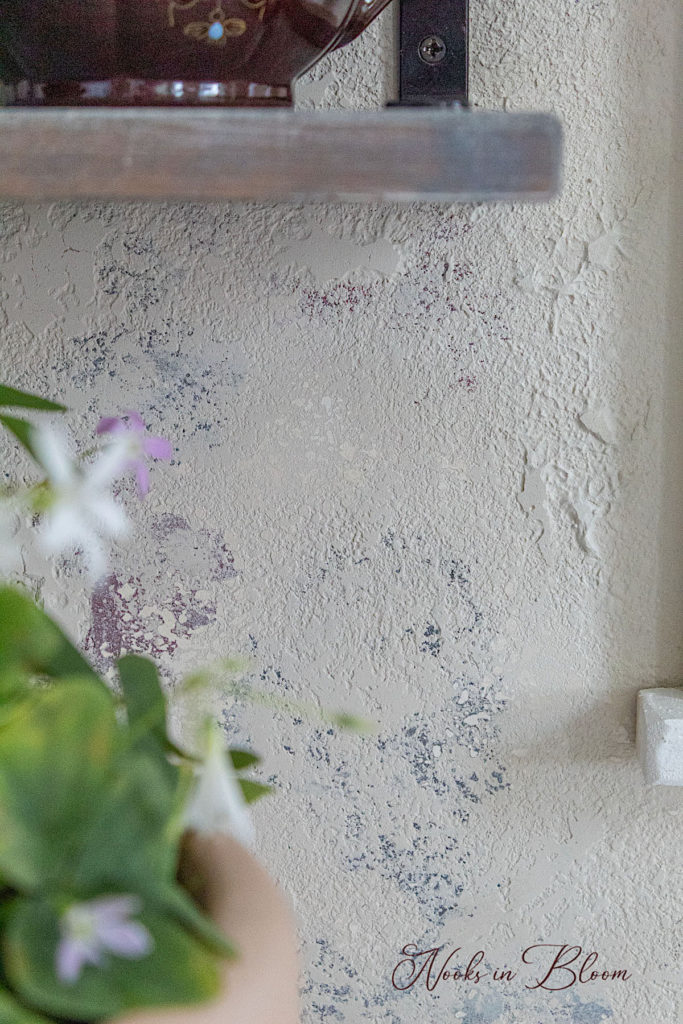
Our New "Stone" Accent Wall
If you’ve followed me for a while it may not surprise you to see yet another look in our kitchen! I’m always itching to try out new styles out.
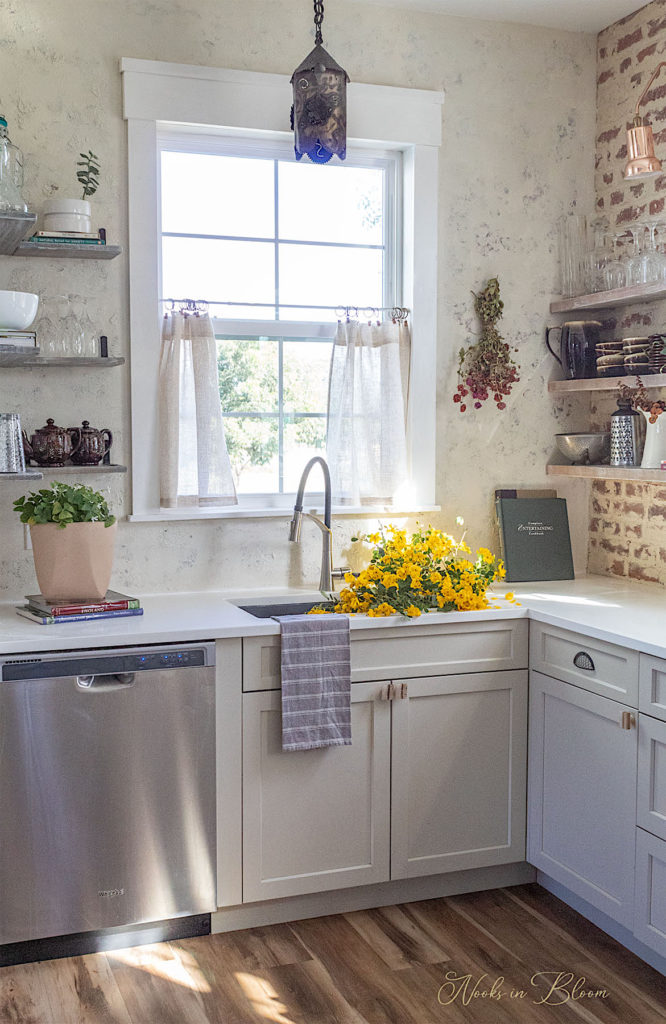
After two years of our lovely peel and stick wallpaper I was inspired to soften the mood with a European farmhouse touch. This faux stone wall changed everything!
This is a look that is timeless and so easy to create. I put together a step-by-step tutorial of this transformational project on my DIY FAUX STONE WALL POST where I also share the product I used for getting unbelievable texture.
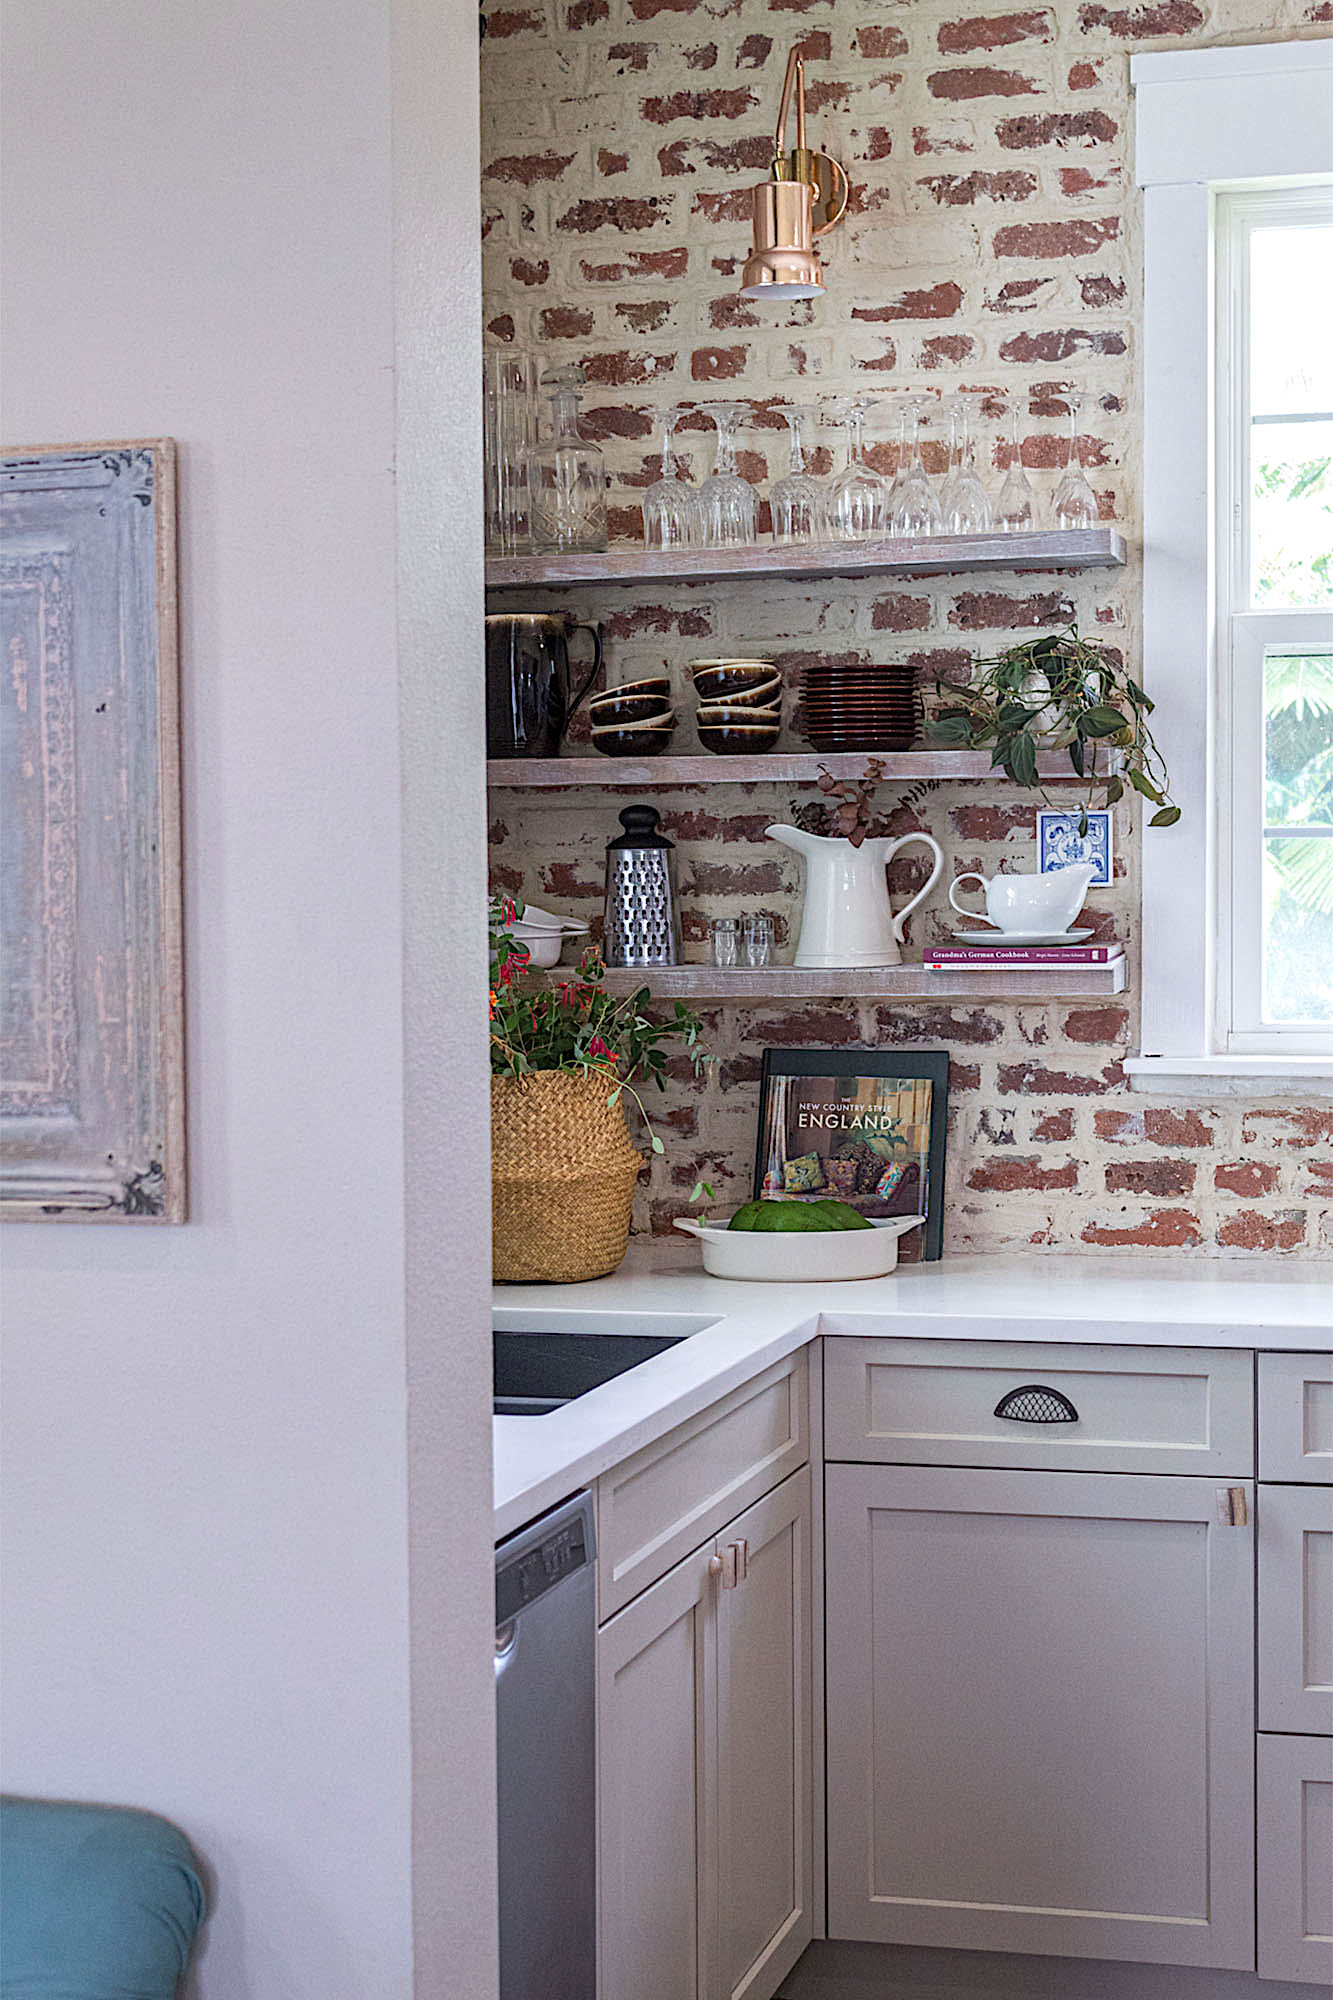
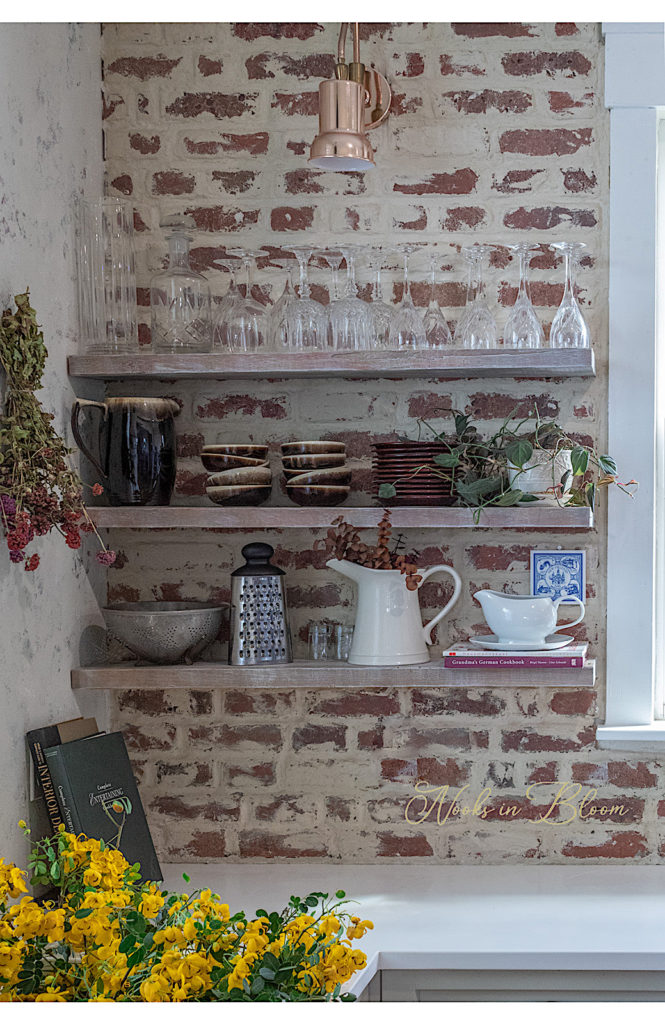
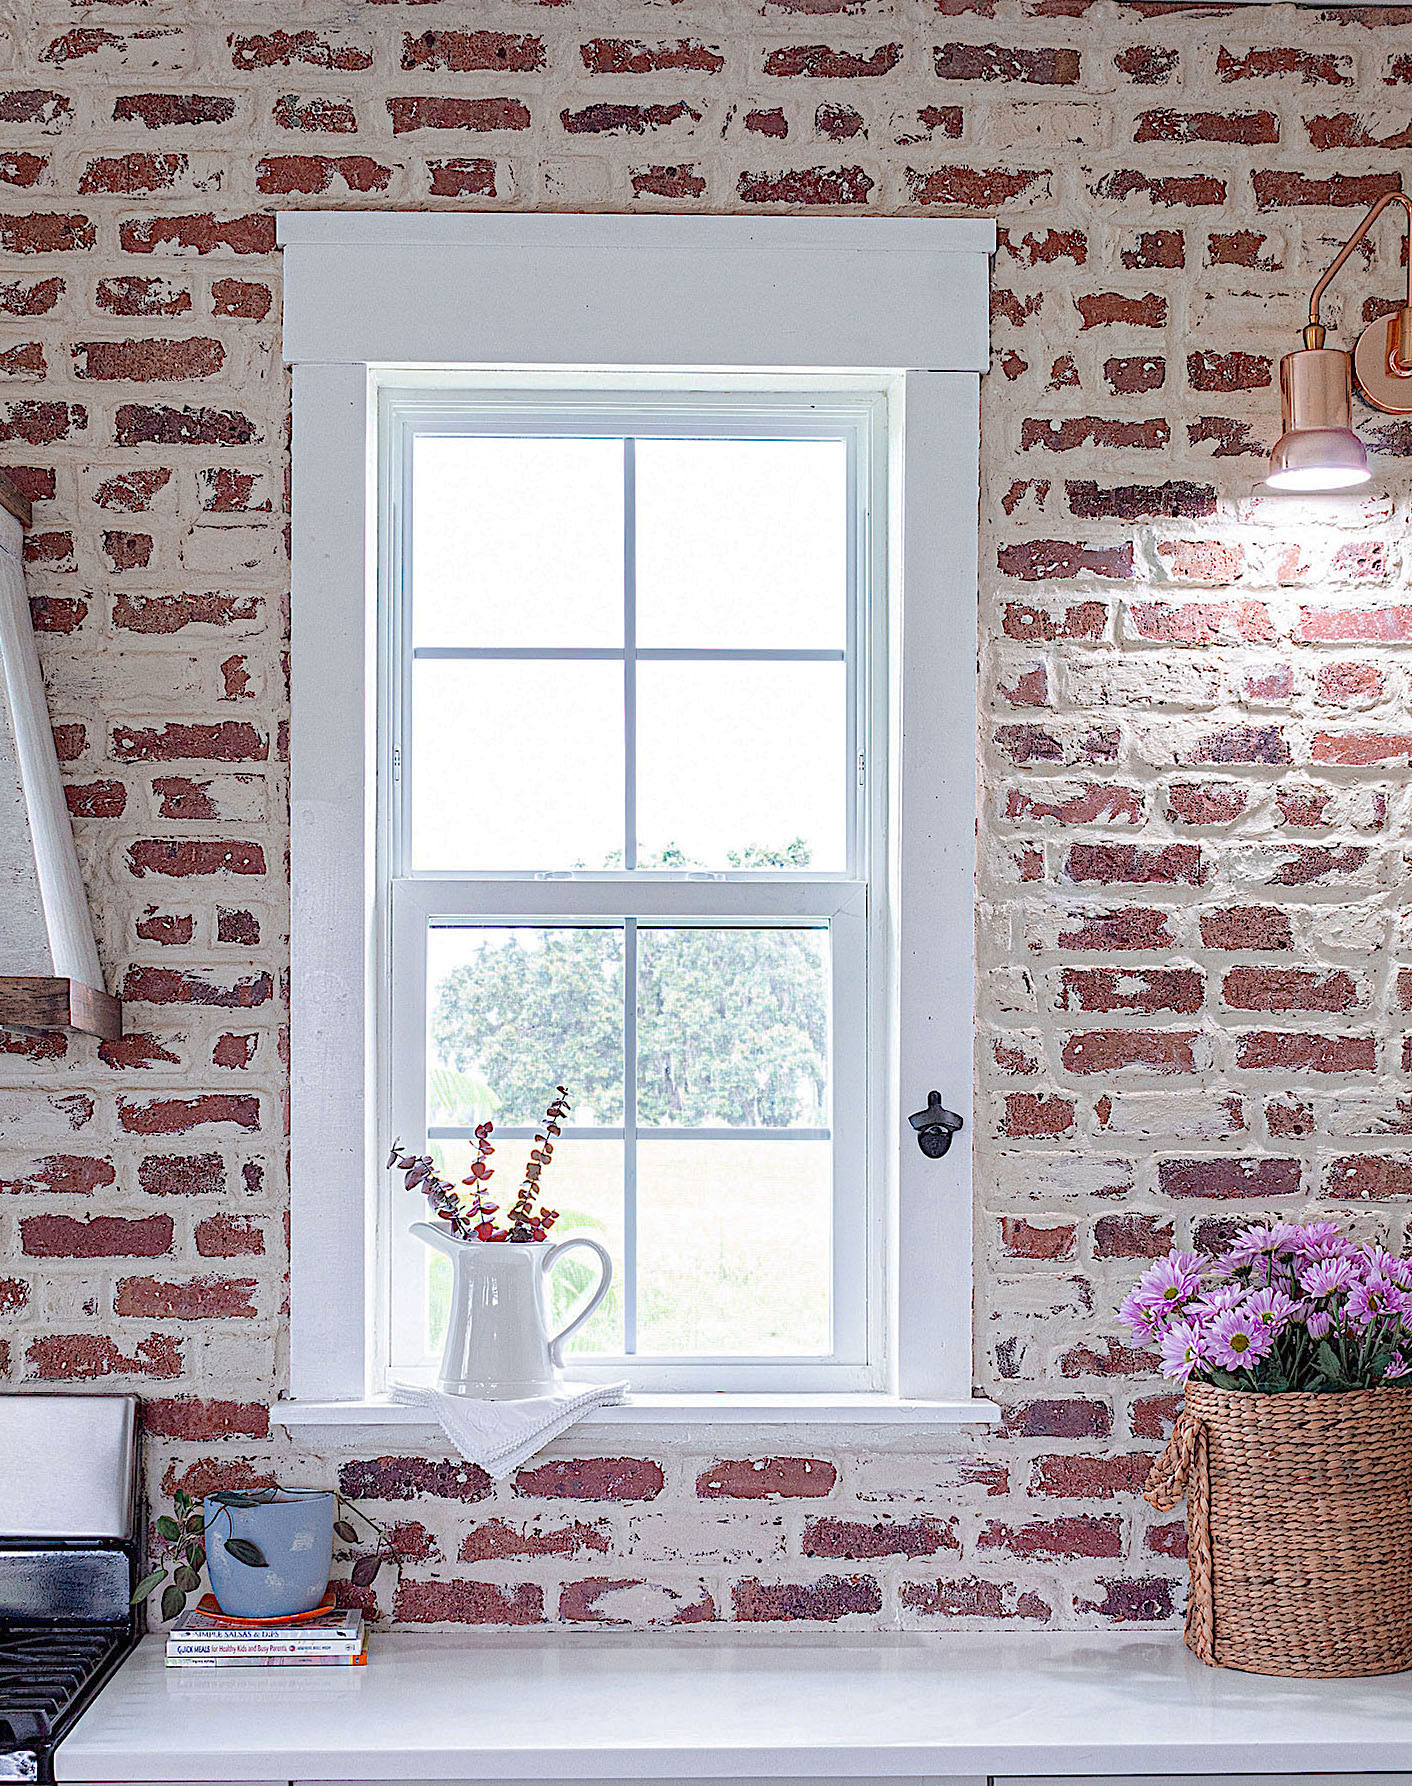
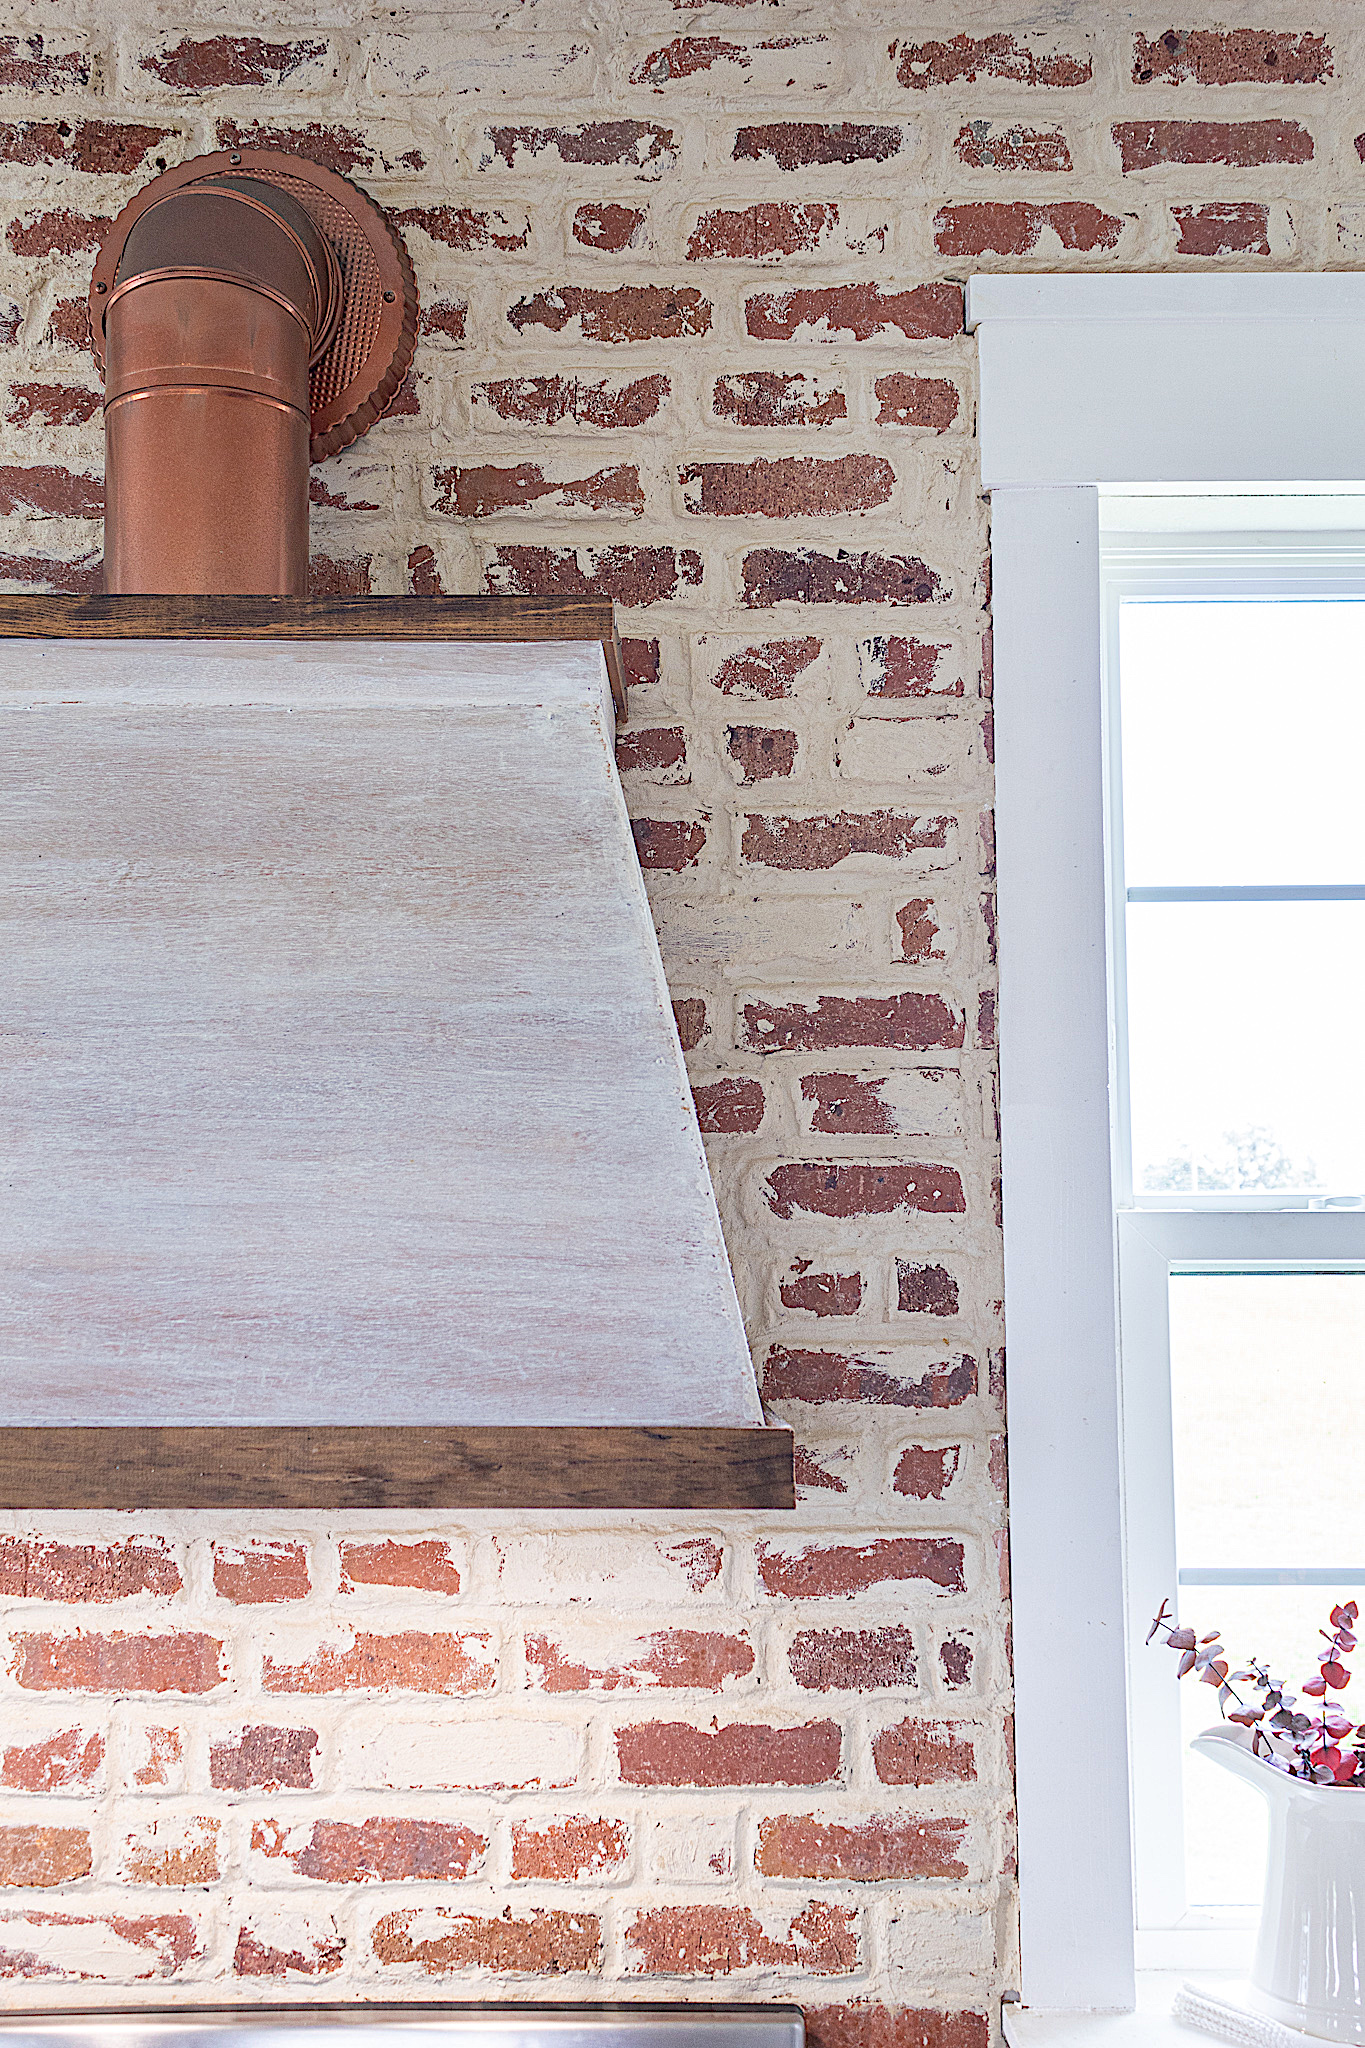
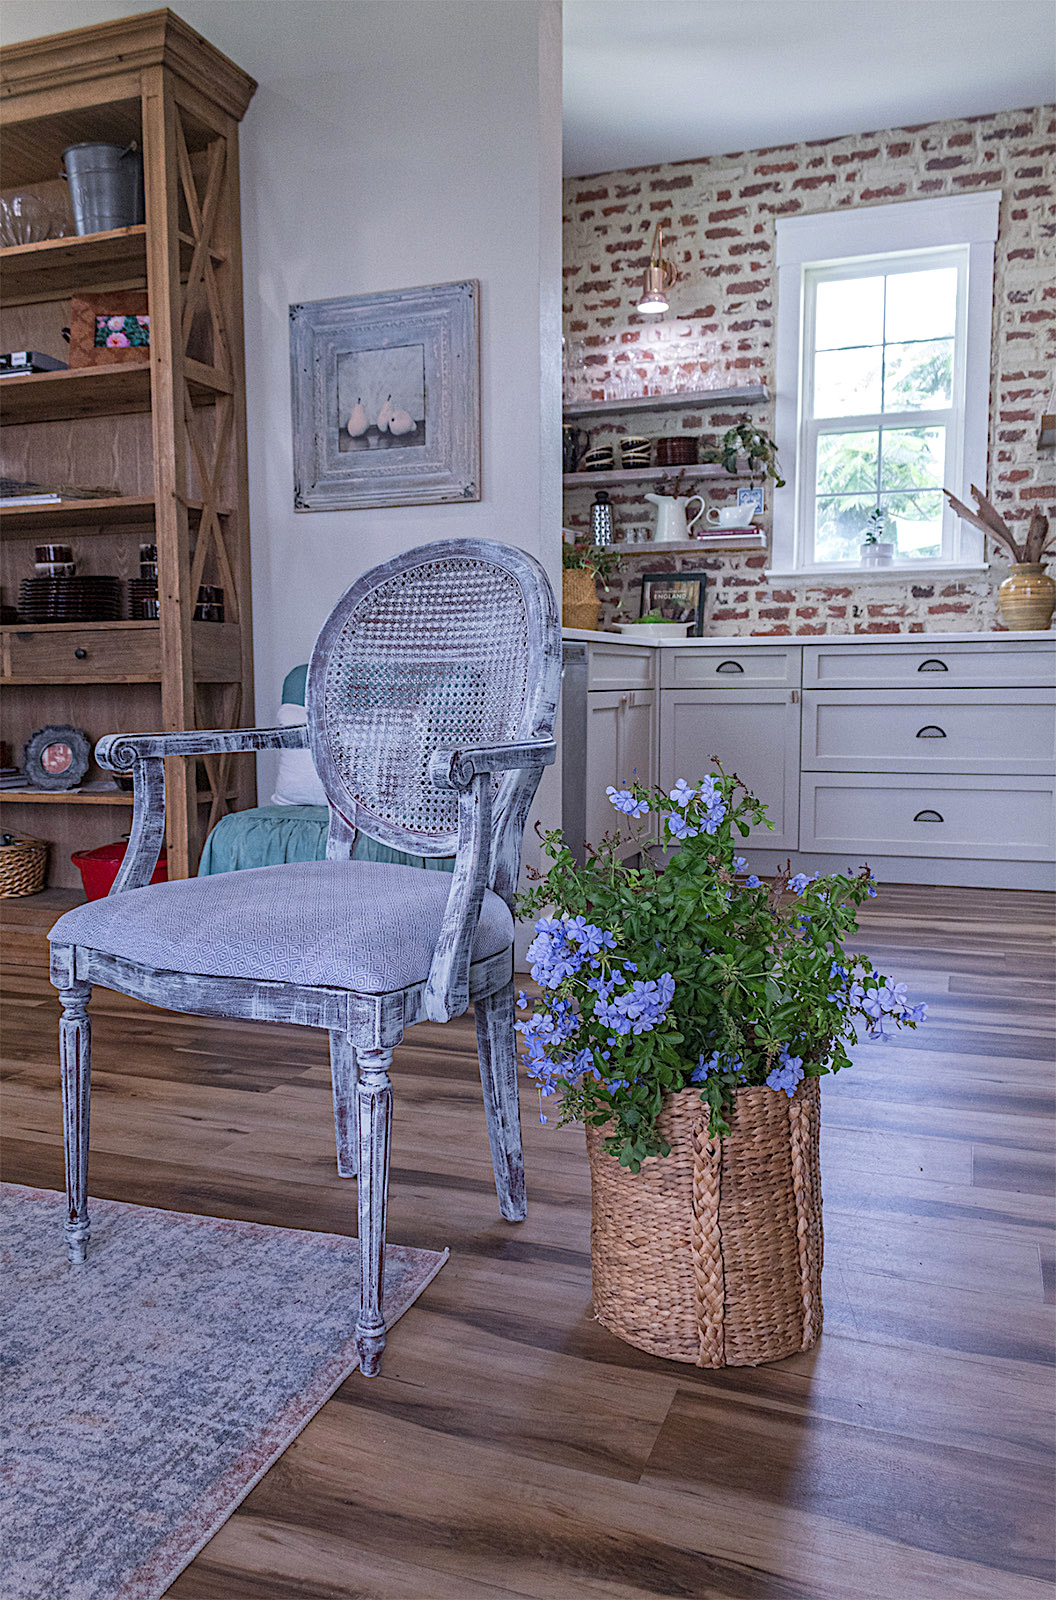
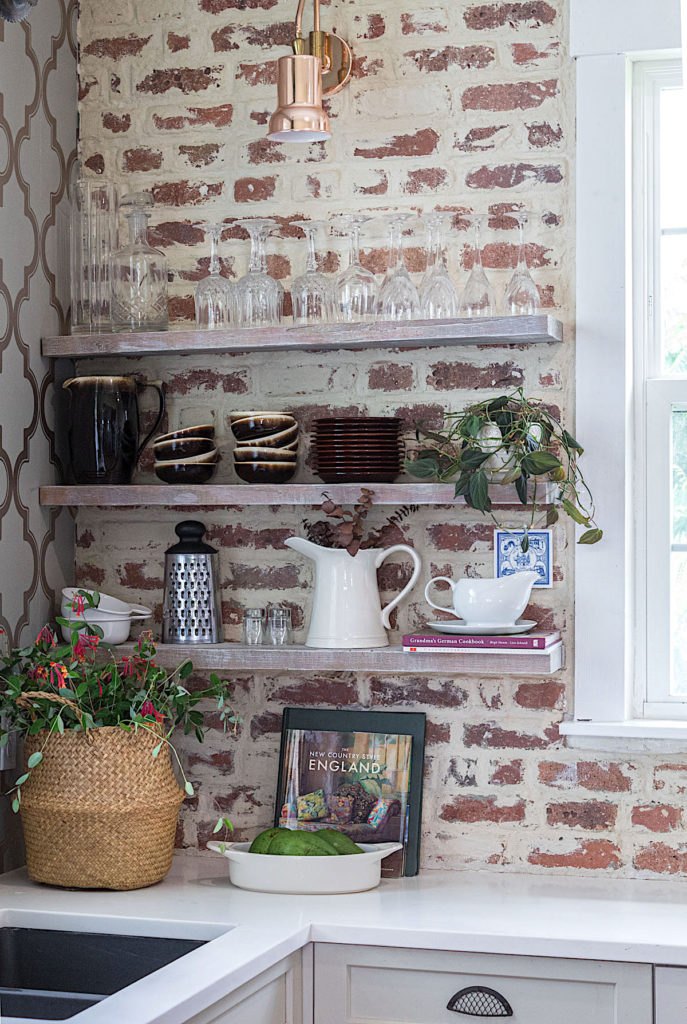
As far as aesthetics, I envisioned floating shelves in lieu of bulky cabinets, a rustic range hood, and some type of stone element. My style inspiration was French farmhouse or cottage. My initial plan for the main wall in the kitchen was a textured light-colored stone. But once I had the samples in the space, I wasn’t convinced it would be the best look. After further brainstorming we decided on an exposed brick wall instead.
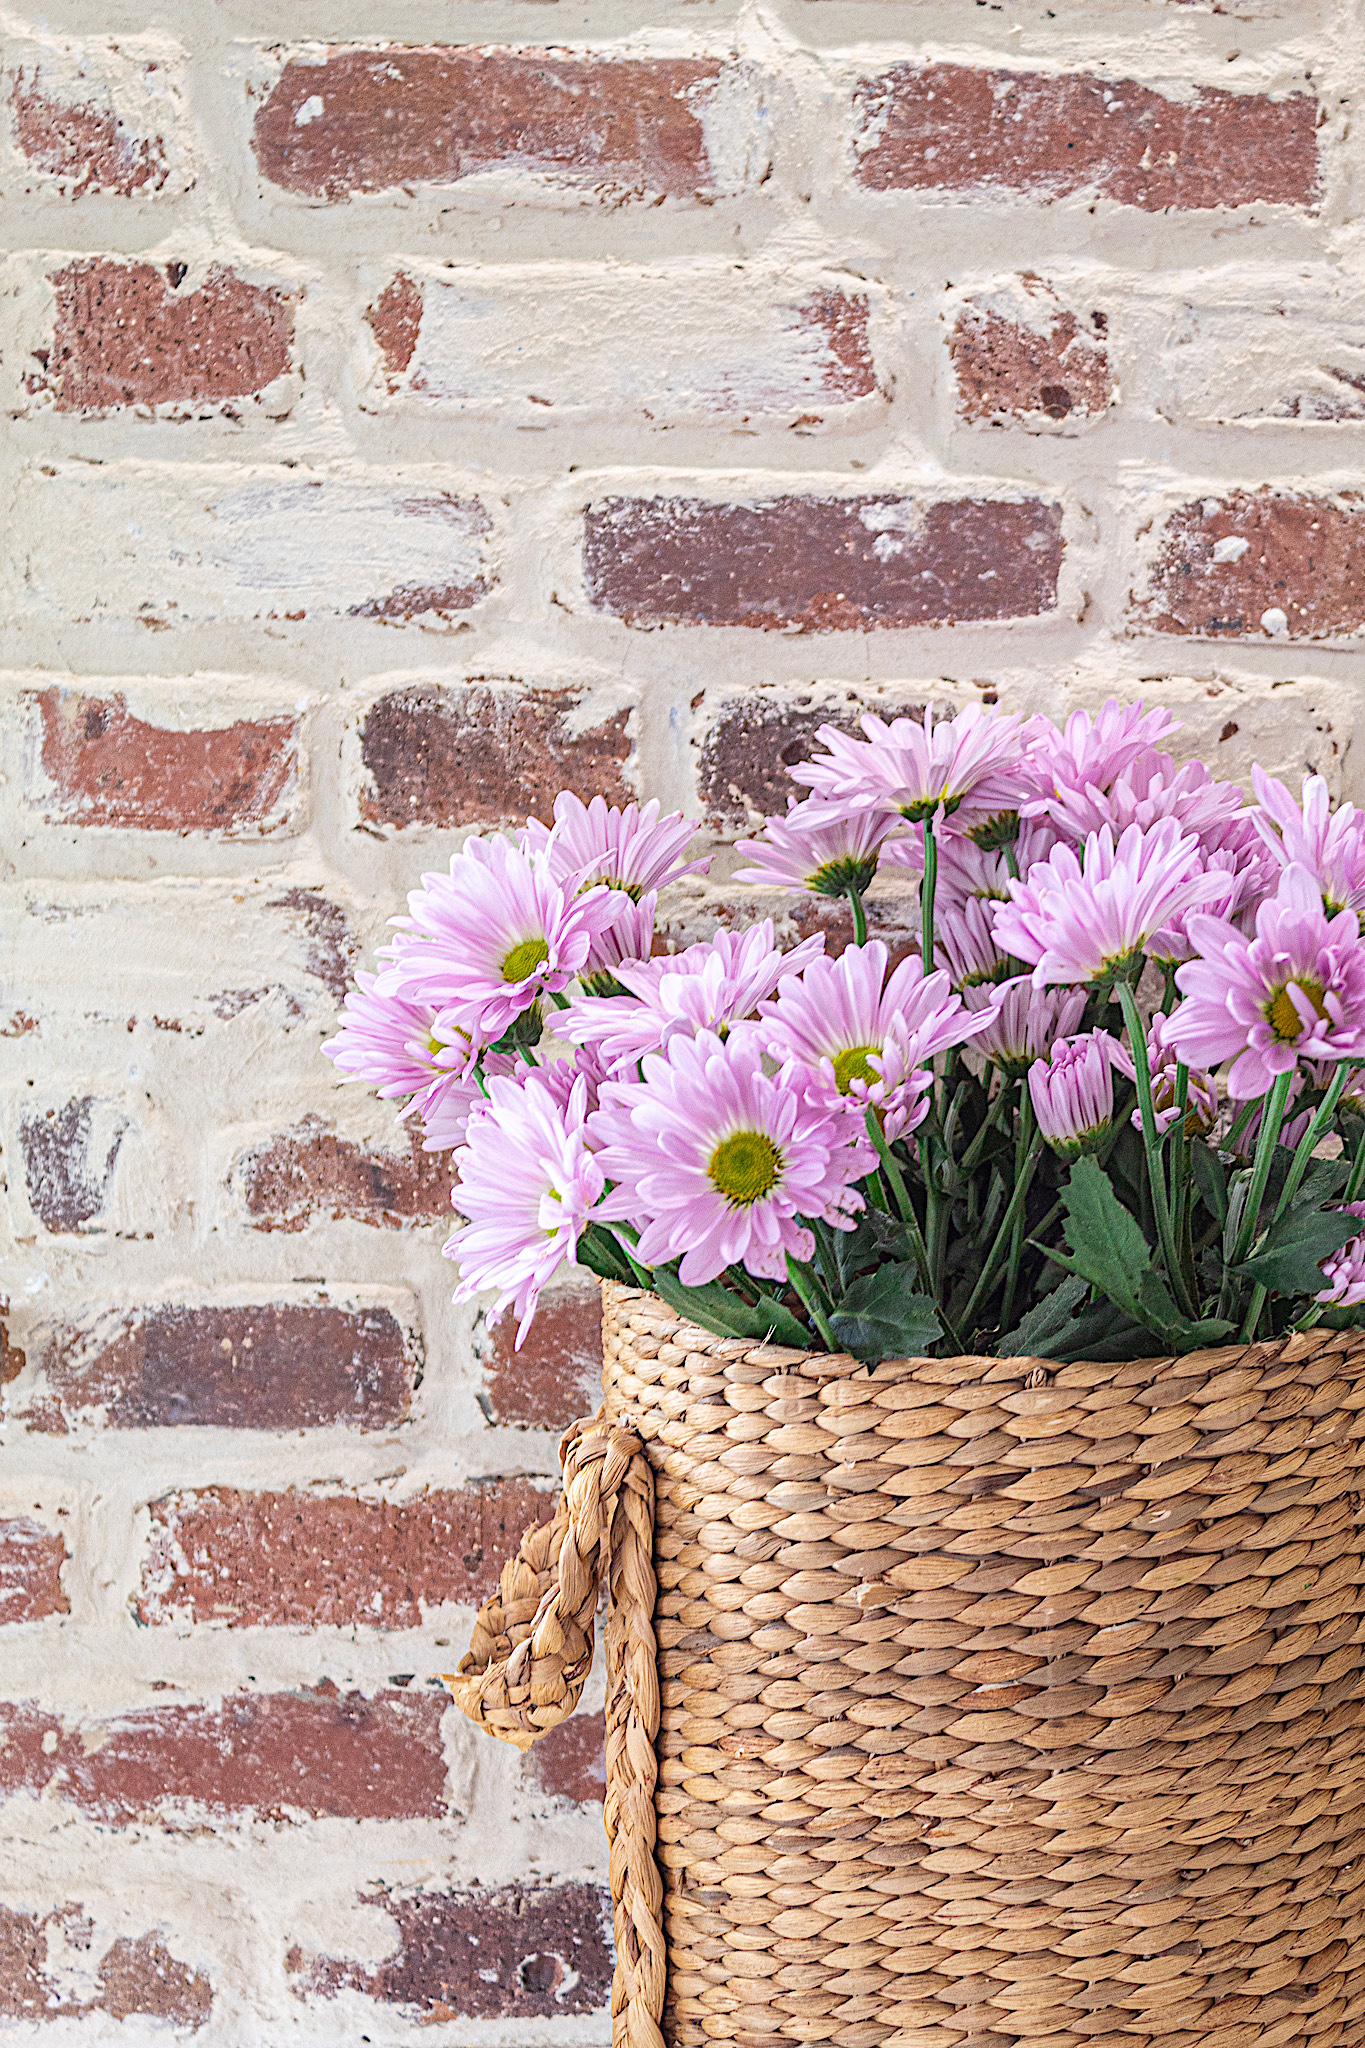
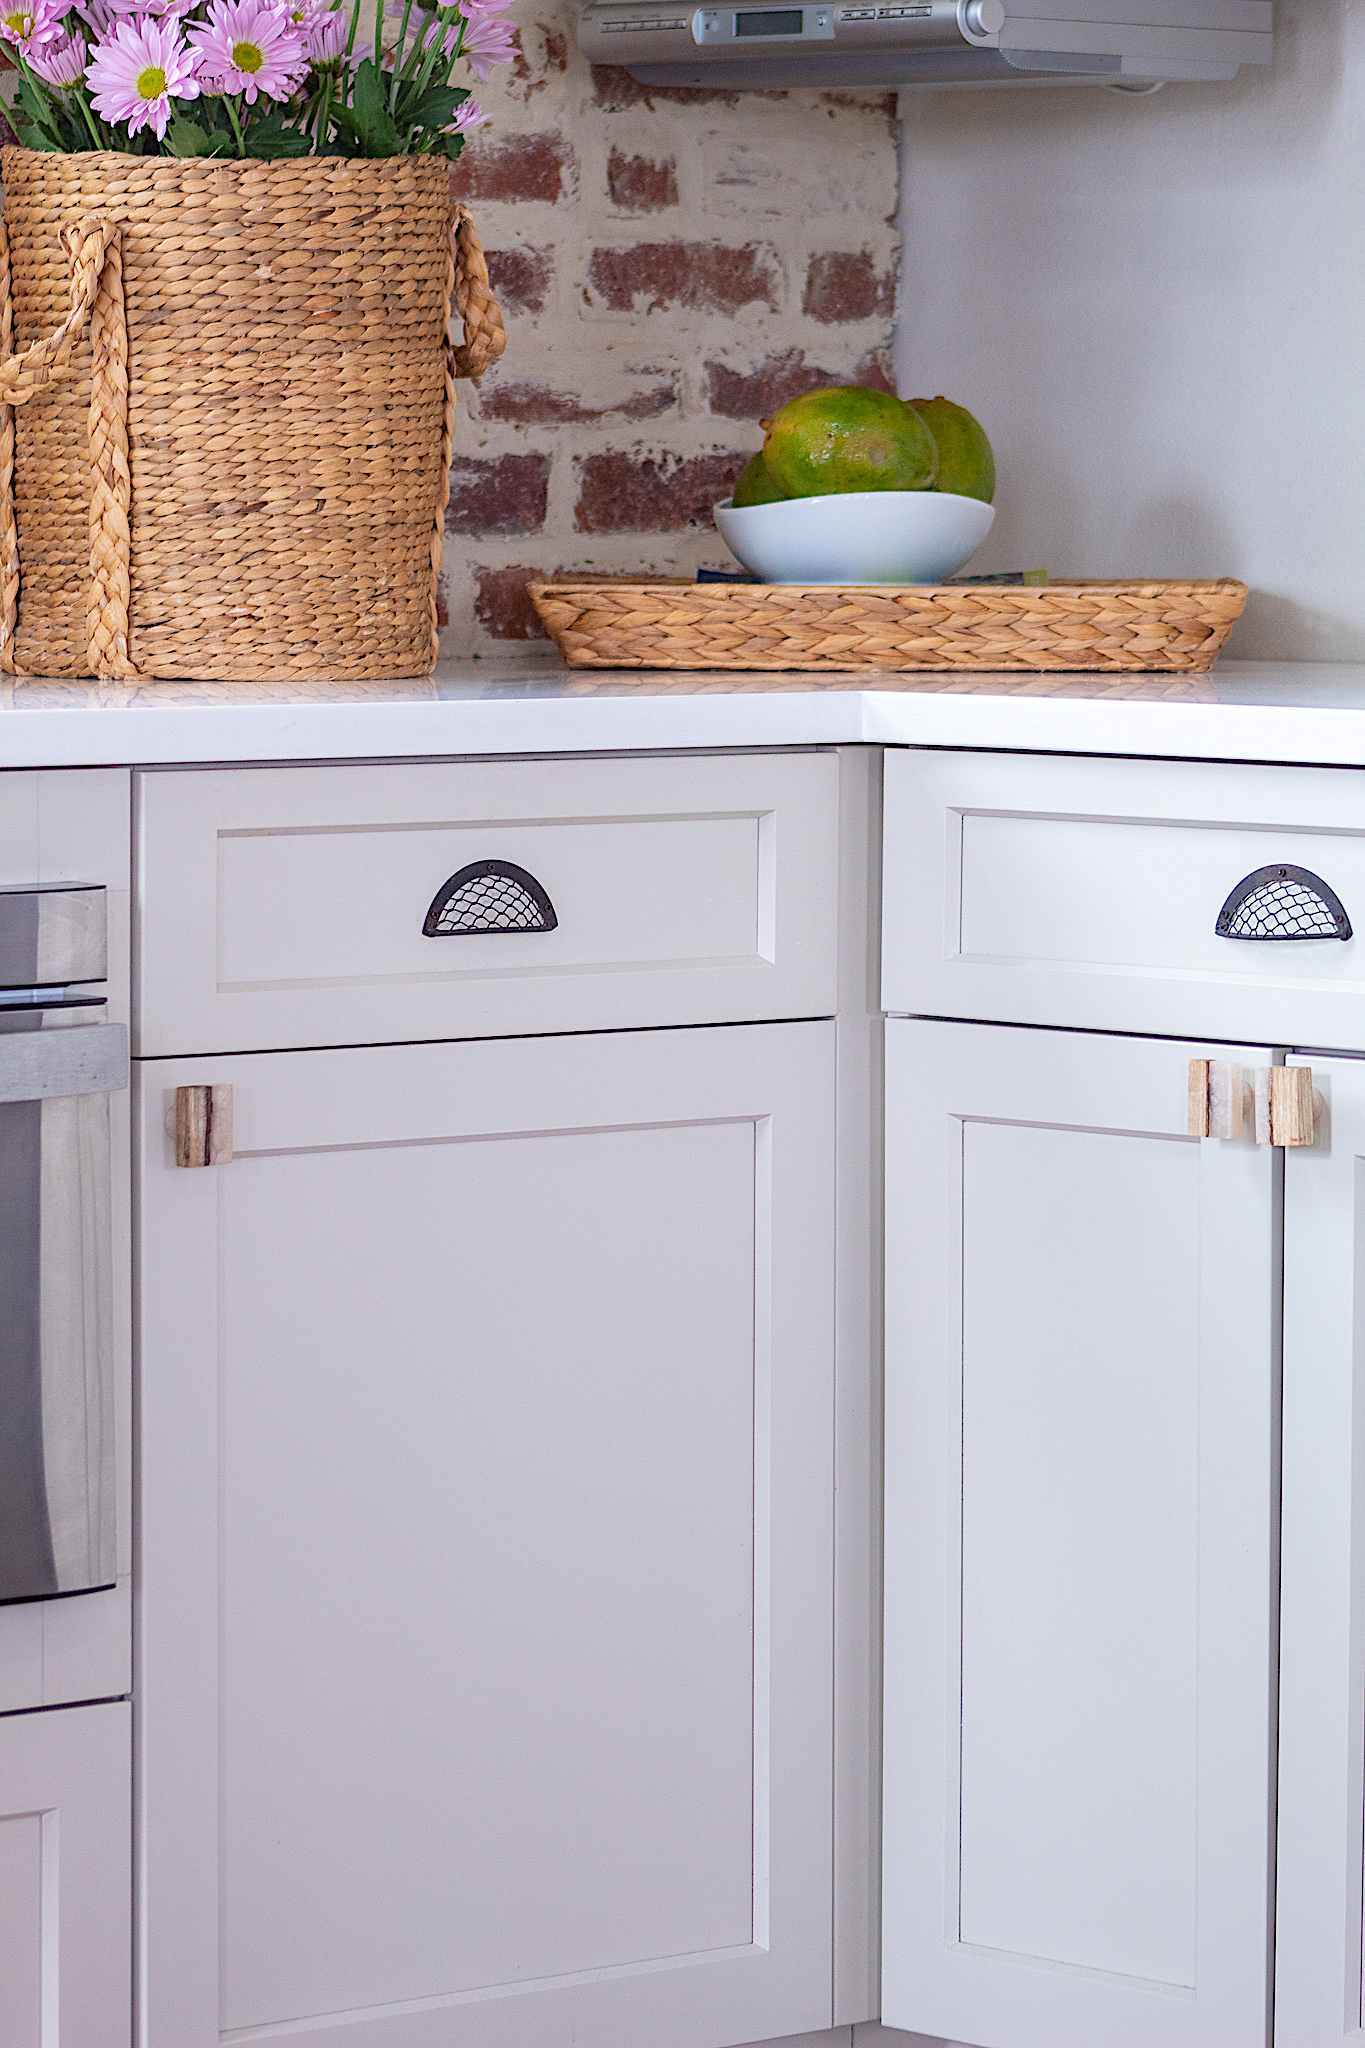
We ordered Old Mill brick veneers, the Colonial Collection Dixie Clay from Home Depot. Using brick veneers is an ideal way for creating a decorative brick wall. They are much lighter and affordable than real bricks. They feel and look, in my opinion, just like brick. The best tool for this job was our laser beam level. I don’t know what I would have done without it! I used the laser’s line as a guide for each row of bricks. I didn’t use spacers between the bricks, but positioned them manually for more natural character.
To create an exposed brick look, I used a mortar-washed technique. I tinted white mortar by mixing it with a cream-colored grout. I played with it until I got just the right color. Once the bricks were hung and dried in I came back over them with the tinted mortar, exposing some parts and covering others. With my finger I smoothed around grout lines. To this day the brick wall is my favorite of finishes in our home.
I am proud to say we were able to create our dream kitchen while honoring our budget. We sure had to get creative and put in the labor, but we did not have to sacrifice on style or aesthetics. We purchased semi-custom made RTA (Ready To Assemble) cabinets saving thousands on cabinetry. Hobby Lobby has a great selection of gorgeous pulls and knobs (50% off every other week). Once I discovered this, it was so much fun looking for hardware for the entire house.
We splurged where we felt important— quartz countertops and good quality appliances. We saved on appliances by waiting to purchase these on Black Friday. And the store held them for us for several months until we were ready to pick them up.
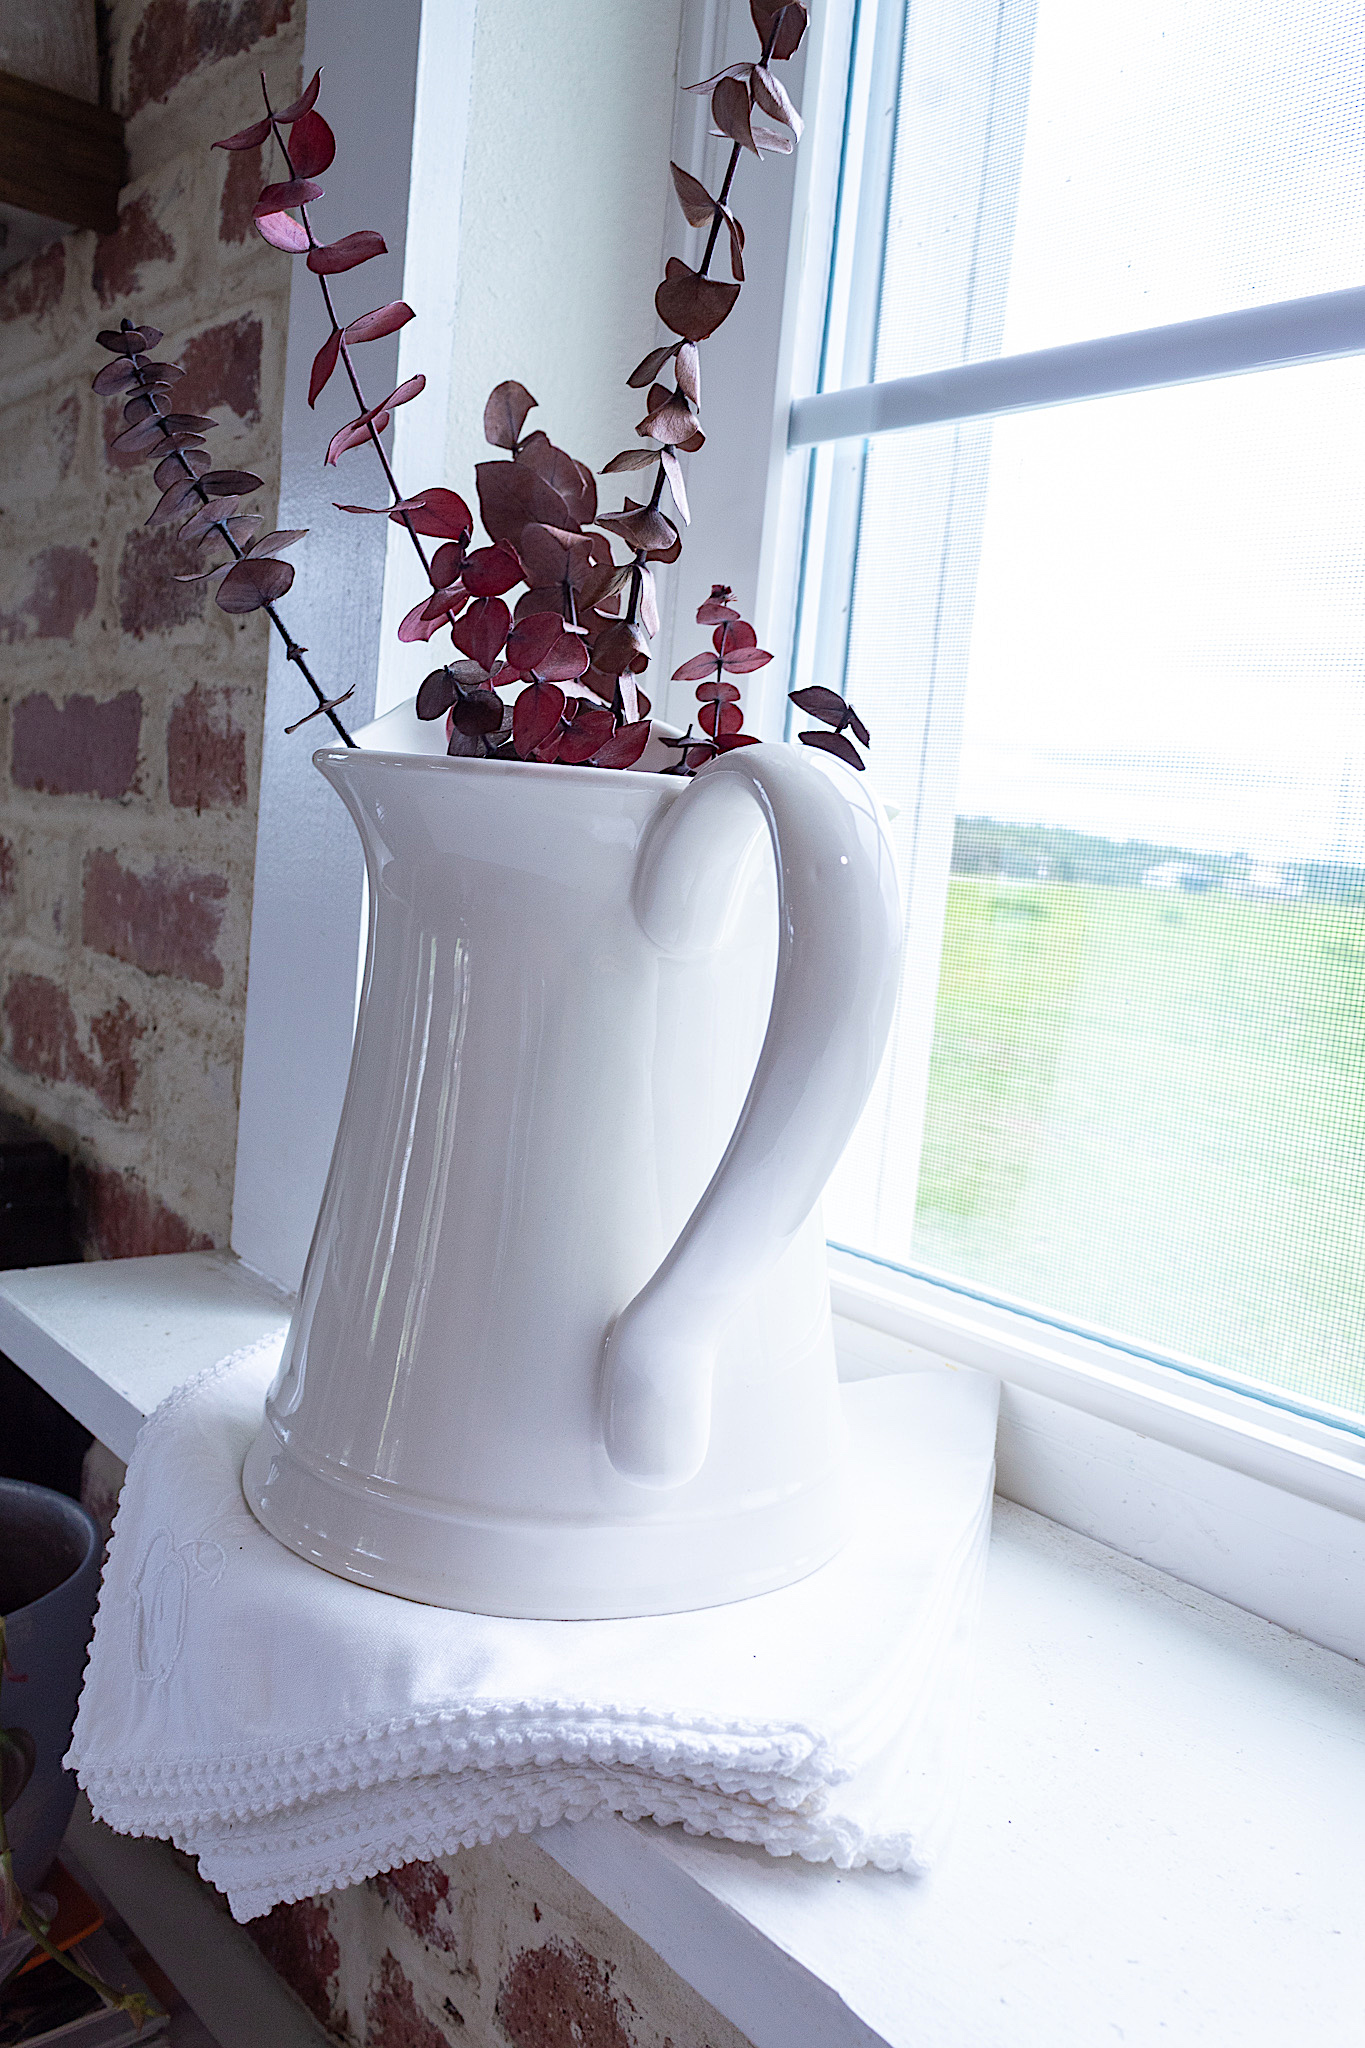
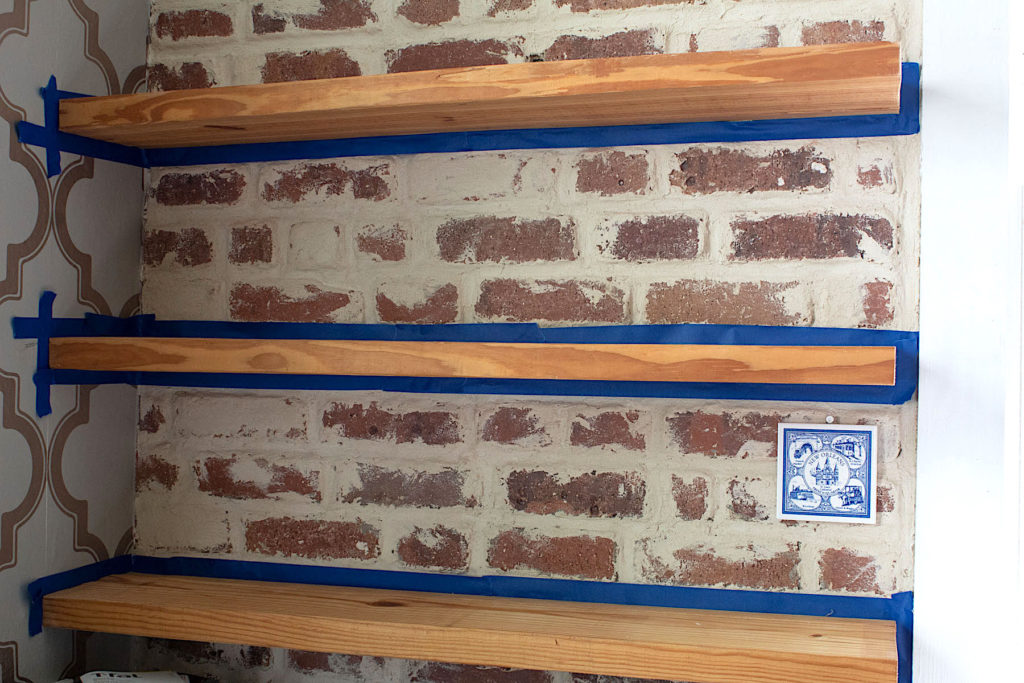
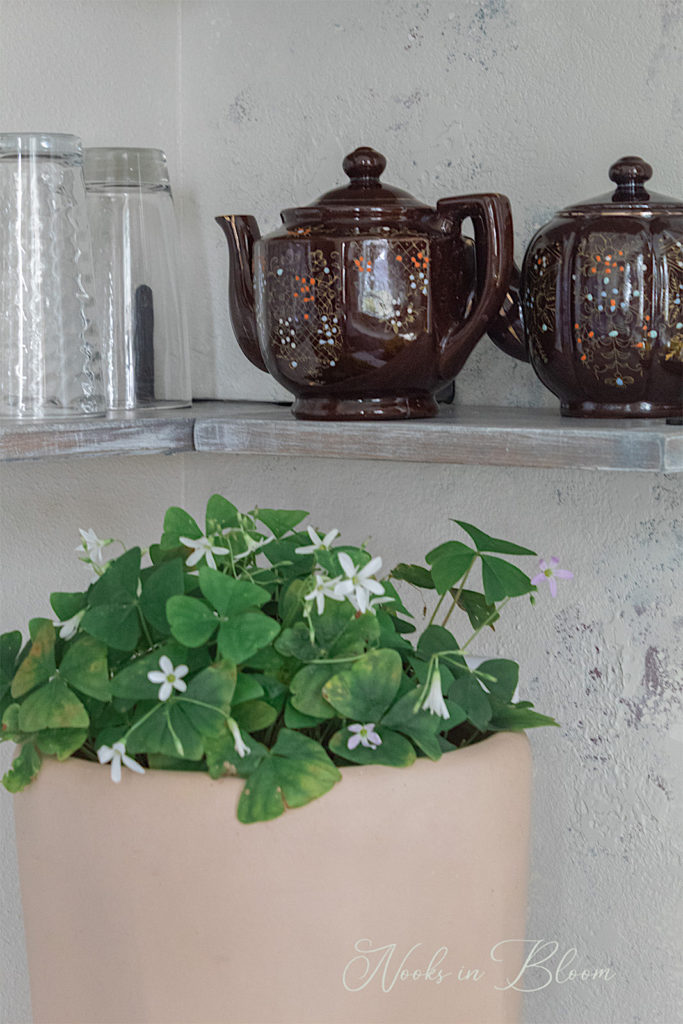
We installed our own floors—Nucore’s Spalted Oak Vinyl Plank floors. I love the warm, wood look and the best part is they are completely waterproof, perfect for a house full of kids. We made floating shelves from leftover lumber. To maintain a neutral and raw look, I used natural stain and covered the tops with clear contact paper.
Ronny built our range hood cover inspired by a Pinterest pic I showed him. I love the way copper looks against a rustic backdrop. I wanted a copper exhaust pipe but real copper was out of the budget. Enter copper spray paint. Rust-Oleum’s Bright Coat is my absolute favorite. I spray painted all the parts of our vent kit before mounting, including the pie mold we used as the piece for the very top. Once mounted on the wall, the range hood was perfect.
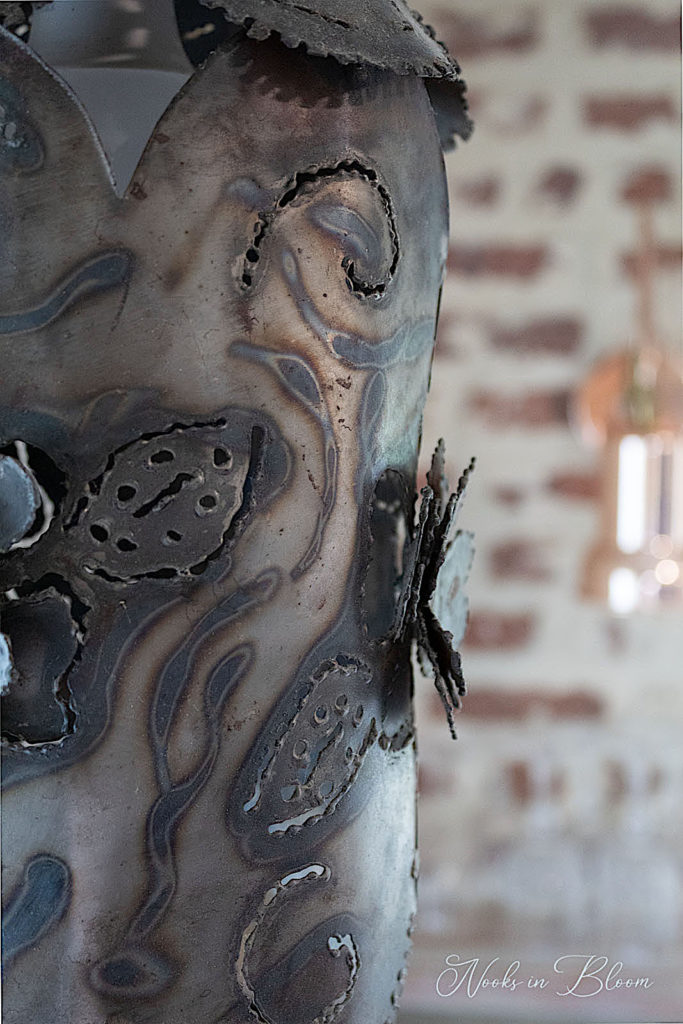
I am a confessed light fixture fanatic. But really, is there such thing as too many light fixtures? I love incorporating light fixtures into my home decor. Be it a pendant, chandelier, sconce or table lamp, light fixtures can be vital elements in your design. When building our home, I spent many a nights browsing for the perfect fixtures for each room. But not all were purchased acquisitions. This pendant hung in my grandmother’s home when we were kids. I was so grateful when my Mom asked me if I wanted it for our new house. Its hand-made iron details are so striking and unique.
Disclosure: Some of the links provided are affiliate links. By purchasing through these links it supports this blog and the work we do and there is no extra cost to you. If you would like to read our full disclosure, click HERE.
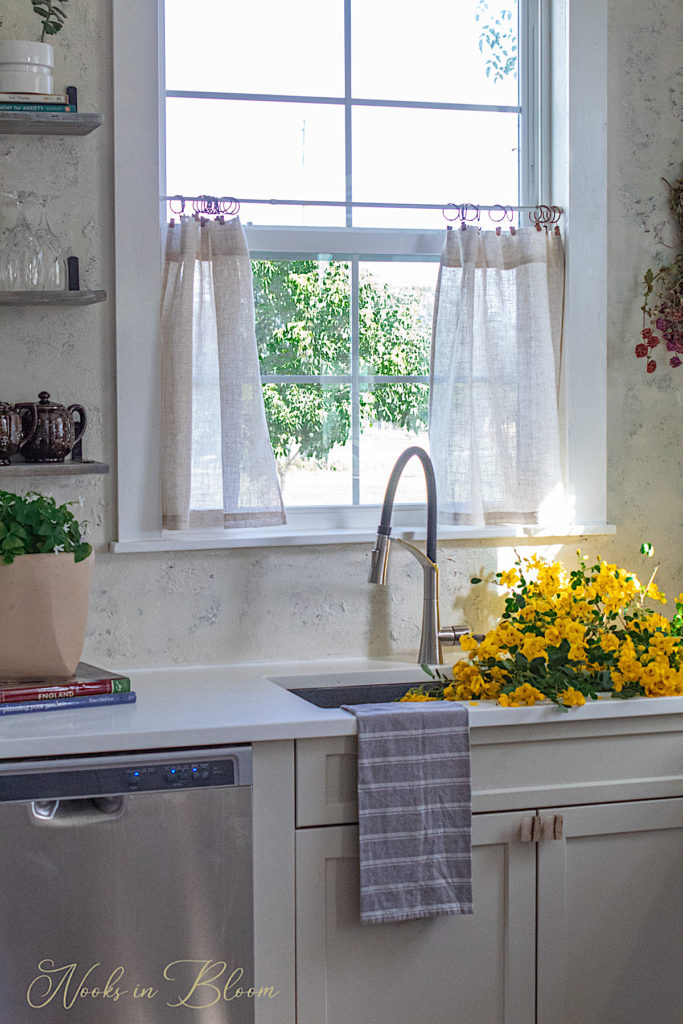
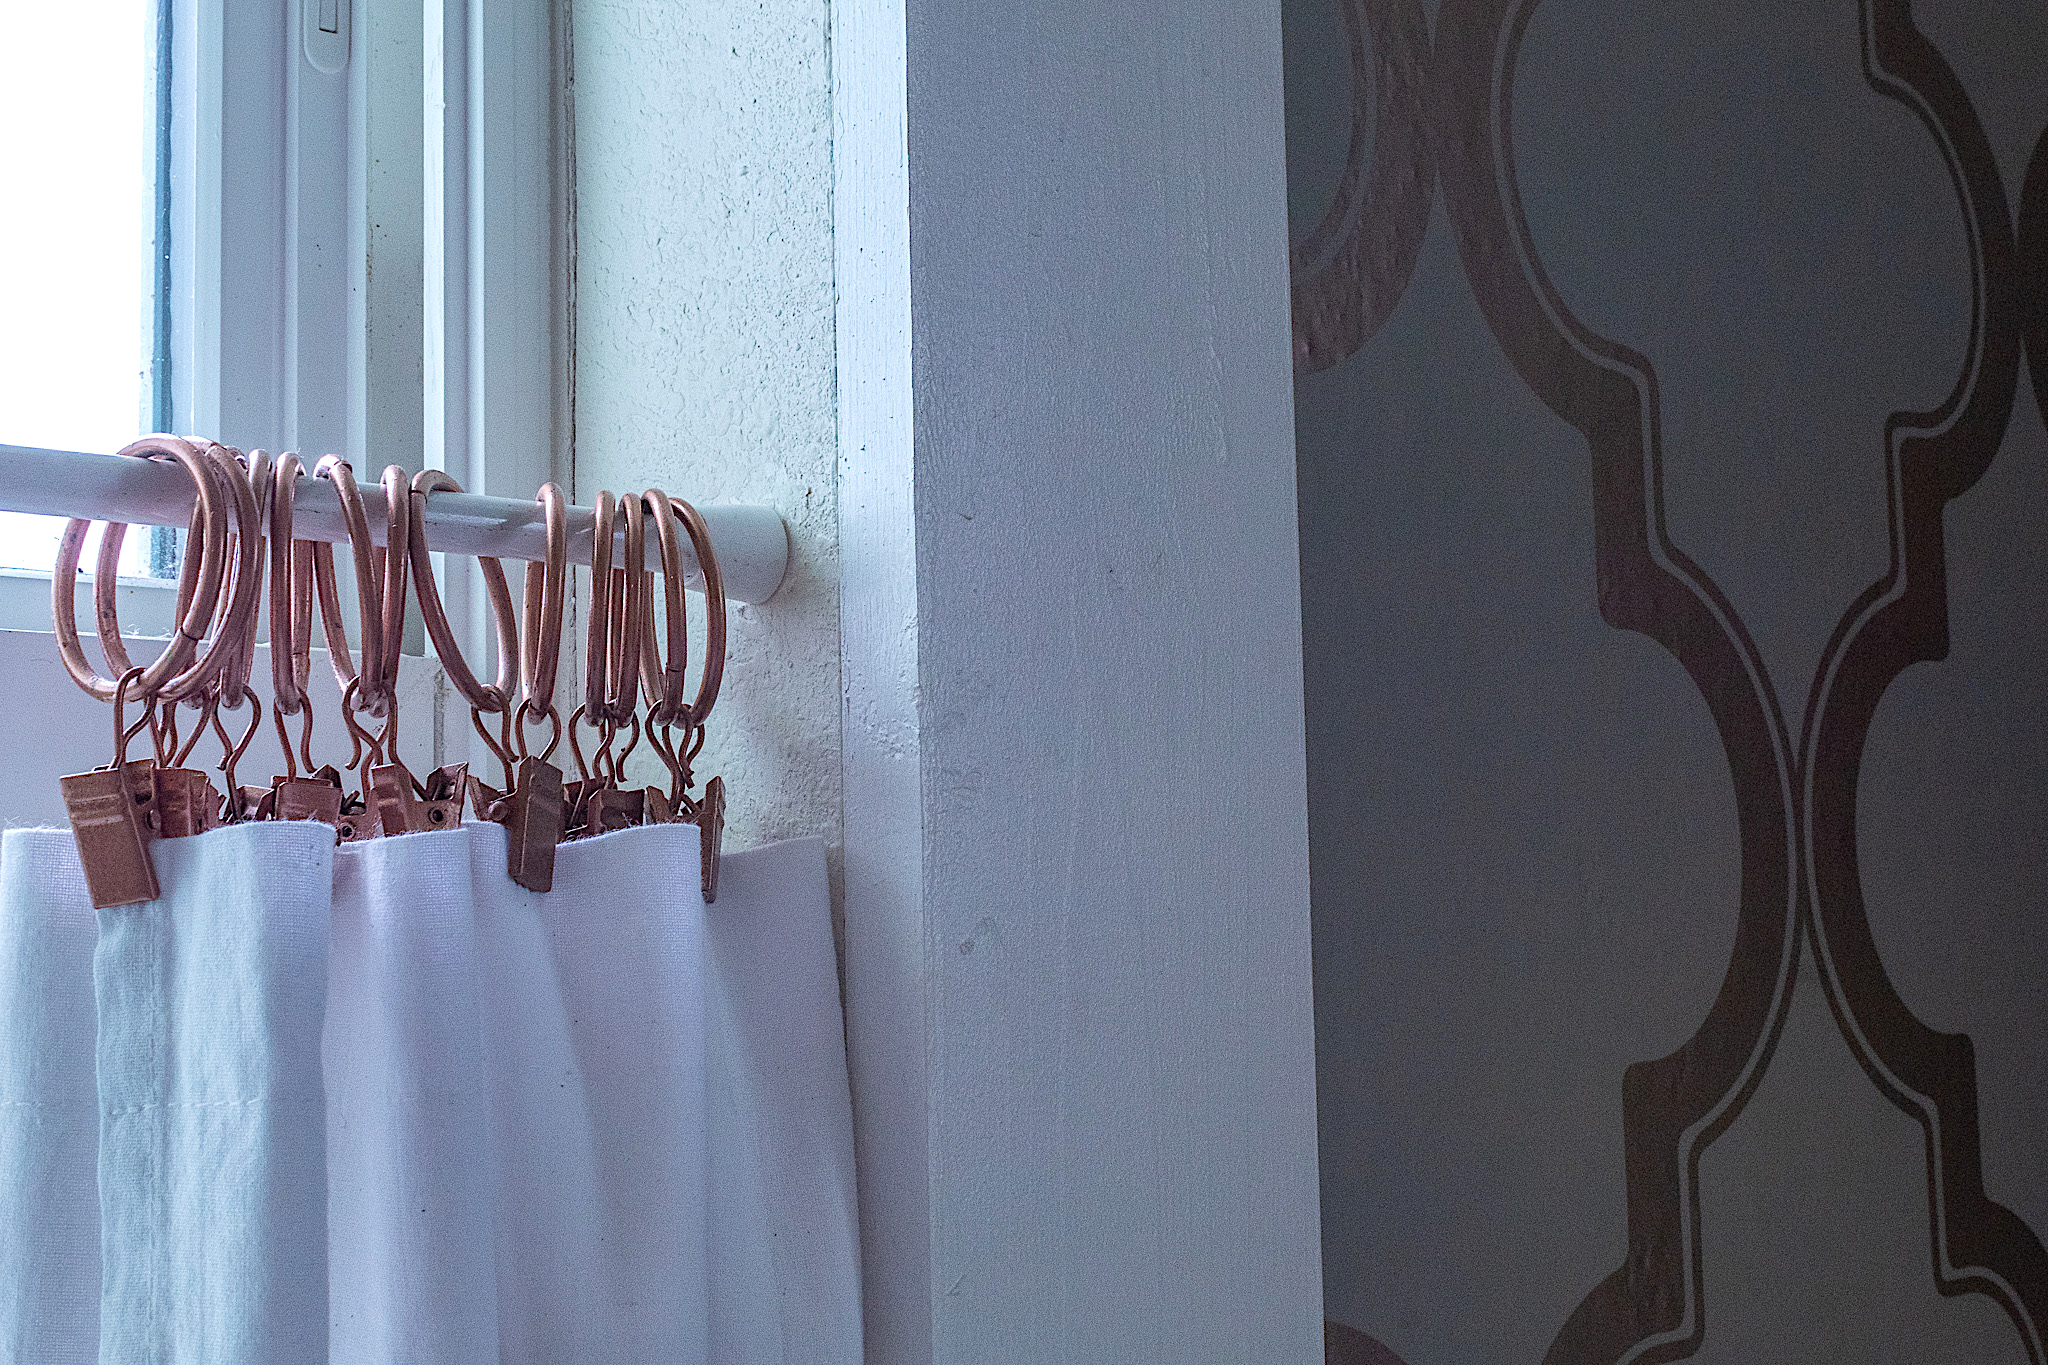
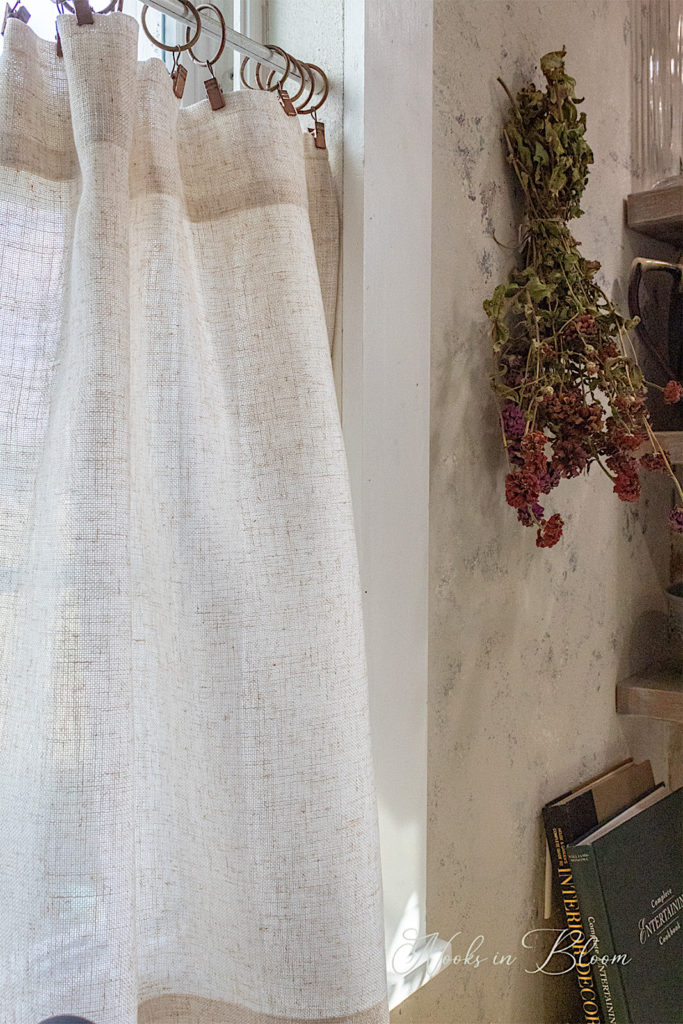
I even spray painted the curtain clips I found for the tier kitchen curtain. Small details can make such a pretty impact.
I’m loving our new Vangao Tier curtains. Changing up the window treatments is an affordable way to restyle a space. The warm linen aesthetic is a breath of fresh air against the stone wall backdrop.
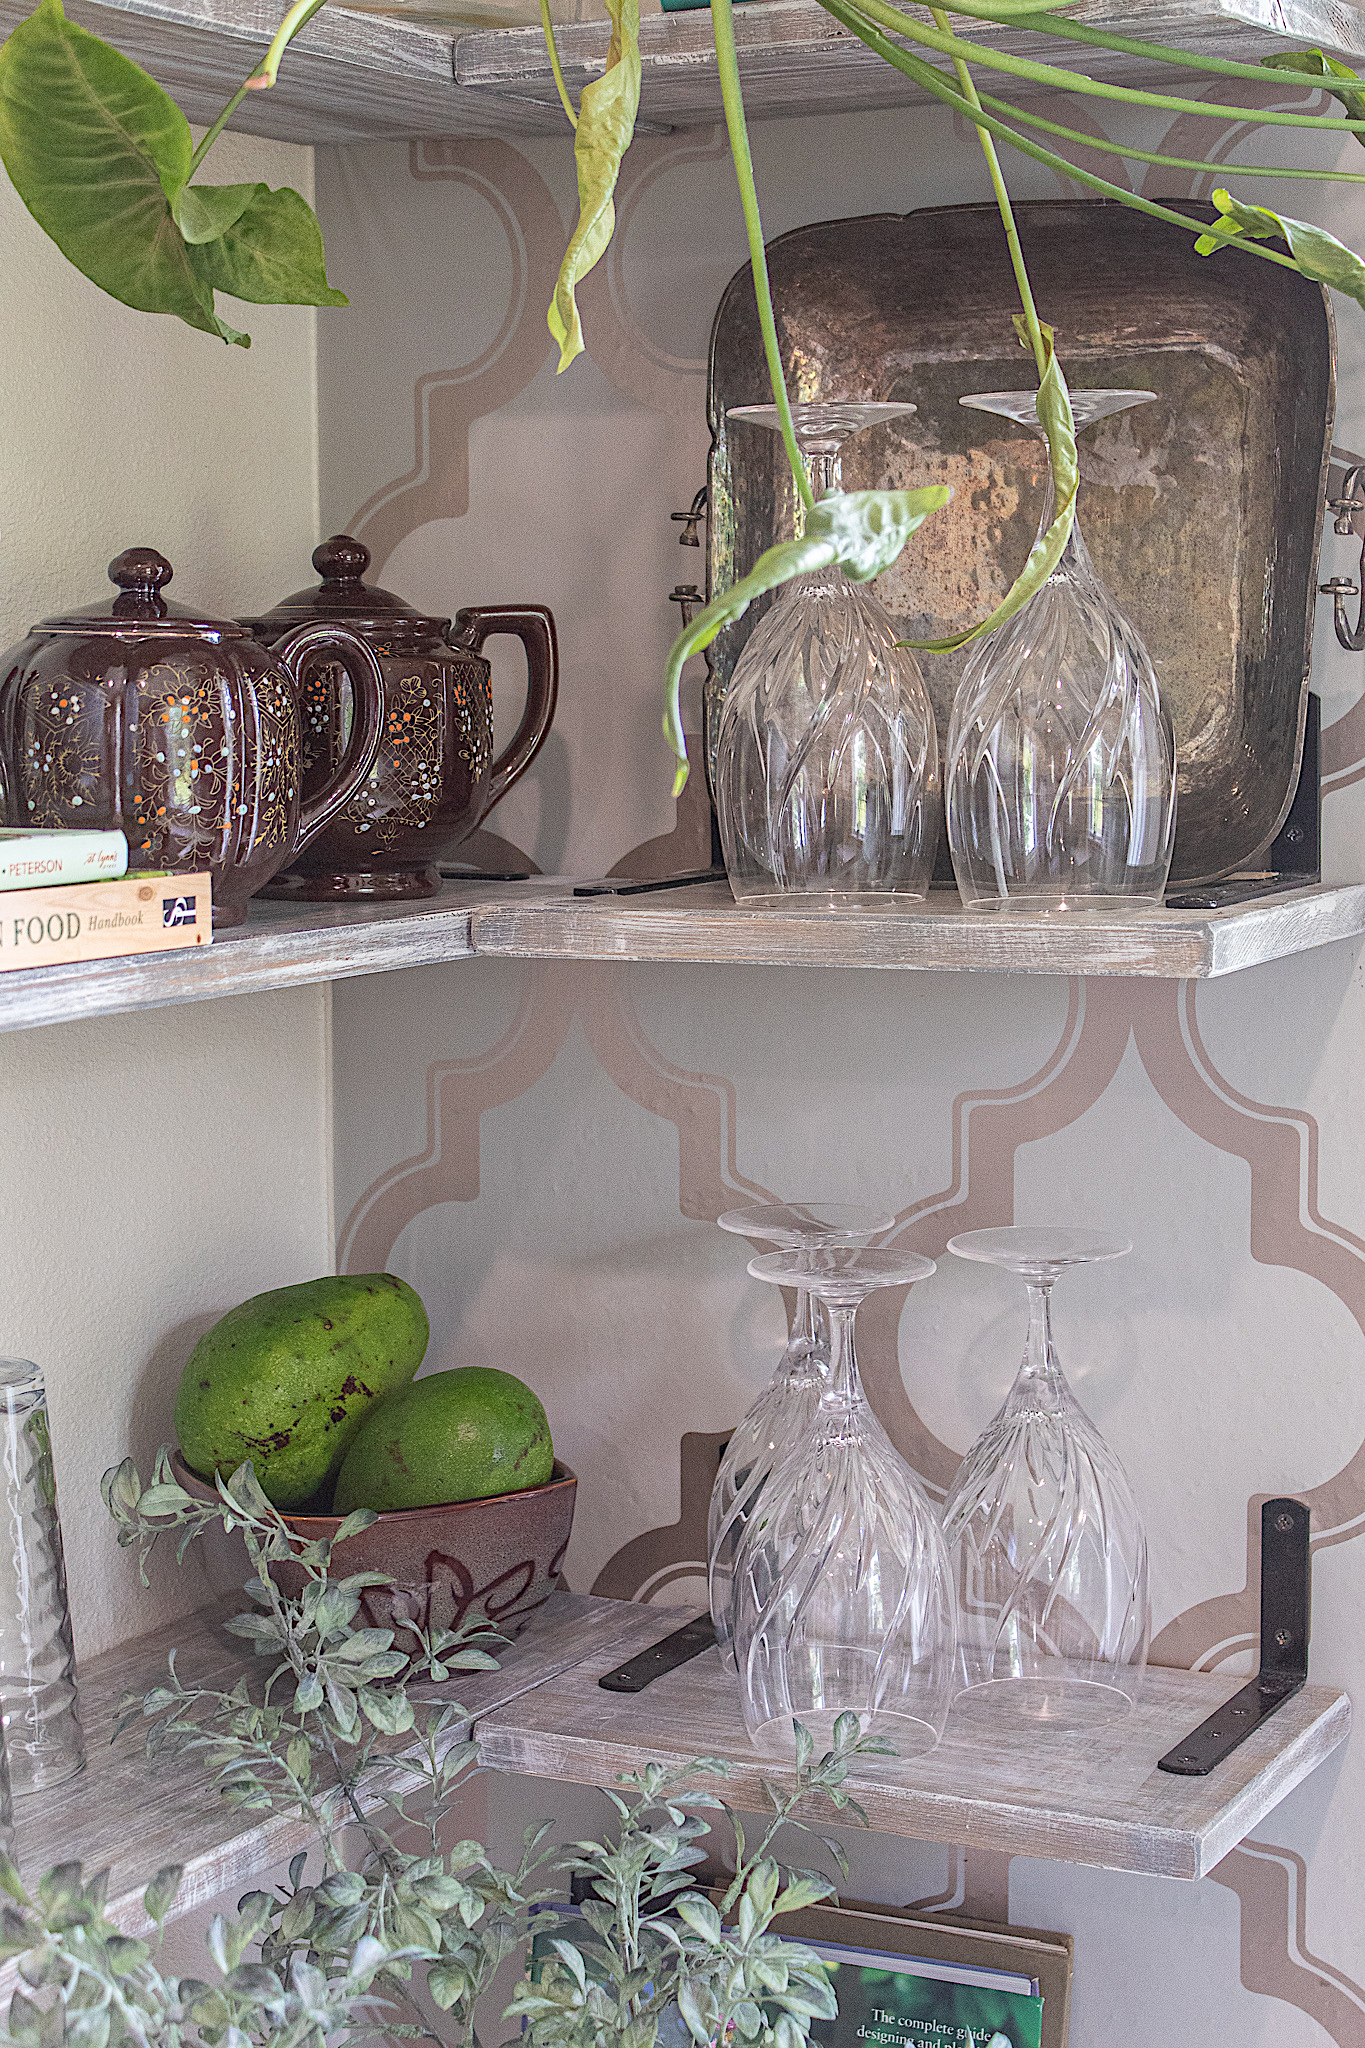
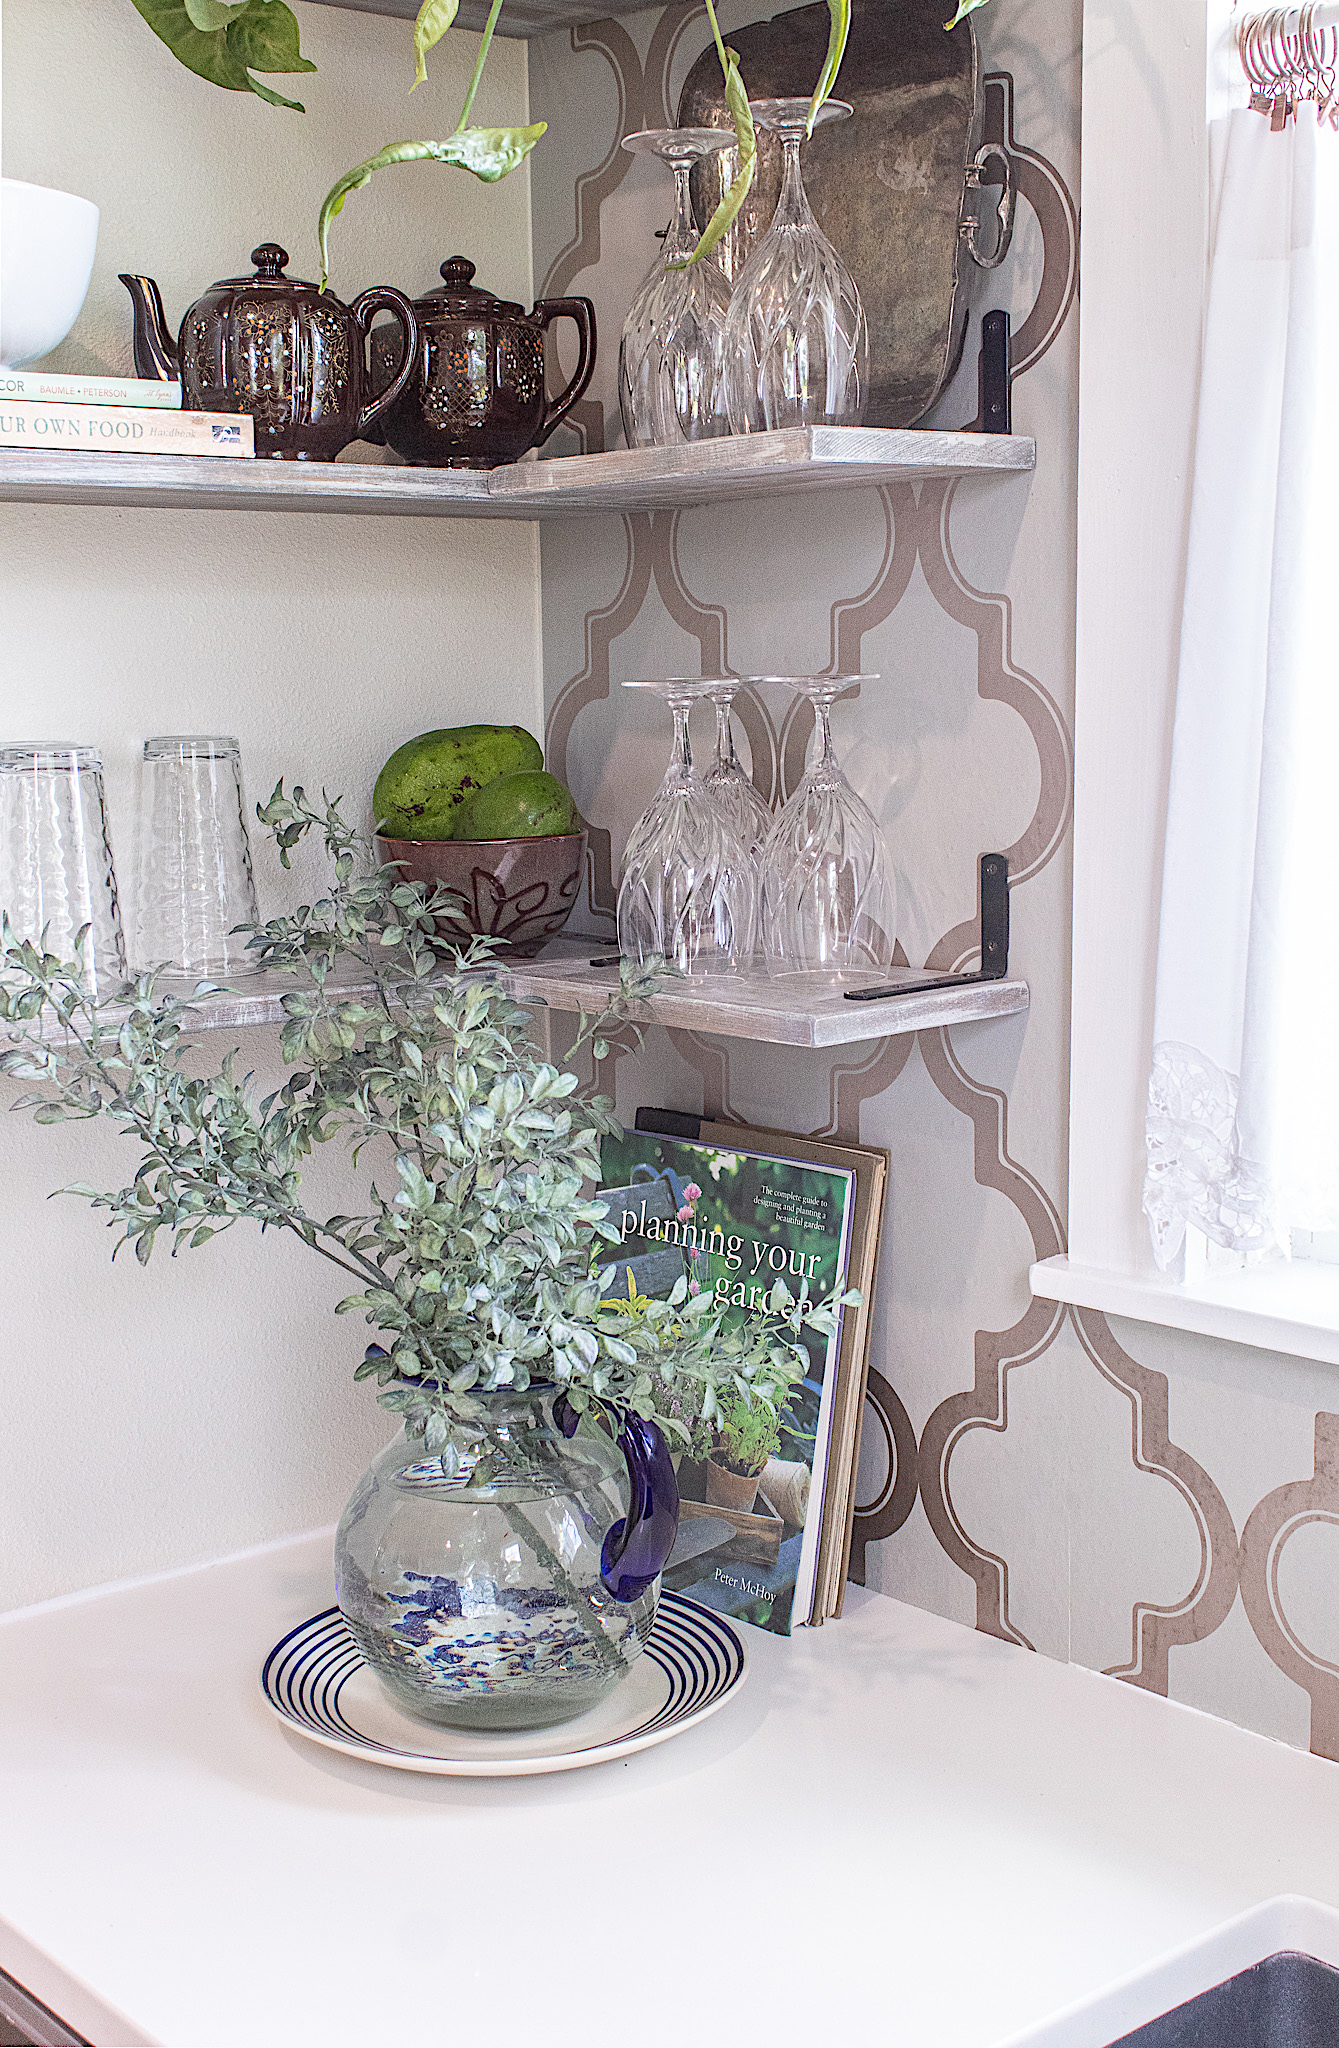
When your wall space is limited, you can always go up. Shelving is a great way to utilize your vertical spaces. I recently refinished the corner shelves I had made because the wood had yellowed. I really love the new look.
To see how I built these corner shelves in one afternoon, visit my DIY Easy Corner Shelves Tutorial. I will share my simple, special technique for giving wood a both modern and rustic look.
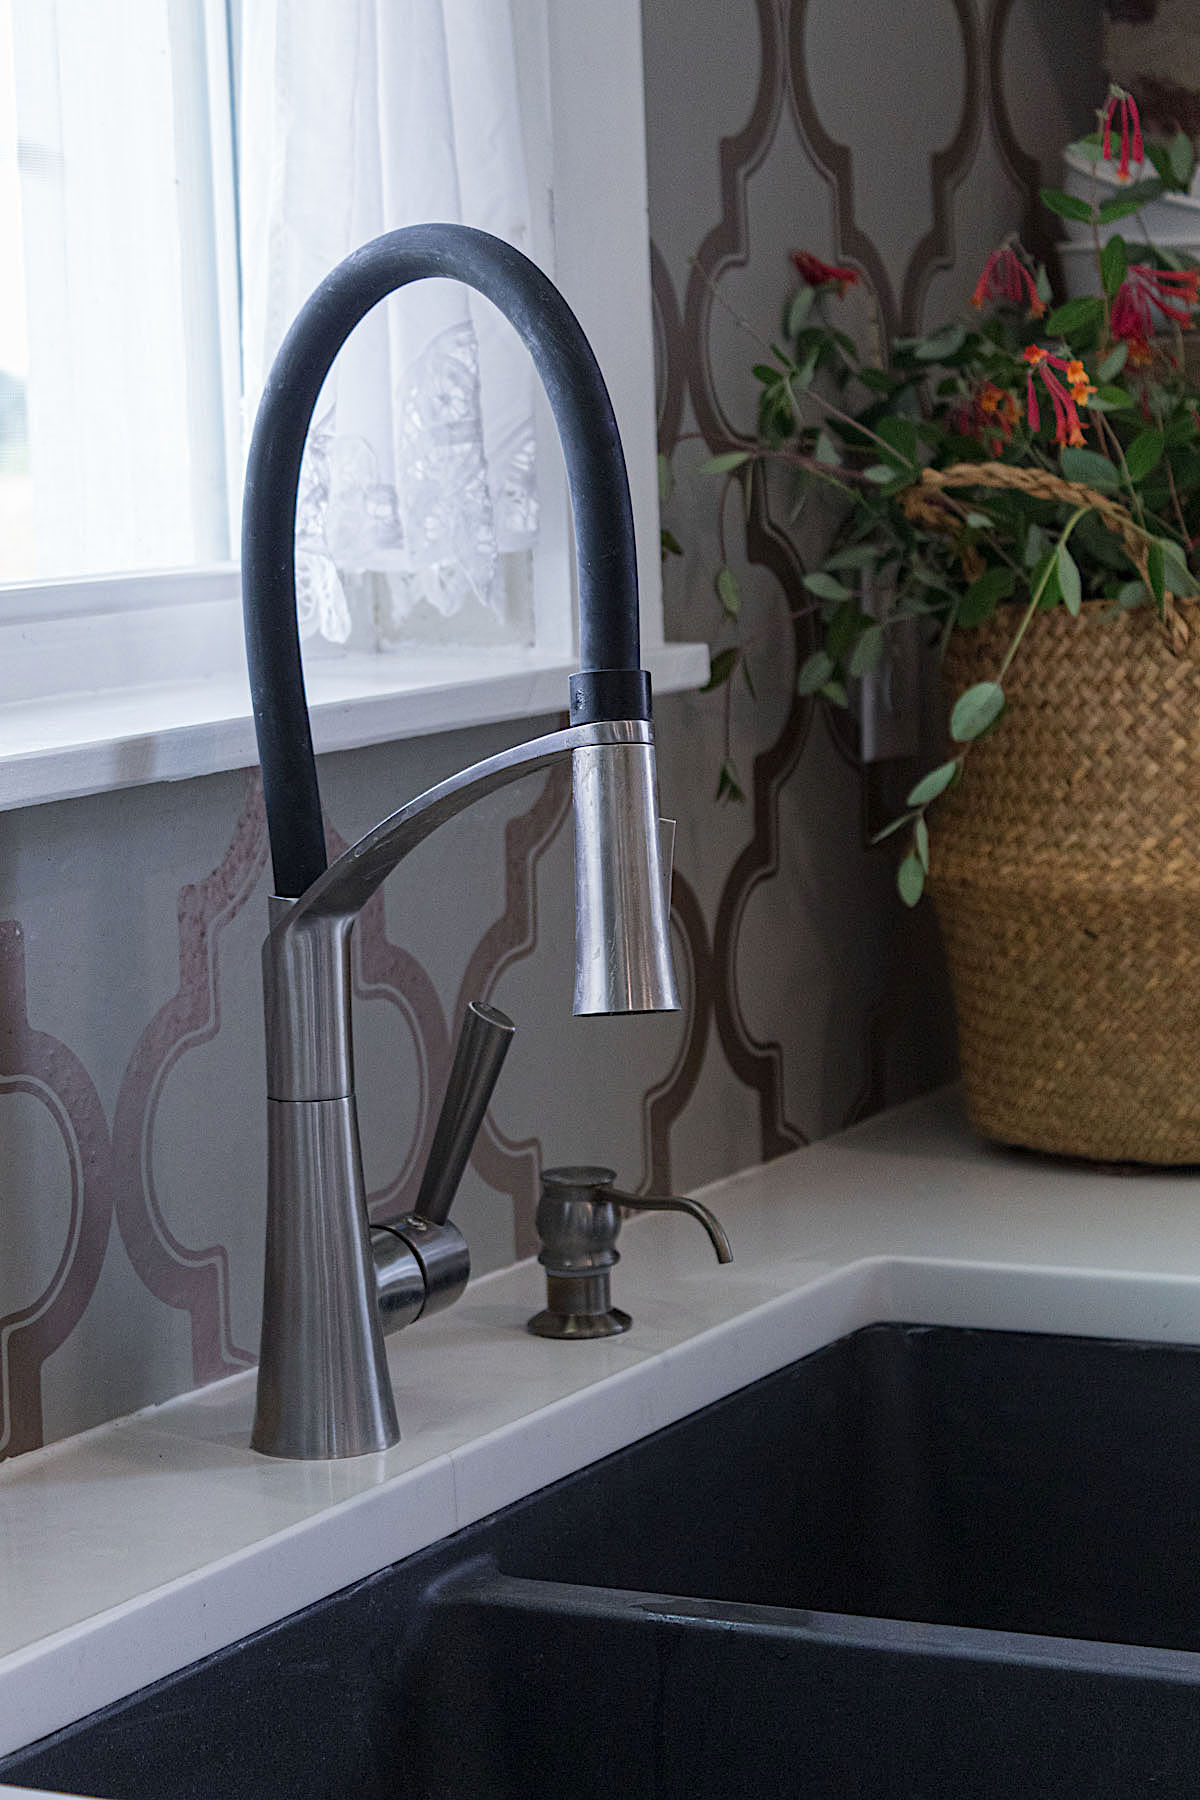
The selection of kitchen sink faucets available today can be quite overwhelming. I really wanted something with a unique look and it needed to have a good sprayer —a husband requirement. I am very happy with the CREA faucetwe went with. I love the black contrast to the stainless steel and the sprayer is very strong. I was concerned that the black silicone handle might fade over time, but almost two years later and it still looks great.
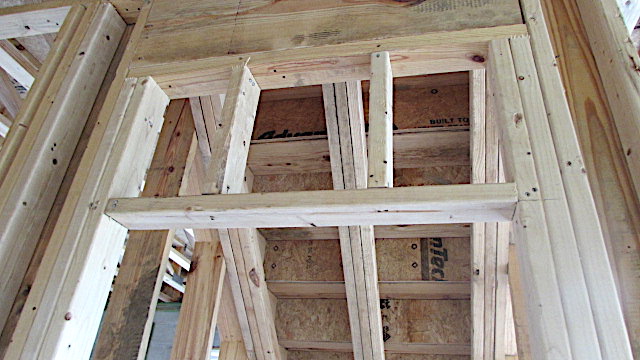
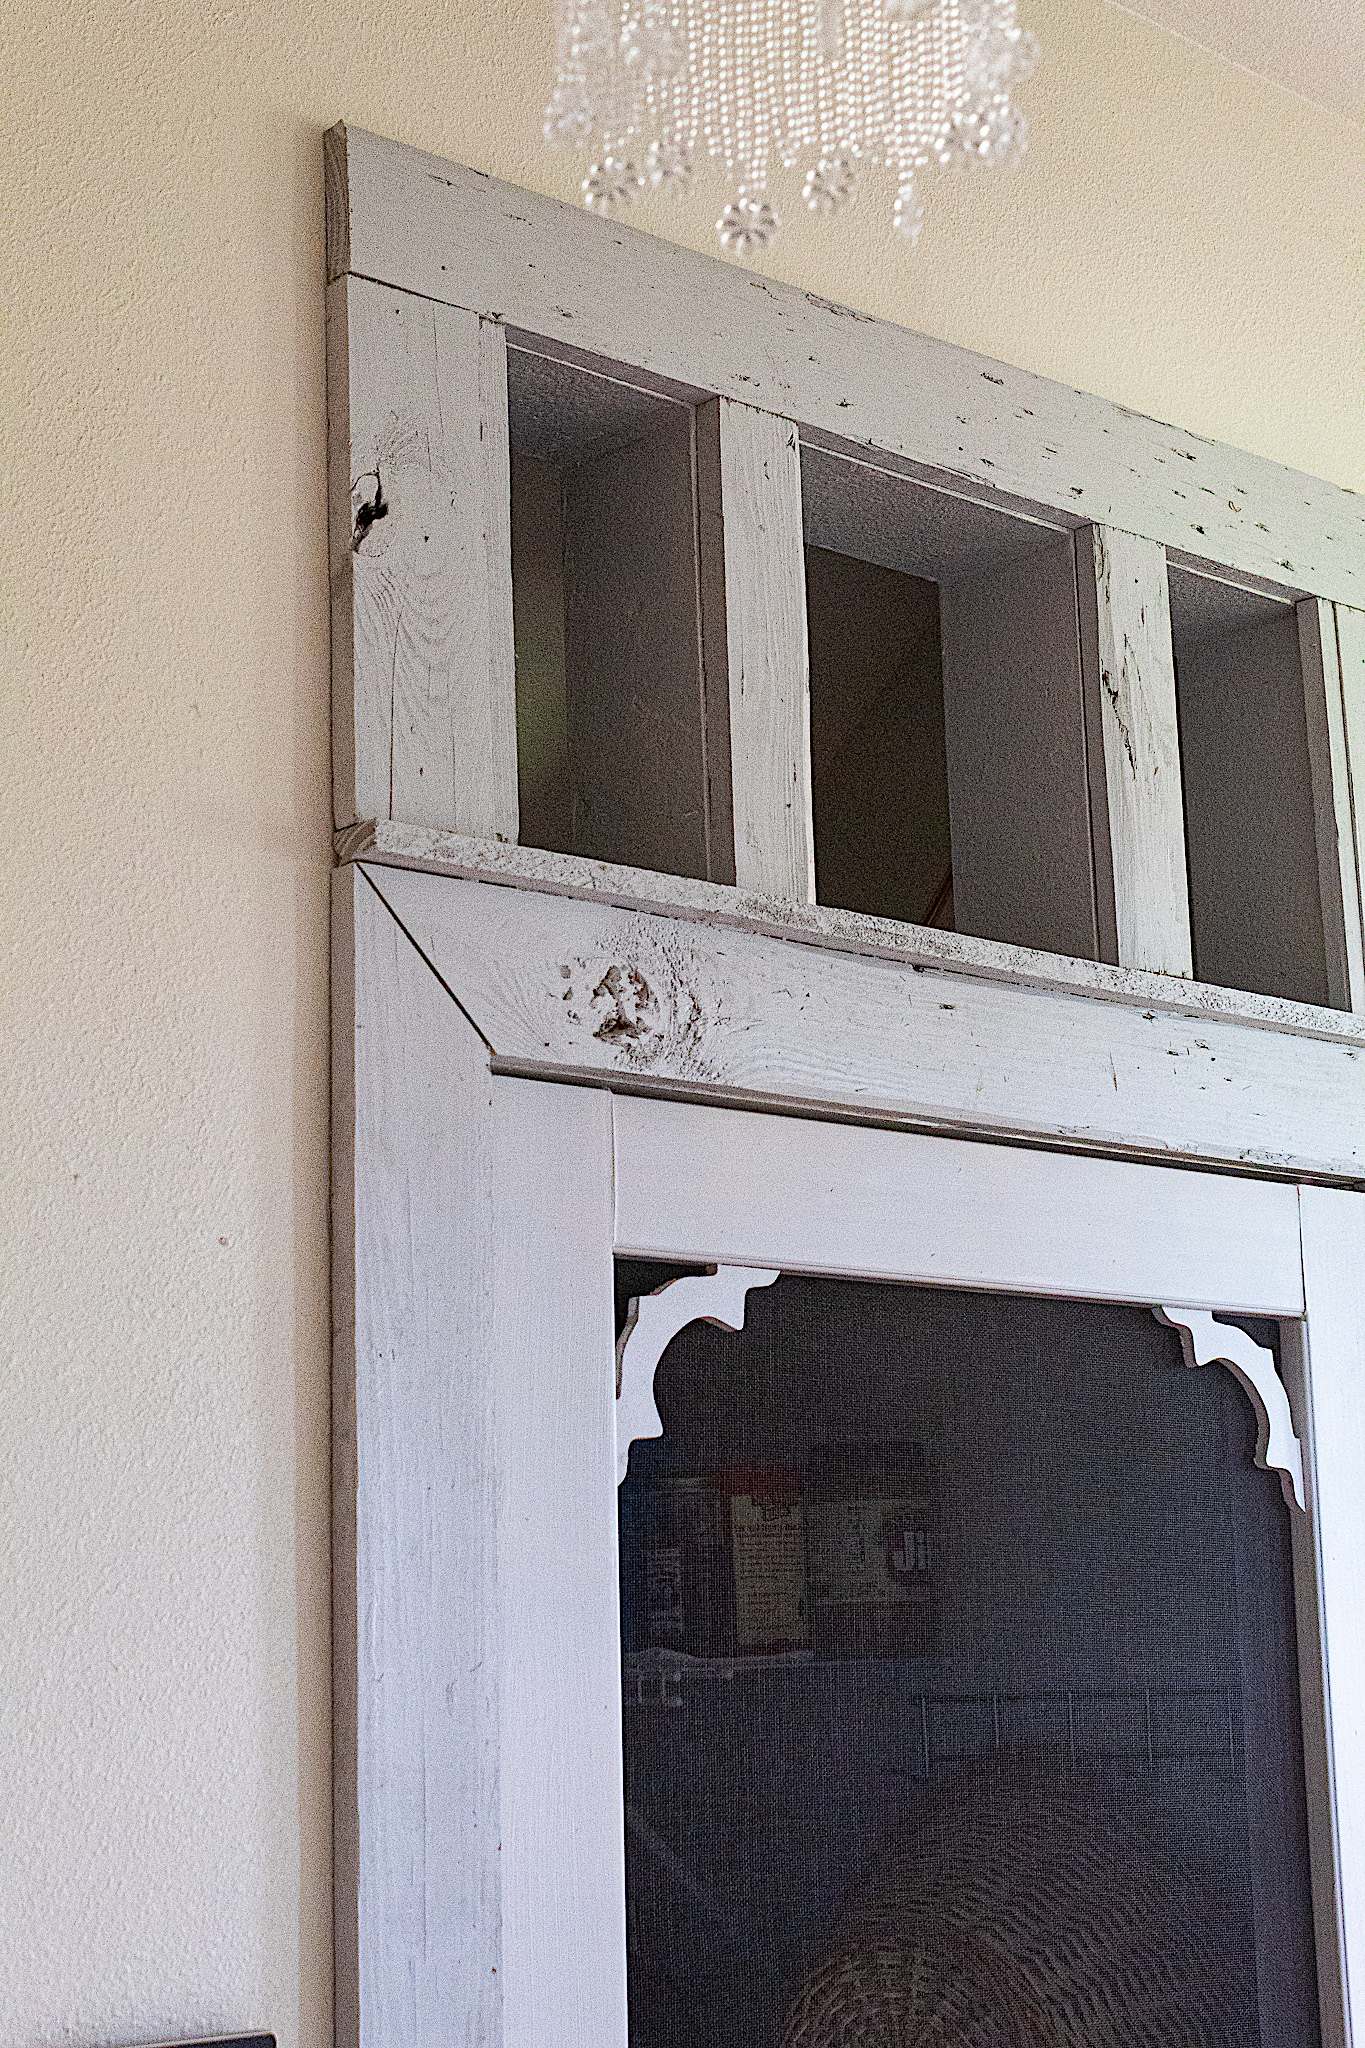
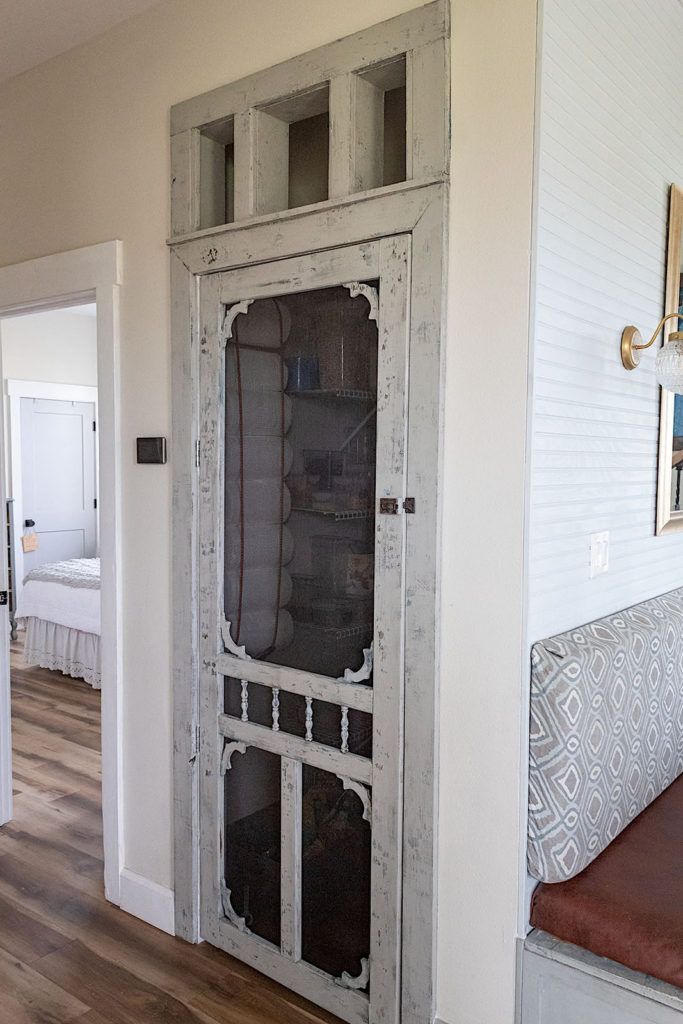
Before we built the house I had seen a picture on Pinterest of a screened door for a pantry and fell in love! Growing up in Costa Rica and spending many family trips on my grandfather’s farm, I remember the sound of the screened door of the kitchen where working hands made delicious desserts and warm tortillas. Do you ever feel like recreating pieces of childhood memories through your home decor?
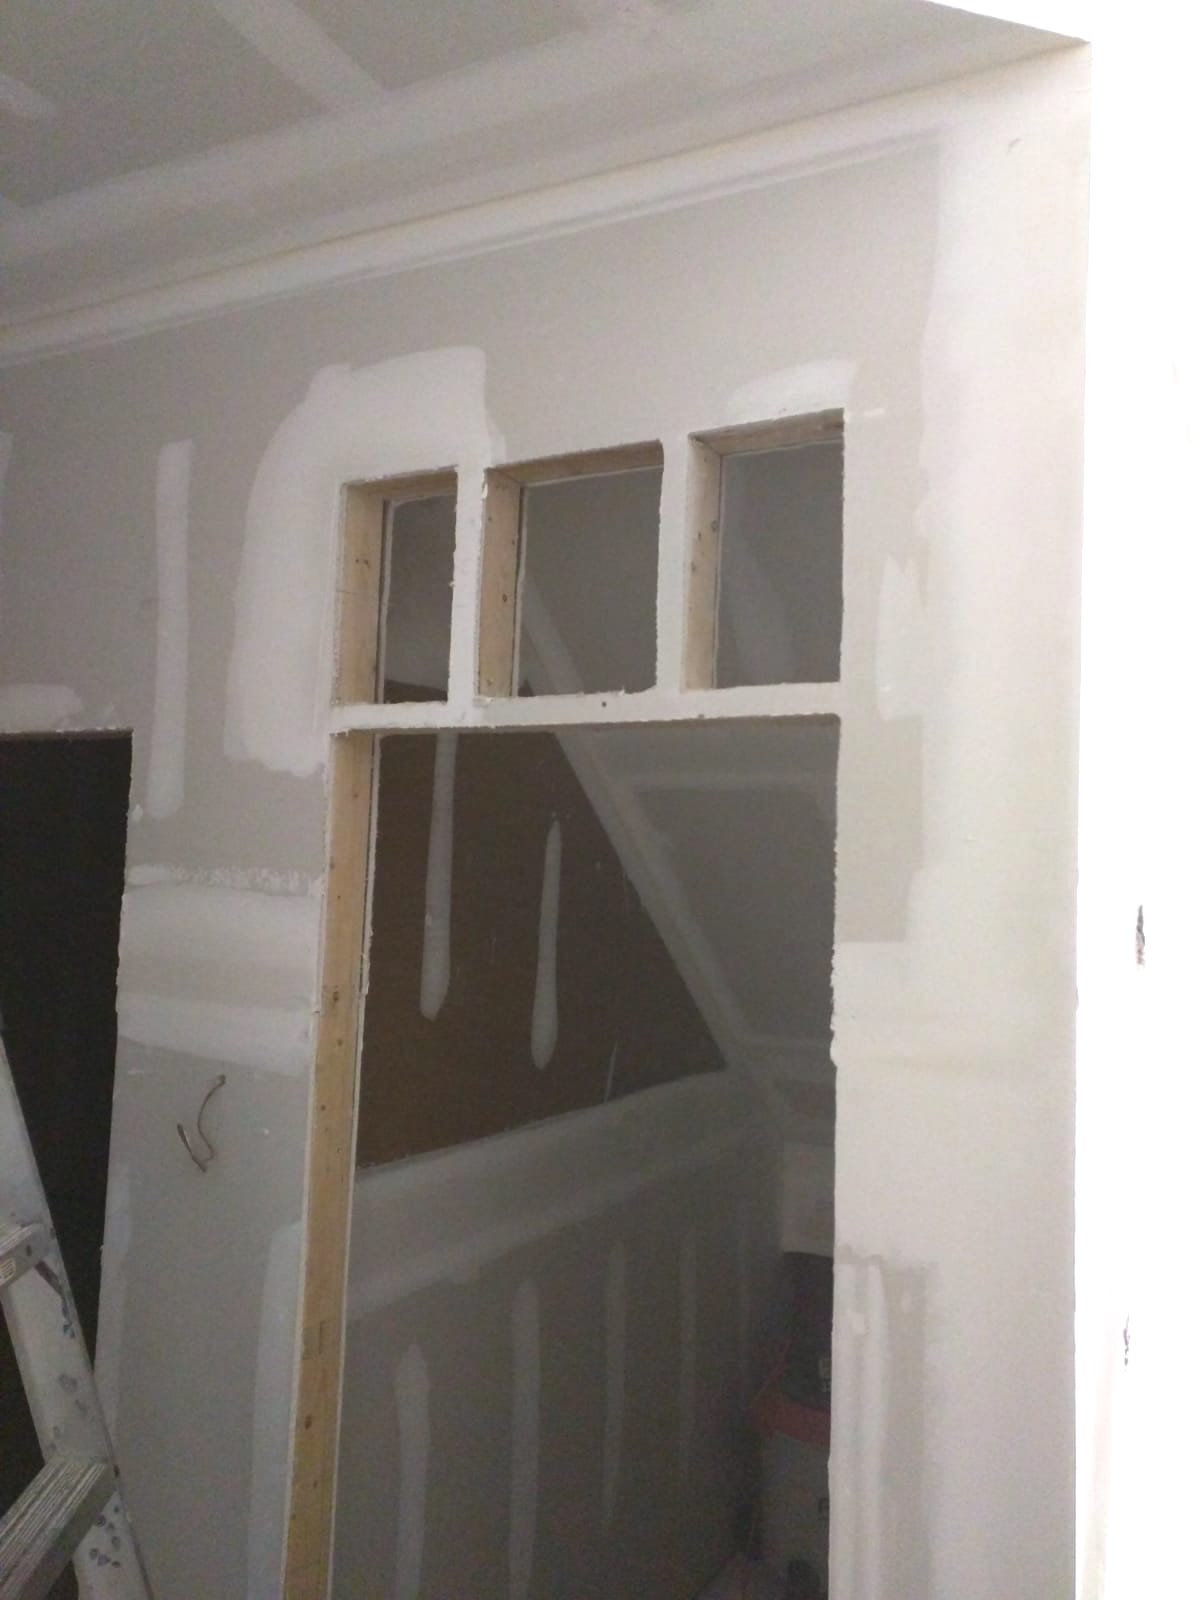
While building we had our drywall guys leave the space over the pantry doorway open exposing the studs (see pic. below).
They later hand finished drywall around the studs and this created a transom look over the pantry doorway.
I painted a screened door from Lowes in Glidden’s Silver Bullet. Ronny used leftover lumber to frame out the door and transom. Not sanding the wood helped preserve a rustic feel.
New Look For Our Pantry Door
Our pantry door recently got a new look after the original paint had worn quite a bit. If you’d like to see how I gave the door this vintage look, check out THIS POST.
If you’d like to see the post on how we originally added peel and stick wallpaper to the kitchen sink wall, click HERE. It was easy but does take a little time to cut pieces around the window. For the two years we had it hung, it held up really well.
Floating Shelves Get A Farmhouse Look
Although I love the floating shelves my husband made for our kitchen, the oak stain I had originally used had turned orange over time. Take a look…
In just two steps I gave these shelves a beautiful French Farmhouse update. You can check out the tutorial HERE. I absolutely love our “new” shelves and still can’t believe how easy it was to create this look.
My friends I’m so grateful you stopped by. Some days I feel I can’t get out of the kitchen, but I can always appreciate the open feel, the layout, the hint of European and the touch of farmhouse. What is your kitchen inspiration?
Could you give more detail on your mortar/grout mix and process? I haven’t seen anyone achieve a creamy white like you have and the whites I’ve tried on my brick from other tutorials are too stark. I would really appreciate a little more help!
Sure, I found the white mortar too white also and the gray too dark. I used a cream-colored grout from Floor & Decor (it may have been Bone by Mapei, but I’m not sure) to tint the white mortar. In a five-gallon bucket I played with the color until I liked it. I can’t exactly remember the ratio of mortar to grout to water. I would recommend adding your cream color in small increments at a time until you achieve your desired color and consistency. I made the mistake of making mine too watery at first causing all the bricks to slip down! I used a mixing arm like this one https://amzn.to/3hmTj9B attached to a drill for mixing as it can get very difficult to do by hand. I hope this helps and good luck with your project!
Hello! You have a beautiful home! I love the color. Is it a Sugarberry Cottage plan? I built one this year and I love to see the different choices people made in the plans and decor.
Hi Nedra!
Thank you so much for your kind words! Yes, this is a Sugarberry Cottage house plan. If you go to “Our House Plans” in the menu you can view our actual plans. We did make a few modifications to the original plans to fit our family’s needs. That is so exciting to here of your recent build. I’m sure it is beautiful!


The kitchen is really beautiful and you are right about floating shelves that created a beautiful farmhouse look into the kitchen!
Oh thank you so much for that kind feedback. I truly appreciate it.
Such a lovely, airy, and beautiful kitchen! You are so lucky to own this!
That is so kind of you to say. It will be one of the spaces I will mostly miss about our home!
Could you give more detail on your mortar/grout mix and process? I haven’t seen anyone achieve a creamy white like you have and the whites I’ve tried on my brick from other tutorials are too stark. I would really appreciate a little more help!
Sure, I found the white mortar too white also and the gray too dark. I used a cream-colored grout from Floor & Decor (it may have been Bone by Mapei, but I’m not sure) to tint the white mortar. In a five-gallon bucket I played with the color until I liked it. I can’t exactly remember the ratio of mortar to grout to water. I would recommend adding your cream color in small increments at a time until you achieve your desired color and consistency. I made the mistake of making mine too watery at first causing all the bricks to slip down! I used a mixing arm like this one https://amzn.to/3hmTj9B attached to a drill for mixing as it can get very difficult to do by hand. I hope this helps and good luck with your project!
Hello! You have a beautiful home! I love the color. Is it a Sugarberry Cottage plan? I built one this year and I love to see the different choices people made in the plans and decor.
Hi Nedra!
Thank you so much for your kind words! Yes, this is a Sugarberry Cottage house plan. If you go to “Our House Plans” in the menu you can view our actual plans. We did make a few modifications to the original plans to fit our family’s needs. That is so exciting to here of your recent build. I’m sure it is beautiful!