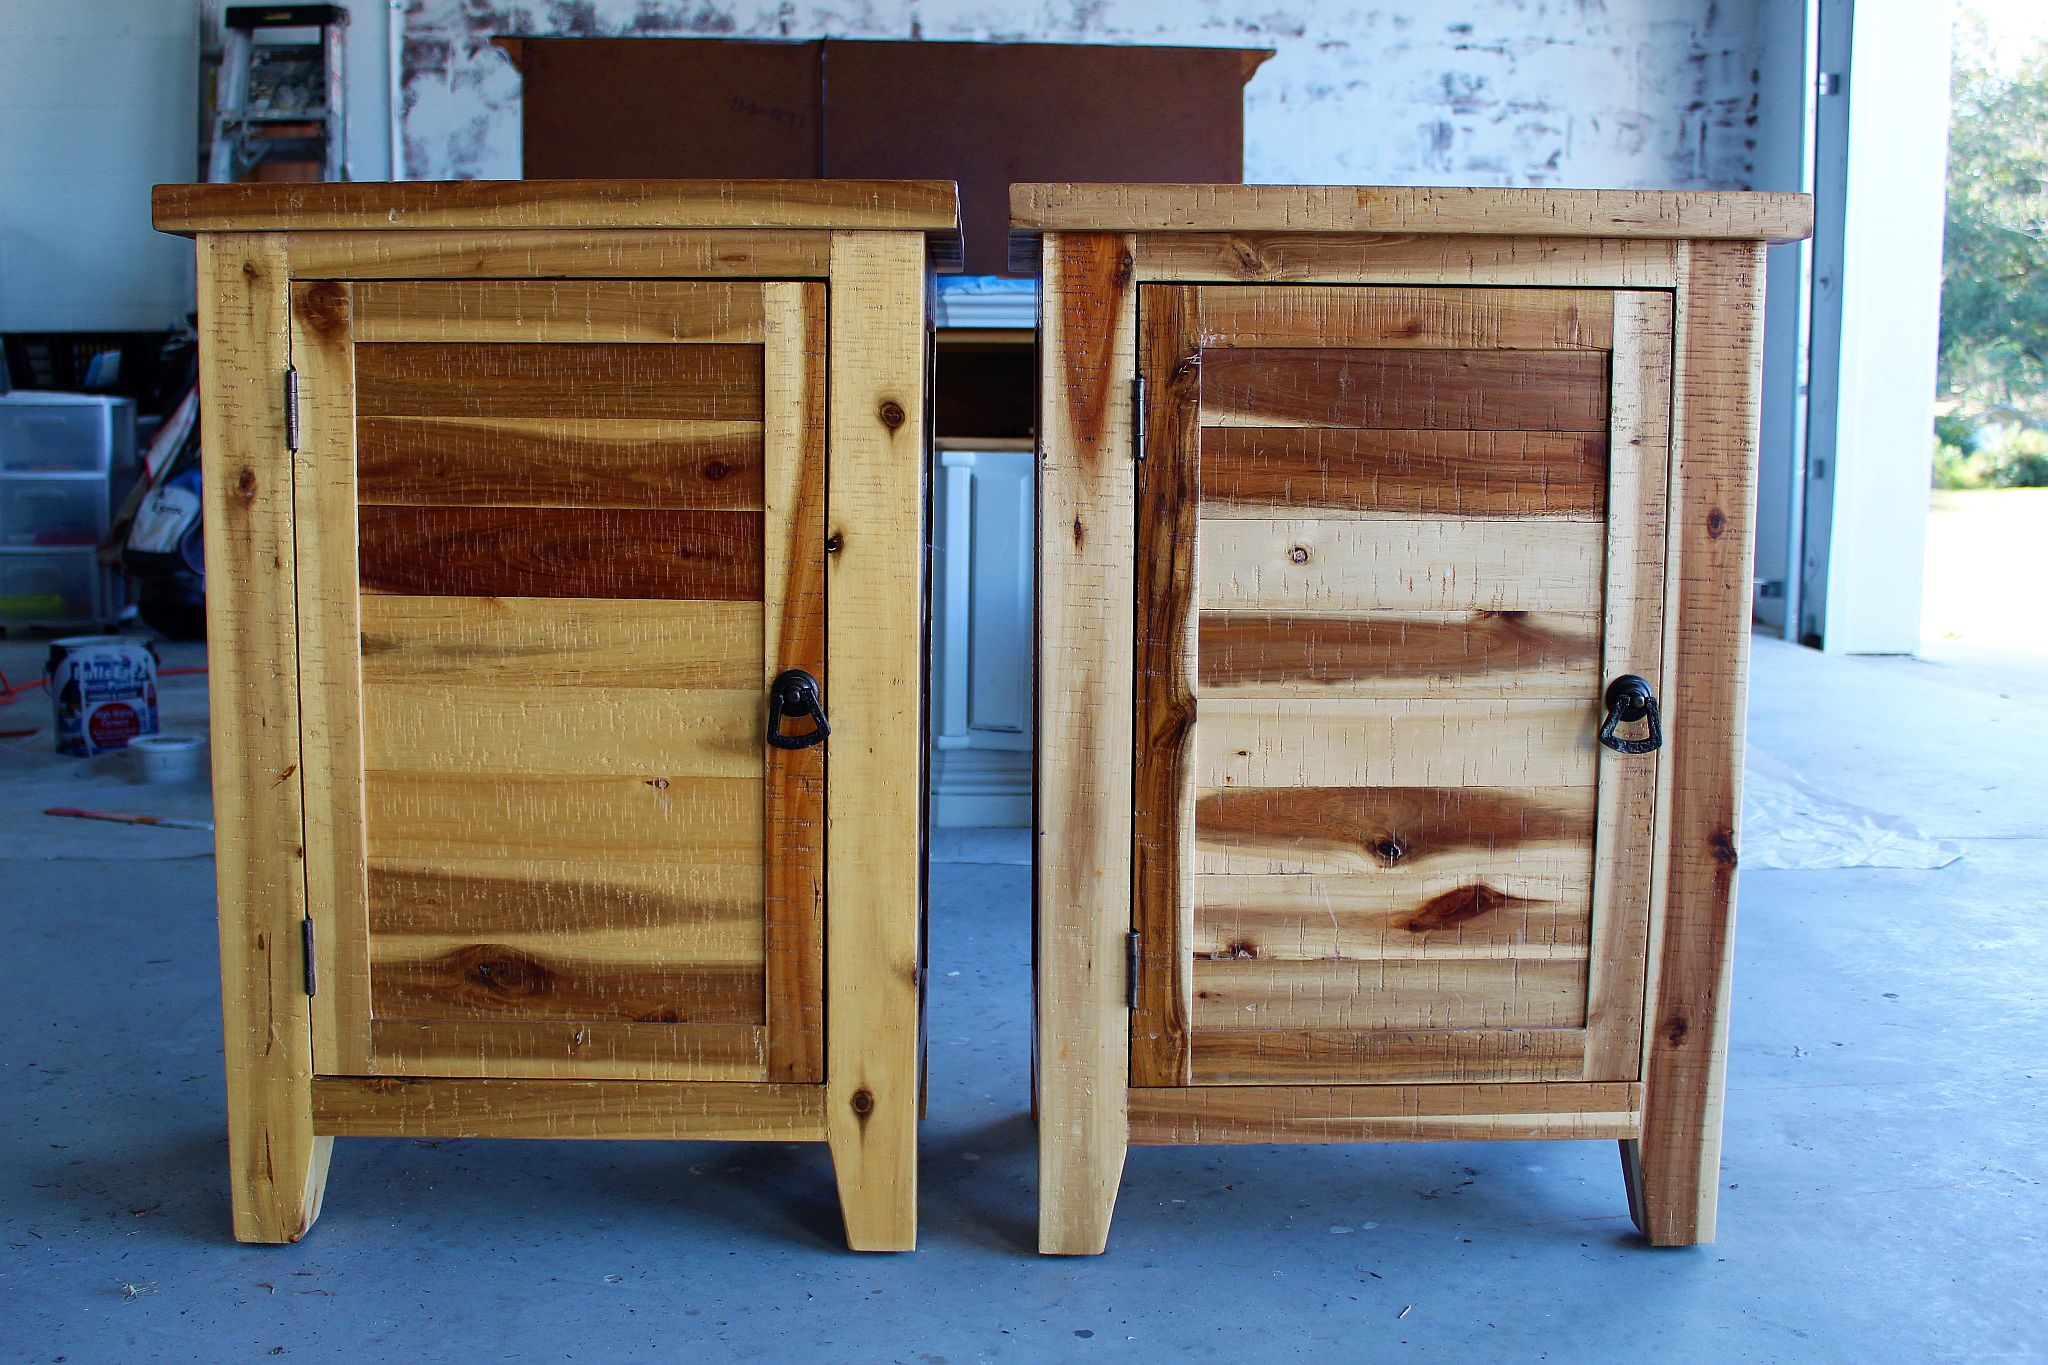
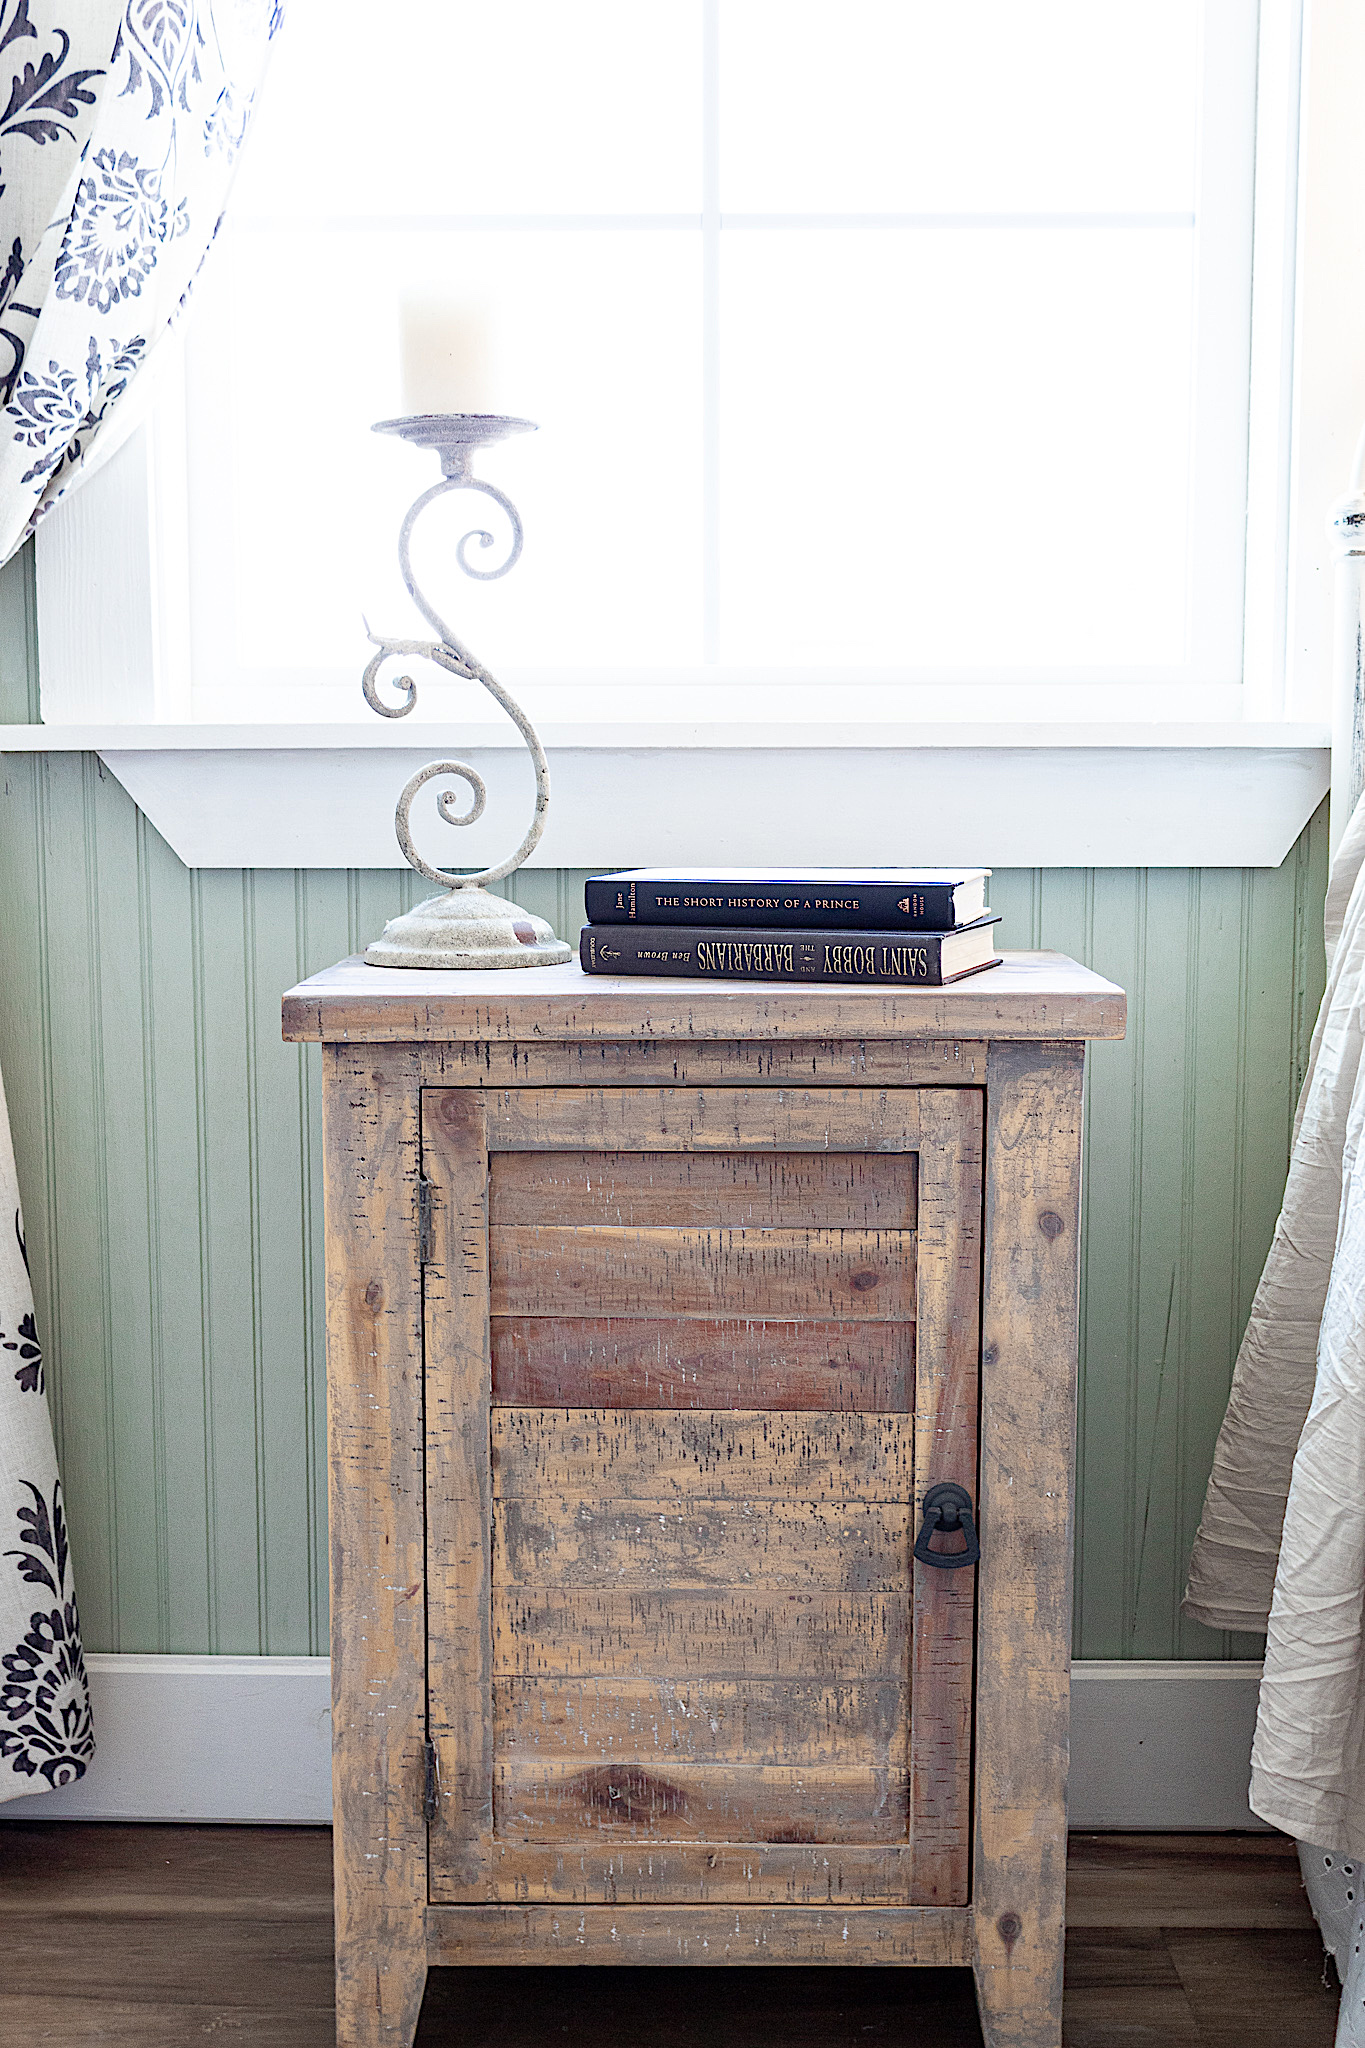
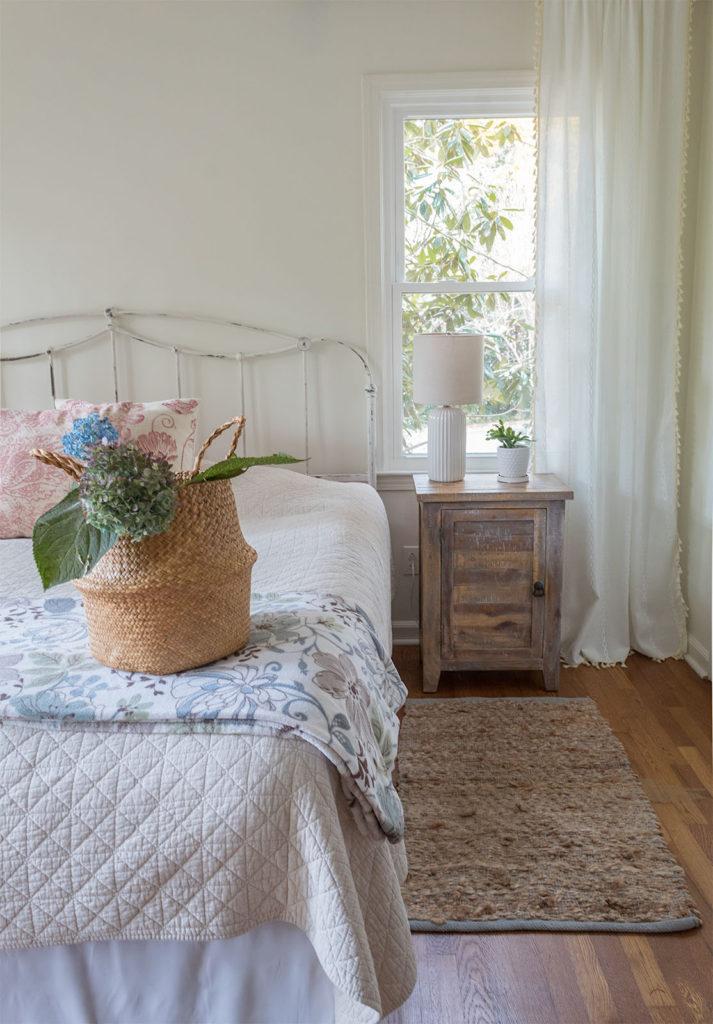
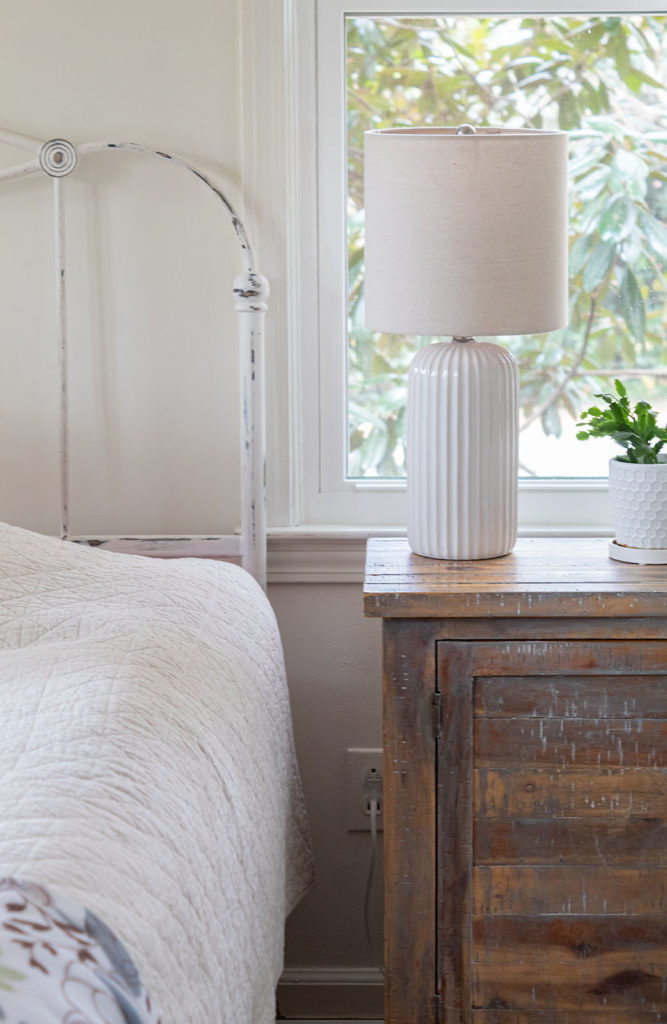
Greetings friends! I recently redid our bedroom nightstands. Over the years they had yellowed quite a bit. I just love their new rustic, aged finish. What a difference to how they looked before.
You might notice there is a slight difference in color with each finished table. That’s due to one of the tables being exposed to more sunlight over several years because of its placement in the room. But I’m a fan of imperfections and the mismatched, so it doesn’t bother me. And they will be placed on either side of our bed so it will hardly be noticeable.
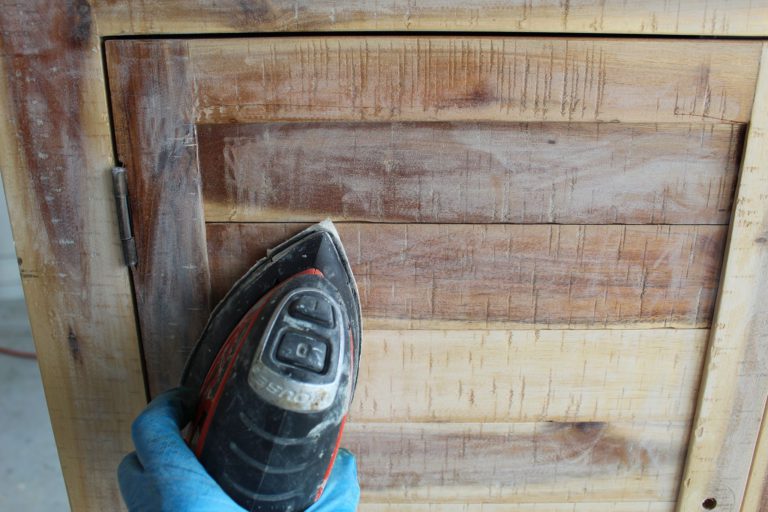
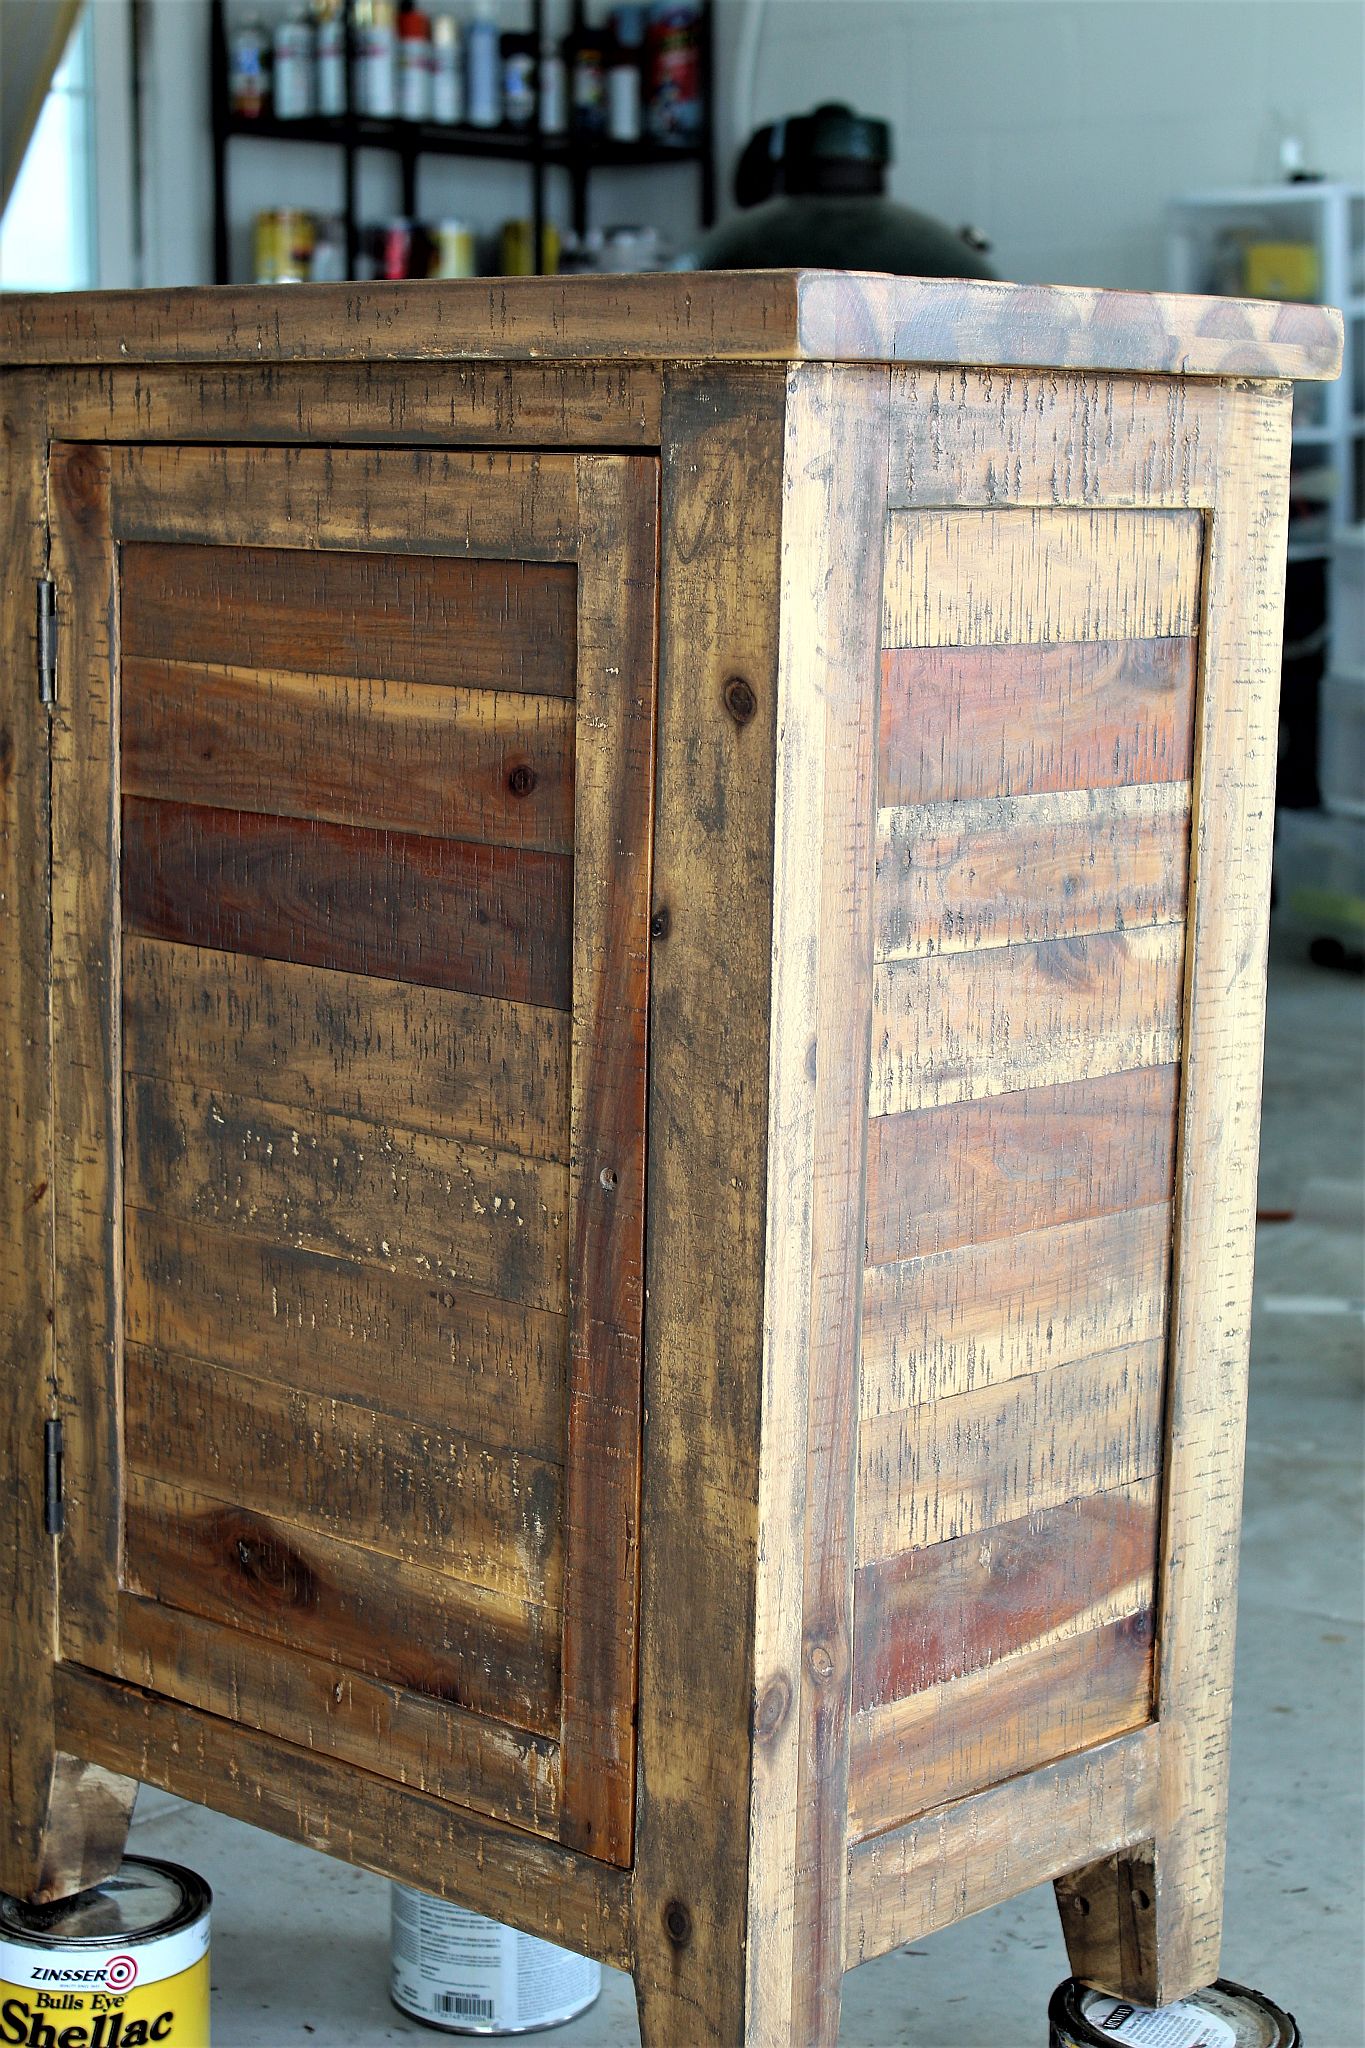
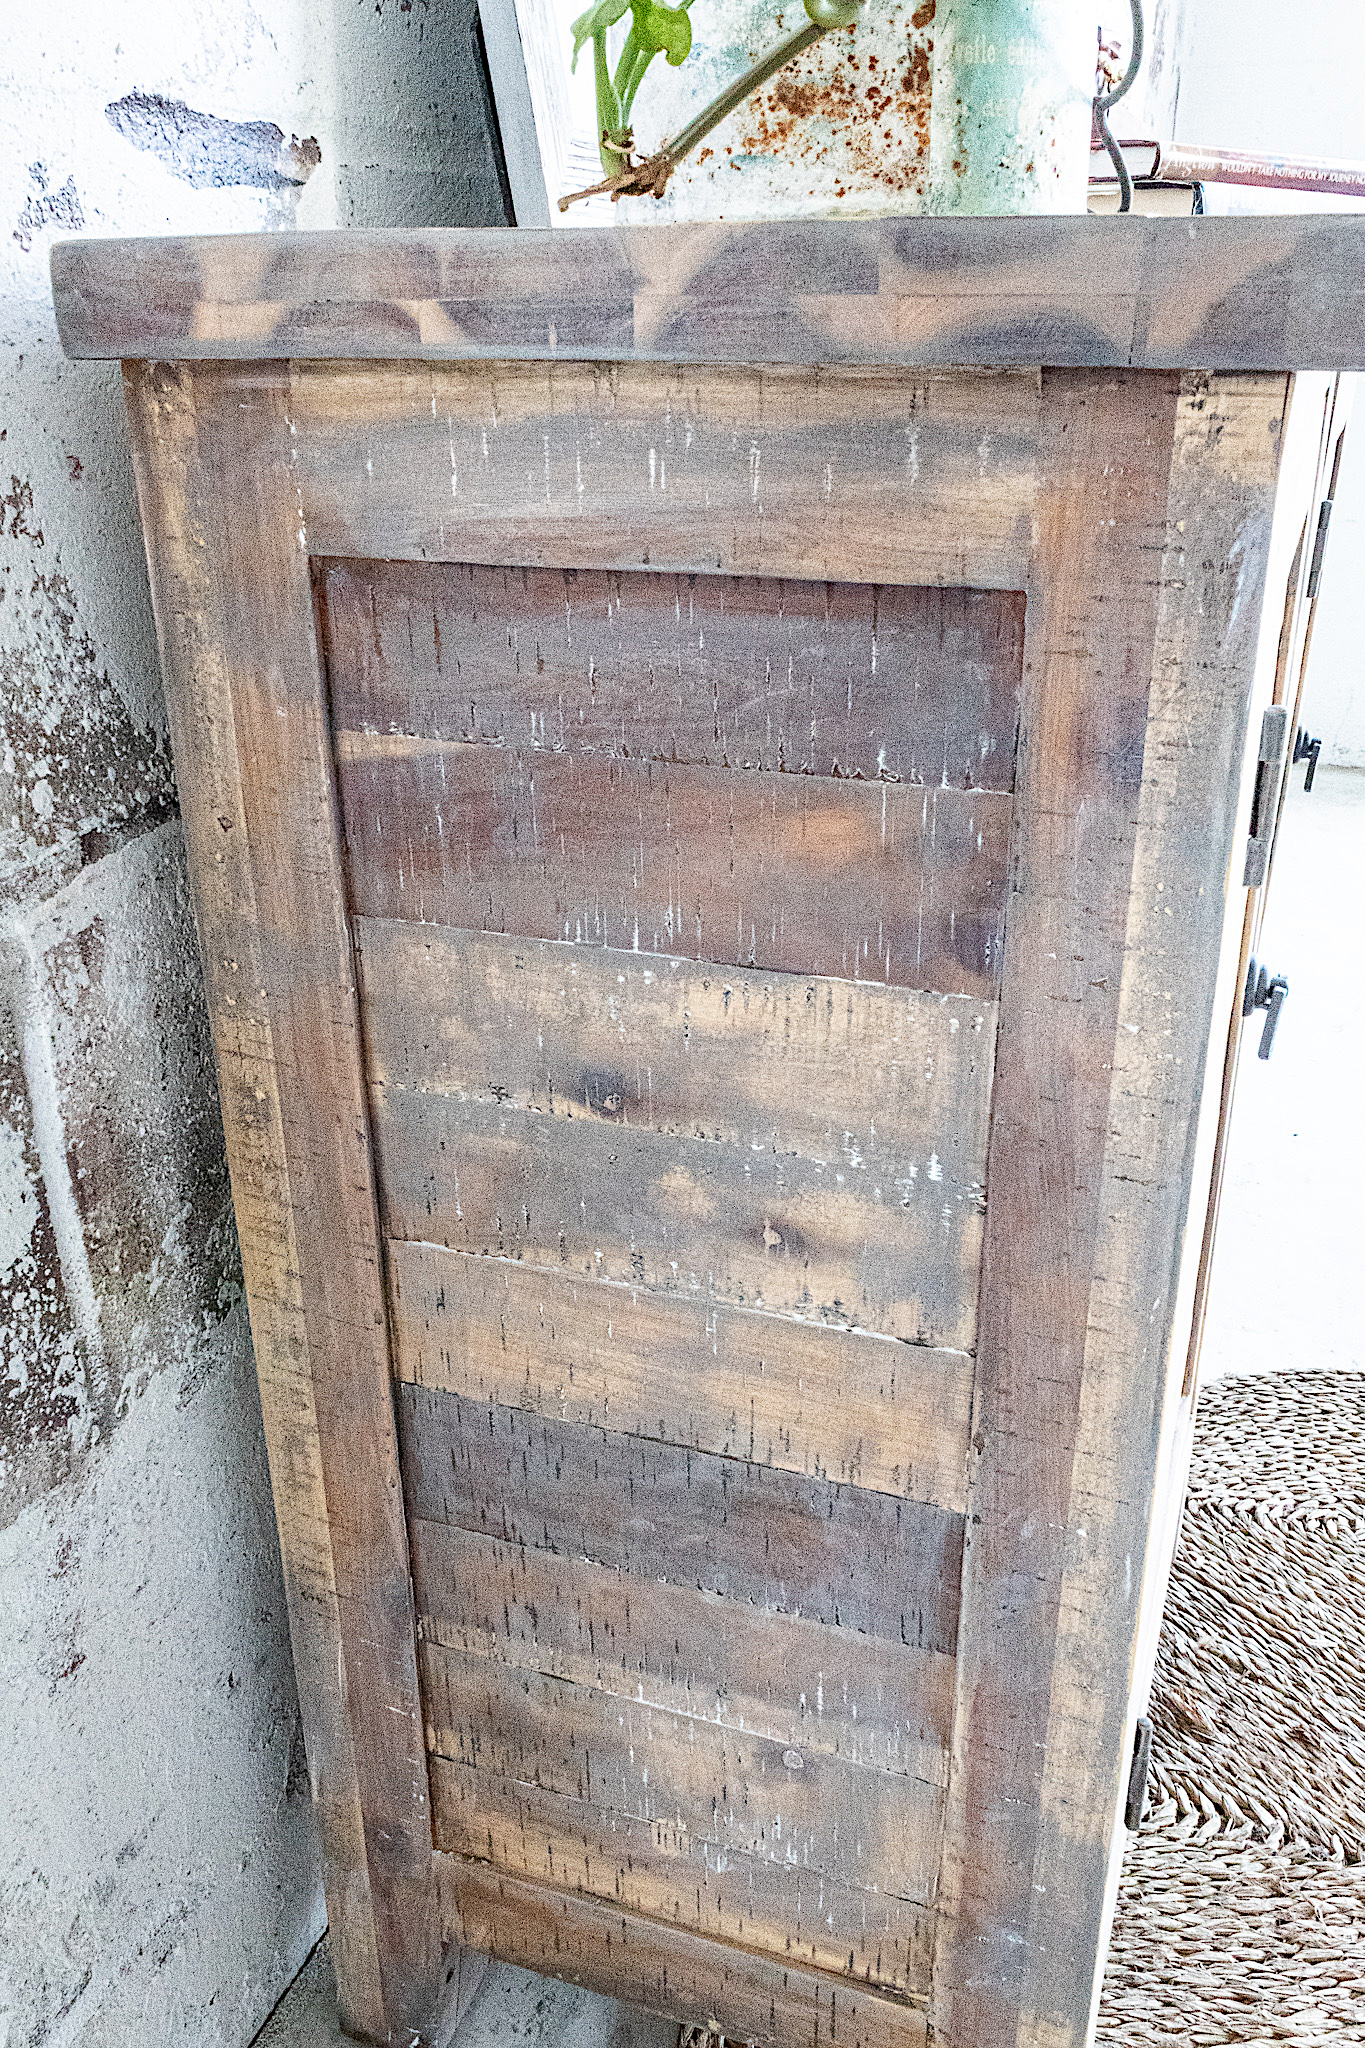
This may have been one of my easiest and prettiest renovations yet. Only two ingredients needed. The original wood of these tables has indentations in it or small nicks as part of its finish. If you have very smooth wood, you may want to use random tools around the house to beat your piece’s surface up a little. Creating some nicks will result in more of a rustic look. So, let’s get started.
Using 60 grit sand paper and my electric sander I gave both pieces a rough sanding. I didn’t spend too much time working the wood down. I simply wanted to shed off some of the top coat. With the smoky look (as I call it) I wanted variations in hues so I wasn’t focused on making sure everything was sanded evenly.
Disclosure: Some of the links provided are affiliate links. By purchasing through these links you are supporting this family blog and the work we do and there is no extra cost to you. If you would like to read our full disclosure, click HERE.
2. Stain
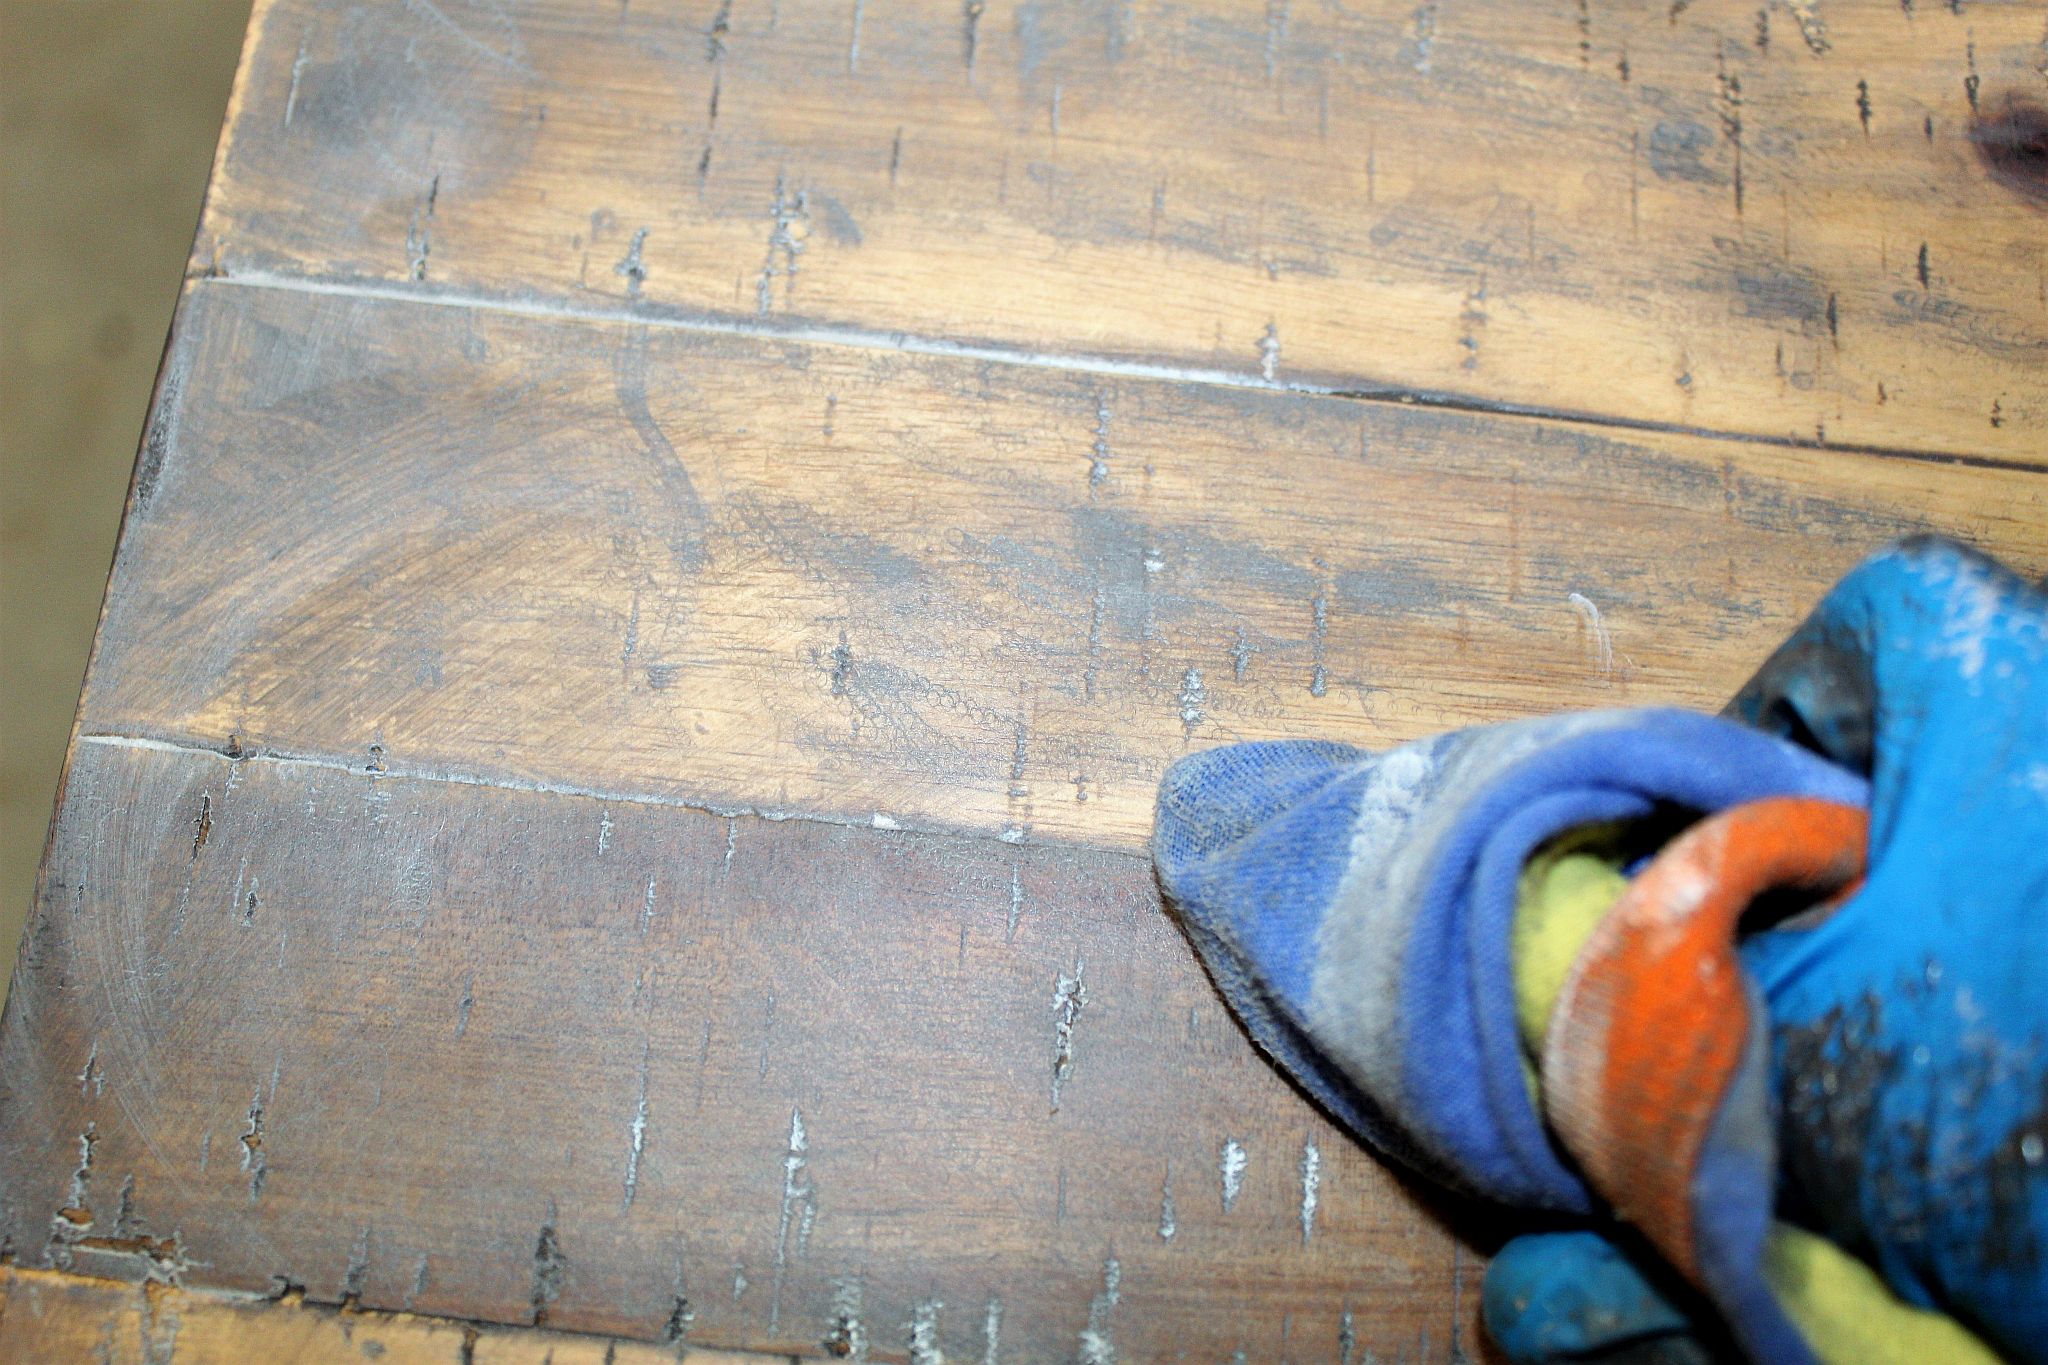
After sanding was done, I cleaned the tables really well. Then I applied my stain. You can use an old rag or paper towels for this step. The stain I chose for this look is Briarsmoke by Valspar. Of all the stains I’ve used, this is my favorite. It has a rich brownish-gray color which I love.
The technique I used (demonstrated in the video below) was simply to apply and wipe off. Some tips for this look are: •wipe stain off quickly •don’t apply a lot of stain •don’t over sand so your surface does not absorb too much stain •leave some of the wood undertones exposed •be intentionally blotchy with your application •work in small sections at a time
Here is how one table looked after staining.
3. Cerusing Wax
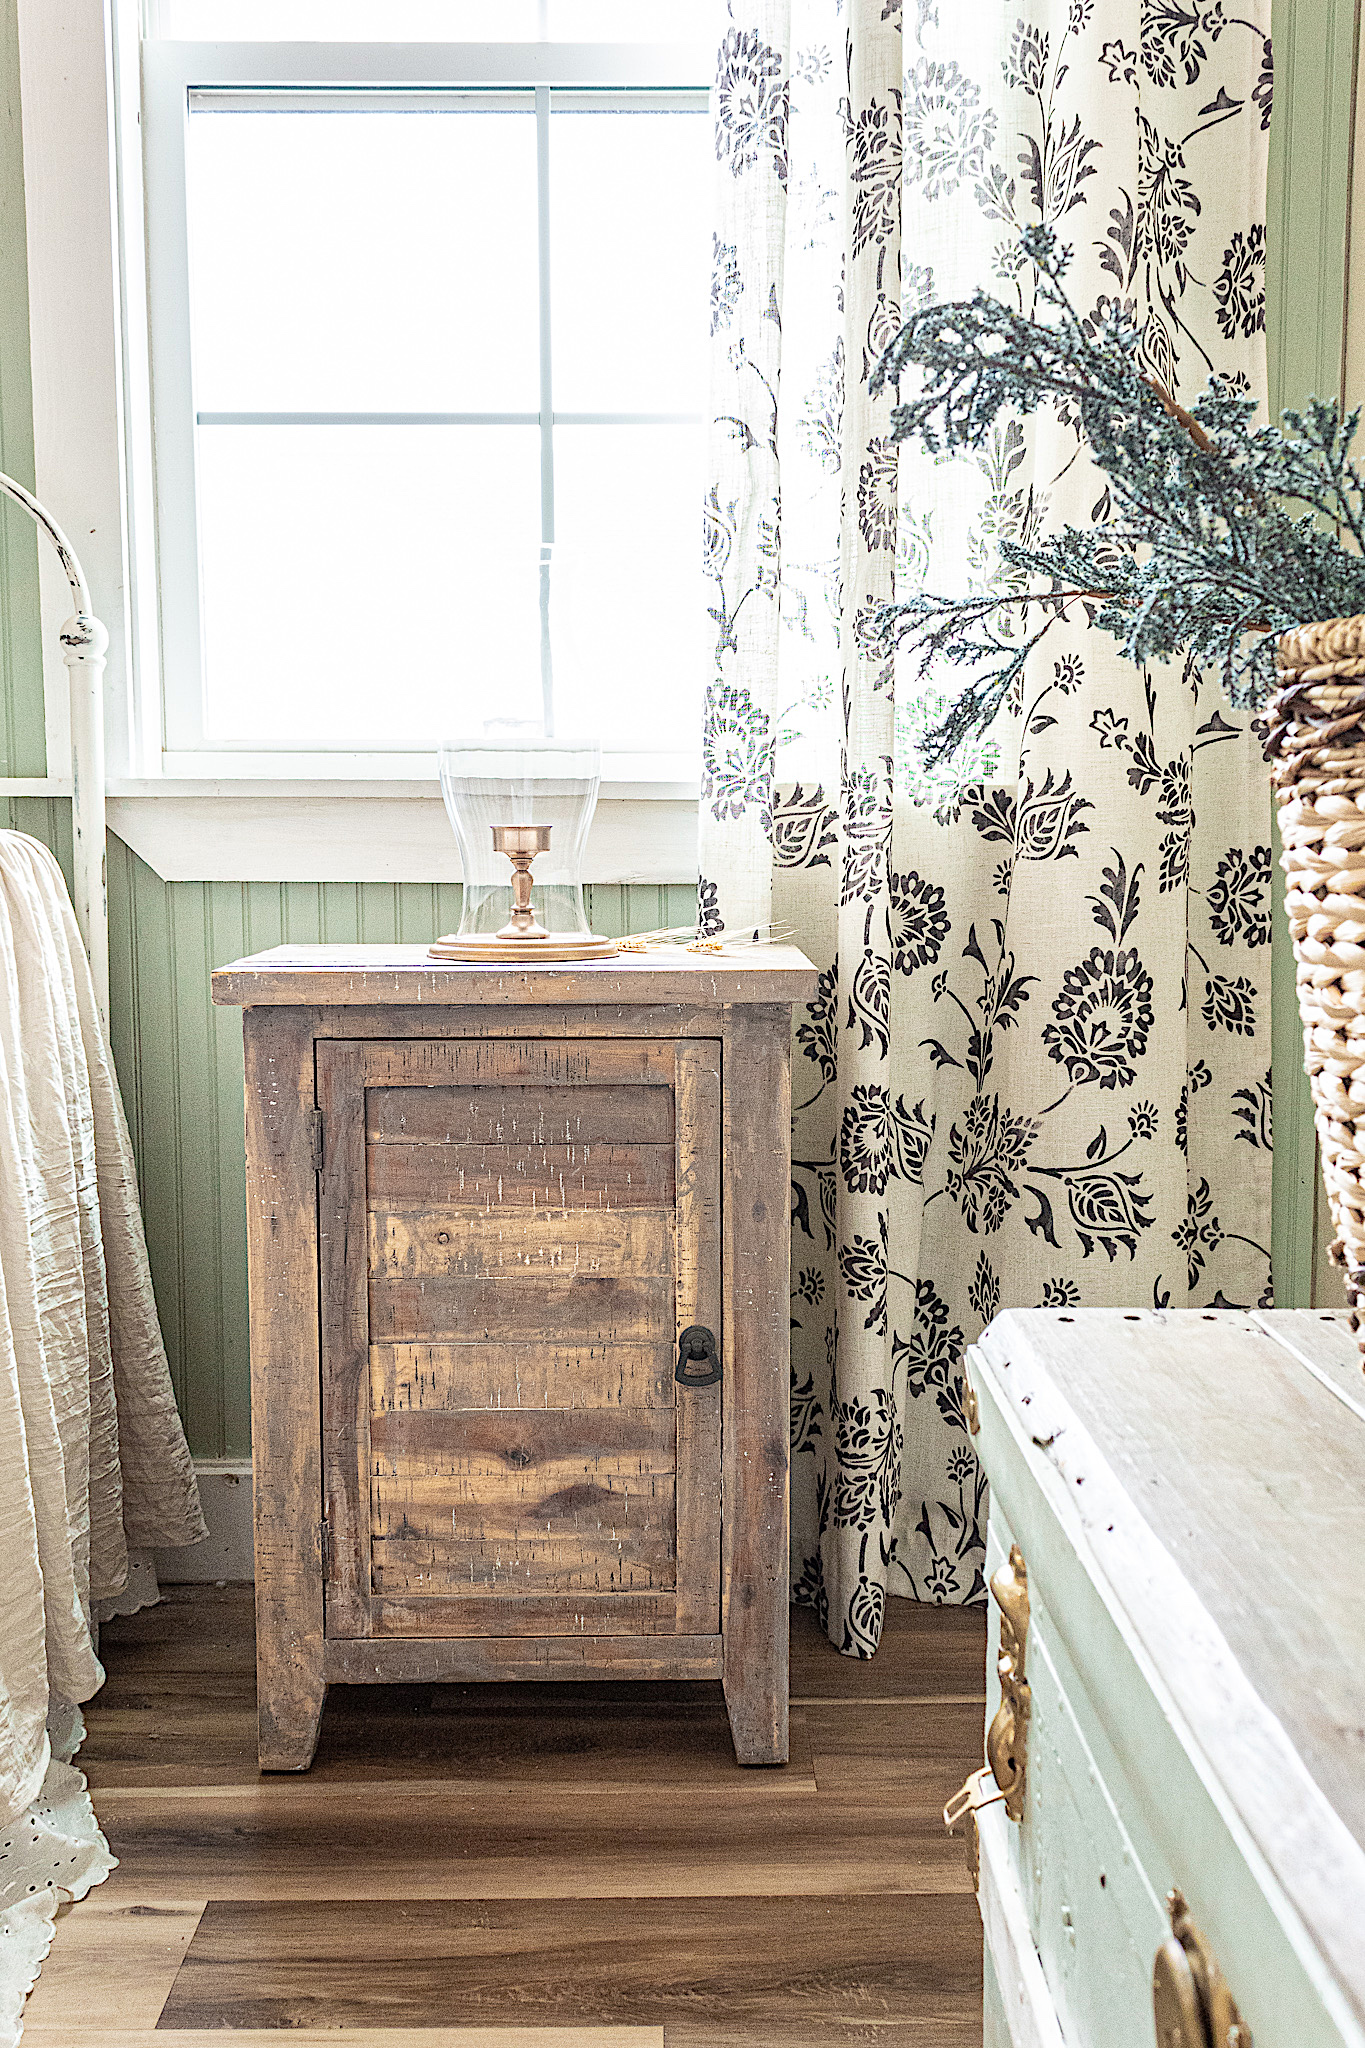
Since cerusing wax dries a hazy white it is the perfect finish for a slightly washed out, aged look. I like how it added a layer of “cloudiness” as I didn’t want anything stark. Working in sections, I rubbed on one coat using paper towels (a little of this wax goes a long way). Shop towels, an old rag or a t-shirt work great too.
4. Finish
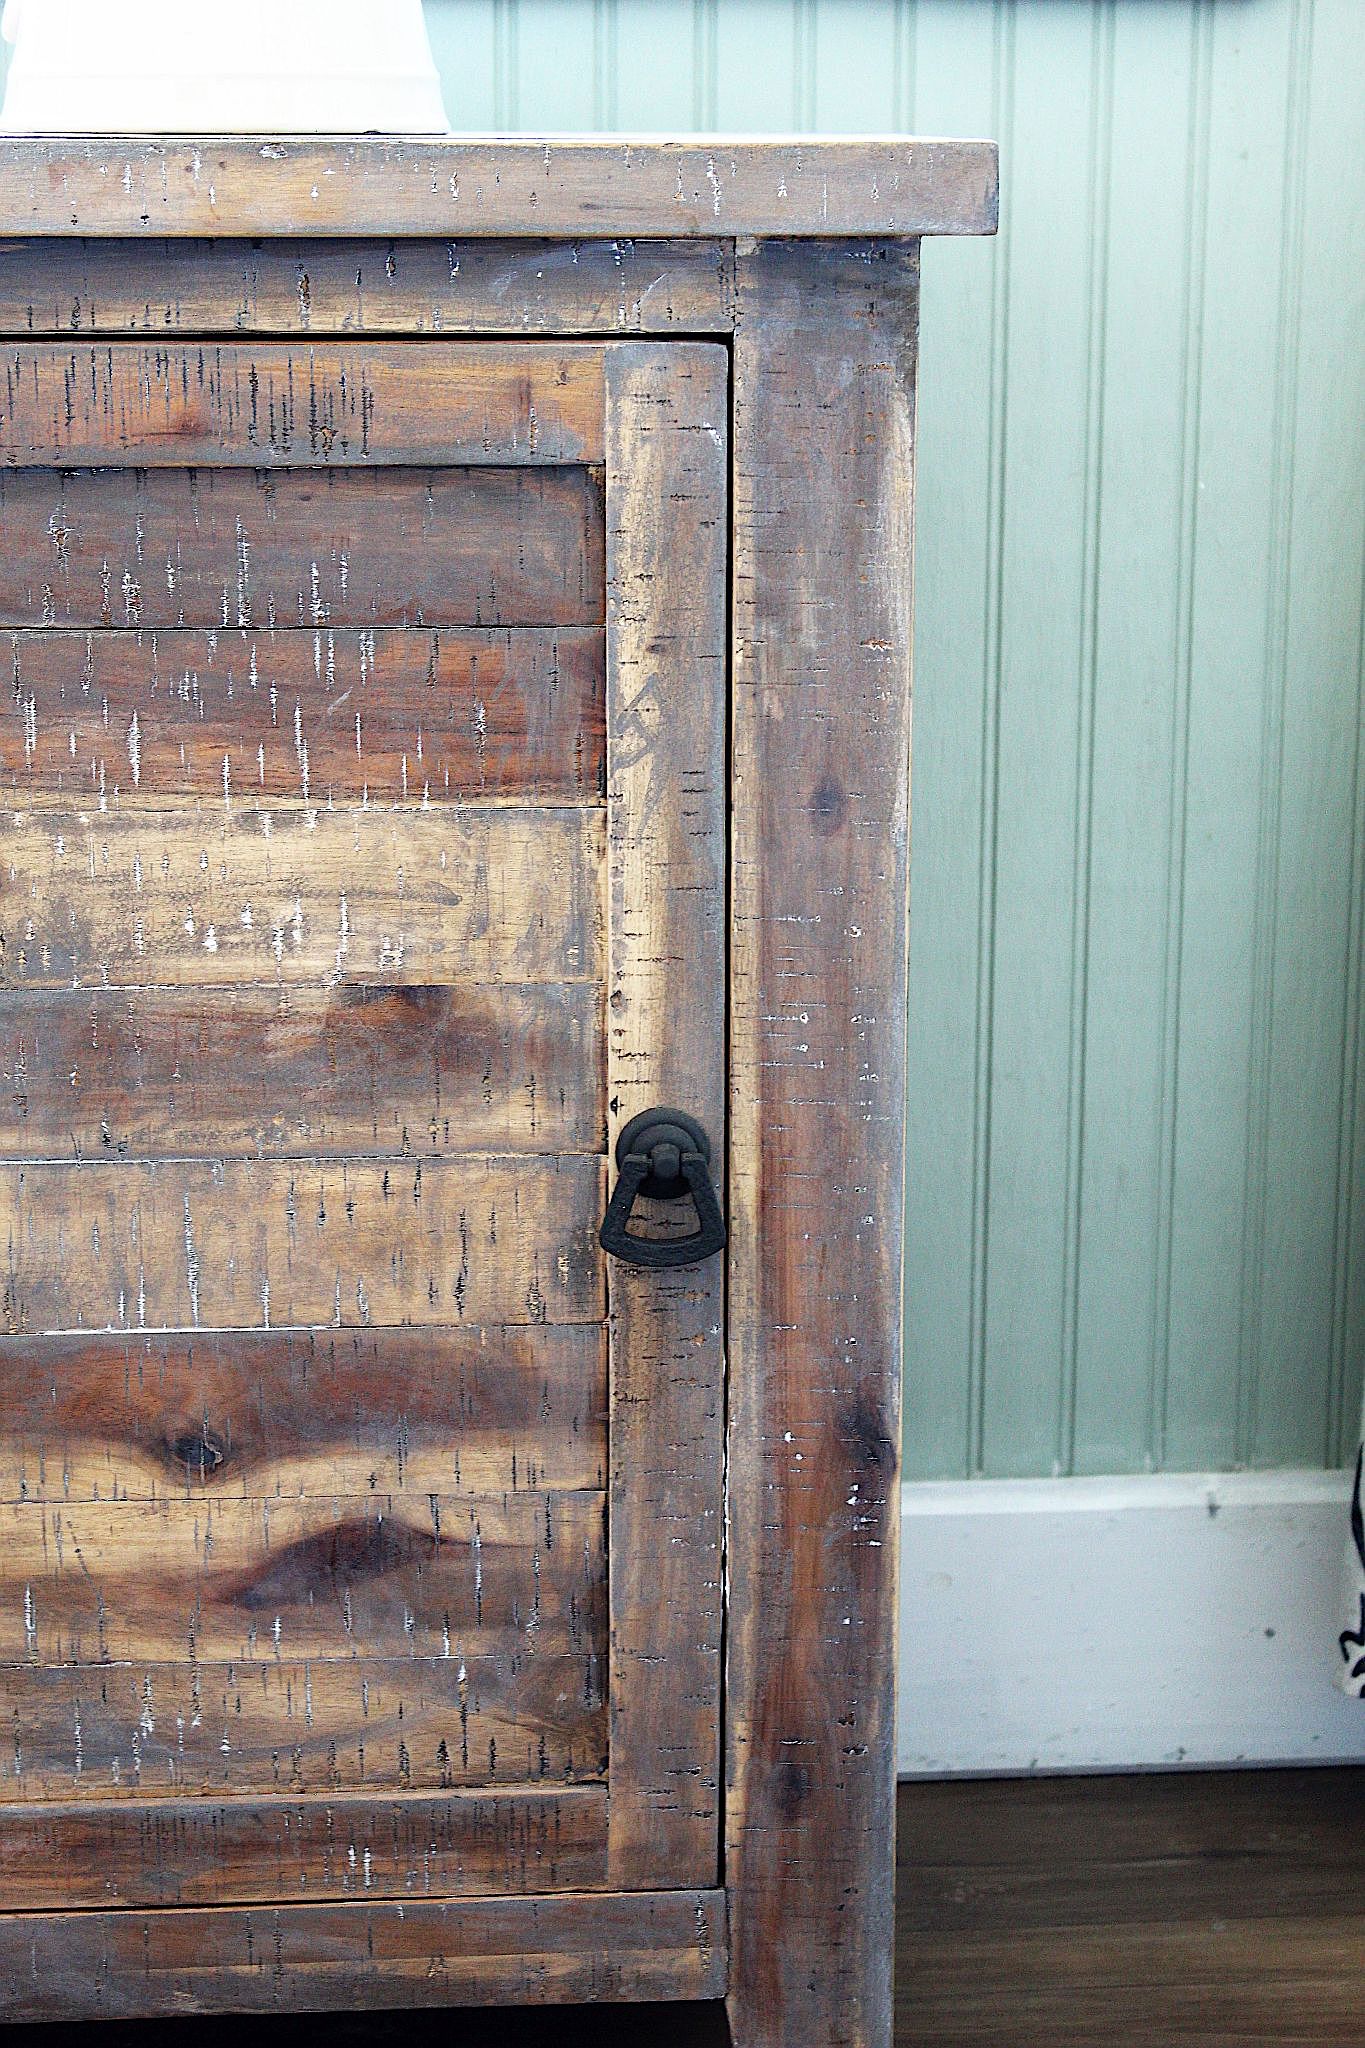
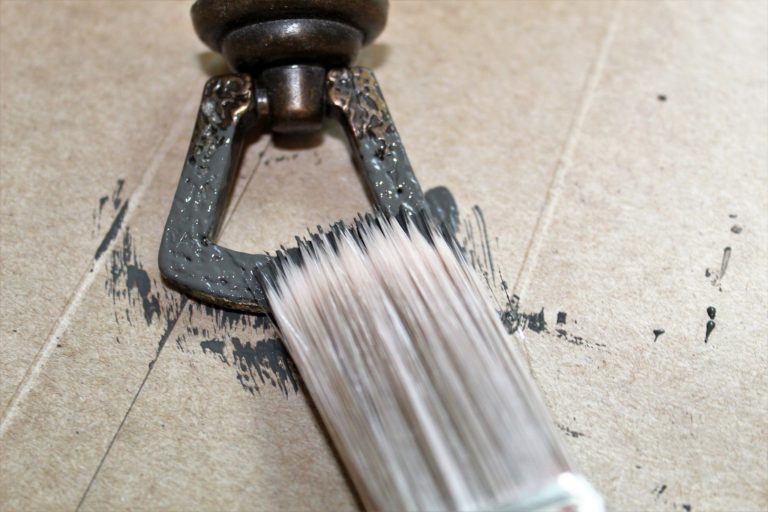
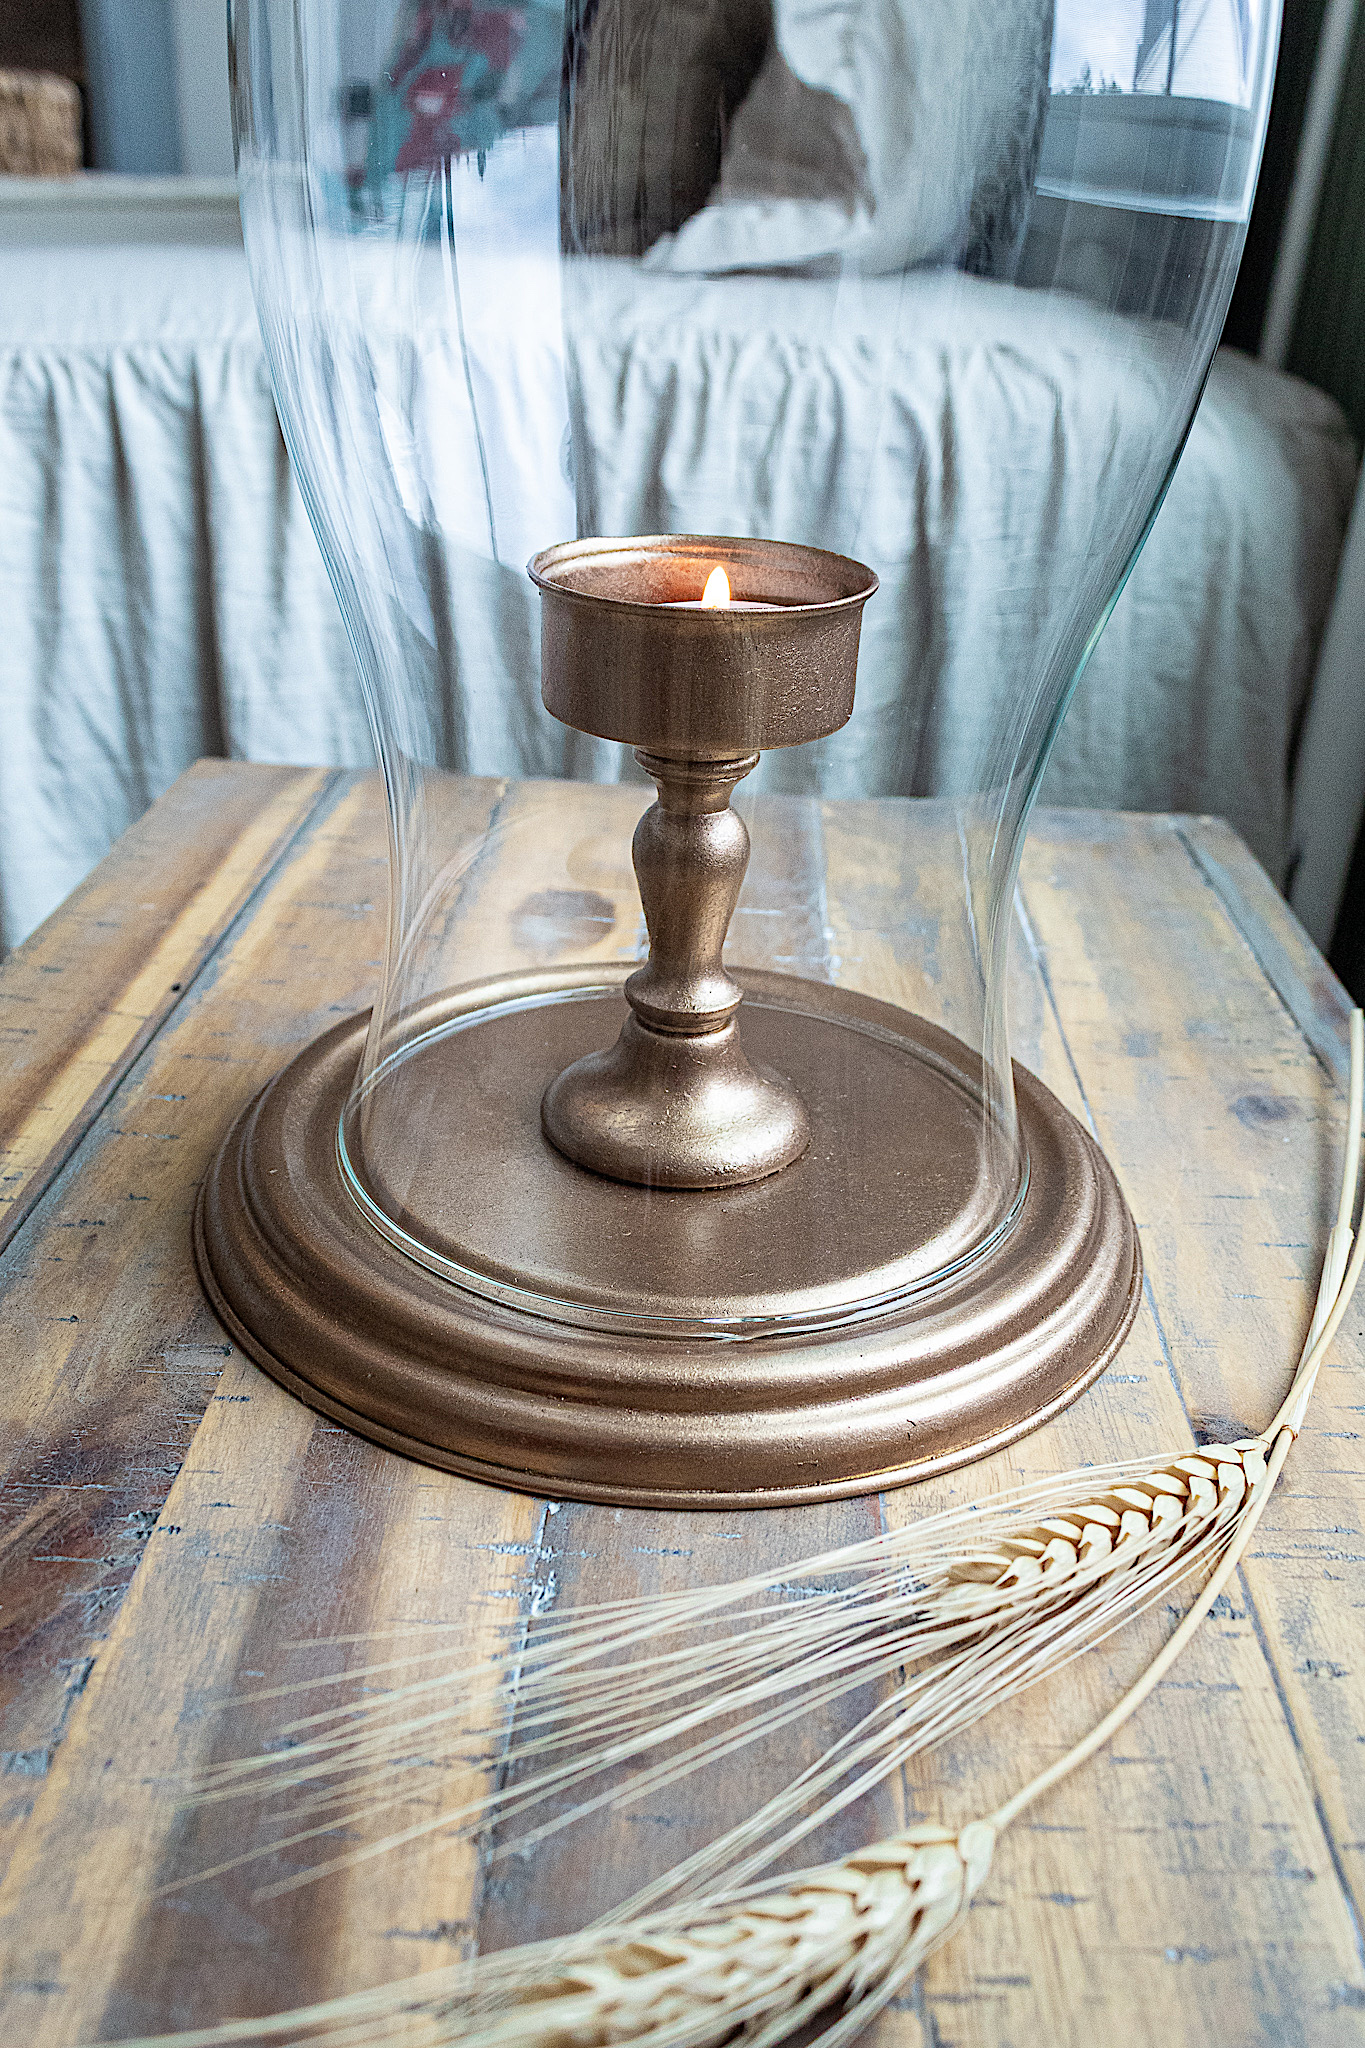
The cerusing wax acts as a sealant as well. No need to add clear coat unless you want extra protection. For a final detail I gave the hardware a couple coats of Valspar’s Carbonized. I like how the dark matte color contrasts against the rustic backdrop of the tables.
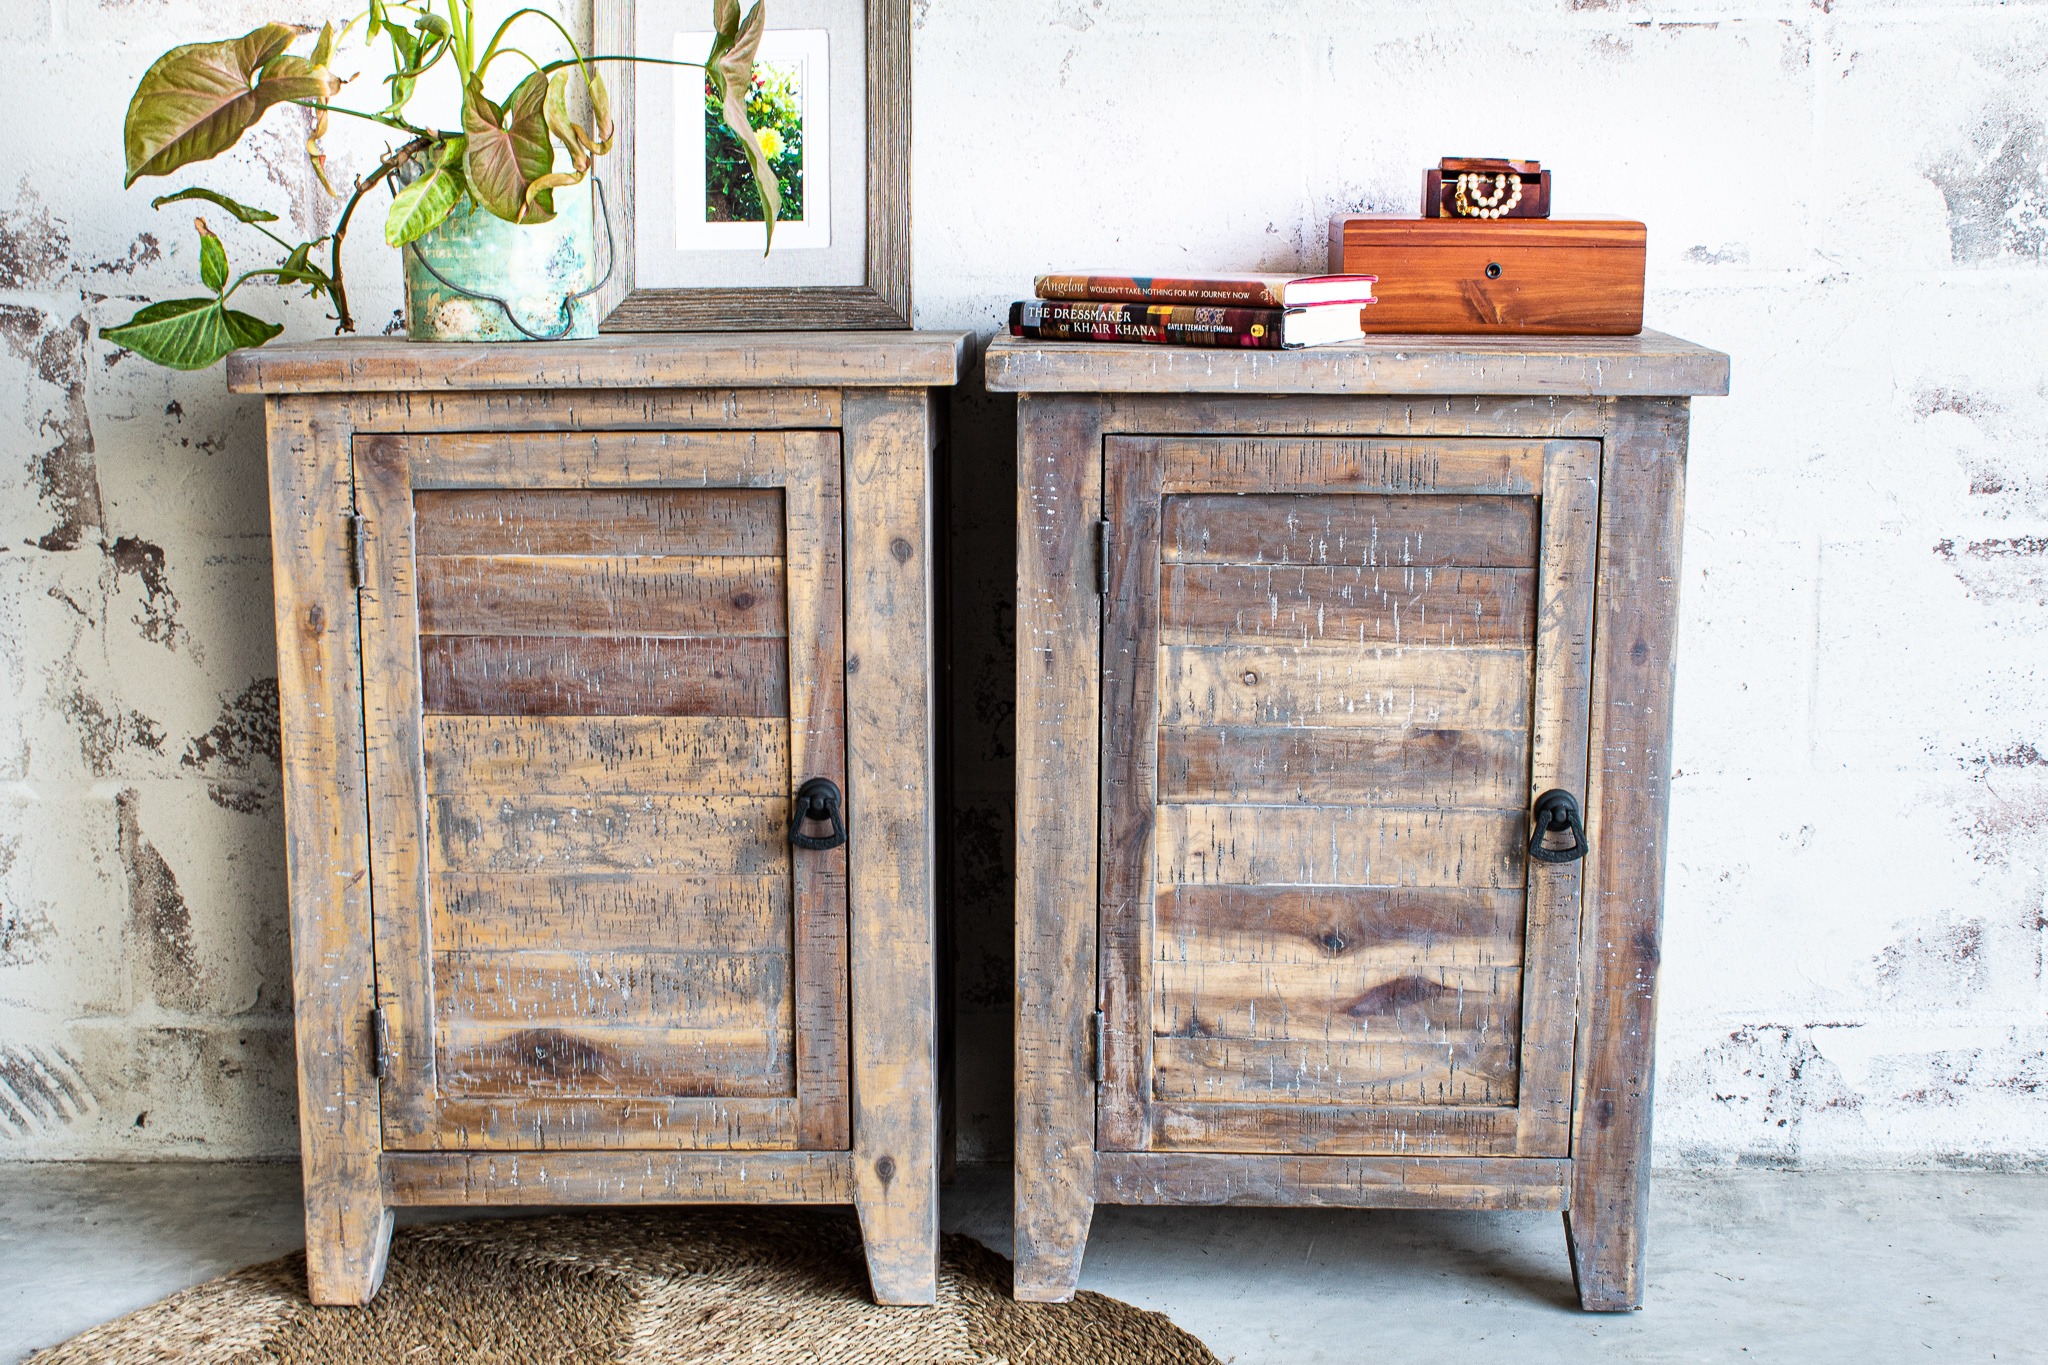
And that’s how easy this renovation is—a project you can complete in under two hours which will add instant character to your wood pieces. This look reminds me of something out of Anne of Green Gables or Little House On The Prairie. I find the simplicity of this primitive look so alluring.
So what did you think of the rustic-smoky look? Let me know if there’s something in your home you’d think would wear this look well. I’d love to hear!
Update**
I wanted to share how the finish on these night stands has held up over the years. I have to say the night stands still look ahhmazing! You can see how they look in our new home in Georgia. The rustic stain look has never faded. Last year I did apply an additional coat of the cerusing wax to my night stand only. This was the table that saw the most beverage traffic and spills. Renewing the layer of wax was an instant pick me up and new layer of protection.
You’re very welcome! Hard to believe, but out of all the renovations I’ve done, this is by far the one I love the most. Every time I see my nightstands, they make me happy 🙂 I hope you enjoy your project!


I have to try this – thanks!
You’re very welcome! Hard to believe, but out of all the renovations I’ve done, this is by far the one I love the most. Every time I see my nightstands, they make me happy 🙂 I hope you enjoy your project!
Pingback: Spring Fling Bedroom- How bedding alone can TRANSFORM your look – HOME DECOR & DIY