Hello sweeties! Valentine’s Day is fast approaching…Husbands take note. Give the gift that keeps on giving, a sandbox where your kids can play for hours, getting them out of your wife’s hair! Happy wife…
MATERIALS
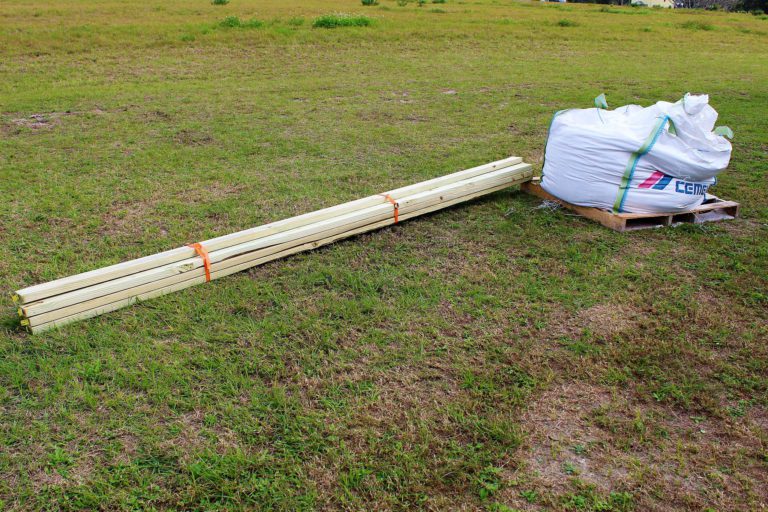
· 7 twelve foot 2′ x 4’s pressure treated or 12 six feet 2′ x4’s pressure treated · Circular saw · Electric drill · 3 inch wood screws · Leveler · Electric sander or sandpaper · Stapler · Measuring tape · Safety glasses · Weed barrier · 1 yd sand · Water repellent sealer
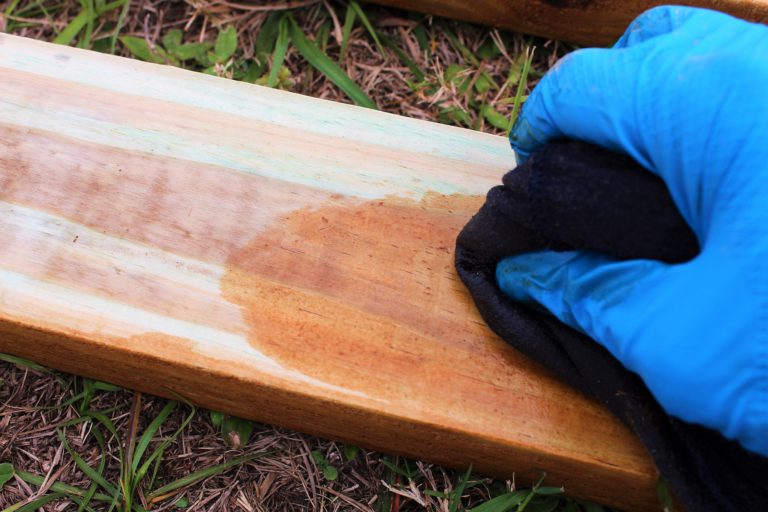
Before you start cutting and drilling the wood, it’s a good idea to put some type of water repellent seal on it. Even though it is pressure treated wood you can help extend its life by adding a coat of sealant. I really like Ready Seal’s stain and sealer having used it on our outdoor wood stairs for a couple of years now. It has held up beautifully to Florida’s harsh heat and rain. To apply, just take an old rag and wipe it on.
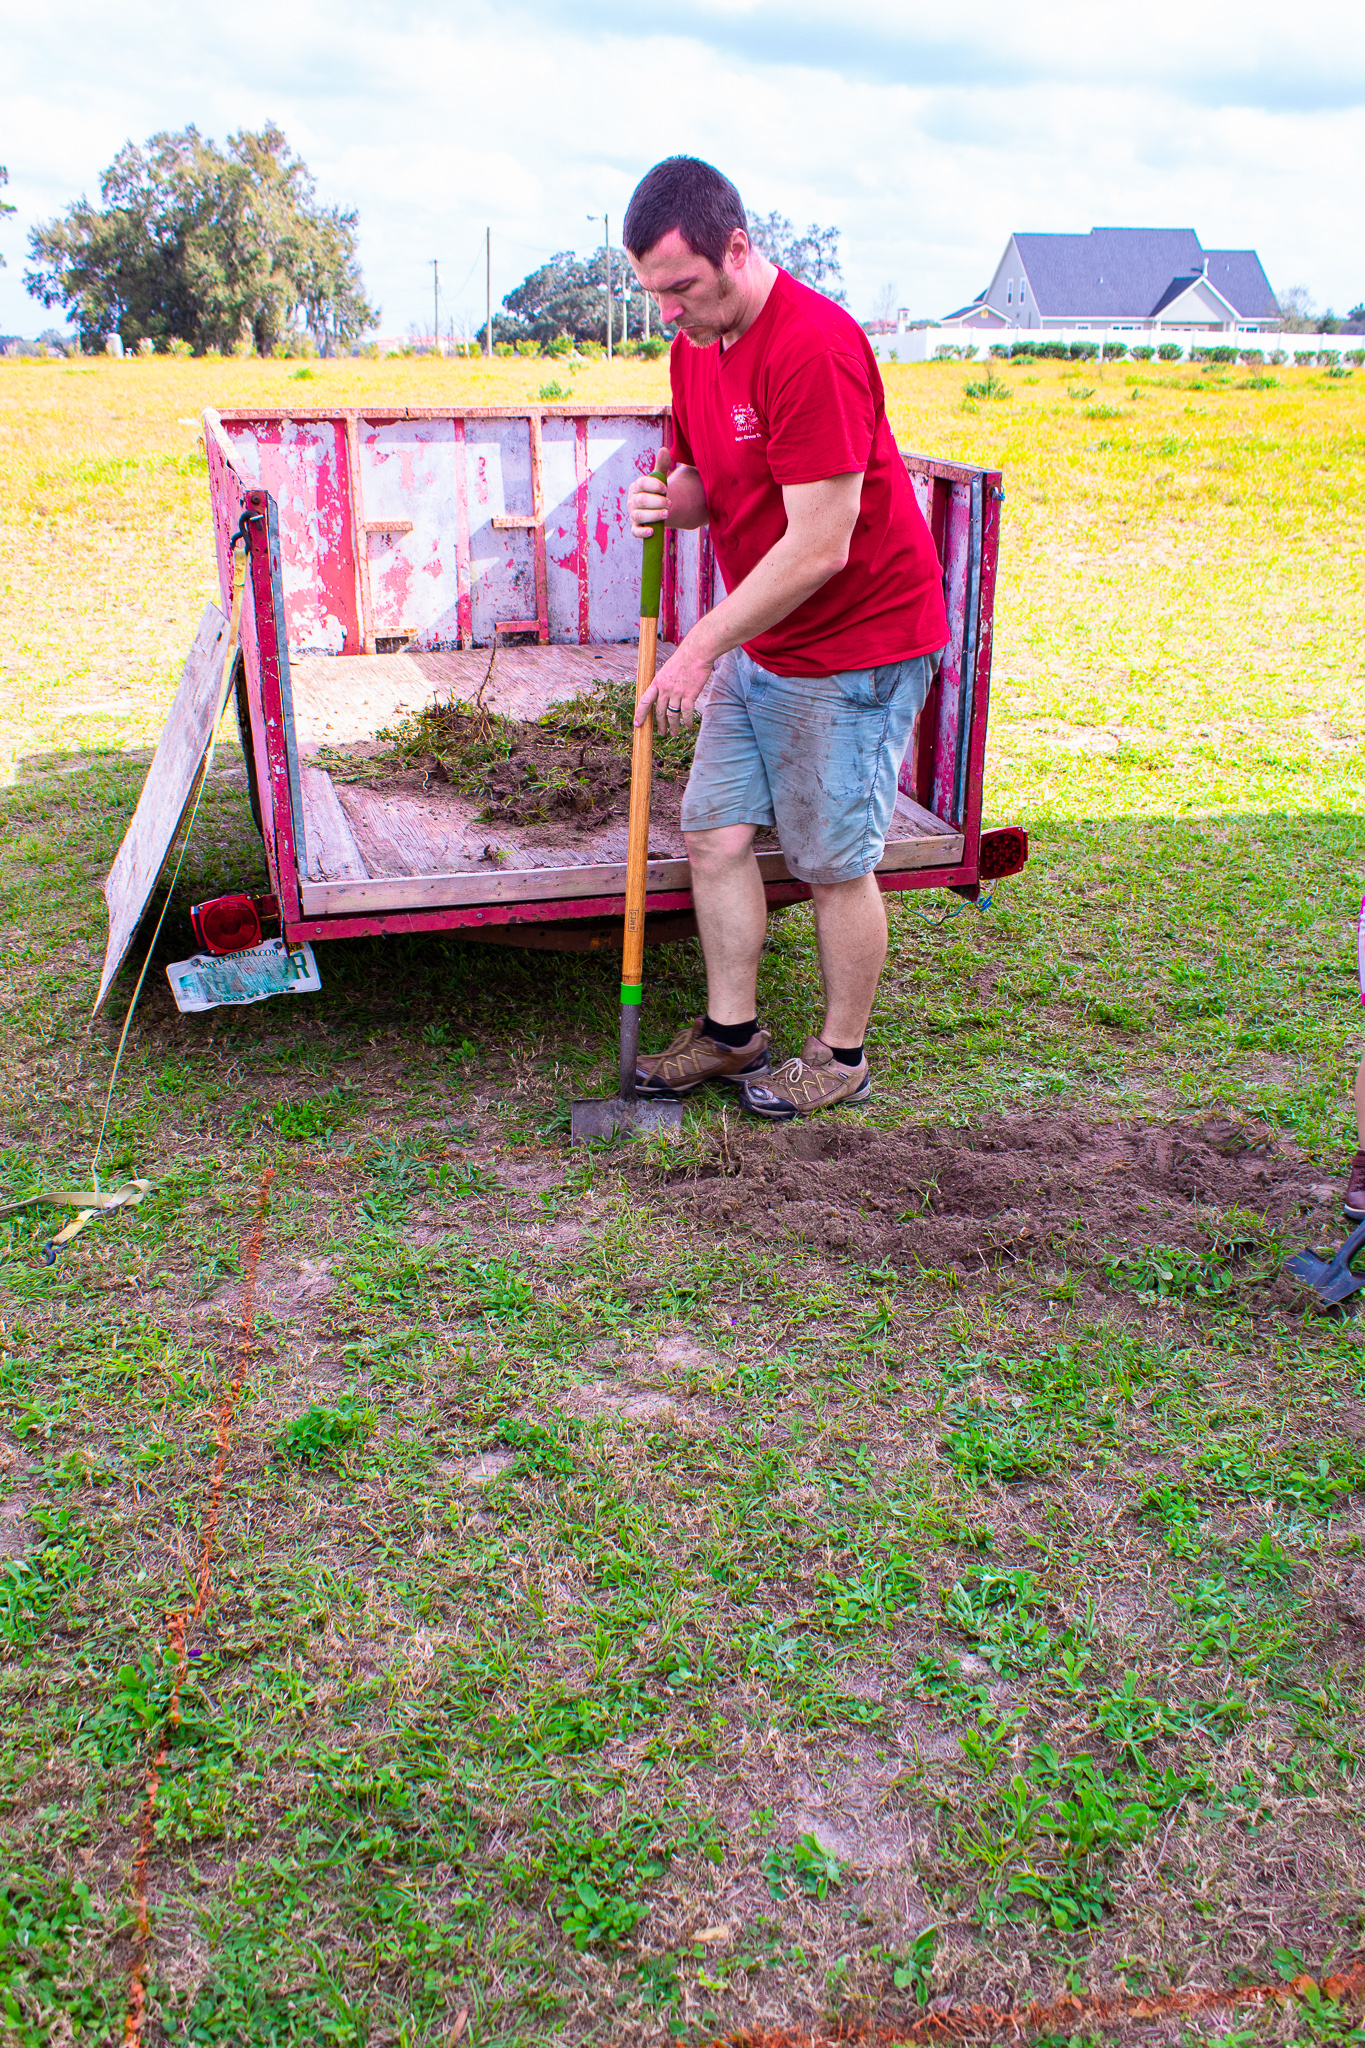
Next we prepared the ground by digging out the area where the sandbox will sit. We spray painted the area on the grass to use as a guide for digging. We dug out the top grass level. You don’t have to go too low into the ground but removing the grass is important to avoid weeds and grass coming up through your sand.
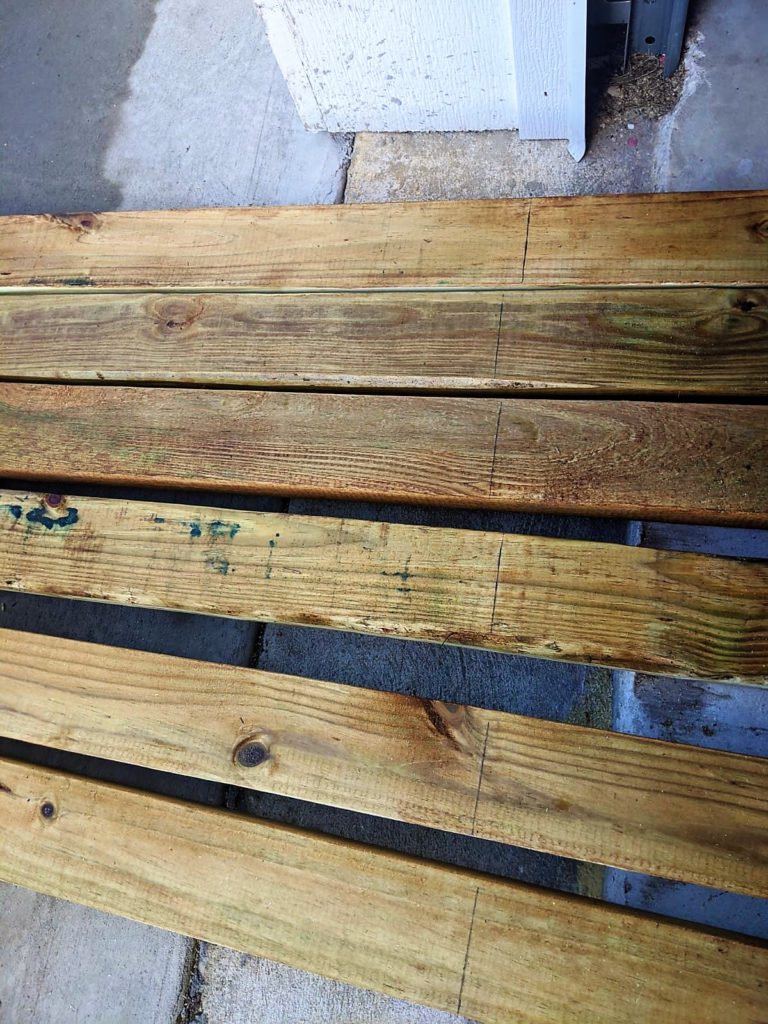
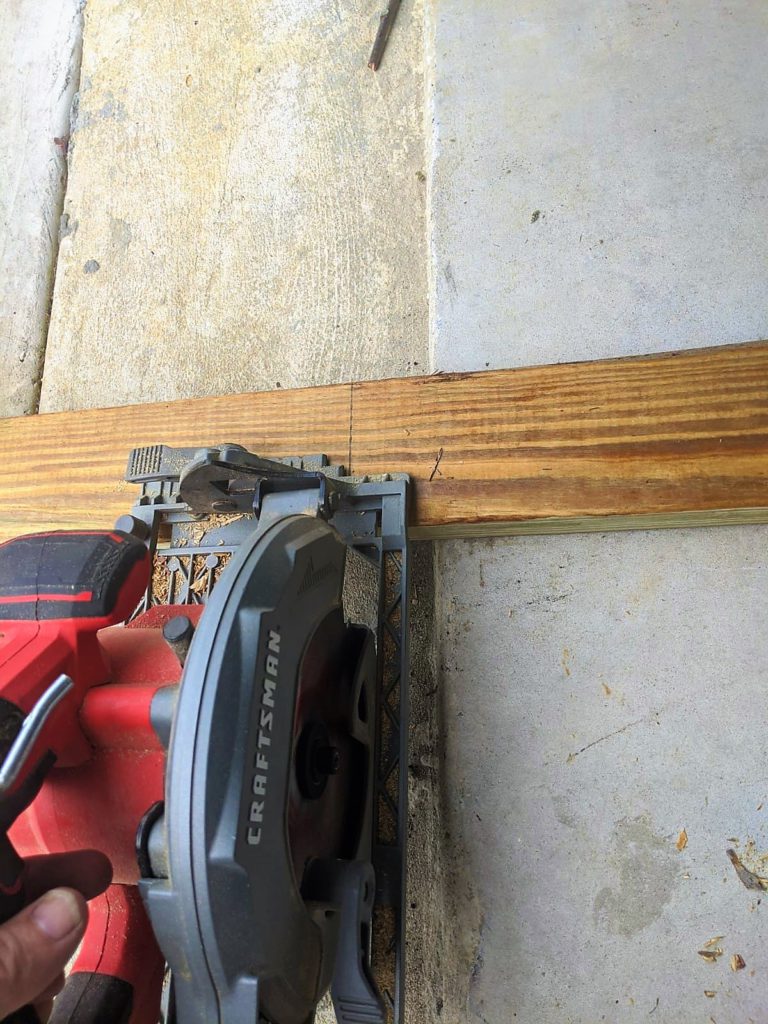
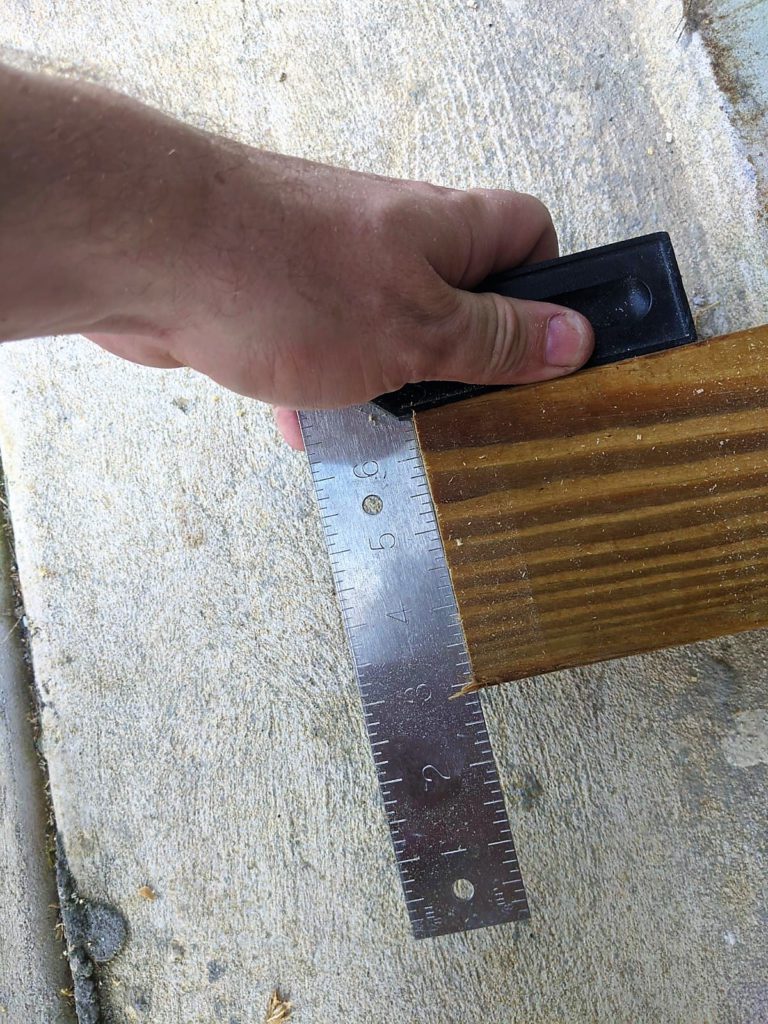
This sandbox is built by stacking three 6 foot pieces on all four sides, creating a square. First cut 12 pieces each measuring 6 feet. Ronny used a circular saw.
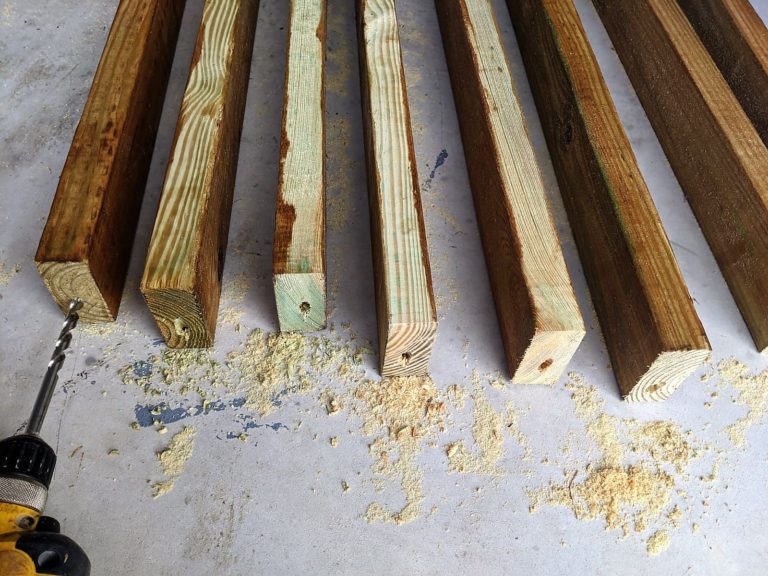
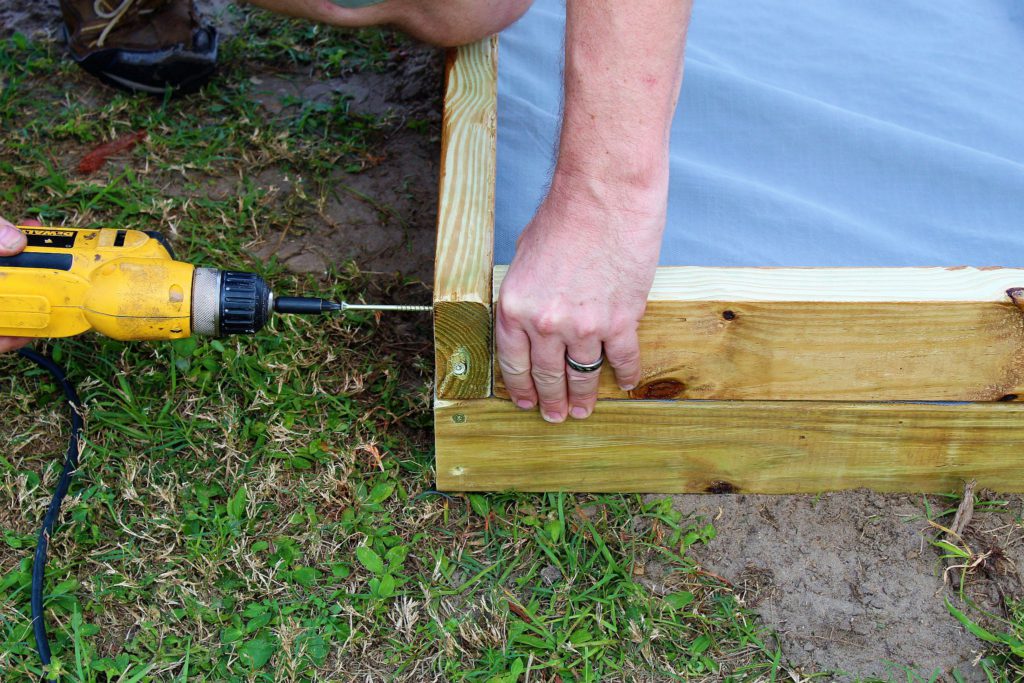
Using a drill, make only one hole on each piece. The hole is to be drilled at one end of the 4″ side of the board. Remember only the bottom 4 pieces get 1 hole. The middle and top rows will get two holes on each piece. This picture shows how you begin assembling the bottom row and the position of your hole. Repeat this process for all 4 pieces of the bottom row.
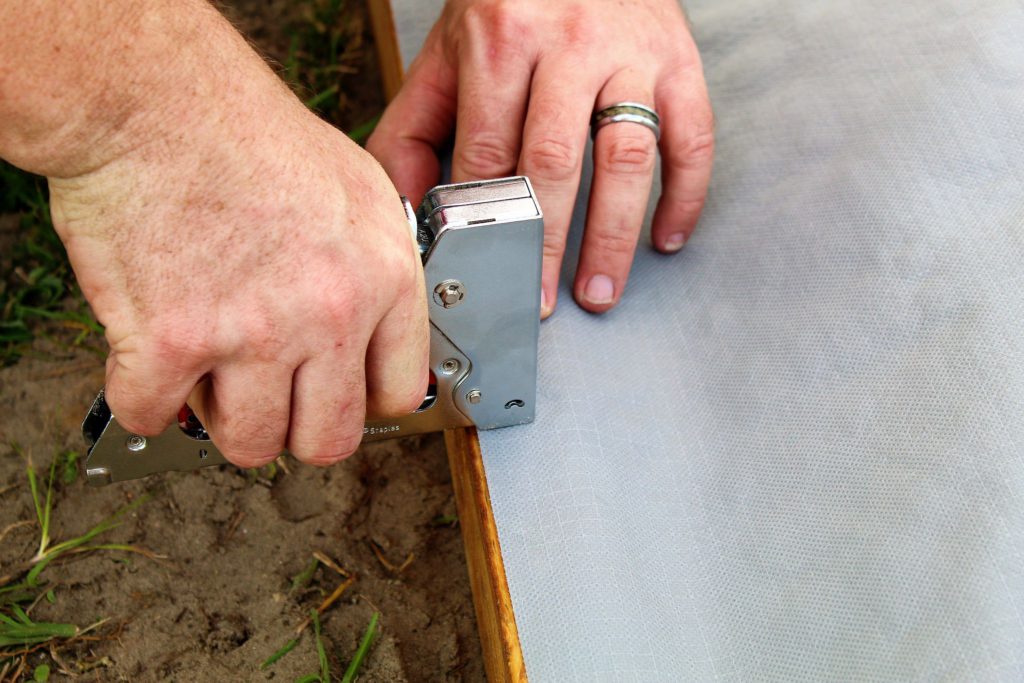
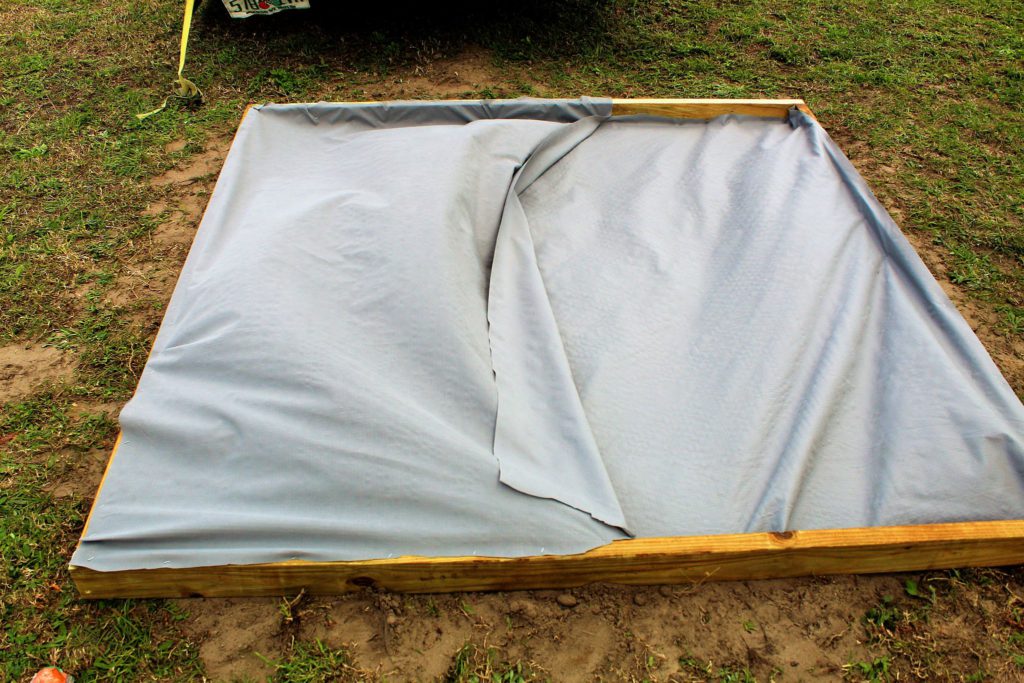
Once Ronny had one layer of the sandbox built, we cut weed barrier and stapled it to the wood. I’ve used this weed barrier in our garden beds and it is really good at keeping weeds and grass out.
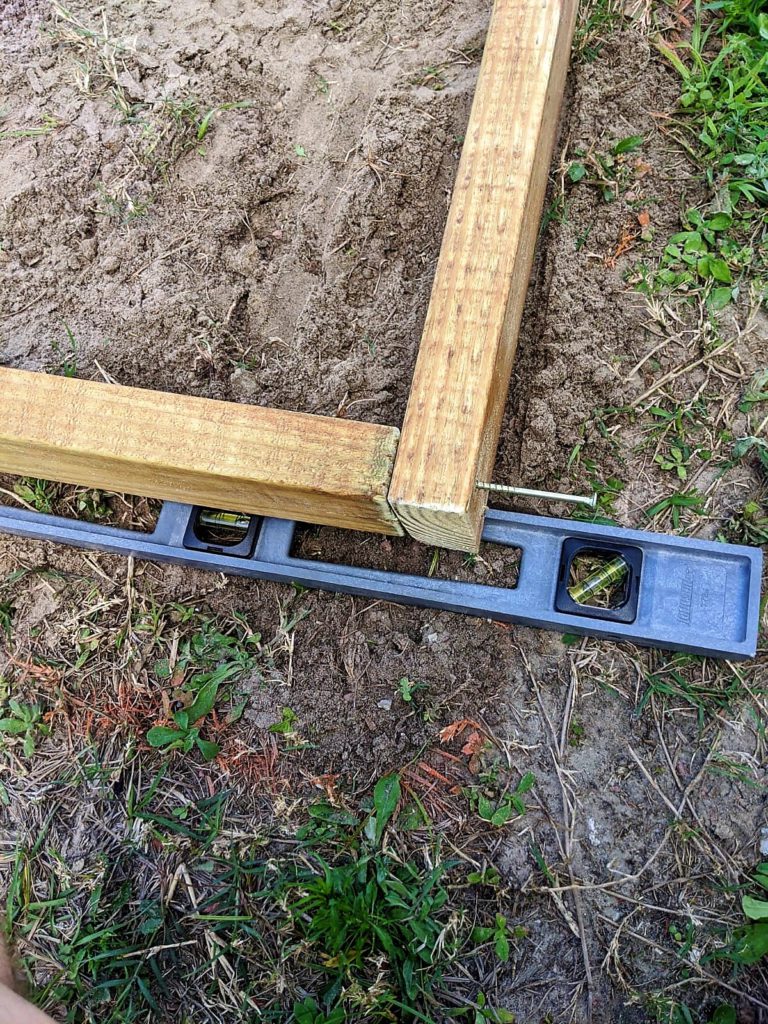
For the middle and top rows each wood piece will get a hole on the end and a second hole on the outside edge of that same end. Note, for the middle and top rows the holes on the ends are to be made diagonally. You can make a diagonal hole with your drill by drilling in at an angle or you can use a kreg jig. Once your bottom row is assembled, continue with the next row. Ronny used 3″ wood screws. The diagonal hole allows you to screw one row onto another.
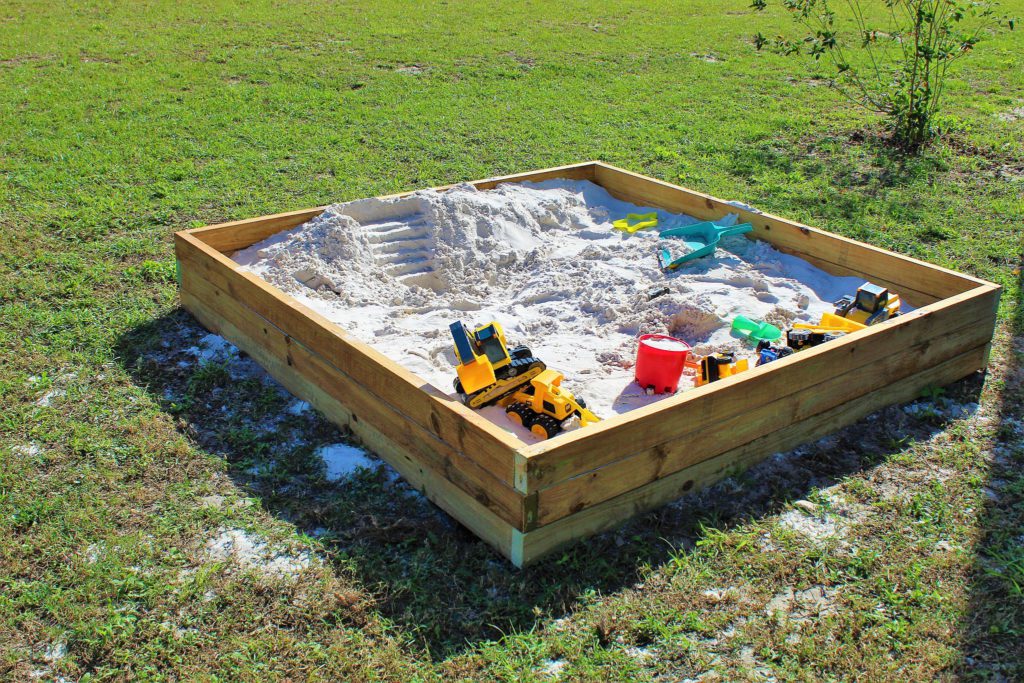
Connect all your pieces for the middle and top rows. Add in your sand and that’s it folks! Your family can now enjoy the simple pleasures of a backyard sandbox. What do you think of our weekend project sandbox?