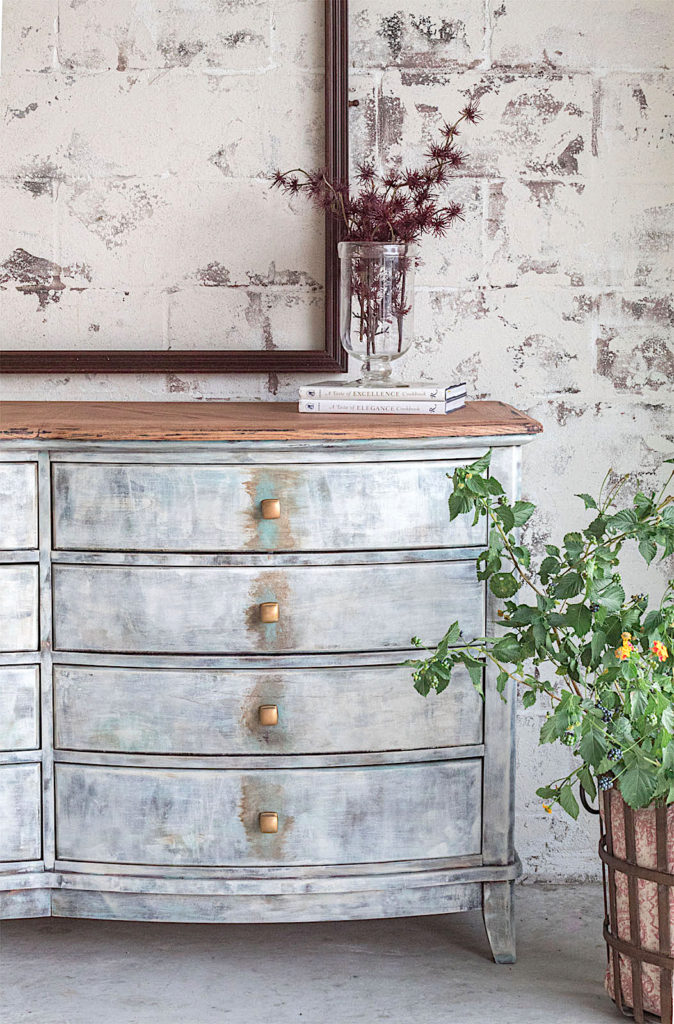
Hello friends! Today I have some patina goodness for you. Let’s face it, patina decor is on trend and I can see why. That aged oxidated look is hard to resist. I am drawn to pieces with hints or subtle markings of patina aesthetic. It doesn’t take much to evoke that rustic, warm vintage feel in your furniture pieces.
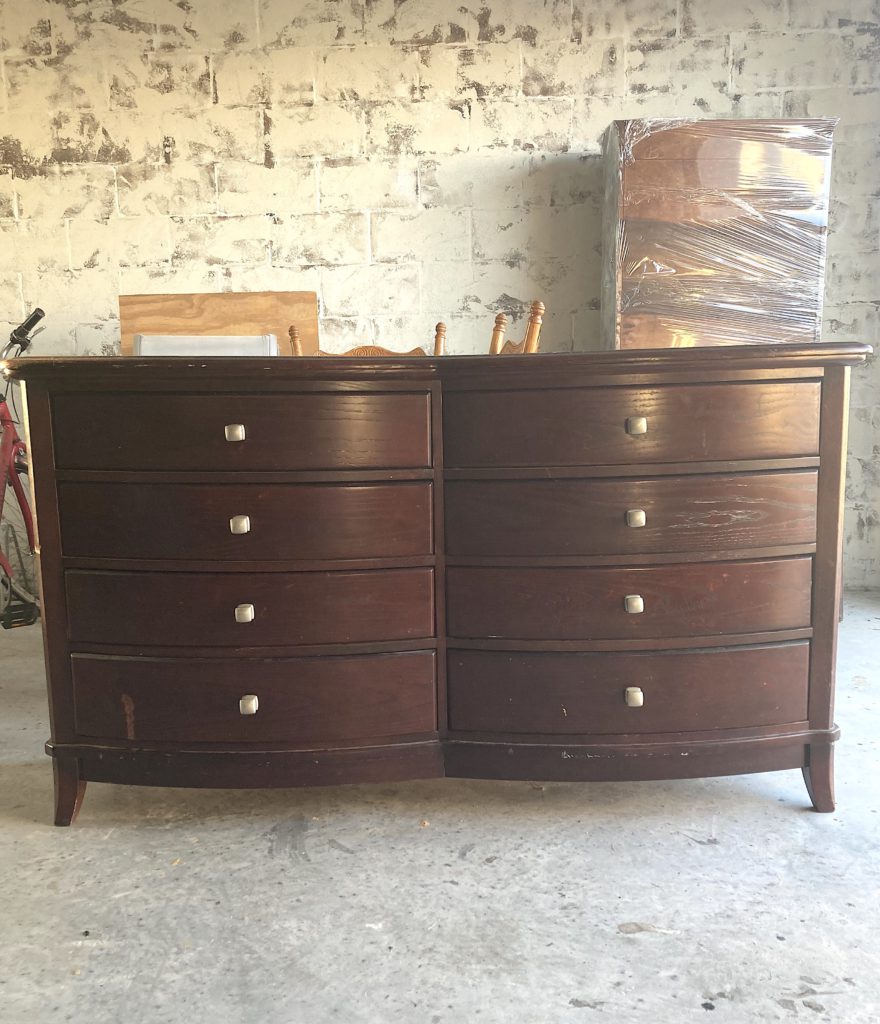
This dresser was structurally in good shape, but cosmetically it needed some help. Lots of nicks, scratches and chipping going on. It was time for a snazzy new look.
So now let’s get started on creating a dreamy distressed, patina finish.
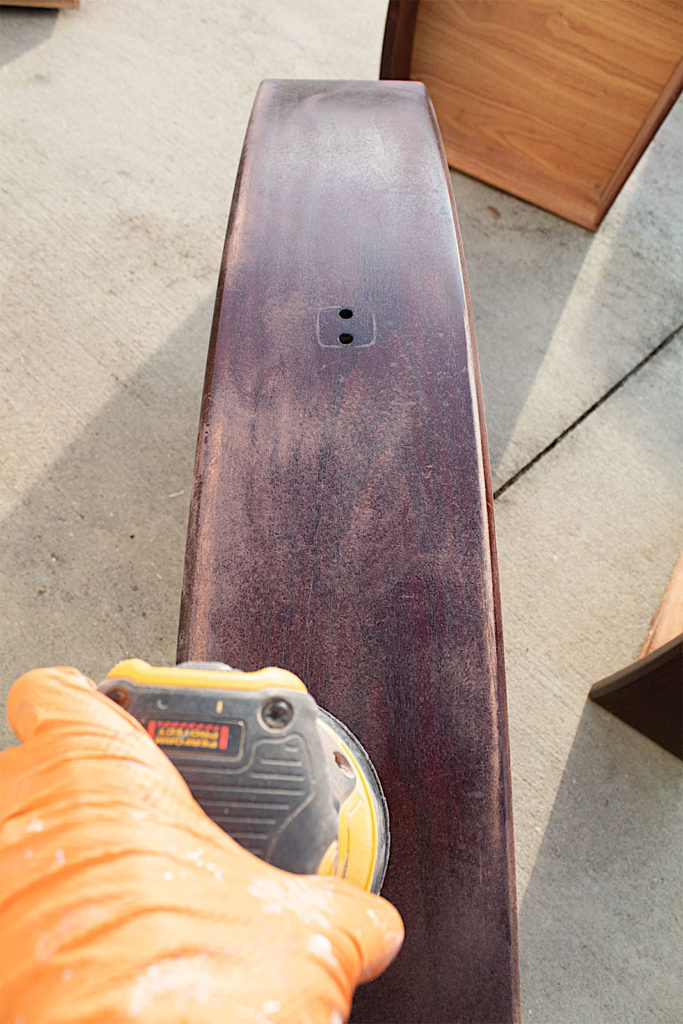
To prep this piece for painting I started by giving everything but the top a light sanding, just enough to give the paint a little grit. I sanded the dresser top with 80 grit sandpaper to expose all the raw wood and then I came back over it with a 400 grit paper to give the wood a soft and smooth finish.
Then I cleaned everything really well.
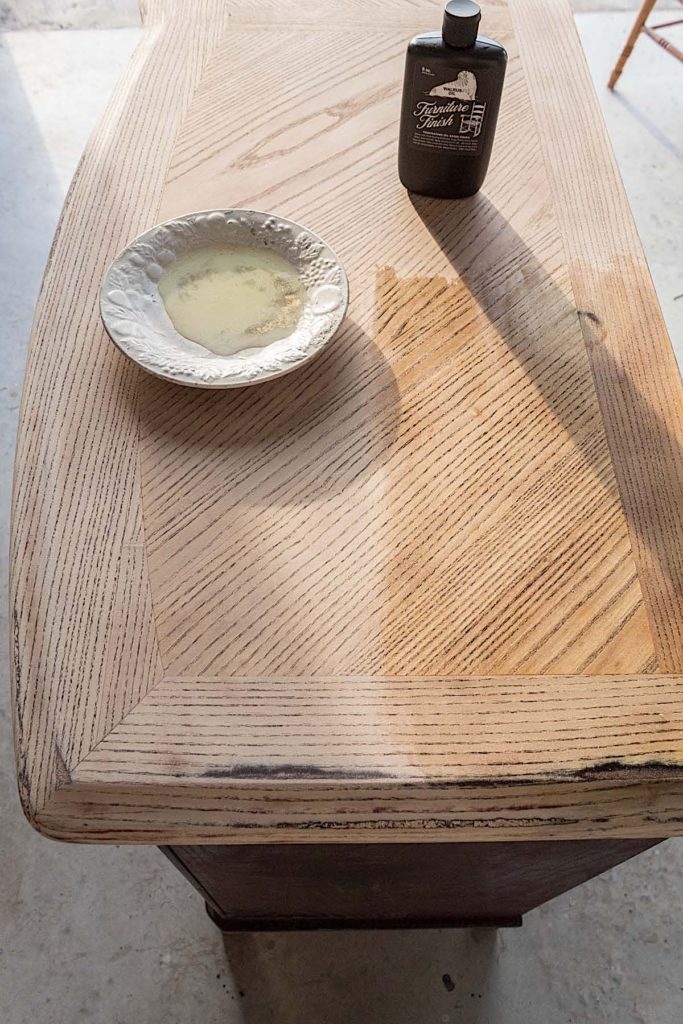
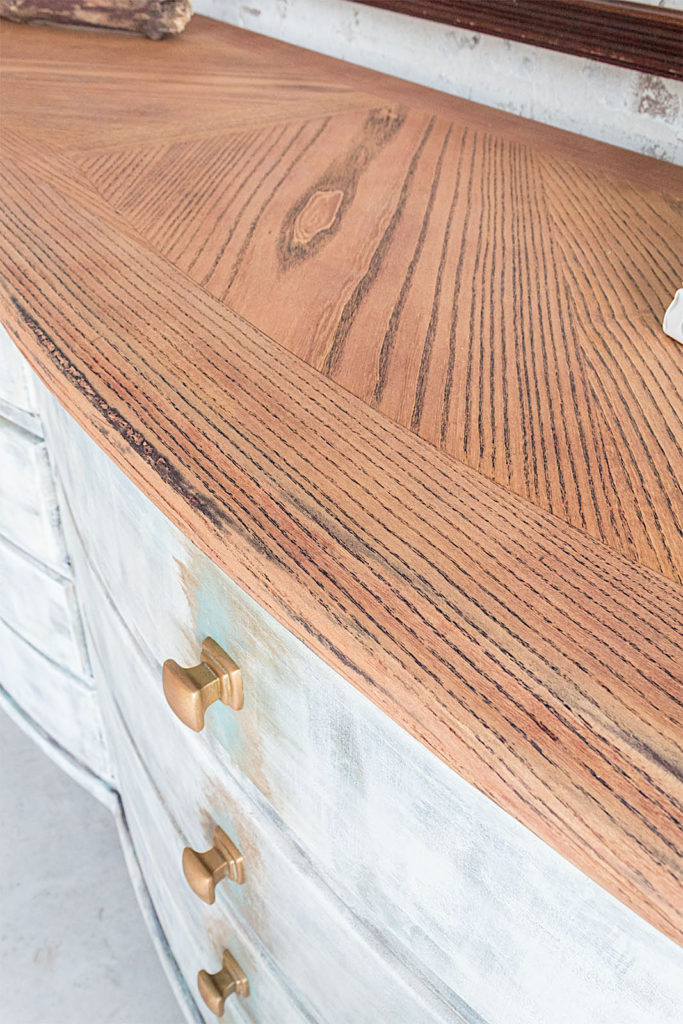
I was very curious to see what was under the old layers of stain and clear coat on the top. I was pleasantly surprised. The wood was rich in character and grain.
I decided to apply Walrus Oil to preserve the natural beauty of the wood. You can see in the picture below how this oil makes the grain pop.
Step #2. Paint/Apply Your 1st Color
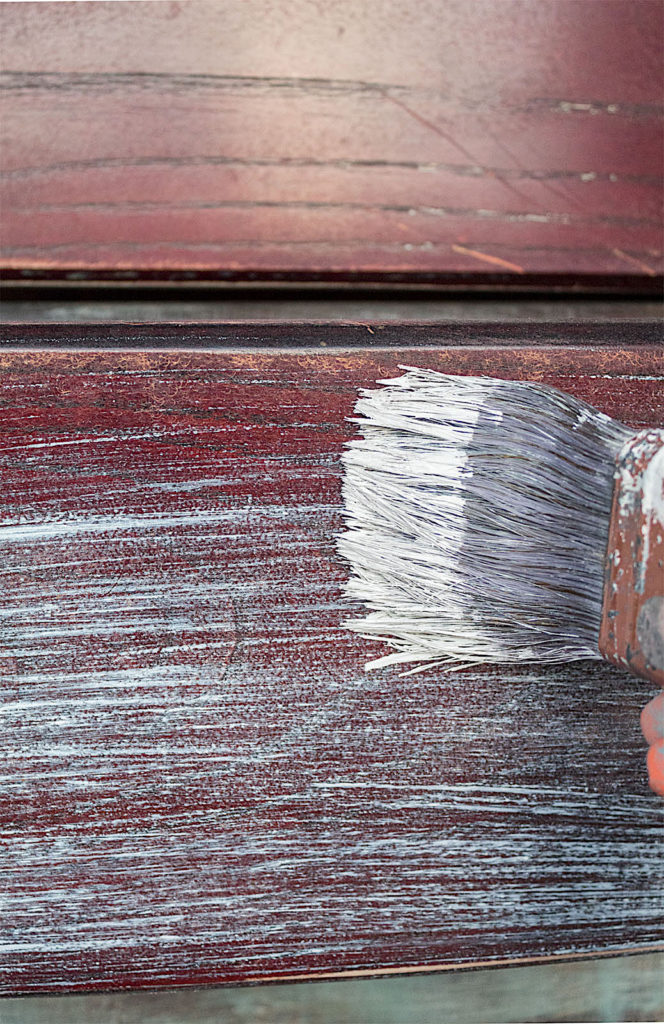
I begin by dry brushing my Weathered White paint onto the furniture. I keep coverage light and dry to create lots of texture. I also want some of the brown of the furniture exposed as it will serve as another color undertone.
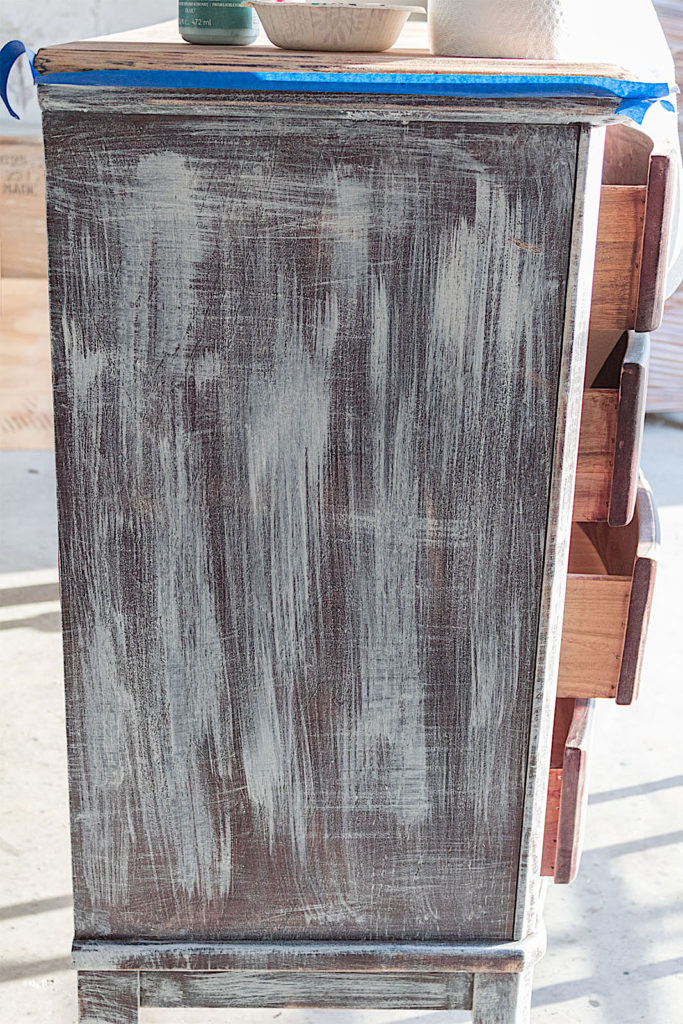
The picture above shows how the dresser looked after its first coat of paint. I know, kind of sloppy right? But not to worry, this is part of the plan. Let’s continue with the next color…
Step #2. Second Color
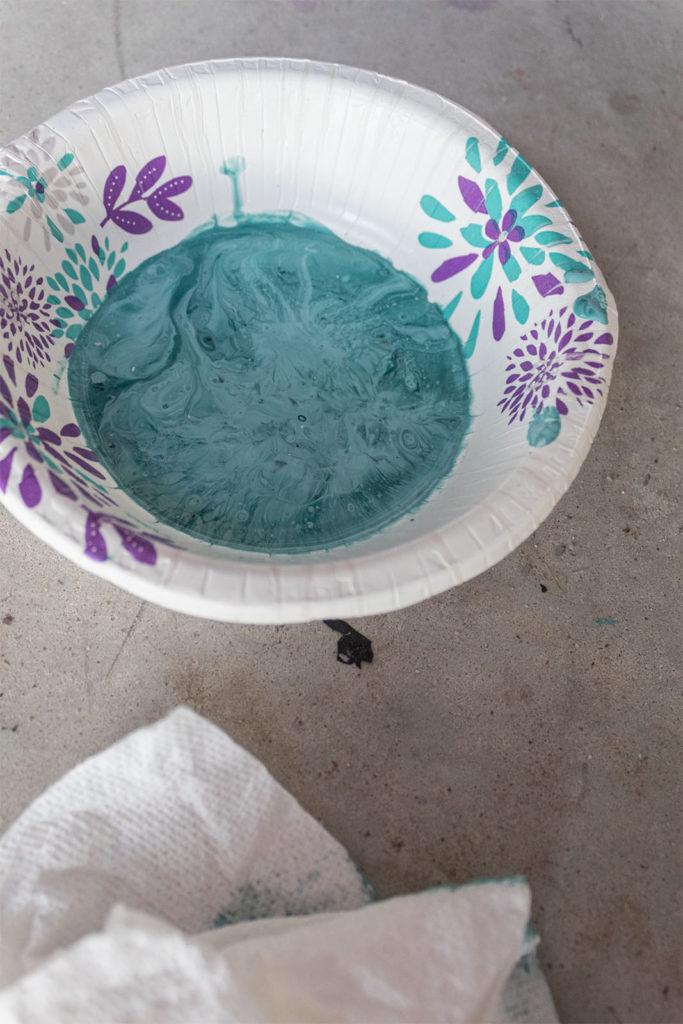
For the next color undertone, I am using Cascade, a light turquoise chalk paint by FolkArt. Since we’re going for a patina vibe, blues, deep greens, and turquoise are always good choices to throw in the mix.
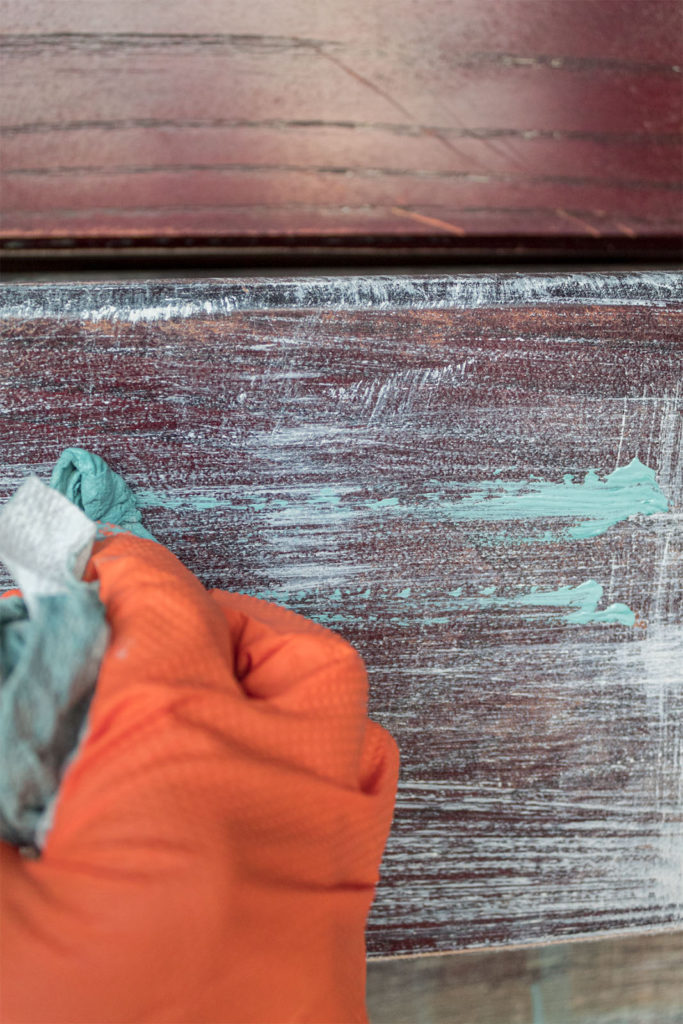
For this step, paper towels will be my painting tool. Using paper towels versus a brush serves two purposes: 1) It avoids paint strokes since we already have plenty from the white paint 2) It creates a smudged look that will contribute to our aged aesthetic
After rubbing some of the turquoise paint onto a small section, I then use the paper towel to apply pressure and pull the paint in different directions. It’s important to avoid caking paint on. You want to work with a little at a time and really create some character.
Since chalk paint dries so quickly, within seconds of rubbing, you can see how everything starts taking effect. The turquoise adds another rustic layer to the previous layers.
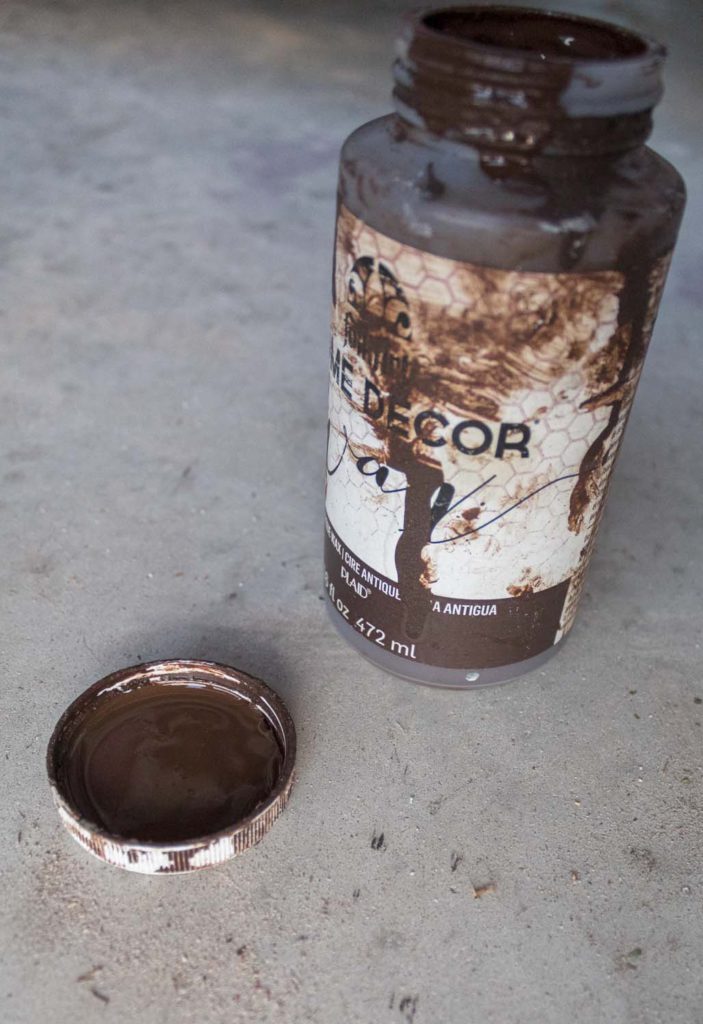
Step #3. Antique Wax
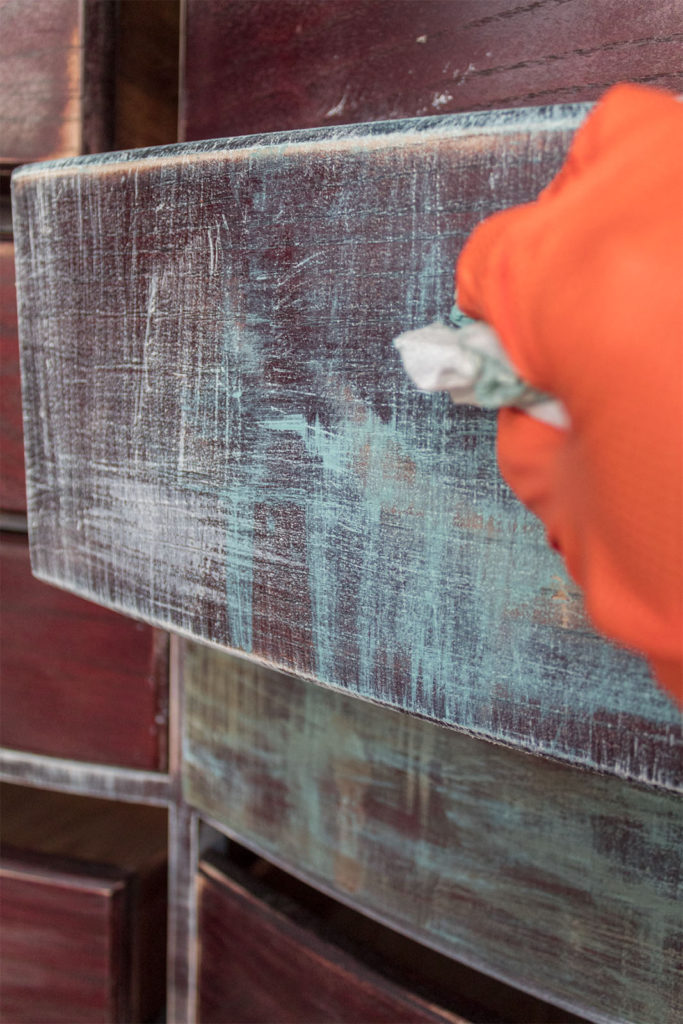
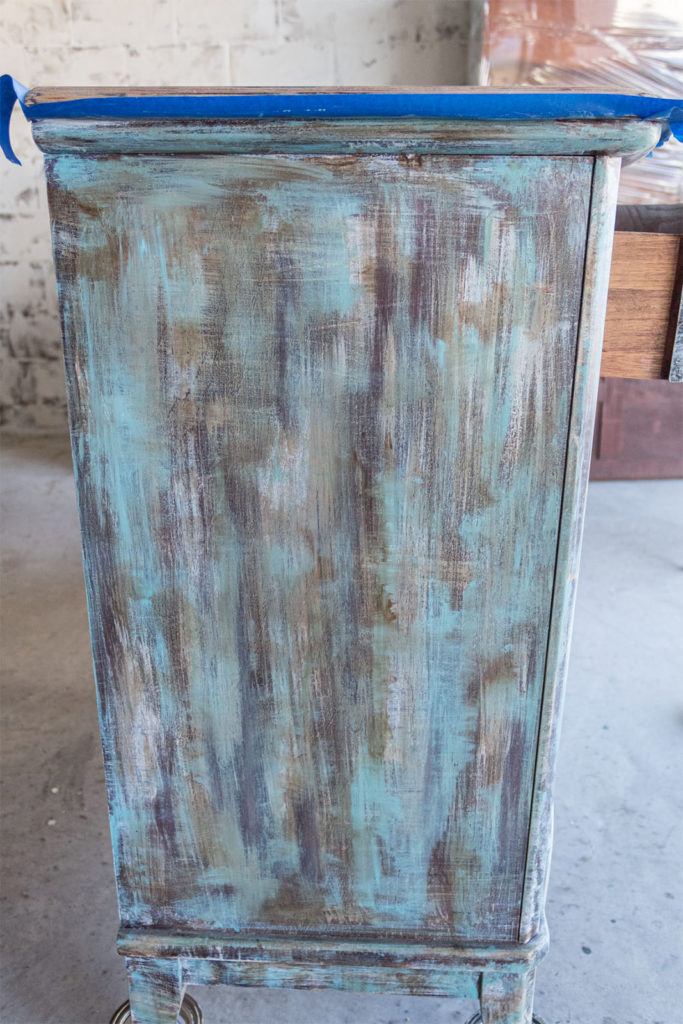
Now we are going to apply some antique wax to add some depth and vintage character. I simply rub the wax on over the painted parts using a paper towel.
I rub the wax in. All these steps, using paint and wax, are building the entire look.
This is what the dresser looked like at this point. I debated whether to keep it like this or to lighten it up with some more white. This is a really cool look with patina all over, something to try out again. However, I decided to take this renovation one step further.
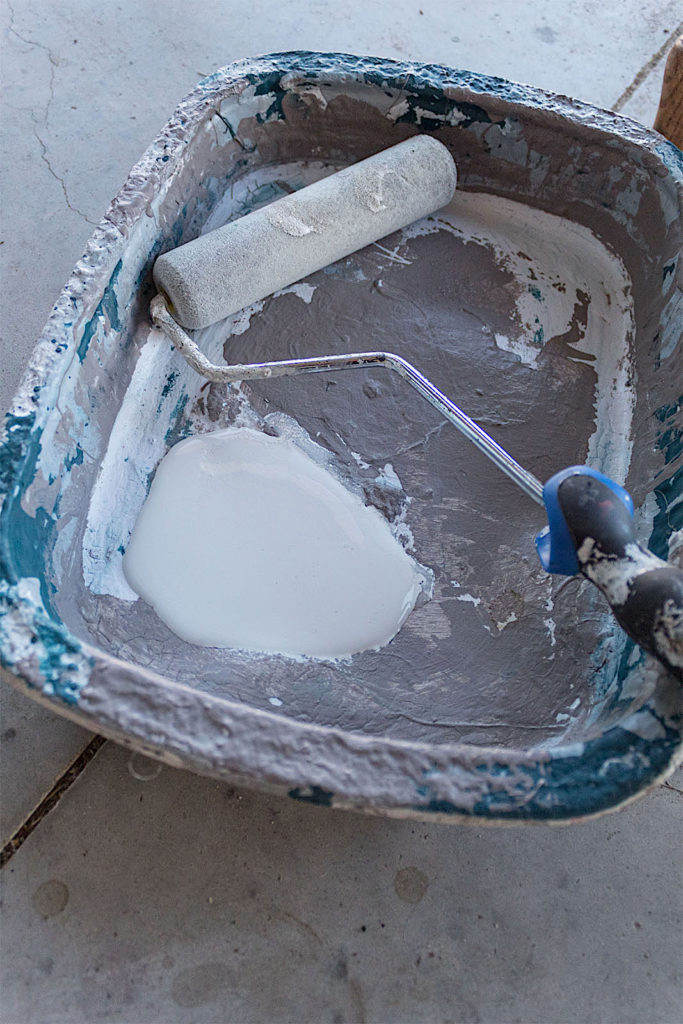
Step #4. The Mini Roler
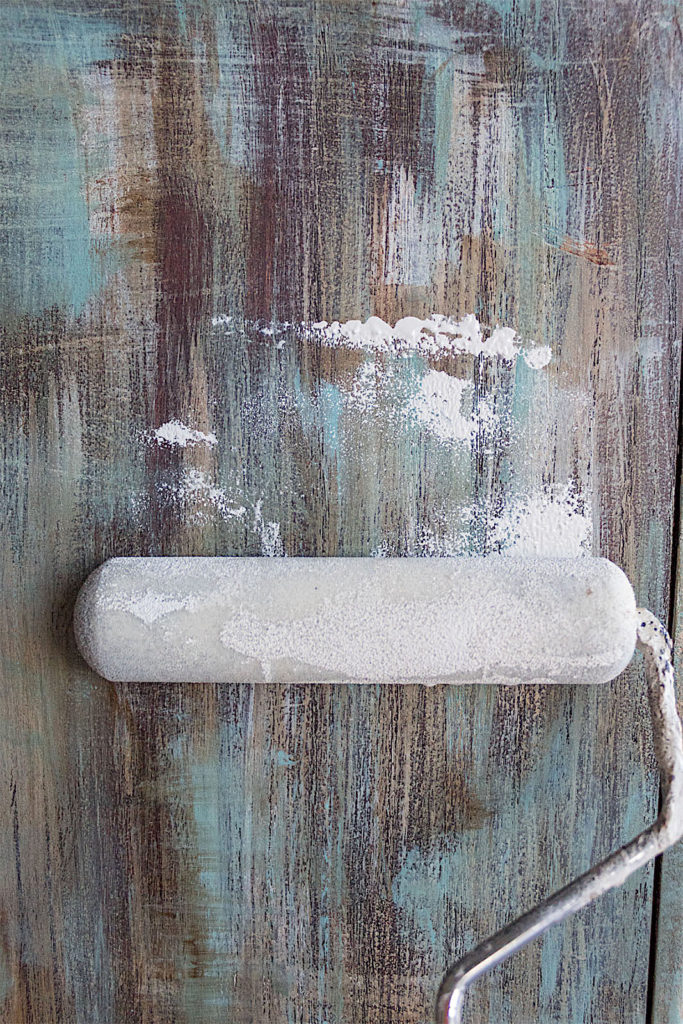
Using a mini roller and some more of my Weathered White paint, I rolled a thin coat of the paint over the entire surface of the dresser.
I was feeling a lighter look for this piece. Usually furniture pieces let me know in what direction they want to go, it’s like they speak to me!
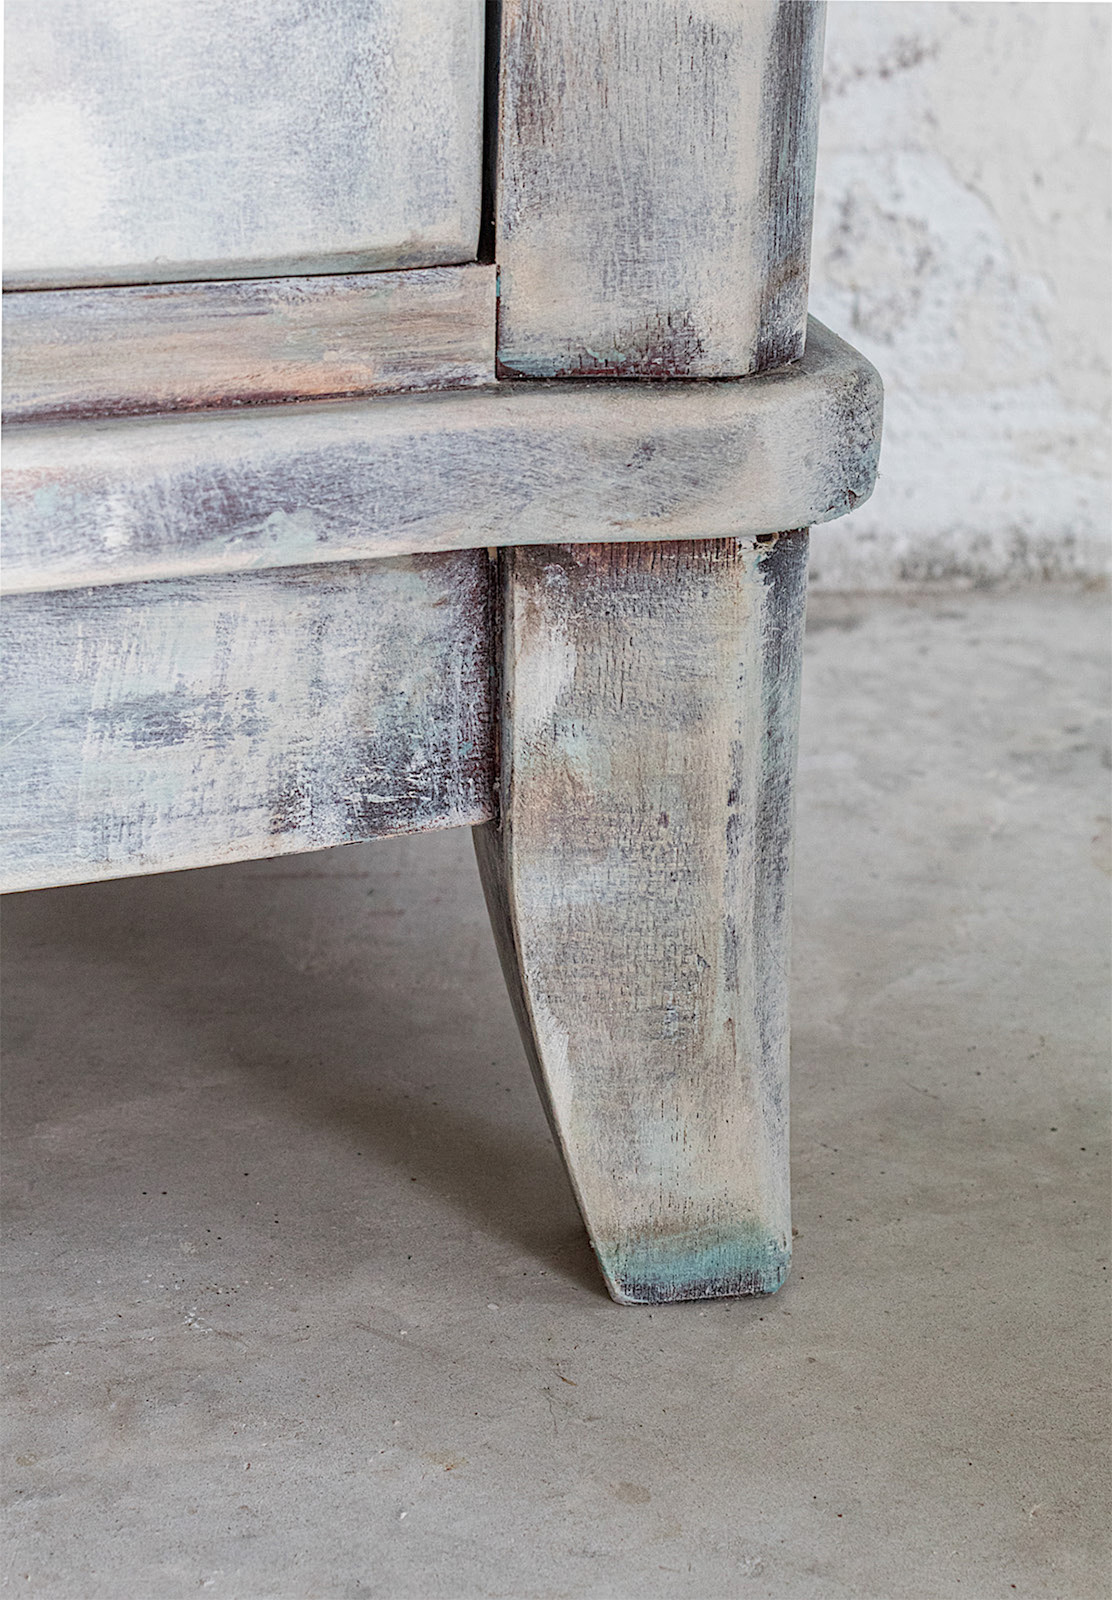
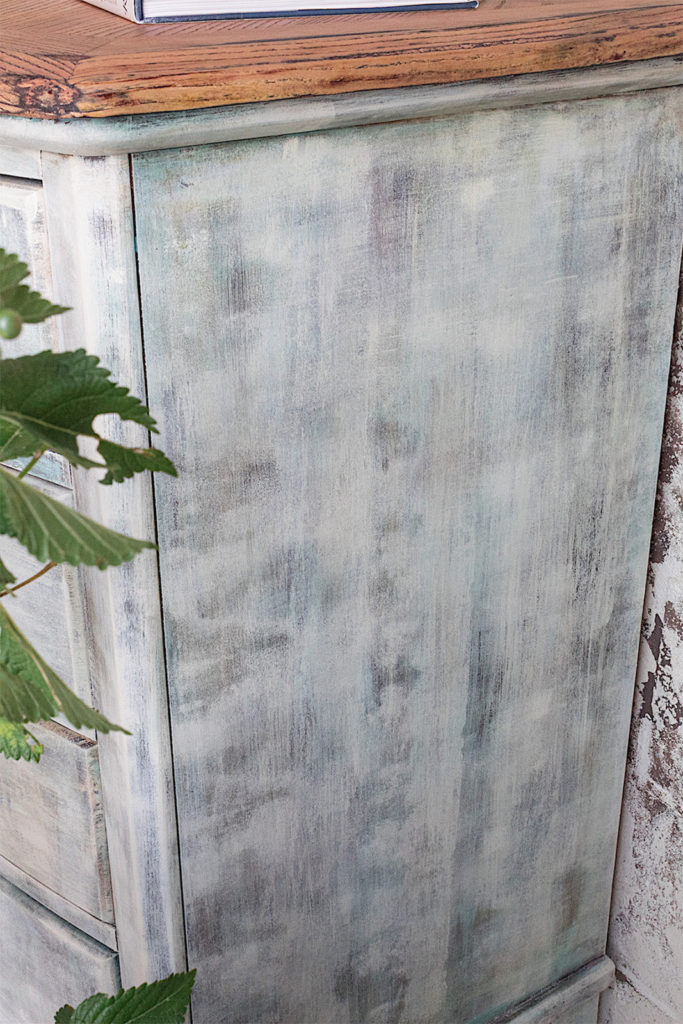
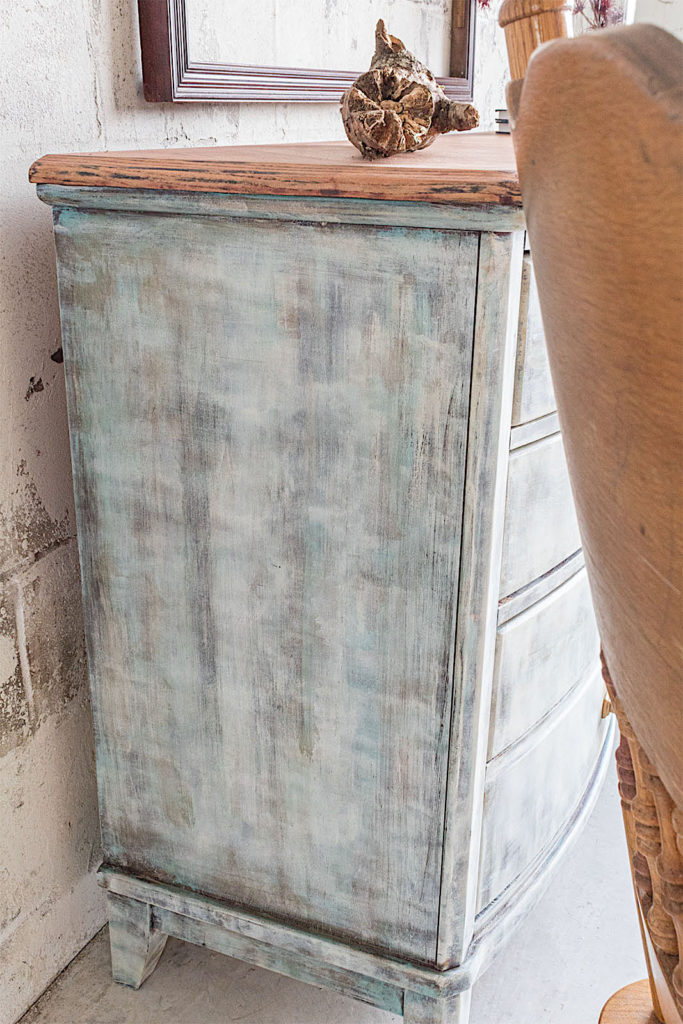
I made sure to keep things light with the roller and somewhat blotchy. I wanted to retain the texture and colors underneath visible, albeit to a softer degree. I was really happy with the cloudy and aged aesthetic that resulted from using the roller.
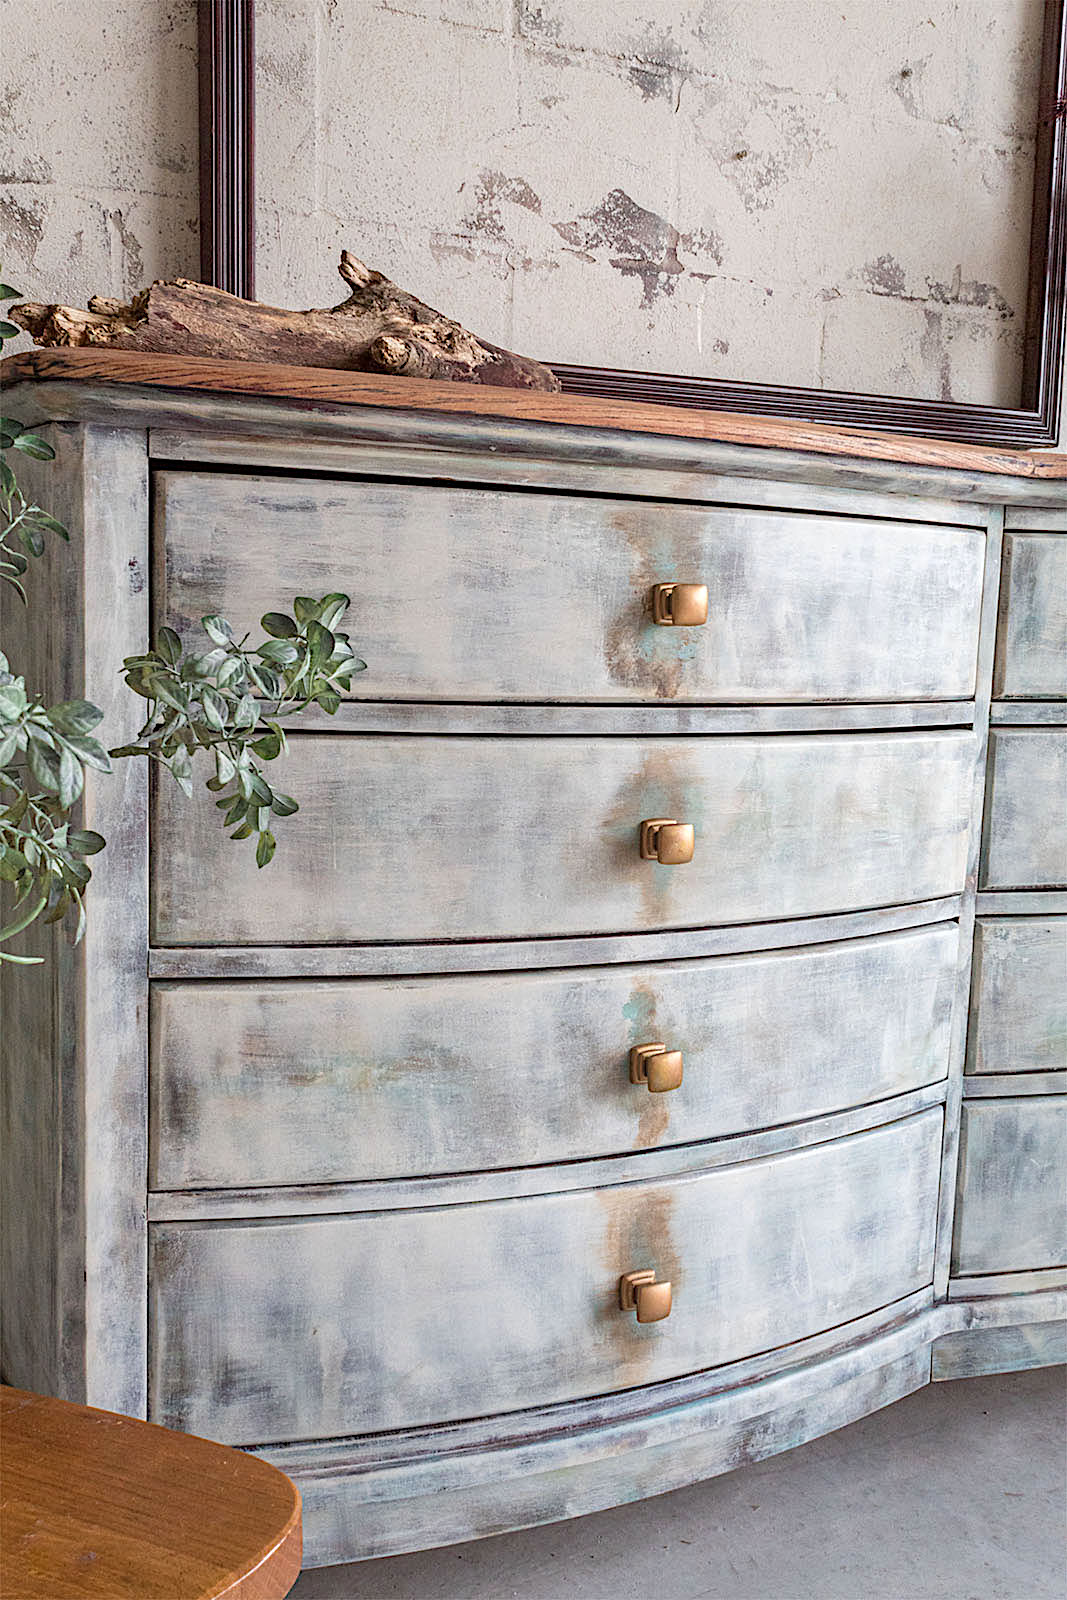
Step #5. Patina Markings
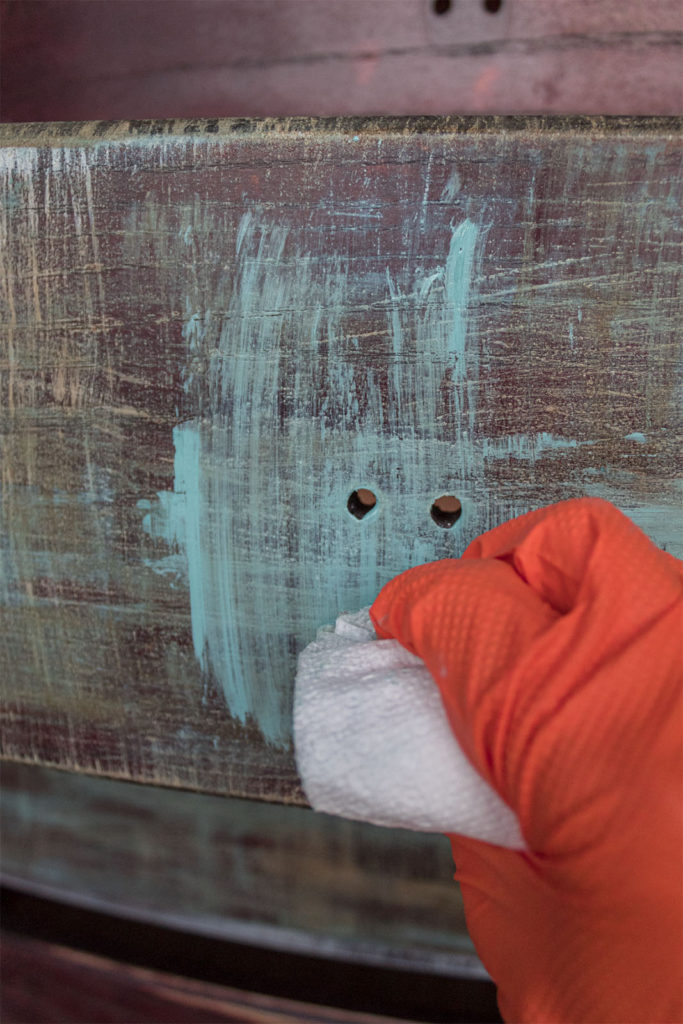
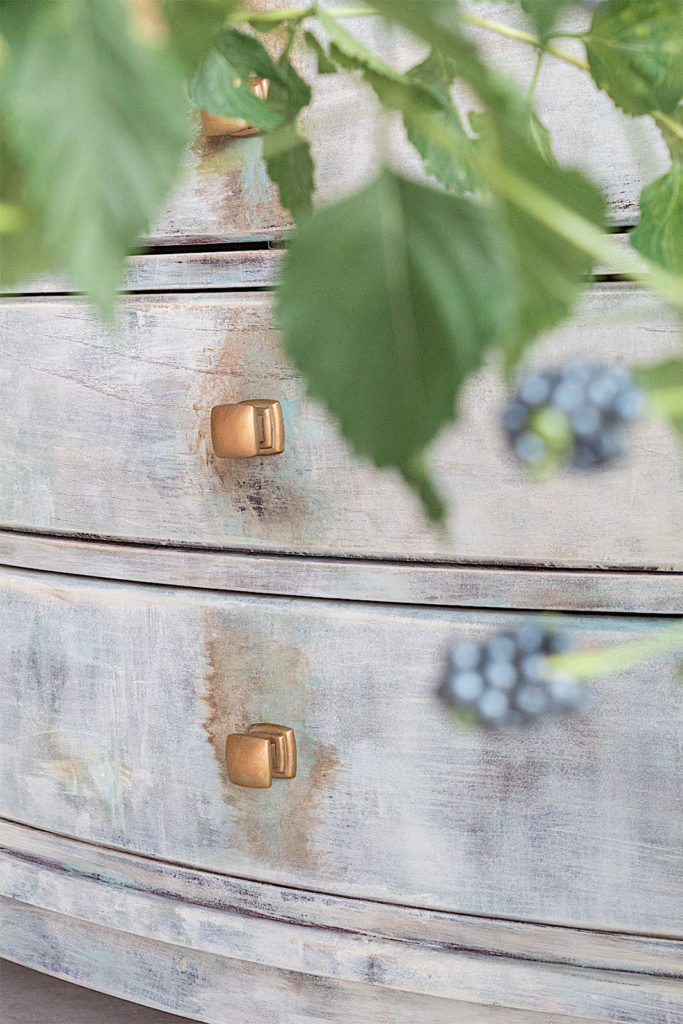
So far we have subtle patina undertones coming through the white, creating a beautiful worn aesthetic. Now I’m going to add some stronger patina markings on the drawer fronts.
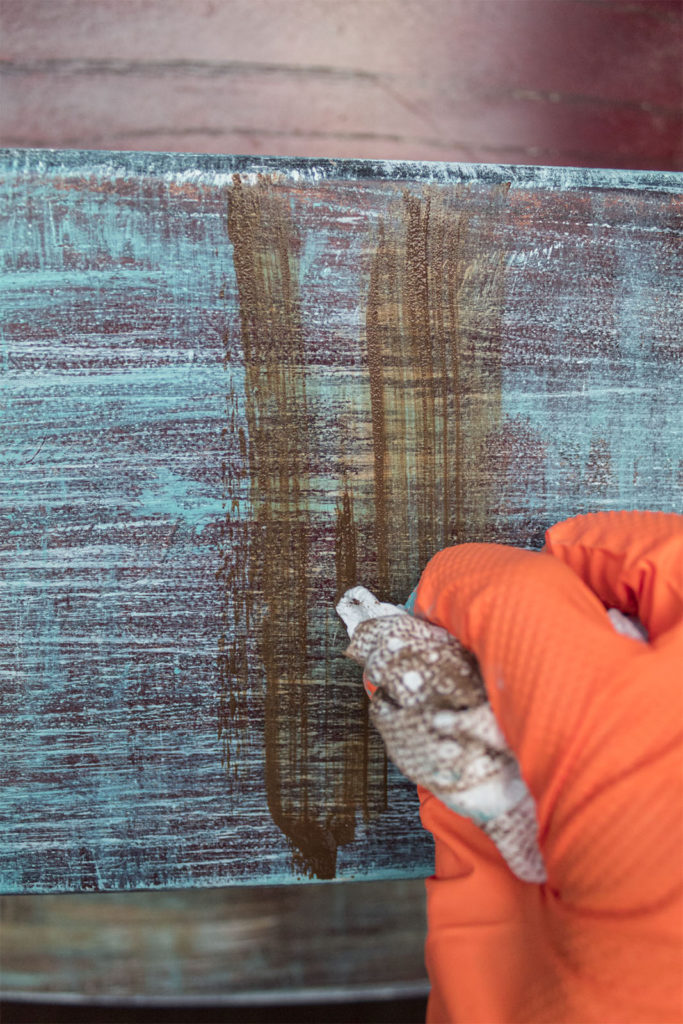
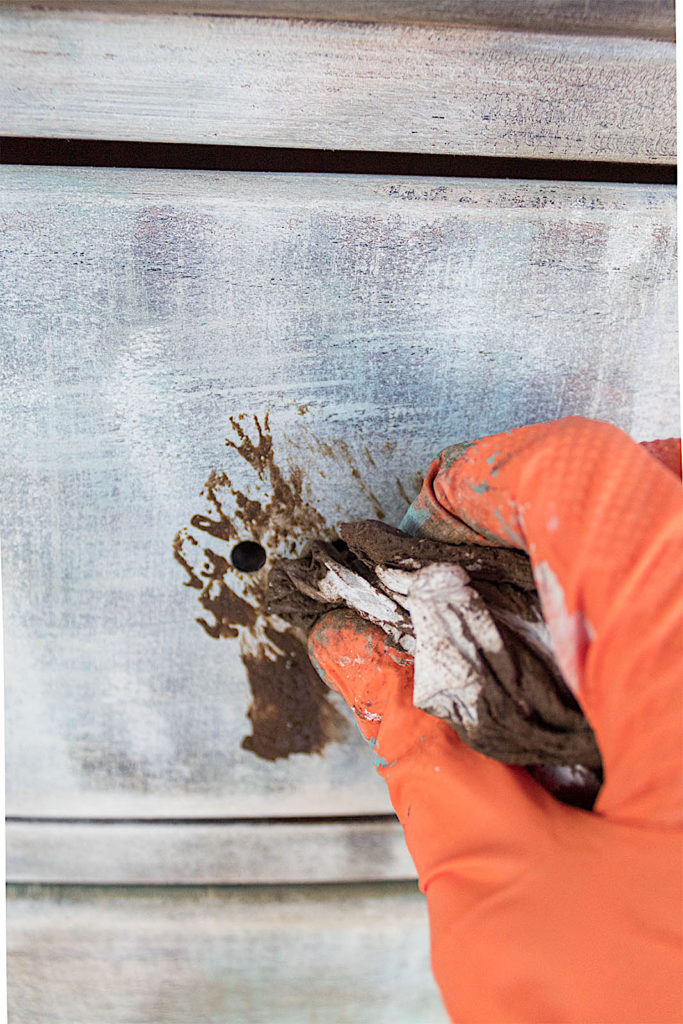
Creating a patina effect around the hardware placements only will make the perfect statement. To do this I first dab on my antique wax I used before around the area of where the hardware will go.
You can be a little messy and generous with the wax. Once you apply it, keep pulling it out around the edges with the paper towel. This smudges the wax just right.
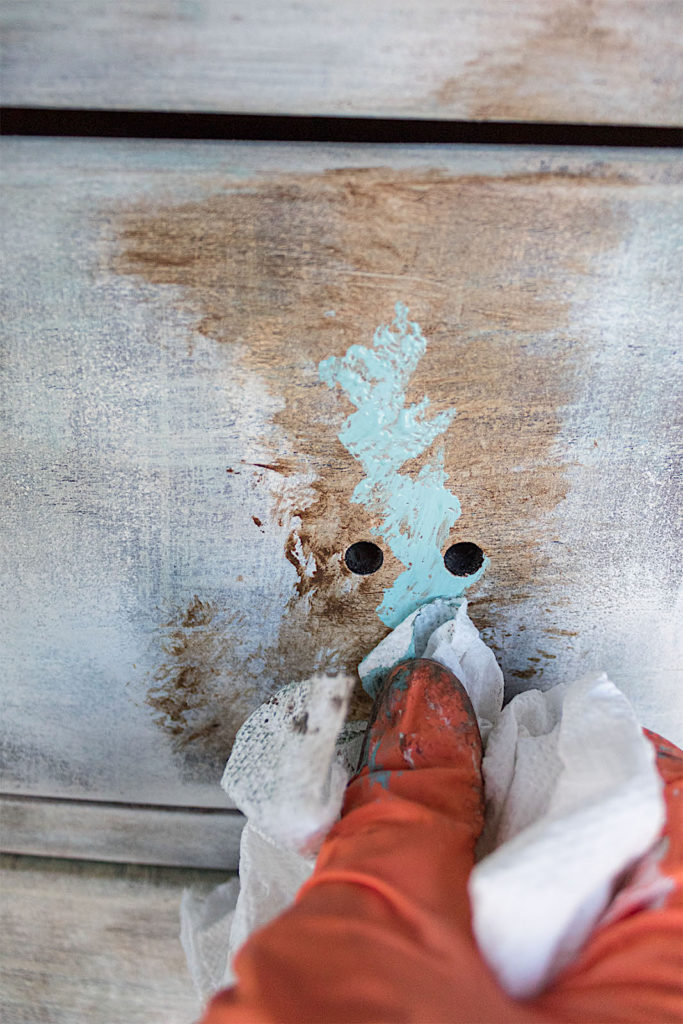
Then I do the same technique with the turquoise paint over the brown wax. But I make sure to make the area of the turquoise smaller than that of the wax so you can see both colors.
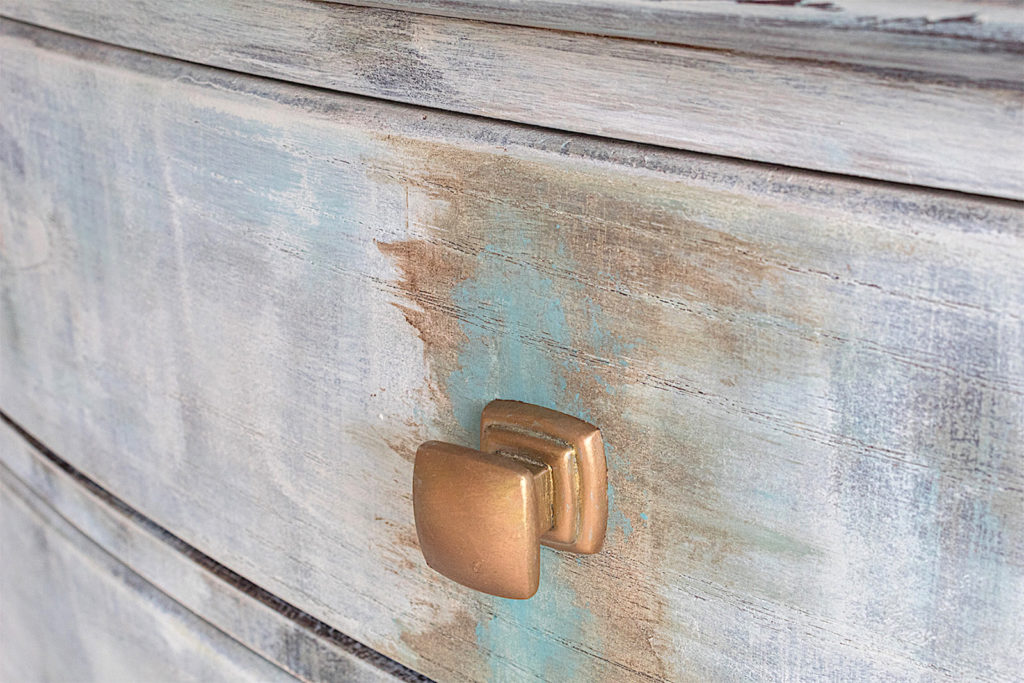
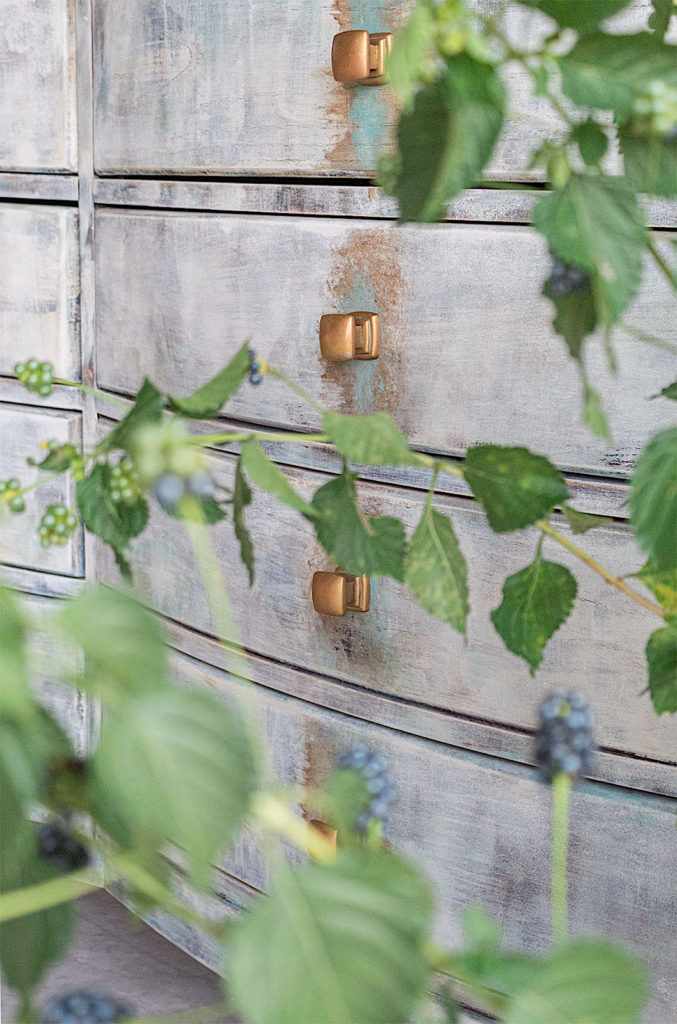
Hardware Refresh
To refresh the hardware I first rubbed on a coat of the vintage gold metallic wax.
The metallic waxes dry so quickly that I almost immediately add the aged brass metallic wax in random parts over the gold. I love the patina dripped markings as a vintage backdrop to the newly refinished hardware.
Disclosure: Some of the links provided are affiliate links. By purchasing through these links you are supporting this family blog and the work we do and there is no extra cost to you. If you would like to read our full disclosure, click HERE.
Thank you for stopping by the NIB Blog. Please let me know if you enjoyed this tutorial and if I missed any details. I always love hearing from you you!