DO I HAVE A TREAT FOR YOU TODAY! IN THIS TUTORIAL I AM SHARING ONE OF MY MOST FAVORITE PAINTING TECHNIQUES—PAINT LAYERING. IF YOU LOVE TEXTURE AND VINTAGE APPEAL, YOU HAVE TO TRY THIS TECHNIQUE! The best part is it is pretty much fool proof and it comes out gorgeous every time.
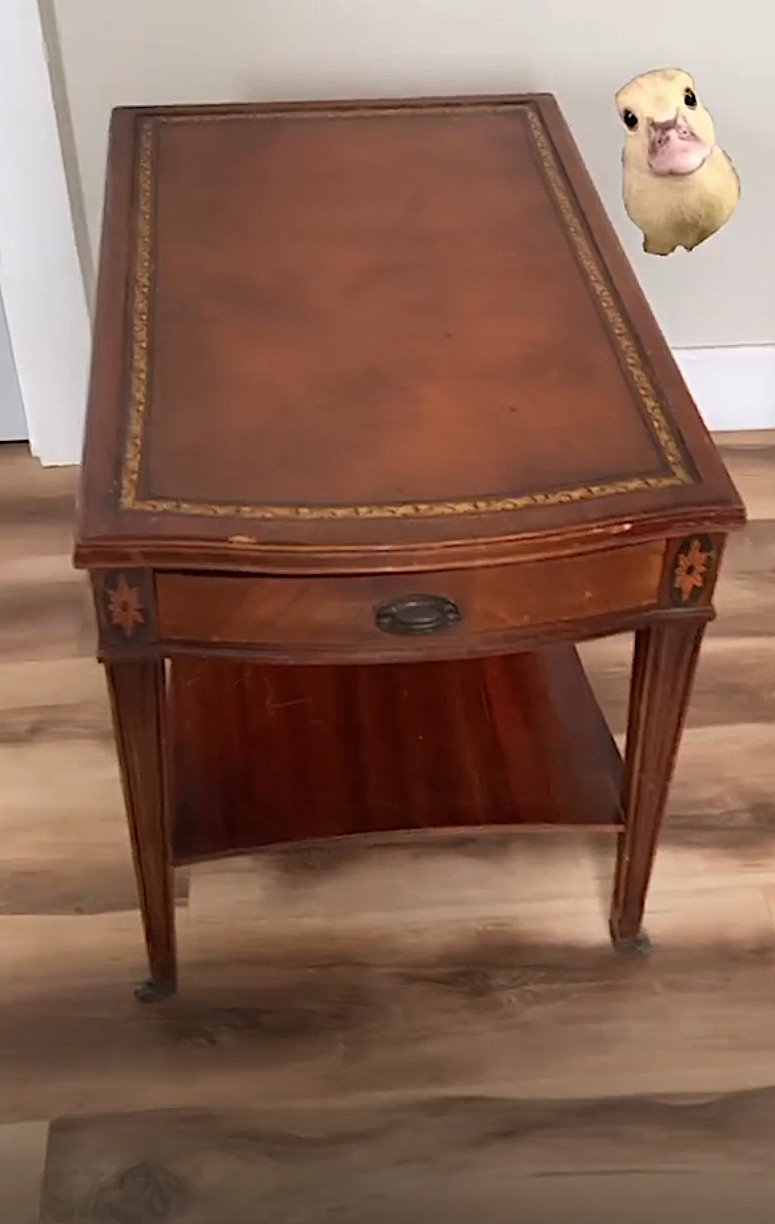
This thrift store find was a bit ugly duckling when I found her. The old clear coat on the table had become very orange and was cracked all over, especially on the top.
I typically sand down any prior clear coat, but in this case I decided to try something different…
Disclosure: Some of the links provided are affiliate links. By purchasing through these links you support this blog and the work we do and there is no extra cost to you. If you would like to read our full disclosure, click HERE.
1. Prep Your Piece
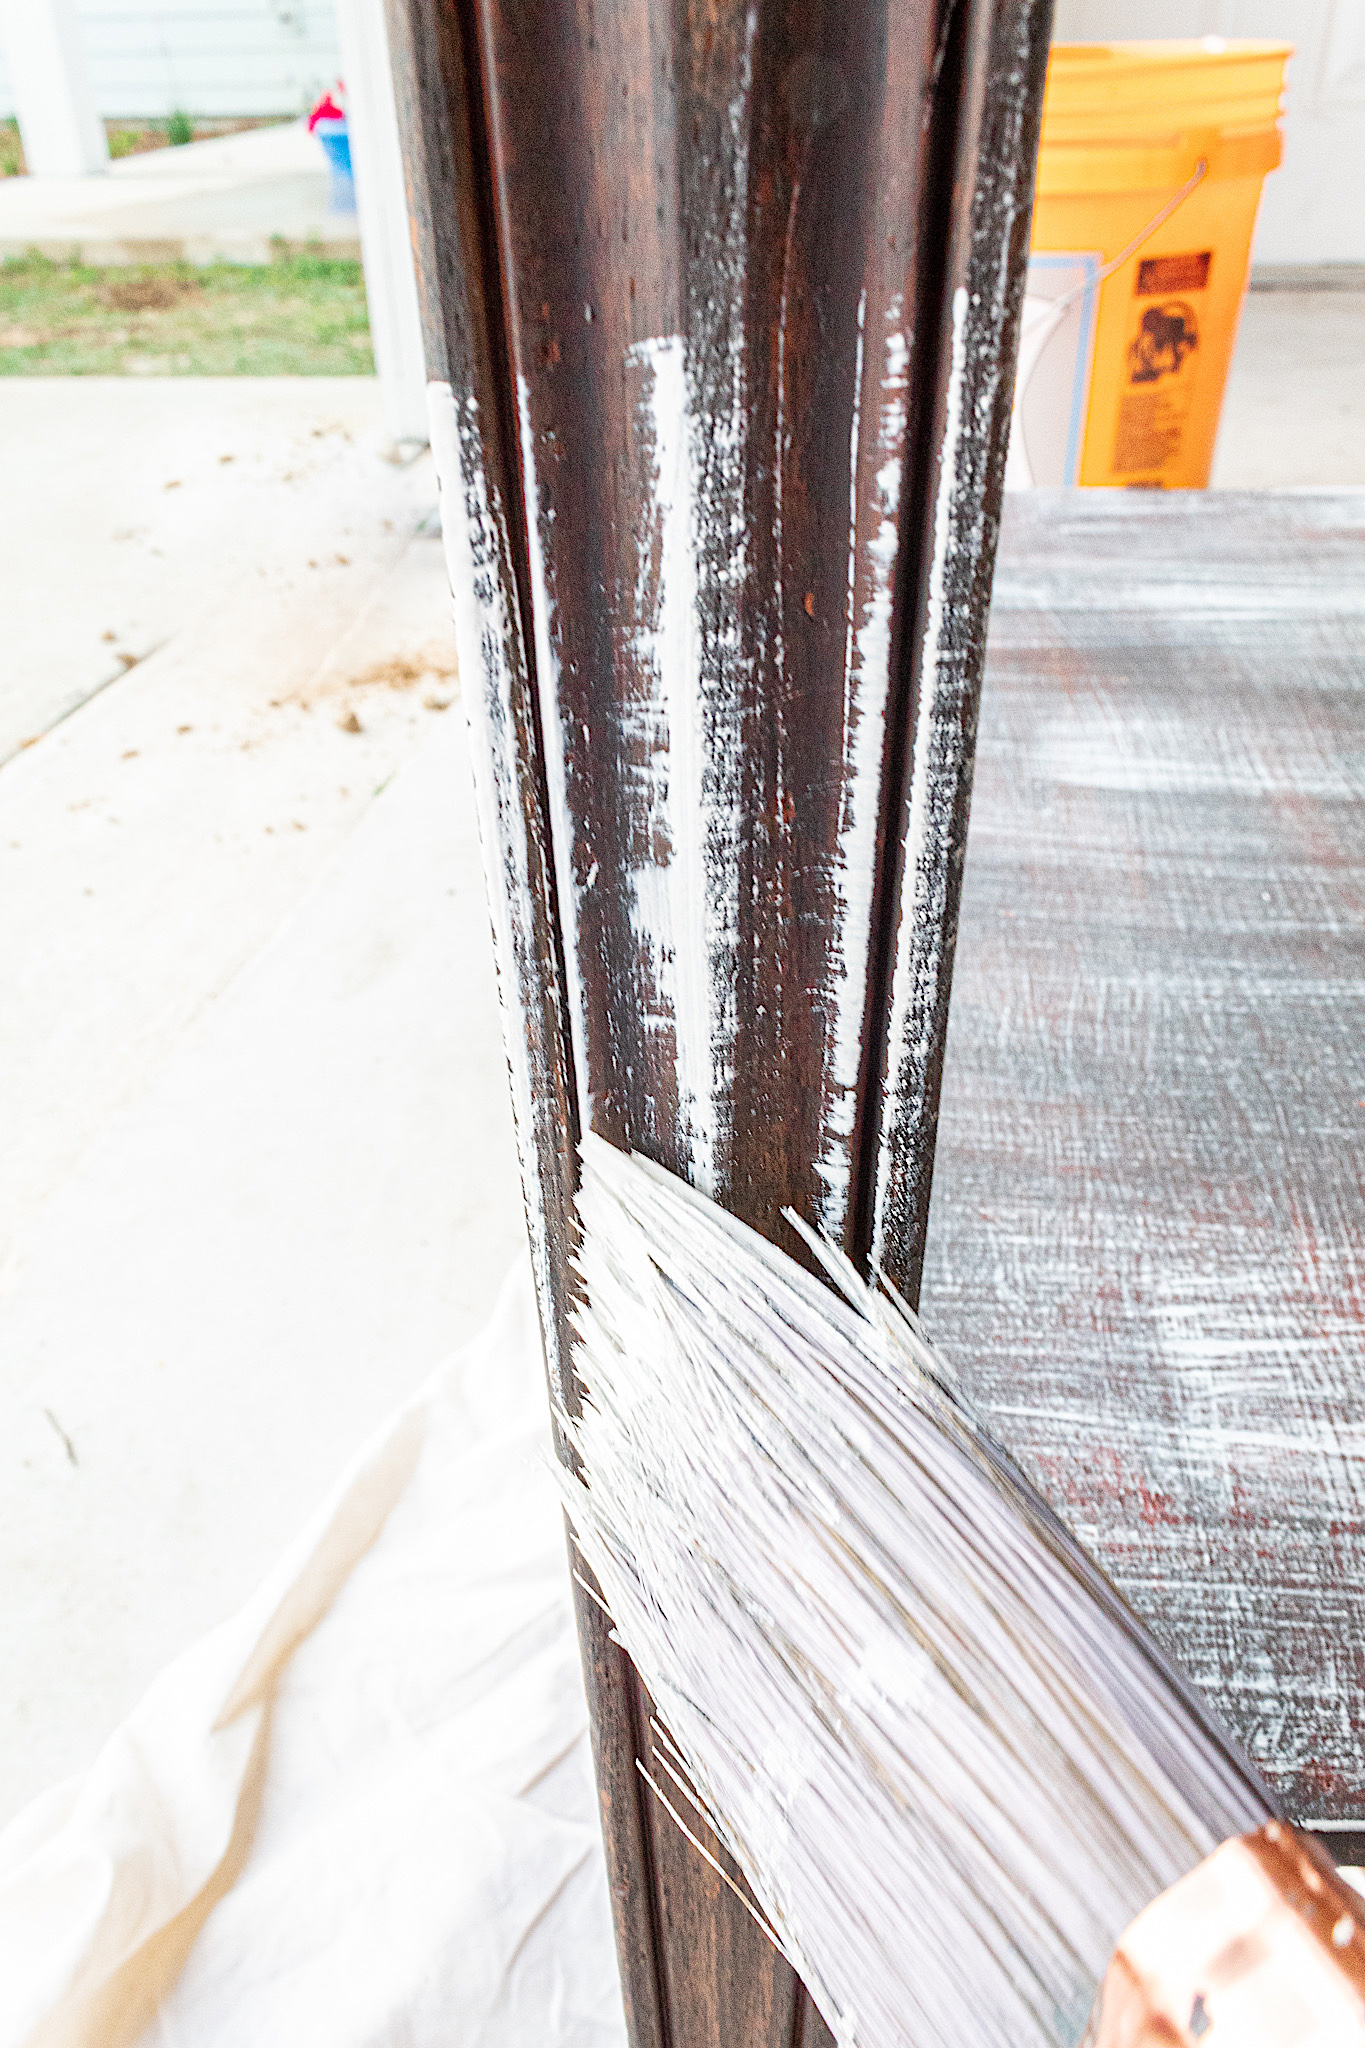
I lightly sanded this table except the top of it. The cracked clear coat on the top was something I wanted to try and work with. I thought I could use it for my vintage look.
After sanding I cleaned the entire piece with my vinegar solution. Then I began my paint layering.
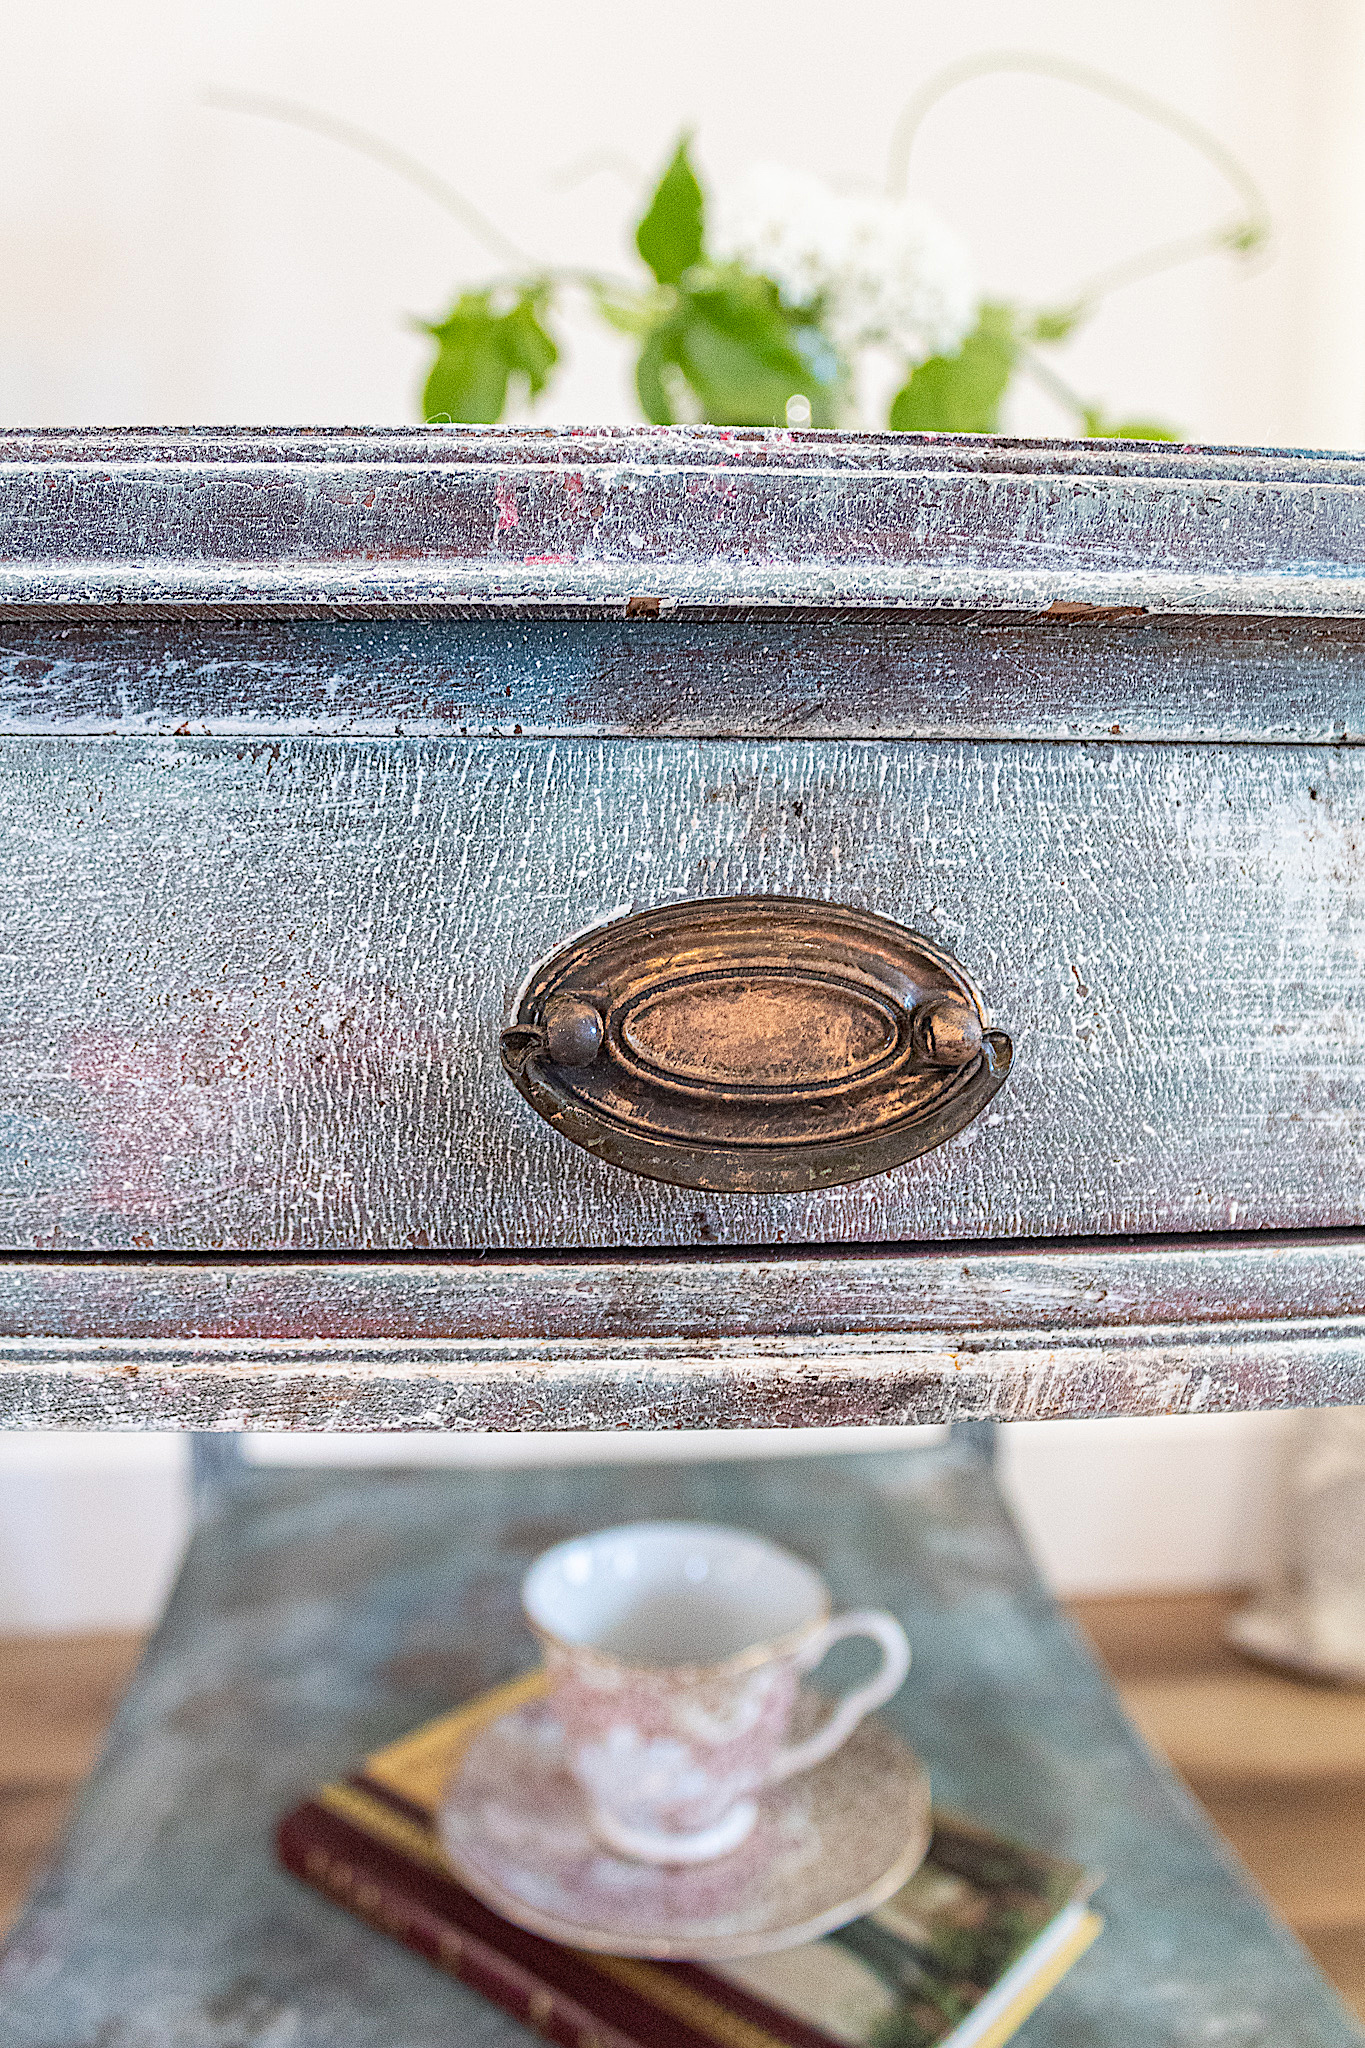
2. Begin Paint Layering
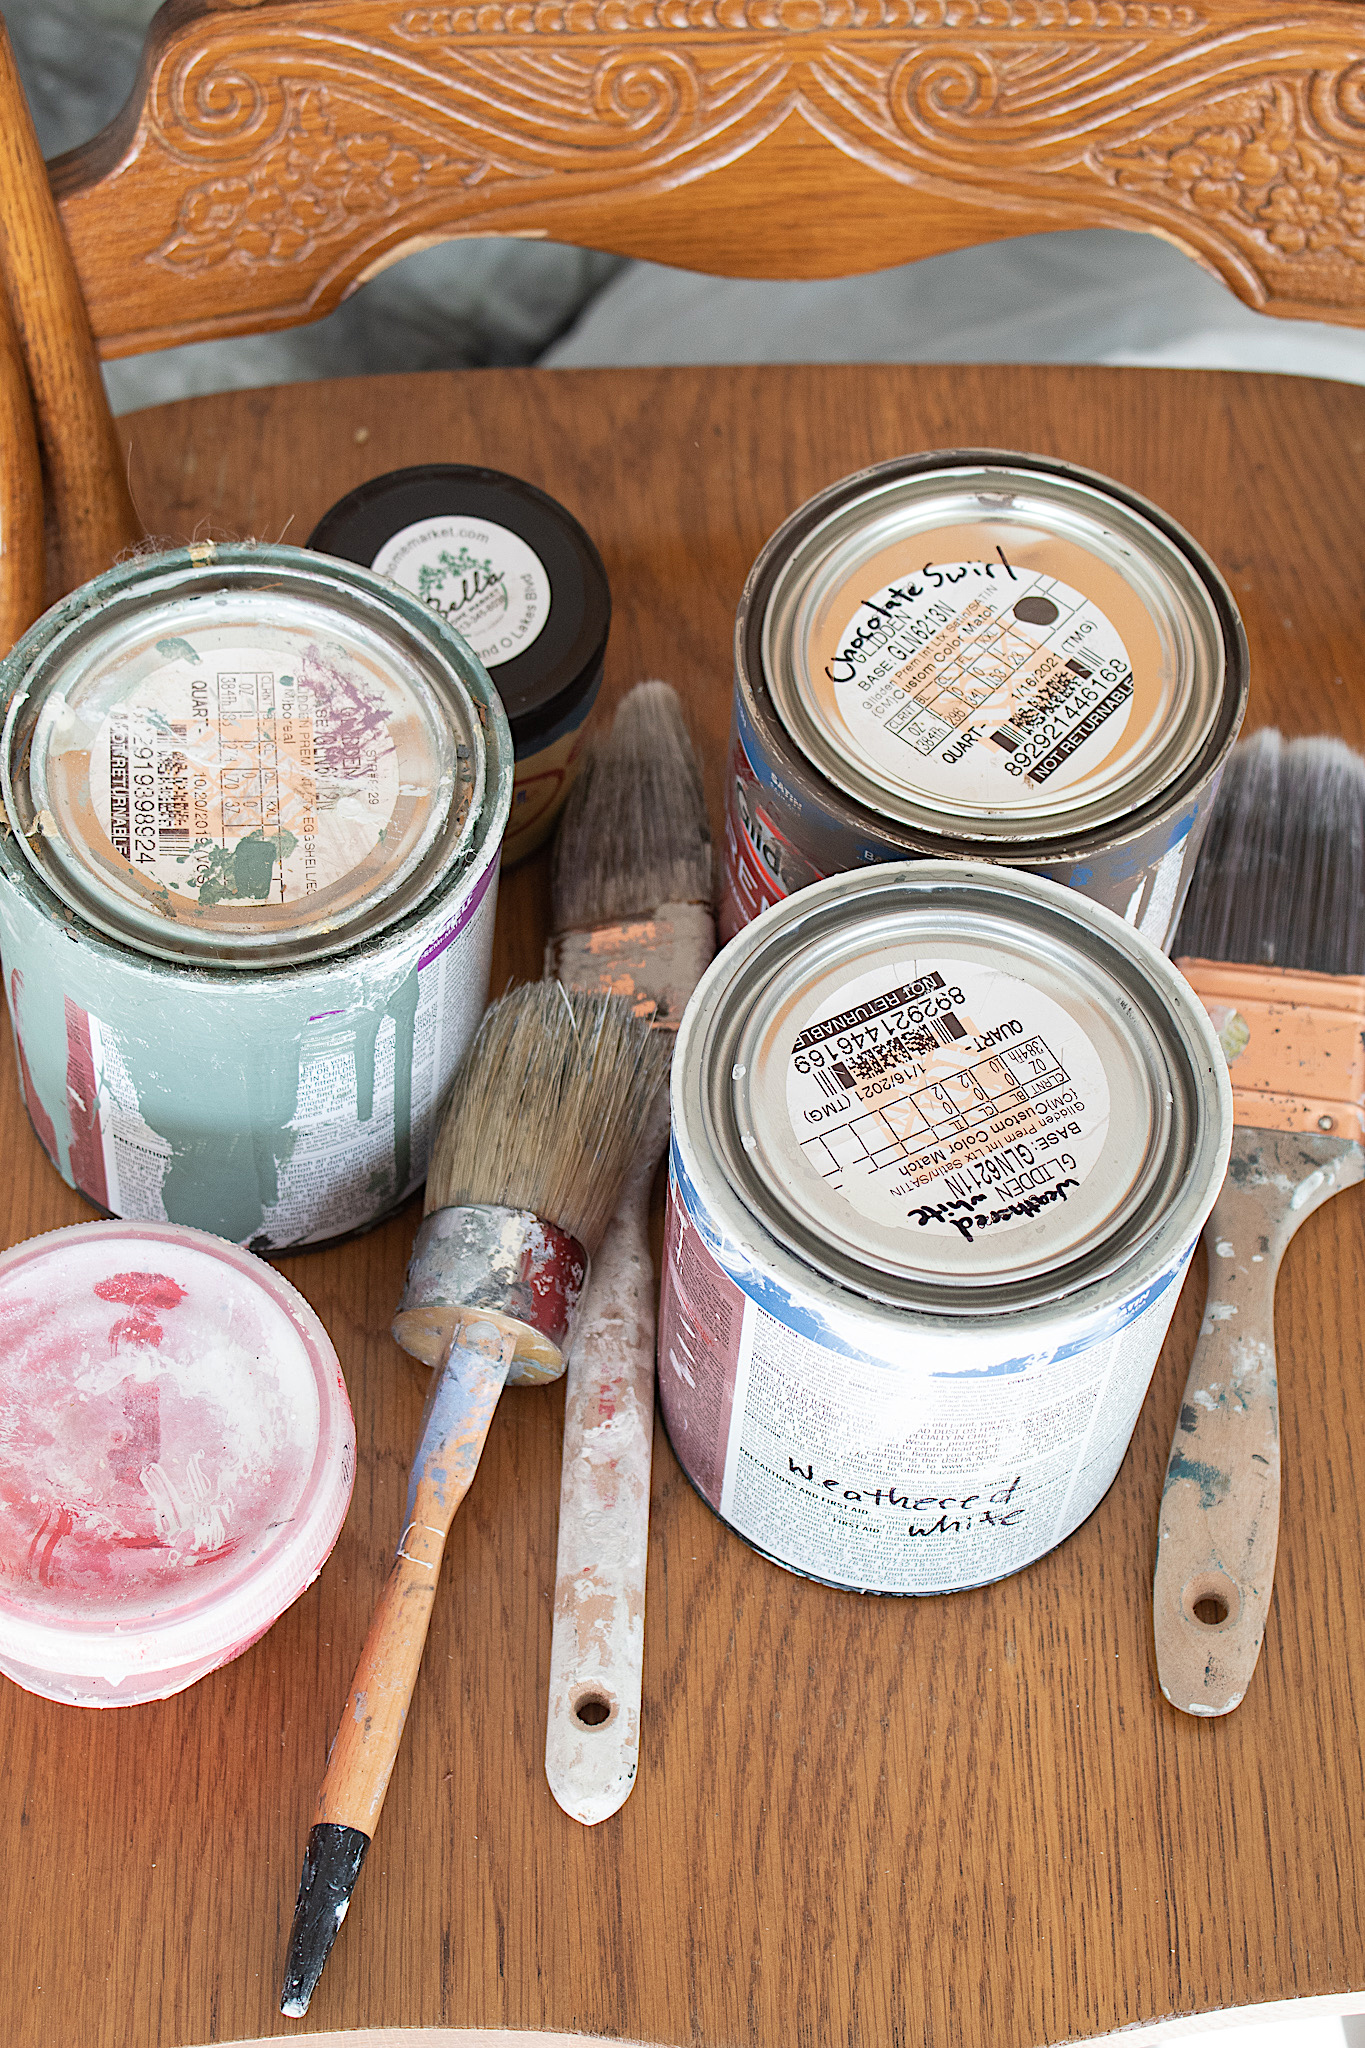
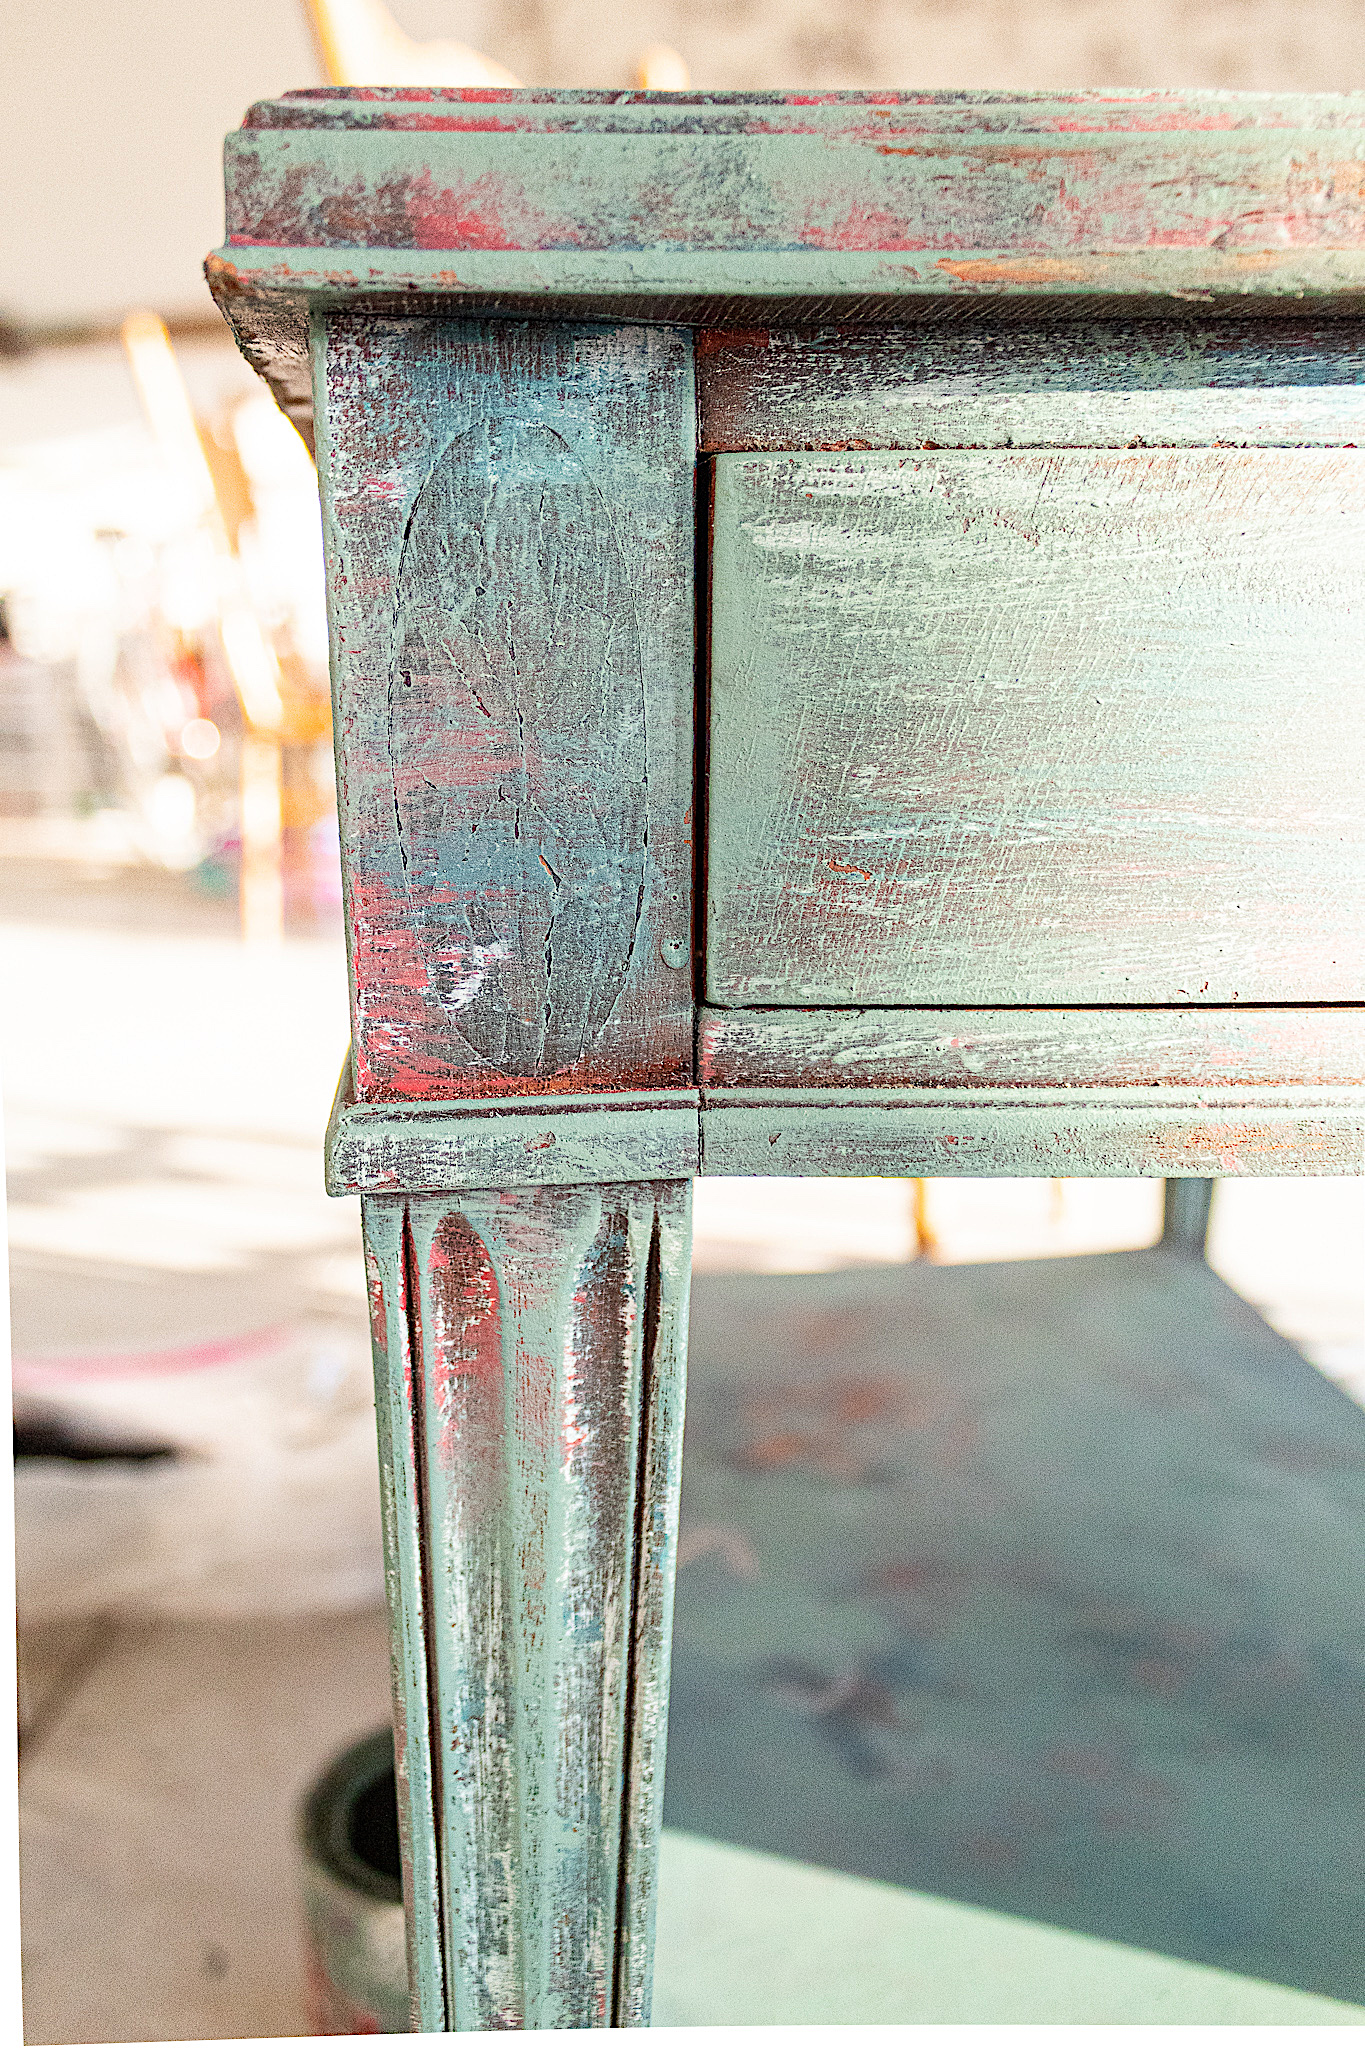
Paint layering is probably my favorite technique to use on furniture renovations. It creates a level of dimension, texture and colors that cannot be achieved with a single color of paint. You can gather any leftover paint you have and start playing with this technique to create beautiful art.
For my first color I applied a charcoal black (no picture available but you can see this in the video at the bottom of this post).
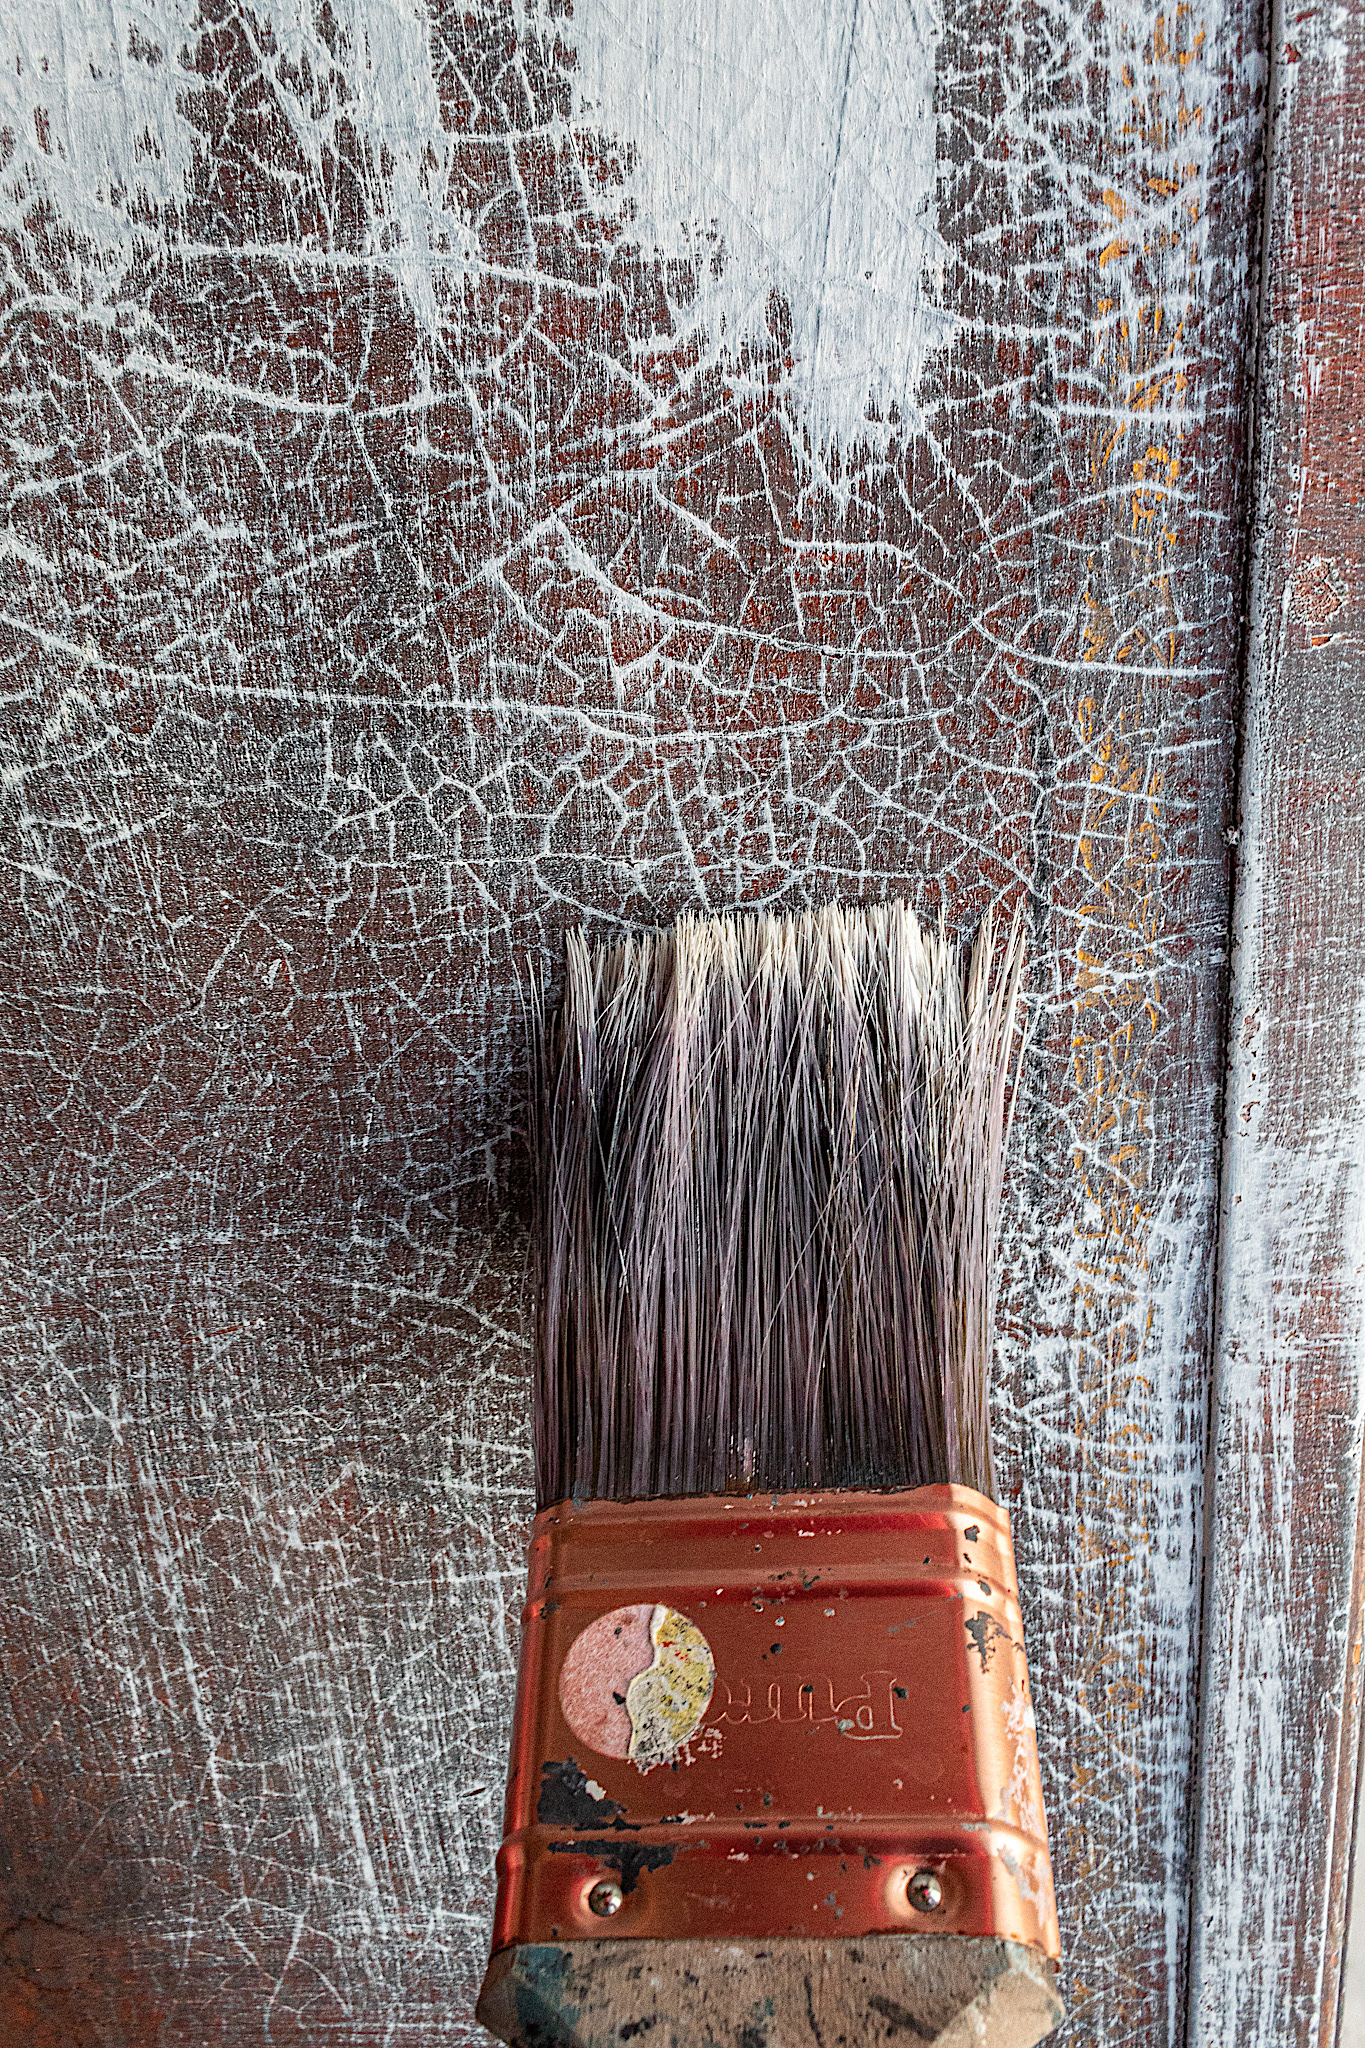
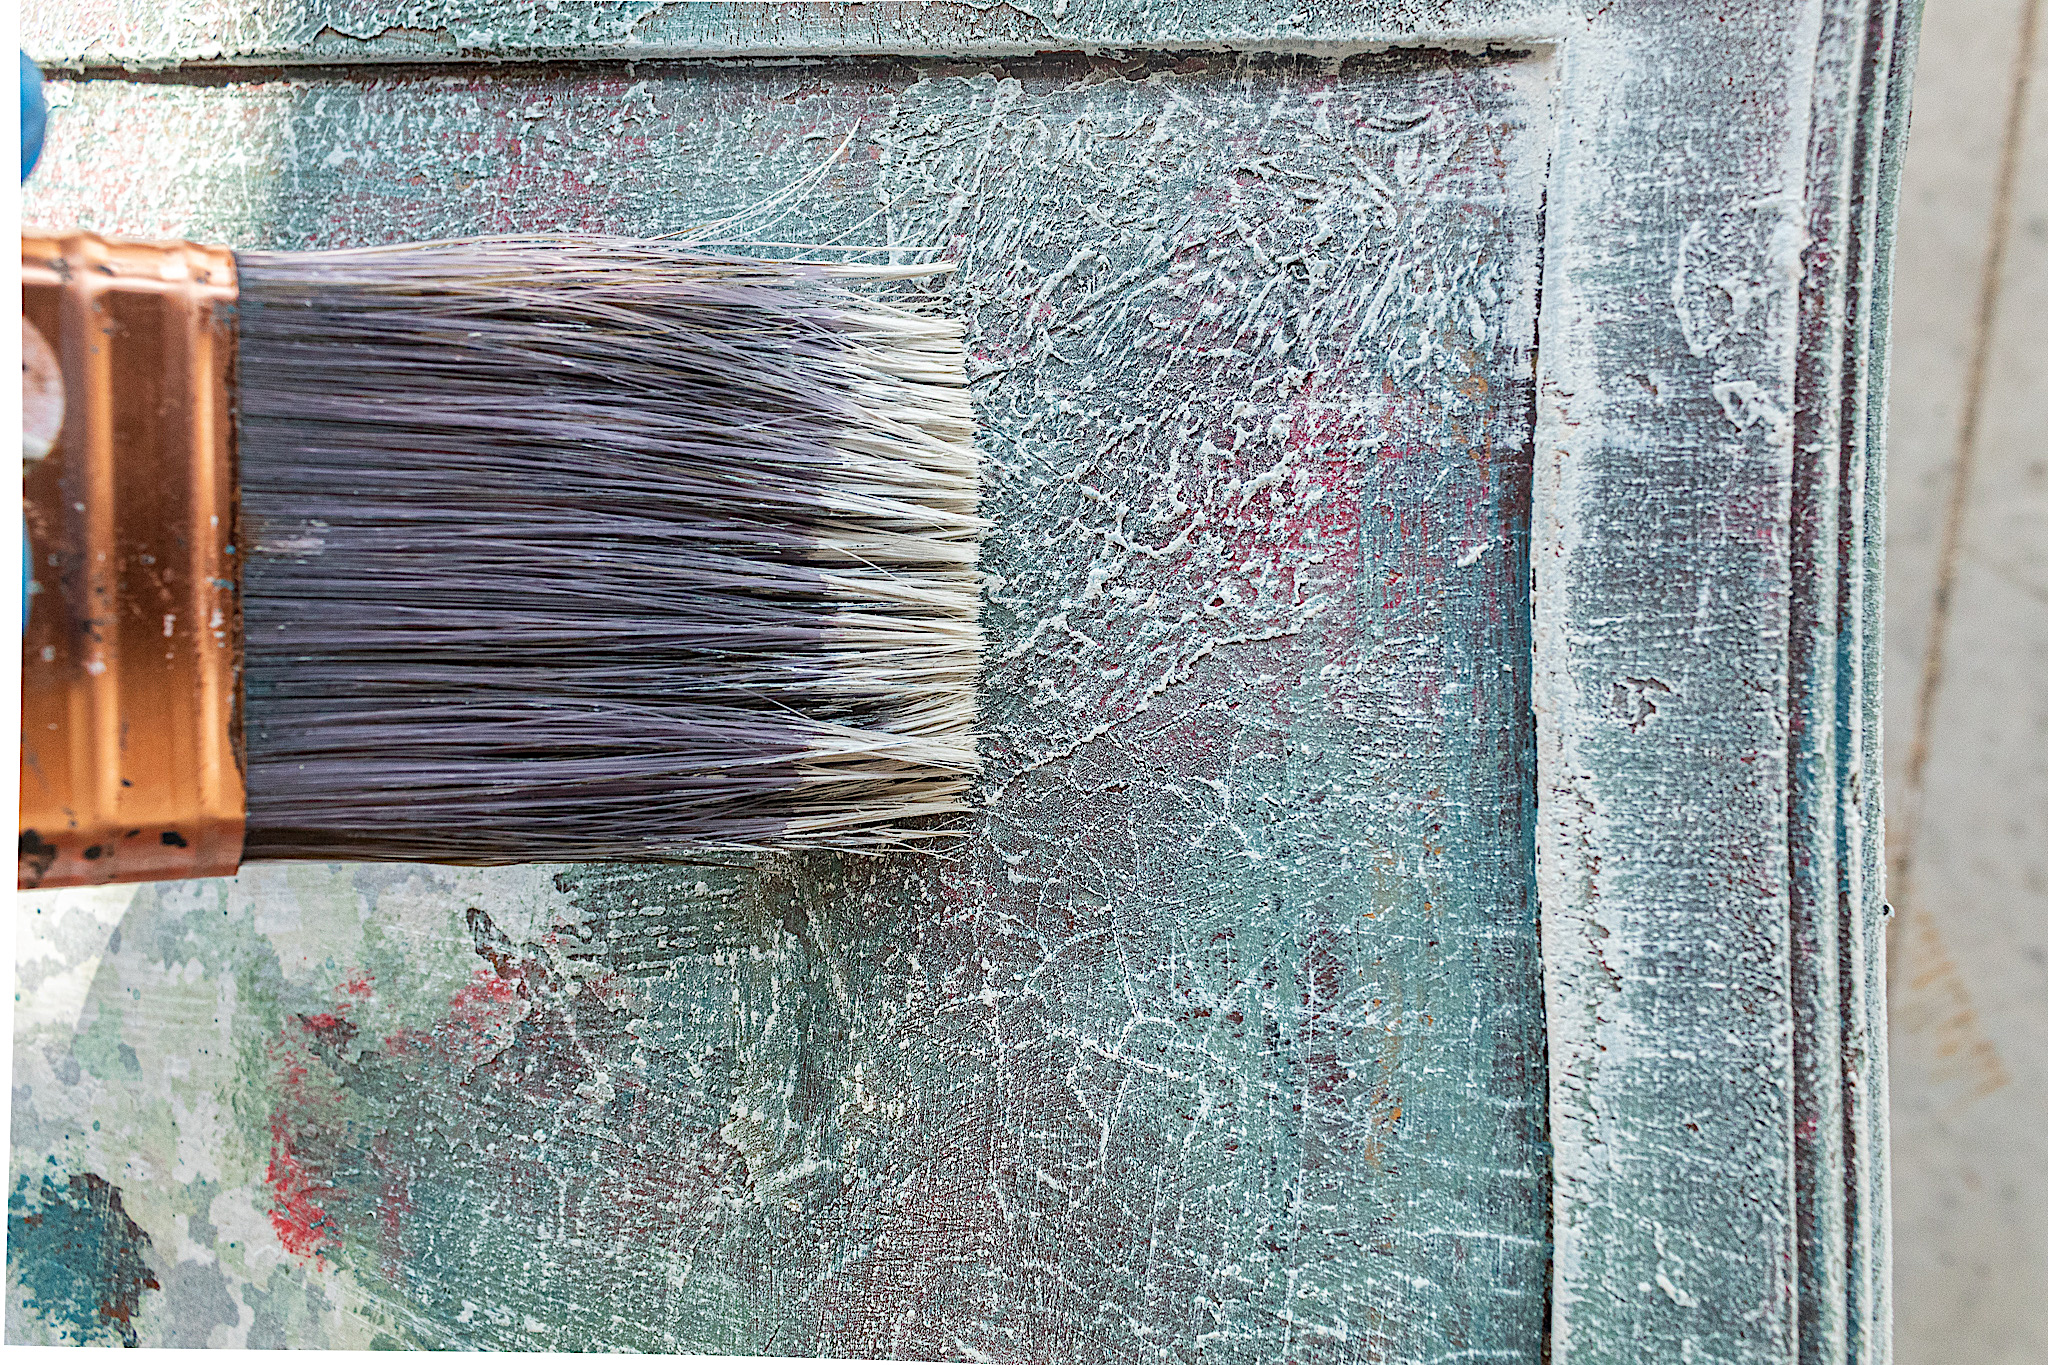
Once the black dried I applied my second color, Behr’s Weathered White. Just take a look at all the yummy texture. Some tips for this technique are: •only a small amount of paint on your brush tip •dry brush, avoid wetting your paint •light brush strokes, don’t apply a lot of pressure •thin coverage to leave some of the under colors of paint layers exposed
3. My Decoupage Fiasco
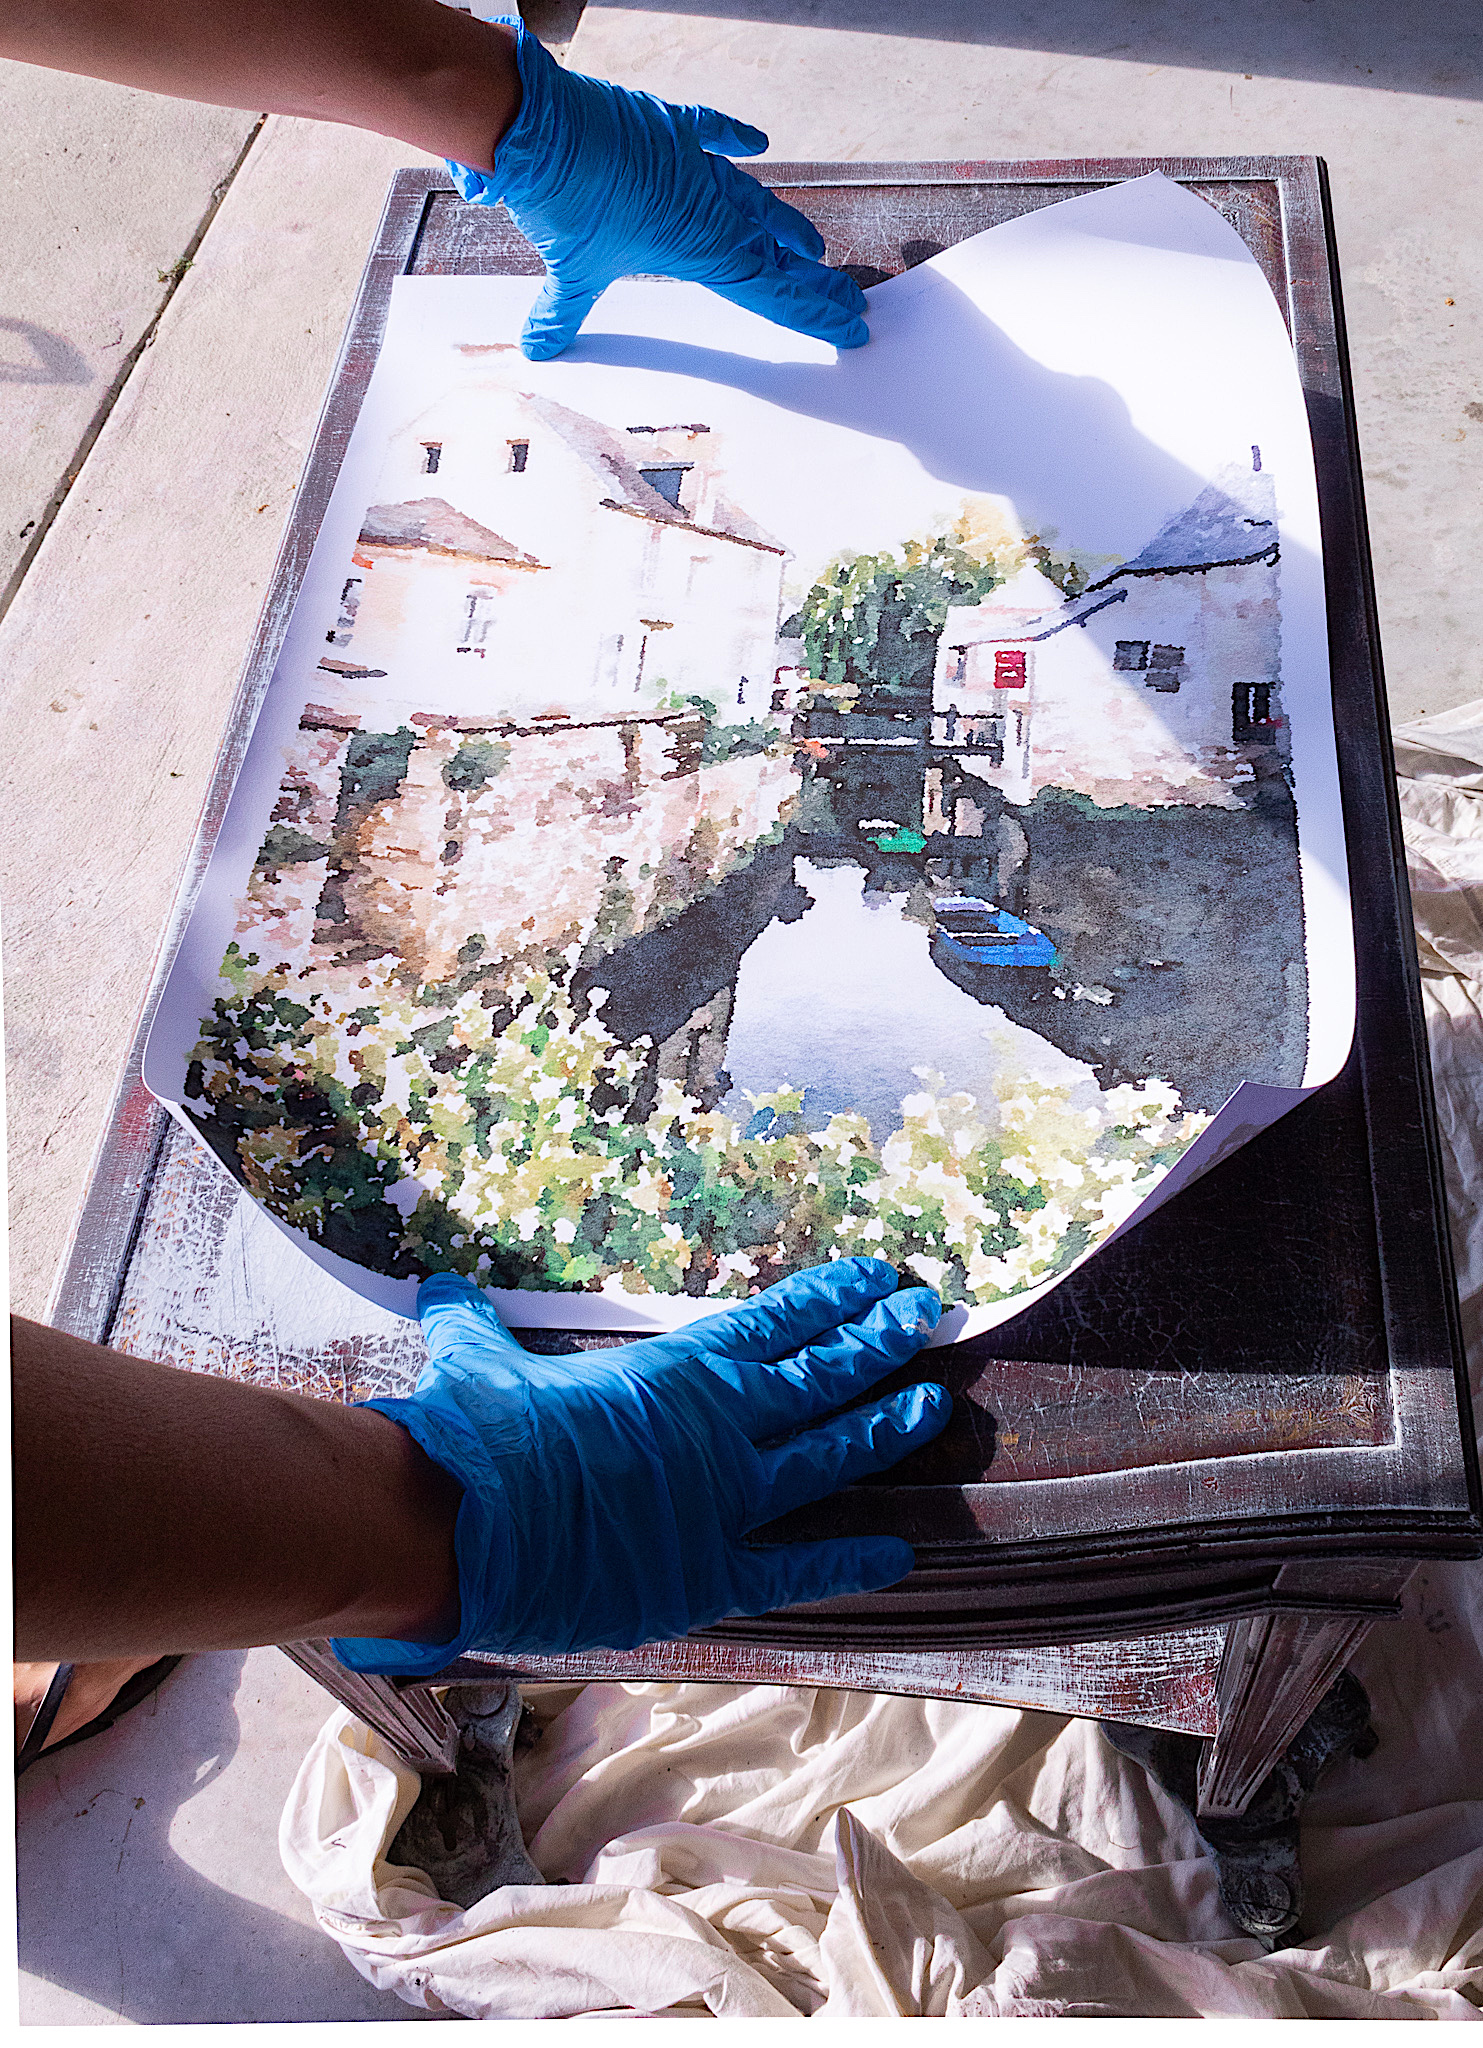
Friends, I always want to be real with you and share the good, the bad and the ugly of projects! I had a wonderful idea to add a beautiful French scene print to the top of this table.
You may have seen how I’ve applied rub-on furniture transfers to pieces like in my Love and Dreams post and in my Floral End Table post. Well, this time I wanted to apply a printed image like I did in my French Vintage Chair makeover which came out so beautiful. But this time things went haywire…
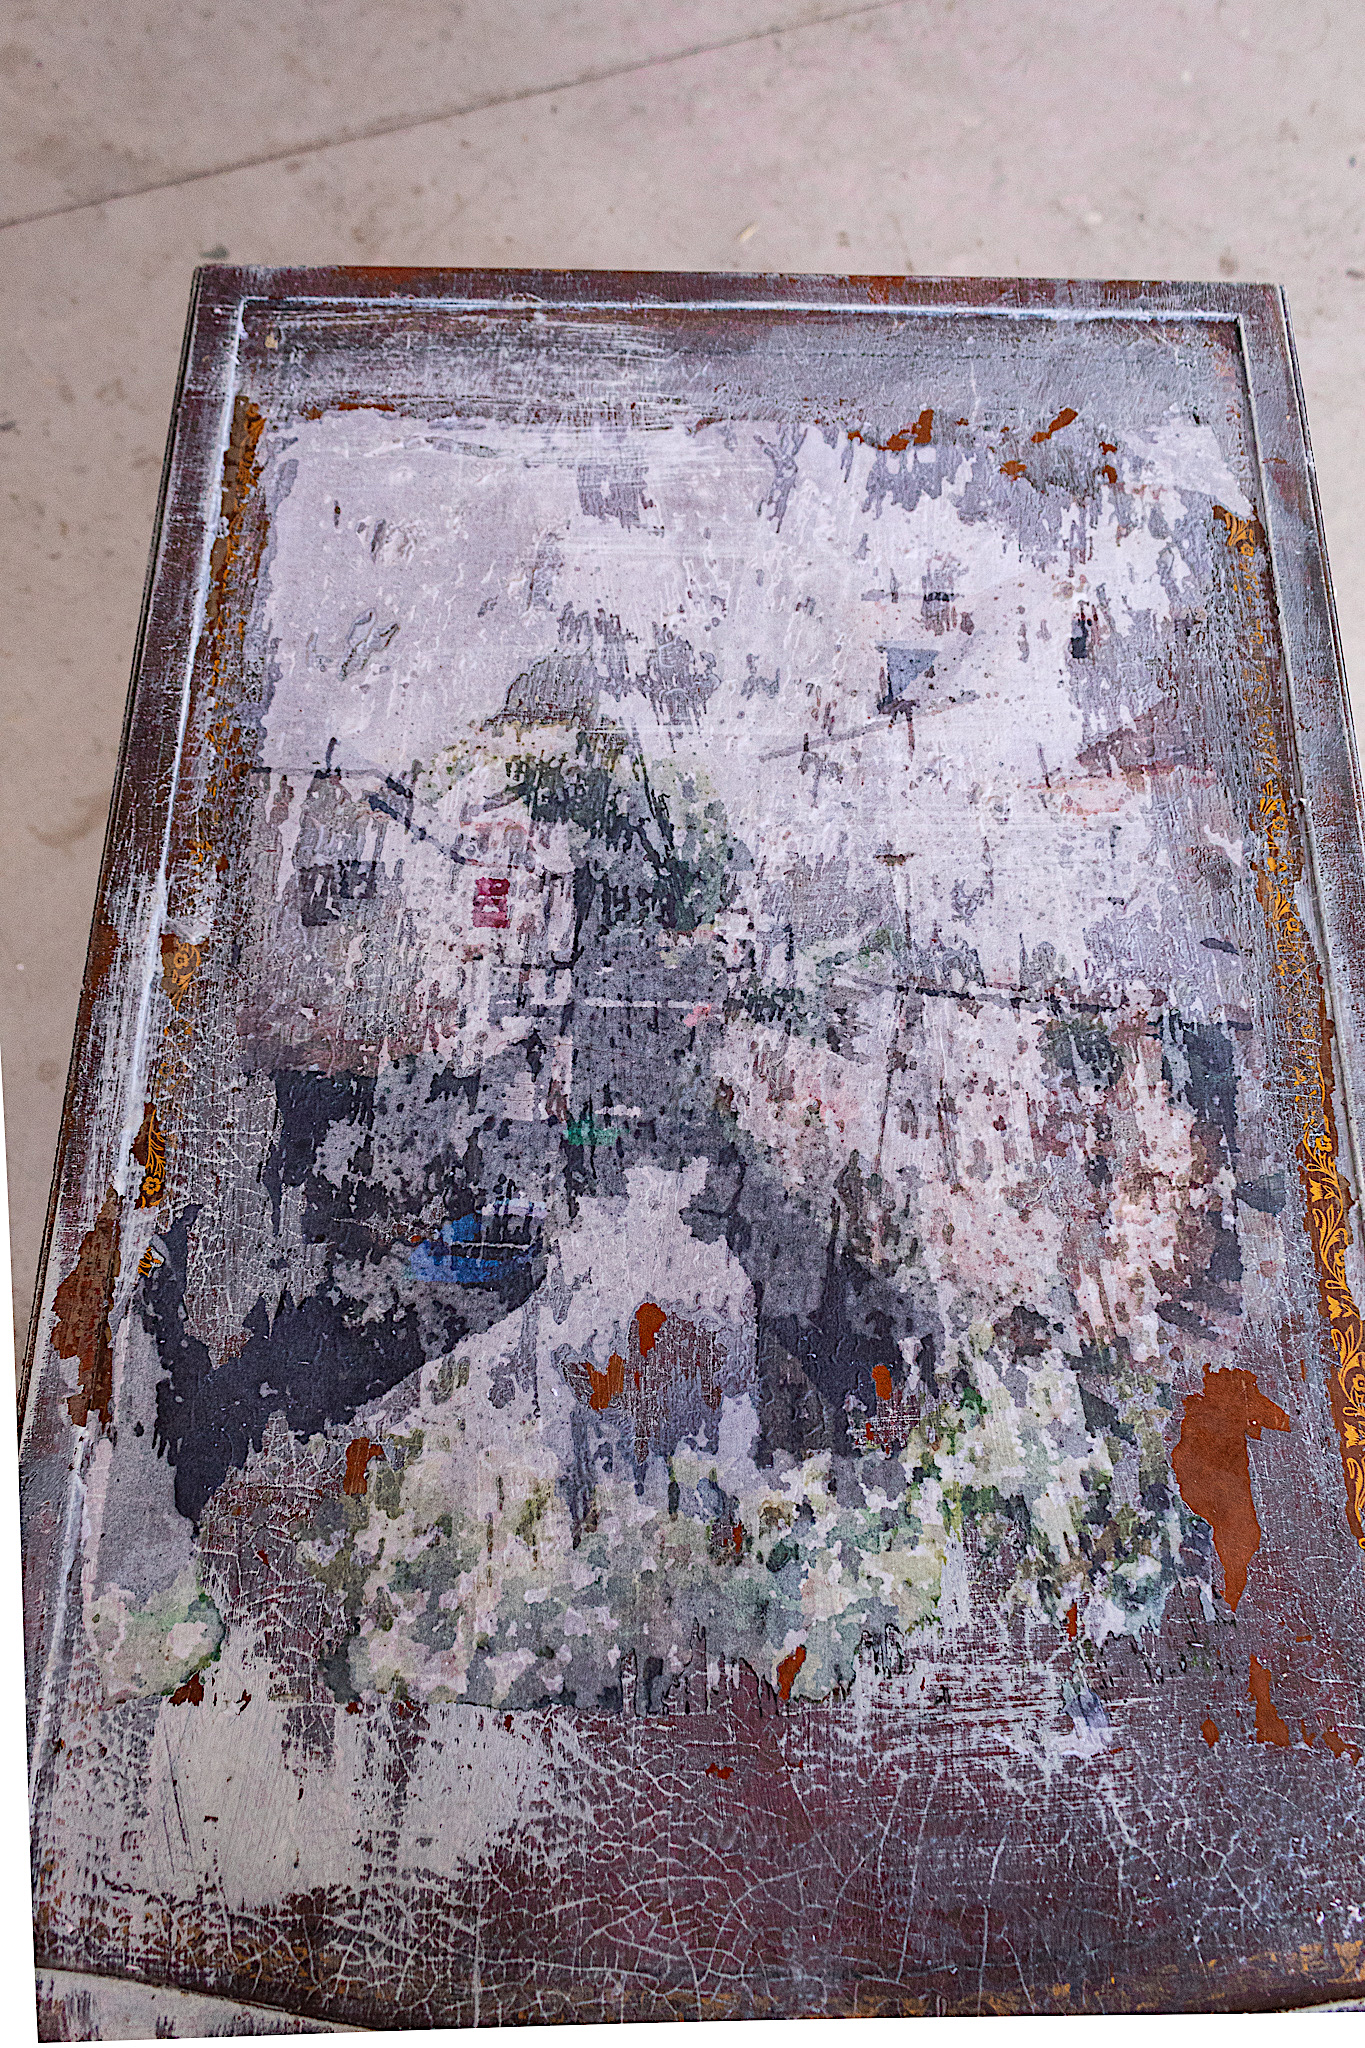
When I went to rub the paper and transfer glue off of my print, the paper came off while pulling the ink off with it. If I applied less pressure, then the ink stayed on the piece but the image was completely hazed over.
I think my main mistake was in not thinning out the paper. The printing place put my image on really thick stock paper. I think they thought they were doing me a favor…
Dainty Gifts shares a great video HERE on how to thin your paper using tape. I will definitely be doing this next time. I also used a different transfer medium than I had before. I think I’ll stick to the Liquitex Transfer Gel since it worked so well before.
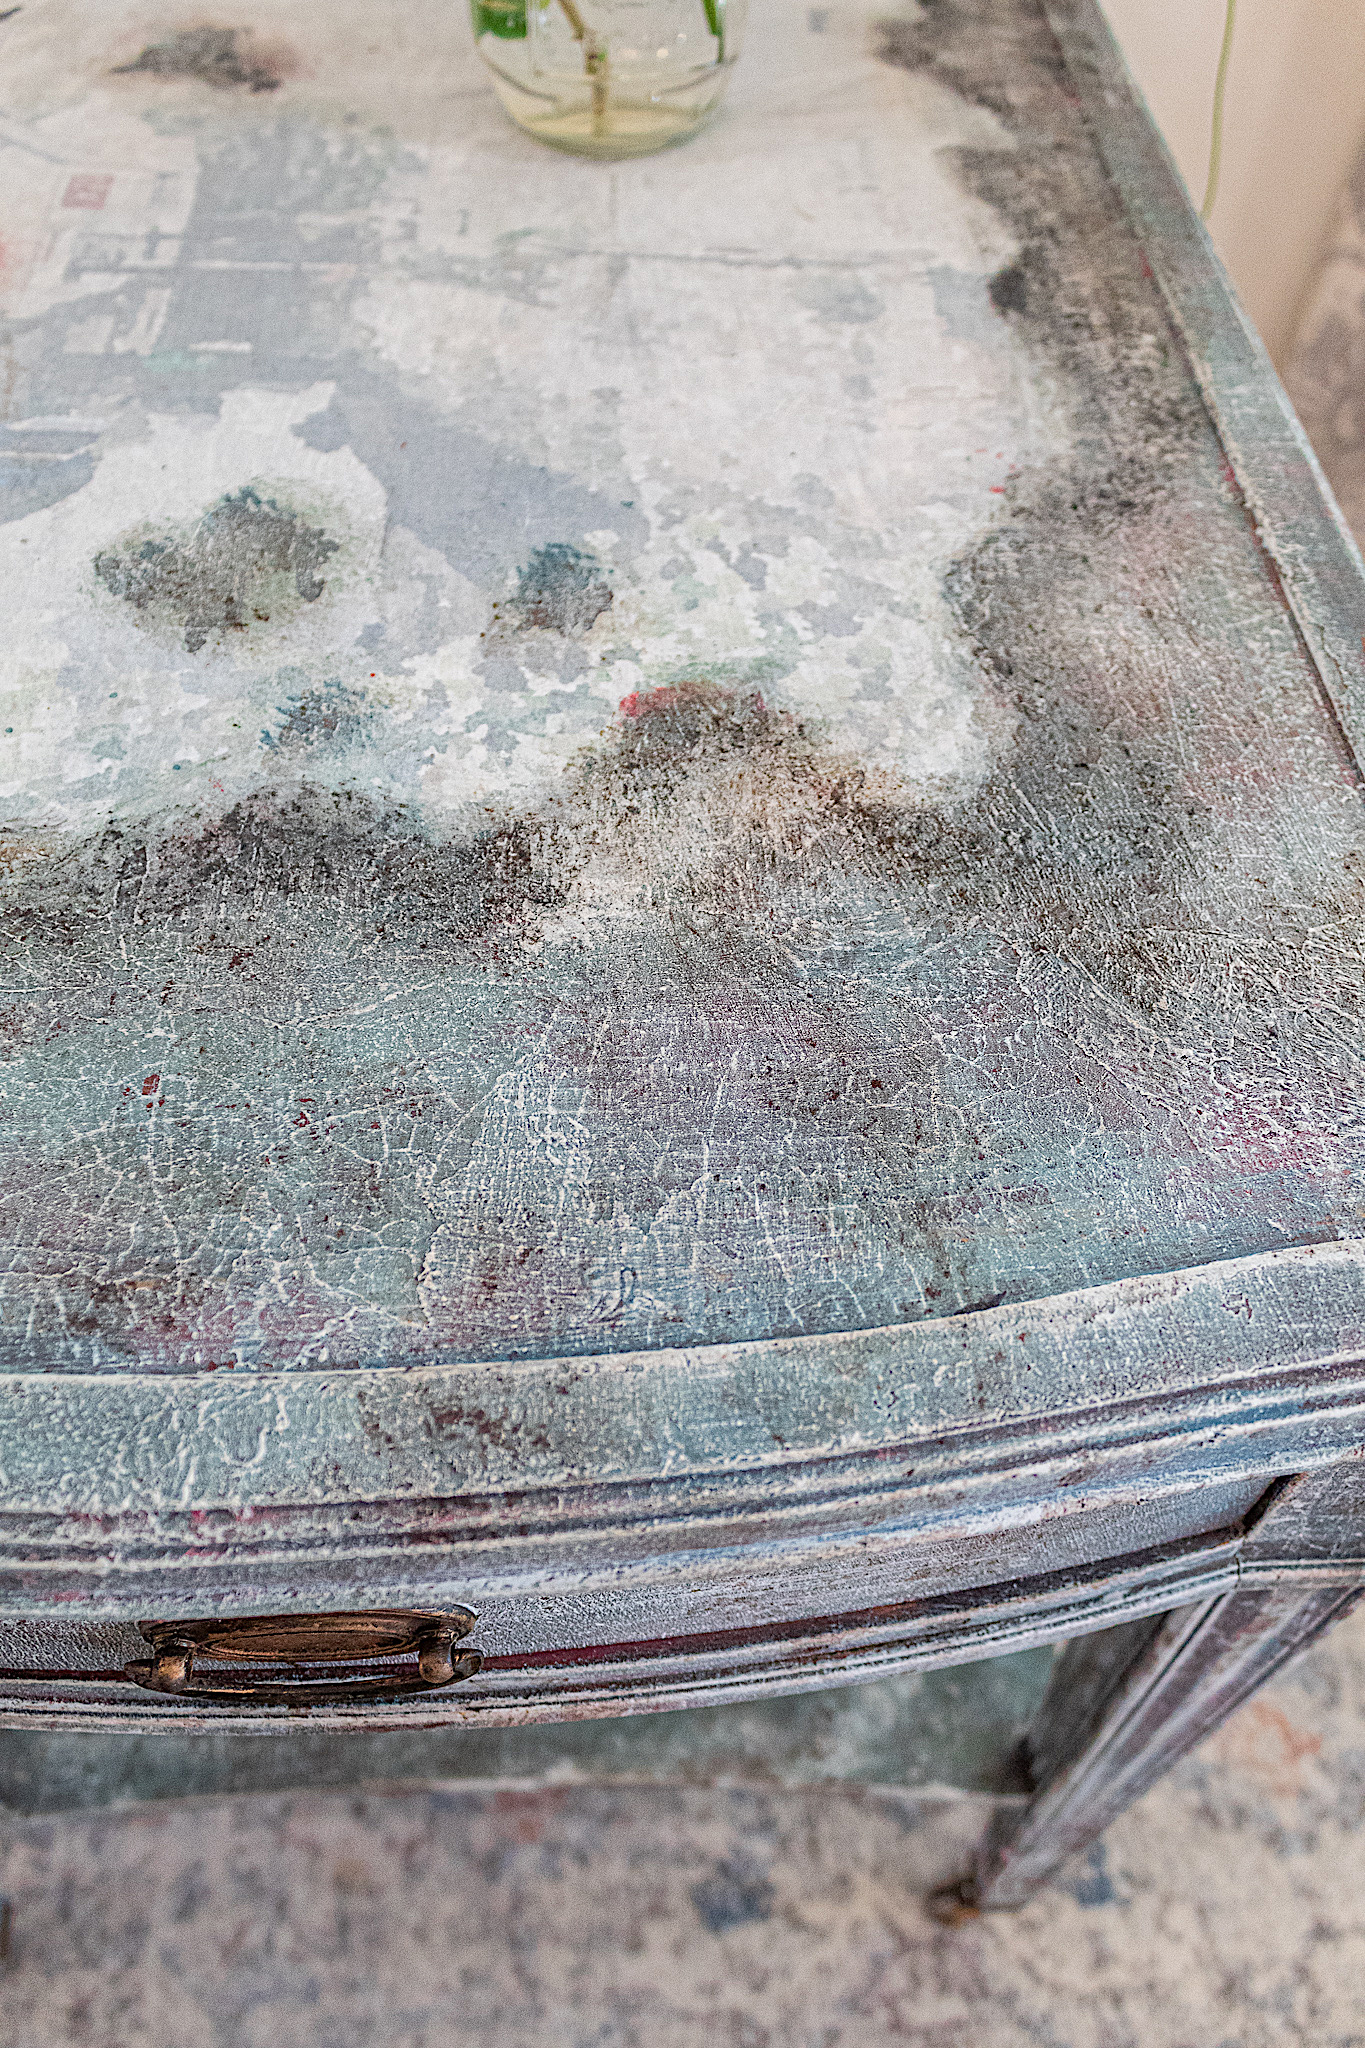
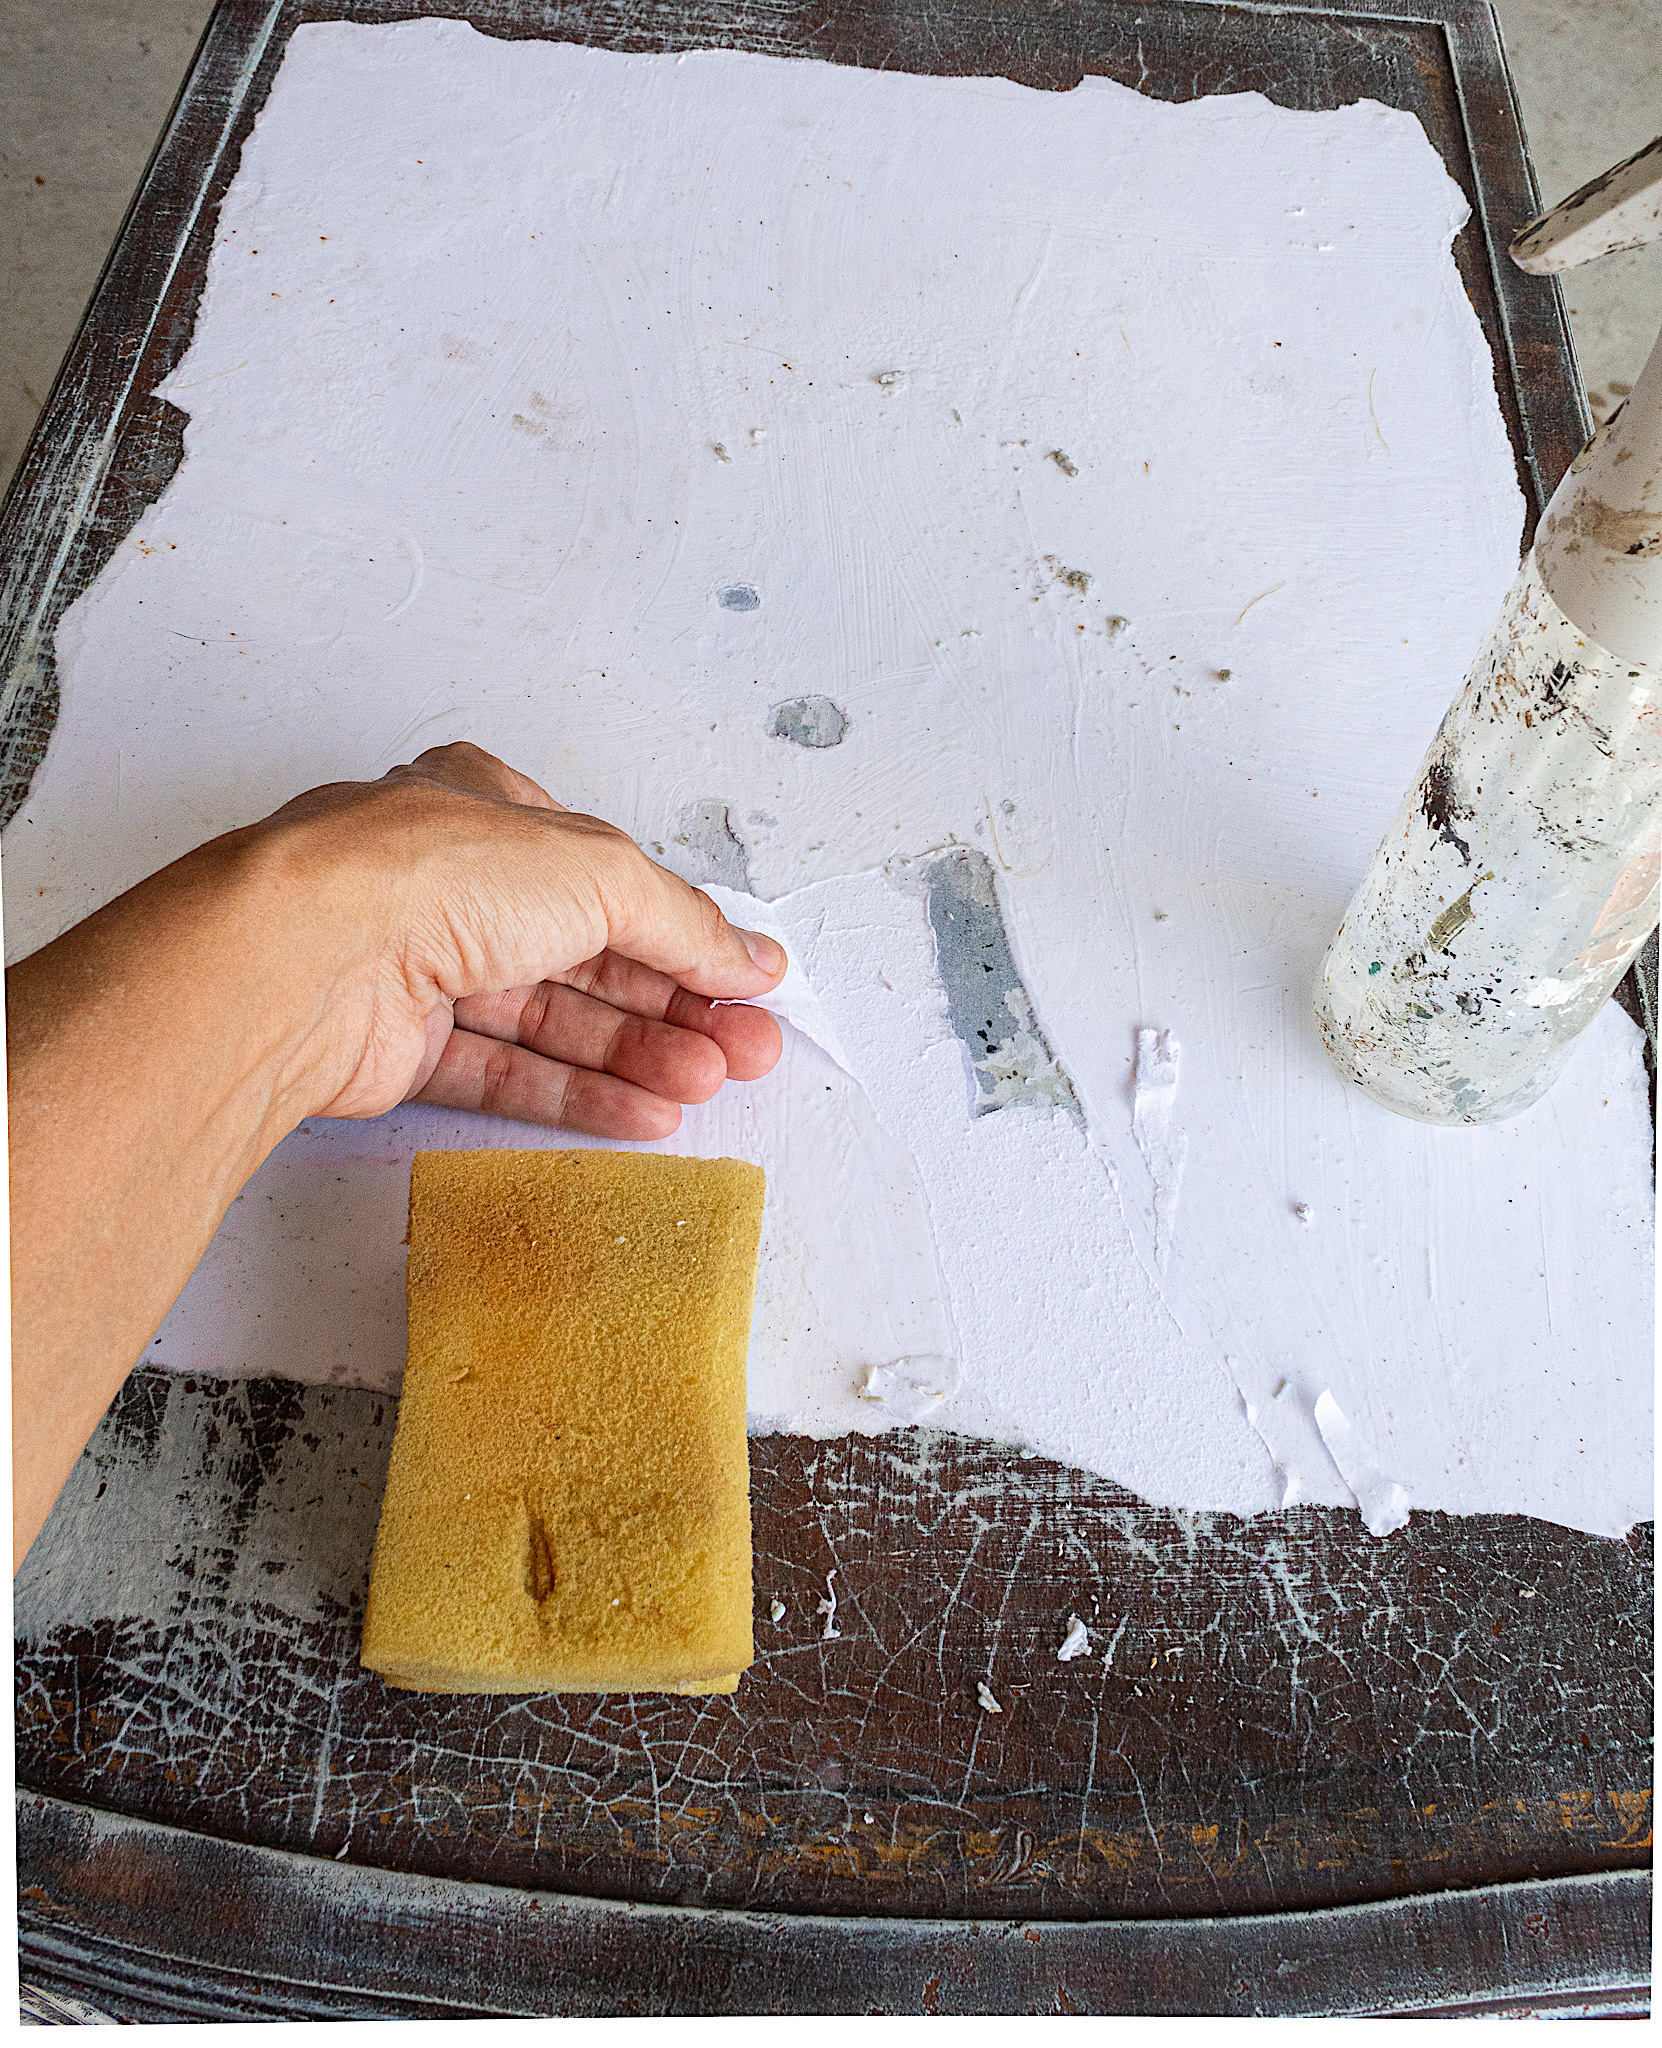
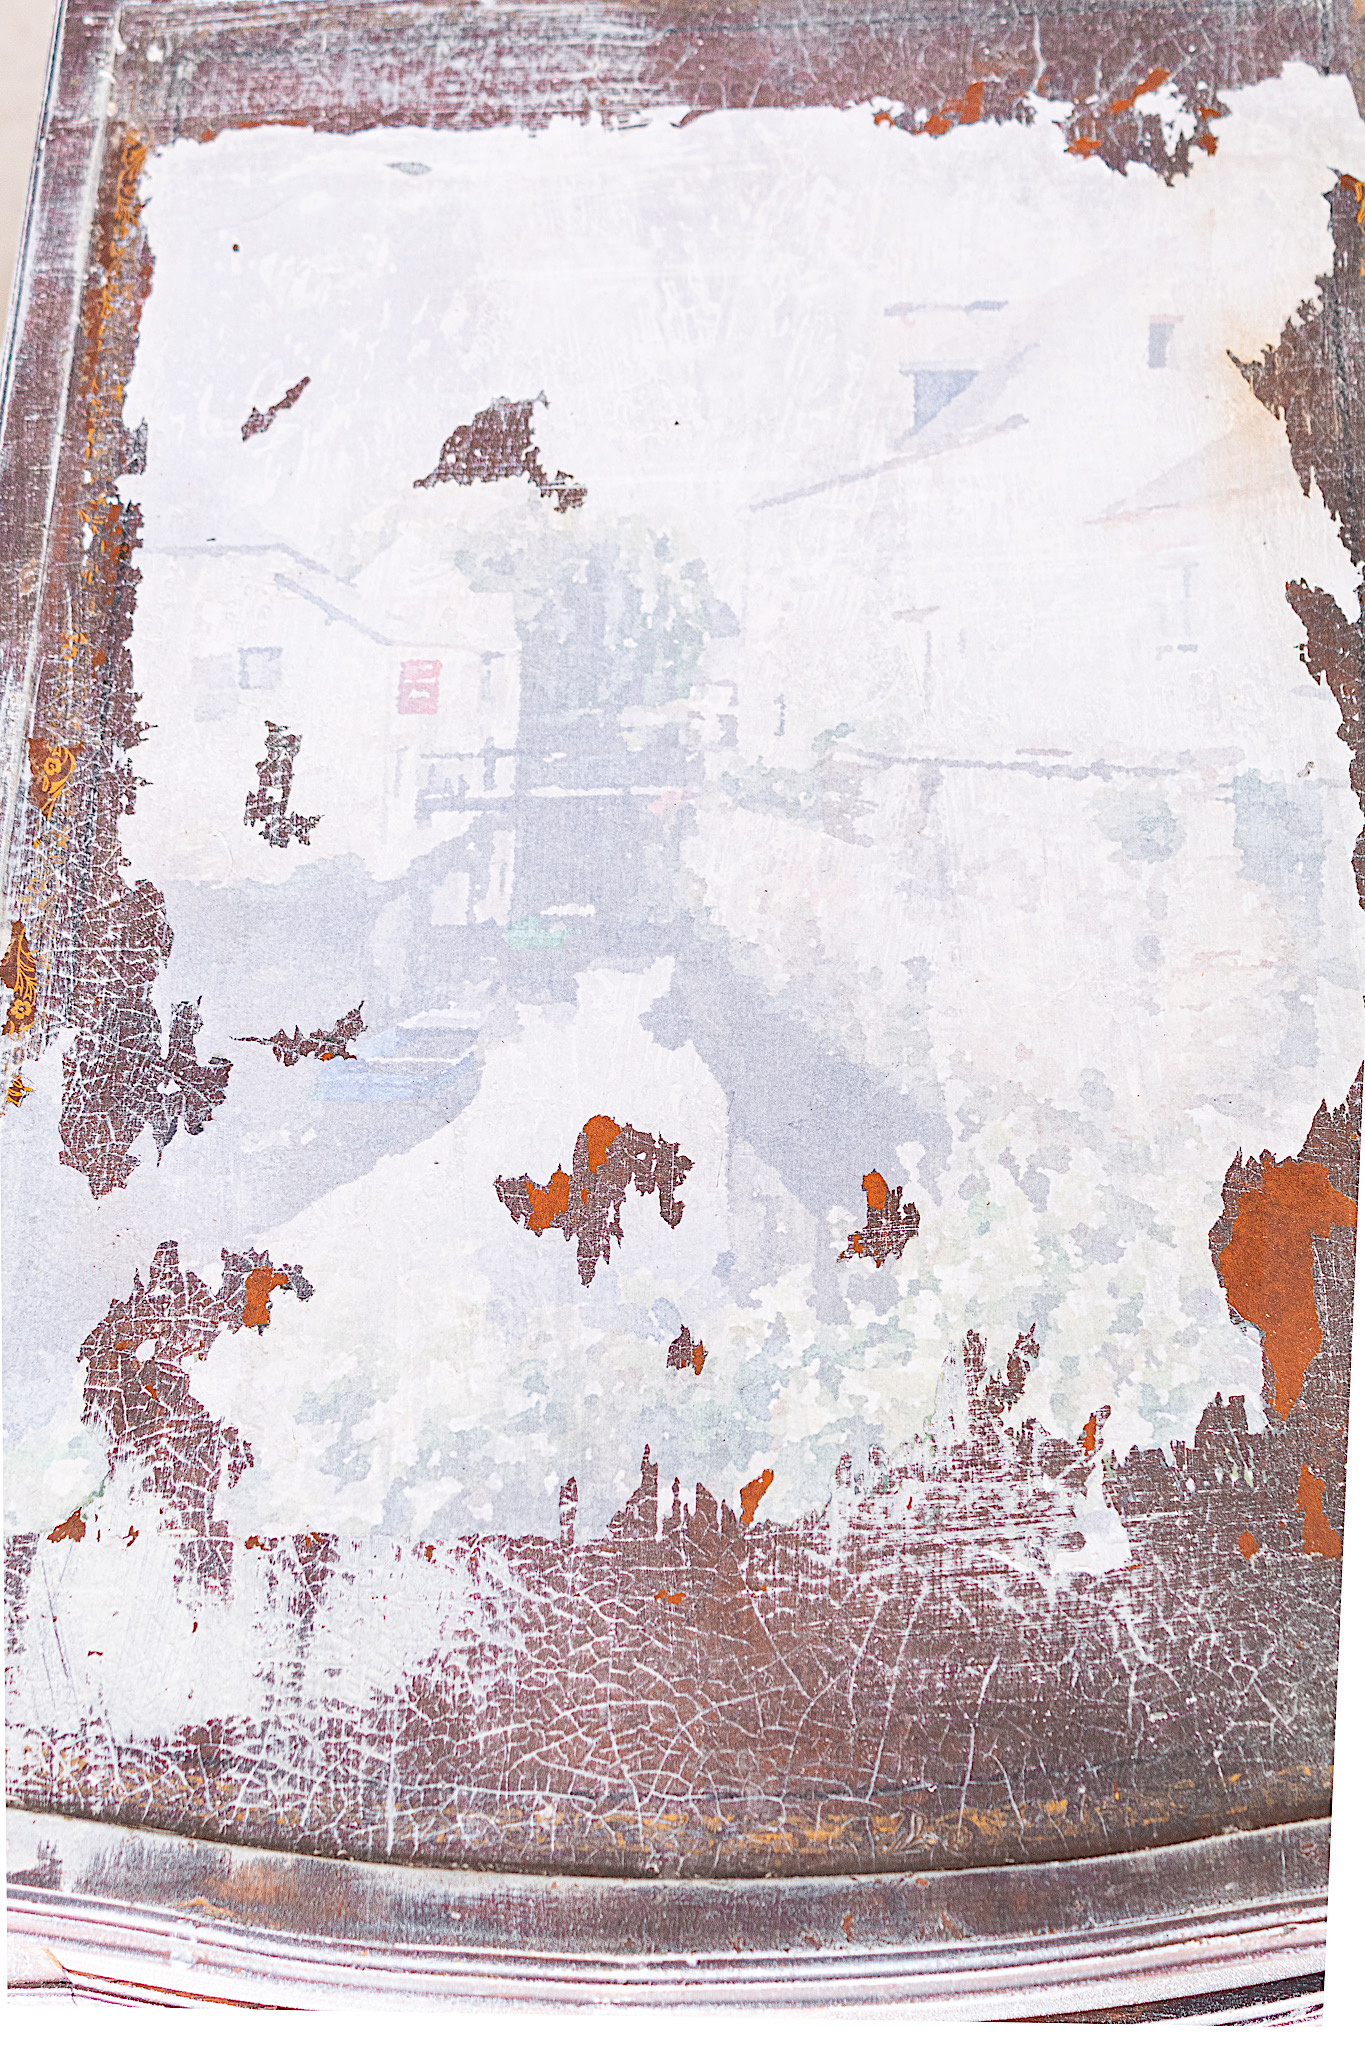
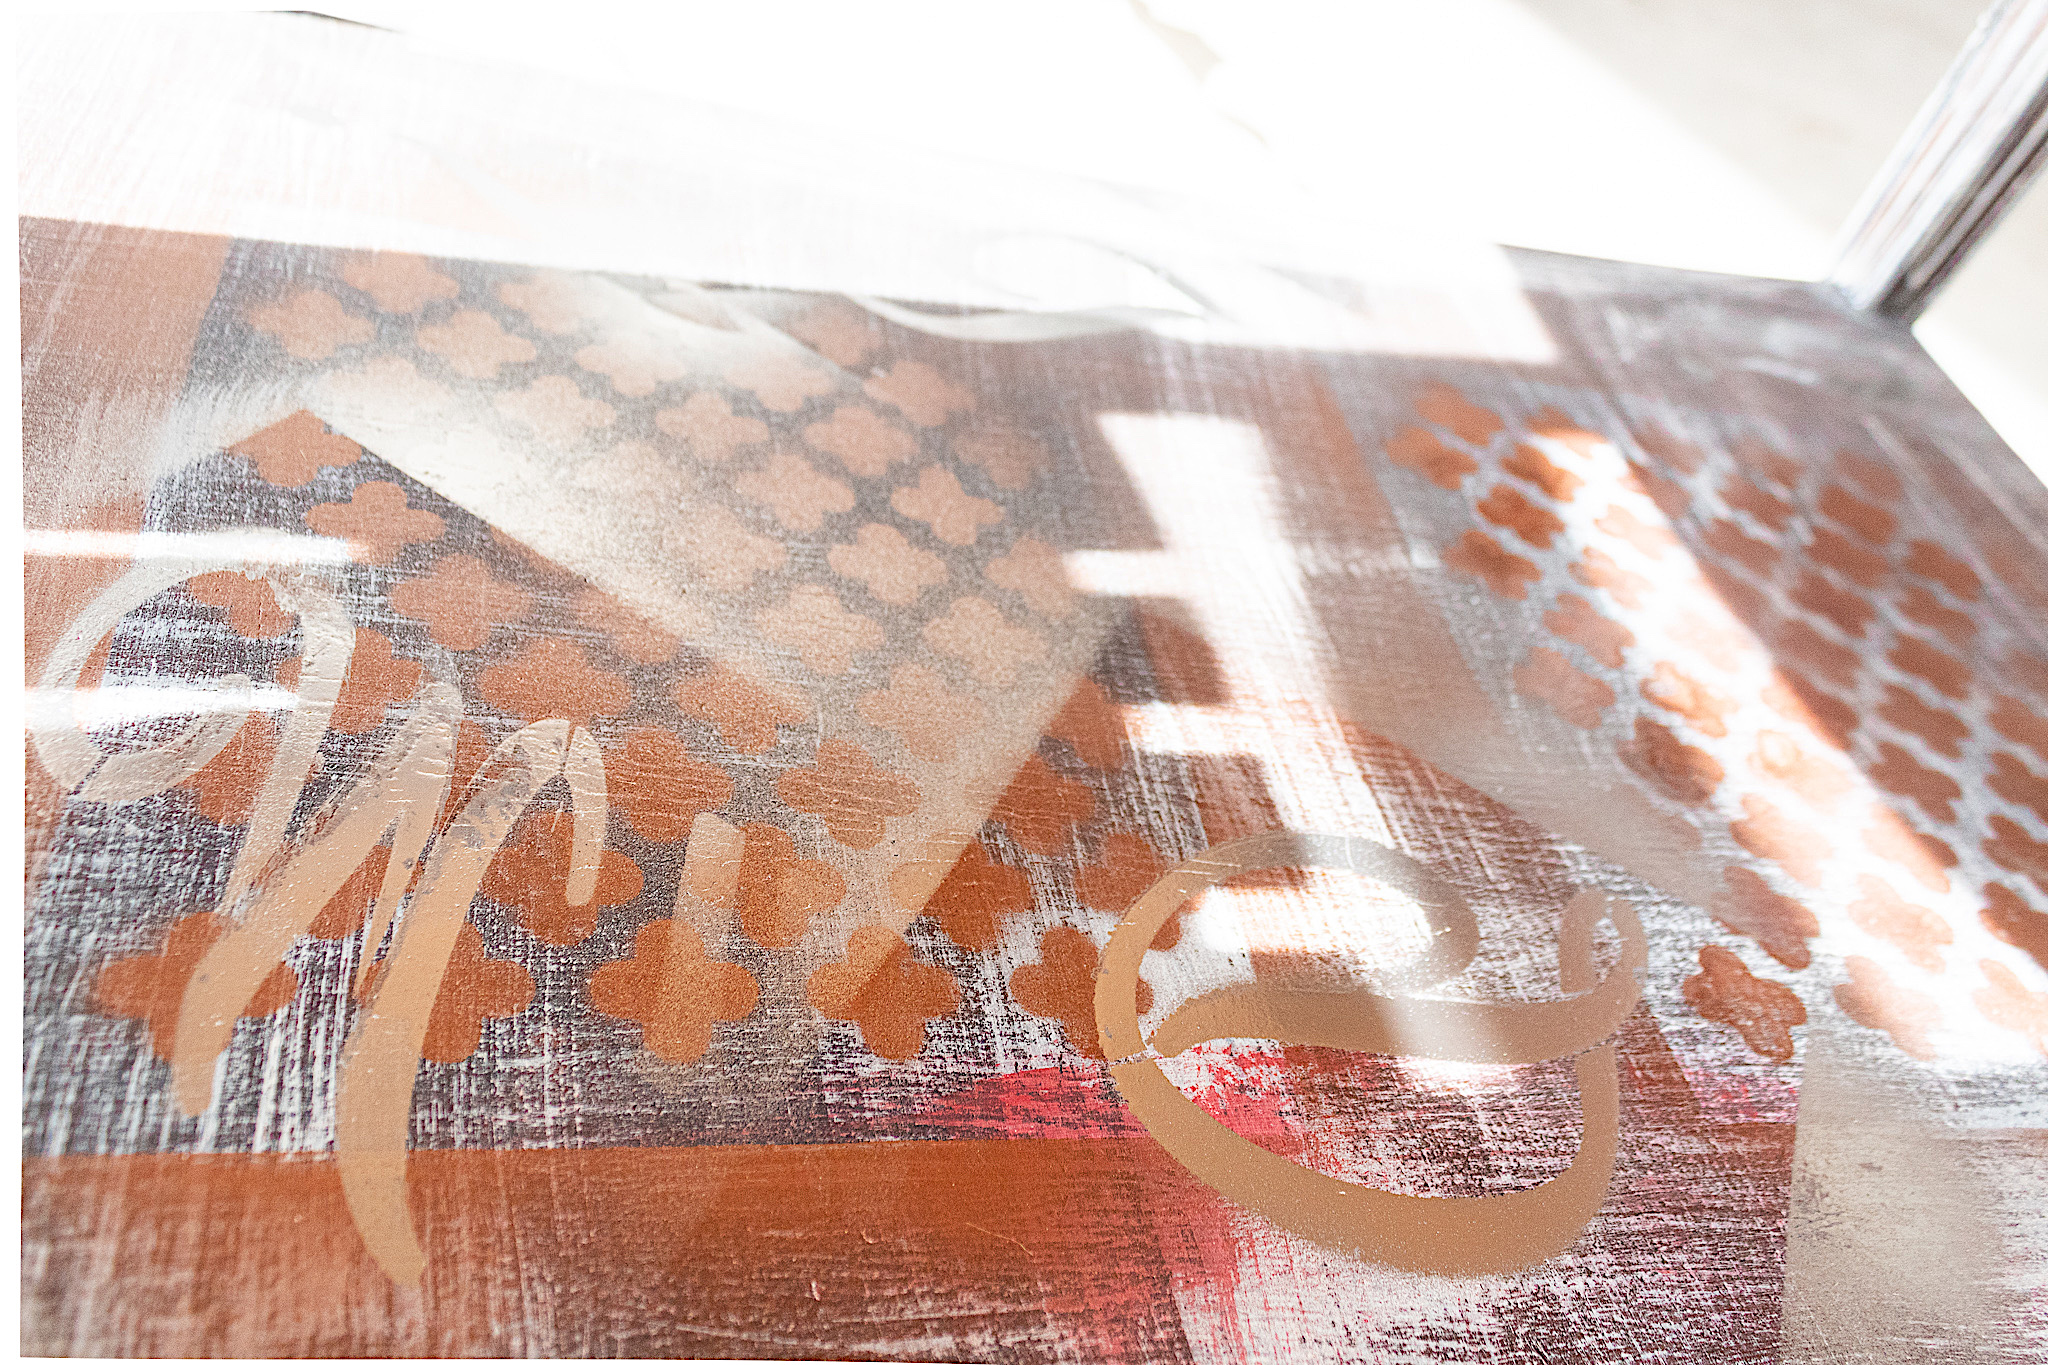
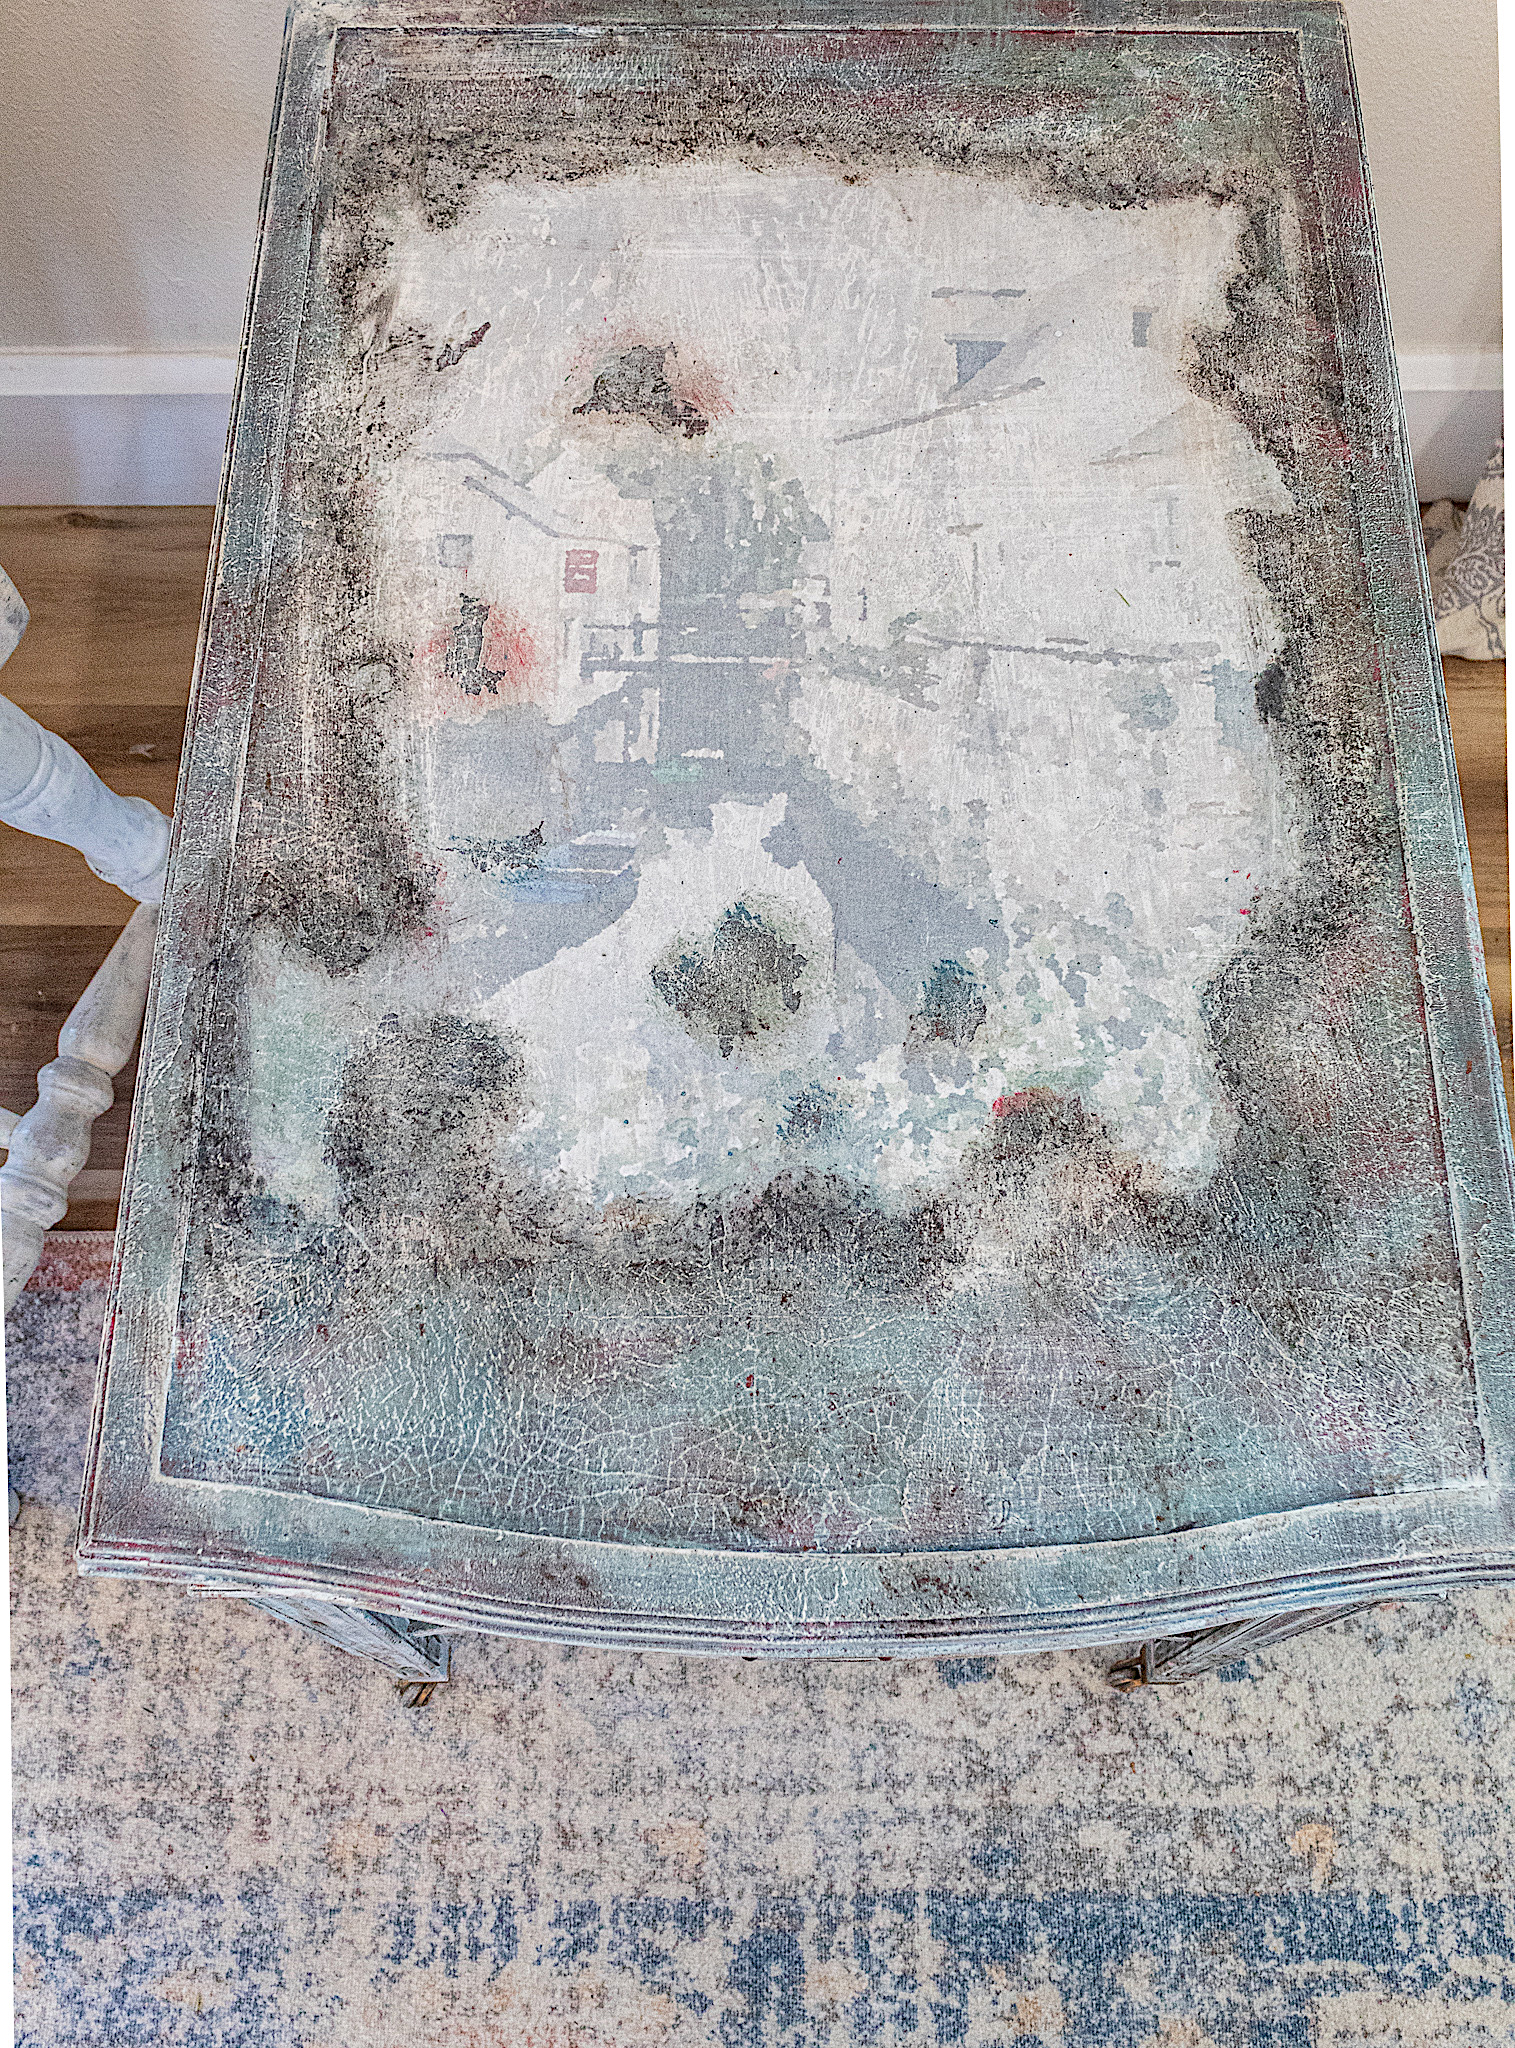
As you can see in the picture, things didn’t quite turn out as planned. This is what it looked like while it was still wet. I actually liked its worn and distressed look. But when it dried it looked like this…
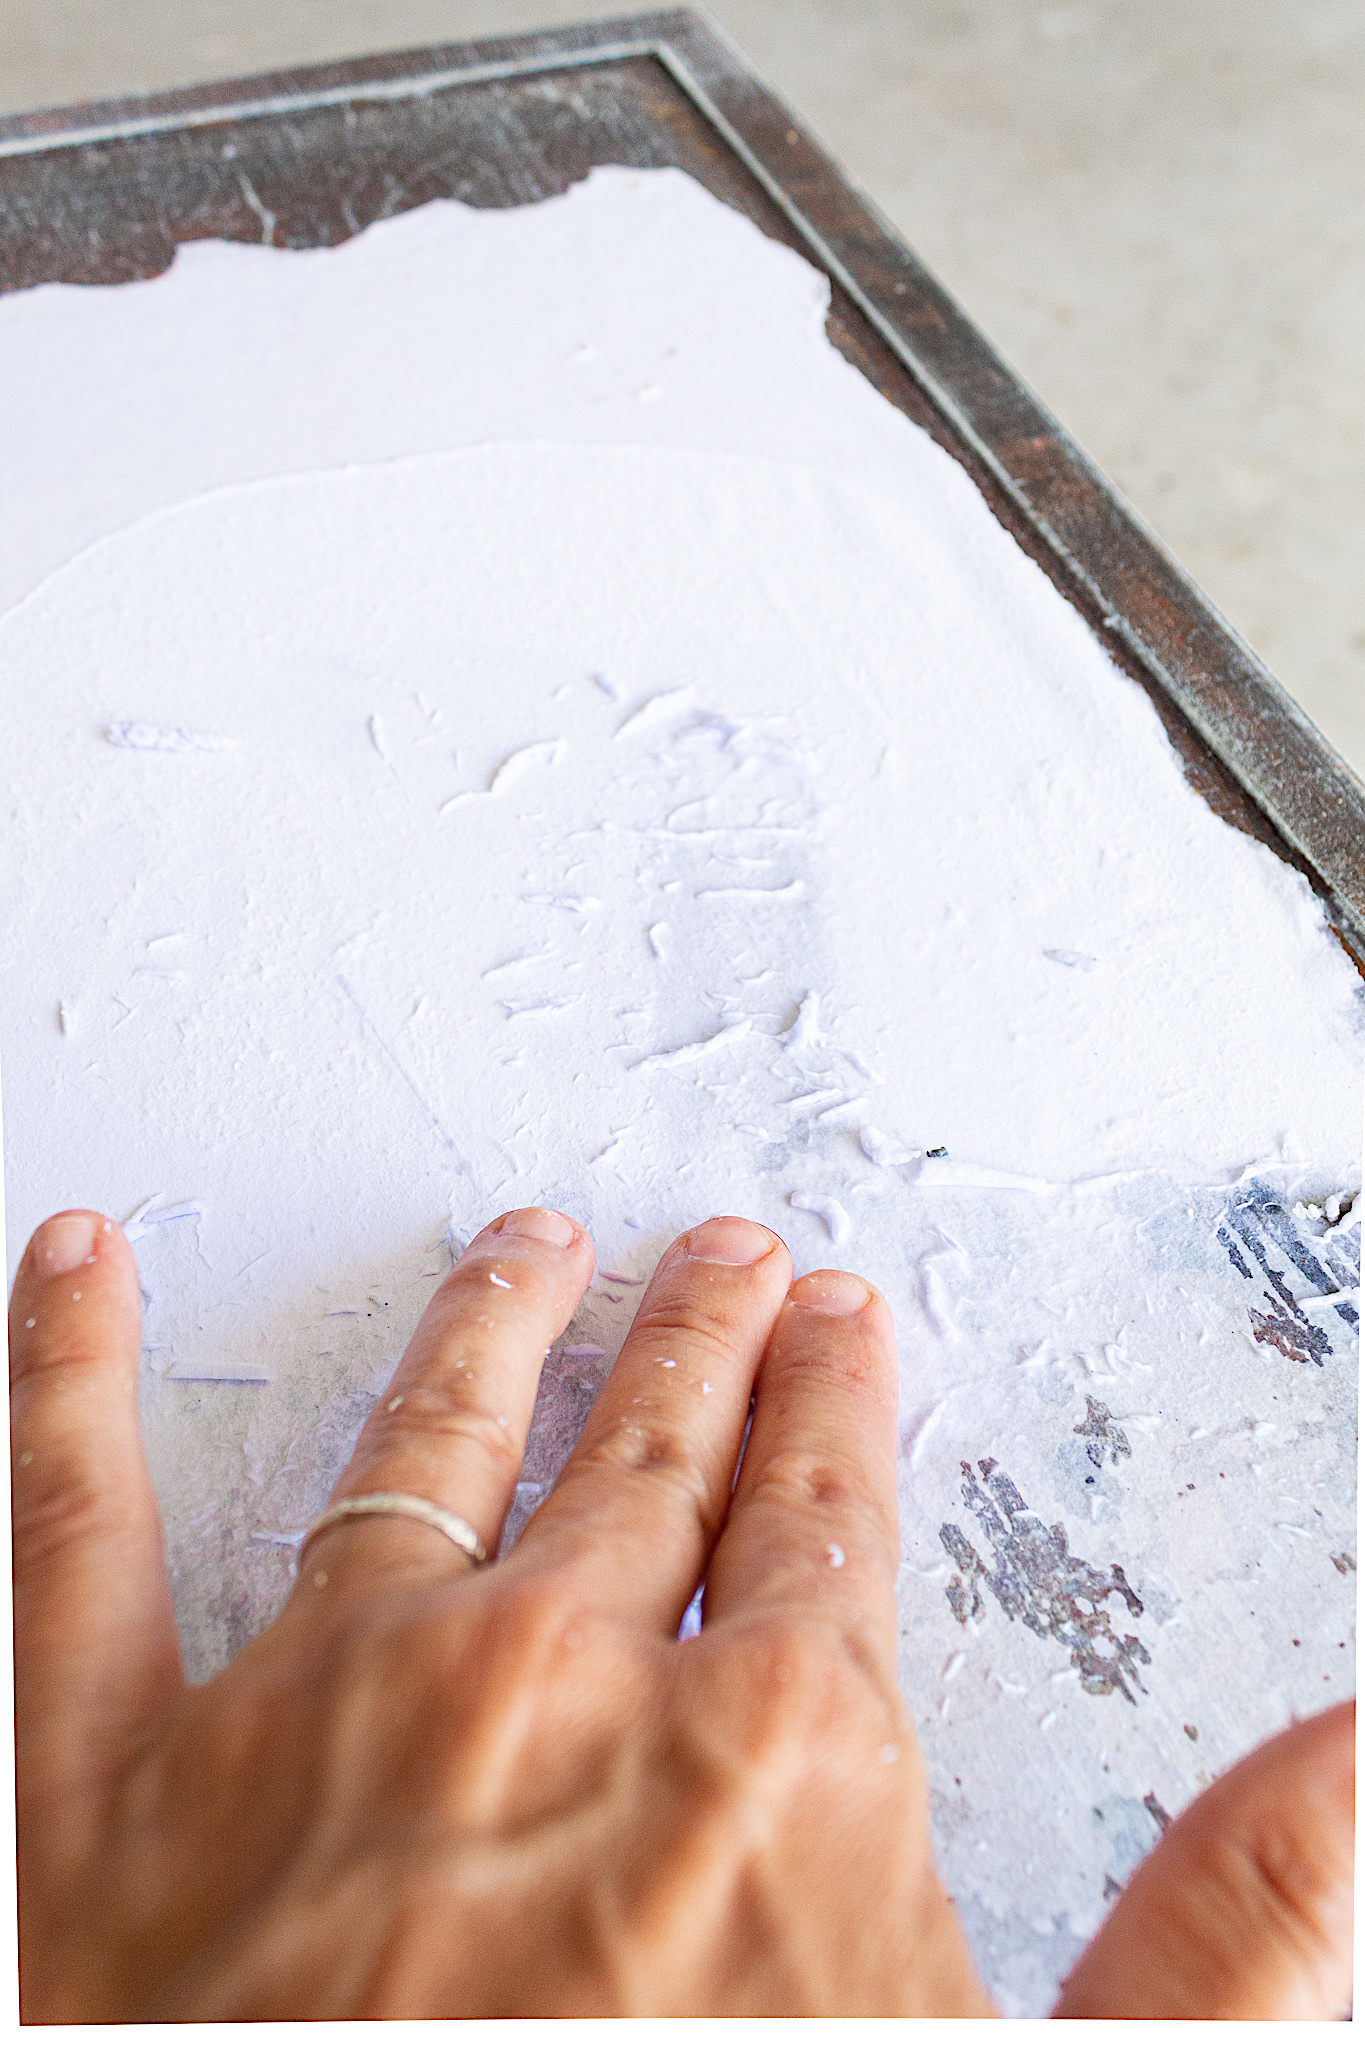
Now neither the image nor the colors were as vivid. I had two choices: sanding it all down and lose the texture effect already achieved on this table or work with what I had.
I personally like when things take a turn because it challenges me creatively. I decided to work with the print. So now I would now continue with my paint layering.
4. Continue With More Paint Layering
Up until now I’ve only applied two layers of paint, my black and my white. And brown from the wood also counts as a layer because it will be another lovely color that comes through.
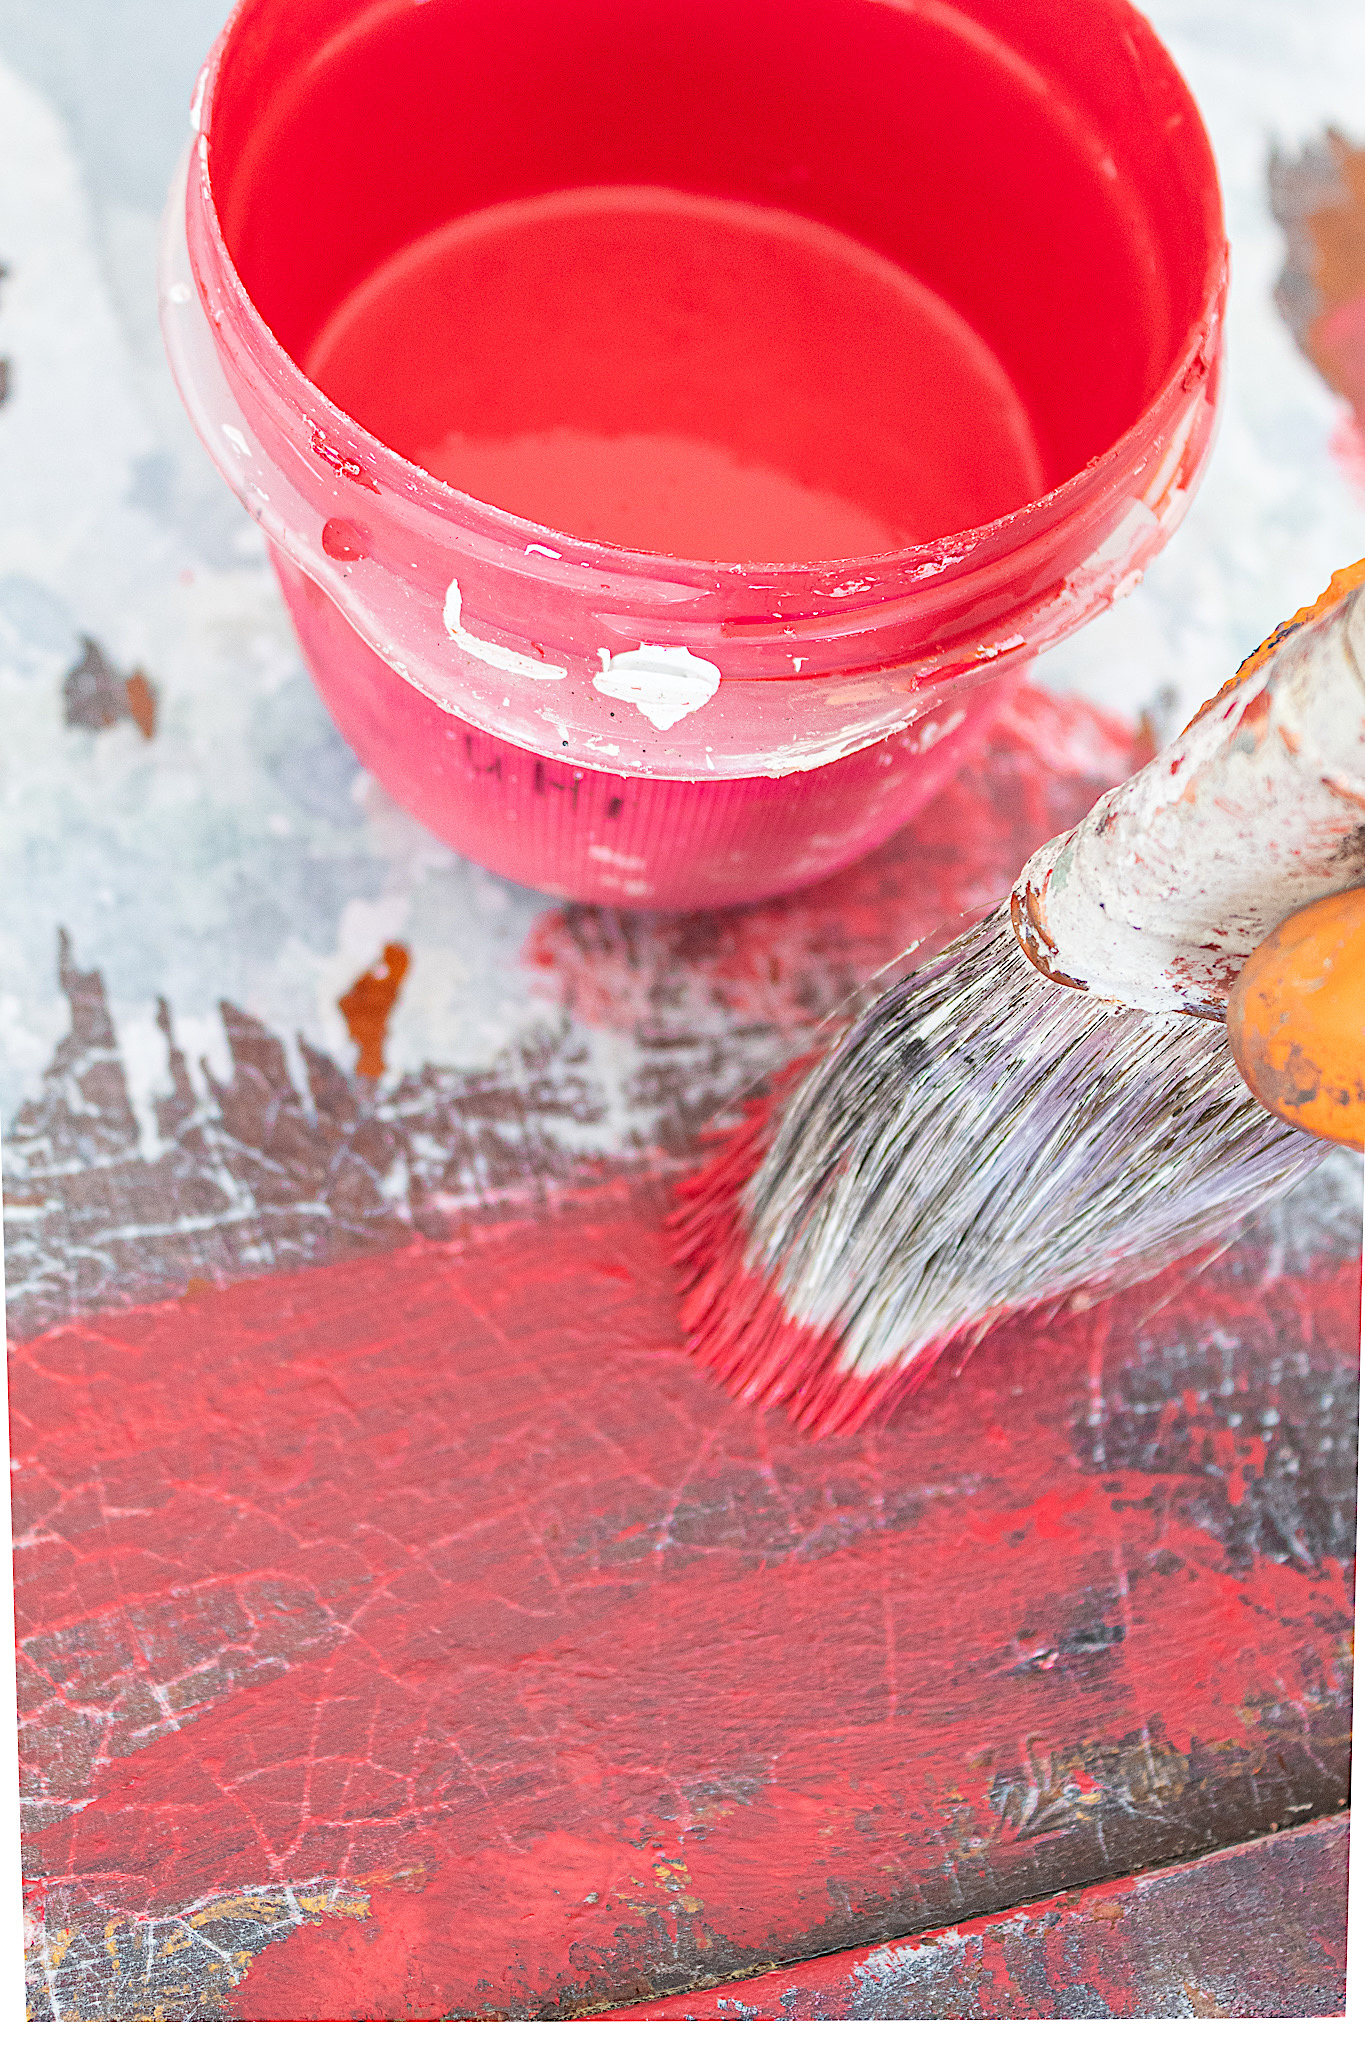
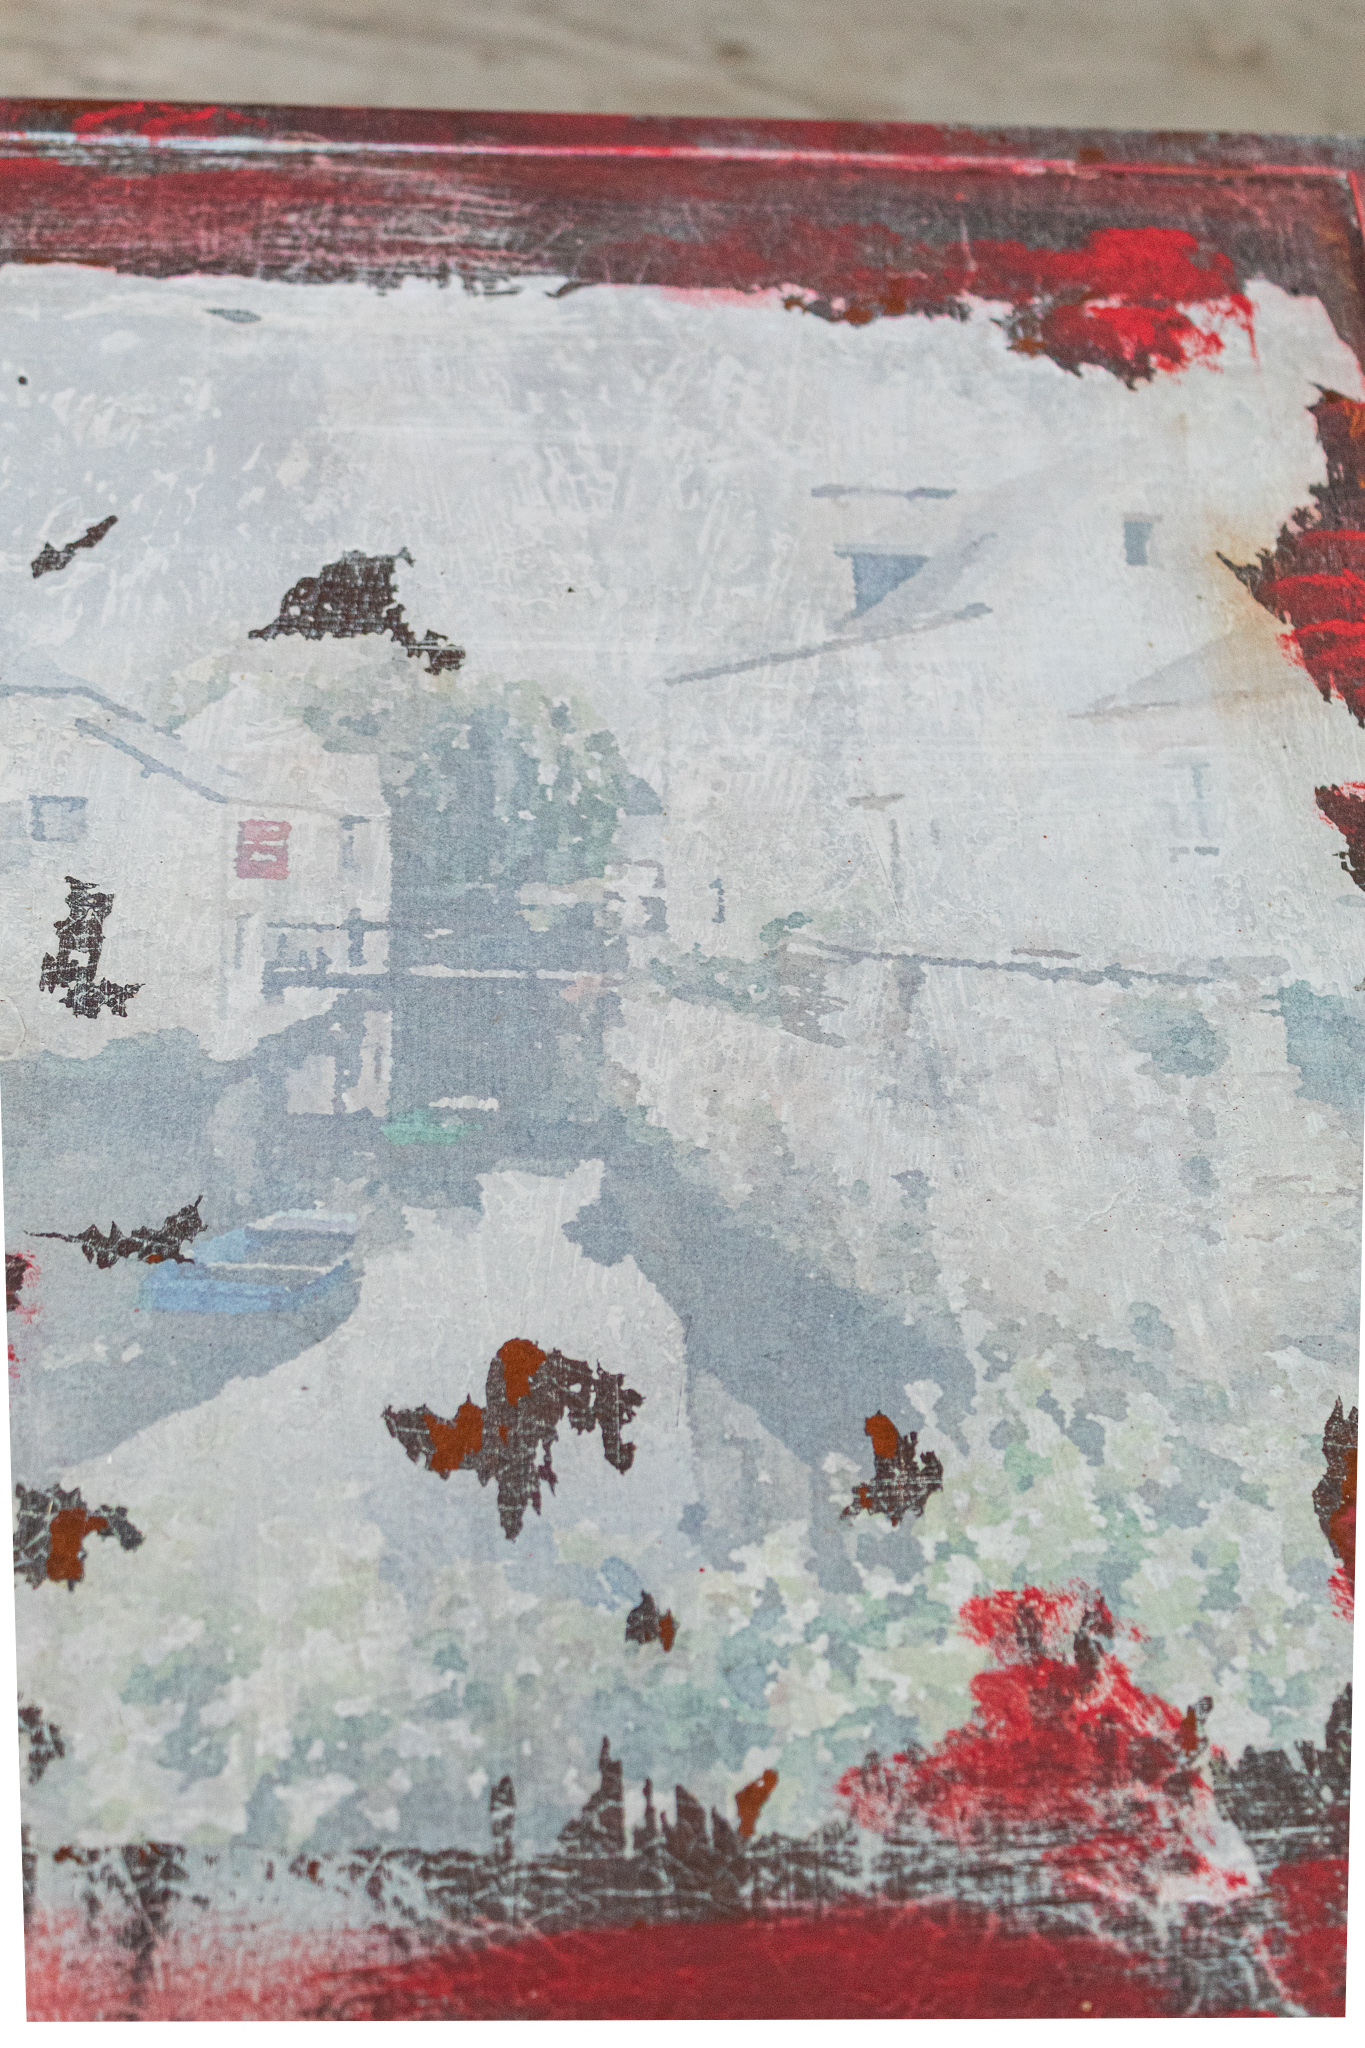
I picked a vibrant red for my next color. I applied it only in random parts and sporadically. The red will serve to add some bursts of color that will be subdued when buried under the other layers.
I know by the looks of the picture above that things look like a bloody mess at this point! But not to worry friends, everything will slowly come together…Paint layering is a process.
After applying my red, I played with some stencils by spray painting a few random patterns and symbols on the bottom shelf of the table.
These also will be buried under paint layers but will add a subtle funky detail which I thought would be fun.
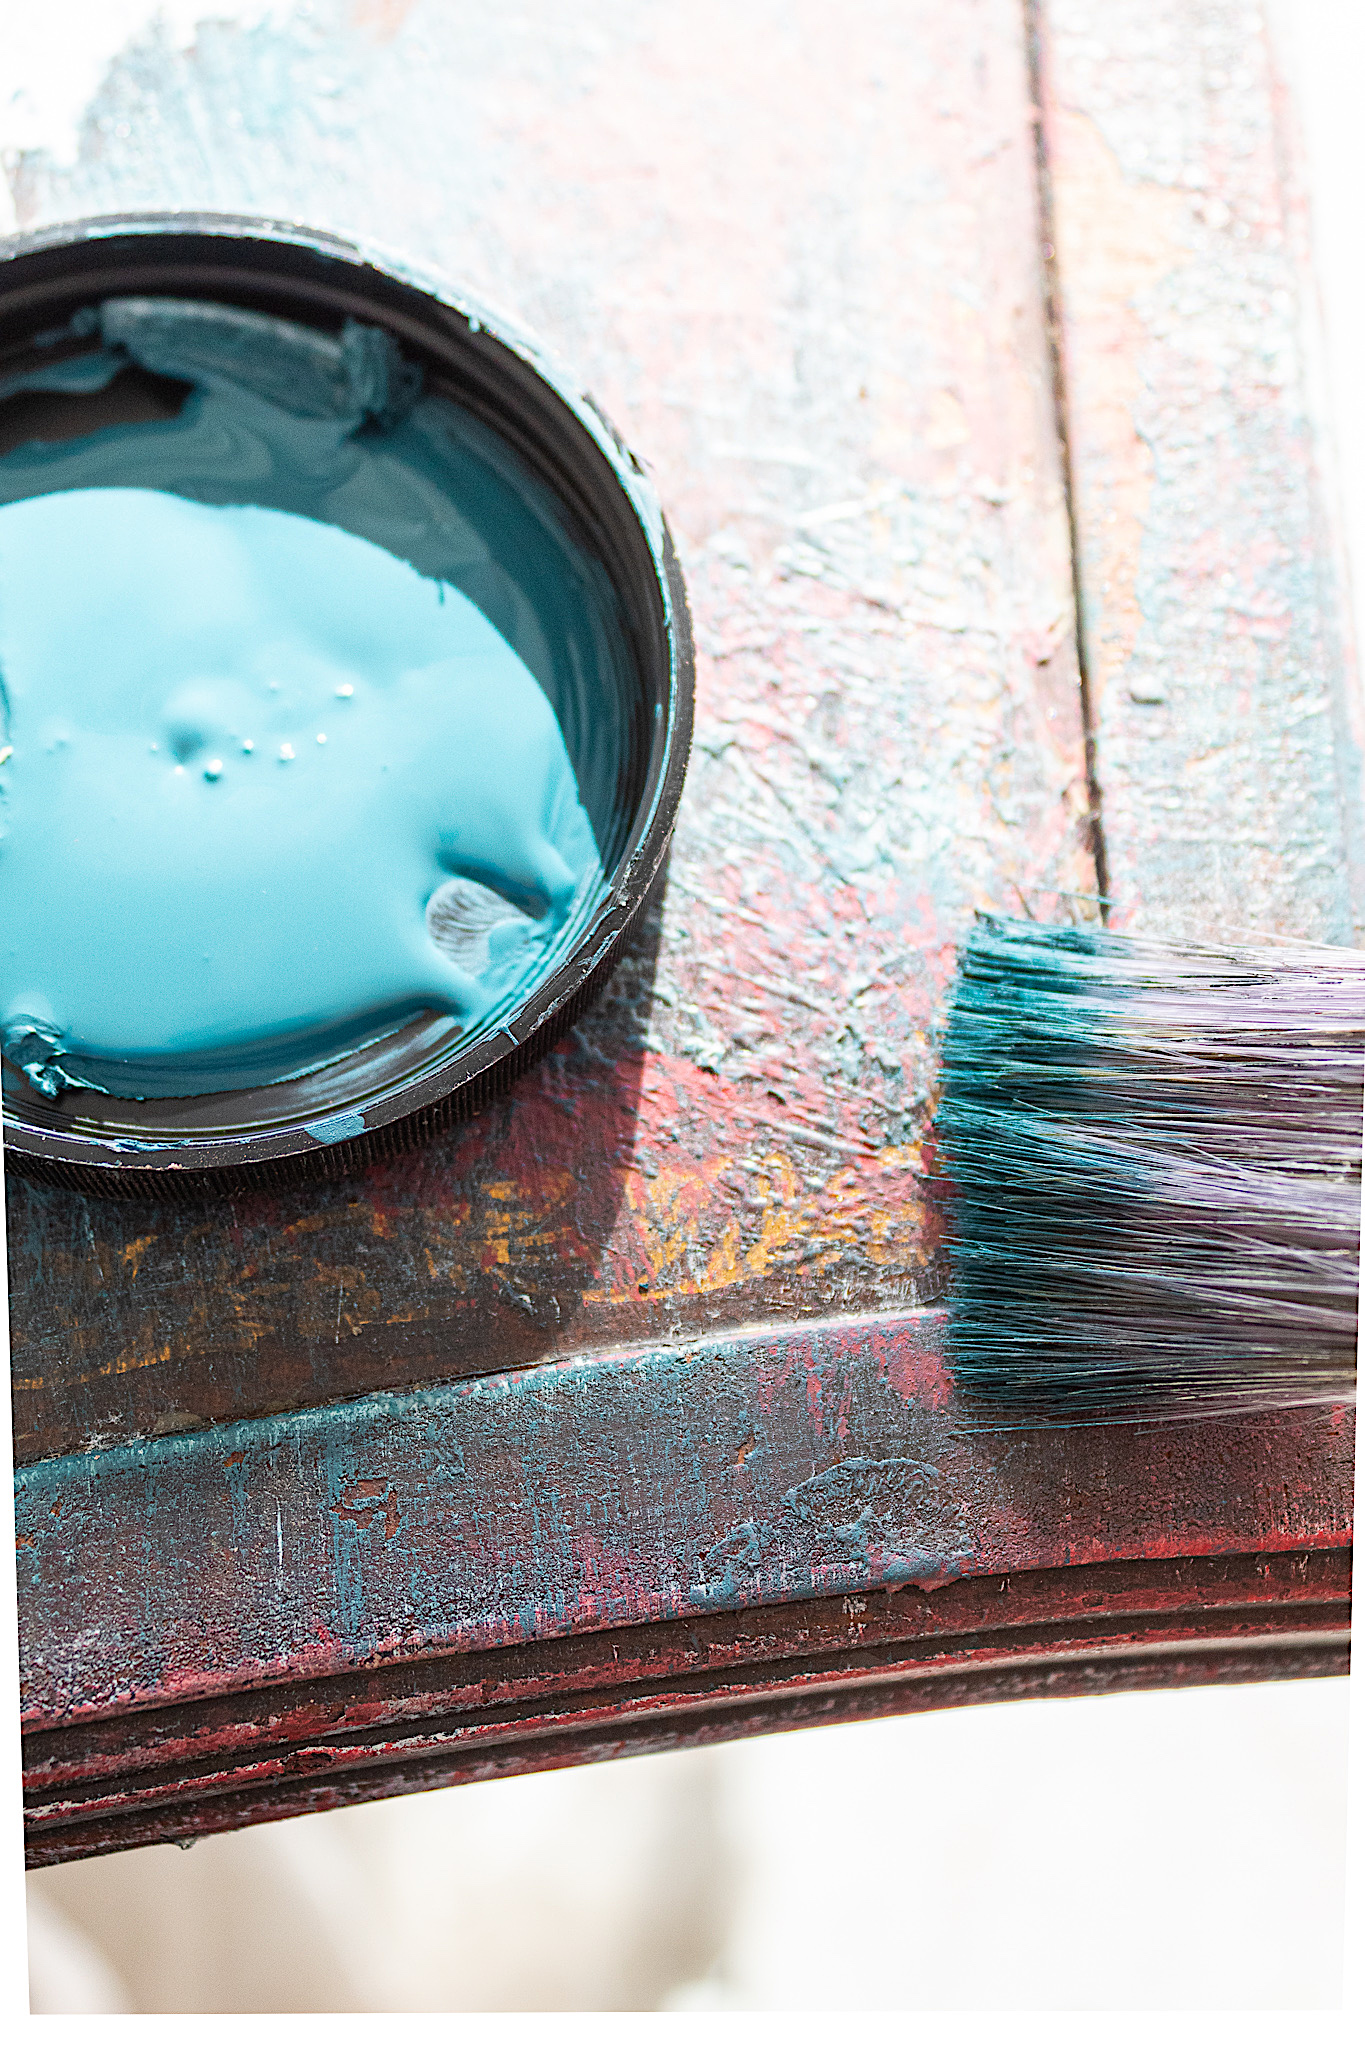
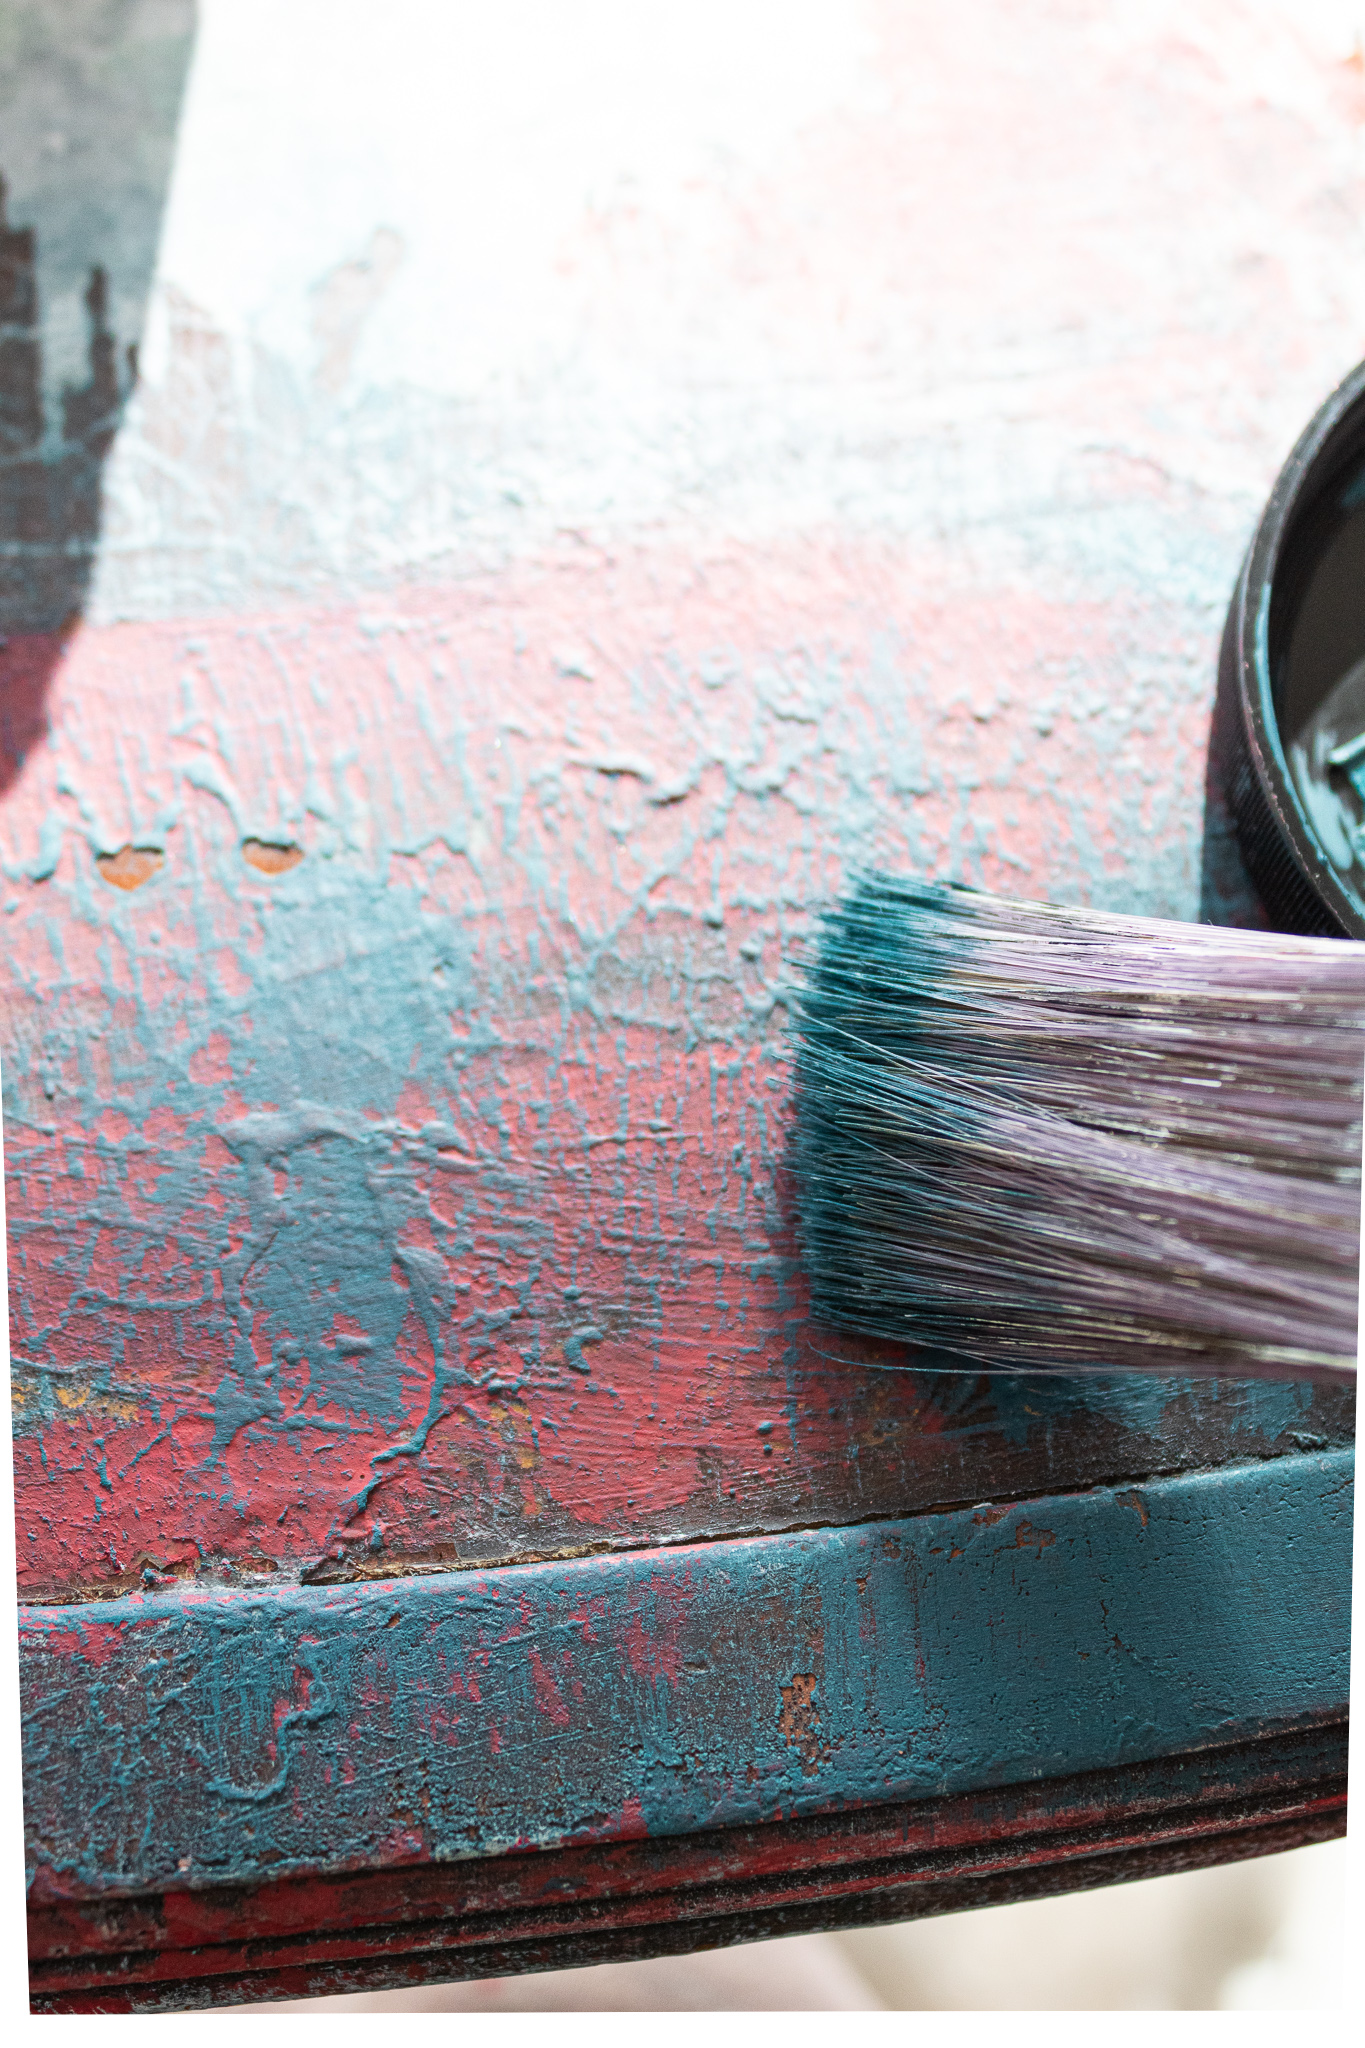
Next came a deep teal color, Dixie Belle’s Antebellum Blue. Now you can really see the beauty of all the layers coming to life. Remember that you don’t need a lot of each paint color. Just a few brush strokes and the texture unfolds before your eyes. I was practically drooling at this point…
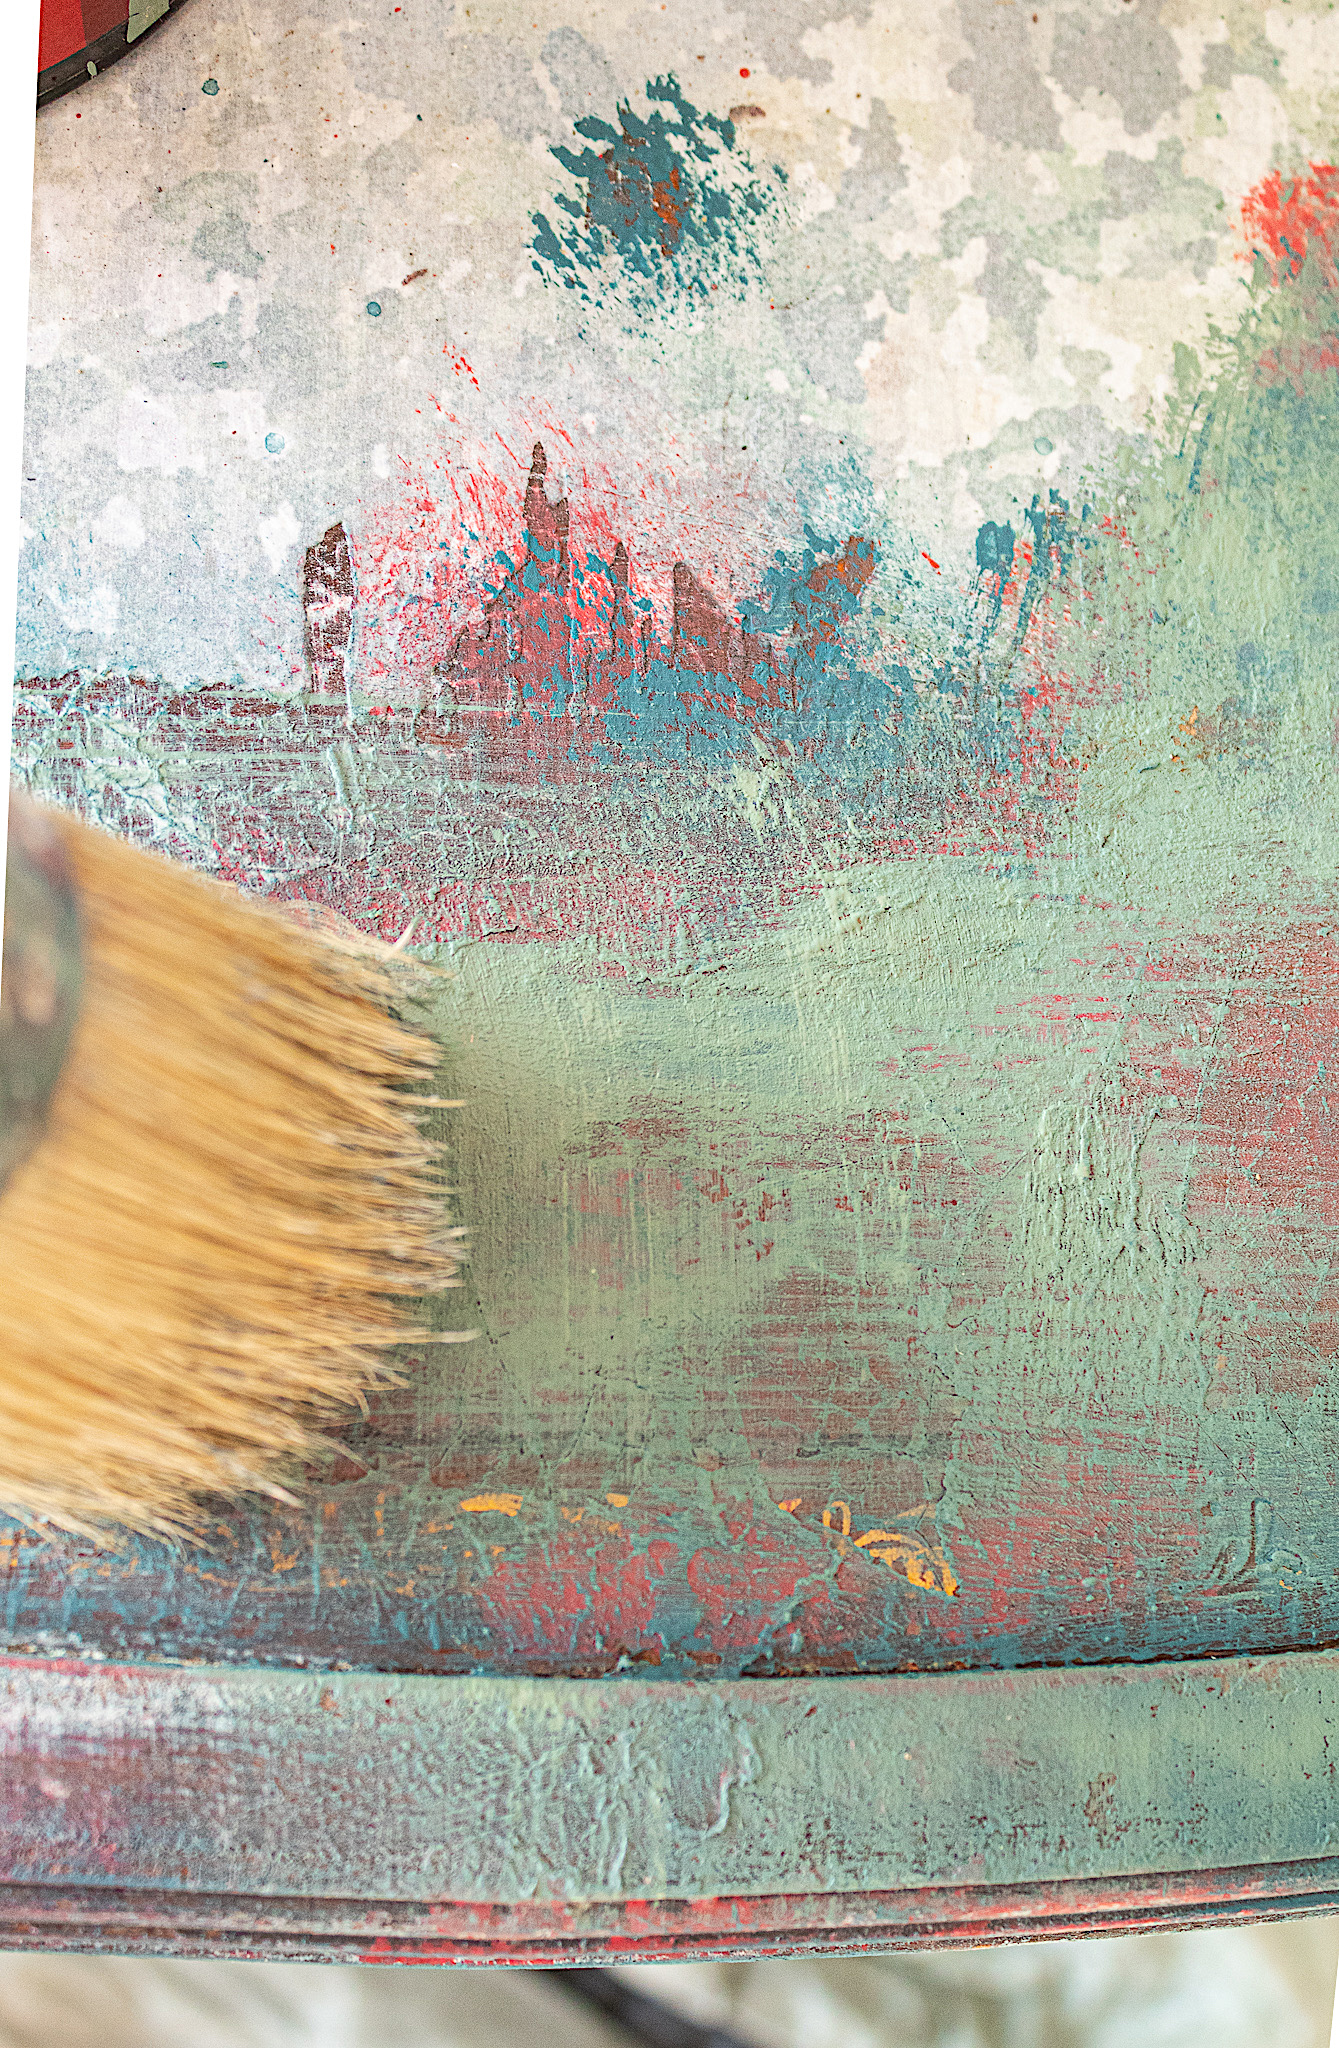
My second to last color was Behr’s Boreal, a minty green.
What do you think so far? Isn’t it looking like vintage yumminess? But we still have one more color to bring a cohesive look to the finish of this piece.
Final Paint Color...
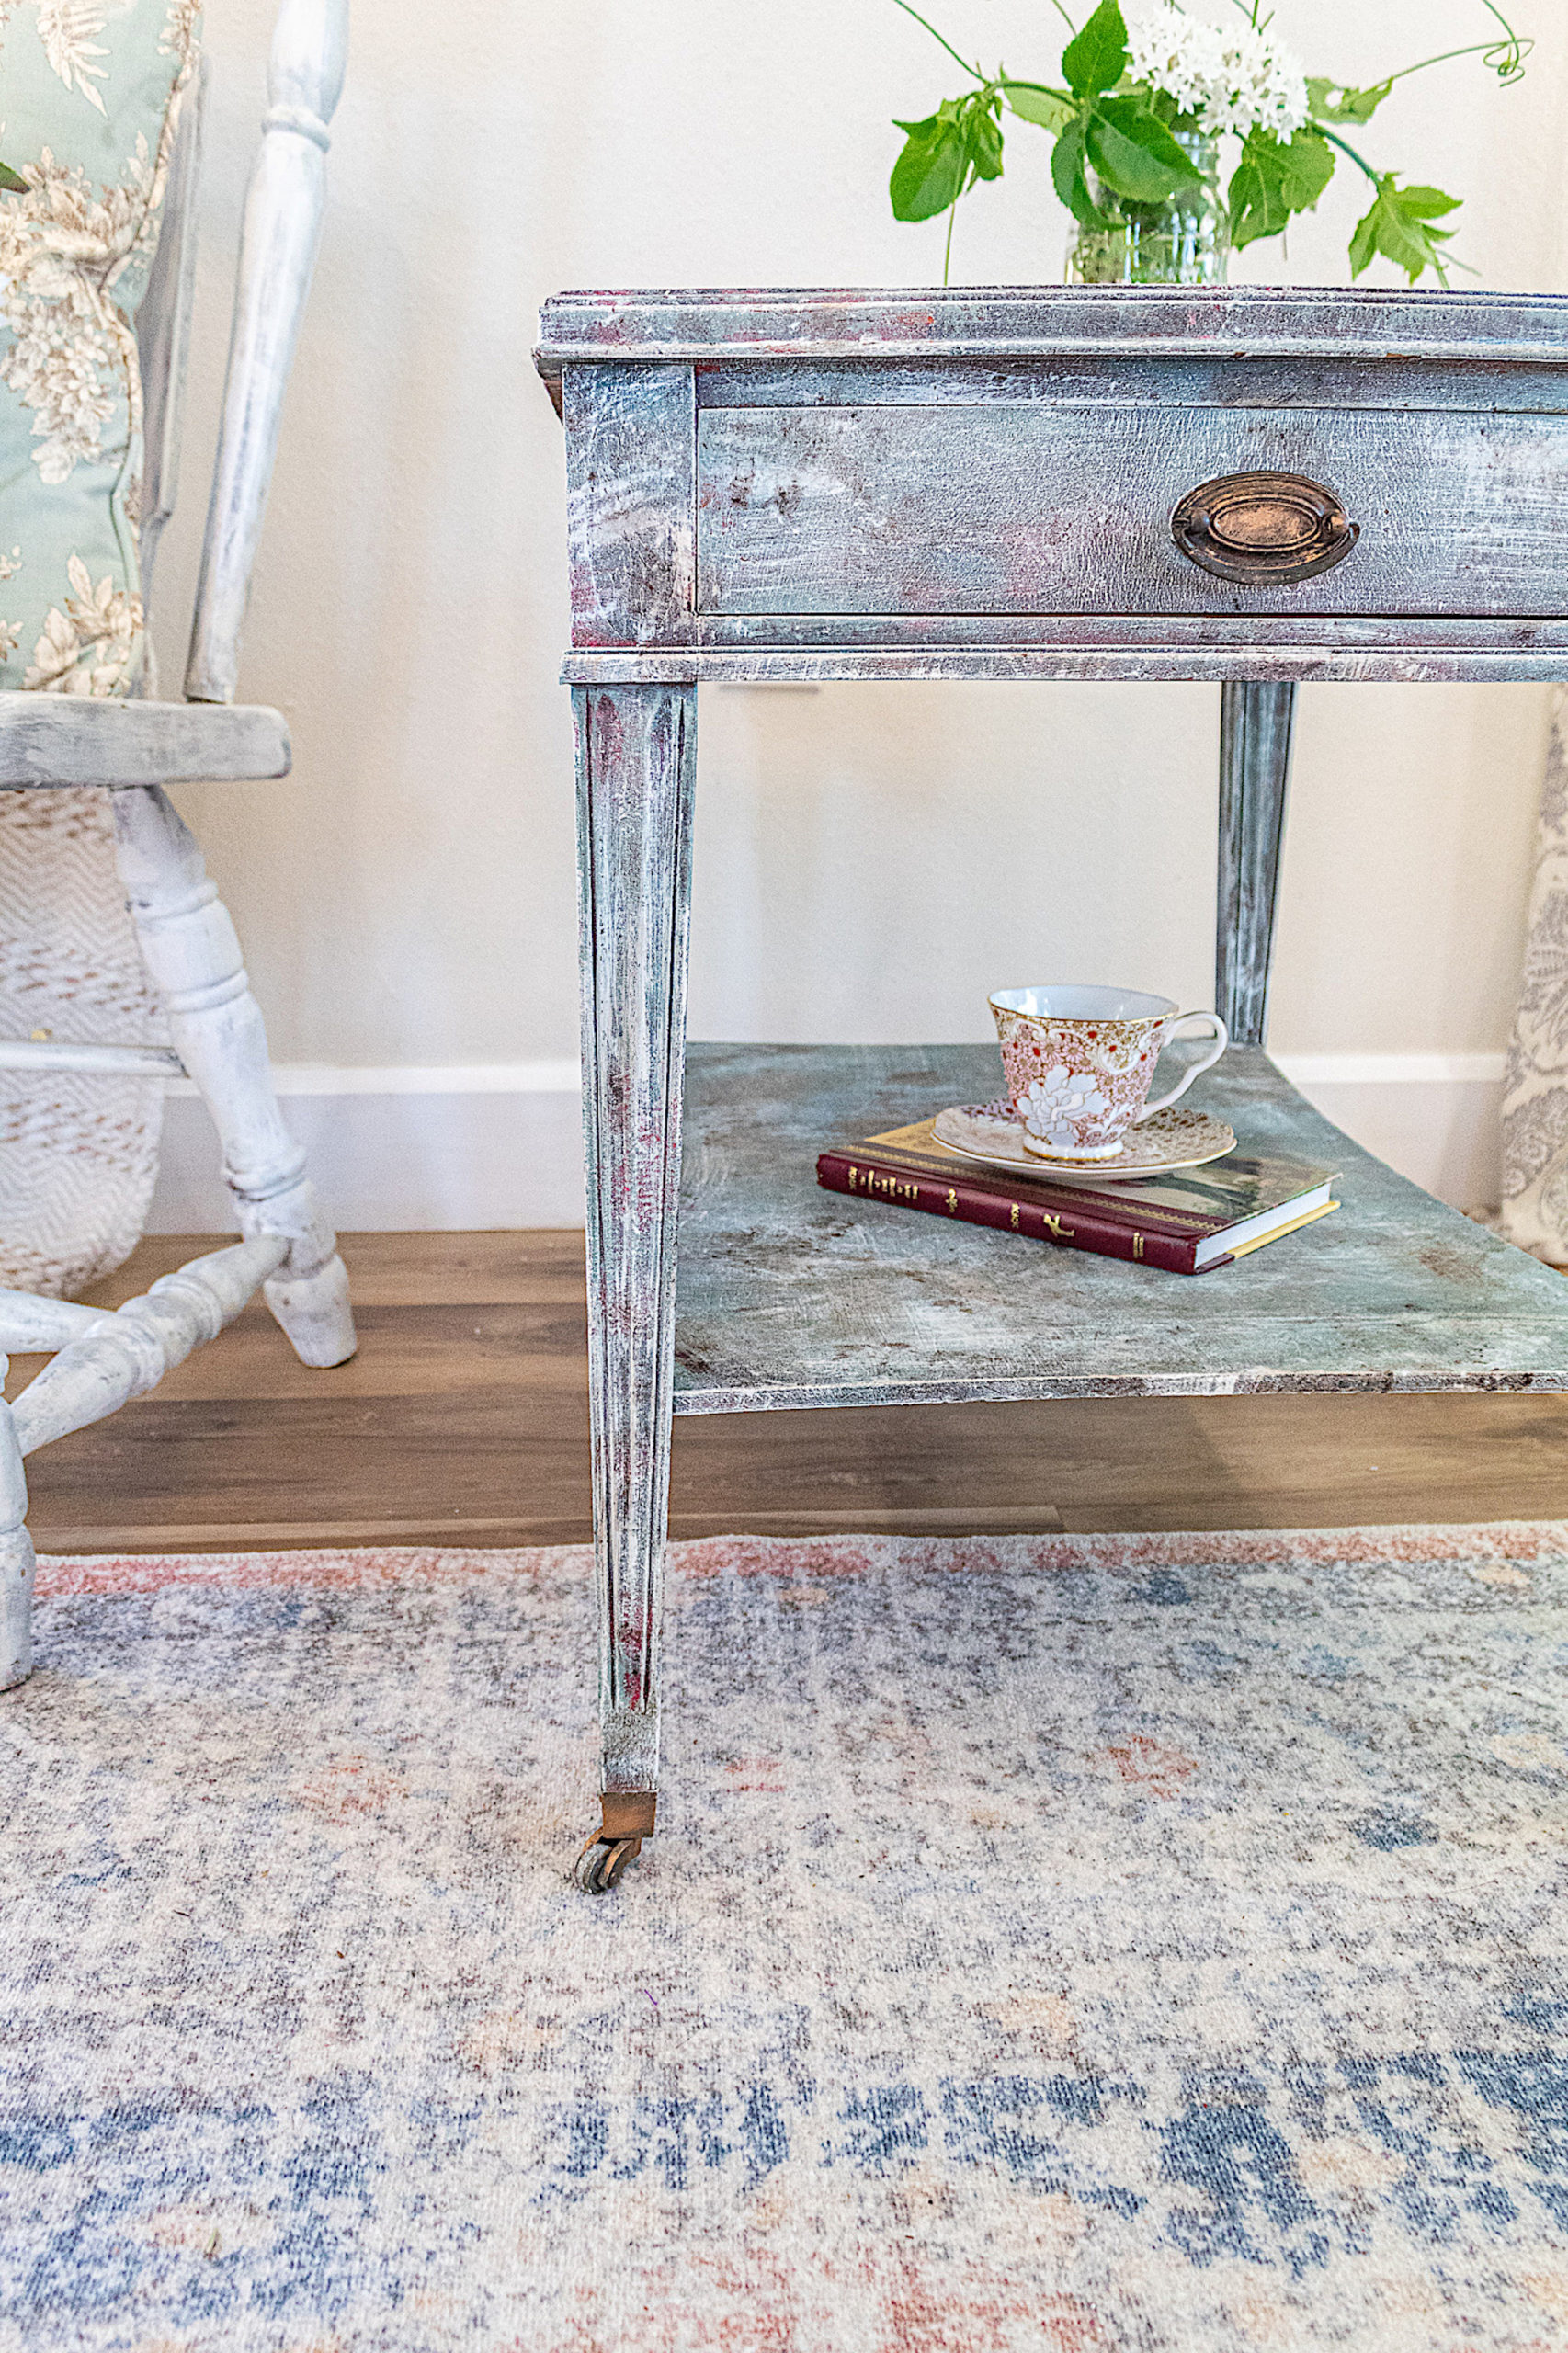
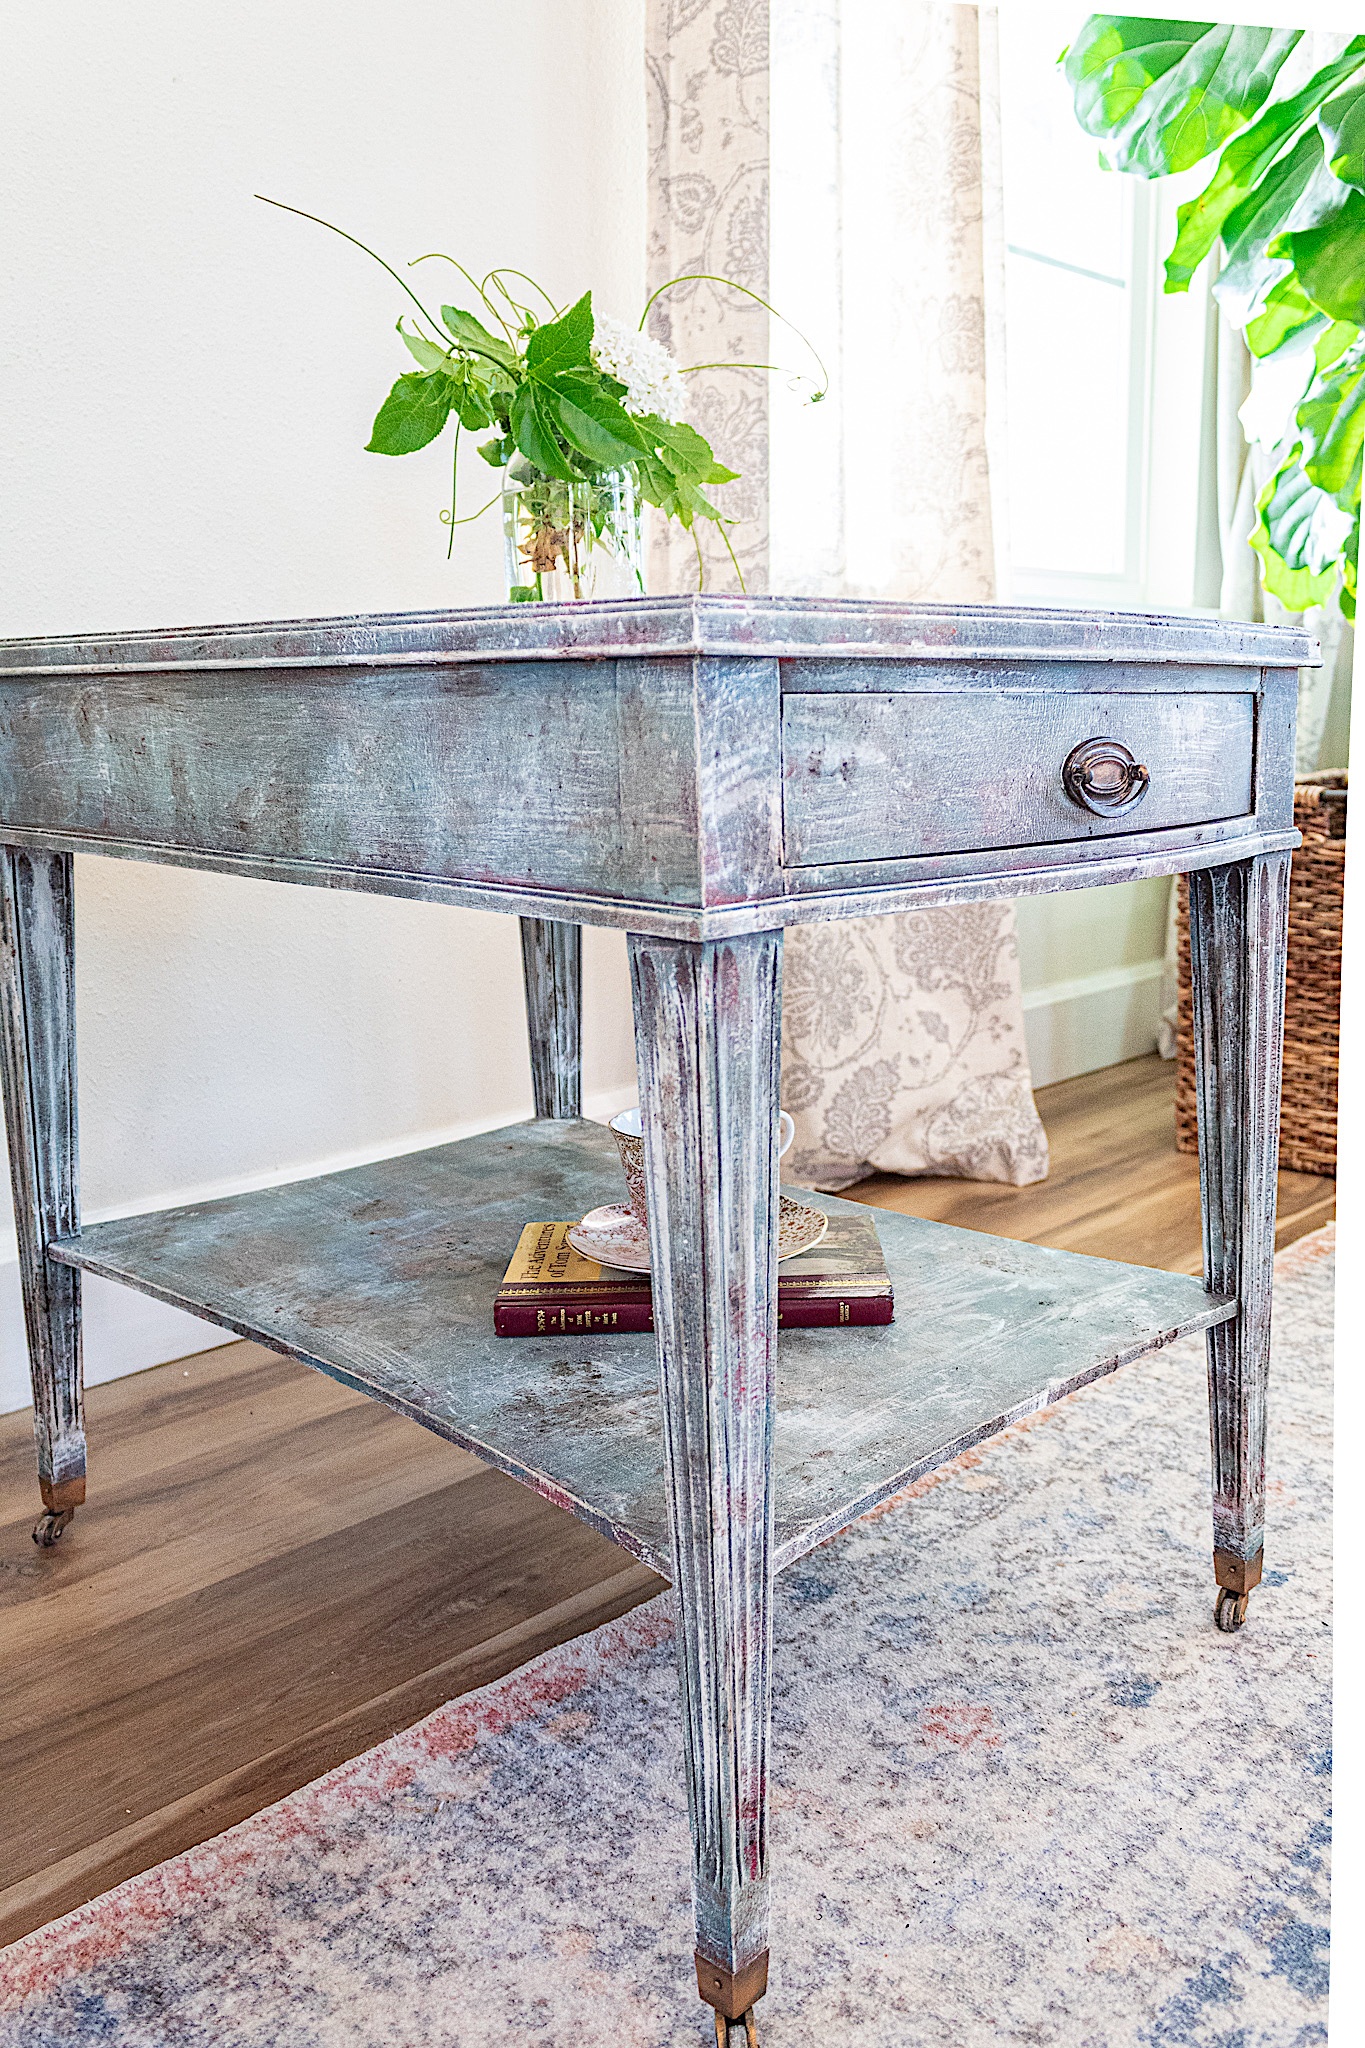
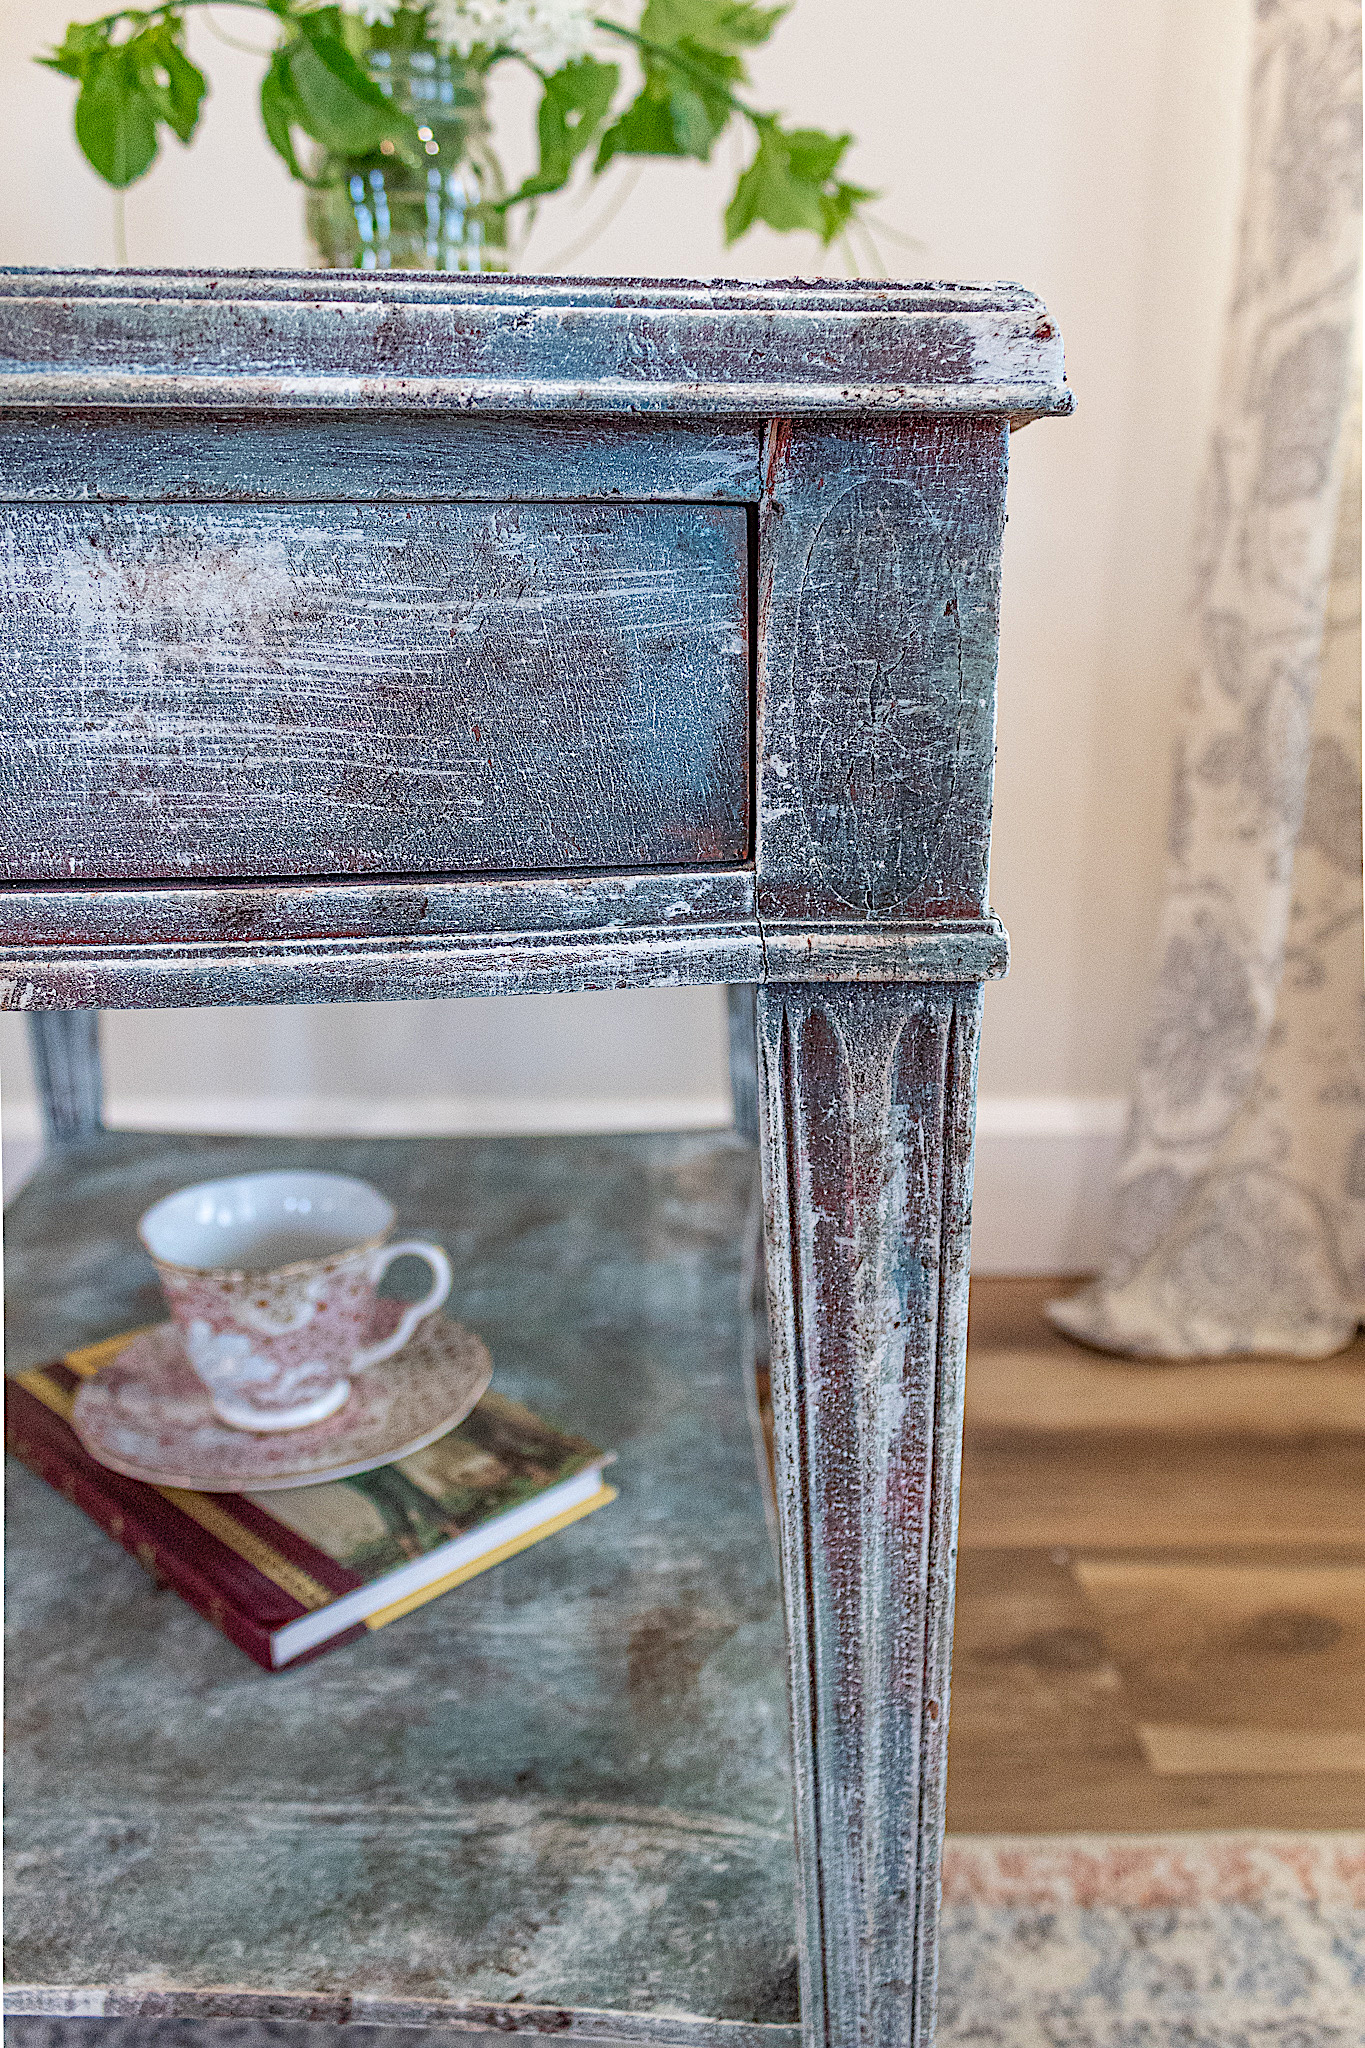
I chose Weathered White for the final color. If you recall it was my second color I used in the beginning. Whites are a staple of my distressed and aged pieces. I like how white looks with this style.
The white was so subtle that it simply softened the entire aesthetic and unified all the colors beautifully.
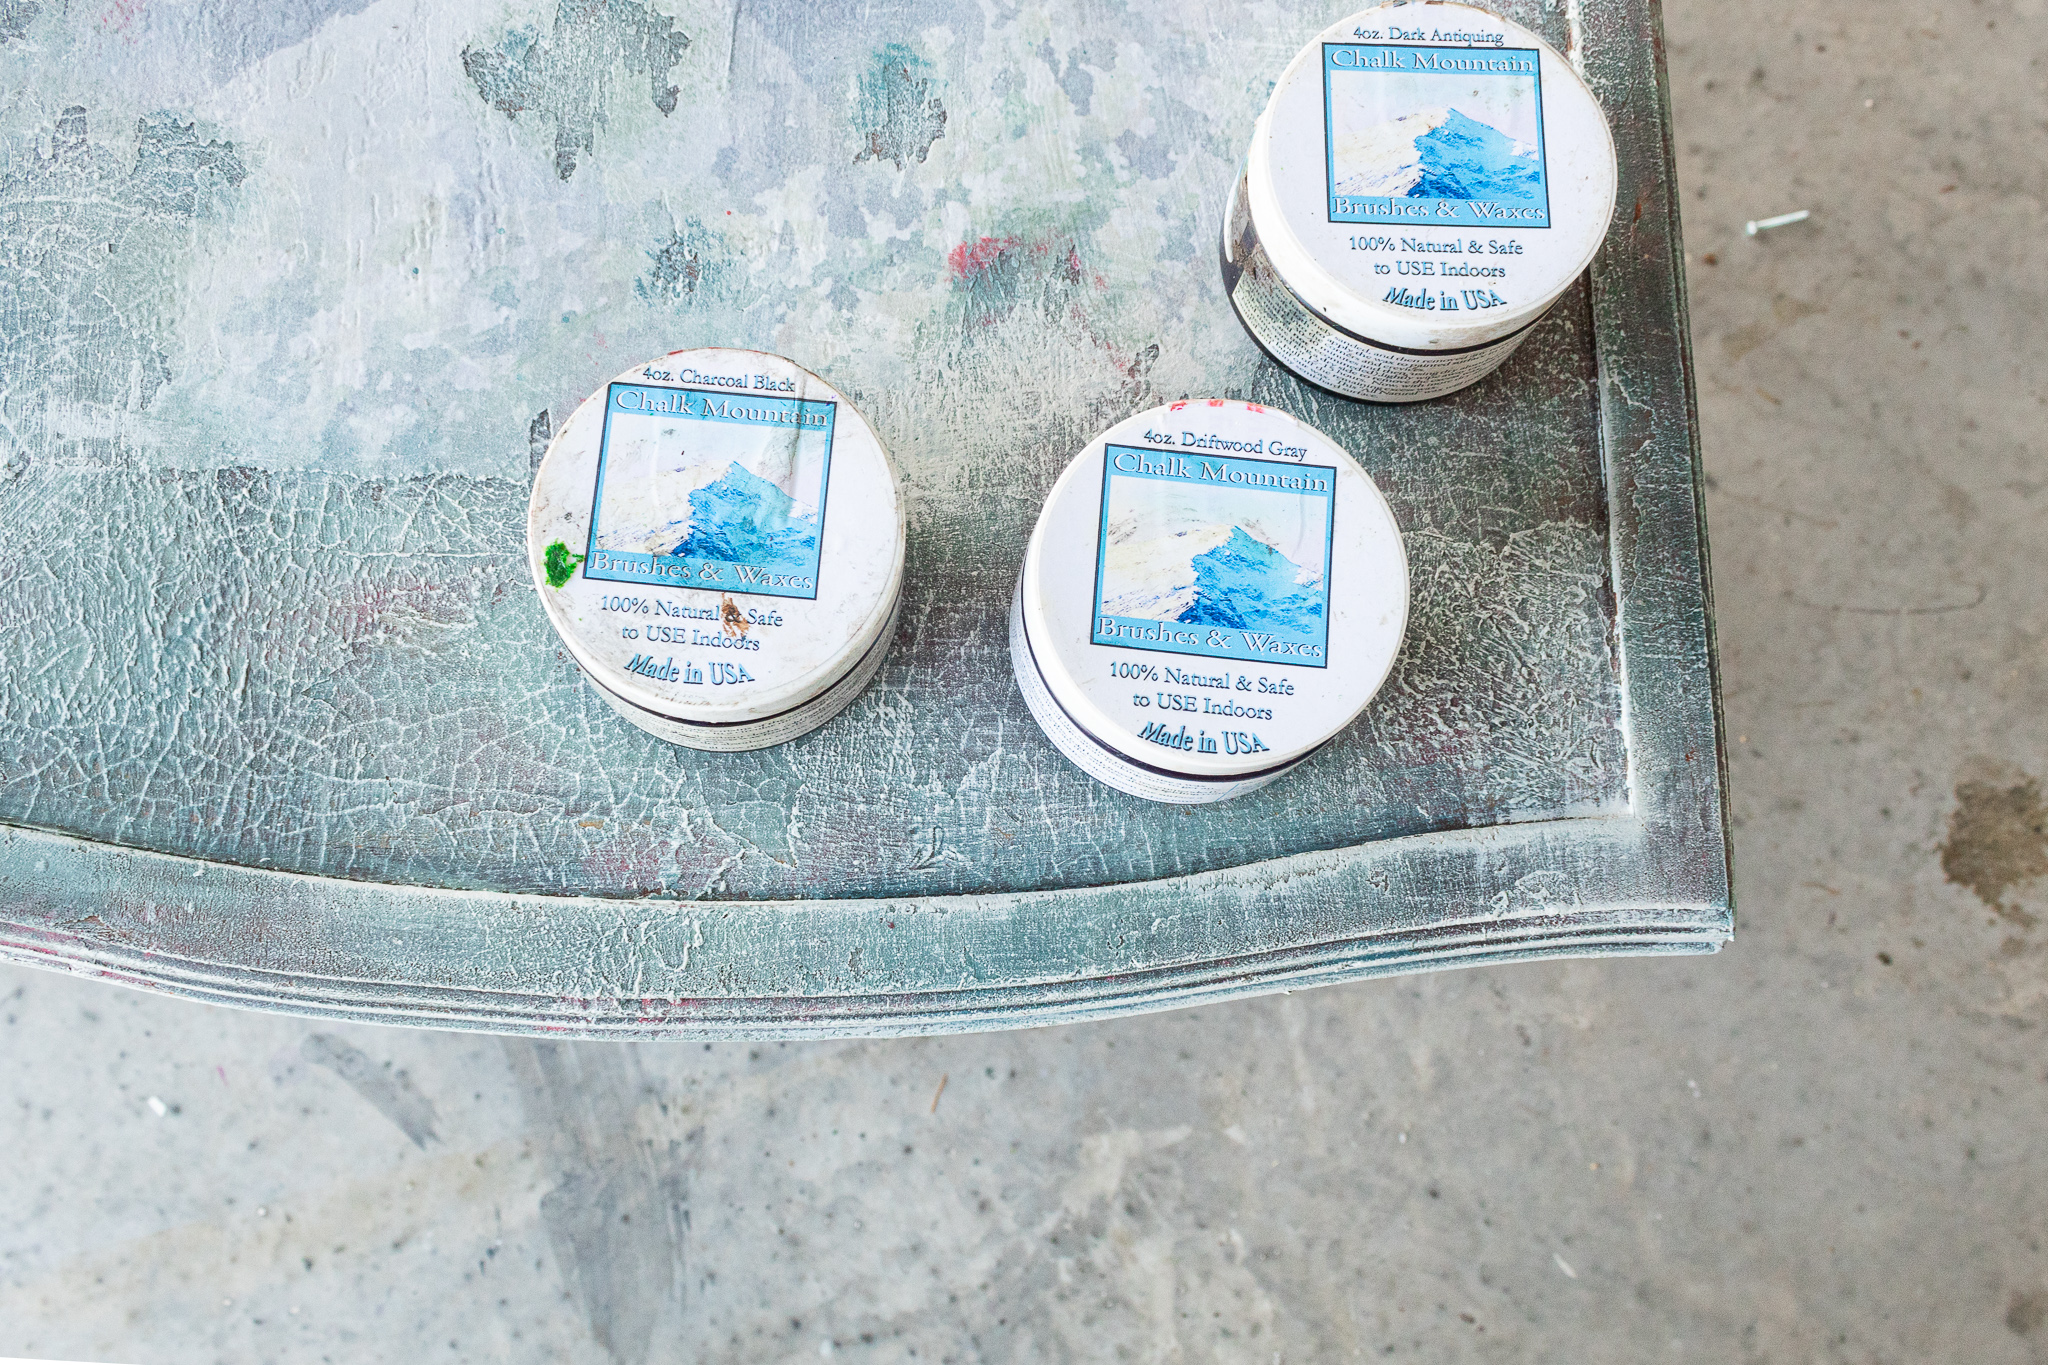
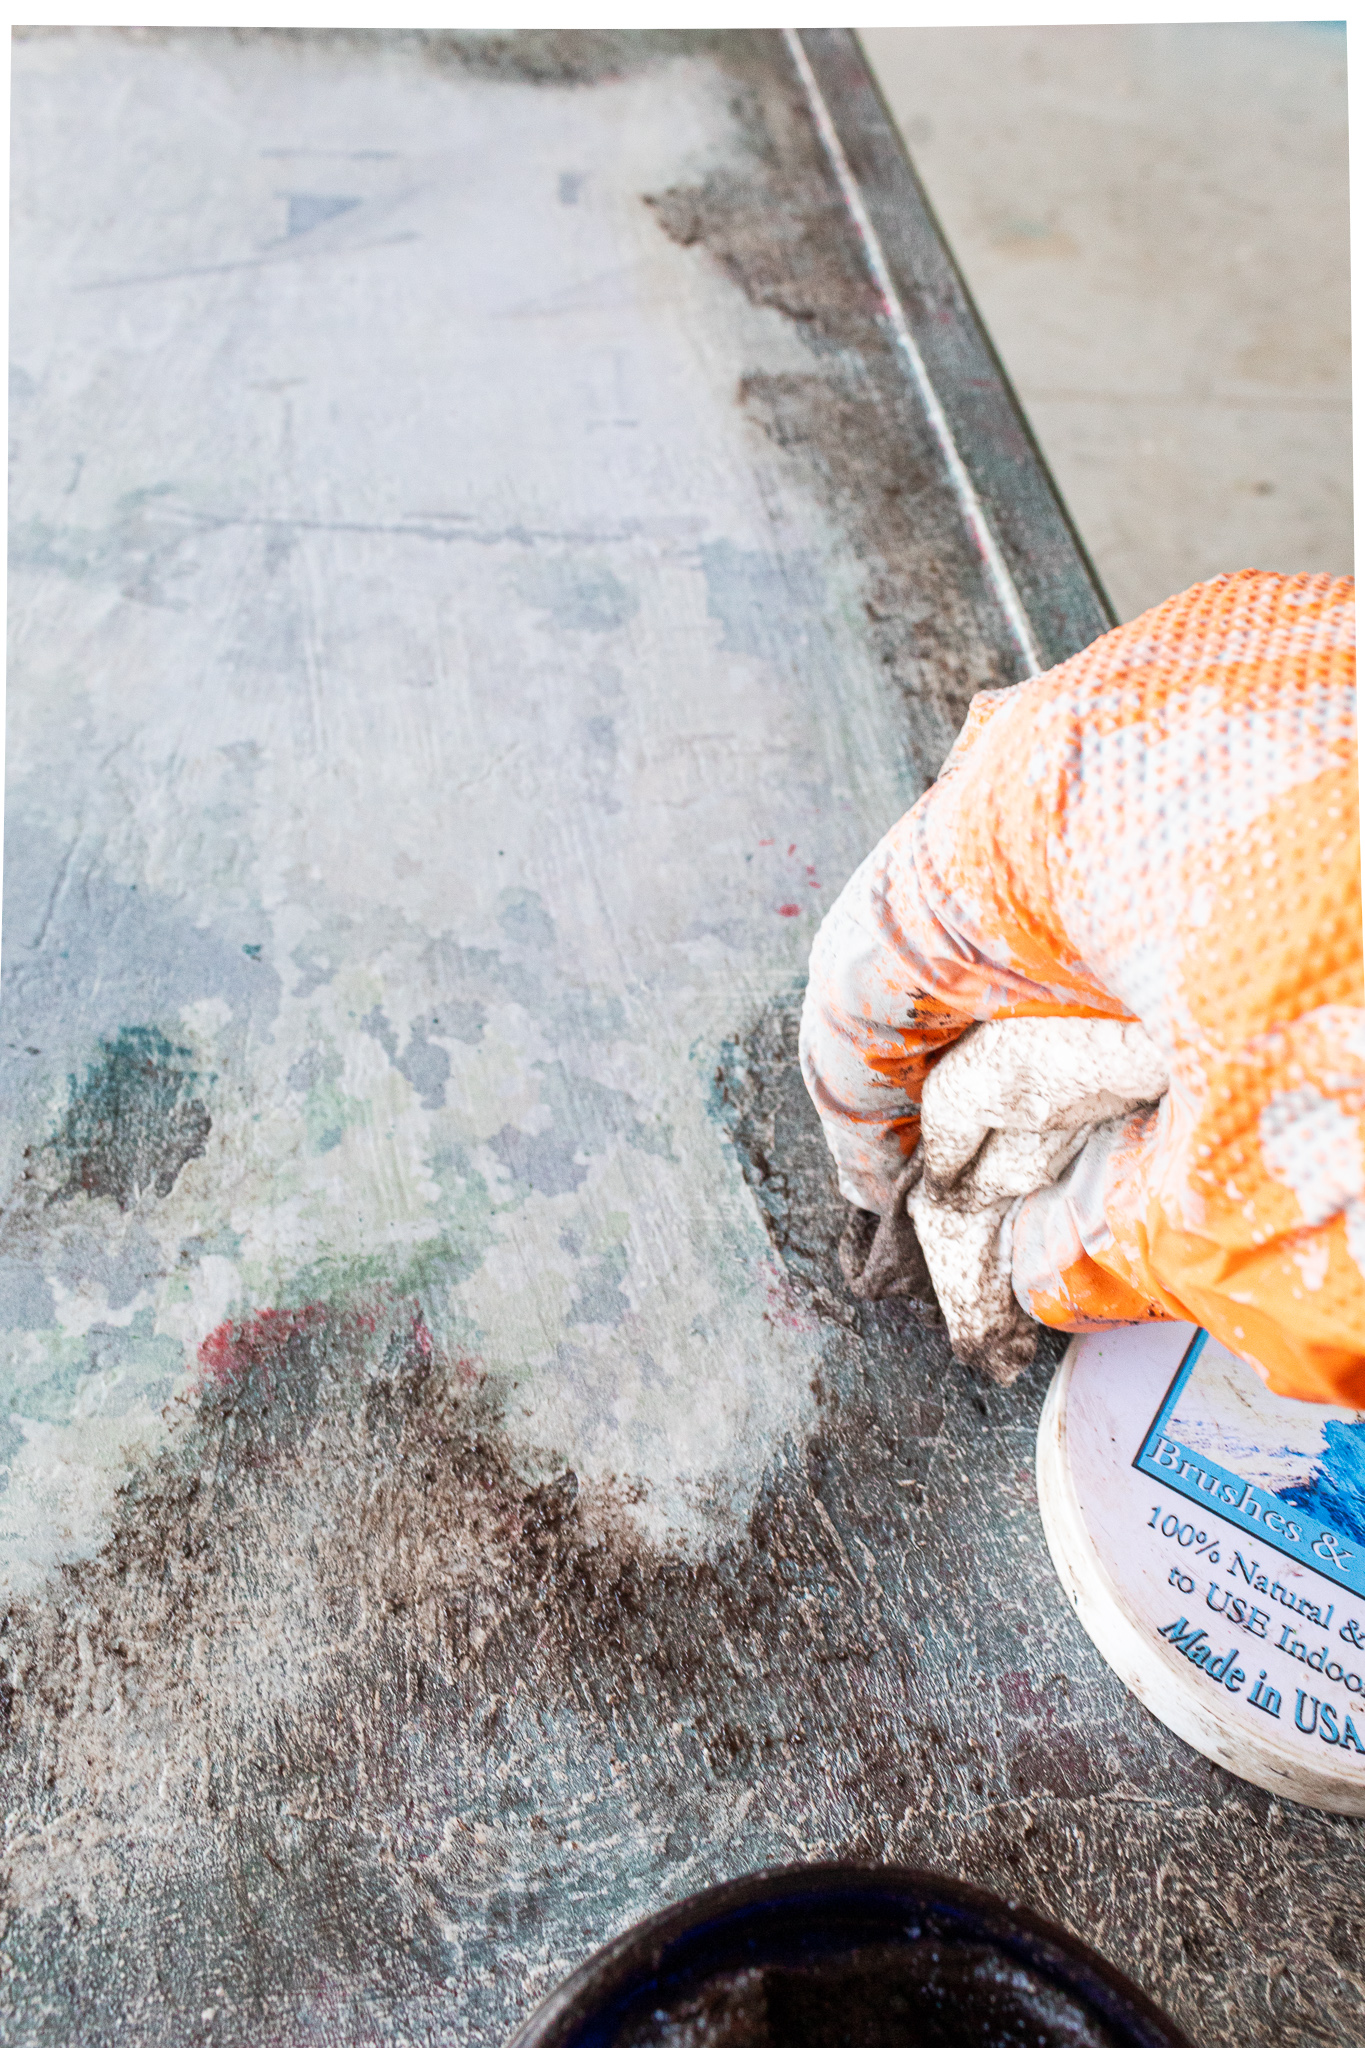
5. Final Step, Adding Decorative Wax
These Chalk Mountain Brushes waxes are so wonderful. I got this kit of 4 different colorsand I love them. Plus they last forever. I thought I would play with some waxes on this finish, especially around the print on the top.
One thing I’ve learned in home decorating is that often times the way to turn a hiccup into a decor statement is to make it intentional. I planned to use dark wax to make the image on the table top a focal point. With a paper towel I dabbed Charcoal Black wax all around the image outlining it.
The dark wax enhanced the image while integrating it with the antique aesthetic of the rest of the piece. I also dabbed wax in random parts all over the table and it added the perfect final touch. Now this small table had loads of character.
Watch My Video Of This Renovation For All the Yummy Details!
I hope you enjoyed this tutorial! It was a treat to share it with you. If you haven’t subscribed to our tribe, be sure to do so (scroll to the bottom of the page) so you never miss a post!
2 thoughts on “How To Create An Antique Look-Paint Layering Technique”
Lain Pearlman
This table is gorge!!!! Such talent! You know what also might look good? A graphic (Graphics Fairy is the best!) Where your transfer didn’t work. Your work is AMAZING! Lain Pearlman, Lain’s Loft


This table is gorge!!!! Such talent! You know what also might look good? A graphic (Graphics Fairy is the best!) Where your transfer didn’t work. Your work is AMAZING! Lain Pearlman, Lain’s Loft
Hi Lain,
Thanks for your kind words! I truly appreciate it. I will definitely check out the Graphics Fairy. Thanks for the tip.
Warmly,
Jessica