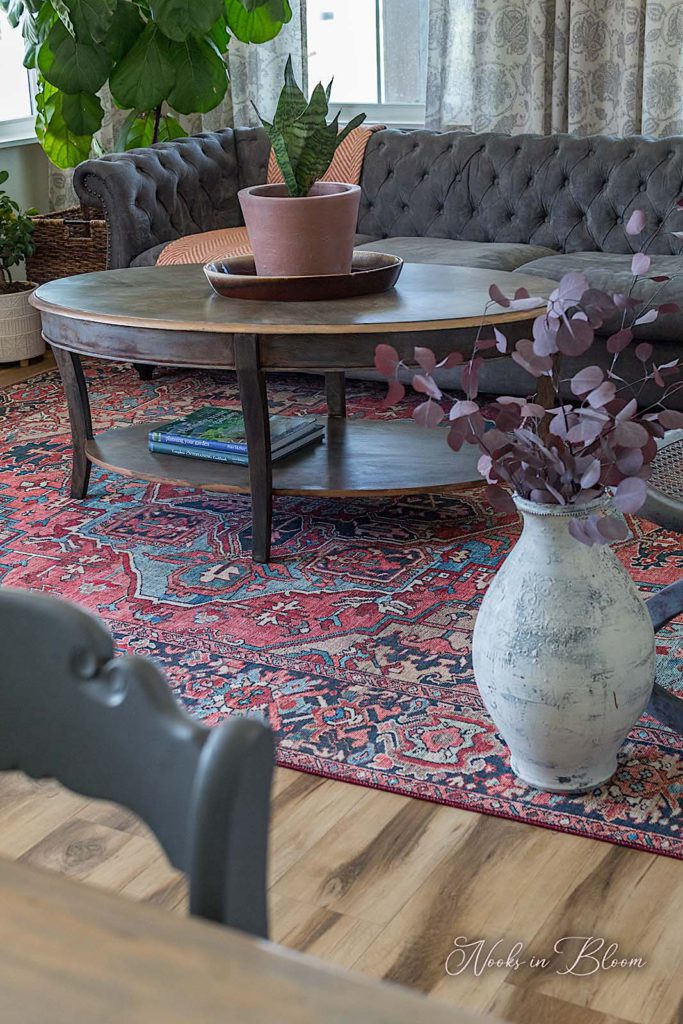
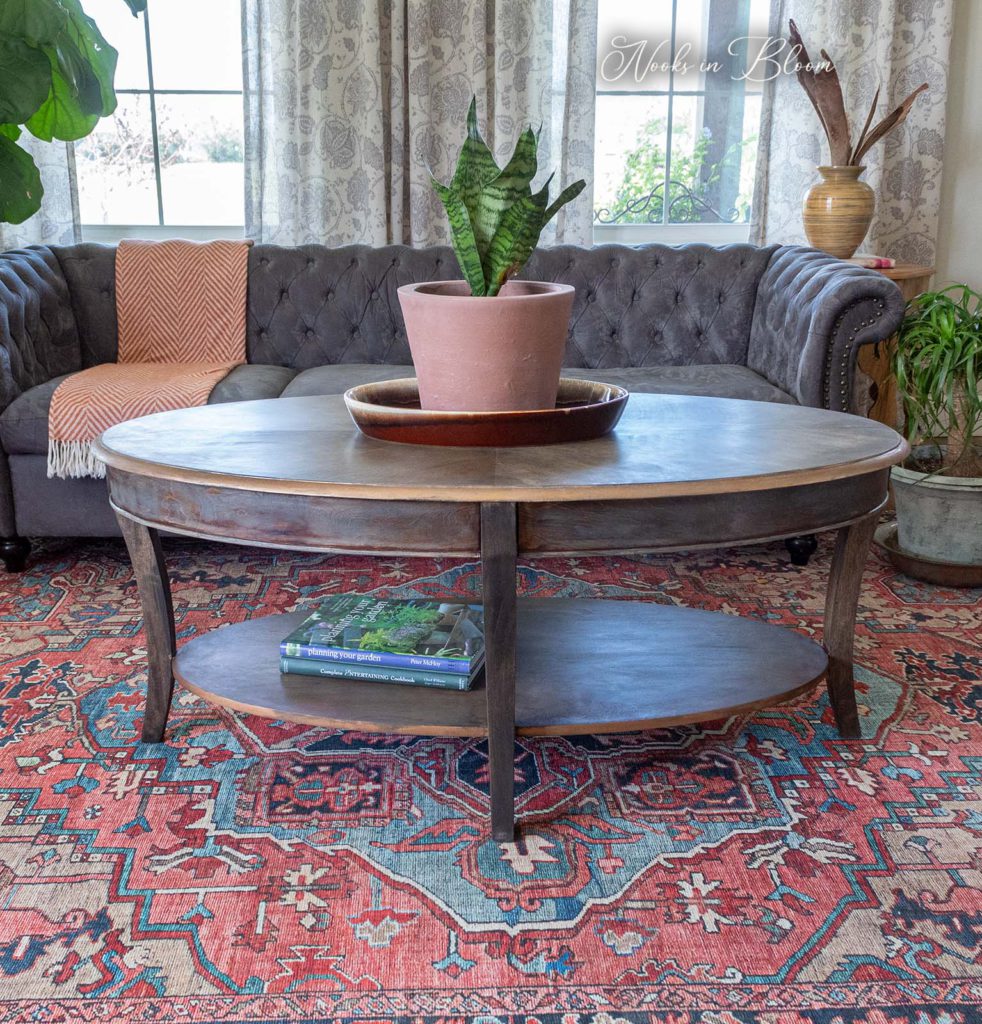
Hello lovelies! Let’s talk coffee tables. A stylish coffee table can completely transform the look of a room. It is the anchor of a gathering space—the glue that ties the design together.
And if, and only if it is a stunner, your coffee table can actually be the center of attention and a topic of conversation.
Today I’m taking a tired coffee table and reviving and restoring its long-neglected wood features. Some pieces look best with less and this is one of those—I can’t wait to show you how satisfying it is to see wood grain come to life!
Disclosure: Some of the links provided are affiliate links. By purchasing through these links you are supporting this family blog and the work we do and there is no extra cost to you. If you would like to read our full disclosure, click HERE.
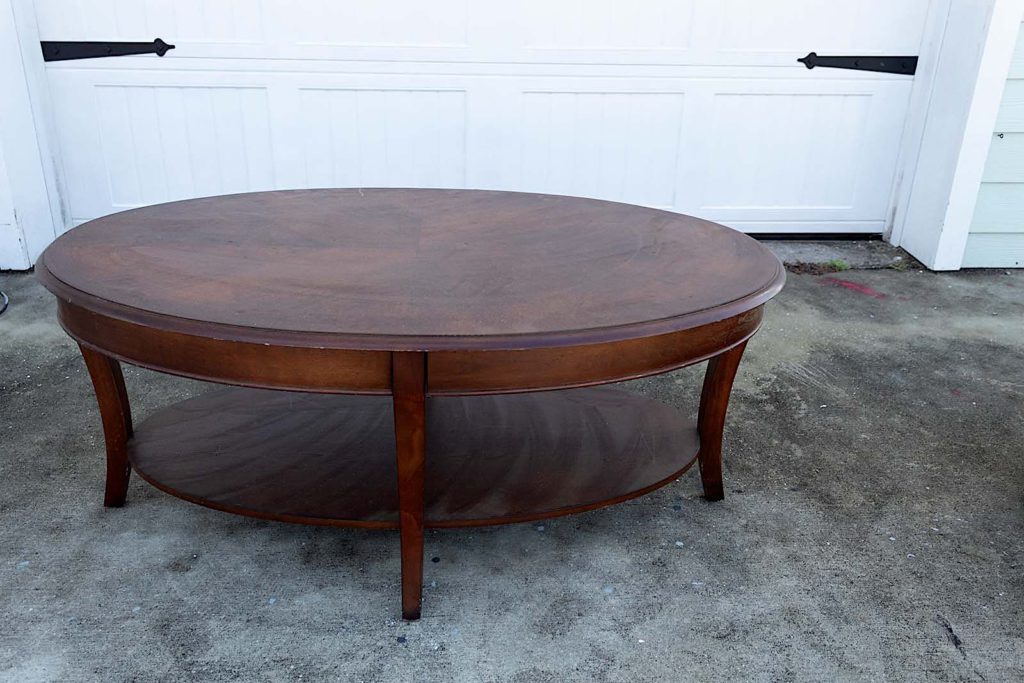
I bought this table for $10 off of Facebook Marketplace. I had been hunting for a new coffee table for our living room for some time.
We’ve had a couple of wooden boxes doubling as a coffee tables for years and well, I thought it was time to make things a little more formal.
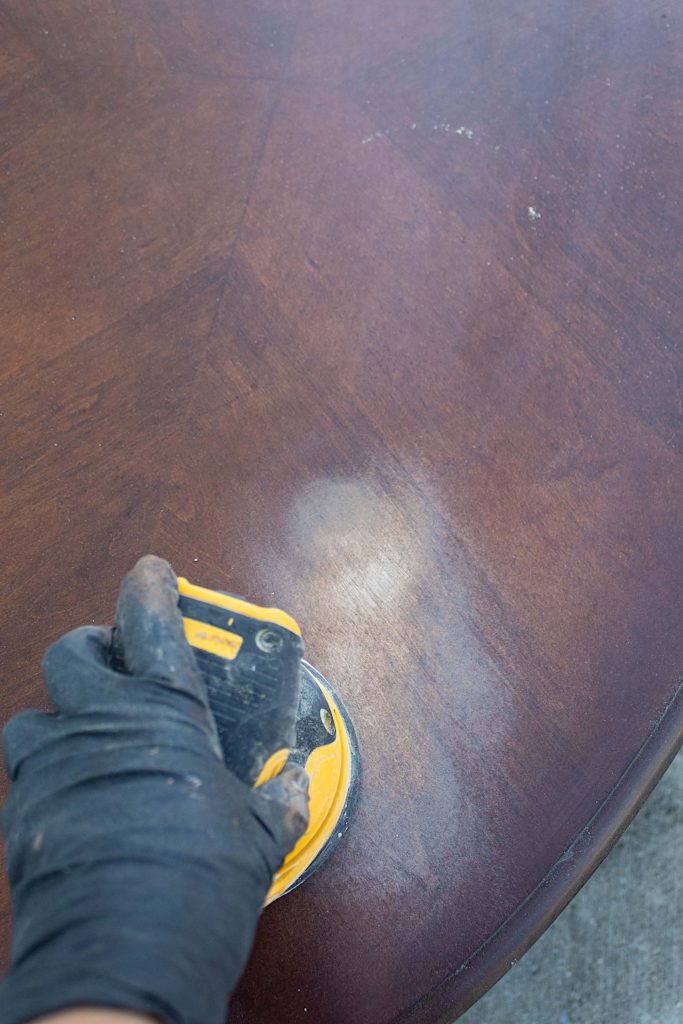
The heavy part of this project is going to be the sanding. If you are looking to restore the wood in a furniture piece you are renovating, chances are you’re going to have to remove layers of paint, stain, clear coat, or wax.
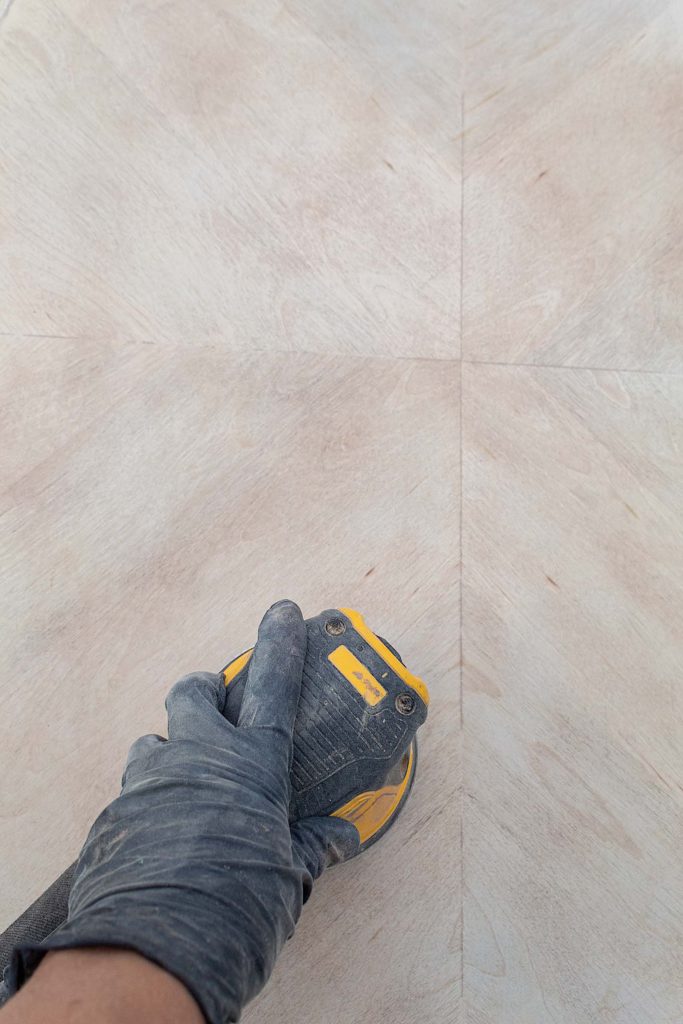
When reviving the natural wood of a piece, it is best to sand everything down to the raw wood, or as much as possible. I used my orbital sander, starting with 80 grit sand paper, to expose the raw wood.
Once you get everything sanded down, I recommend going over the surface with a high grit sandpaper for a smooth-to-the-touch finish. I like using 400 or higher.
**Tip
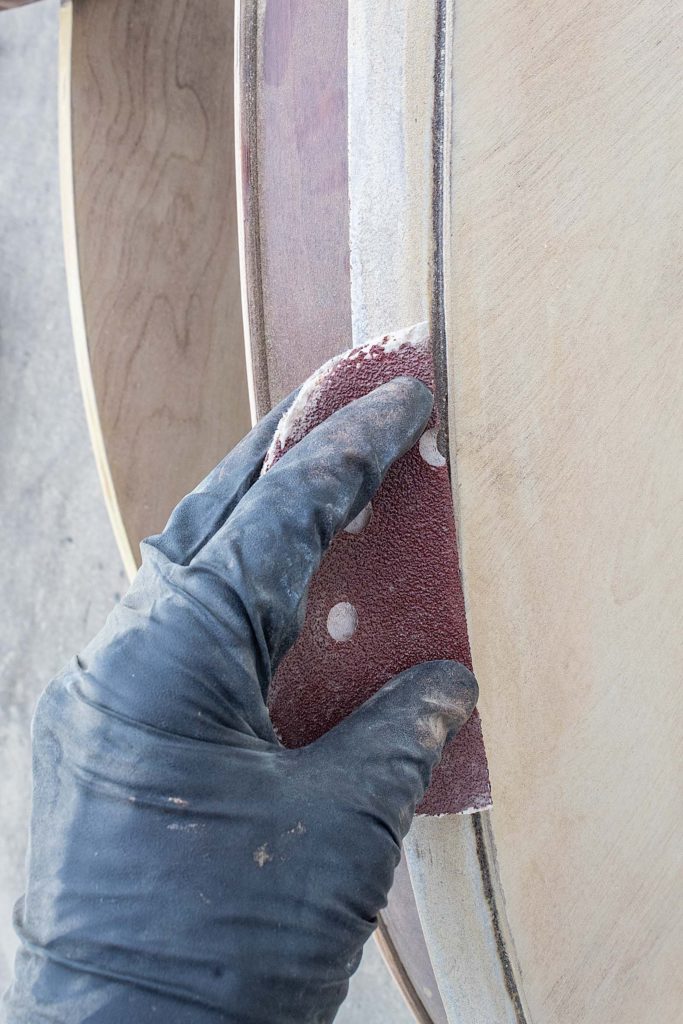
For edges and places where it is hard for your sander to reach, you can fold a scrap piece of sand paper and manually sand the area.
For the sides of this table, I sanded with my smaller mouse sander, not worrying about getting everything off. The variation in raw wood with some unsanded parts will add some character to the finish.
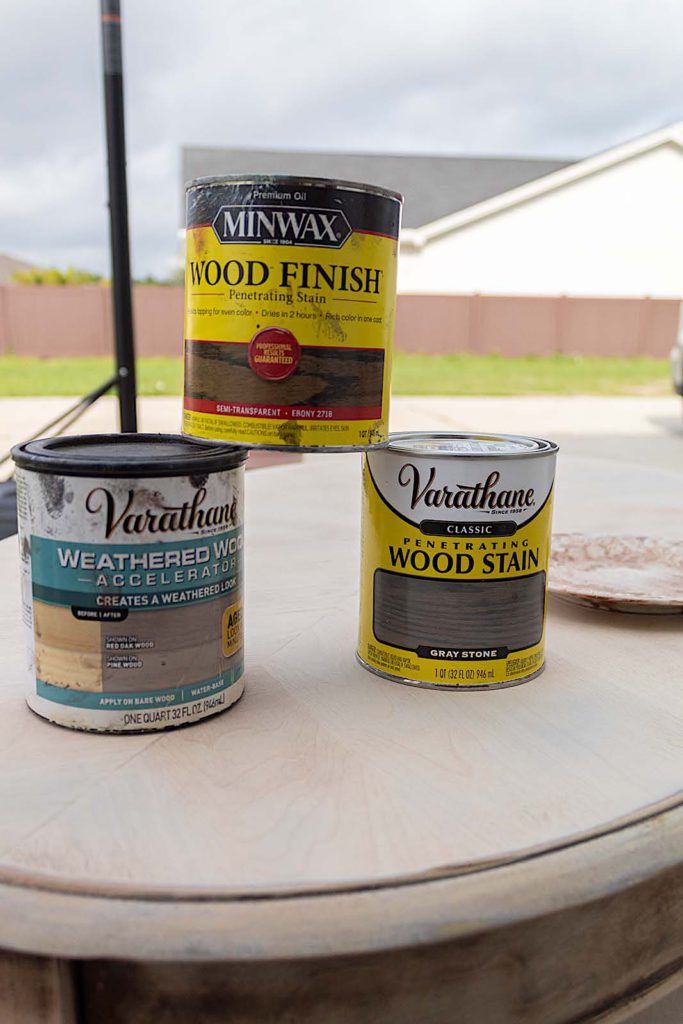
Step 2. Apply Stain Accelerator
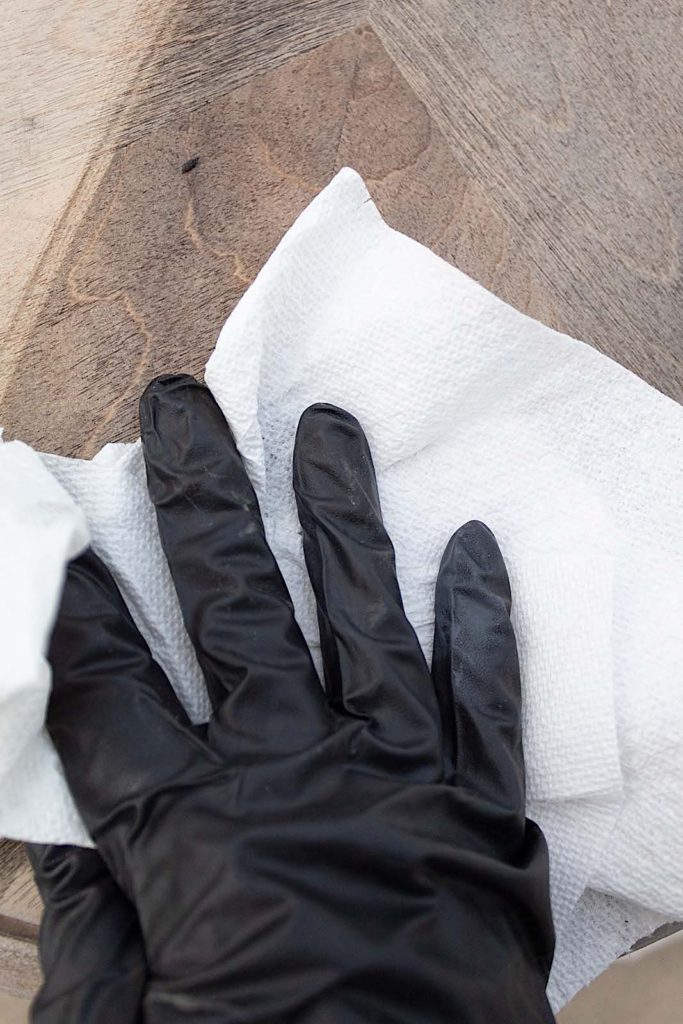
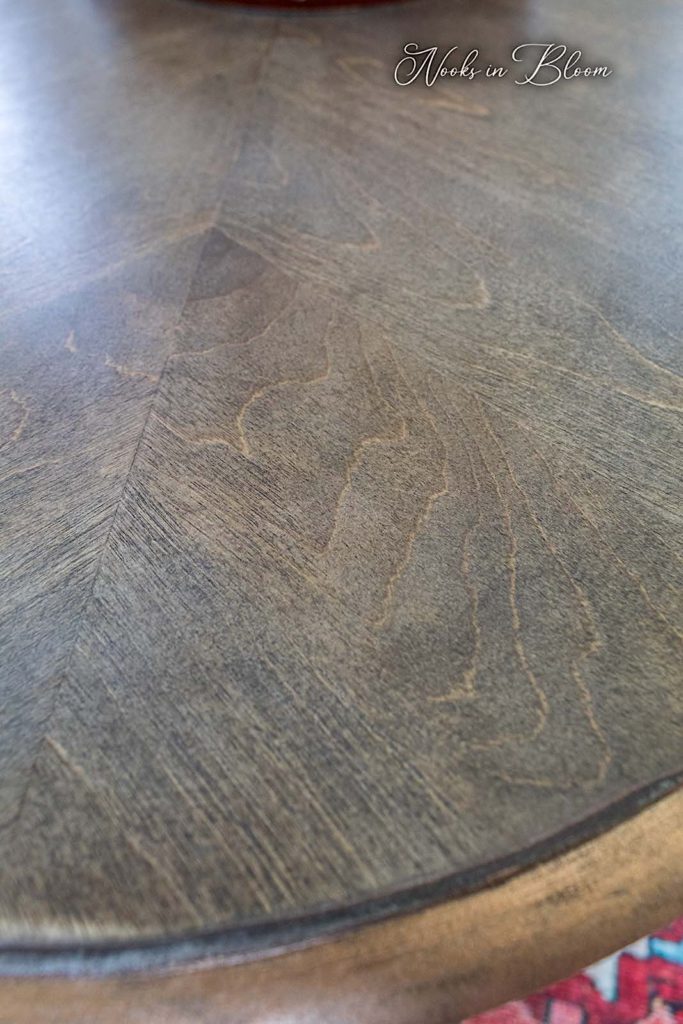
I really wanted to bring out this table’s beautiful grain. I like using stain accelerator for this purpose. Stain accelerator does just that—it helps the wood absorb the stain more quickly. This keeps stain from seeping in slowly and tinting everything at once. Instead, the larger veins in the wood become more pronounced and the rest is more subtly stained.
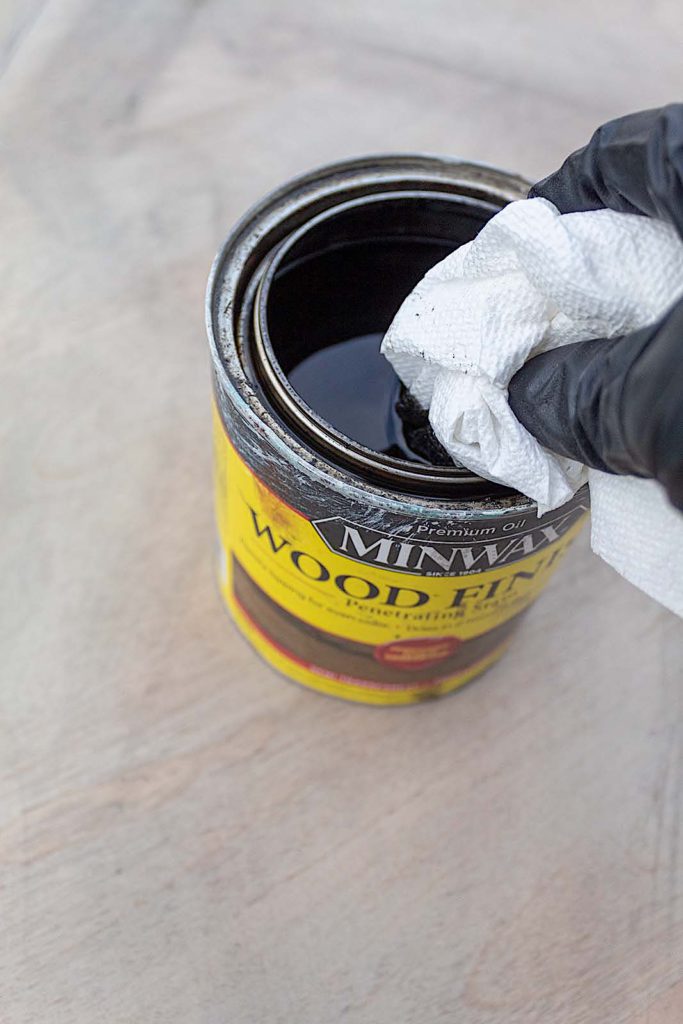
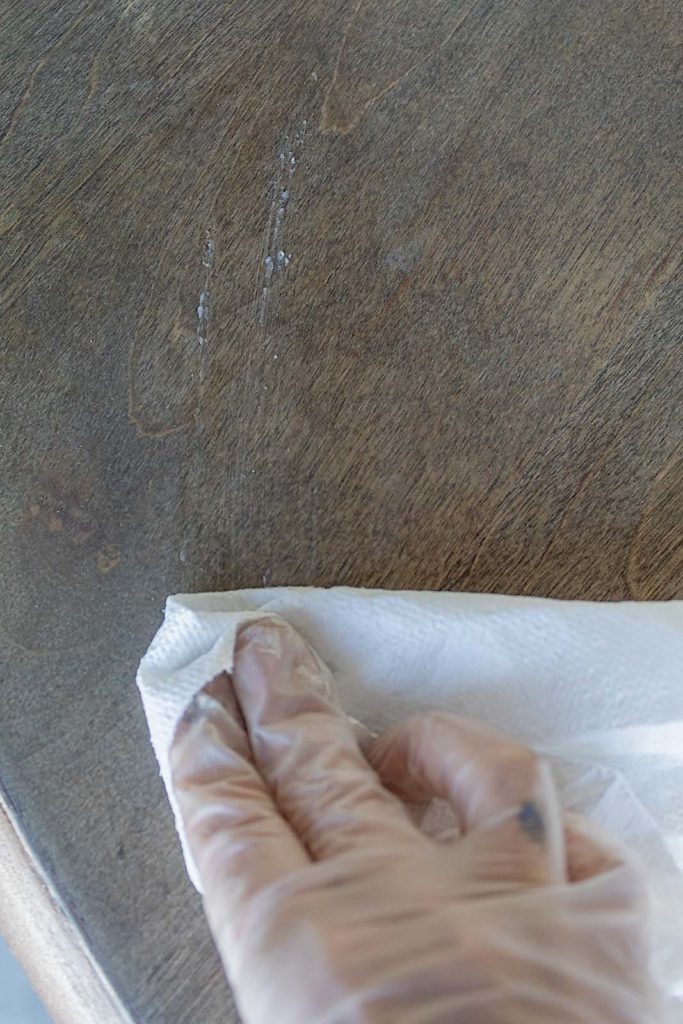
To apply I simply rub on the accelerator with a paper towel. Remember to use gloves when working with paints and stains. They are heavy in chemicals and best to not be absorbed.
Step 3. Apply Your Stain
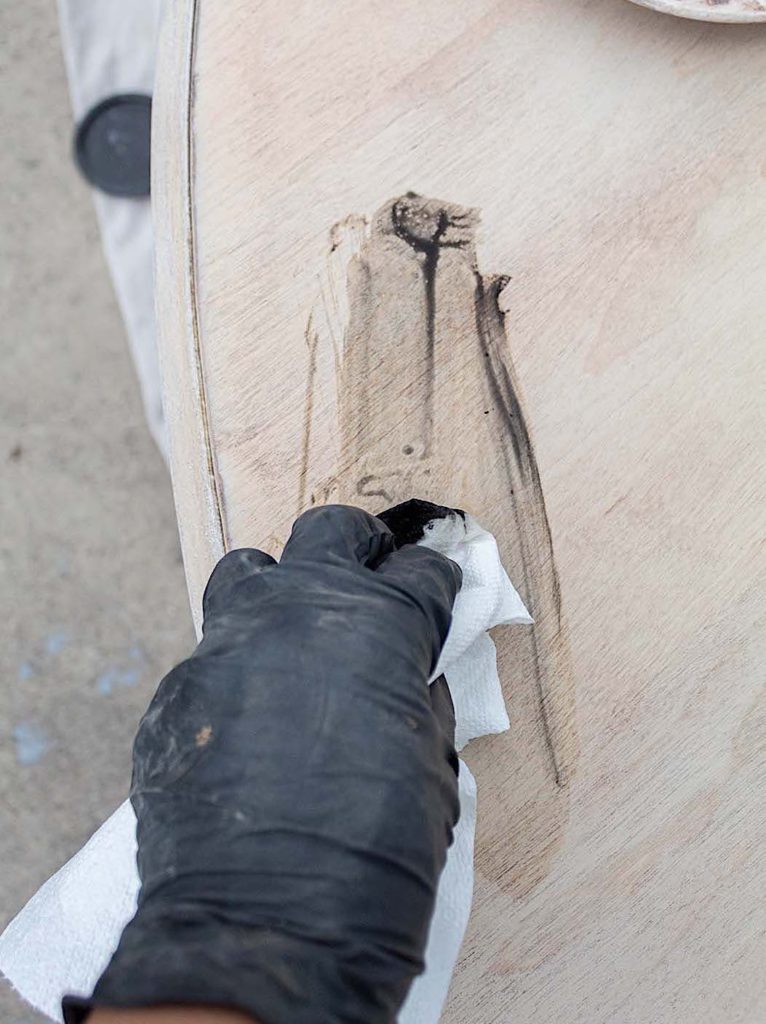
Once I’m finished applying the stain accelerator I’m ready to begin staining. I don’t wait for the accelerator to fully dry, however, the surface does not remain wet since the wood quickly absorbs the accelerator.
Rub-On
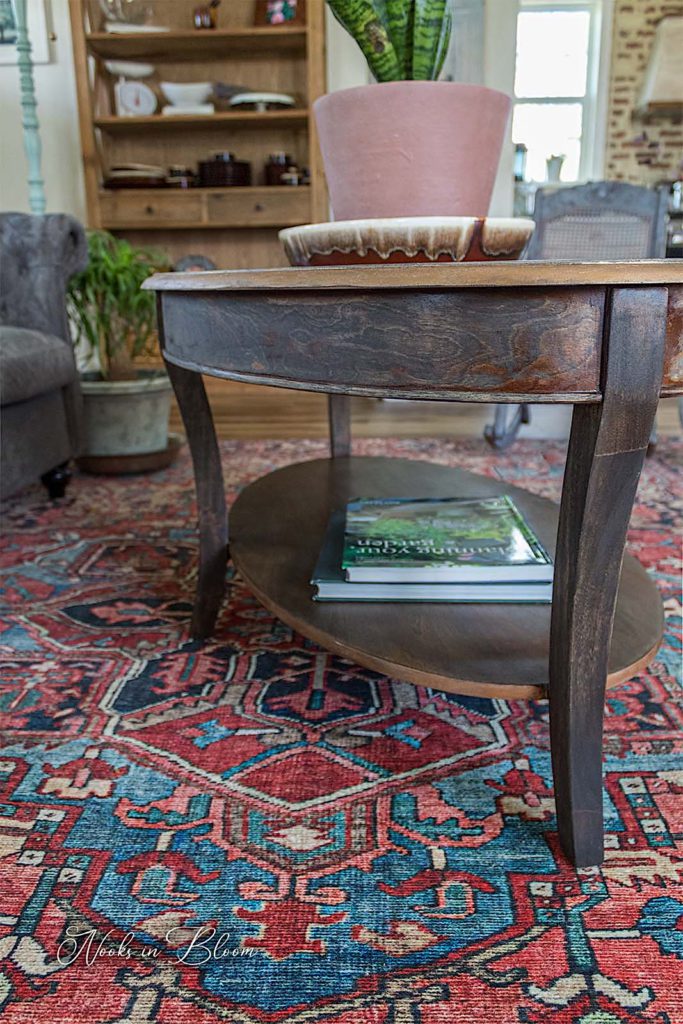
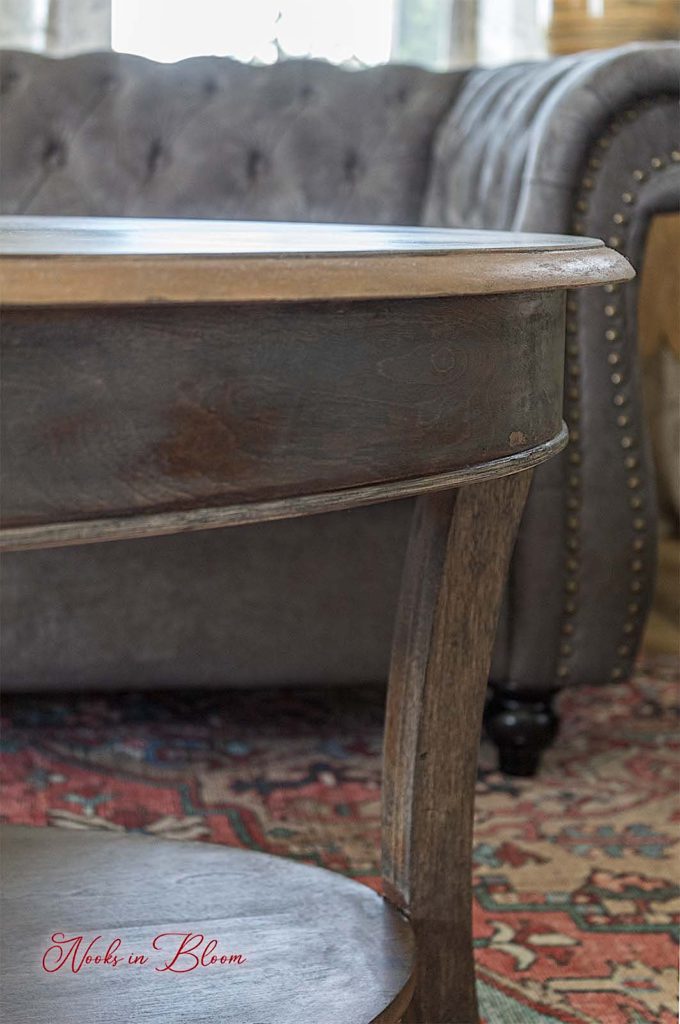
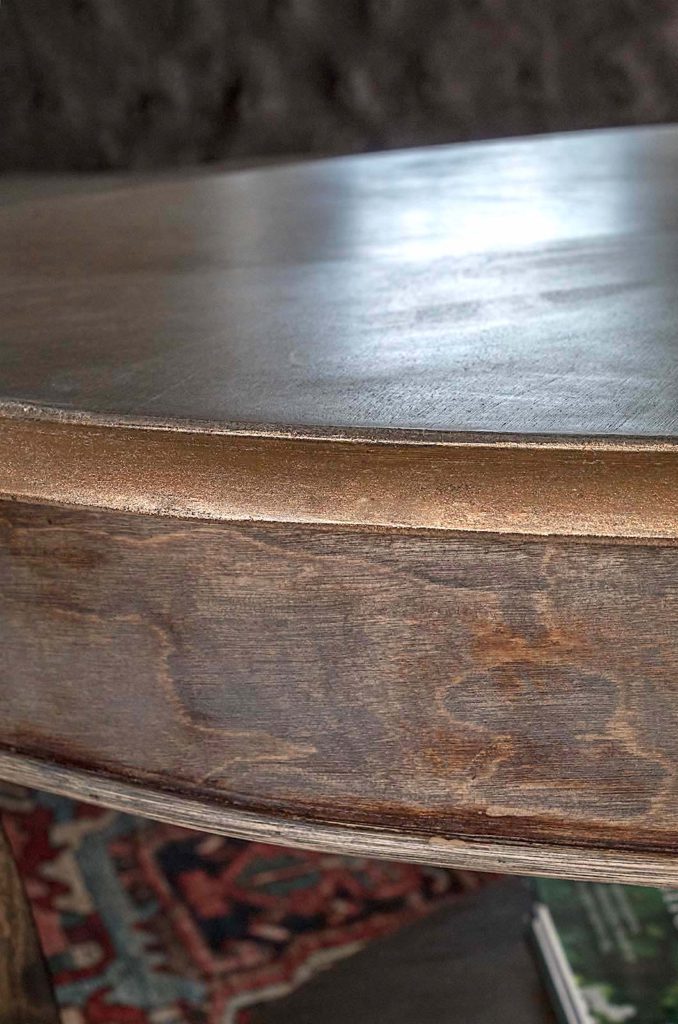
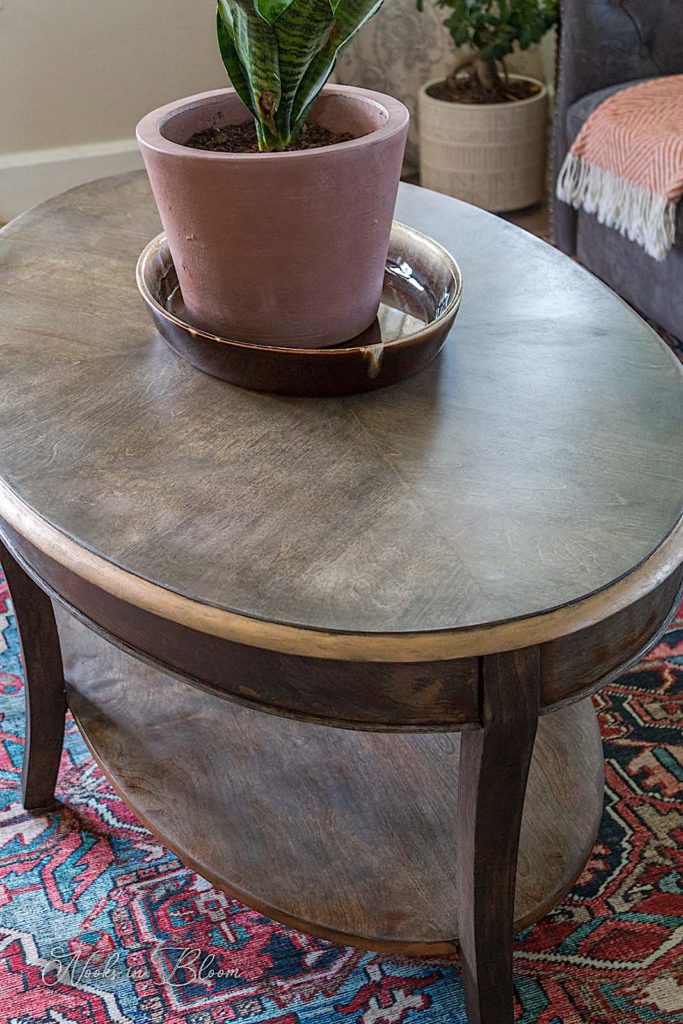
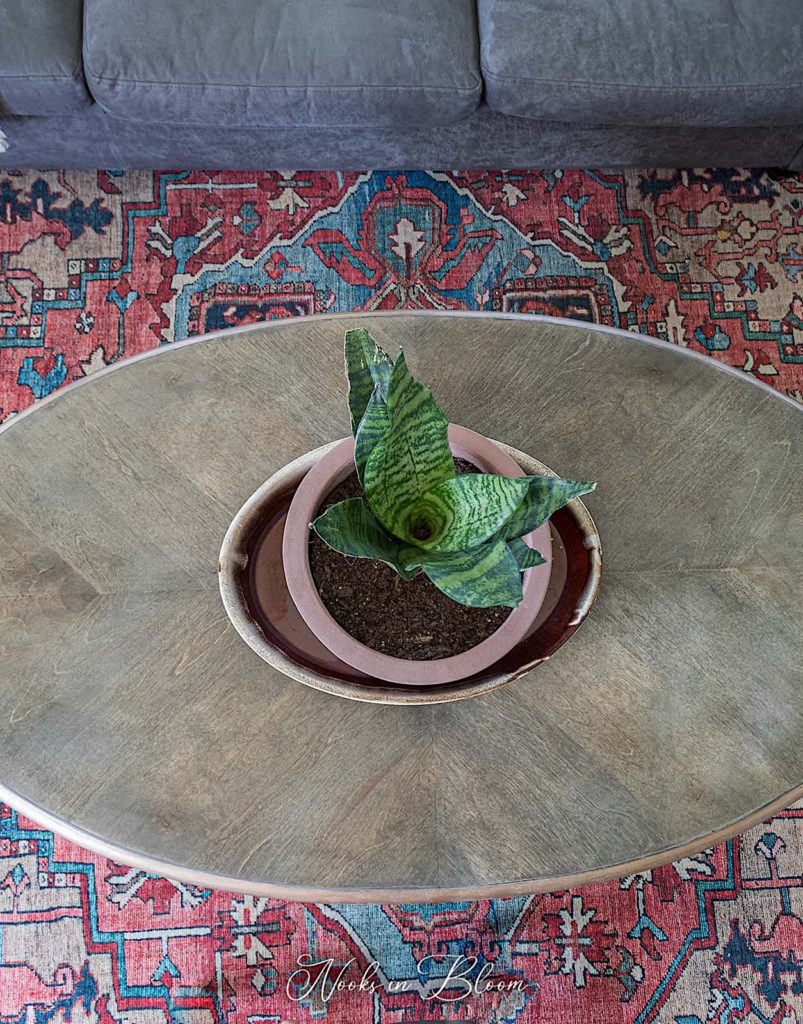
I chose Ebony stain for this table. I like working with Ebony for wood grain looks since the dark contrasts nicely with the lighter wood background.
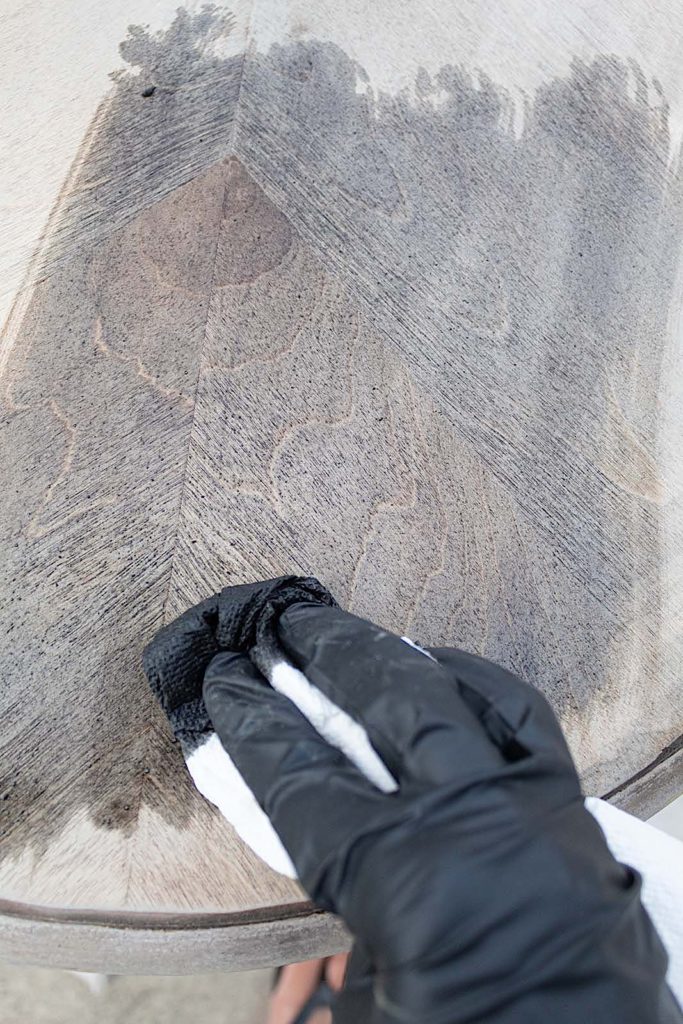
Working in small sections I apply the stain with a paper towel in the direction of the wood grain.
As you apply the stain you can already see the wood grain look taking place. It is so beautiful.
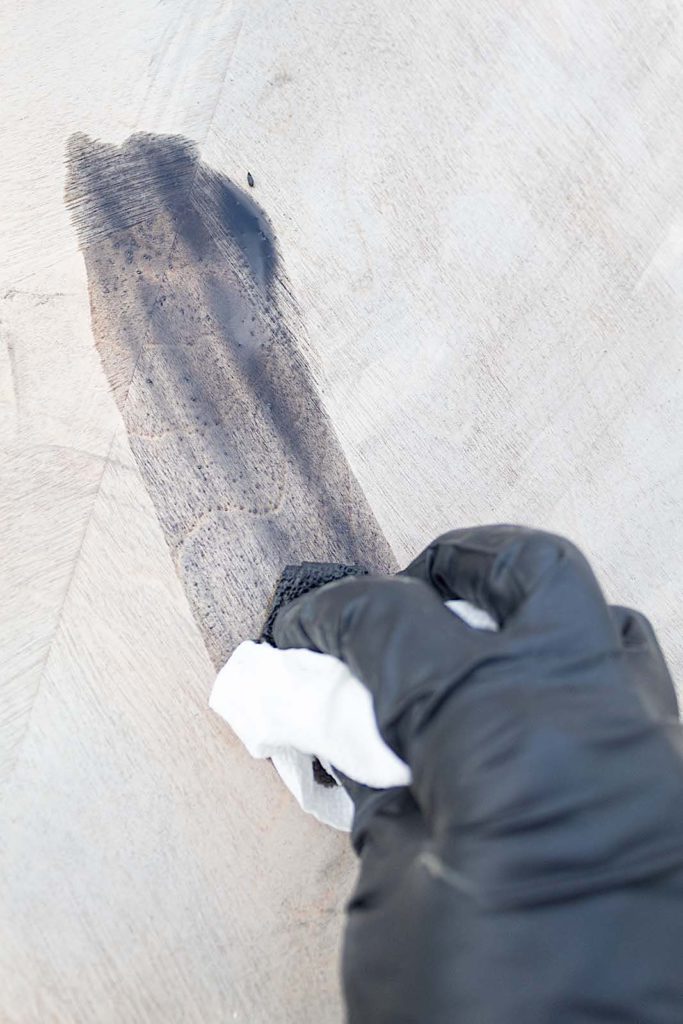
Wipe Back
As soon as I apply the stain I wipe it back with a clean paper towel. This helps lighten the stain effect.
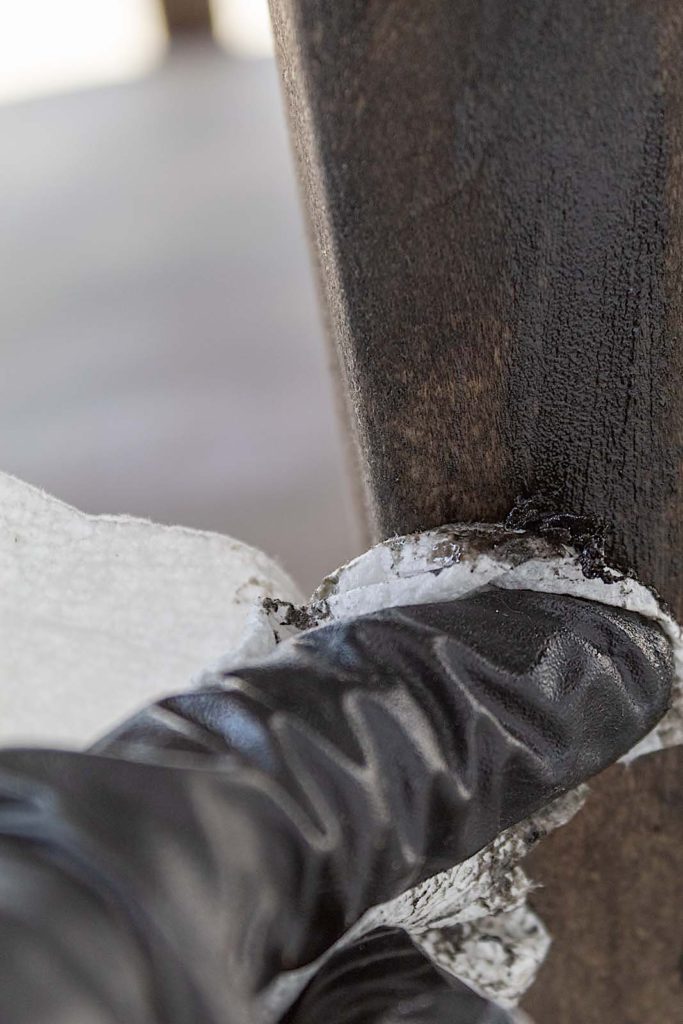
Step 4. Time To Wax Our Legs!
Any time you add a dark wax to a dark finish, it enriches the look. I decided to add dark antiquing wax to the legs to give them more depth and to add some contrast to the table.
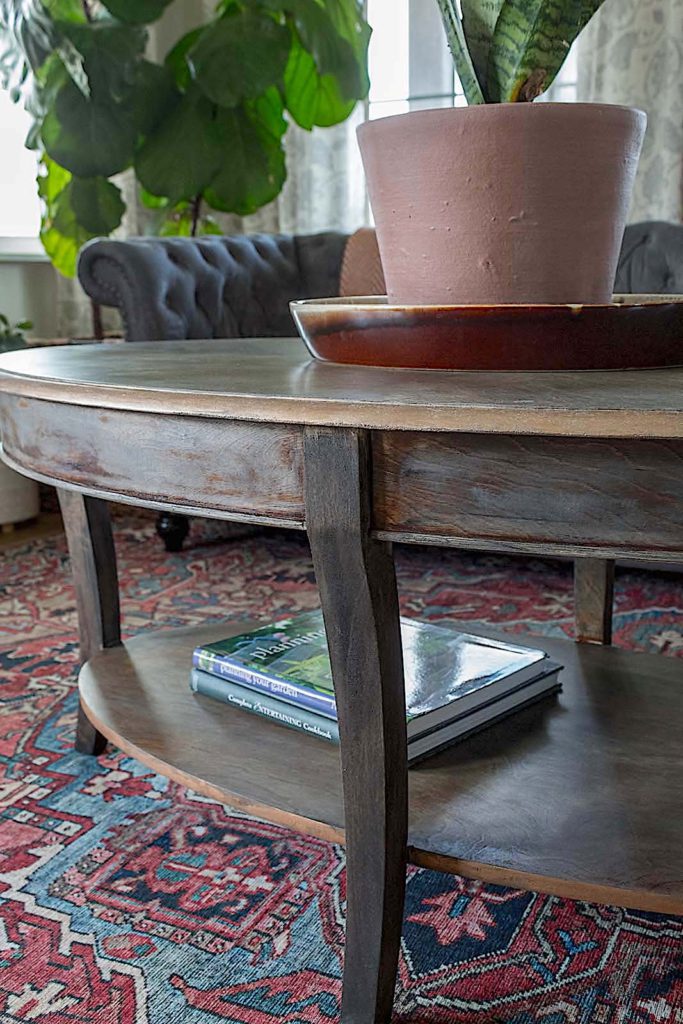
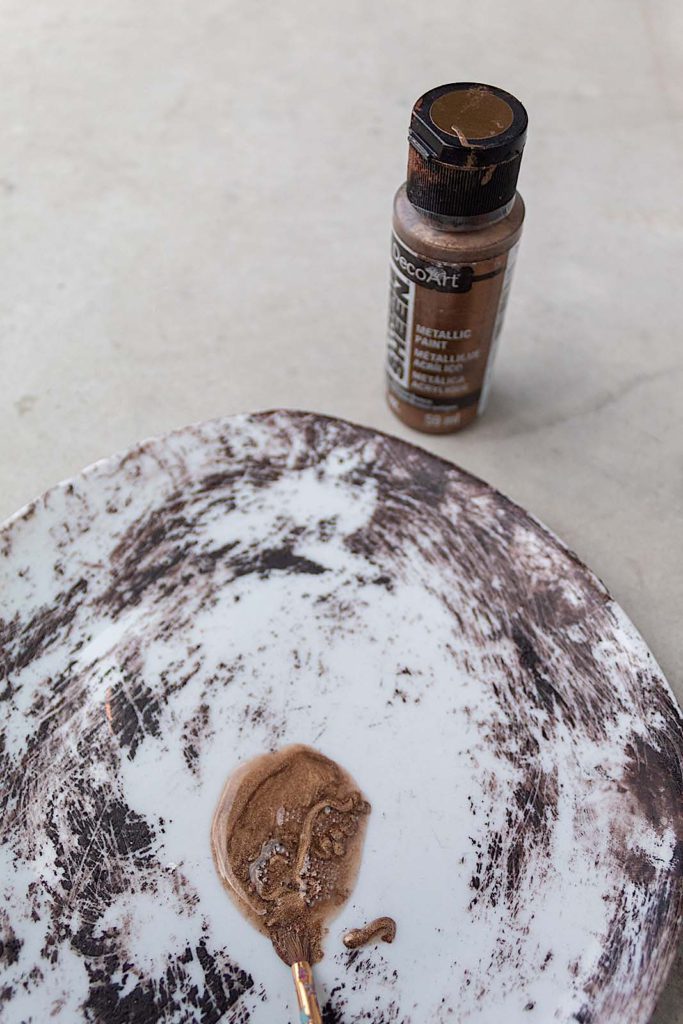
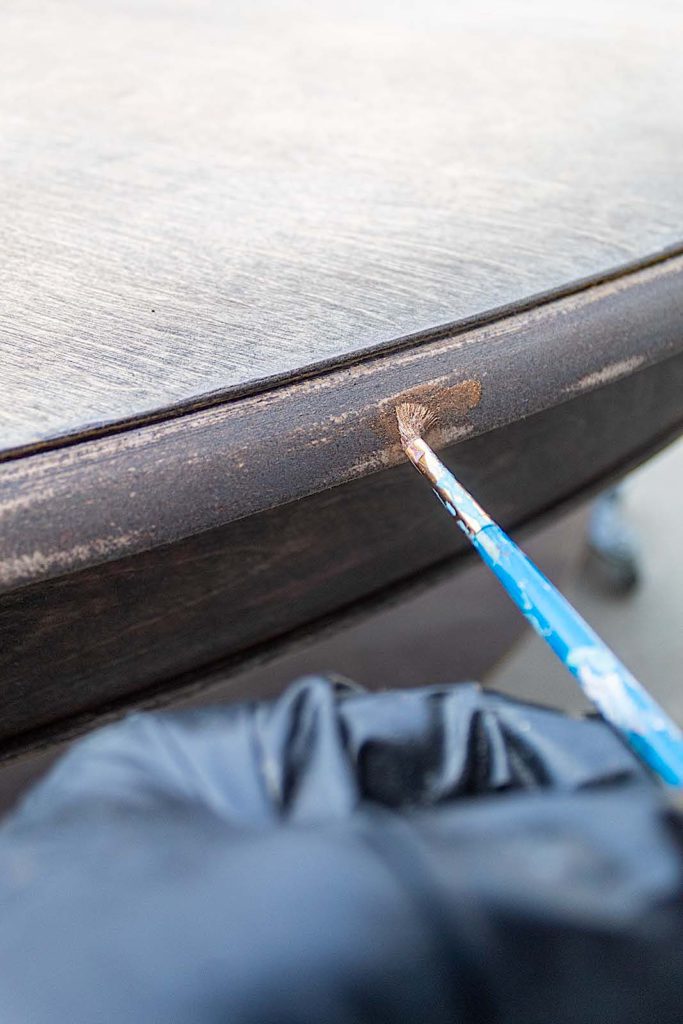
Step 5. Add A Touch Of Glam
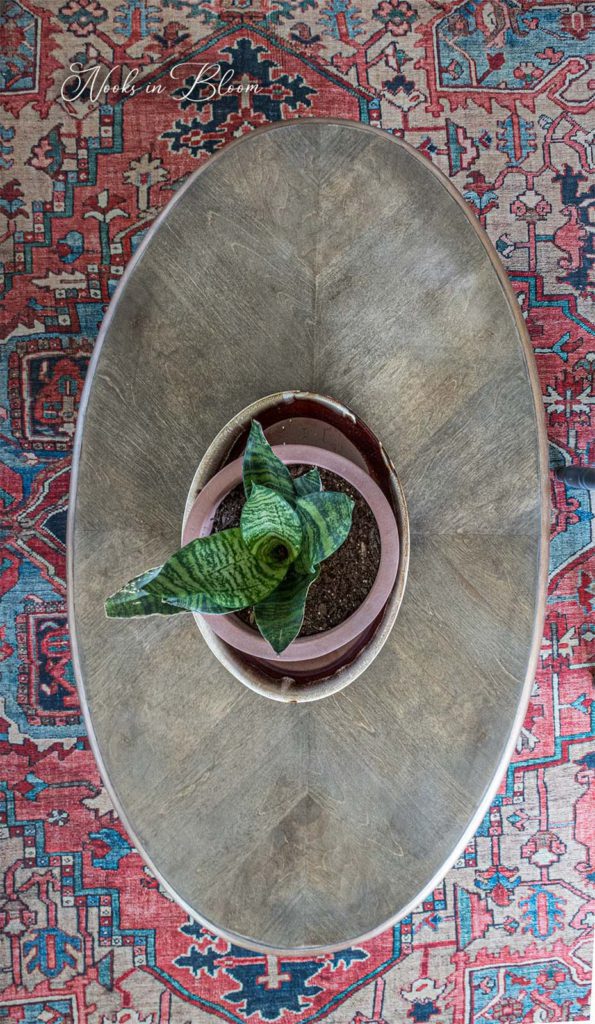
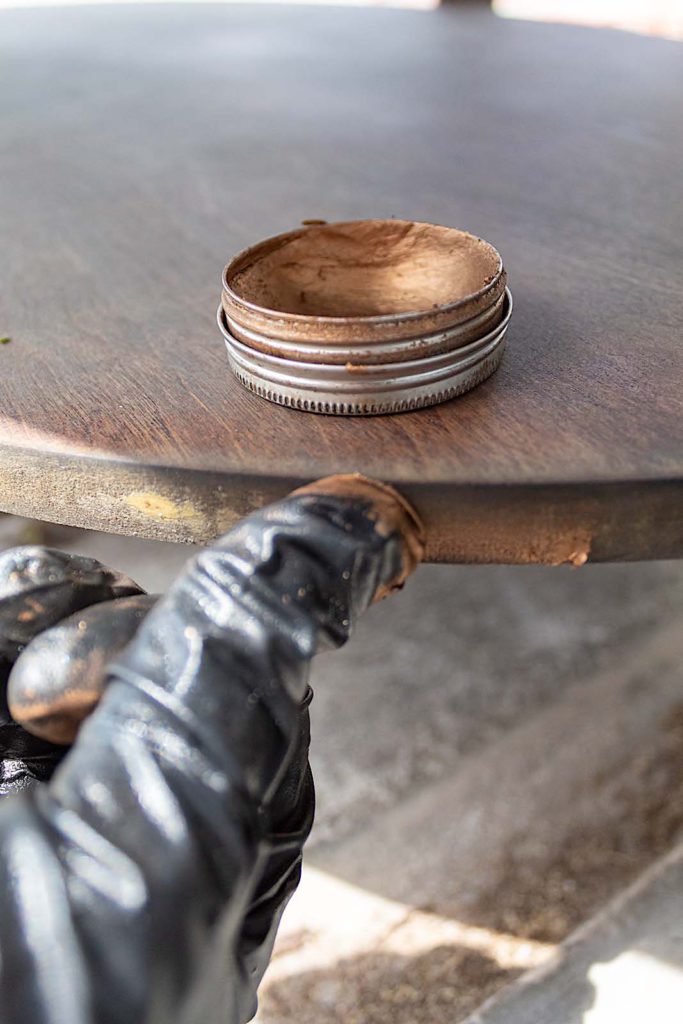
To break up some of the wood look on this table, I added metallic paint around the rim of the table top and metallic waxaround the shelf. Sometimes all you need is a small detail or one element of surprise to elevate the design impact of a piece.
I applied Aged Brass Metallic Wax with my gloved fingers around the rim of the shelf. It was quick and easy and I love how it added some sparkle. Just be careful when applying metallic waxes to a furniture piece so you don’t get it on unwanted parts. It is almost impossible to get off!
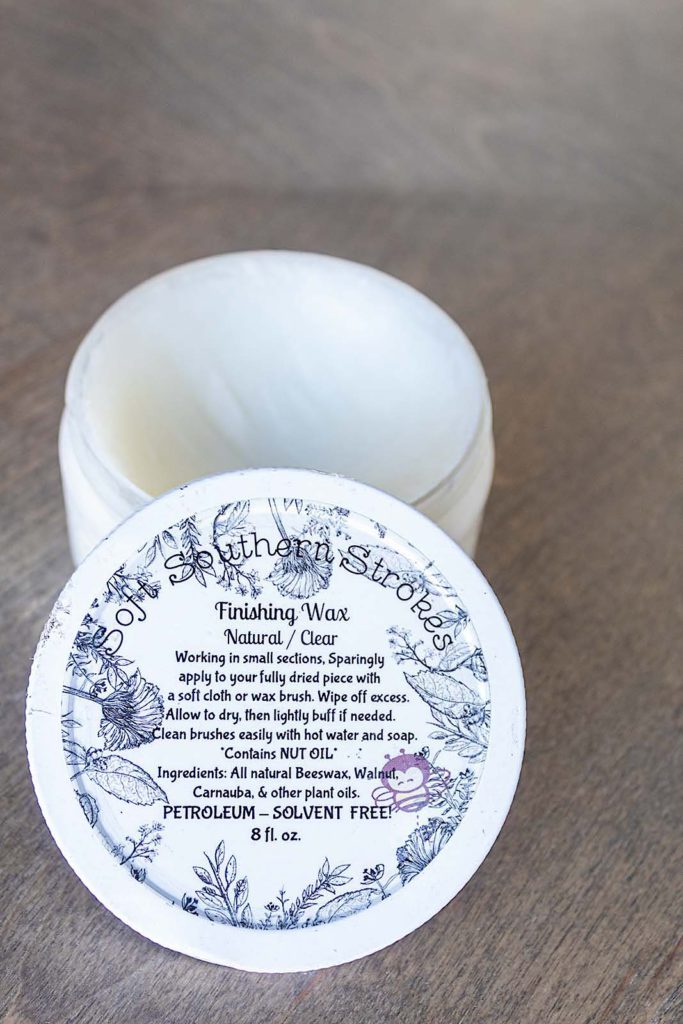
Step 6. Final step, seal the table
I used my favorite finishing wax to seal the table. This wax adds a very durable protective finish once it cures. It is non-toxic and smells lovely.
I rubbed it on with a paper towel. After a few hours I rubbed over the surface again for a light buffing.
It is now time to kick back and enjoy your new table! Add some special decor items and your beautiful wood grain will shine with all its natural elegance.
So NIB friends, what do you think of the wood grain look on this table? Do you have any pieces you would try this out on? I’d love to hear! Leave a comment and be sure to SUBCRIBE at the bottom of this page so you don’t miss our next tutorial!
2 thoughts on “Restoring Wood On A Furniture Piece/Coffee Table Makeover”
Cheryl Atkinson
Hi, thank bbn you for sharing this lovely makeover with me. I just am in love with the way it turned out. I will definitely start looking for a coffee table in my near future.


Hi, thank bbn you for sharing this lovely makeover with me. I just am in love with the way it turned out. I will definitely start looking for a coffee table in my near future.
Ohh, I’m so glad you liked it! Thank you for your kind words and feedback. I wish you all the best in the search for that special coffee table.