If you’ve followed me for a while you will know I love thrift store hunting for those tired, neglected pieces that have loads of potential. I was ecstatic when I spotted this vintage reading lamp at a local thrift store. There was a little old lady who had her eyes on it too. I could tell. She kept circling back to the lamp as she grazed through the store.
I really wanted this lamp. I’d been looking for a standing lamp with vintage charm for our living room. Was I prepared to throw down if necessary? Would I go to such lengths? Perhaps. But instead, I waited for the perfect moment when my senior rival had strayed into the clothing section. I darted in and snatched up the lamp!
But I didn’t expect what would happen next…As I was paying for my swiftly acquired artifact, I heard a voice from behind me say, “oh that’s a beautiful lamp.” It was the old lady! I suddenly felt embarrassed and guilty. But it turns out she was very happy for me. She took great interest in knowing how I was going to renovate the lamp and was dearly encouraging.
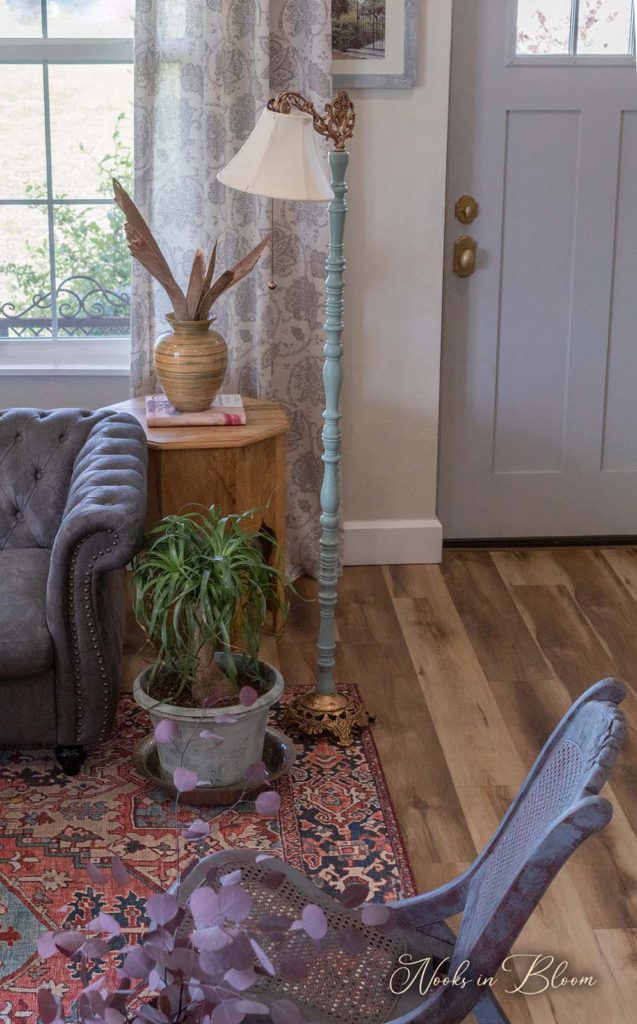
Luckily no tears or blood were shed in this story. Just two gals in appreciation of a salvaged treasure. And a treasure it was. Just take a look at how magnificently this old beauty came back to life…
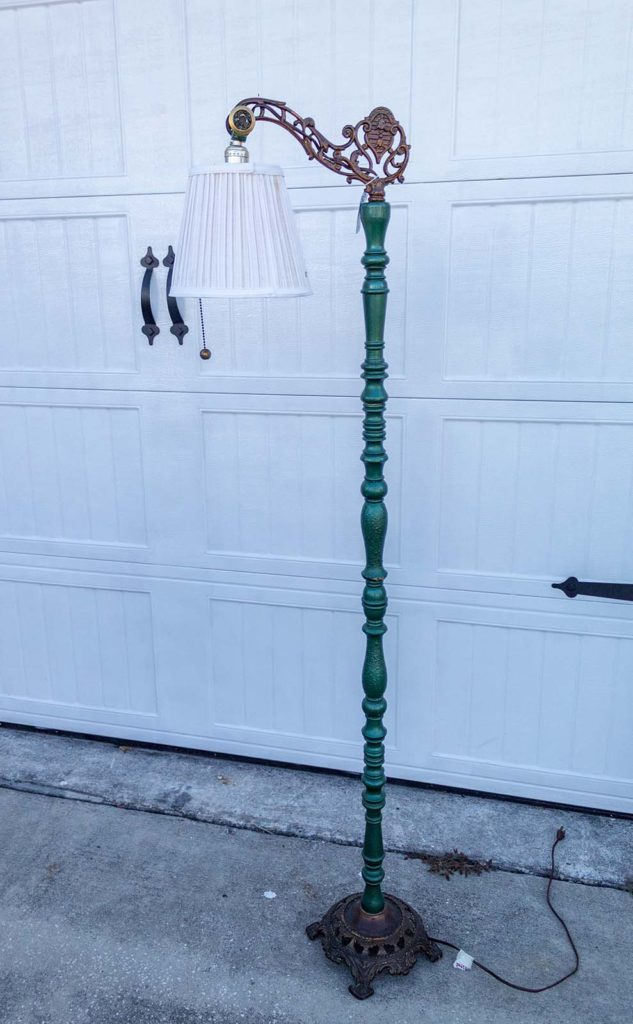
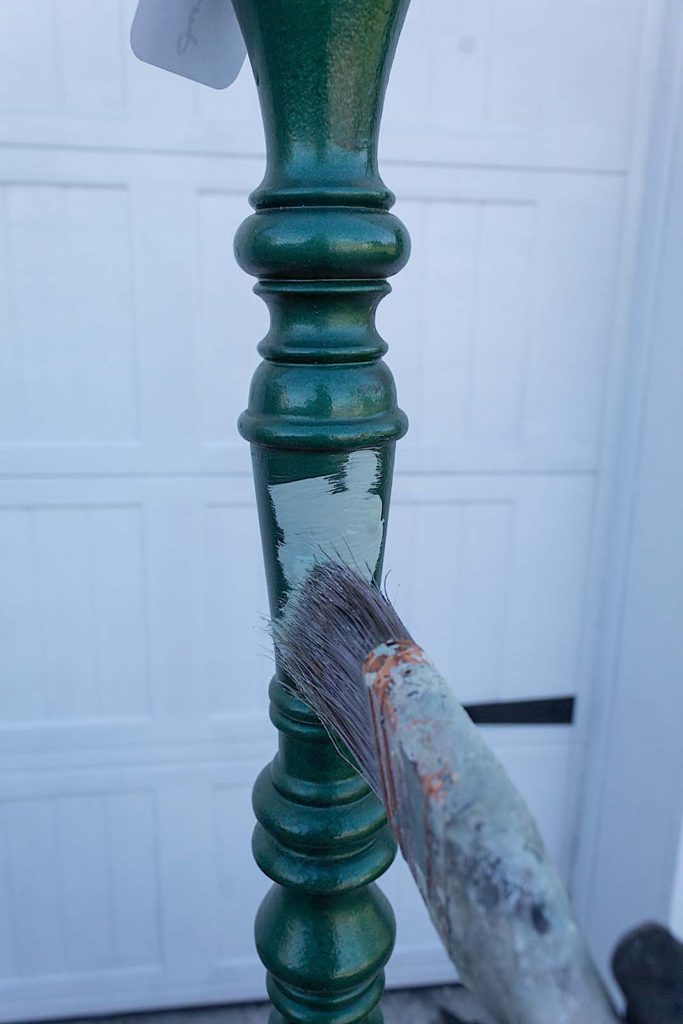
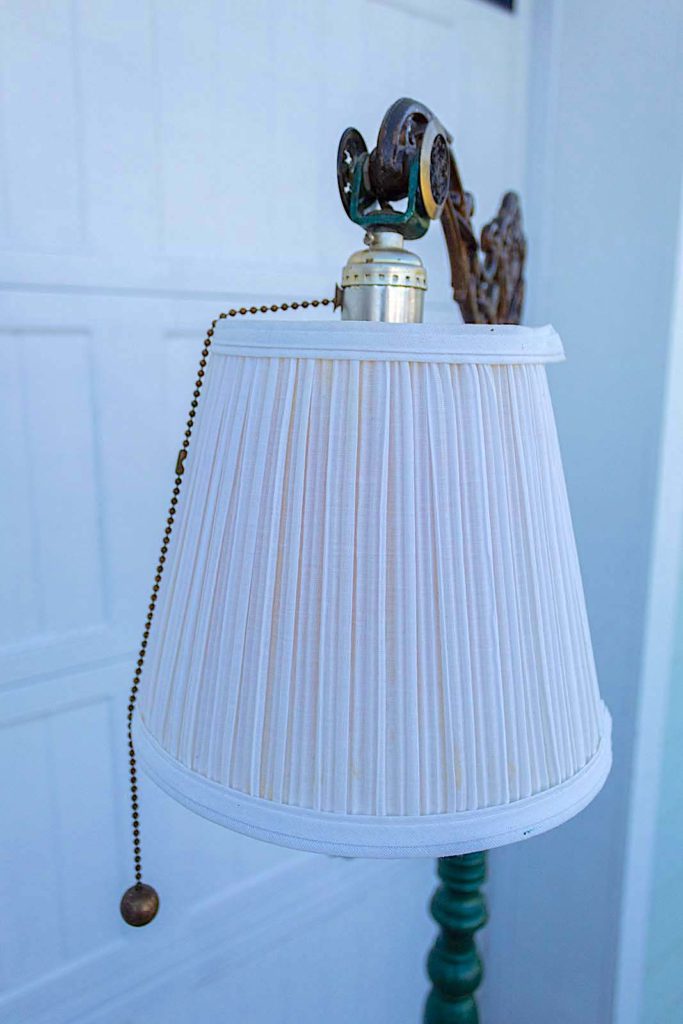
This floor lamp had been previously painted a dark green. The paint was old and chipped in parts. I decided to soften the aesthetic with a lighter green.
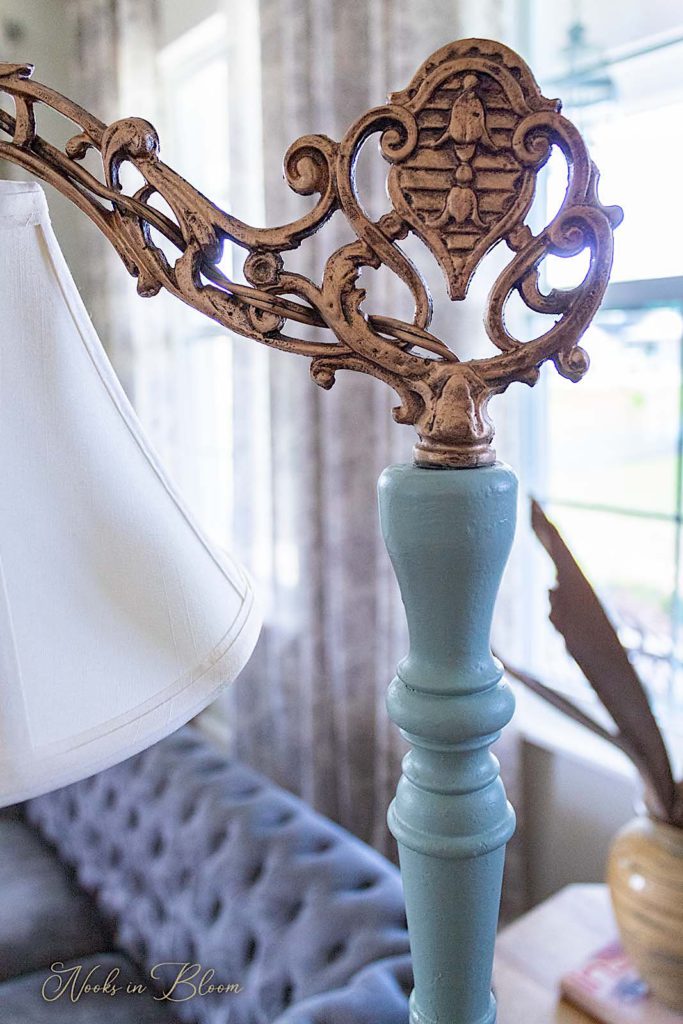
The fabric of the shade was old and dirty so I would not be keeping that. The lamp’s bones were fabulous, rich in ornate details. They just needed to be brought back to life.
Disclosure: Some of the links provided are affiliate links. By purchasing through these links you are supporting this family blog and the work we do and there is no extra cost to you. If you would like to read our full disclosure, click HERE.
Step 1. Paint
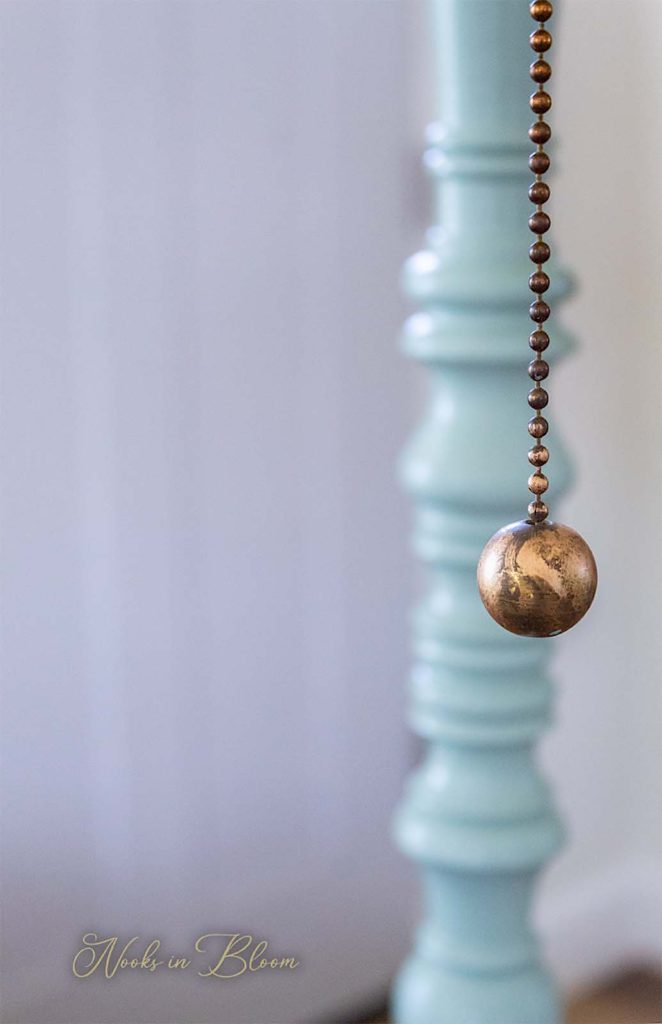
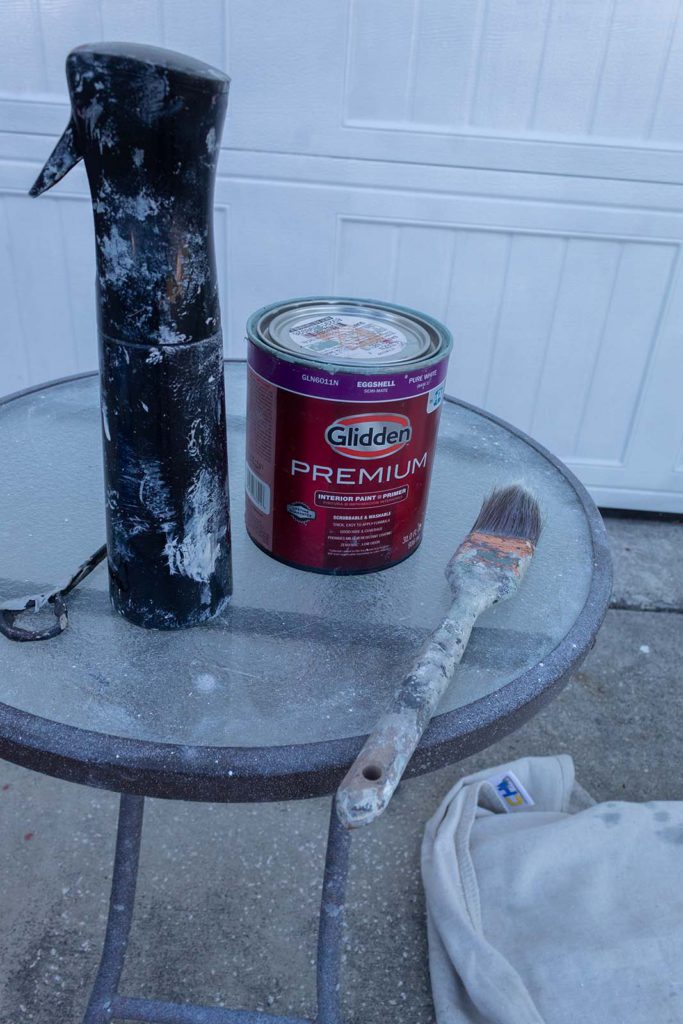
The first step in renovating this lamp is to paint the stem. The Green Balsam paint I picked is a lovely minty green. I think it will add a nice, classic feel. I made this paint into chalk paint using THIS RECIPE. I recommend using chalk paint for most projects. Chalk paint adheres well to just about any surface, including metal as with this lamp.
I first cleaned the lamp from head to toe with my vinegar cleaning solution. Then I begin applying paint with my Purdy brush.
Slap it on!
As silly as it may sound, the best technique for painting curved pieces like stems of lamps, chair spindles, balusters and curtain rods—is to apply the paint by slapping it on with the brush. Doing so eliminates the appearance of brush marks. **I demonstrate this technique in the video at the end of this post.**
To get solid coverage on this metal surface I am going to need three coats of paint. You can always apply a coat of primer and reduce the amount of subsequent coats of paint.
Tip** Avoid using a misting bottle on your first coat. Adding any additional moisture will keep the paint from adhering as well as needed on the first coat.
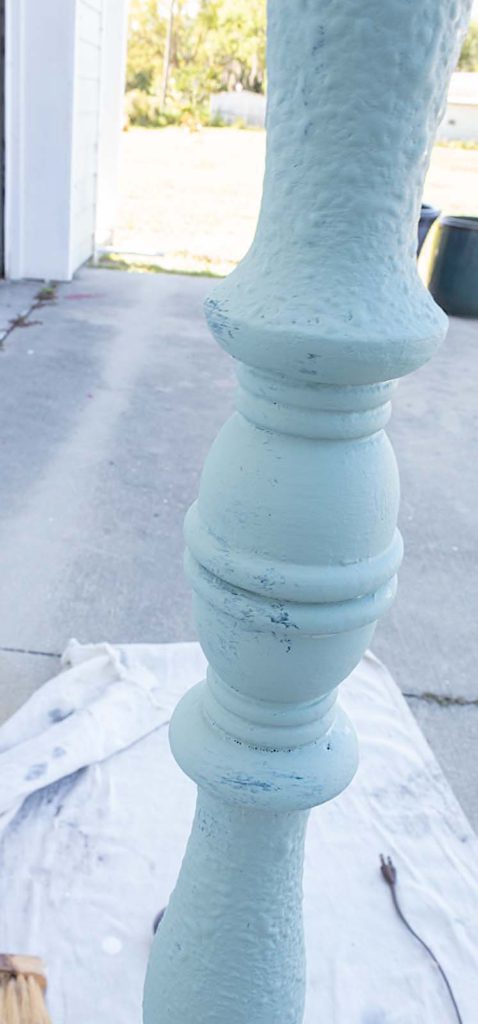
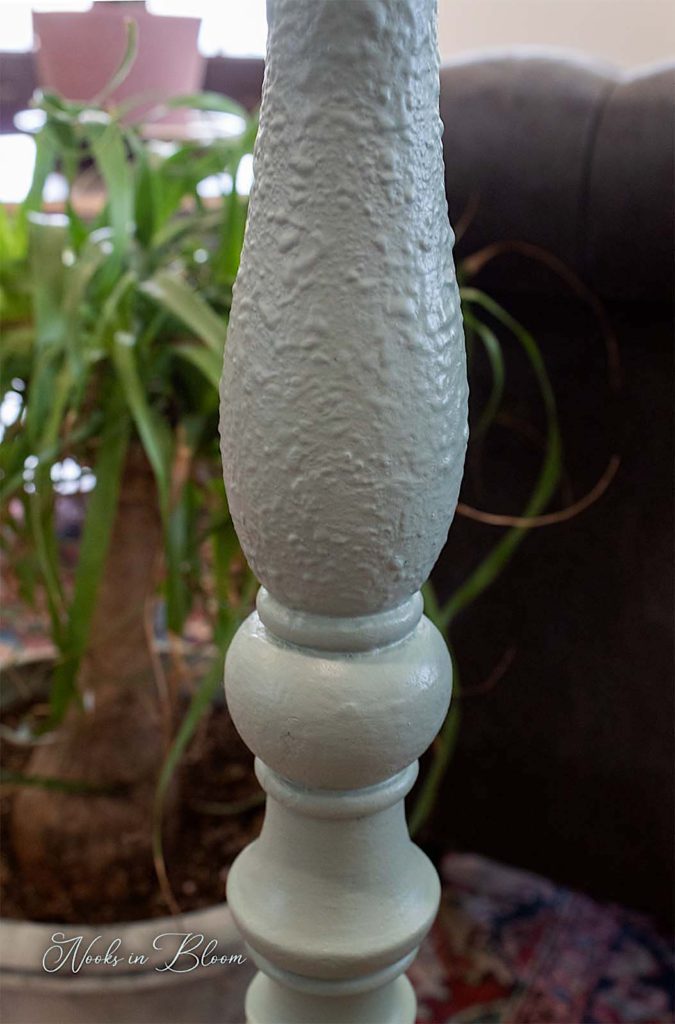
After one coat of paint, the lamp was looking rather blotchy. Much of the first coat had been absorbed into the texture of the lamp. Take a look…
After 1st Coat
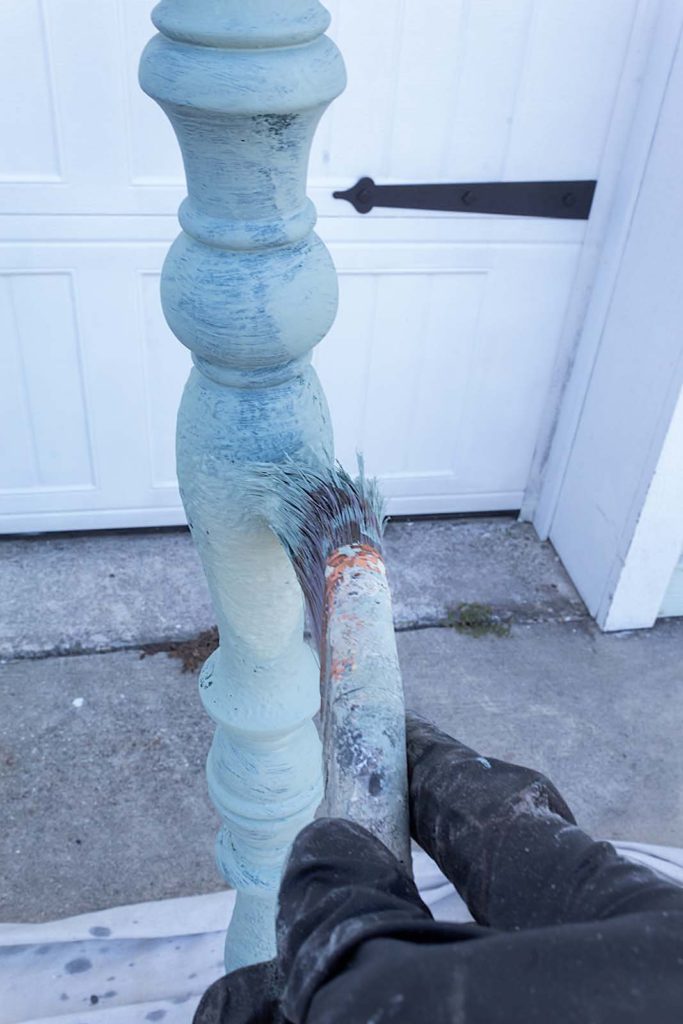
I used my misting bottle on the second coat since I already had a base of chalk paint to work with. I would spray occasionally to help move the paint and get it into all the nooks and crannies of the stem of this lamp.
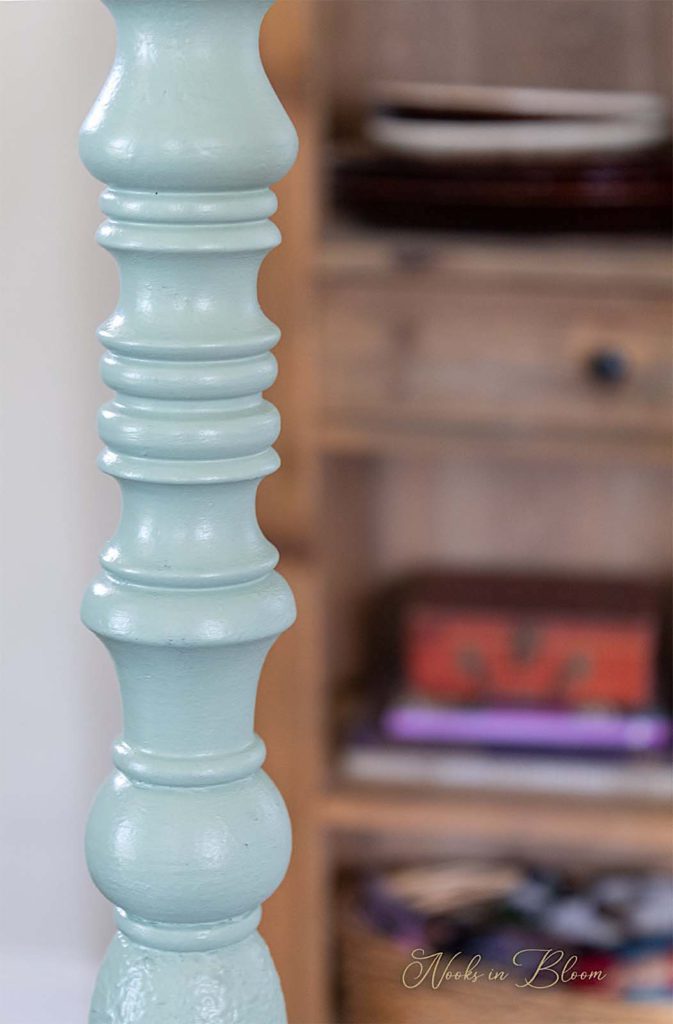
Things were looking much better after the second coat of paint. Still a few uneven spots, but much better overall coverage. I knew the 3rd coat would be the charm!
After 2nd Coat
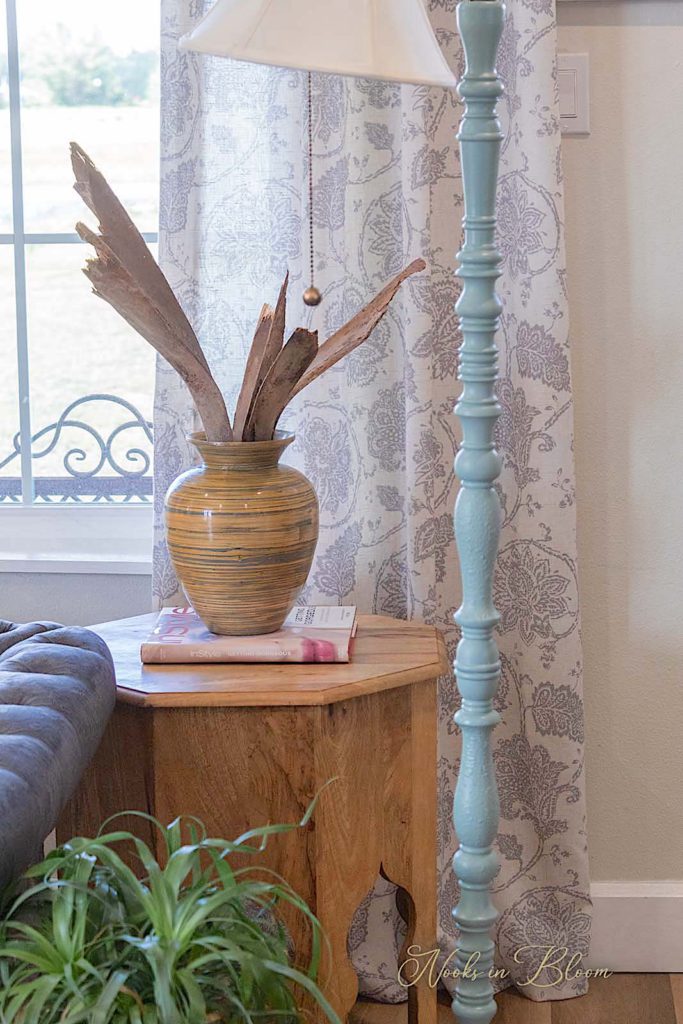
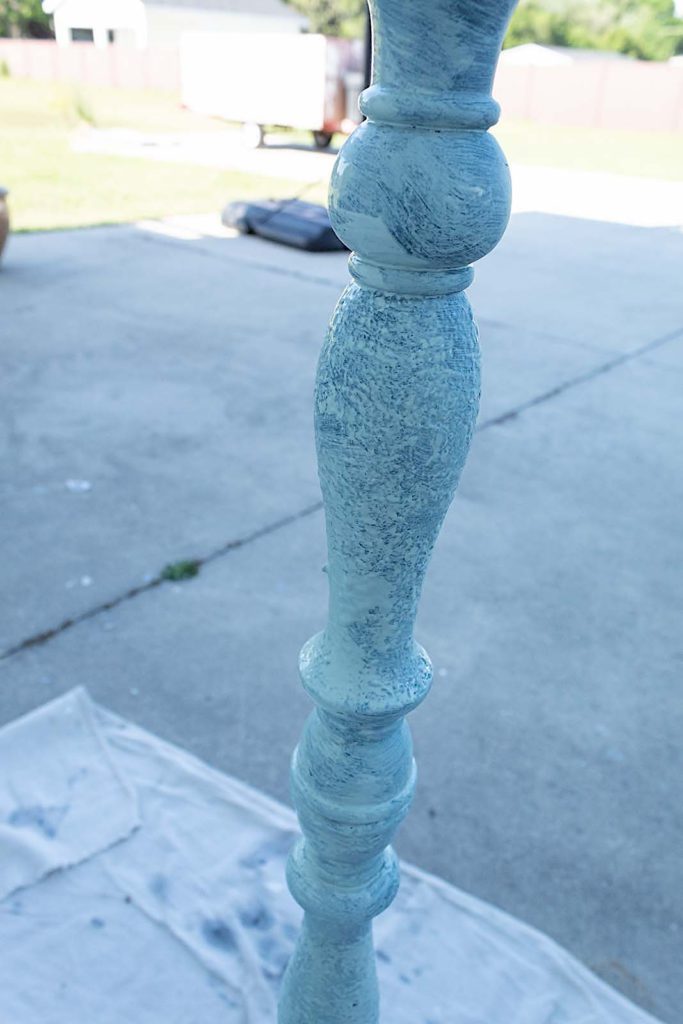
After 3rd Coat
Step 2. Seal Your Paint
You can choose to leave your lamp with a more matte look by not adding any clear coat. I decided to add some sheen for a touch of elegance by spraying on one coat of gloss clear coat.
I typically don’t spray clear coat on, but for this piece, it was the easiest way to get even coverage on all the curved details.
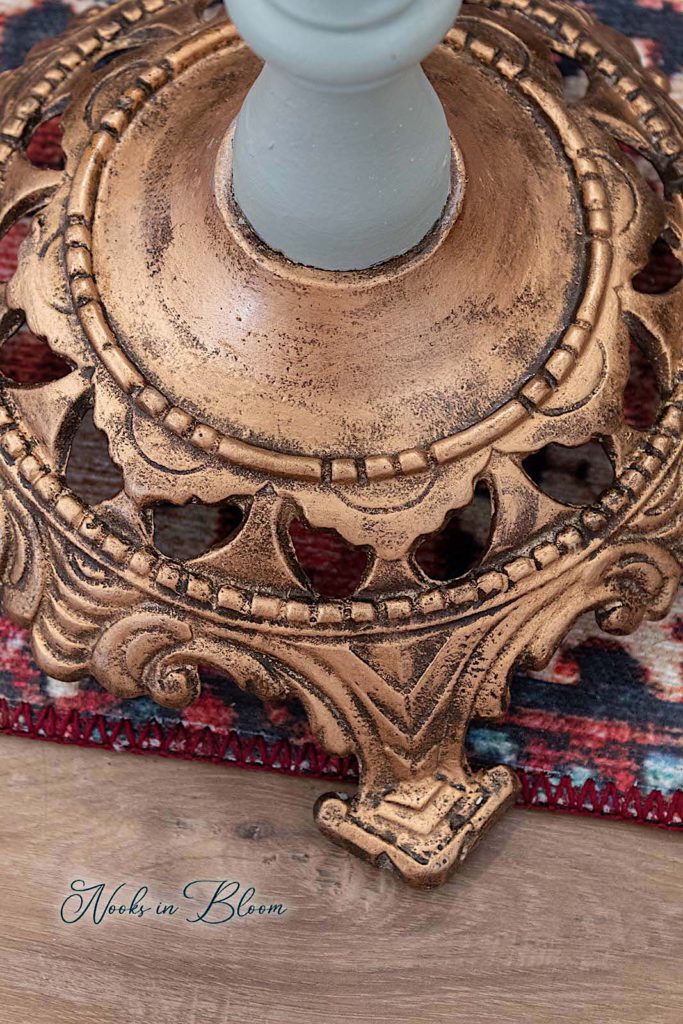
Step 3. Revive The Tarnished Metal Parts
The metal parts around the shade and the base of the lamp had lost their luster and were looking pretty dull.
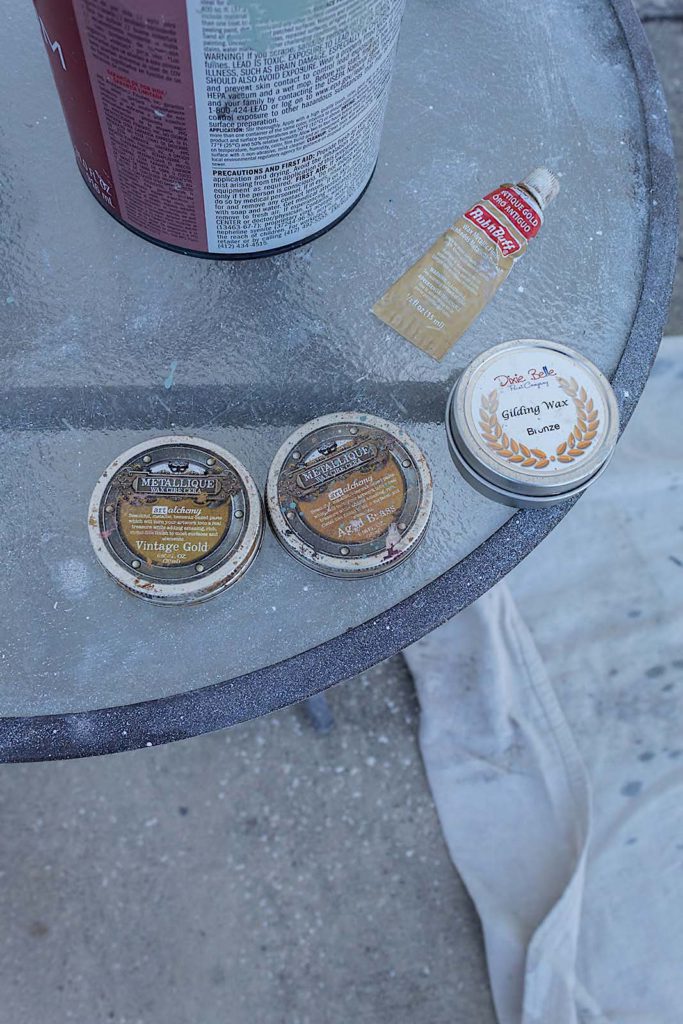
I love working with metallic waxes and paints. They are always the icing on the cake when it comes to renovations. For a piece like this, Rub ‘n Buff is perfect for reviving the tarnished metal parts.
When I start a furniture renovation, I typically lay out an assortment of waxes prior to beginning the project. As I apply paint, I’m feeling out what will be the next step in the transformation. Usually waxes are added towards the end and used to highlight or define details.
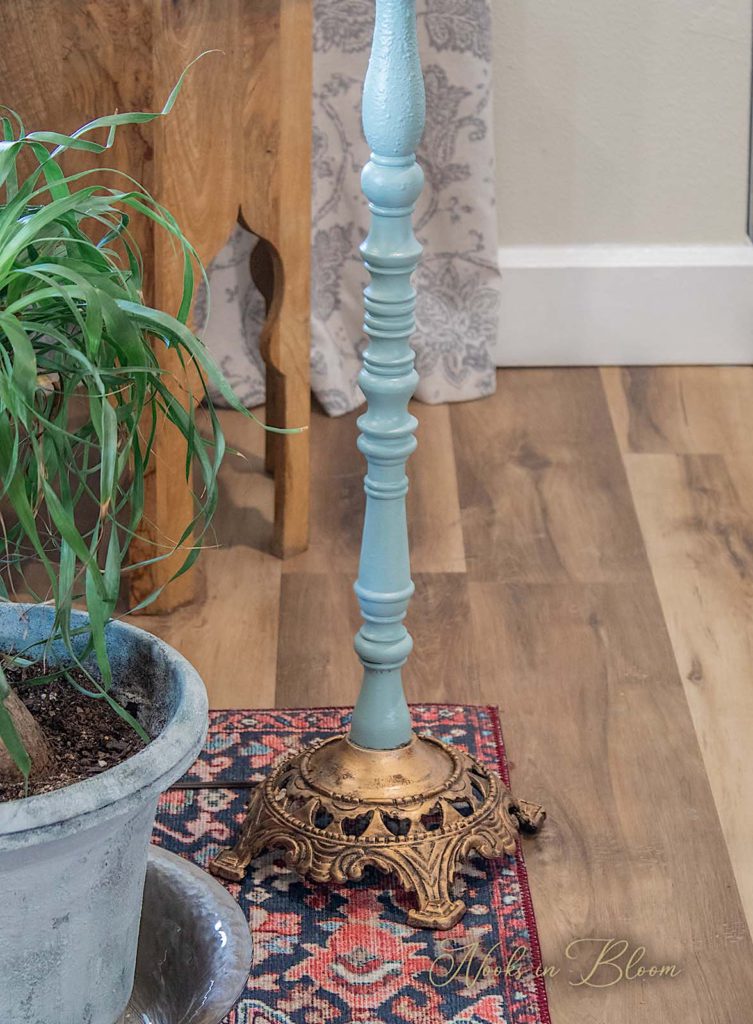
In the case of this floor lamp, Antique Gold Rub ‘n Buffis what spoke to me the most. And it turned out to be the perfect choice.
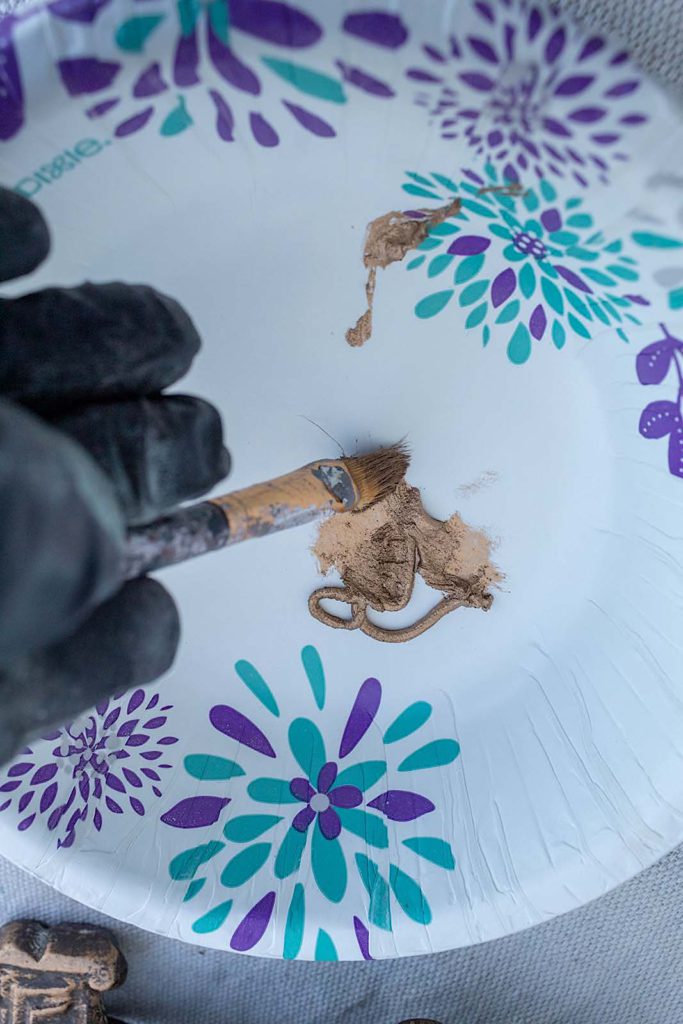
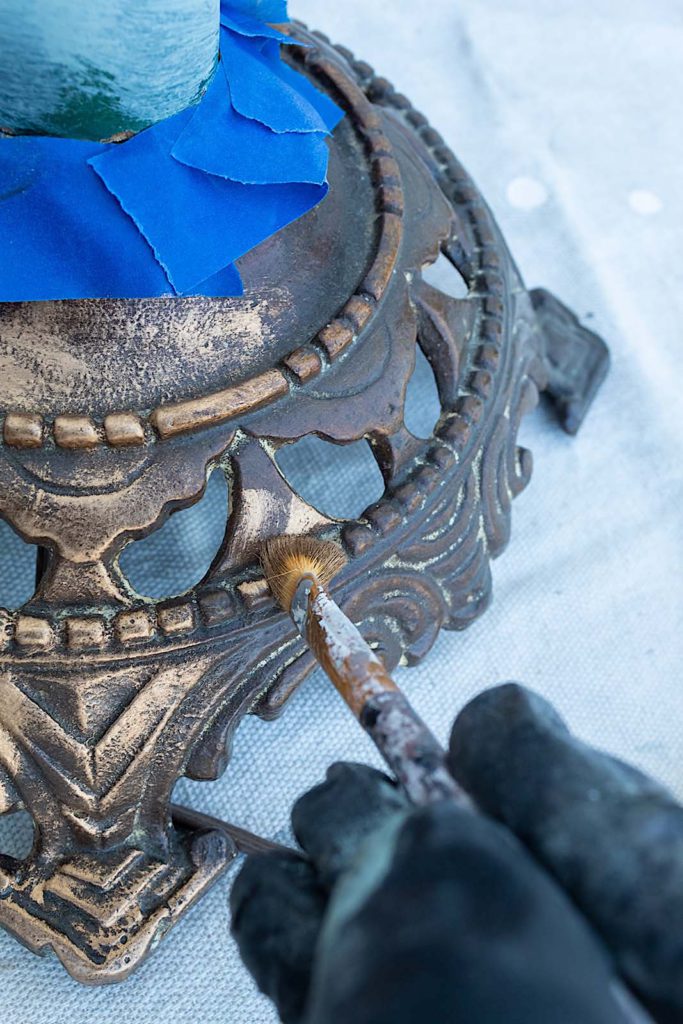
A little of this product goes a long way. I squirt some onto a paper plate and with my small painter’s brush I begin painting the base of the lamp.
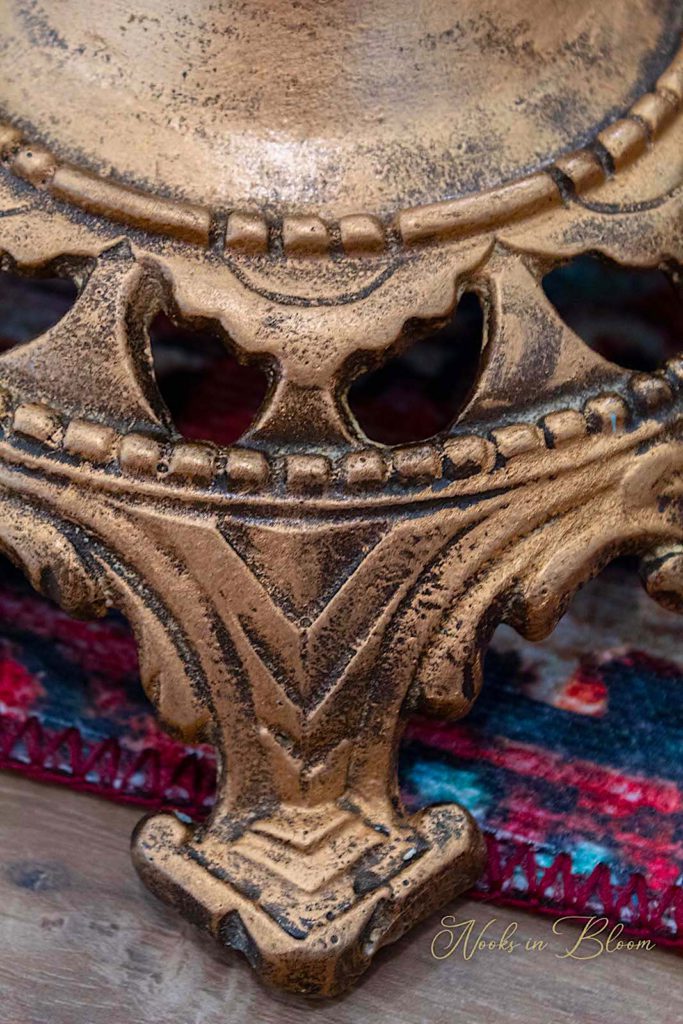
The Rub ‘n Buff immediately transforms the old metal. I leave some of the darker metal exposed to add an “antiqued” aesthetic. I love how the Rub ‘n Buffenhances all the ornate details of the lamp.
Tip**when working with metallic waxes and paints, be sure to tape off areas where you don’t want any wax. These products dry very quickly and are hard to get off of a surface. If you do have a painting ‘woops’ and absolutely need to get your wax off, try rubbing with soap and water. This usually works.
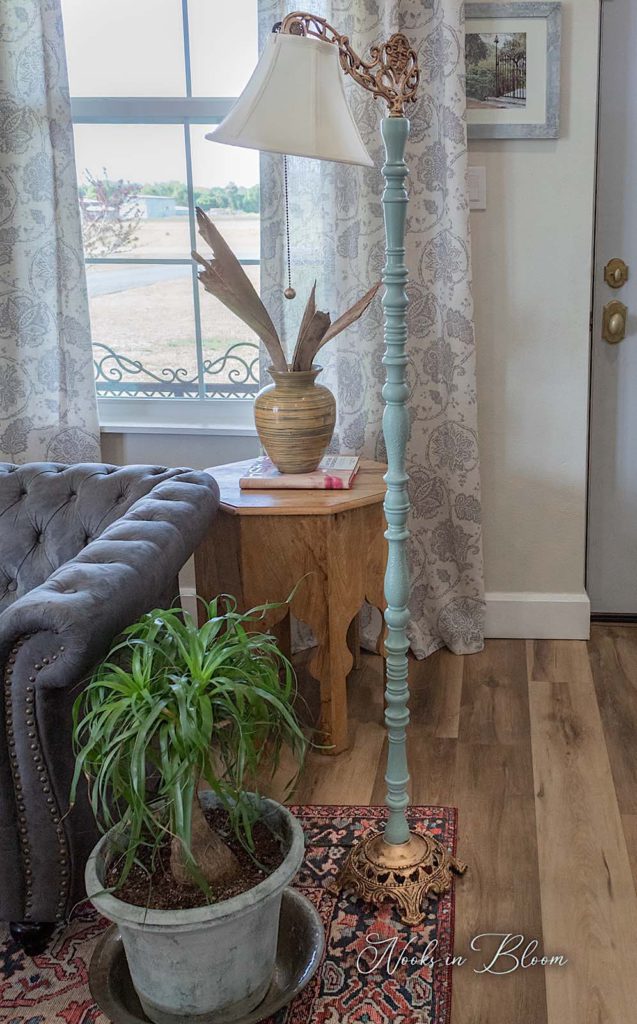
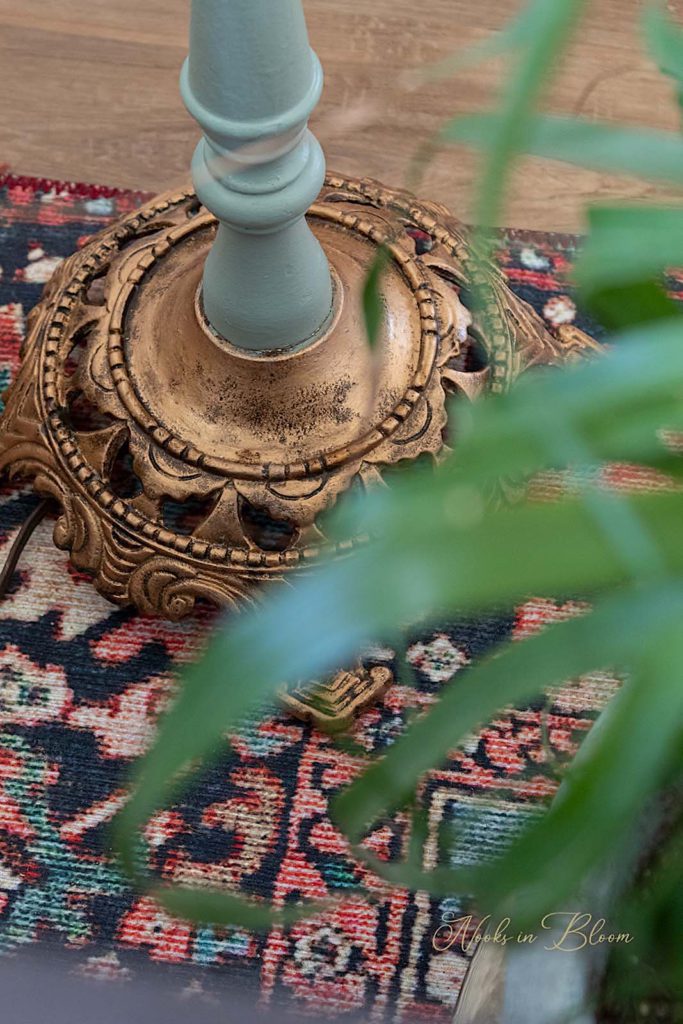
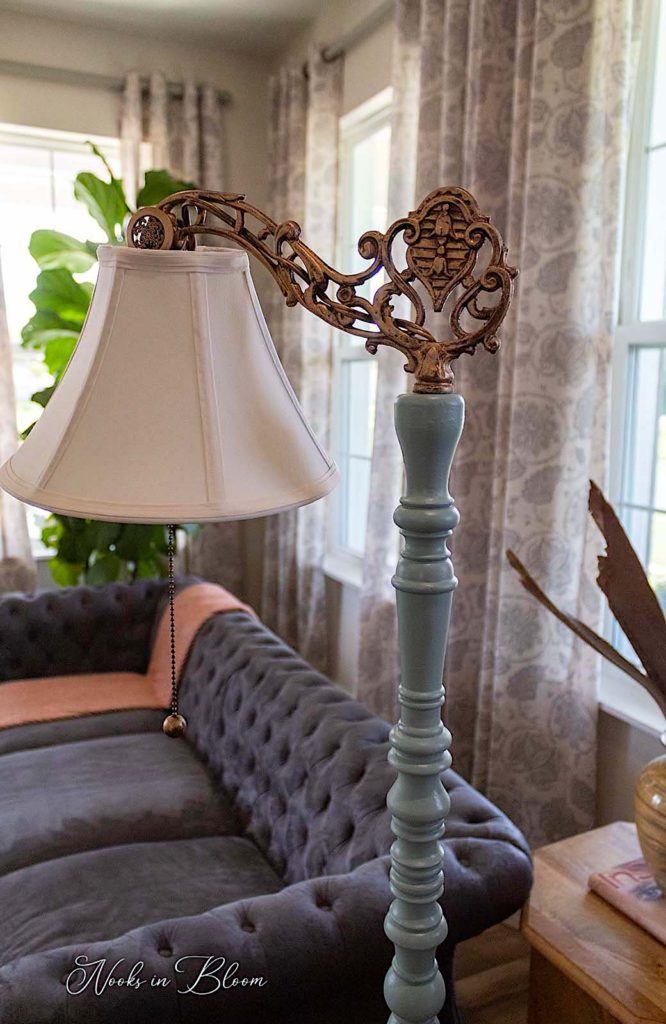
Now, enjoy your new home decor addition!
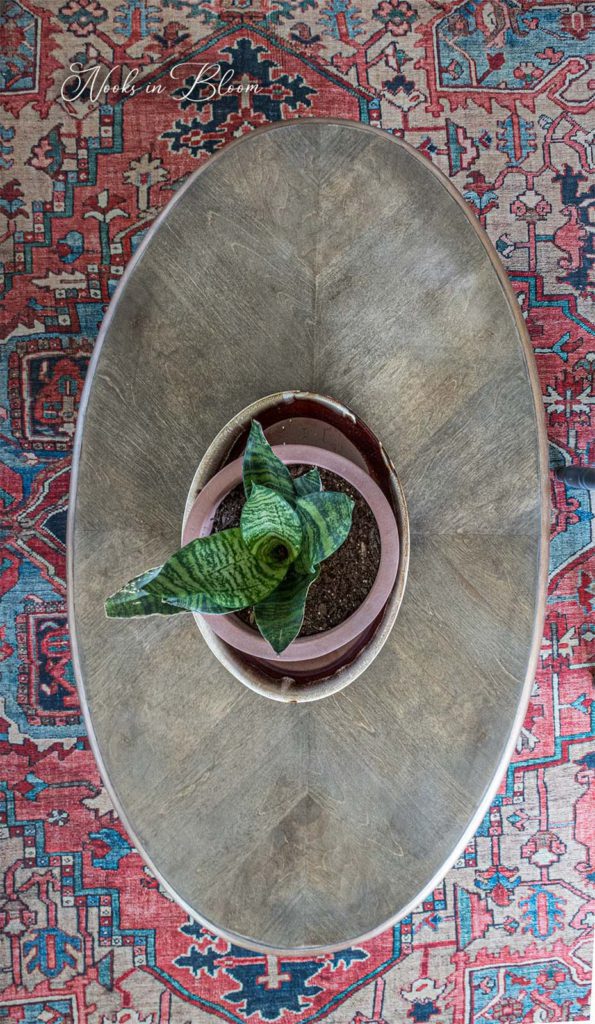
This lamp was part of a series of small changes I made to change up the look in our living room recently. The newly renovated Facebook Marketplace coffee table was another special addition. It helped warm up the space with an earthy, wood grain aesthetic. If you’d like to see the technique I used to restore the wood of this table, take a look at THE COFFEE TABLE MAKEOVER POST.
So wonderful readers, what did you think of this reno? Do you like the knew look of this lamp? Let me know in the comments below.
Now I’ll leave you with a video of this transformation and be sure to SUBSCRIBE at the bottom of this page so you don’t miss any posts!