Hello friends! Here is another Saltwash® project that you’ll love. I can’t get enough of this product. It makes everything look so beautifully aged. And it is SO easy to use!
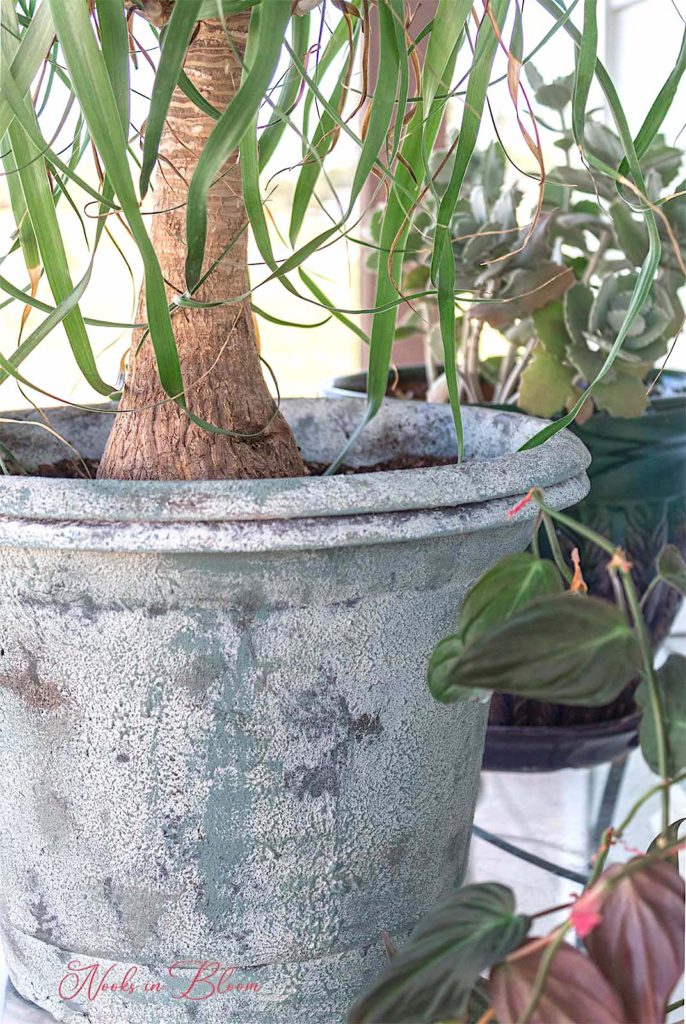
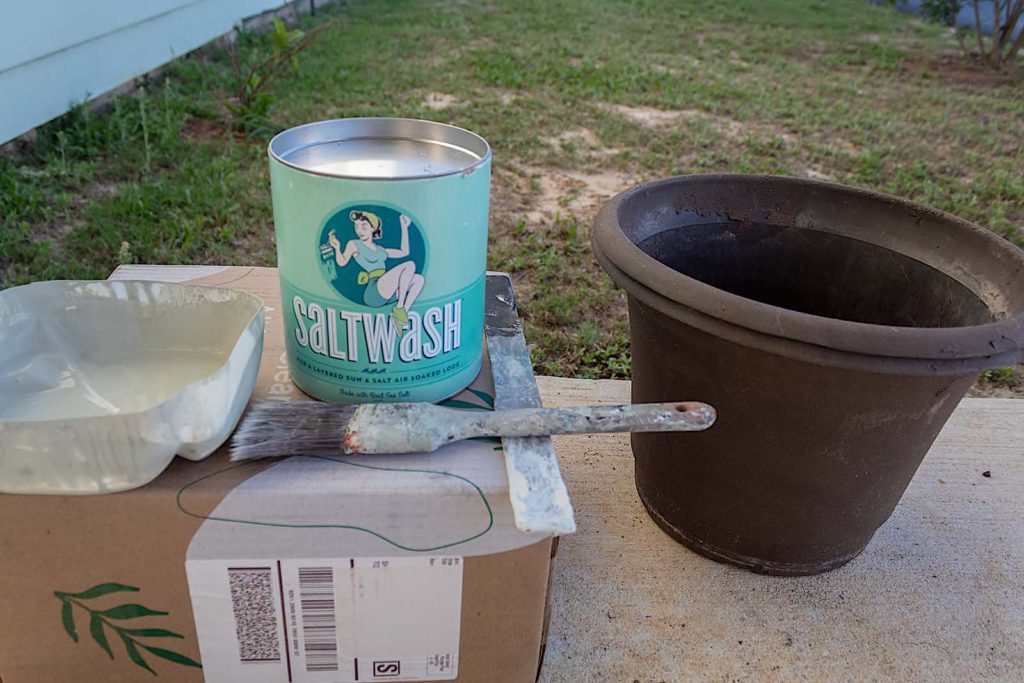
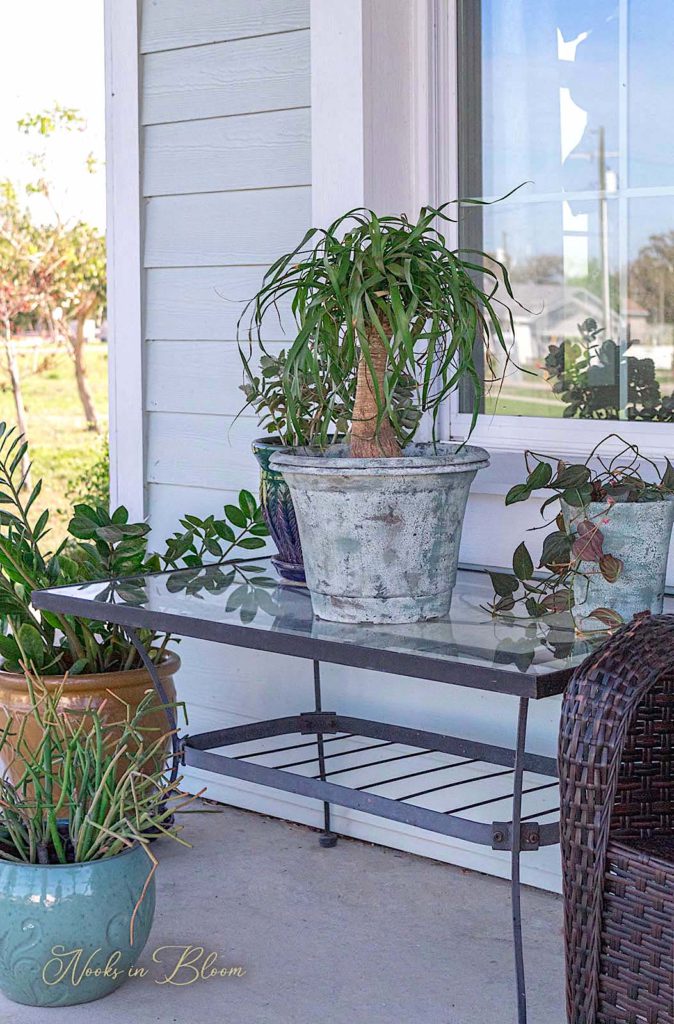
In today’s tutorial I am transforming a plain plastic planter into an aged, stone charmer. Before you throw out your plastic planters, try this updo. You will surely want to show off your plants in a new stylish container.
I like using chalk paint for these projects, but Saltwash works with any paint. I make my own chalk paint usually from paint I buy at Home Depot. I use this recipe and it comes out wonderfully. It is an economical way to work with chalk paint and the color choices are endless.
For my first paint color I chose Behr’s Foggy London, a greige color. I thought that would be a nice color to resemble stone.
Saltwash
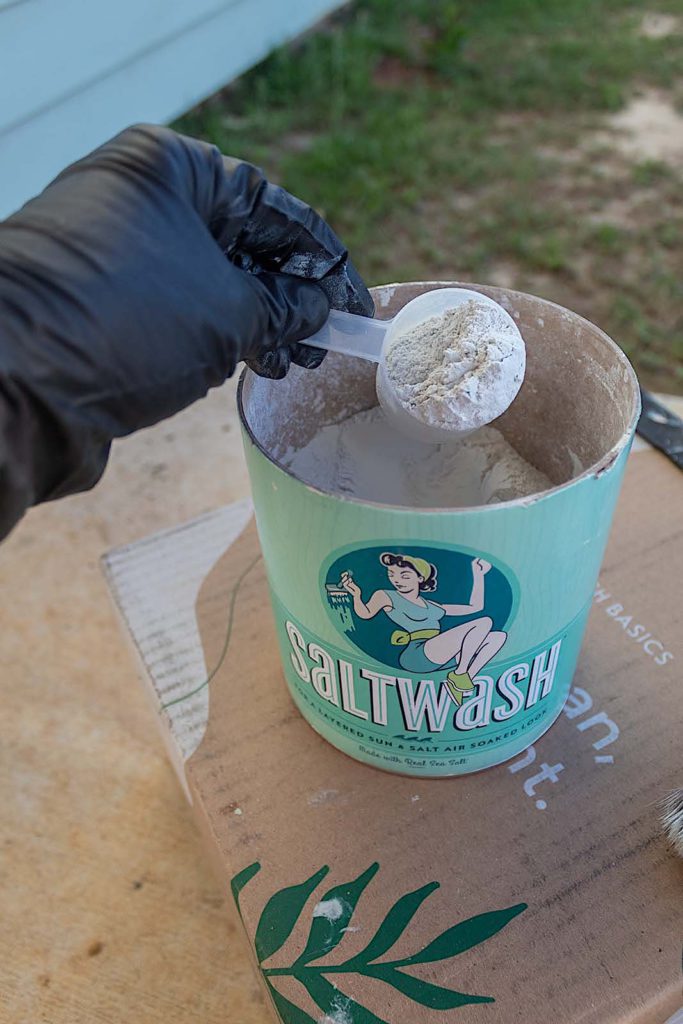
Pour
Next I get my Saltwash. As I mentioned above, this stuff is awesome! I was recently introduced to it by my friend Chelsea from Montero Manor. When I saw the amazing faux effects she was creating using Saltwash and a little paint, I had to give it a try.
This product goes a long way. I did a whole kitchen wall and a large dresser and I am not even half way through the jar yet.
For my planter paint mixture, I pour an approximate equal amount of Saltwash to paint into the container with the paint in it.
Mix
I mix the Saltwash and paint together thoroughly using a paint stick. I like the consistency to be pretty thick, in between pancake batter and cookie dough, if that makes any sense.
I want the saltwashed paint to create lots of texture and peaks (or bumps will do) on my surface when I apply it. You can play with the consistency by adding more or less paint until you get your desired results.
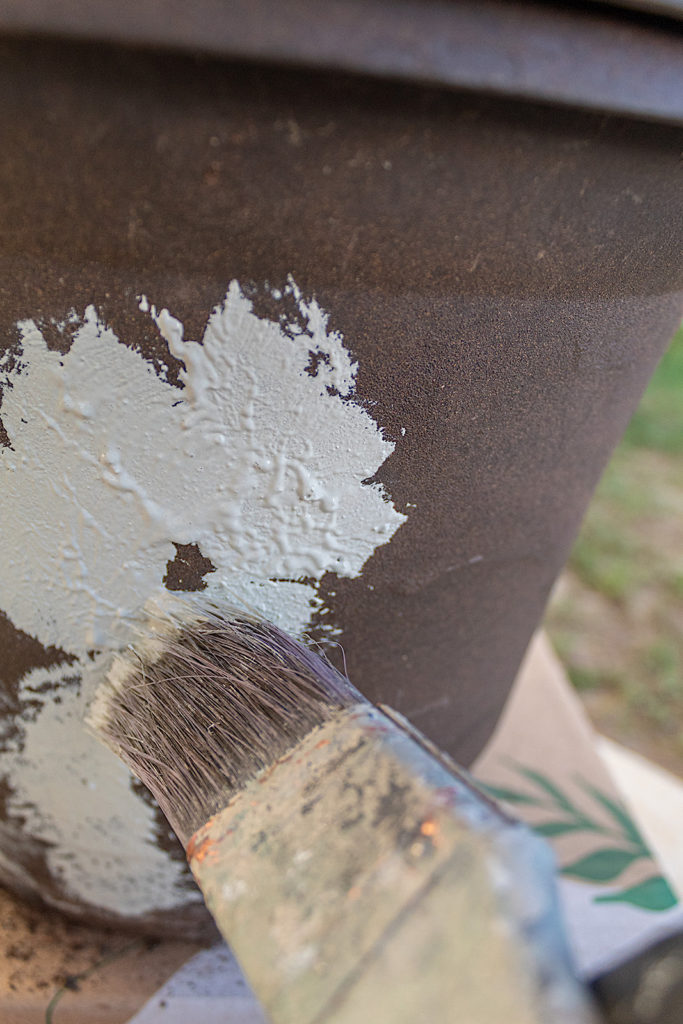
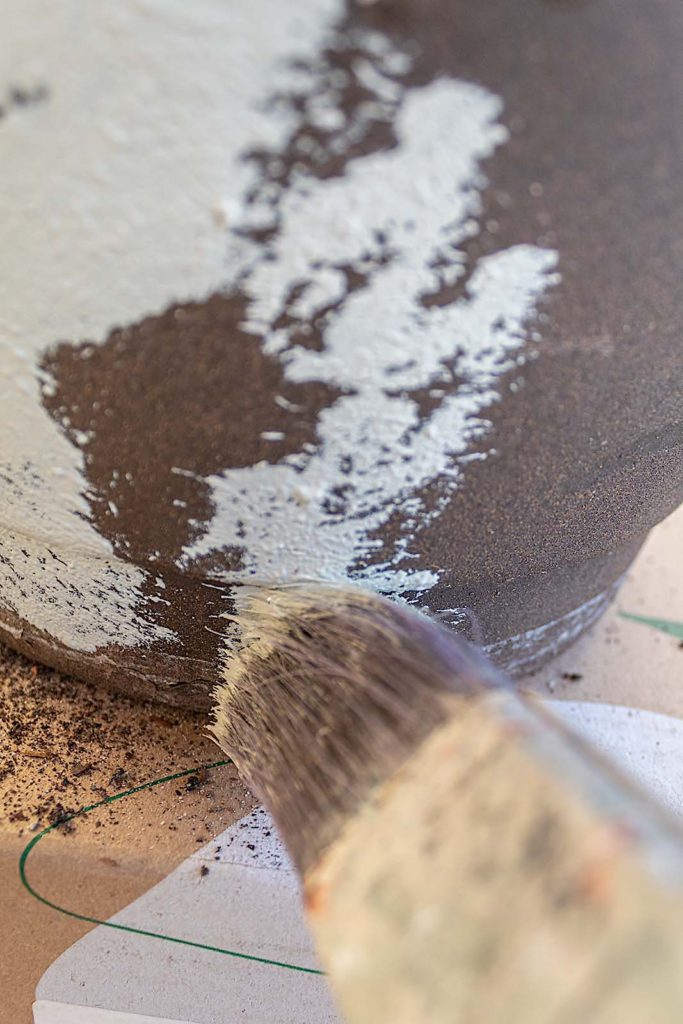
Step 2. Apply Your 1st Paint Color
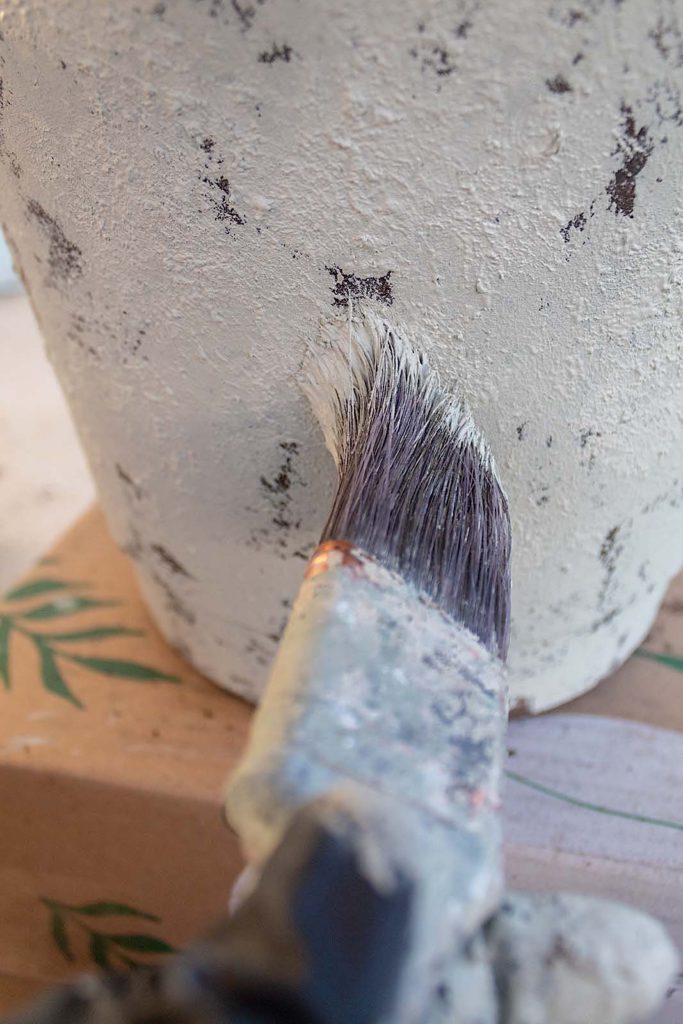
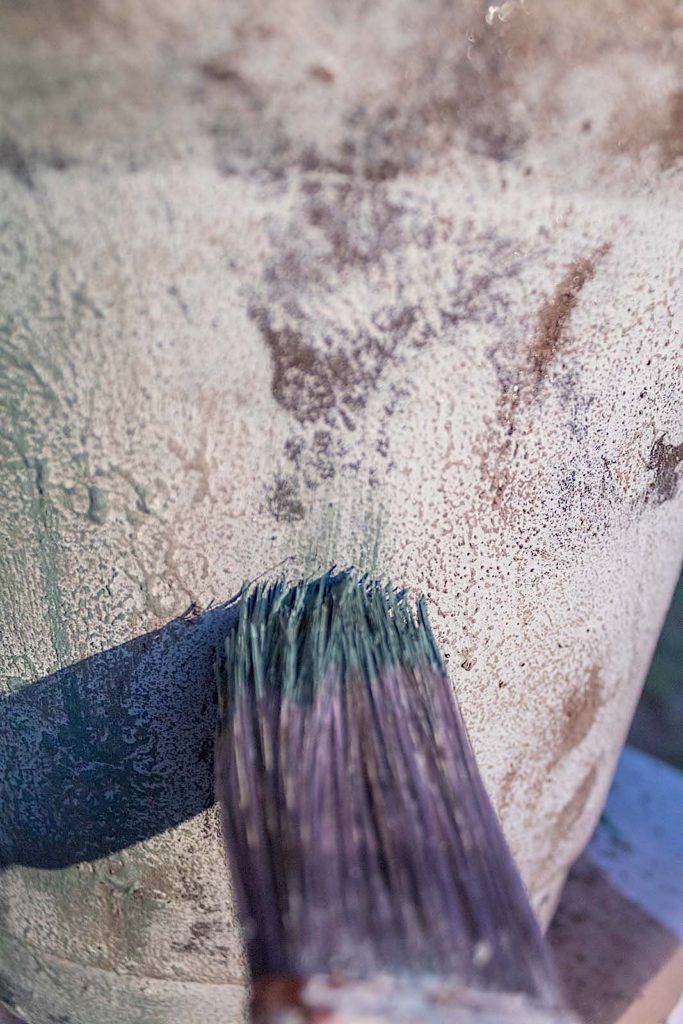
I begin applying my Foggy London color to the planter. The technique I recommend is to dab the paint on with your brush, almost like your hitting the planter with your paint brush up and down. You will immediately begin to see the textured results from your paint mixture.
I demonstrate the technique in the video at the bottom of this post.
I continue to apply my paint while leaving some of the brown of the planter exposed for added character.
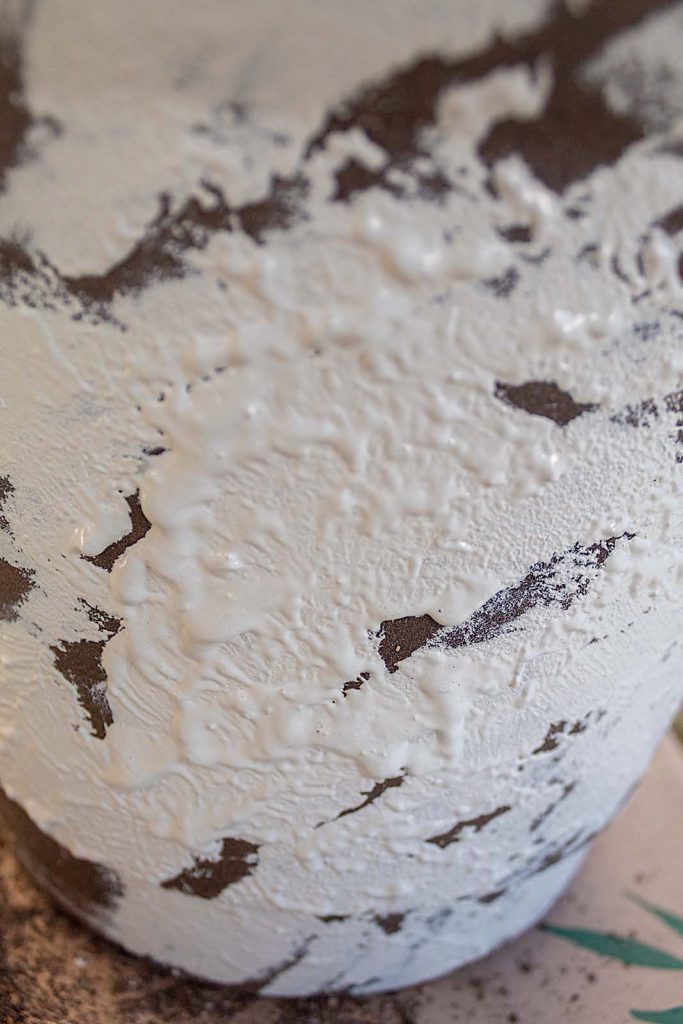
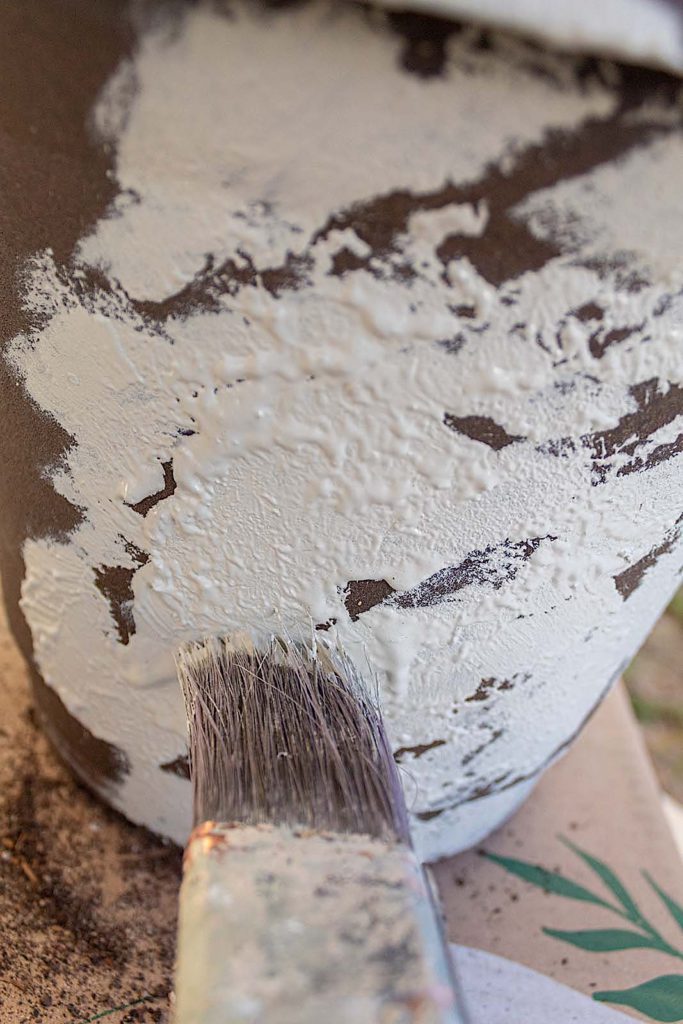
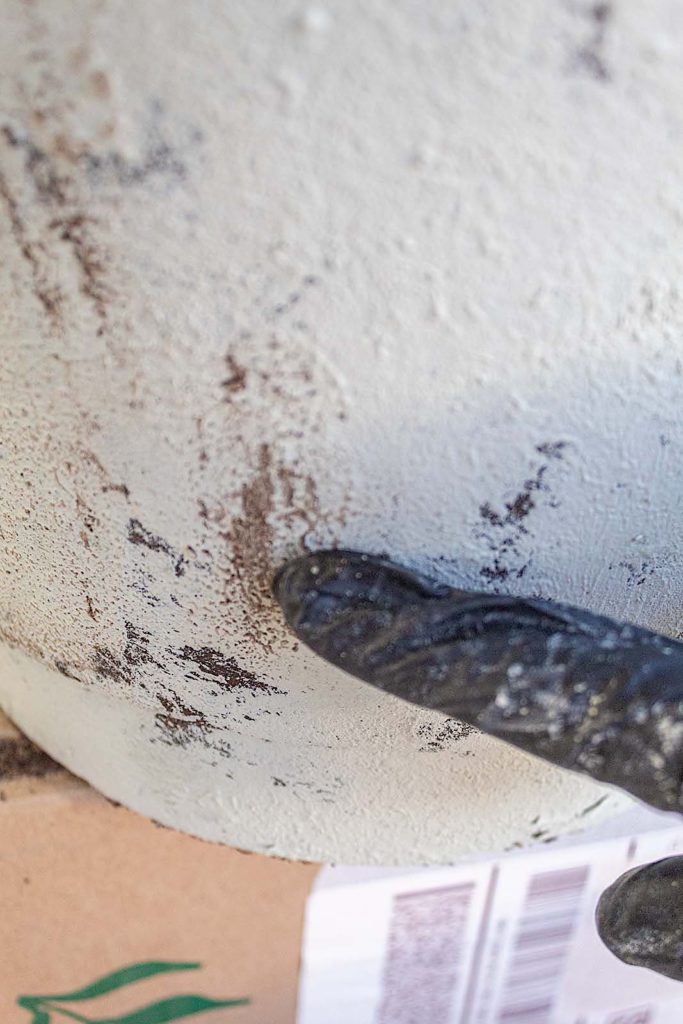
As you can see in the picture below, there are some thicker parts forming. They are sagging a little because my paint mixture is not as thick as it could be. However, the different levels of texture is exactly what we want for our faux stone finish.
In my Cracked Patina Dresser Post I use a different technique with the Saltwash. I used my paint brush, waiting a little after I applied the paint, to remove the painted parts and distress the finish.
In this case I am not removing layers of the painted application, but simply creating layers of texture. I do however take my brush and press down a little on the bumps to make them more like peaks and less like sagging paint.
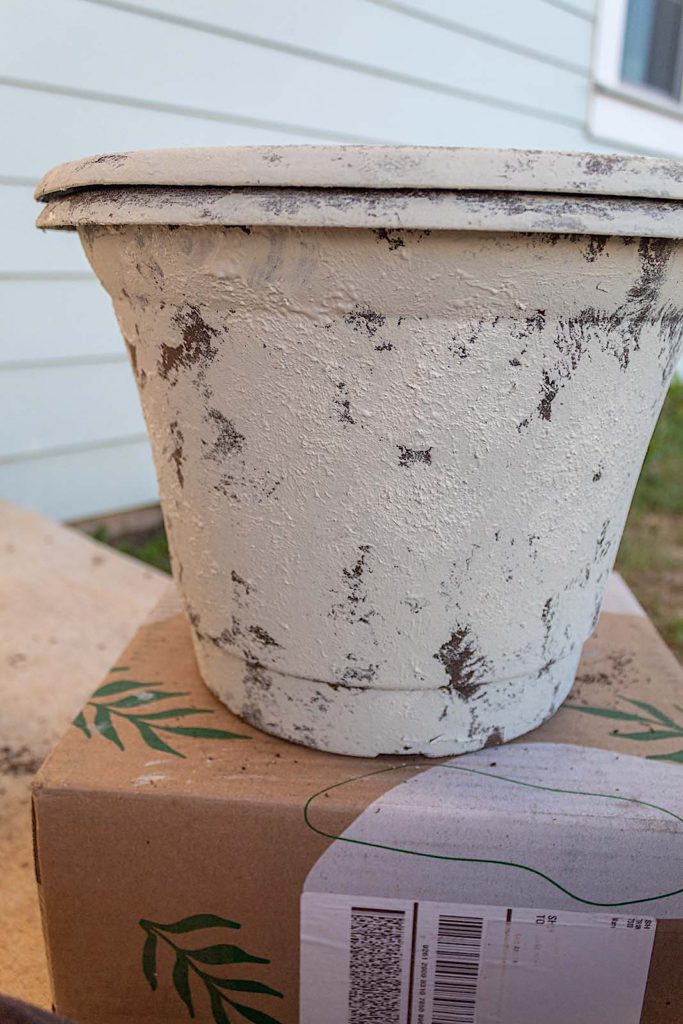
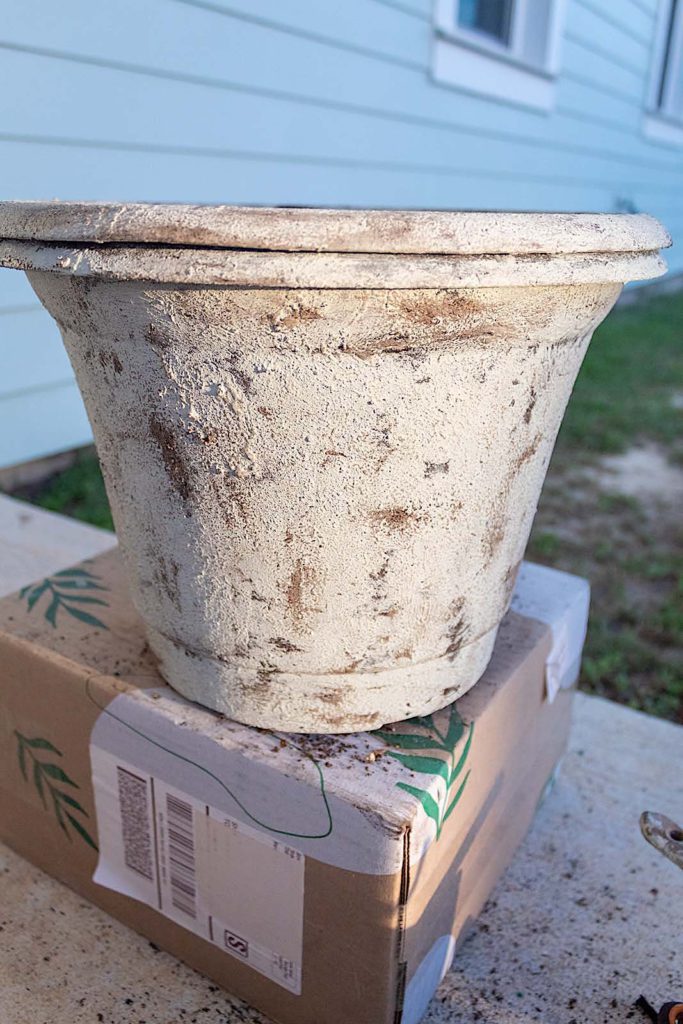
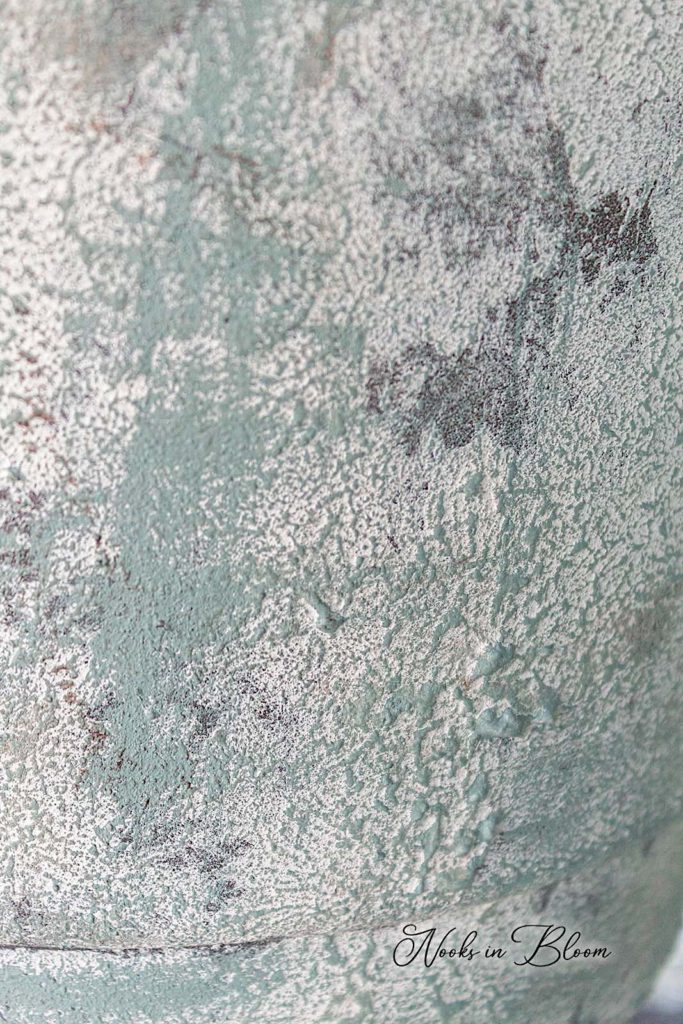
The next picture shows the planter after one coat of paint. Not bad huh? It’s already looking so different and you can see it has a lot of texture. If you wanted to, you could sand for some fun distressing. This is what I did when I used Saltwash to create a faux stone accent wallin our kitchen. The sanding created a beautiful effect.
I am not sanding on this tutorial simply working with the texture of the paint and the layers.
3. Apply Your 2nd Coat Of Paint
To give the finish a more realistic stone look, I am going to add a second coat of my Foggy London paint mixture. On the second coat you will see the finish come together beautifully. This coat, along with the texture of the dried first coat adds depth and dimension to the planter.
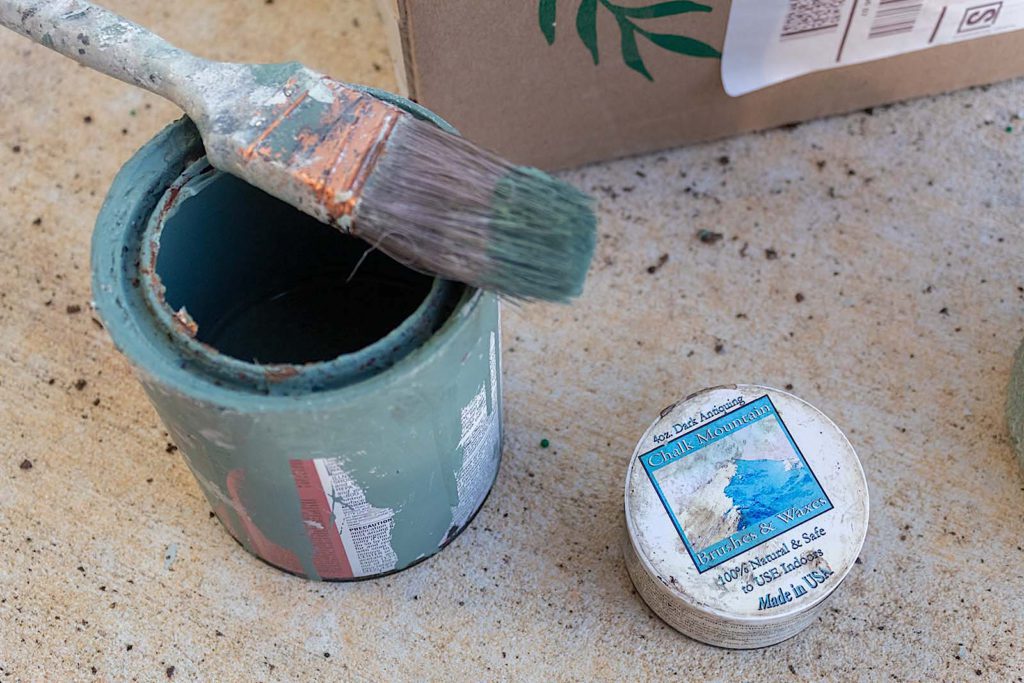
Step 4. Antiquing Wax
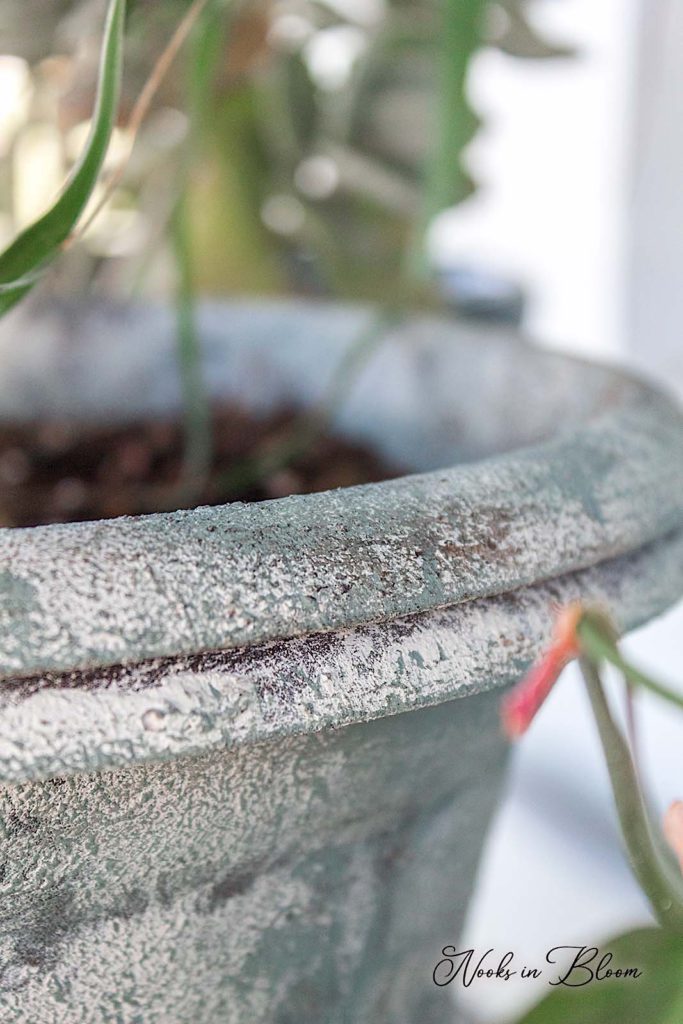
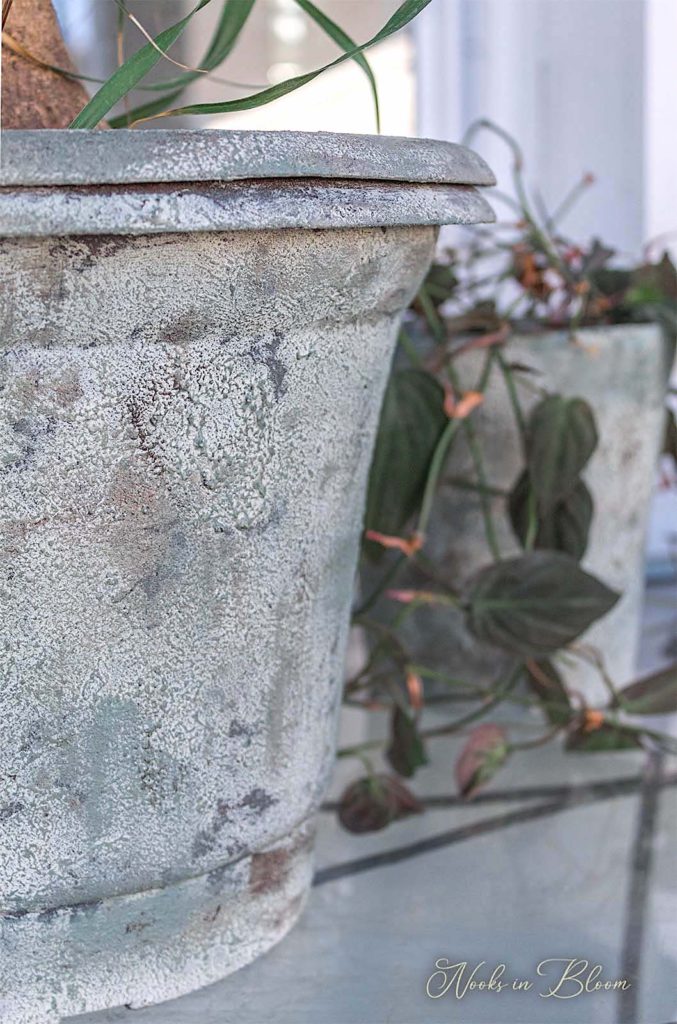
Now that our second coat of Foggy London is dry, we can further accentuate all the yummy texture using my favorite antiquing wax. With my gloved finger I simply rub the wax on in random parts. As I do this the wax gives definition to all the crevices and various elevations of the painted surface.
Be careful not to over do it. We are simply highlighting sporadically for an aged detail.
You can choose to stop at this point. The planter already looks SO striking. It has undergone a beautiful transformation to its new stone look.
Step 5. Final Optional Step, A Hint Of Mint
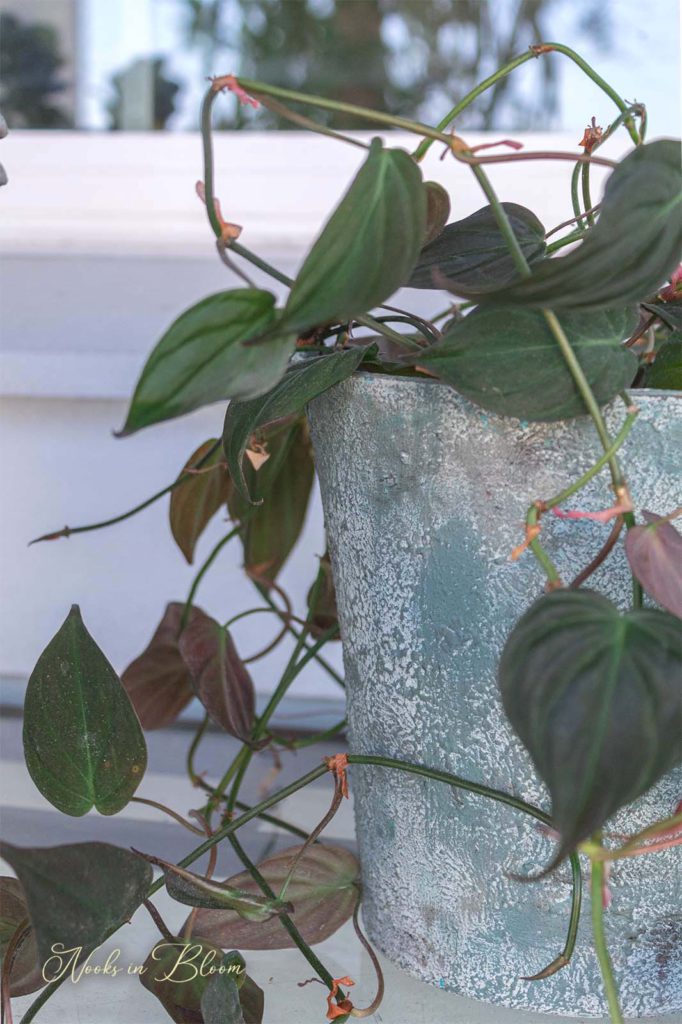
I am going to take the renovation one step further by adding hints of a mint green using my Green Balsam paint color. I think the green will be a lovely hue to add to my stone look.
Since we already have tons of texture, there is no need to mix this paint with Saltwash. I’m simply dry brushing the paint in just a few spots around the planter (also demonstrated in the video below). I barely have any paint on my brush as I’m doing this.
Watch The Video Of This Renovation
Another pot with the Saltwash technique
So guys, what do you think of this transformation? Would you try this on your plastic items at home? I’d love to hear what you think. Leave a comment at the end of this post.