Chalk paint blending is one of those techniques you either love or hate. I remember when I dreaded trying to get that silky seamless finish. It would never come out just right and I would end up applying more coats than I care to remember.
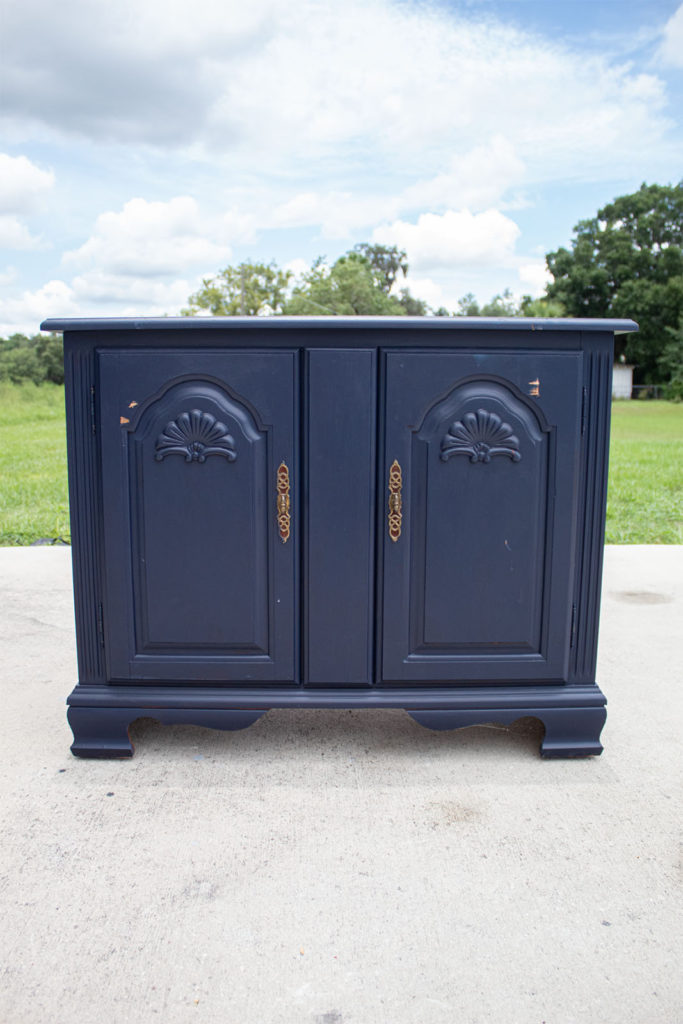
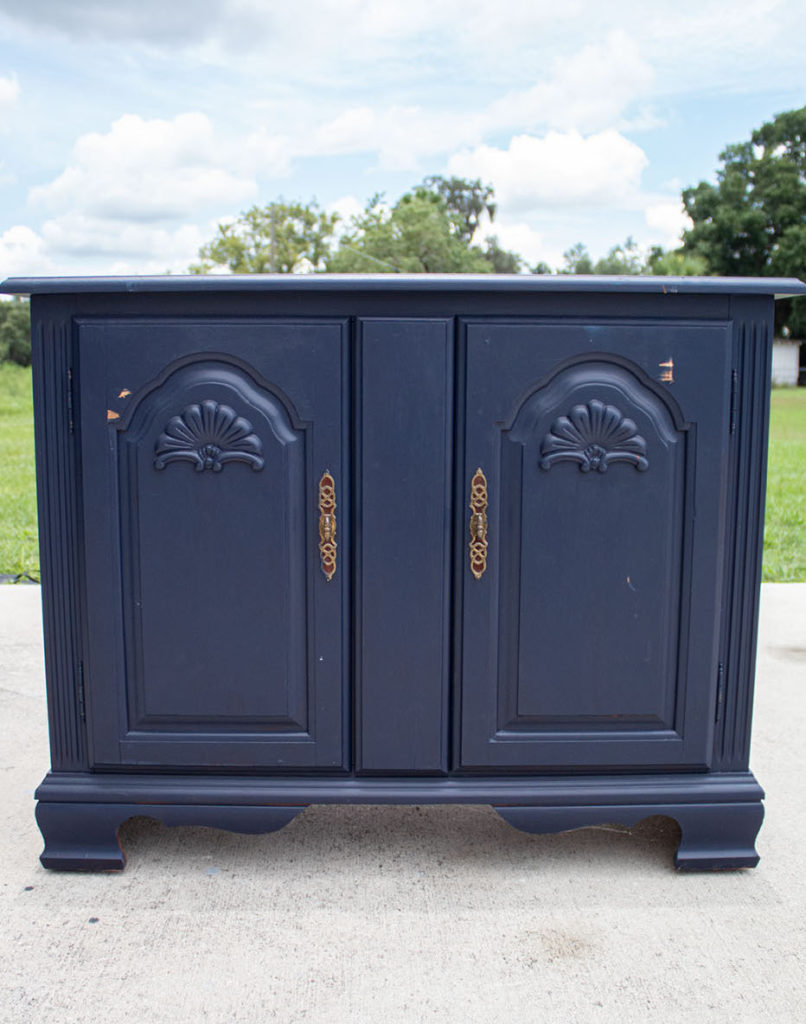
But just like everything, if you put in the practice you’ll eventually get the knack of it. Today I’m going to share with you what I’ve learned to get that flawless blended look. Let me start by showing you the before picture of this small dresser.
This salvaged piece had been painted a navy blue likely several years ago. It had quite a few nicks and scratches that I took care of with wood filler. Other than that, it was structurally sound and I liked the curves and details of this piece.
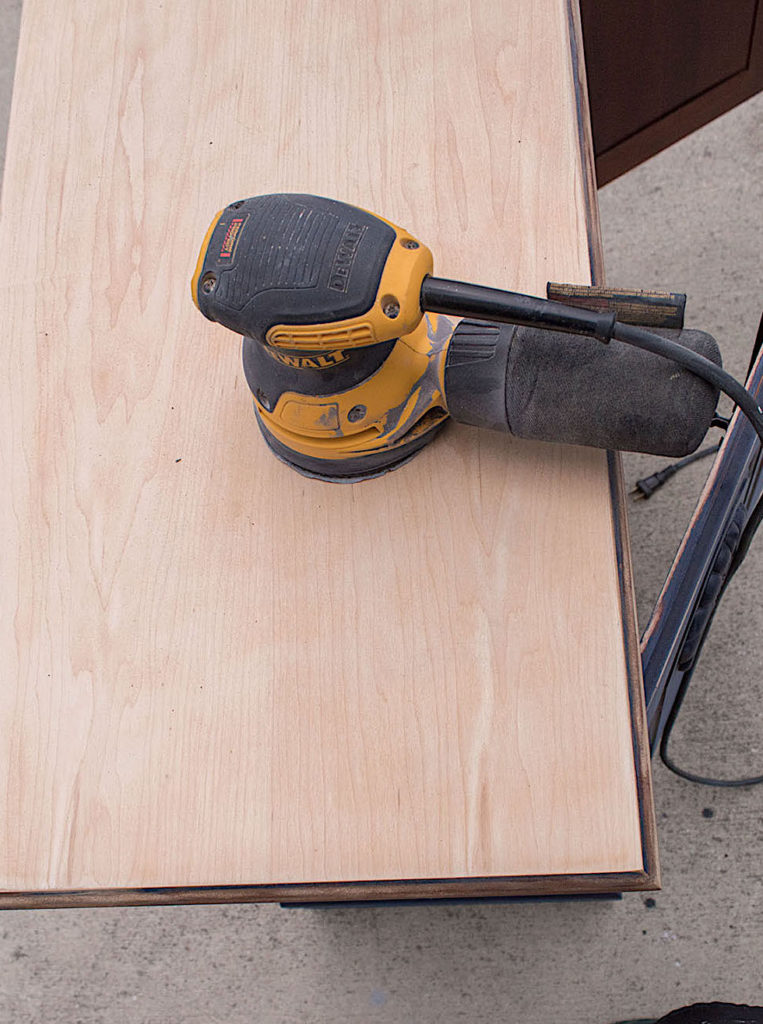
I give the entire dresser a quick sanding with my favorite orbital sander. I don’t worry about sanding the previous paint off as I’m going to be going over it with a few coats of paint.
I do a complete sanding on the top to expose the raw wood, first with 80 grit sandpaper and a final sanding with 400 grit for a smooth finish.
Step #2: Paint Your Base Coat(s)
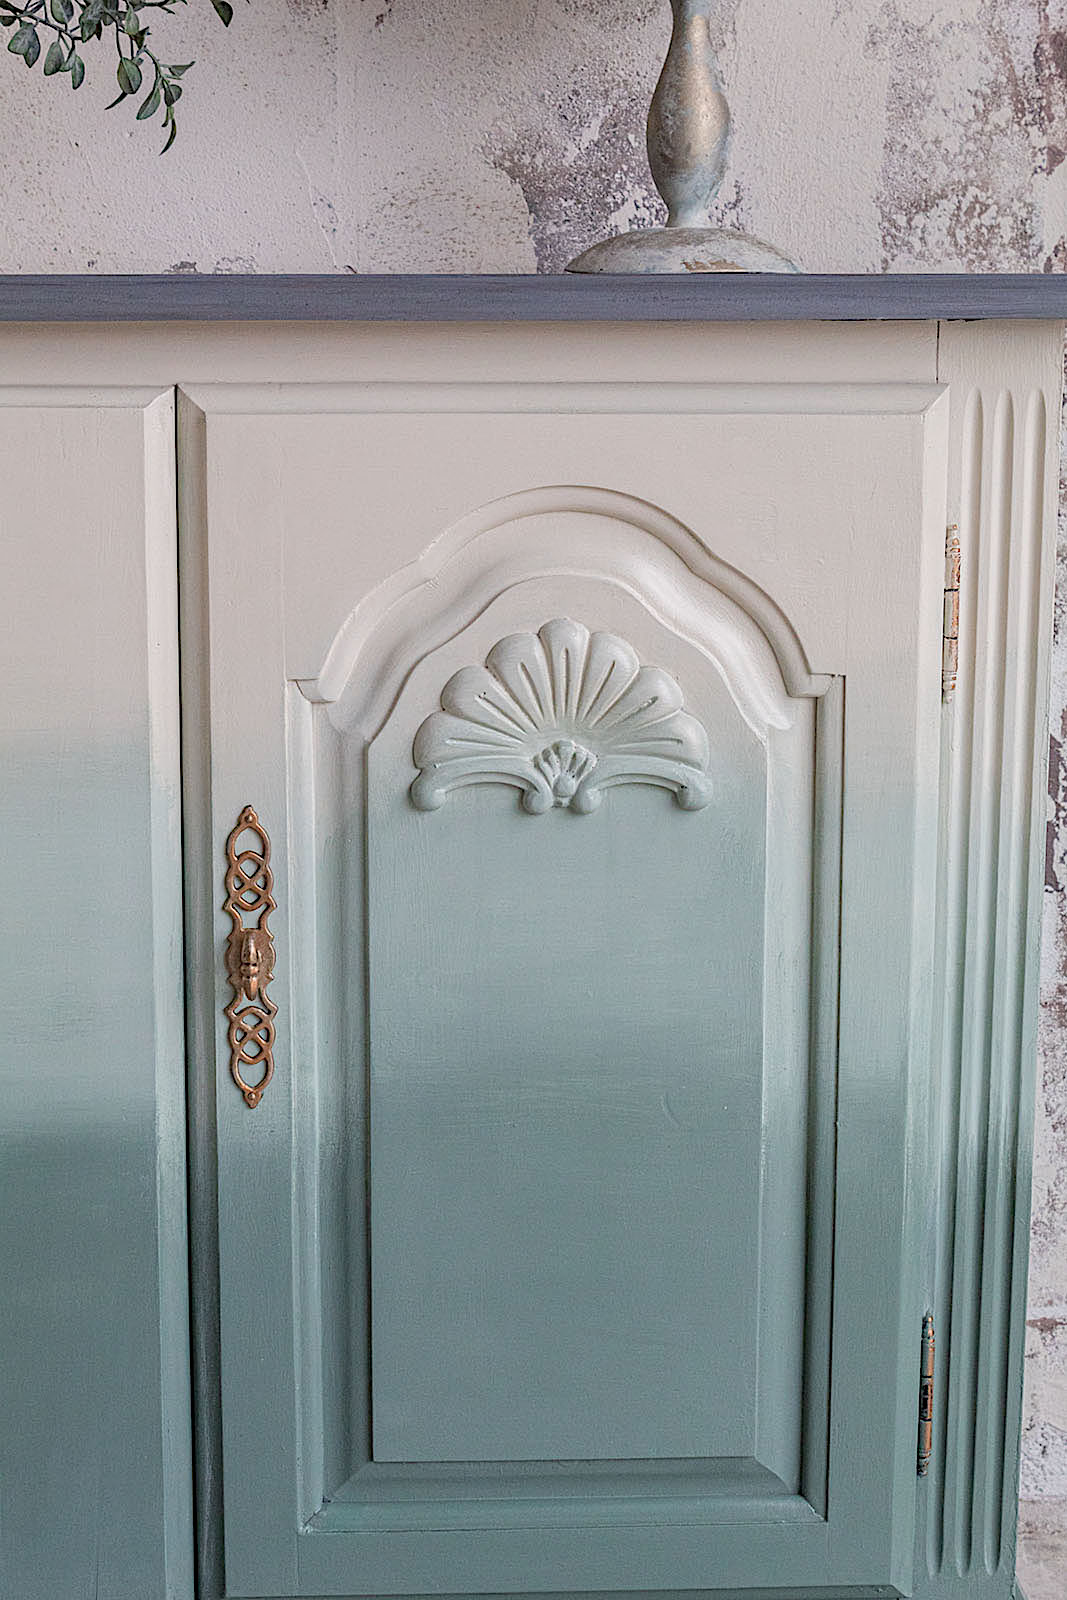
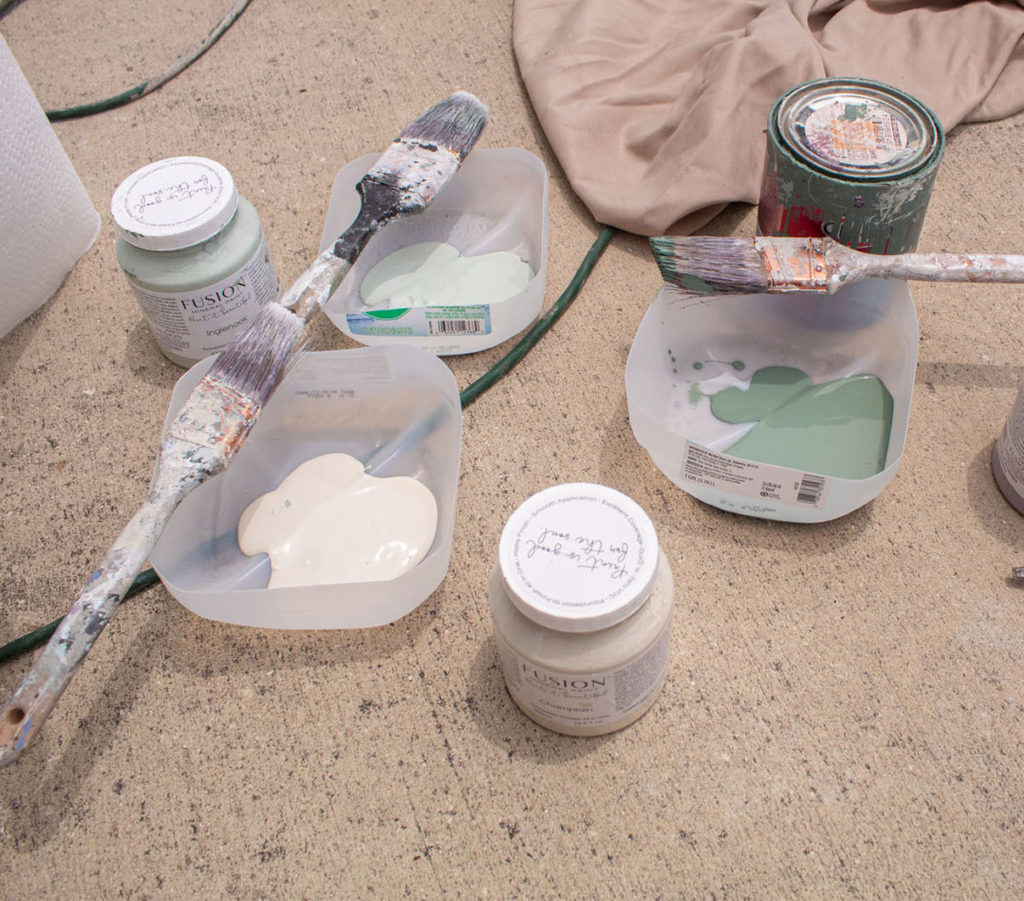
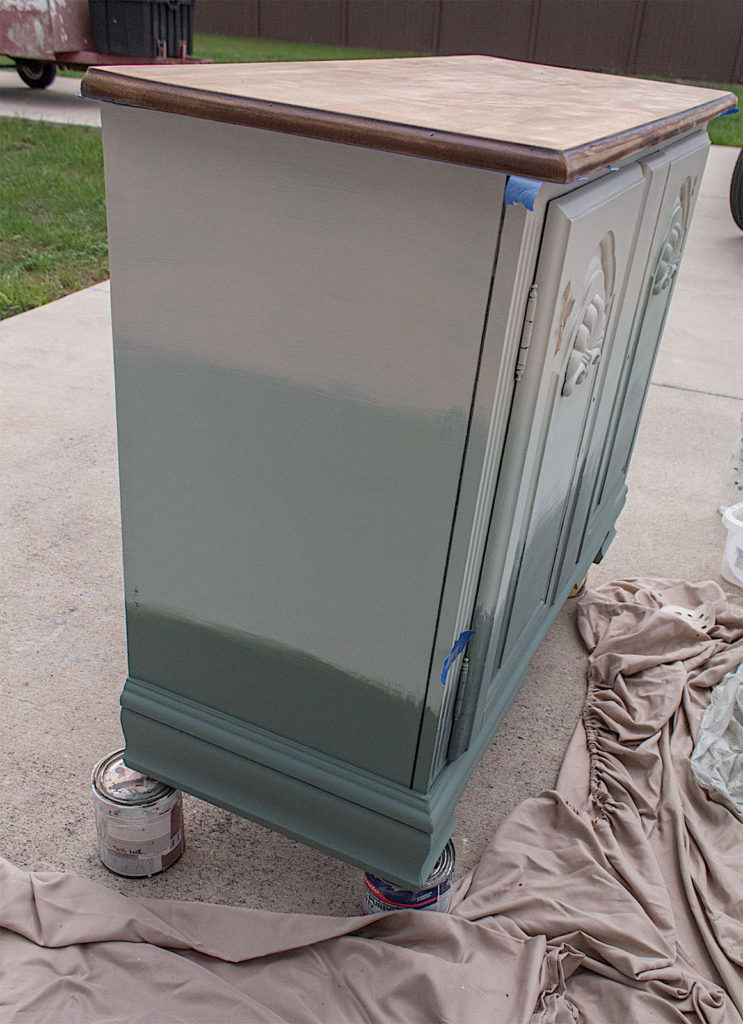
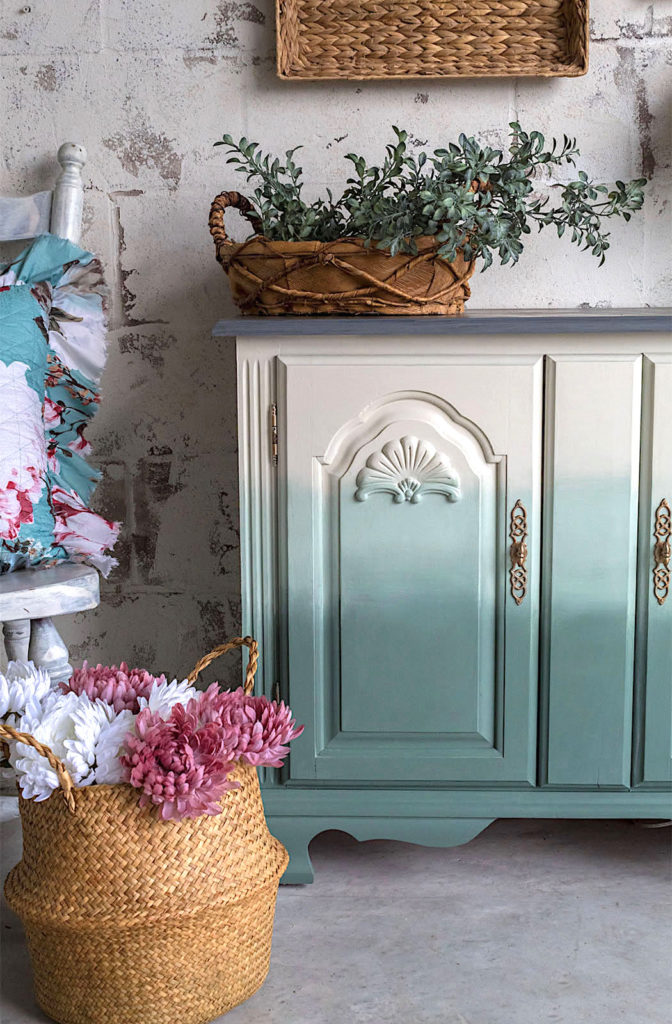
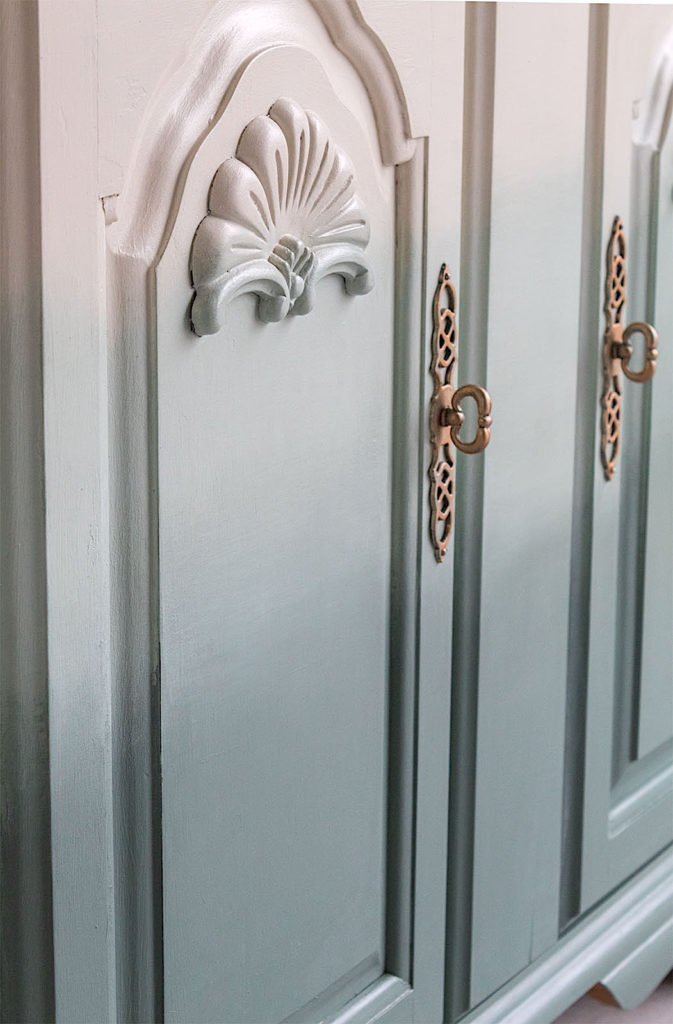
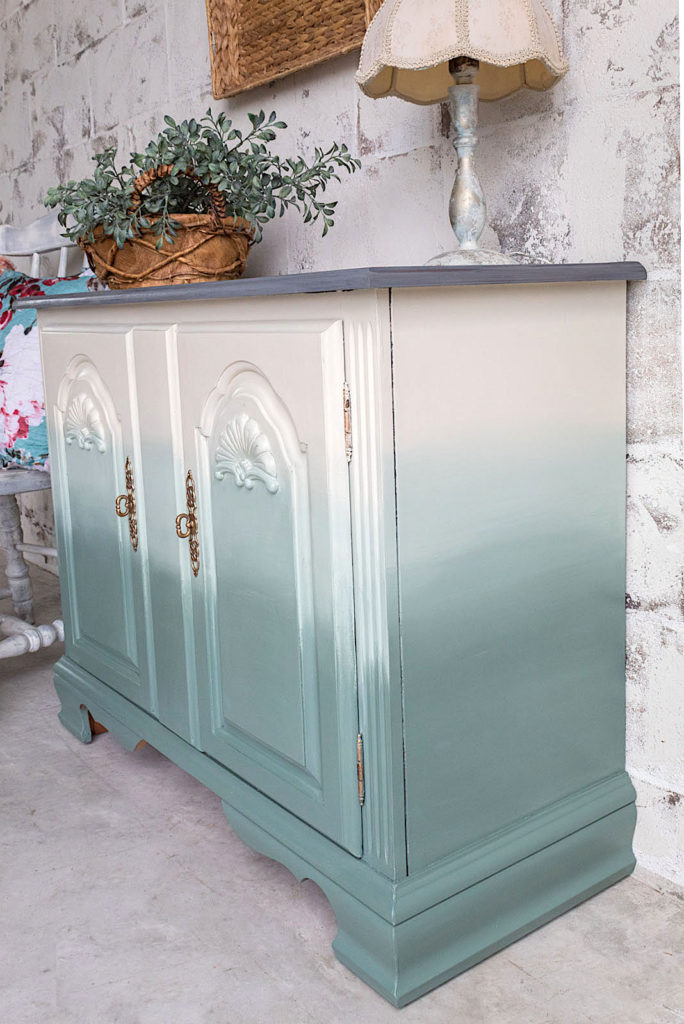
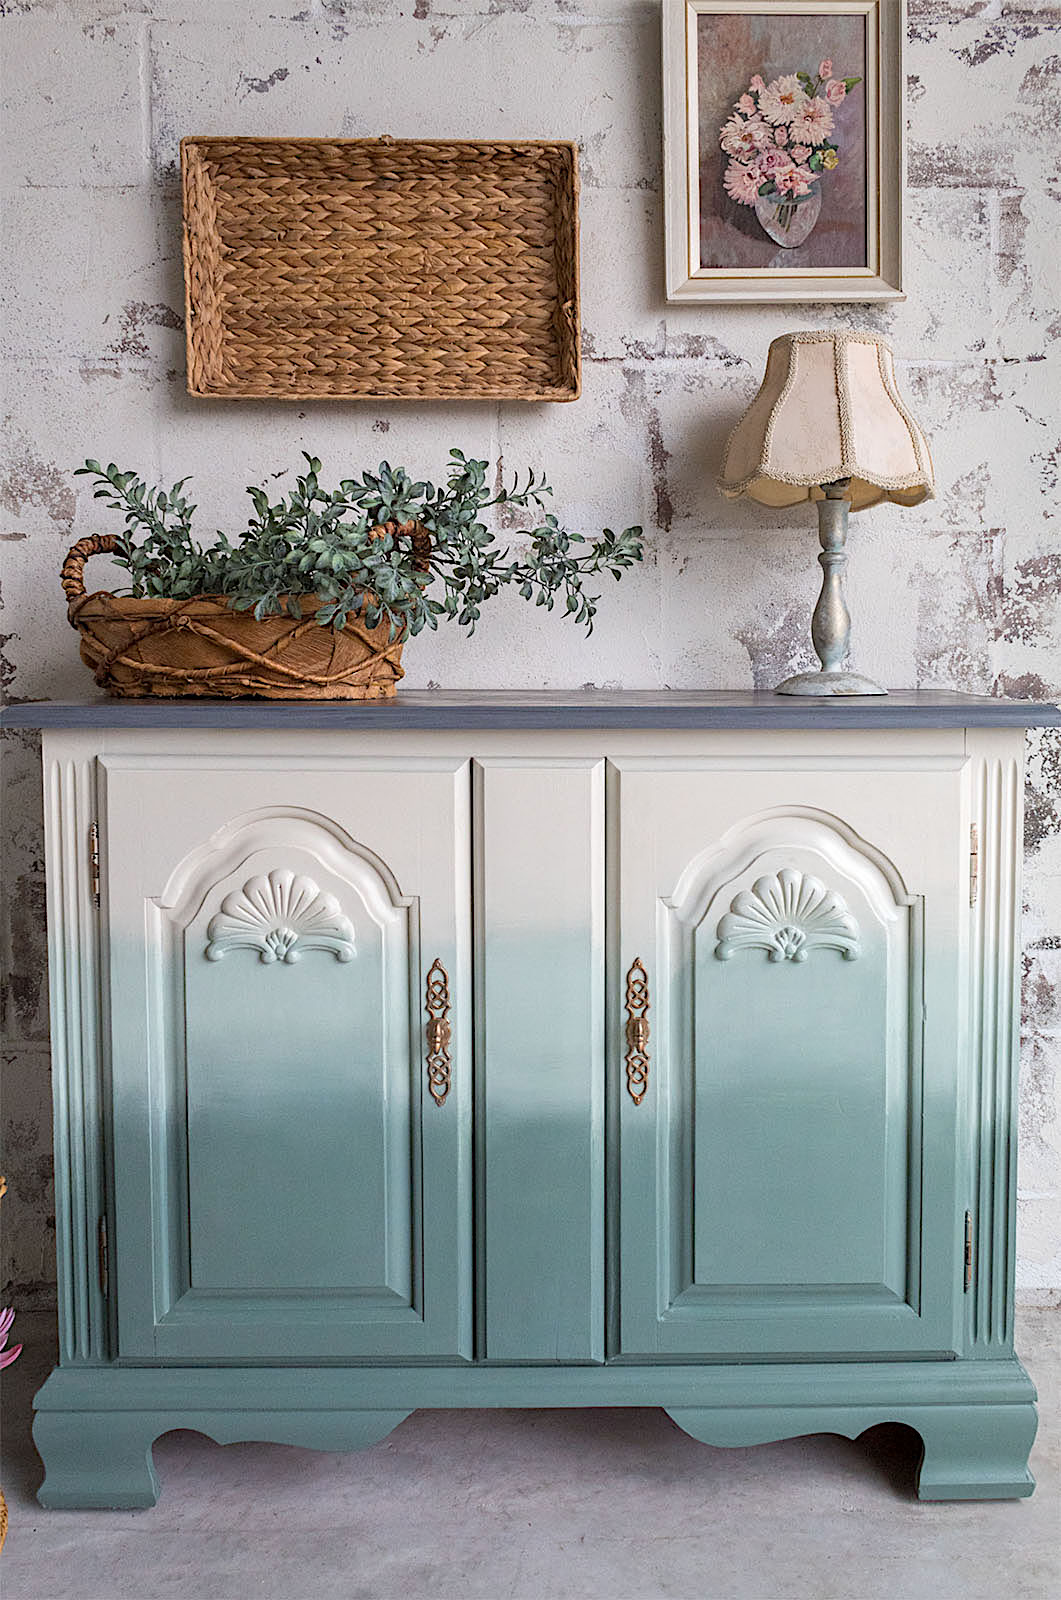
For my first and second coat of paint I applied my three colors while setting up the look for the final coat. I started with my champlain, an off white, at the top. In the middle I applied my Inglenook, the light green. And at the bottom, Boreal, the darker green.
On your first or second coat it is not necessary to blend. You’re simply getting coverage on your piece. Depending on the coverage ability of your paint, you may need one or two coats before adding your final coat where you blend.
I used a piece of painters tape to mark the level of the pattern on the front so I could keep things level on the sides.
Step #3. Let's Blend!
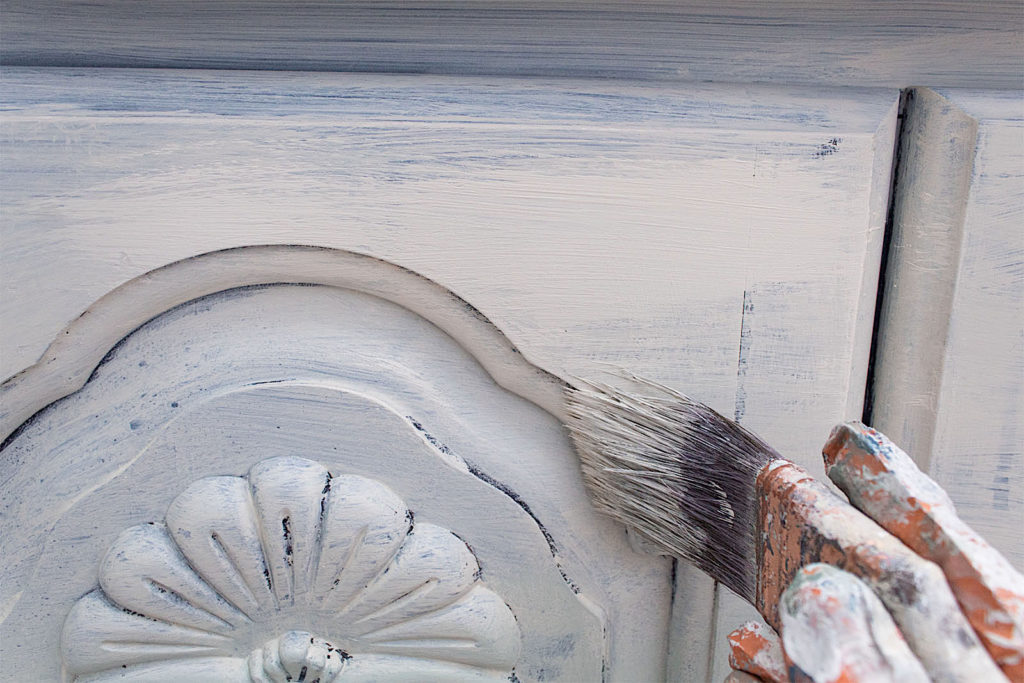
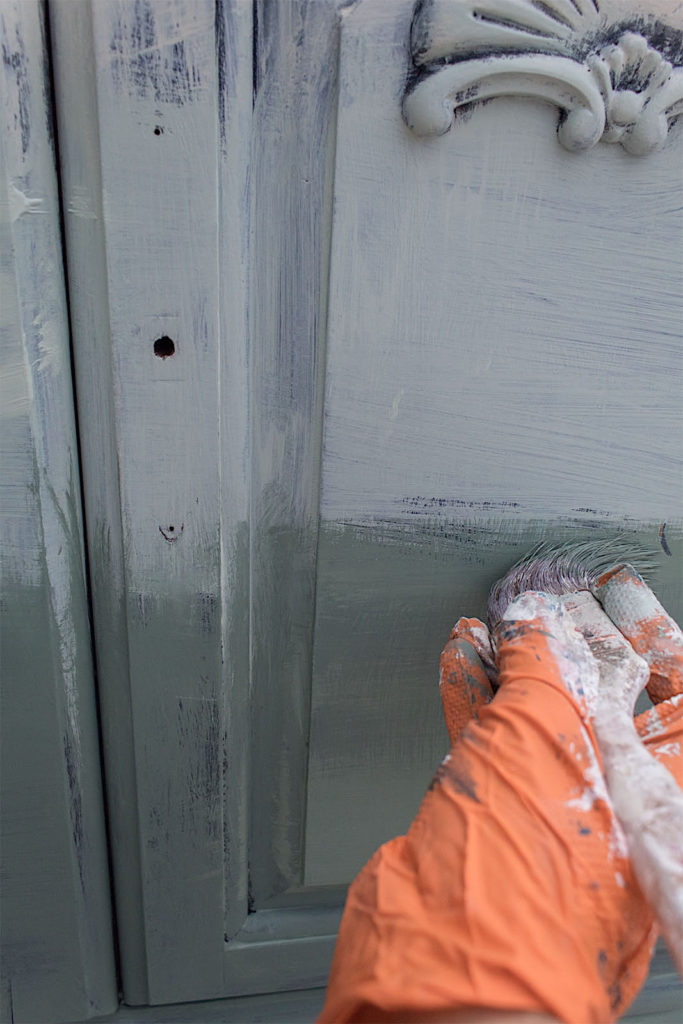
For the blending process I start at the top with my Champlain paint. I like to start at the top of the piece so that any water drops from my mister don’t ruin any of my fresh coats.
I get the off-white section nice and painted using my misting bottle to keep the paint slightly wet.
While the top section is still wet, I begin painting on my middle section with the mint green, using a separate paint brush.
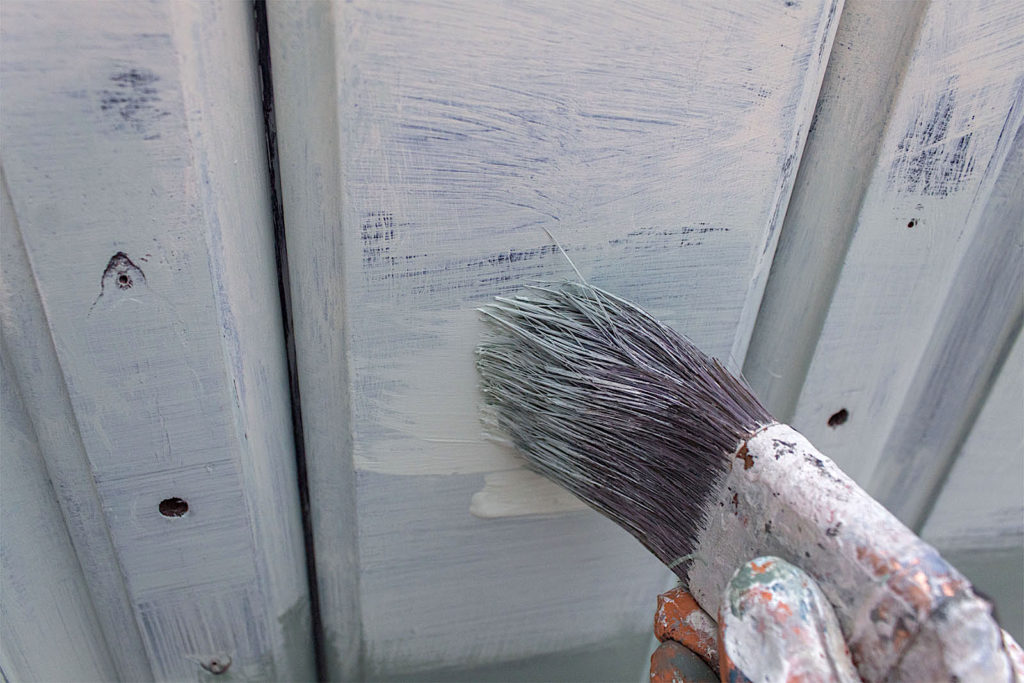
I work smoothly and quickly. I use horizontal strokes.
When I reach the border of the mint-green with the off-white, I take my off-white paintbrush and mist it a little and begin blending over the border between the two colors. (this technique is demonstrated in my video below).
Once the top two colors are blended nicely, I start applying my Boreal color, my darker green at the bottom. Again, I paint the dark green all the way up to the border with the mint green.
Then using my mint green paint brush and a mist of water, I blend the middle and bottom colors.
Video Of The Blending Technique
Disclosure: Some of the links provided are affiliate links. By purchasing through these links you are supporting this family blog and the work we do and there is no extra cost to you. If you would like to read our full disclosure, click HERE.
Here are some tips for a successful blend:
√ Keep your paint moist but not overly wet. √ Instead of spraying the surface and risking water or drip marks, spray your paint brush before applying paint. √ Use a misting bottle, not a regular spray bottle. You want the droplets to be very fine and light. √ When you are blending two colors, keep your paint strokes light and swift and in the direction of the blend. √ A dry, clean paint brush is a great tool for blending your colors. √ Finally, don’t stress out over perfection. I always aim for a medley of colors melting together with different hues, like a pretty sunset.
NOW, FOR THE TOP
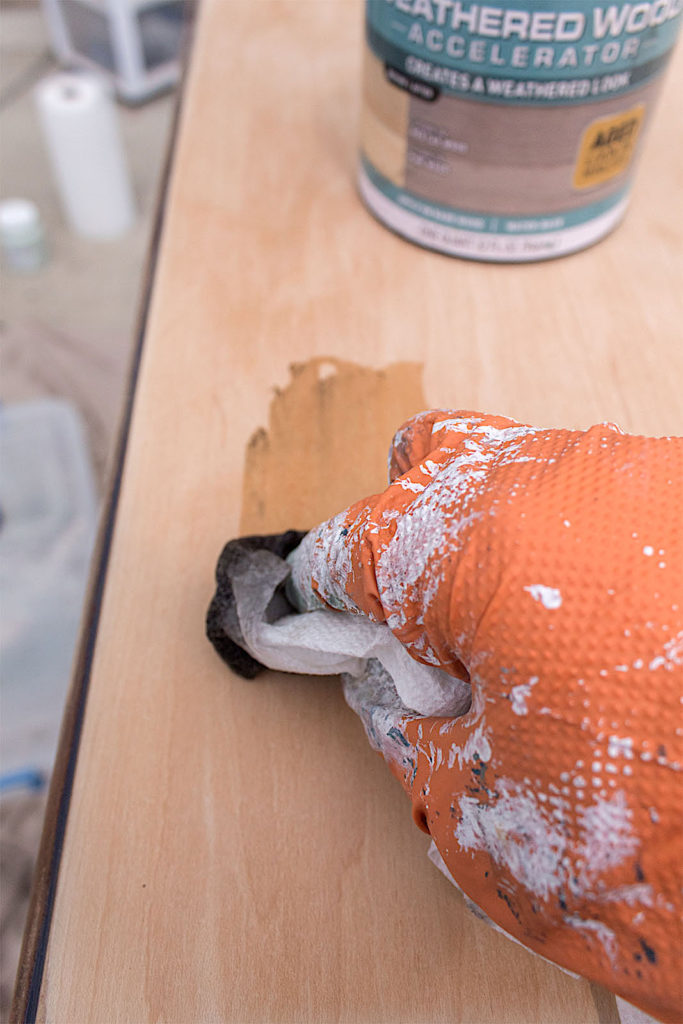
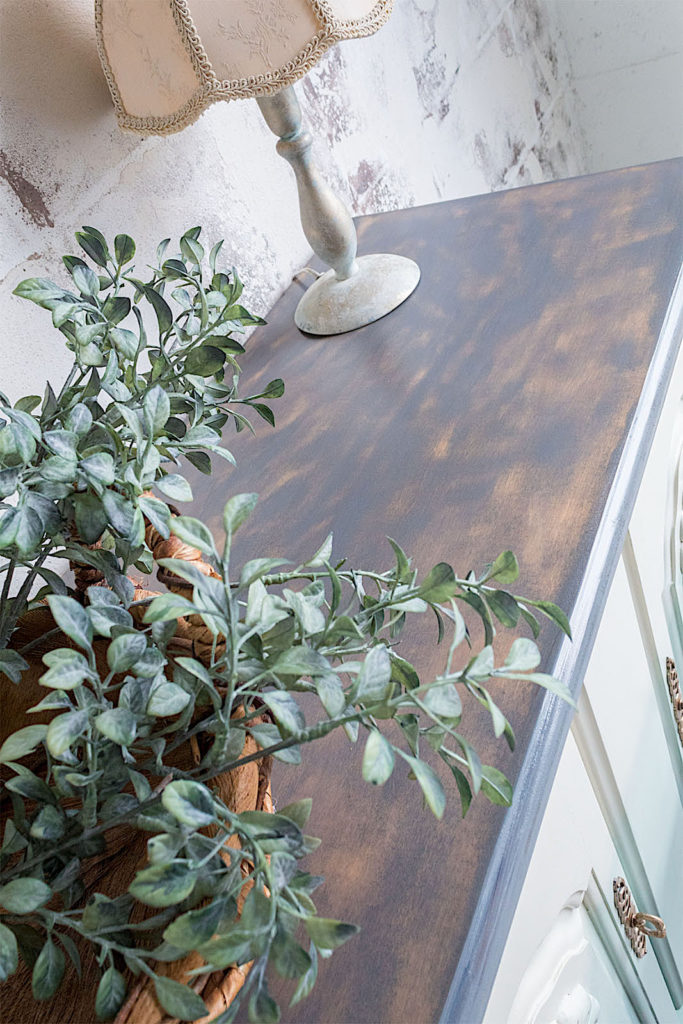
I typically play with staining techniques until I get the look I want for each piece. For this top, I first applied stain accelerator to the sanded wood. I did this by rubbing it on with a paper towel.
The accelerator helps to pull out more of the grain when you apply the stain.
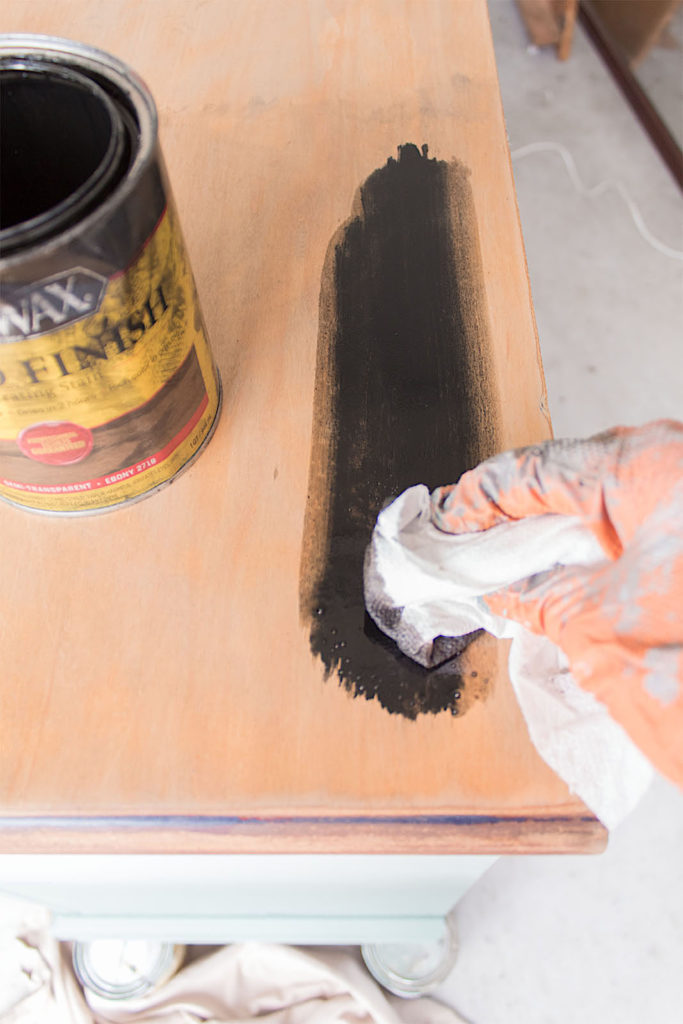
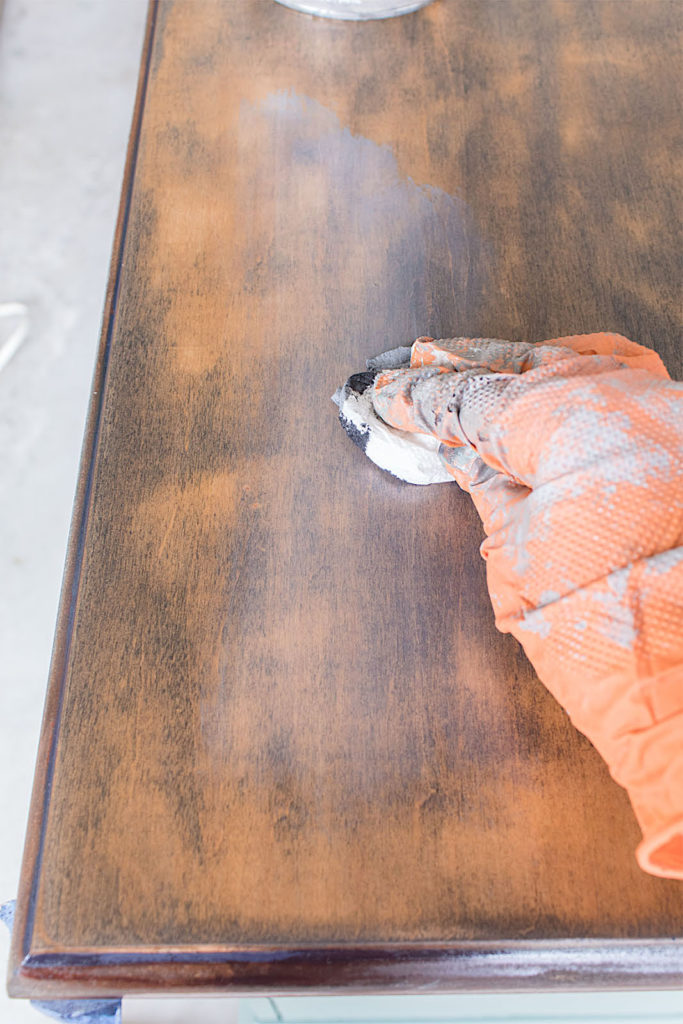
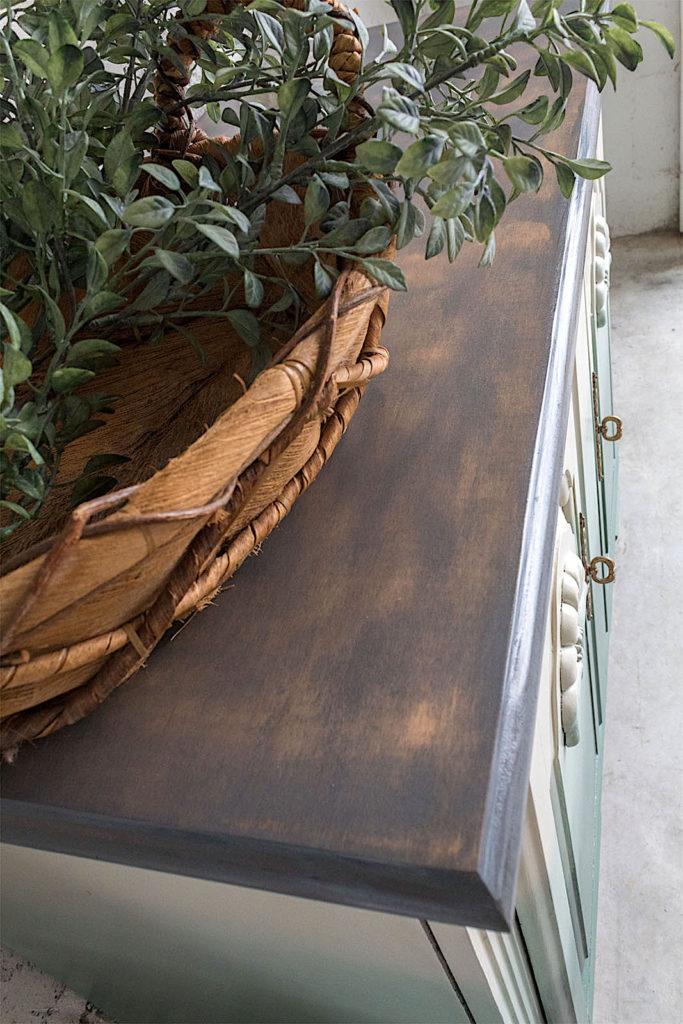
Almost immediately after applying the stain accelerator I rubbed on my first stain, Ebony. I first applied it using paper towels and then came back over the surface with a clean paper towel to pull off any excess stain.
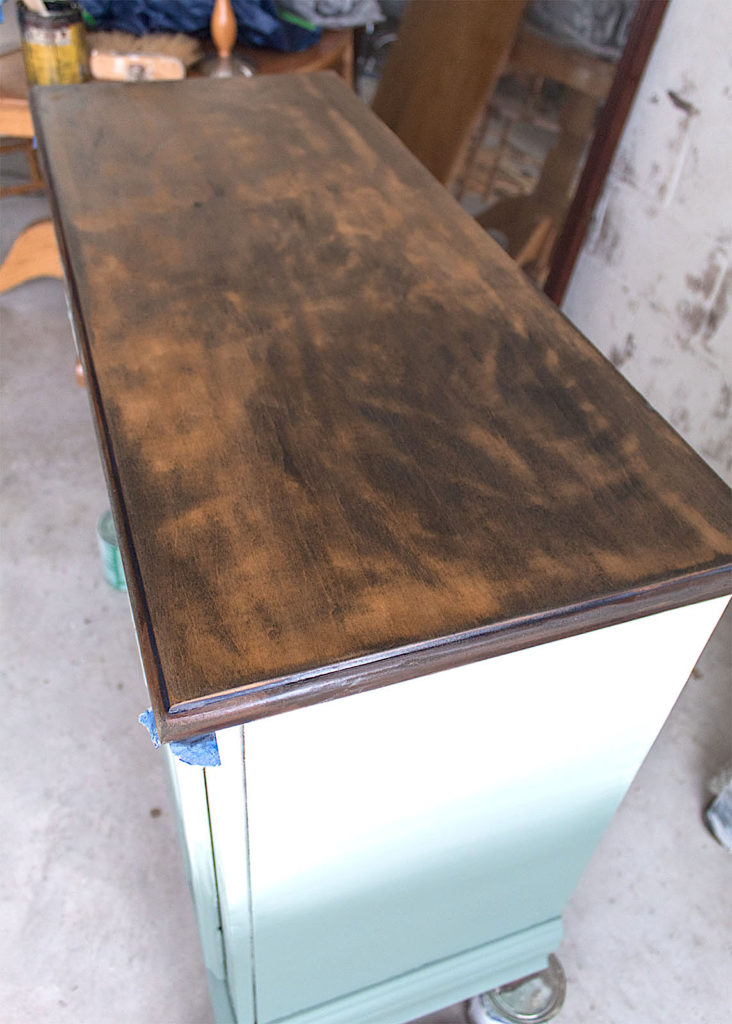
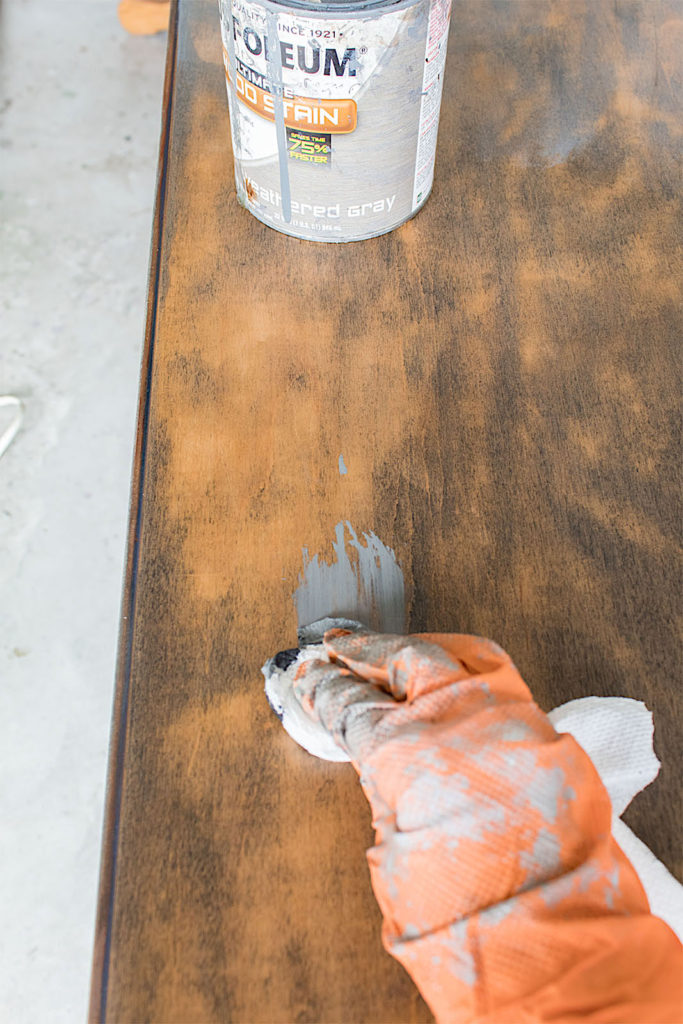
I really like the rich result you get by using the accelerator. The top came out beautifully. The only issue I had was that the dark, rustic aesthetic seemed to clash a little with the soft, elegant feel of the painted dresser. To fix the issue I added a coat of weathered gray stain.
Because the gray is lighter than the ebony stain, it would only soften the look slightly. This subtle change in hue would be just enough to tie the top with the rest of the style of this piece.
Final Details
To seal the entire piece I applied one coat of General Finishes Top Coat using my foam brush. I like using foam brushes when applying a top coat because it reduces bubbles in your finish. If you’d like to see my video for getting a flawless clear coat every time, click HERE.
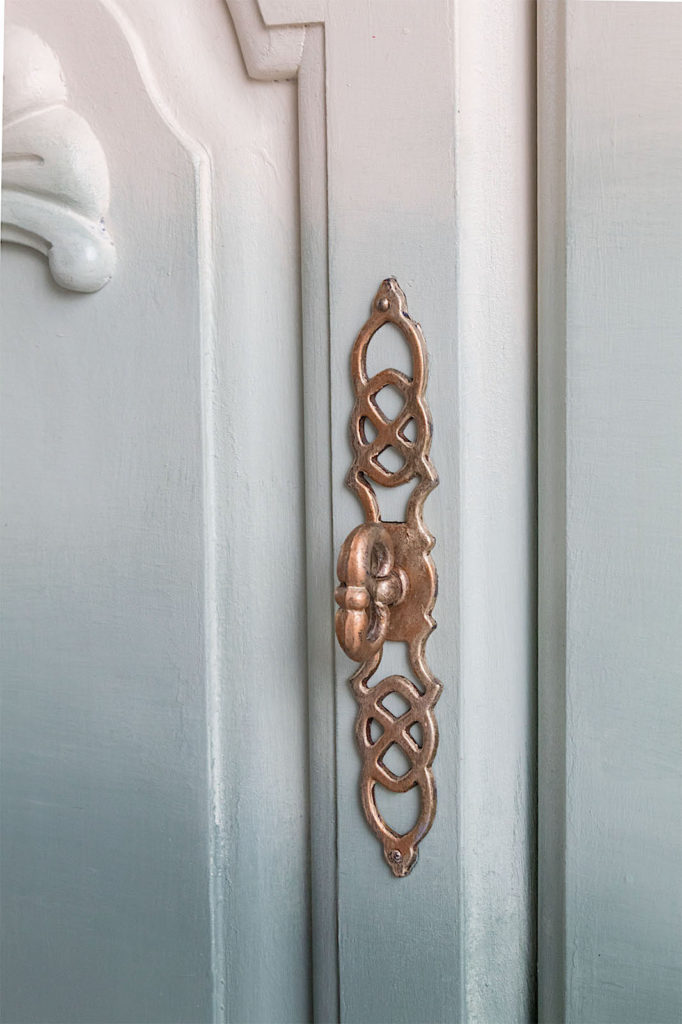
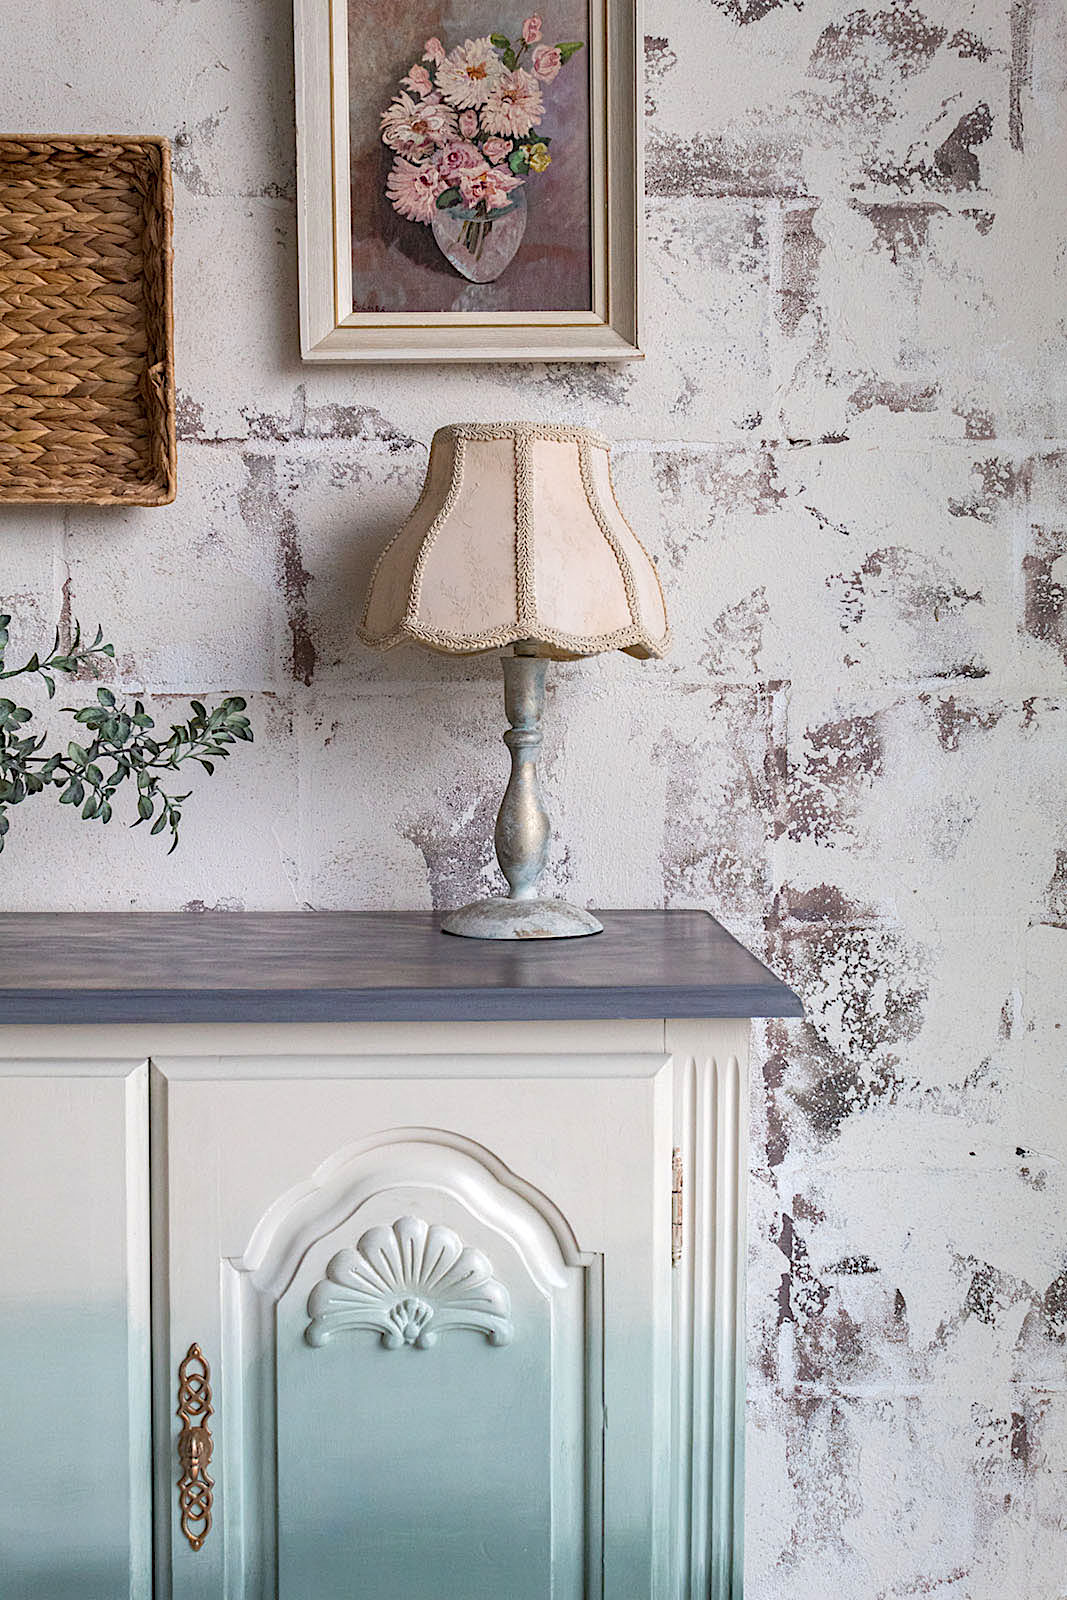
I loved the detail of the hardware of this piece. To bring it back to life, I applied a coat of Dixie Belle’s Bronze Gilding Wax followed by some Art Alchemy Aged Brass Waxin random places only. The aged brass highlights over the bronze added a vintage touch.
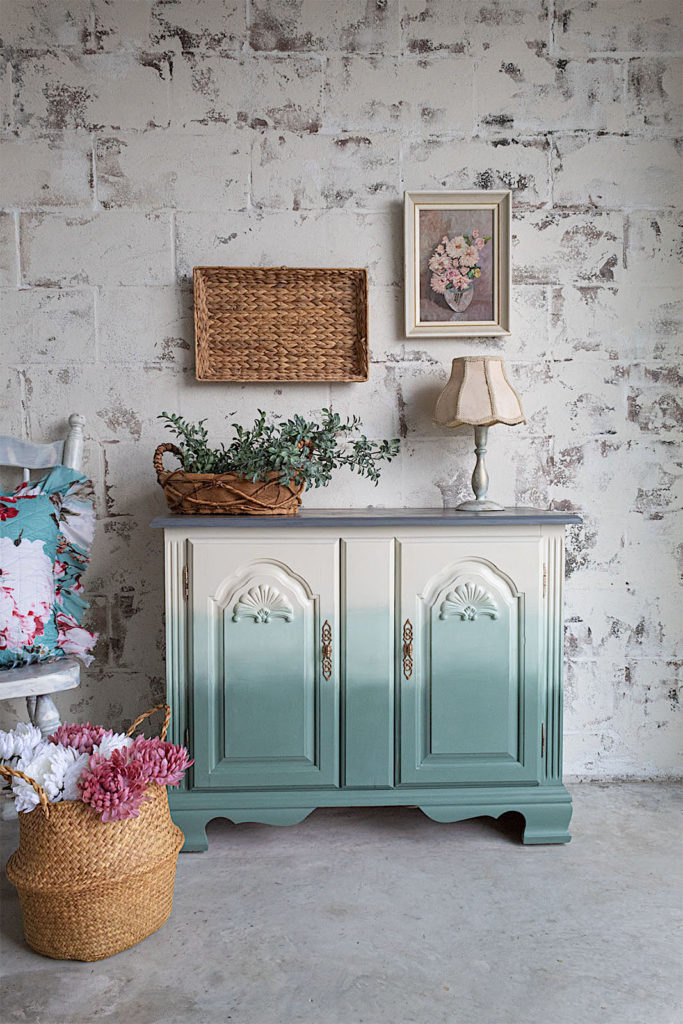
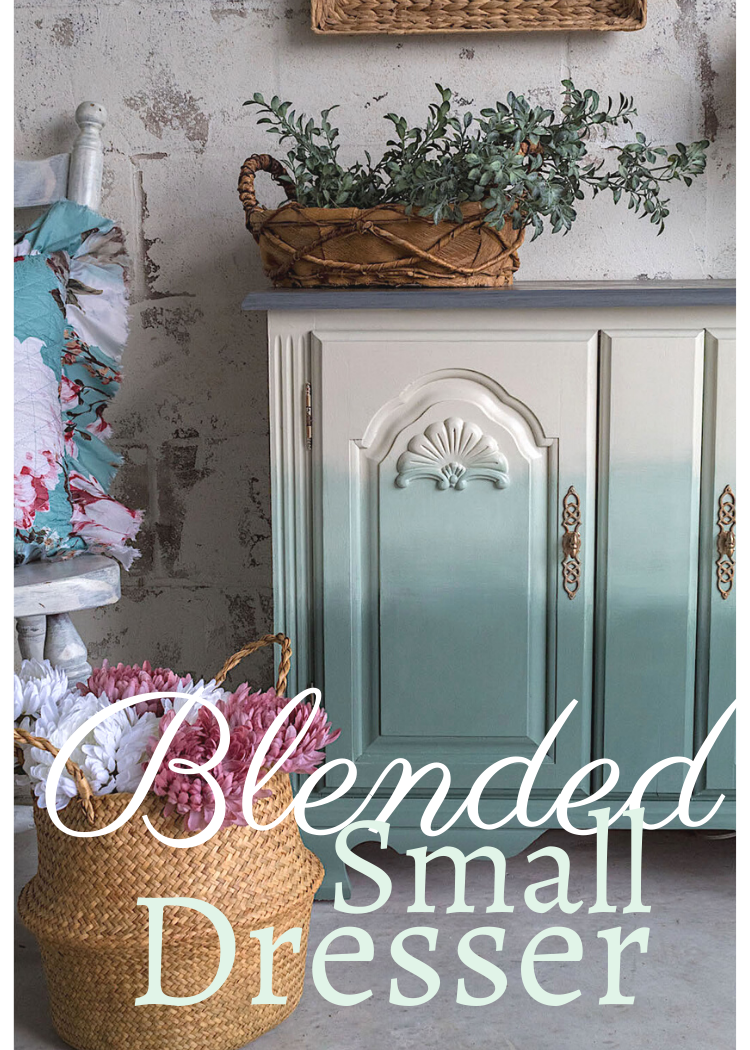
Time To Sit Back And Enjoy Your Artwork
This super cute lamp was a curbside pickup. If you want to see the tutorial on how I renovated it with a fabulous vintage look, click HERE.
Thank you for reading my friends. Let me know what you thought of this renovation. I would love to know!
And now I leave you with one more view of the before and after of this charming dresser.