Hello friends! Today I’ll show you how we created a swoon-worthy board and batten accent wall. I love the new look so much I’m already planning where else I can do this DIY in our home!
This was one of several DIY projects we completed when we updated my oldest son’s bedroom.
I’ve always loved the look of board and batten. It adds historic or farmhouse charm in a way that is more subtle than shiplap or beadboard. It is also a versatile look, fitting nicely in modern settings too.
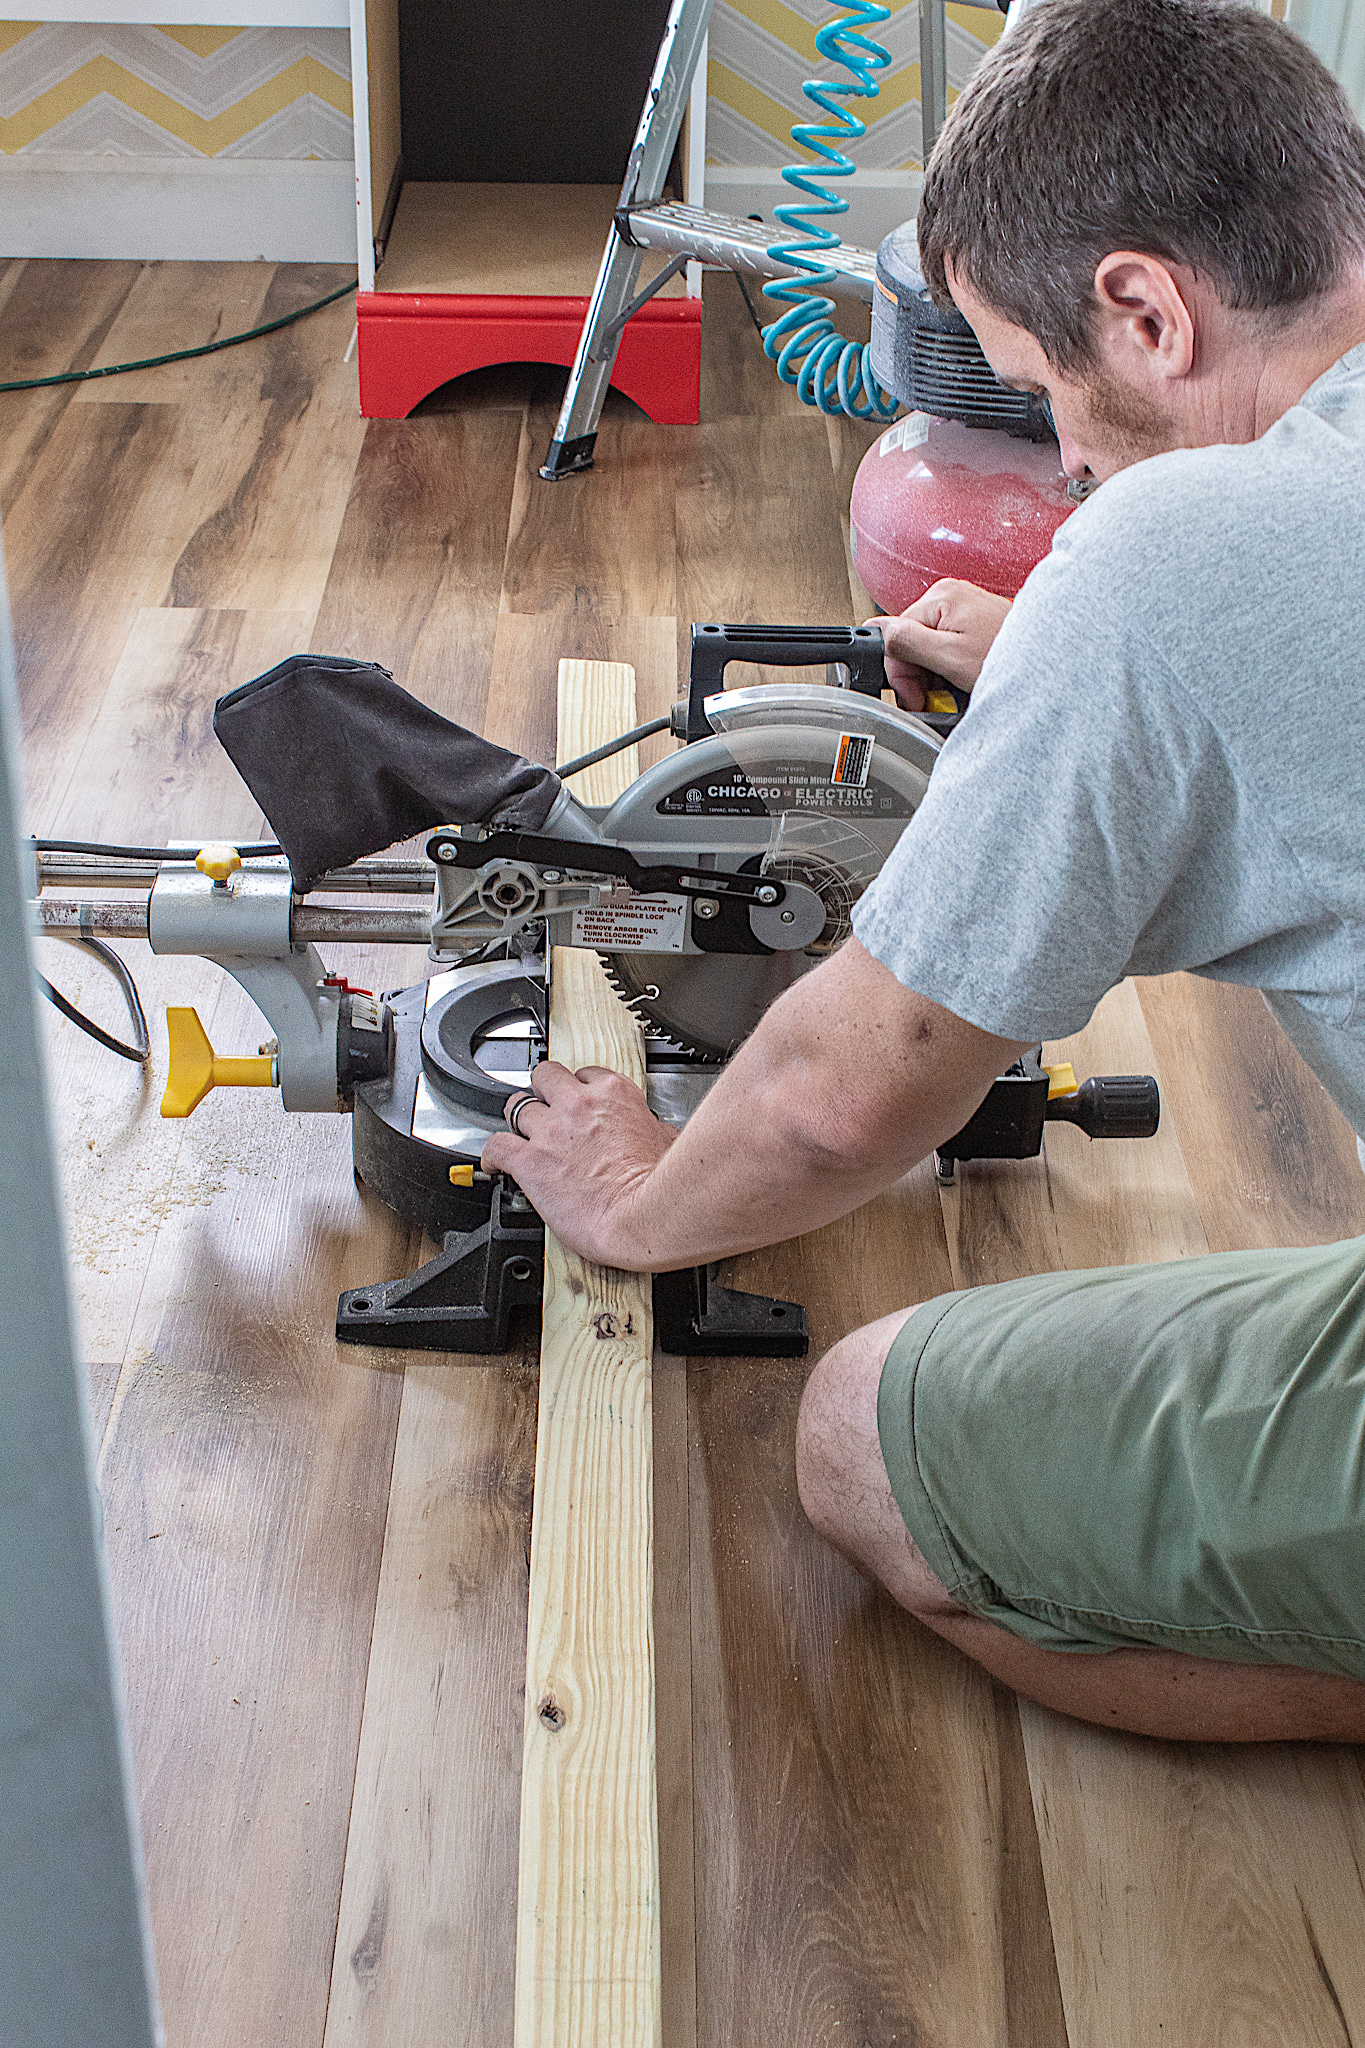
I have to credit my husband Ronny for taking on this DIY from start to finish. Here he is preparing the boards with the miter saw.
Because our walls are taller than the length of the 1″ x 2″s, he had to cut extra pieces to add to the length of each wood strip. We used wood filler to disguise the seams where we connected pieces.
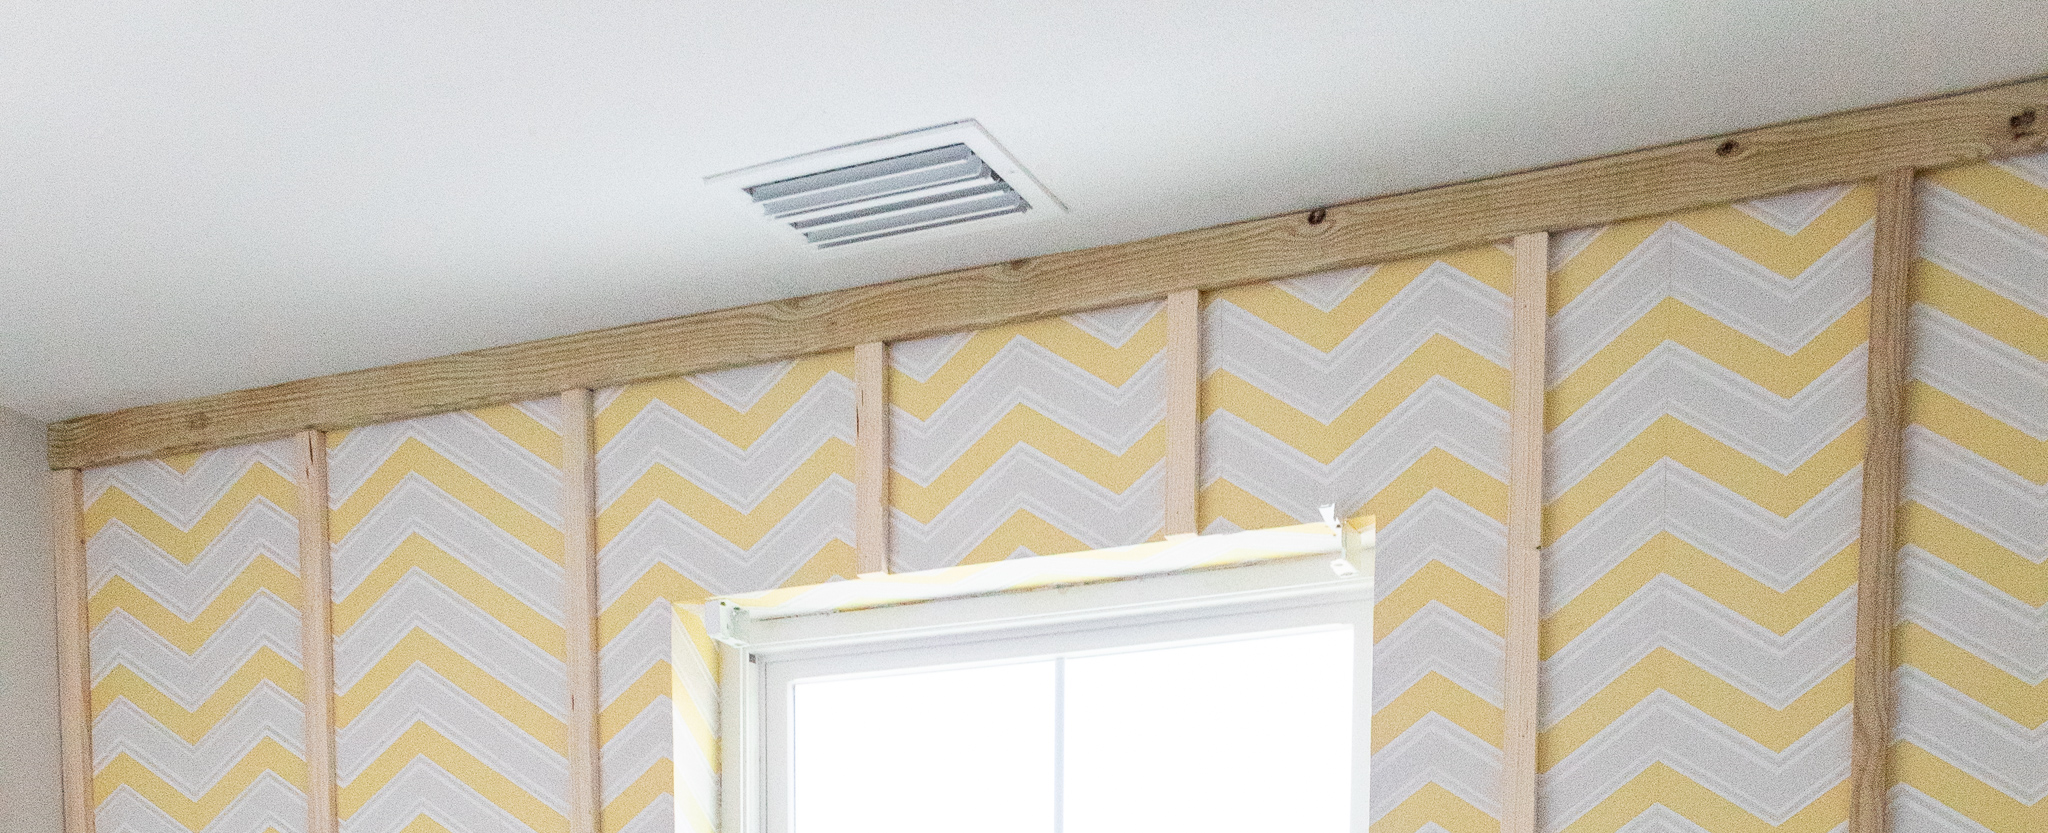
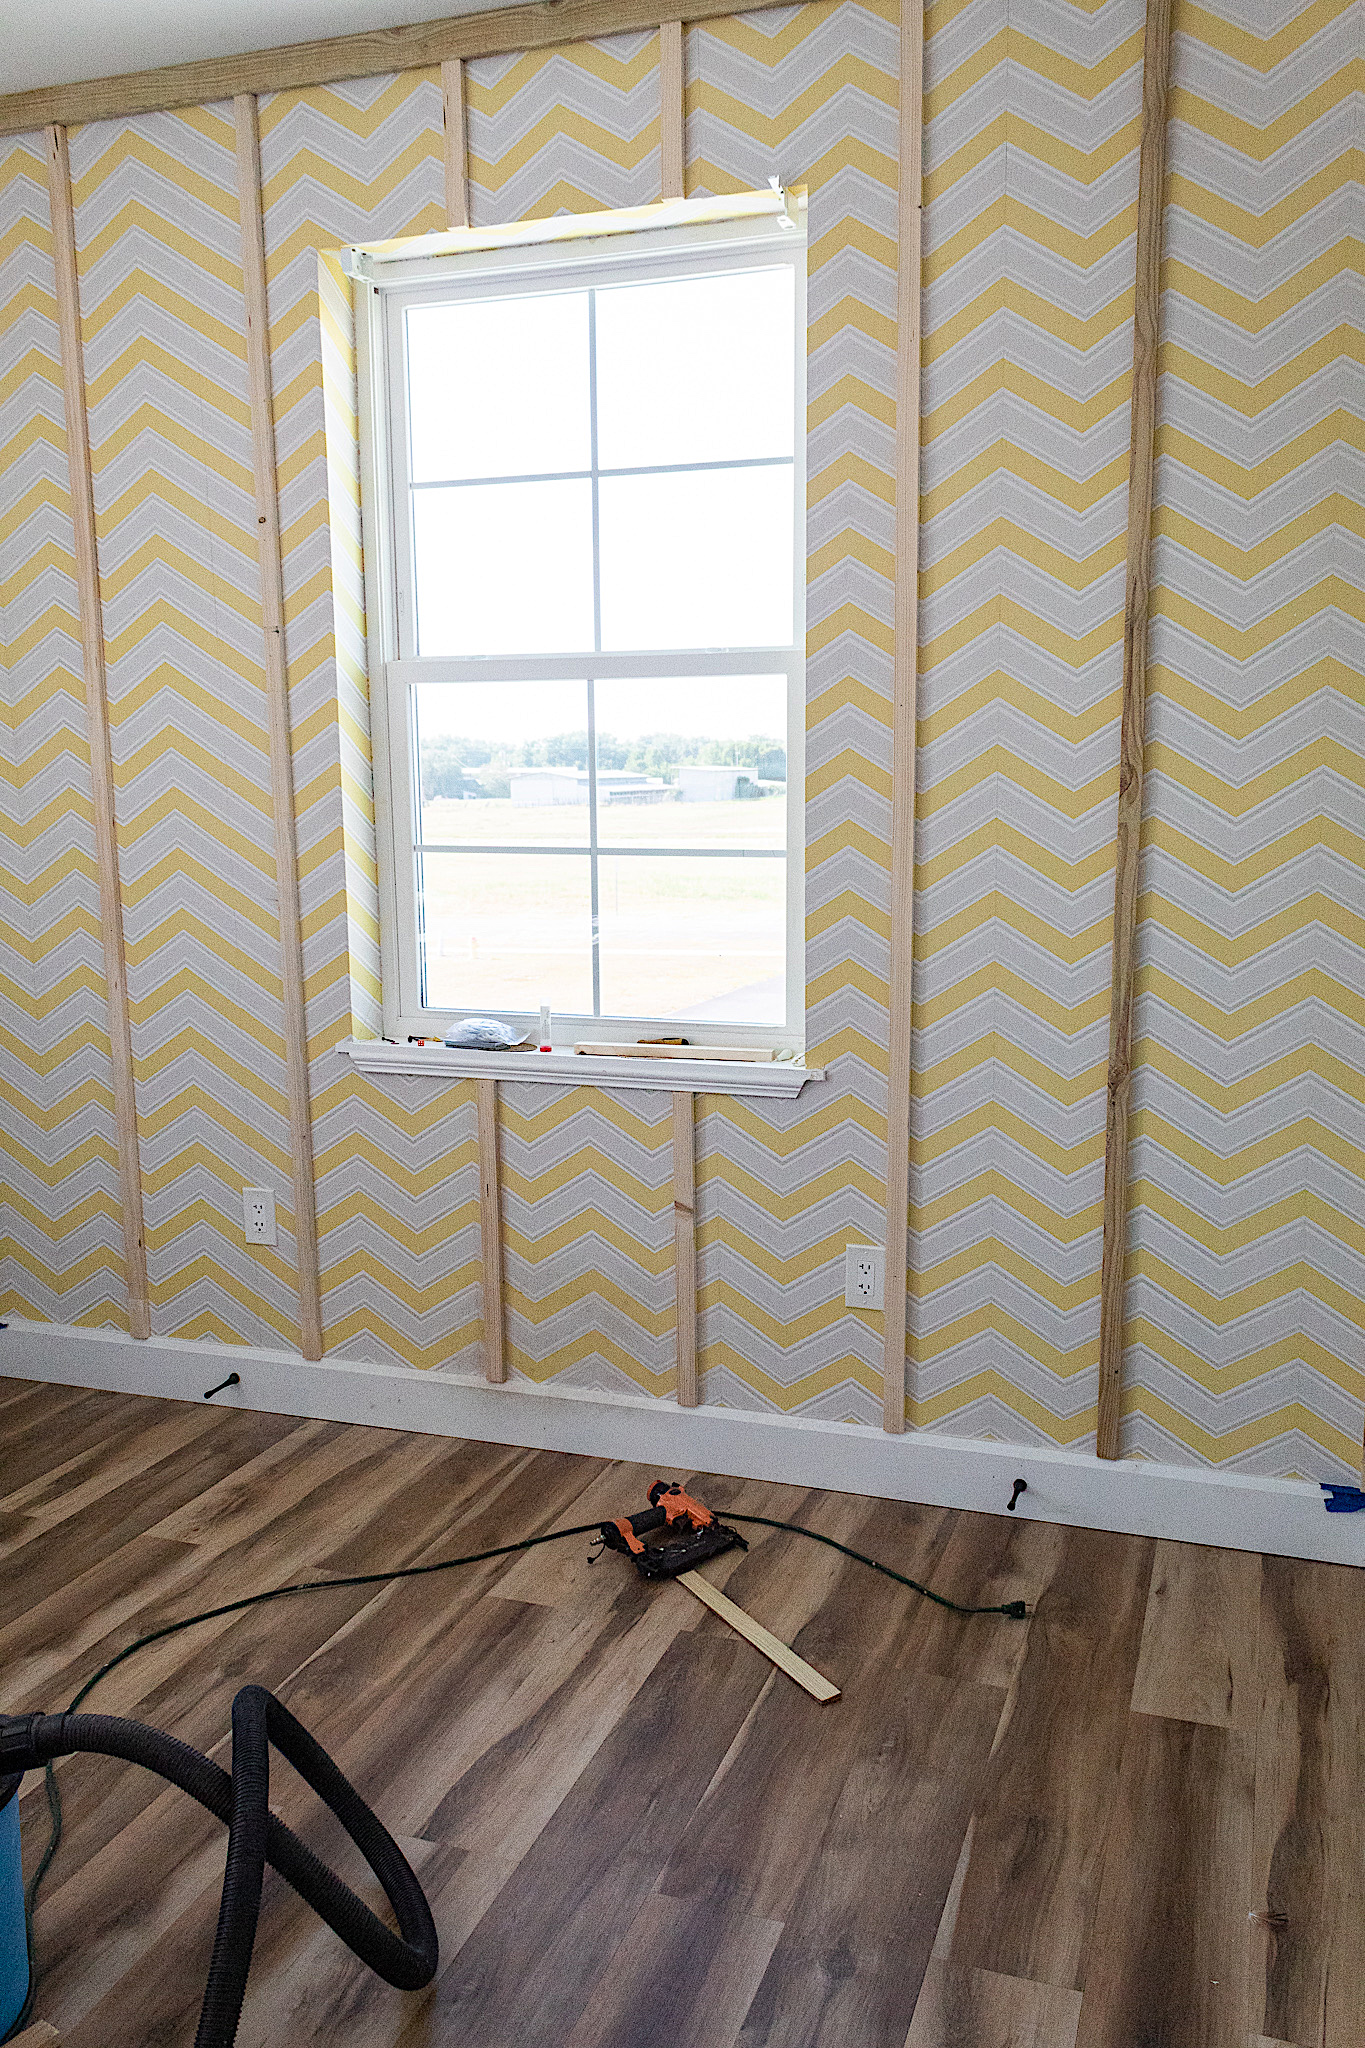
Step 2. Hang the top board
To create a nice framed look we hung our 1″ x 3″ wood piece along the top of the wall. We also placed 1″ x 2″ s on each end of the wall.
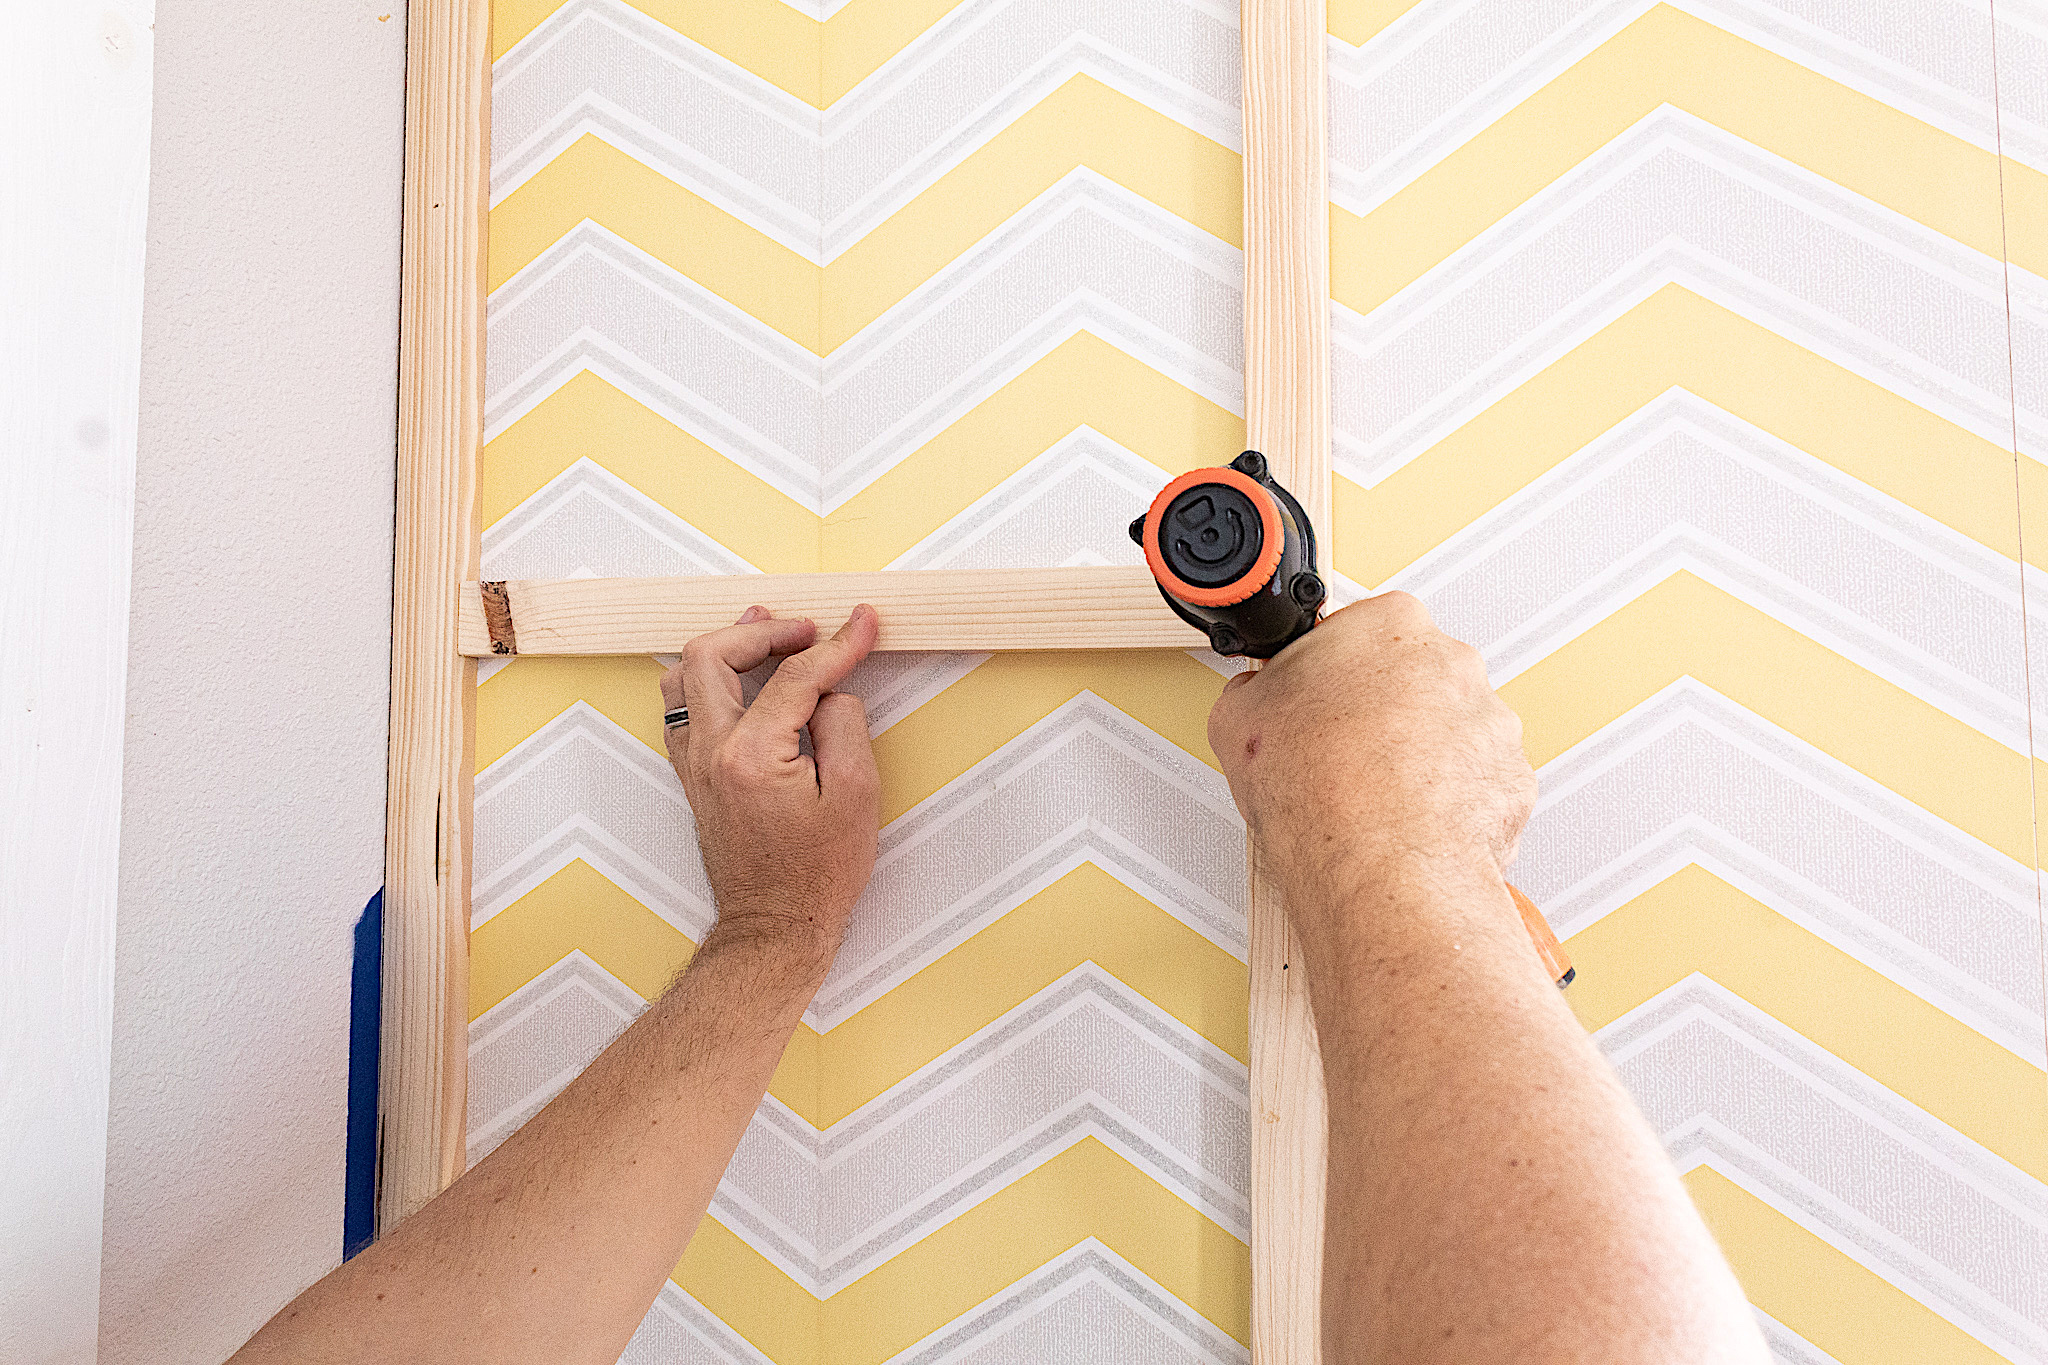
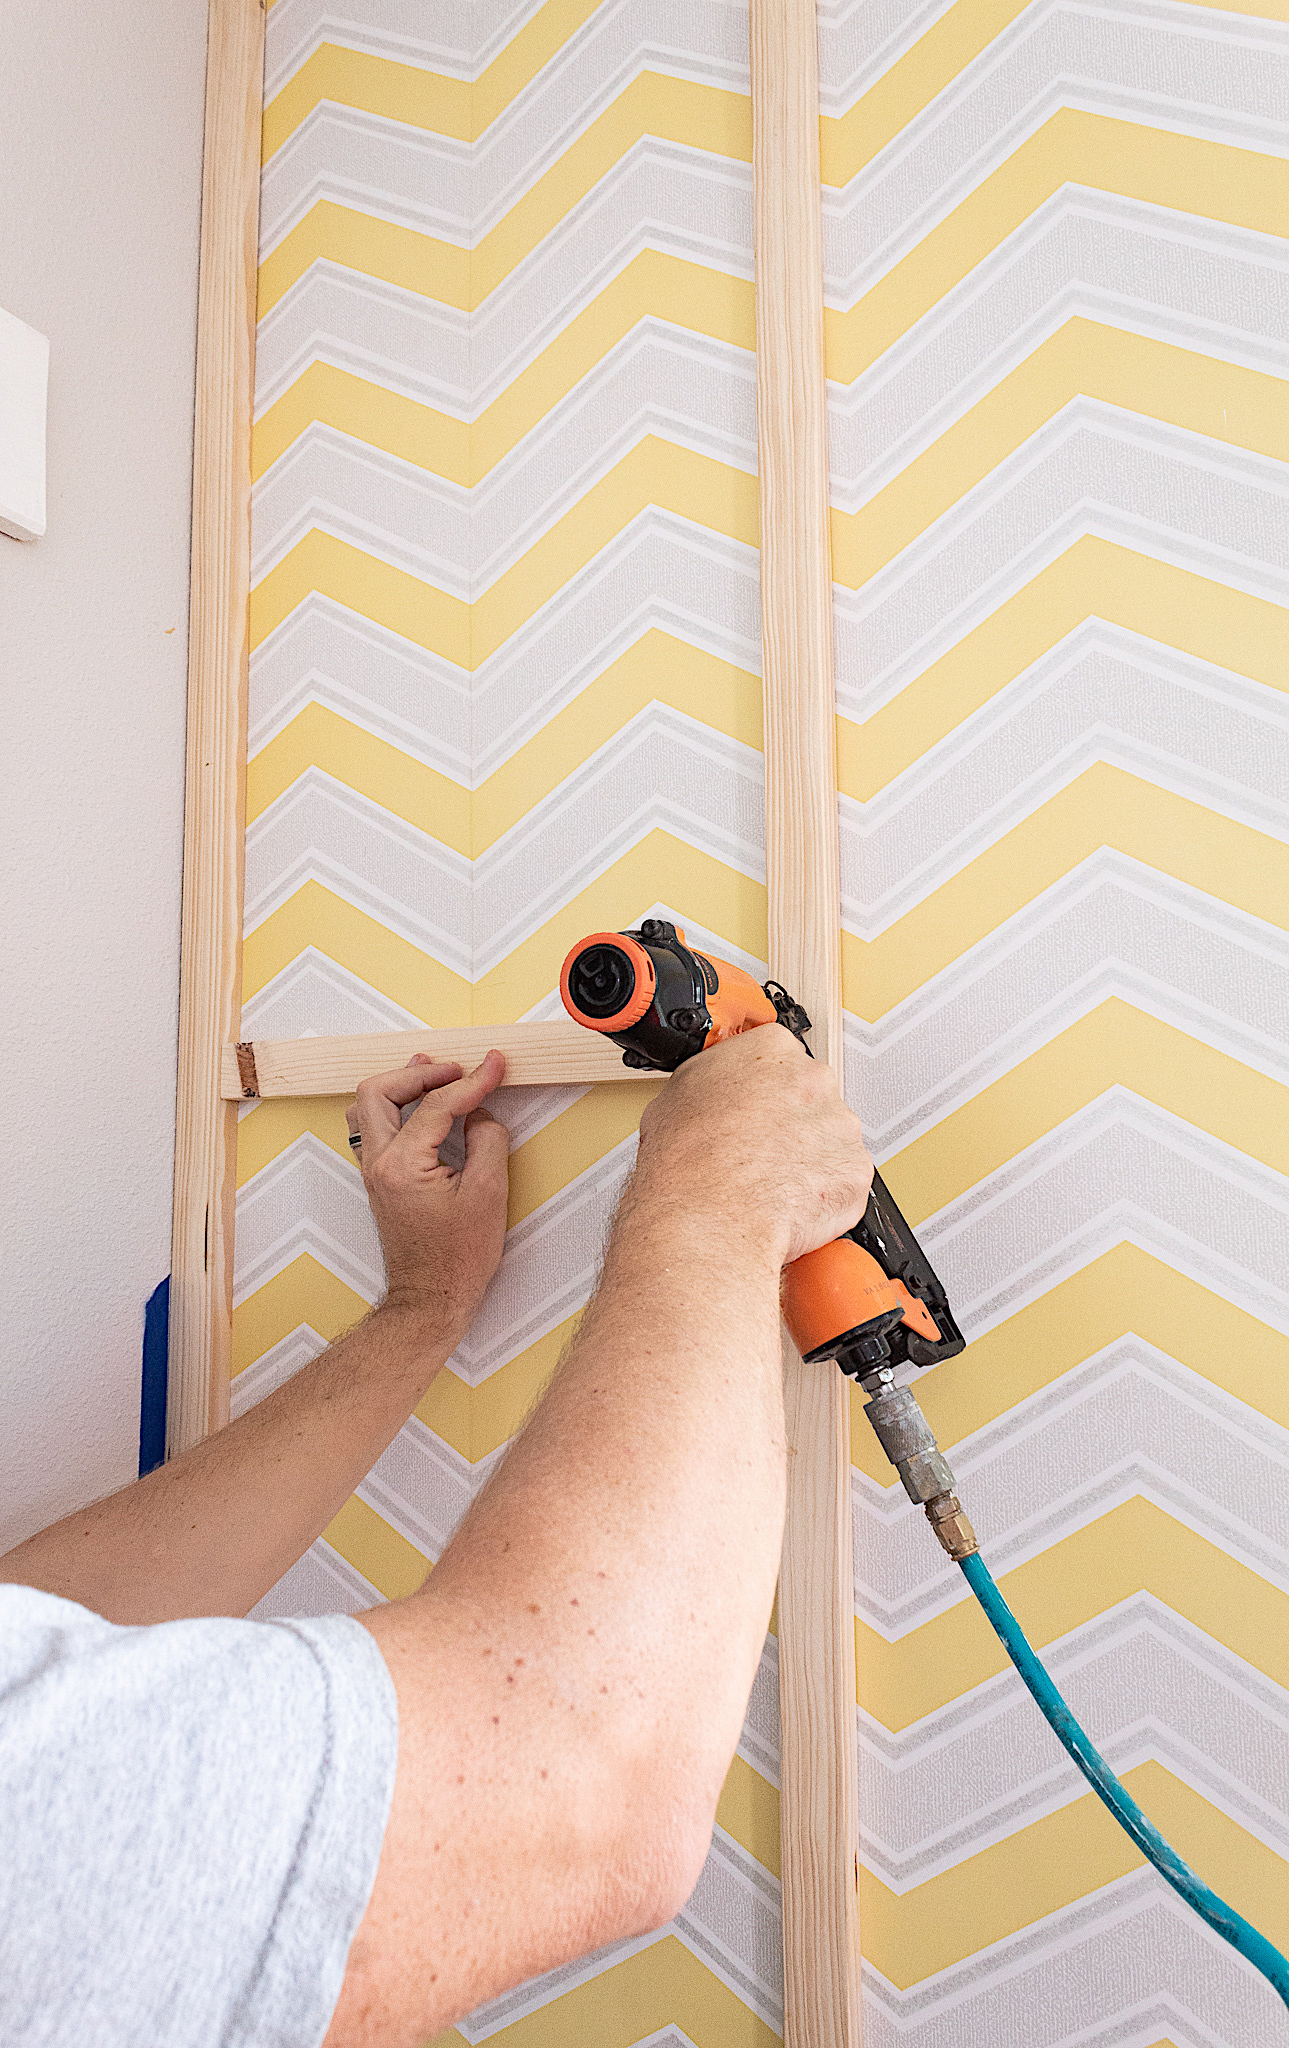
Step 3. Creating the board and batten look
Ronny cut a piece of wood to use as a guide in between wood strips to make sure they were evenly spaced across the wall. He nailed each strip to the wall using the nail gun.
You can choose how far apart you want your strips to be based on your aesthetic preference. I liked the look of them being more widely spaced out.
Ronny cut smaller strips around the window and used the measuring tape to make sure the top and bottom pieces were aligned.
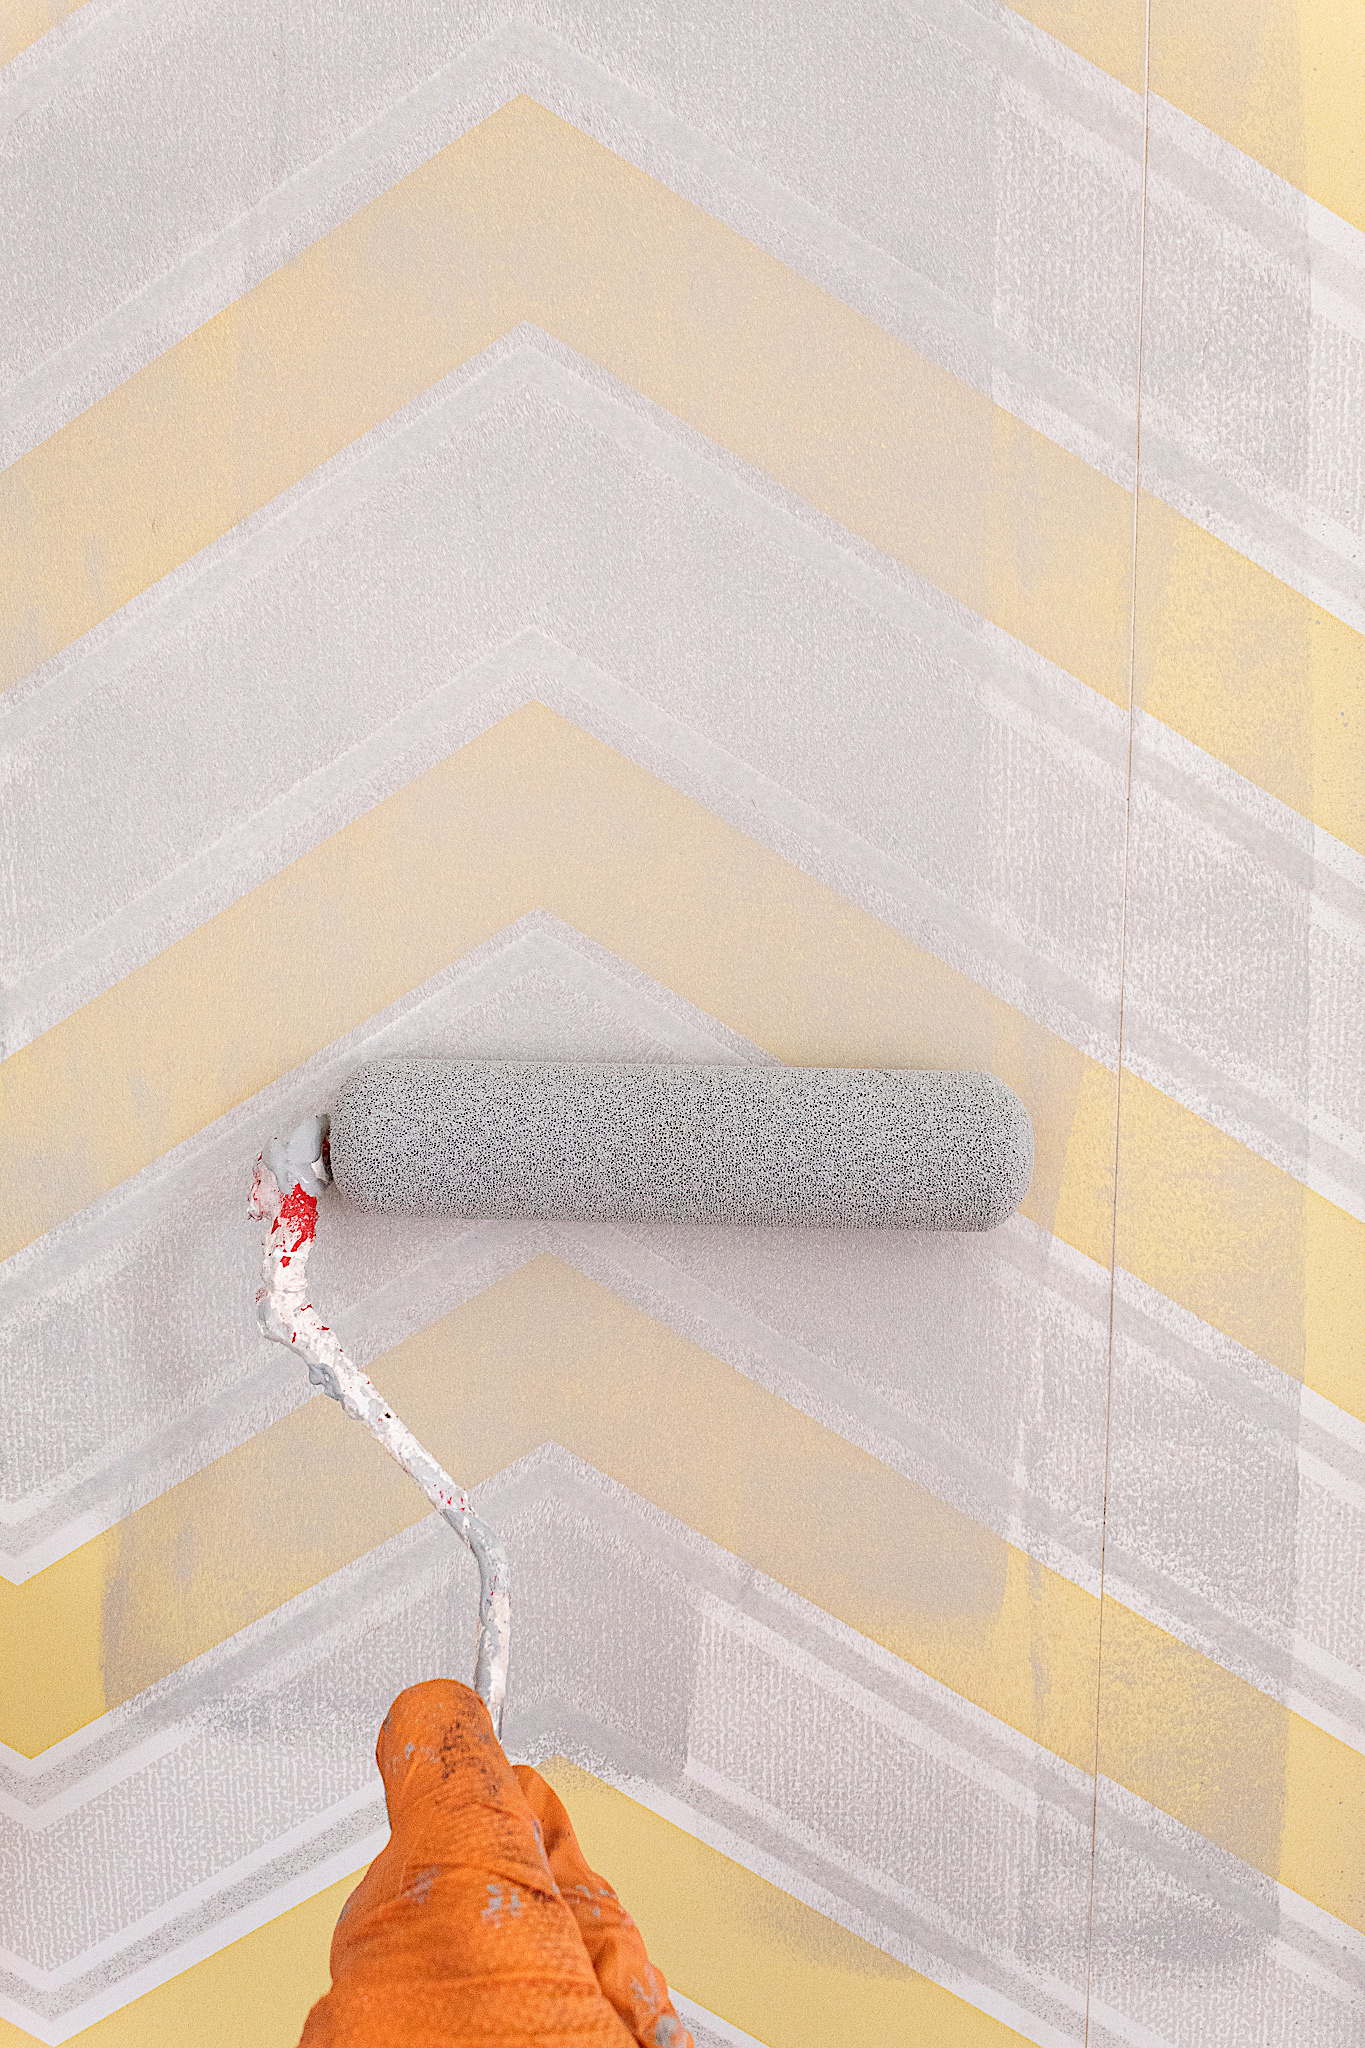
Step 4. Paint
Ronny first added a coat of primer followed by two coats of Behr’s Tsunami paint. He used a roller for the wall parts and a paint brush along the edges of the wood strips.
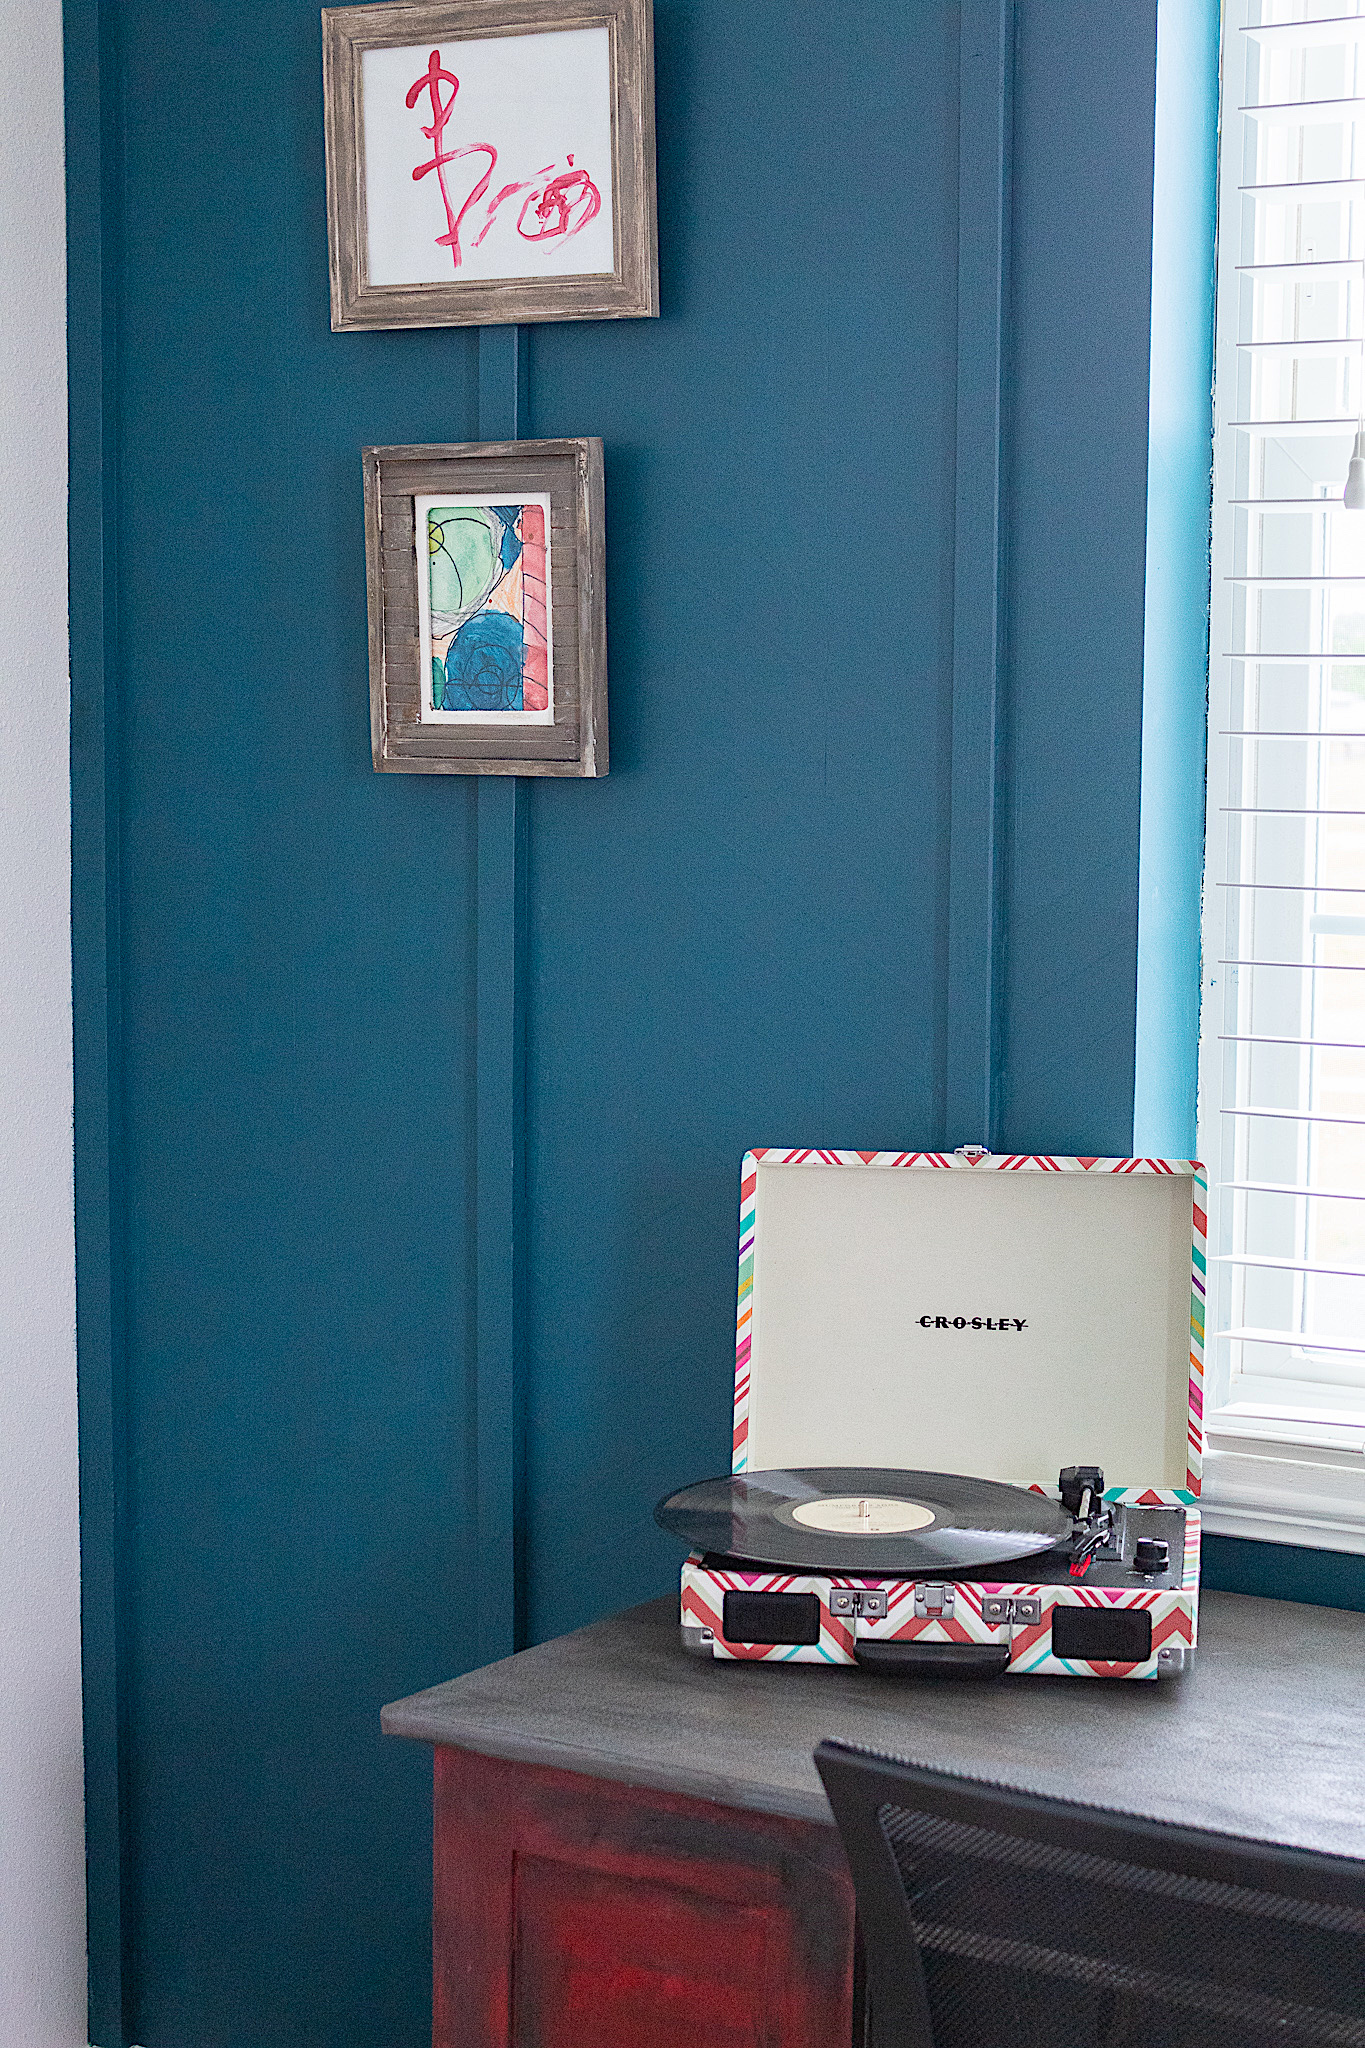
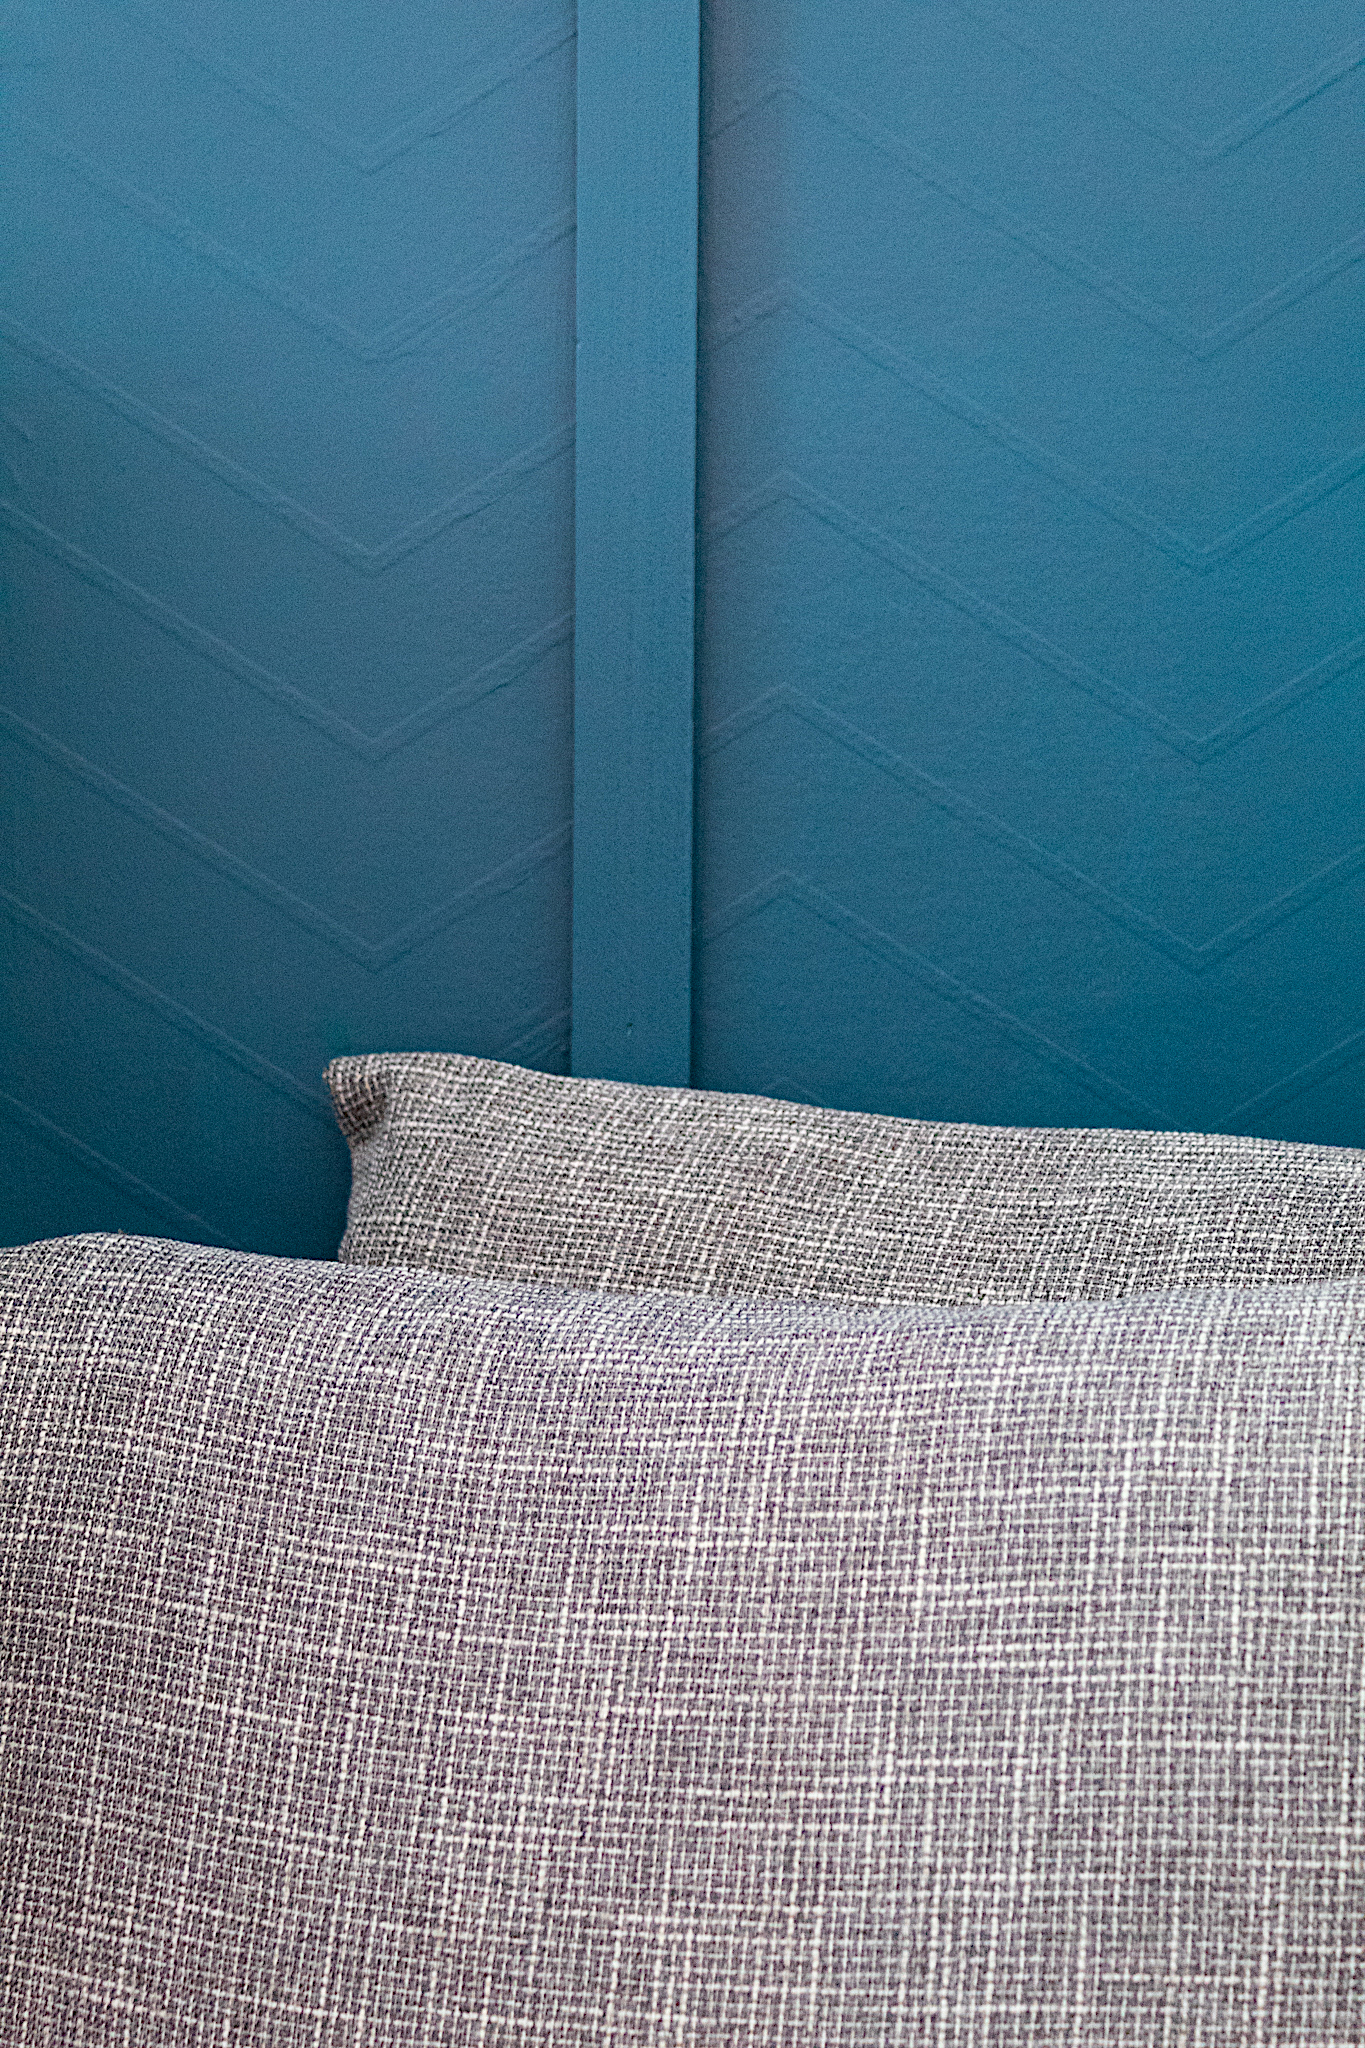
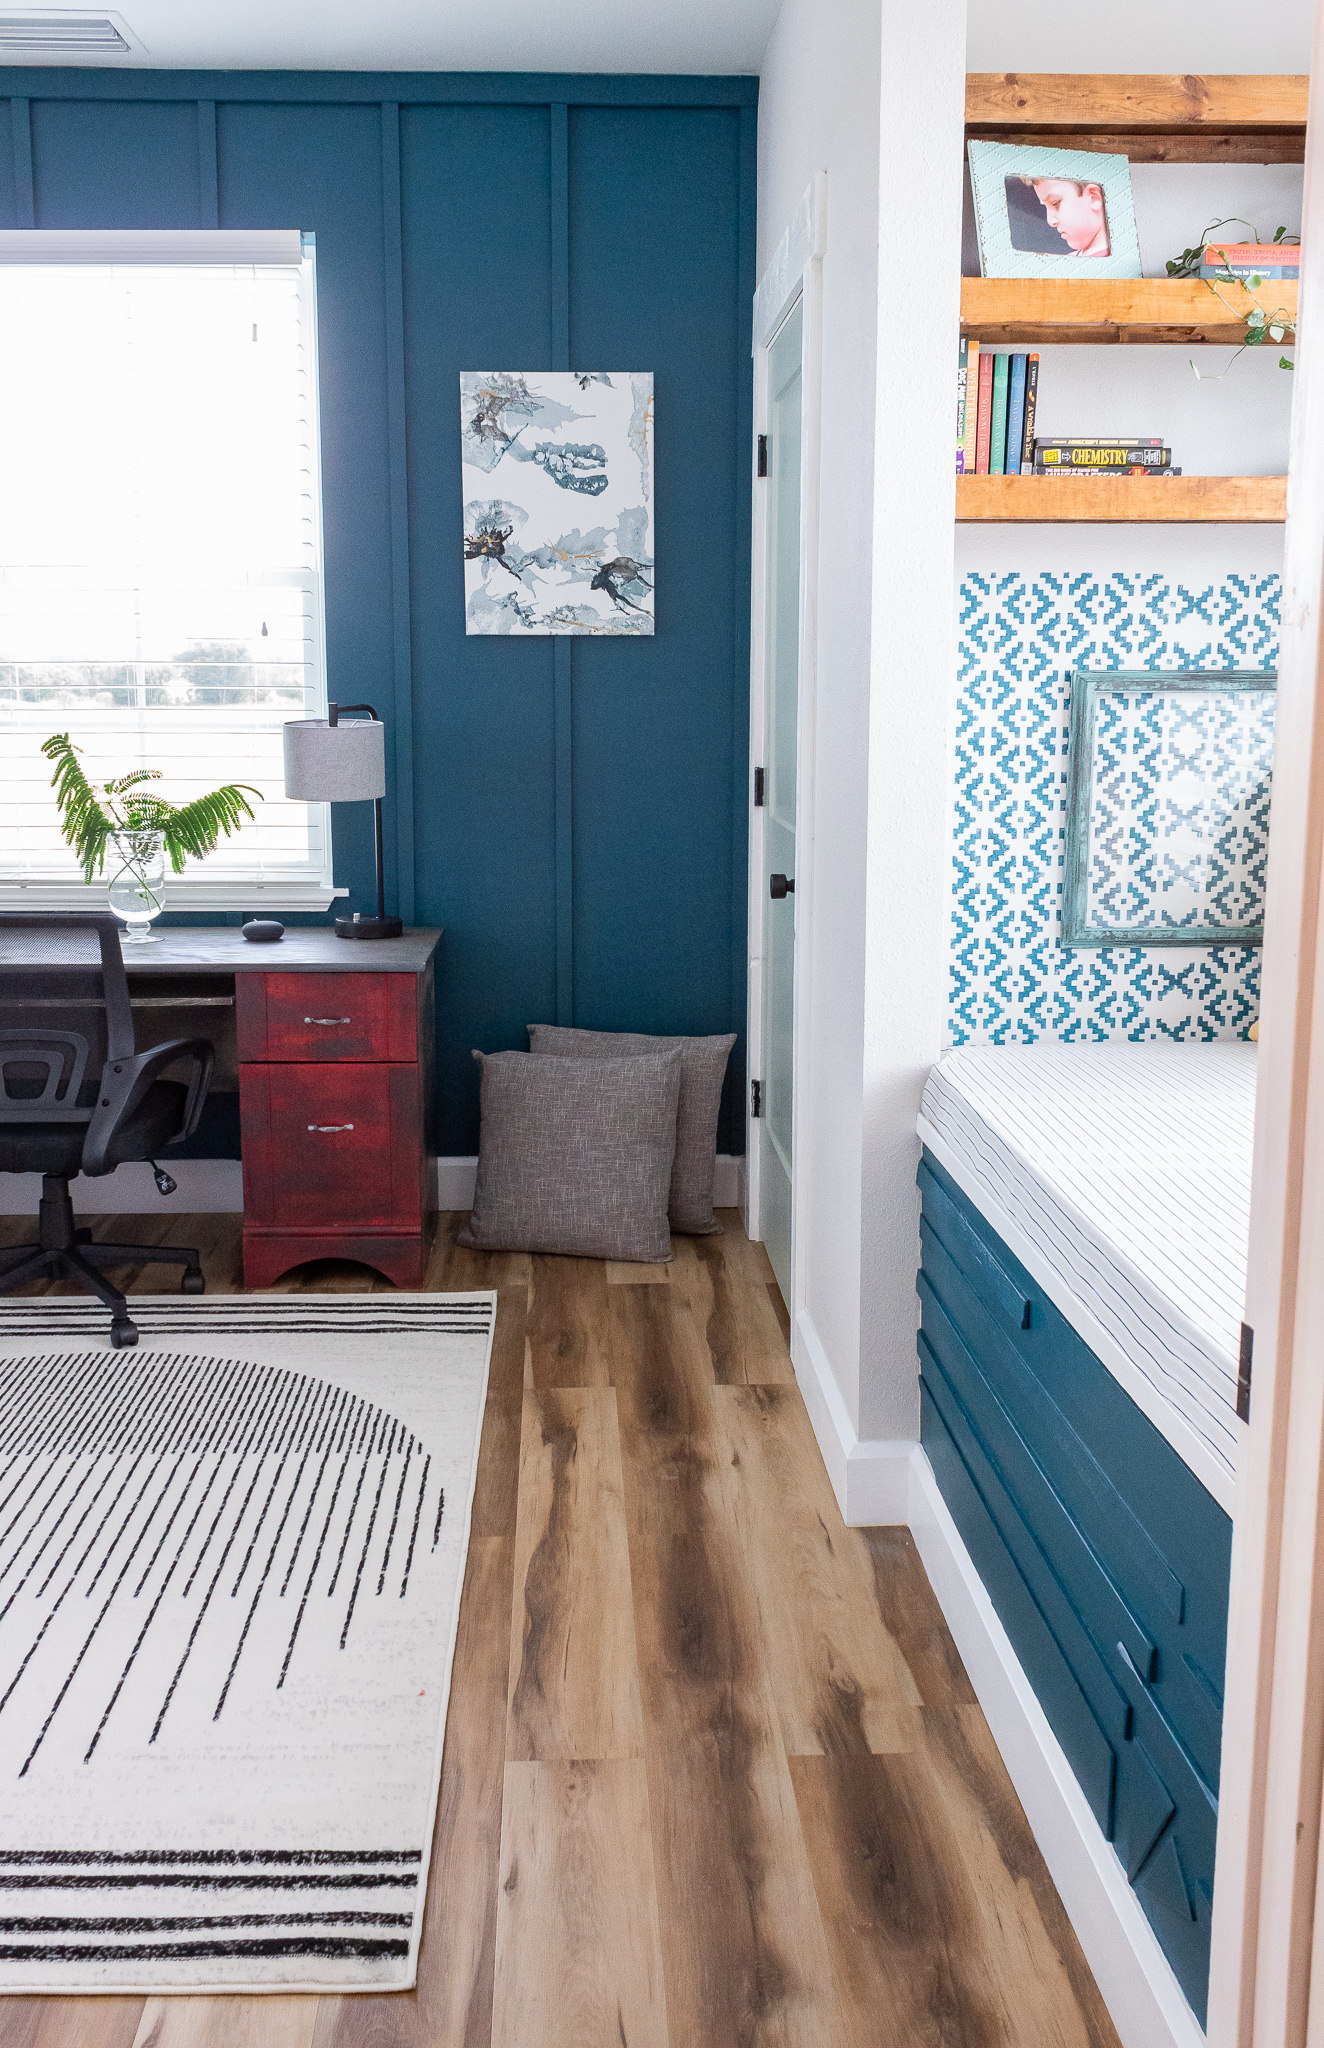
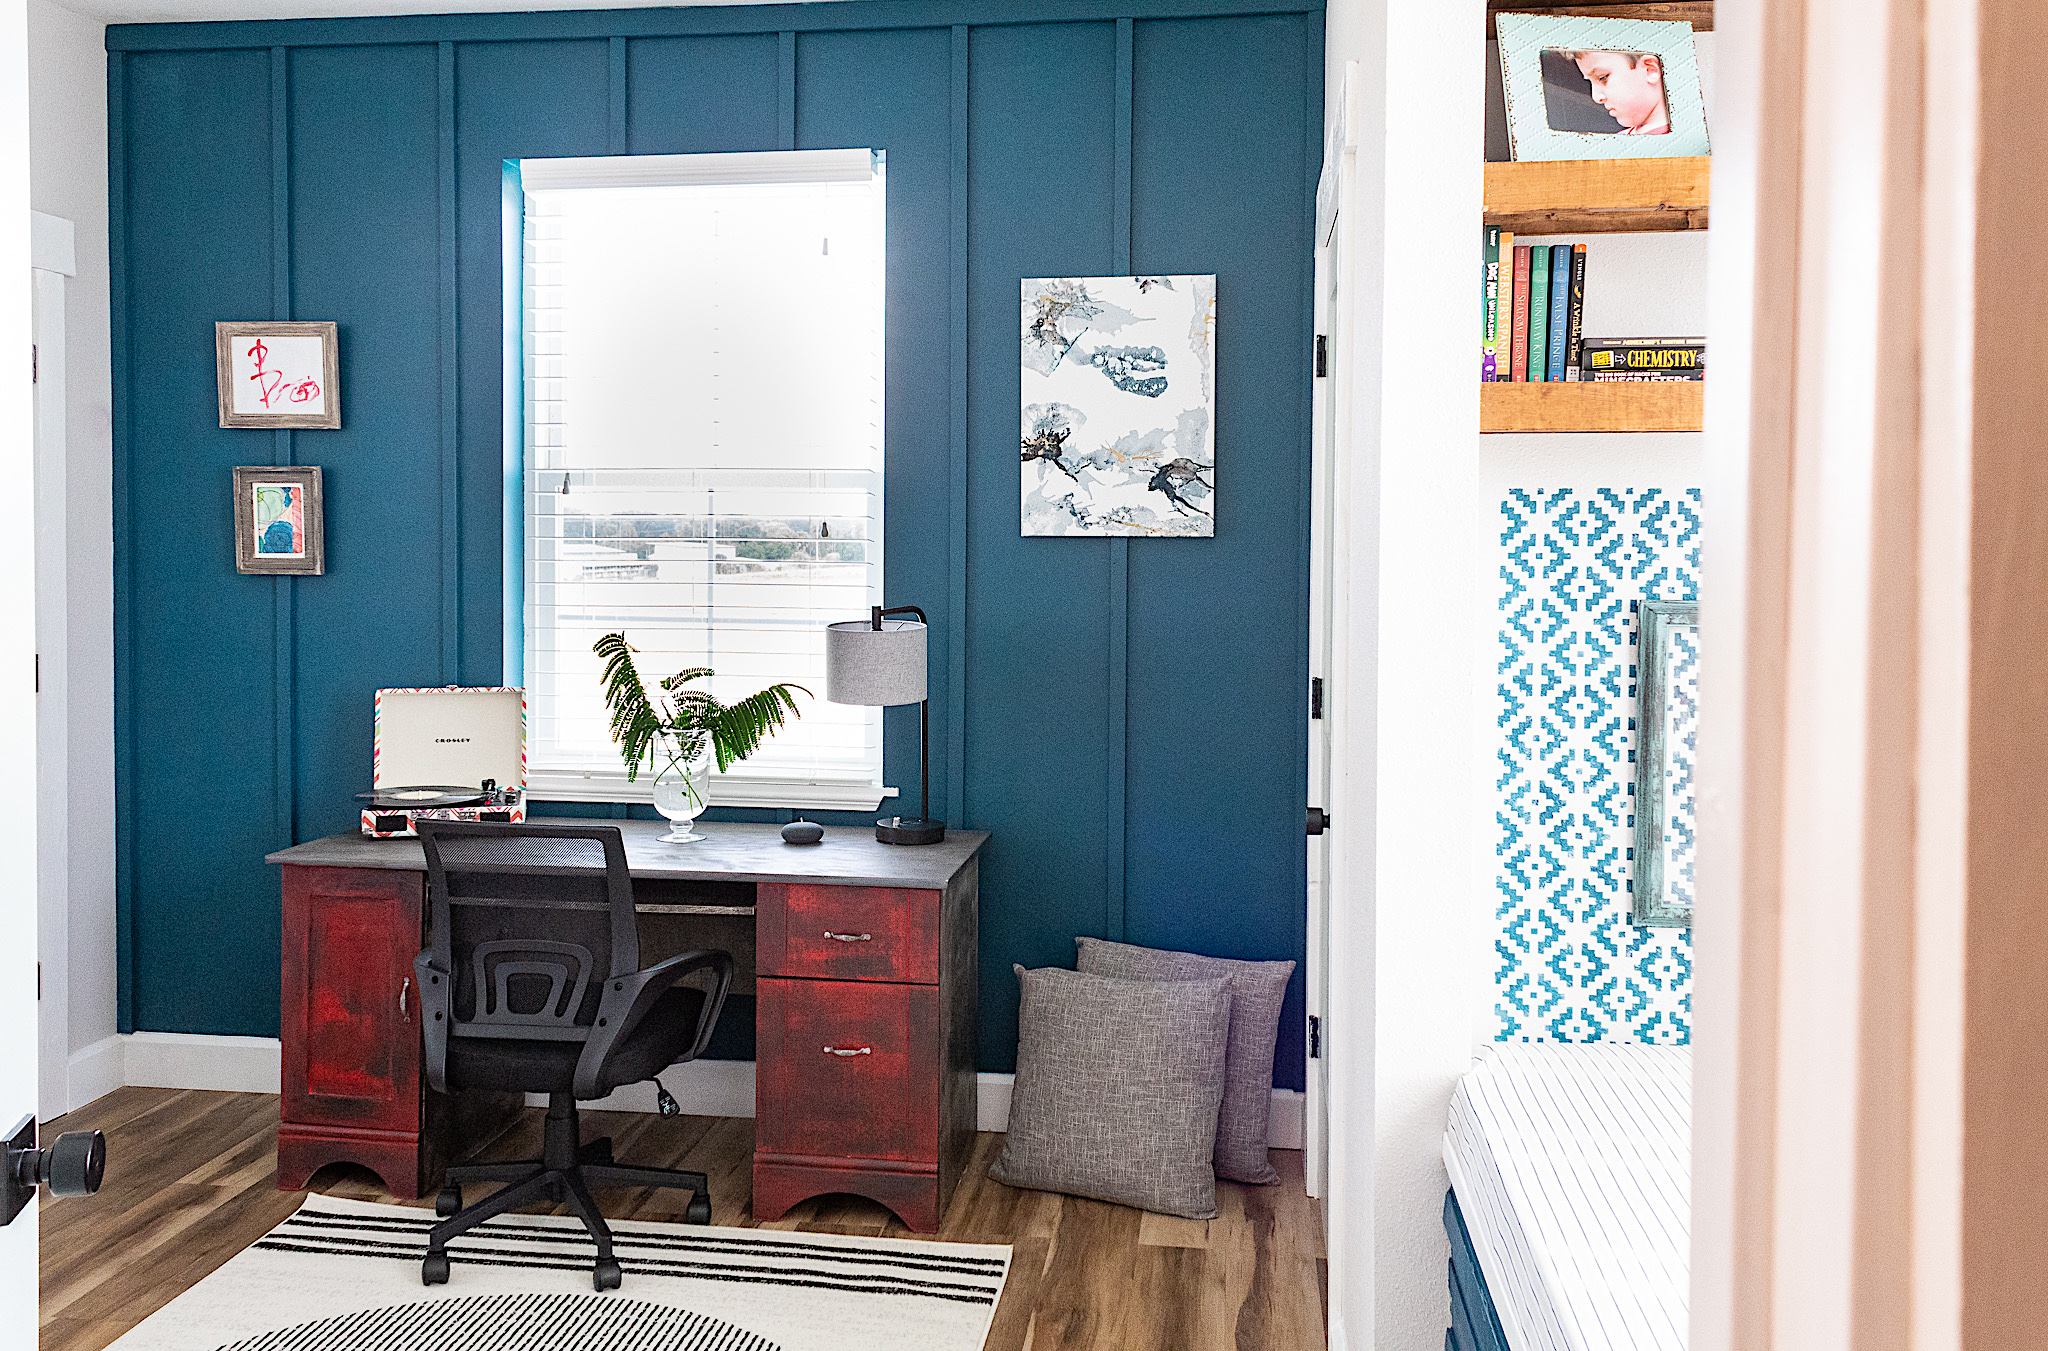
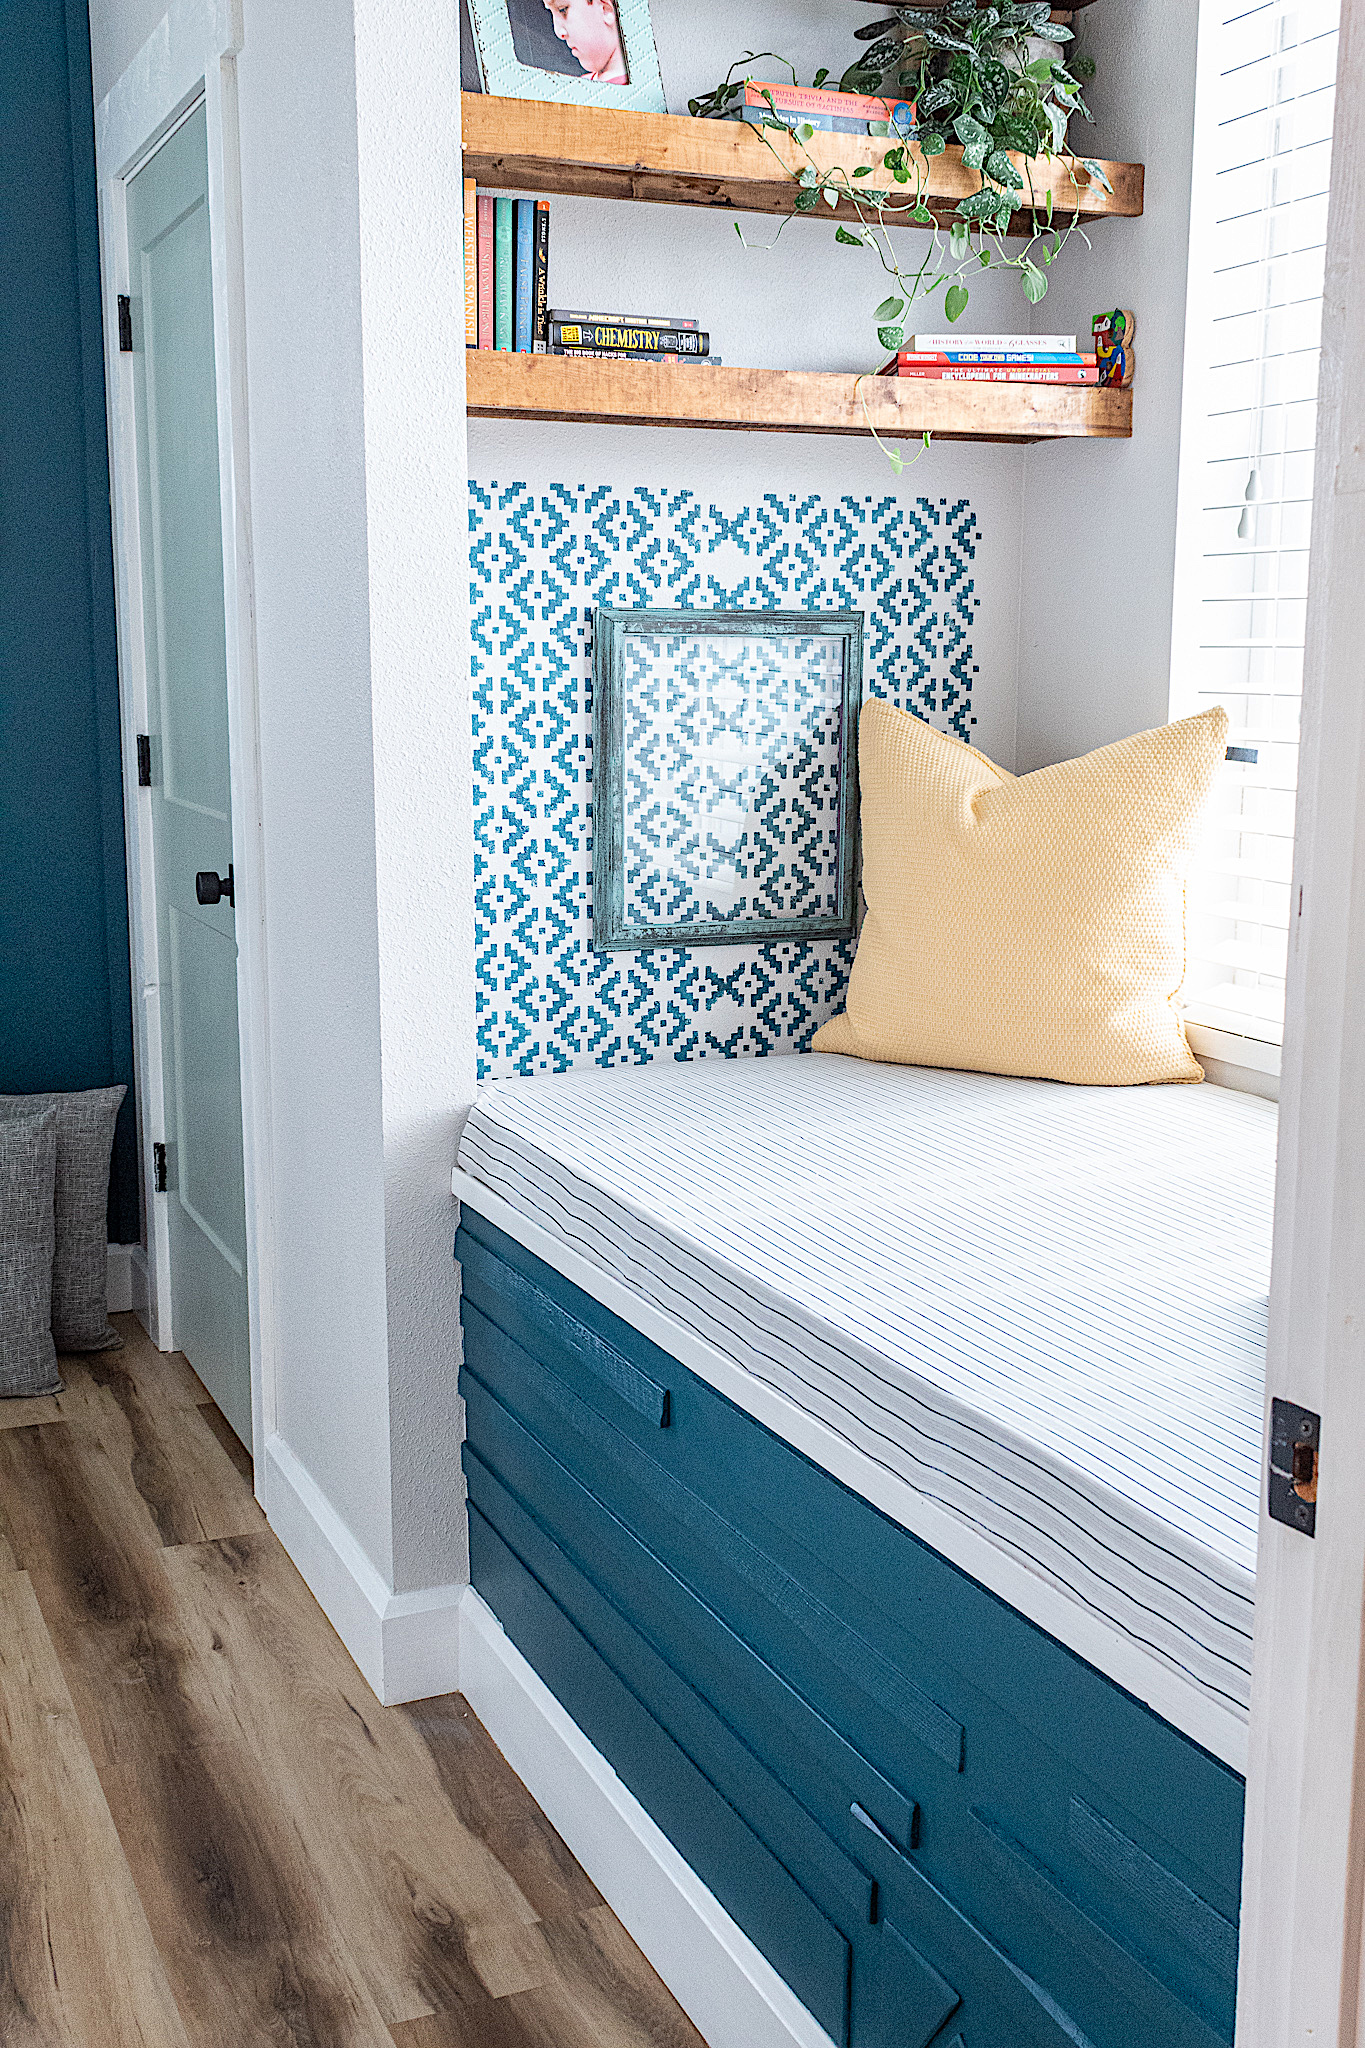
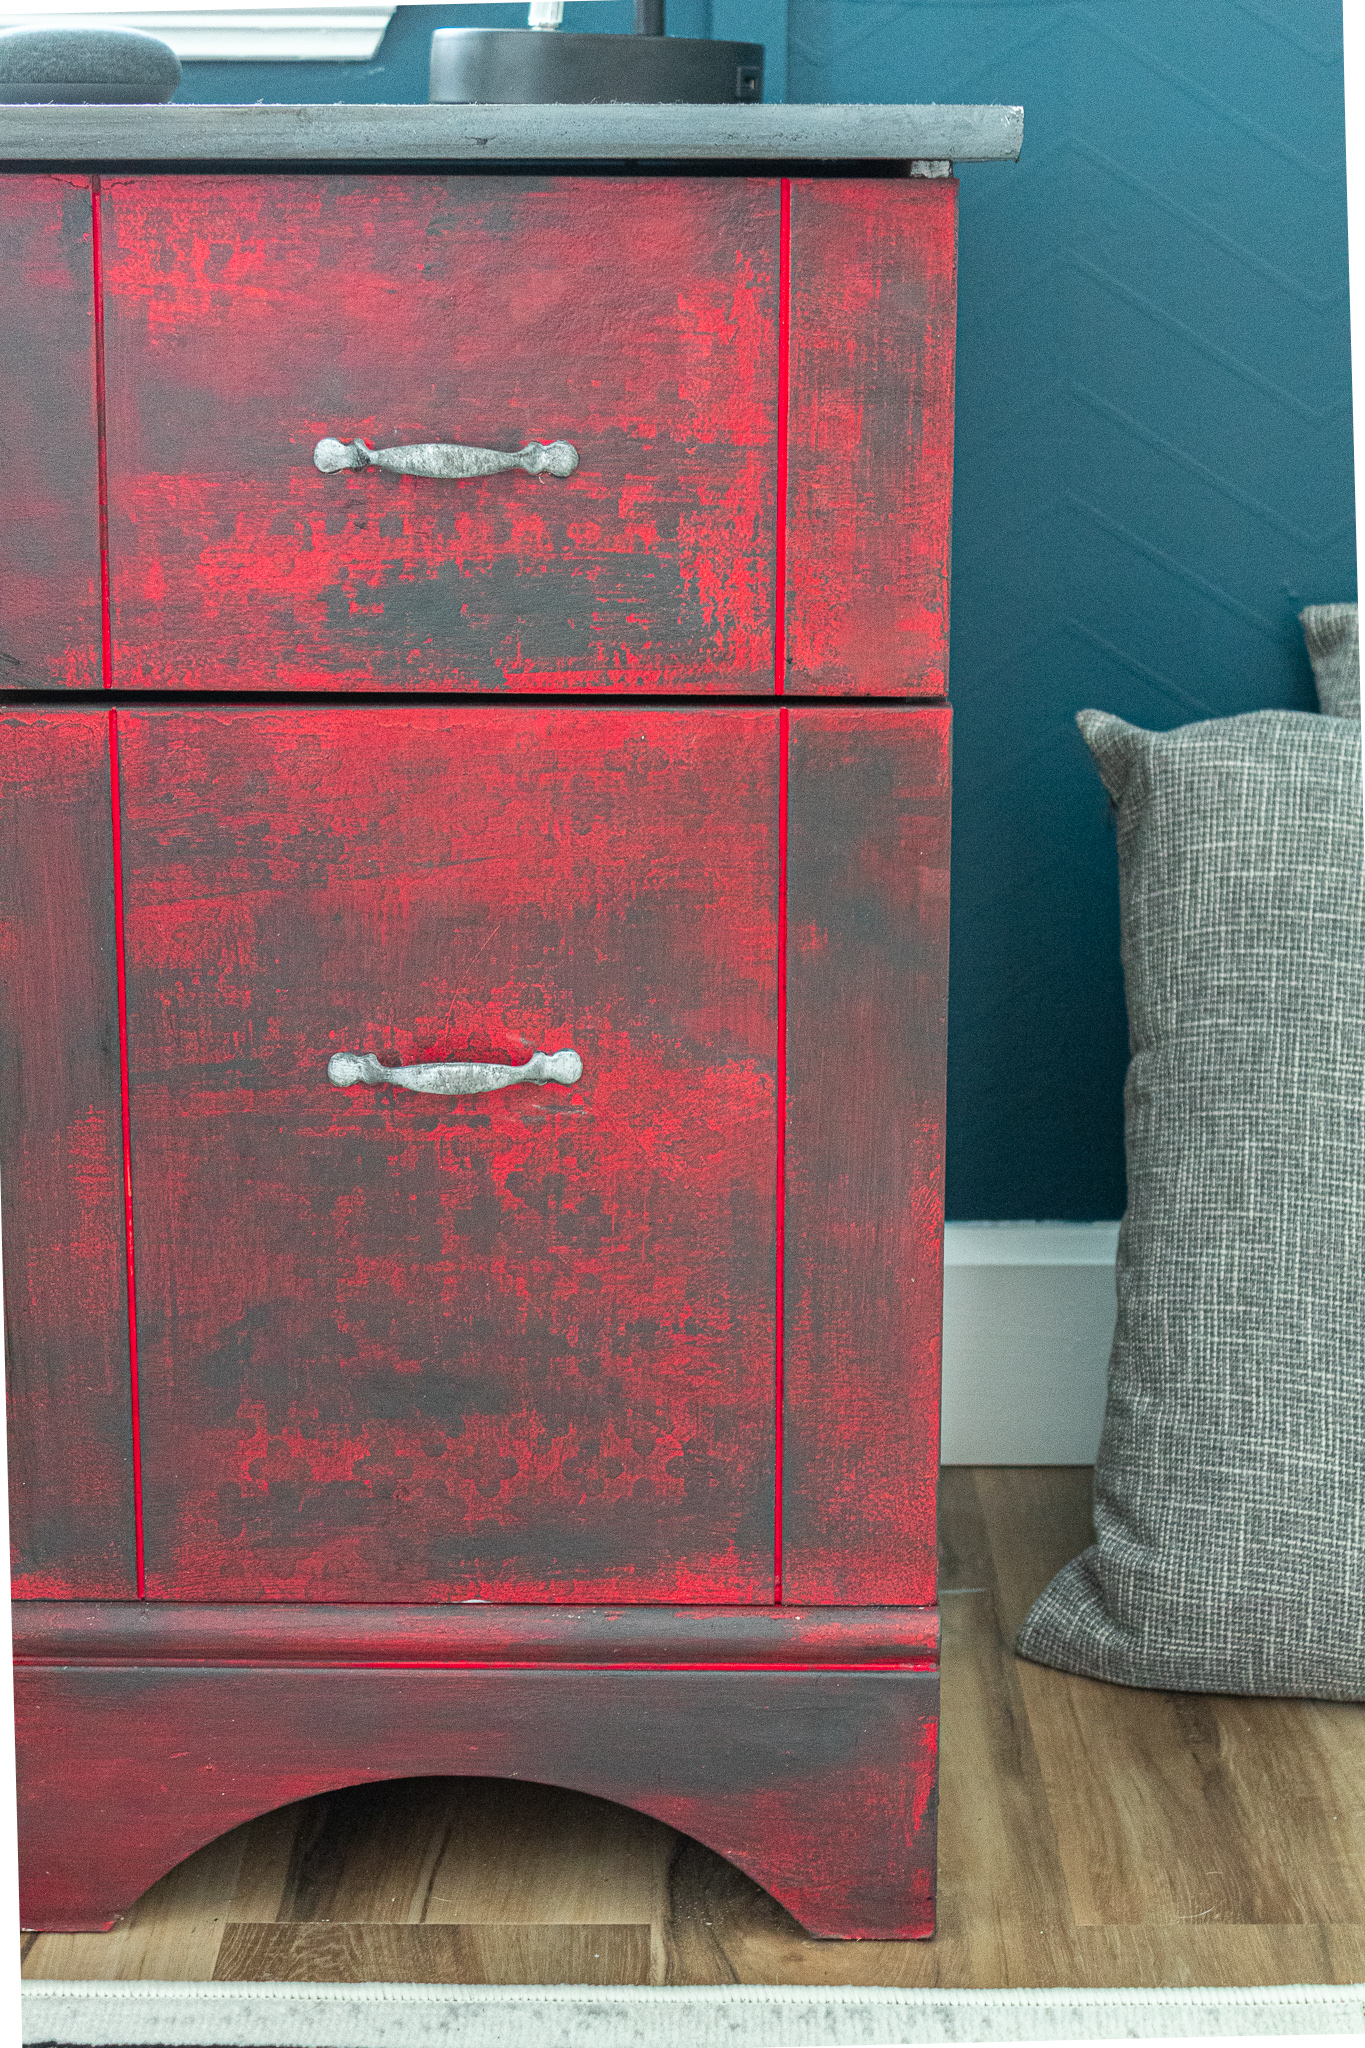
I picked this beautiful teal color because I wanted to make a bold design statement in the space. I also used the teal in smaller, complementary doses throughout the room.
You may have noticed that we took the lazy route and built our board and batten wall over the existing wallpaper! It actually ended up working out quite dreamy—the layer of wallpaper added beautiful pattern and texture to the paint finish.
This was not a difficult project although it did take some time to complete, mainly the painting part.
If you’re looking to create a wow factor in a space, this is one way to achieve that. Pictures do not do the new wall justice—it came out so stunning!
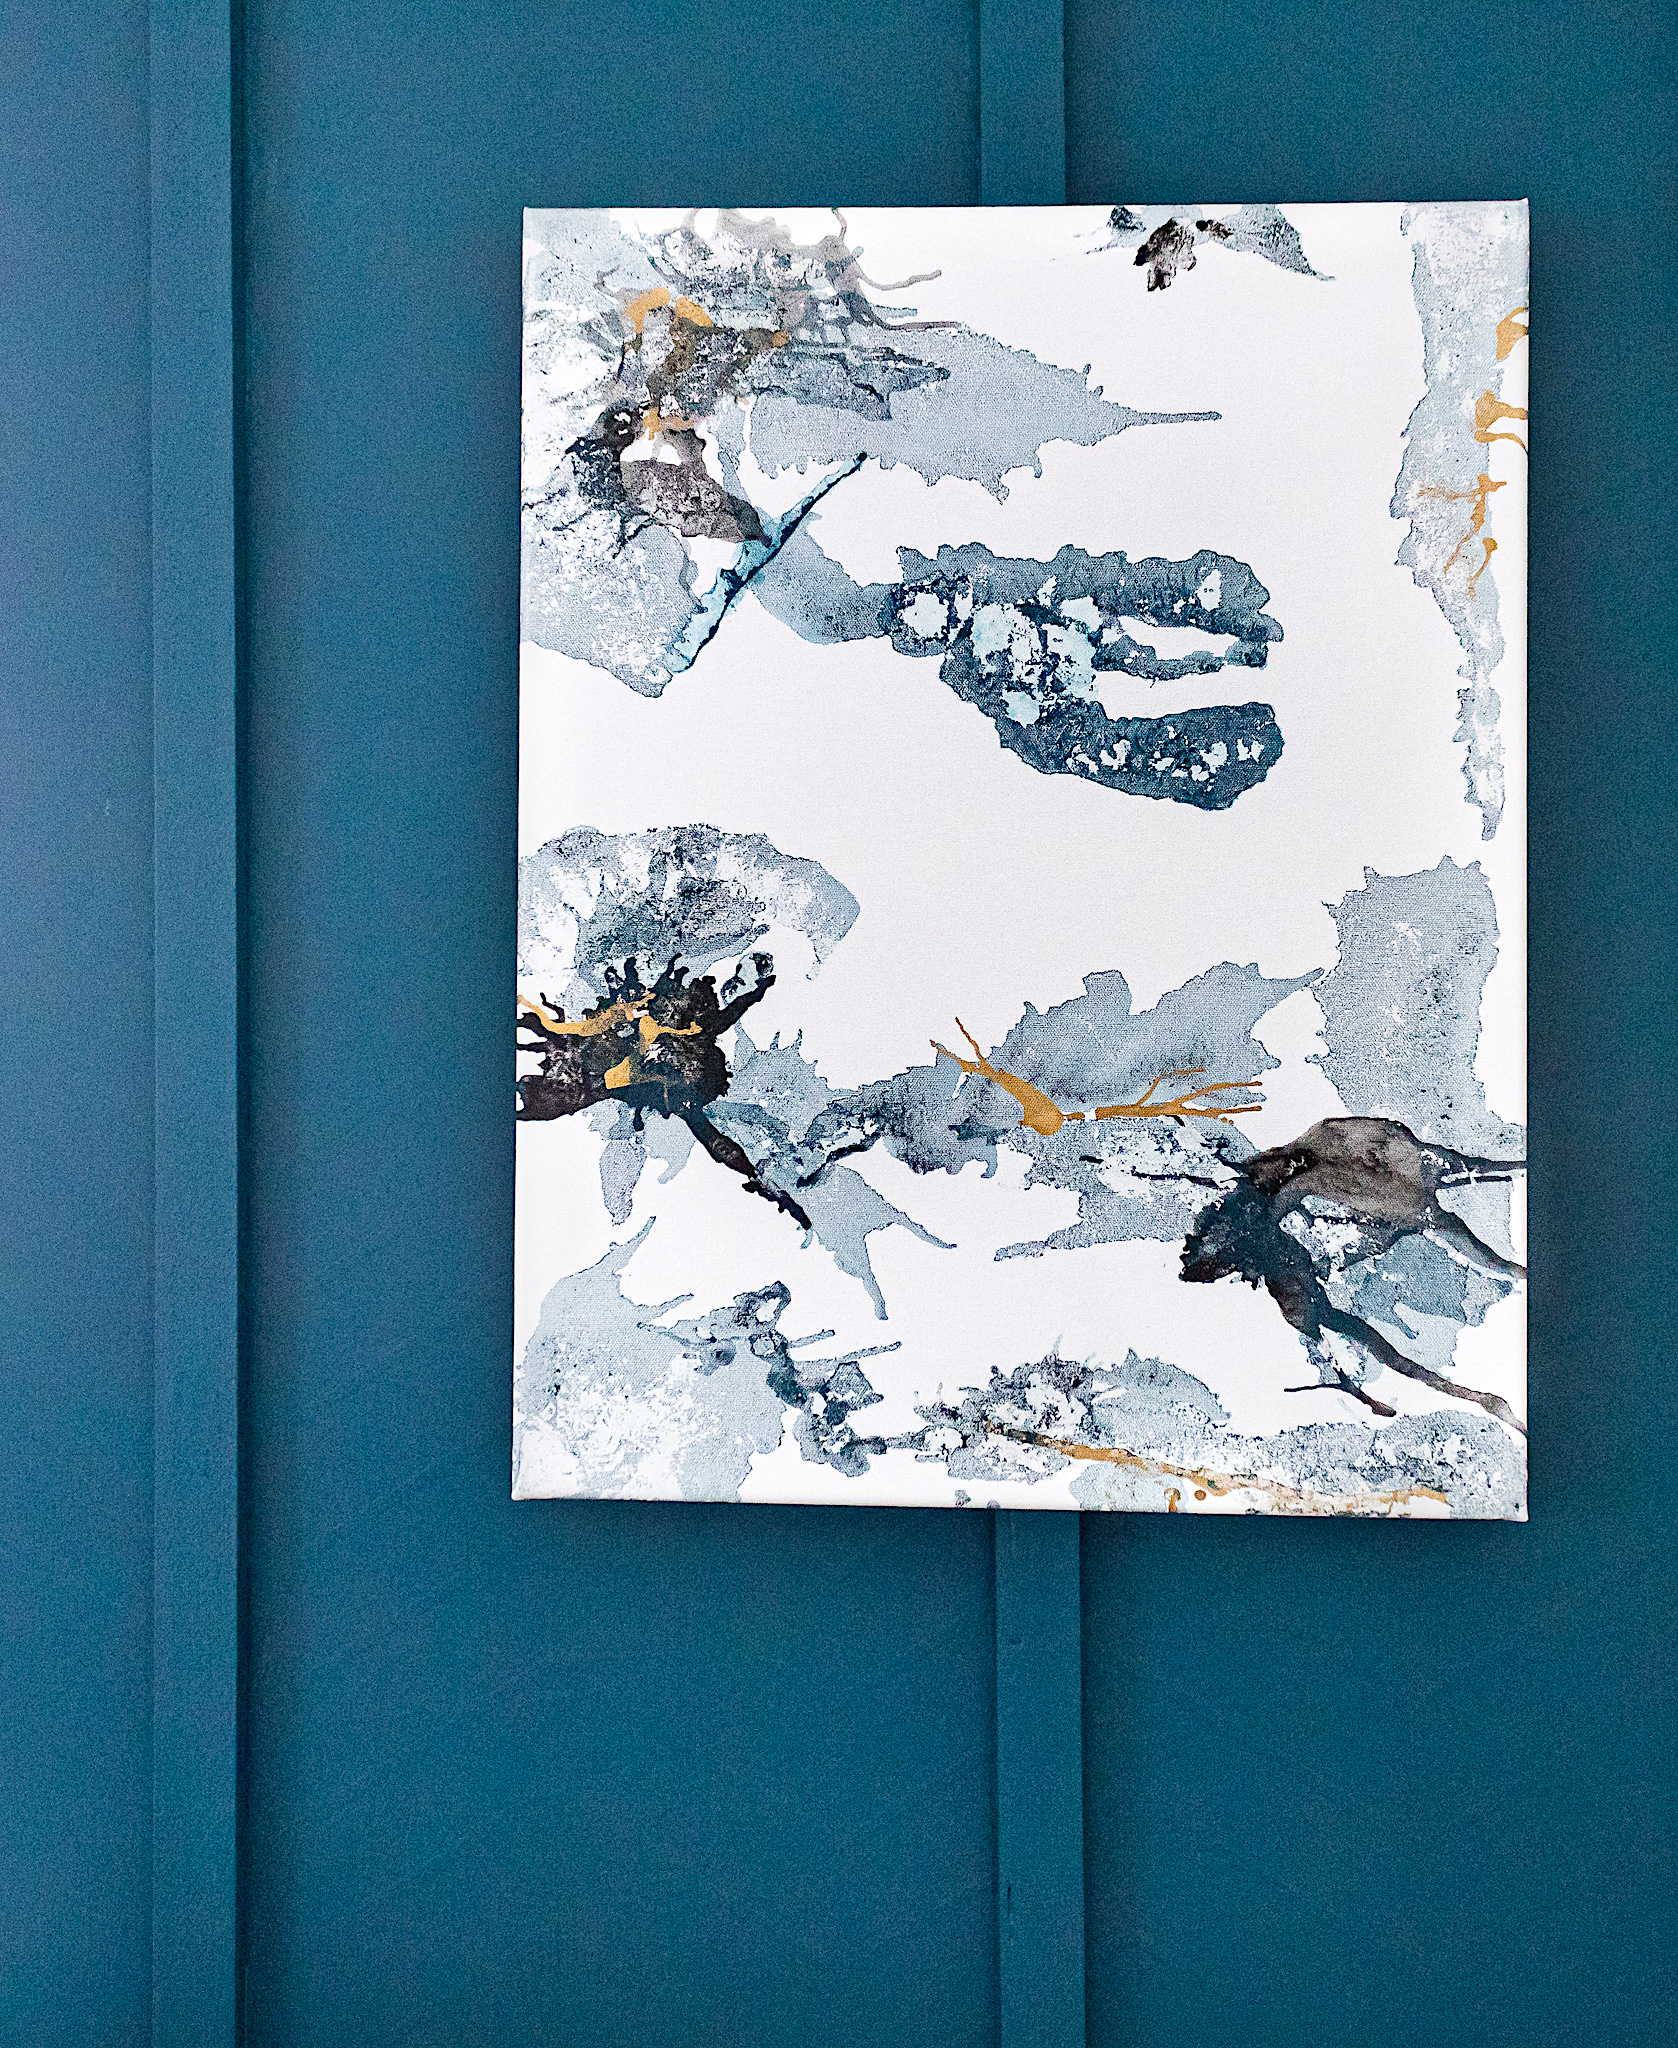
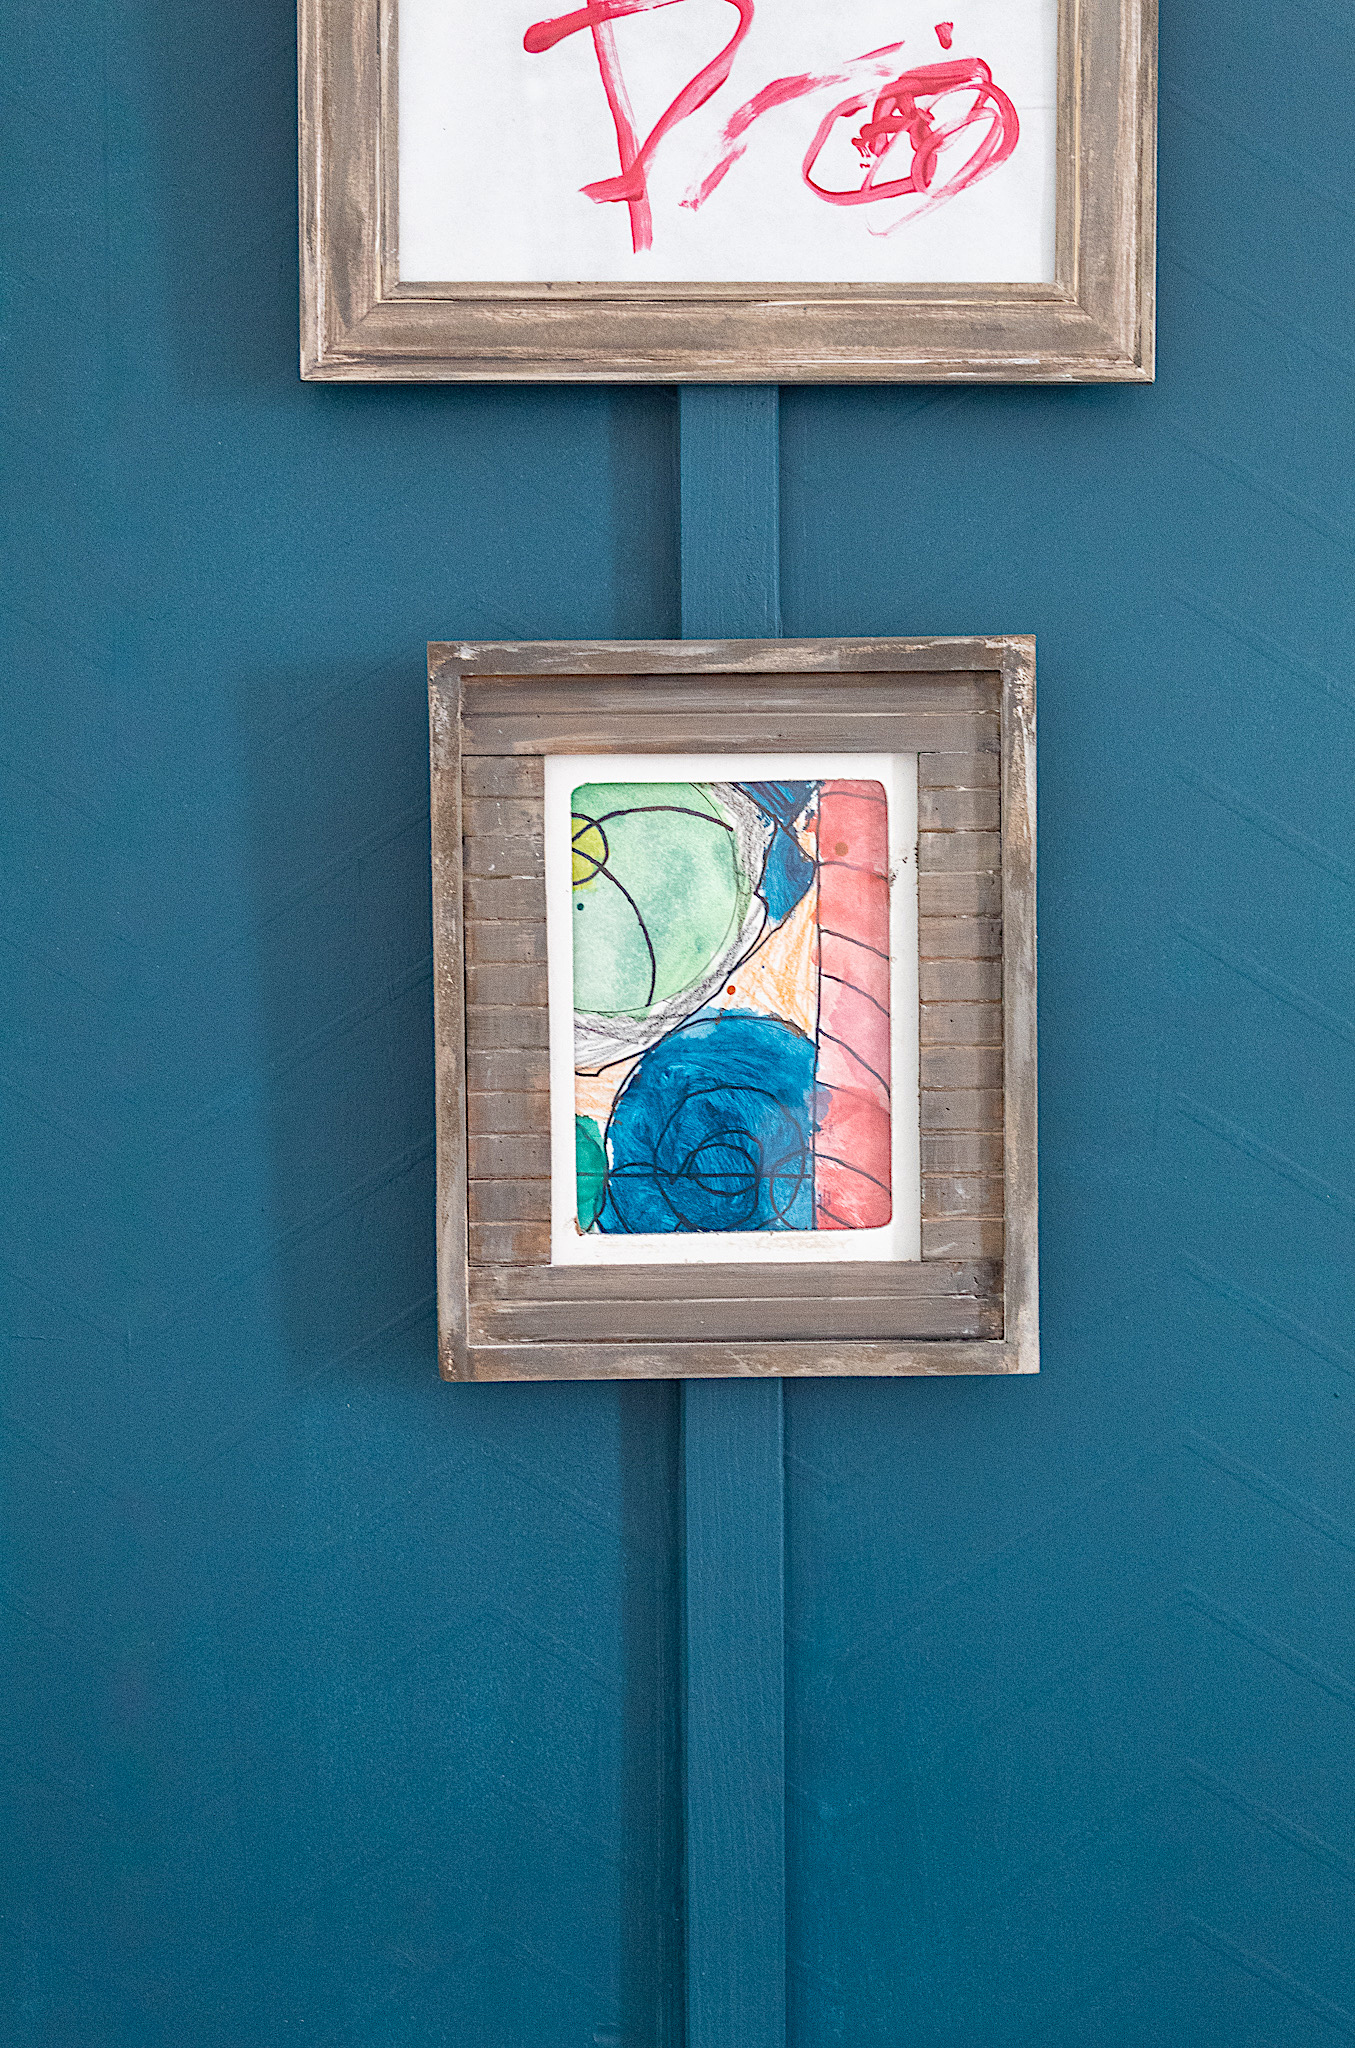
I relocated some of my son’s childhood art onto the accent wall. The colorful drawings popped against the teal background while the wood frames added a rustic touch.
So lovely readers, what do you think of the board and batten wall? Isn’t it sleek and stylish! Be sure to SUBSCRIBE at the bottom of the page so you don’t miss a post.