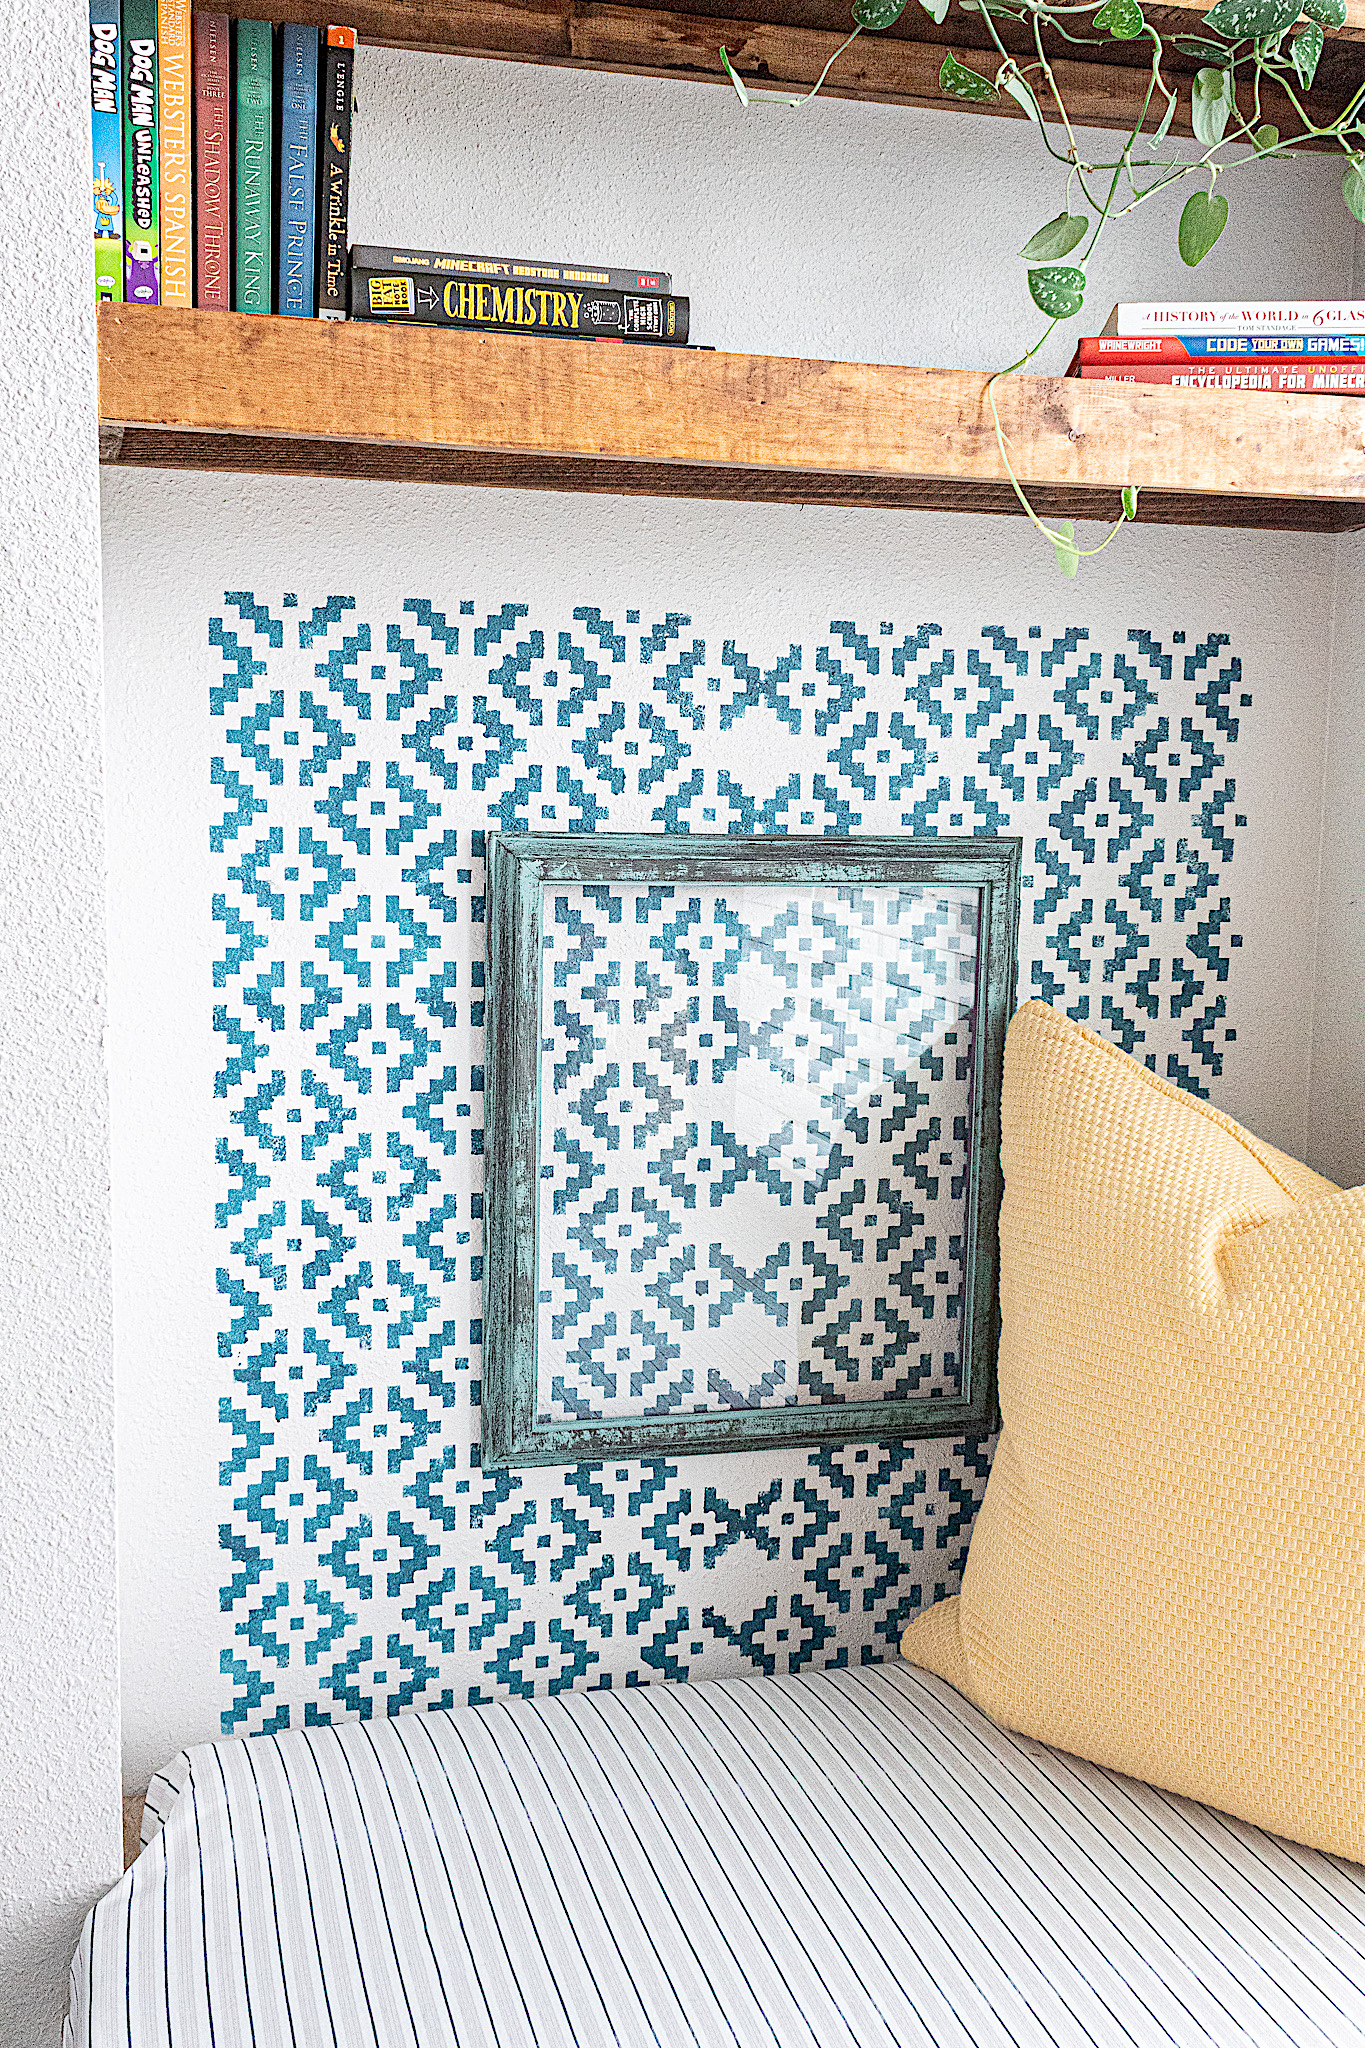
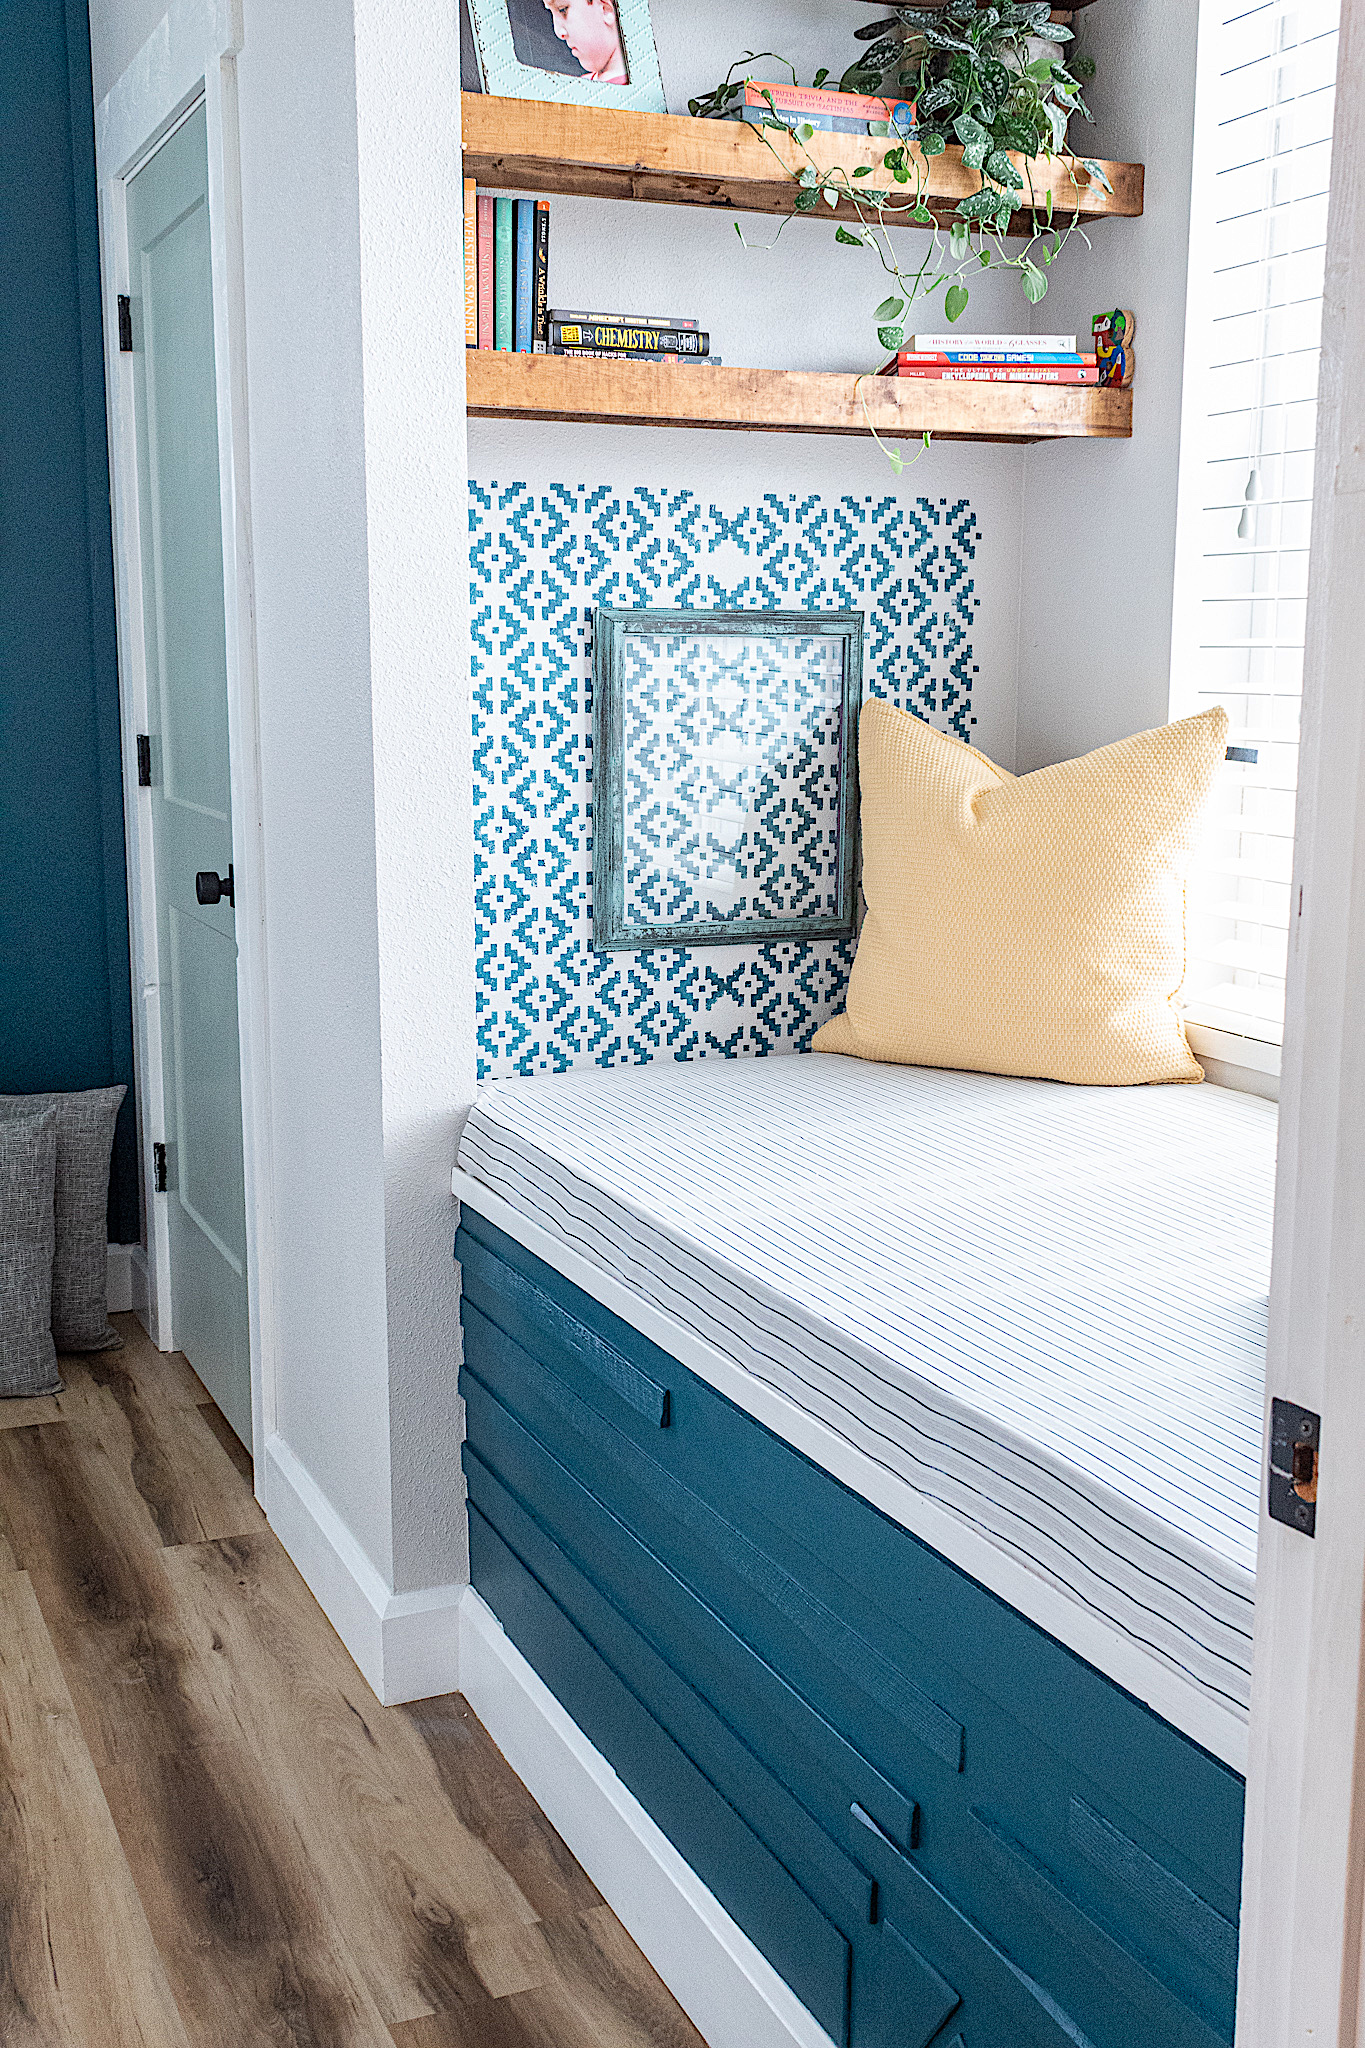
Today we are creating a wall feature sure to catch some compliments! This is a quick and easy way to dress up any space in your home. When renovating my son’s bedroom I realized there was a wall that was missing something. This last-minute DIY was the perfect solution and it came out amaze if I do say so myself!
Stencils are always useful to have around. You never know what space or furniture you can spruce up with a little stenciling. I decided to use a large stencil with an Aztec pattern I had around the house for this project. I love when one small design change can impact the entire space. Take a look at how easy it is to do this.
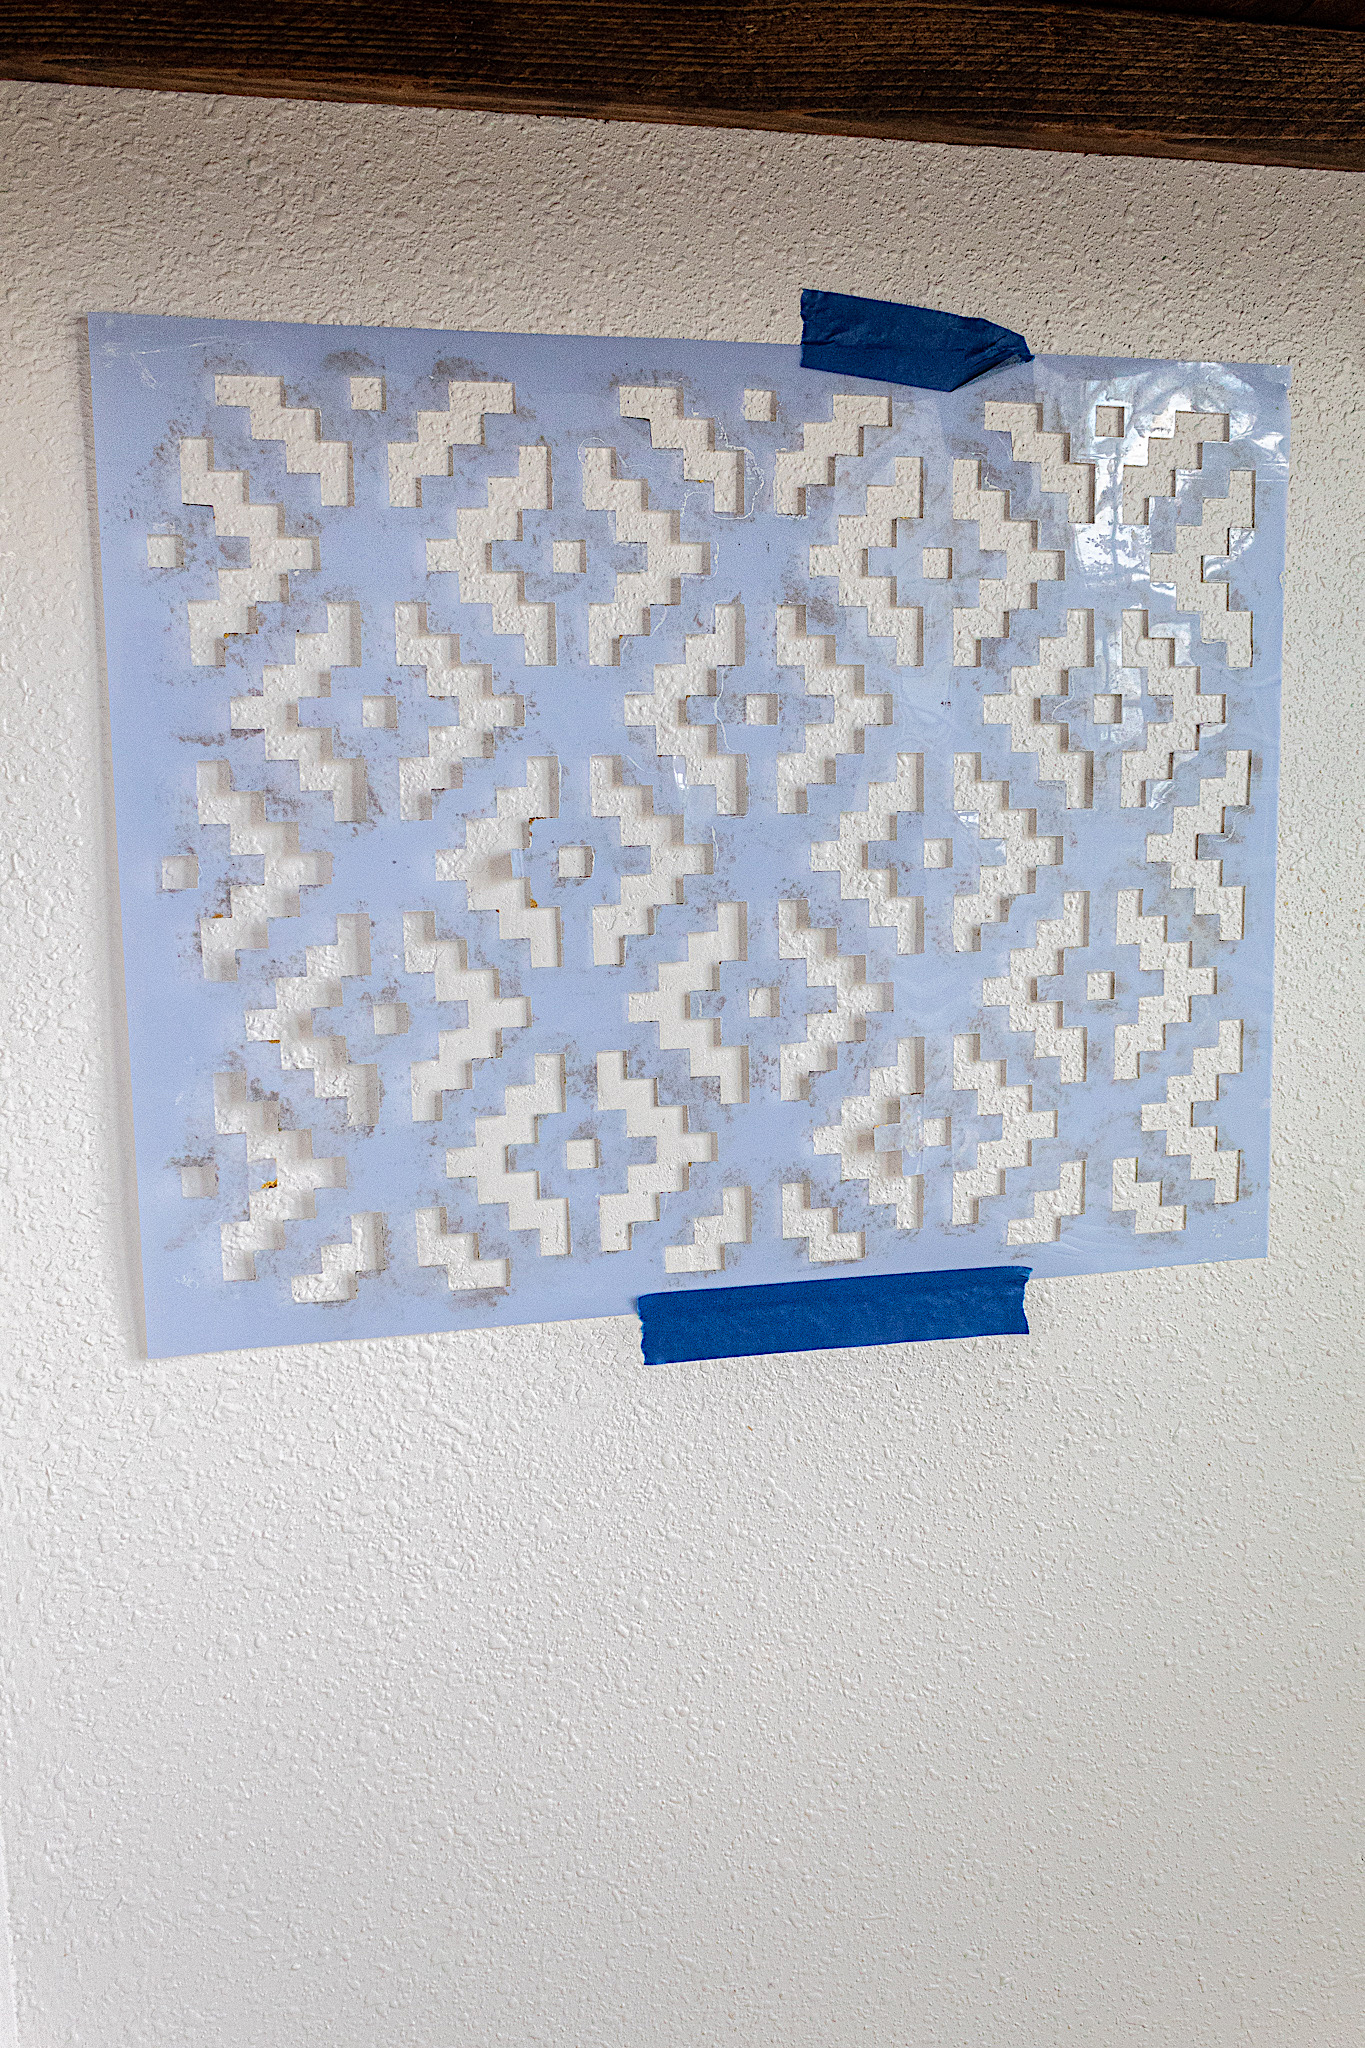
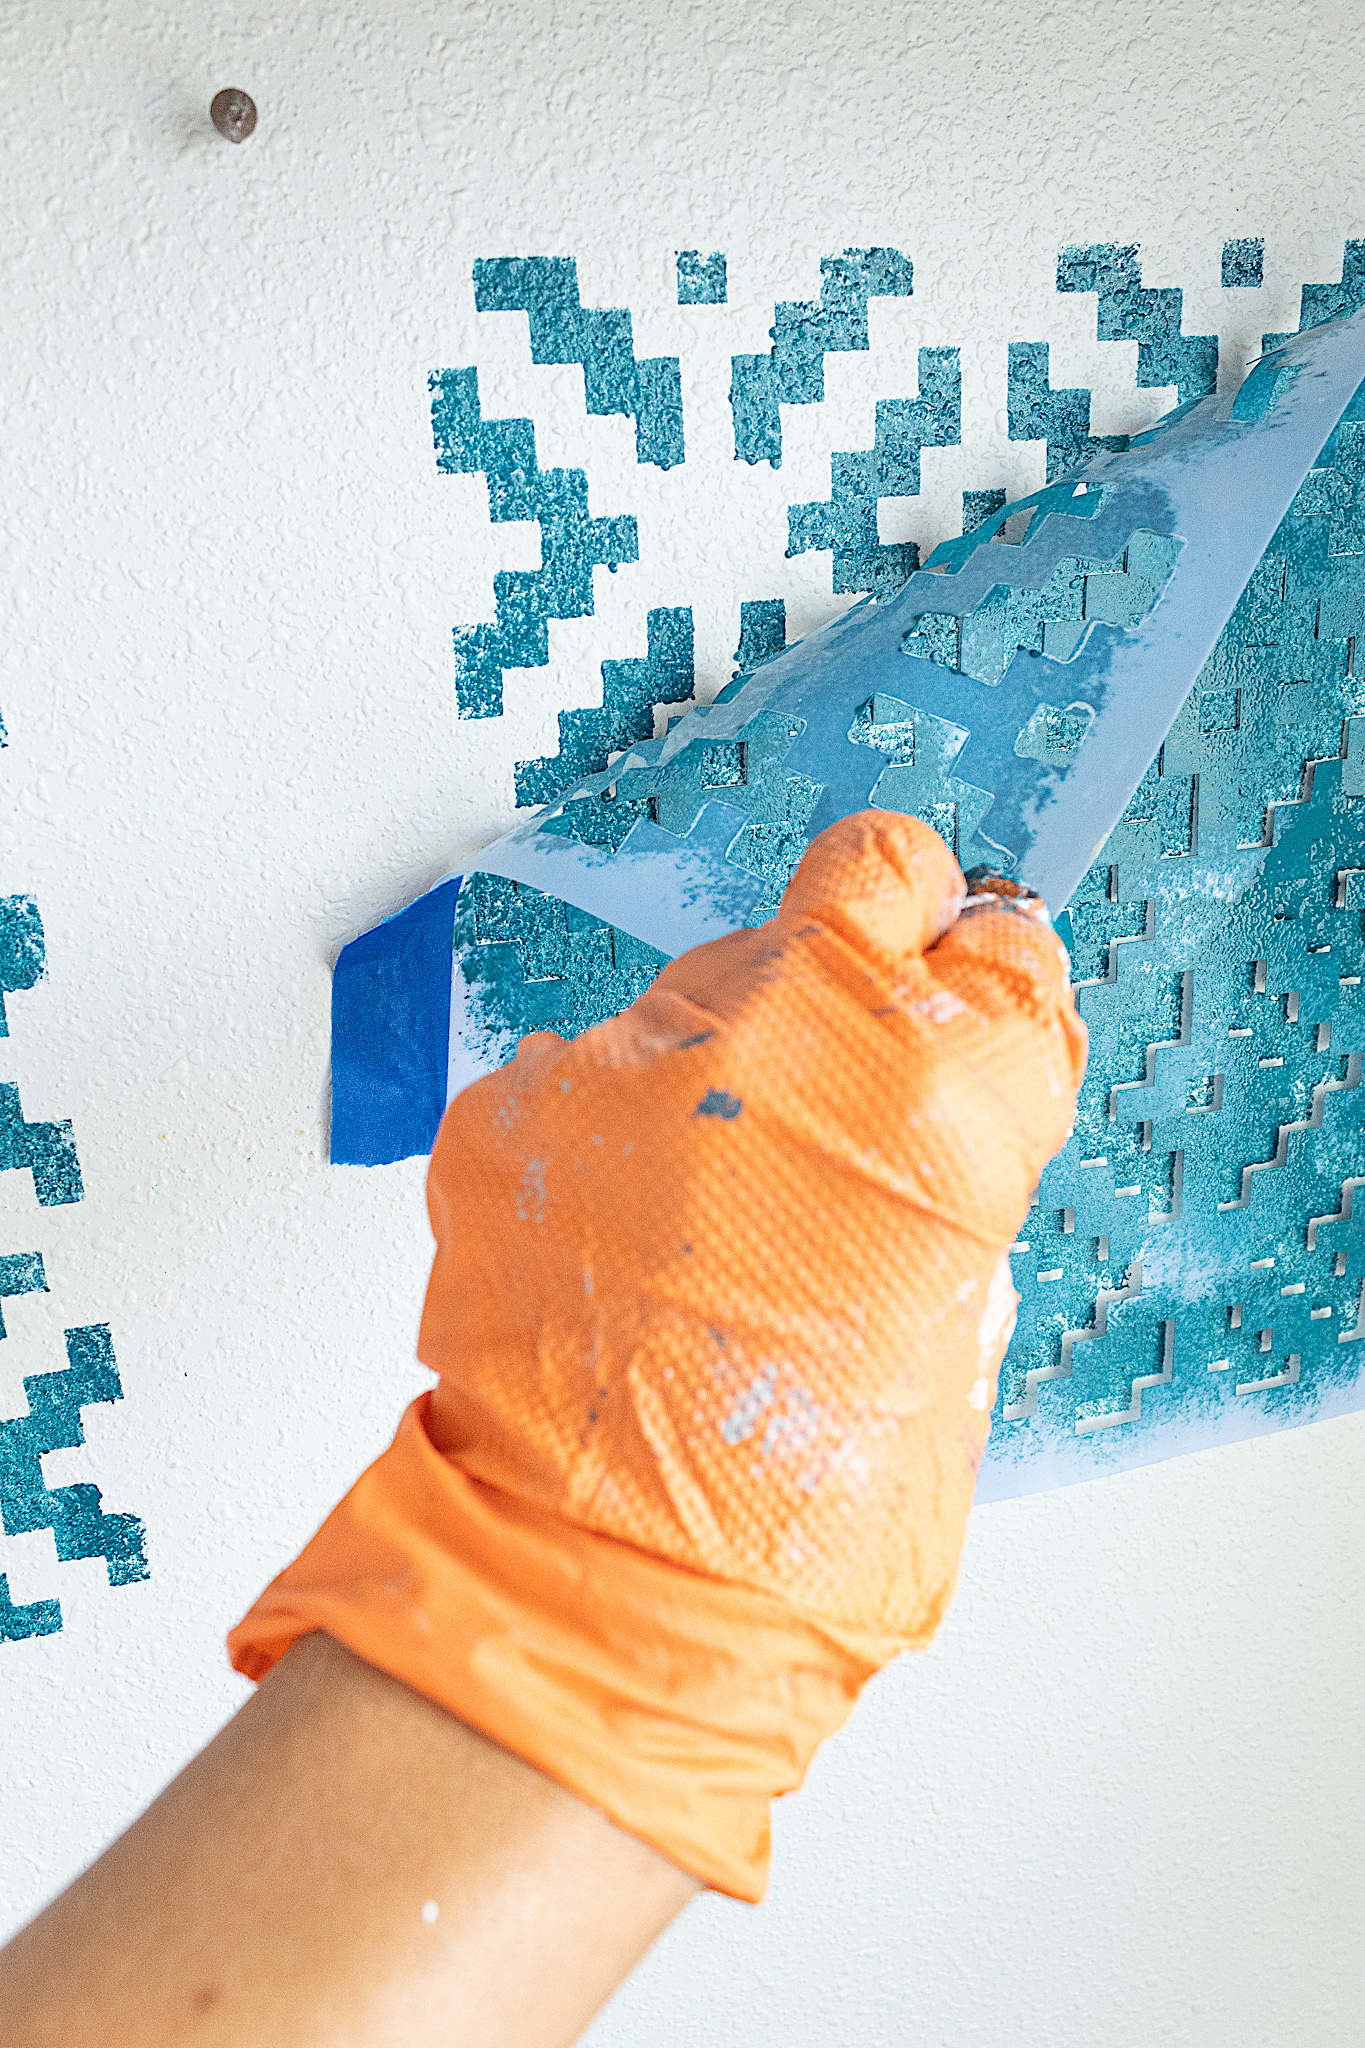
Adding a couple of pieces of painters’ tape to your stencil is a good way to help keep it in place on the wall. I also hold the stencil with my fingers as I paint. Be sure of your position before you start painting.
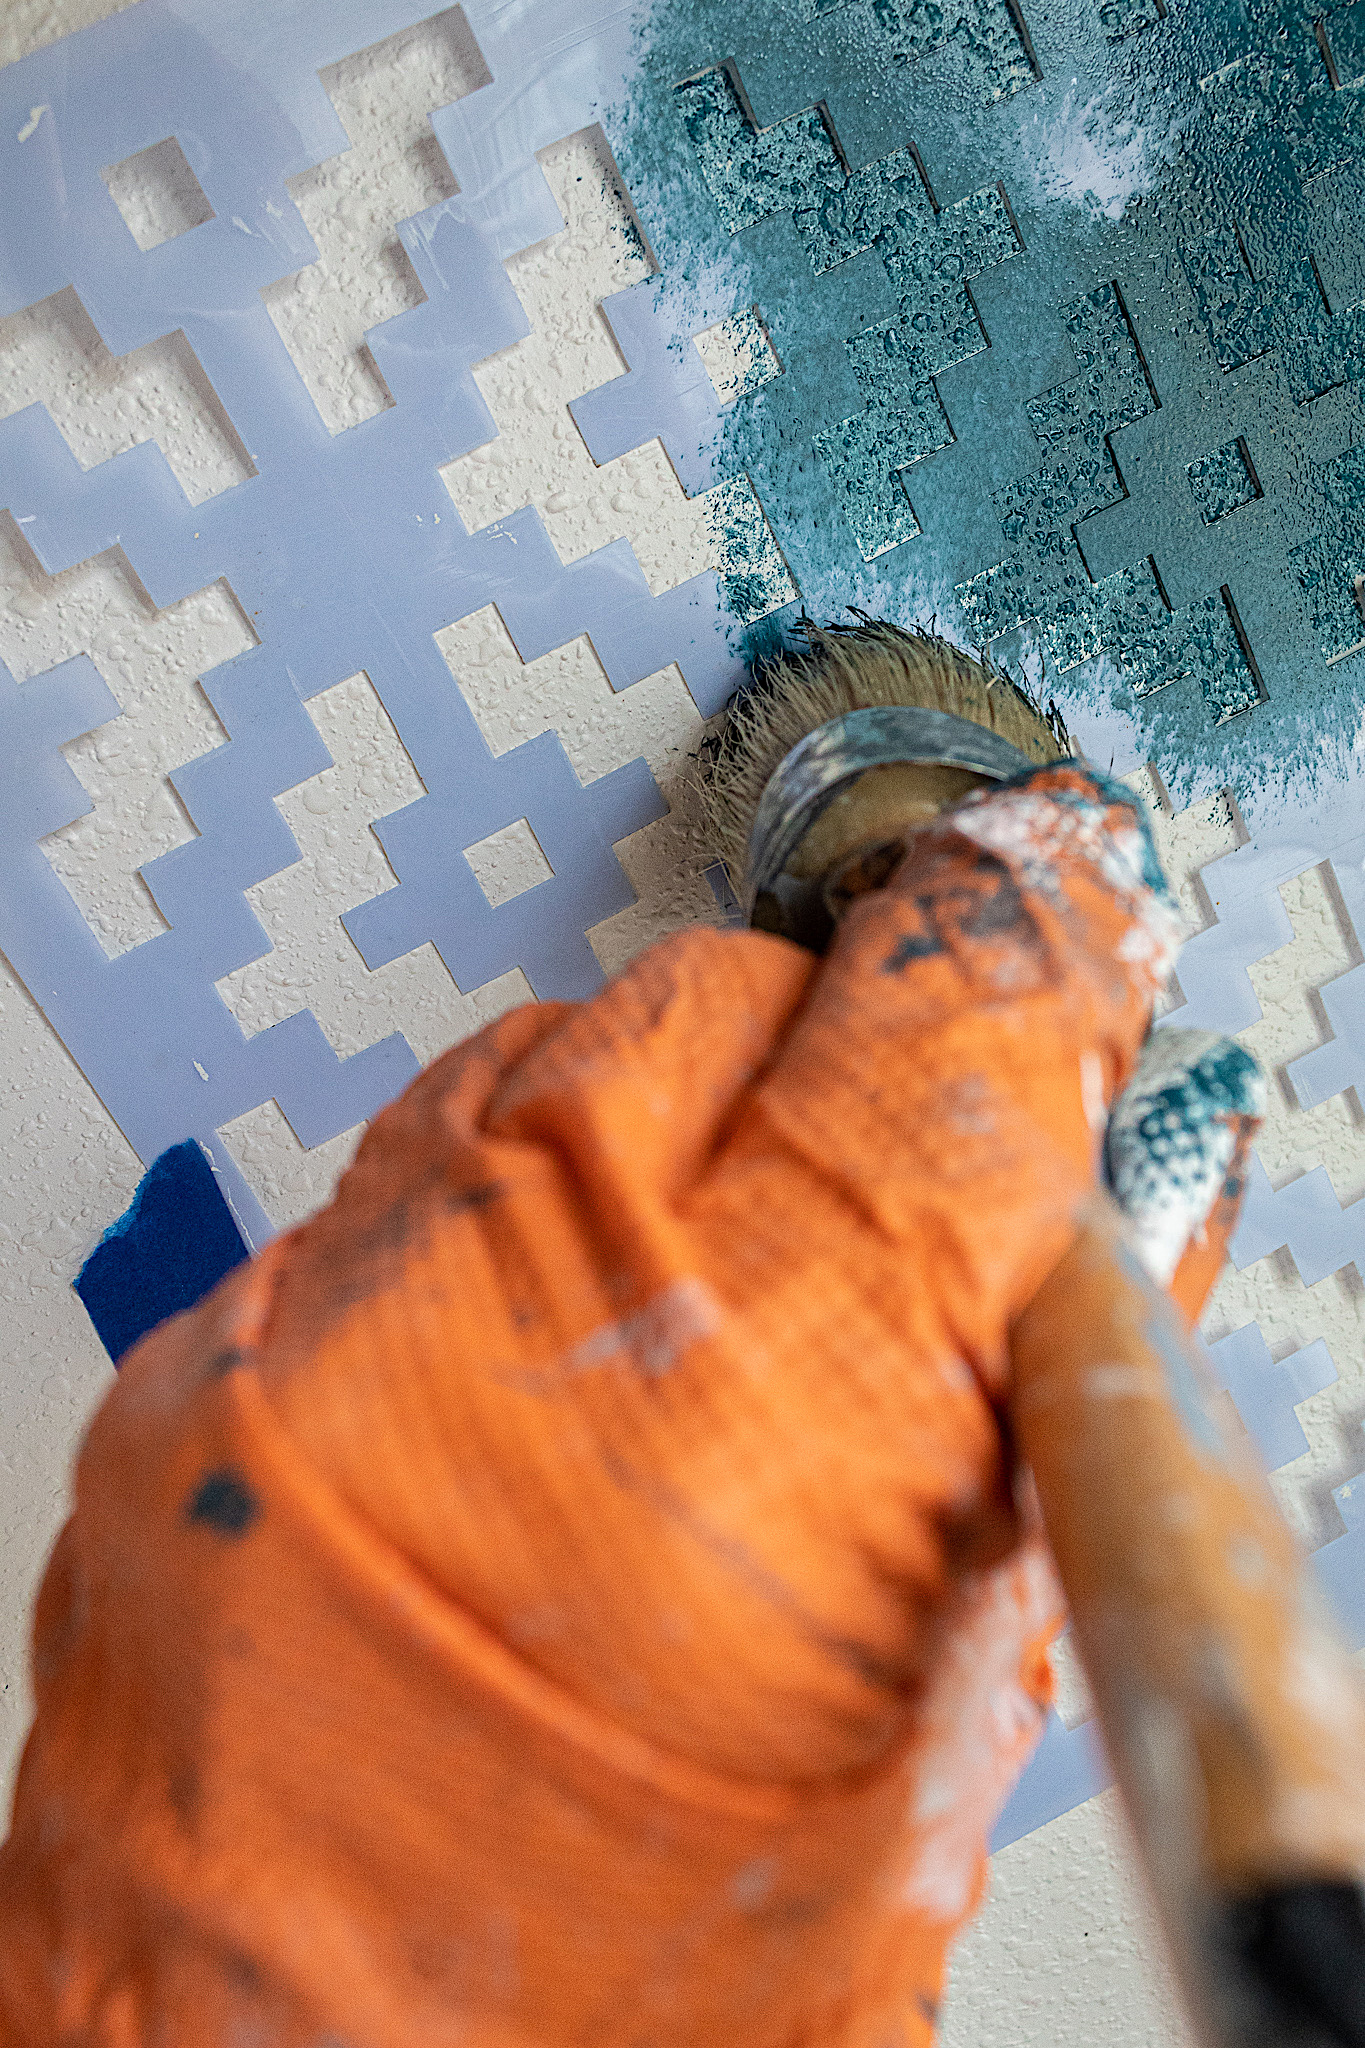
2. Paint your stencil
The trick to clean stencil results is to dab your brush up and down. Don’t paint with brush strokes. And keep paint on your brush light, not heavy. You don’t want gunks of paint seeping under your stencil.
You can use a stencil brush or a dense chalk paint brush. Since this is a large stencil, using my natural bristle chalk paint brush was perfect. I completed this project in less than 30 minutes. A smaller brush would have taken much longer.
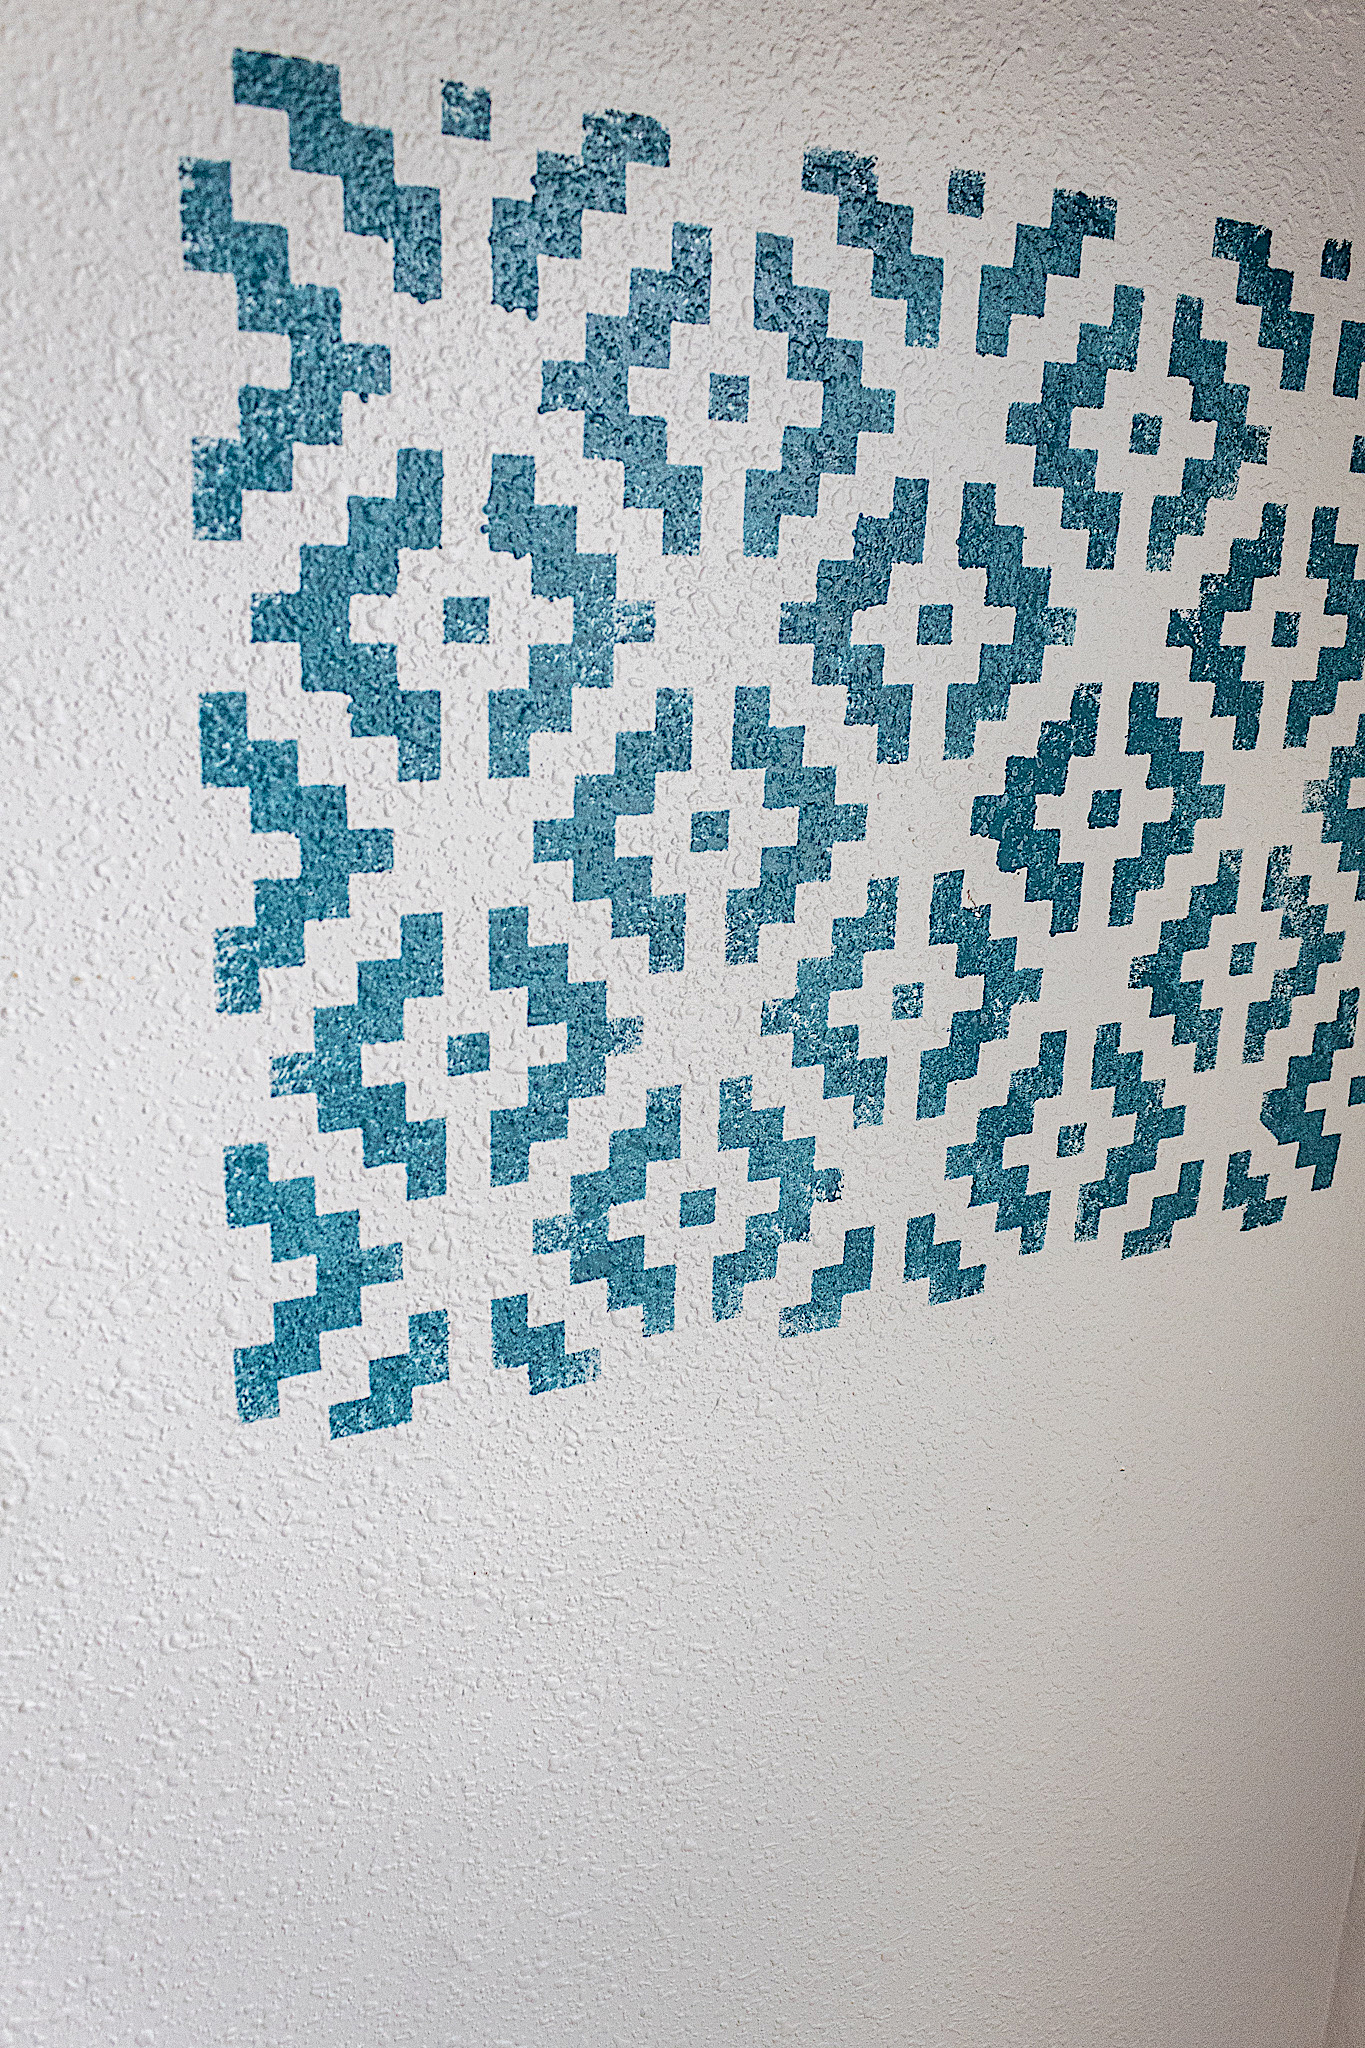
Step 3. Pull off your stencil
When you have painted the entire stencil, slowly pull off your stencil to reveal your artwork. Don’t worry if you have paint in some unwanted parts. I used a small artist brush to touch up a couple spots using the paint color of the existing wall.
Disclosure: Some of the links provided are affiliate links. By purchasing through these links you are supporting this family blog and the work we do and there is no extra cost to you. If you would like to read our full disclosure, click HERE.
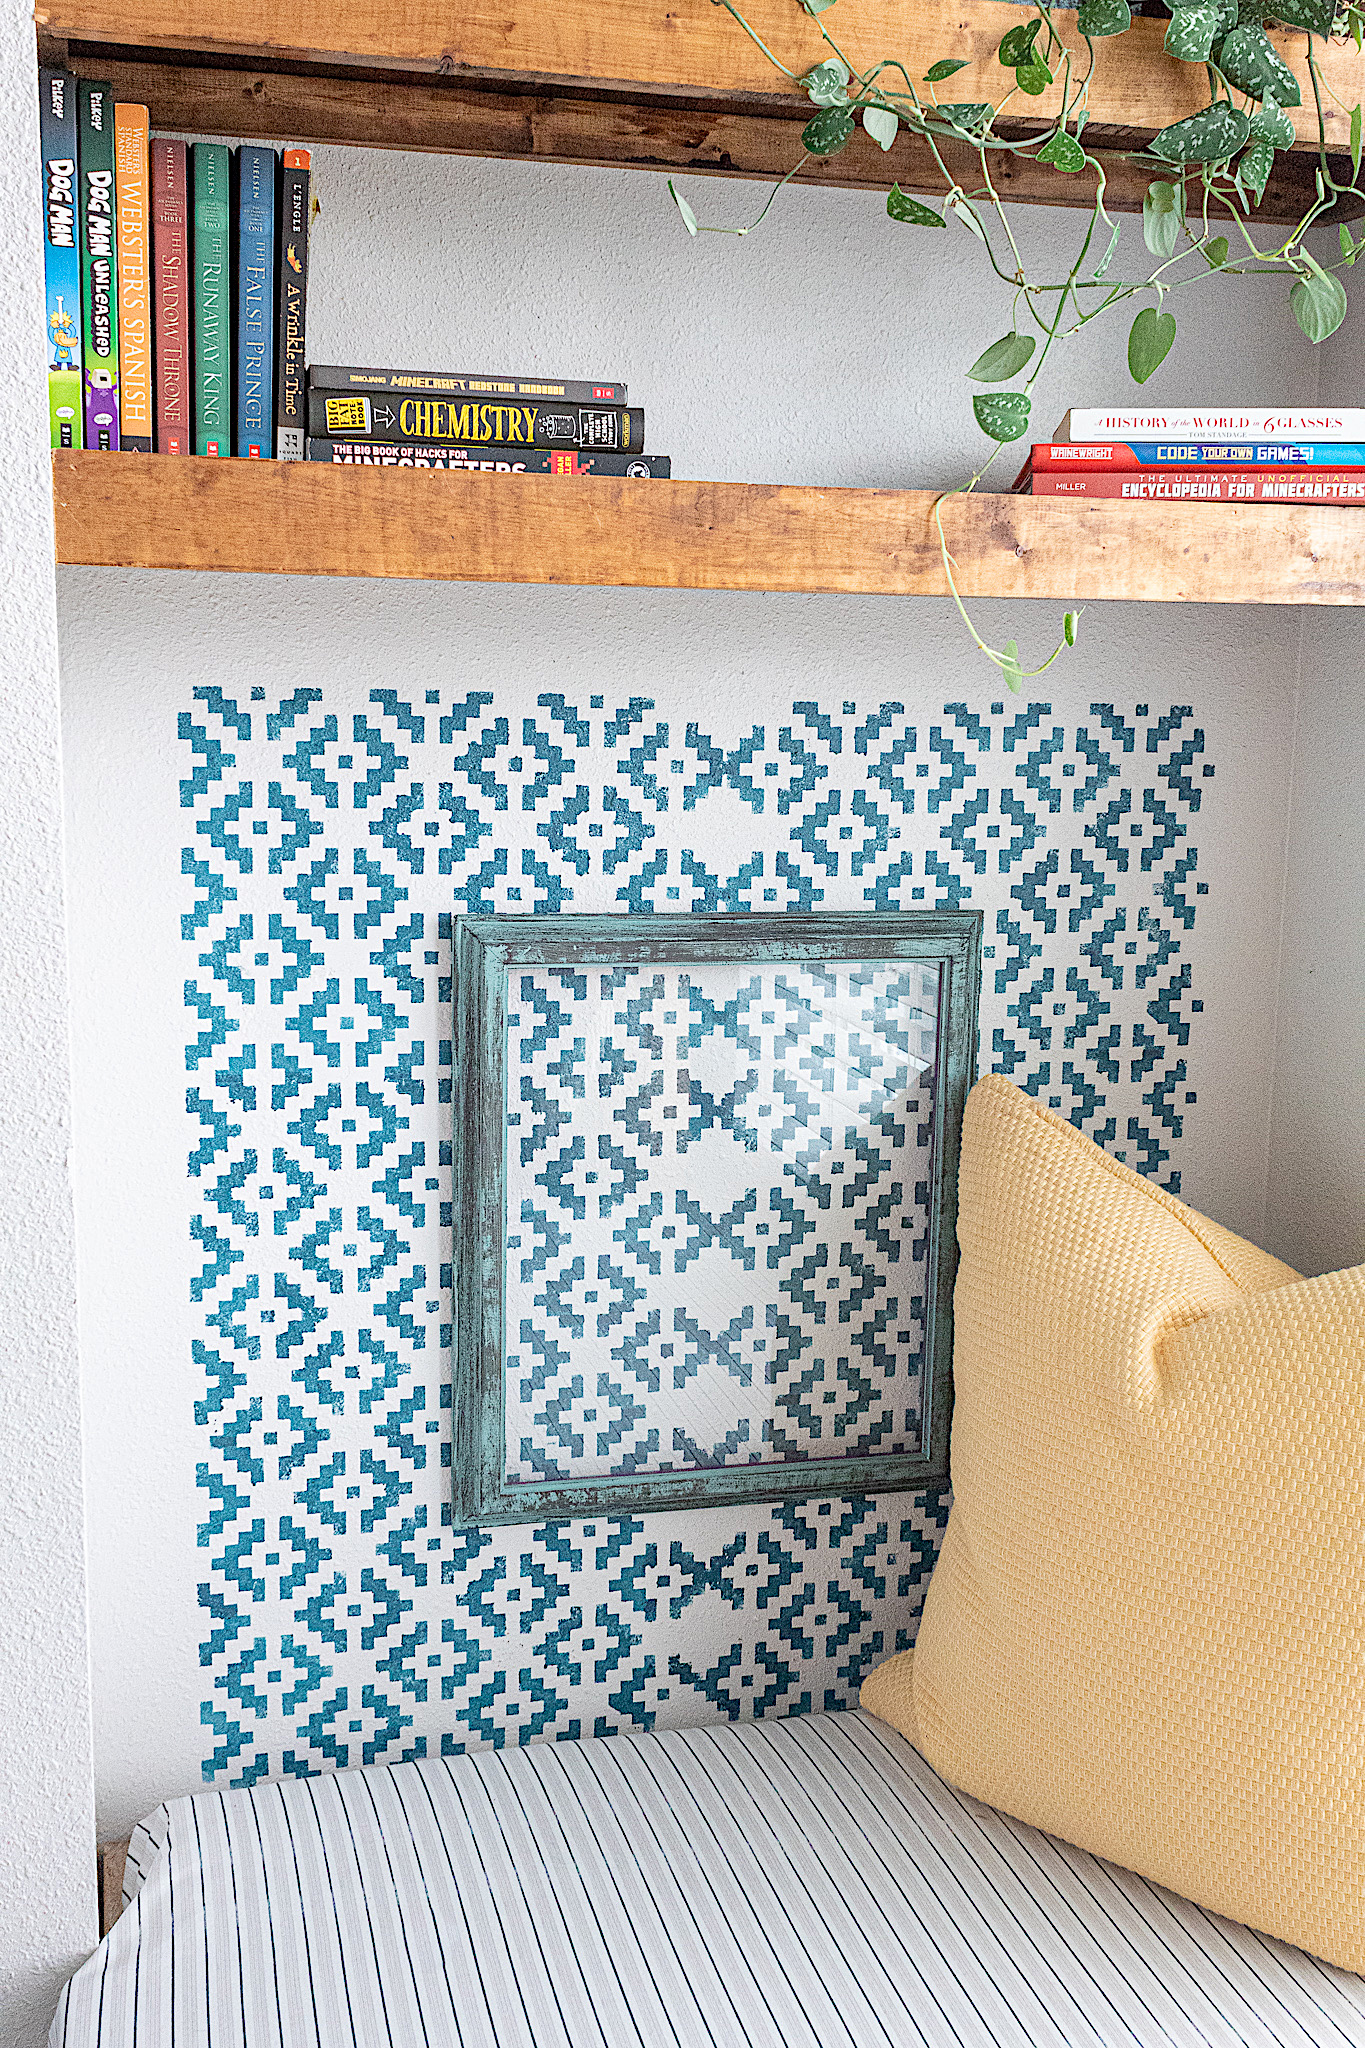
You can keep stenciling until you fill up the wall space you would like to accentuate. I painted this stencil 6 times.
Watch A Quick Video of Me Stenciling
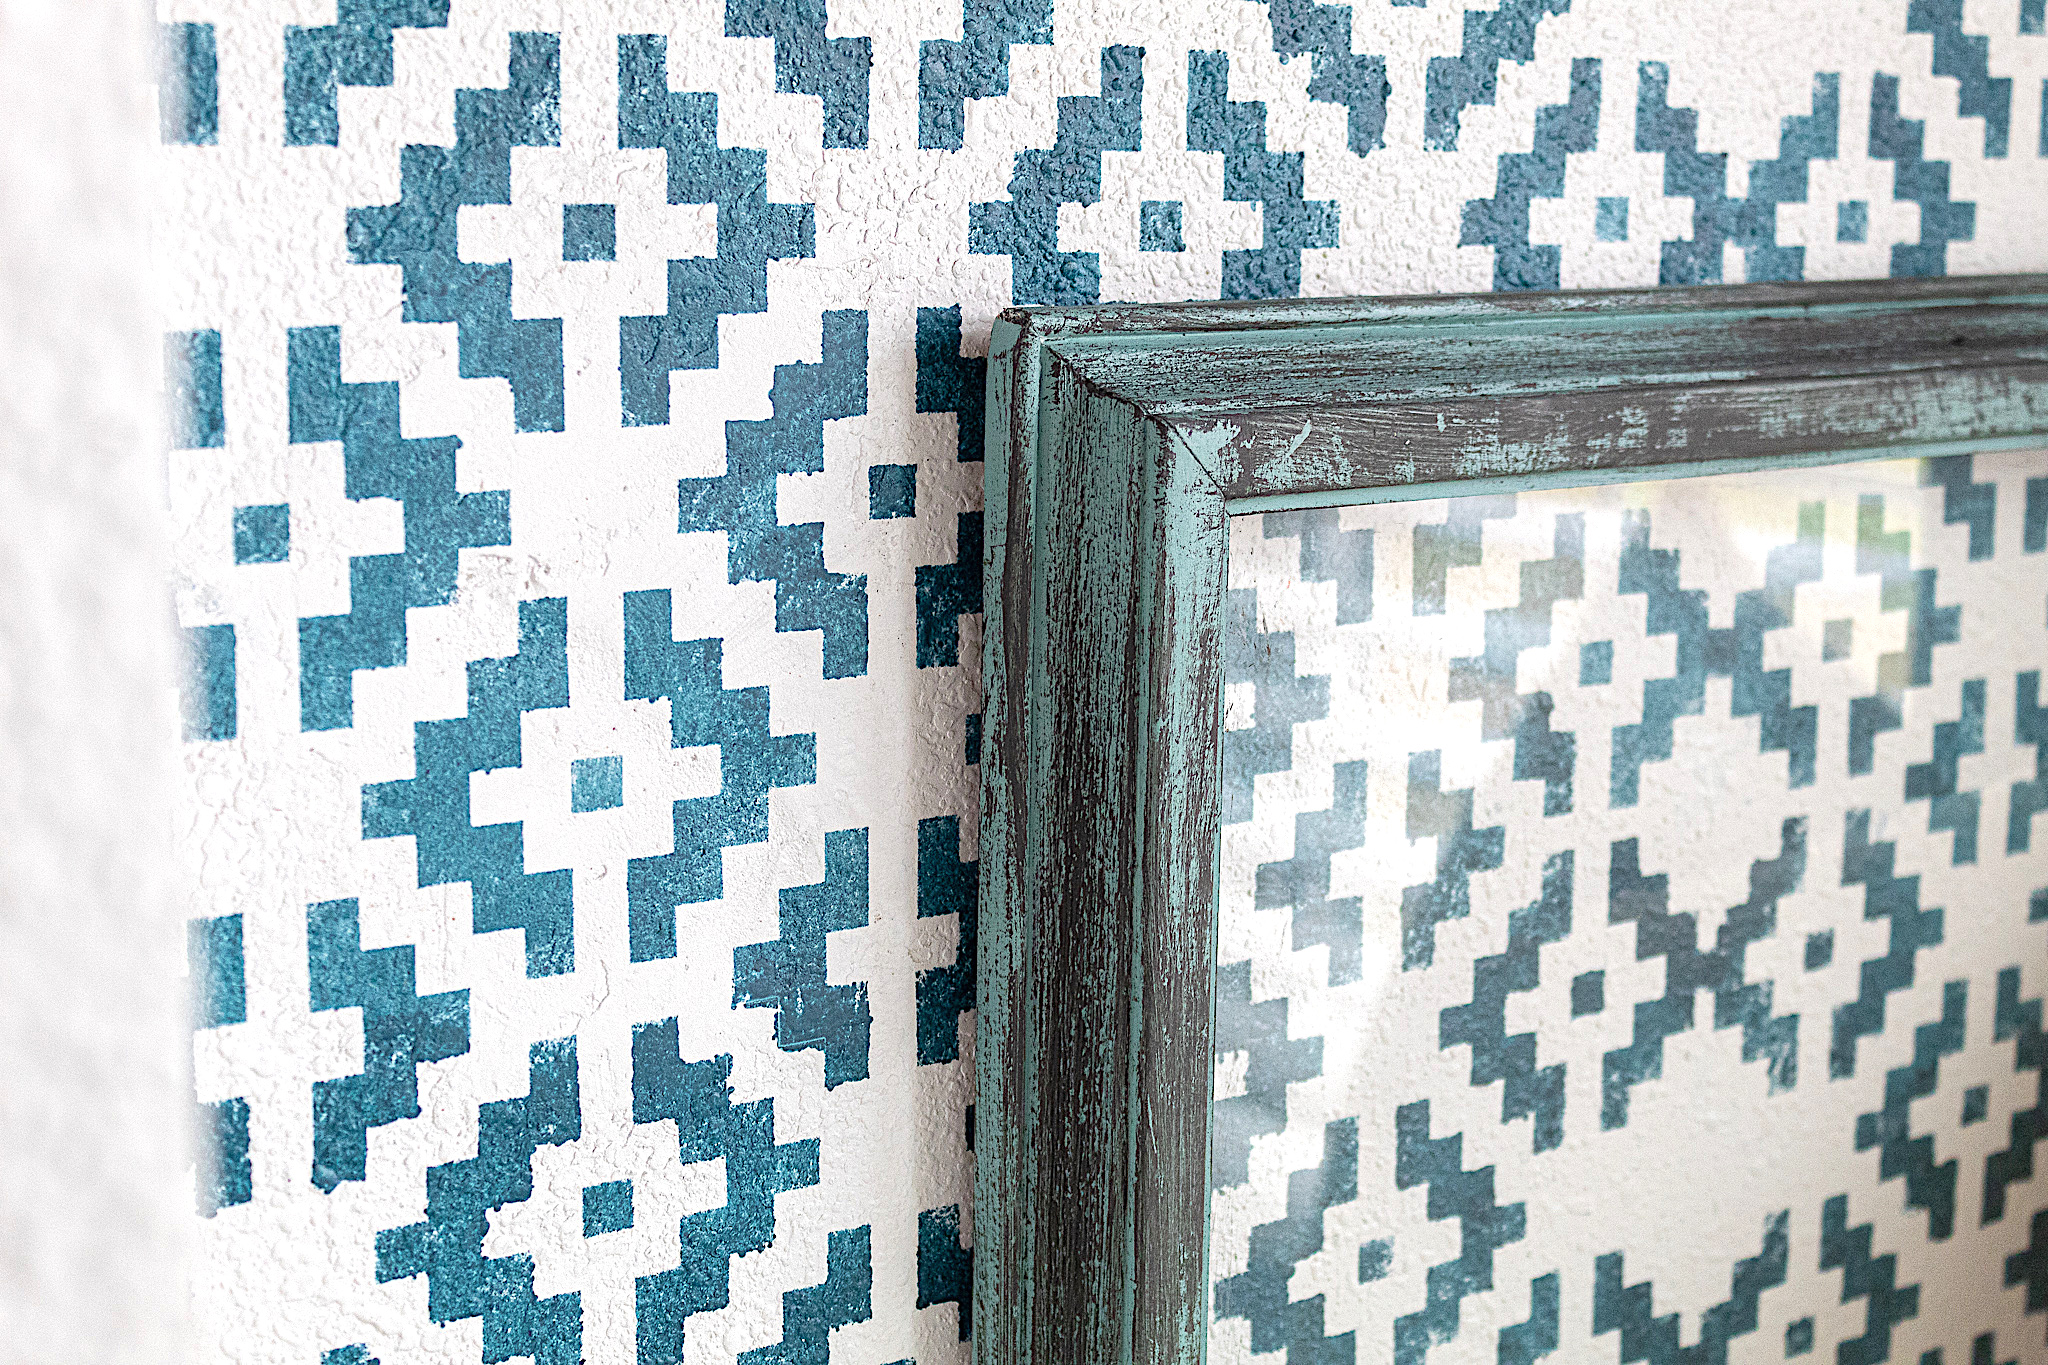
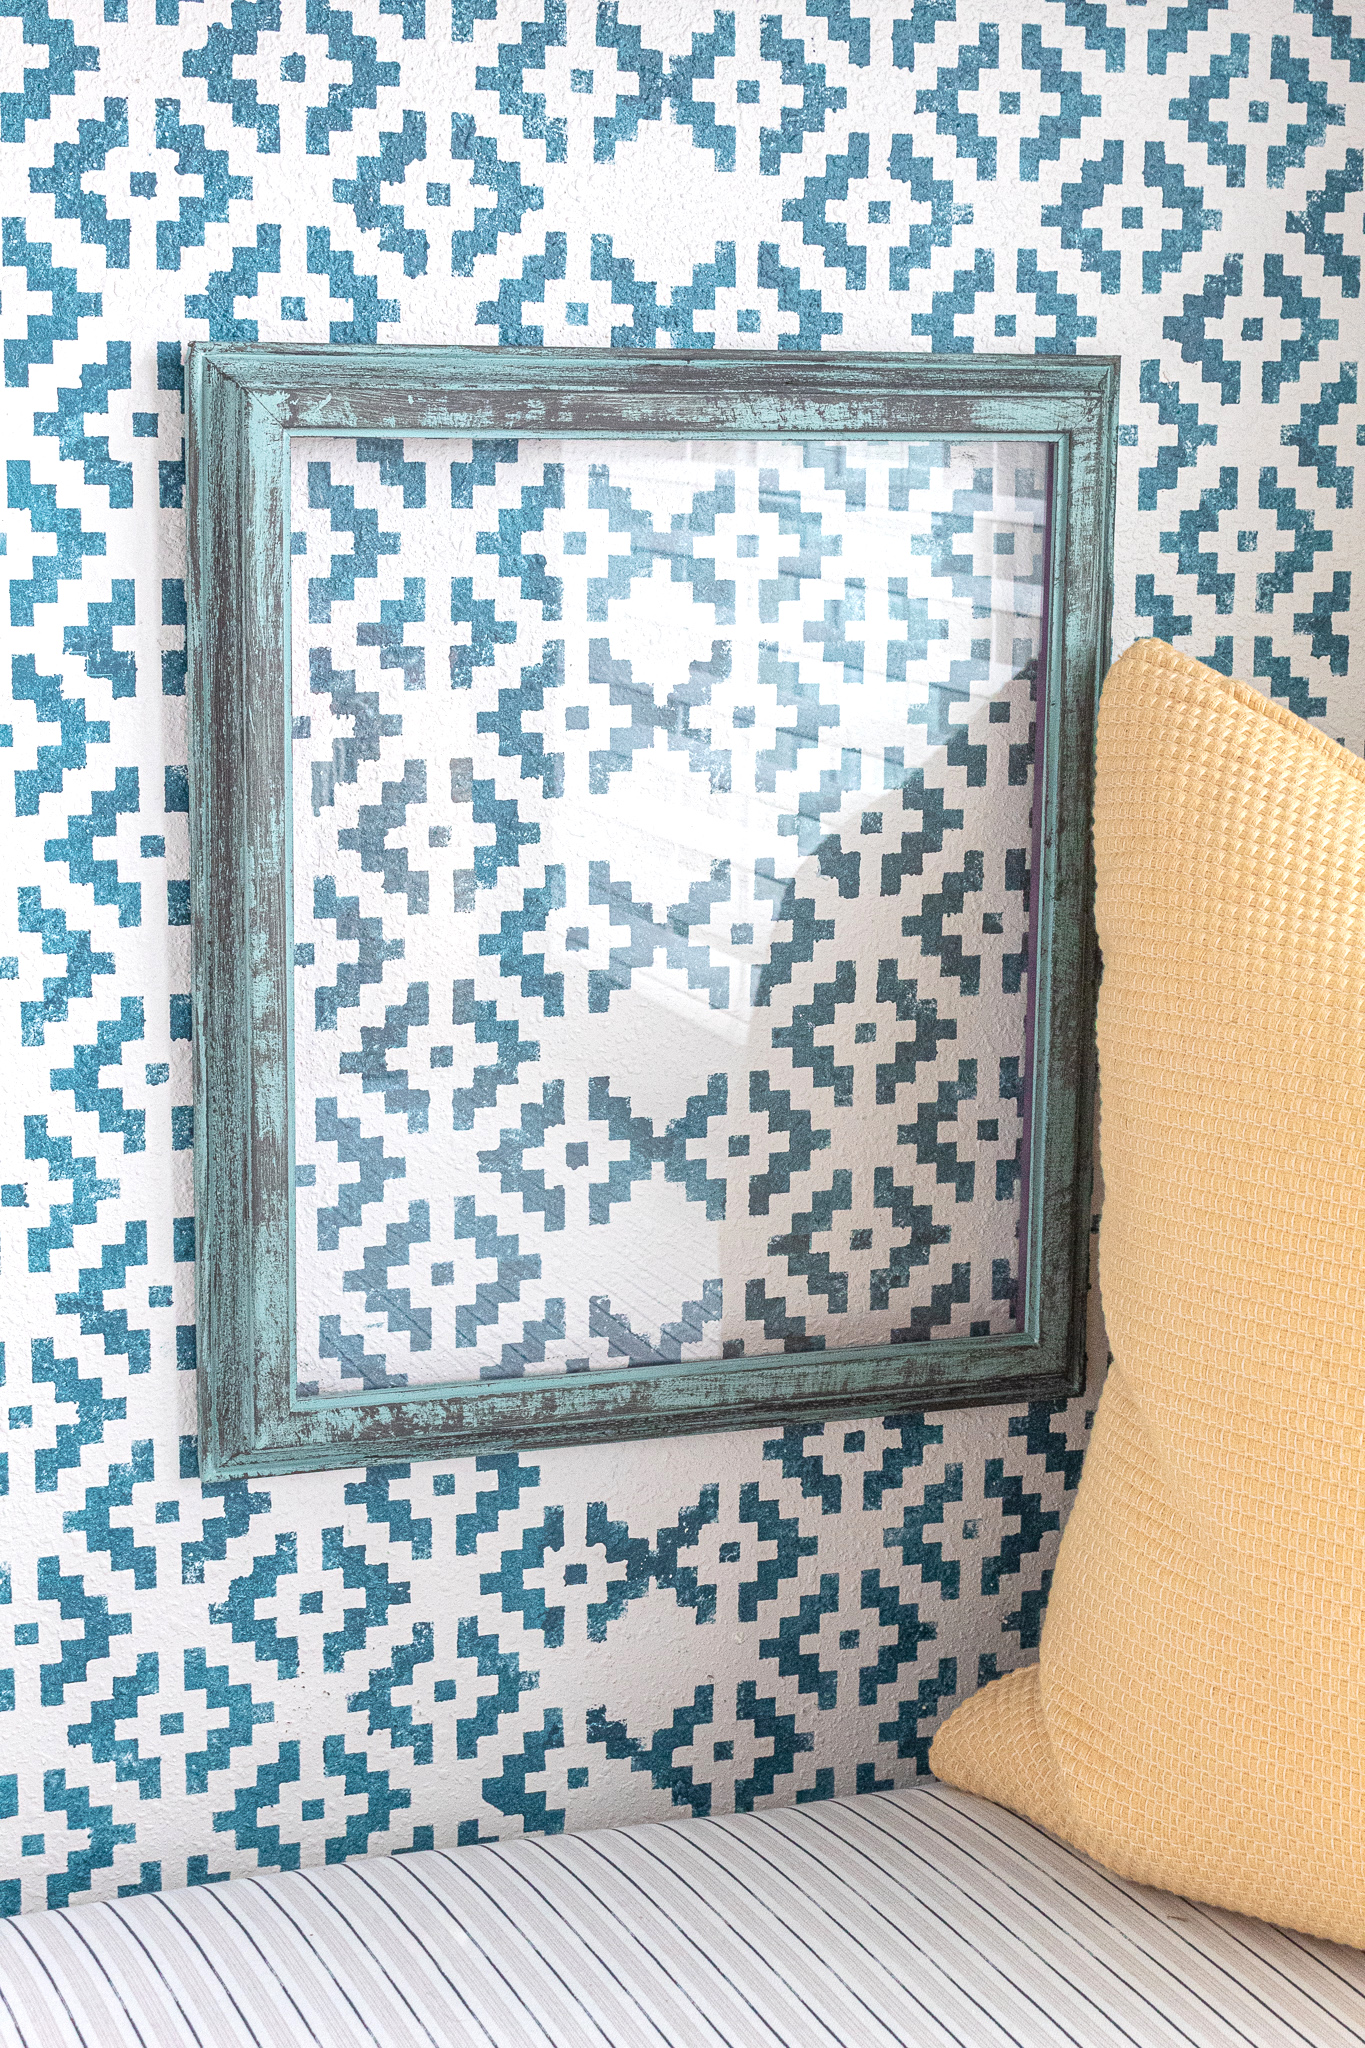
And that’s it for this easy makeover. Do you like it? I have to say this is now one my favorite features in the room. I hung a picture-less thrift store frame I repainted to create a fun focal point.