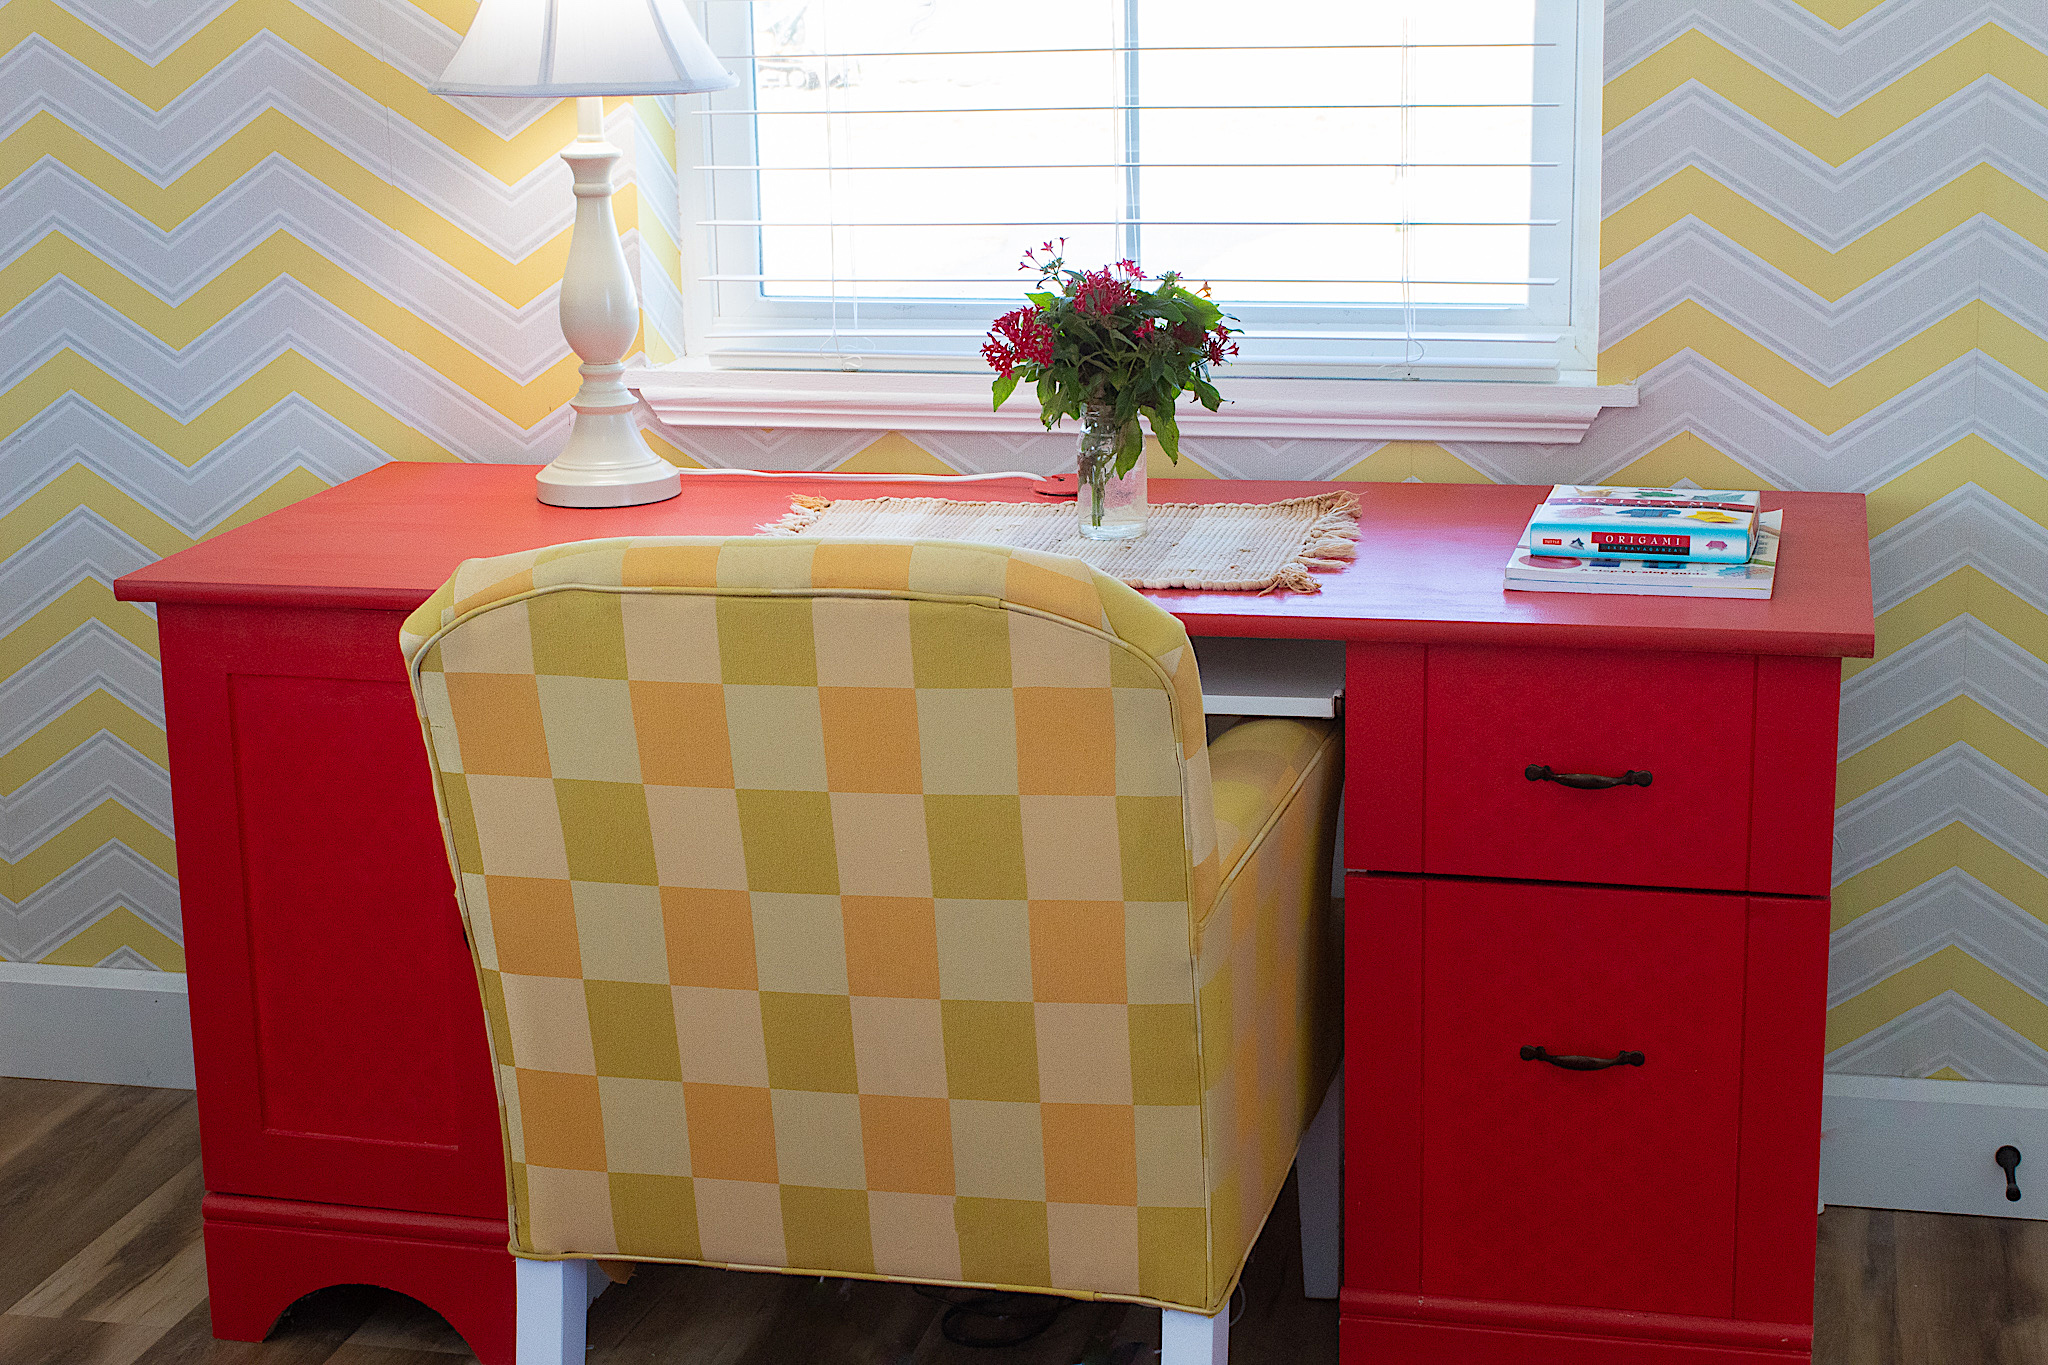
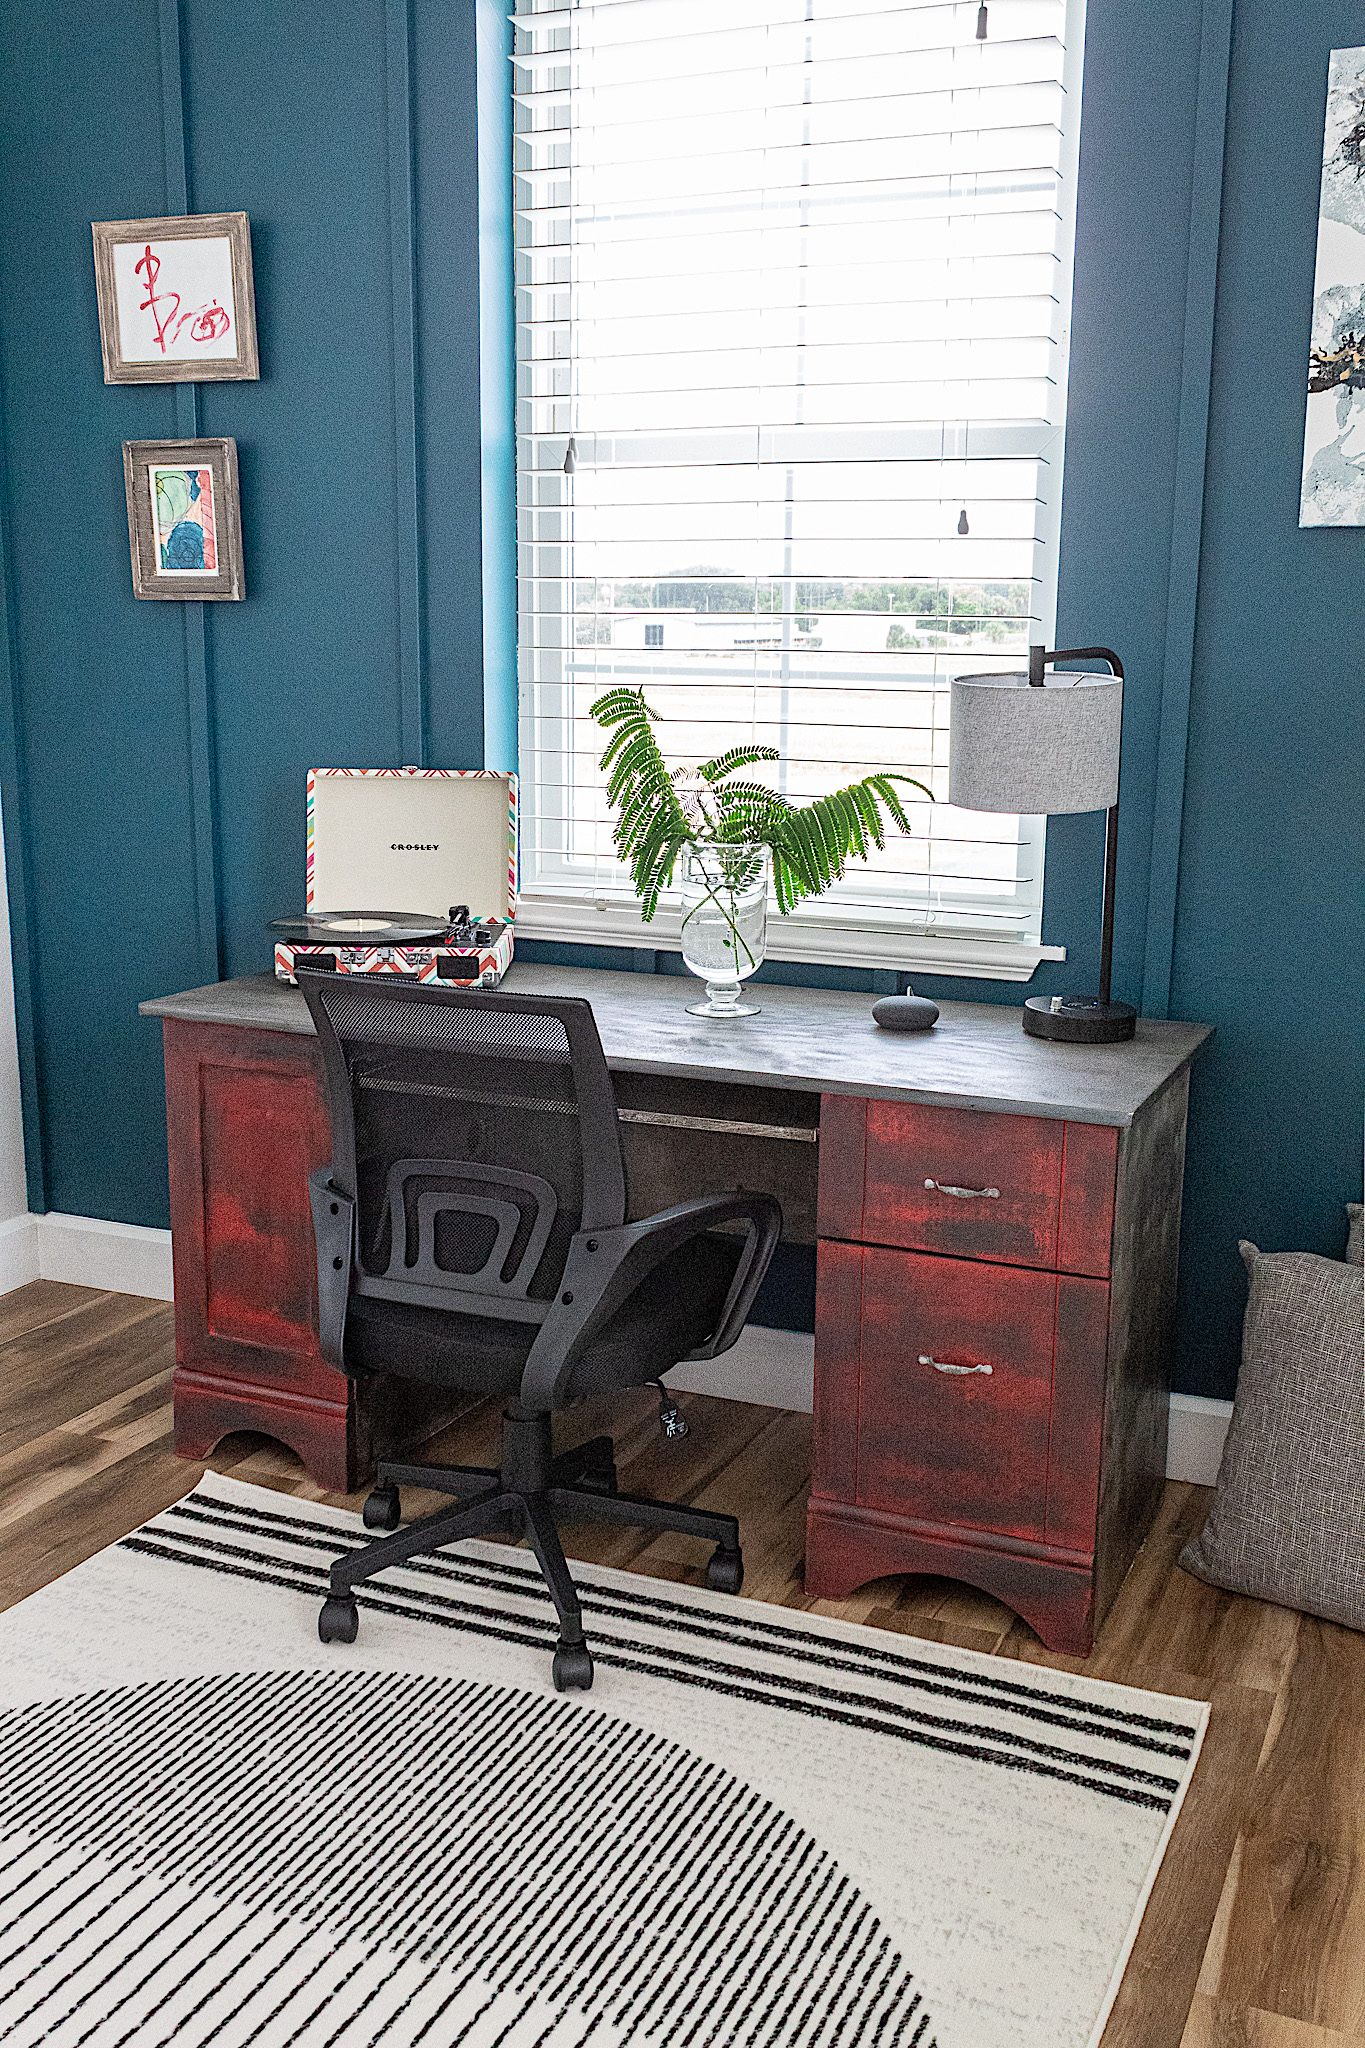
If you are looking to update an already painted furniture piece with little effort and with amazing results, you have to check out this tutorial! As part of my son’s bedroom renovation, his desk got a quick redo and it’s hard to believe just how cool it came out.
I do have to say that this desk already had a few layers of paint from previous times I had renovated it and the drawer fronts had been stenciled during my first redo. So the subtle stencil marks buried under paint layers gave me a texture advantage for the new look. But don’t worry if you don’t have old stenciling on your finish, you can still create a fabulous finish with this technique.
This desk was originally mine. Then I passed it on to my son when he was little and painted the front of the desk red, his favorite color, and left the sides white.
Our son is now a teenager and we are updating his room to reflect a more modern, grown up look. The desk’s new finish will be in tune with this more sophisticated feel.
Because this desk was part of an entire bedroom renovation, I knew I could not spare multiple days of detailed work as I usually do with my furniture renovations. This had to be done in one day, max two. And I’m happy to report that I painted, sanded and stained the top and sealed the entire piece in 1.5 days. Let me show you how easy it is to do…
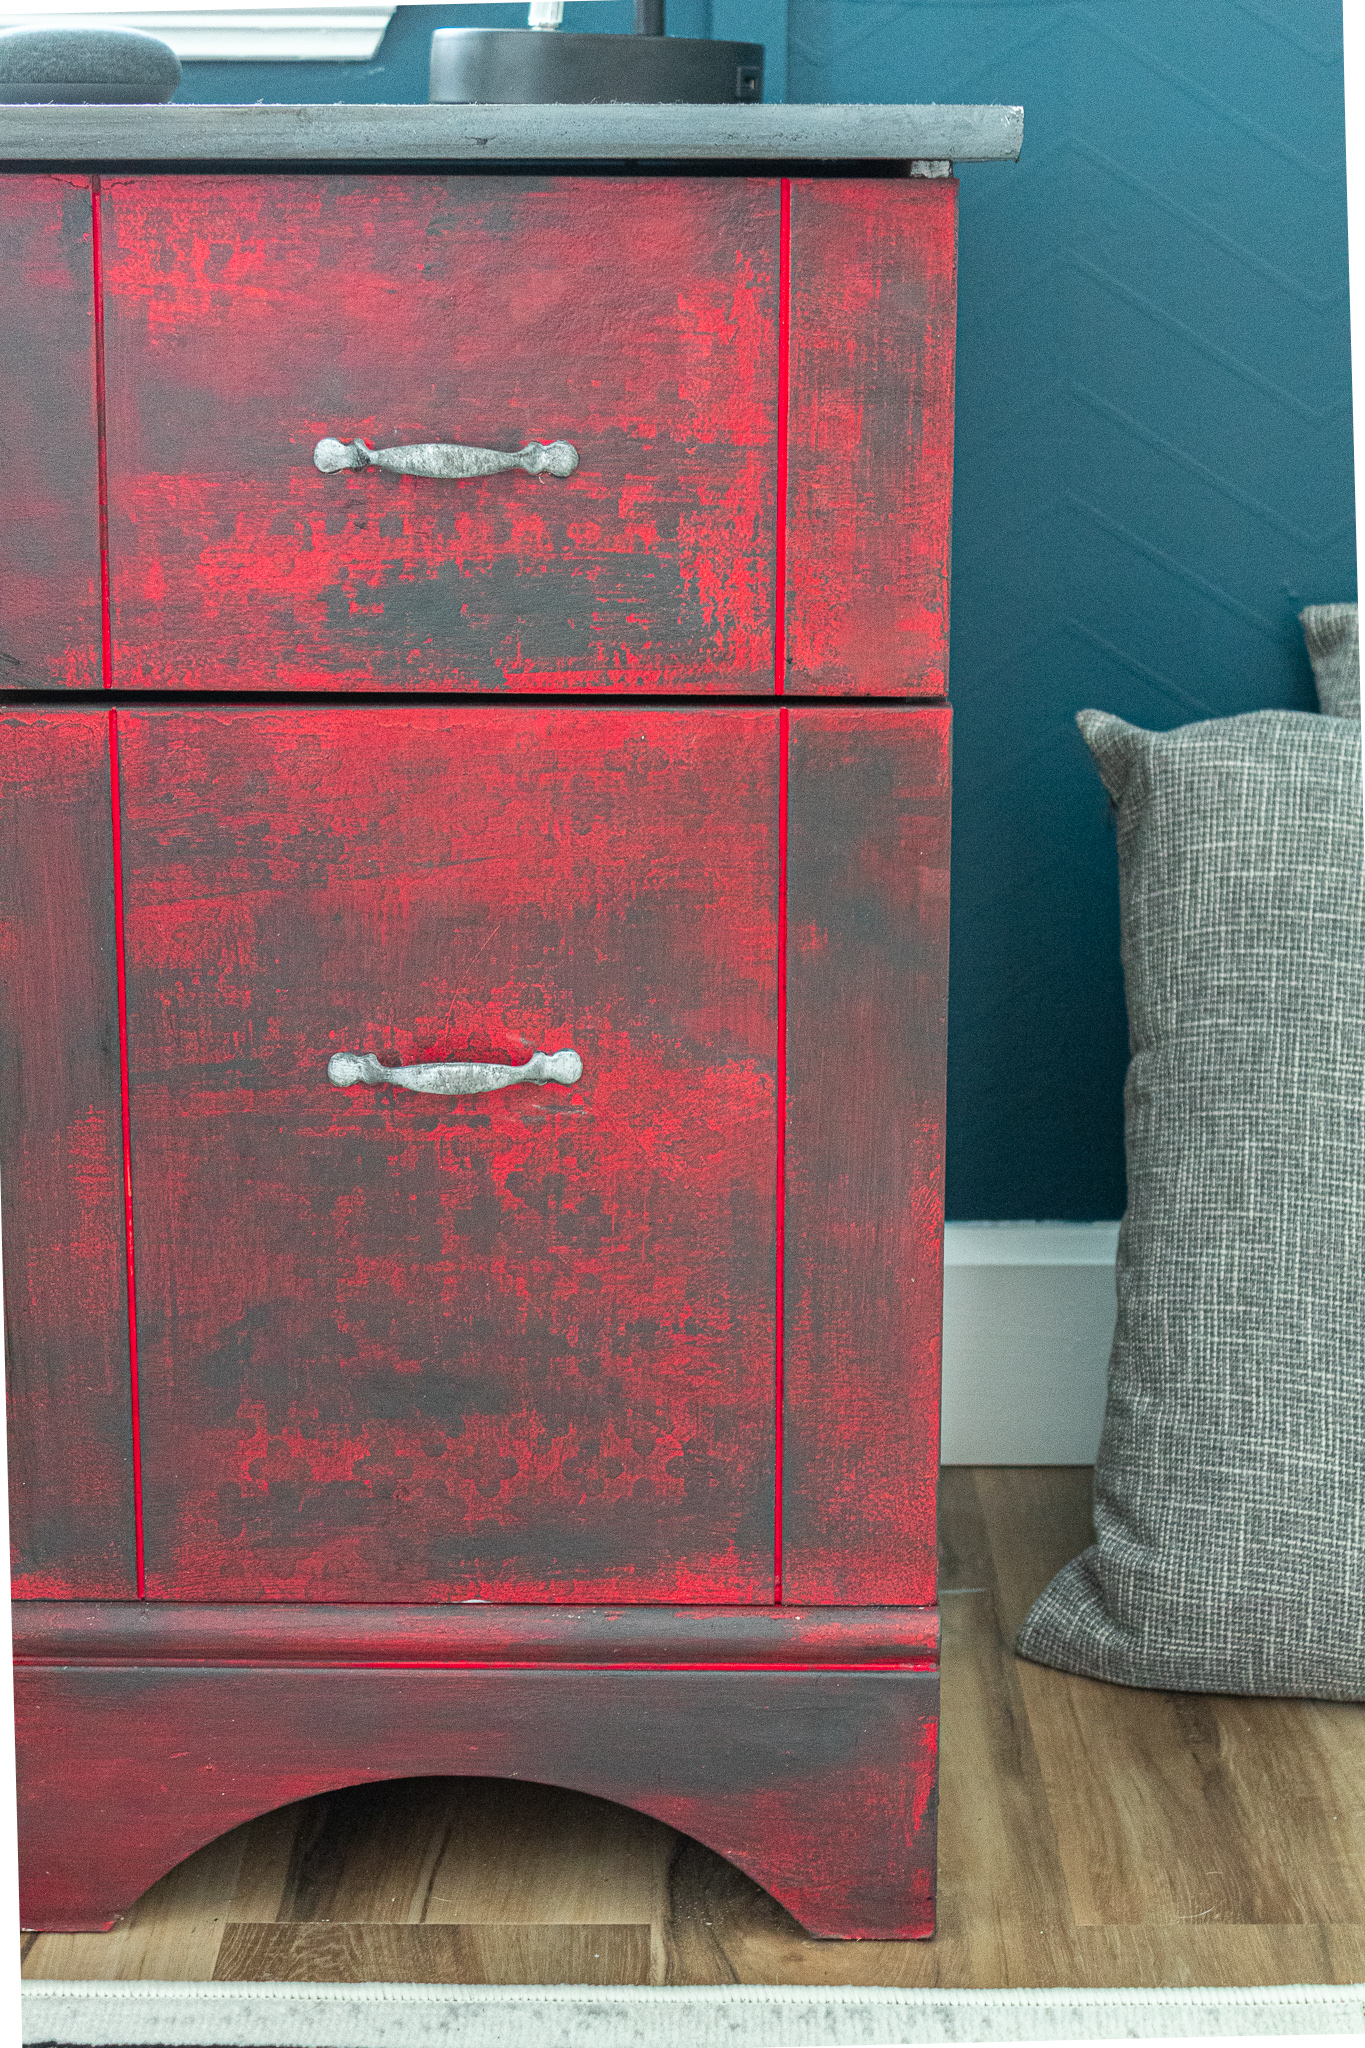
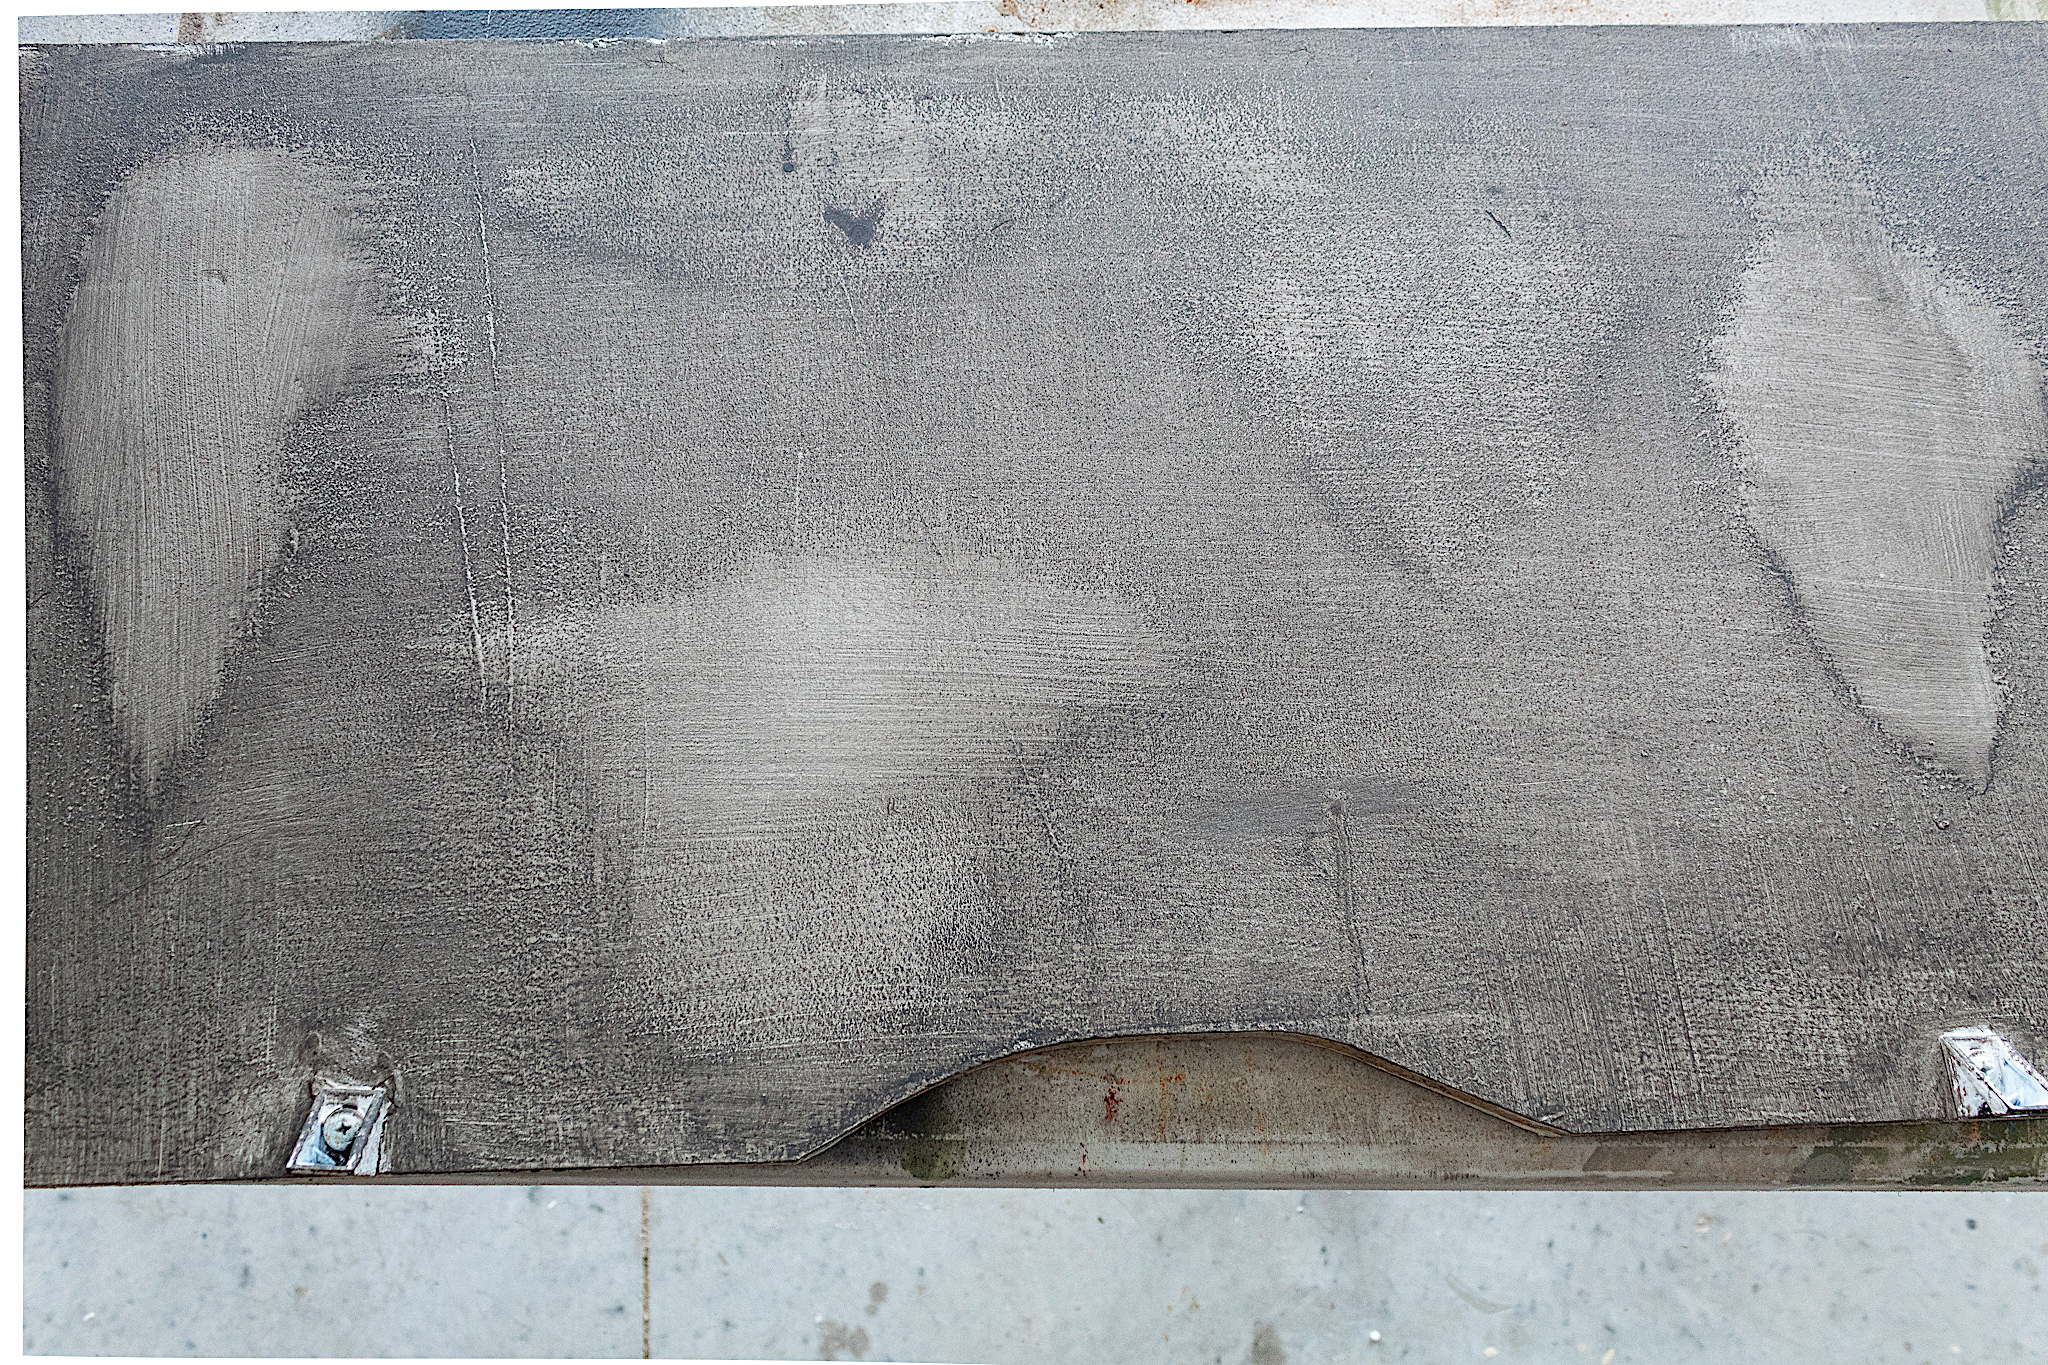
The next picture is of a shelf in my son’s room that matched the desk. I will use it to demonstrate the before and after of the paint technique I used.
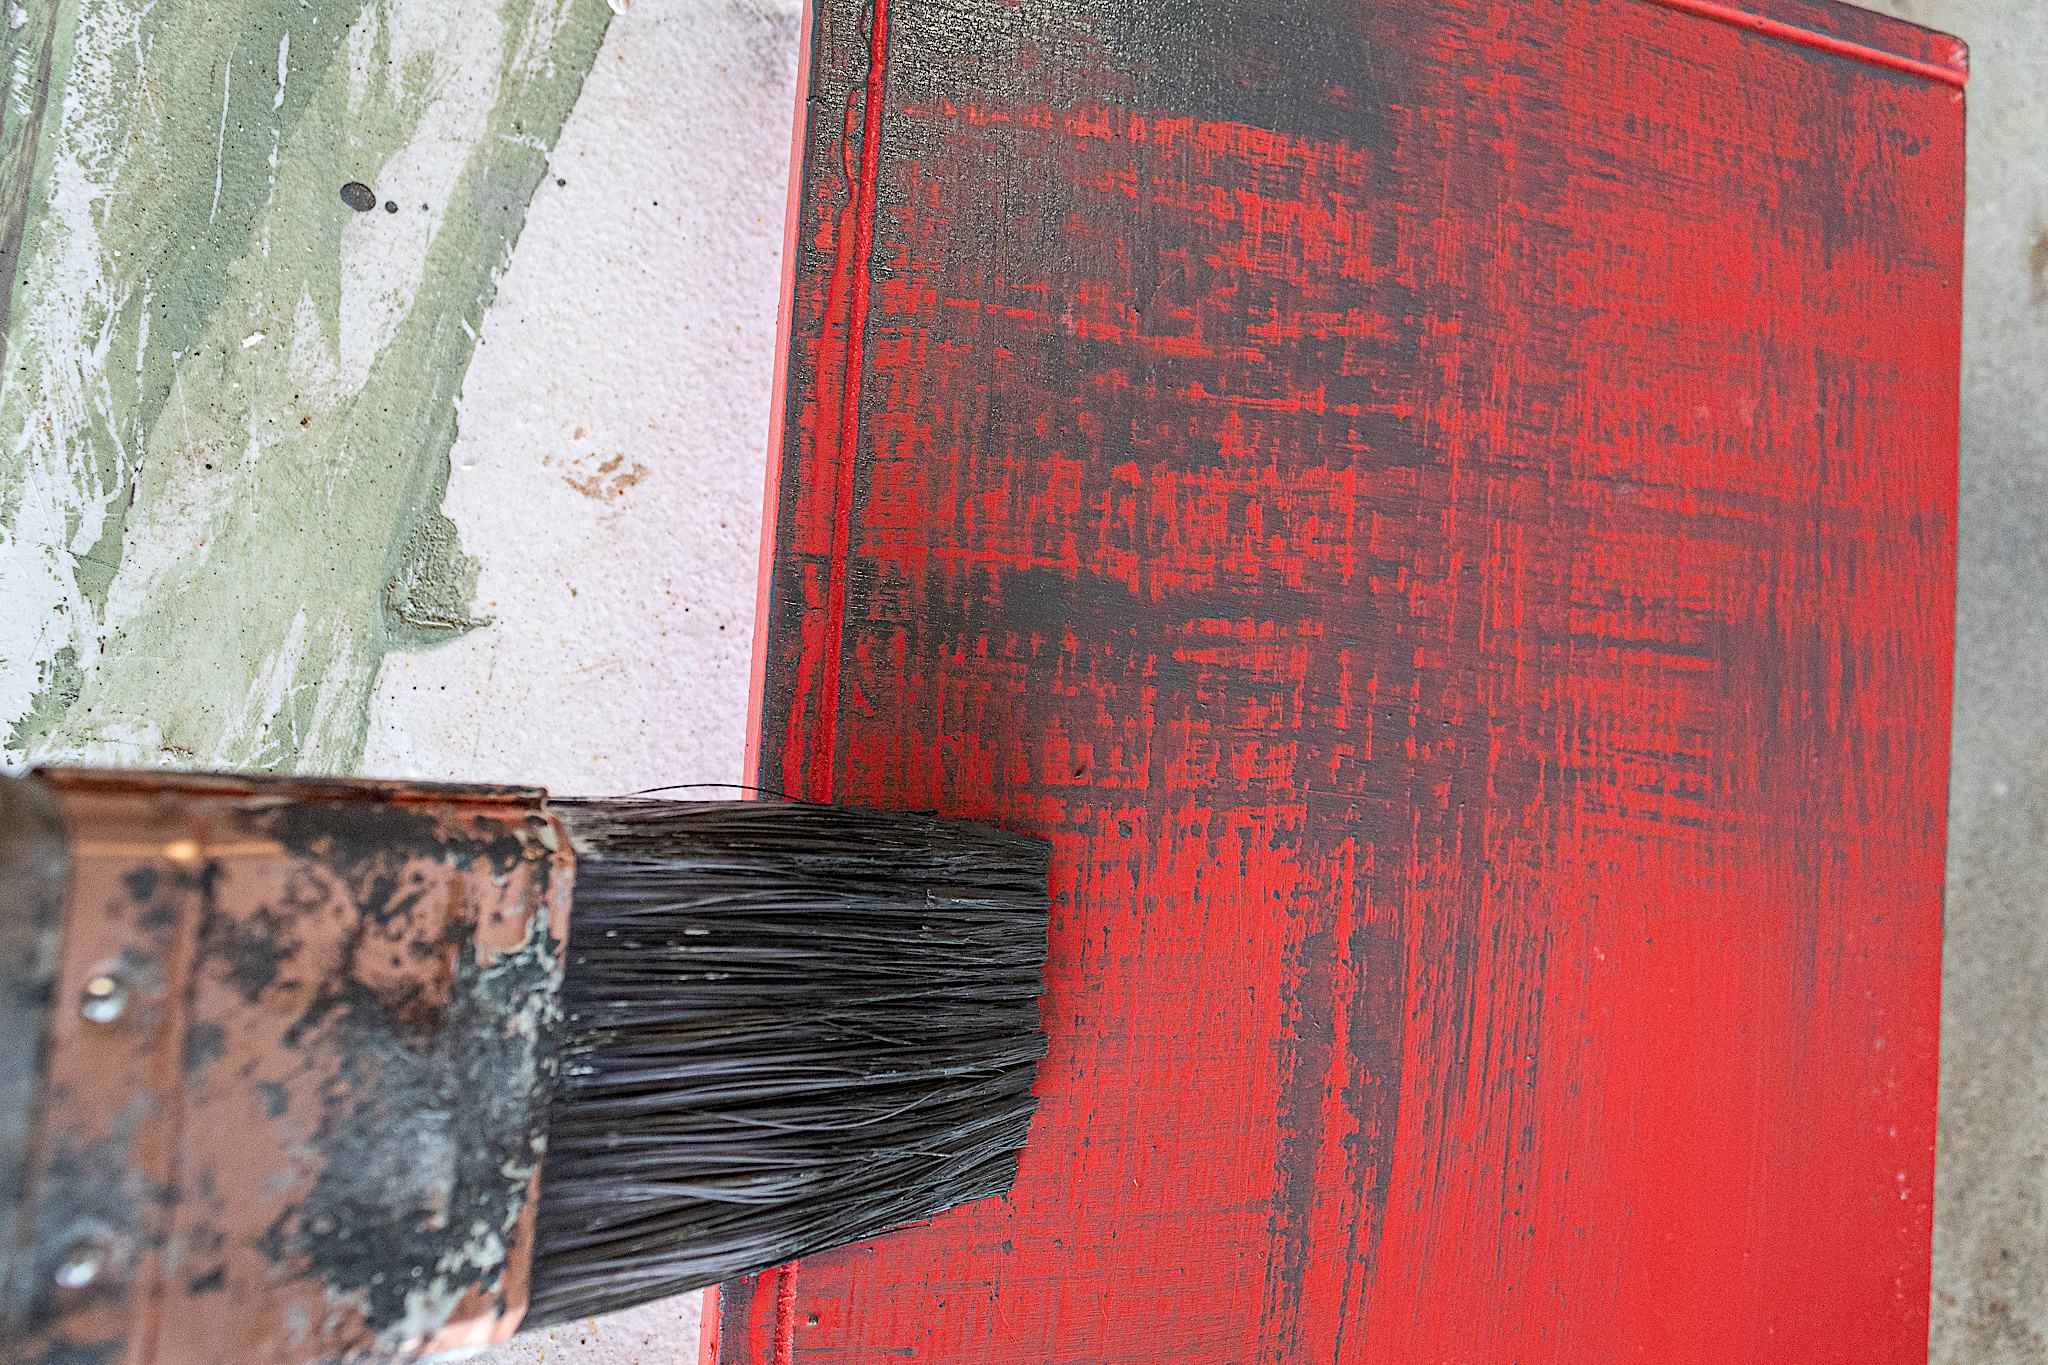
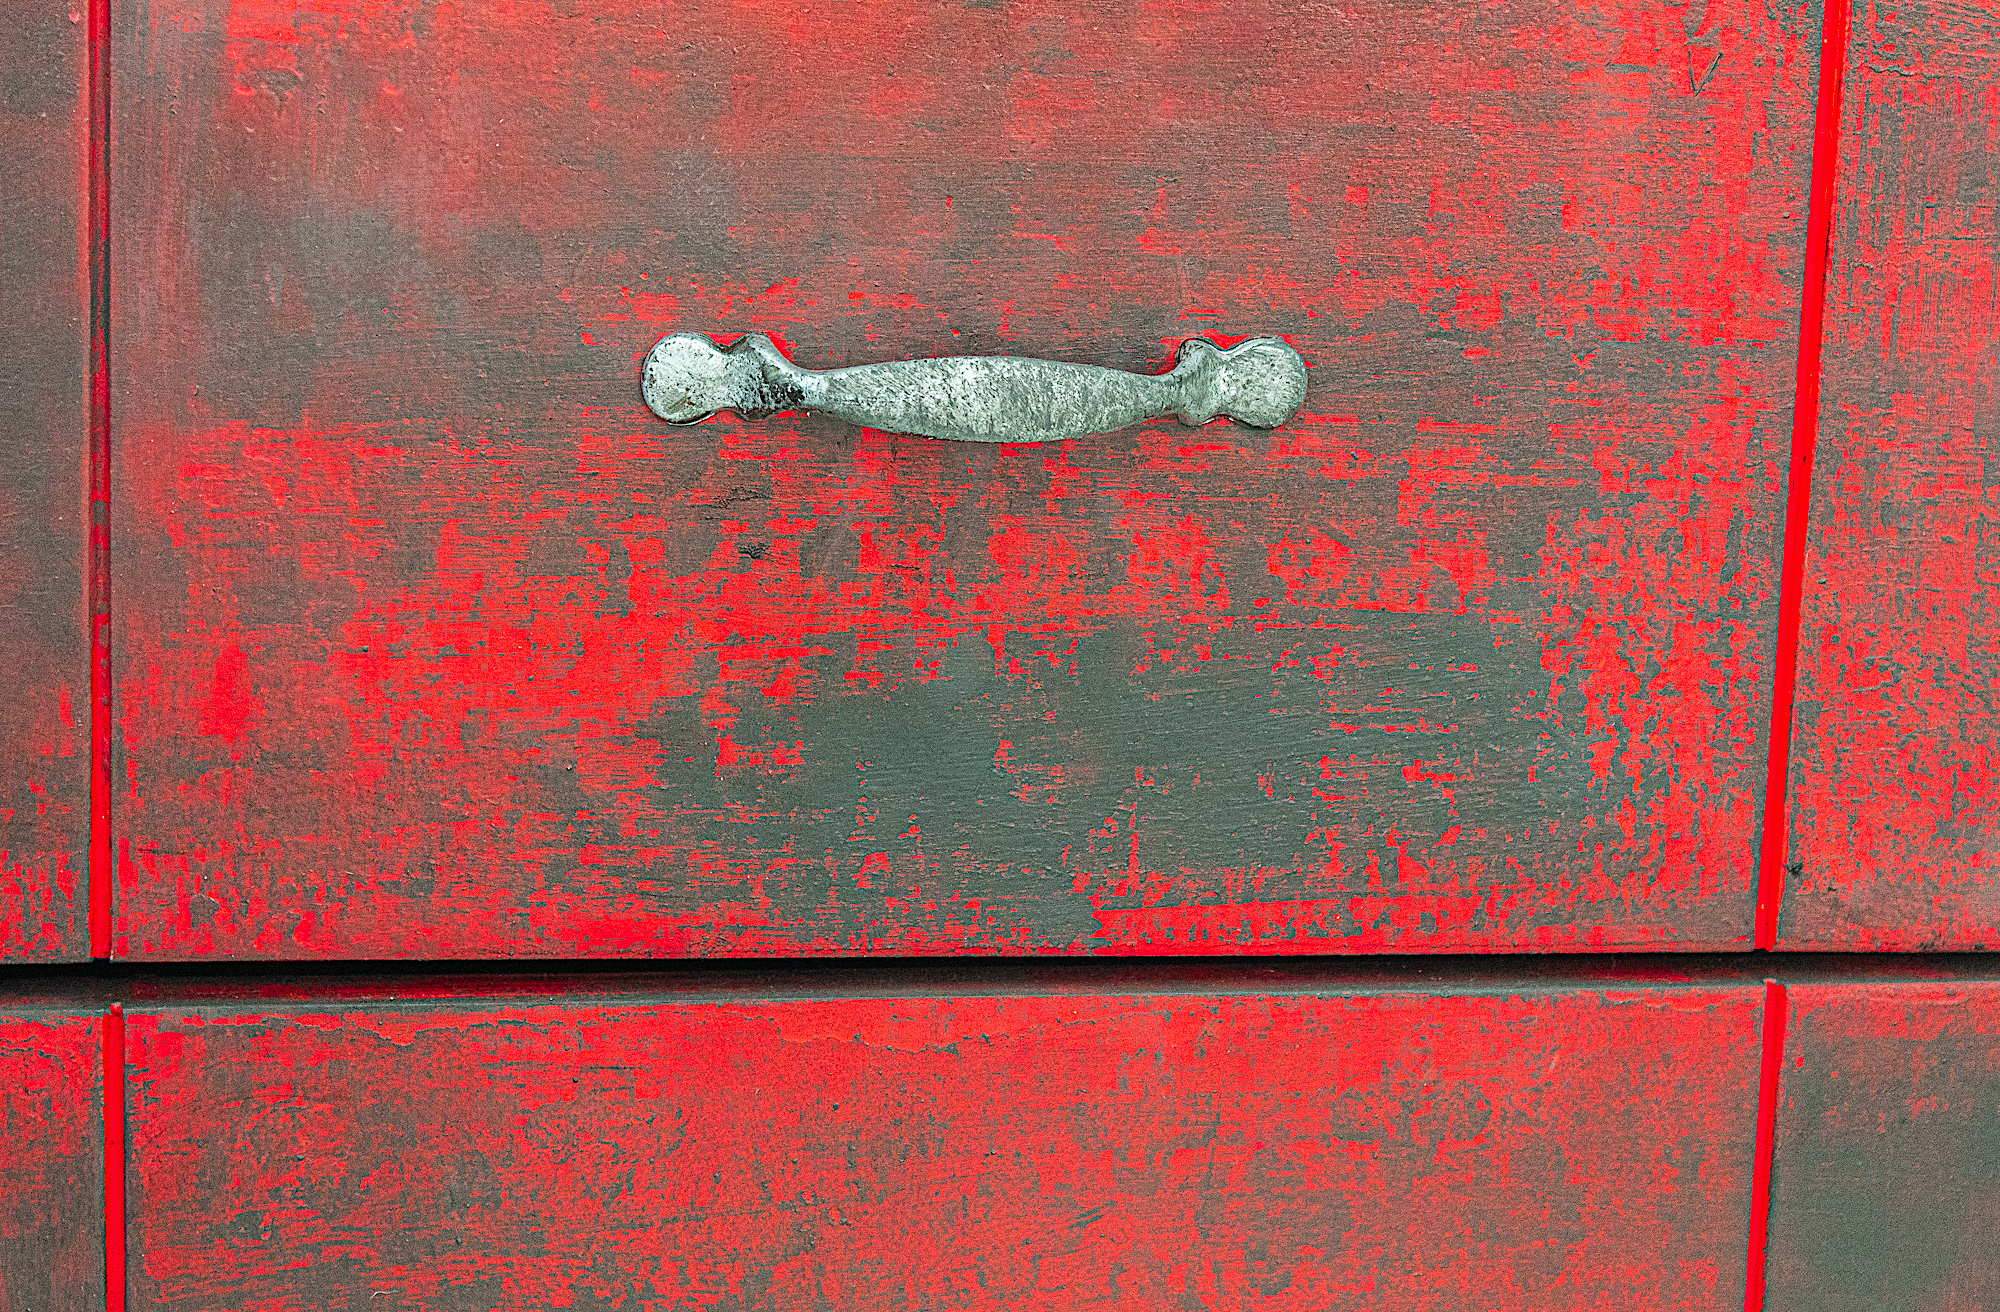
For this technique I strongly suggest using chalk paint. I didn’t plan on sanding this desk…remember quick and easy, so I needed to use paint with strong adhesion. There are two techniques I used on this desk— one technique on the red parts and a slightly different one on the white parts.
Tips for the first technique (over the red parts): •Dry brush. Don’t over wet your surface. You can use a little water to move your paint, but you really want to create texture. •Light coverage: only a little paint at a time on the brush with each stroke. This helps bring out the texture from your prior layer of paint. •Leave red parts exposed. You want to use your prior color to create a fun contrast
Isn’t is so amazing how layering just a little bit of paint over another can create such beautiful texture and pattern? I really liked the edgy look these two colors created.
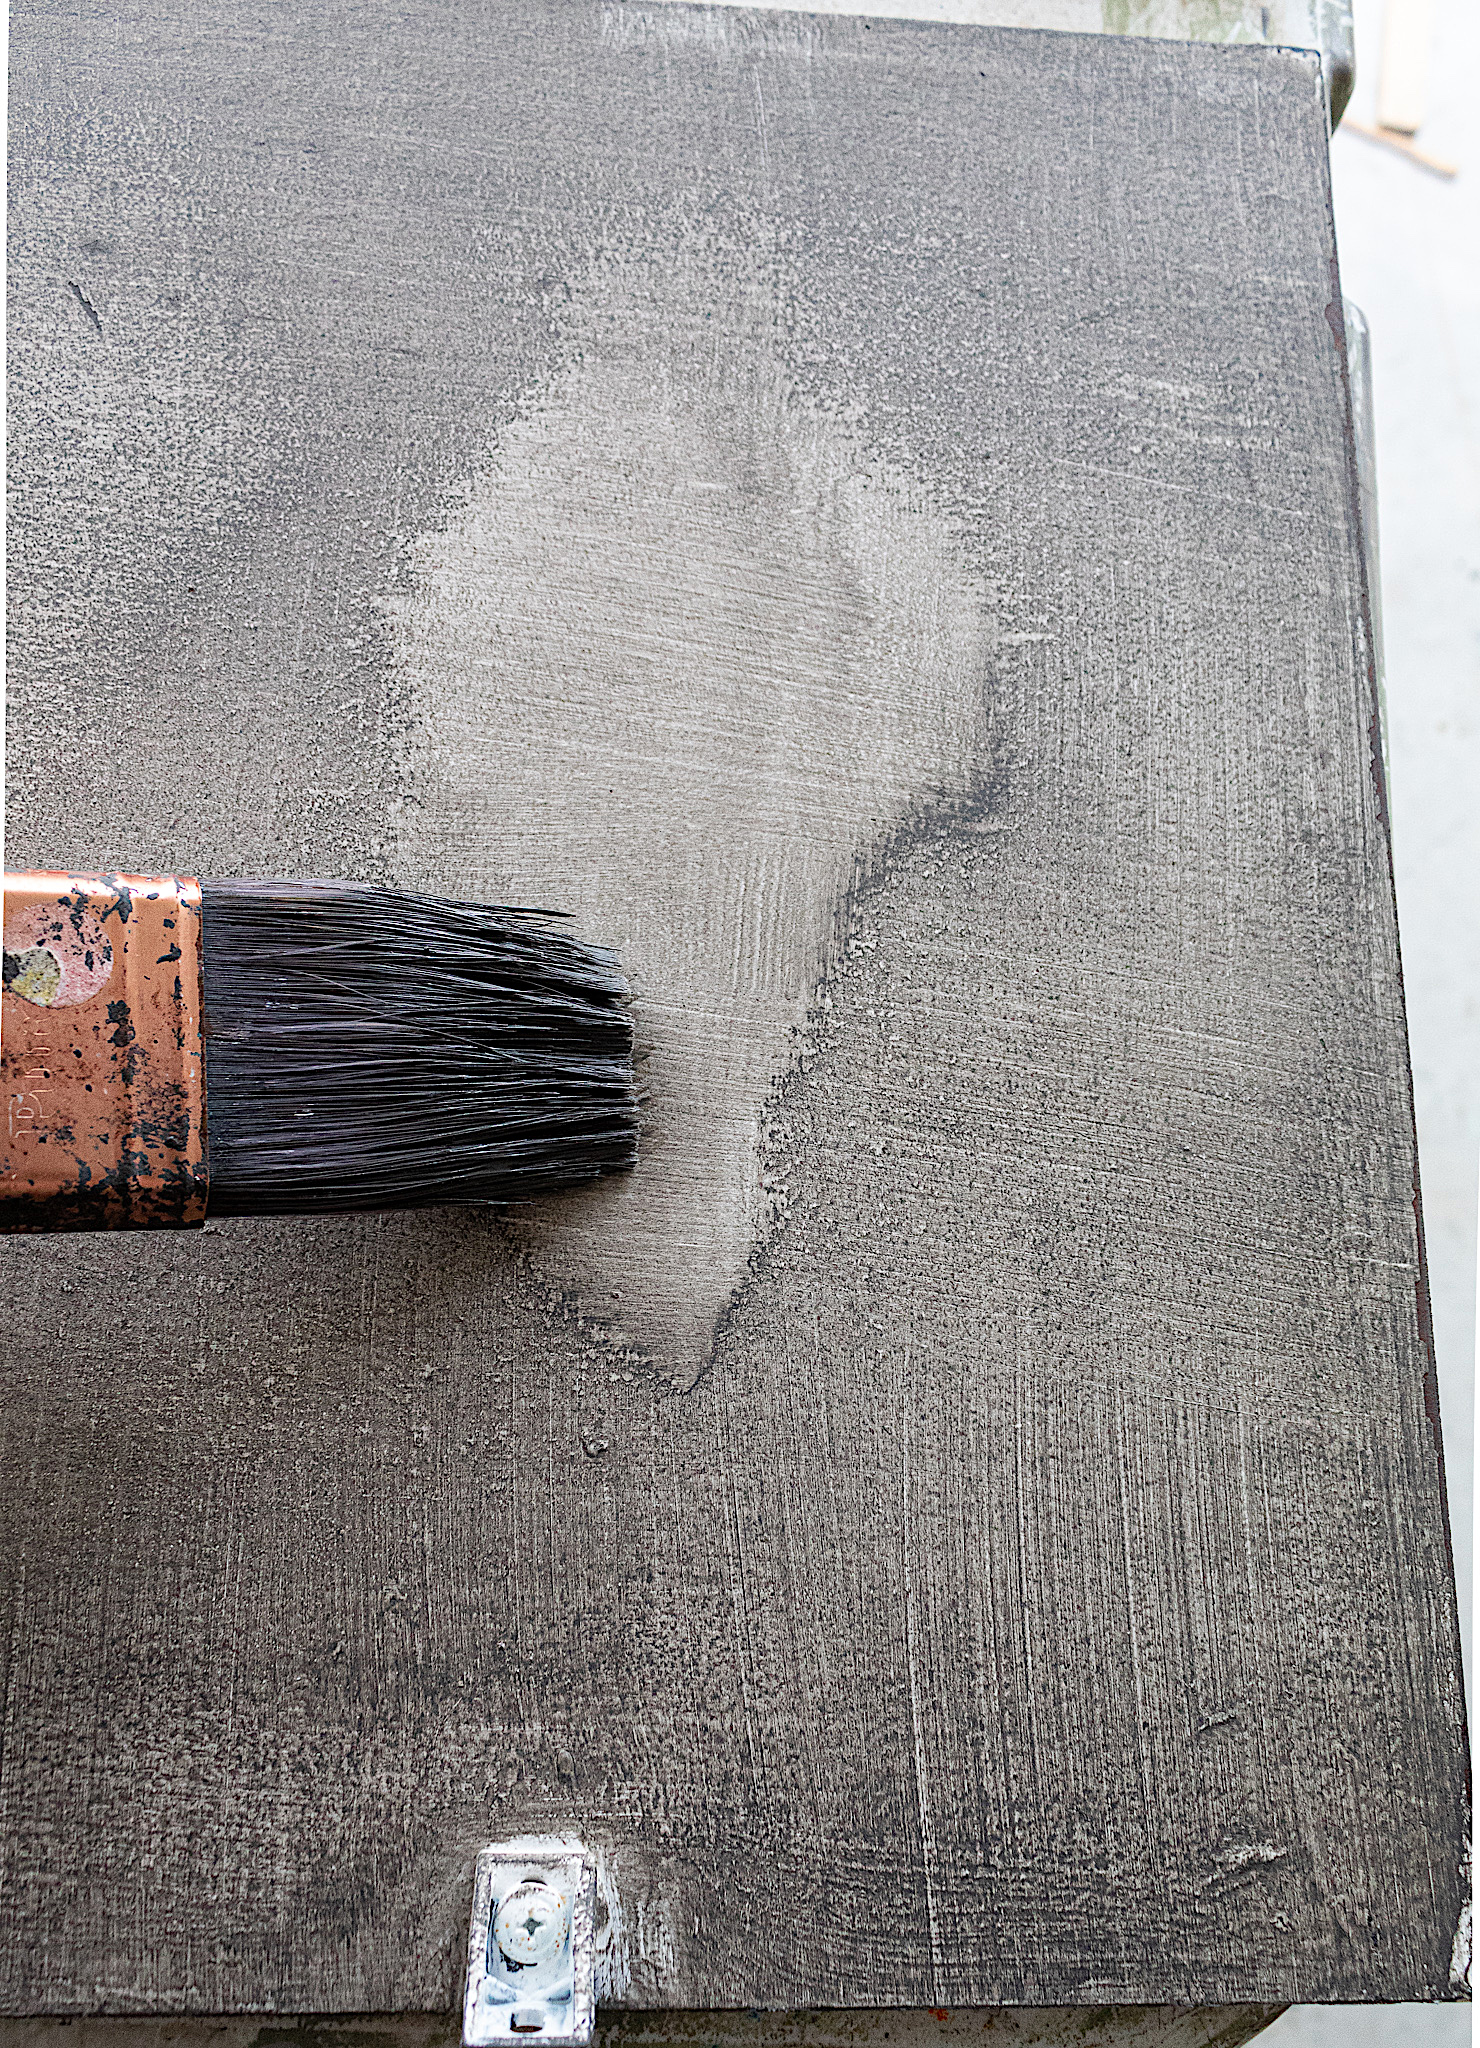
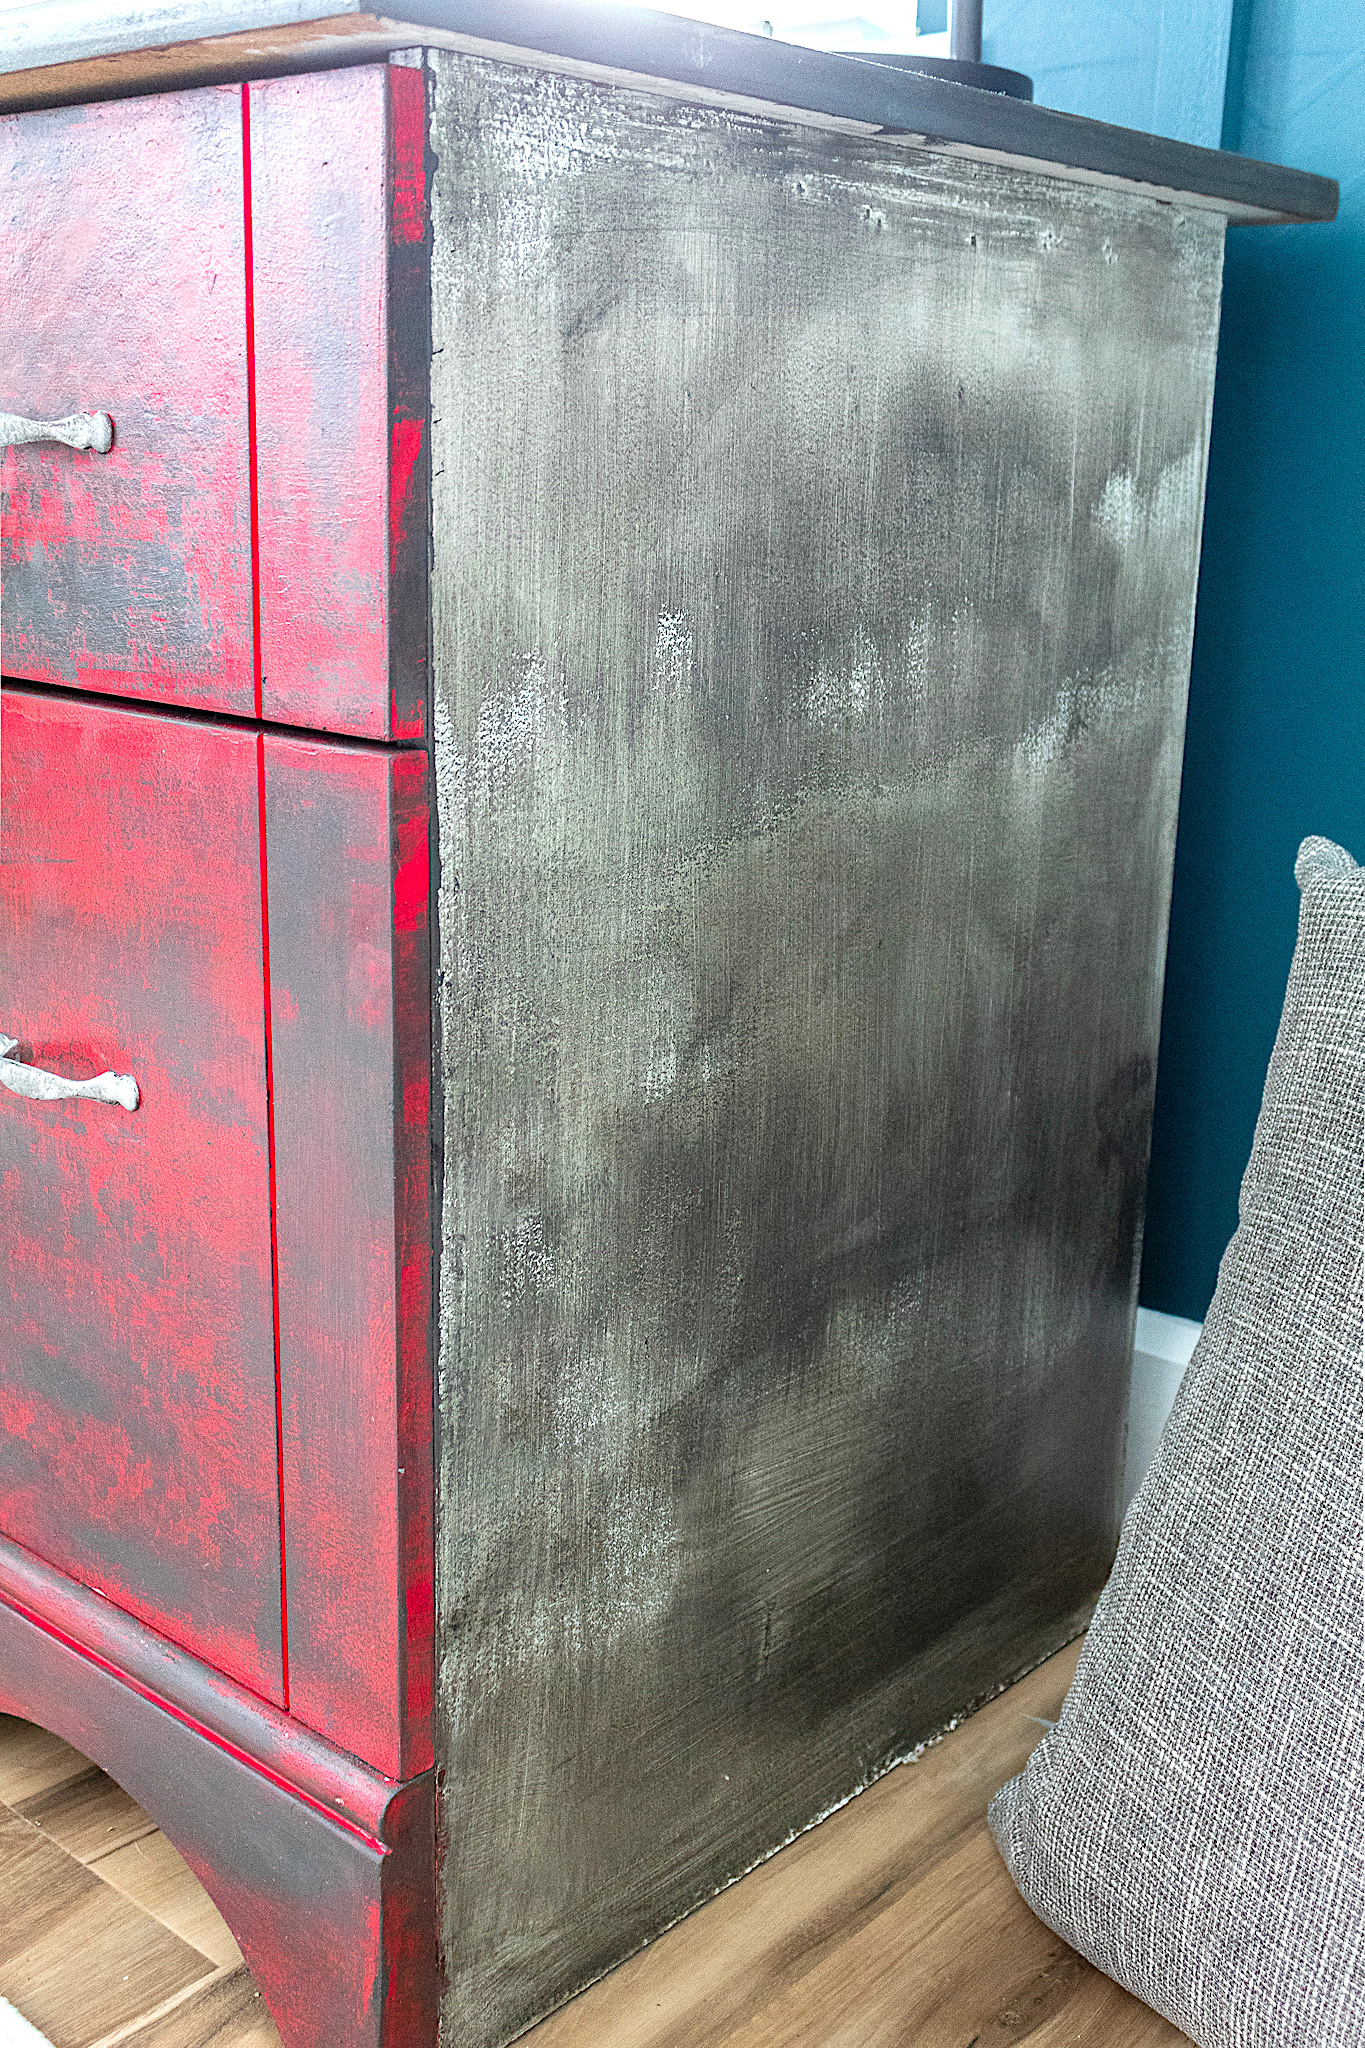
The desks sides and back board had been painted white. Since I was aiming for darker colors for this bedroom remodel, I wanted to cover up the white more-so than I the red parts of the desk. I used a similar paint technique as I did with the red with a couple of variations…
Tips for the second technique (over the white parts): •I wet my surface with my misting bottle prior to applying the paint. Since I wanted to cover the entire section, wetting a little as I painted was helpful. But I was careful not to make things too wet. You still want to get texture for this finish and you need friction for texture. •I worked in sections with little paint at a time, brushing back and forth over and over. This kept the coat thin helping to see speckles and streaks of white which I wanted.
•In random places I went back over and sprayed a concentrated amount of my mister. This created a small area of water. I then brushed over the sprayed area a few times to “open up” the paint. It created some funky patterns which I really liked.
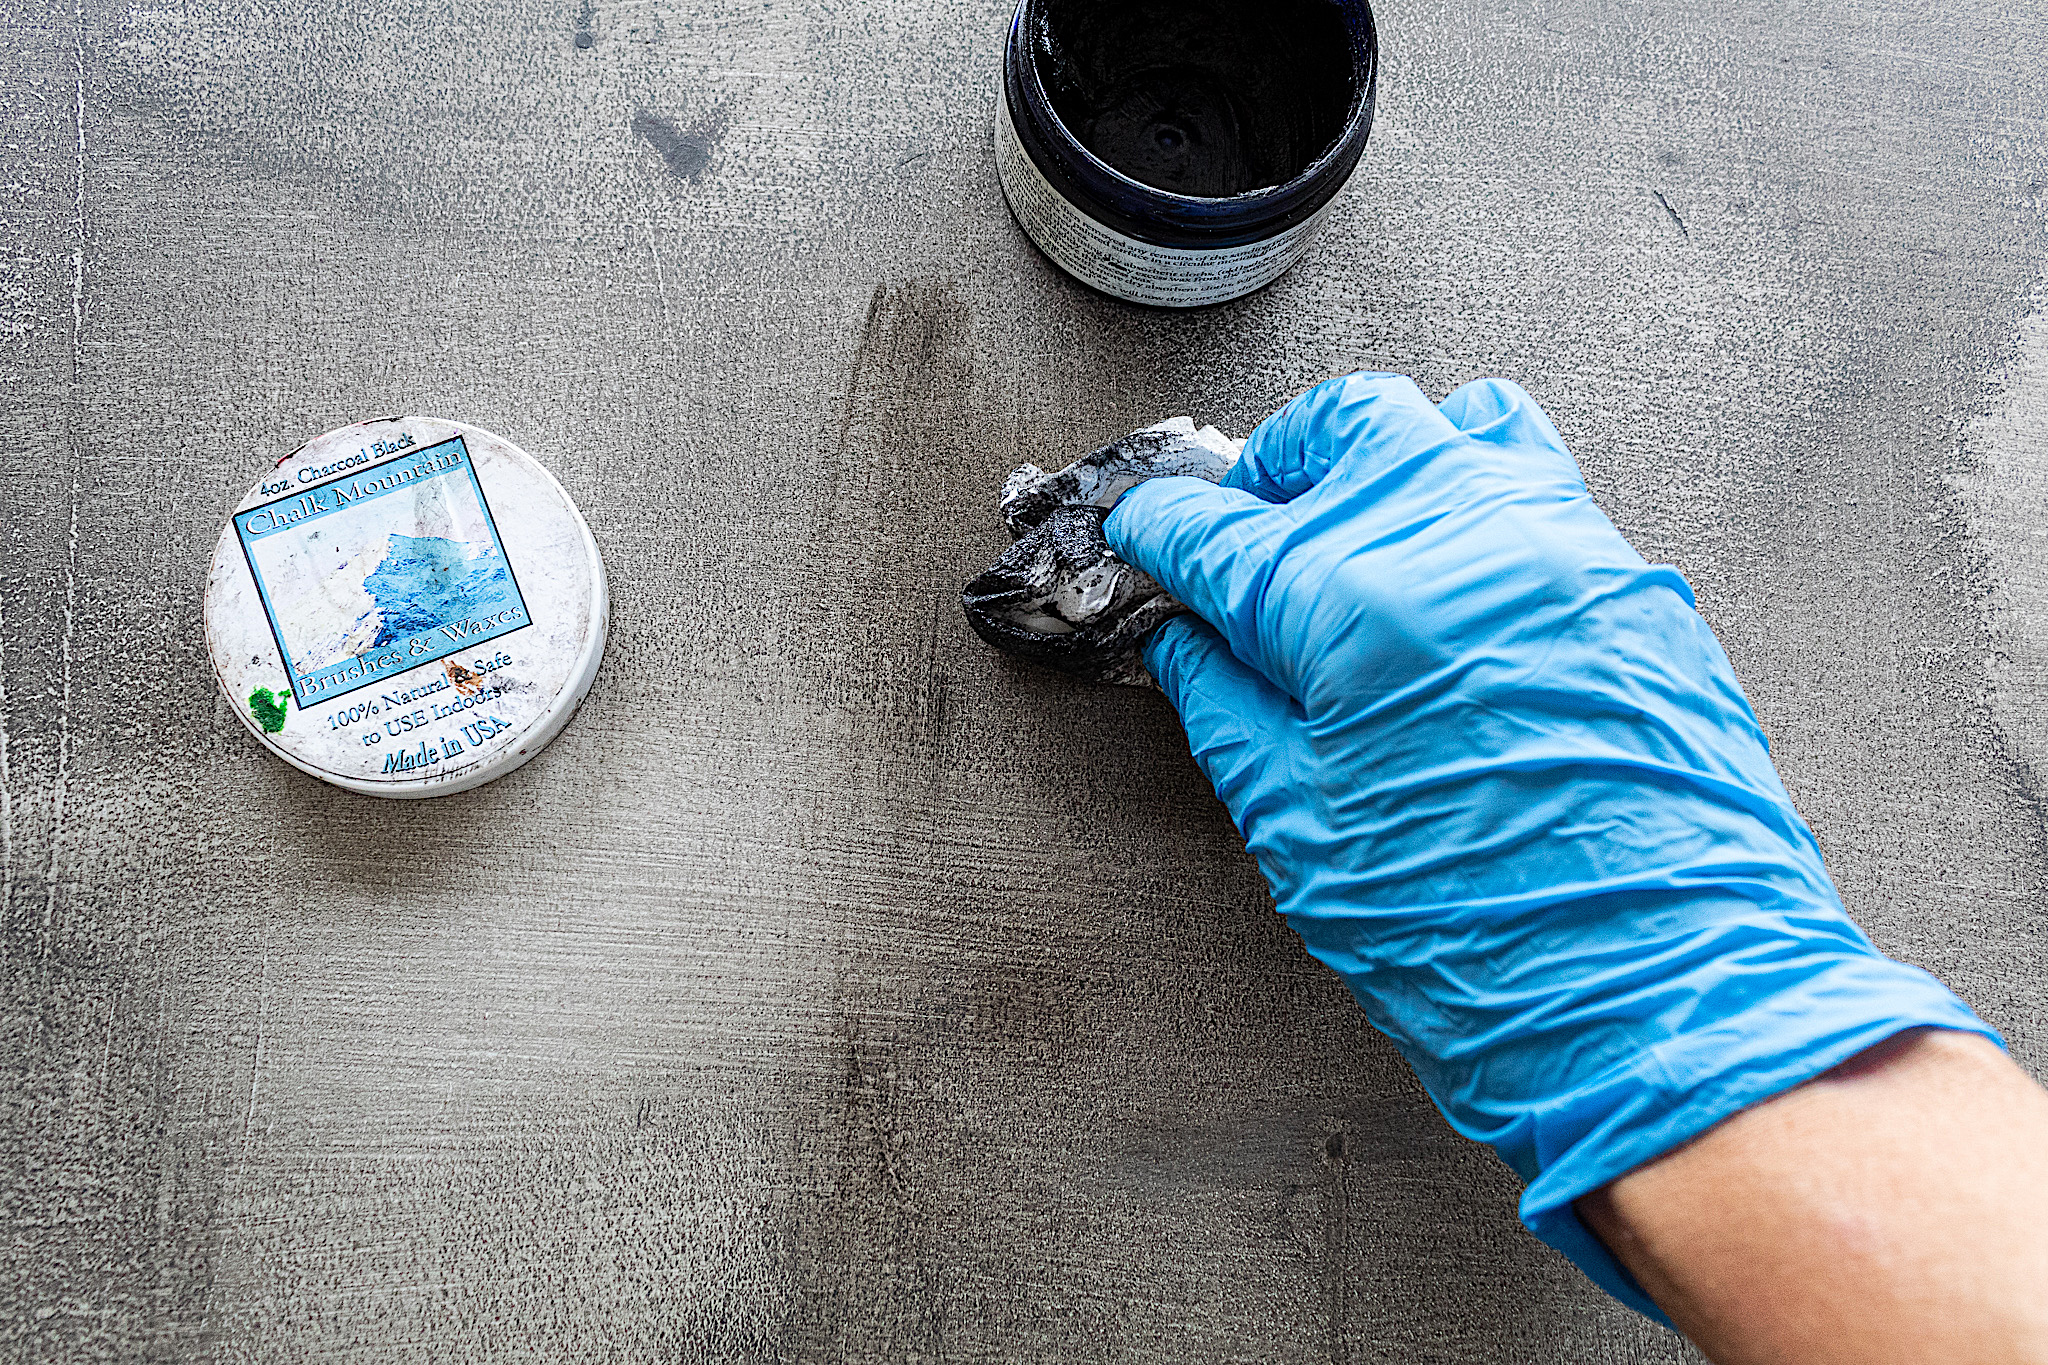
2. Wax
I rubbed one of my favorite dark waxes, Charcoal Black by Chalk Mountain Brushes, with a paper towel over the entire surface of the desk. The wax will seal the paint and it added another level of rich dimension.
Watch The Painting Process Here
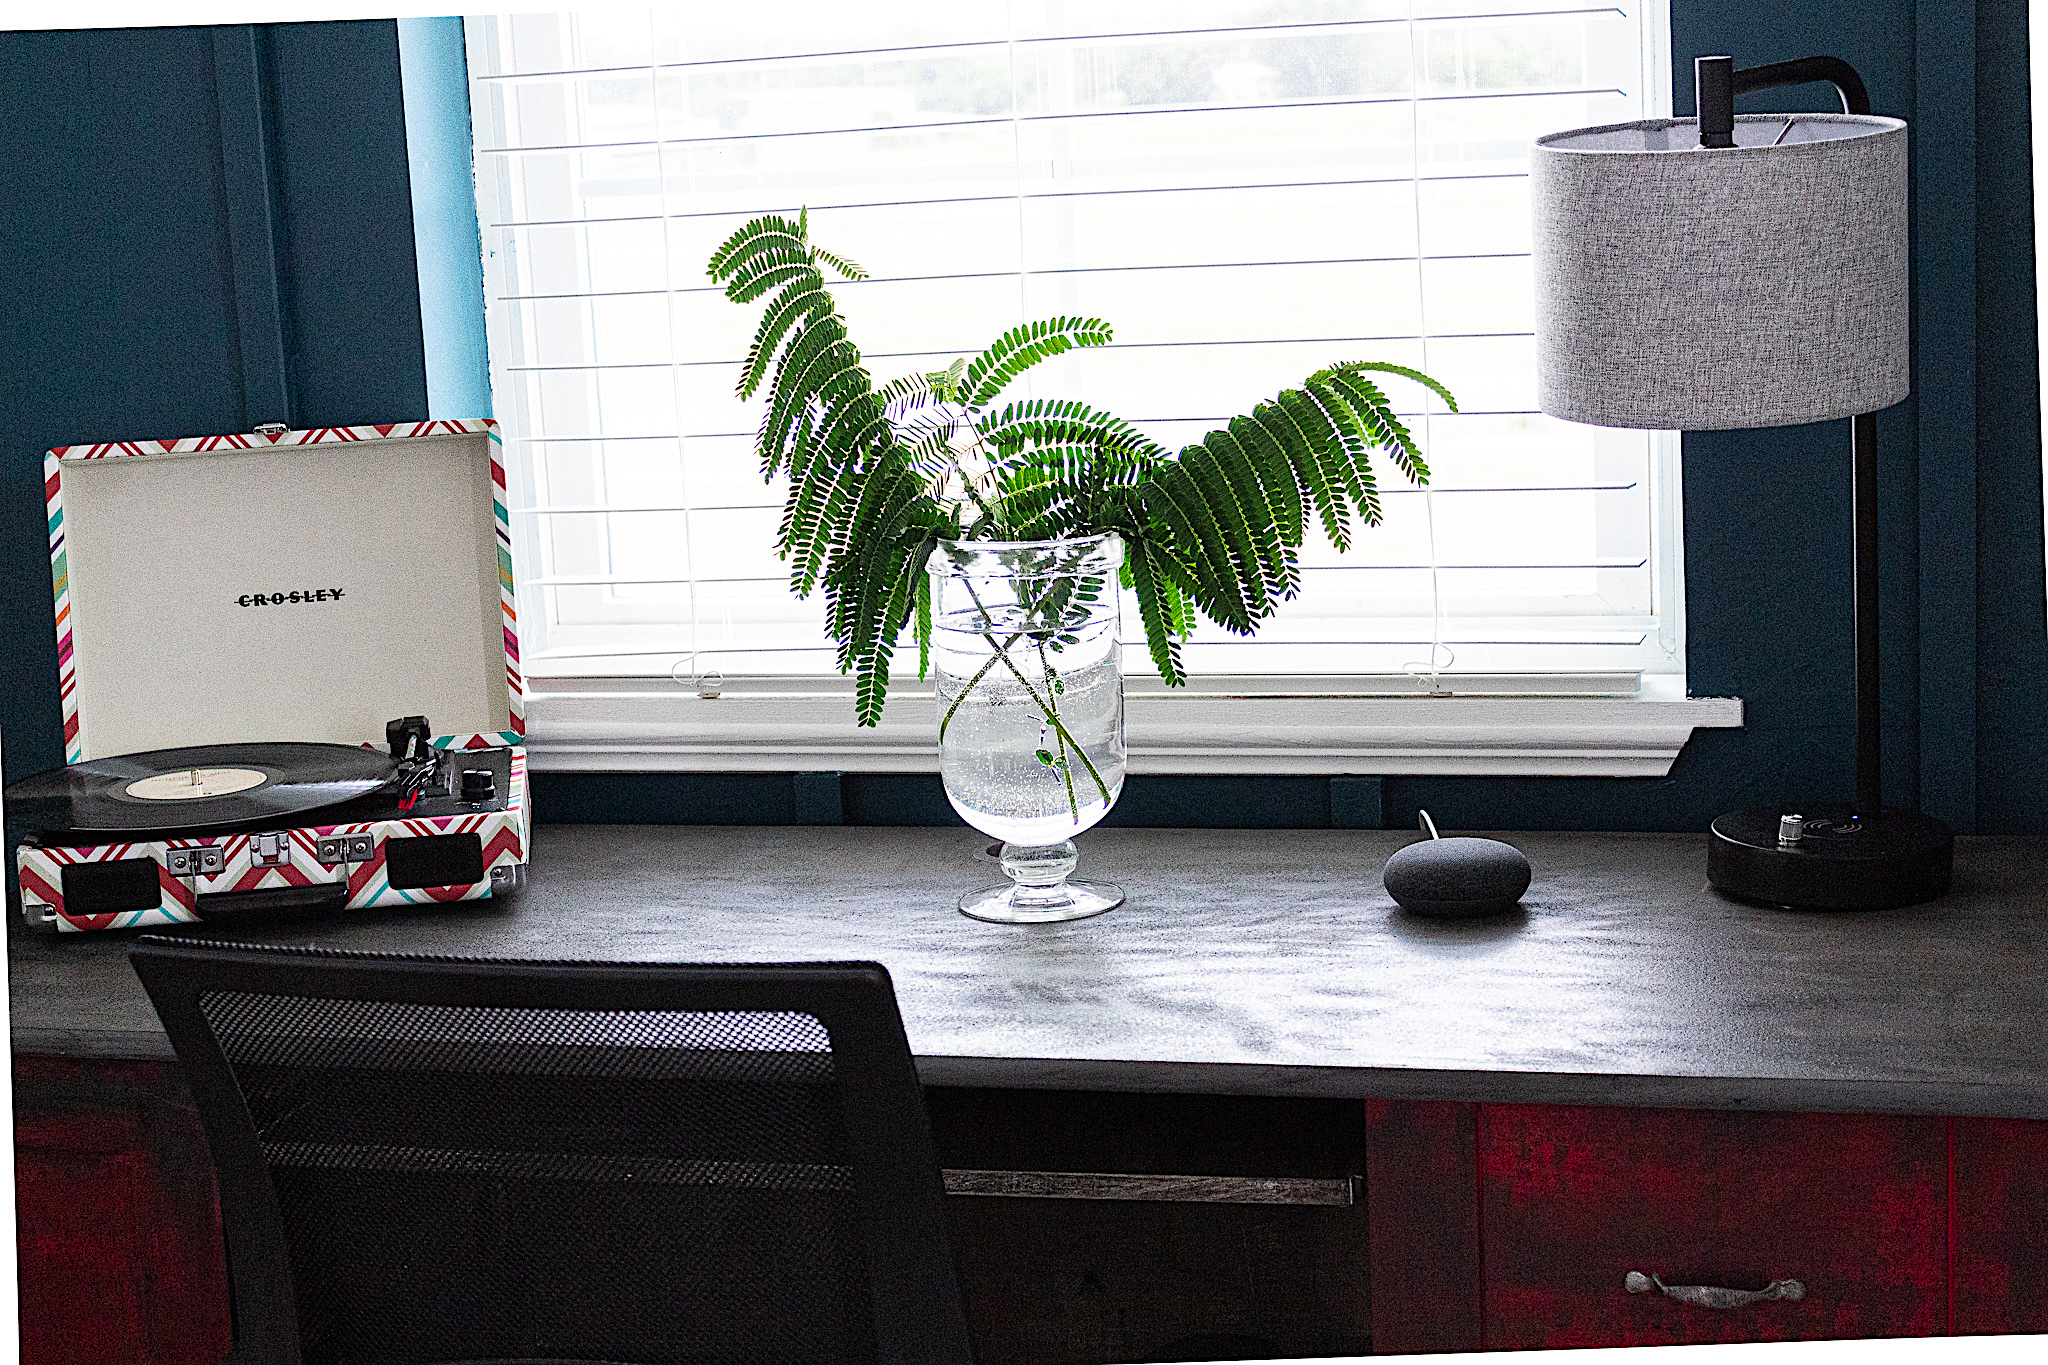
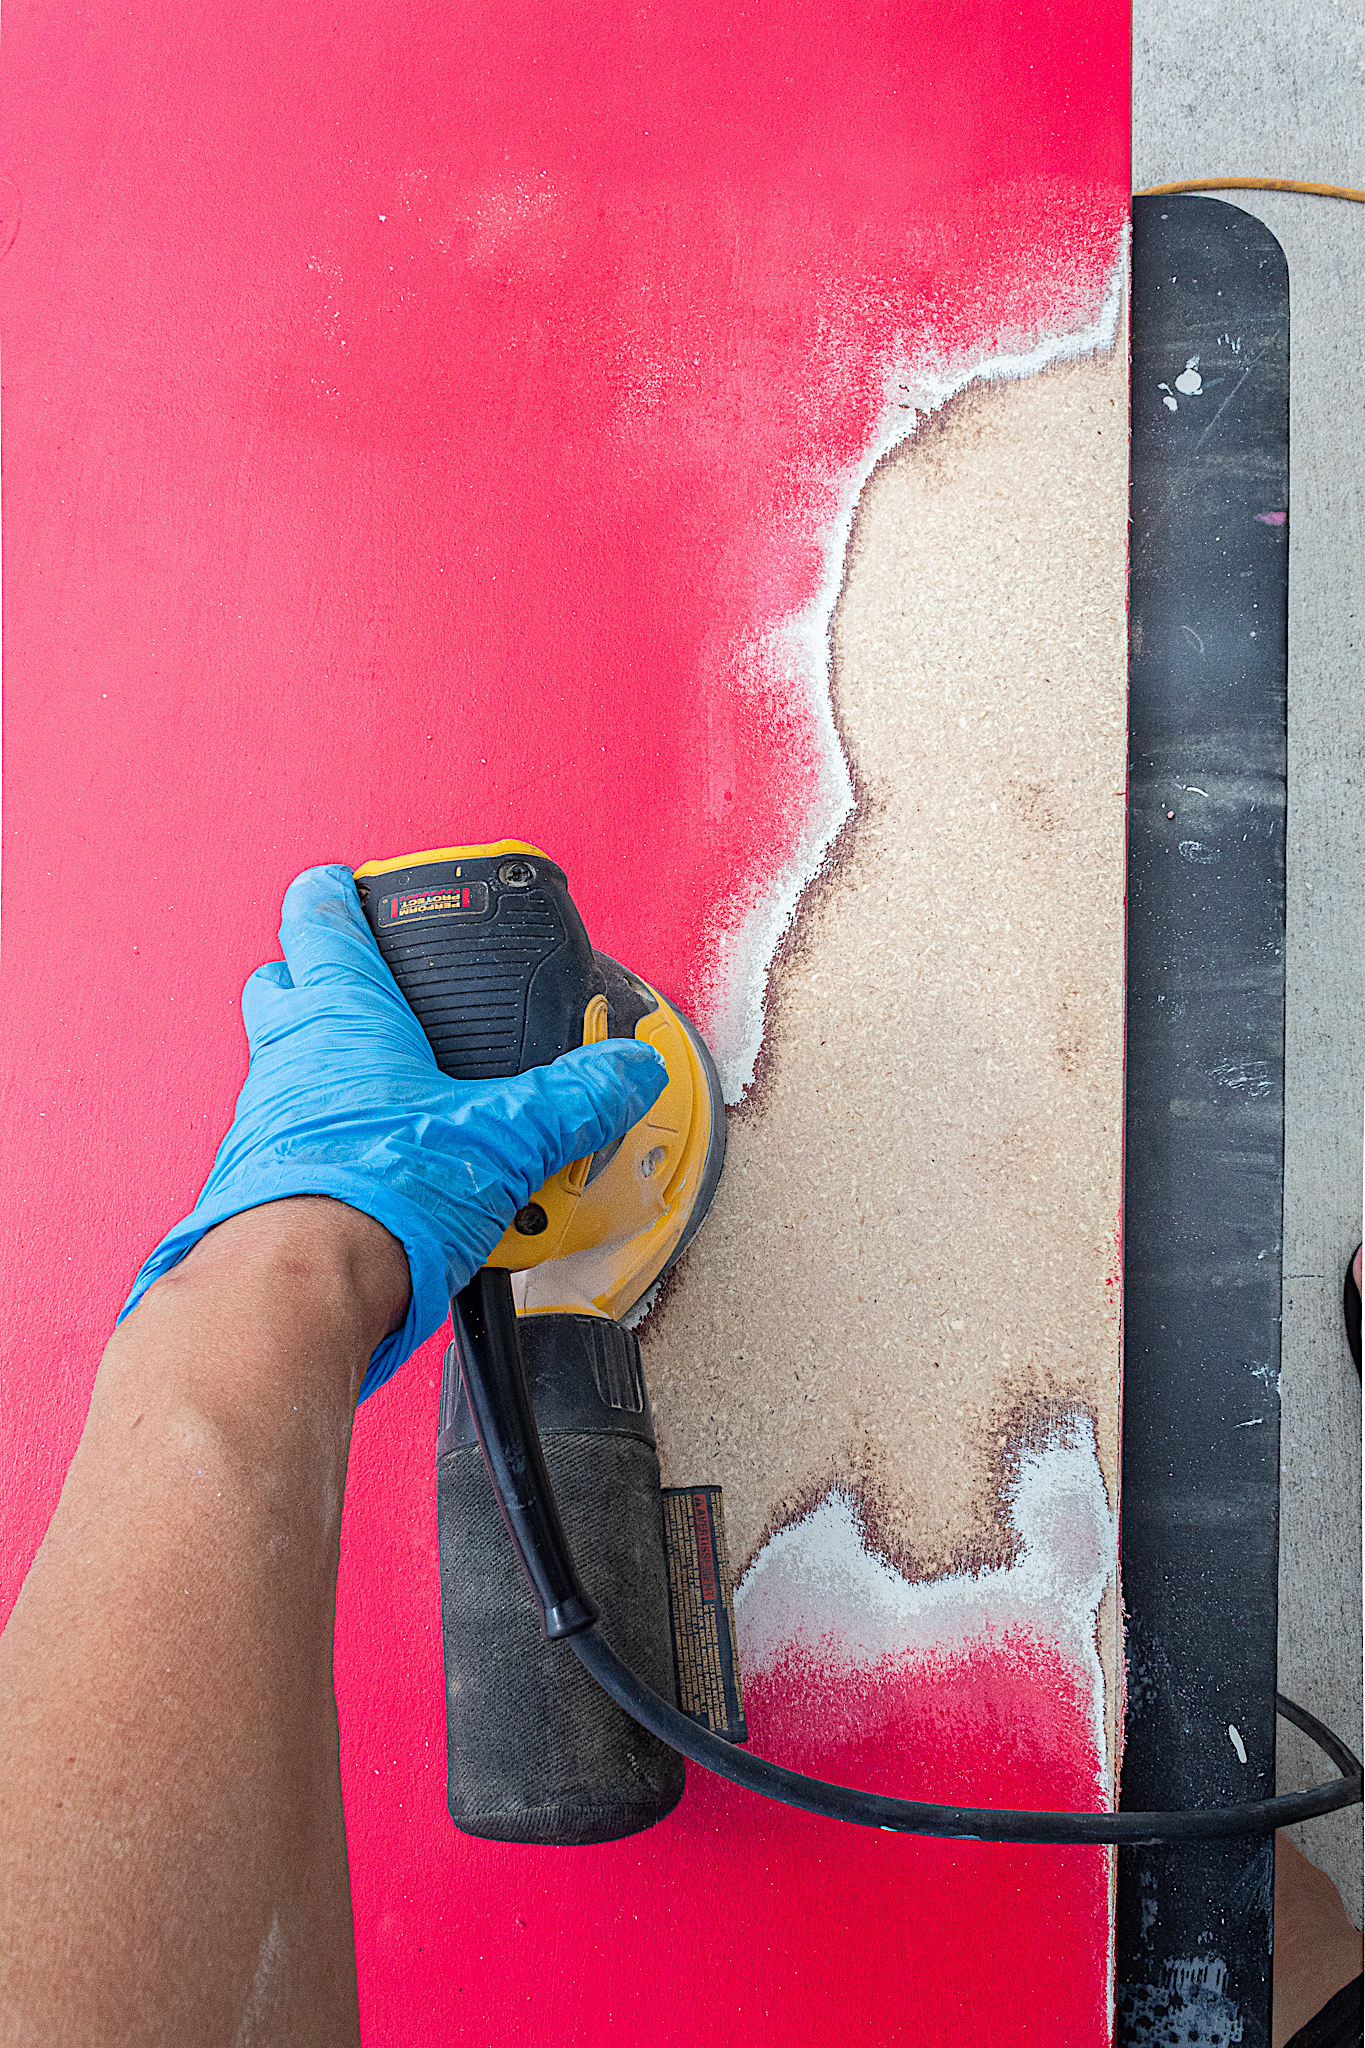
3. The Top
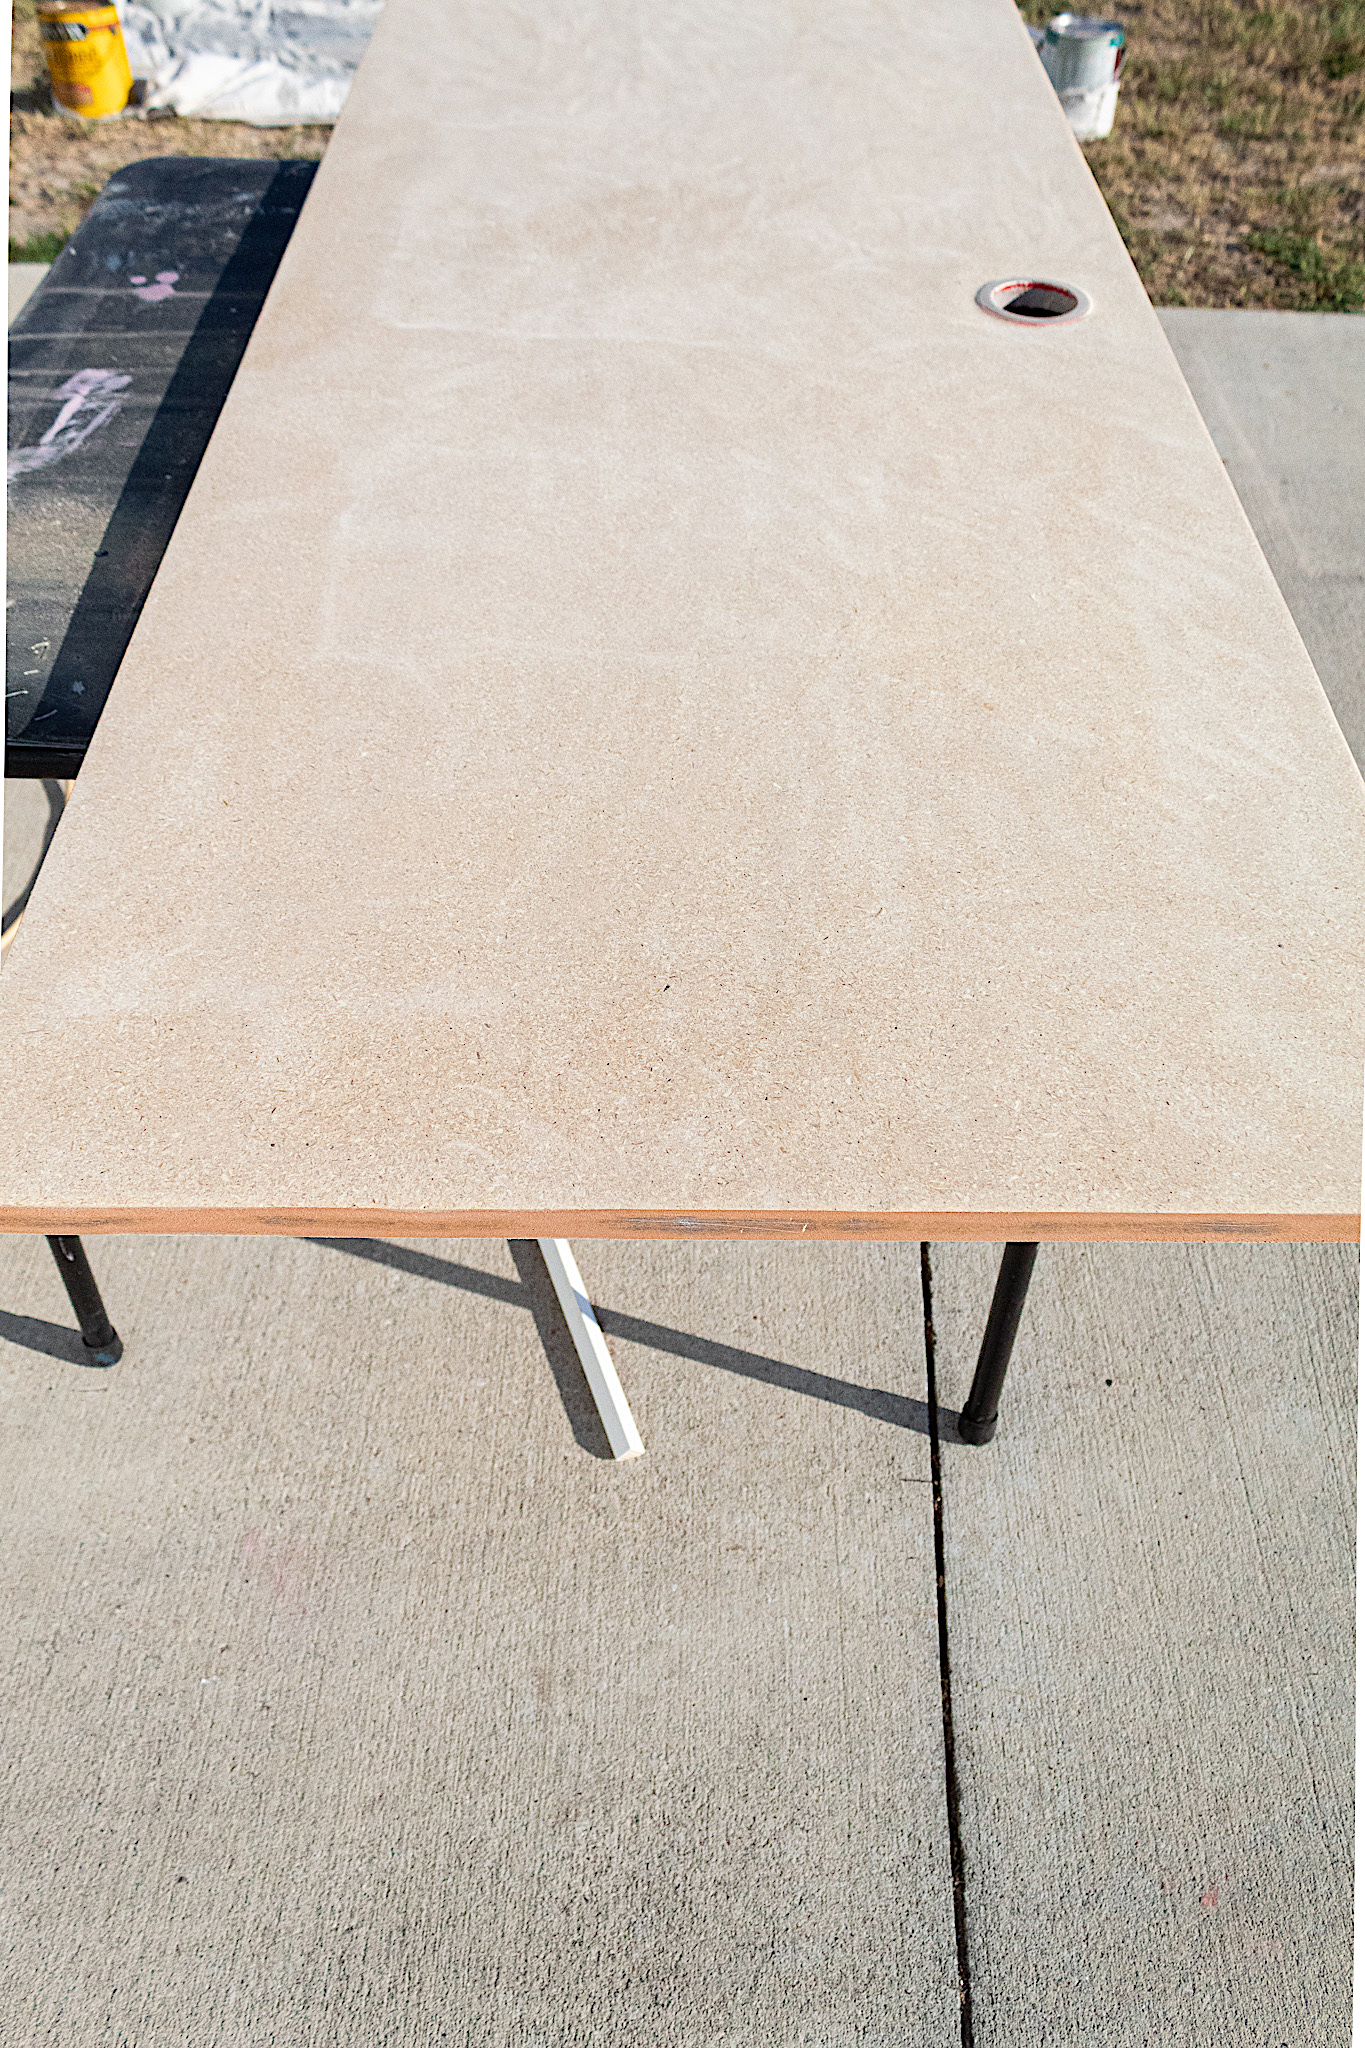
For the desk top I first sanded all the paint off.
This was the part of the project that took the longest. But I really wanted to do some stain work on the top to create something abstract—keeping in line with an edgy modern vibe in the space.
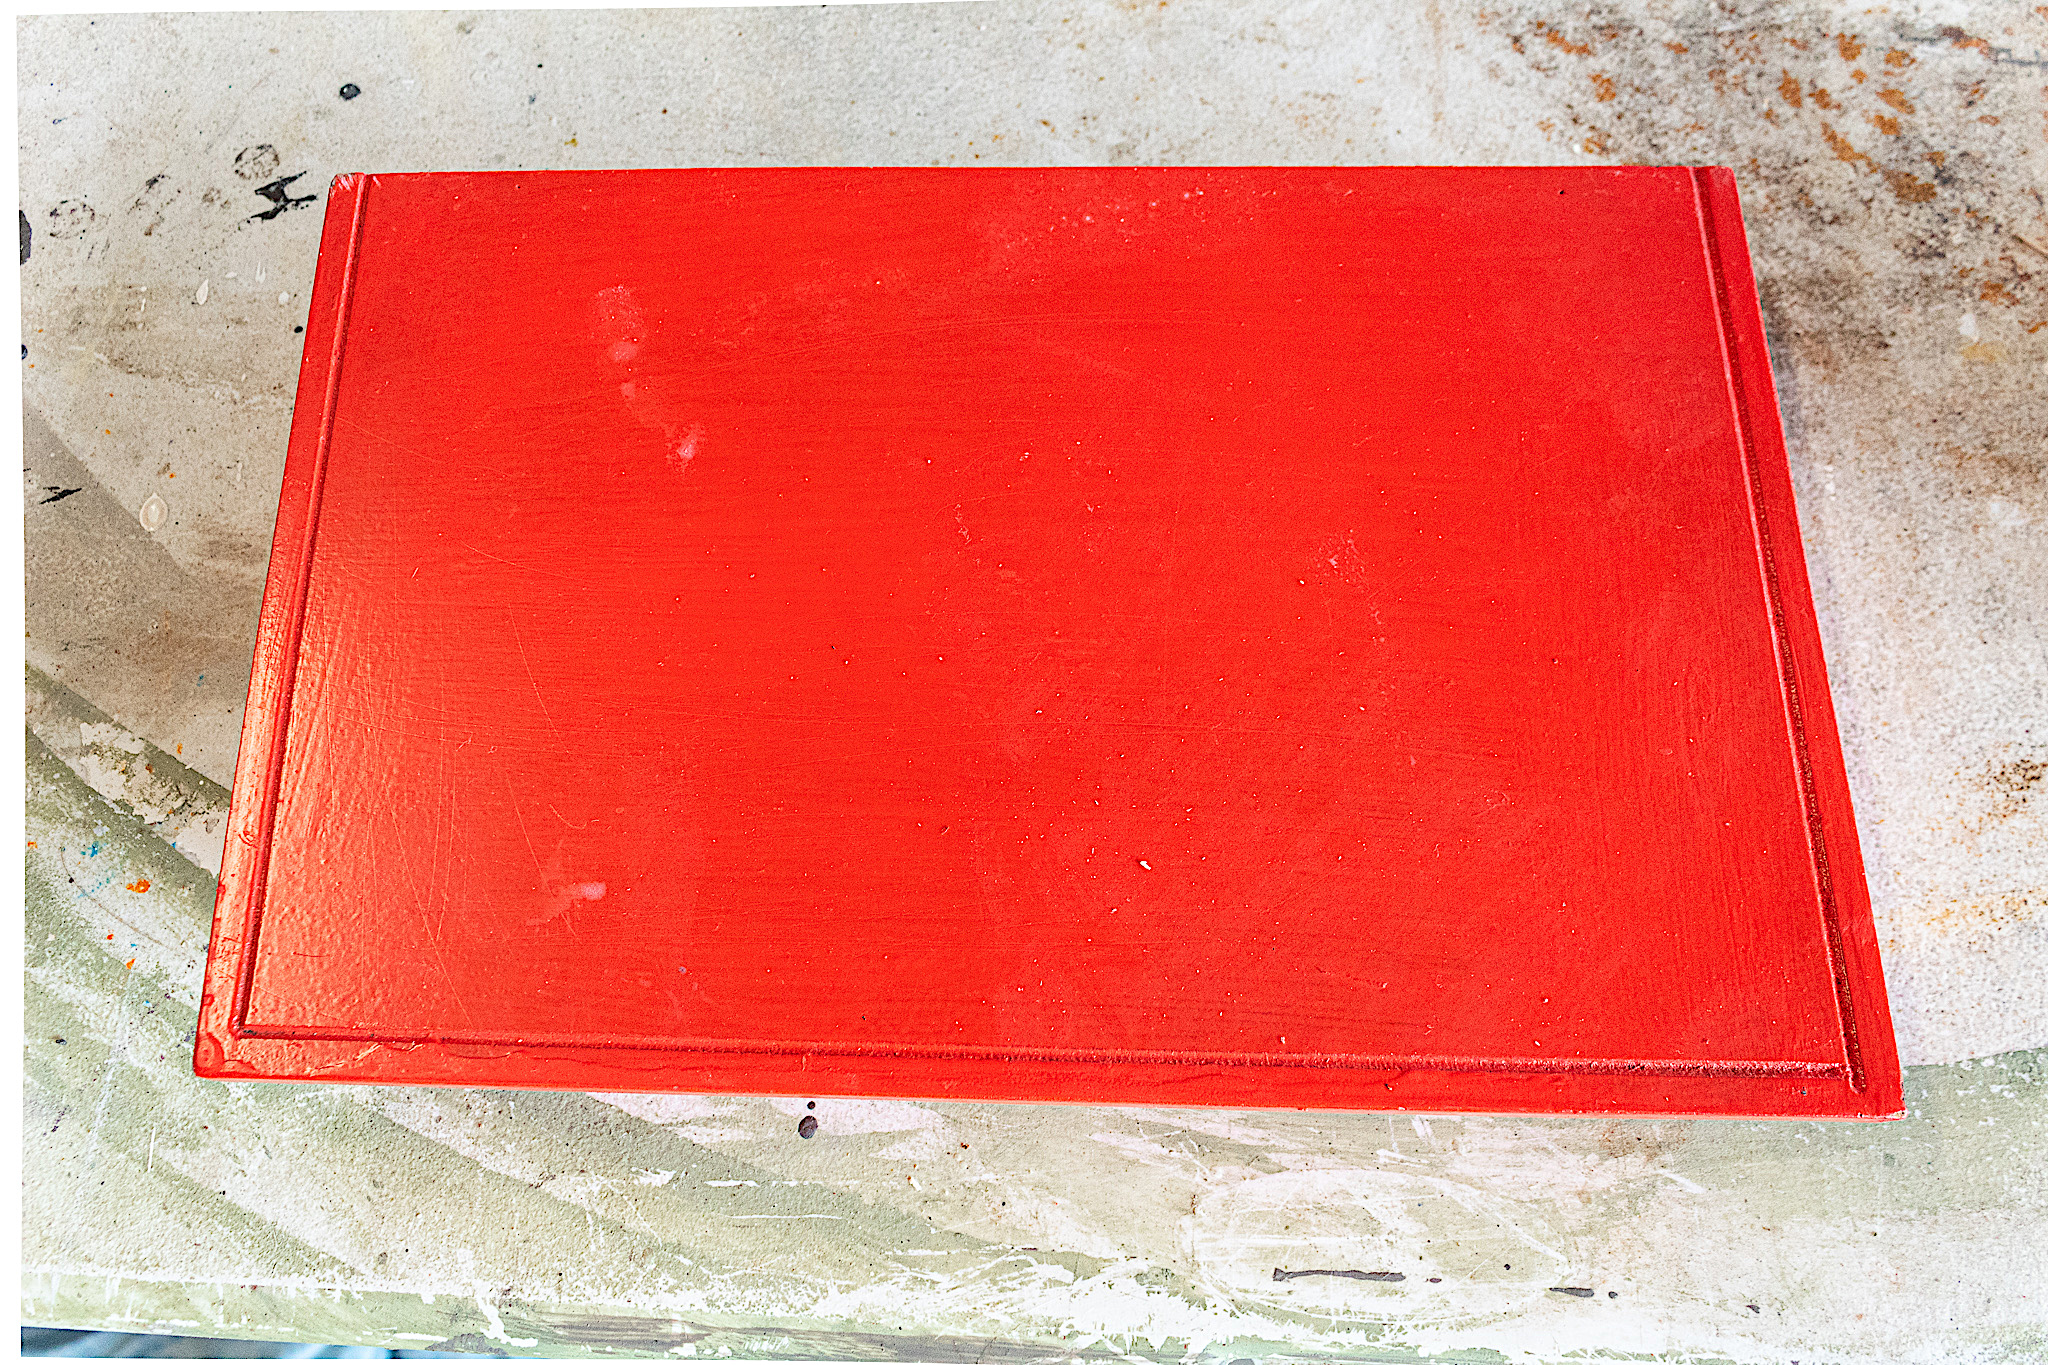
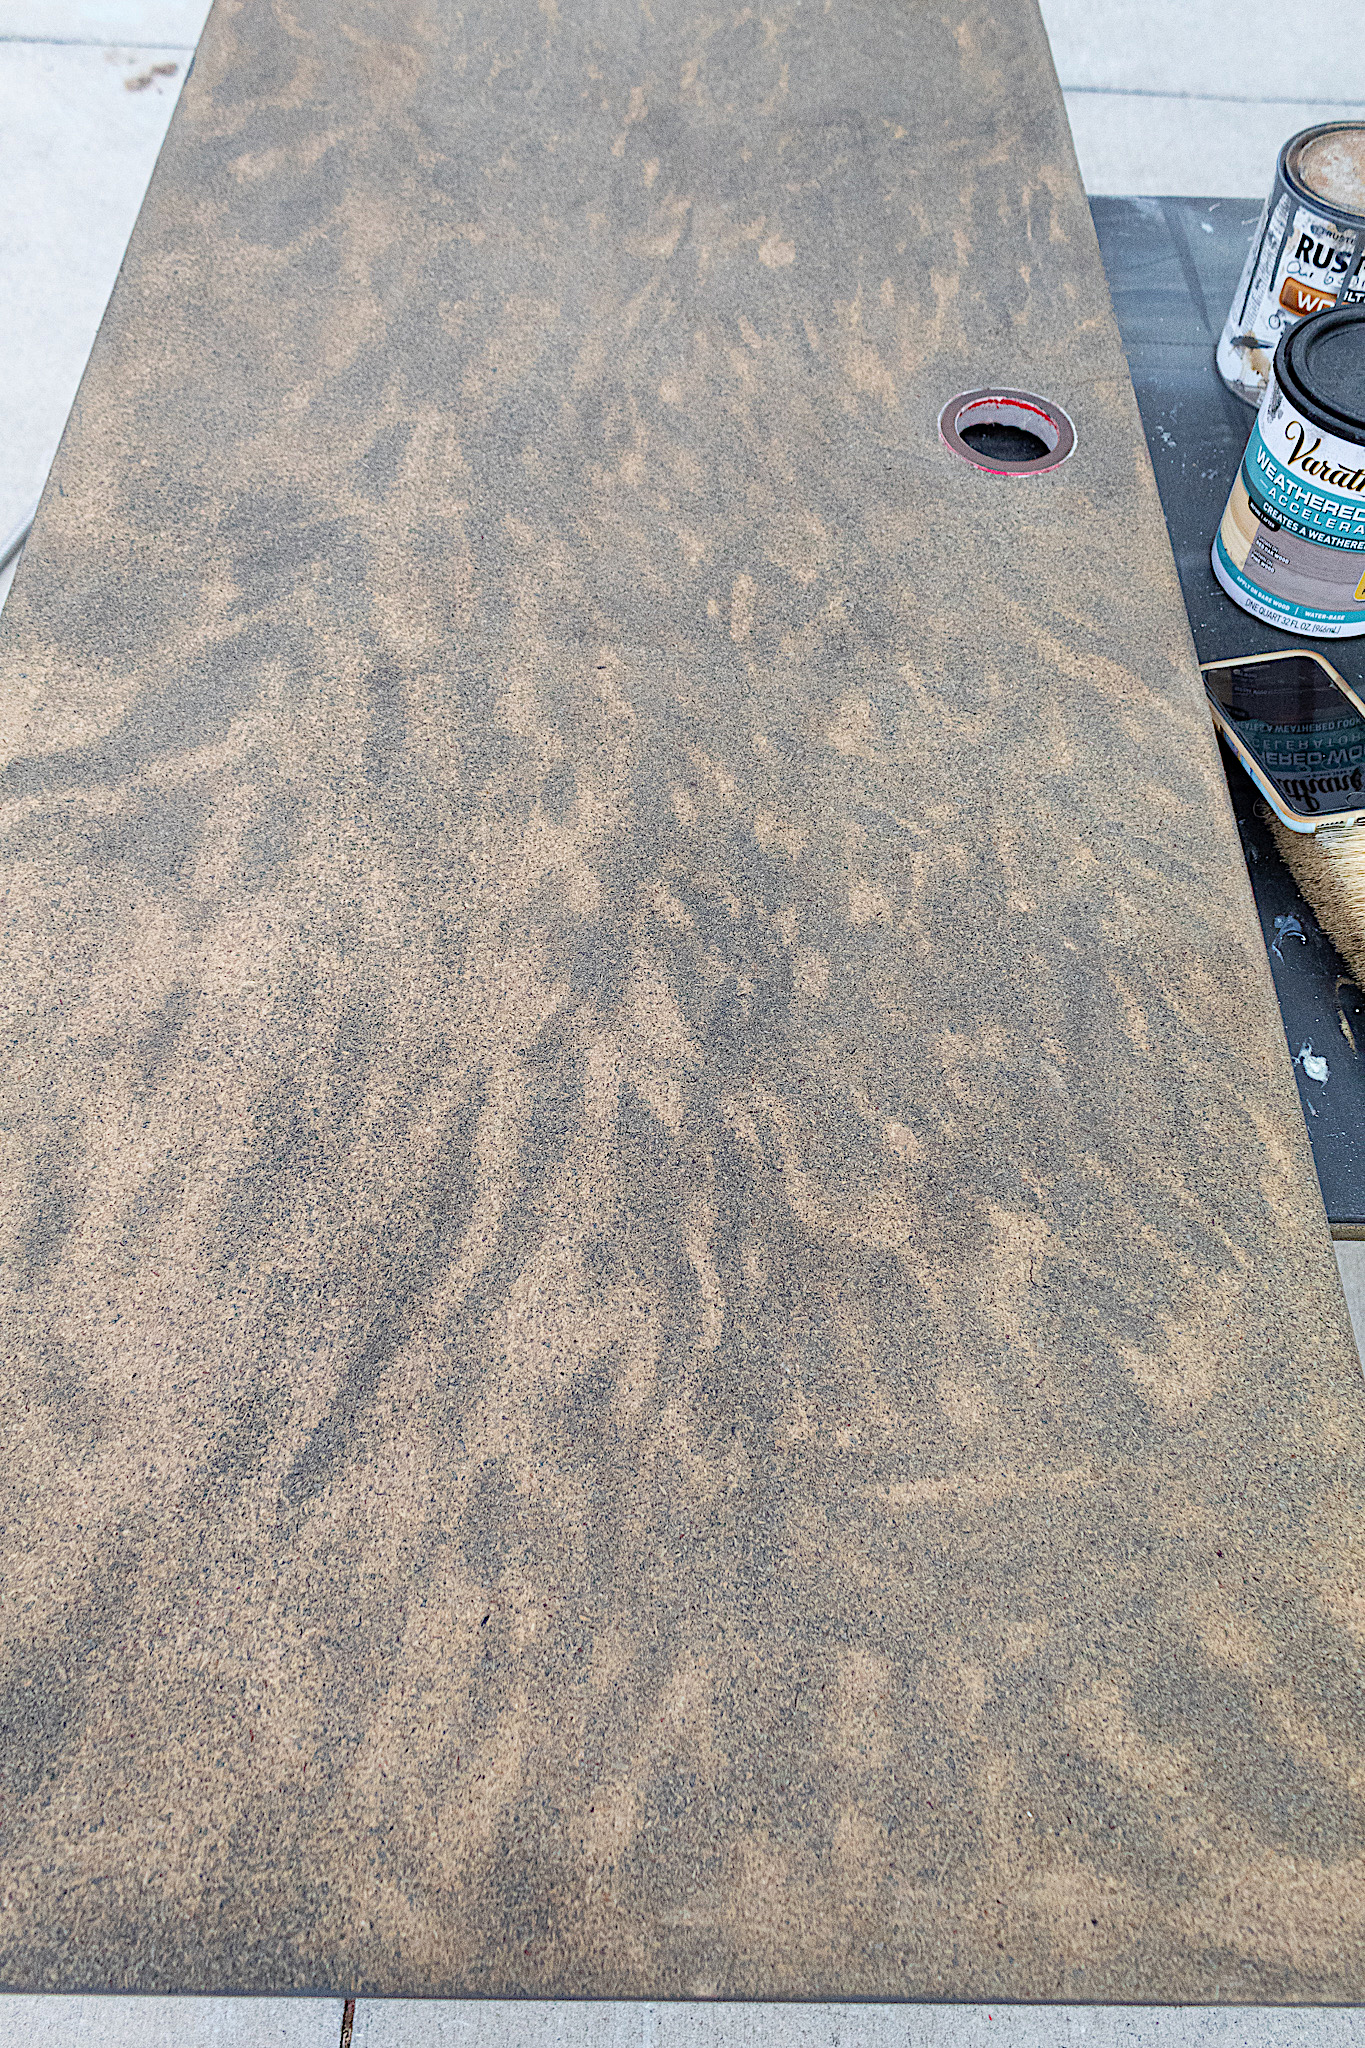
I haven’t mentioned this yet but this was not a fancy desk, but rather cheap in quality. In fact the top is made of particle board. So I was a little worried of what stain would look like on this surface.
I first applied my stain accelerator to the wood by rubbing it in with a paper towel. I worked in small sections. While the section was still wet with accelerator, I applied my Ebony stain, wiping back with my paper towel. What resulted was a really cool look—it resembled tiger print!
Stain accelerator does just what it says—it helps the stain to be absorbed into the wood more quickly, resulting in more of a wood grain look coming through.
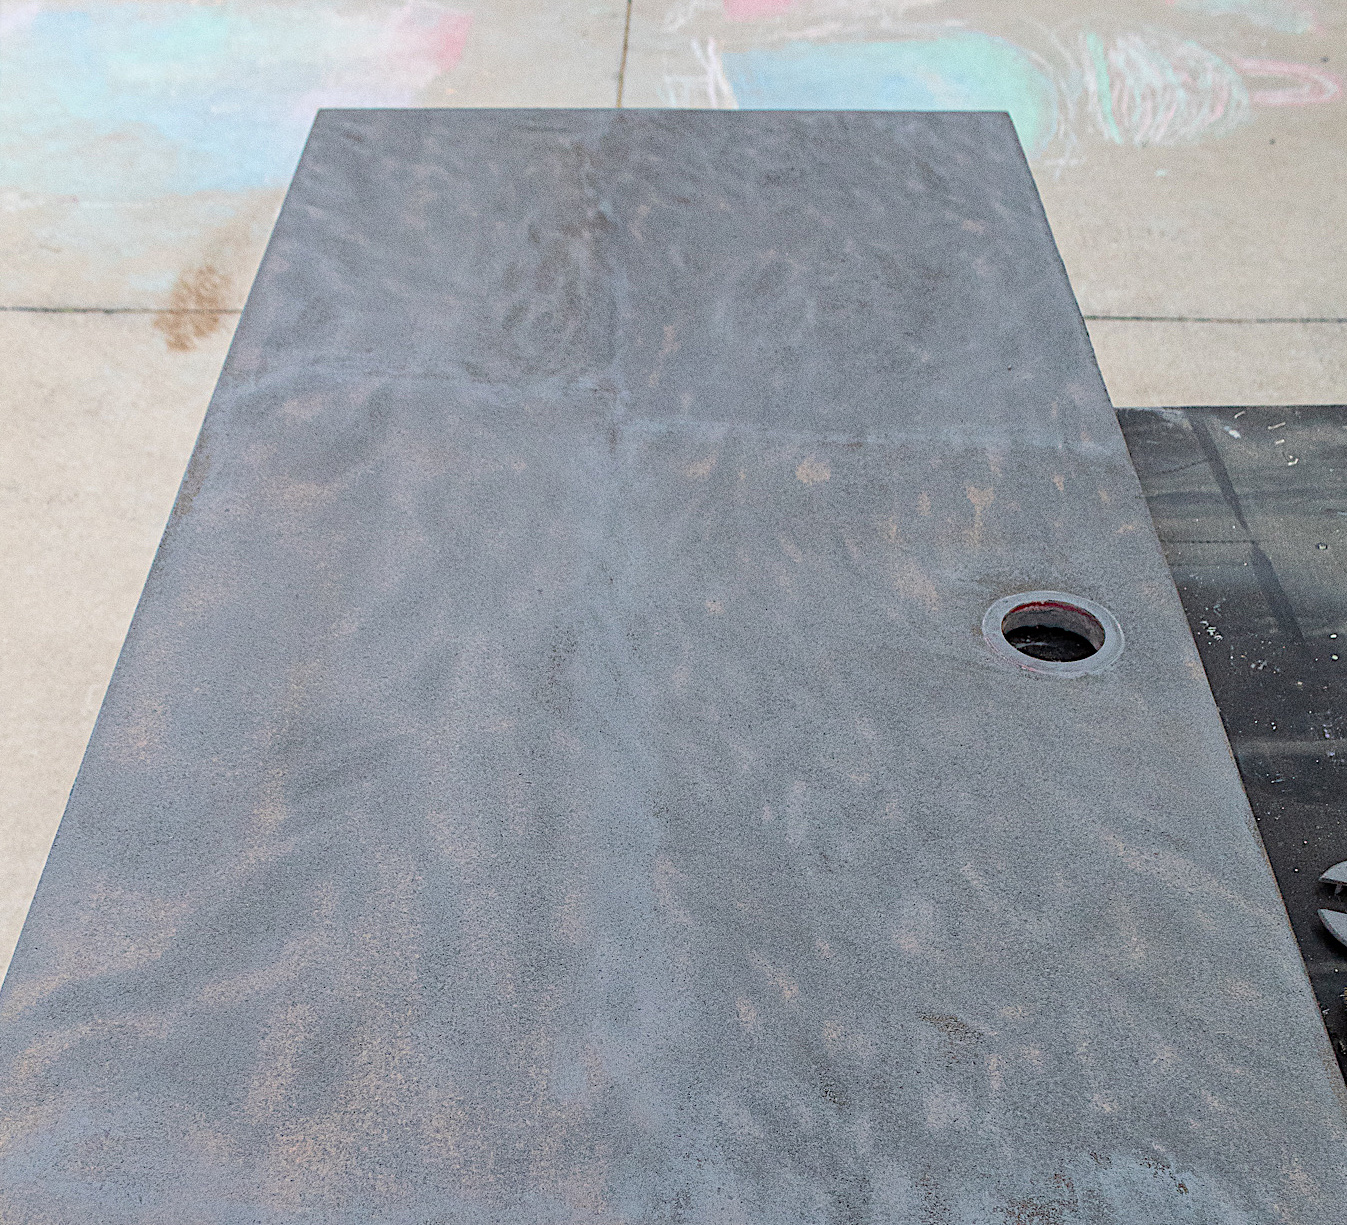
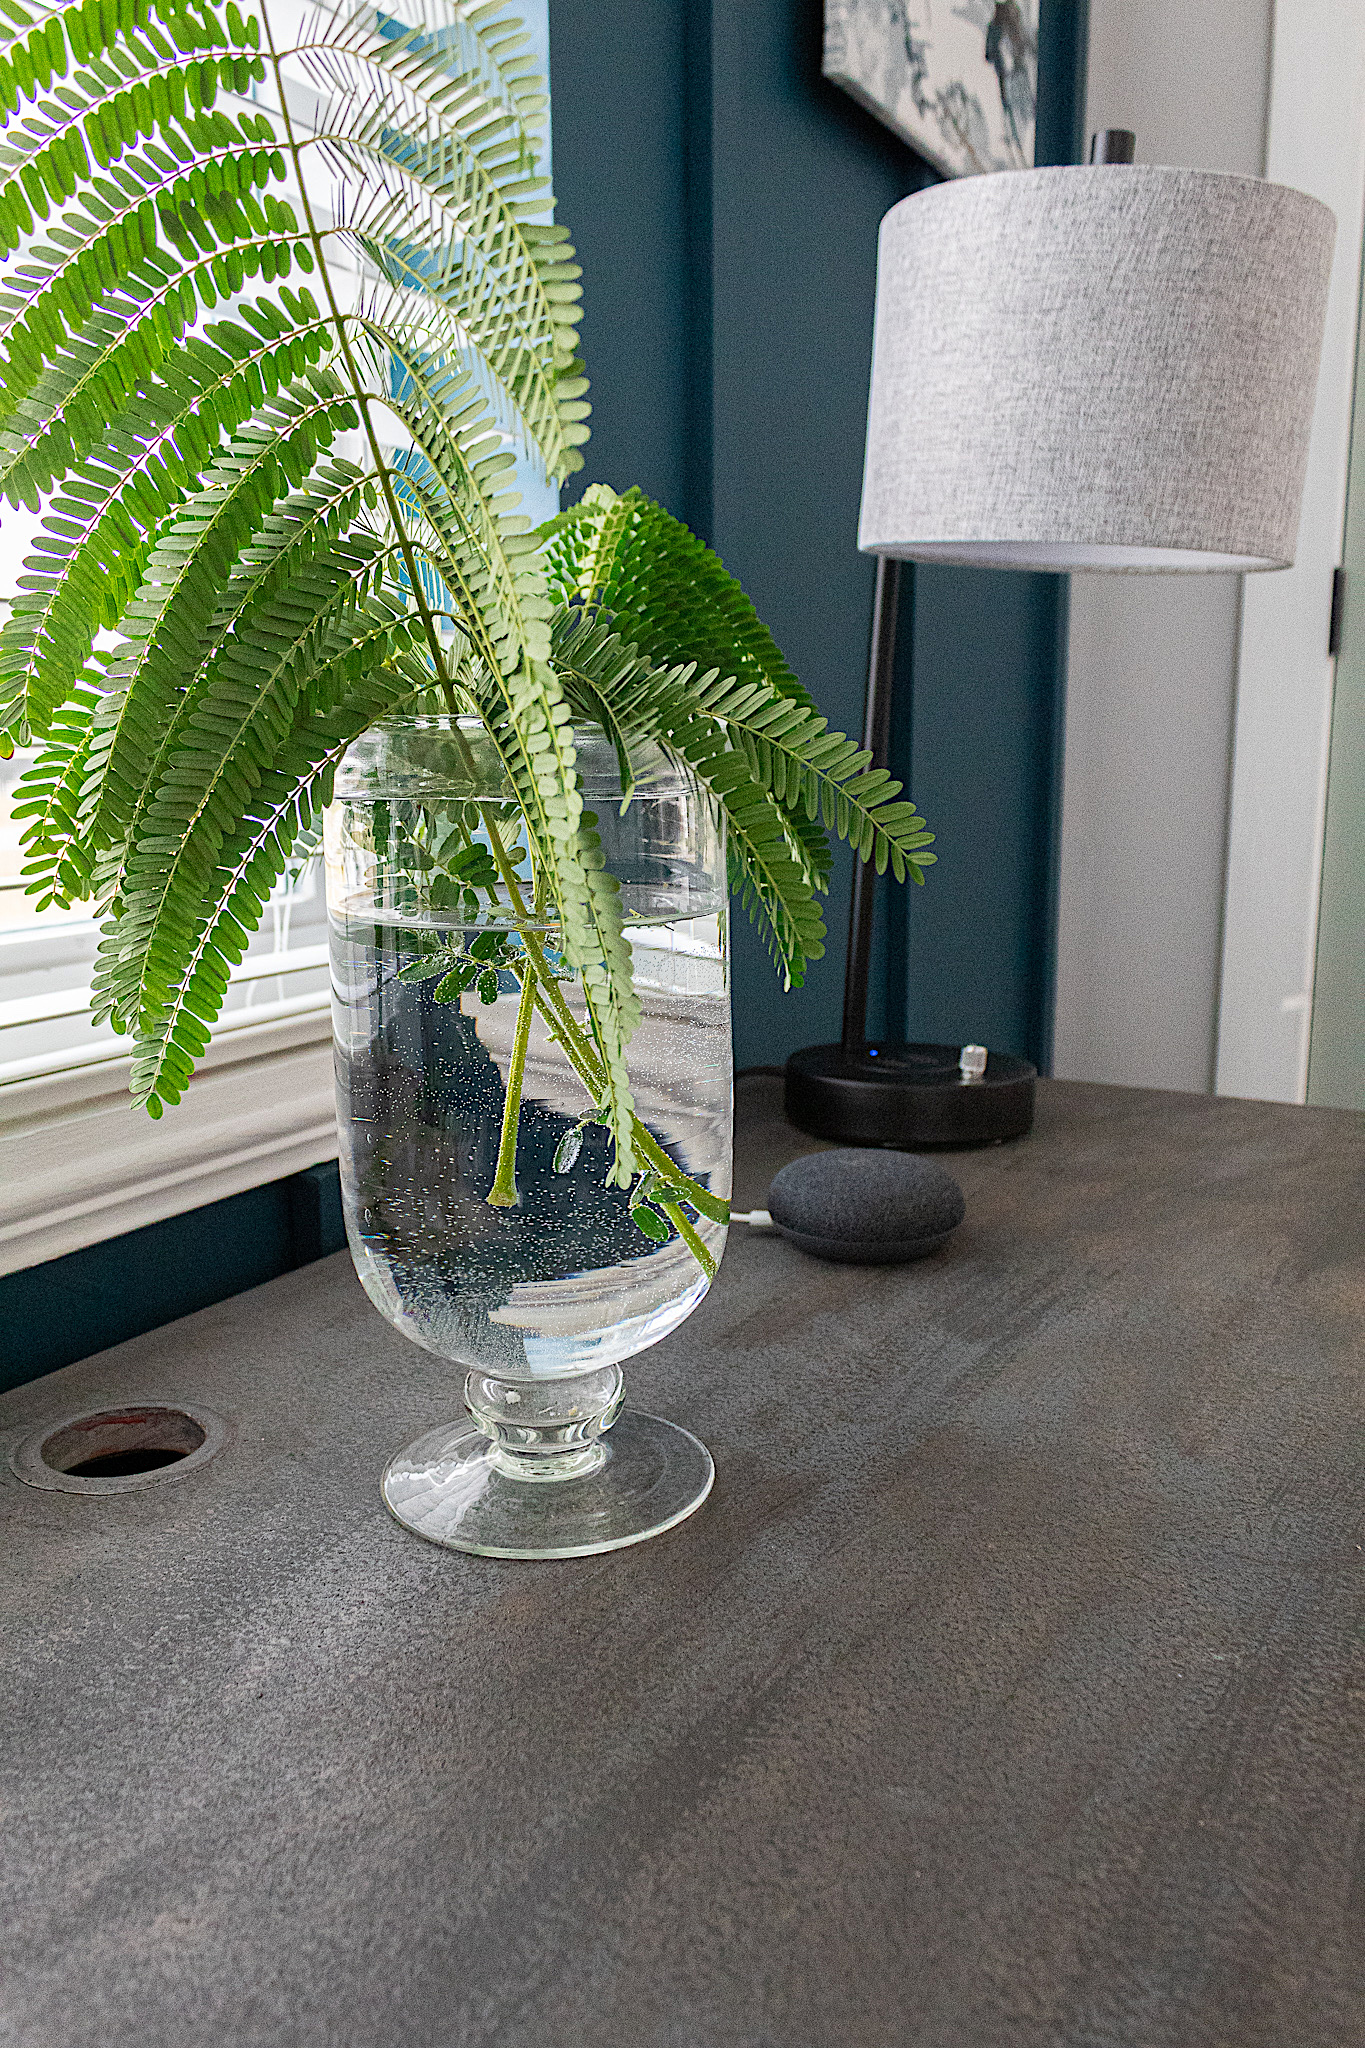
For a final touch I added my weathered gray stain, this time without using accelerator. I simply rubbed the stain on with paper towels. I love playing with different stain colors on a piece. I really like the hue the gray added to my “tiger print”—it gave the design a richer feel. I sealed the top with my dark wax, but a clear coat with a high gloss would have probably made the details on the desk top really stand out.
Watch This Video To See How I Finished The Top
And that is it friends! This renovation was done in record time and I’m loving the results. Let me know what you think in the comments below. And if I missed any details, I’d be happy to share.