Hello sweet readers! Today I’m sharing a favorite DIY project. I have taken a plastic planter and given it a weathered stone look using a few simple techniques. I am LOVING how it looks. I can’t wait to transform more of my plastic planters around the house. Now, let’s get started!
Materials
1 plastic planter
2 colors of chalk paint (I used Glidden’s Giant Gray and Behr’s Weathered White chalked with this recipe)
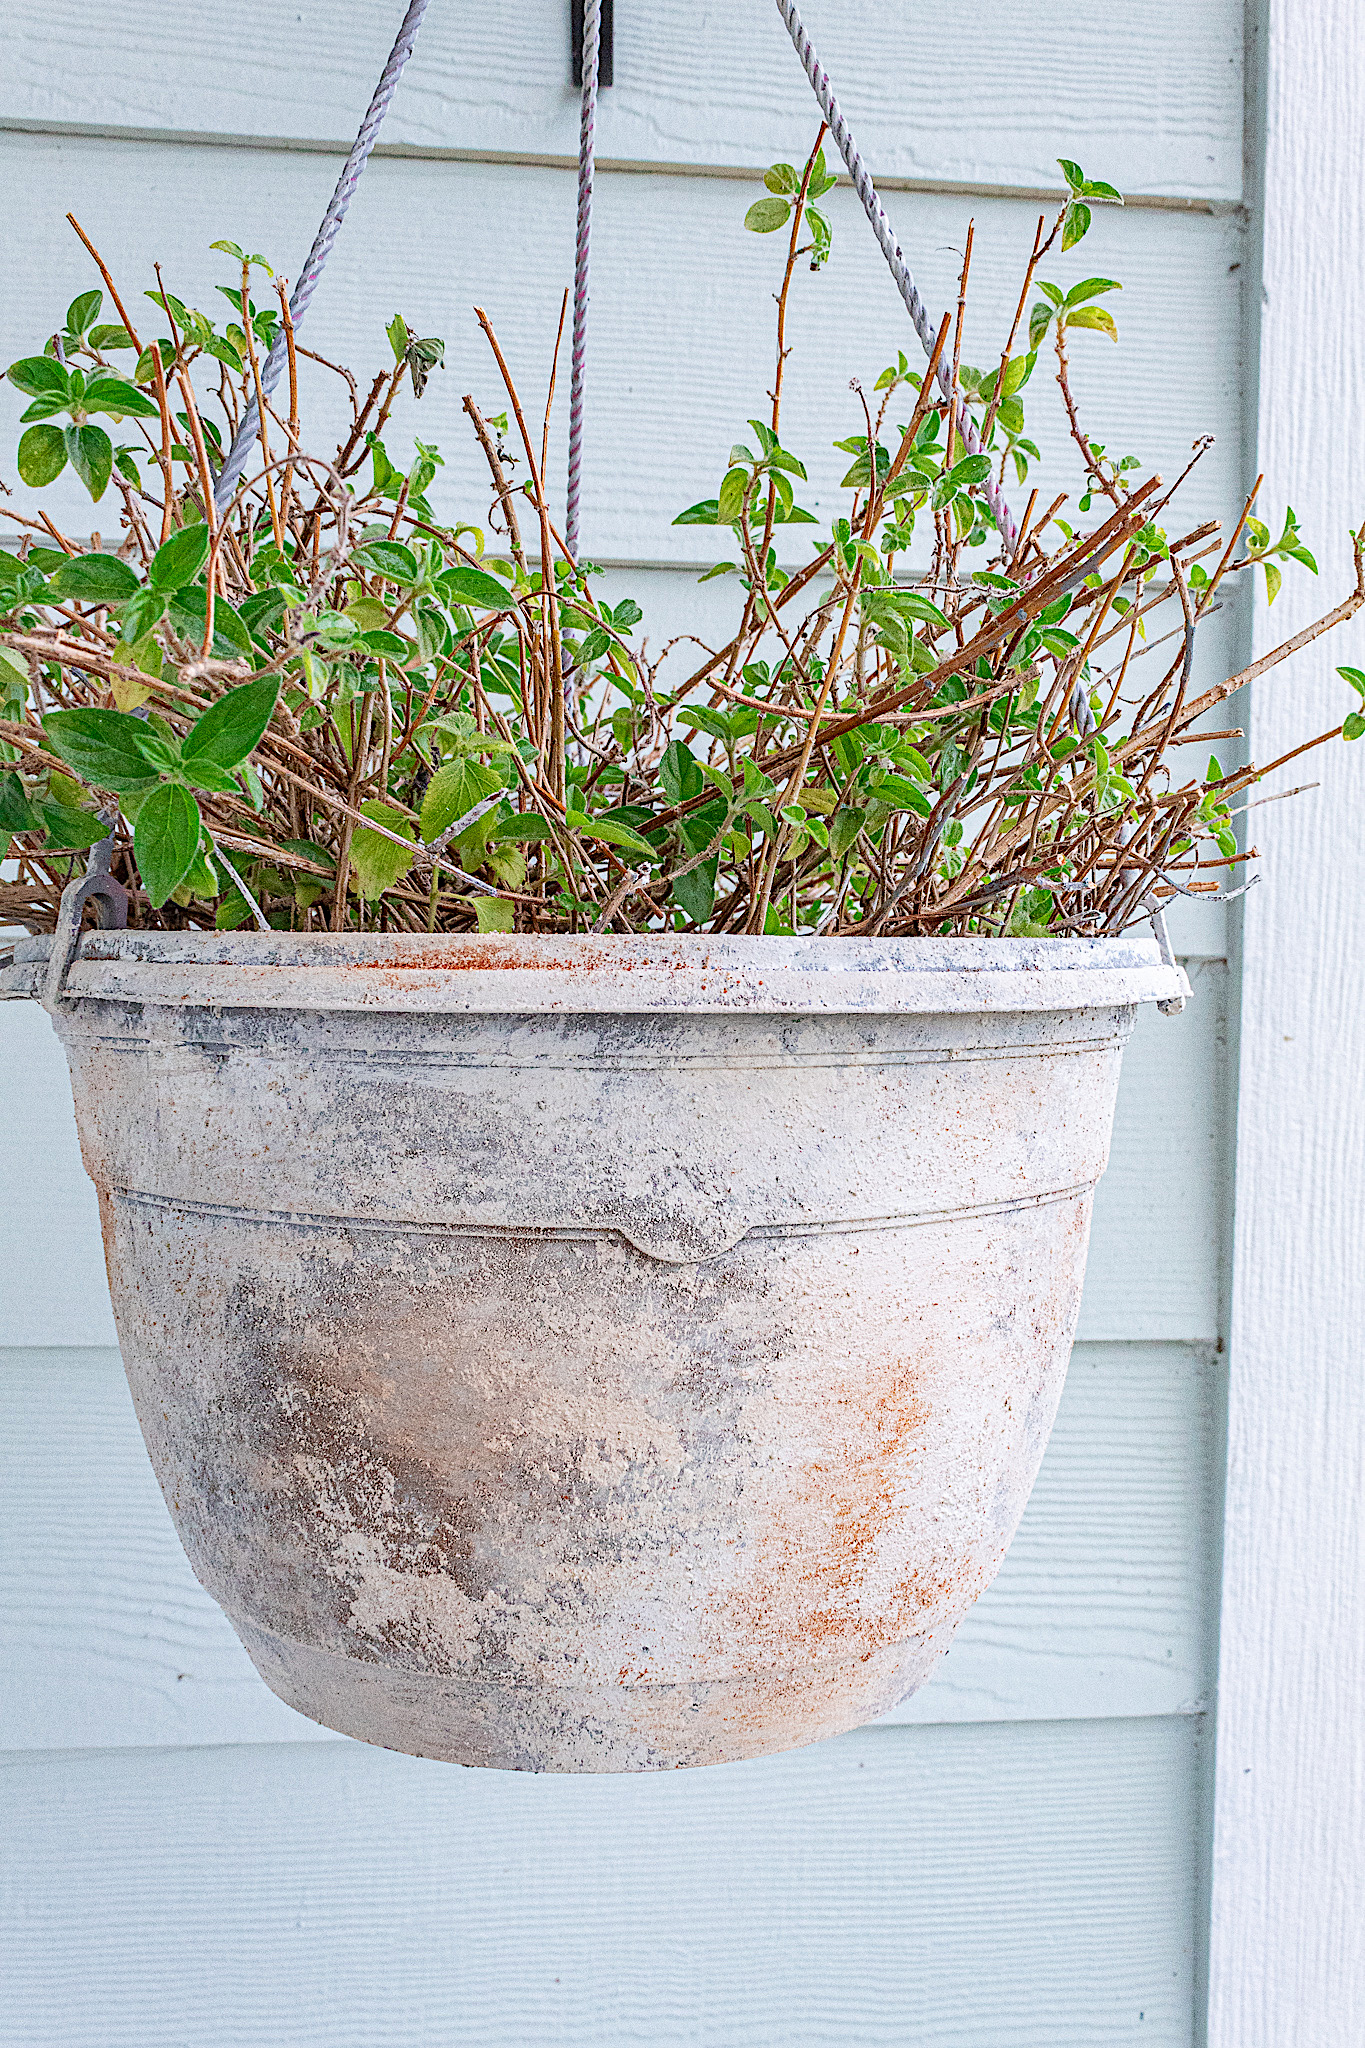
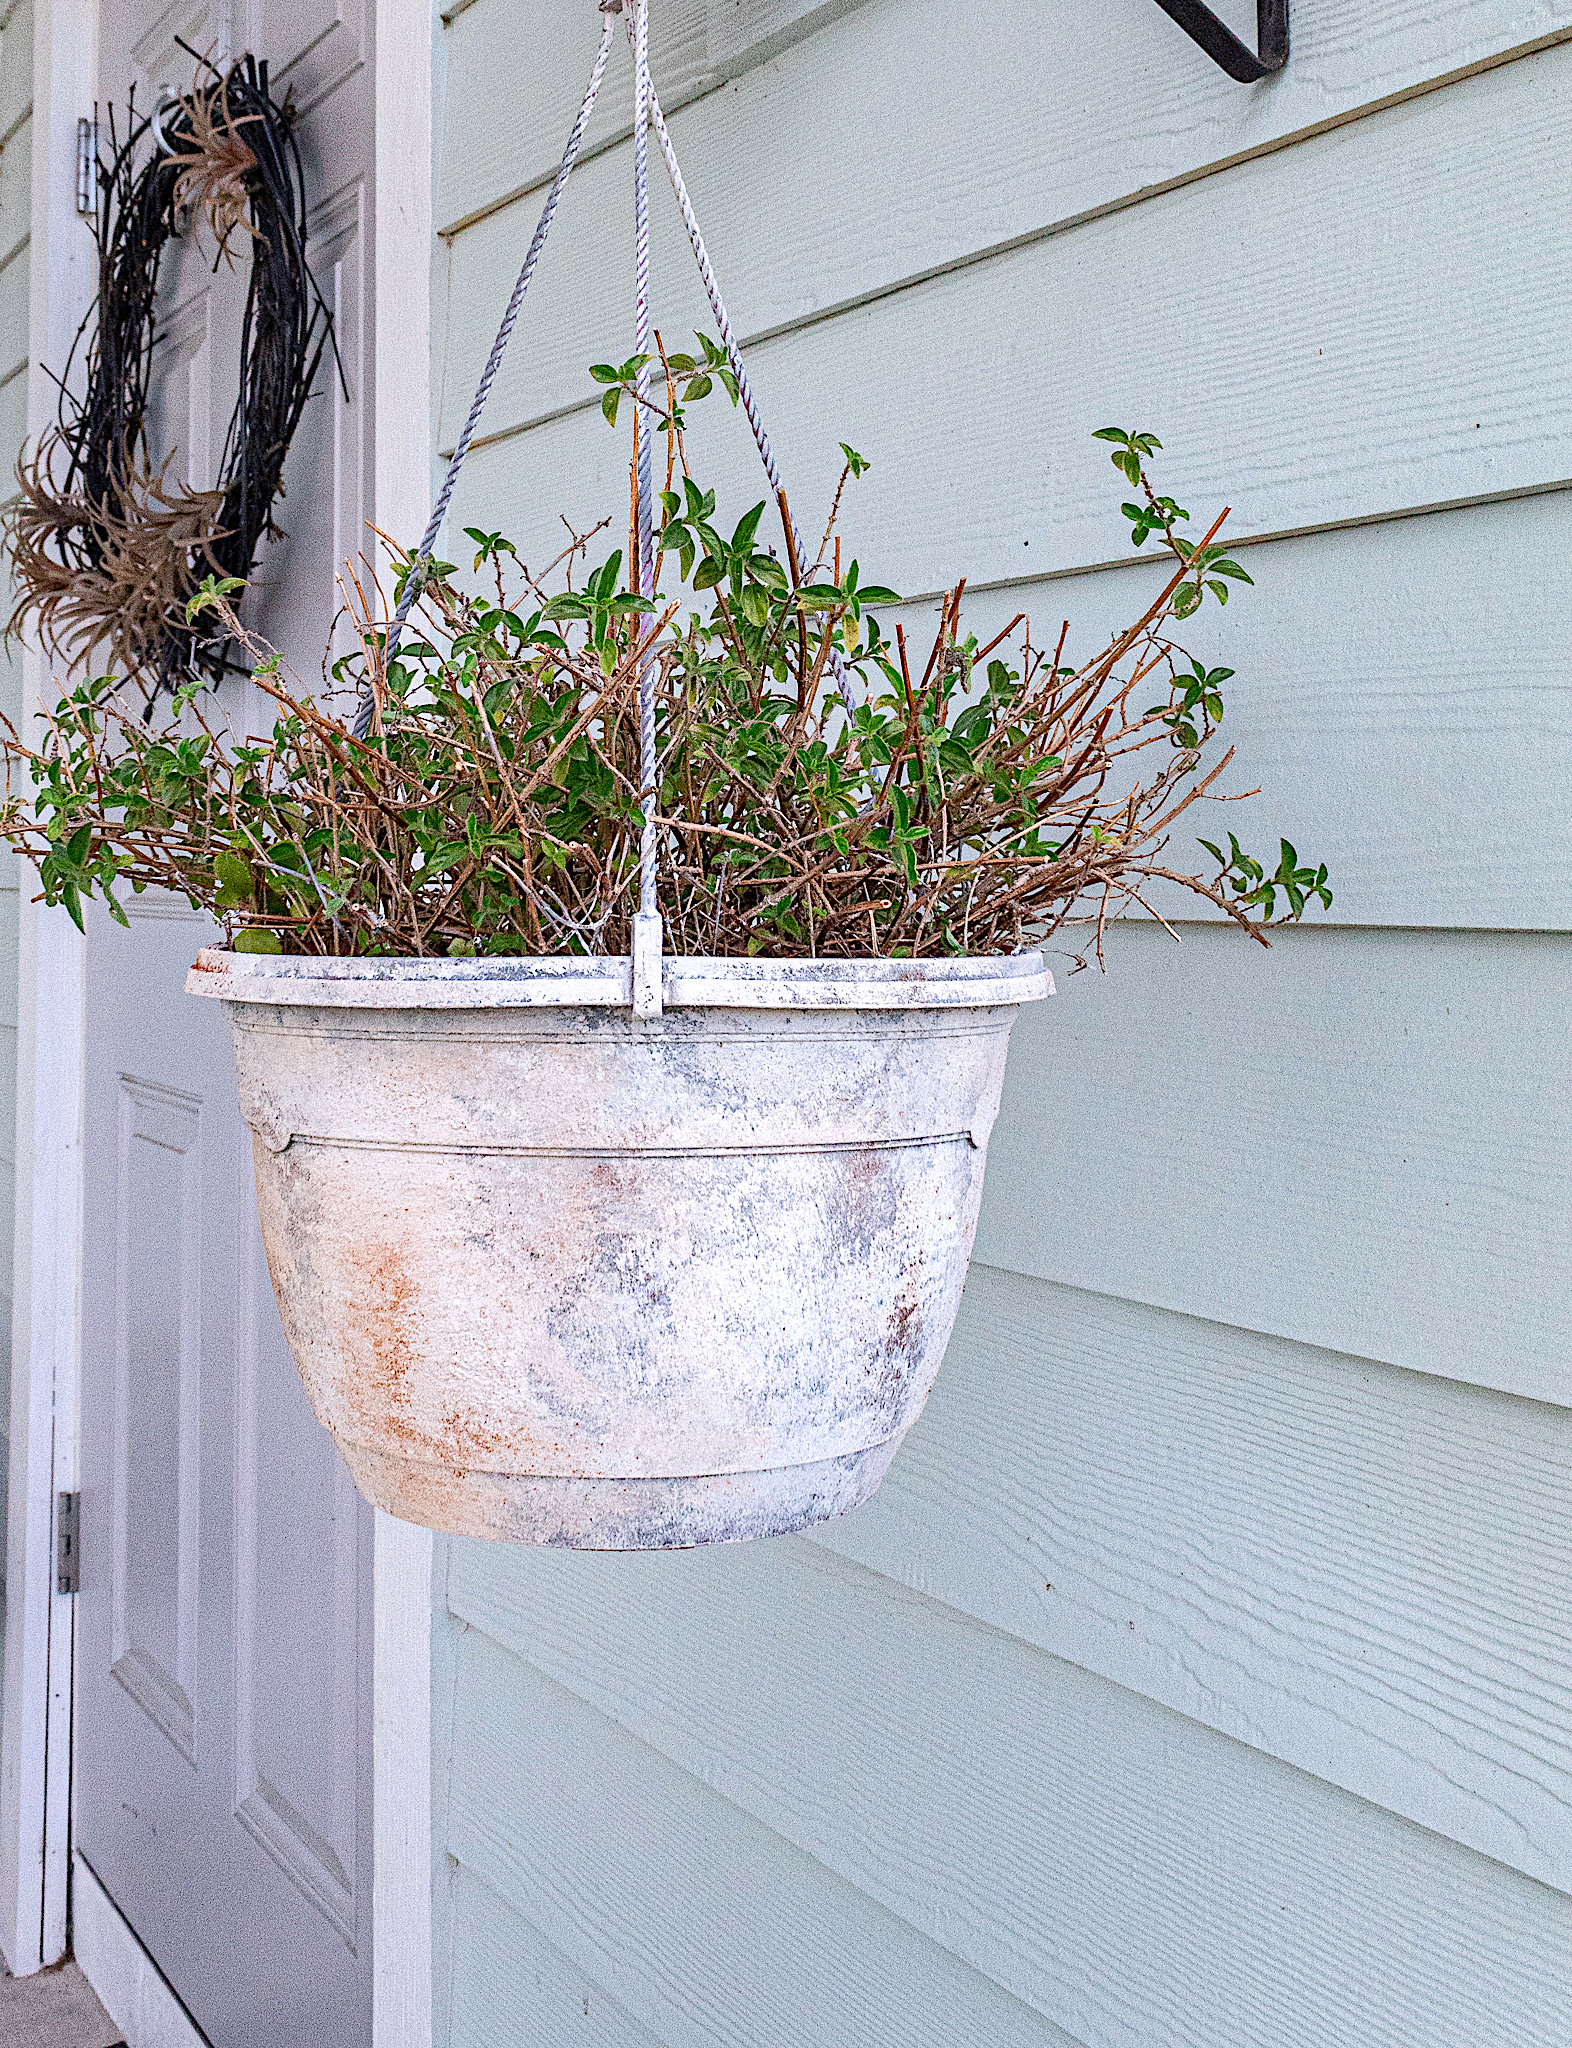
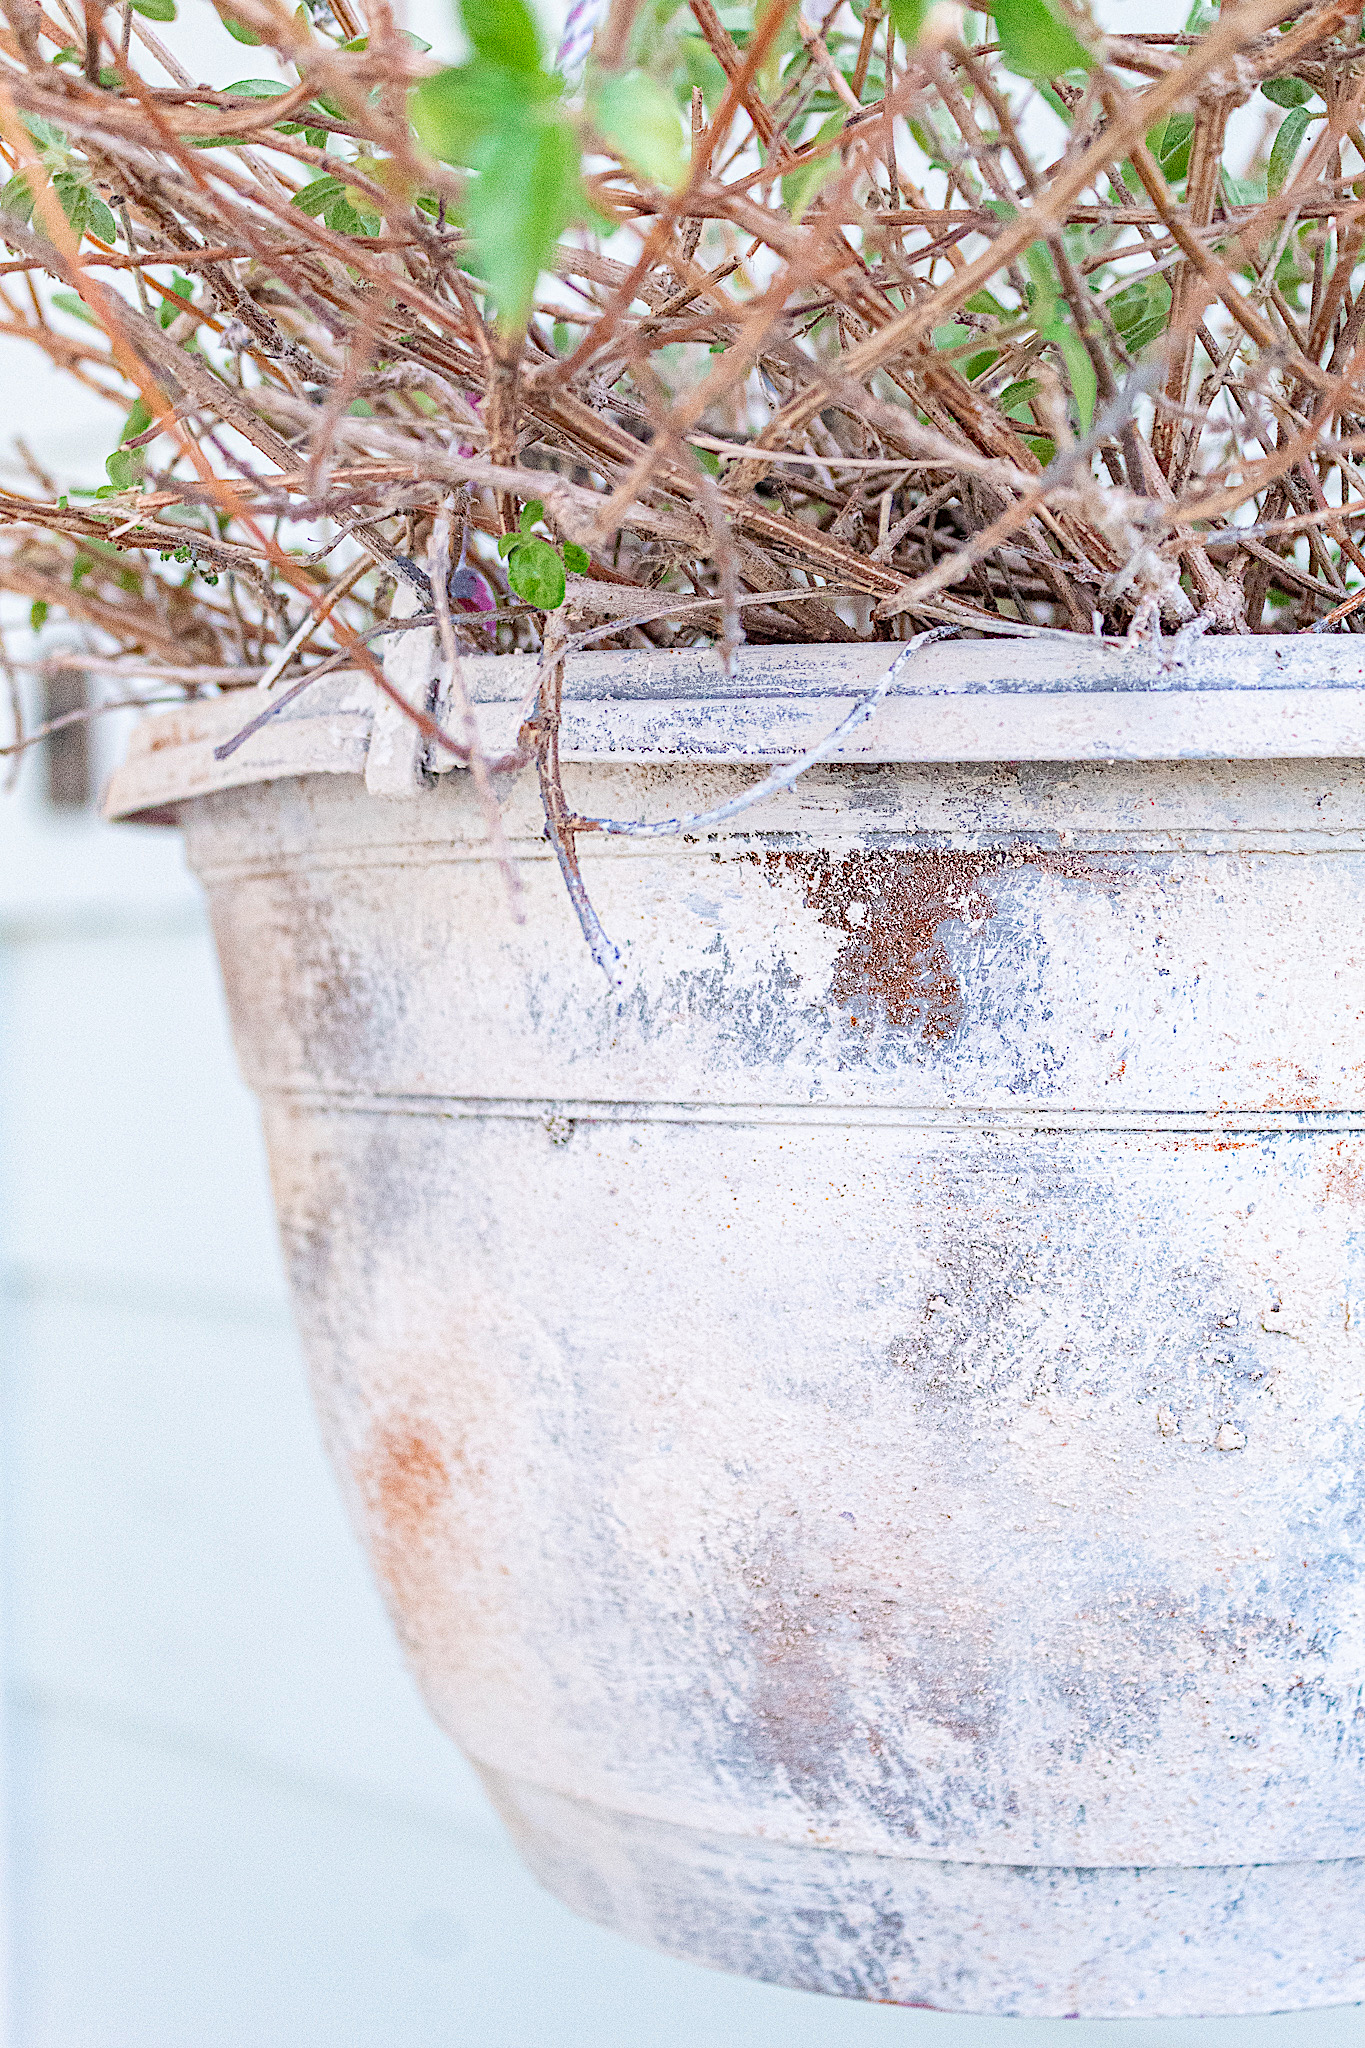
This pink hanging planter has been adorning our back entryway. I’d been wanting to make it look more sophisticated for some time. The plant that sits in the planter is a beautiful plant that cascades over the planter with bushy red blooms. Having lost much of its foliage during the winter and before the plant grows back, this was the perfect time to paint the planter.
1. Apply Your First Color
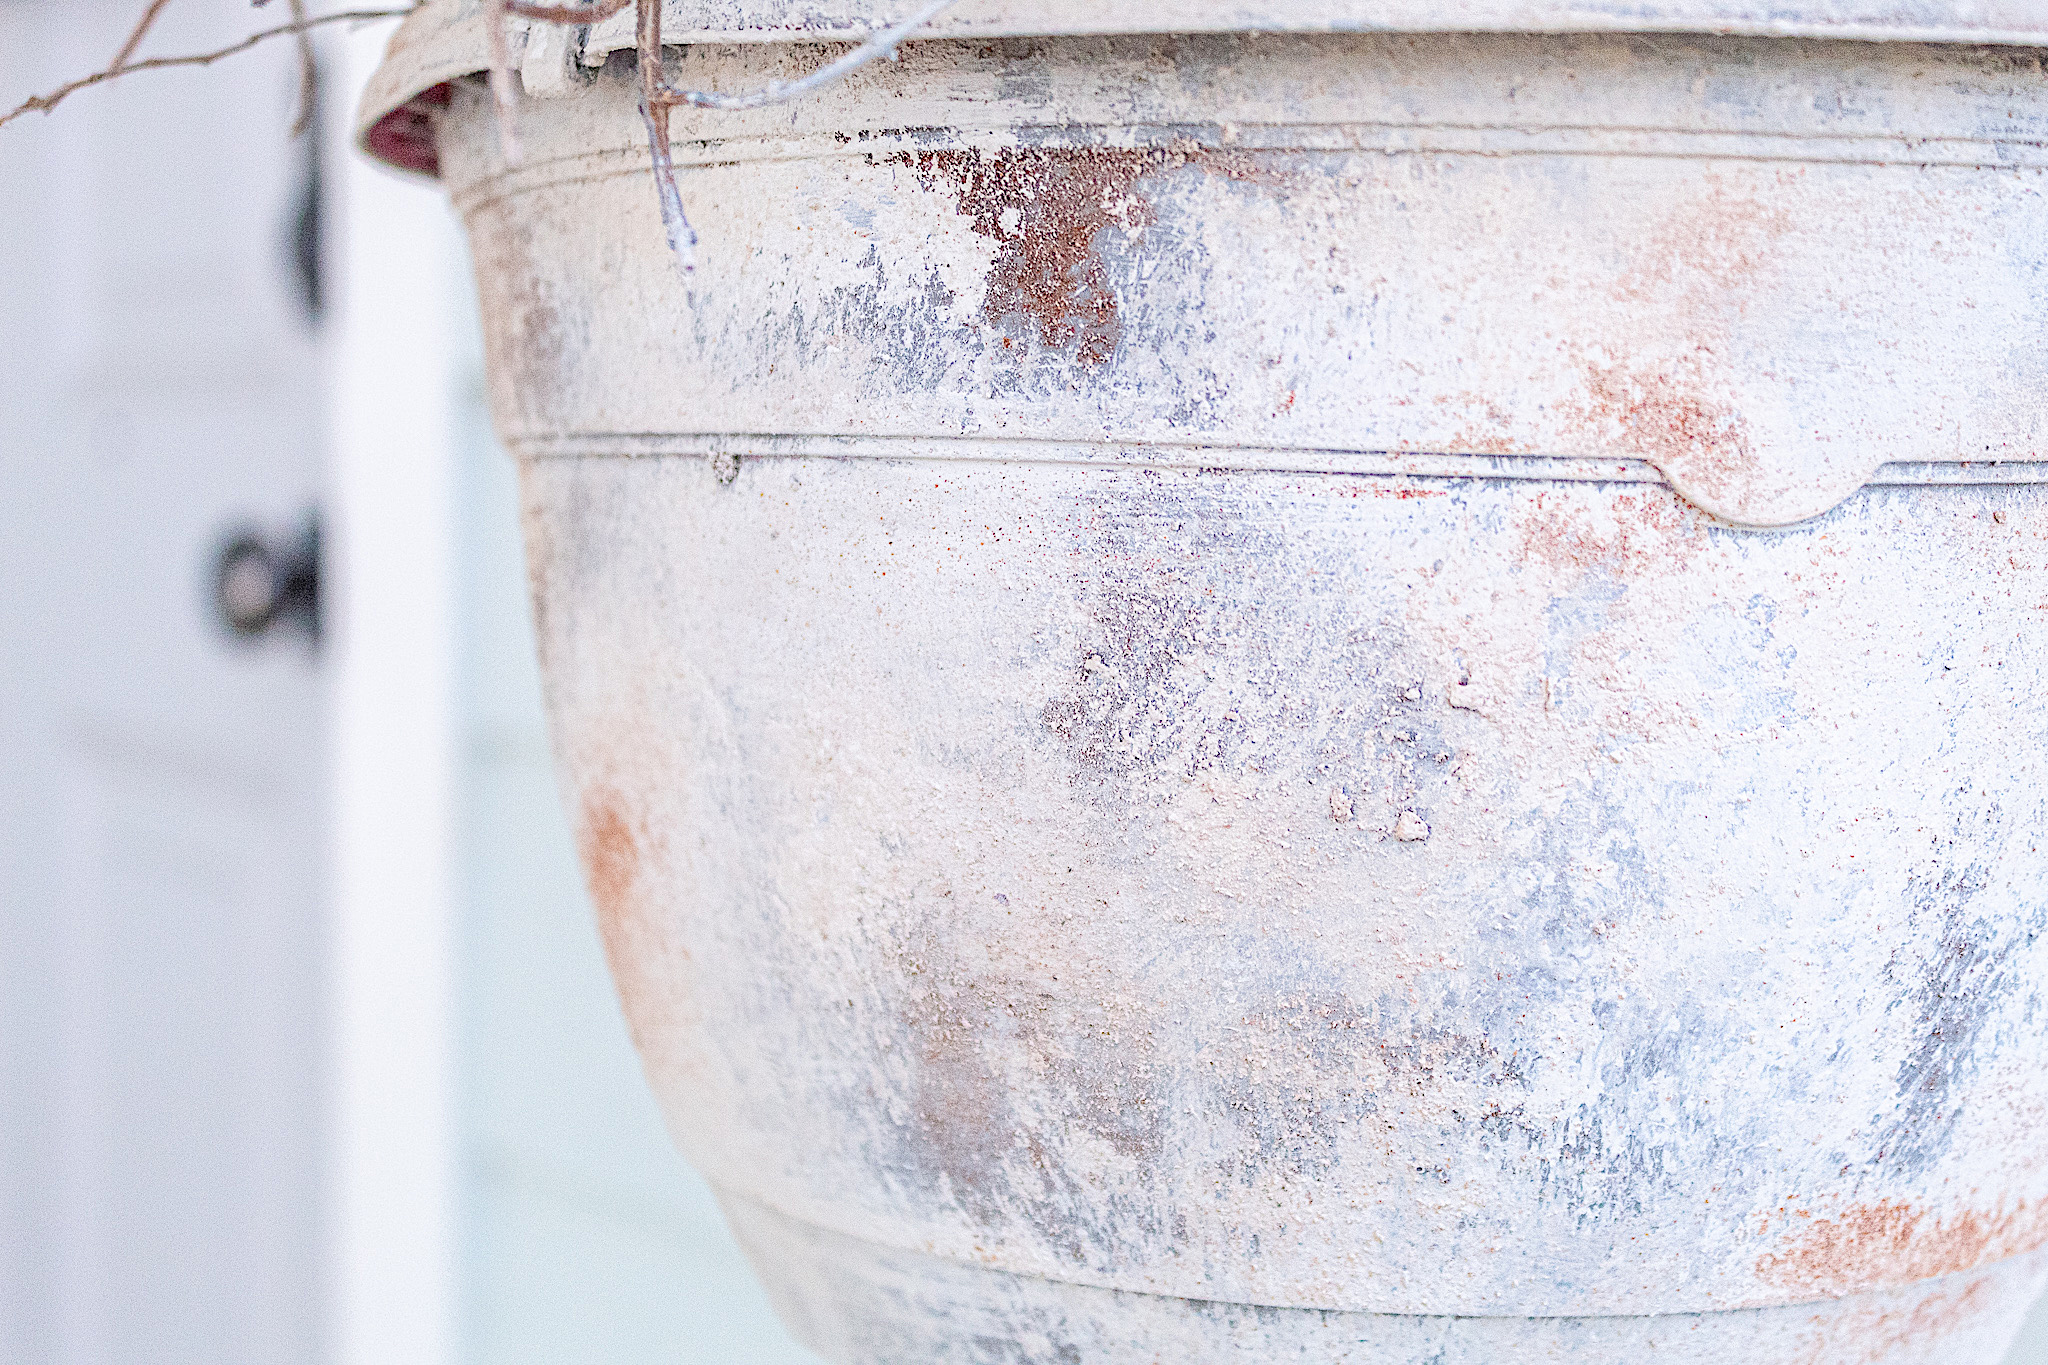
Layering colors of paint is a technique I use often to add depth to my finishes and to create an appearance of age. I want this planter to resemble an aged stone look. I figured gray is a hue found often in stone finishes. With my paint brush I dabbed up and down all over the planter, rather than doing smooth paint strokes. Dabbing the paint on results in wonderful texture which is needed for our stone look.
2. Adding A Rust Effect
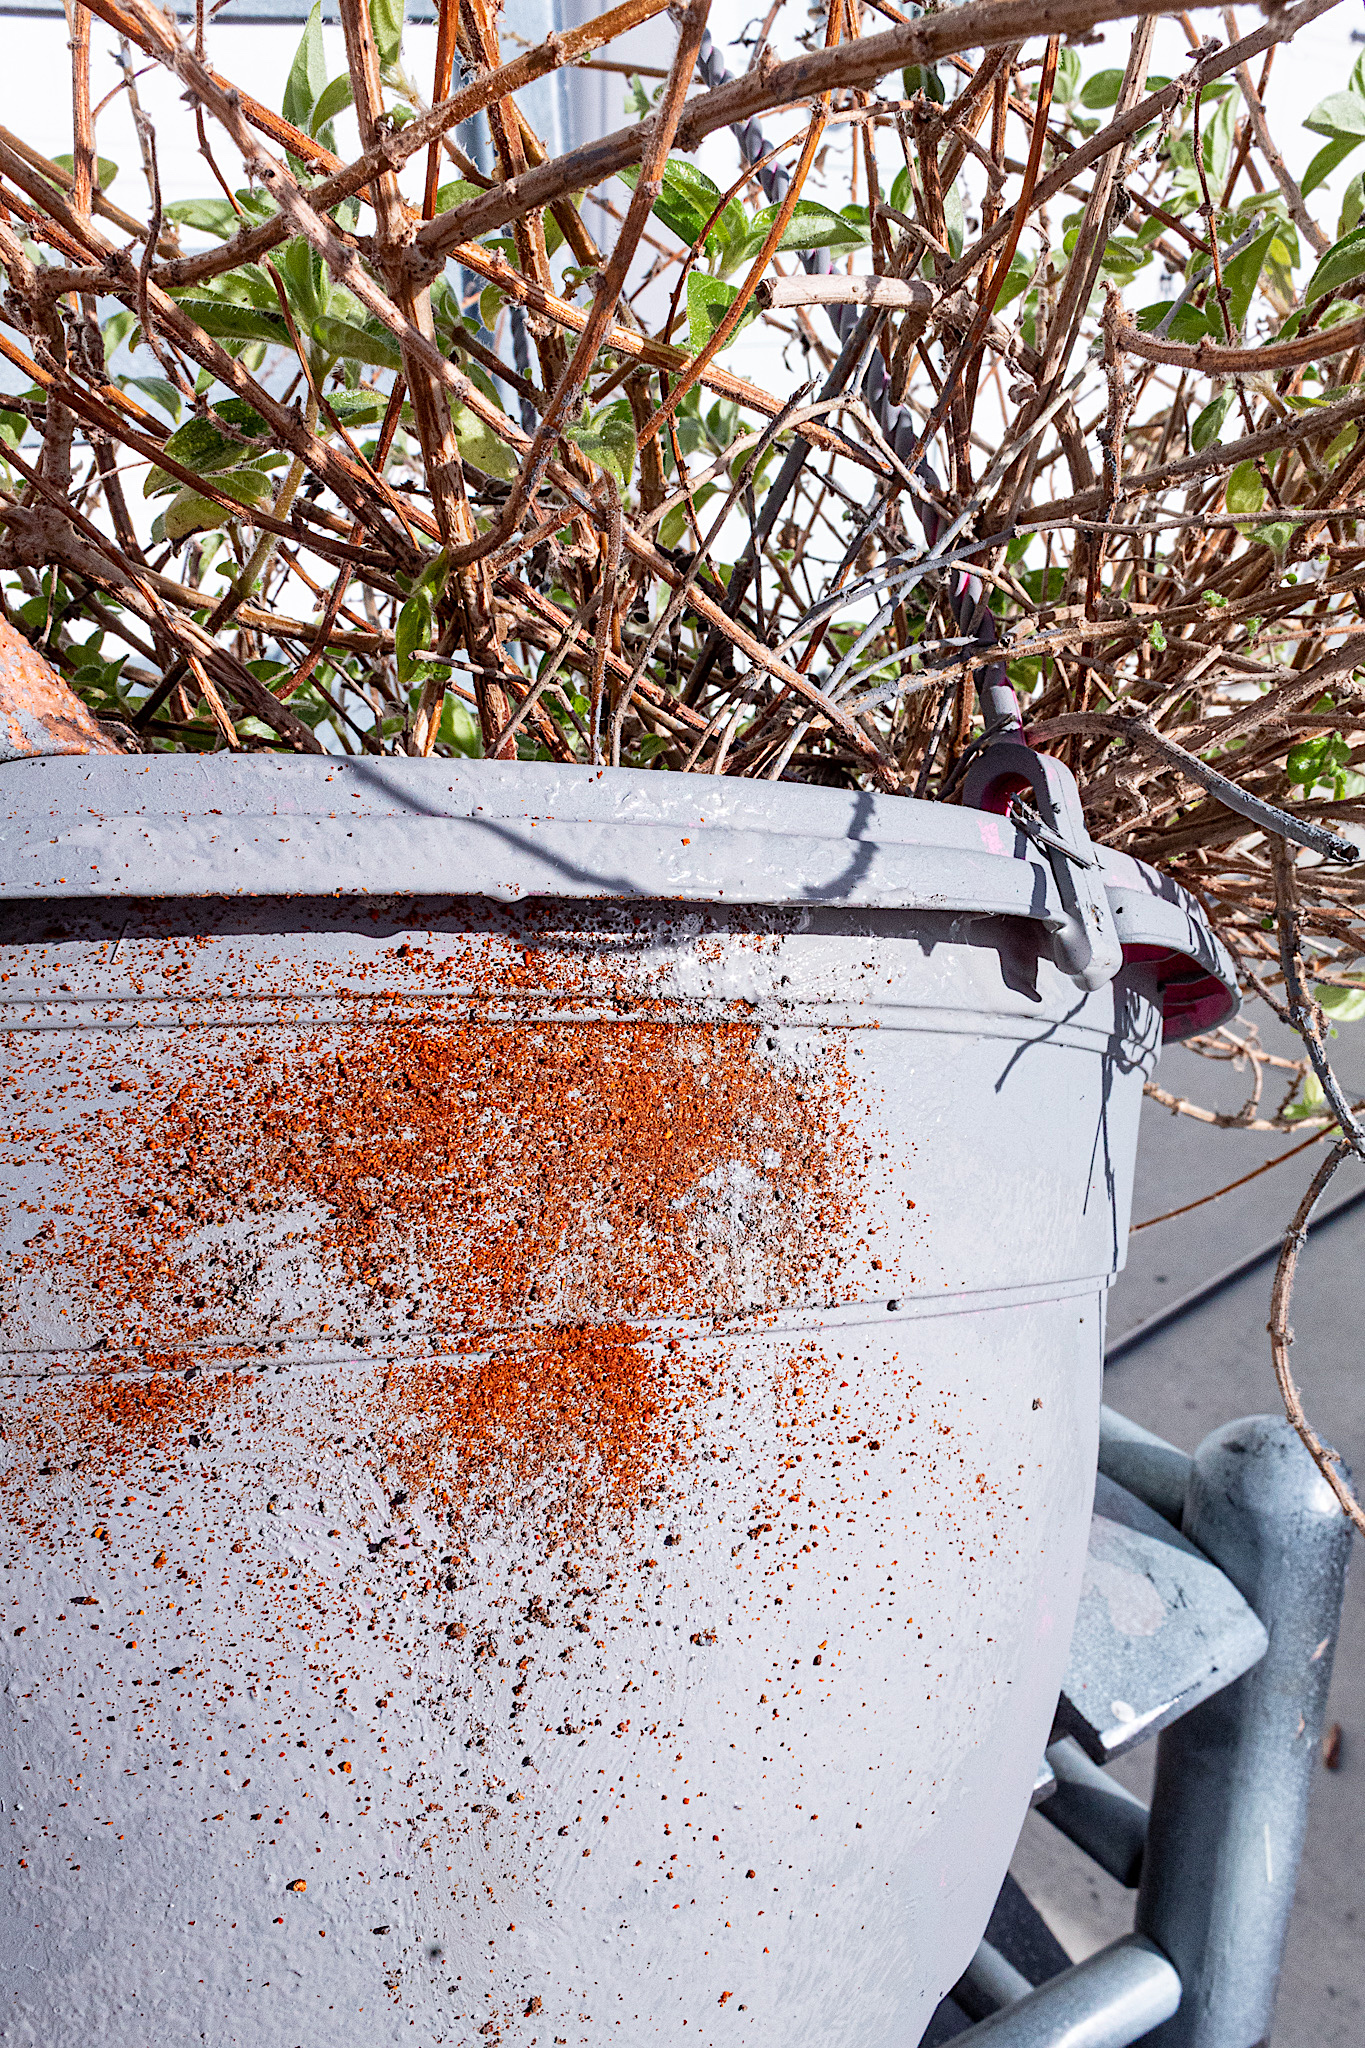
Chalk paint dries very quickly, especially while working in the sun. By the time I completed my first coat, I could start with my second. The second coat of gray involves adding some rust to our weathered look. This next step is quite fun. I get to use my secret ingredient, Paprika! Smoked paprika, to be precise, since it is a deeper orange. Of course you can use regular paprika or any other orange-colored condiment such as cinnamon.
To create a rusted look: •Work in sections •Dab on some paint •While the paint is wet sprinkle some paprika over the area •Take your gloved finger and dab over the paprika. This creates texture and blending for a more authentic effect.
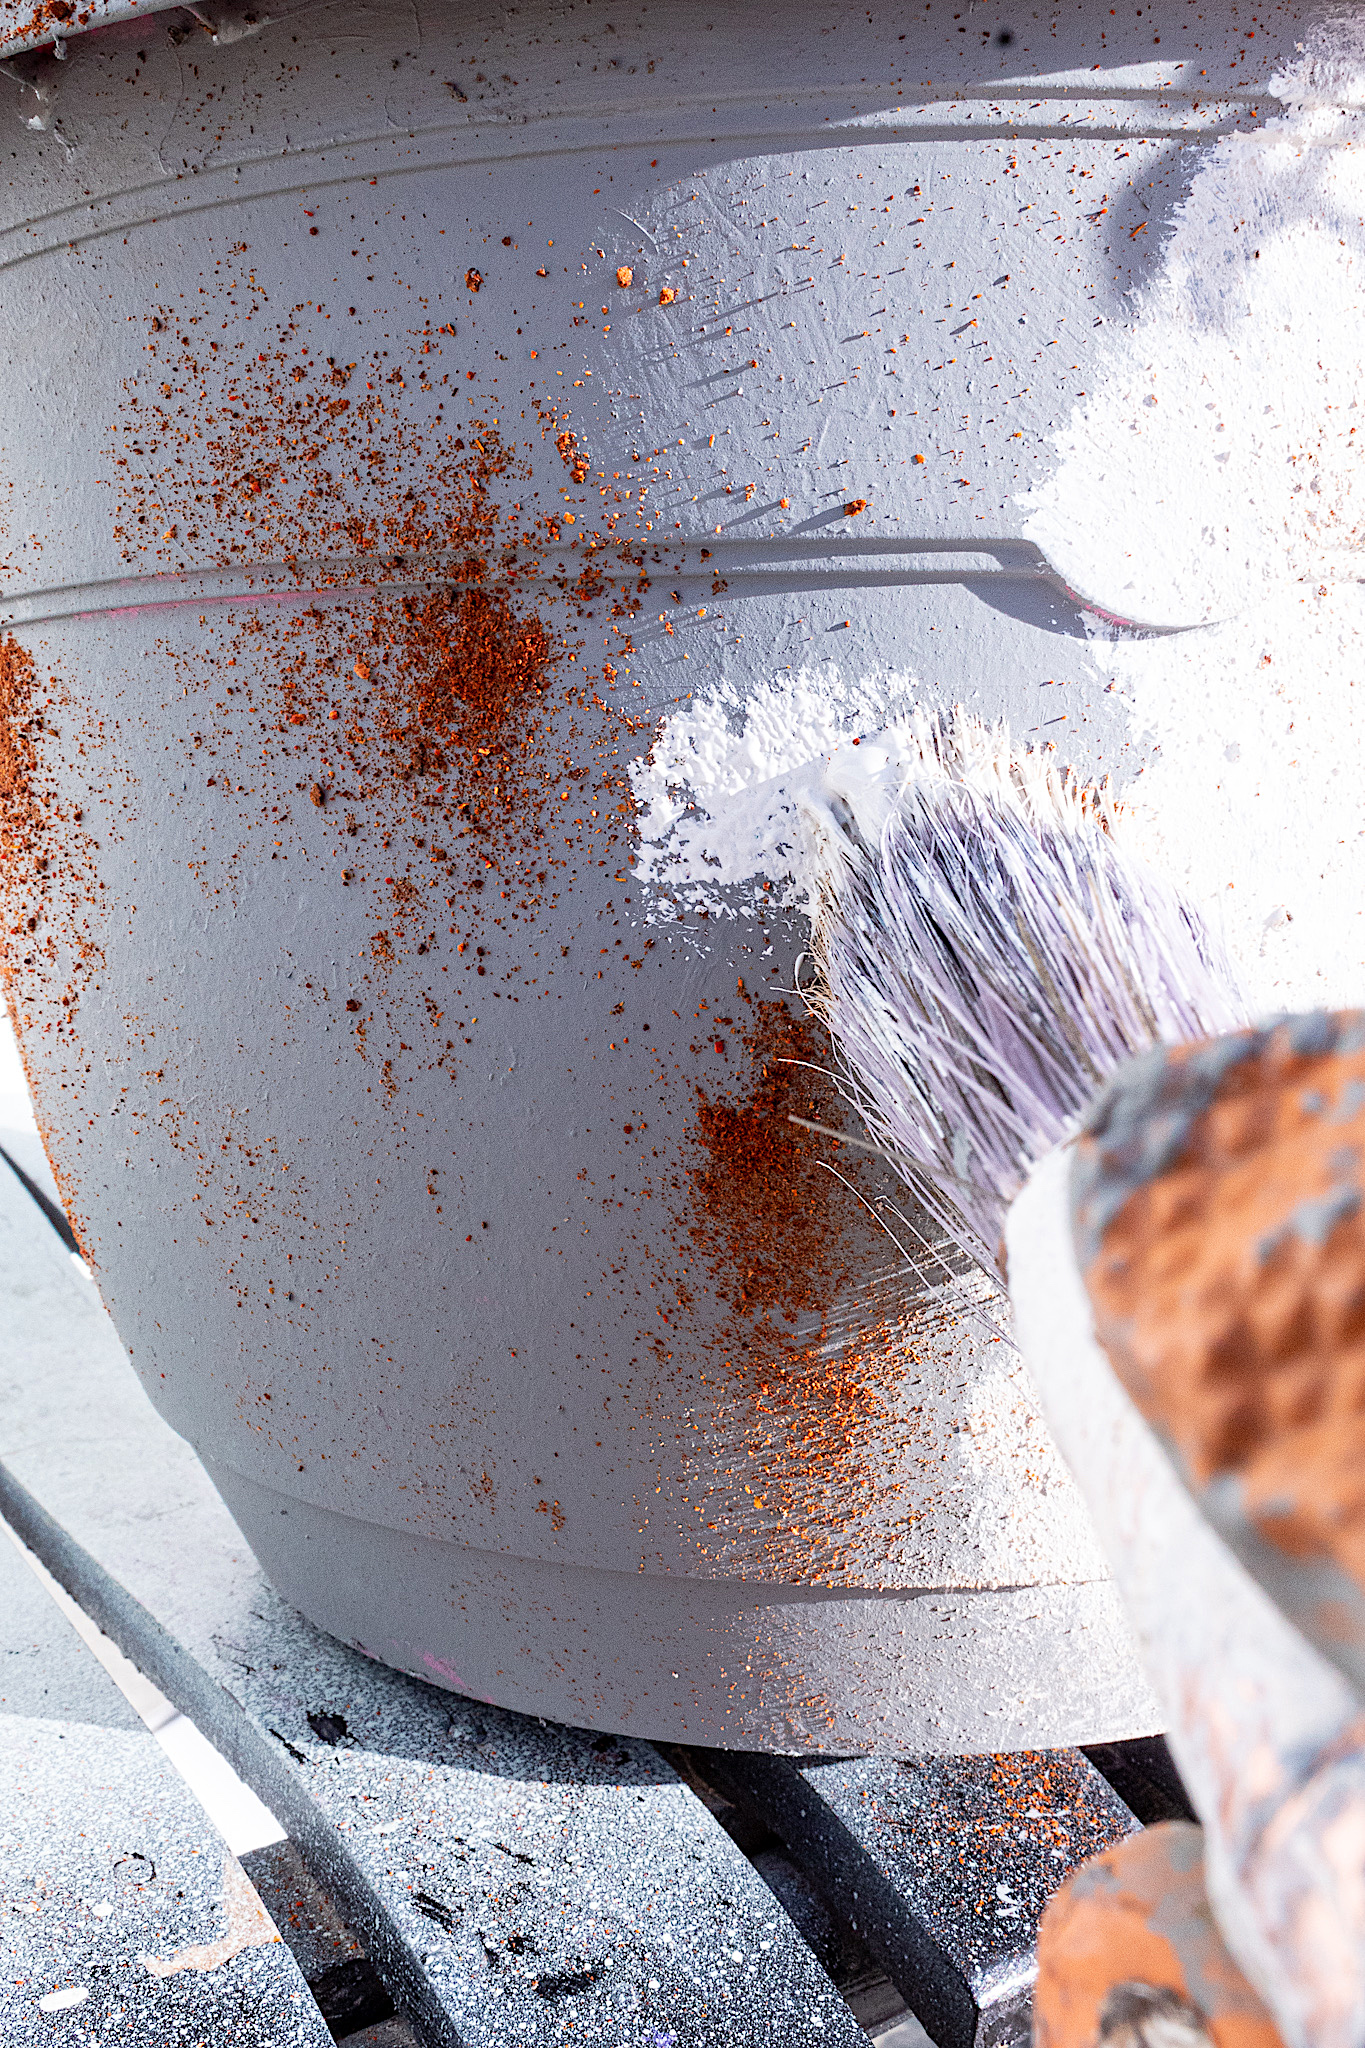
3. Apply Your Second Color
Not only does it smell delicious while I’m applying my “rust,” but it is creating beautiful texture on the surface of the planter. Once you have added rust all around the planter you can start applying your next paint color. Use the same dabbing technique with your brush. Don’t thin out your paint with water. You want thickness for dimension and texture. Leave some of the gray and rust exposed.
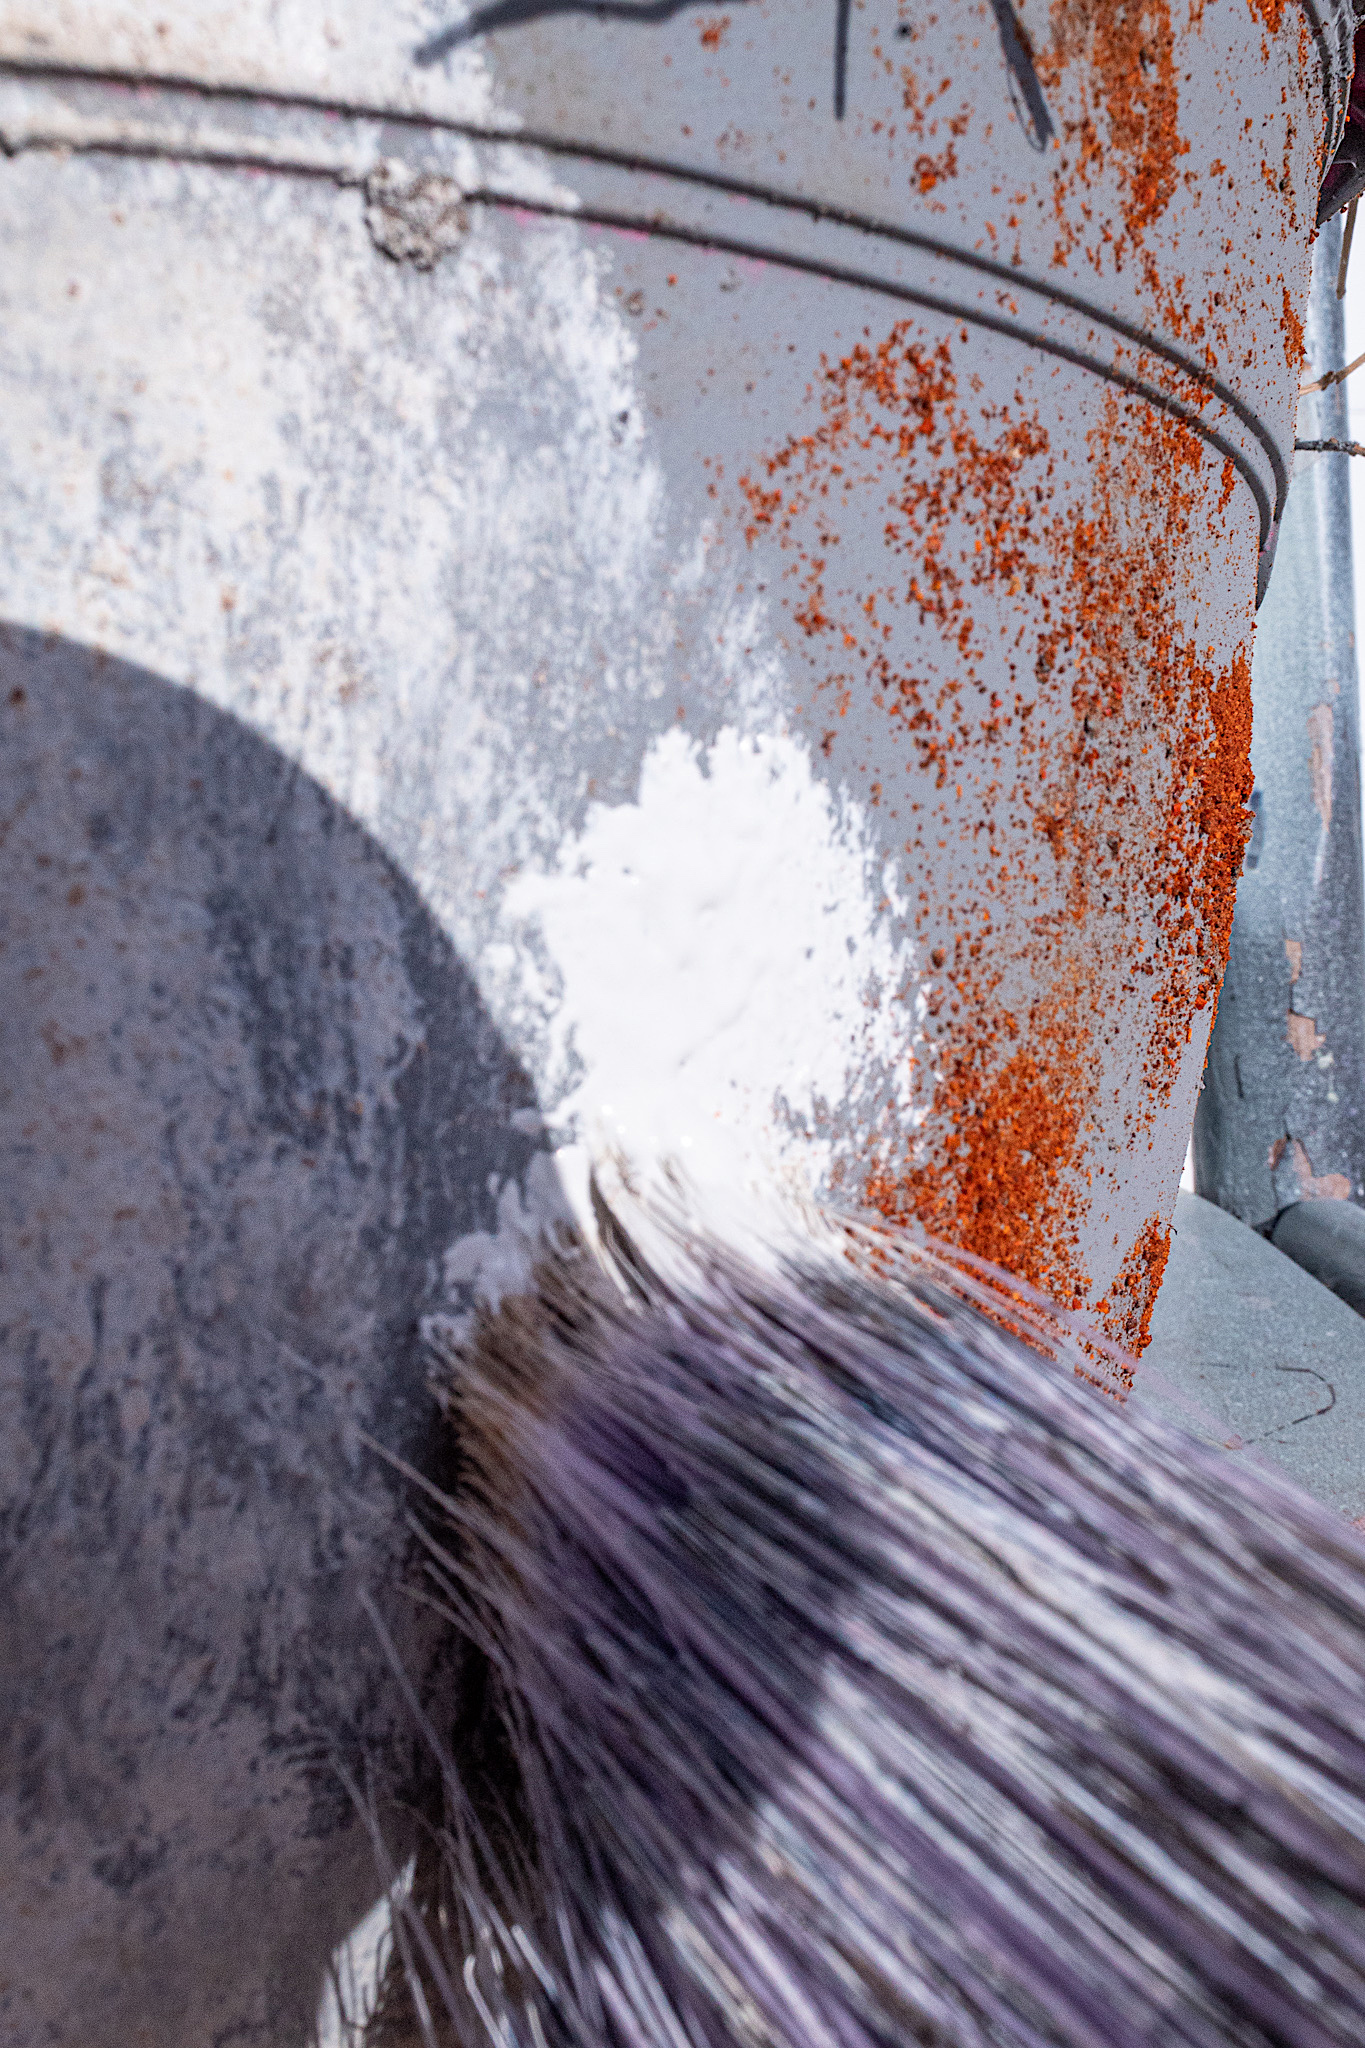
Once you’ve gone around the planter with a coat of white, start on your second coat while adding more rust. Remember to blend it in with your finger, especially on your final color. You want the rust to look like a detail in the background, nothing stark and overpowering.
Video Demo
If you’d like to see the entire process of this transformation, check out this video.
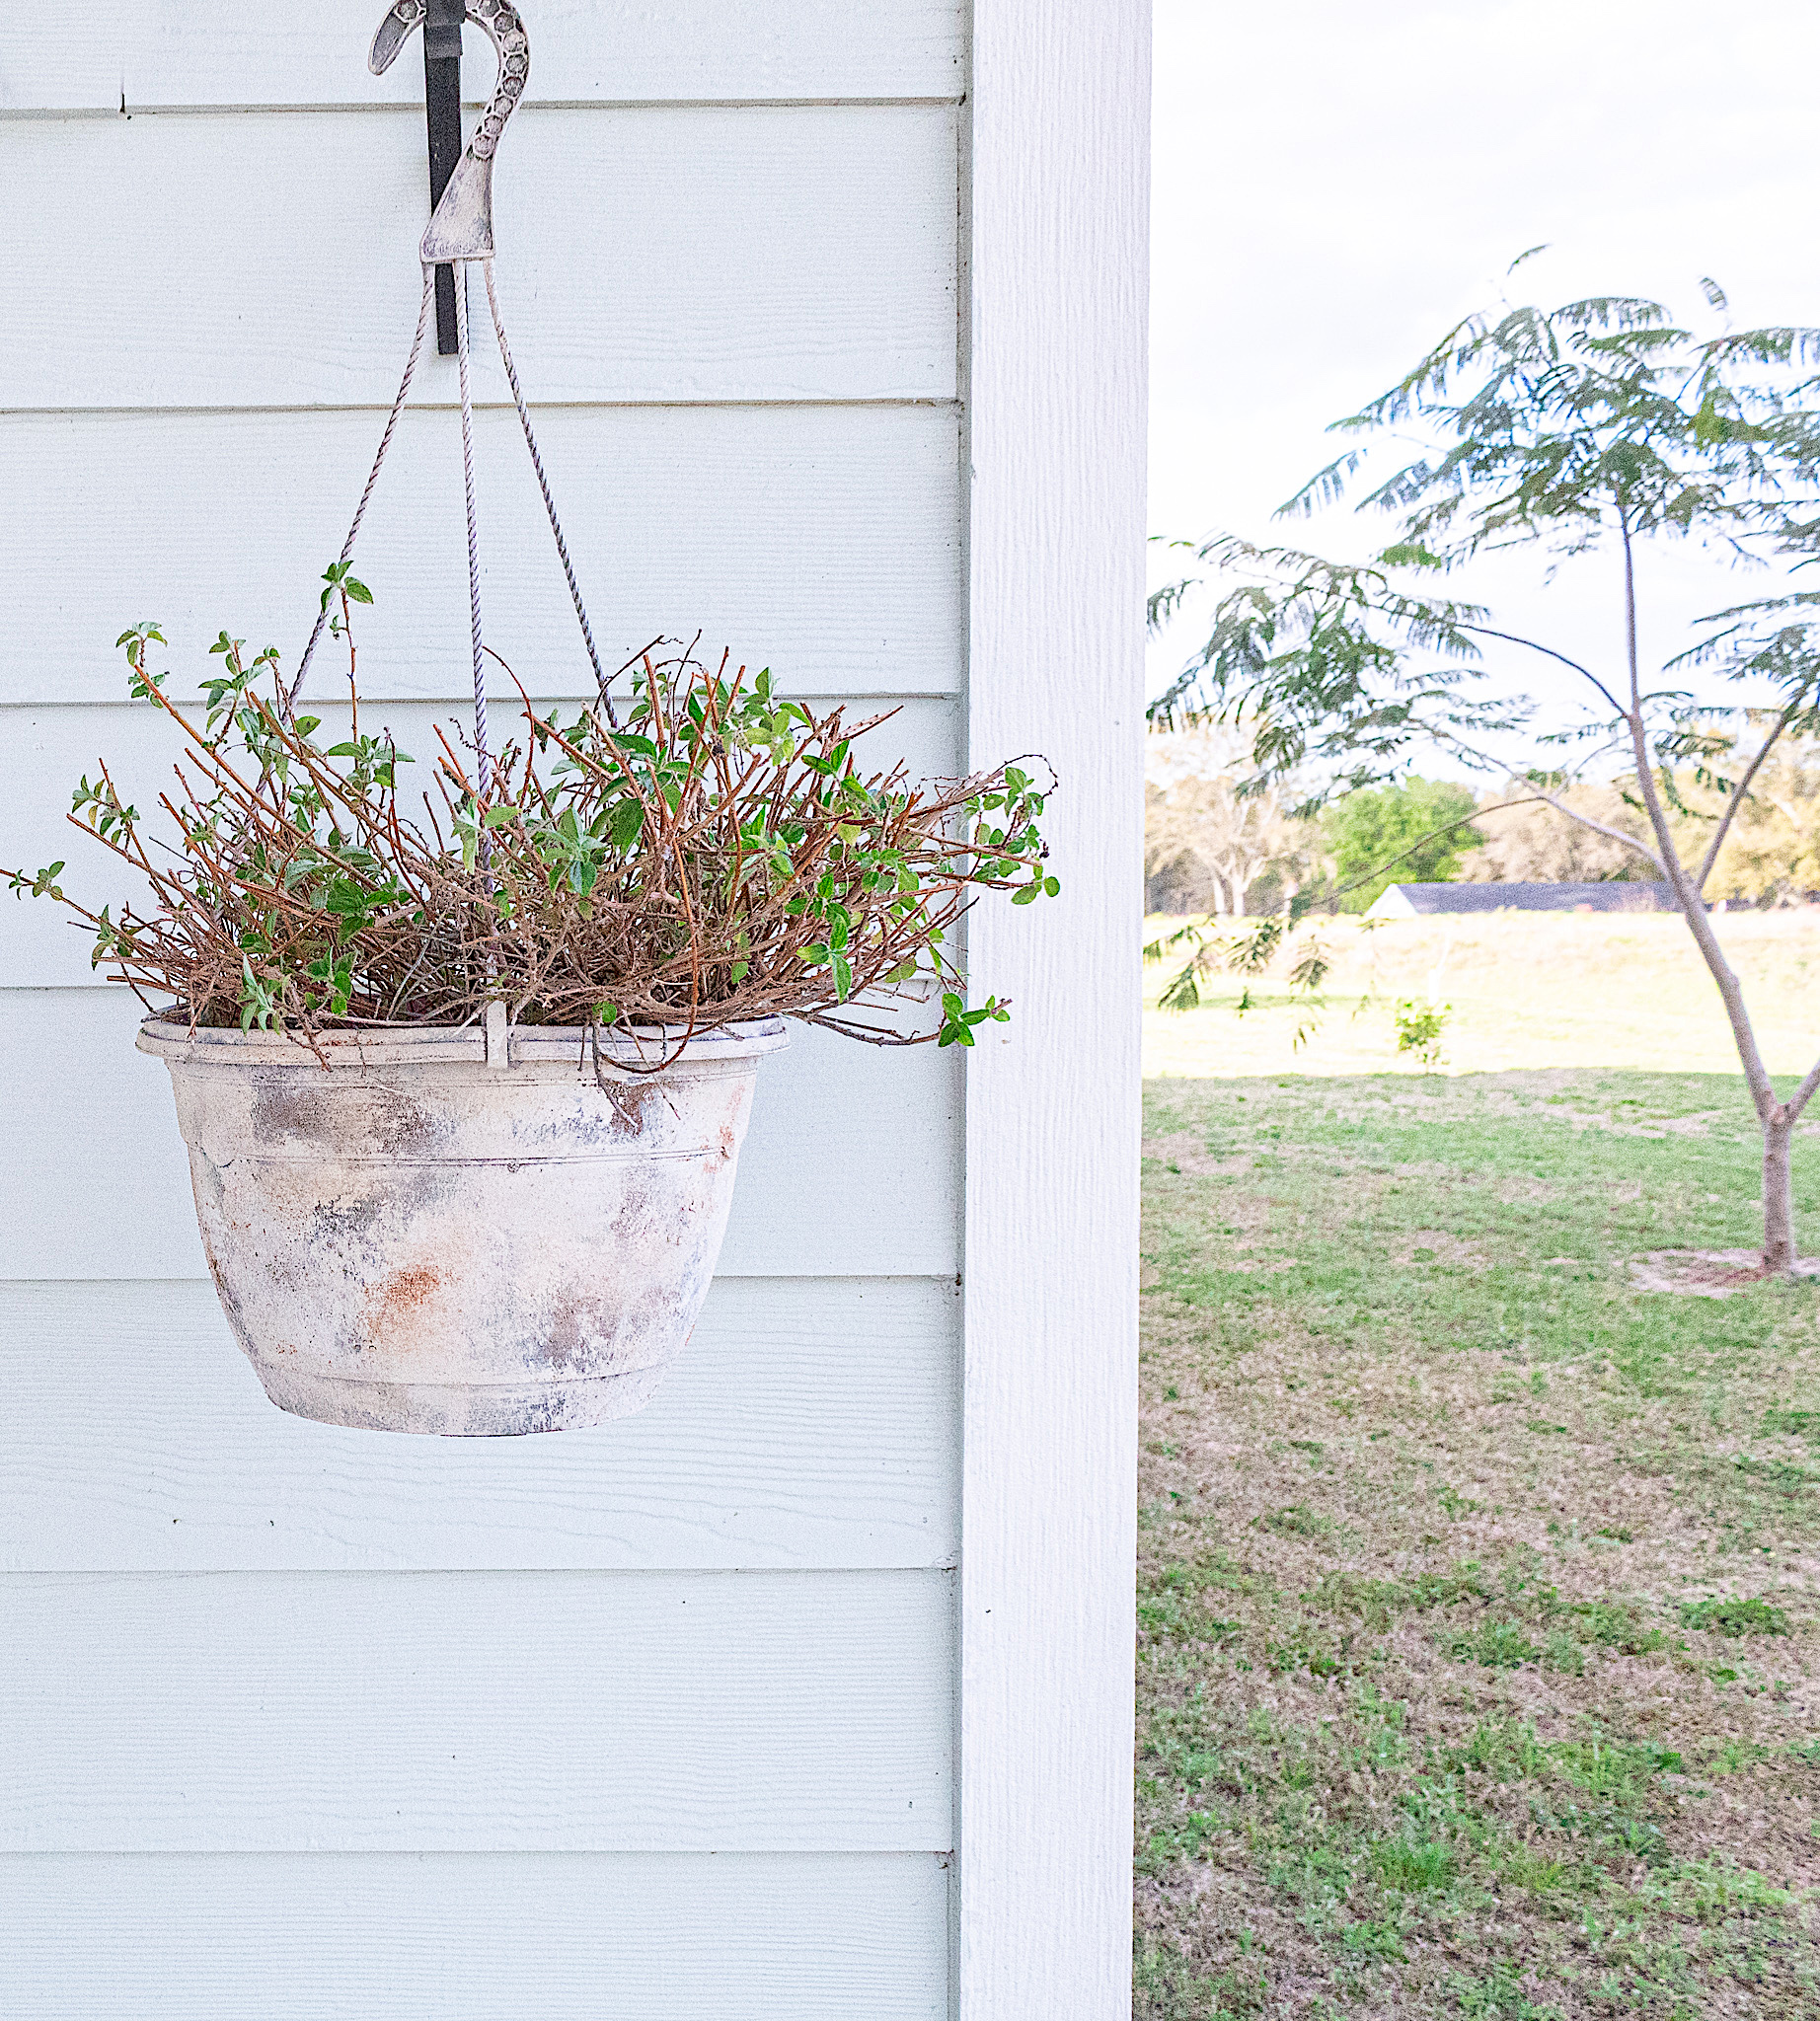
Hang and Enjoy!
And that is it for this lovely and easy tutorial my friends. Every time I walk by my planter now I smile. It looks SO different and stunning. With this technique you could make your plastic pots look like something that’s been sitting out for years in a beautiful French garden. Let me know if you try this on your projects. I would love to hear!
2 thoughts on “Plastic Planter Transformation – Create A Weathered Stone Look”
Mehry
Does the paint survive outdoors, under the sun and rain?
I had my planter hanging outdoors on a porch. It did get some sun throughout the day but it also had some shade from the porch ceiling. It held up well. But I’m not sure how it would do in full sun for extended periods.


Does the paint survive outdoors, under the sun and rain?
I had my planter hanging outdoors on a porch. It did get some sun throughout the day but it also had some shade from the porch ceiling. It held up well. But I’m not sure how it would do in full sun for extended periods.