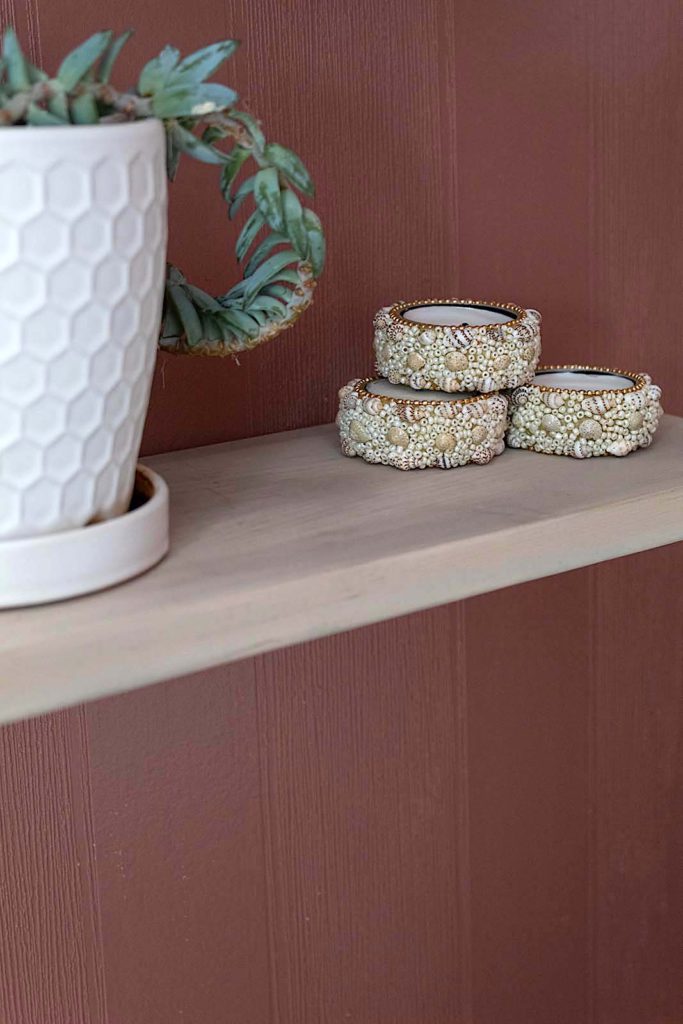
Greetings NIB family! When it comes to wall shelves, I’m all in. The benefits of utilizing your vertical spaces in the home are huge. Wall-mounted shelves provide a storage solution while adding style and texture to your walls. I love the versatility shelving brings as a decor tool.
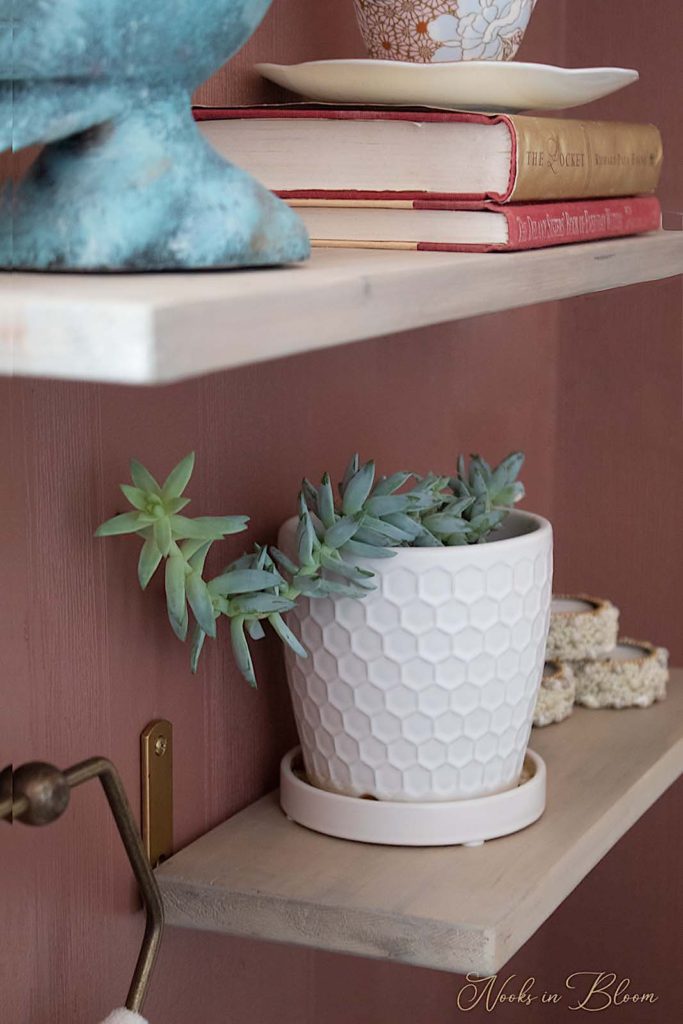
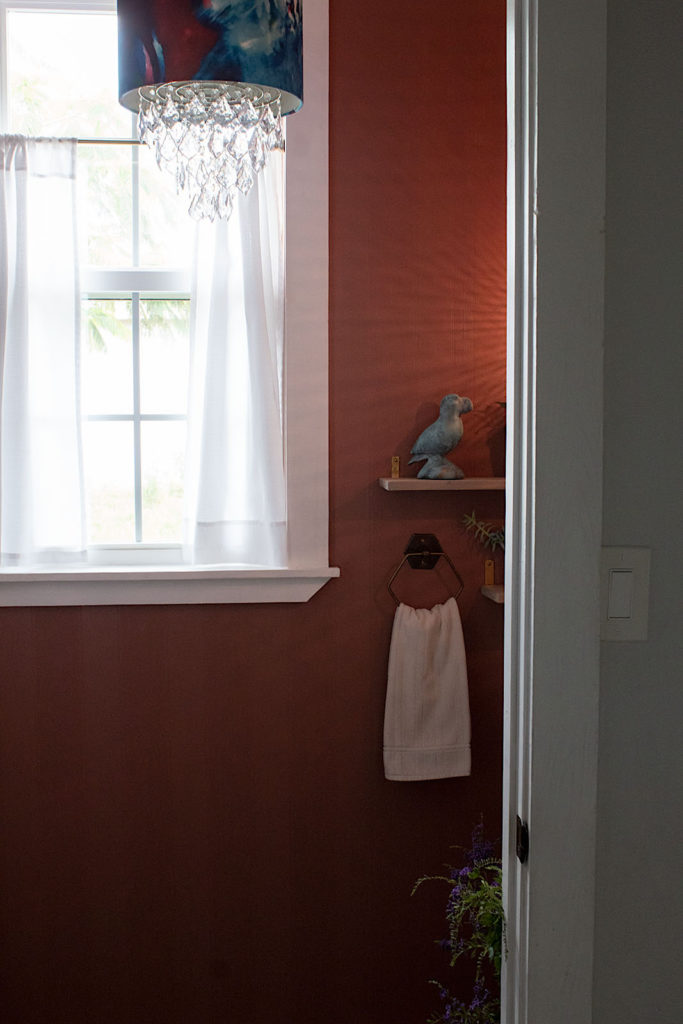
Today I am sharing a super easy way to create your own wall shelves. I made these simple, yet beautiful shelves for our Recently Renovated Powder Room in one afternoon. I love how their white-washed look softened the aesthetic and added Farmhouse charm. Come along and I will show you each quick step. You will not believe how easy it is to make these!
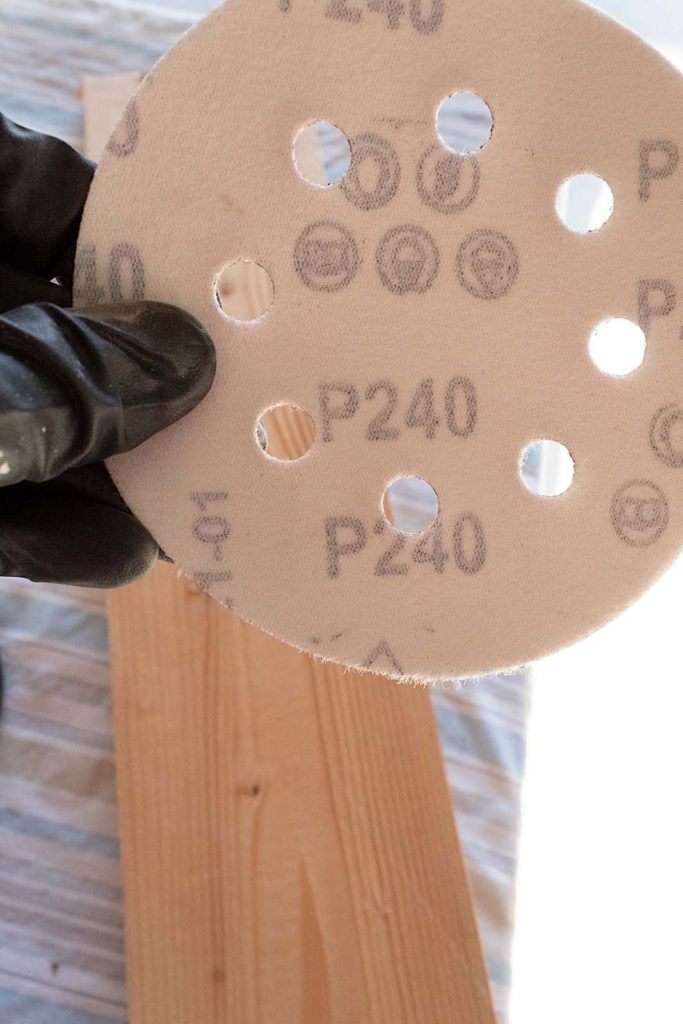
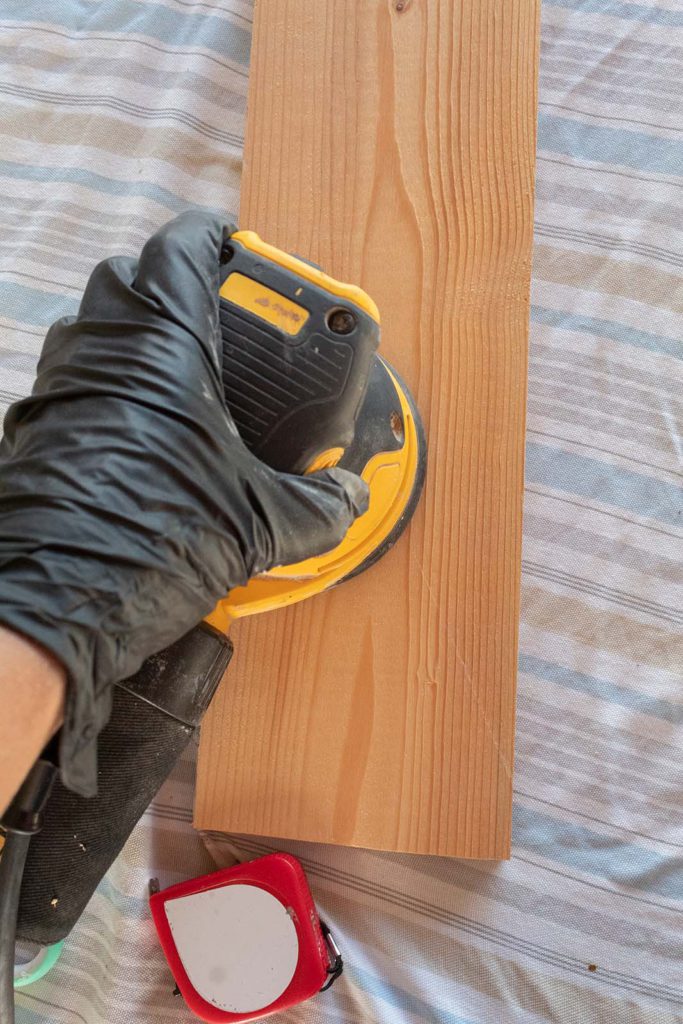
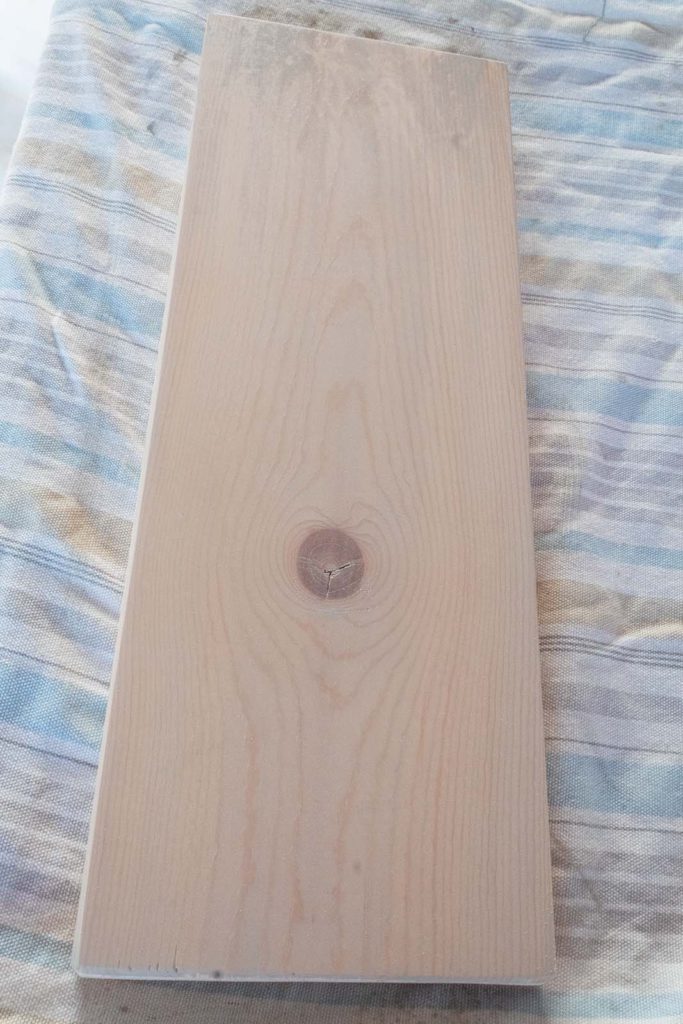
Using my orbital sander and 250 grit sandpaper, I work over the wood boards. The high grit helps to expose the raw wood while giving the surface a soft, smooth feel.
If you have a rough exterior or any type of product on your wood’s surface, start with a lower grit (i.e. 80) and finish with a high grit.
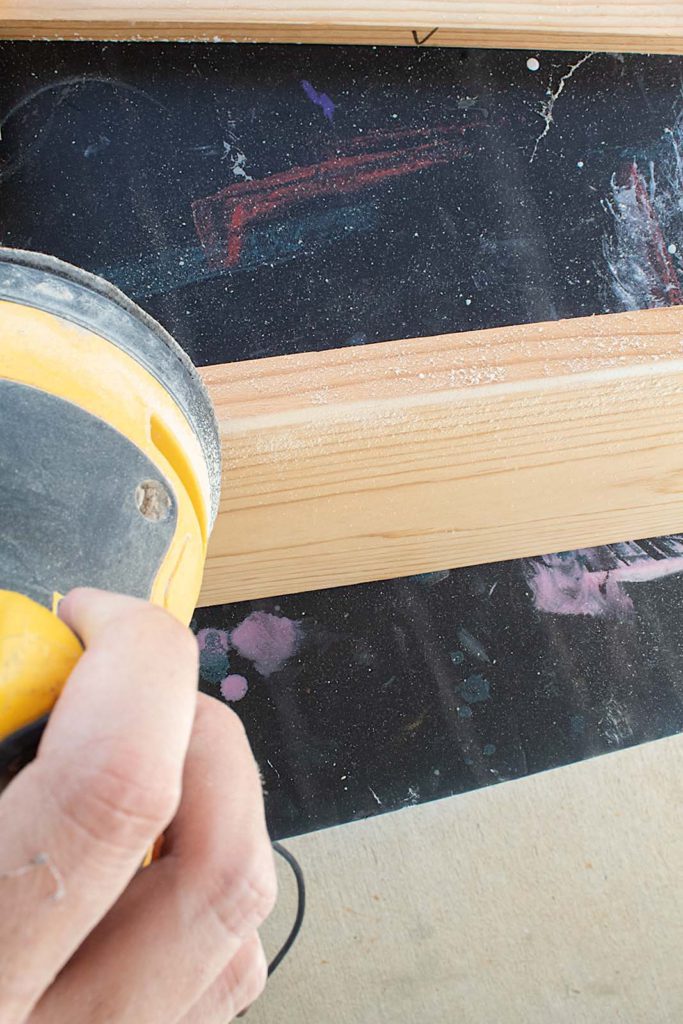
Fancy-up your edges
Here’s a tip for giving your shelves a more sophisticated finish. Run your sander at an angle along all the edges and corners, careful not to over-sand. Doing this will give the edges a smooth, beveled look.
Once painted the beveled edges will be even more noticeable, adding a lovely aesthetic to the shelves.
Disclosure: Some of the links provided are affiliate links. By purchasing through these links it supports this blog and the work we do and there is no extra cost to you. If you would like to read our full disclosure, click HERE.
Step 2. Apply Paint-Wash, 1st Coat
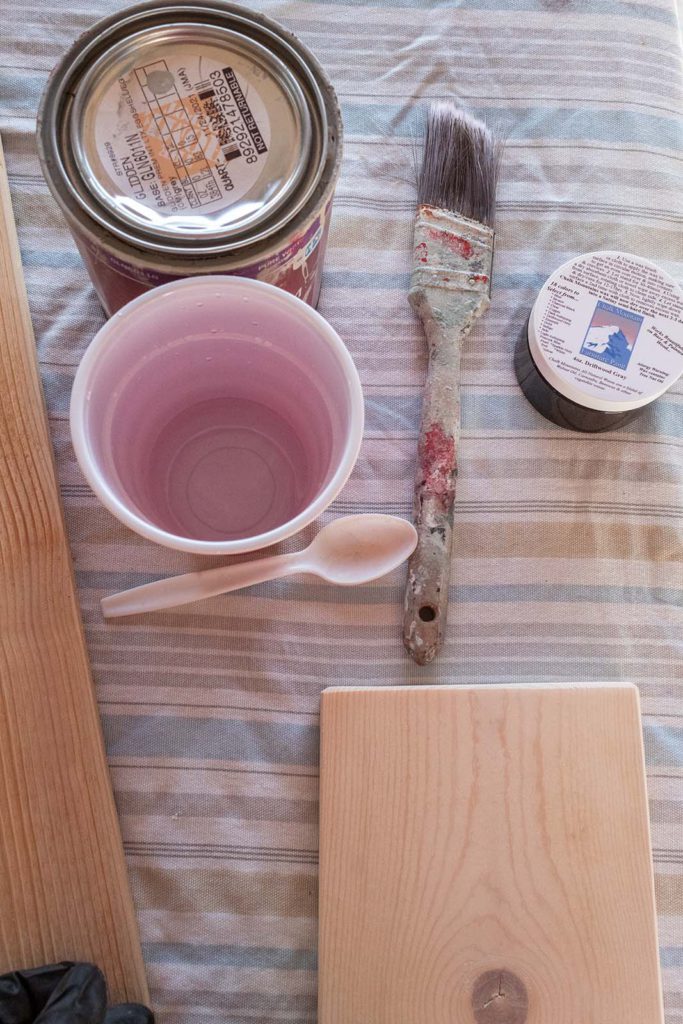
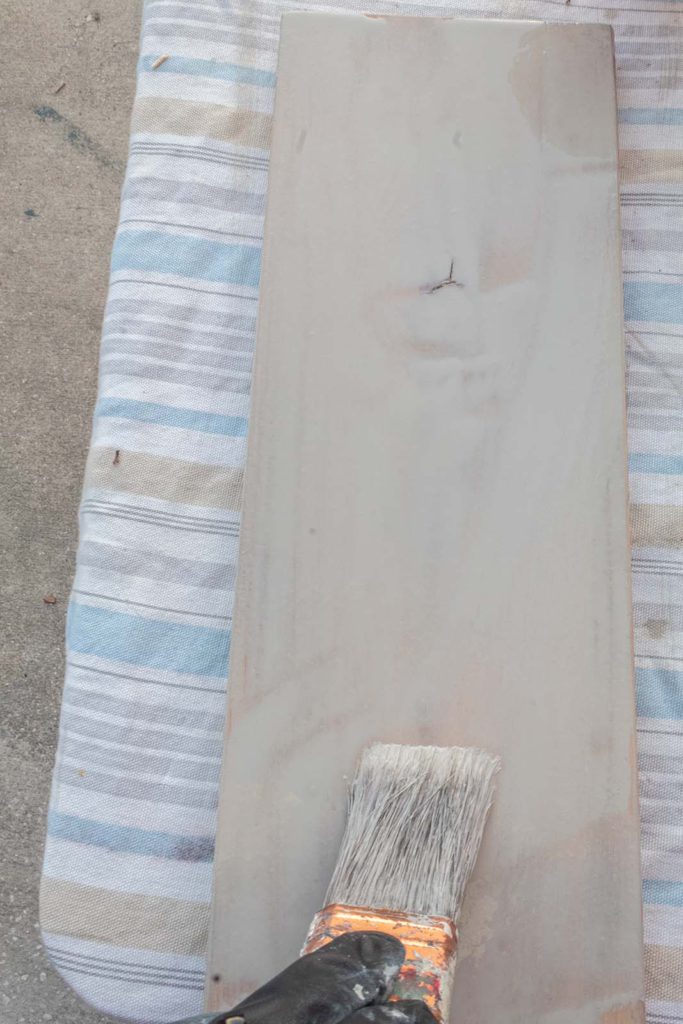
Paint-washing is a fabulous technique to use on raw wood. It enhances the aesthetic with a versatile feel—fitting farmhouse, coastal, cottage or even modern styles. The subtlety of the paint helps cool down the wood tones while preserving some of the grain for character.
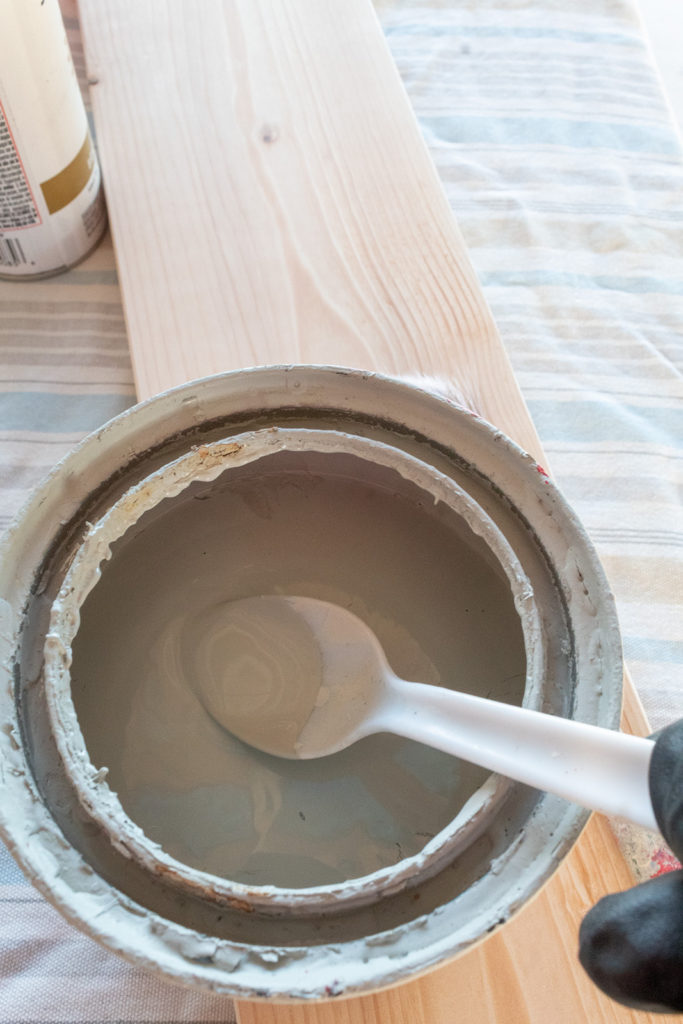
For these shelves I’ve selected a light grey color, Behr’s Grey. I make my own chalk paint usingthis recipe and love how wonderfully it comes out every time. To begin making my wash I add approximately 3 spoonfuls of paint to a cup. You can use any container to mix your wash.
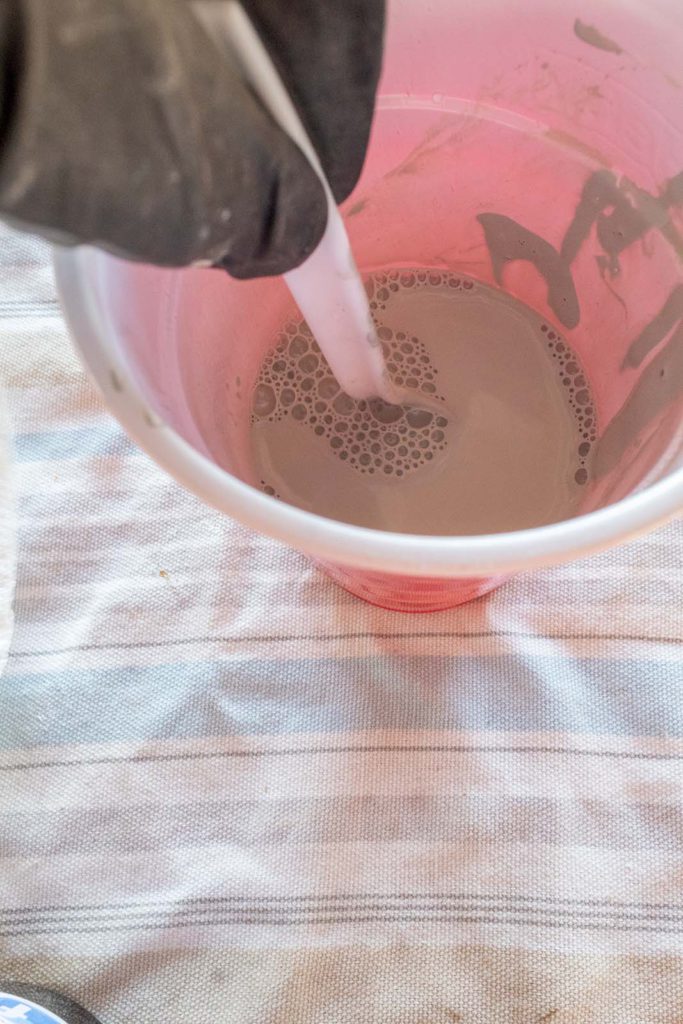
Next I add approximately 5 spoonfuls of water to the paint and mix everything together. If your wash is not thinned out to an almost water-like consistency, add more water in small increments. I describe my mix as a grey soup. It should be liquidy but without losing the color of the paint.3
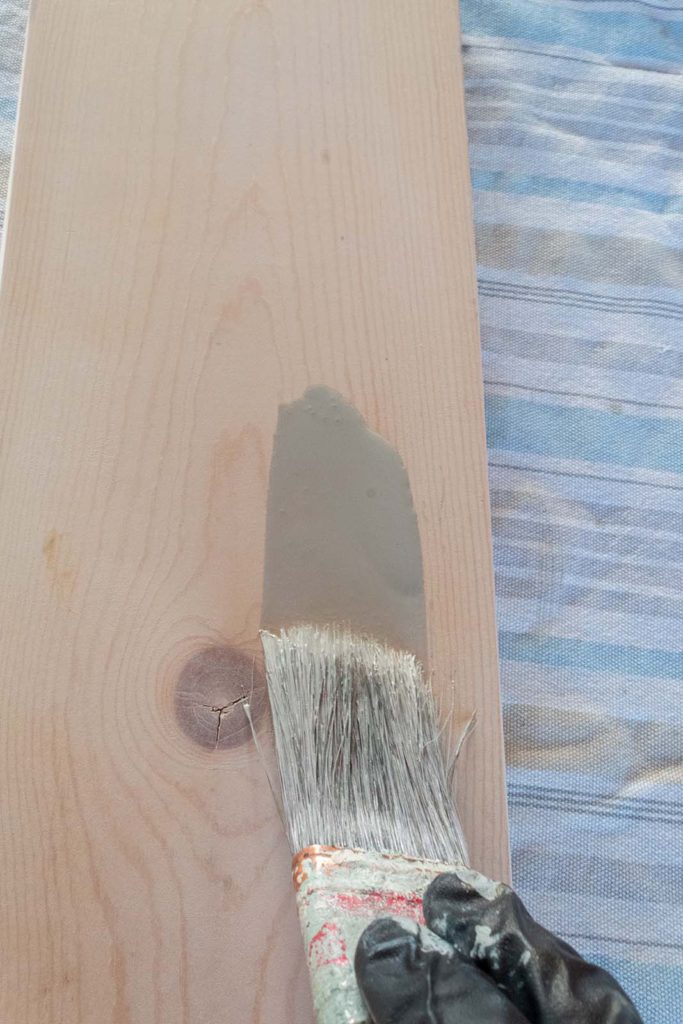
Once your wash is well mixed, take your paint brush and dip it slightly into the paint. I like using my Purdy brushes for this technique. The bristles are dense but not too firm making the application smooth and uniform.
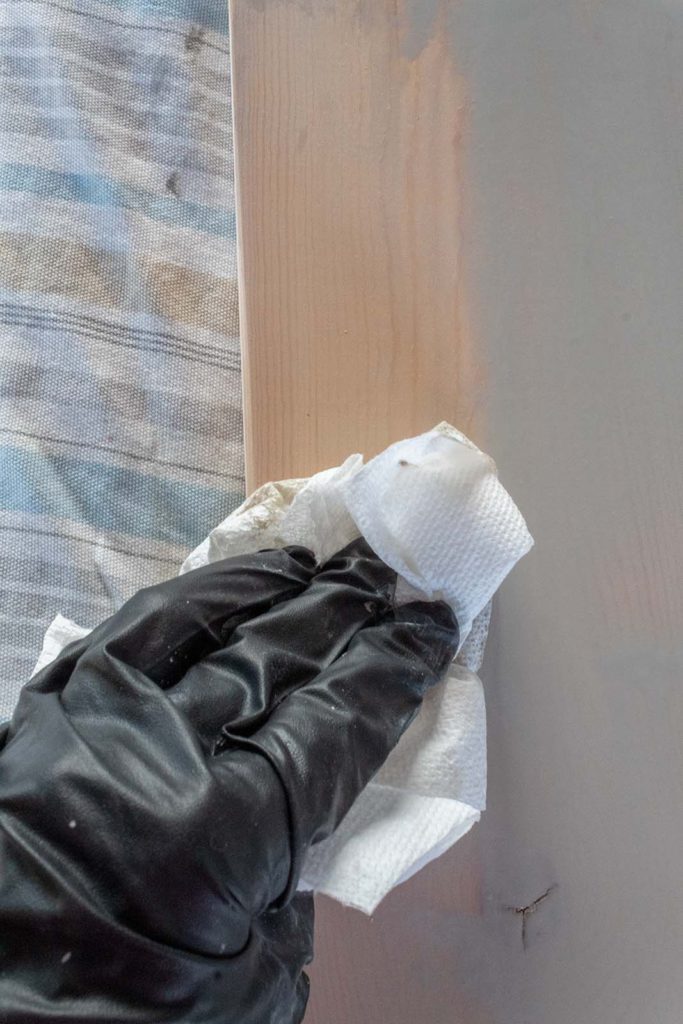
Paper Towels, Our Secret Weapon
You will see the paint run over your wood almost like water. Stroke a few times to cover a small section. Then immediately wipe the paint back with a paper towel. You will see me use paper towels in just about every tutorial on this blog. They are my favorite go-to tool! With paper towels I can manipulate paint in SO many ways.
For the washed look, the paper towel (you can also use an old cloth or t-shirt) allows me to wipe back and further thin out the wash before the paint dries on the surface. This softens the aesthetic beautifully. **Remember our aim is to tint the wood subtly—not to cover with paint.
Notice below how lightened the left side looks after it is wiped back
In the next picture, you can see how the first shelf looked after one coat of the paint wash. Already it’s looking so lovely. You can at this point do another application of the wash if you want the aesthetic a little darker. However, this is optional.
Don't miss the video of these techniques at the bottom of this post!
Step 3. Antique Wax
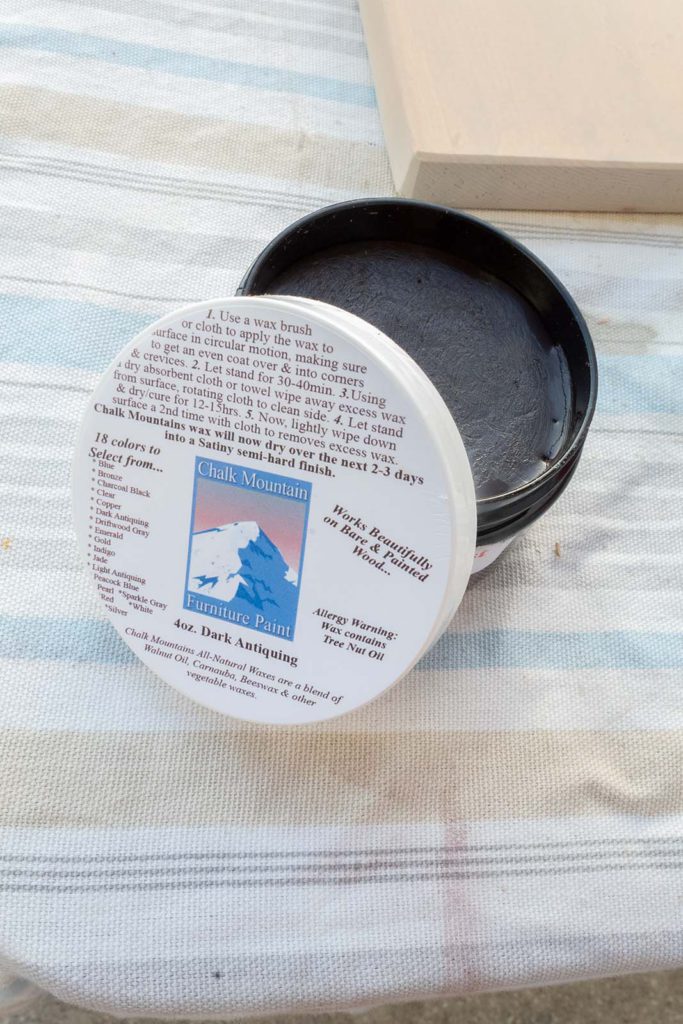
To add some character to the shelves, I’m going to use some antiquing wax. I have this kit of Chalk Mountain Brushes Waxes and love working with the various hues. The quality of these waxes is so amazing; they last me forever and the bonus is they are non-toxic. They have zero VOC’s and are made from natural waxes and tree nut oils.
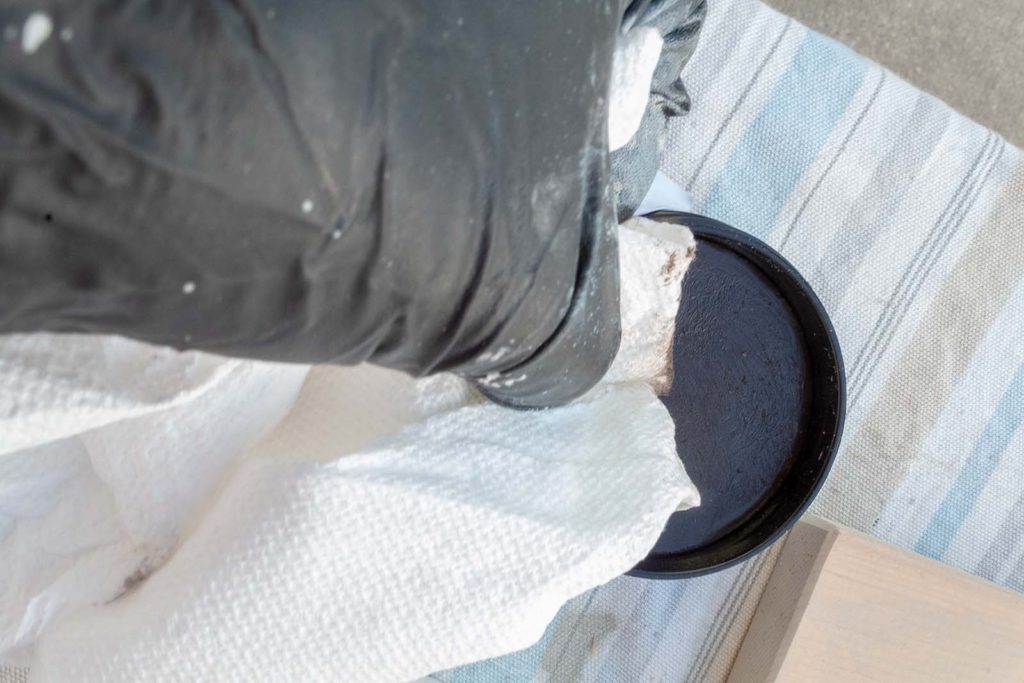
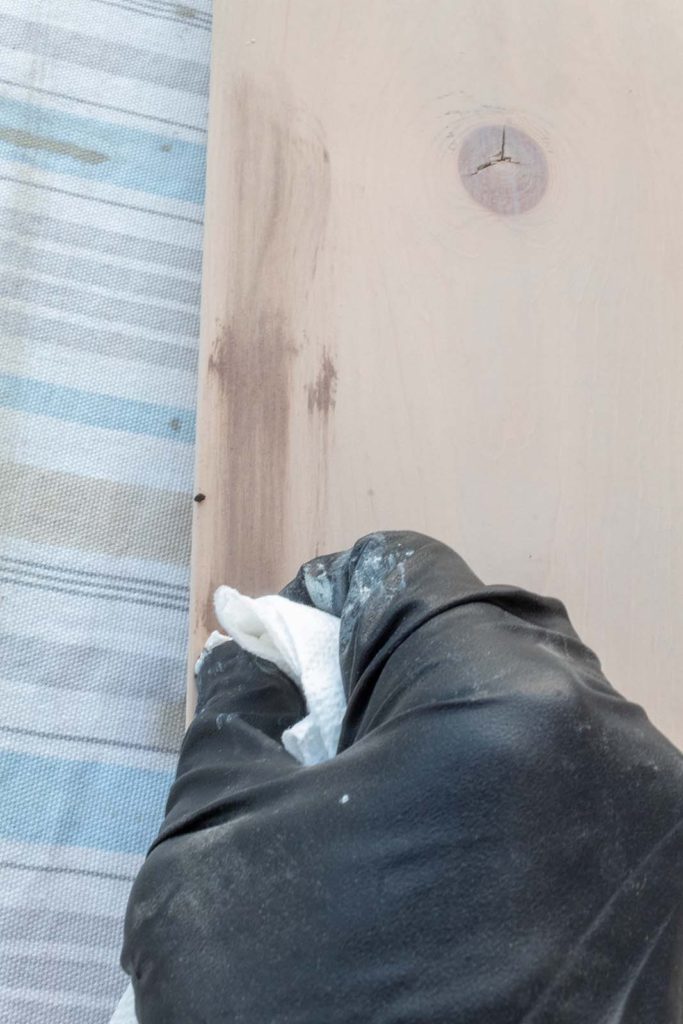
Using a paper towel I’m going to sparingly apply the wax in random sections. Follow the direction of your wood grain as you rub the wax onto the wood.
As you do this, you will see streaks of the darker wax over parts of your shelf. This will add a rustic detail and some definition to the wood. We will be toning down the streaks with our second coat of wash that I will talk about next.
Step 4. Apply Paint-Wash, 2nd Coat
Repeat the paint-wash process again by applying and wiping back. This will slightly darken the shelf and add a bit more of the grey color.
Once the wood is dry, I use my favorite finishing wax to seal the shelves. I rub the wax on with a paper towel. Once cured, the wax will help protect the shelves from any water exposure that may occur from being in a bathroom.
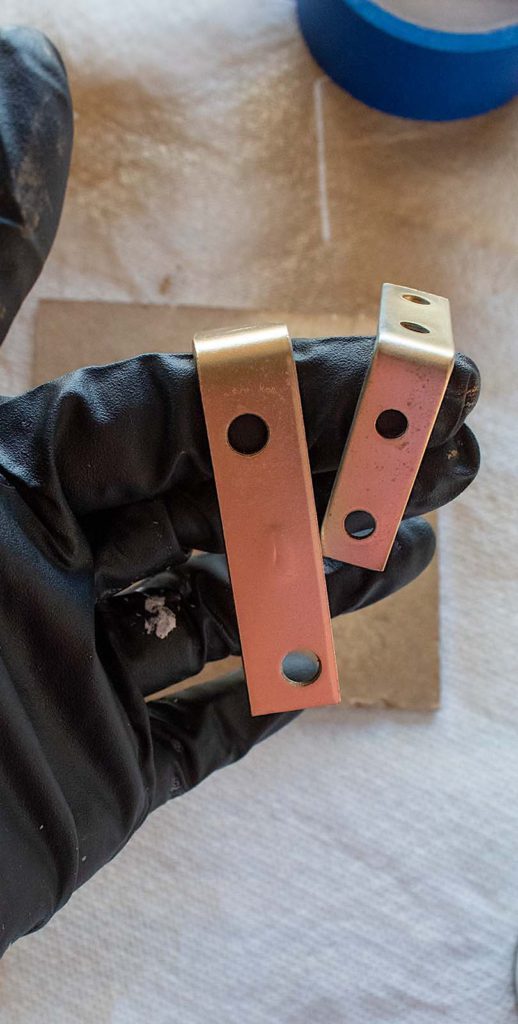
Step 5. Brackets
I bought this box of wall mounting brackets years ago and have used them everywhere around the house. They add a modern touch to shelves and are very strong. I used gold spray paint to dress them up.
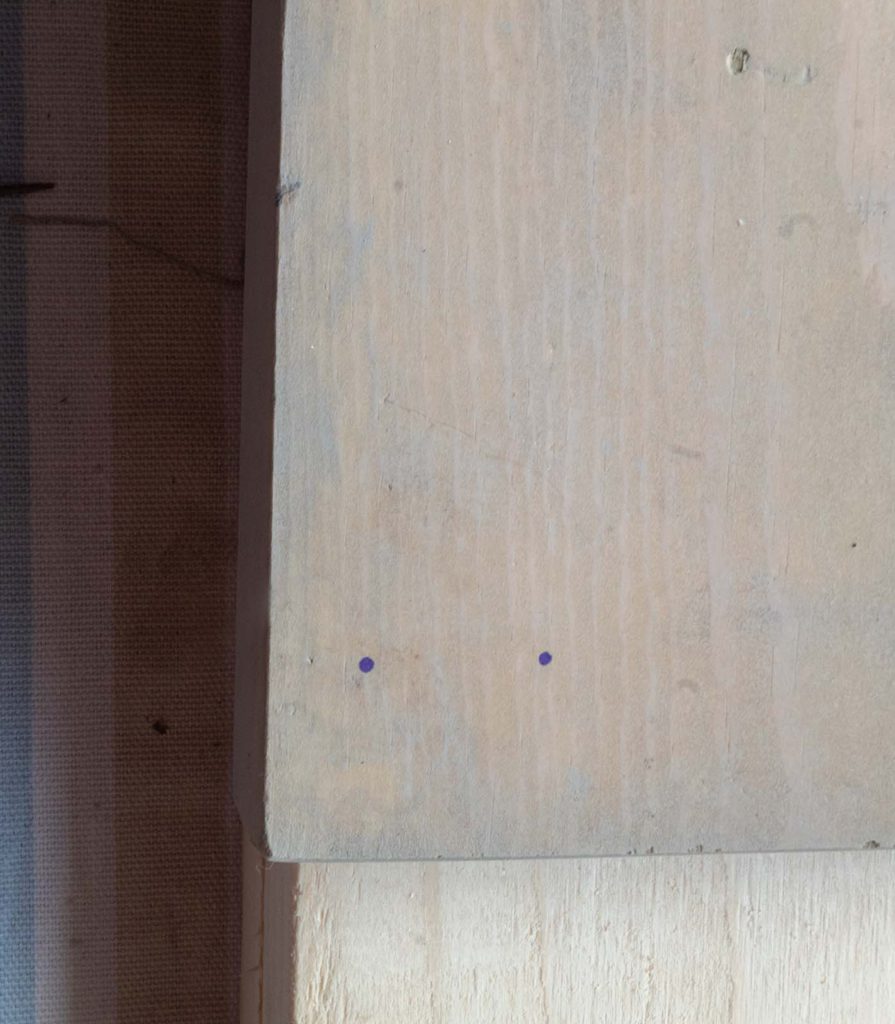
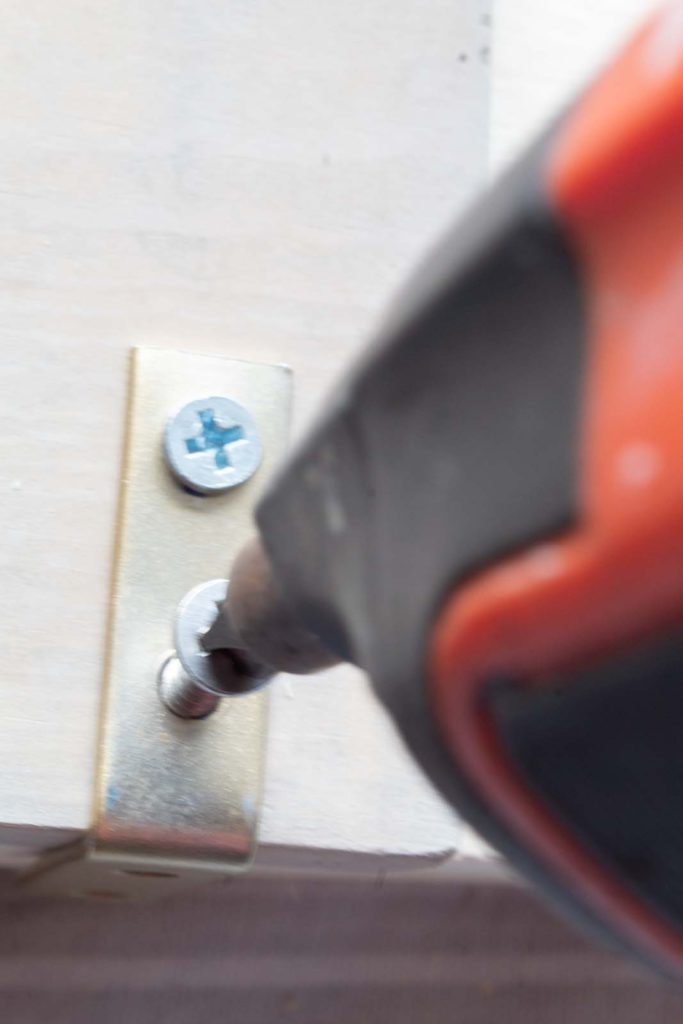
Using a sharpie I marked where I needed to drill pilot holes prior to attaching my brackets to the boards.
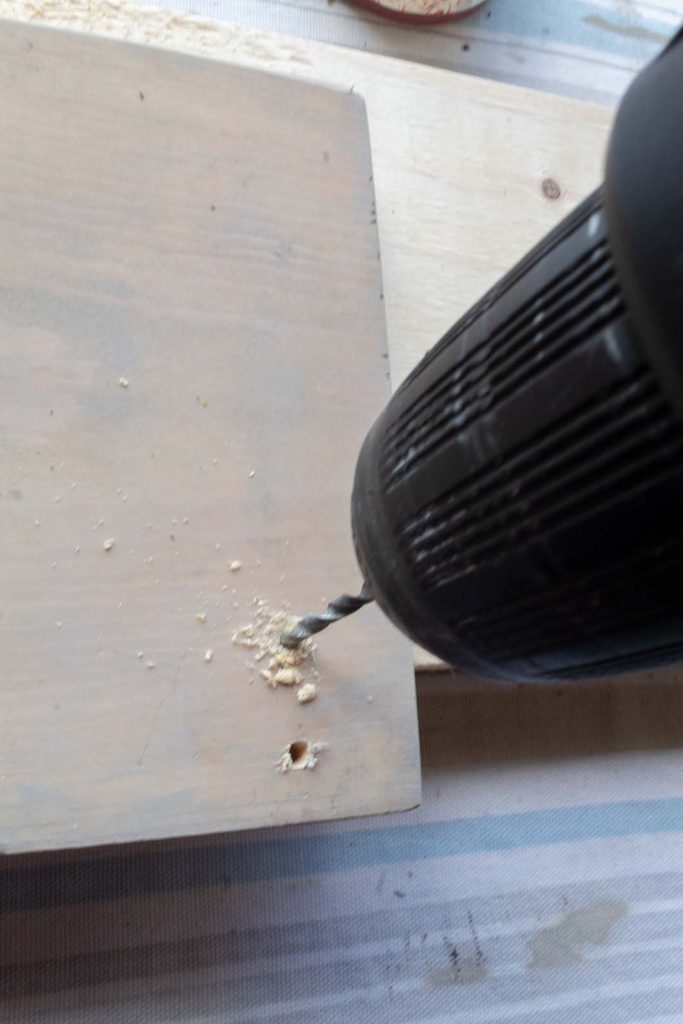
Now that my holes are marked, I use a power drill to make two small pilot holes. Be careful not to go too deep with your drill bit. You don’t want to go all the way through your board.
Drilling pilot holes before I attach the brackets with screws helps the screws go in easier and prevents the wood from splitting.
Once the pilot holes are drilled, I can attach the brackets to the boards. You can place the brackets on the top or underside of the shelf. I opted to attach them underneath. This gives me a nice clean surface on the top of the shelf.
I use wood screws and my electric screwdriver to attach the brackets.
Once the brackets are on the shelves, you can mount these to the wall. Decide on your placement and using a level, mark where on the wall you will drill in your anchors and screws. When you get your shelves secured on the wall, it is time to decorate!
Watch The Video Of This DIY
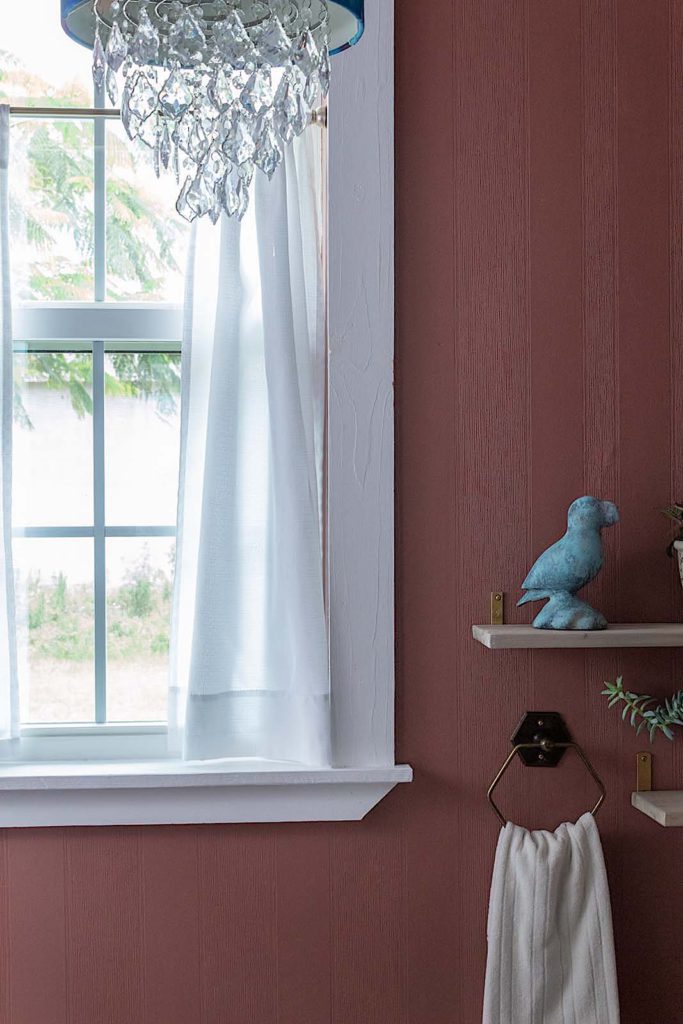
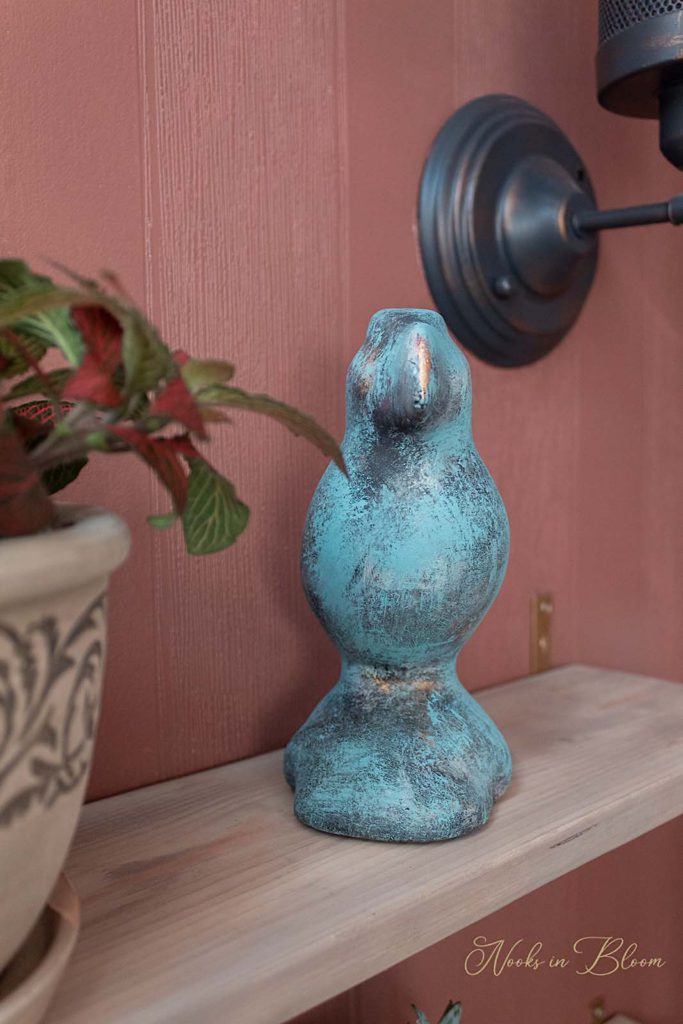
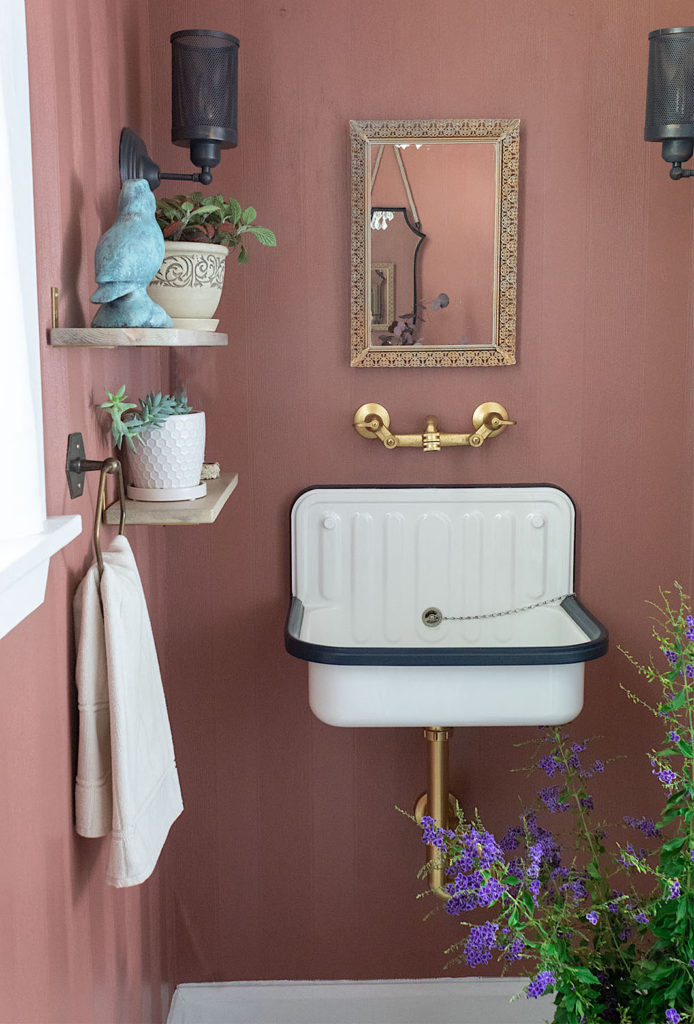
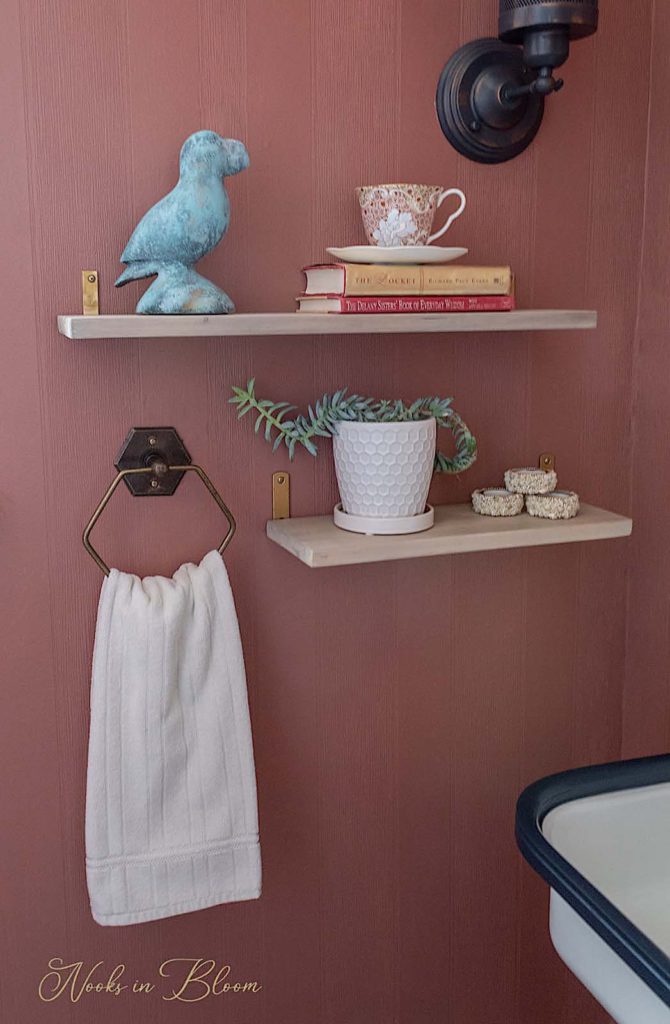
One of the first accessories I displayed on my new shelves was this artsy puffin which I renovated using a paint layering technique. You can see the transformation in my tutorial on Updating Outdated Decor.
Dear friends, thank you for reading this post and I hope it sparked some shelving ideas for you. Please let me know what you think of this tutorial in the comments below. I will be posting more home decor tutorials soon so be sure to SUBSCRIBE so you don’t miss a thang!