Greetings lovely readers! I know how tempting it is to buy new home decor. Decor items around the house have become outdated or lost their appeal and you just want to get rid of them and go shopping!
Before you toss or donate those unwanted possessions, I have a solution that will breathe style back into them and add character to your home.
Disclosure: Some of the links provided are affiliate links. By purchasing through these links you are supporting this family blog and the work we do and there is no extra cost to you. If you would like to read our full disclosure, click HERE.
In today’s tutorial you will learn how to revive those pieces that have lost their luster into something you will proudly want to display.
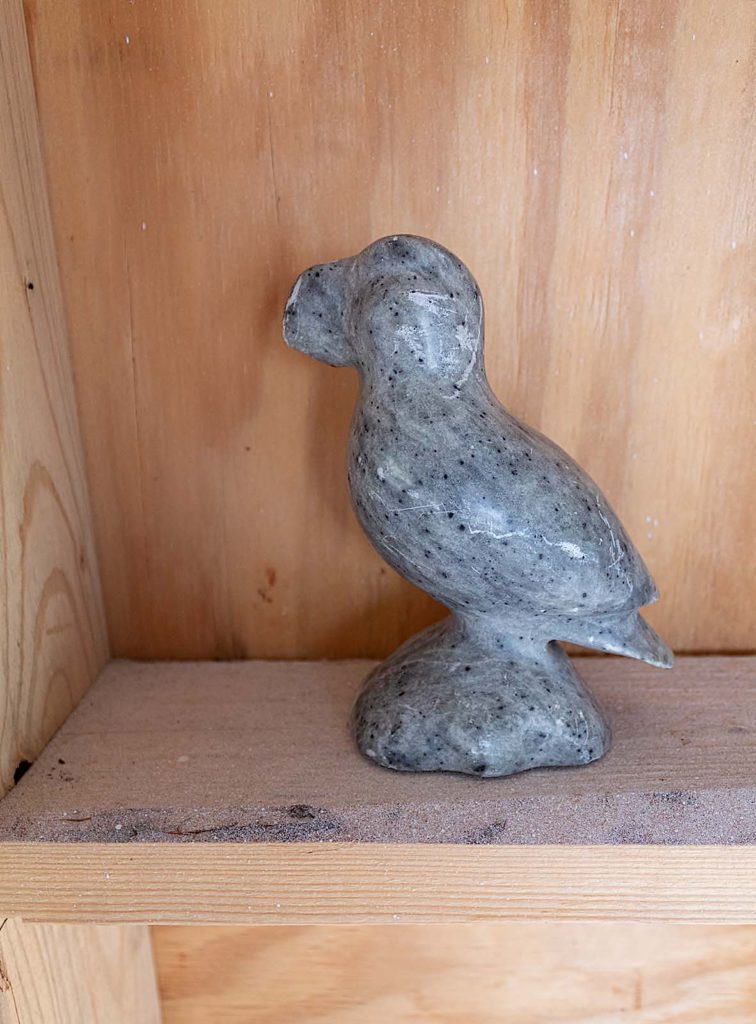
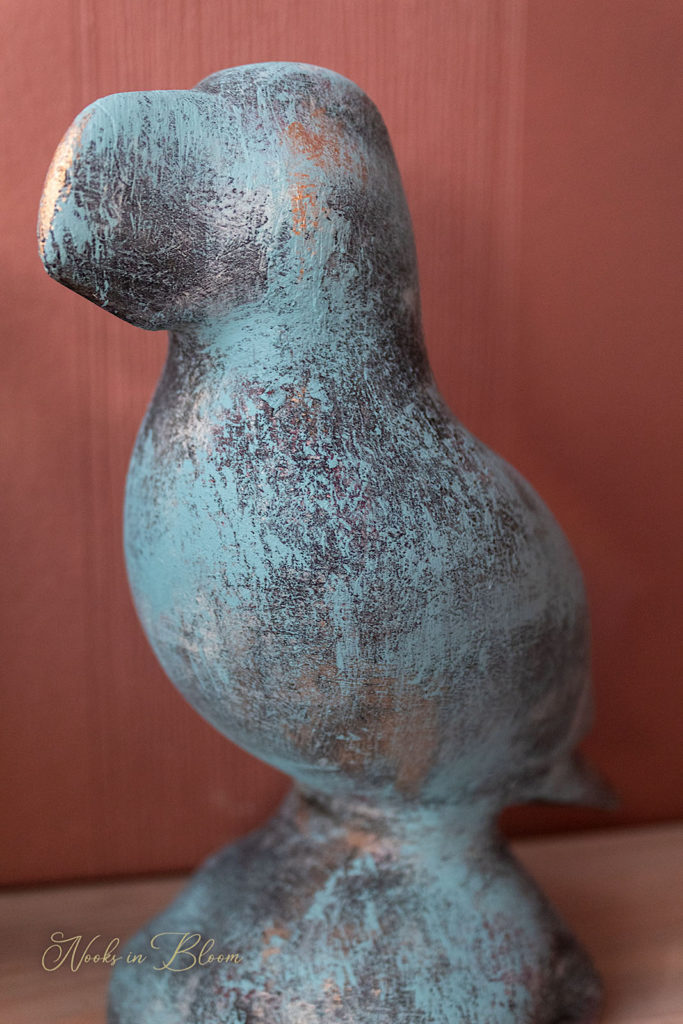
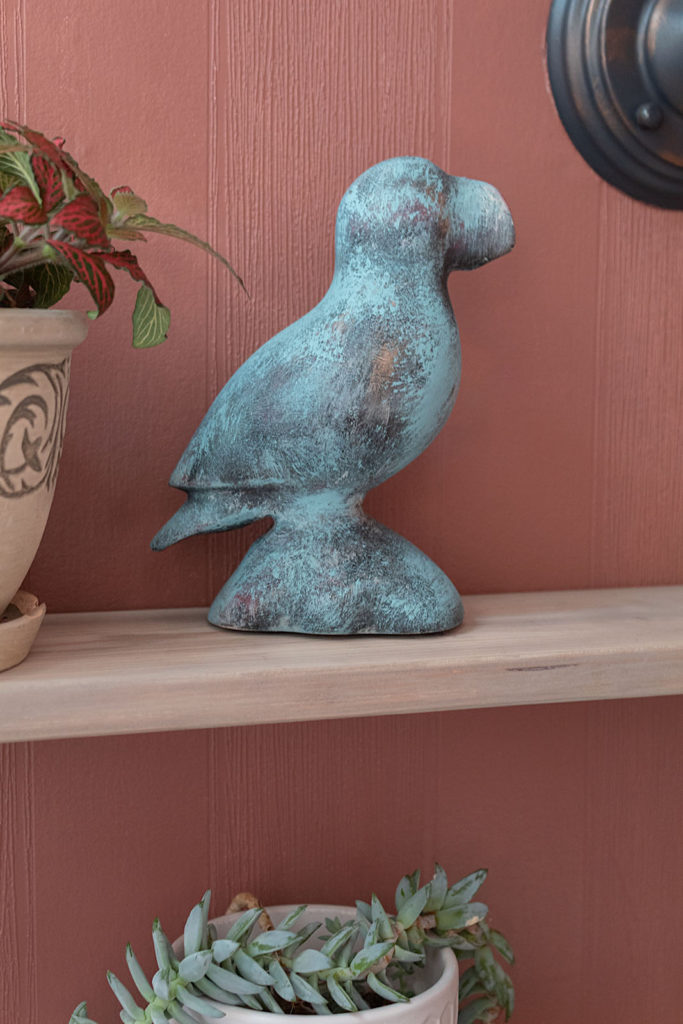
I’ve had this marble puffin for over 10 years. It has been cracked and scuffed from many falls.
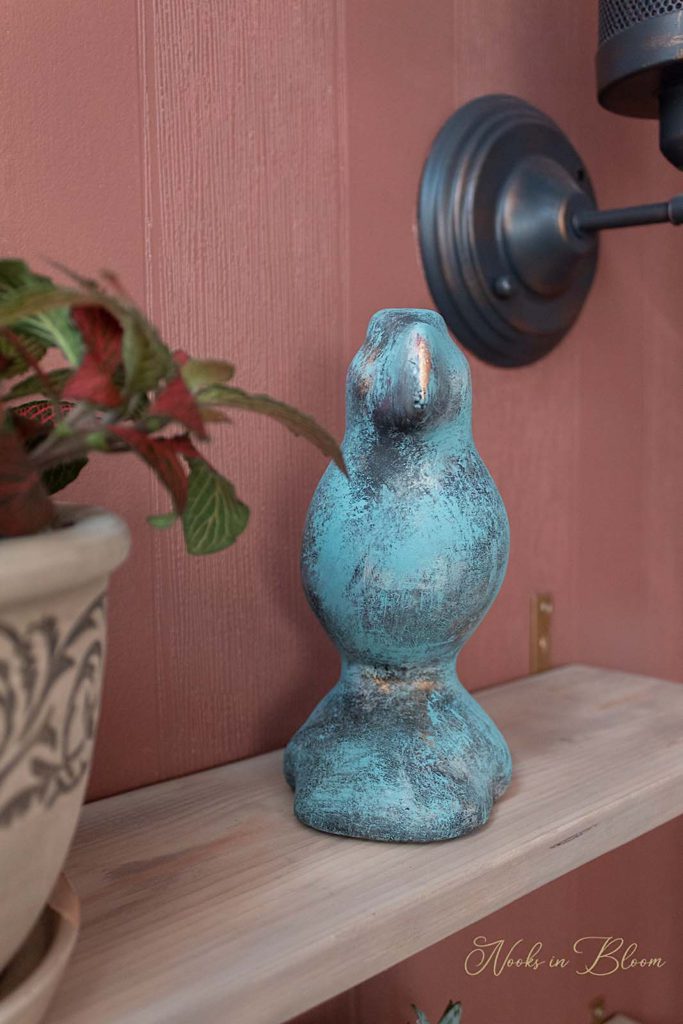
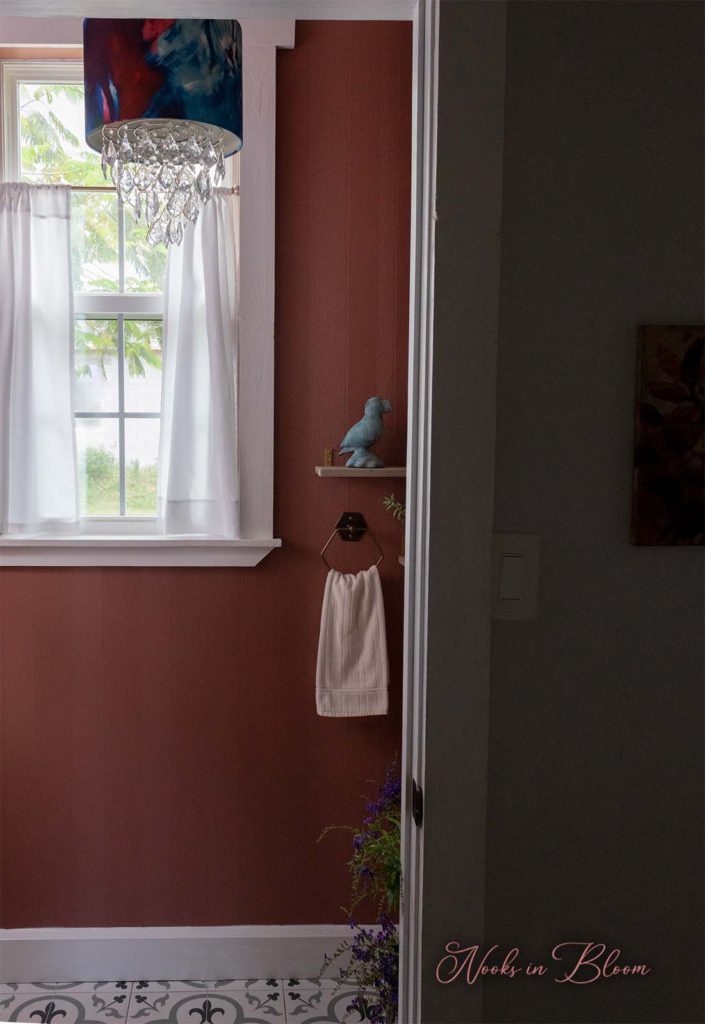
You may have seen my recent post of our new powder room makeover. This renovated puffin was one of the pieces that helped tie the elements in the space together. It brought in color and texture. I love it when small details make big design impact.
Let's Get Started!
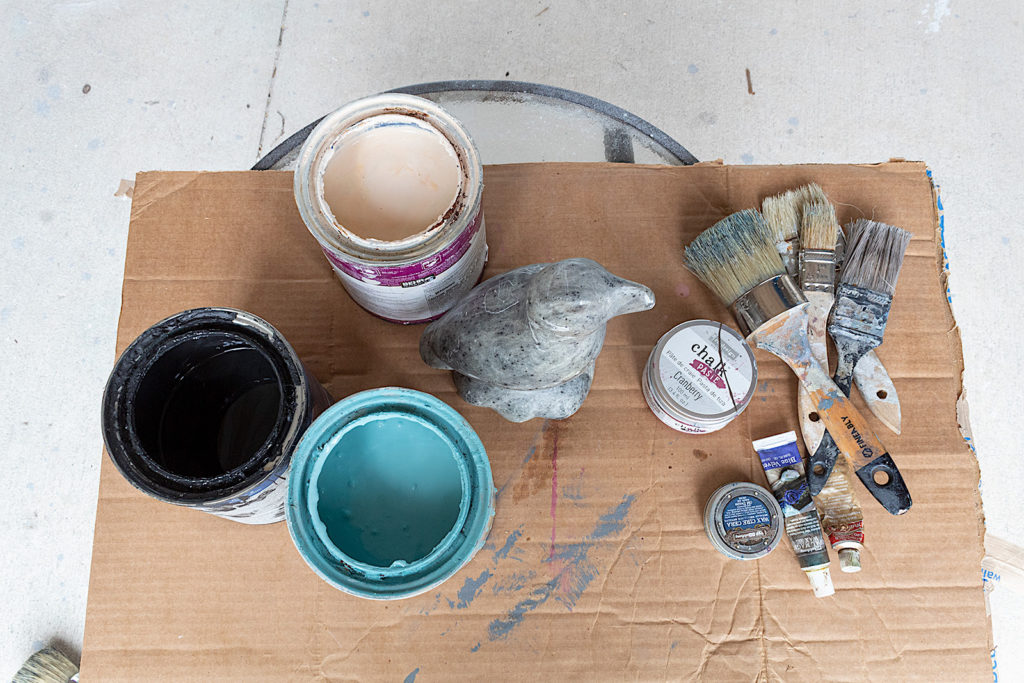
Materials:
Paint √ Pumpkin Essence By Behr √ Reflecting Pool by Sherwin Williams √ Black by Behr √ Pumpkin Essence by Behr I made all these paints into chalk paint with THIS RECIPE
This is going to be a quick project. Once your base color is on and dry, all the paint layers will go rather quickly. I suggest starting out by gathering all your supplies and putting them in your workspace so you have them readily accessible.
Step 2. Apply your base color
The technique we will be performing today is paint layering with several colors of paint and a couple of other products. This technique will create texture and beautiful depth, rich in colors. The final look will be a little patina, a little artsy.
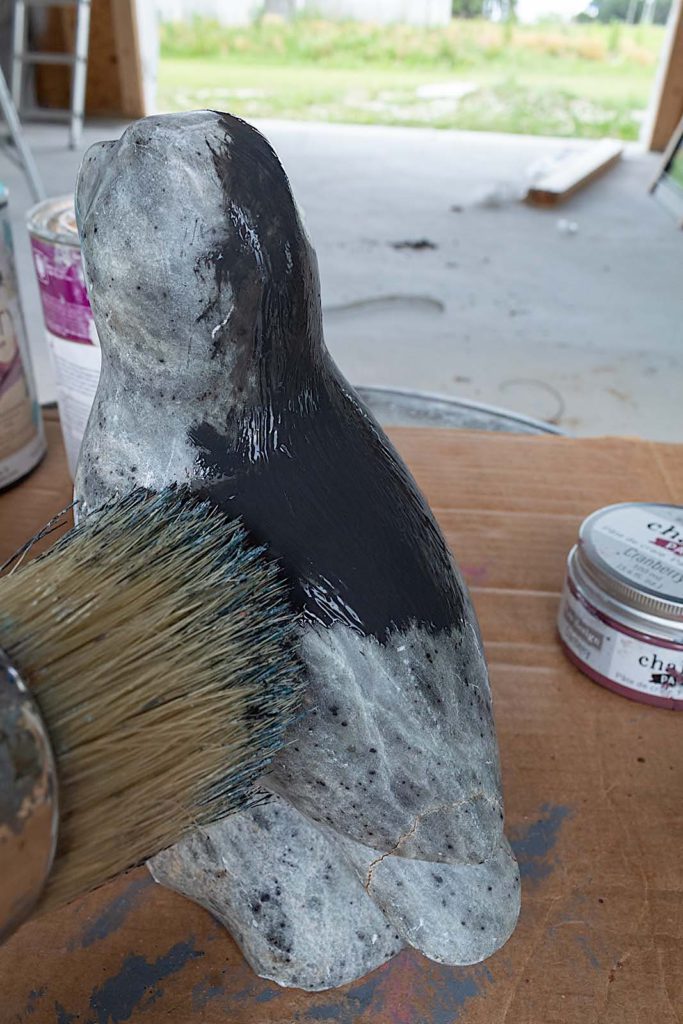
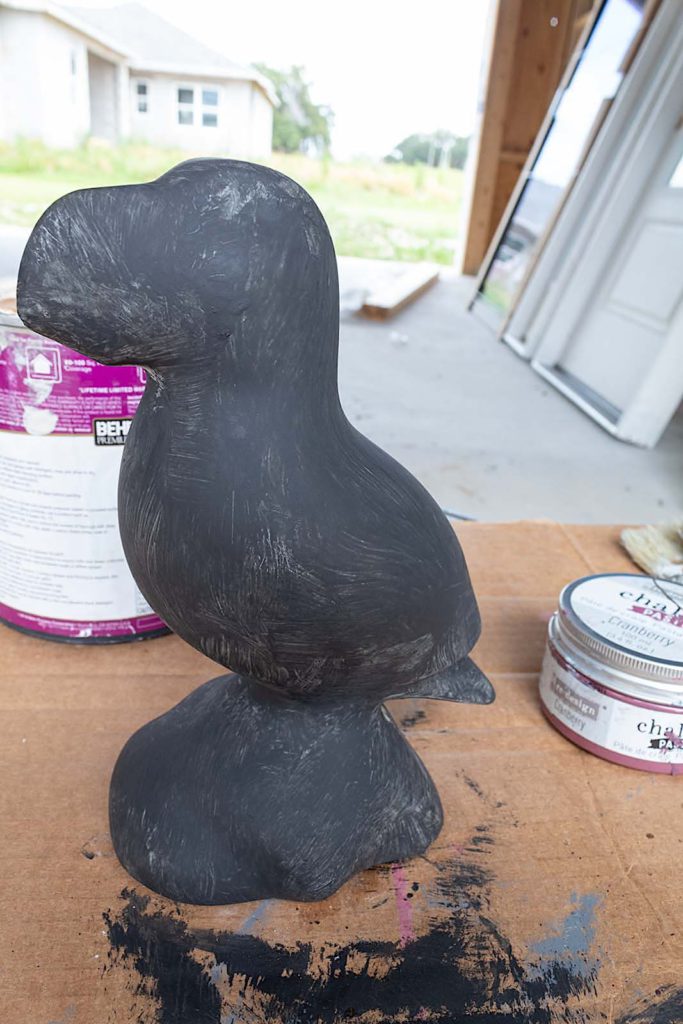
To start I apply a base color. I recommend picking a dark color as your base. I use my chalk paint brush and paint the entire puffin black.
I wait approximately 10 minutes and my puffin is dry. Chalk paint dries very quickly.
Notice how uneven the coverage of the black paint is. That is perfectly okay. Most of the black is going to be covered by the additional layers. So no need to stress about your base coat being perfect.
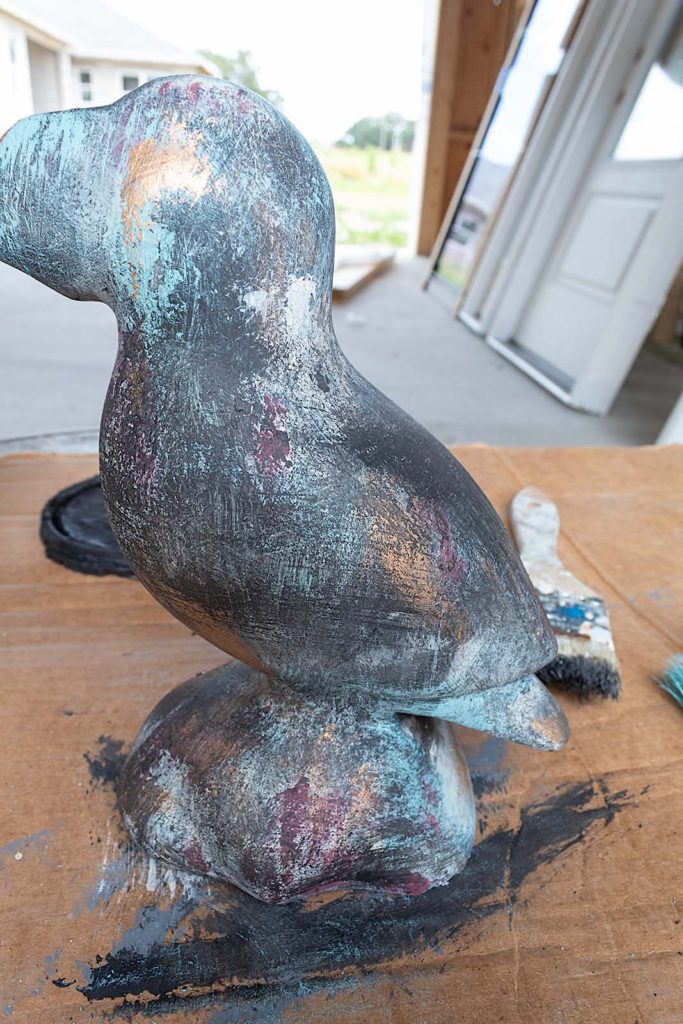
Step 3. Begin paint layering
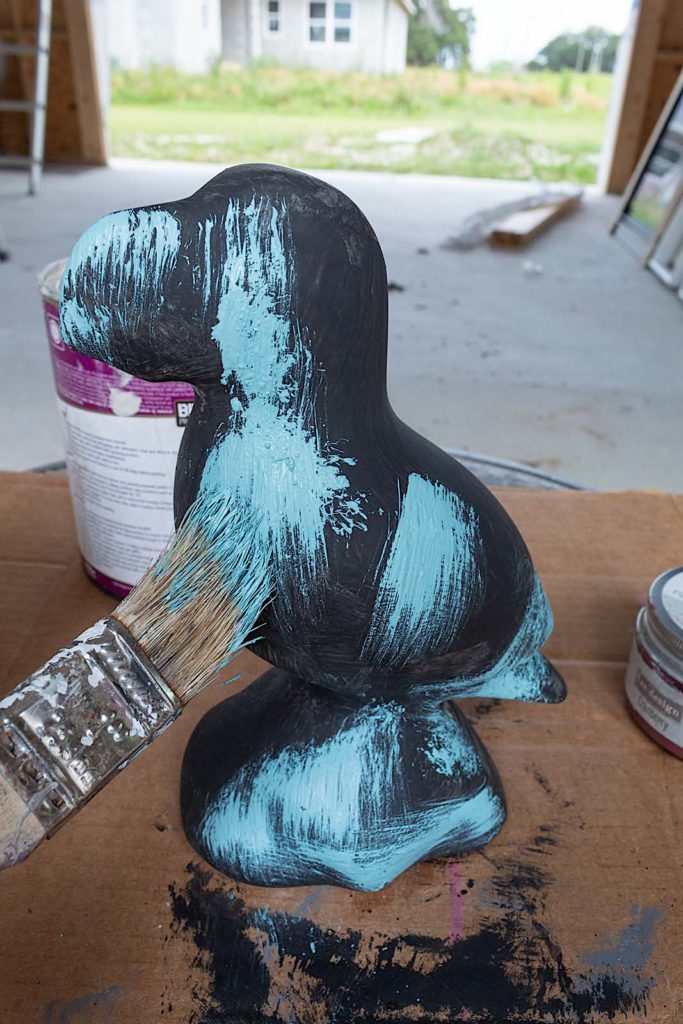
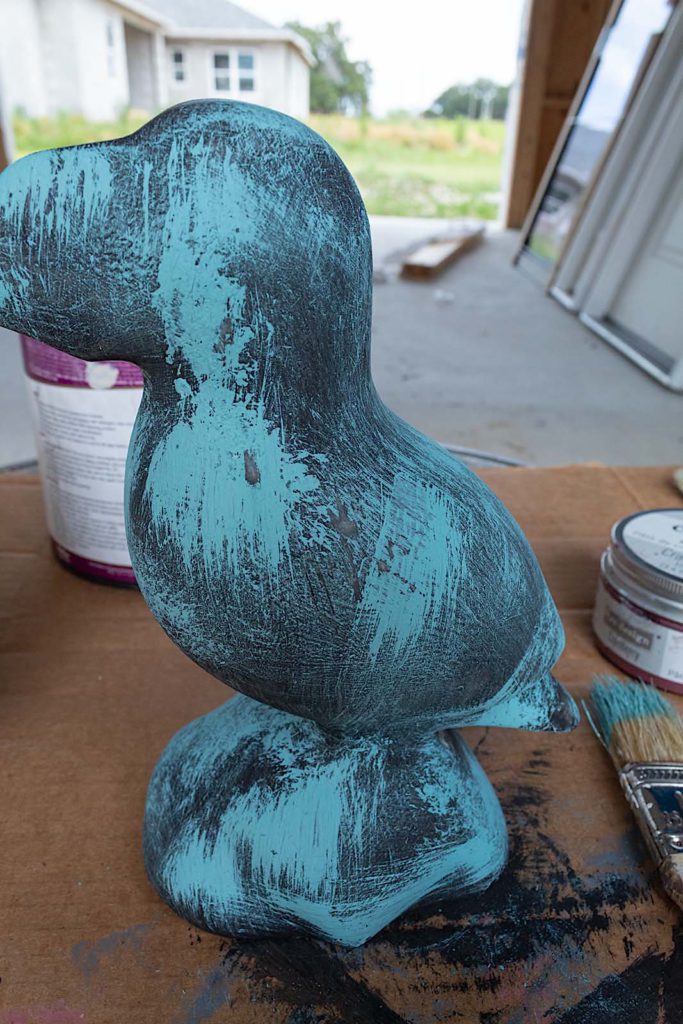
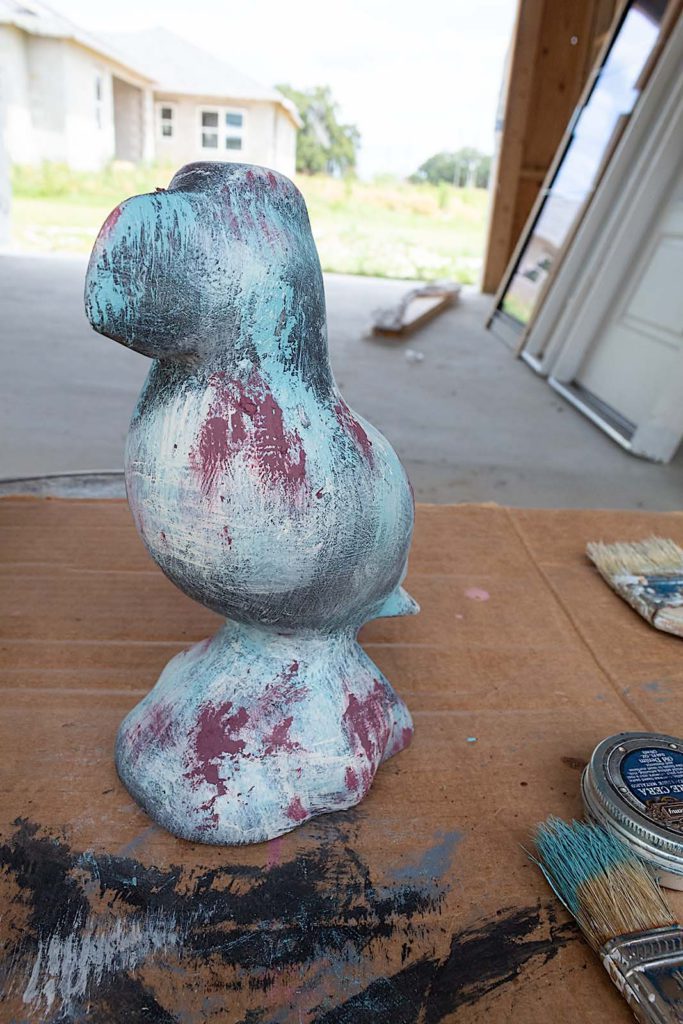
Now we begin adding our paint colors, staring with Reflecting Pool, a dashing light turquoise color.
I apply the paint in random fashion—at times sideways strokes, and other times dabbing up and down. We are creating texture and art so there is really no wrong way to do this. Just make sure to leave some of the black exposed. Don’t cover the item entirely with your second color.
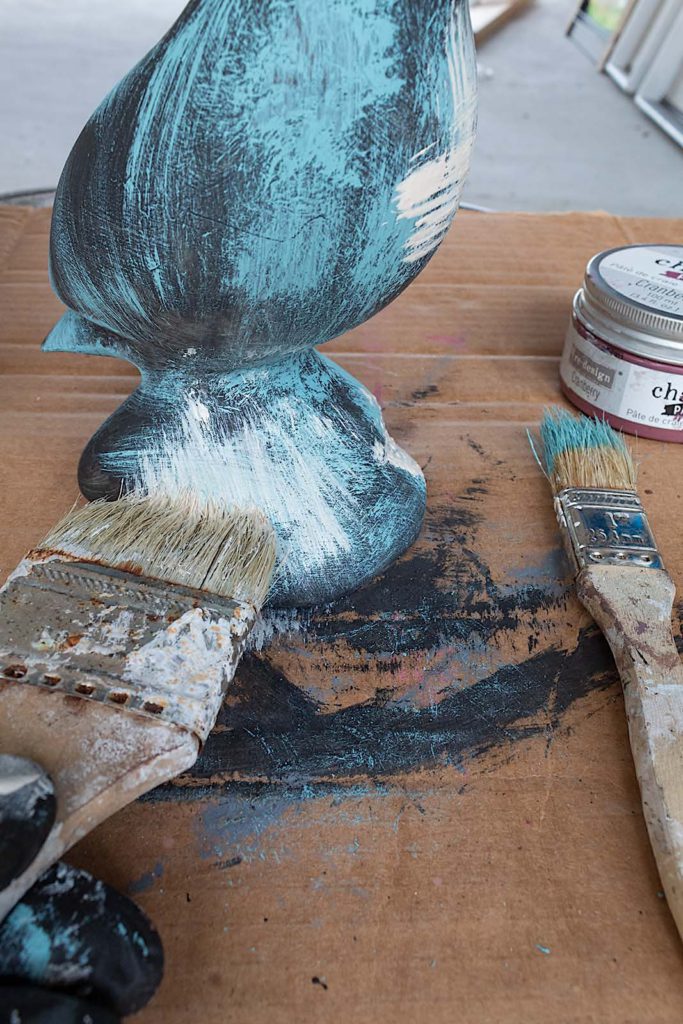
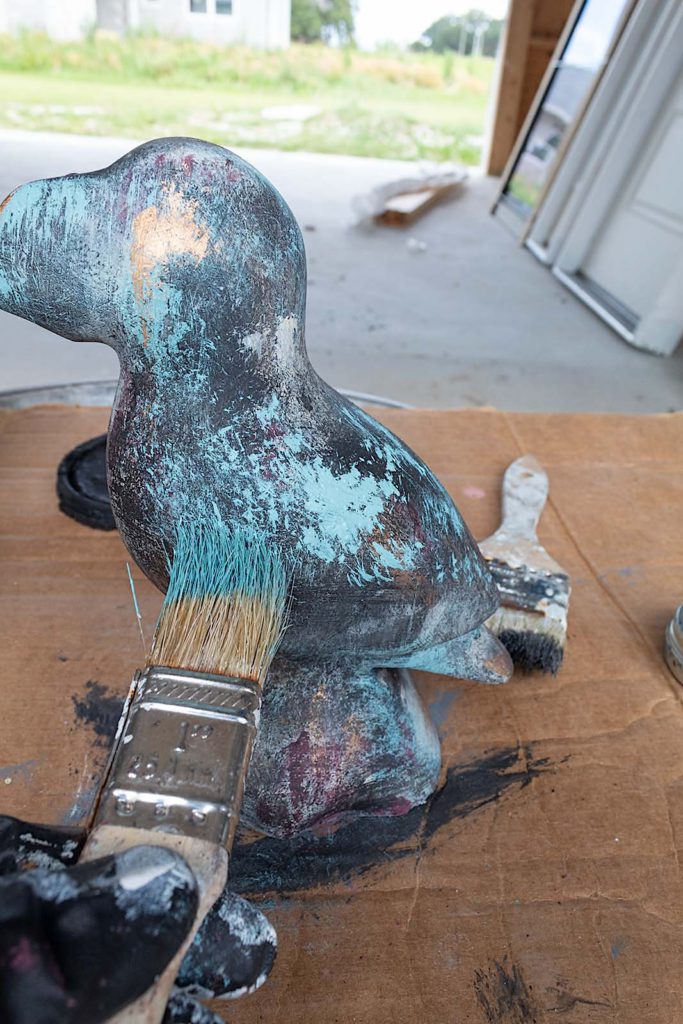
I already love how this puffin looks! But I’m going to keep going with my Pumpkin Essence color. I don’t wait for dry time in between coats. You’ll notice paint dries as you are applying it.
Remember to dry brush only (don’t mist your brush or your surface) and to only get a little paint on your brush. This will add to the textured aesthetic and dimension.
Next I do the same thing with the Pumpkin Essence paint that I did with the Reflecting Pool. This time I’m making sure that I’m leaving parts of both previous colors exposed. In fact, I’m only applying a little of the Pumpkin Essence color.
When doing your projects, pick colors that will contrast. This will create more dimension. If you pick similar hues, you will not get as much of an aged effect.
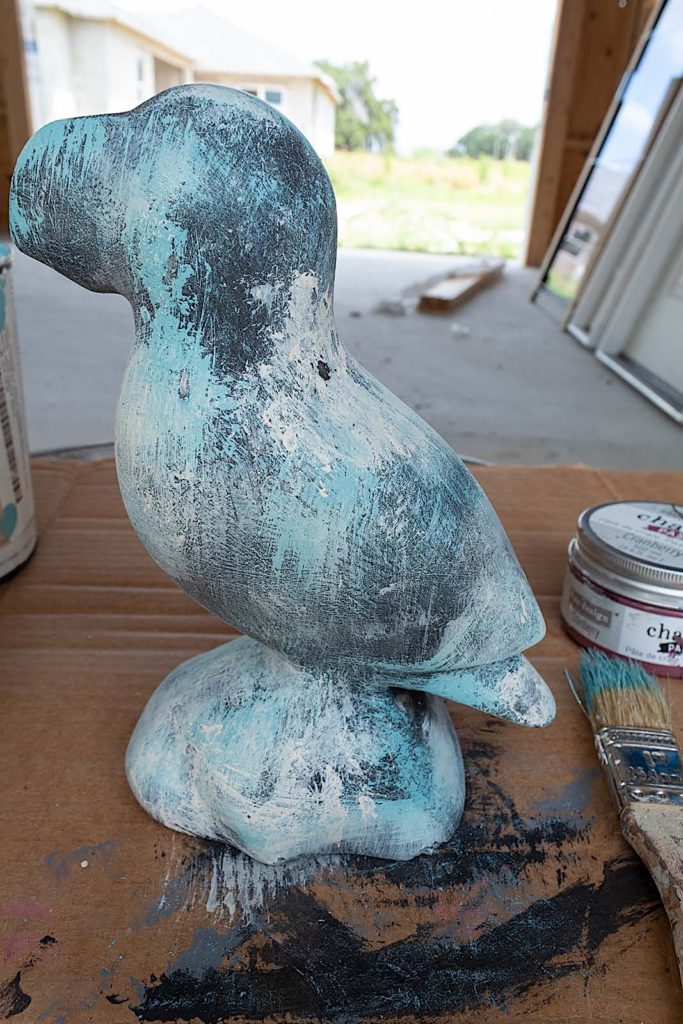
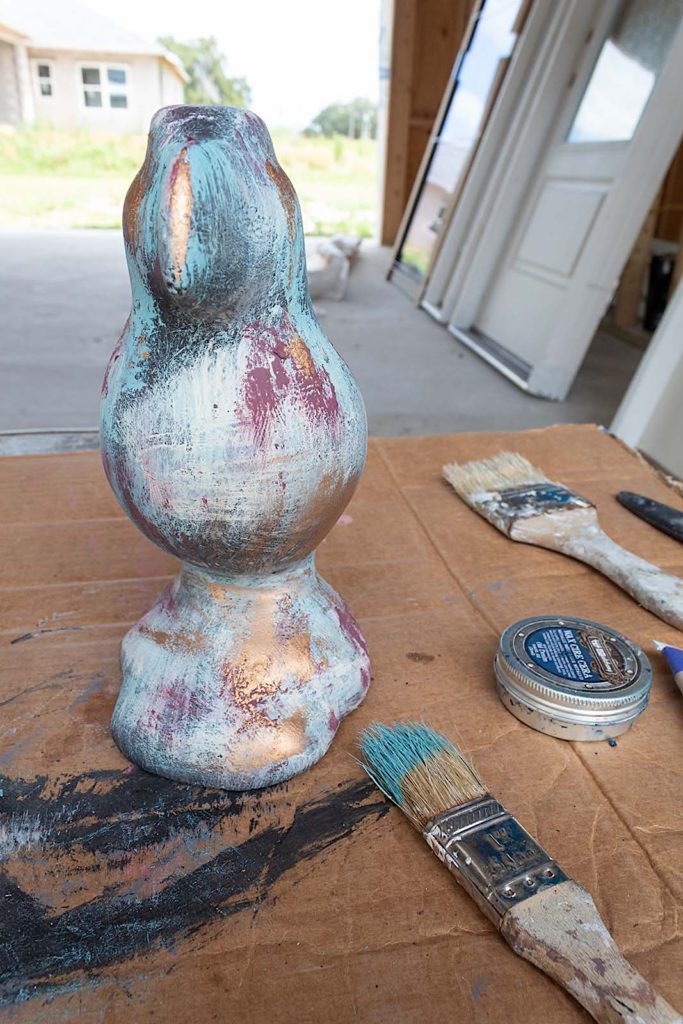
Take a look at how wonderful the layers are looking together. The puffin is already beautifully transformed. But I’m going to add some more dimension and color…
Be sure to catch the video of this renovation at the end of this post!
Step. 4 Add chalk paste
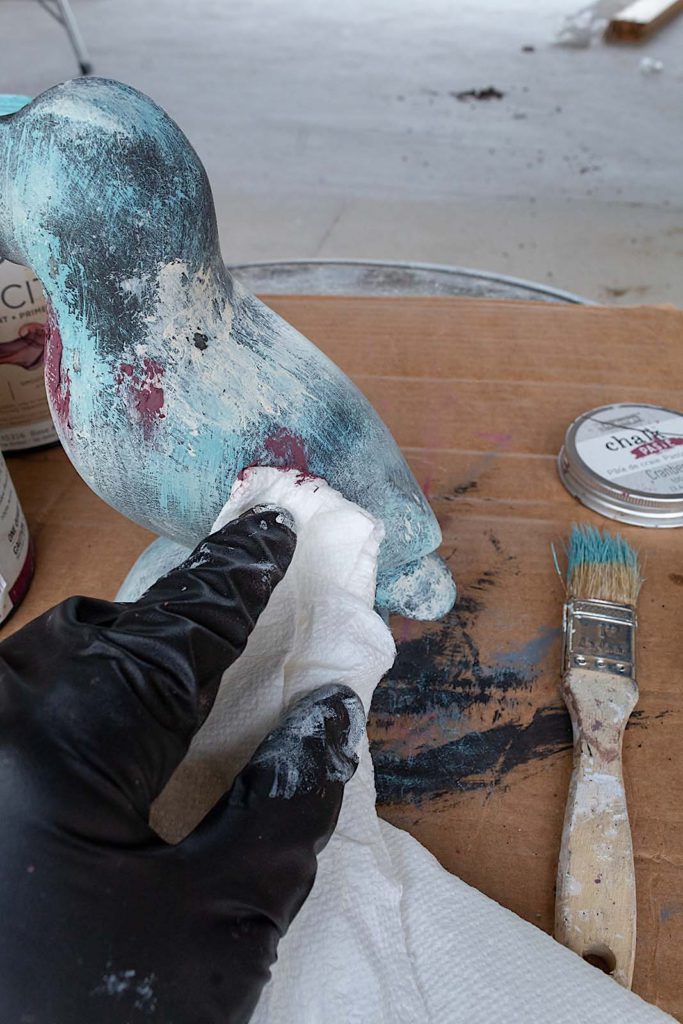
Now it’s time for our Cranberry Chalk Paste. I love using this chalk paste for subtle details on my projects or for stenciling furniture. The color is rich and beautiful but it is very strong. This small jar has lasted me forever since I use it sparingly and to bring in hints of color that add to the overall design.
I applied some of the paste in a few spots around the puffin. I used a paper towel to rub it on and then wiped it back with the clean side of the paper towel.
Now my little bird is starting to look a bit chaotic. But not to worry, this will all come together beautifully in the end.
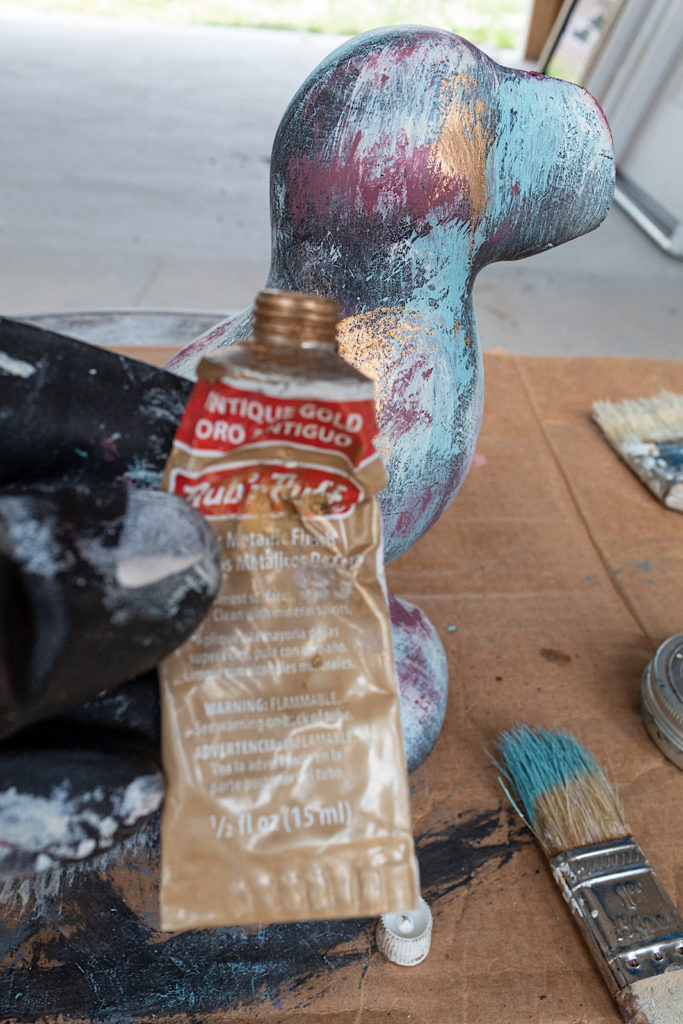
Step 5. Add Rub 'n Buff
I love adding touches of metallic waxes when paint layering. Subtle hints of gold embedded throughout the layers gives decor an elegant touch.
I’m using Gold Leaf Rub ‘n Buff for the puffin. I really like the deeper tone of this gold.
Again I add the wax by rubbing it on in random parts. This time I use my gloved finger to apply it.
I know these steps are sounding repetitive, but it is truly a lot of fun once you are doing it. I tend to get lost in the creative process.
It doesn’t matter if things look blotchy at this point. There are two final layers of paint that are going to even things out.
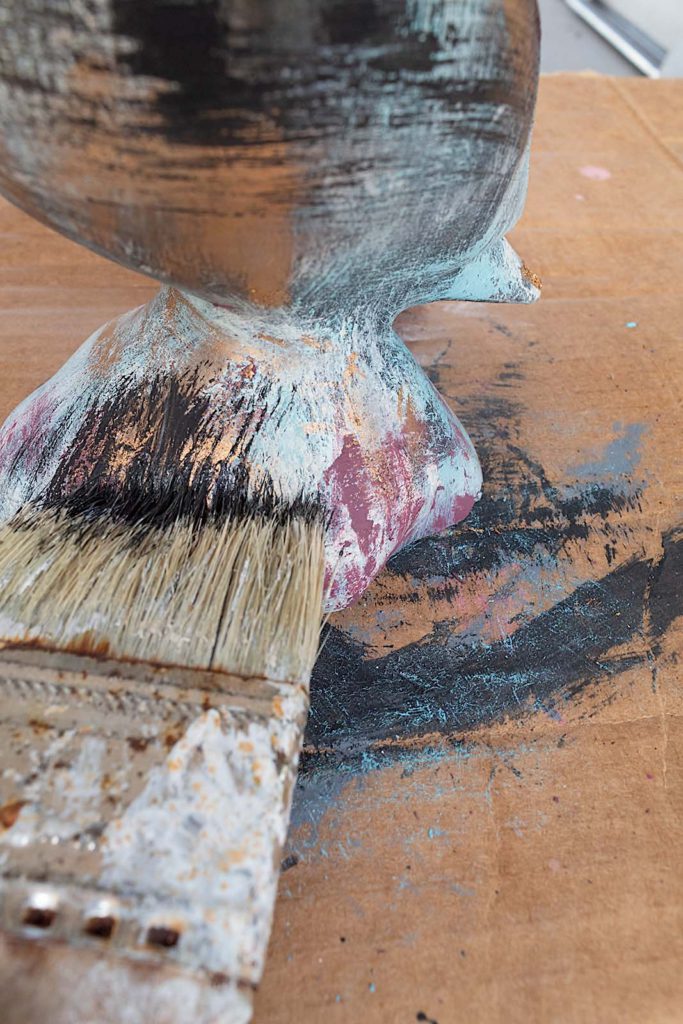
Step 6. Final two coats of paint
To help begin pulling everything together I add some more of the black paint, careful to leave parts of all the under colors visible. This is where you can play with the amount of age or patina you like.
No two projects will come out the same using these techniques. It really is personalized art, which I love.
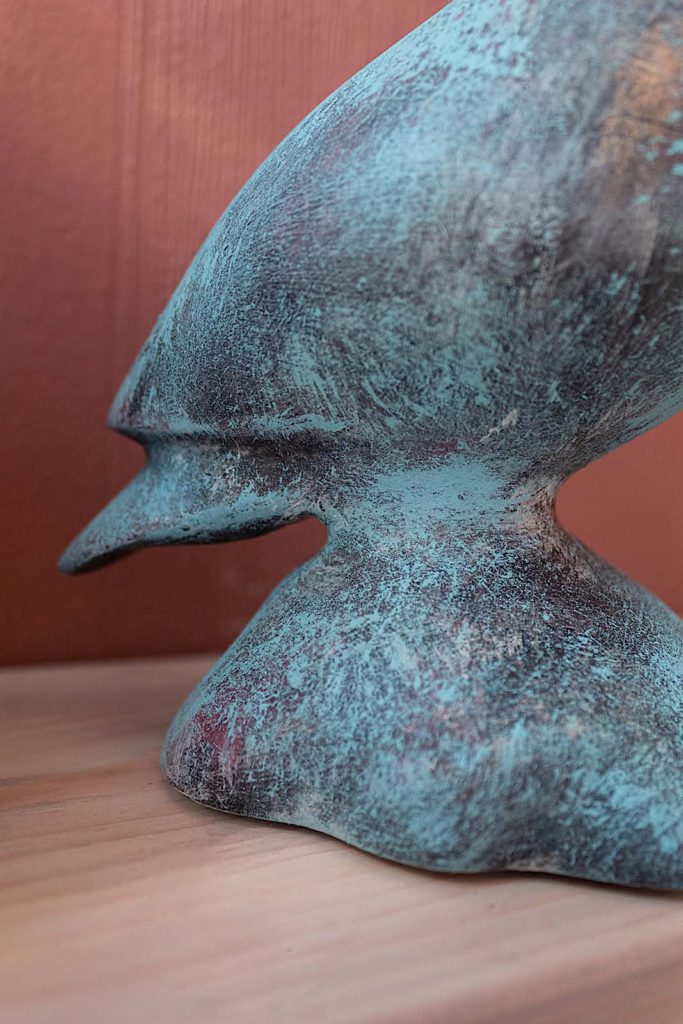
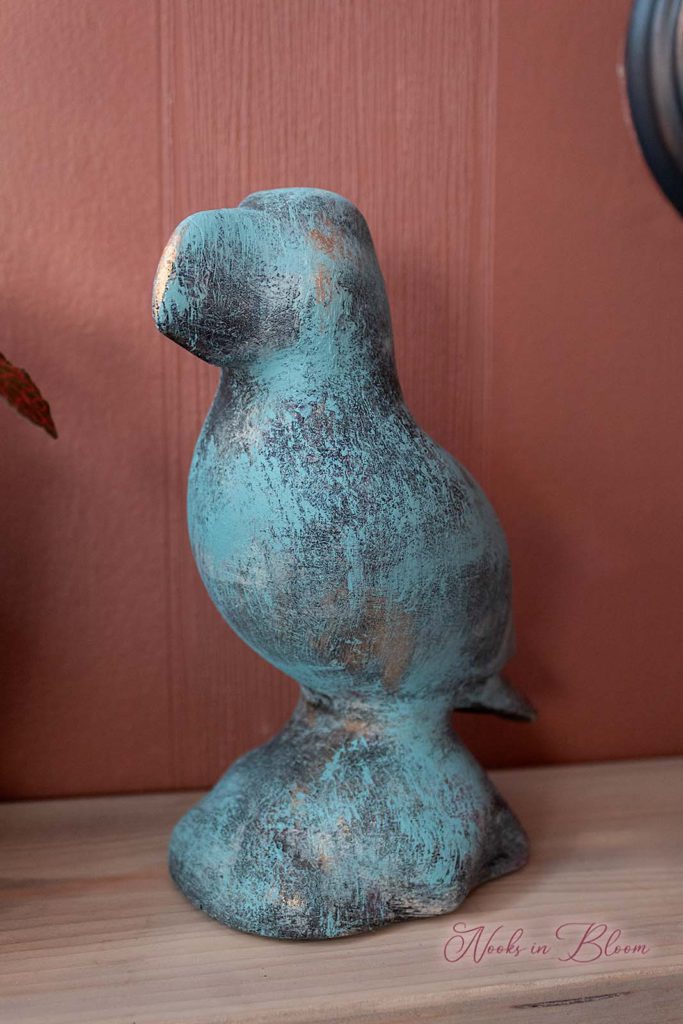
And finally, a top coat of the Reflective Pool color and the new look will be complete! This light turquoise color lightly brushed over the entire piece will tie all the colors together. It will also give the bird a finished look while creating an aged patina aesthetic.
Be sure to watch the video at the end of this post. It shows the brushing techniques I used with each layer.
I absolutely love how this decor piece was transformed. It looks so stylish in our new powder room.
And so my friends, what do you think of this transformation? Do you have a piece at home you would try it on? Let me know in the comments below.
Tune in for the next tutorial and now I will leave you with one more view of the before and after of our little puffin! Hugs.