TODAY I’M SHARING HOW TO CREATE A DREAM GARDEN IN YOUR YARD ON A BUDGET! Follow our 10-step process to see how we transformed our landscaping while saving hundreds of dollars.
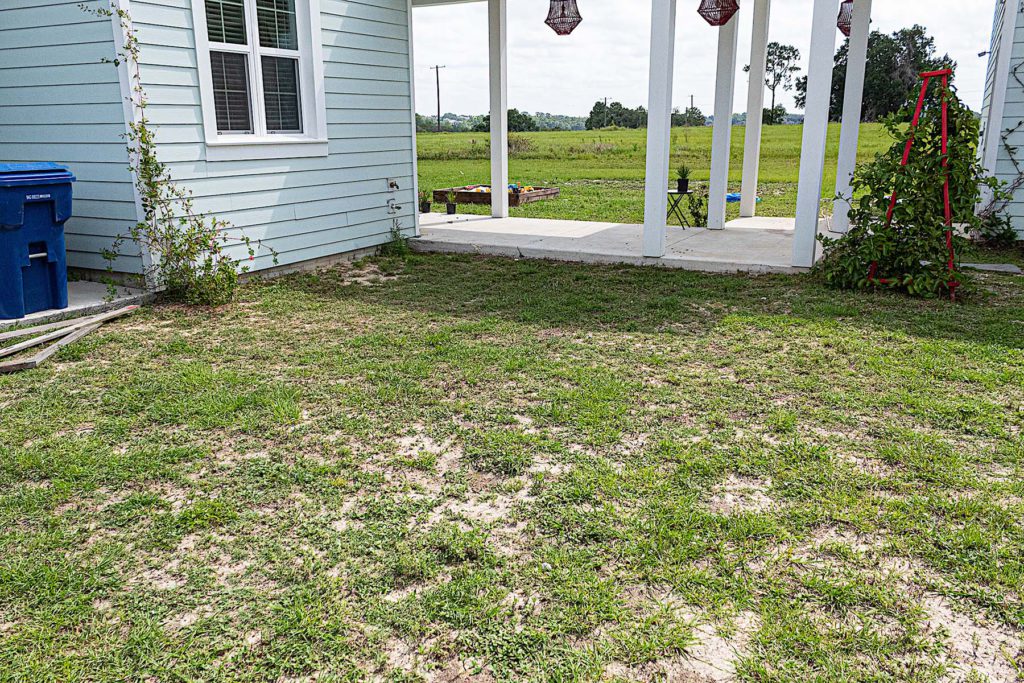
Before
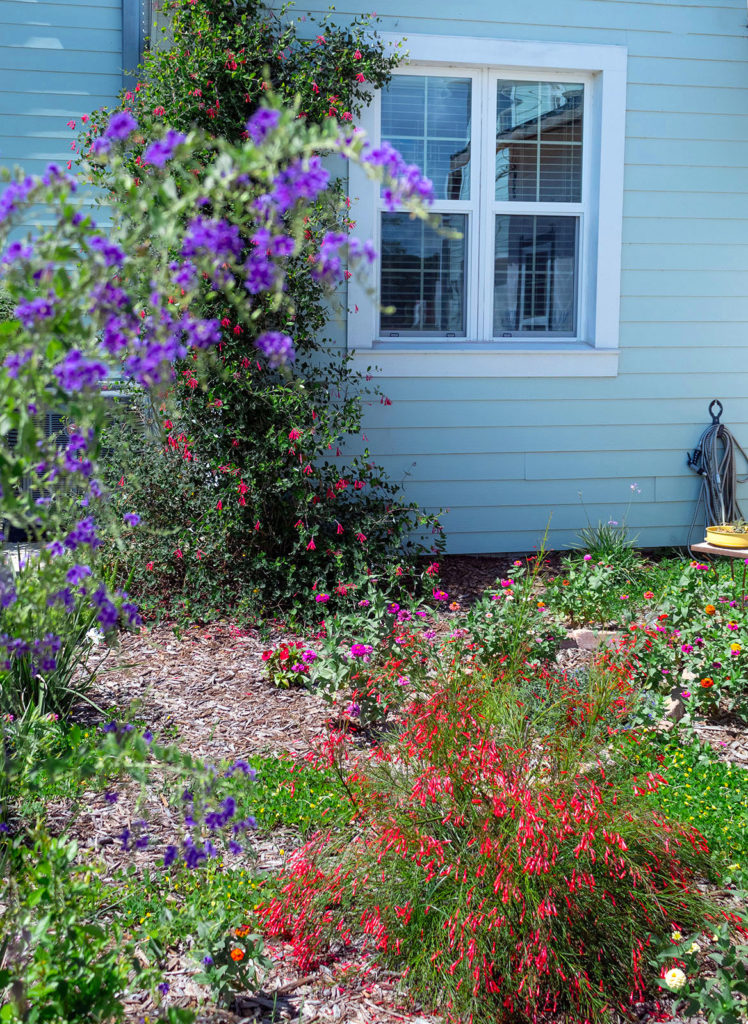
After
We completed this project over a long weekend. Every morning when I wake up, the first thing I do is open the blinds to look out onto this beautiful garden. It is the perfect way to start my day!
Find Your Garden Inspiration
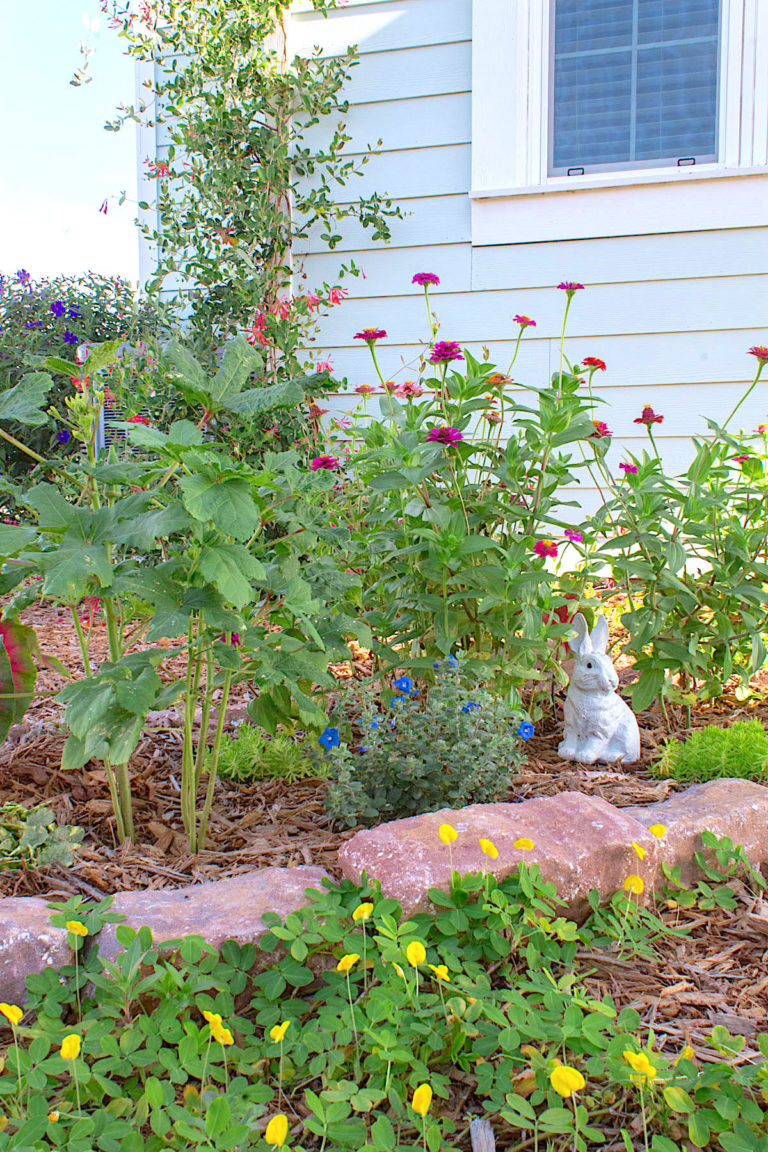
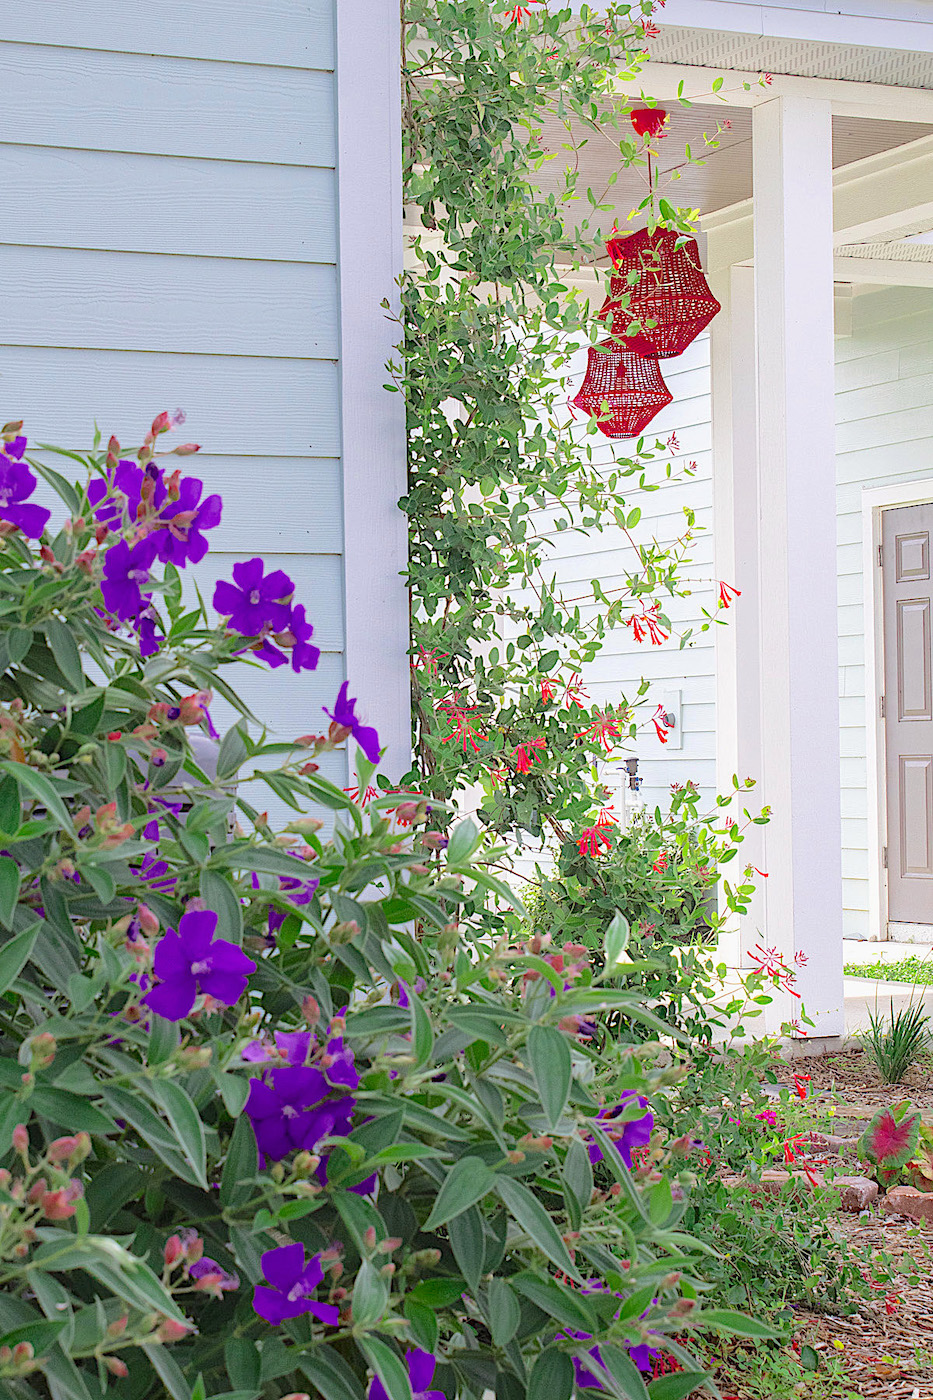
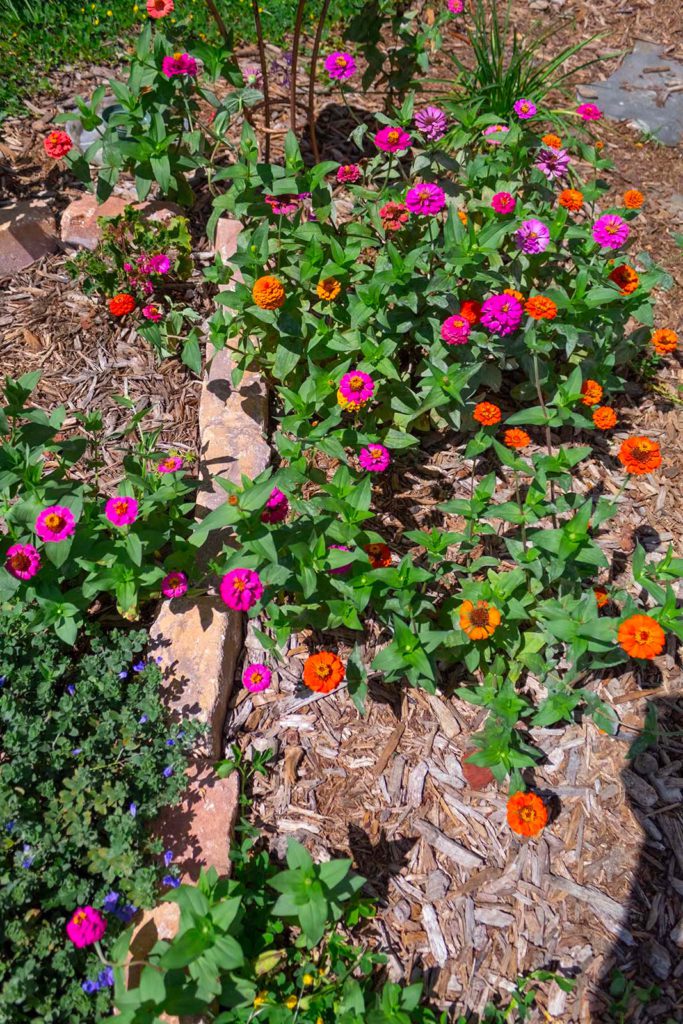
I’d been wanting to do something with the area next to our breezeway. It was full of weeds and sandy patches and needed some help. I’ve always been inspired by French gardens. The design vision for our garden oasis was: • low-maintence & self-irrigating • plants with whimsical aesthetic cascading over stone beds • small blooming trees and bushes lining a curved stone pathway • a blanket of flowering greenery for the garden floor
**to save on costs, I bought small plants. I don’t mind waiting for plants to grow.**
What we did...
The whole family got on board with this project—it even got our teen off of his electronic devices which was a win! This tutorial will cover how we:
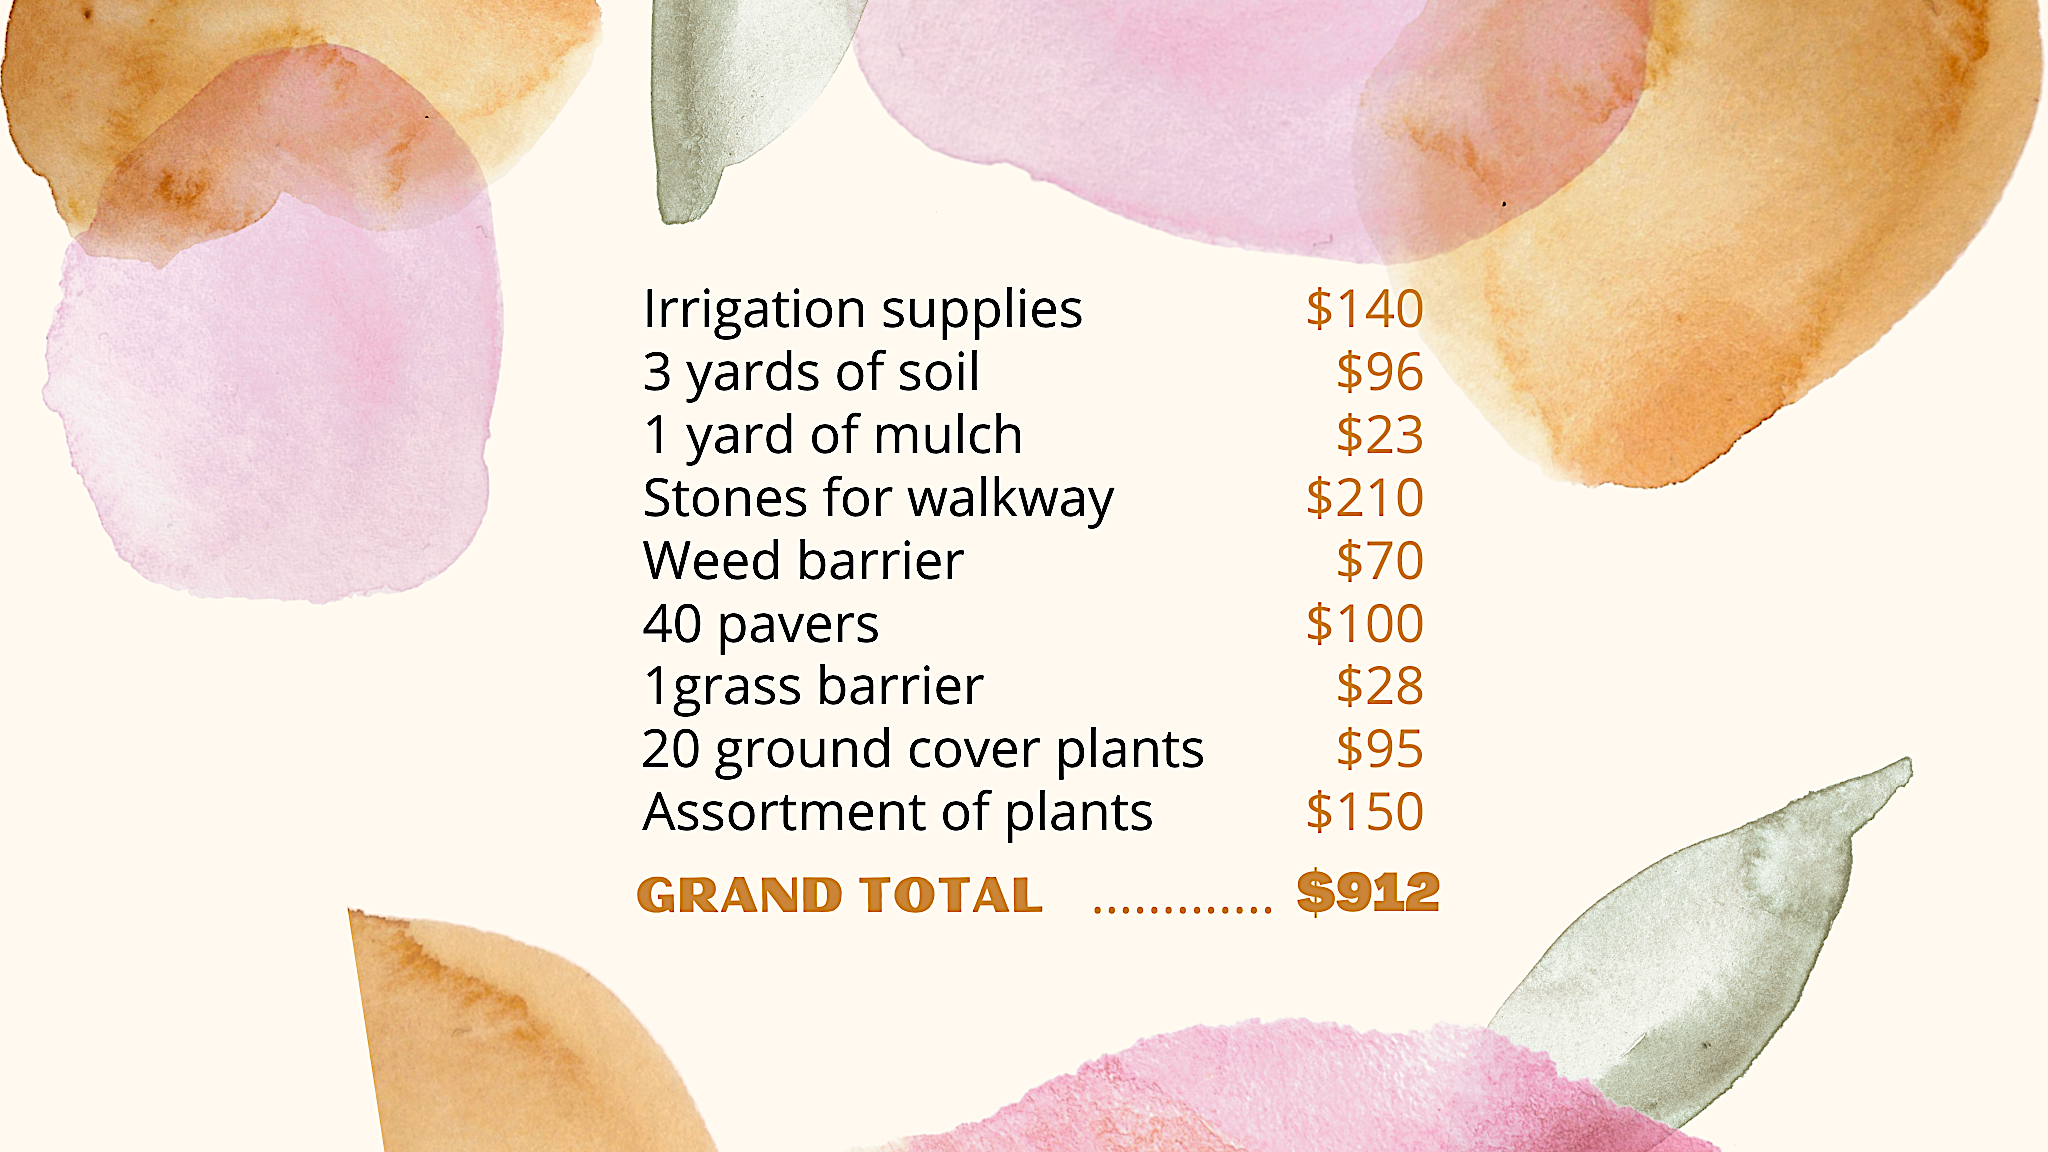
• tilled (dug up) and prepped 625 square feet of yard • laid weed barrier, 3 yards of soil and 1 yard of mulch • created two raised beds (1 ornamental and 1 edible) • planted an assortment of plants including ground cover, small trees, ornamentals & edibles • installed an irrigation system • laid a large stone decorative walk way
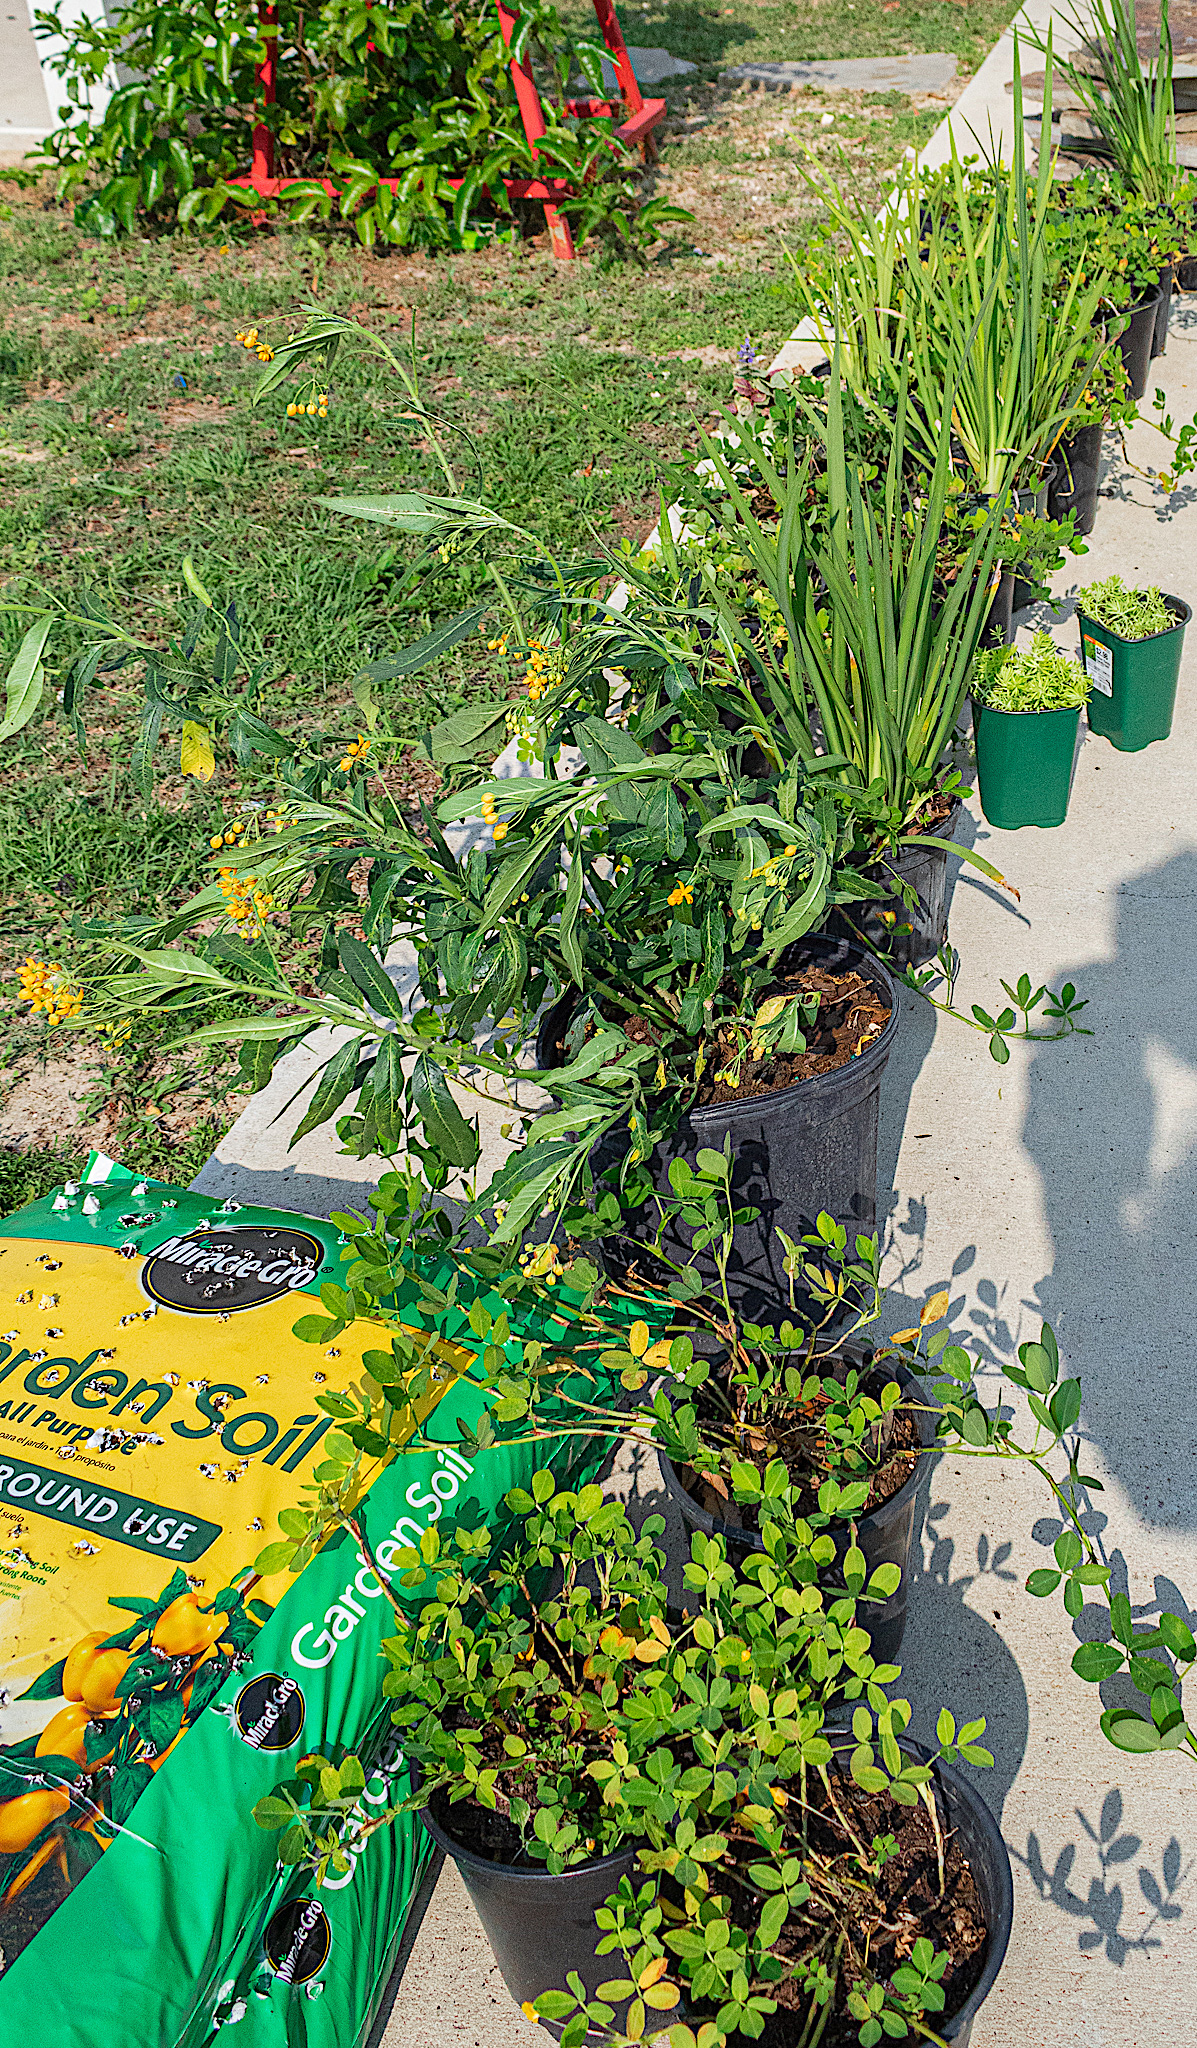
We spent the large part of the first day shopping for materials. We visited several local nurseries to find just what we needed. Take a look at our materials list. Our cost breakdownwill be shared at the end of this post as well as a video of our renovation.
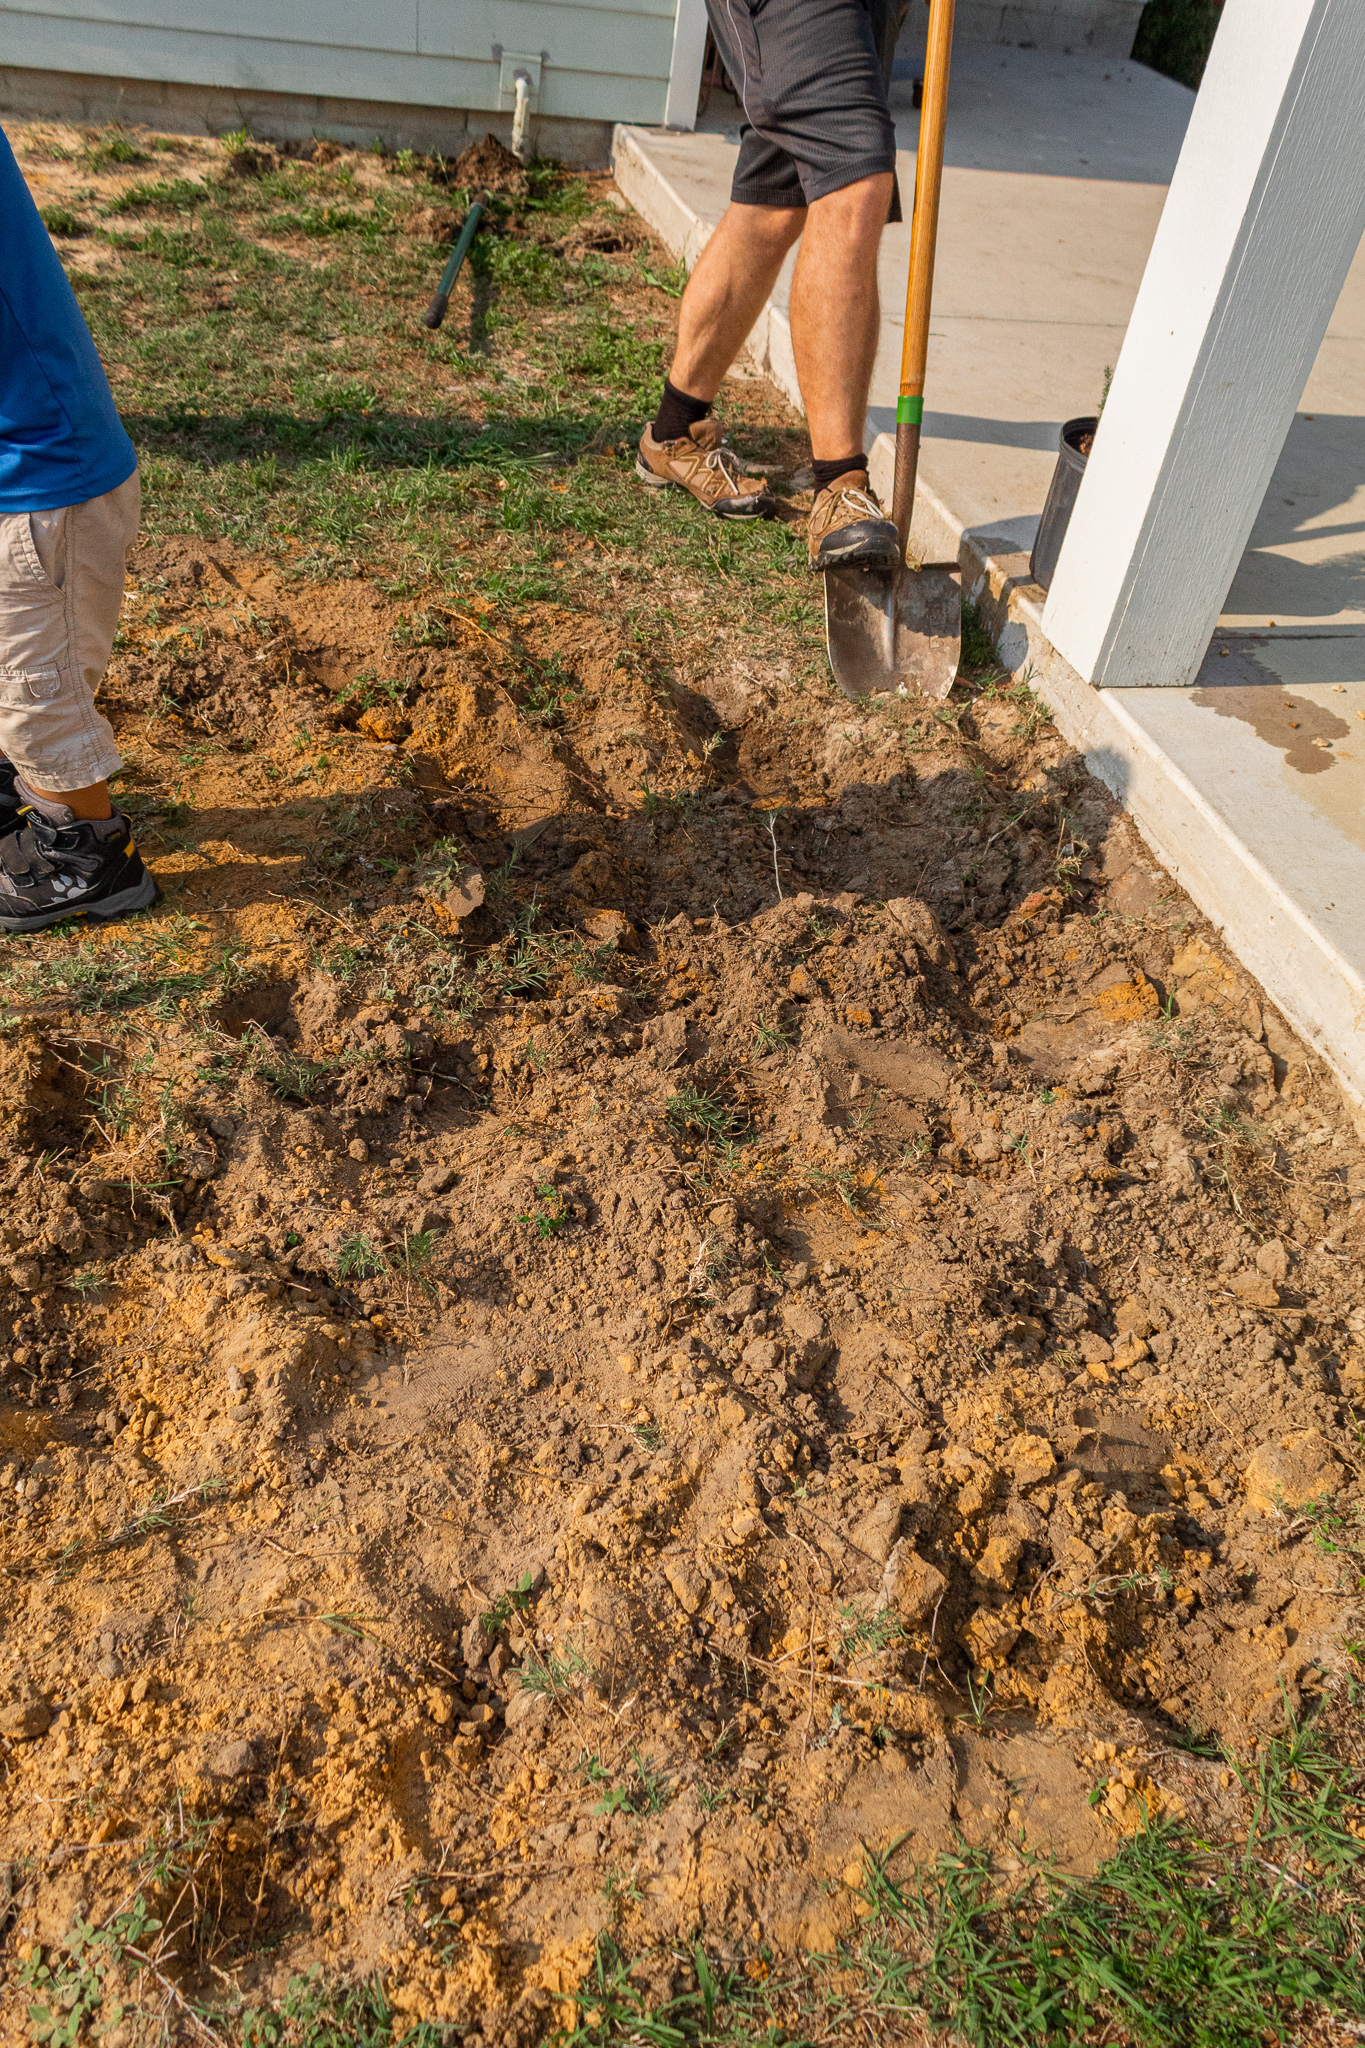
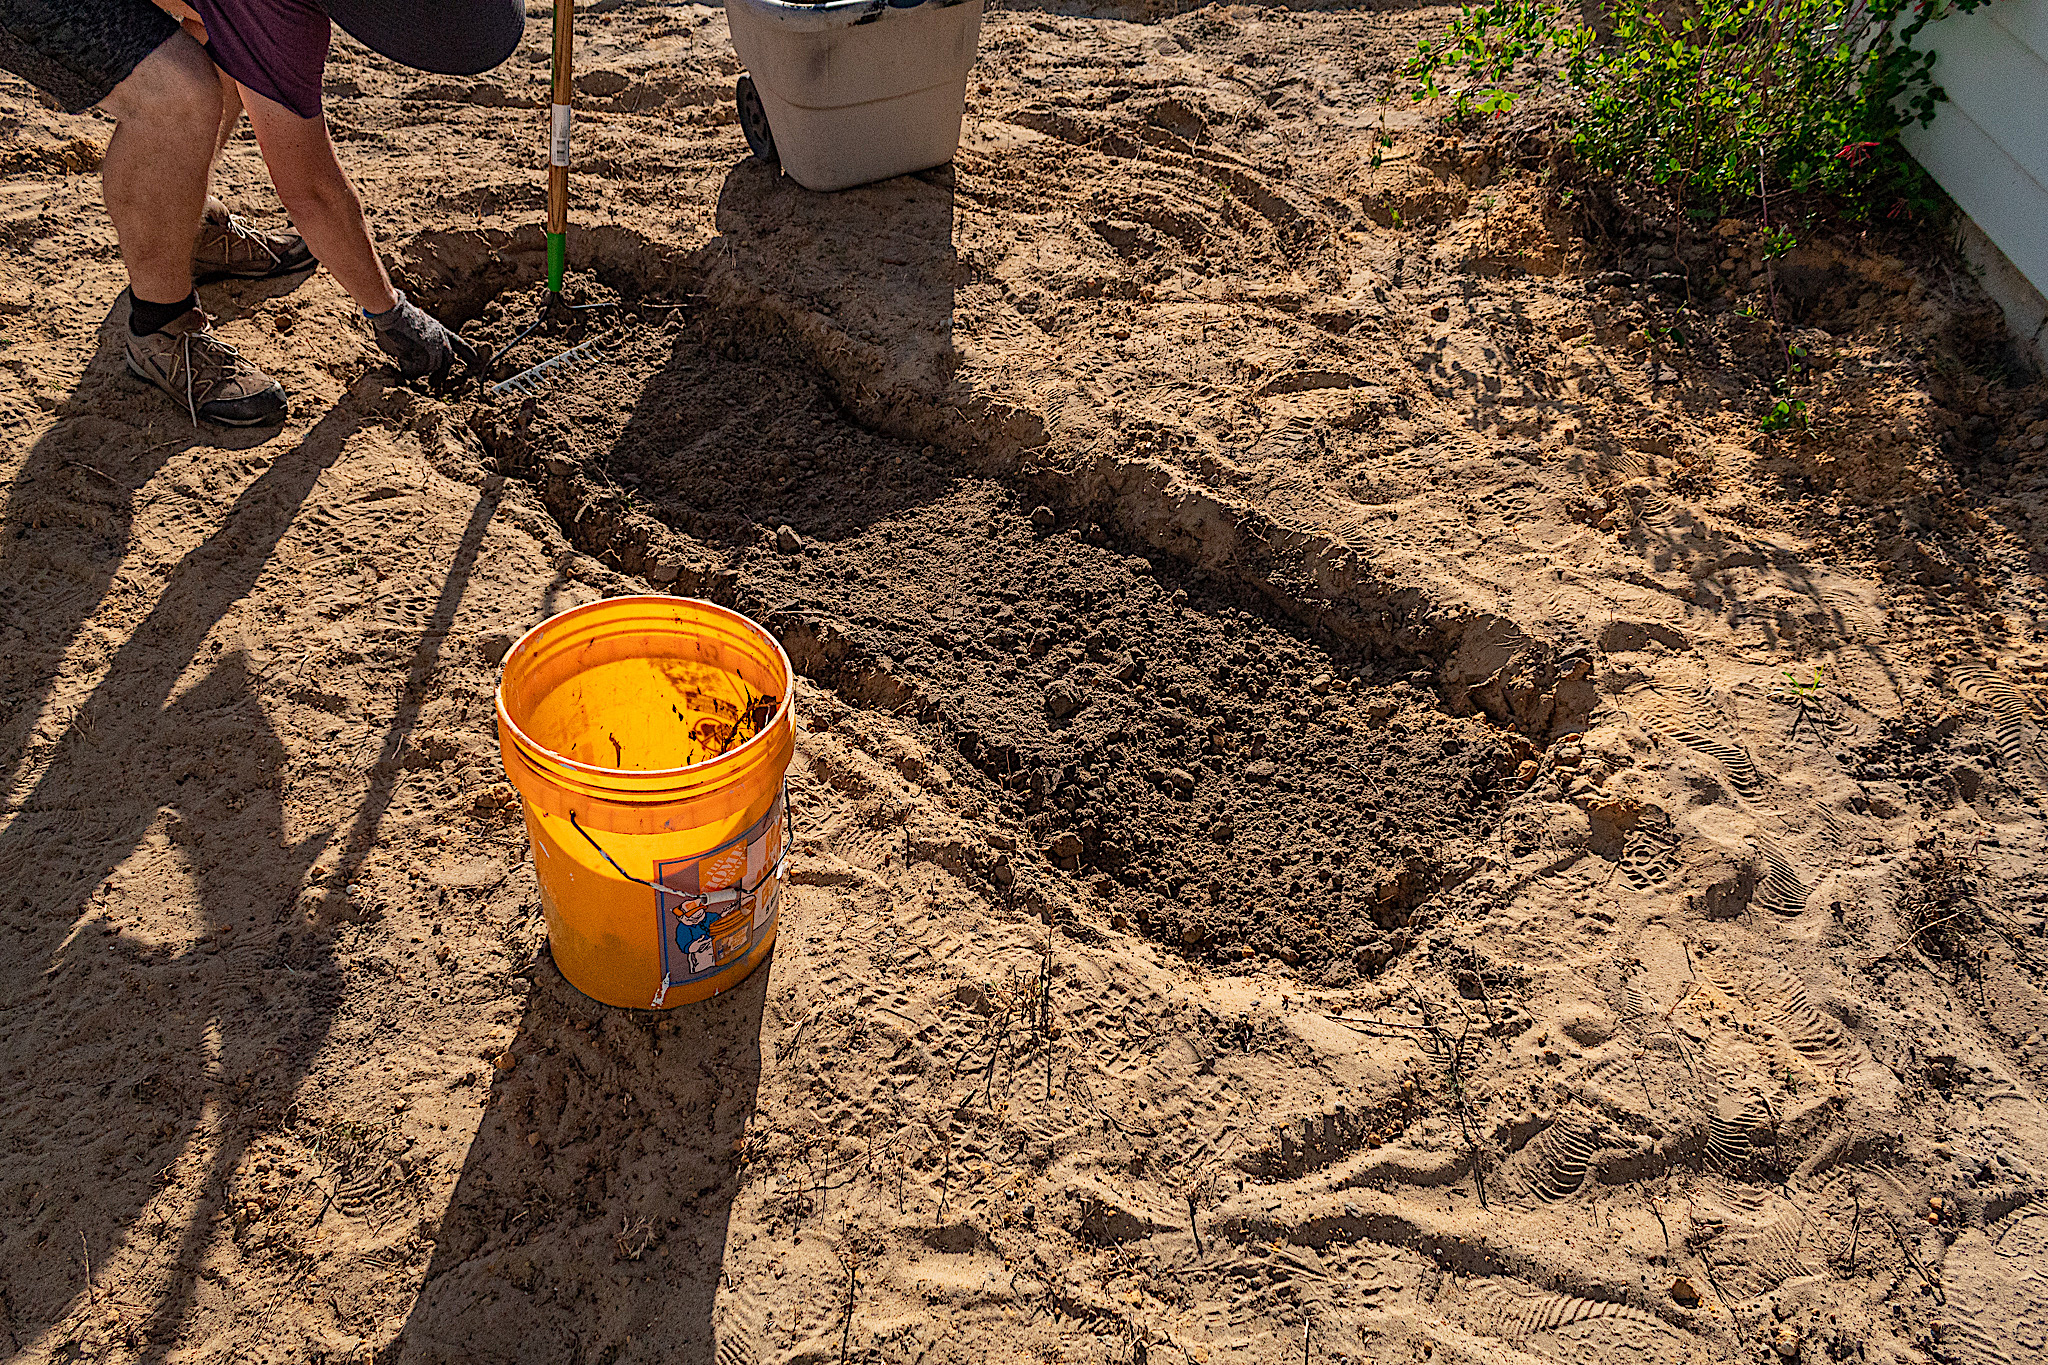
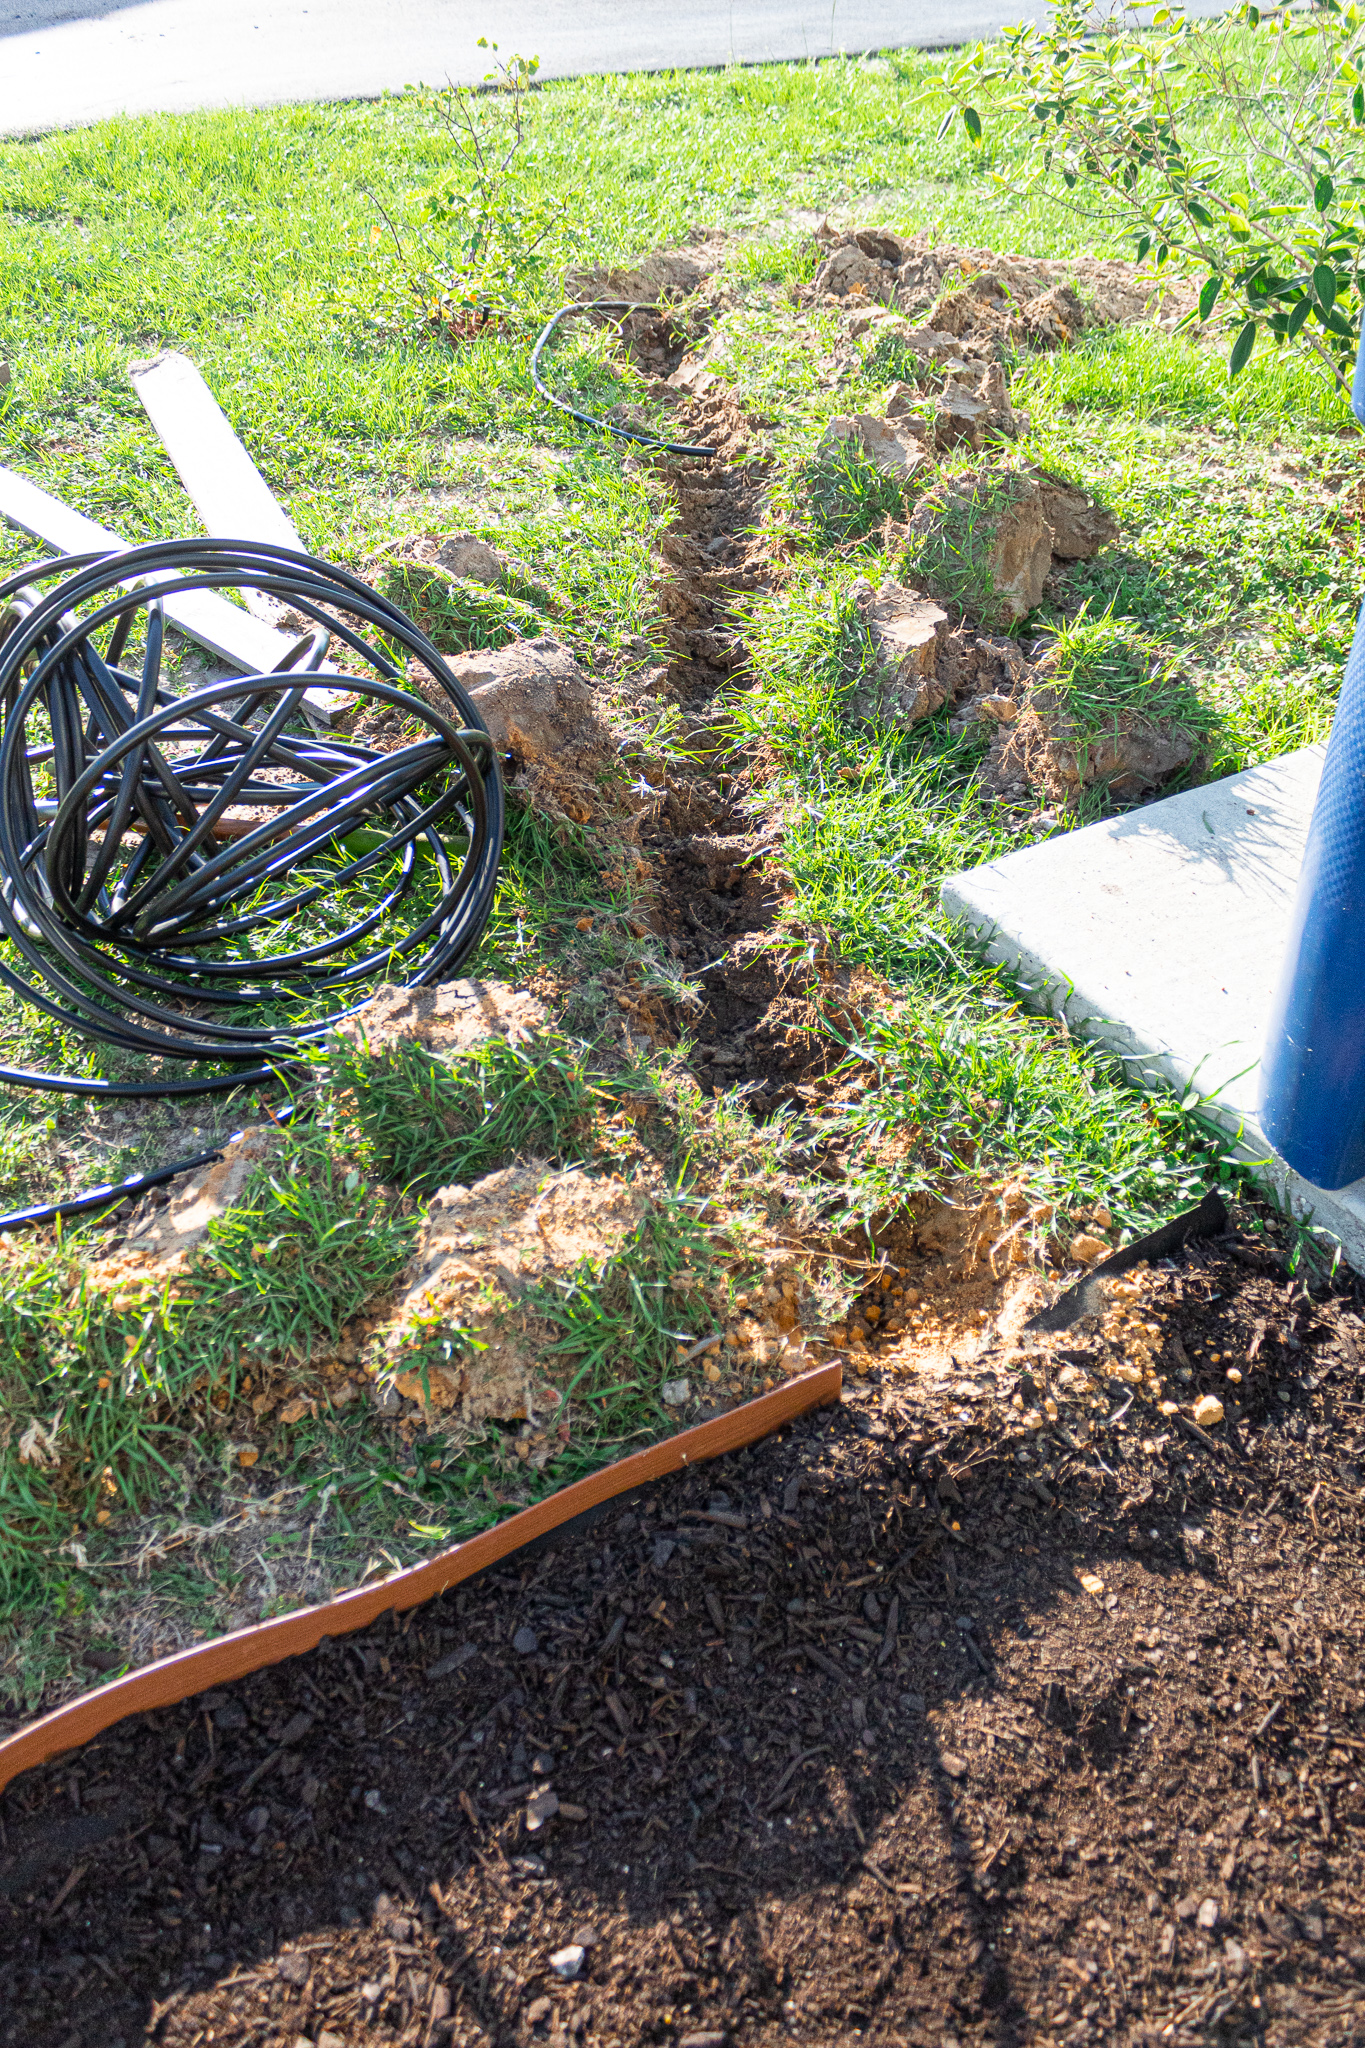
Removing the top layer of grass, weeds and dirt was the hardest part of this project. We have clay-like, compacted dirt, rocks and lots of stubborn weeds. In hindsight, renting a tiller may have been worthwhile. But our kids had fun digging too, even though my husband had to do most of the heavy work!
The next picture shows how the yard looked with almost all of the area for our new garden dug out.
The main thing is to remove a good 6 to 8 inches of grass and top dirt. Getting as much of your weed roots out as possible is essential for a low maintenance, weed-free garden.
We marked where our raised beds would go and dug out an additional 6 to 8 inches of dirt in these areas. Doing this will give plants in our raised beds extra room to grow.
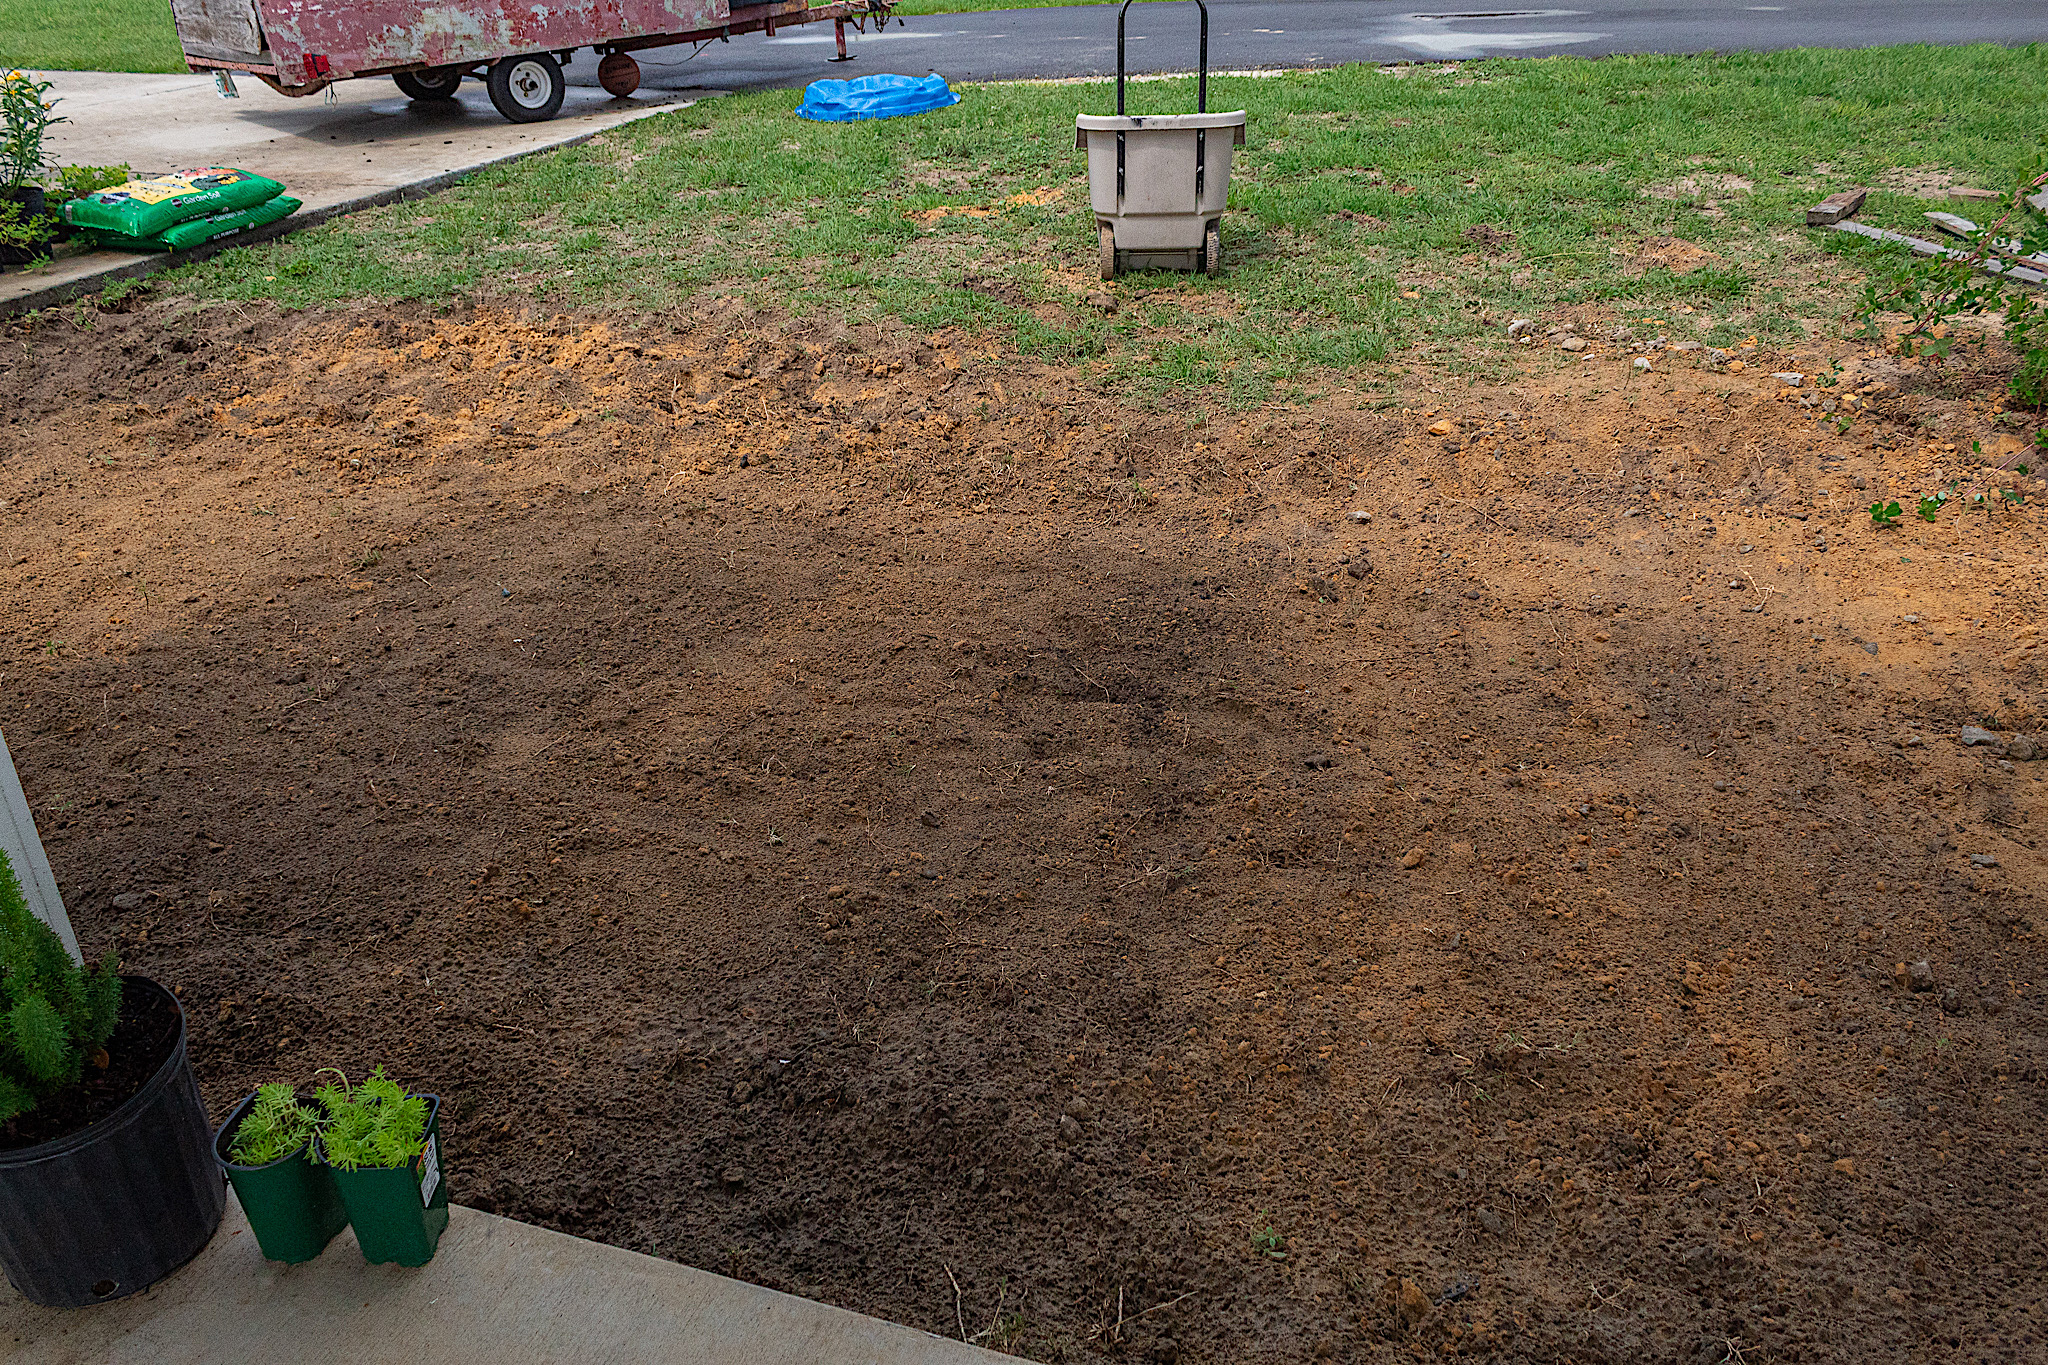
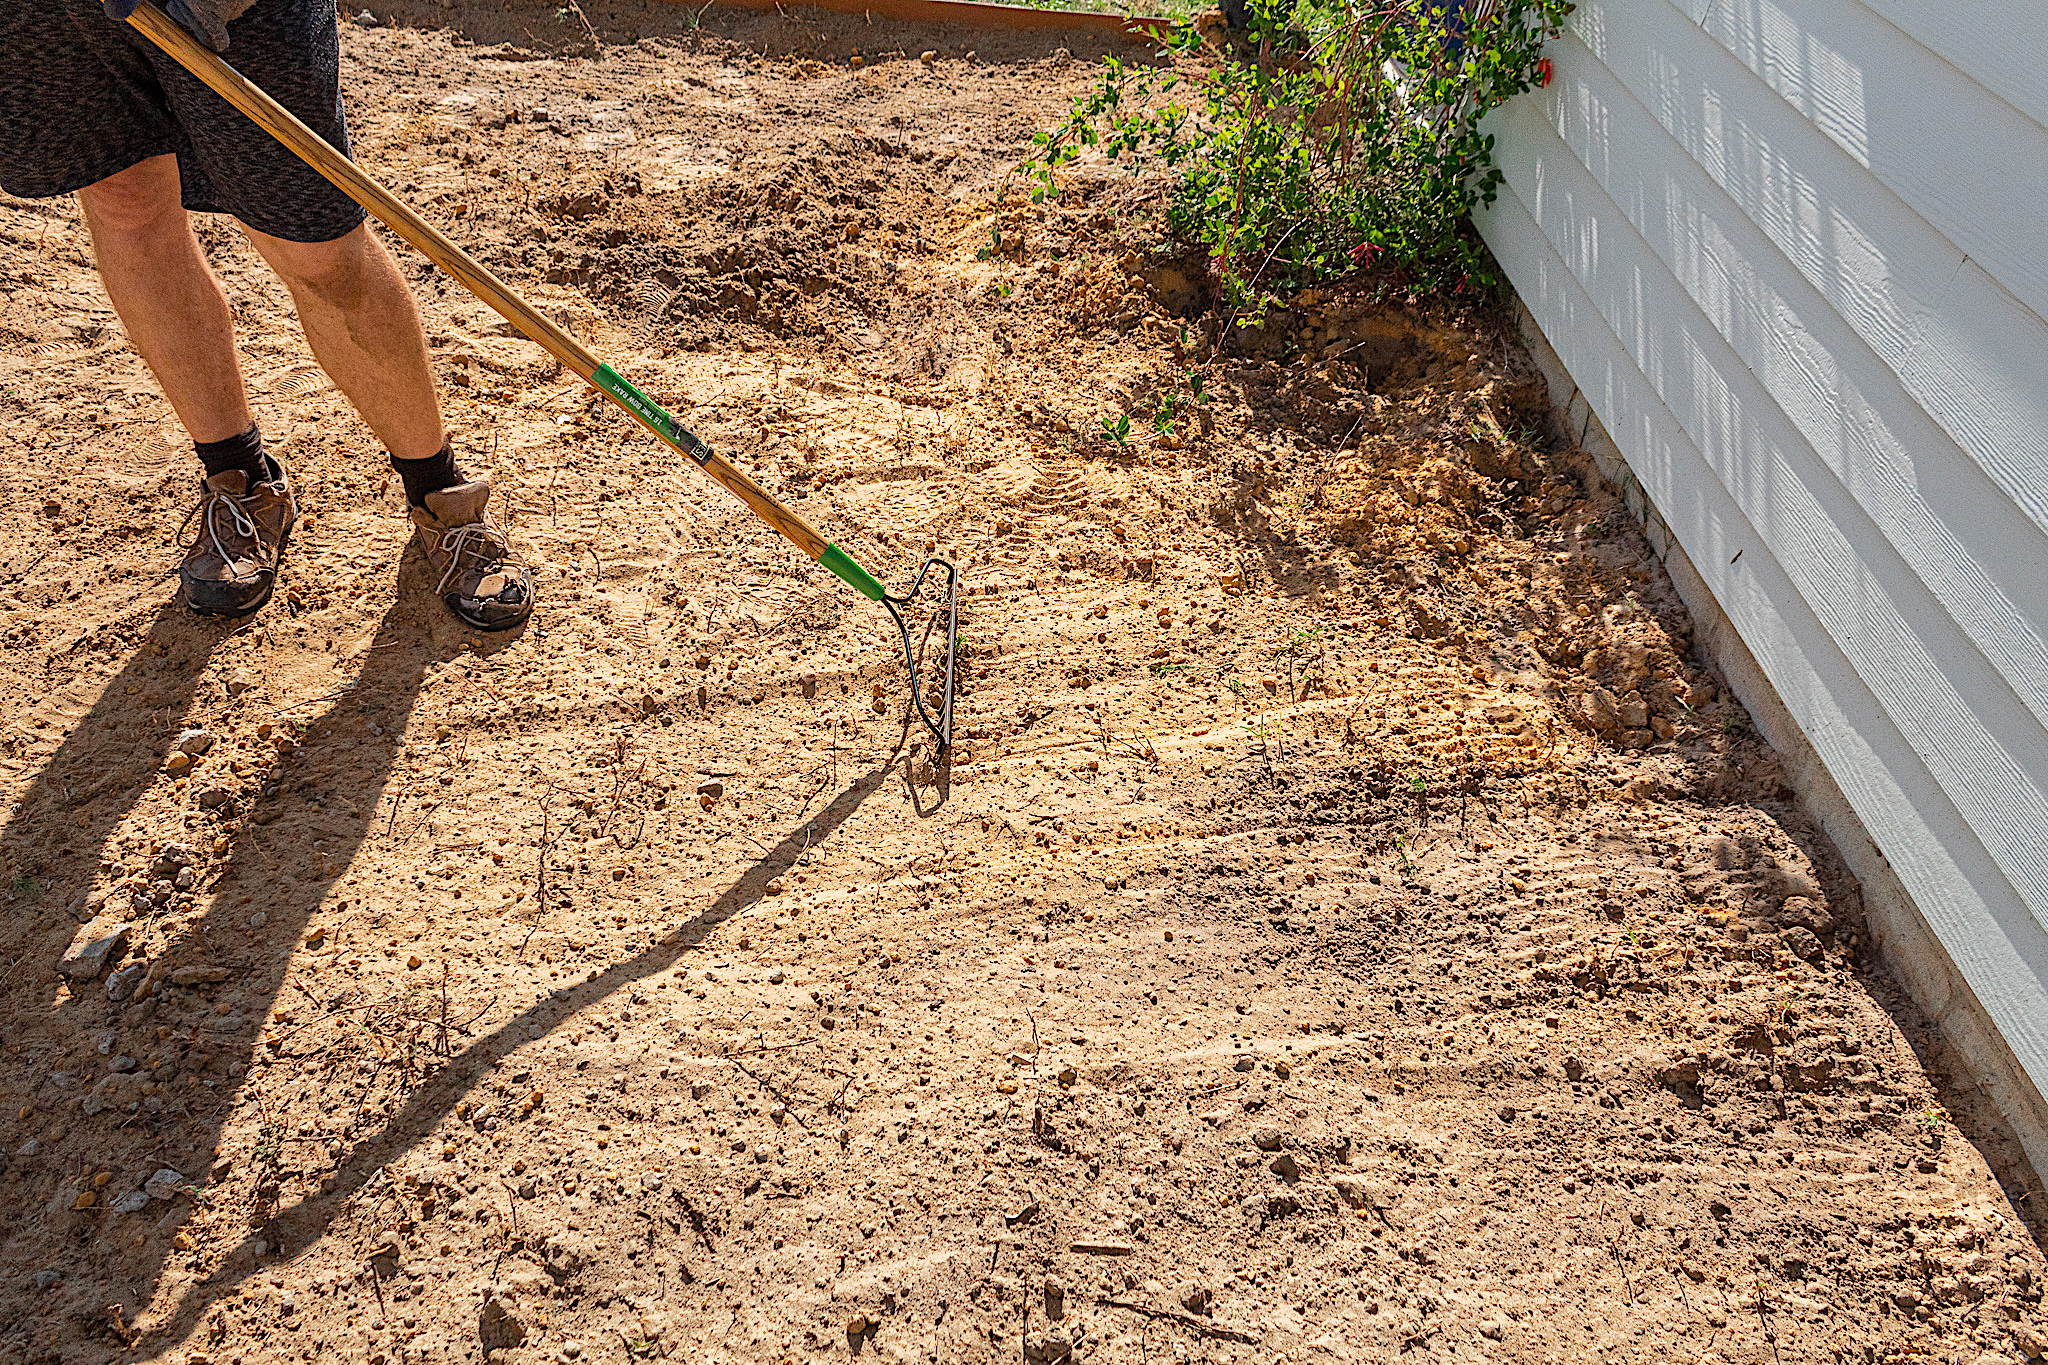
Step 2. Level the ground
Once we removed all the dirt we leveled the ground using a rake. This step is important for establishing a level floor for your garden, for planting and for building the raised beds. With the rake we were also able to scrape up remaining weed and grass roots.
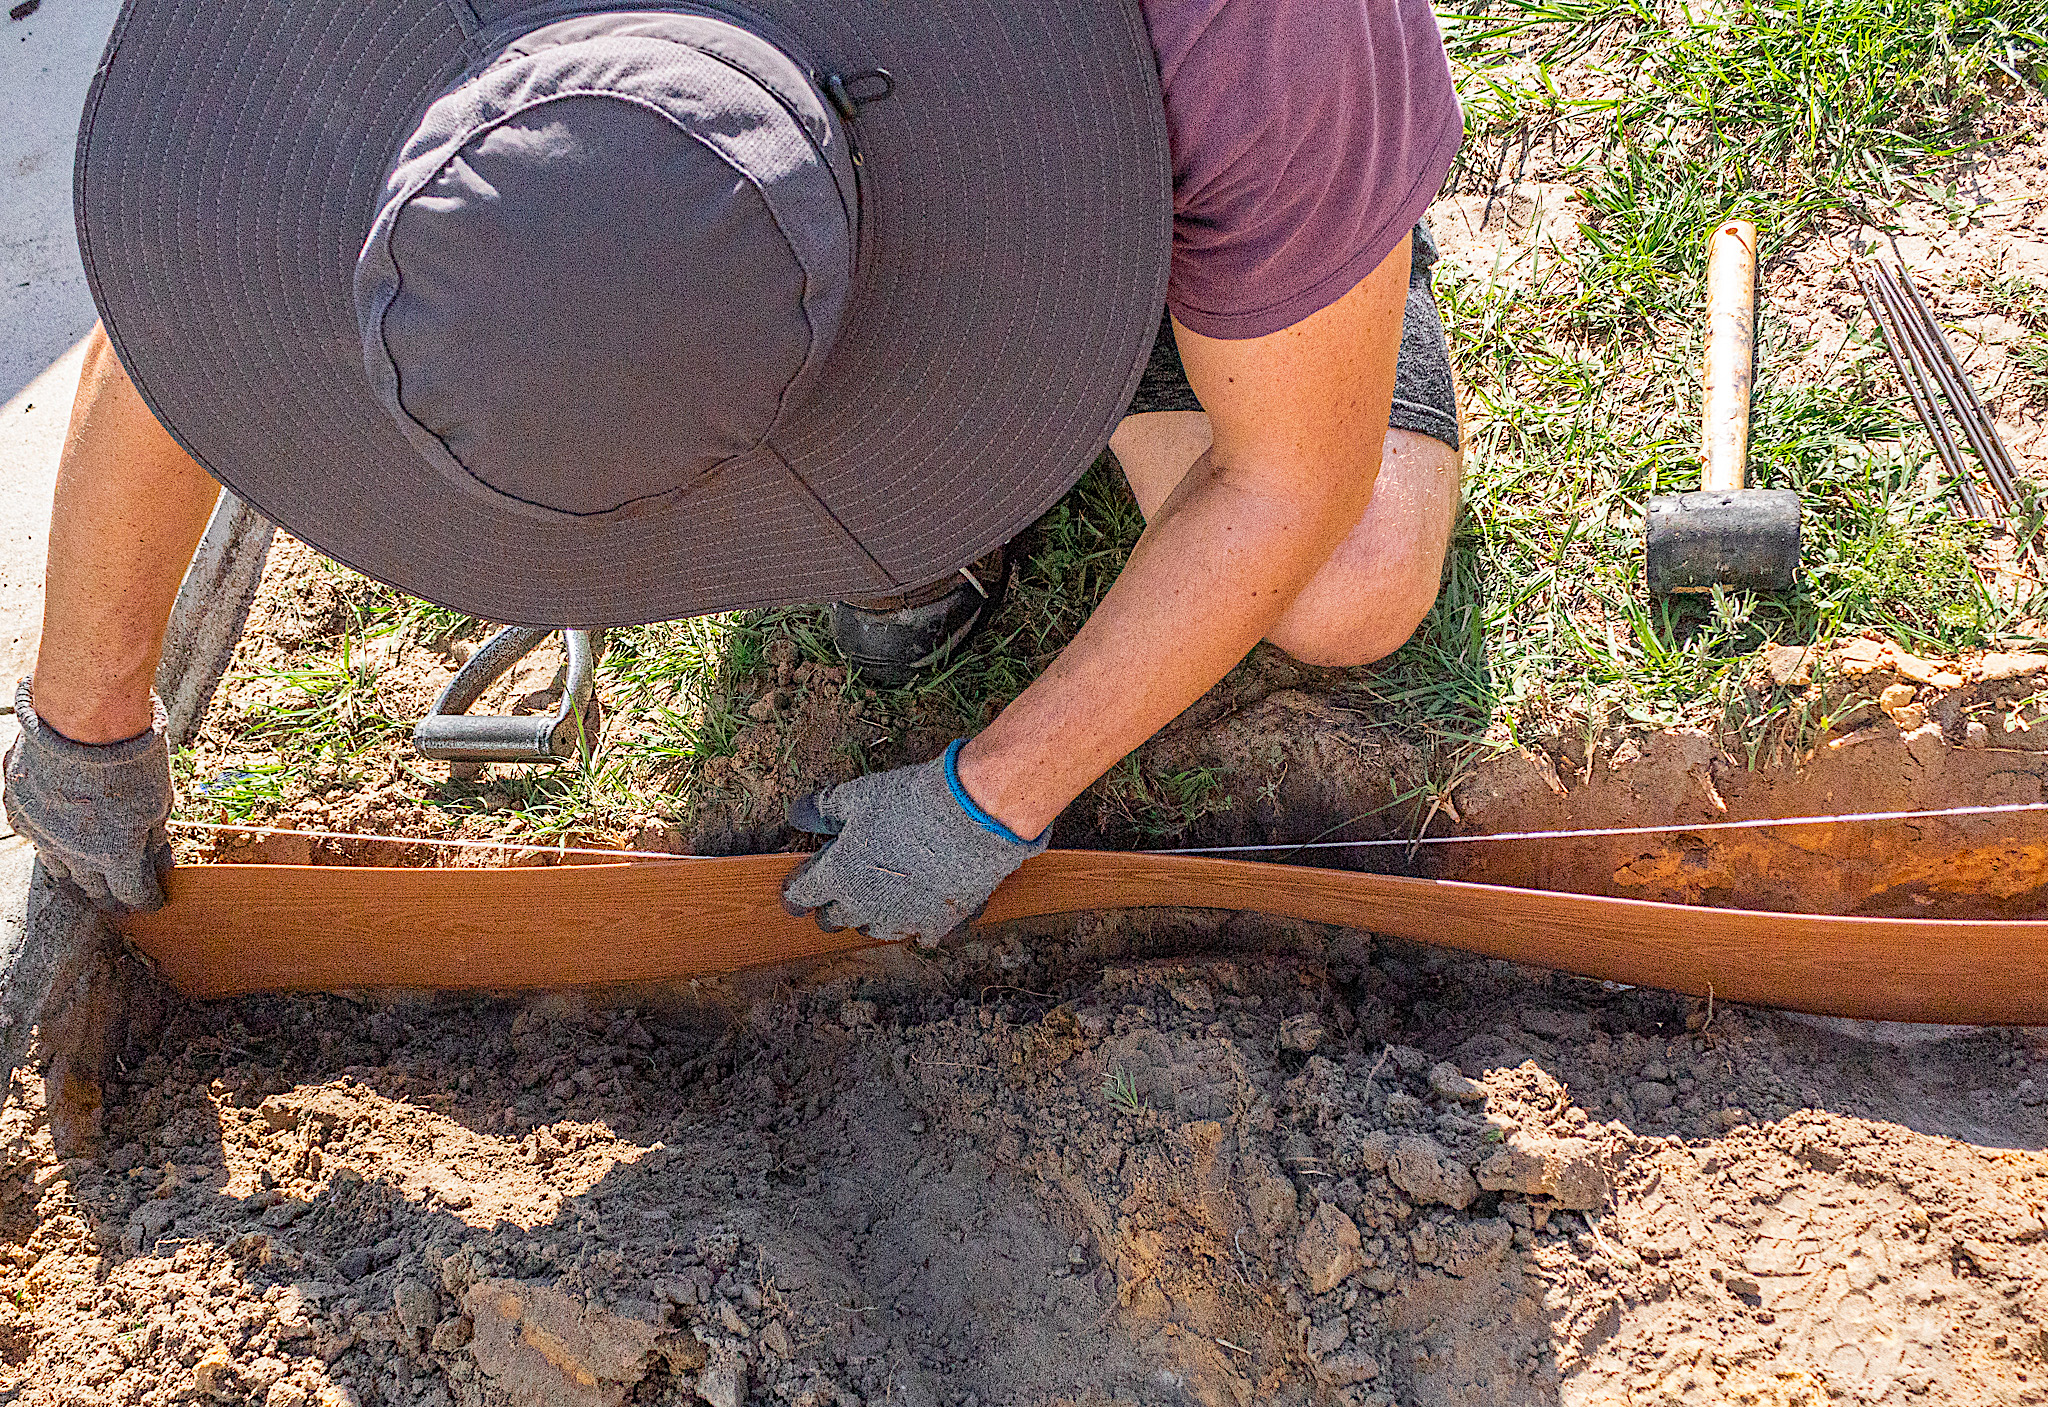
Step 3. Install landscape edging border
We, and by “we” I mean hubby, installed a landscaping edging border to create a barrier between the garden and the rest of our yard. This border will help keep grass from spreading into the garden. Ronny dug a steep edge, almost like a trench, along the side of the soon-to-be garden that butted up to the yard.
Then he inserted the plastic border and pressed dirt up against it to secure it in place. We bought something like this one from Amazon at a local big-box store but paid a bit more. I suggest purchasing some of your materials online ahead of time. Had I done that, we would have saved even more on costs.
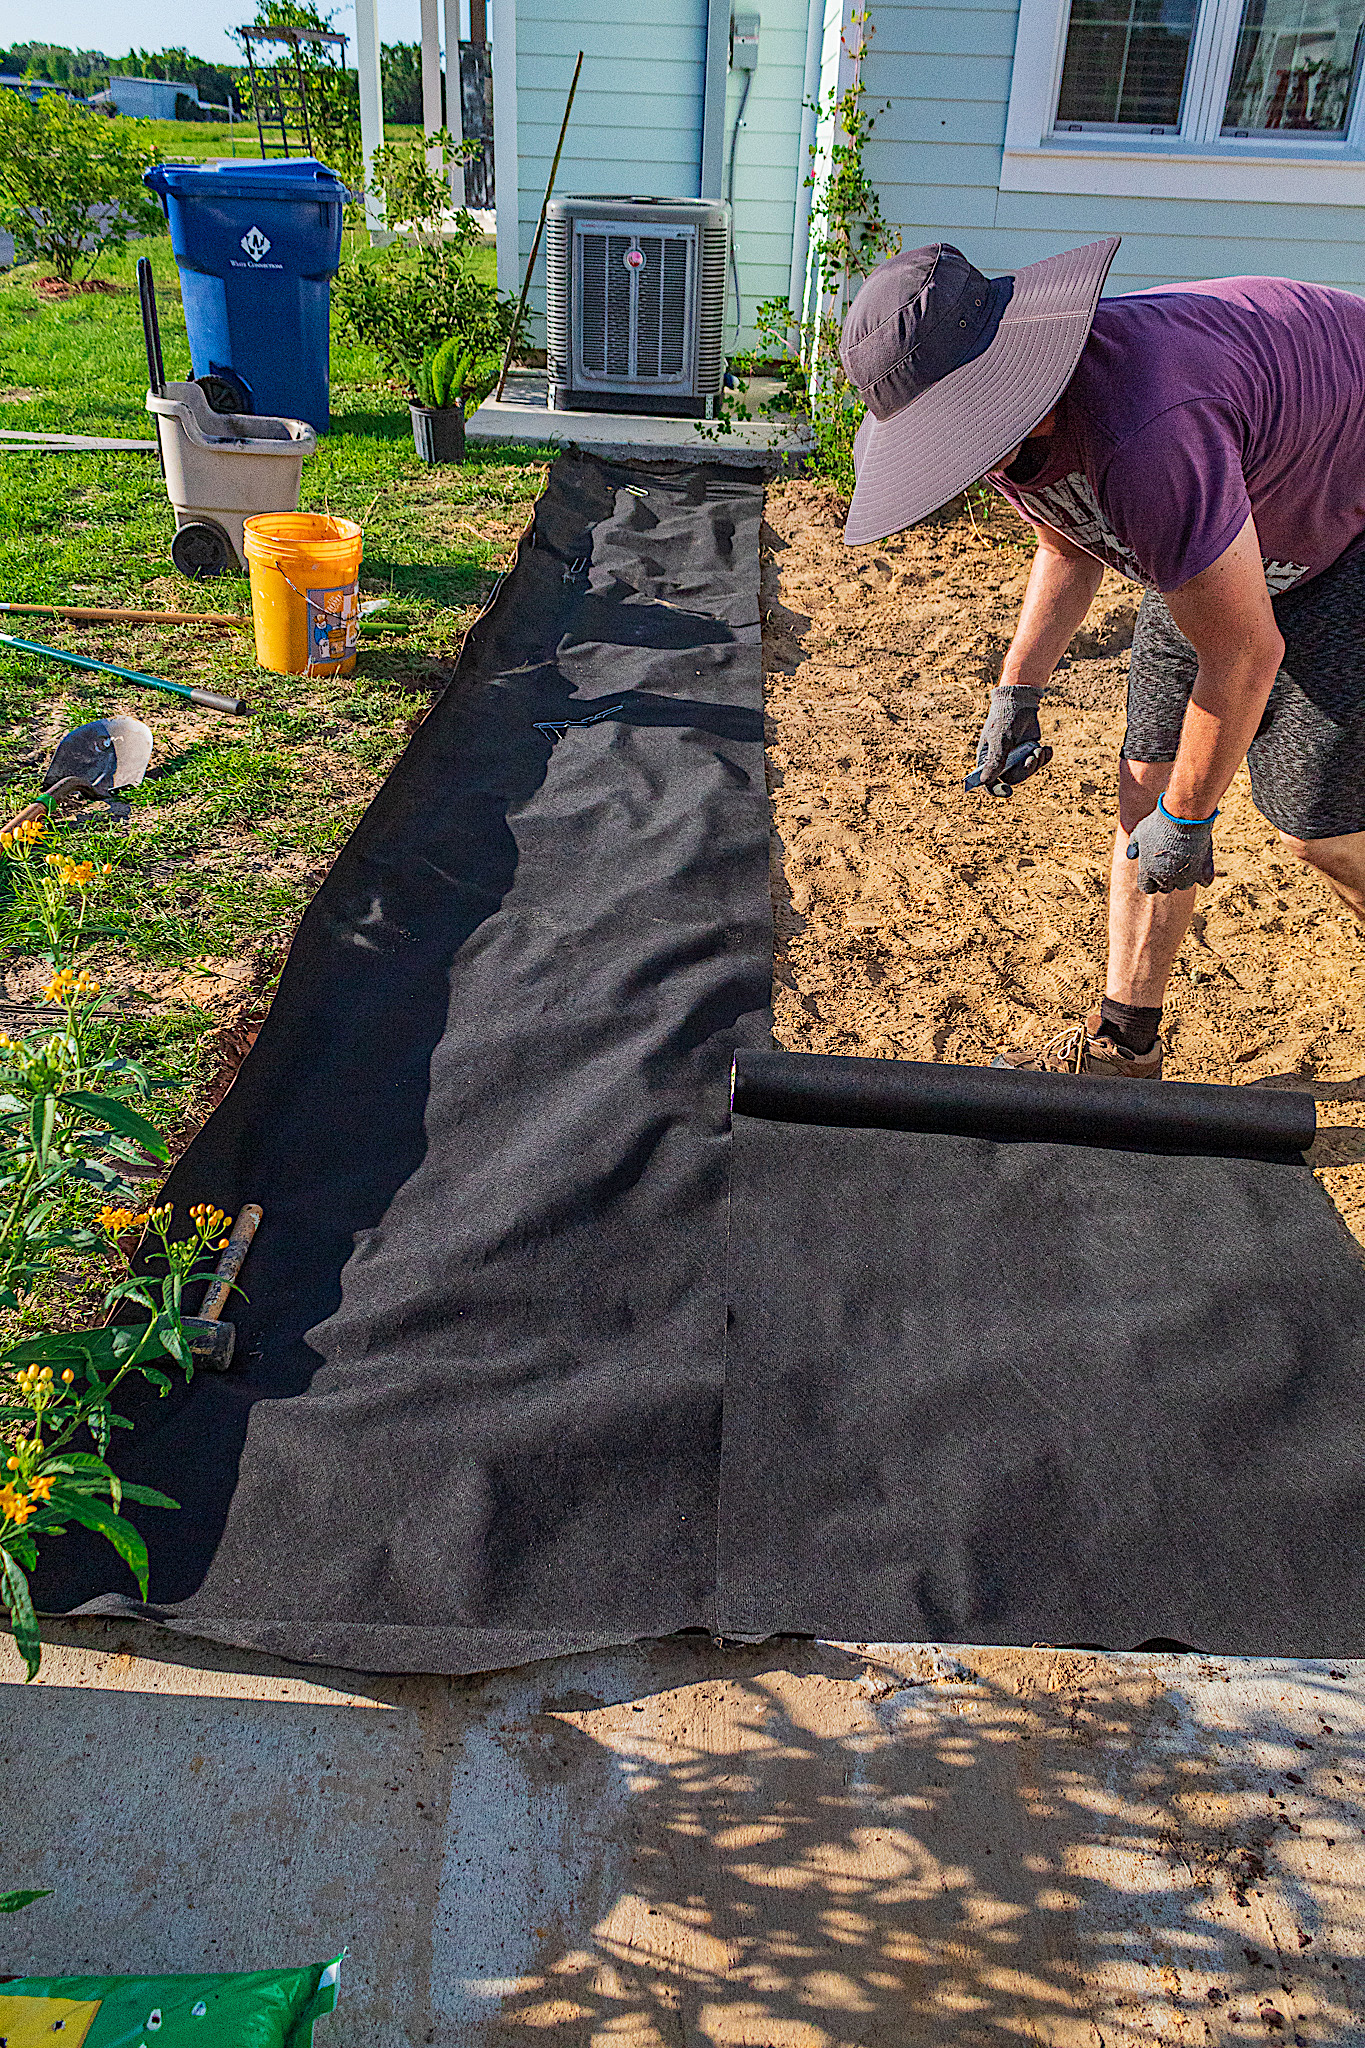
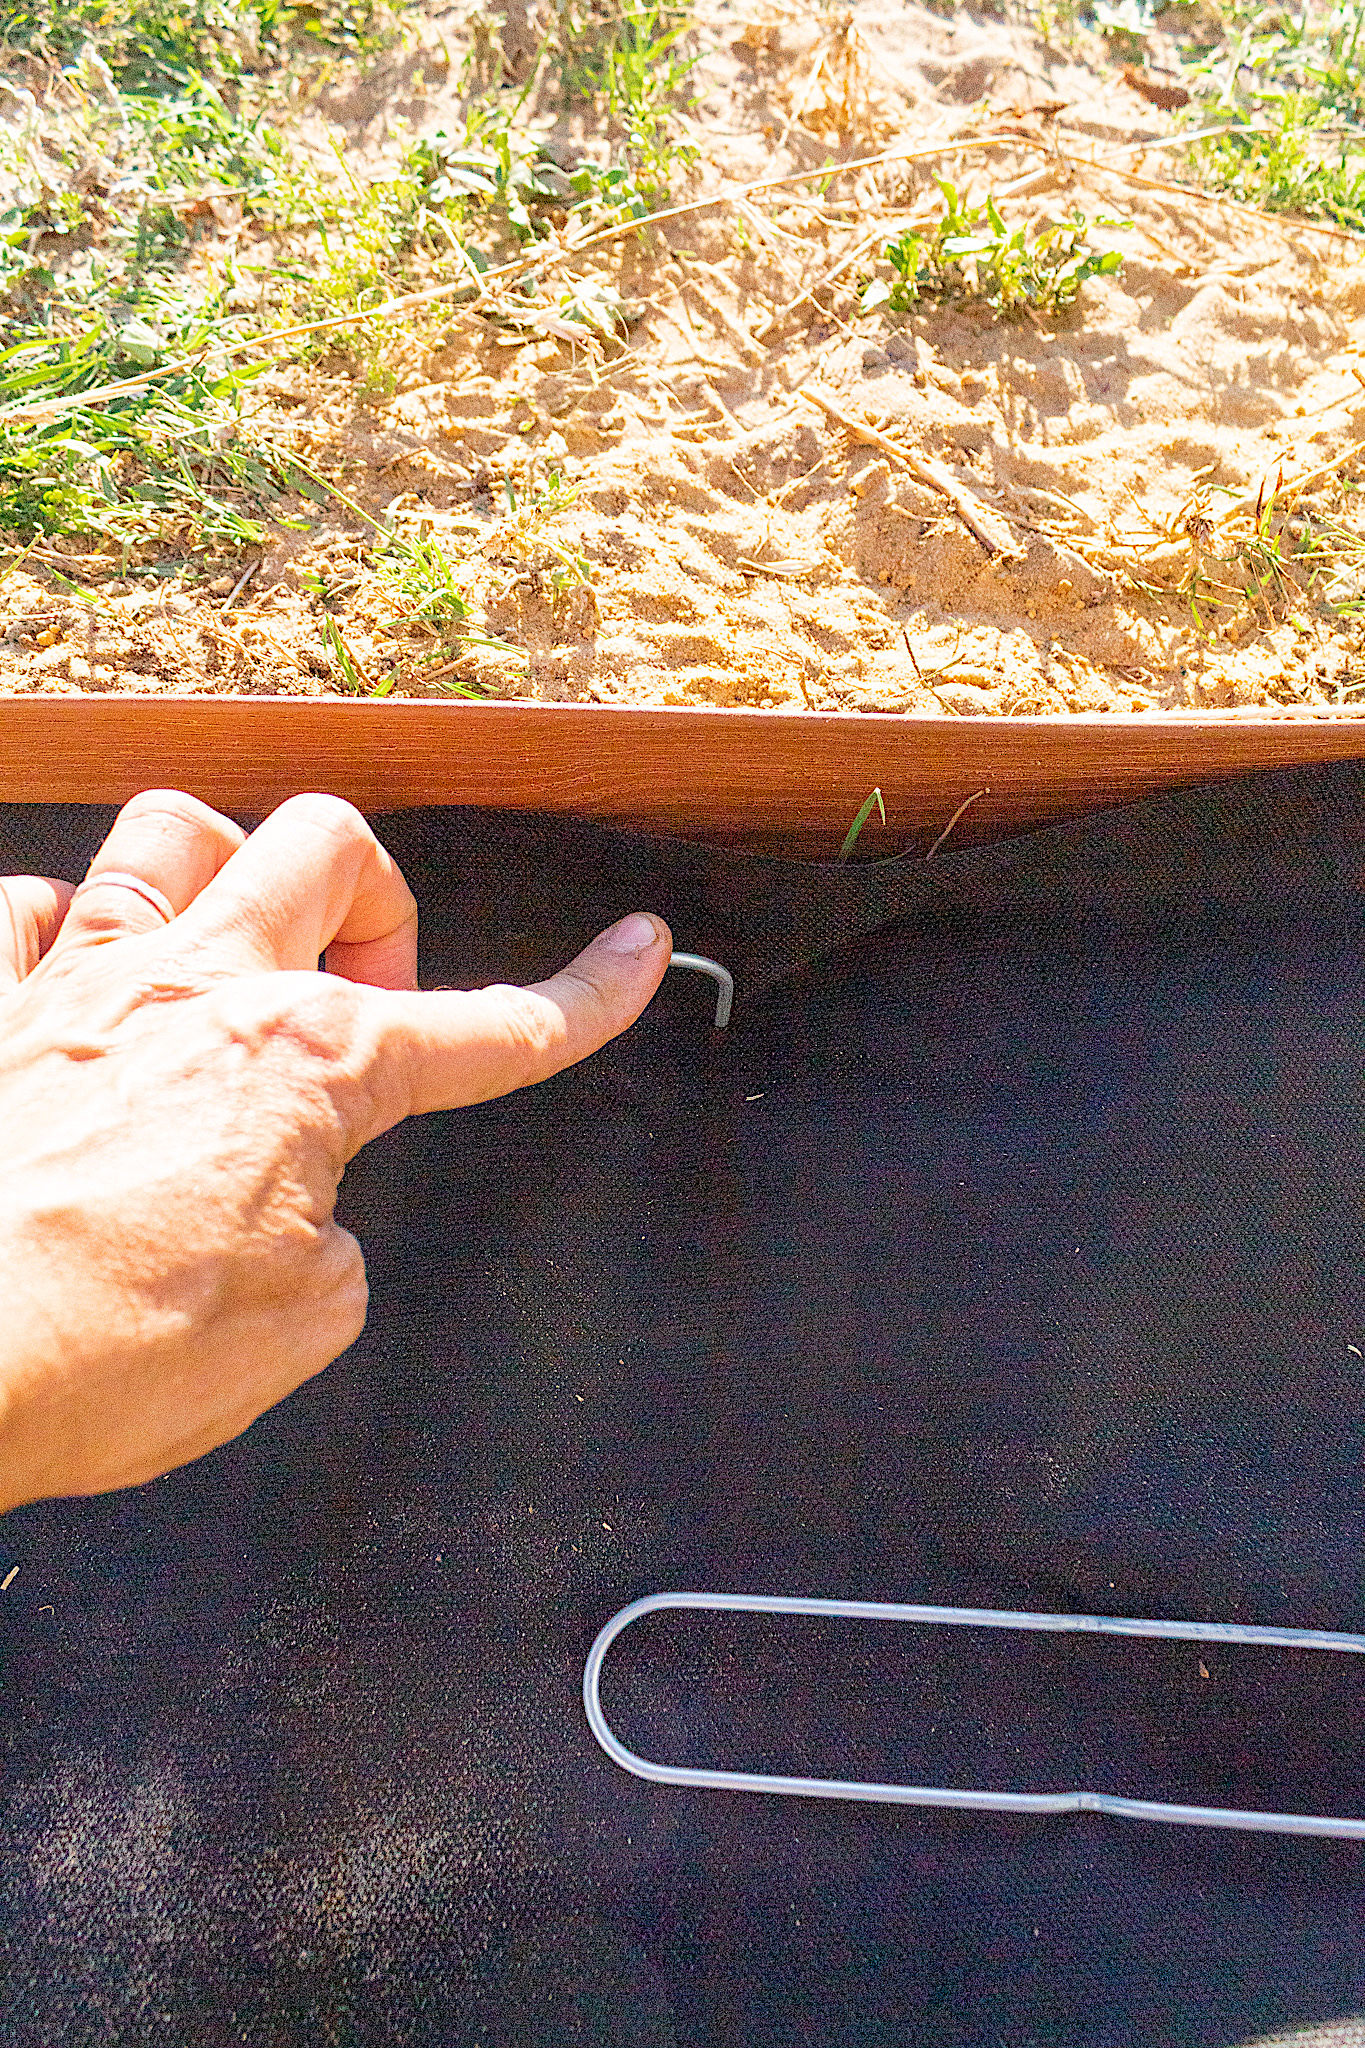
Step 4. Weed barrier
I’ve made the mistake in the past of not using weed barrier in my decorative landscaping and it was a nightmare. Especially during the rainy season in Florida the weeds tend to take over flower beds and raised beds.
The goal for this part of our yard is to beautify and to keep things low-maintenance. We used a weed fabric like this one. We staked it down every few feet with our stakes. Usually the package will tell you the lifespan of the material. We chose a 6 year lifespan but there are weed barriers with much longer lifespans.
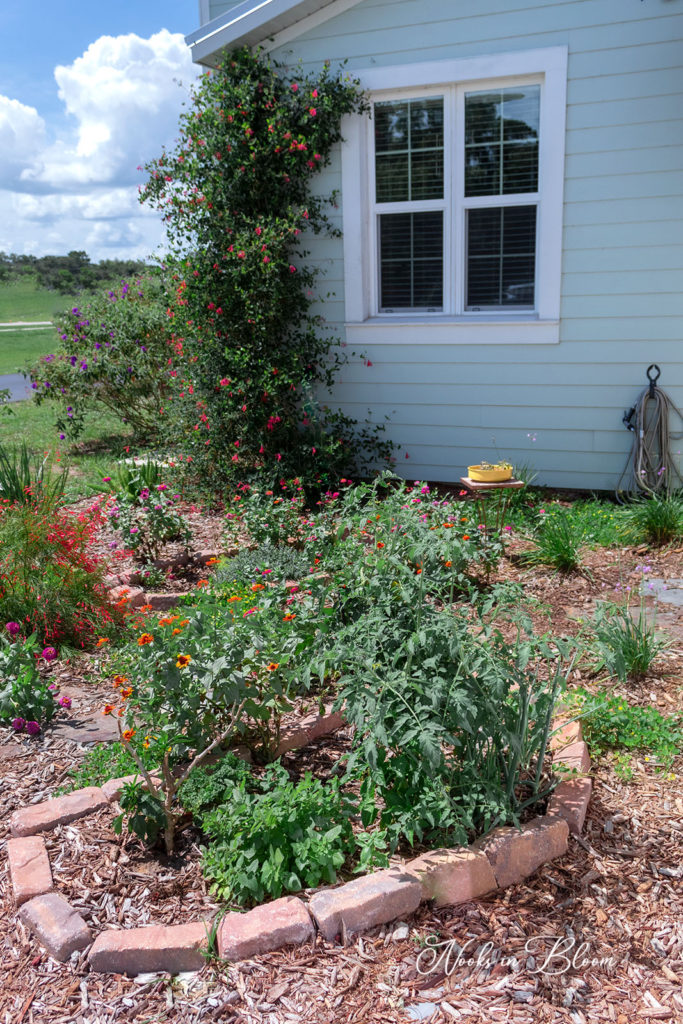
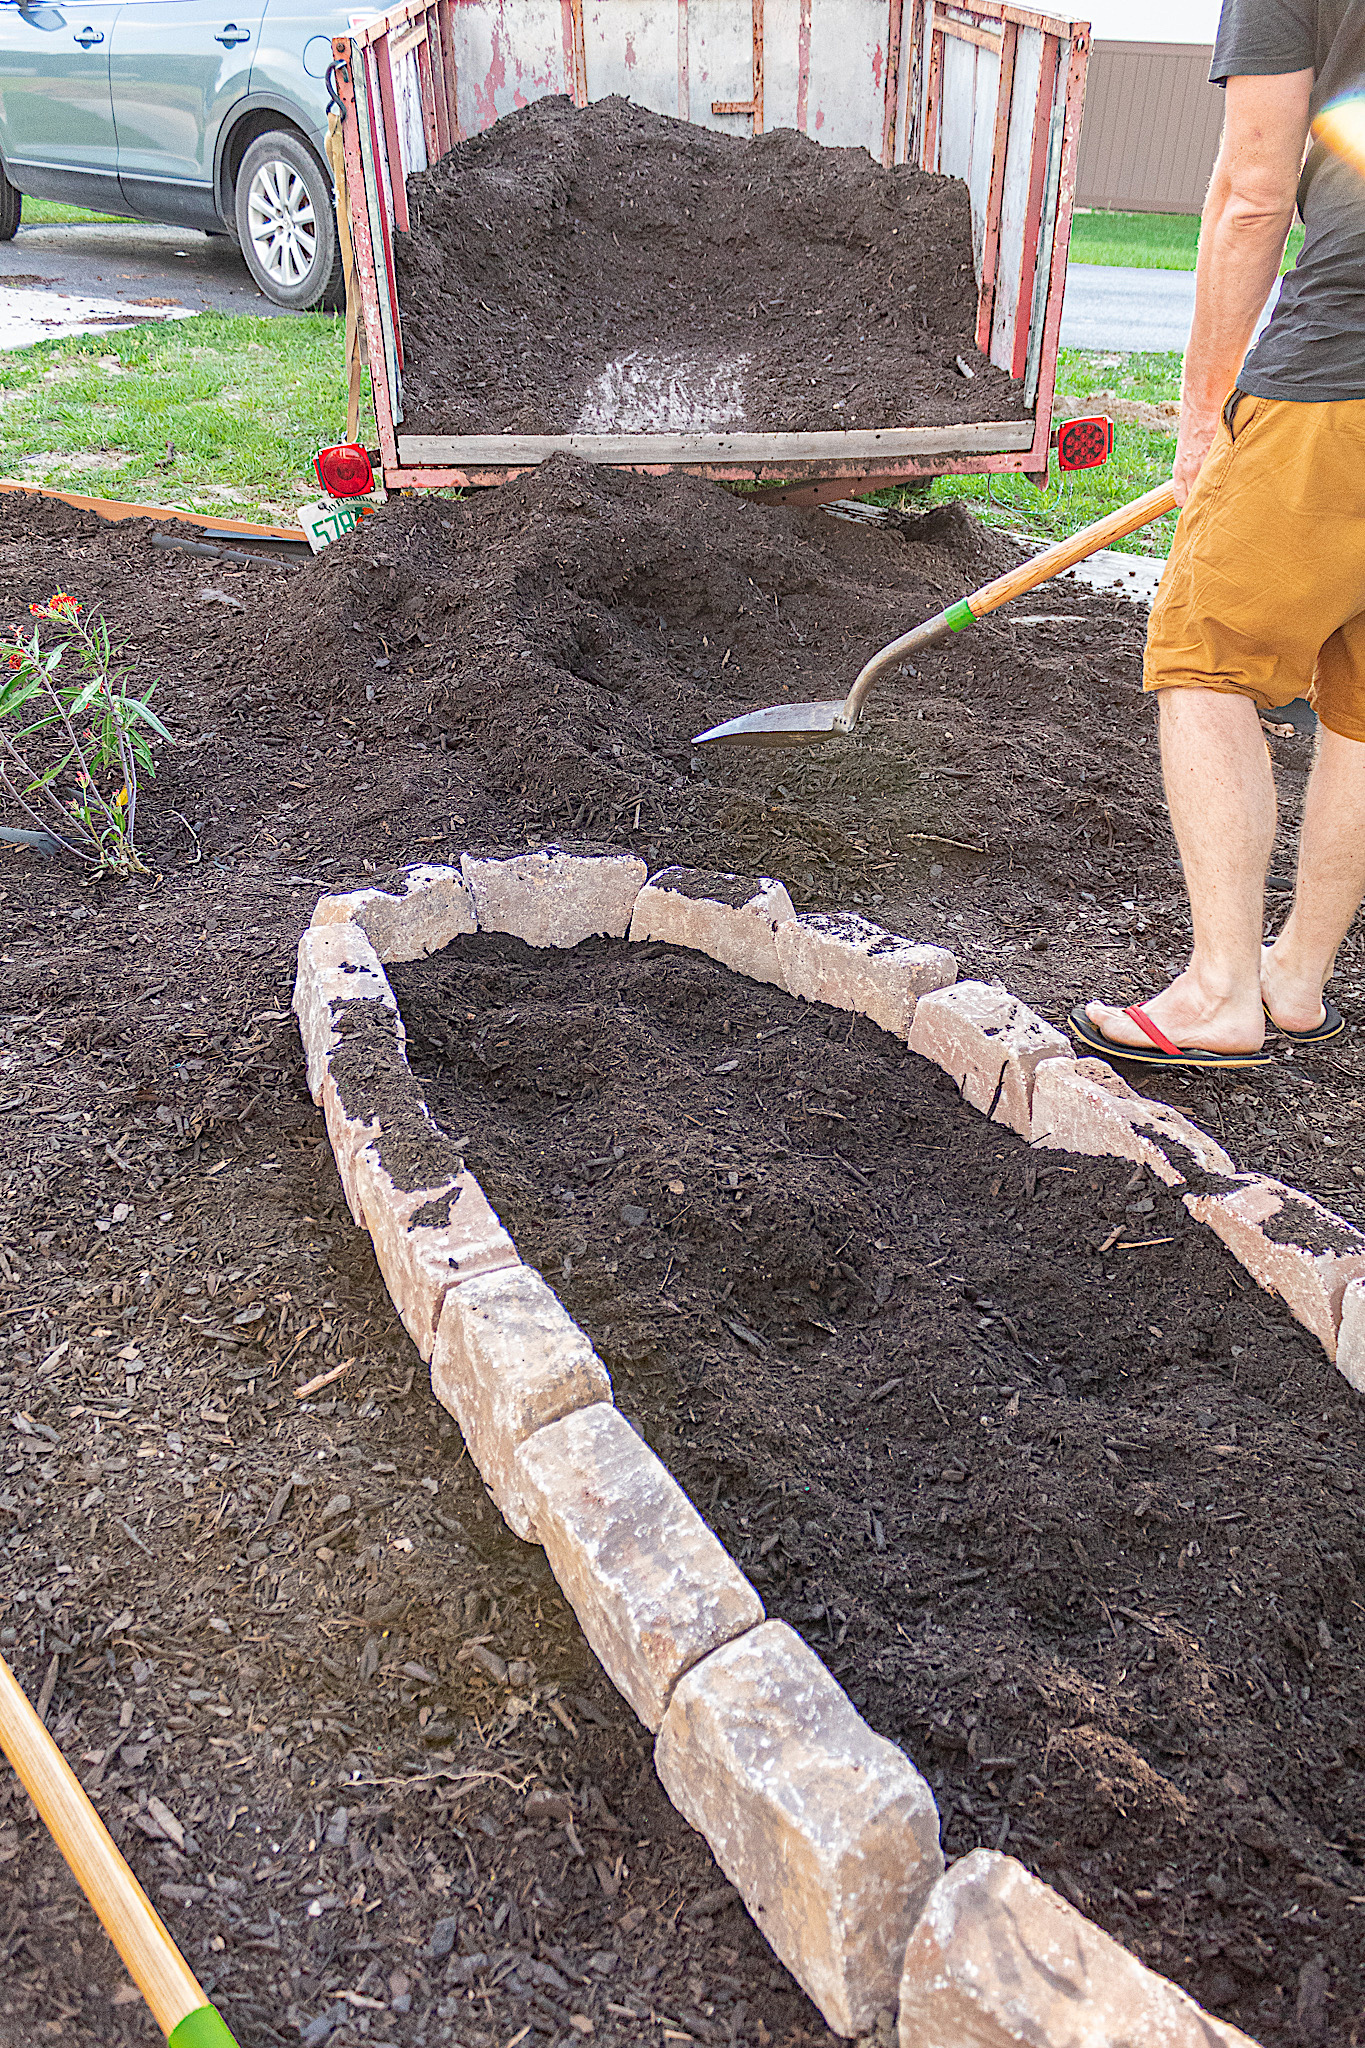
Step 5. Making your raised beds
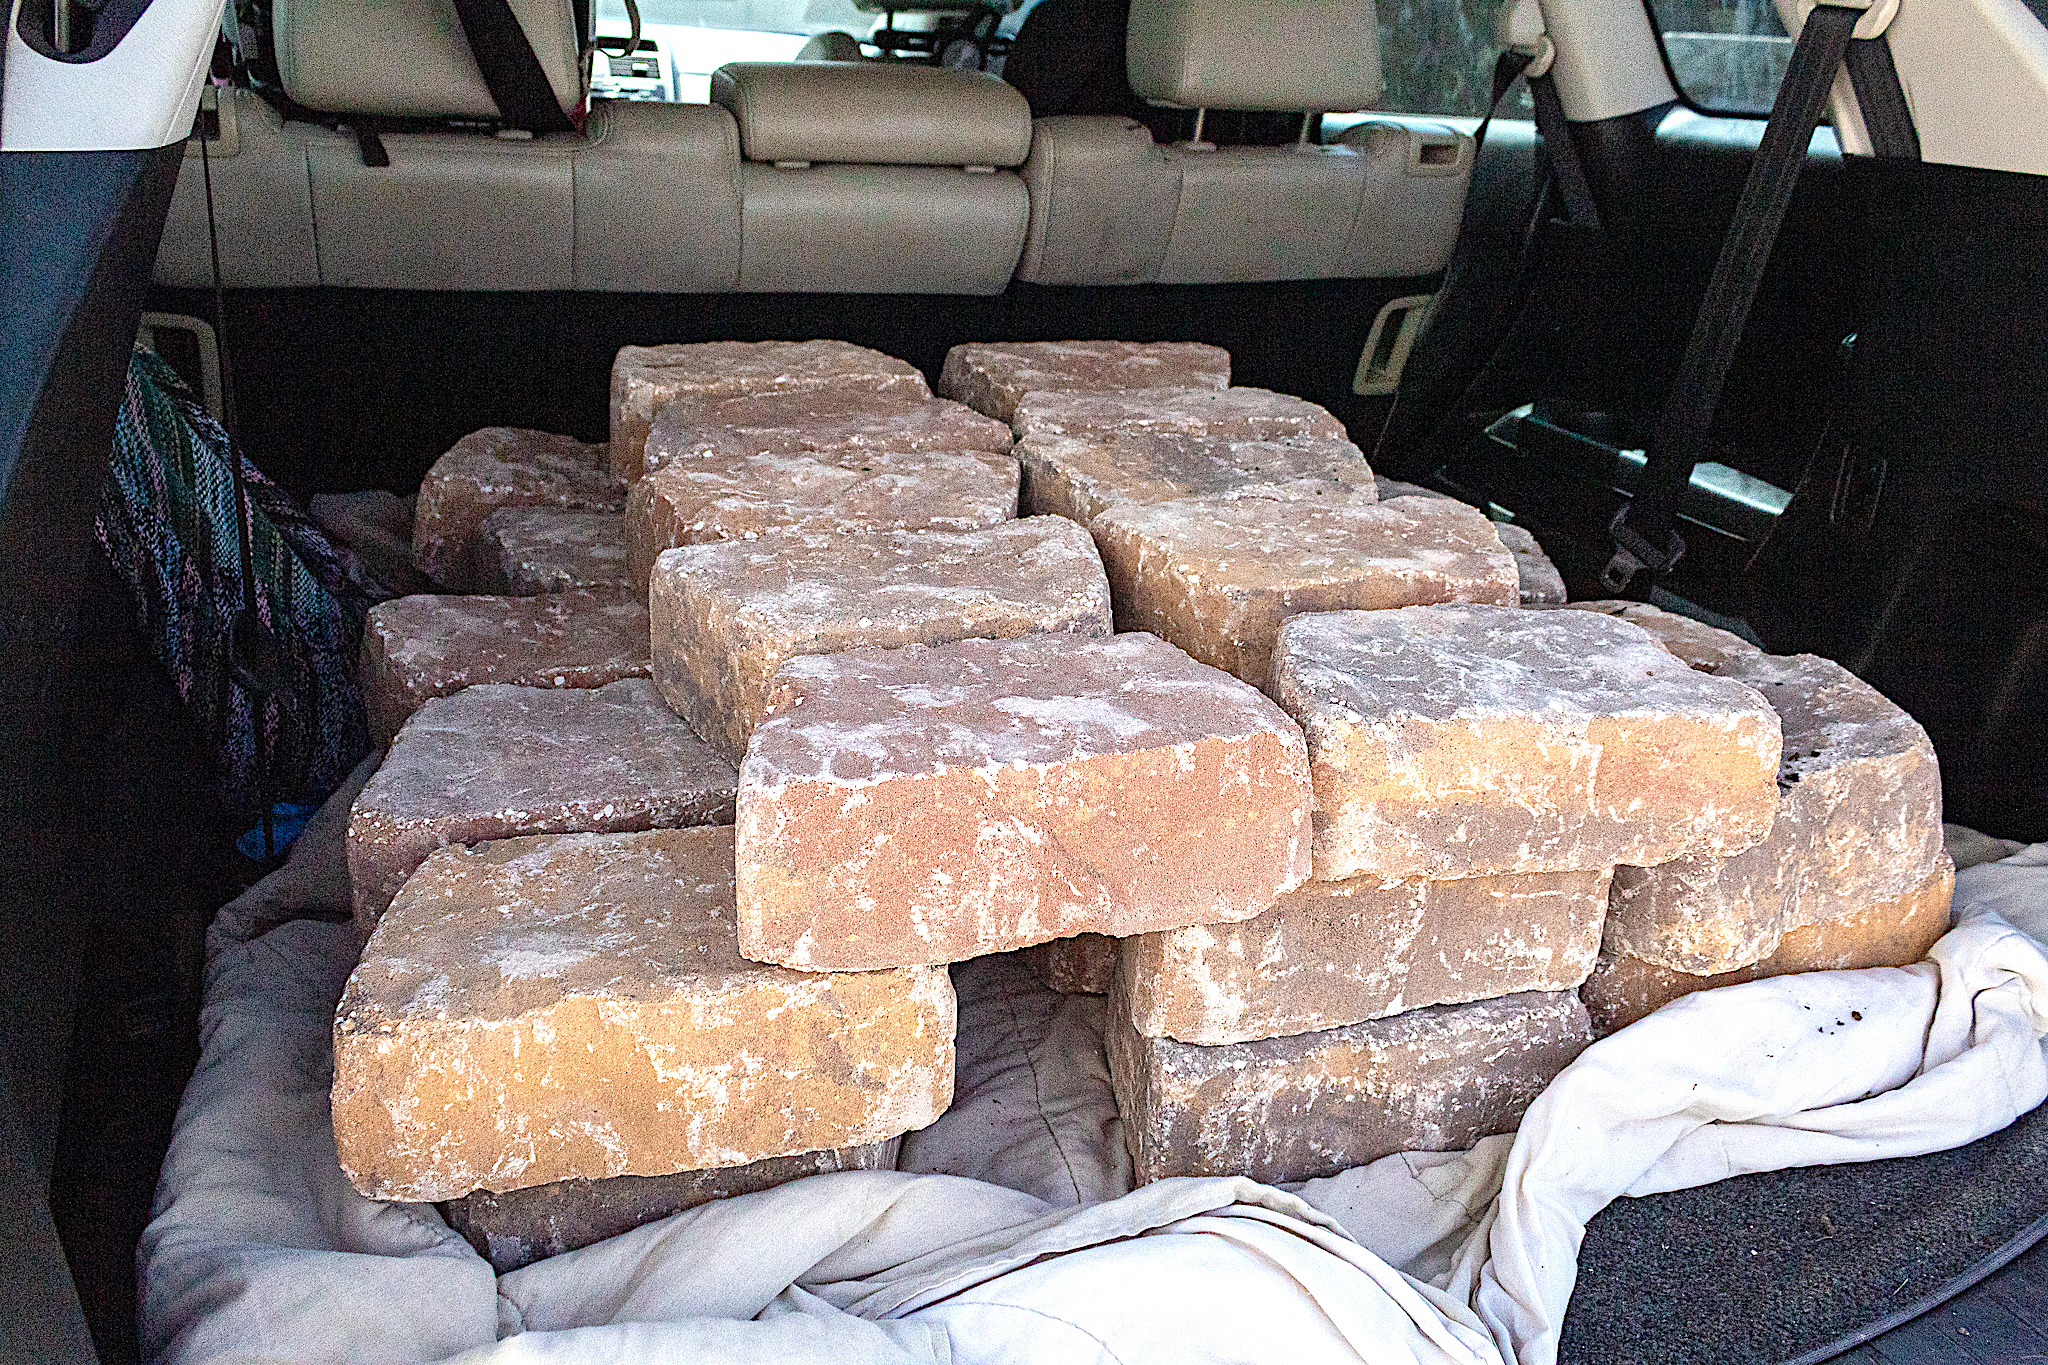
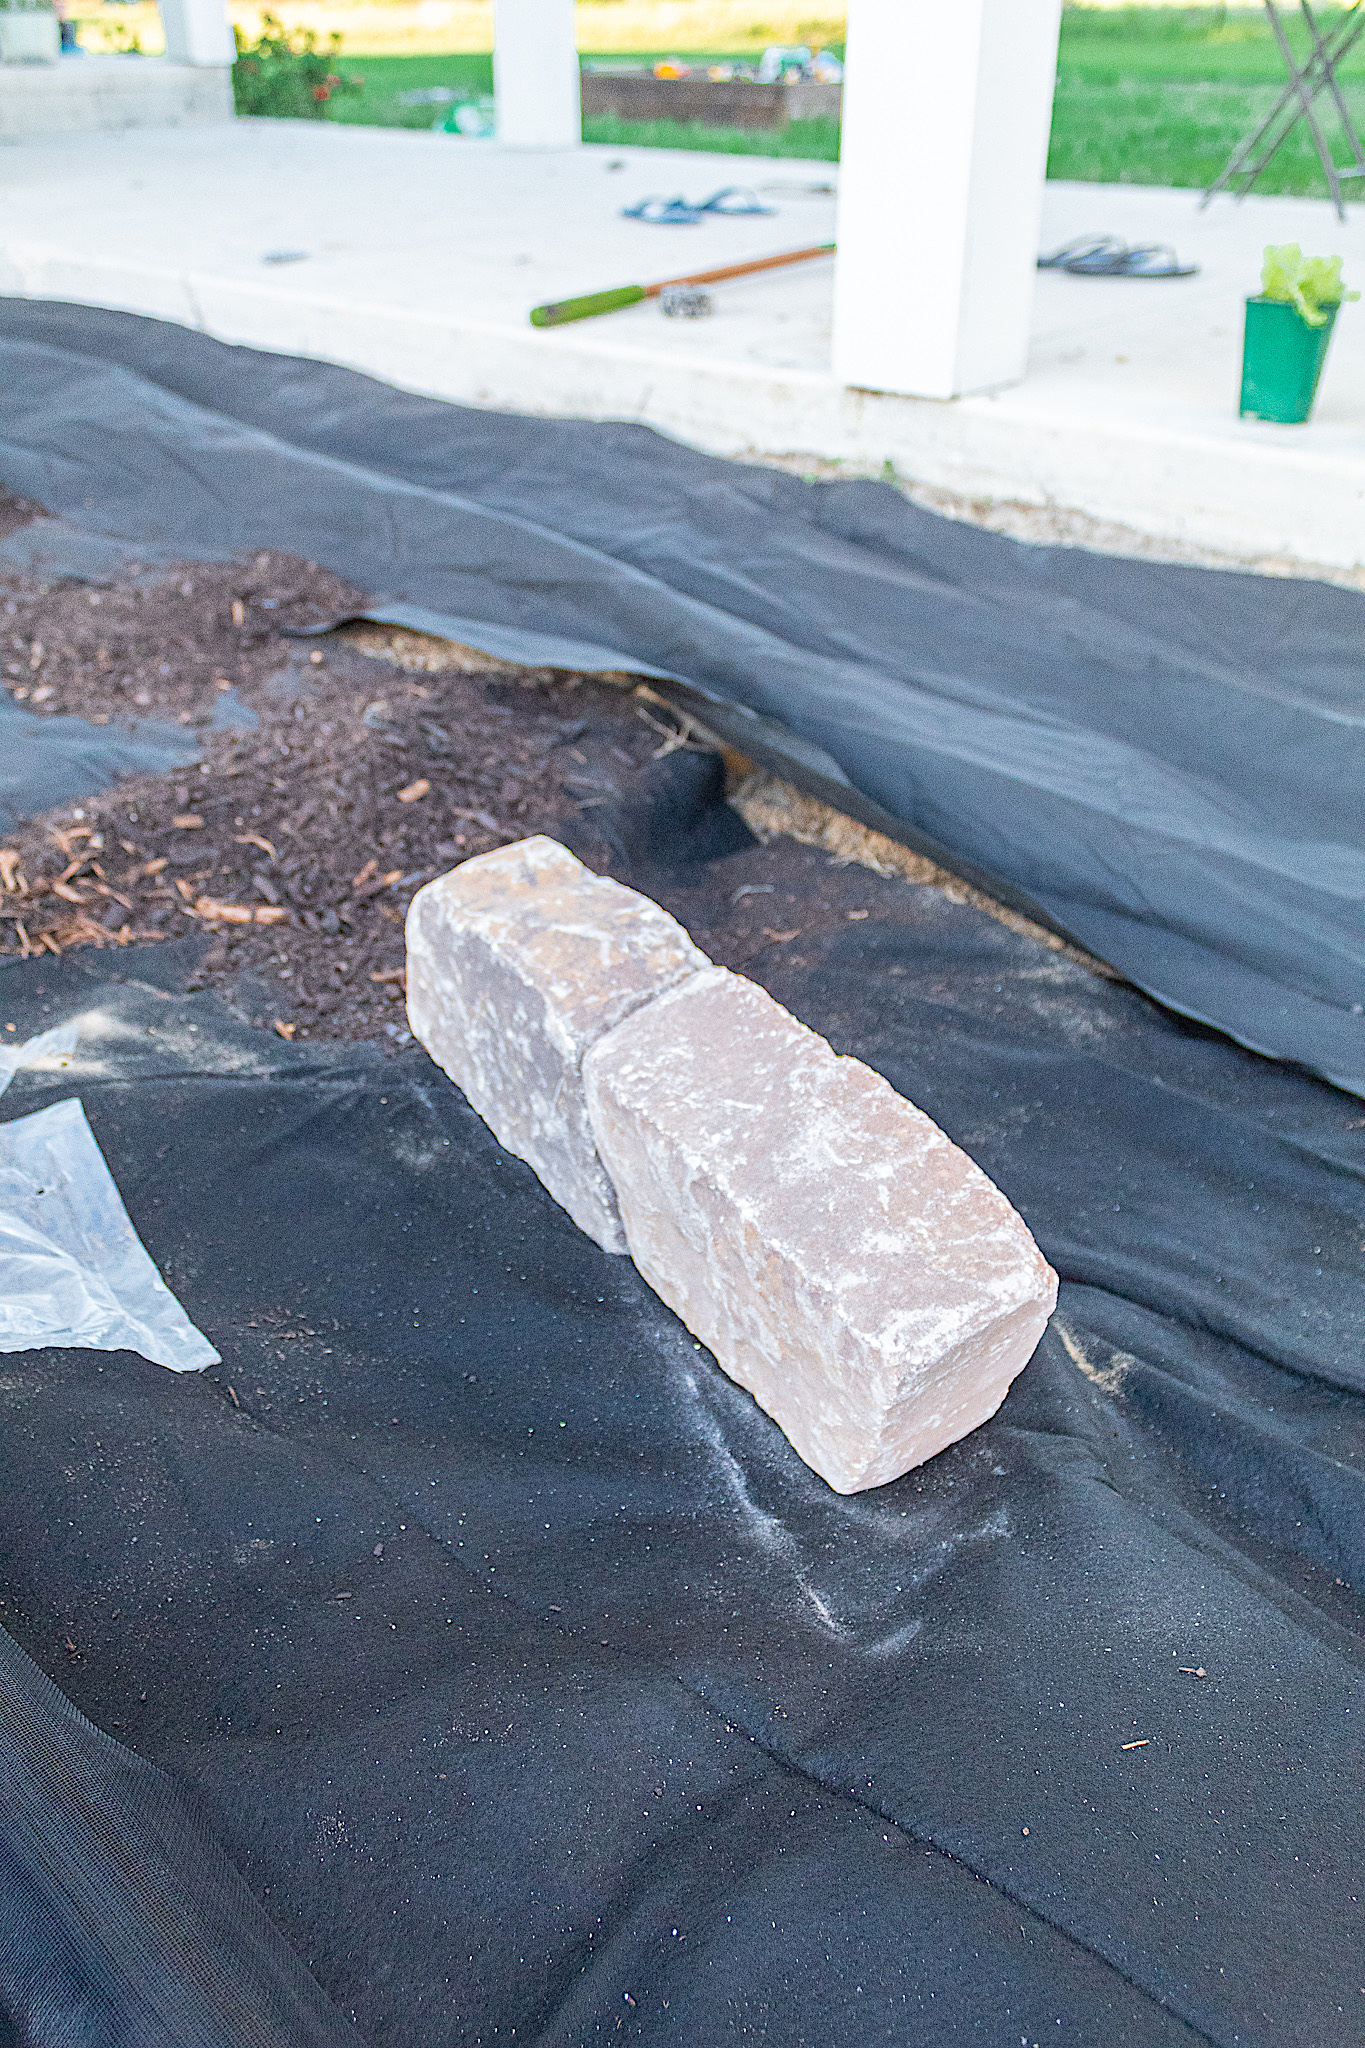
I’ve always loved the way stone elements look in a garden. I decided to make our raised beds using large pavers for a stone effect. You can also make raised beds using wood. We picked these beautiful rusty-colored paversfrom Home Depot. They were $2.48 each at Home Depot. We bought 40.
We first put our weed barrier down and then we outlined our two raised beds with the pavers. I liked that these block pavers were tall so we could stand them up and create a small wall.
Step 6. Add your garden soil
Once we had all the pavers set up we began filling the entire area with our garden soil. We purchased 3 yards of composted soil at a local nursery. This was enough to fill approximately 600 square feet with 6-8 inches high of soil. And the raised beds were filled with approximately 12-18 inches of soil.
I would recommend getting some good quality soil for your garden. Purchasing by the yard at a nursery is typically more economical than buying soil by the bag. We paid $32 per yard. If you don’t have a truck or trailer to bring it home, they will typically deliver for a small fee.
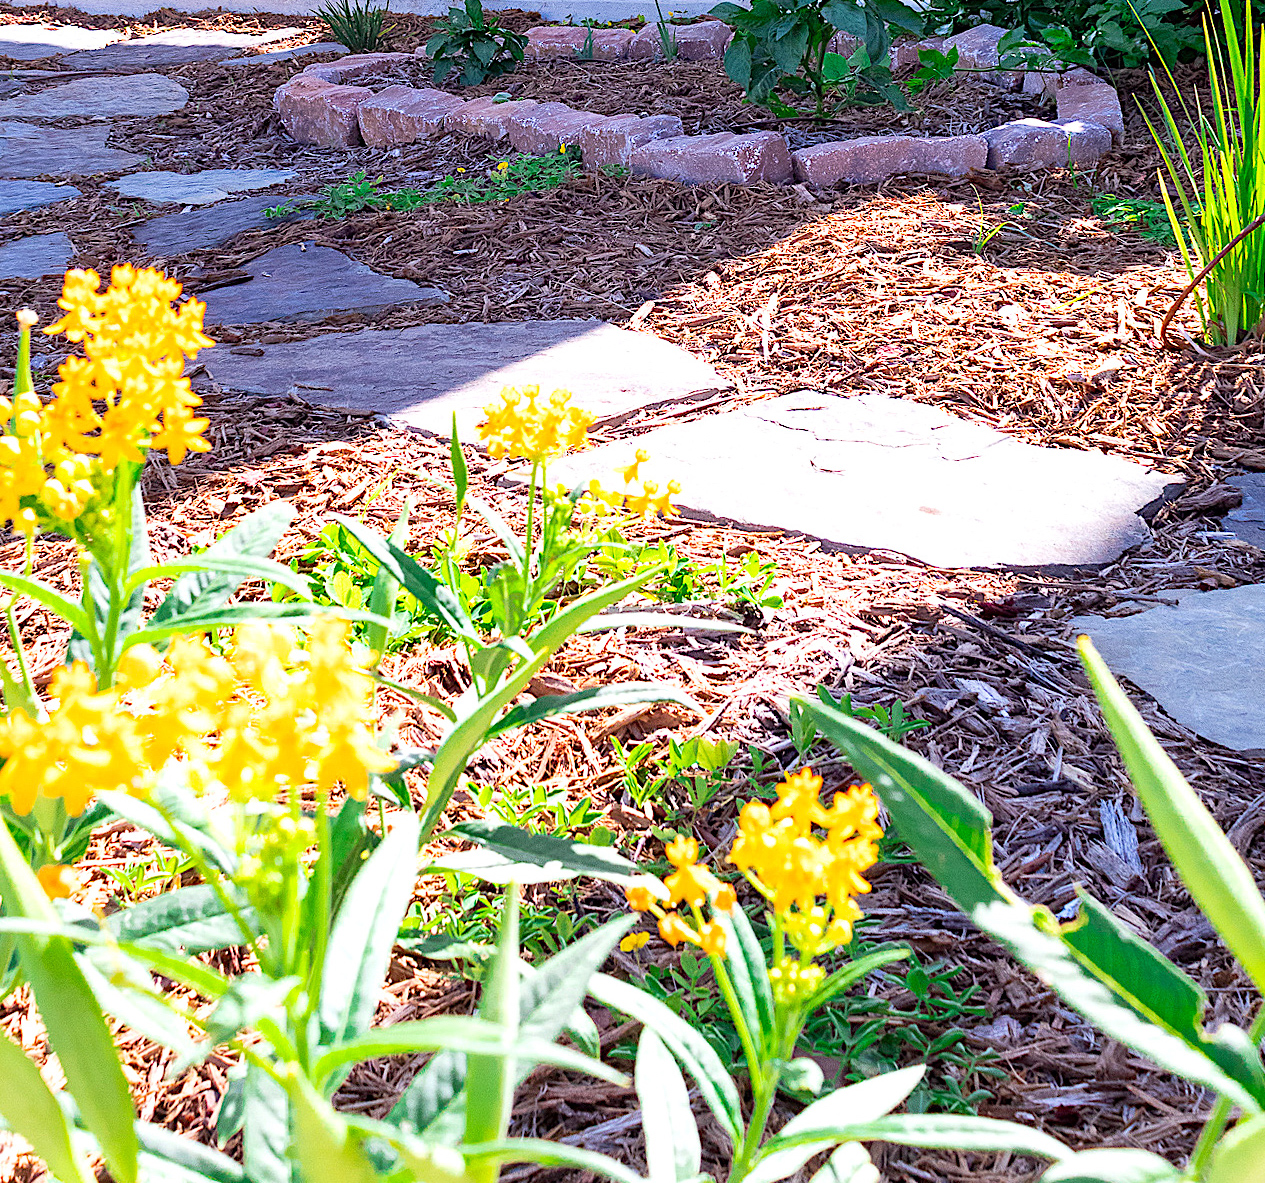
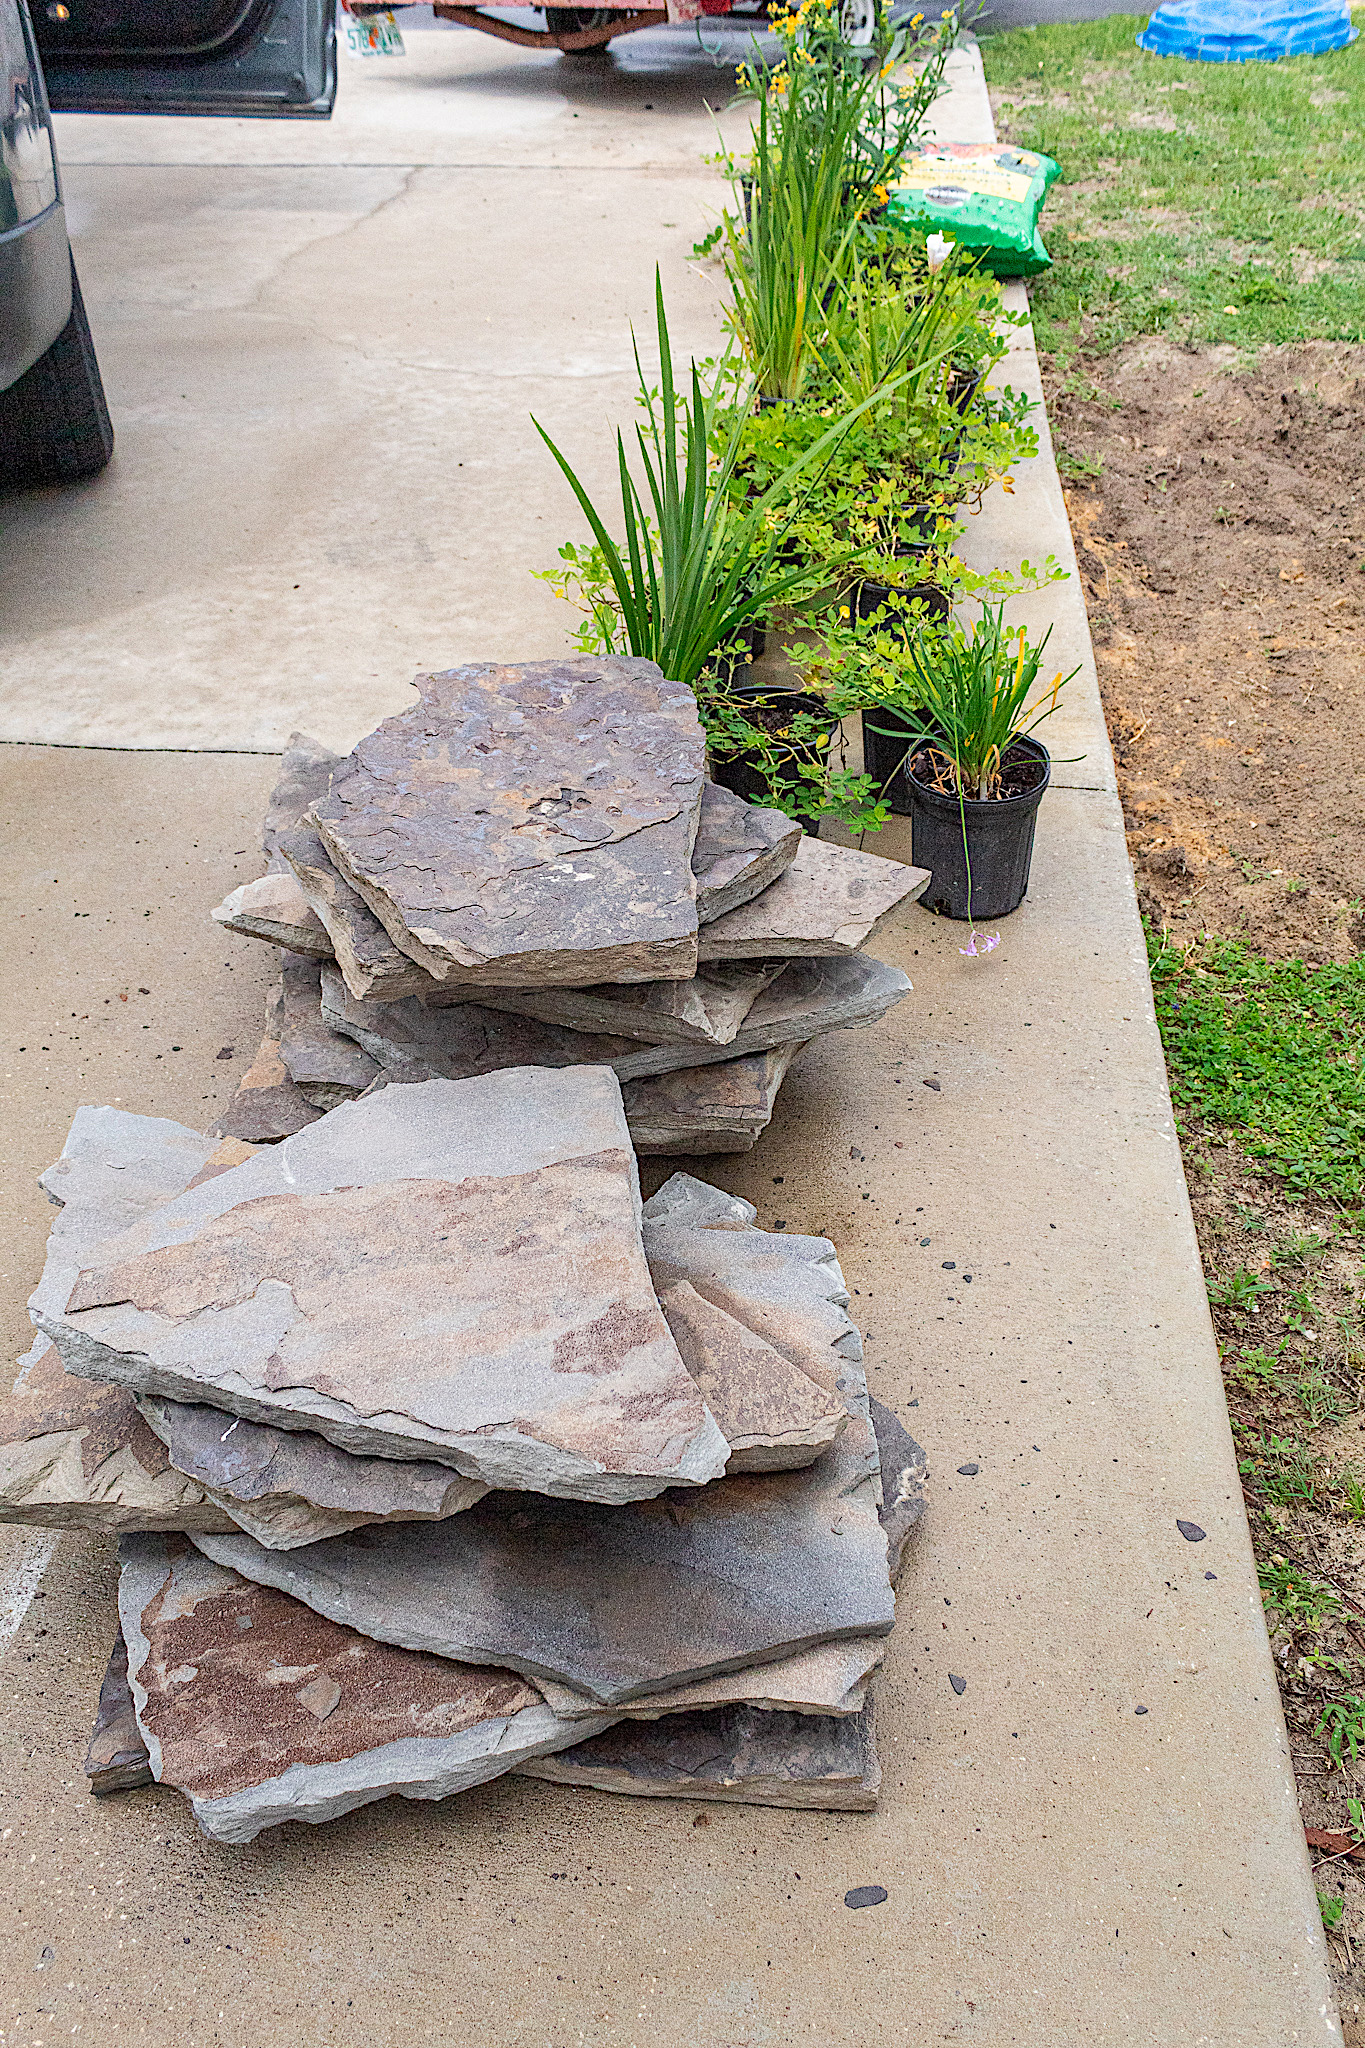
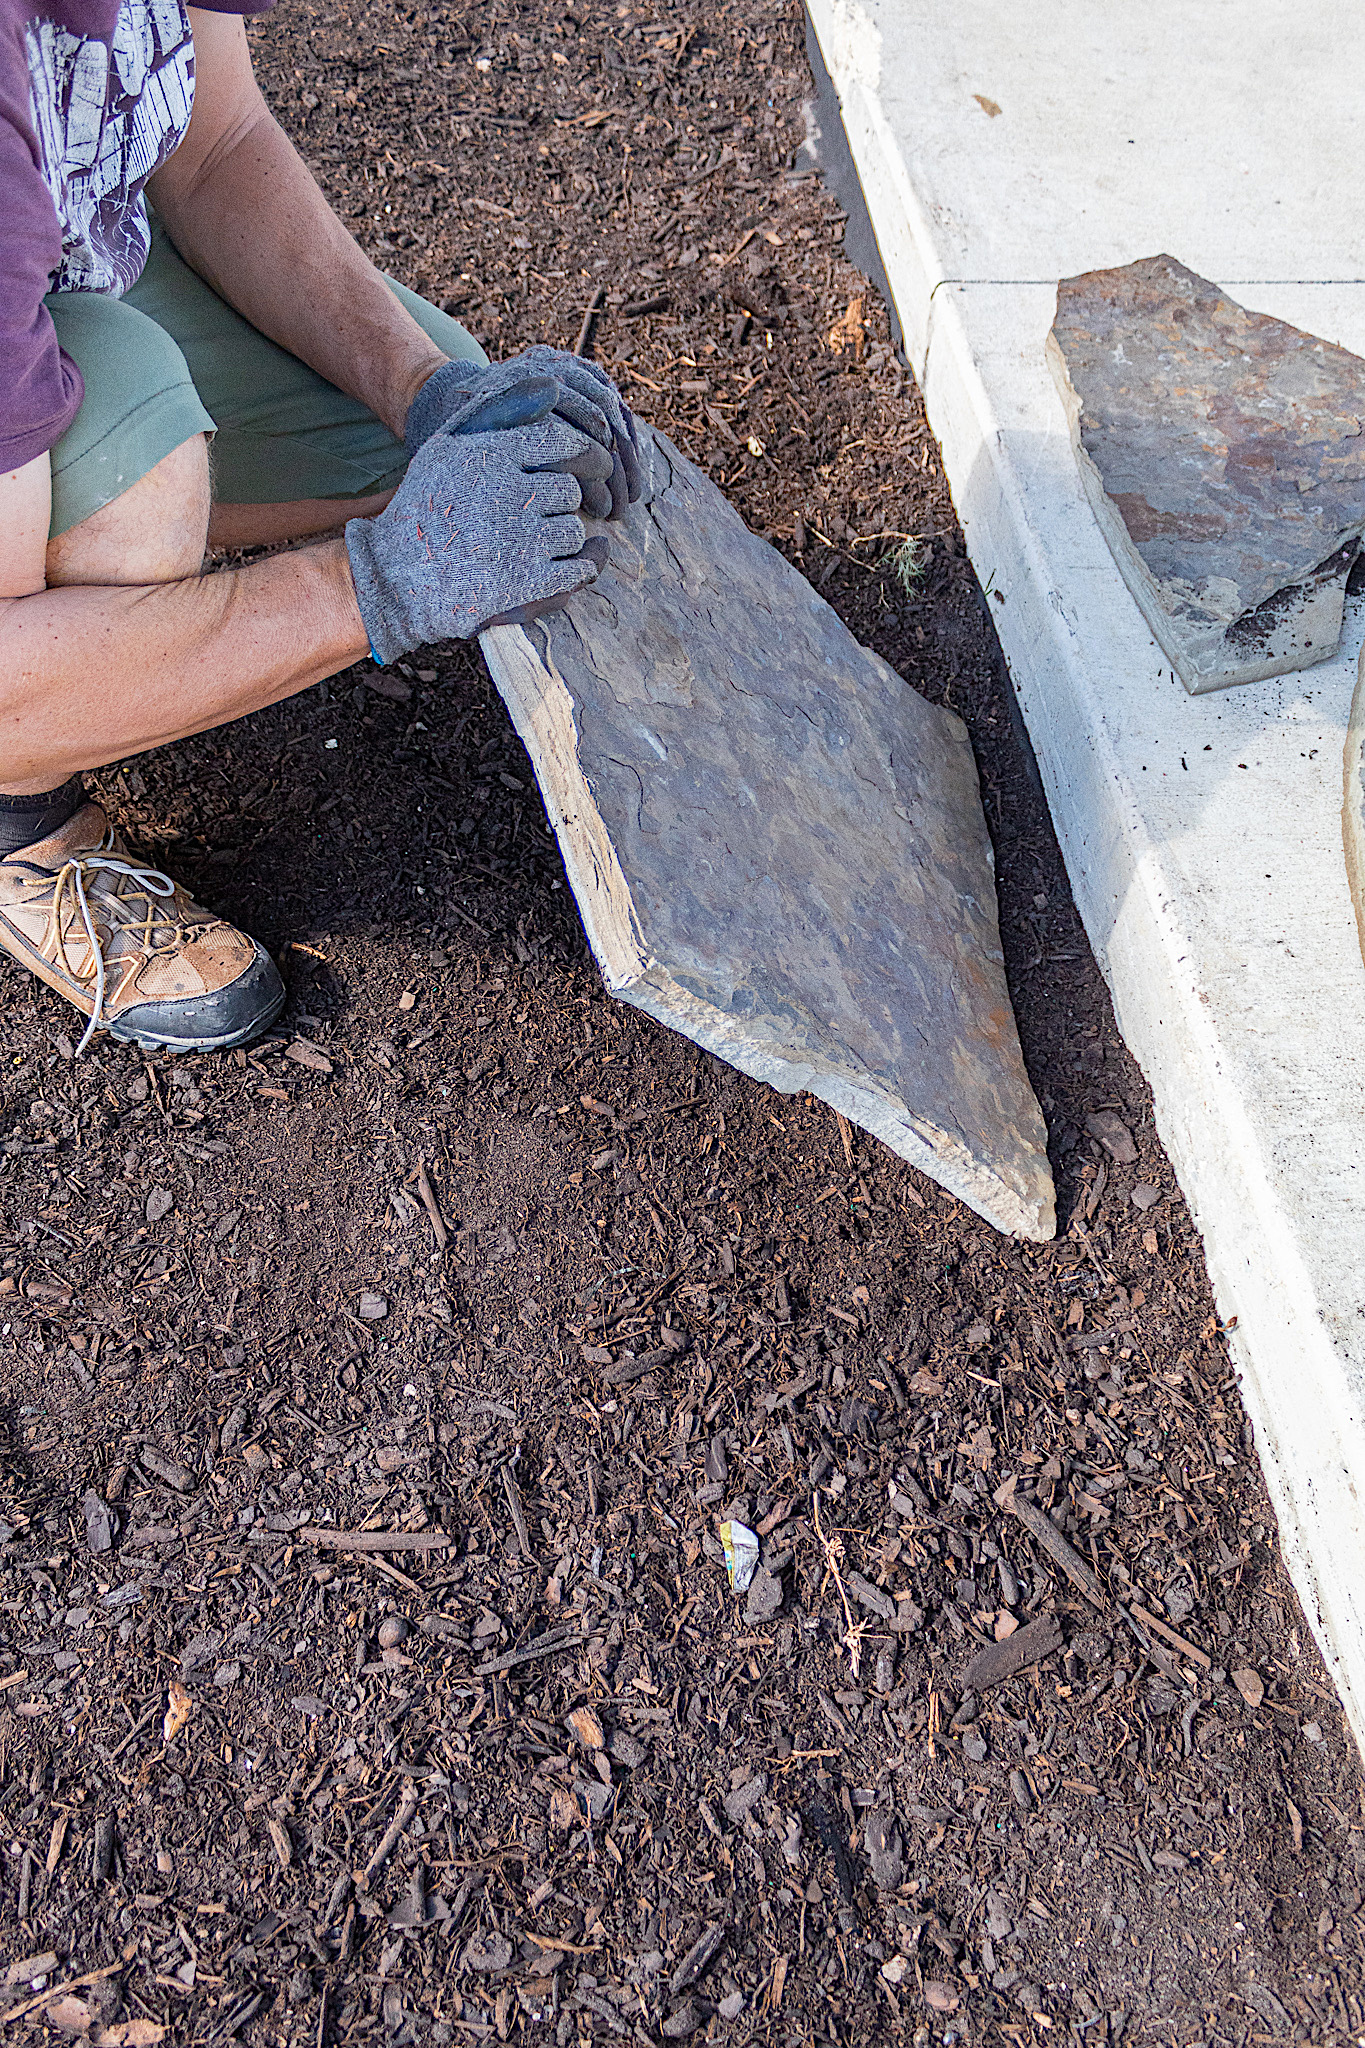
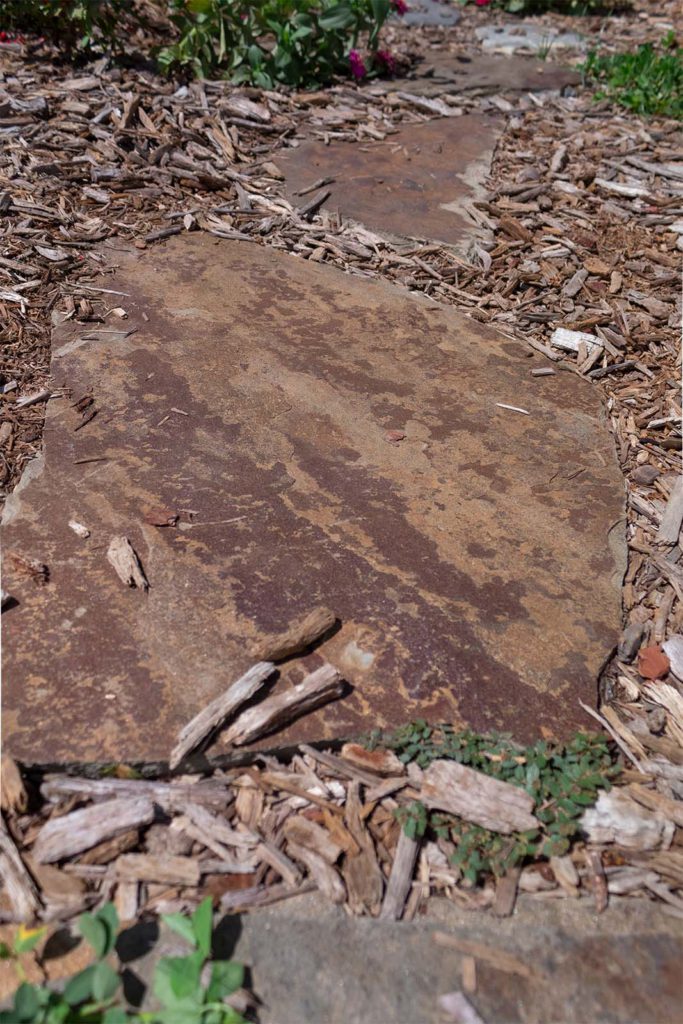
Step 7. Creating a decorative stone walkway
One of the features that was a must have for me was a curving stone walkway. Stone pathways, especially as they age and weather are so lovely. They add fairy tale charm to your outdoor aesthetic.
I picked large flat stones with rich color and lots of texture at a local rock nursery. At $210, the decorative stones were the most expensive part of our materials. But keeping costs low on other expenses like using mulch as a floor filler instead of pea gravel or small stones and doing all the labor ourselves helped us stay under our budget of $1,000.
With any project we do, I try to prioritize costs based on design impact. I knew the stone walkway would anchor the garden beautifully and would be worth the expense.
Poor Ronny had to move these heavy stones around several times until I found just the right layout for our garden. In the end all the heavy lifting paid off. I was in love with our new walkway!
Disclosure: Some of the links provided are affiliate links. By purchasing through these links it supports this blog and the work we do and there is no extra cost to you. If you would like to read our full disclosure, click HERE.
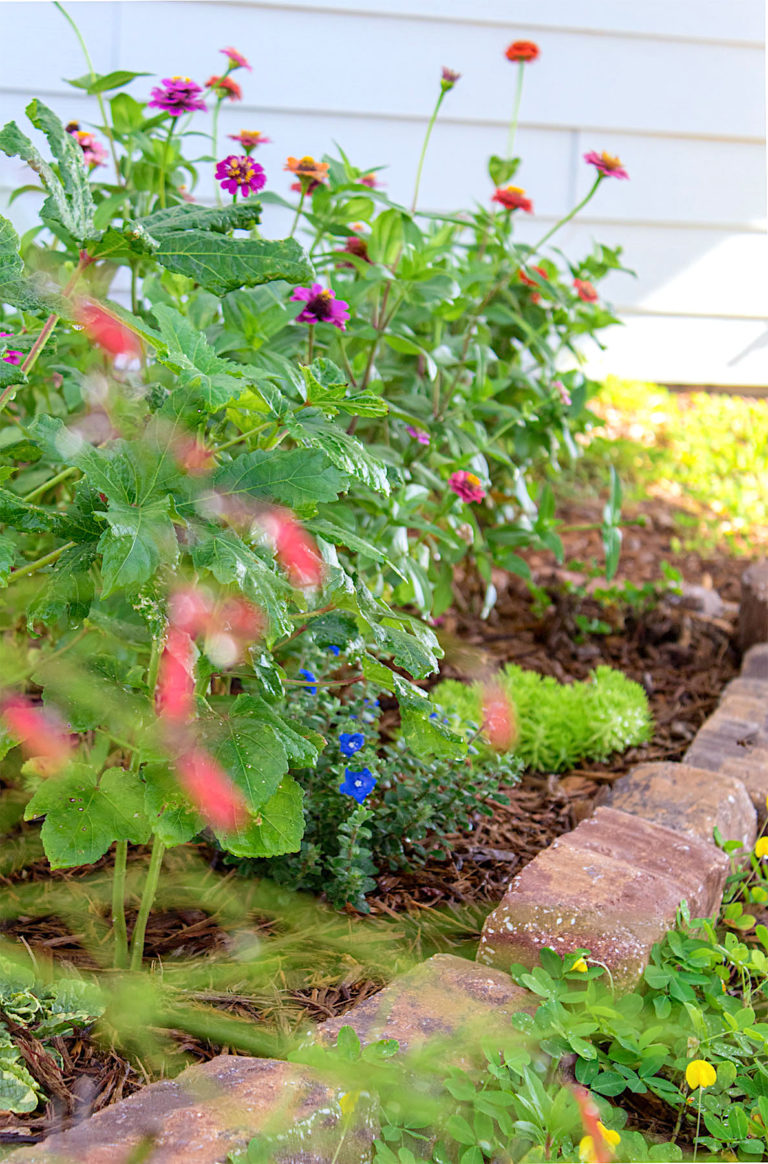
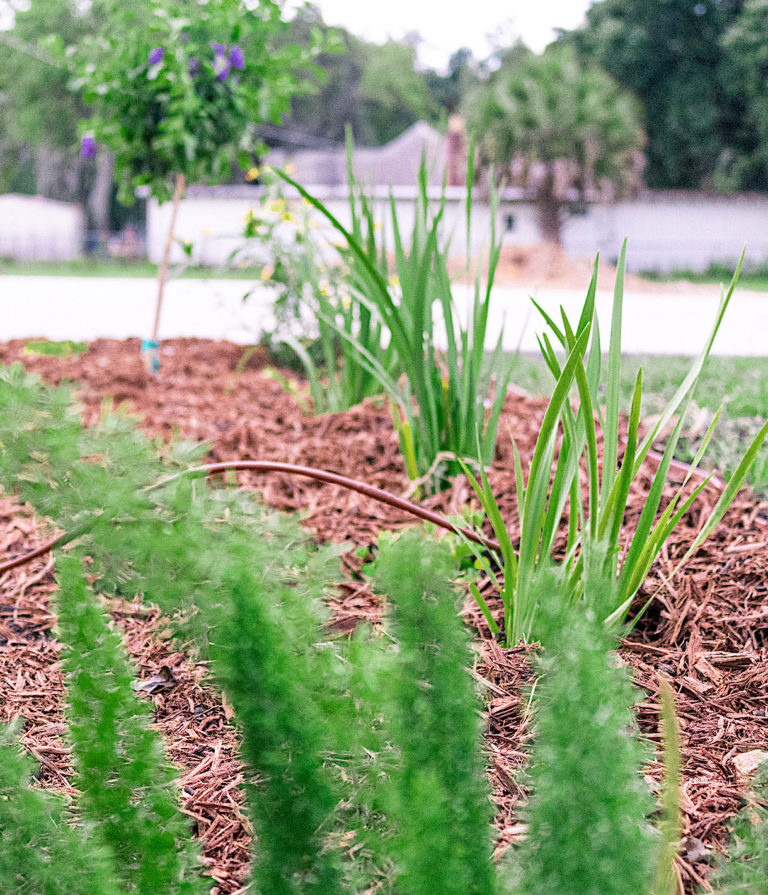
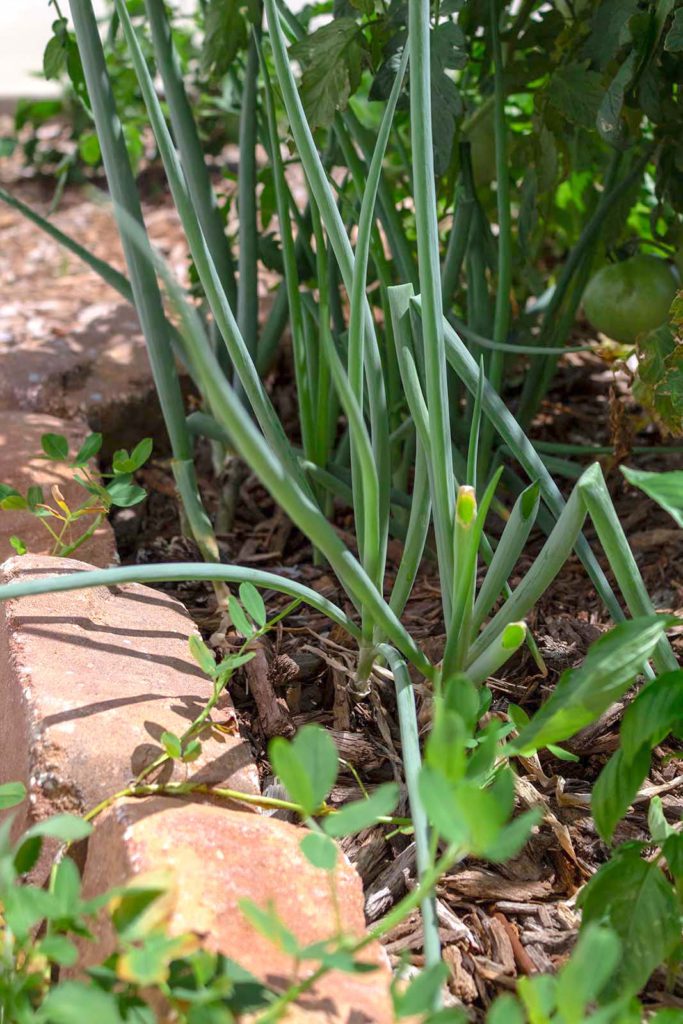
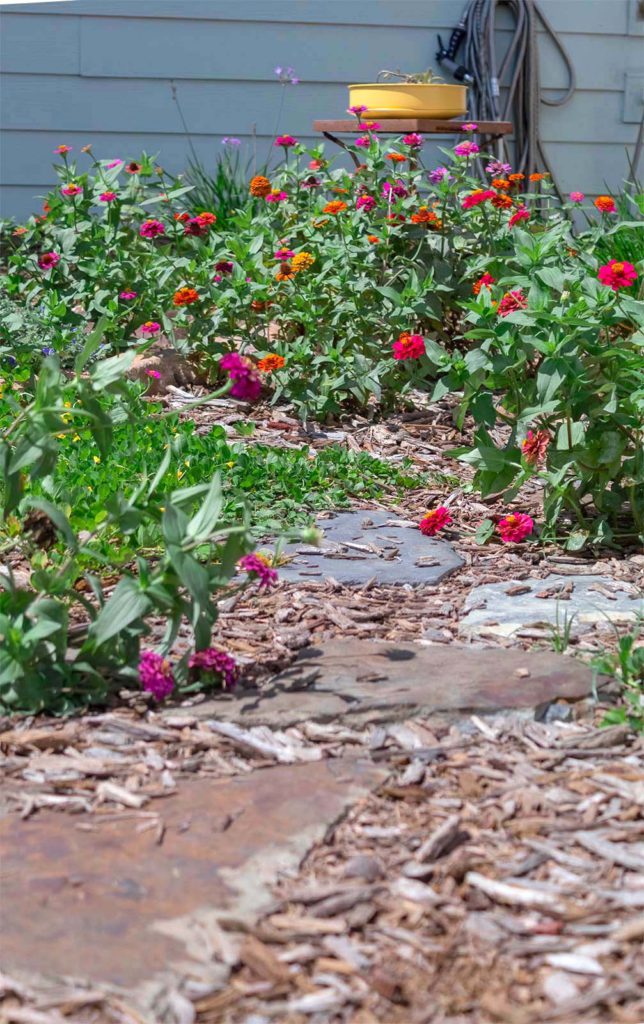
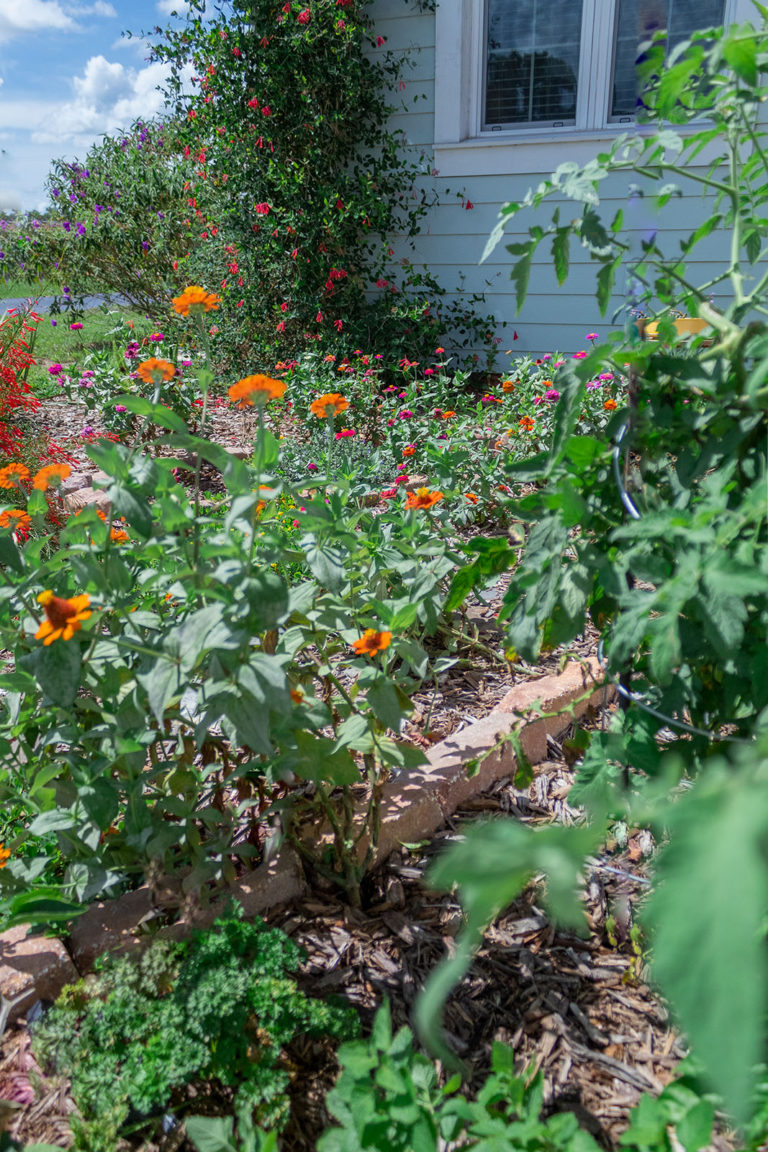
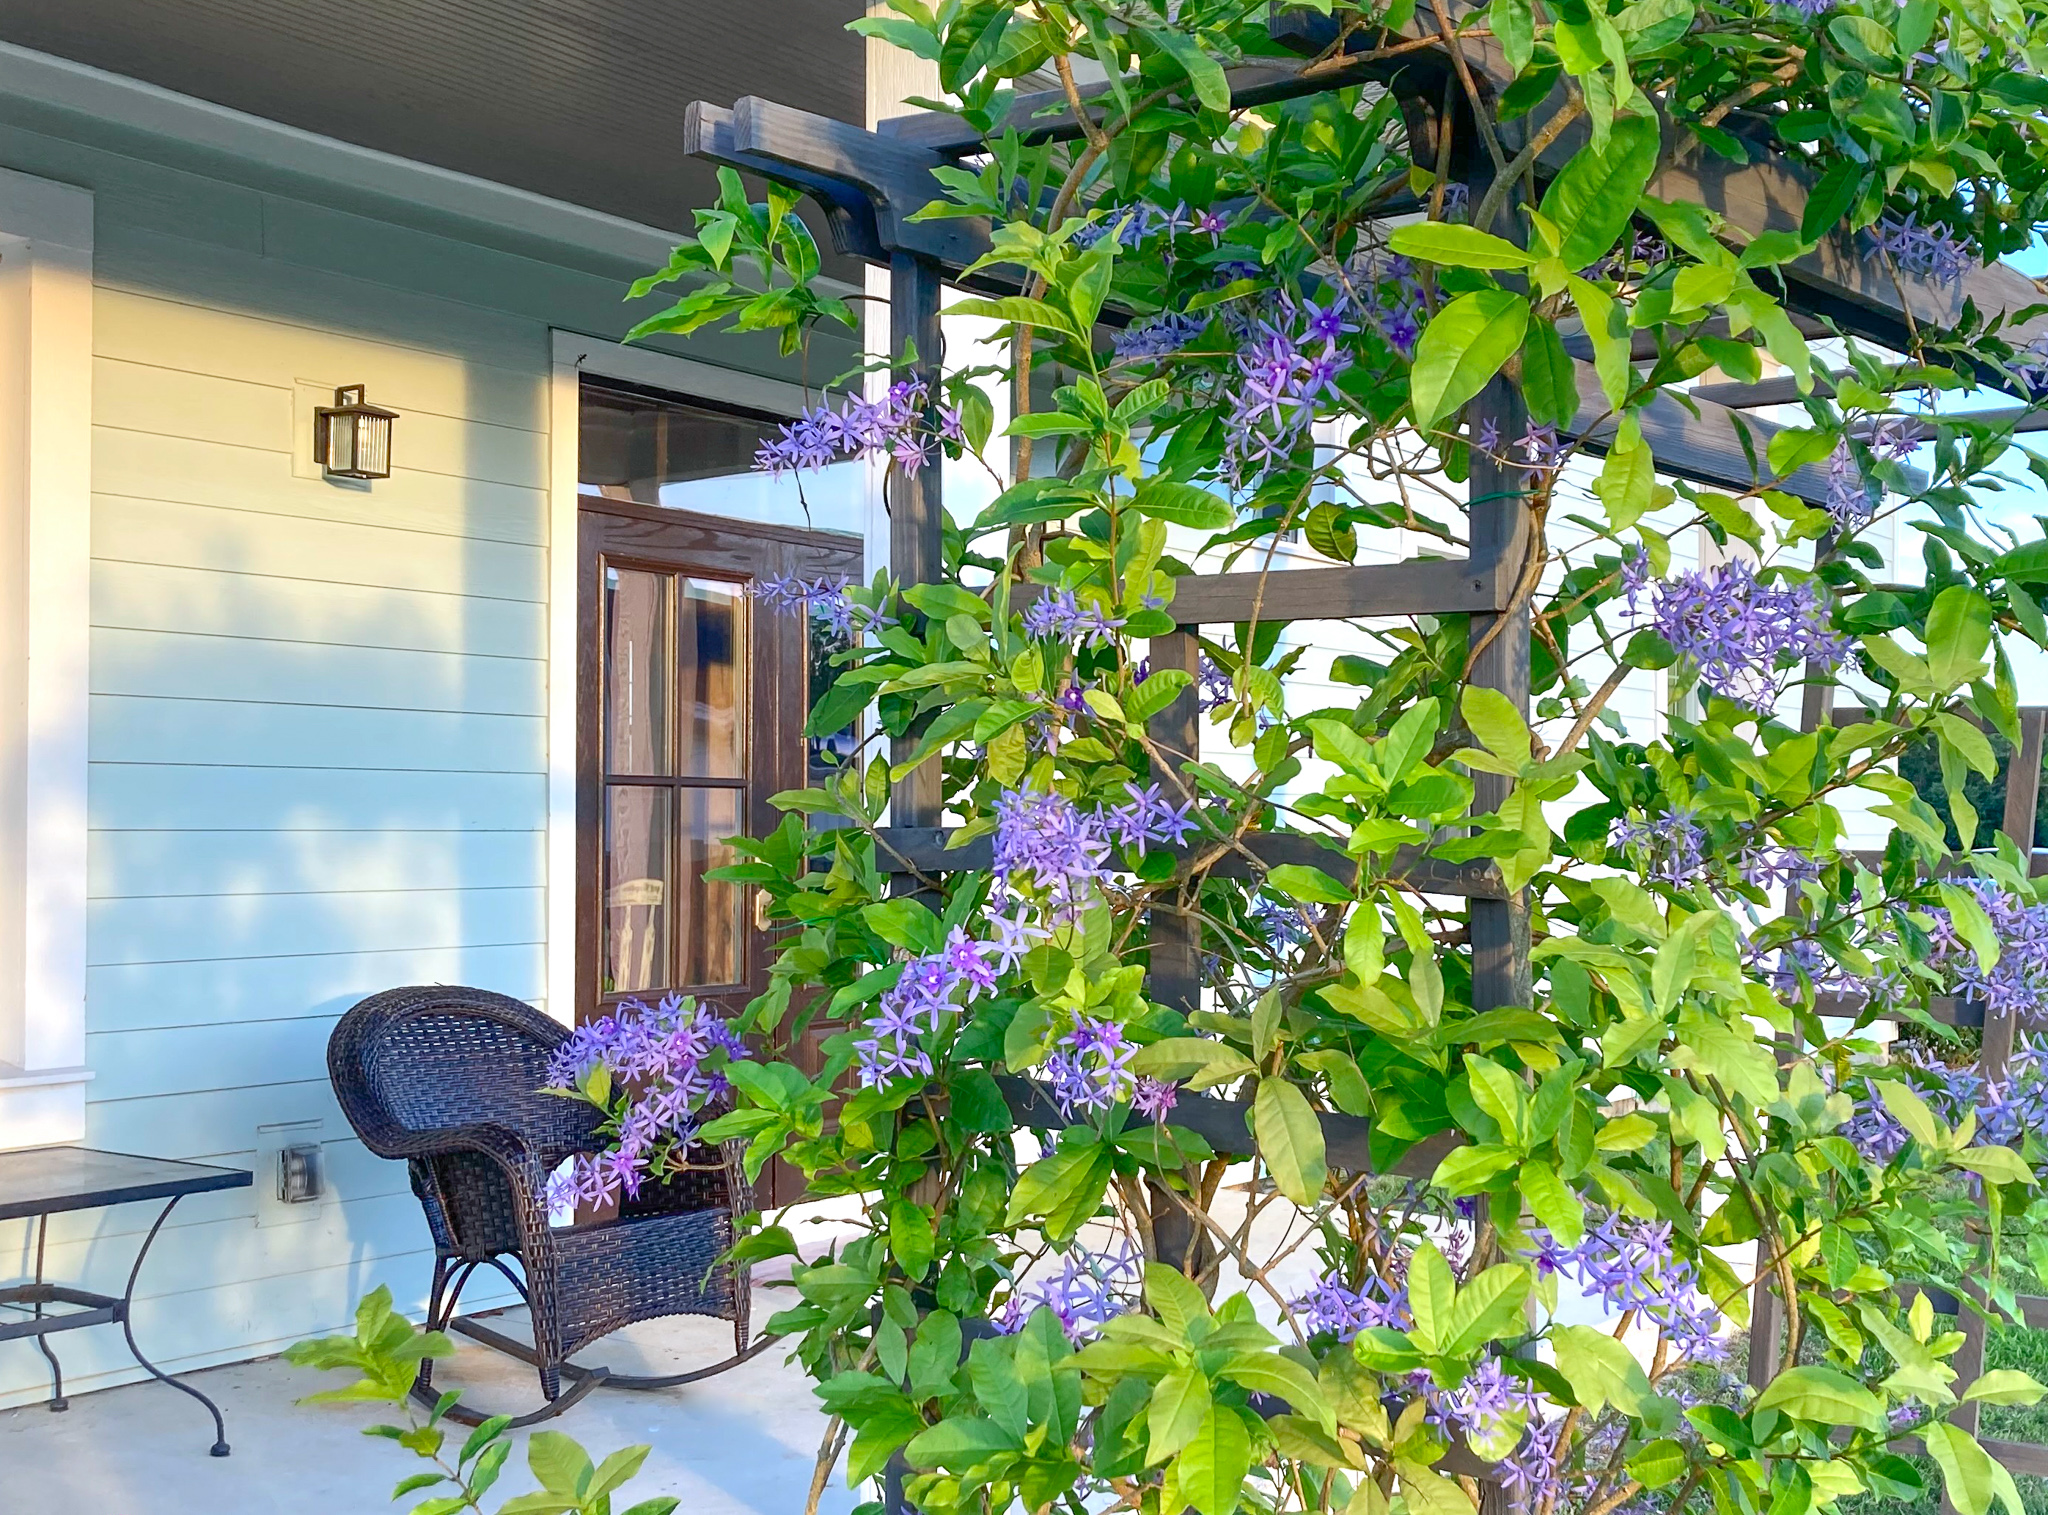
A year later and the stones have weathered so beautifully. Take a look at the picture below.
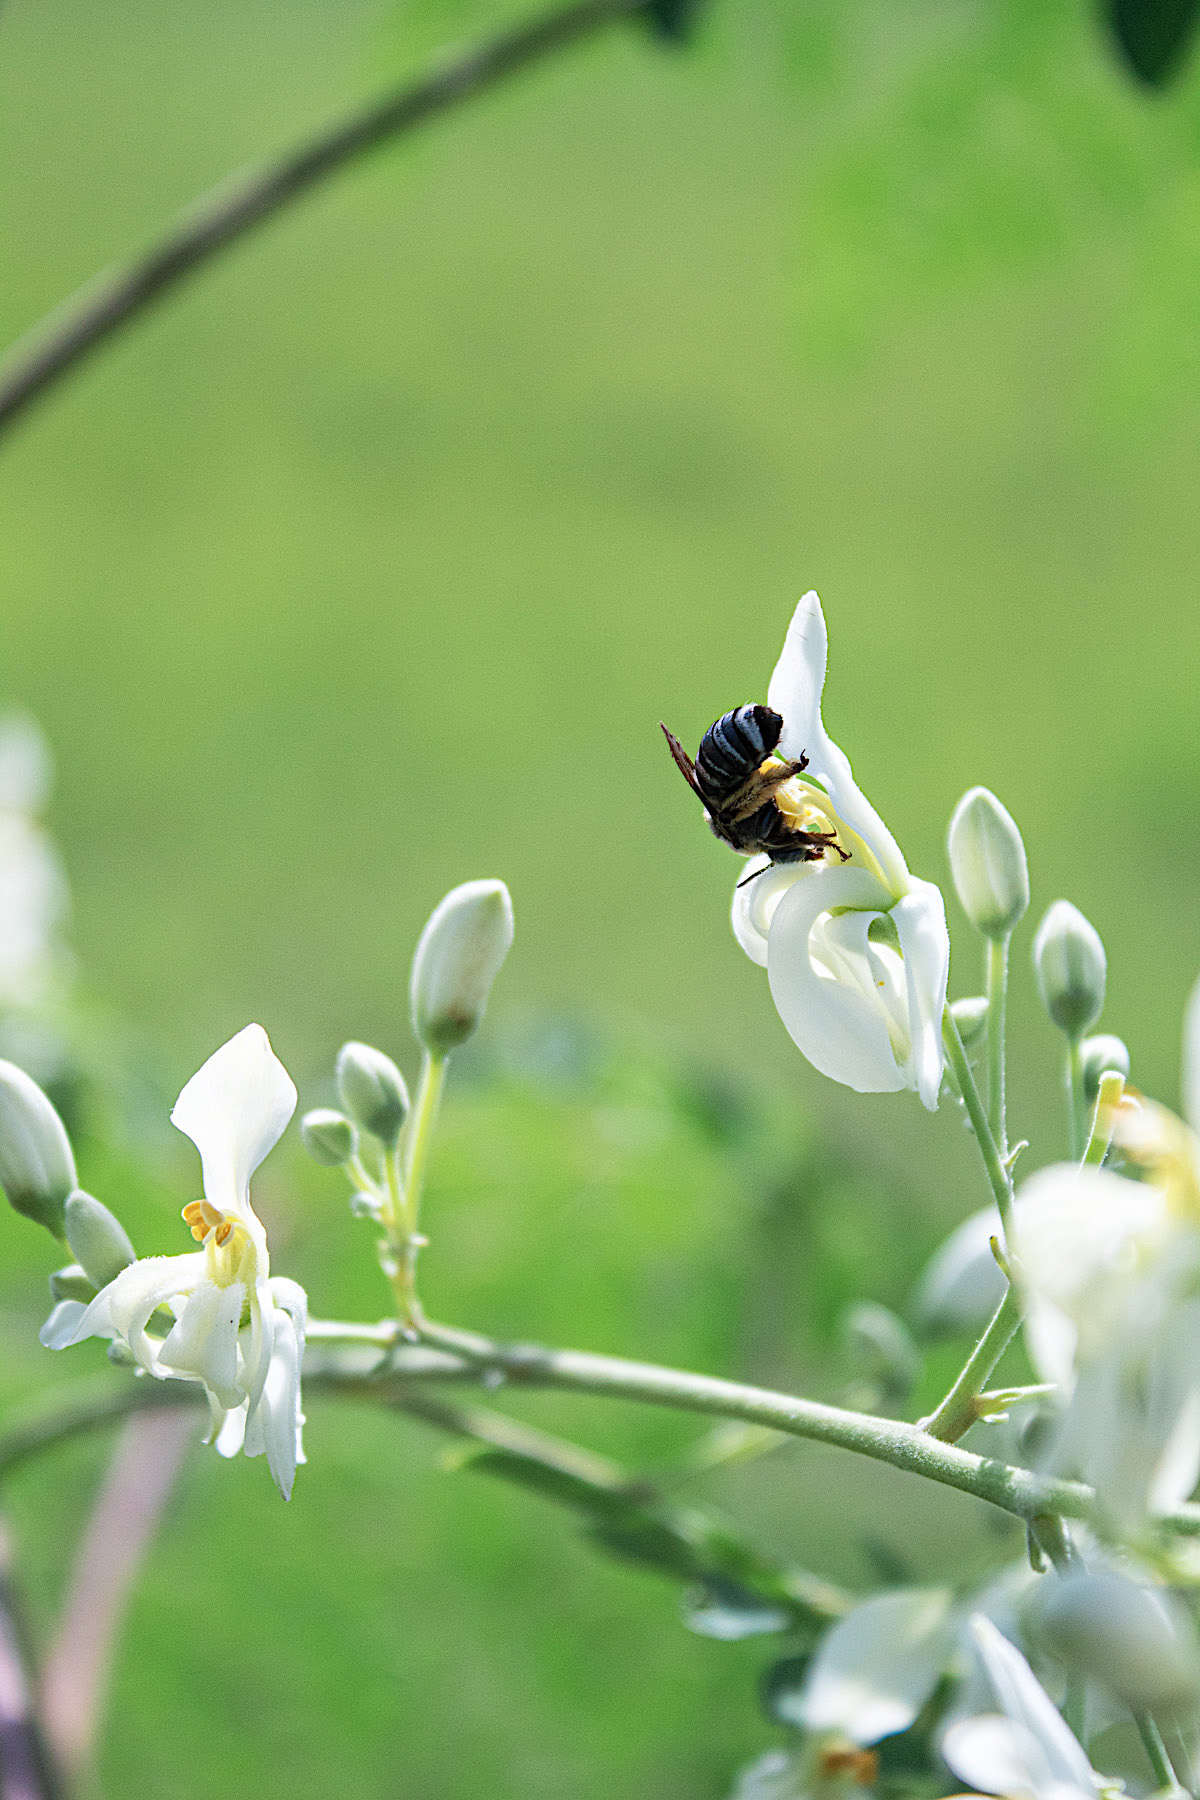
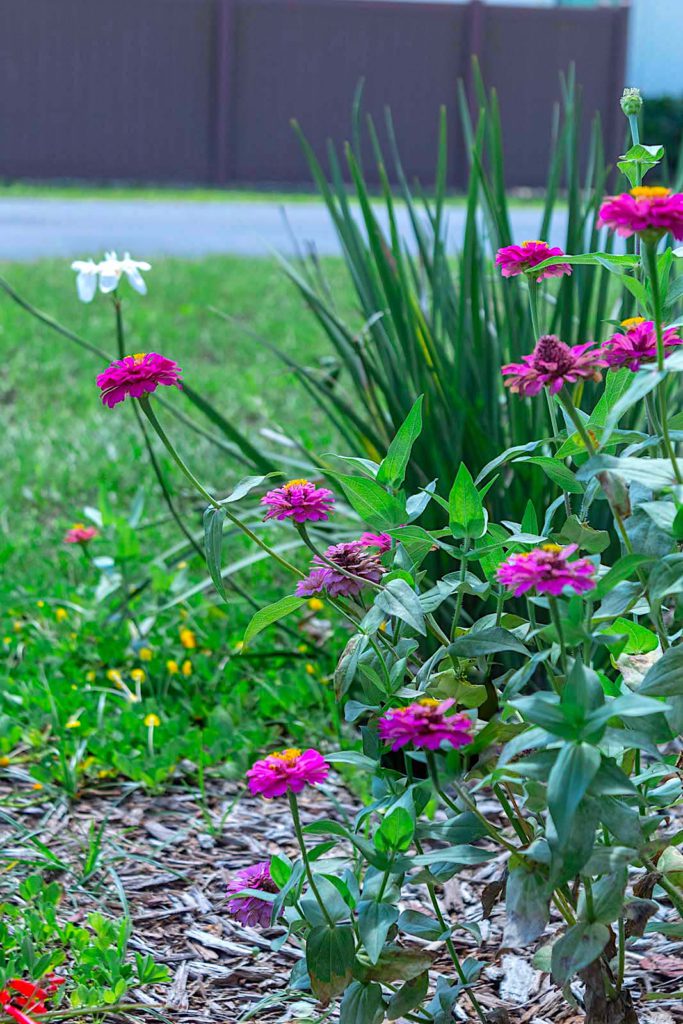
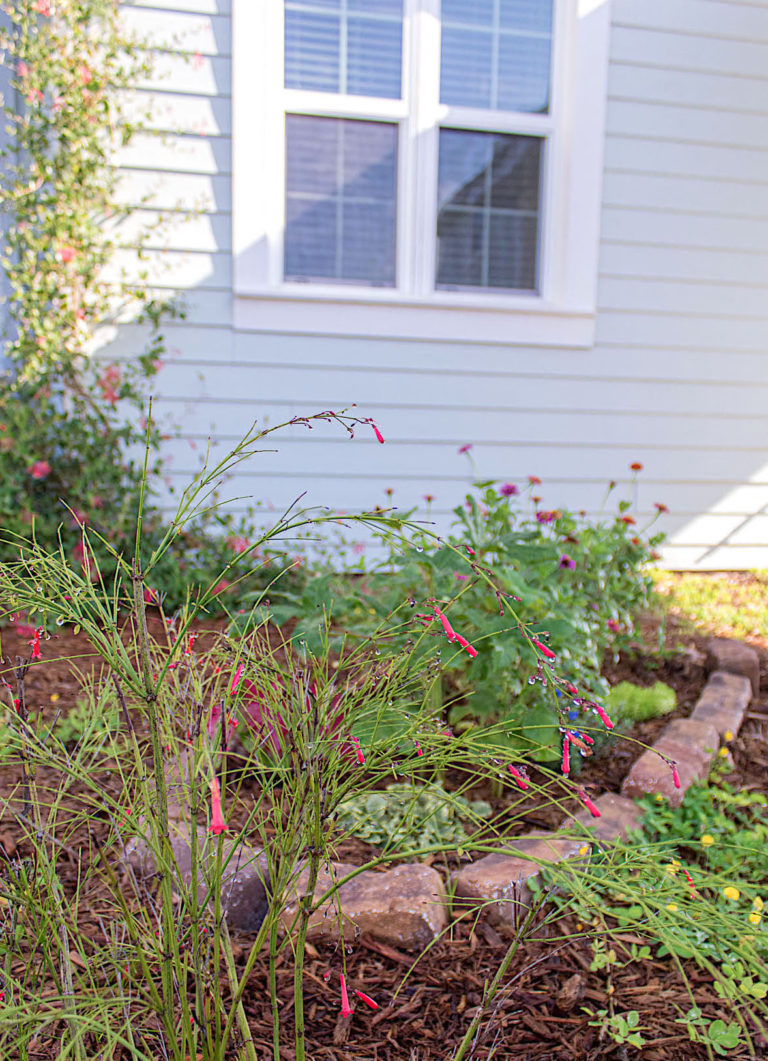
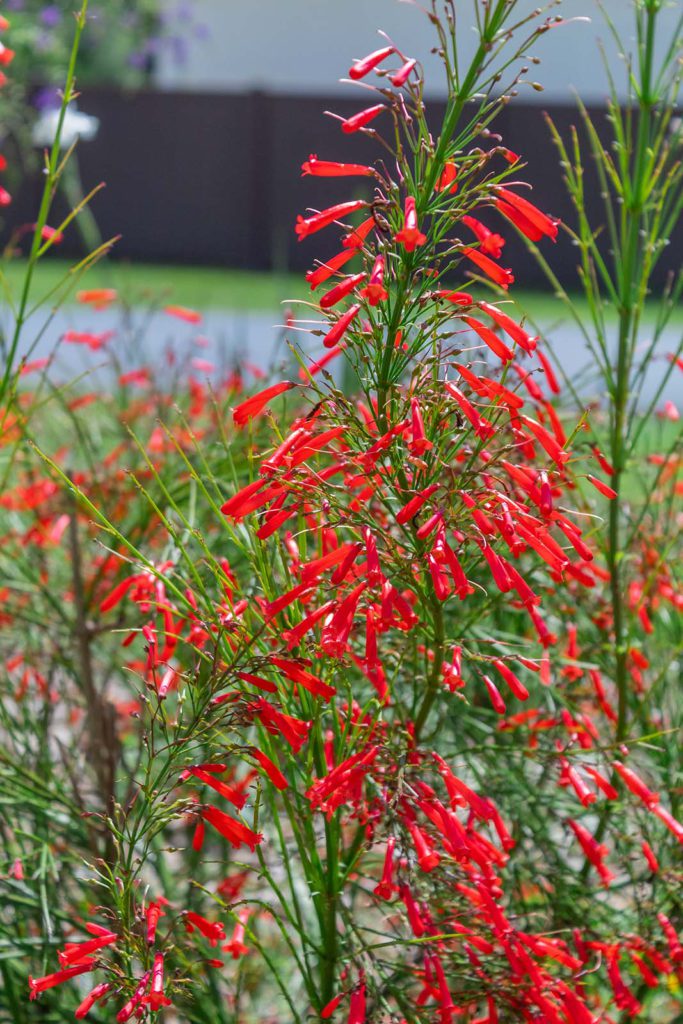
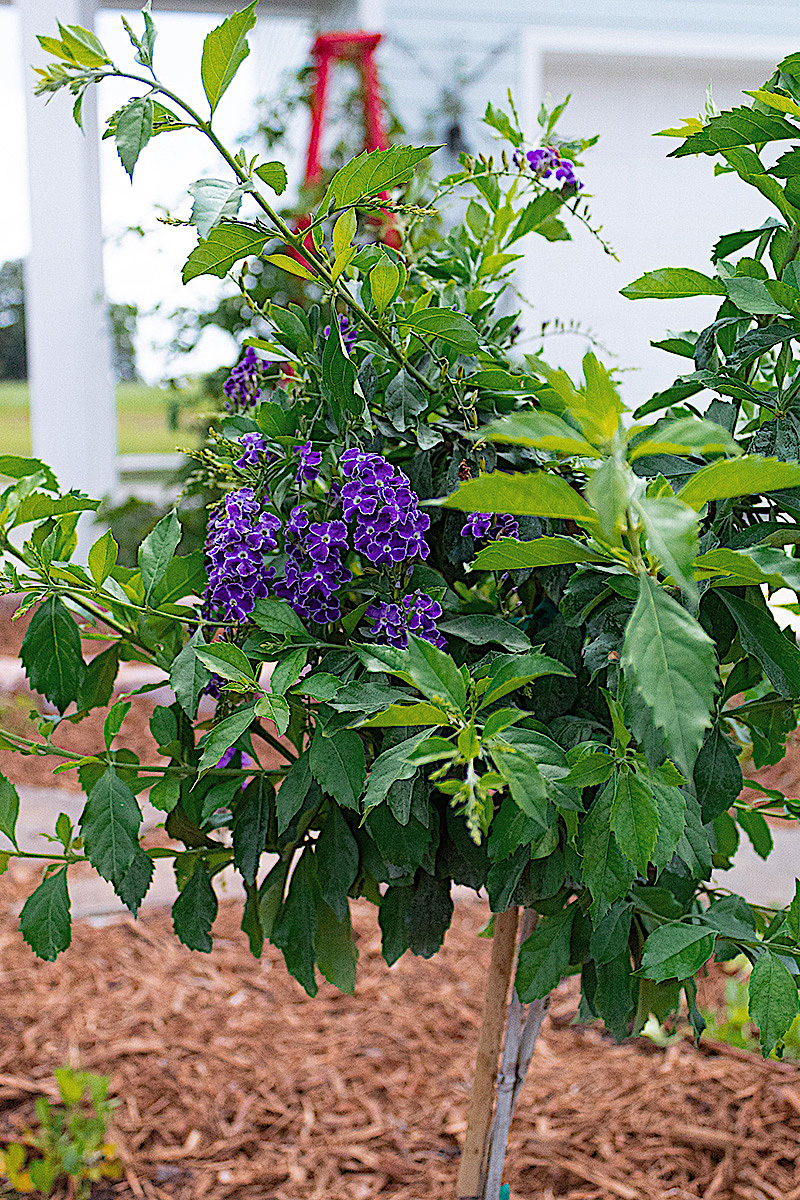
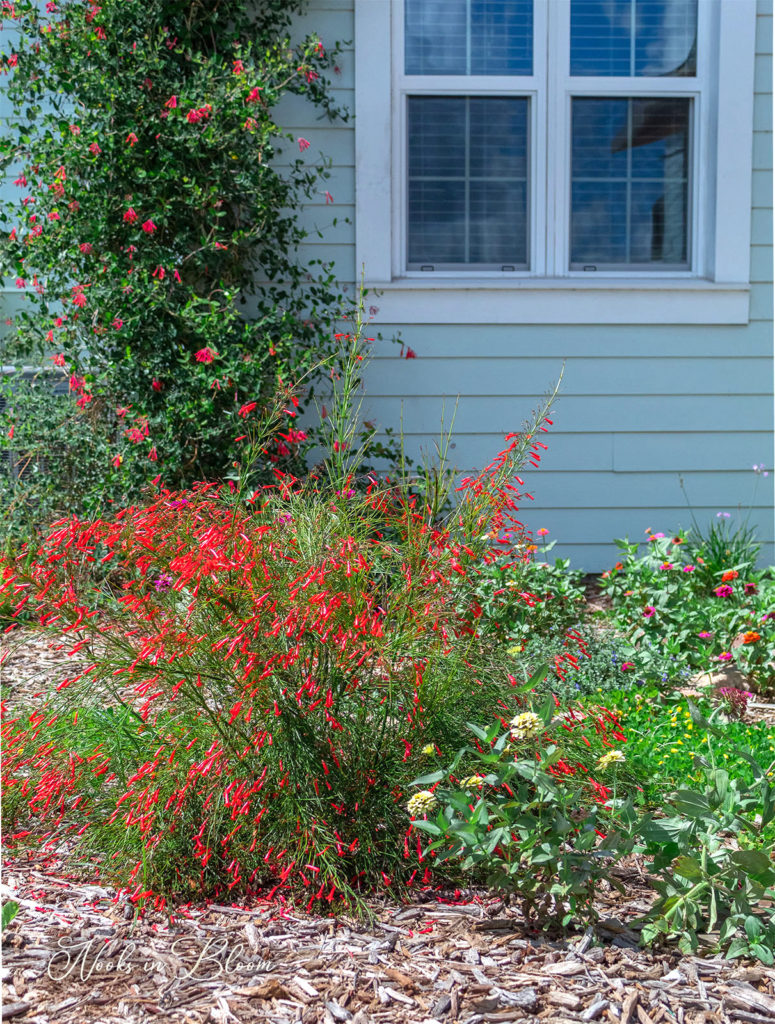
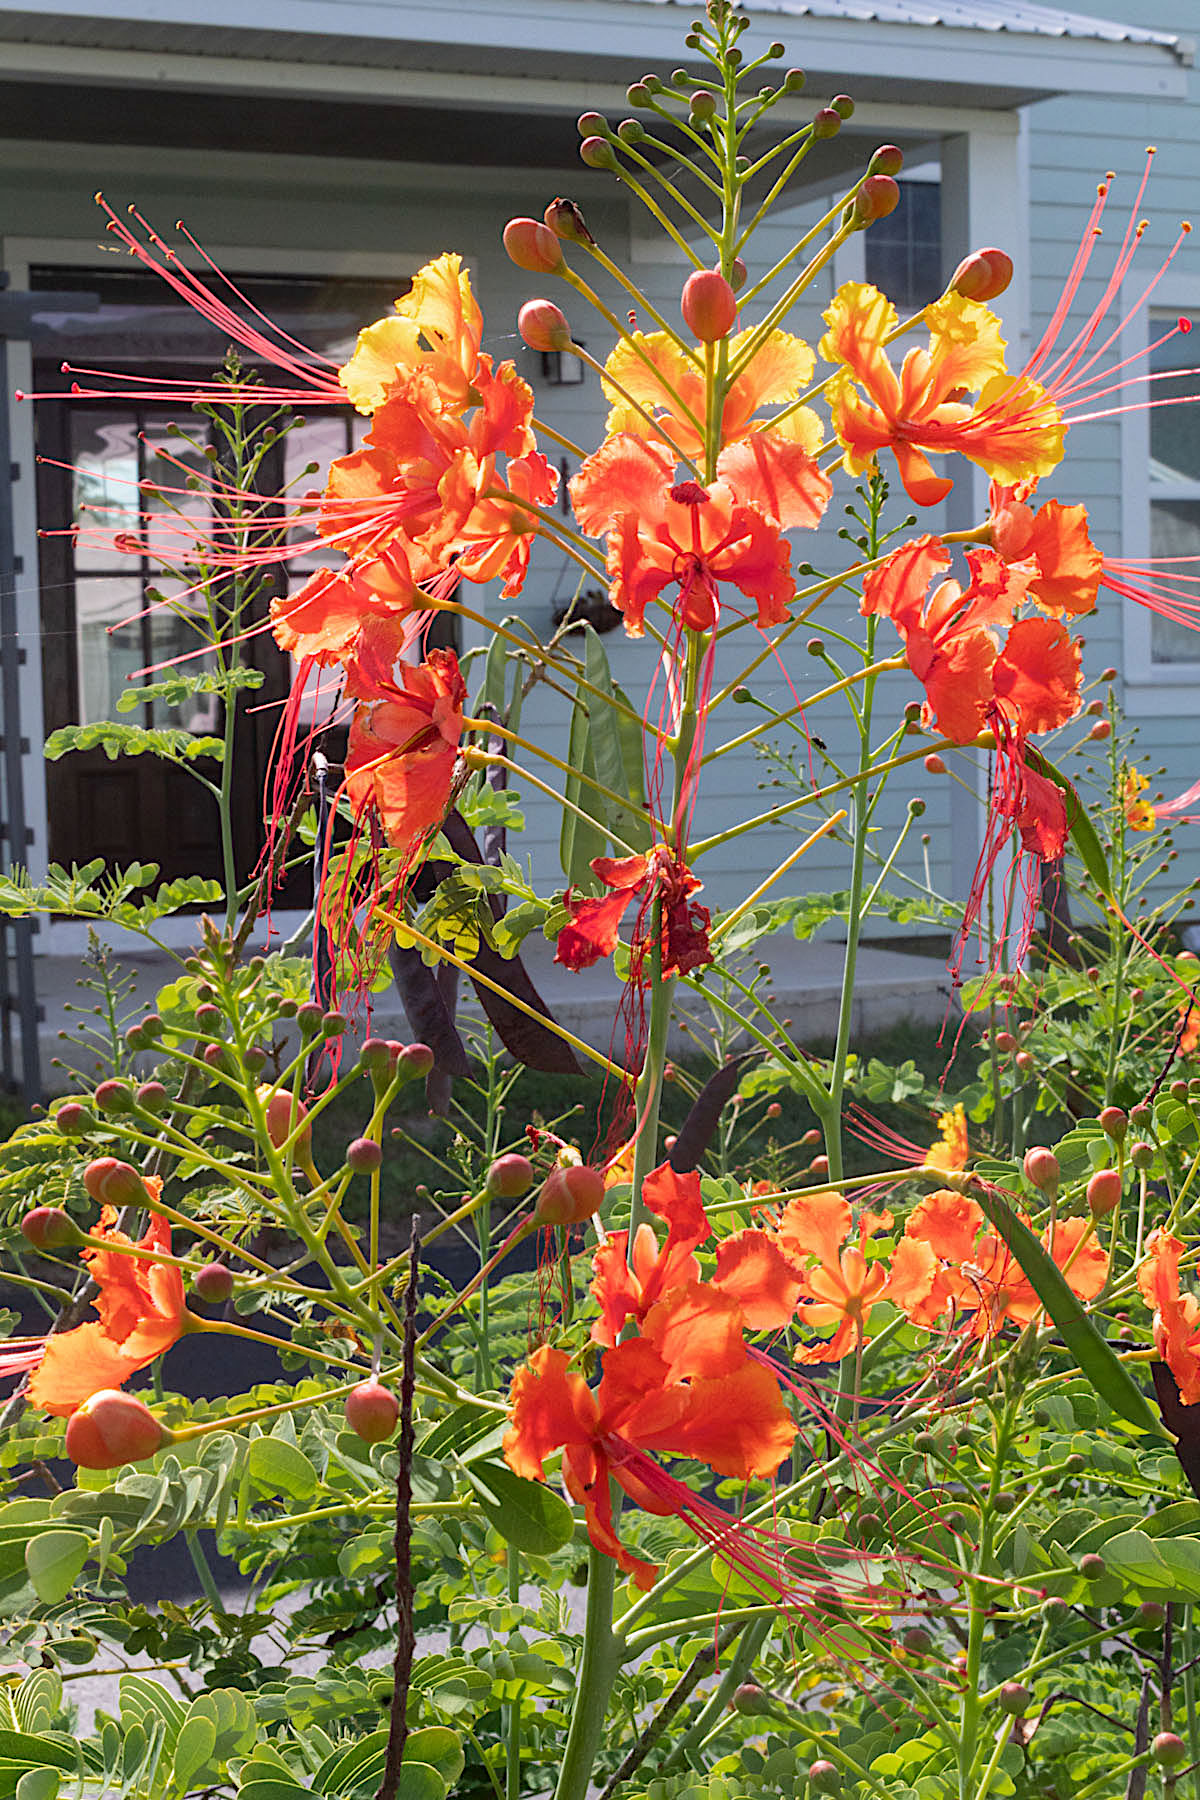
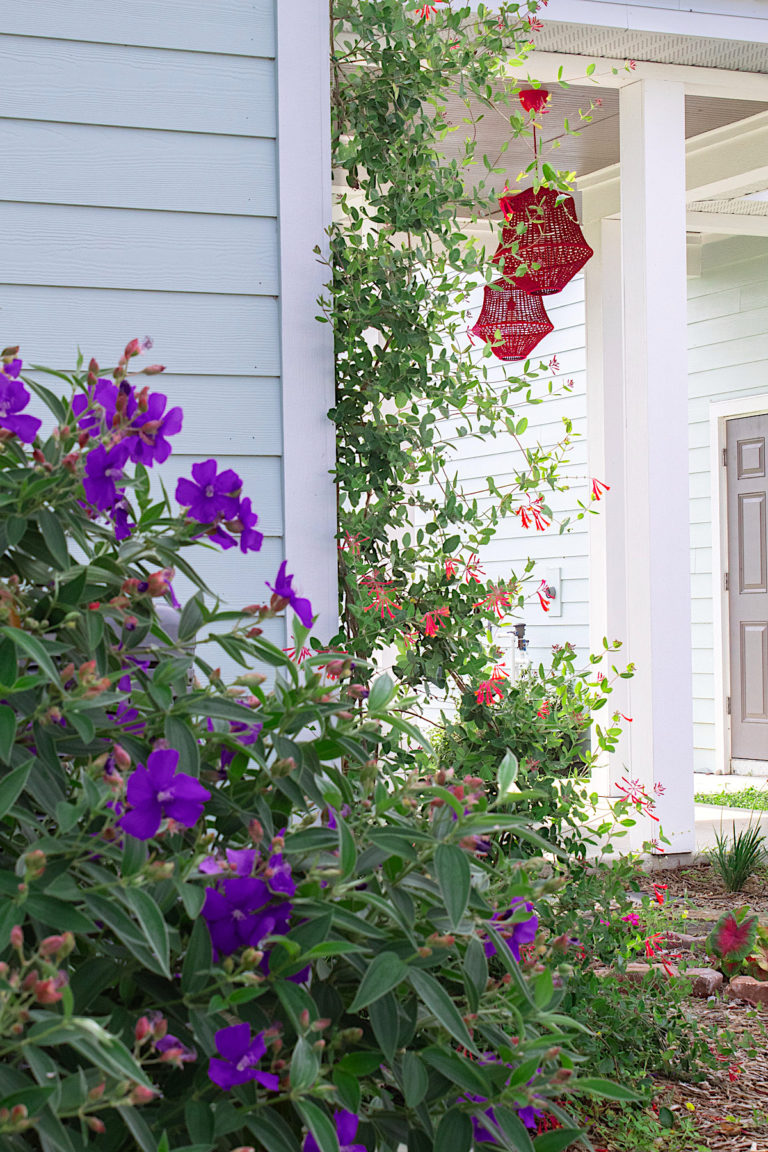
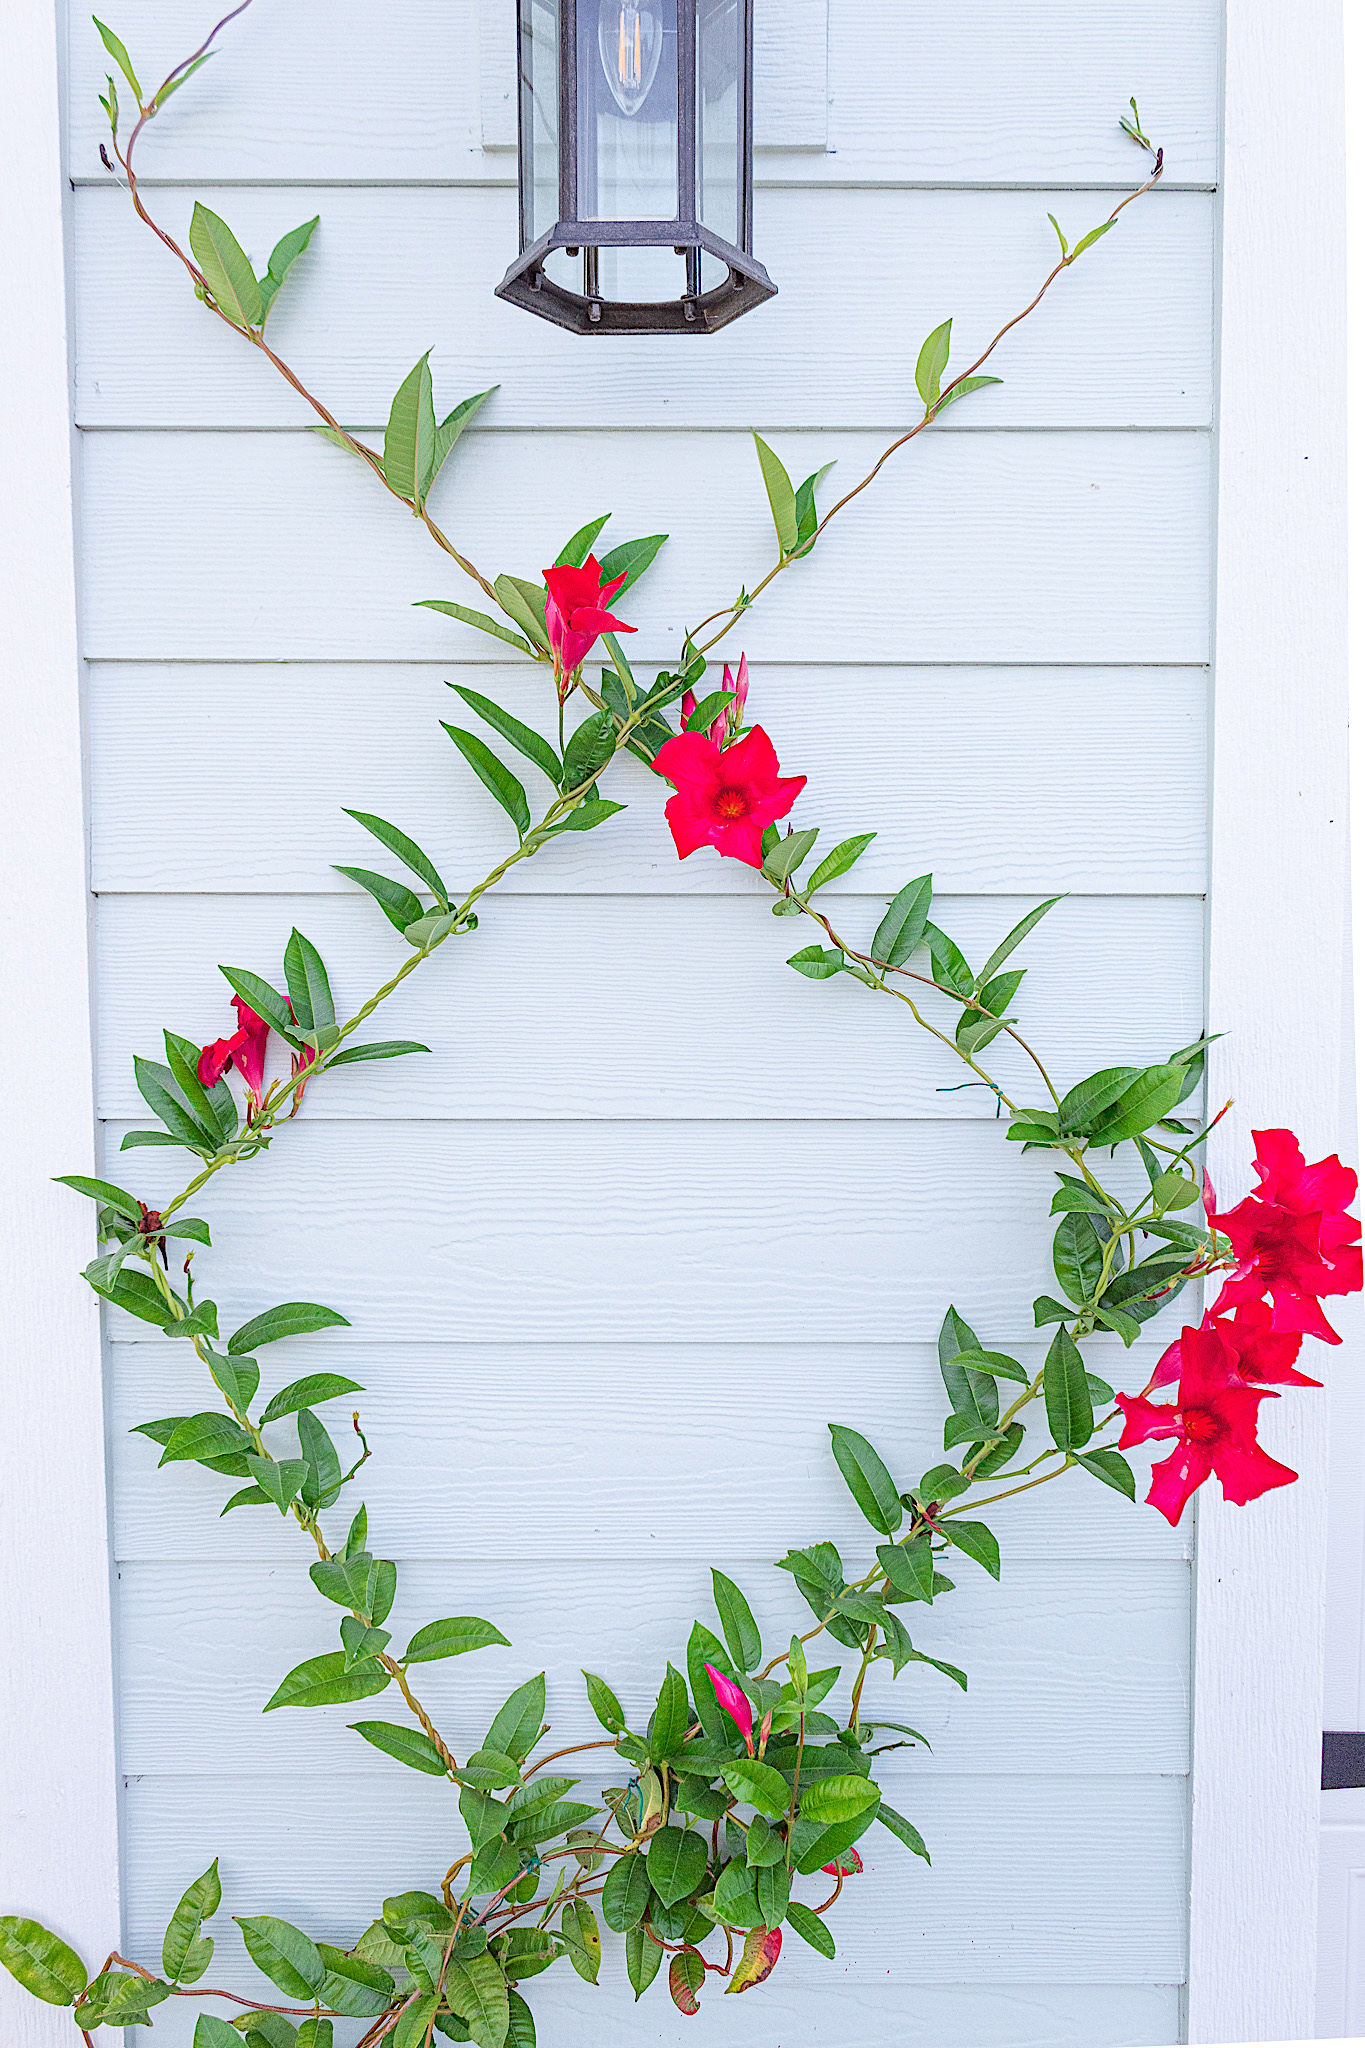
Thinking through the function and bloom aesthetic of each plant pays off for enjoying your garden throughout the year. In my Ideas For Year Round Color Post I share some of my top picks that have been show stoppers in our garden.
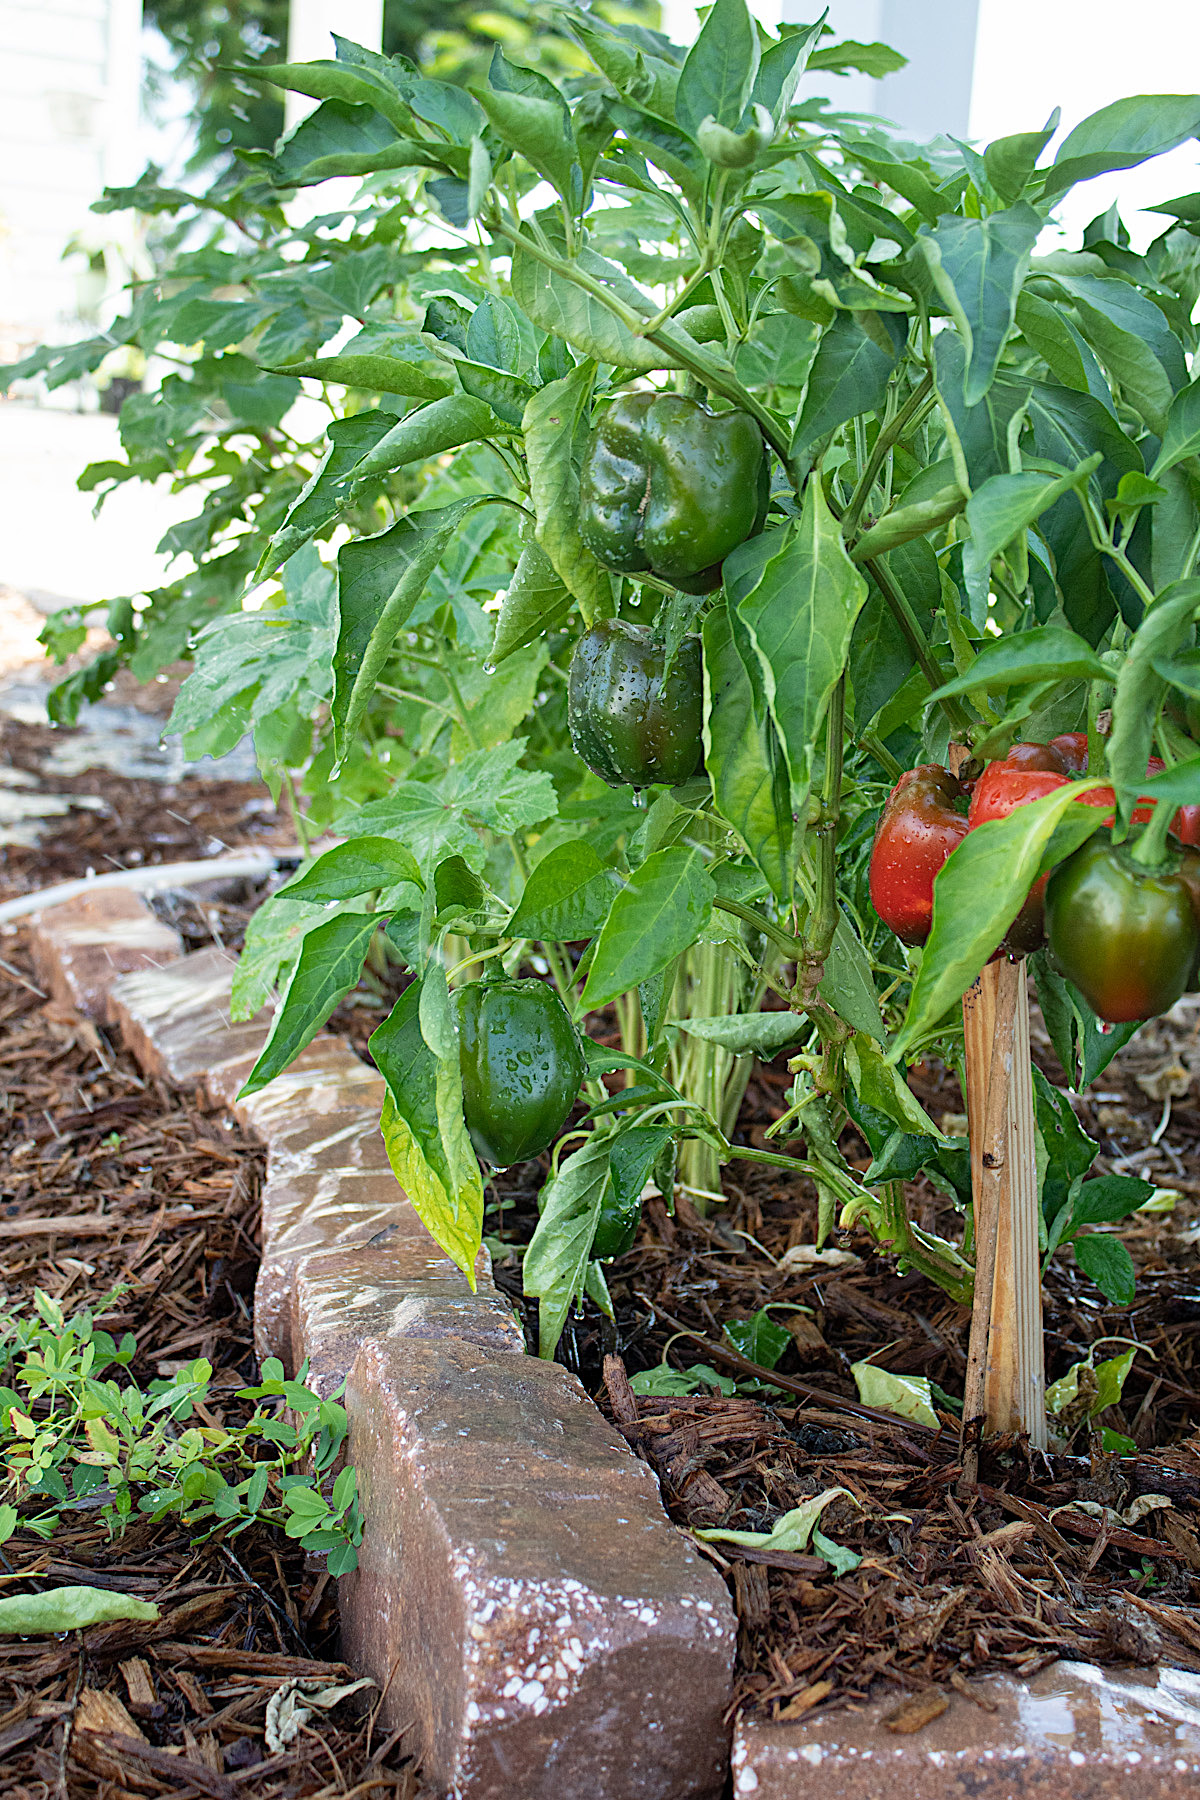
Step 8. Planting
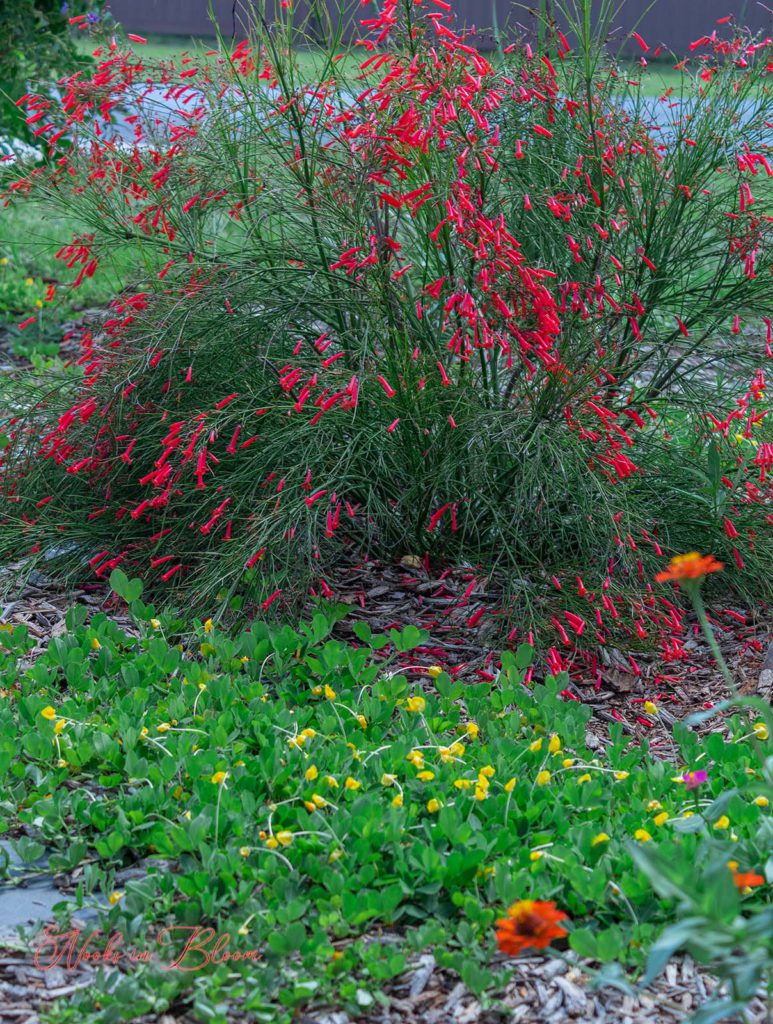
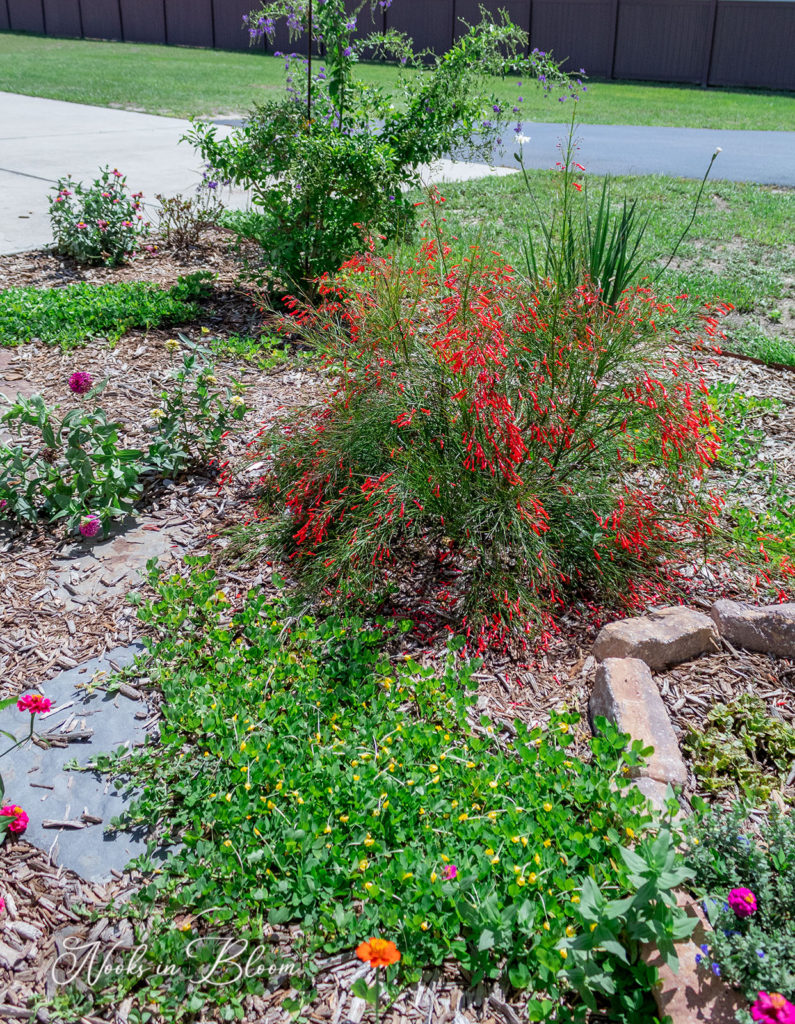
We purchased an assortment of perennials, some vegetable plants and 20 ground cover plants. We chose Perennial Peanut for our ground cover as a substitute for grass. I love how it looks as a pretty green blanket with its yellow, edible flowers. And a bonus is it will also help keep weeds out and we won’t need to worry about mowing grass.
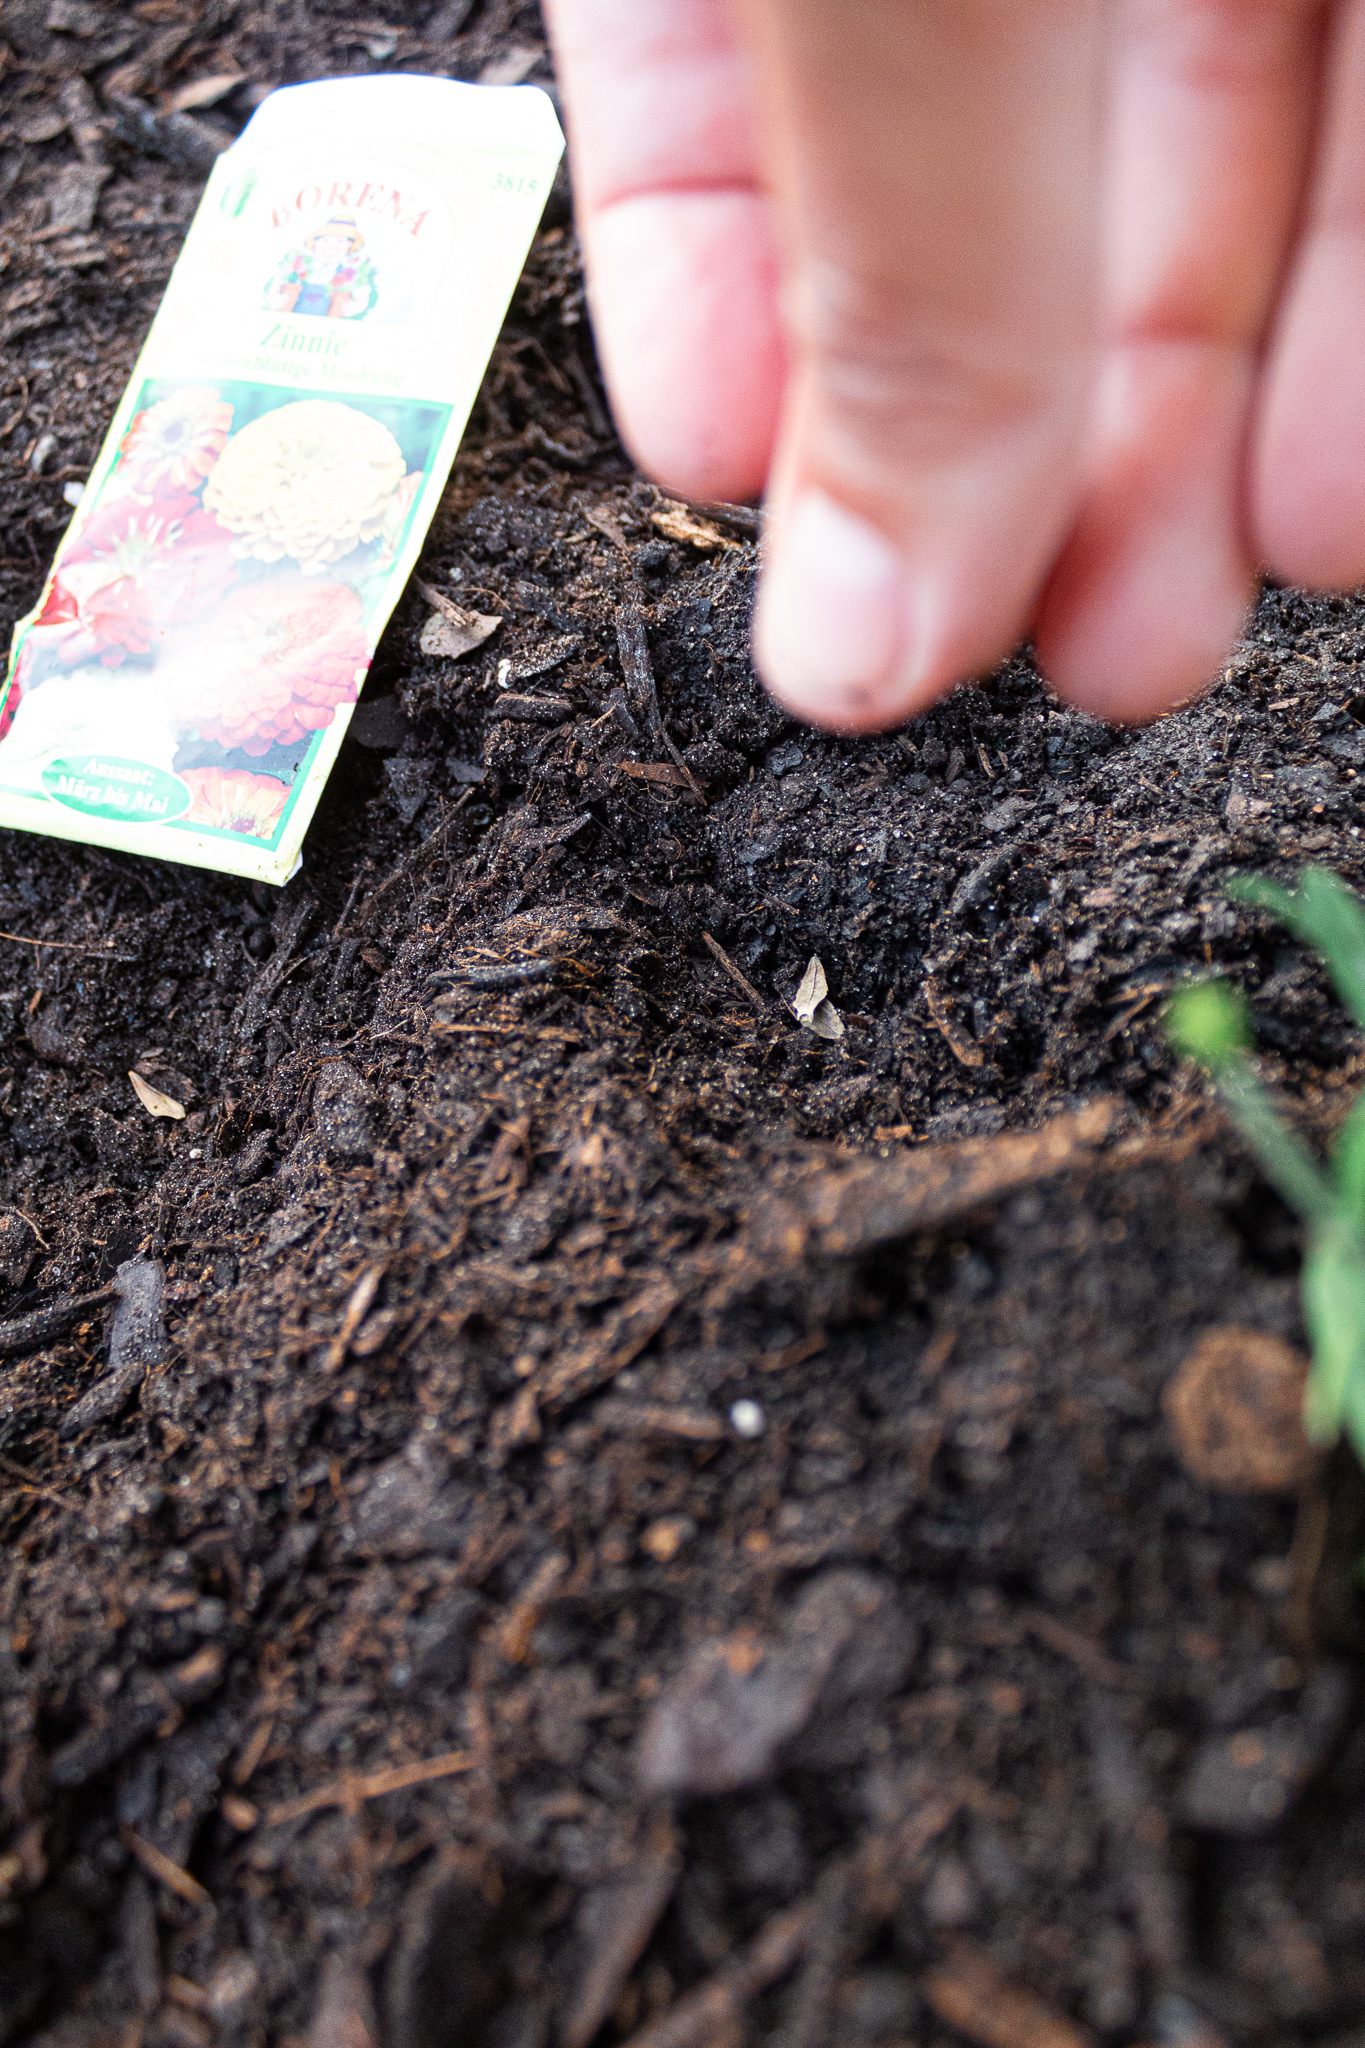
We also planted some seeds we had in our raised beds.
Step 9. Irrigation
You save quite a bit of money by doing your own irrigation. And it is actually quite easy to do. First start by finding where you will connect your irrigation line: 1). This can be to an existing irrigation tube. You can join the new to the existing lines by using a connector. 2). To a spigot by using an adapter for your connection. 3). If you don’t have either of these sources, you would need to connect to the house’s main water line. This would be a more involved plumbing process.
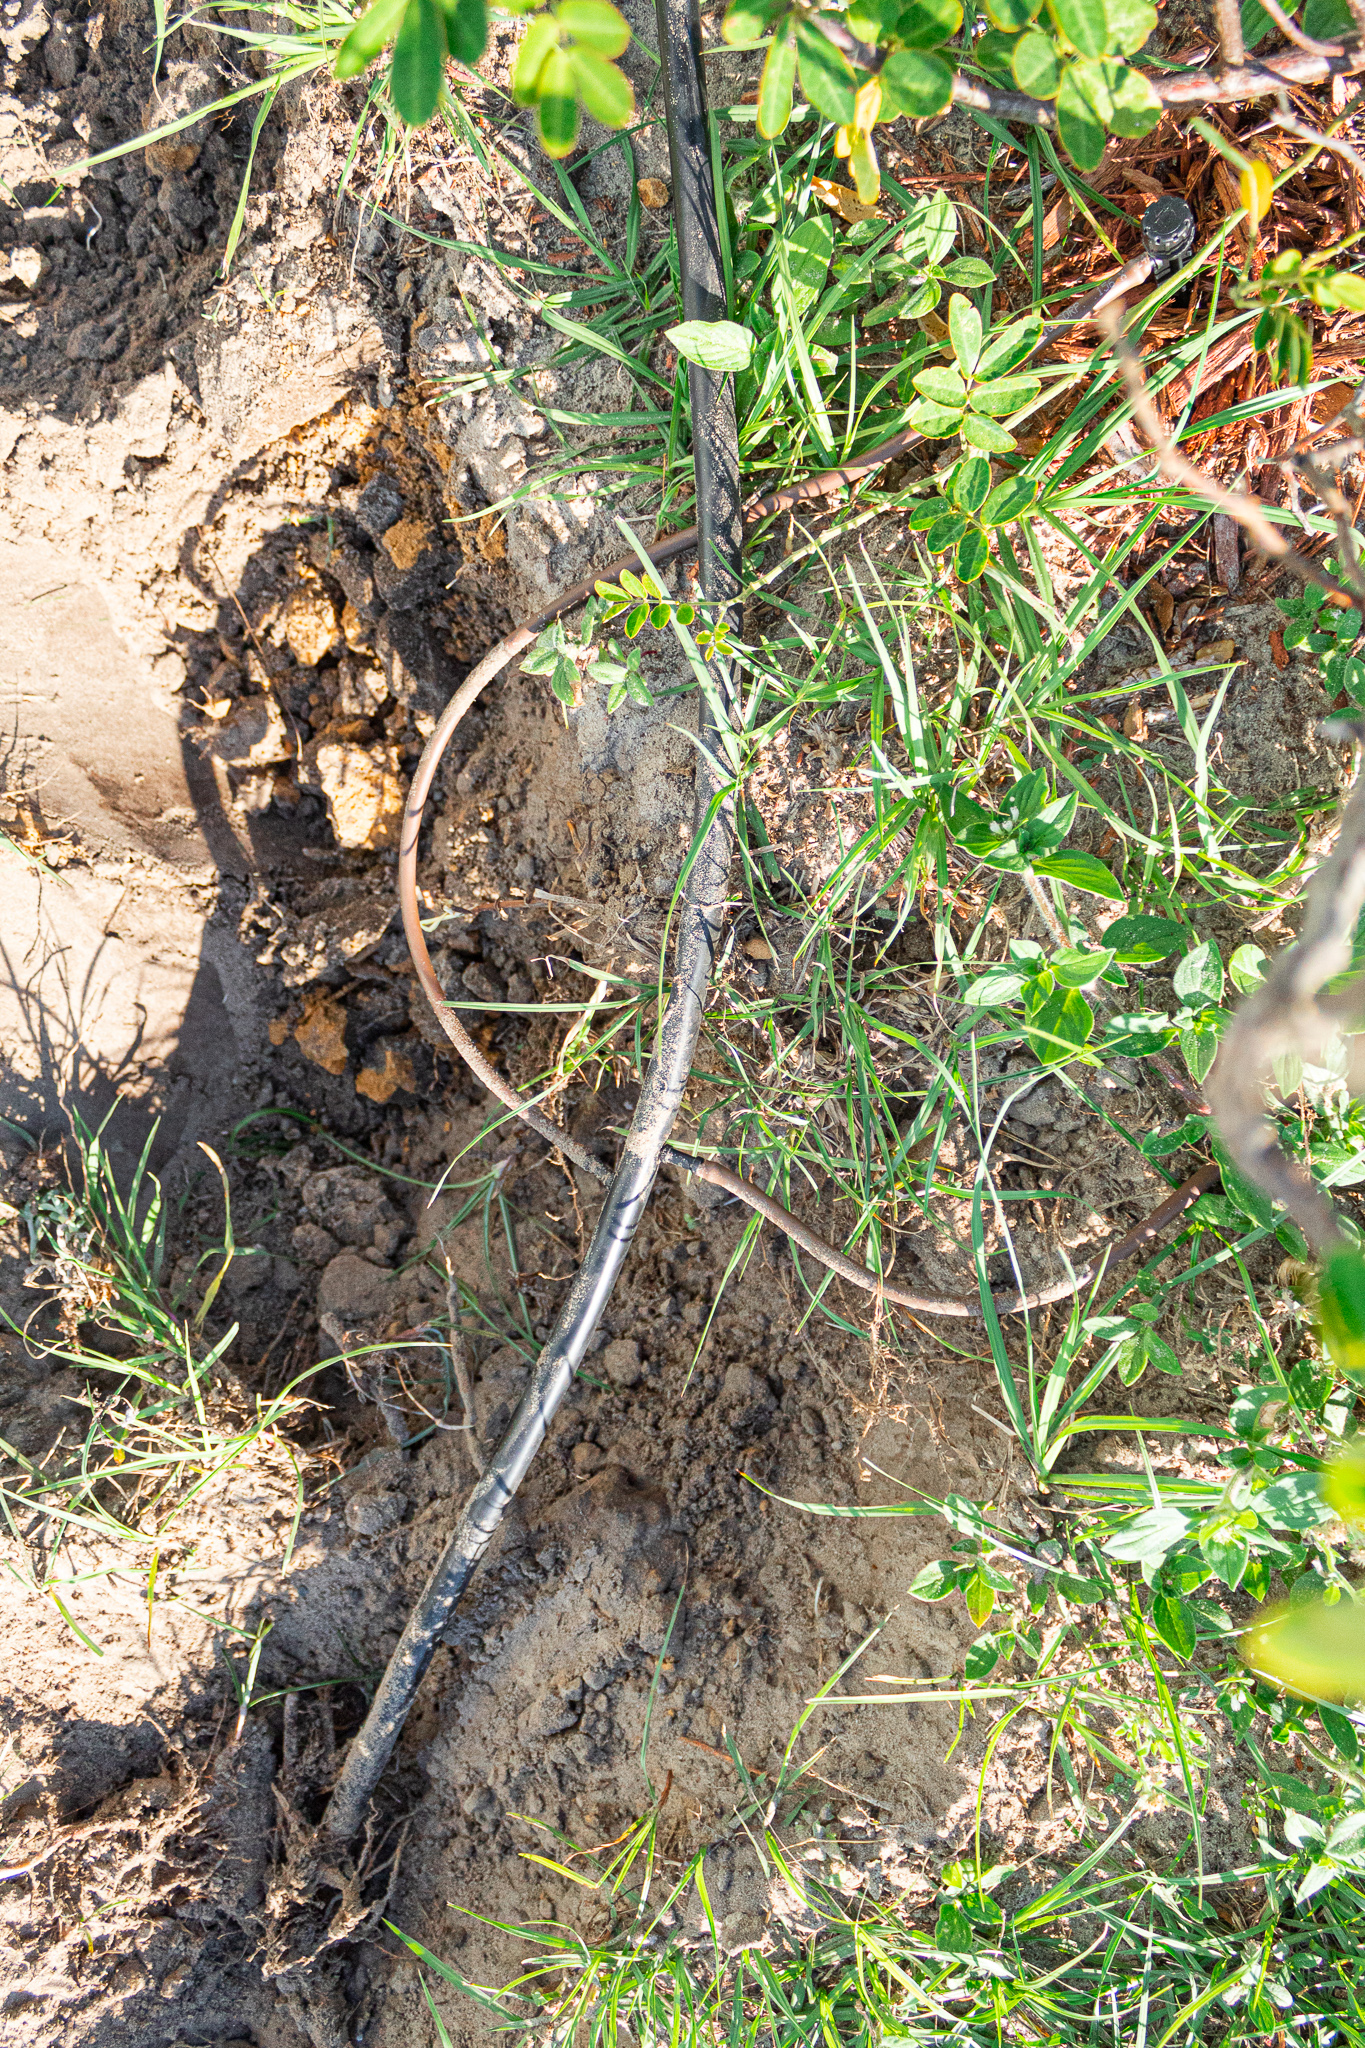
We connected our 1/2 inch irrigation line to an existing irrigation line in our yard. We had to first dig up the existing irrigation line.
We ran the new 1/2″ irrigation line (our main line) along the back and side of the garden. Then we connected our pre-punctured drip line in several places to our 1/2 inch main irrigation line. We used some 1/4″ tubing from the main line (1/2″ line) to our raised beds.
The drip line is what’s going to irrigate so it’s important to weave it through the garden wherever you have plants. The next picture shows drip line connected on either side of the 1/2 inch line. It is the small brown tubing.
Step 10, Final Step: Mulching
We have made it to the final step! We spread our mulch over the entire garden. We used mulch to hide some of our irrigation tubing and we mulched around plants.
I like to keep mulch about 4 inches thick to help keep weeds out and for good moisture retention.
Project Cost Breakdown
You can work with your budget when doing your landscaping. You can modify your selection to reduce your costs. Perhaps you don’t do a stone walkway. Or maybe you use wood instead of stones for your raised beds. Another way to save cost is by finding materials online at discounted prices and adding in plants over time.
Video of our Project
Enjoy!
And finally we can enjoy our garden! This is truly a feel good project. You get exercise and Vitamin D while working outdoors and every day you can admire the fruits of your labor.
I can’t wait for our kids to harvest our first veggies. I’m also excited to have lots of florals to freshen up our home and to use in my blog posts. Buying flowers can get expensive!
I hope you’ve enjoyed this tutorial. Thank you for visiting the blog!
If you like pretty blooms, be sure to check out my post on How To Create Year-Round Color in The Garden where I share some of my top picks in our landscape for an enjoyable succession of blooms like the radiant Dwarf Poinciana below.


