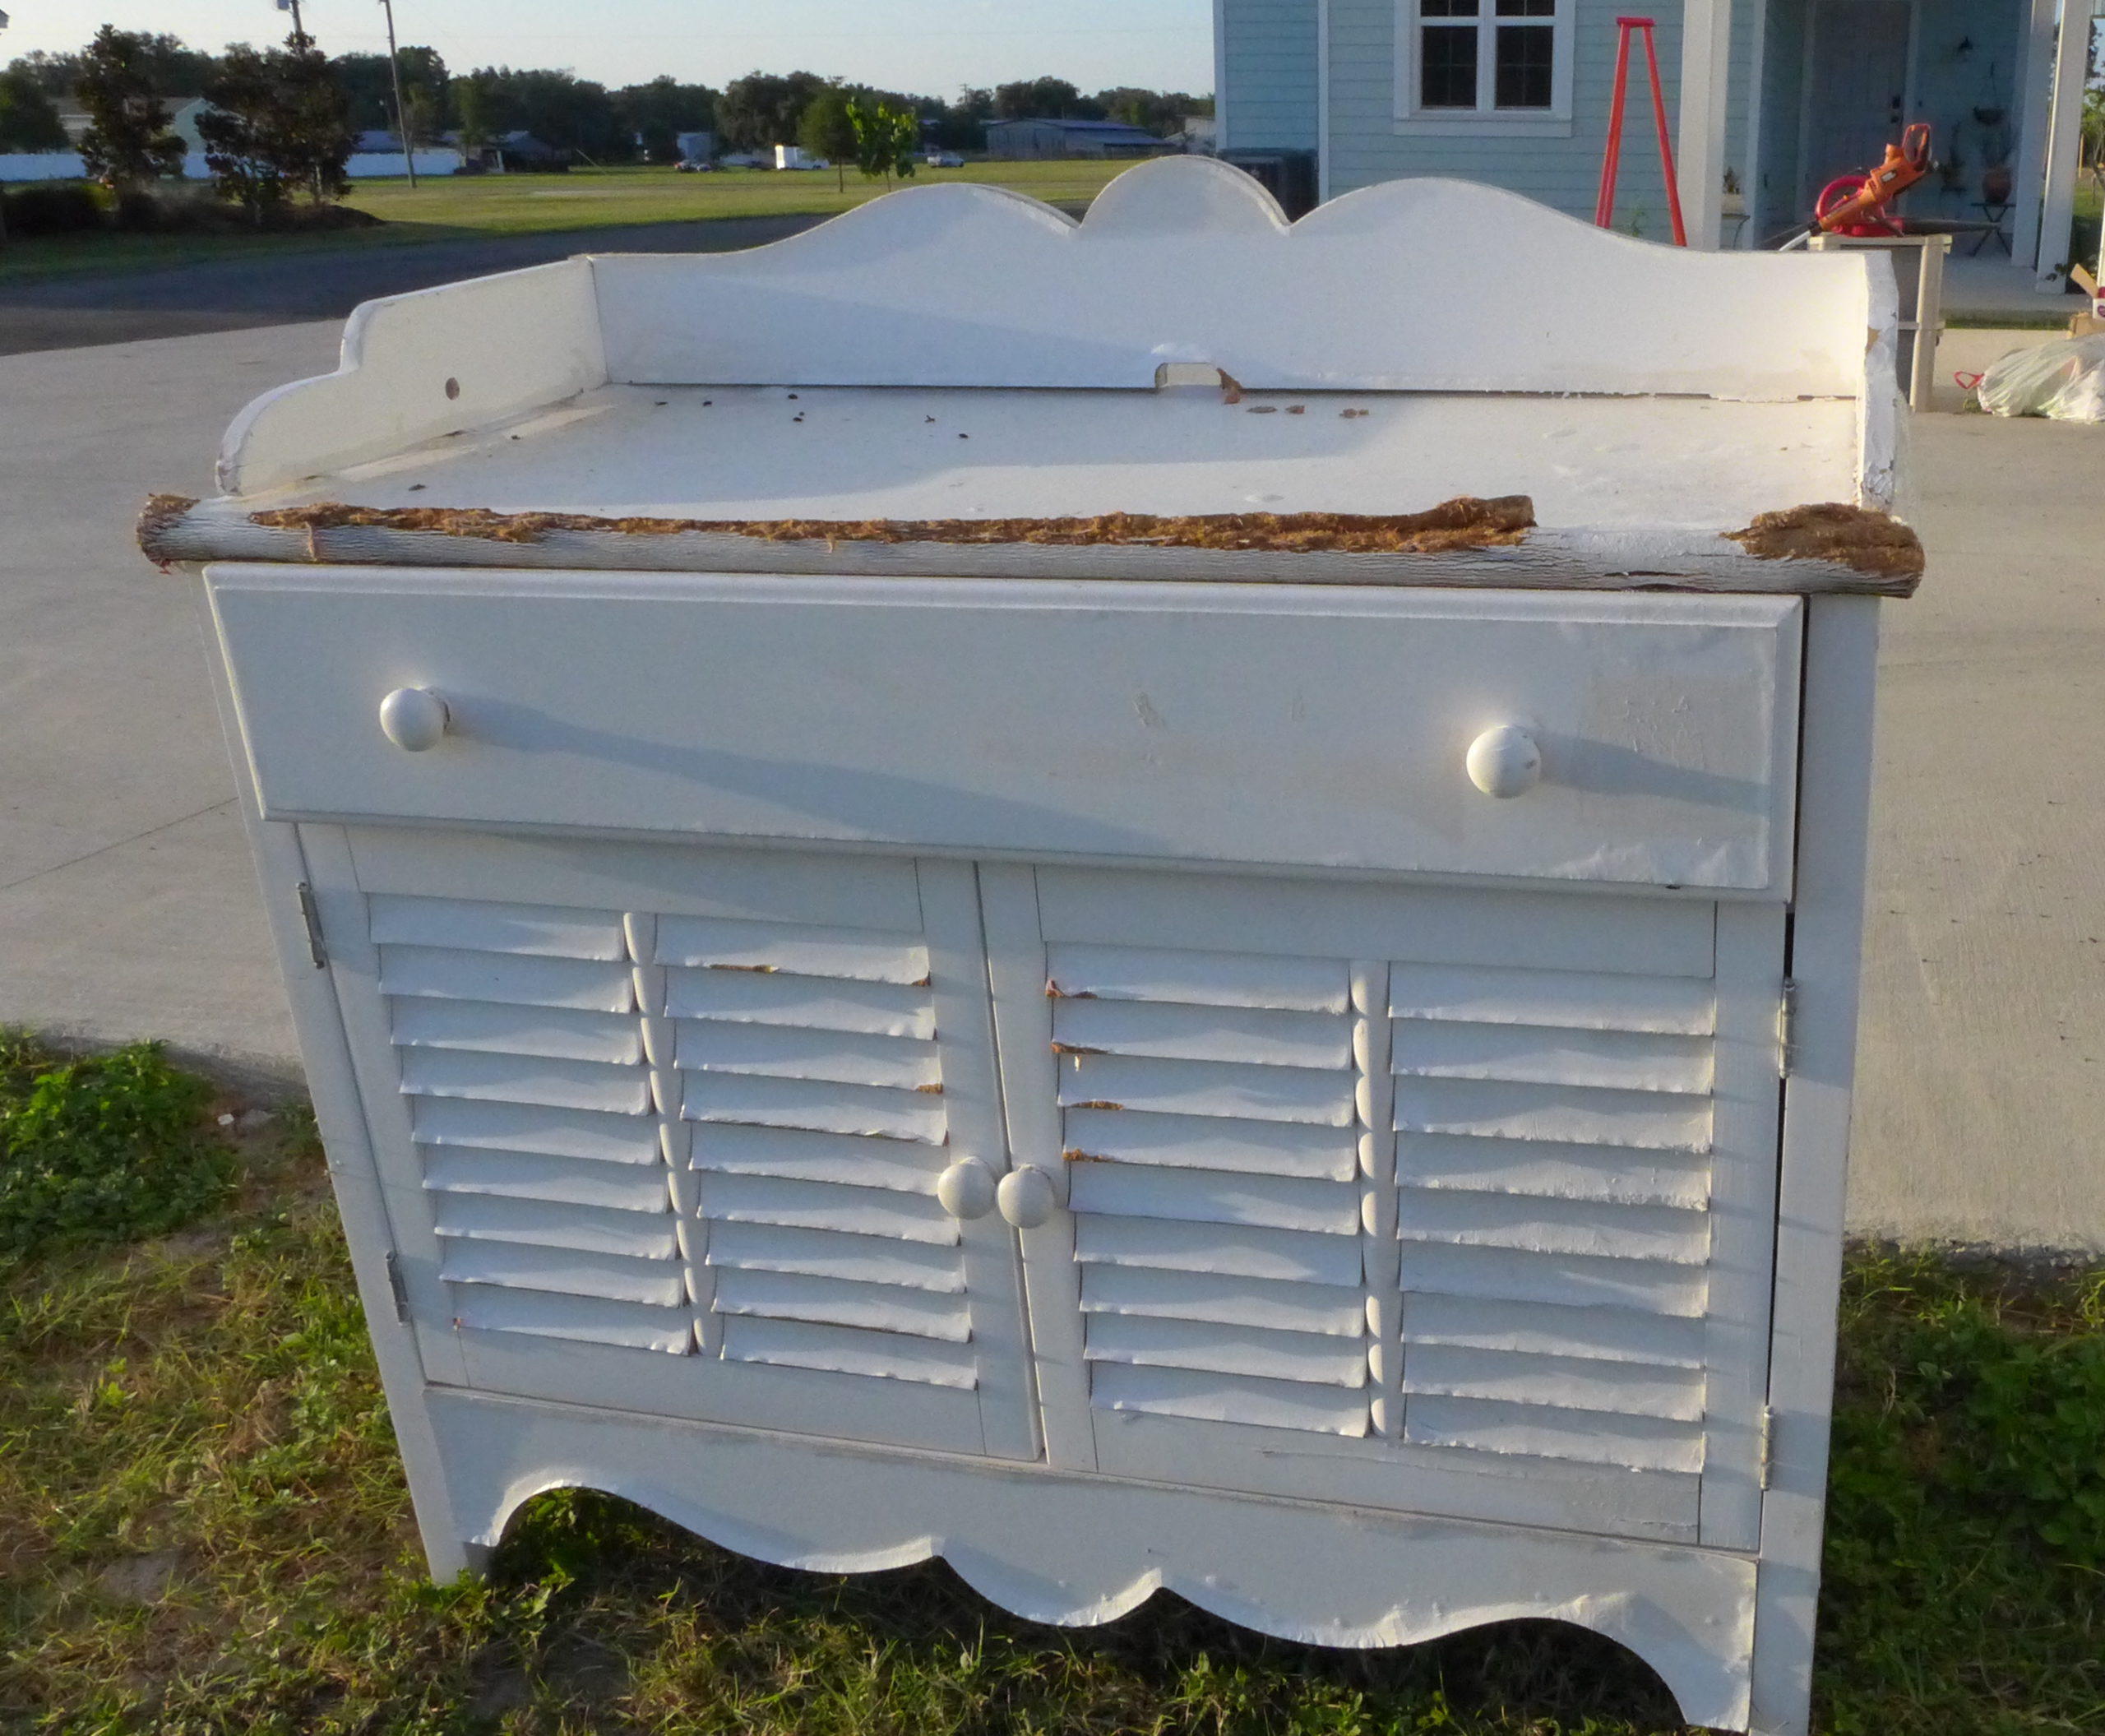
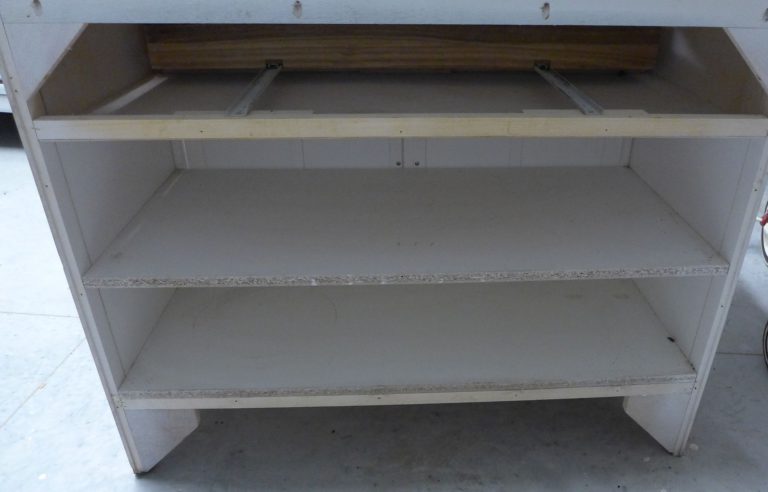
Hello my friends! This piece was a curbside pick up. I spotted it as I was driving down the road. I rushed home and asked my husband Ronny to go scoop it up, “before someone else got it.” When he got it home he could not believe I wanted to work on it. It was practically junk—water damage everywhere! It needed some serious TLC. Just take a look…
In this tutorial I will show you how I: •repaired water damaged and loose parts •created new doors •made a new top with boards from an old pallet •refinished the top with a beautiful stain, paint, and wax technique
Disclosure: Some of the links provided are affiliate links. By purchasing through these links it supports this blog and the work we do and there is no extra cost to you. If you would like to read our full disclosure, click HERE.
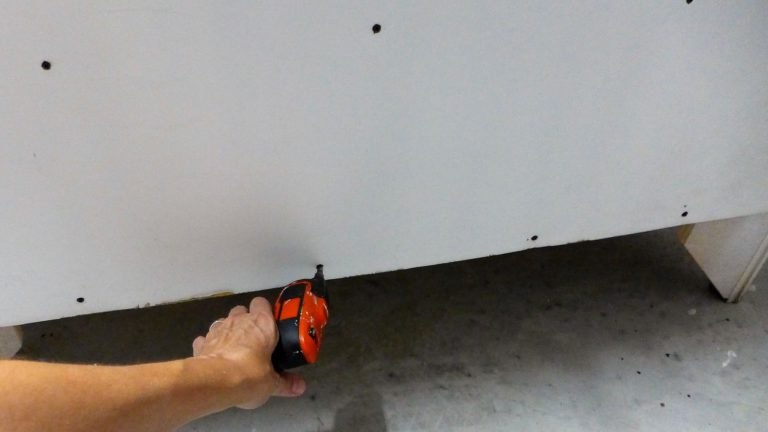
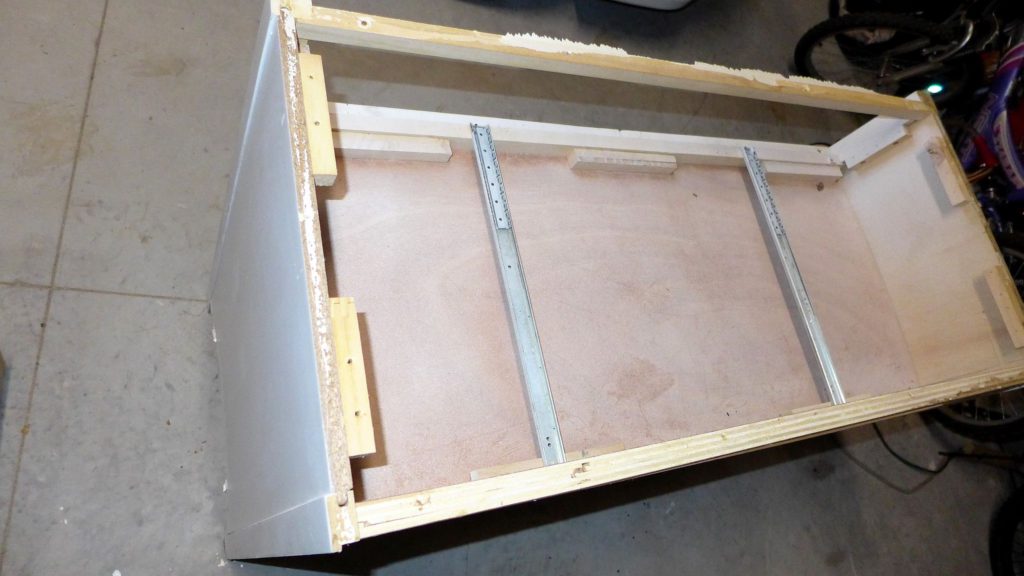
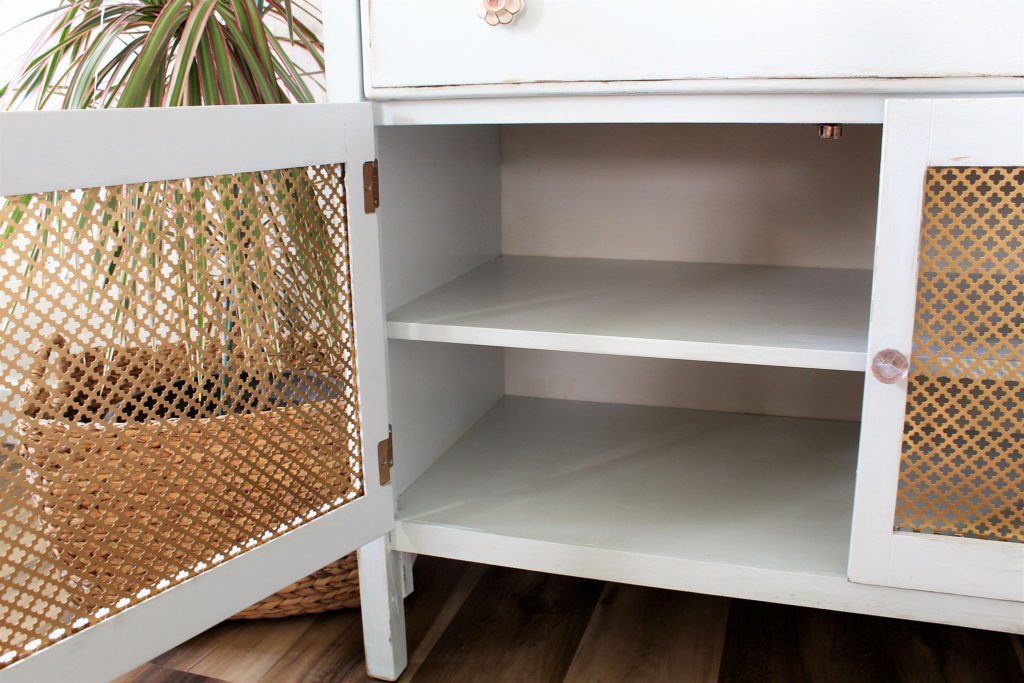
I began by removing parts that were unsalvageable. Here I am removing the plywood backboard that was in such a sad state. I left the back open for ease of painting before enclosing it with a new piece of thin, sanded plywood.
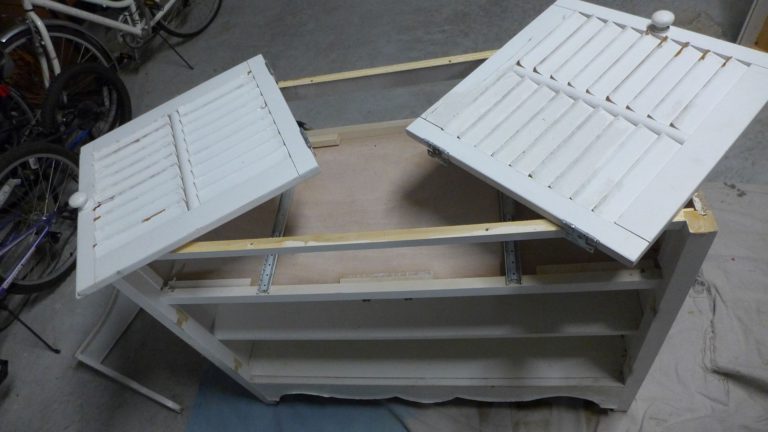
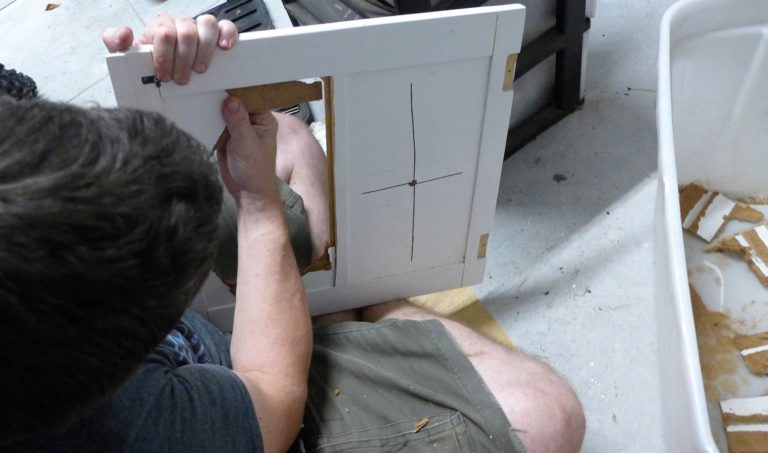
Next came the lovely doors. I really liked the existing look with the wooden panels, but again…water damage.
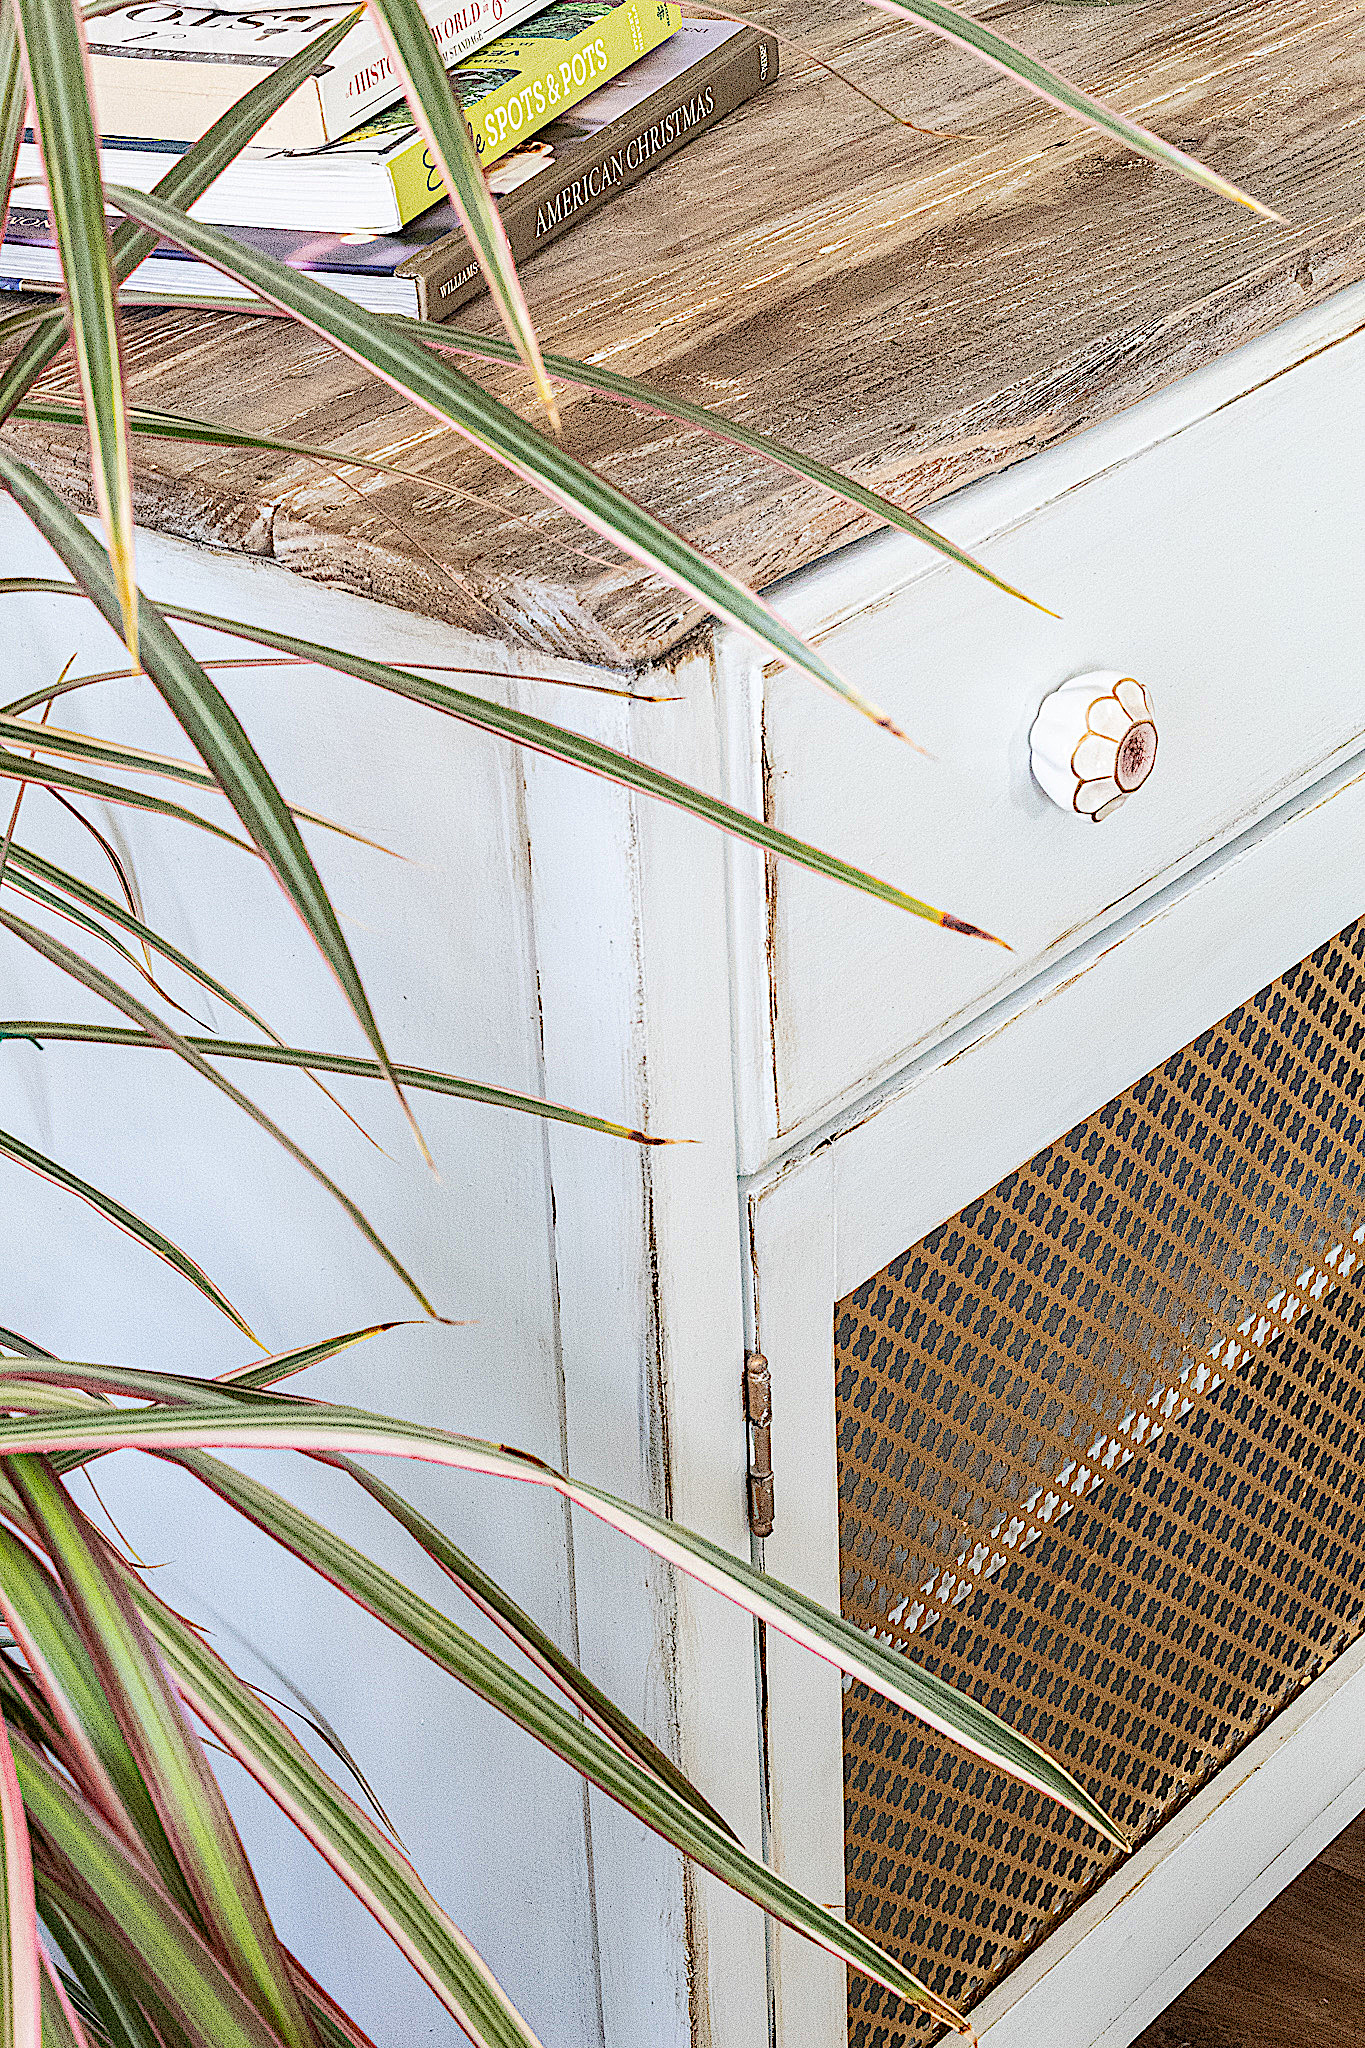
I had to enlist my husband Ronny for the next task. He applied a very sophisticated technique (brute force) for prying out each wood panel. He then cut to size and inserted Gold Metallic Aluminum sheets from Home Depot into each door. I unfortunately missed pictures of this process!
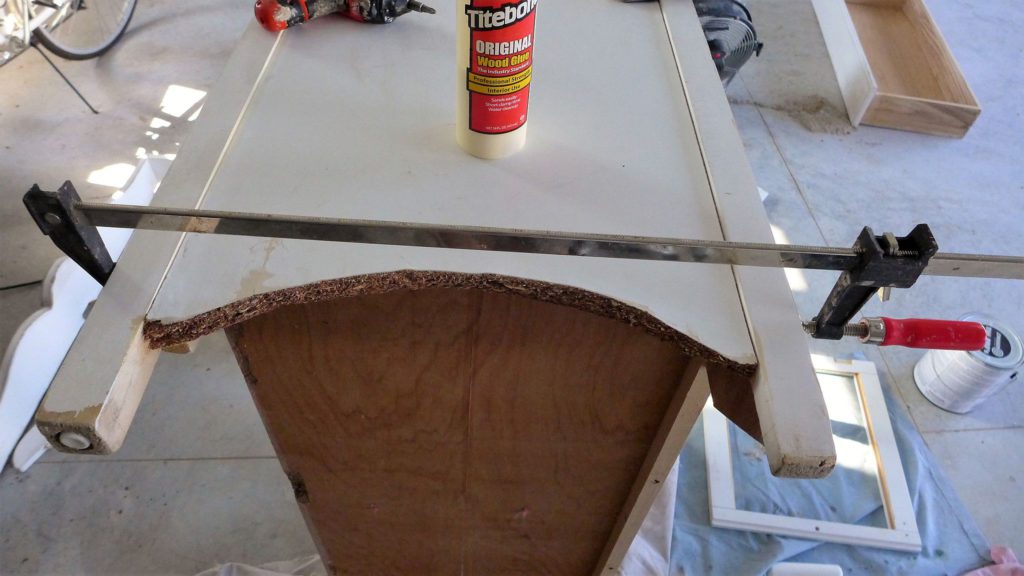
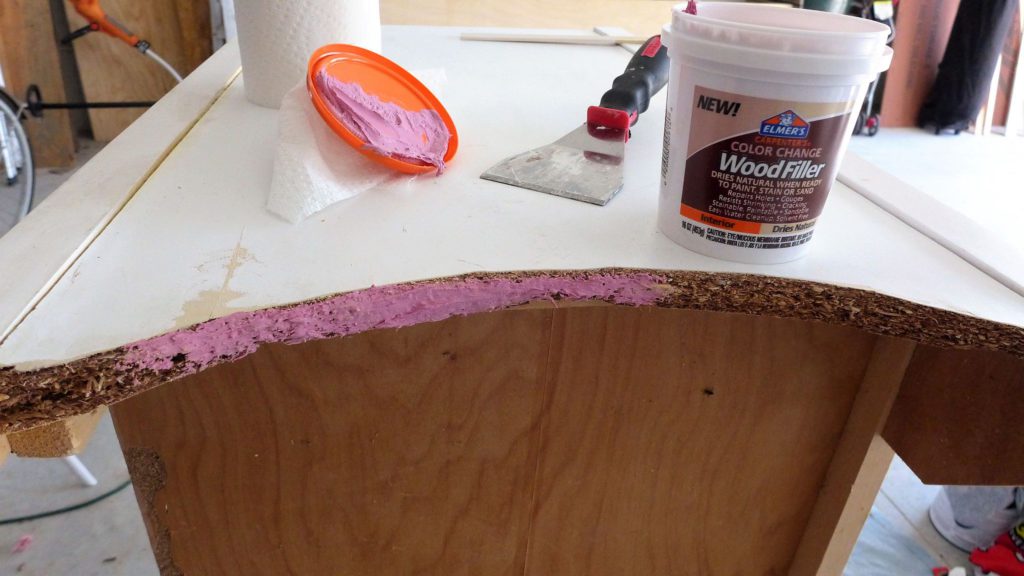
Step 2. Wood filler and wood glue to the rescue
I used wood glue to tighten up where the piece had loosened up. I’ve used Titebond for many projects and it is awesome. You have to give it time to properly dry but it is unbelievably strong. When working with furniture, this product will do the job.
I typically clamp when I glue. Years ago I got this set of 24″ clampsand it’s been one of my best purchases. Their lengthy span have been very useful for working with furniture.
For the water damaged parts I applied a generous amount of wood filler using a combination of a spatula and my finger to get into all the crevices.
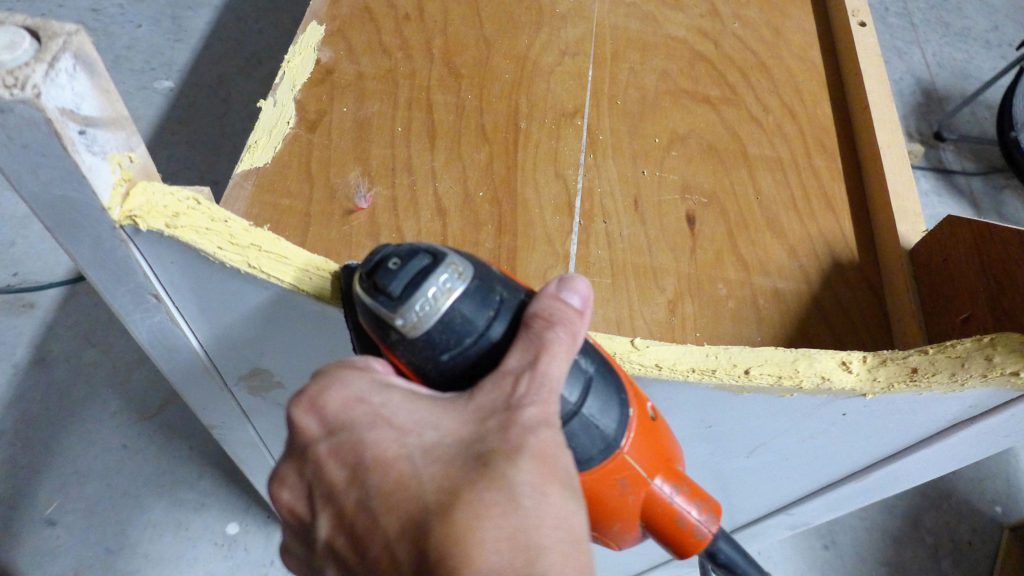
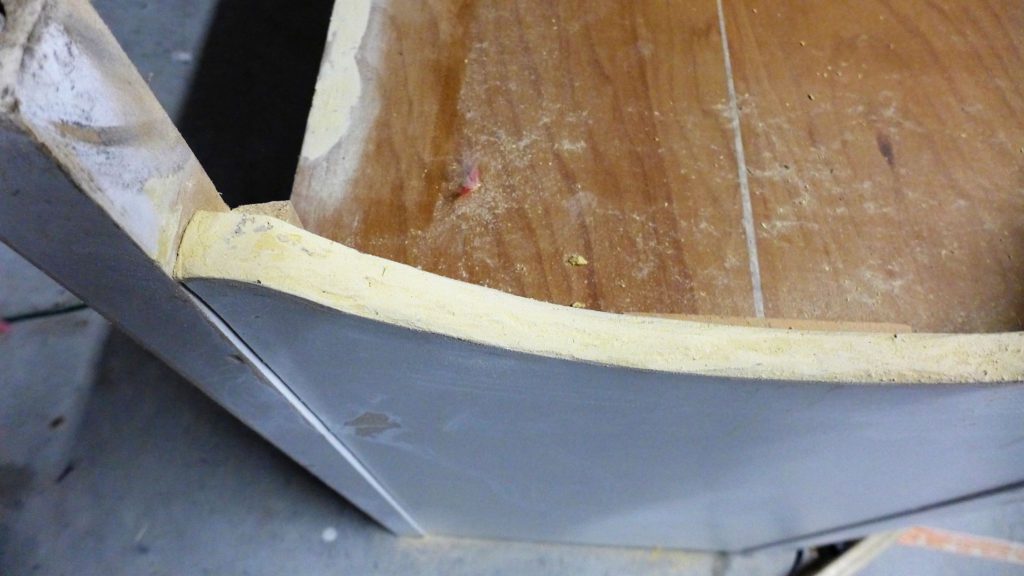
Once dried, I sanded all the wood filled parts with my orbital sander.
I was really impressed with the finish after the wood filler was sanded down. Once painted you would never be able to know there had been water damage.
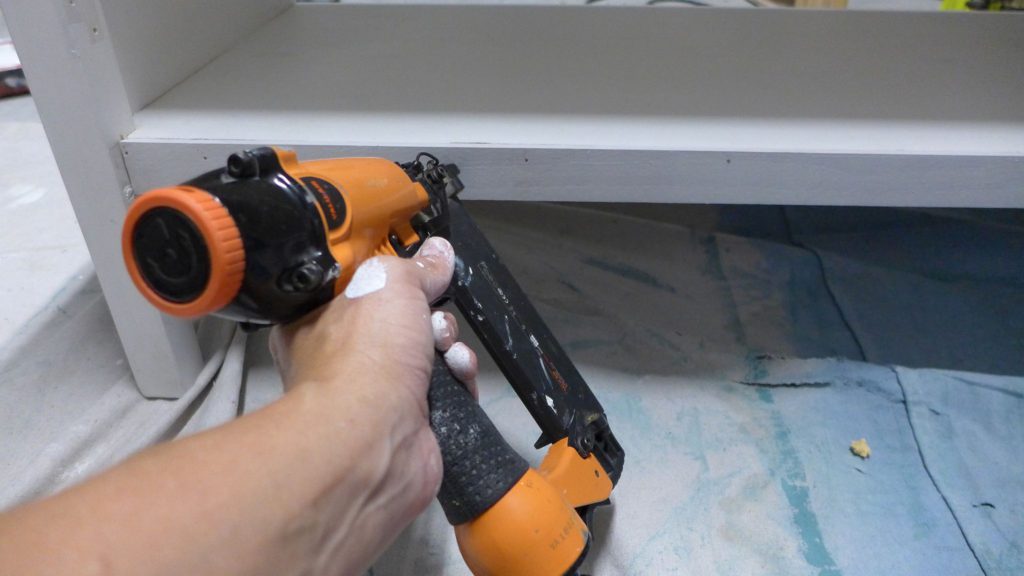
Step 3. Trim and paint
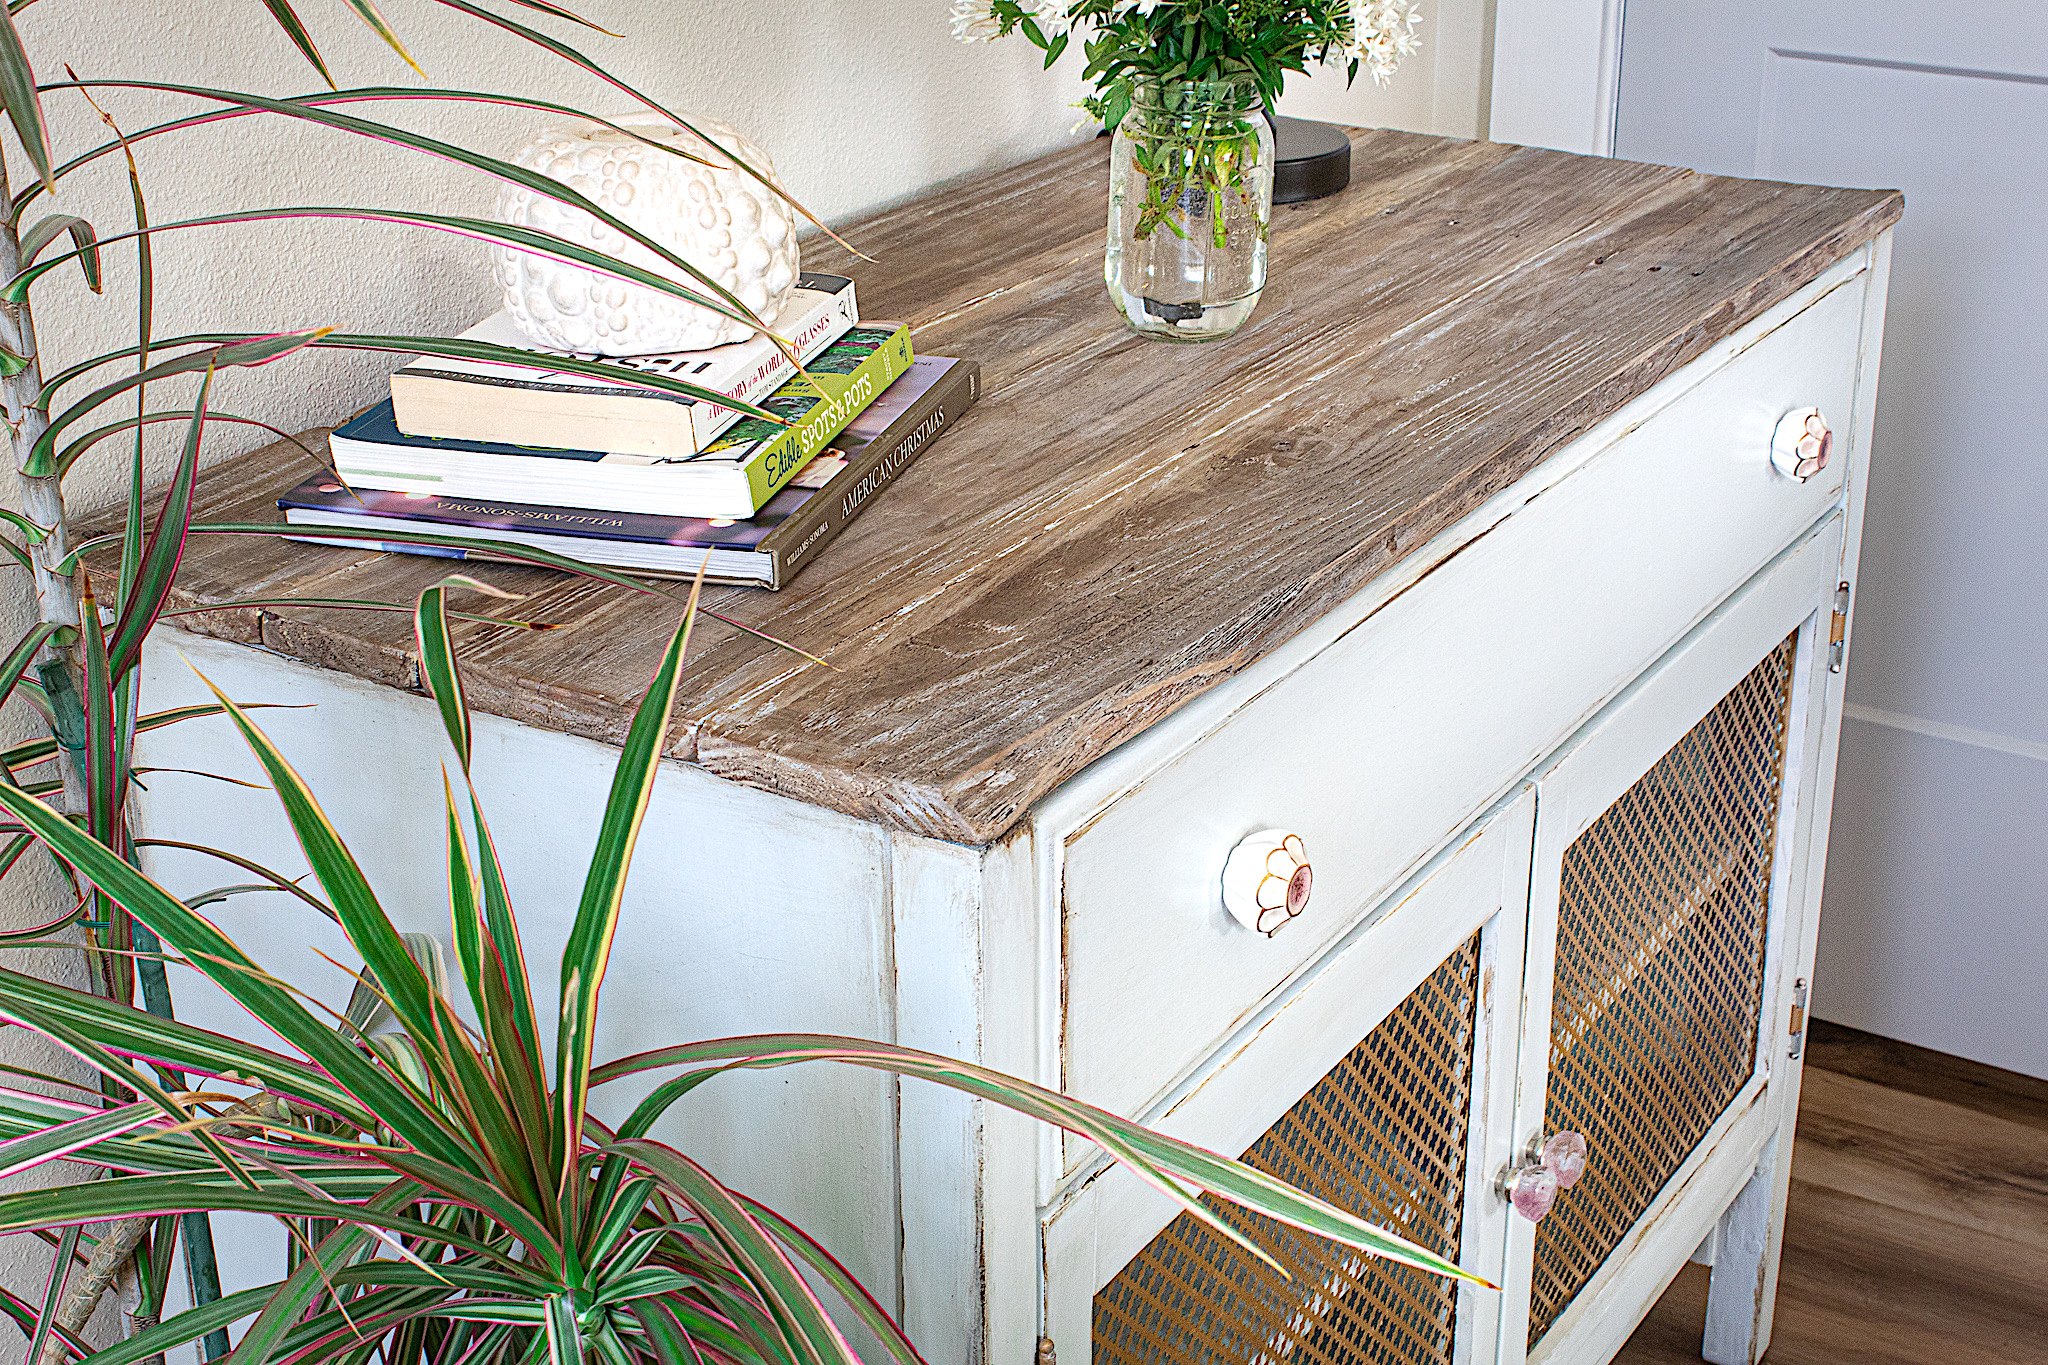
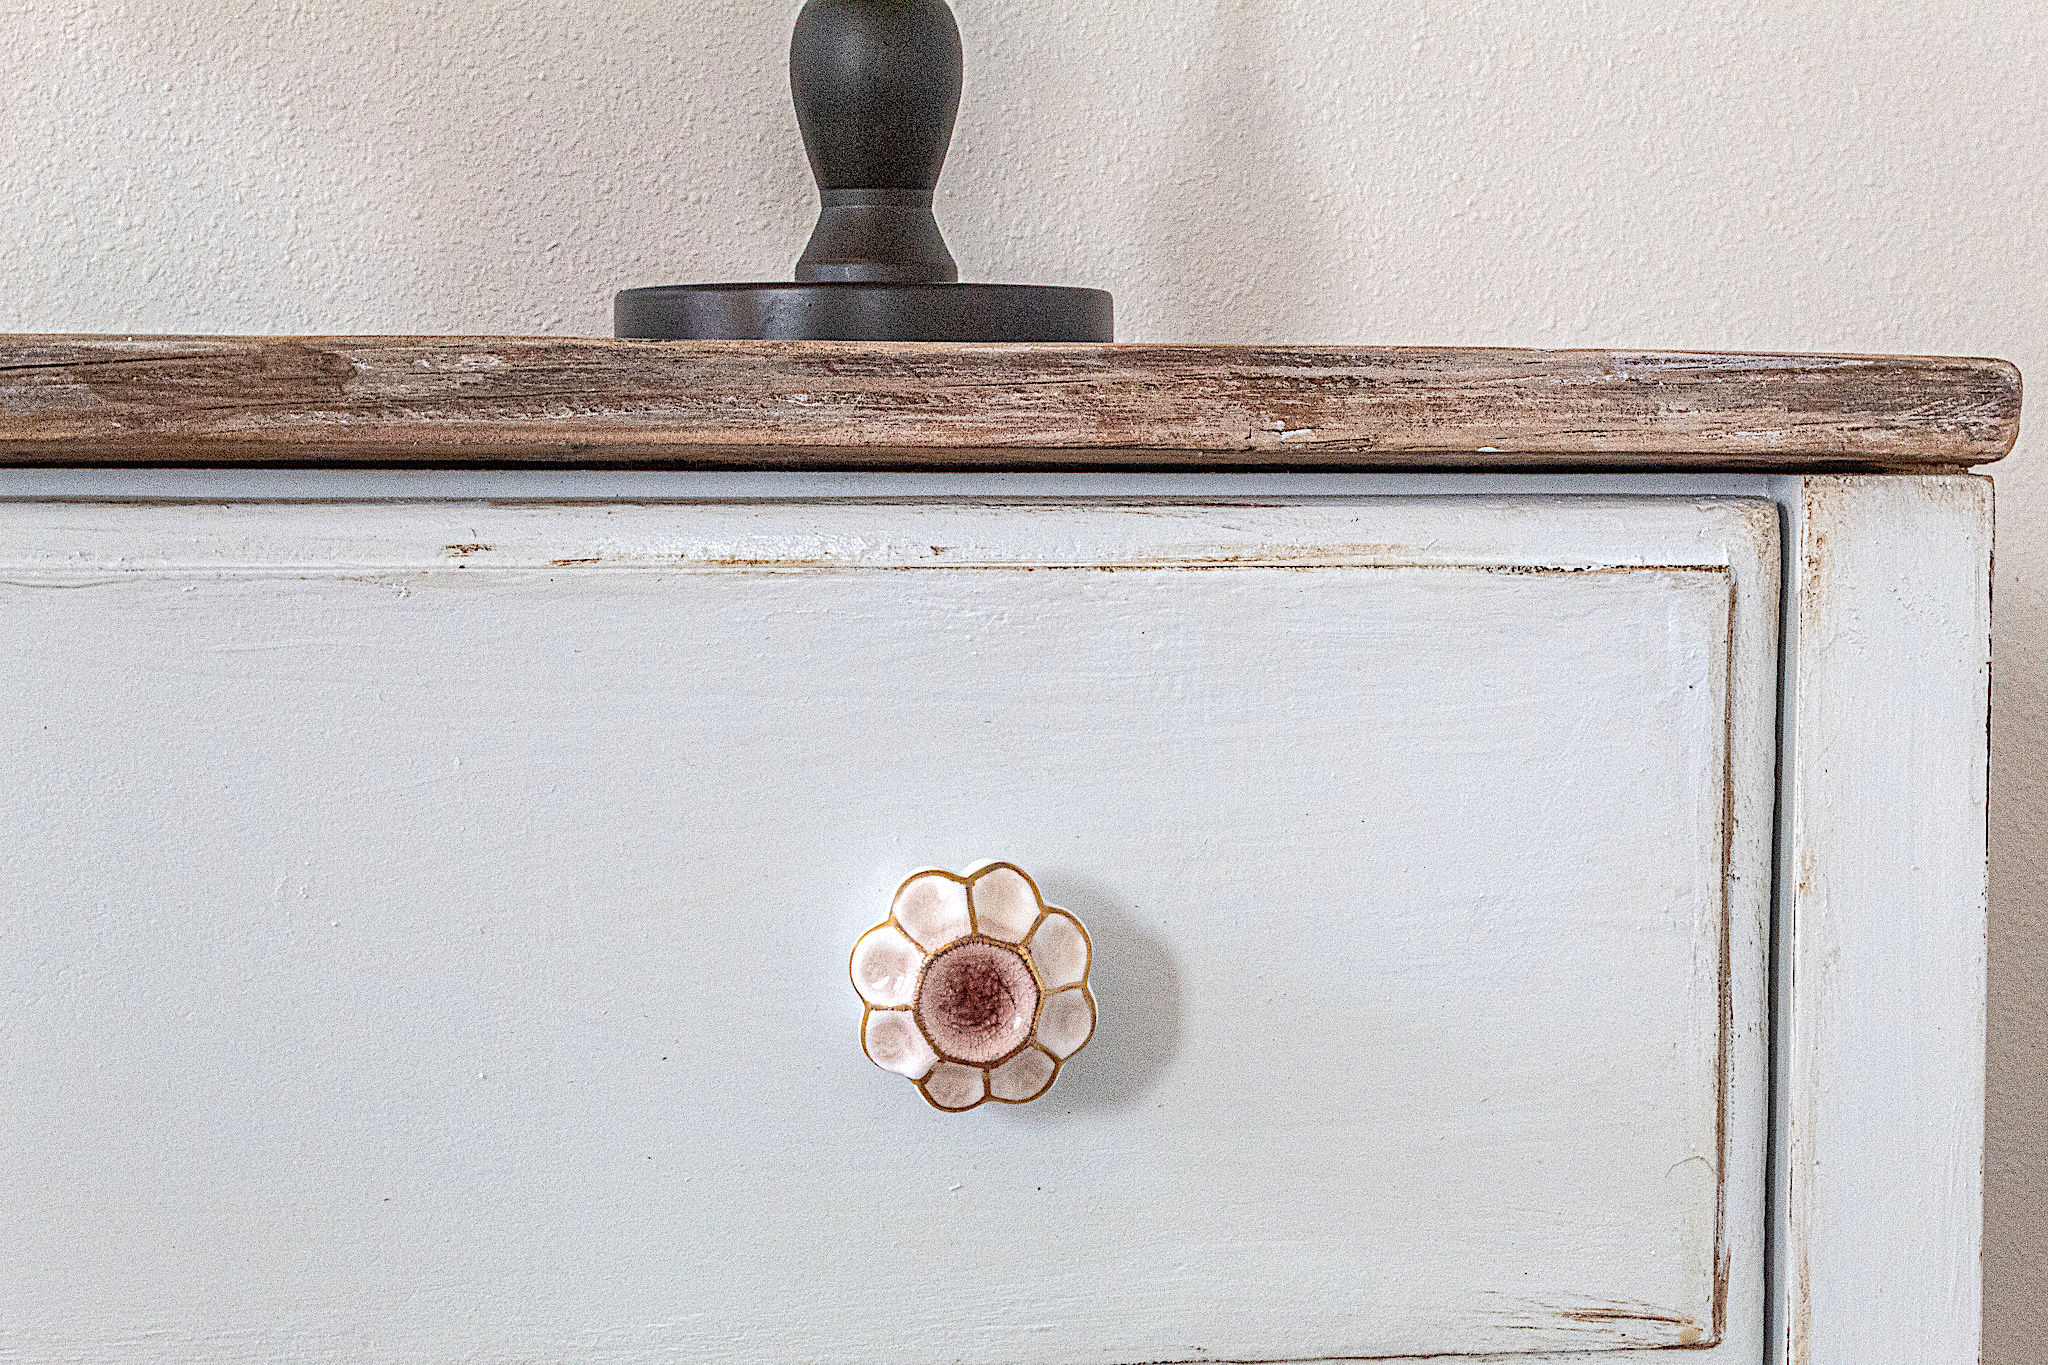
I added some scrap trim we had to the front parts of the shelves and painted the entire piece in Glidden’s Moonlight Rendezvous. I sealed the paint with my favorite finishing wax, Soft Southern Strokes Eco-Friendly Beeswax.
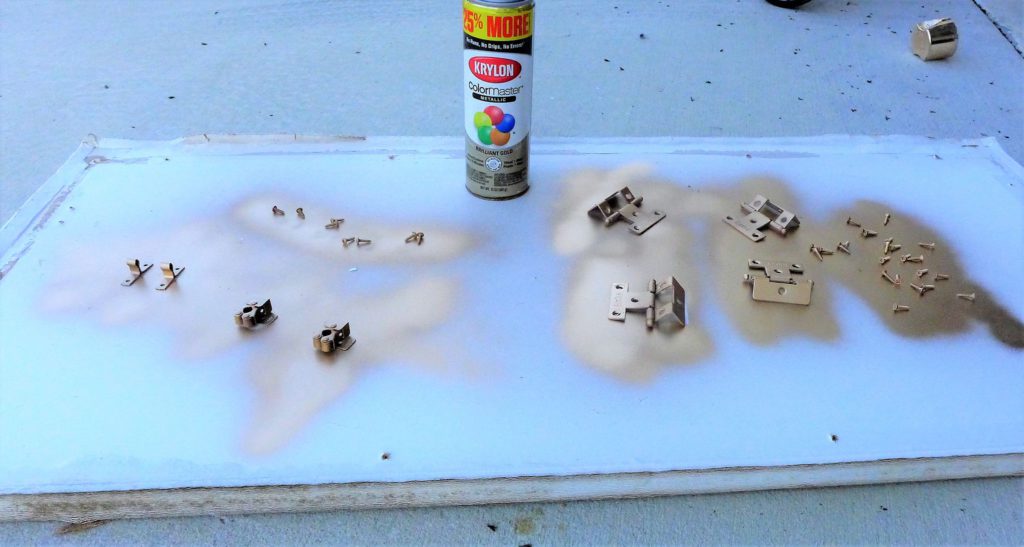
The hinges needed some freshening up so I spray painted them in Krylon’s Brilliant Gold. I’m not sure this color is still on the market.
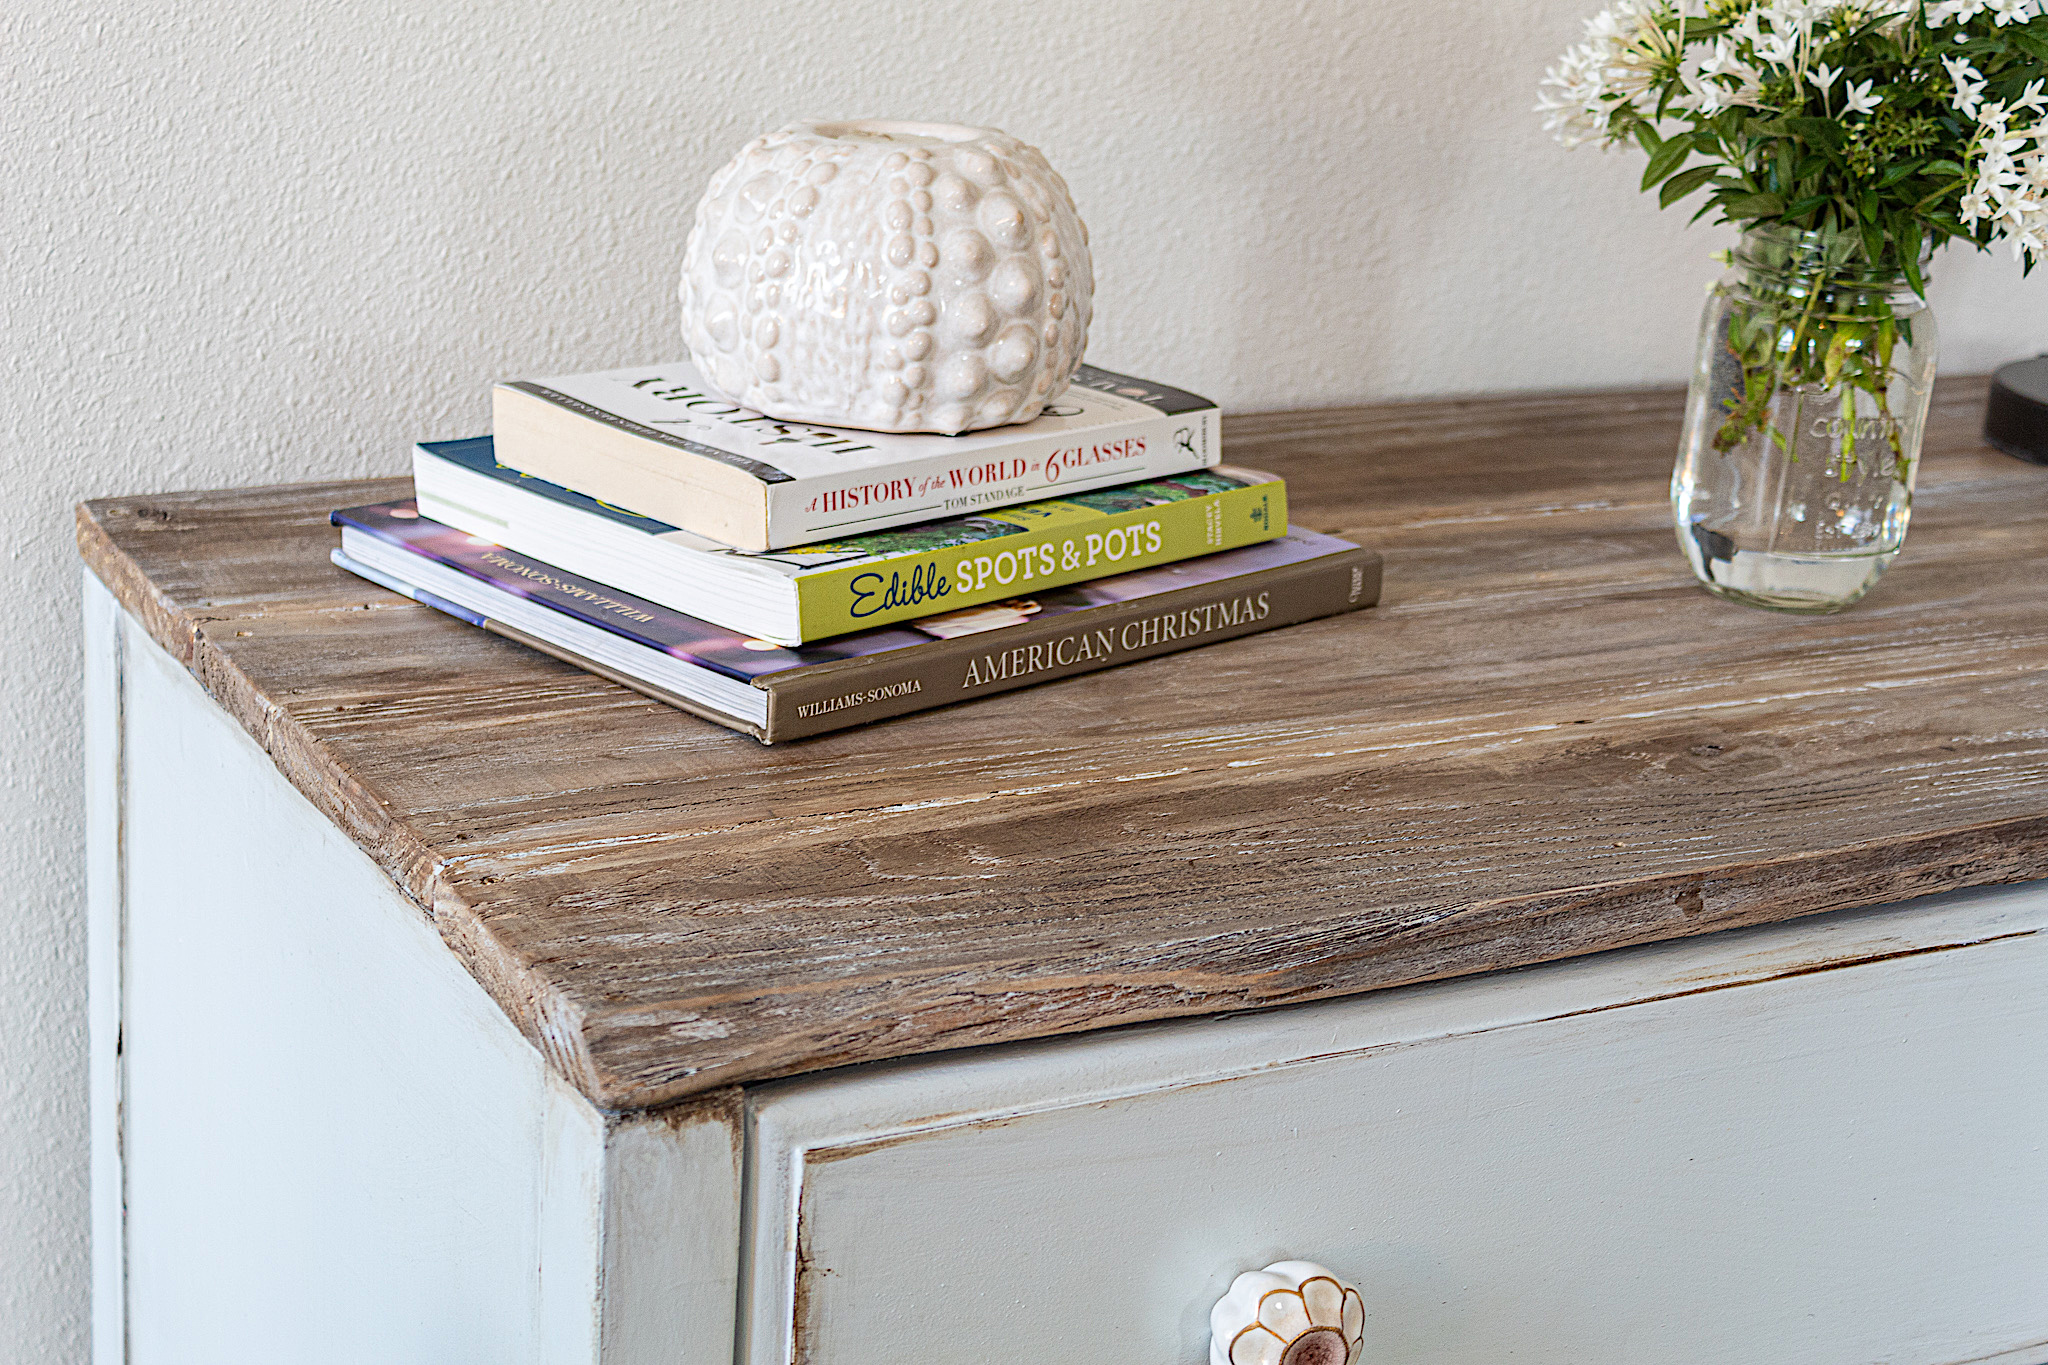
Step 4. Creating a new top
The top of this piece was not salvageable. It was severely water damaged so we removed it. I thought about what we could use to create a new top. I wanted something with character. We had a pallet board that had been left outside for some time. The wood was nicely weathered.
Ronny removed the pieces from the pallet board. Btw, it takes some muscle and patience to do this. You have to pry off many tough nails.
Once I had a few pieces to work with, I used my table saw to cut each board to the size of the table top leaving about a 1/4″ overhang on each side.
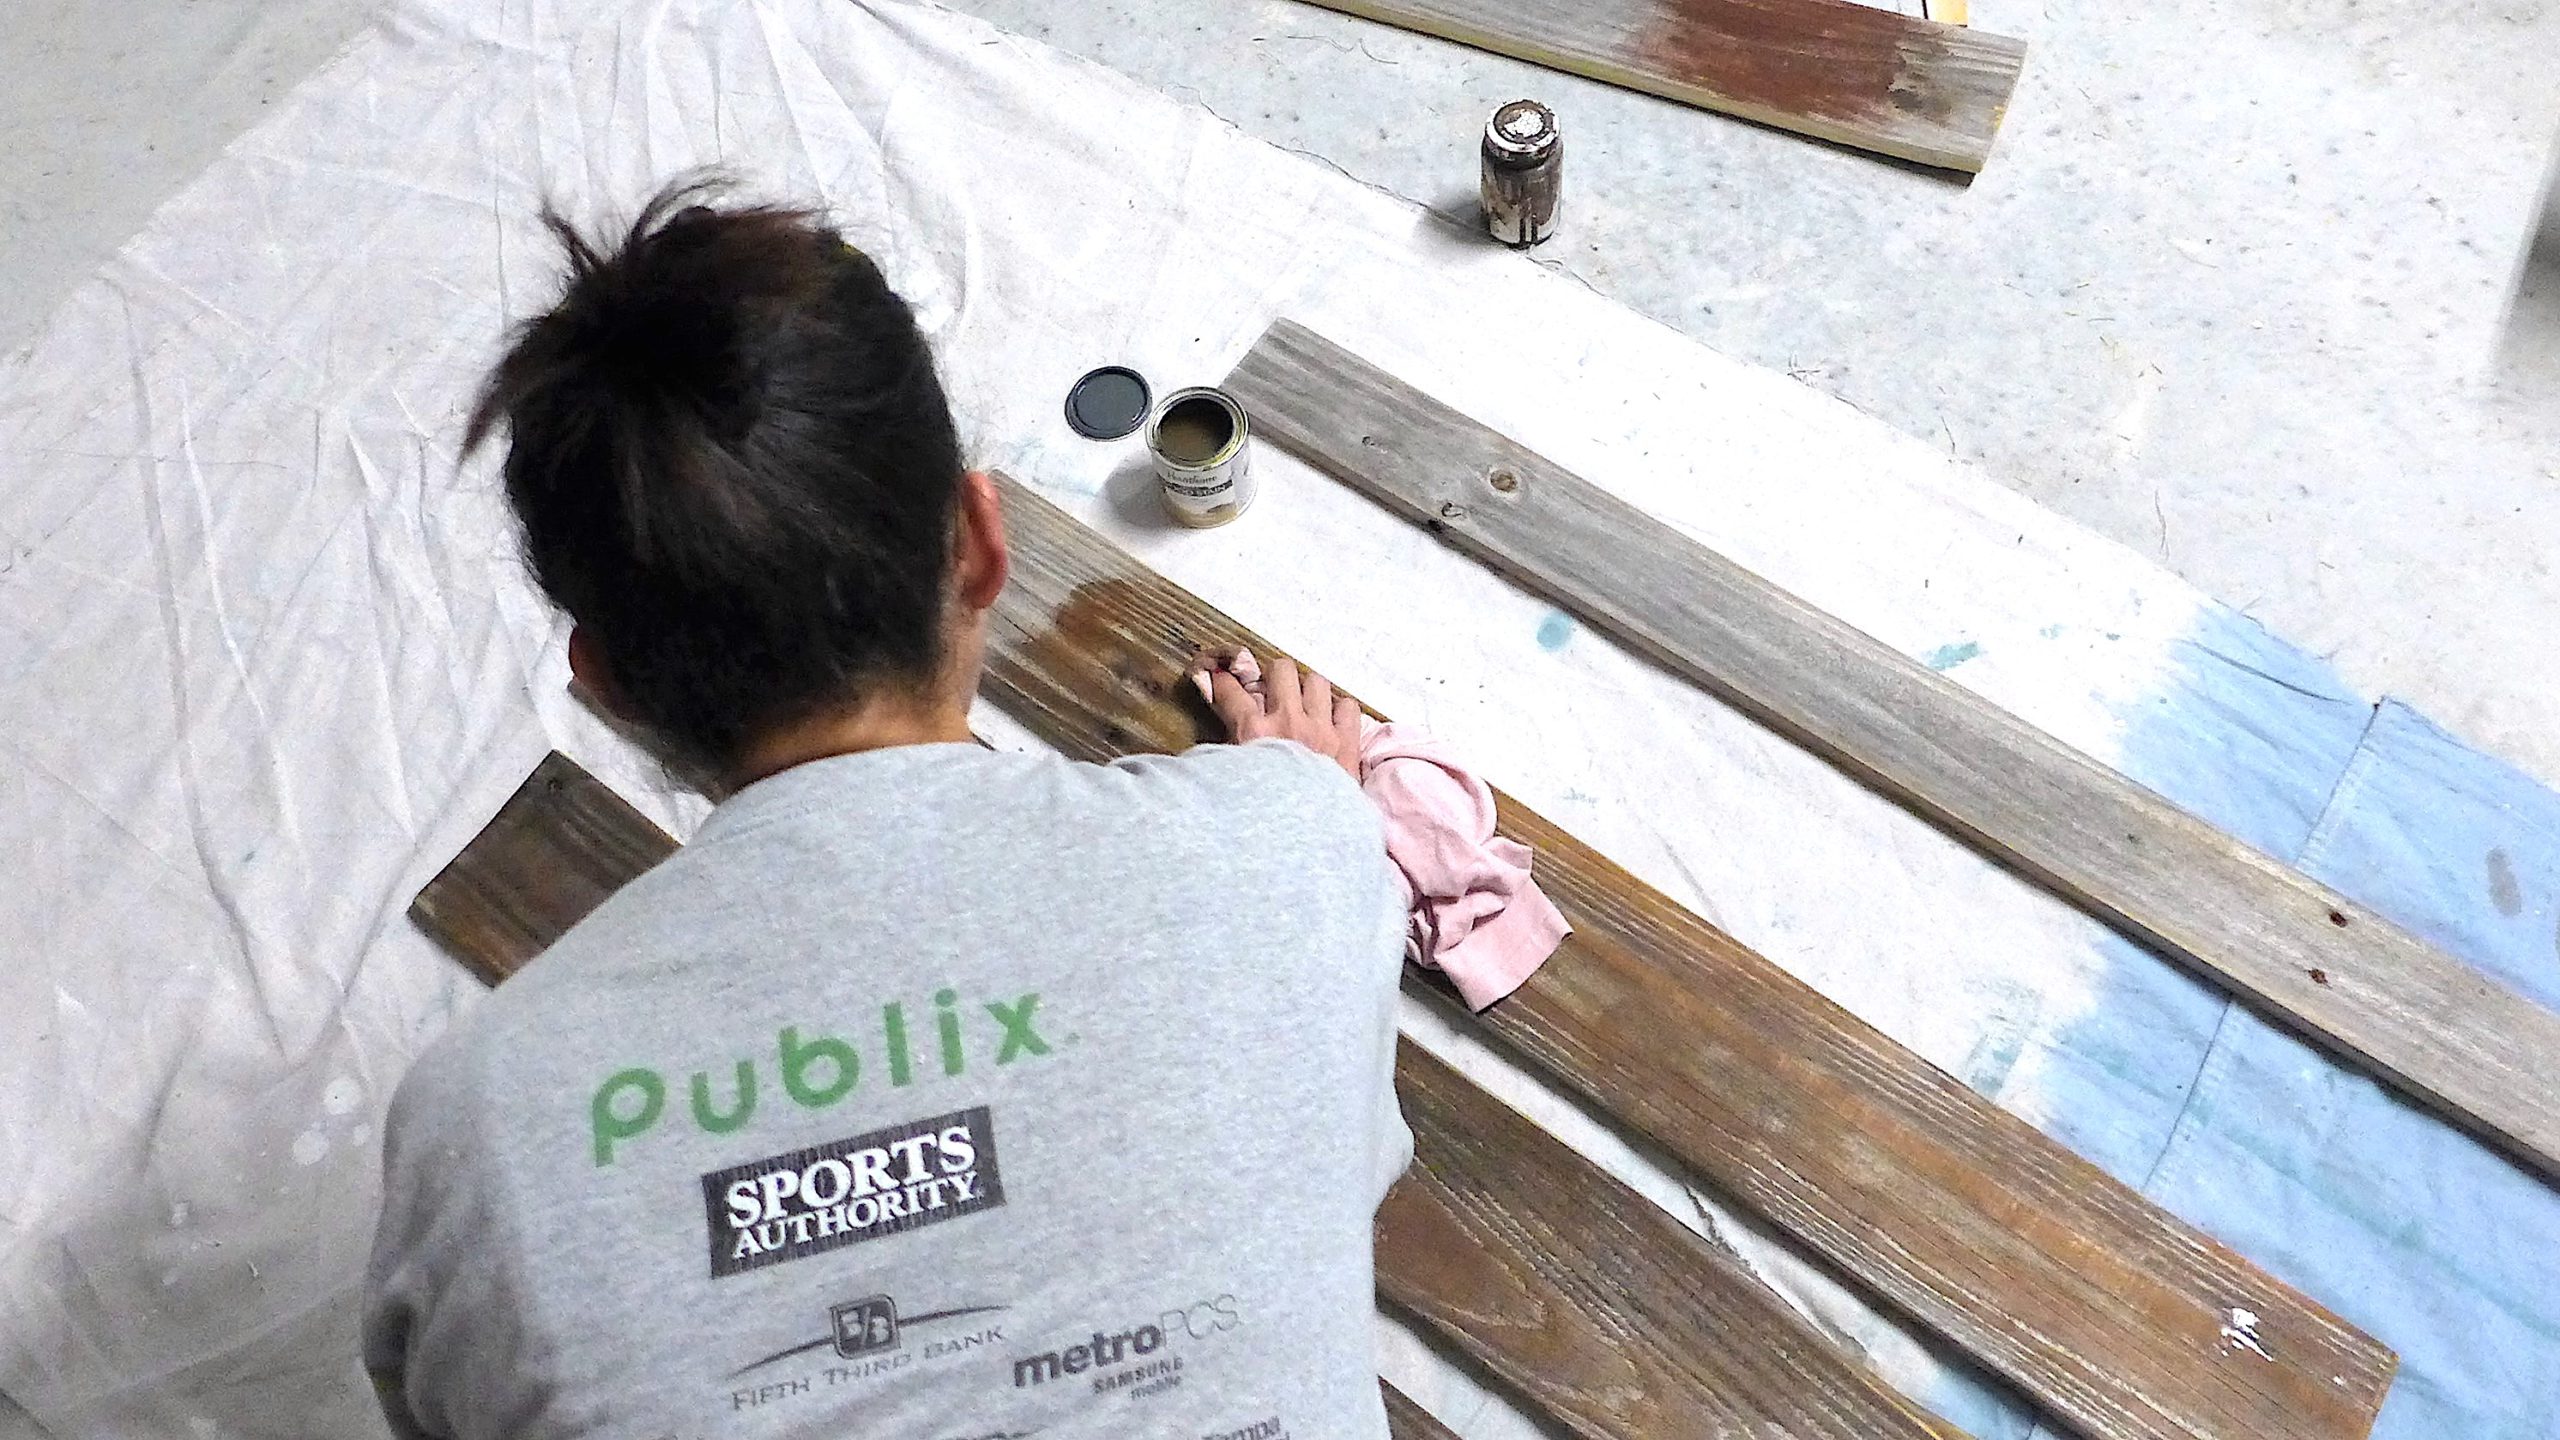
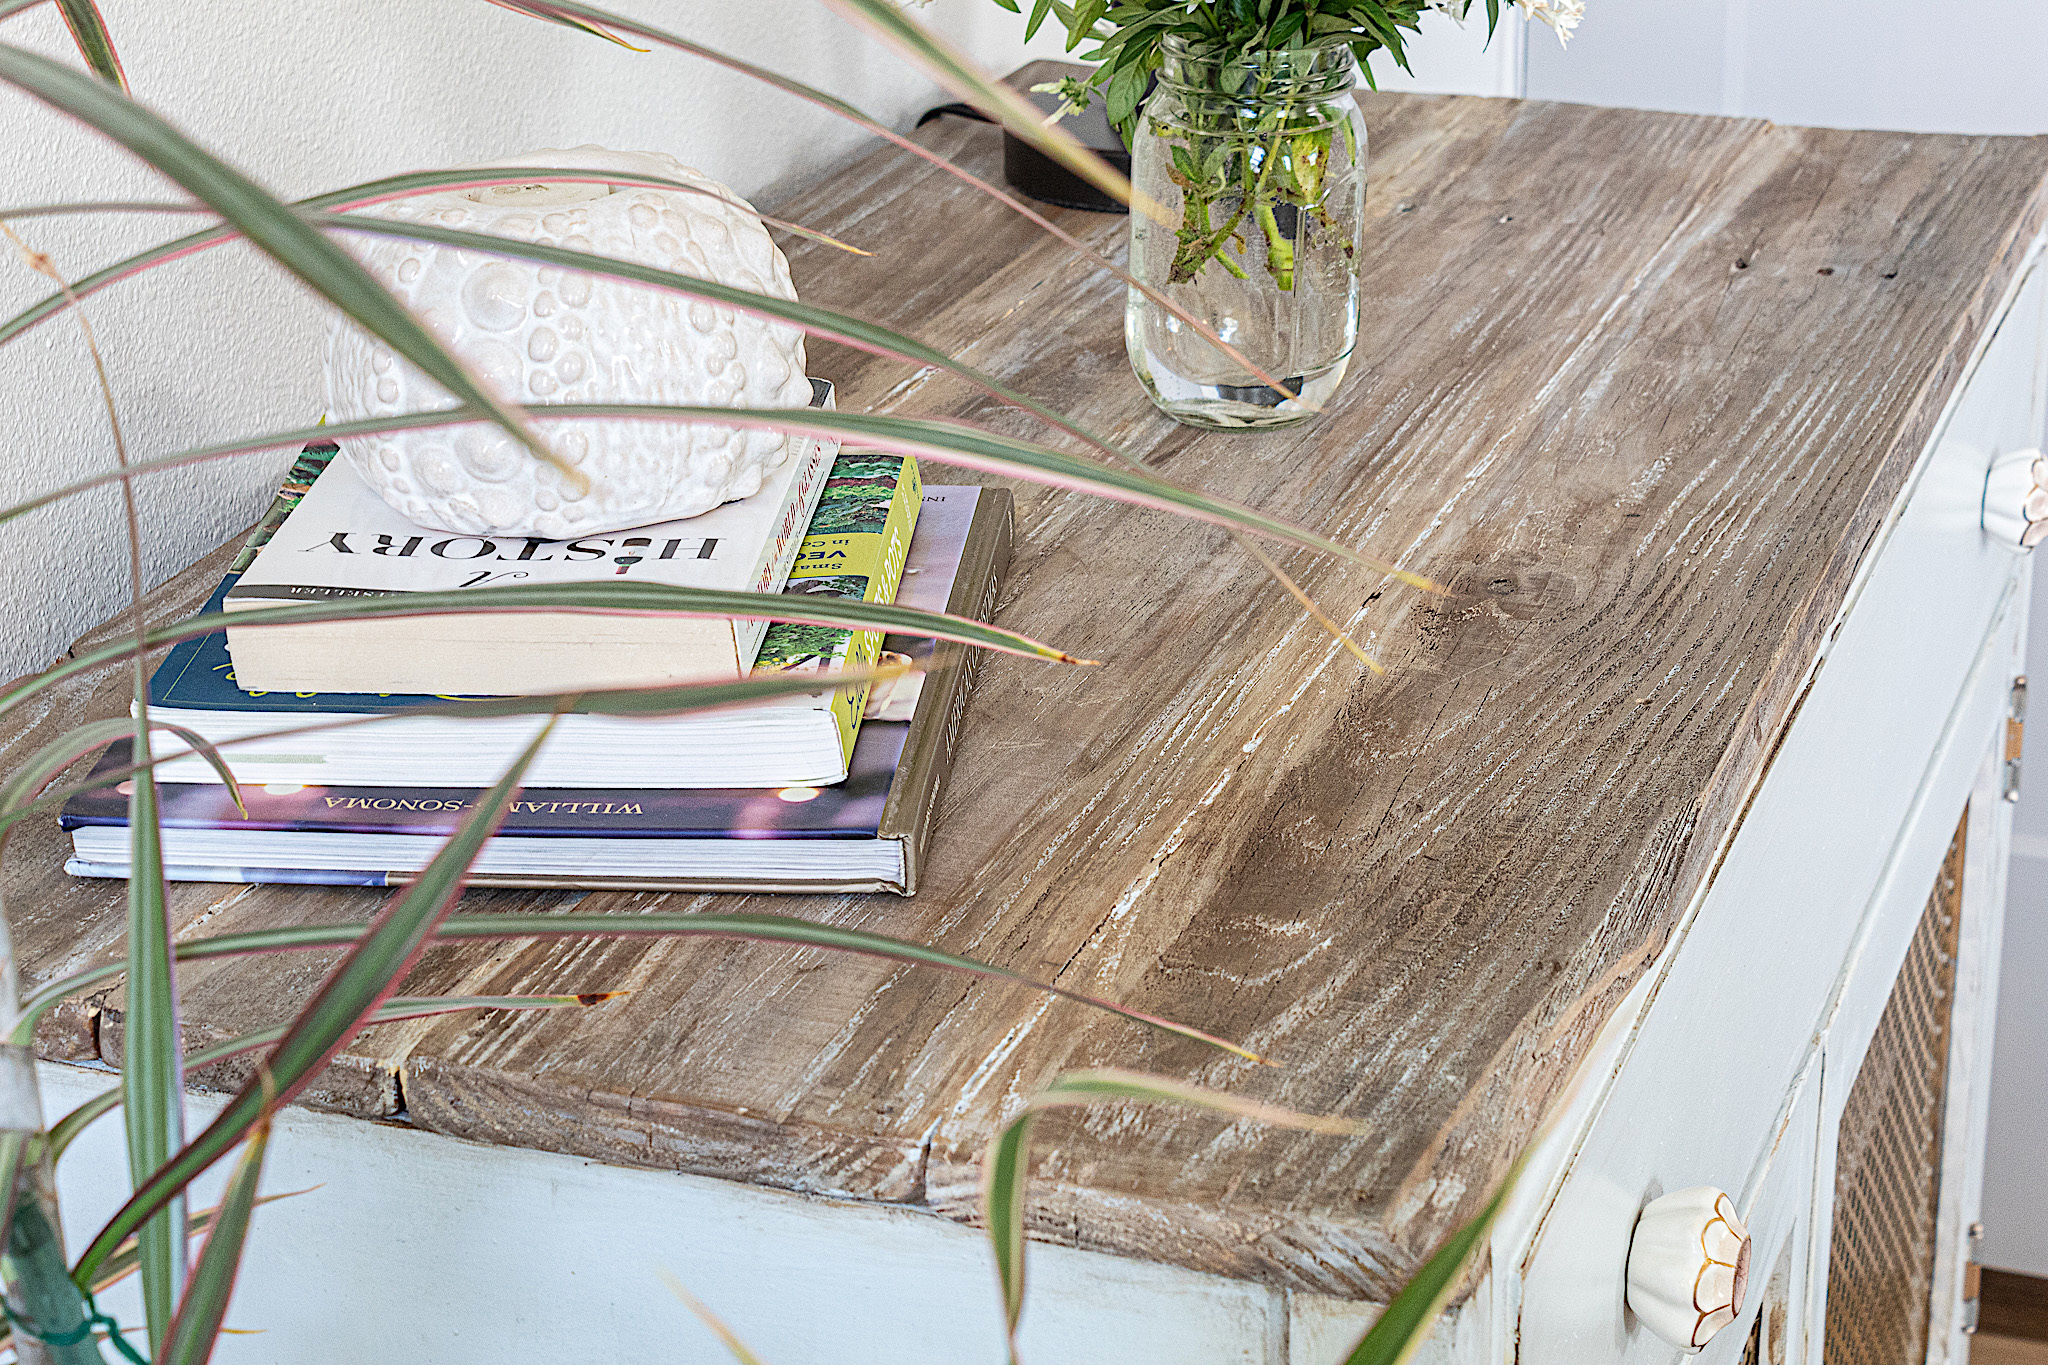
Then I sanded them and stained them in Varathane’s Natural Stain from Home Depot. I even sanded the ends for a nice beveled look. I picked a natural stain since I did not want to alter the beautiful weathered color of the wood. However, you do need a stain for the technique I use to refinish the boards.
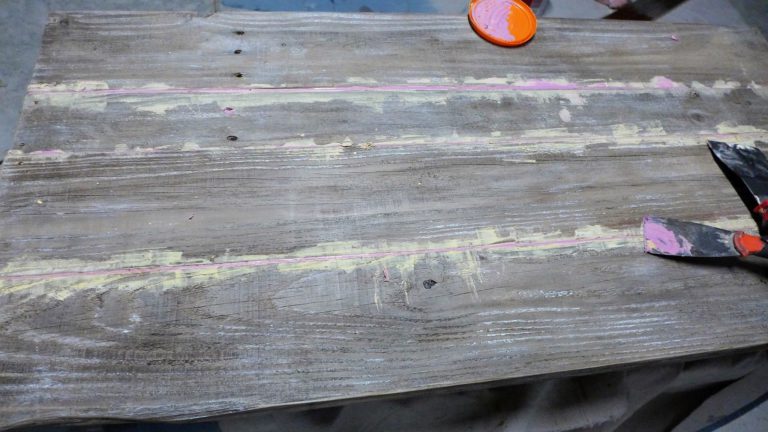
This is a technique I use frequently on raw wood because the results are so amazing.
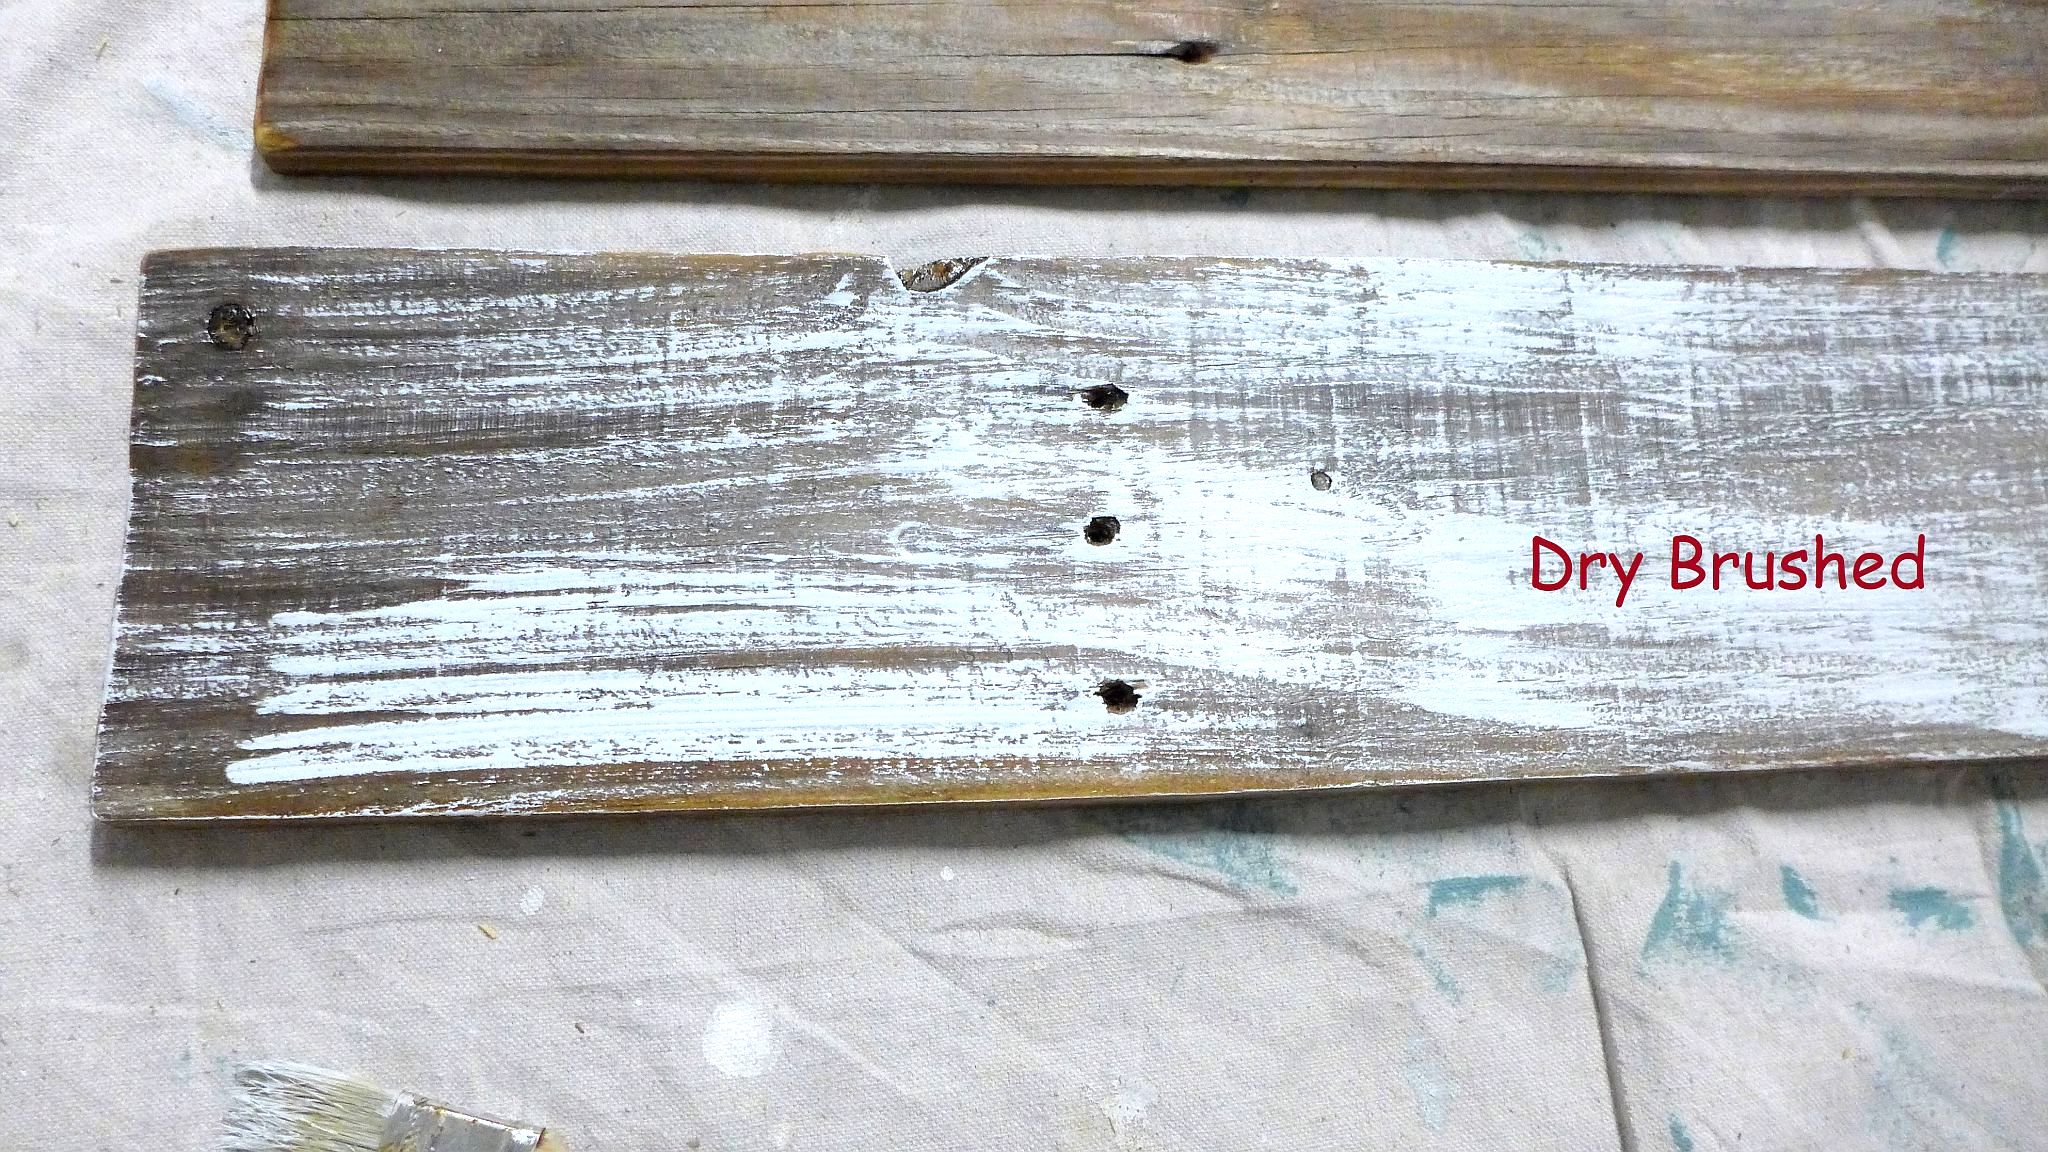
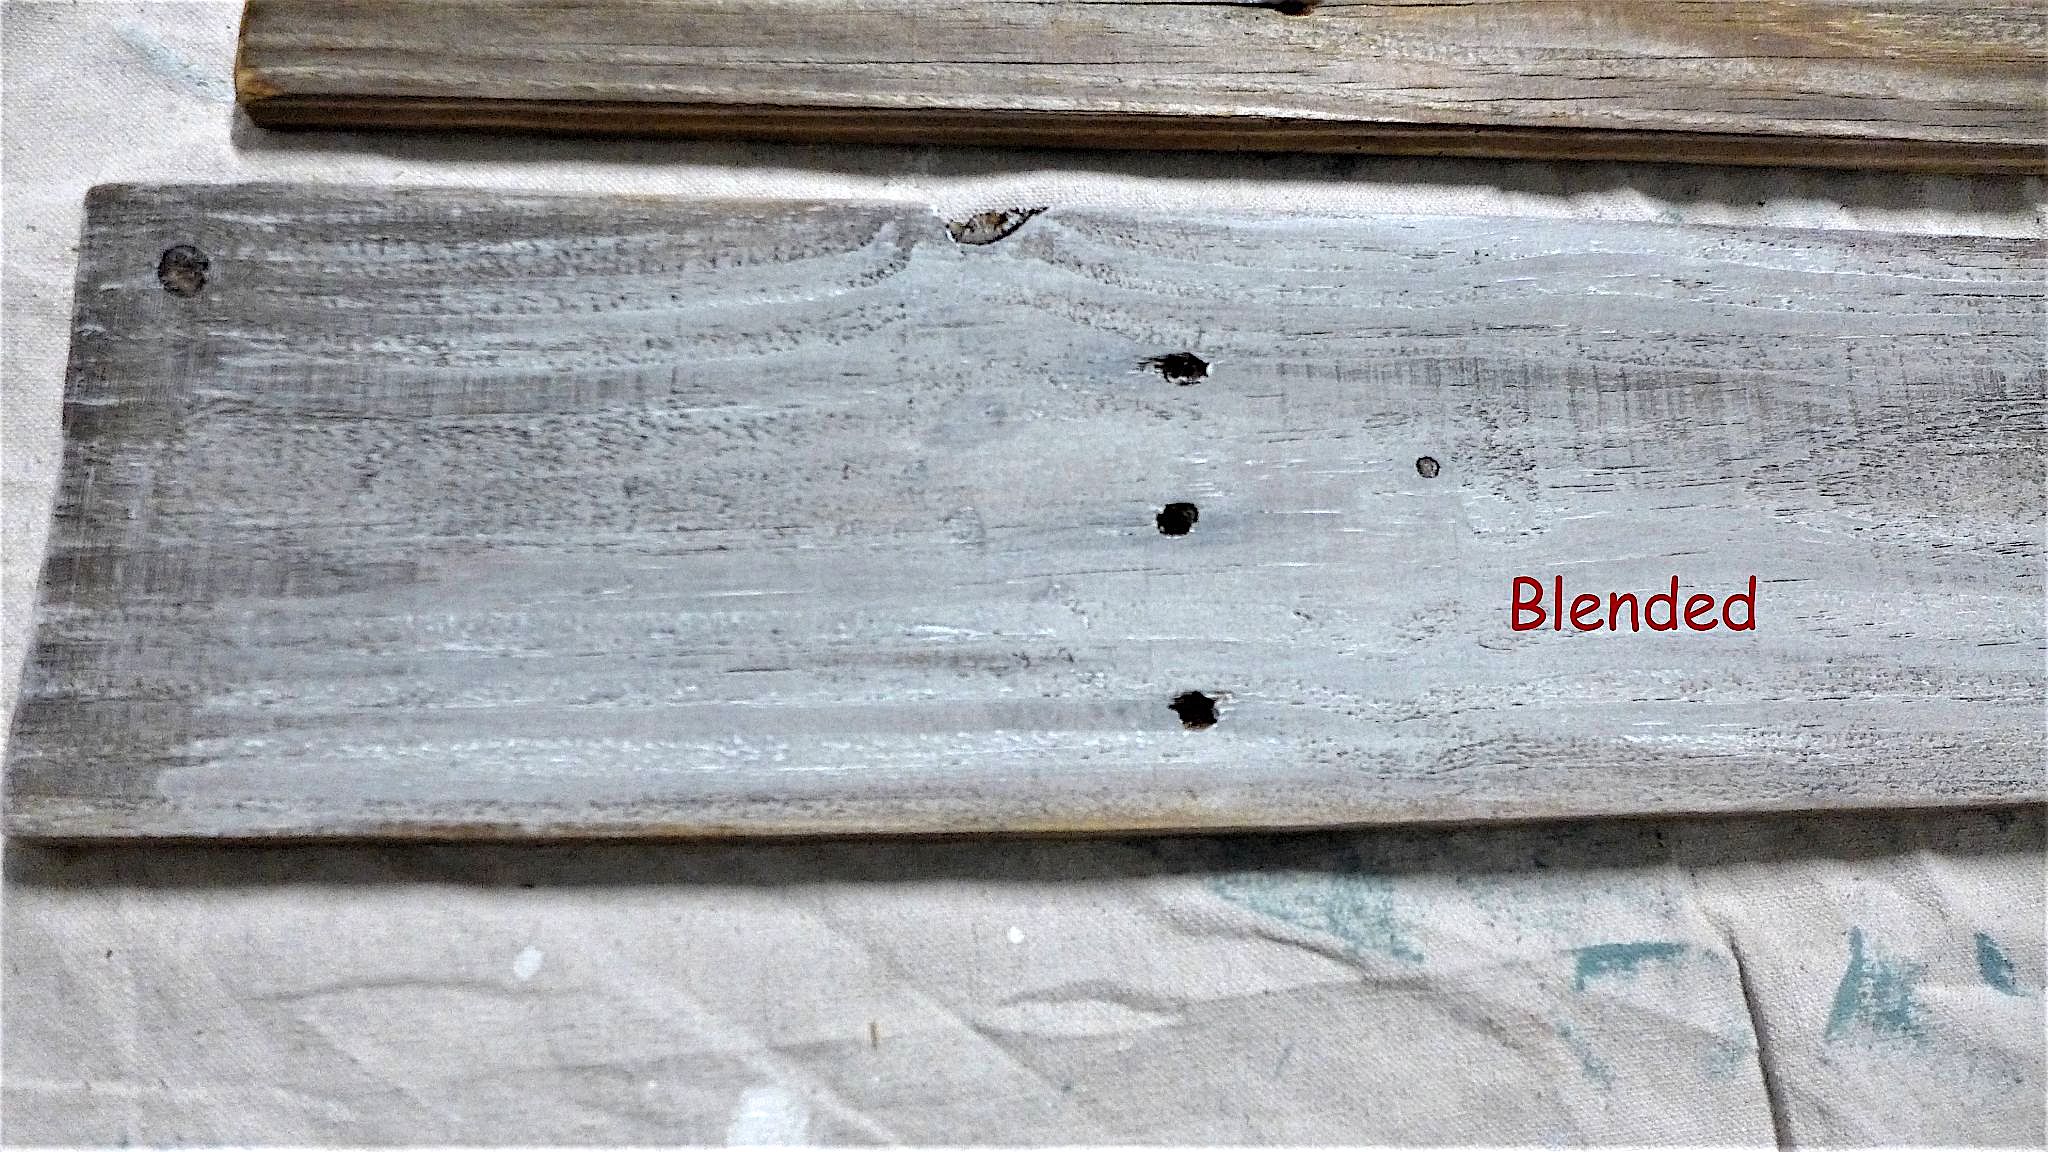
Shortly after the stain has been applied (between 5 and 30 minutes) I dry brush paint, often with the same color I used to paint the furniture piece. I make swift strokes, some long, some short. The longer you let the paint dry, the more of a brushed stroke look you will get. More blended or more stroked is a matter of personal preference.
2. Next, I waited between 30 seconds and a minute before taking a paper towel over the paint and blending it in using circular motions.
3. The last step is to rub antiquing wax over the wood. I used paper towels in circular motions (a rag works well too) to apply one of my favs, antiquing wax by folkArt. If this wax is not available, I also like to use Chalk Mountain Brushes Antiquing Waxfor this technique.
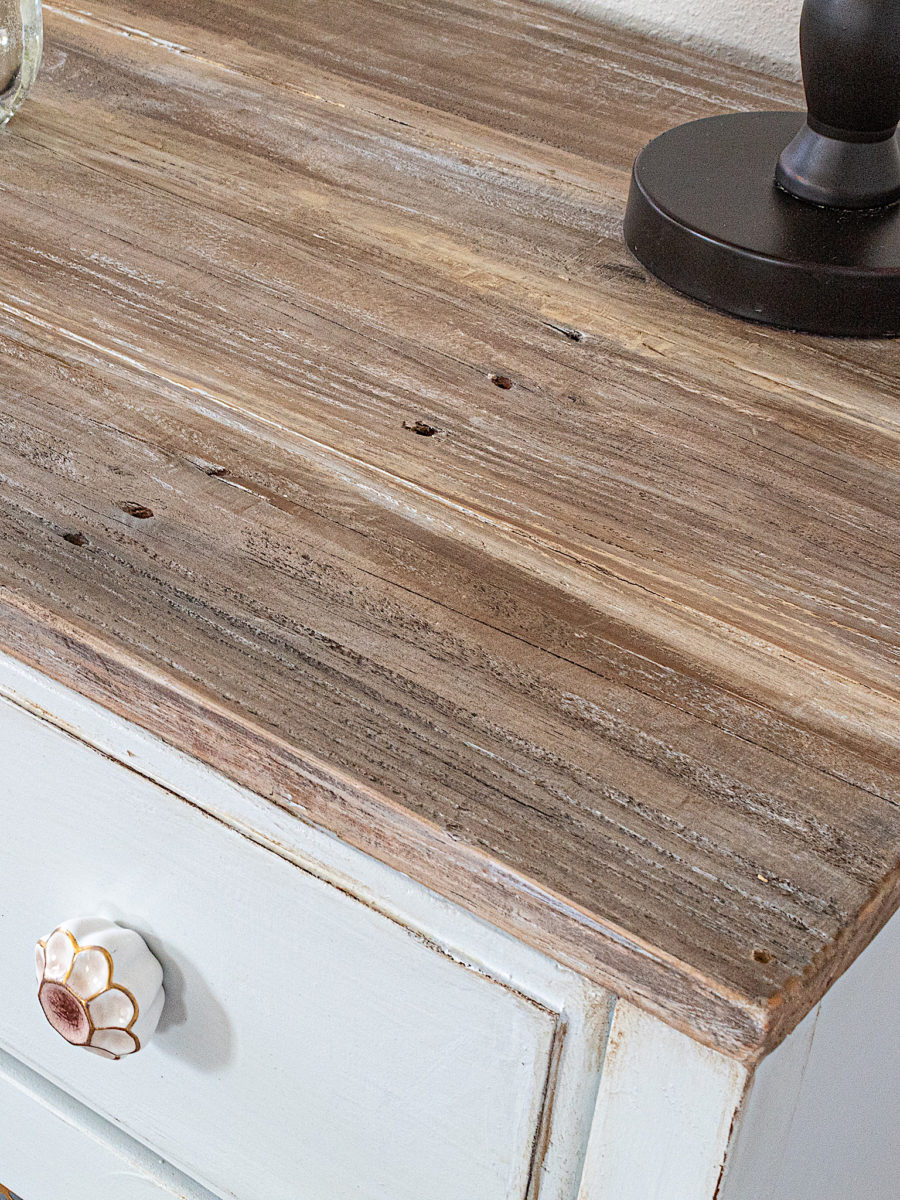
Now everything is really starting to come together! I drilled the pallet boards into the top of the piece. I first made pilot holes to avoid splitting the wood when my screws went in. I didn’t wood fill the screwed in parts. I thought they added character.
Because the boards were not all perfectly straight, I used some wood filler to fill in some of the spaces in between. Then I sanded and touched up with paint and antiquing wax as needed.
This 3-step technique on the top will vary in results based on wood tannins in your wood. Over a couple days the materials used on the wood will start to fully dry and blend together, softening the look and creating something even more gorgeous.
Thank you sweet readers for stopping by! I hope this tutorial was enjoyable. Let me know what you think of this transformation and the technique I shared for refinishing the wood top. Is it something you think you will try?
I forgot to mention above that I also used some brown glaze to go around edges for a vintage effect. To create my glaze, I simply added a little brown paint to my glazing medium, mixed it together (only about a tablespoon size mixture), and with a small paint brush painted around edges and corners.
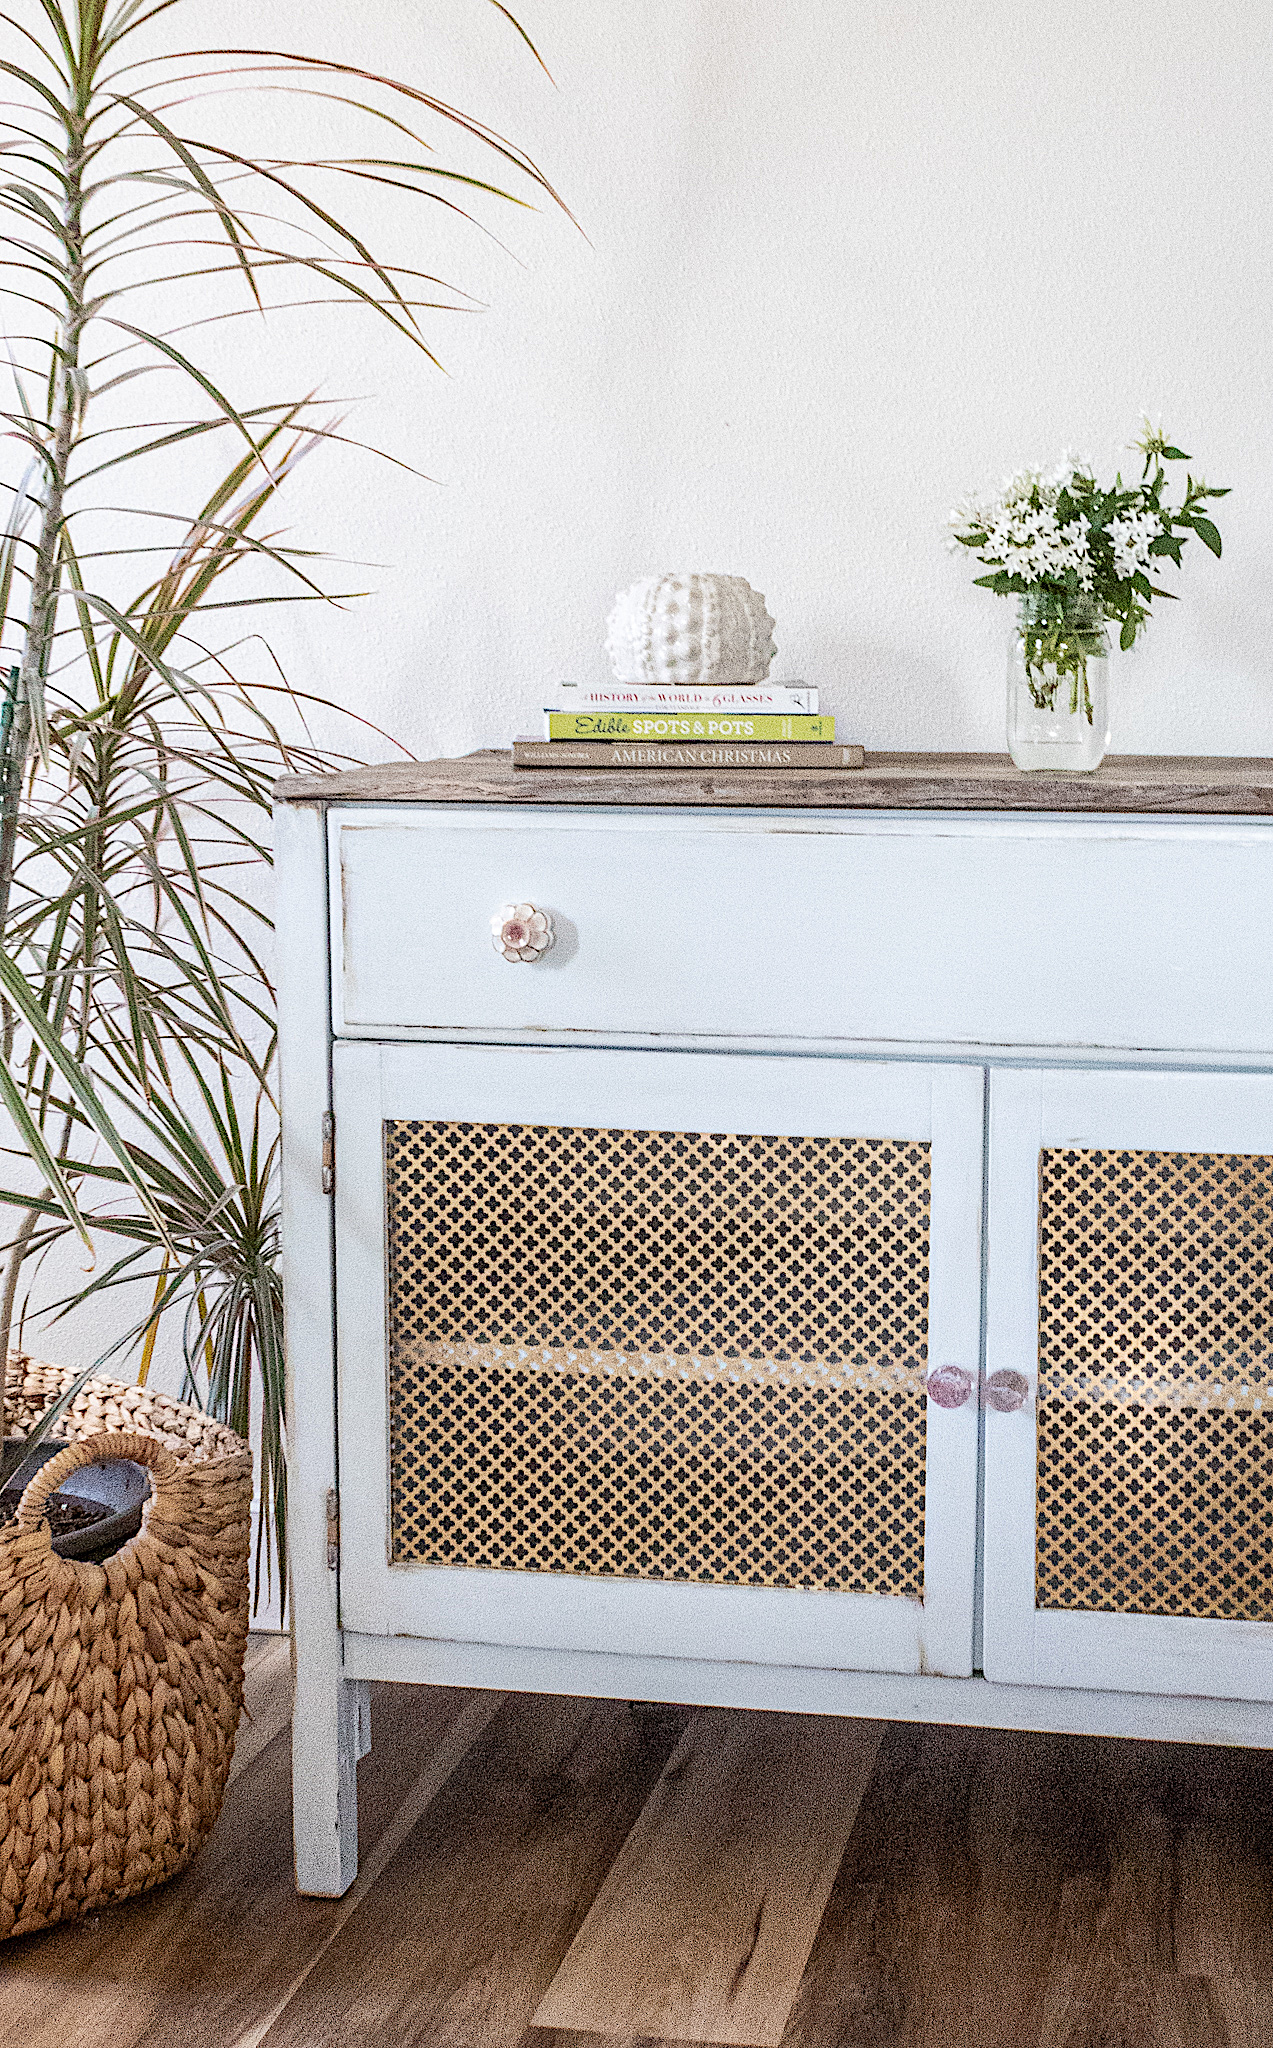
Now I leave you with a final look at the before and after. Be sure to SUBSCRIBE to my blog so you never miss a fun tutorial!