Candle Distressing Technique

Hello friends! I hope you are enjoying the remaining days of summer. I personally am more than ready for a little cooler weather. It’s been mighty hot here in Florida! Today I’m sharing the renovation of this desk that I did for my neighbor. Take a look at the picture below. This custom built desk had been painted in multiple colors. My neighbor wanted the desk to be primarily teal with a distressed, aged look.

1. Prepping

I first sanded all the paint down with my orbital sander. I started with an 80 grit and once all the paint was removed, I gave the surface a smooth finish with 800 grit. Next I taped any areas I wanted to protect from painting.

Materials

2. Painting

My neighbor wanted some wood grain and white showing underneath the teal. Since the raw wood was a very light color, I tinted it a little by adding a light coat of Early American stain. If you want a darker color of wood coming through, you could use a darker stain like Walnut.

Once my stain had dried, I took a plain white candle and rubbed it over the entire surface of the desk. The wax from the candle will keep the paint from strongly adhering. I will show you how you will be able to create a distressed look by easily scraping off paint from the waxed parts.

Disclosure: Some of the links provided are affiliate links. By purchasing through these links you are supporting this family blog and the work we do and there is no extra cost to you. If you would like to read our full disclosure, click HERE.

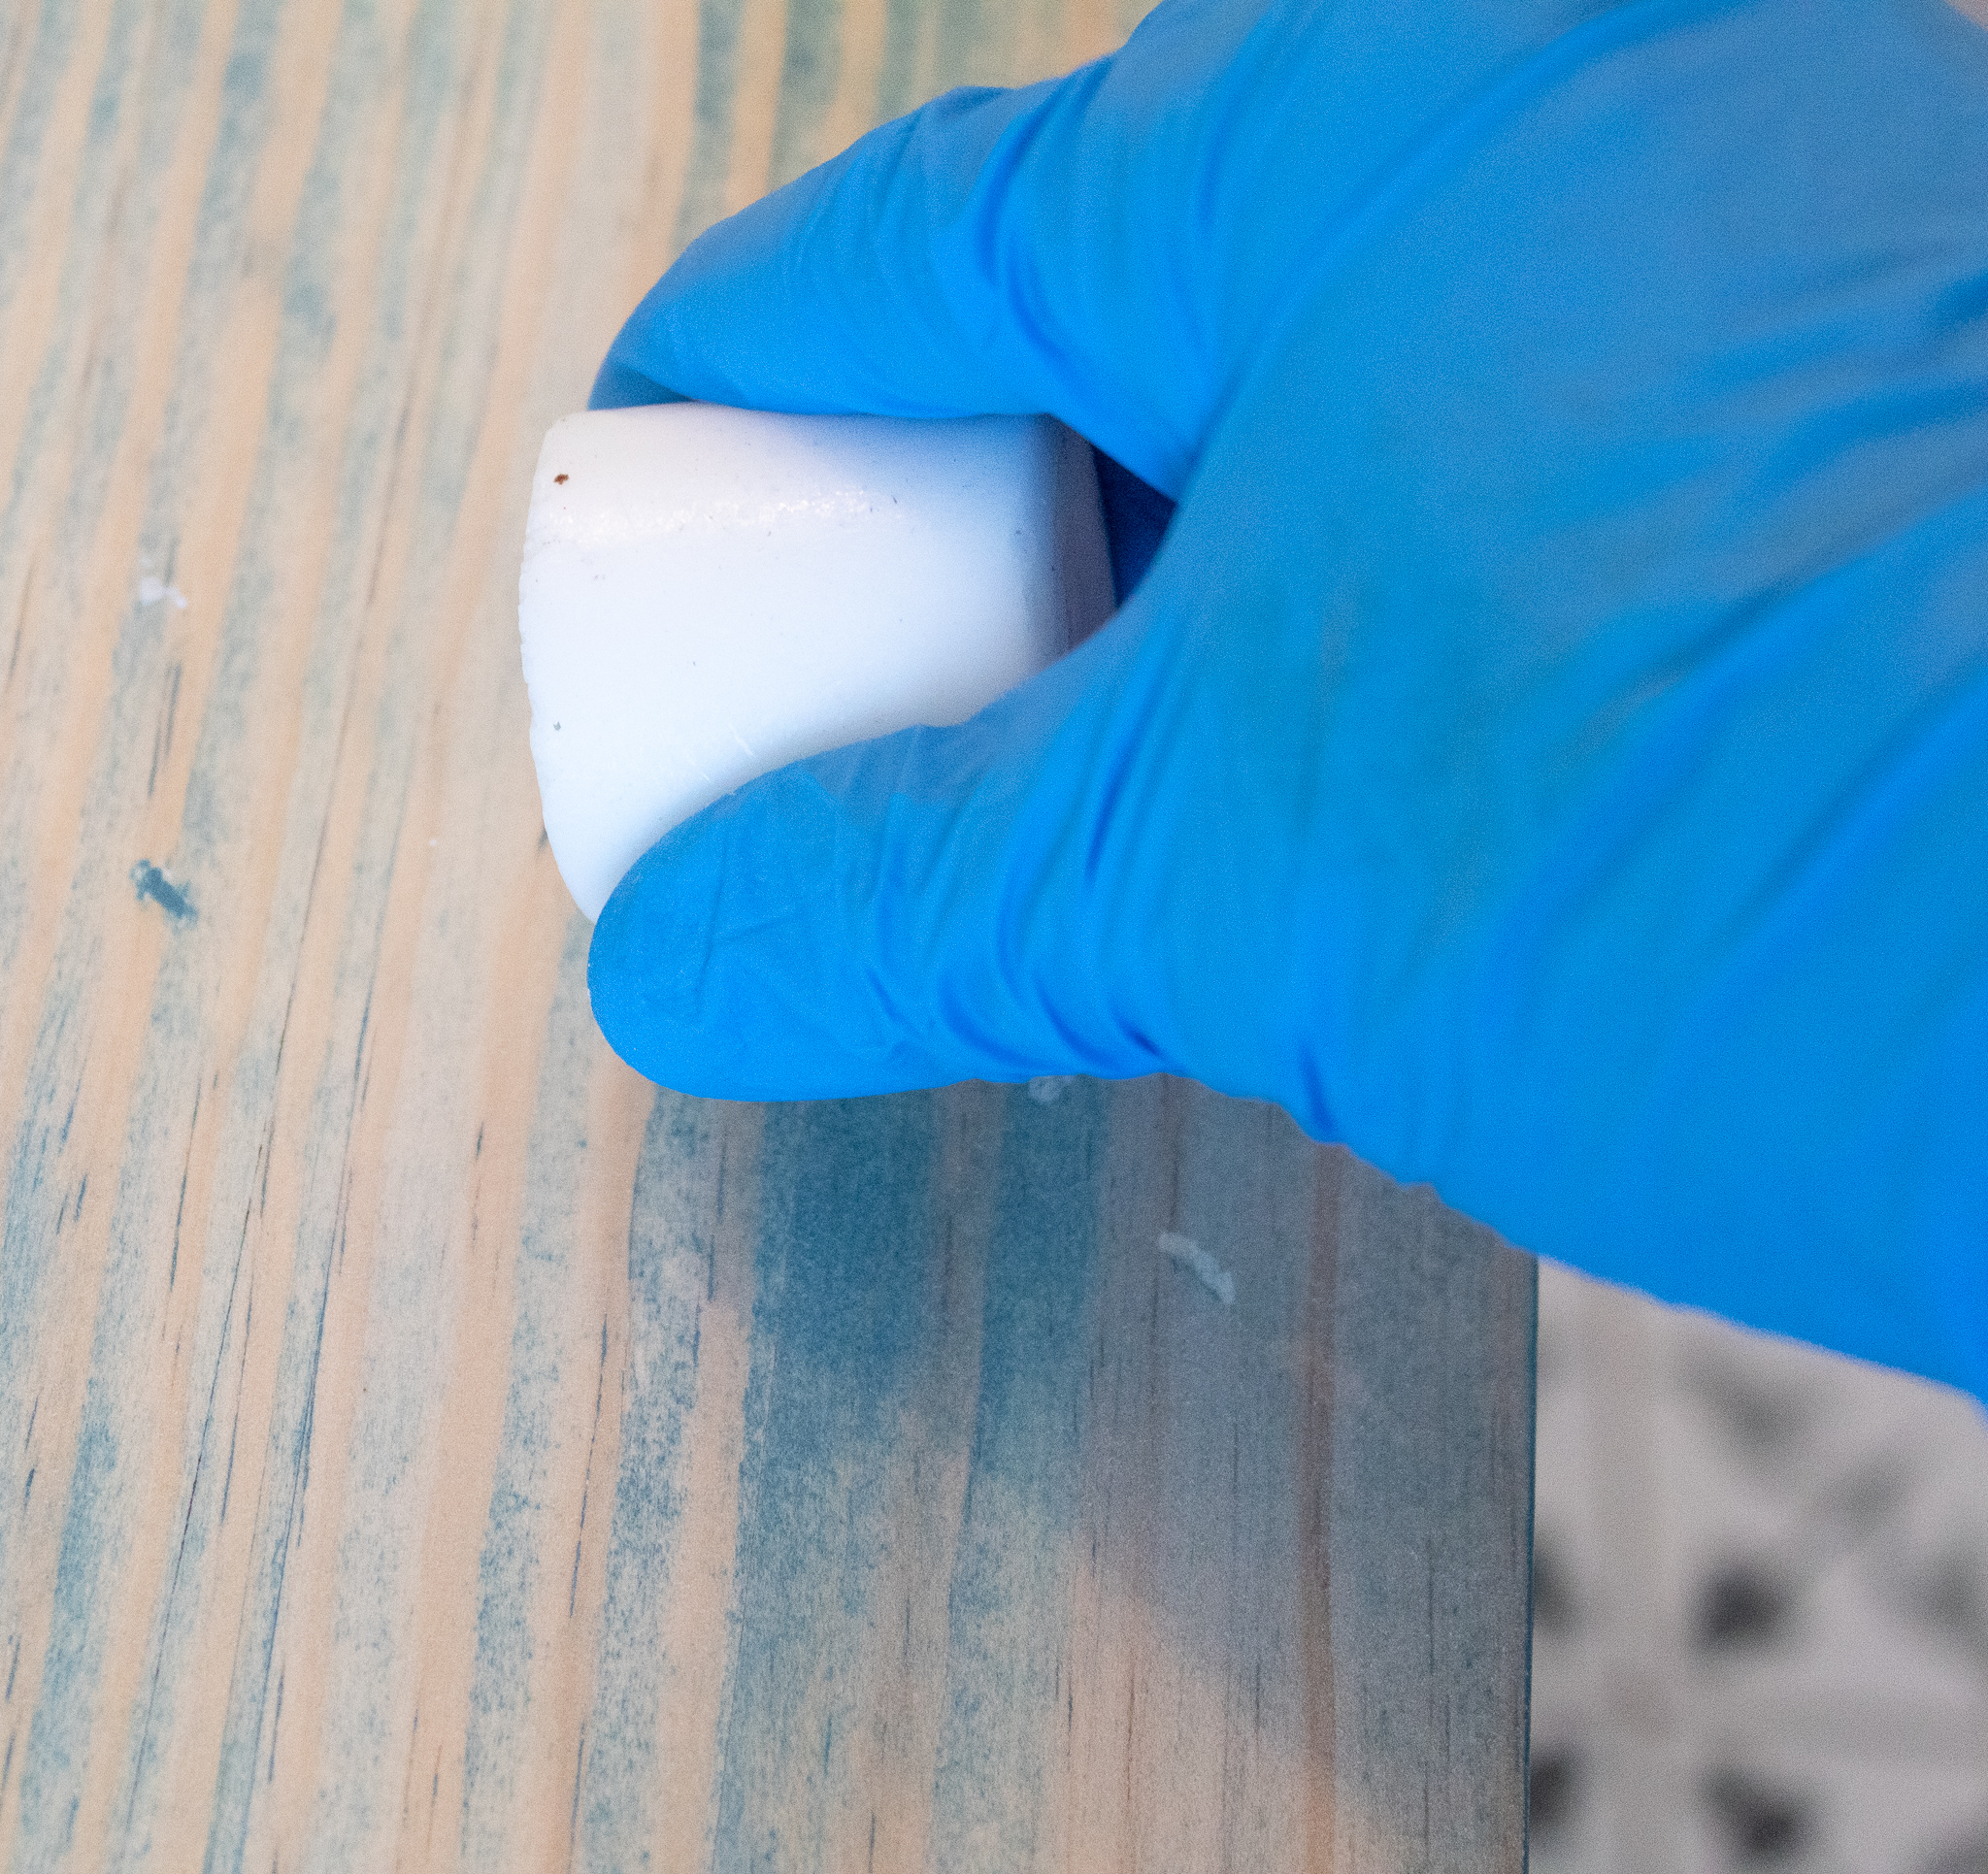
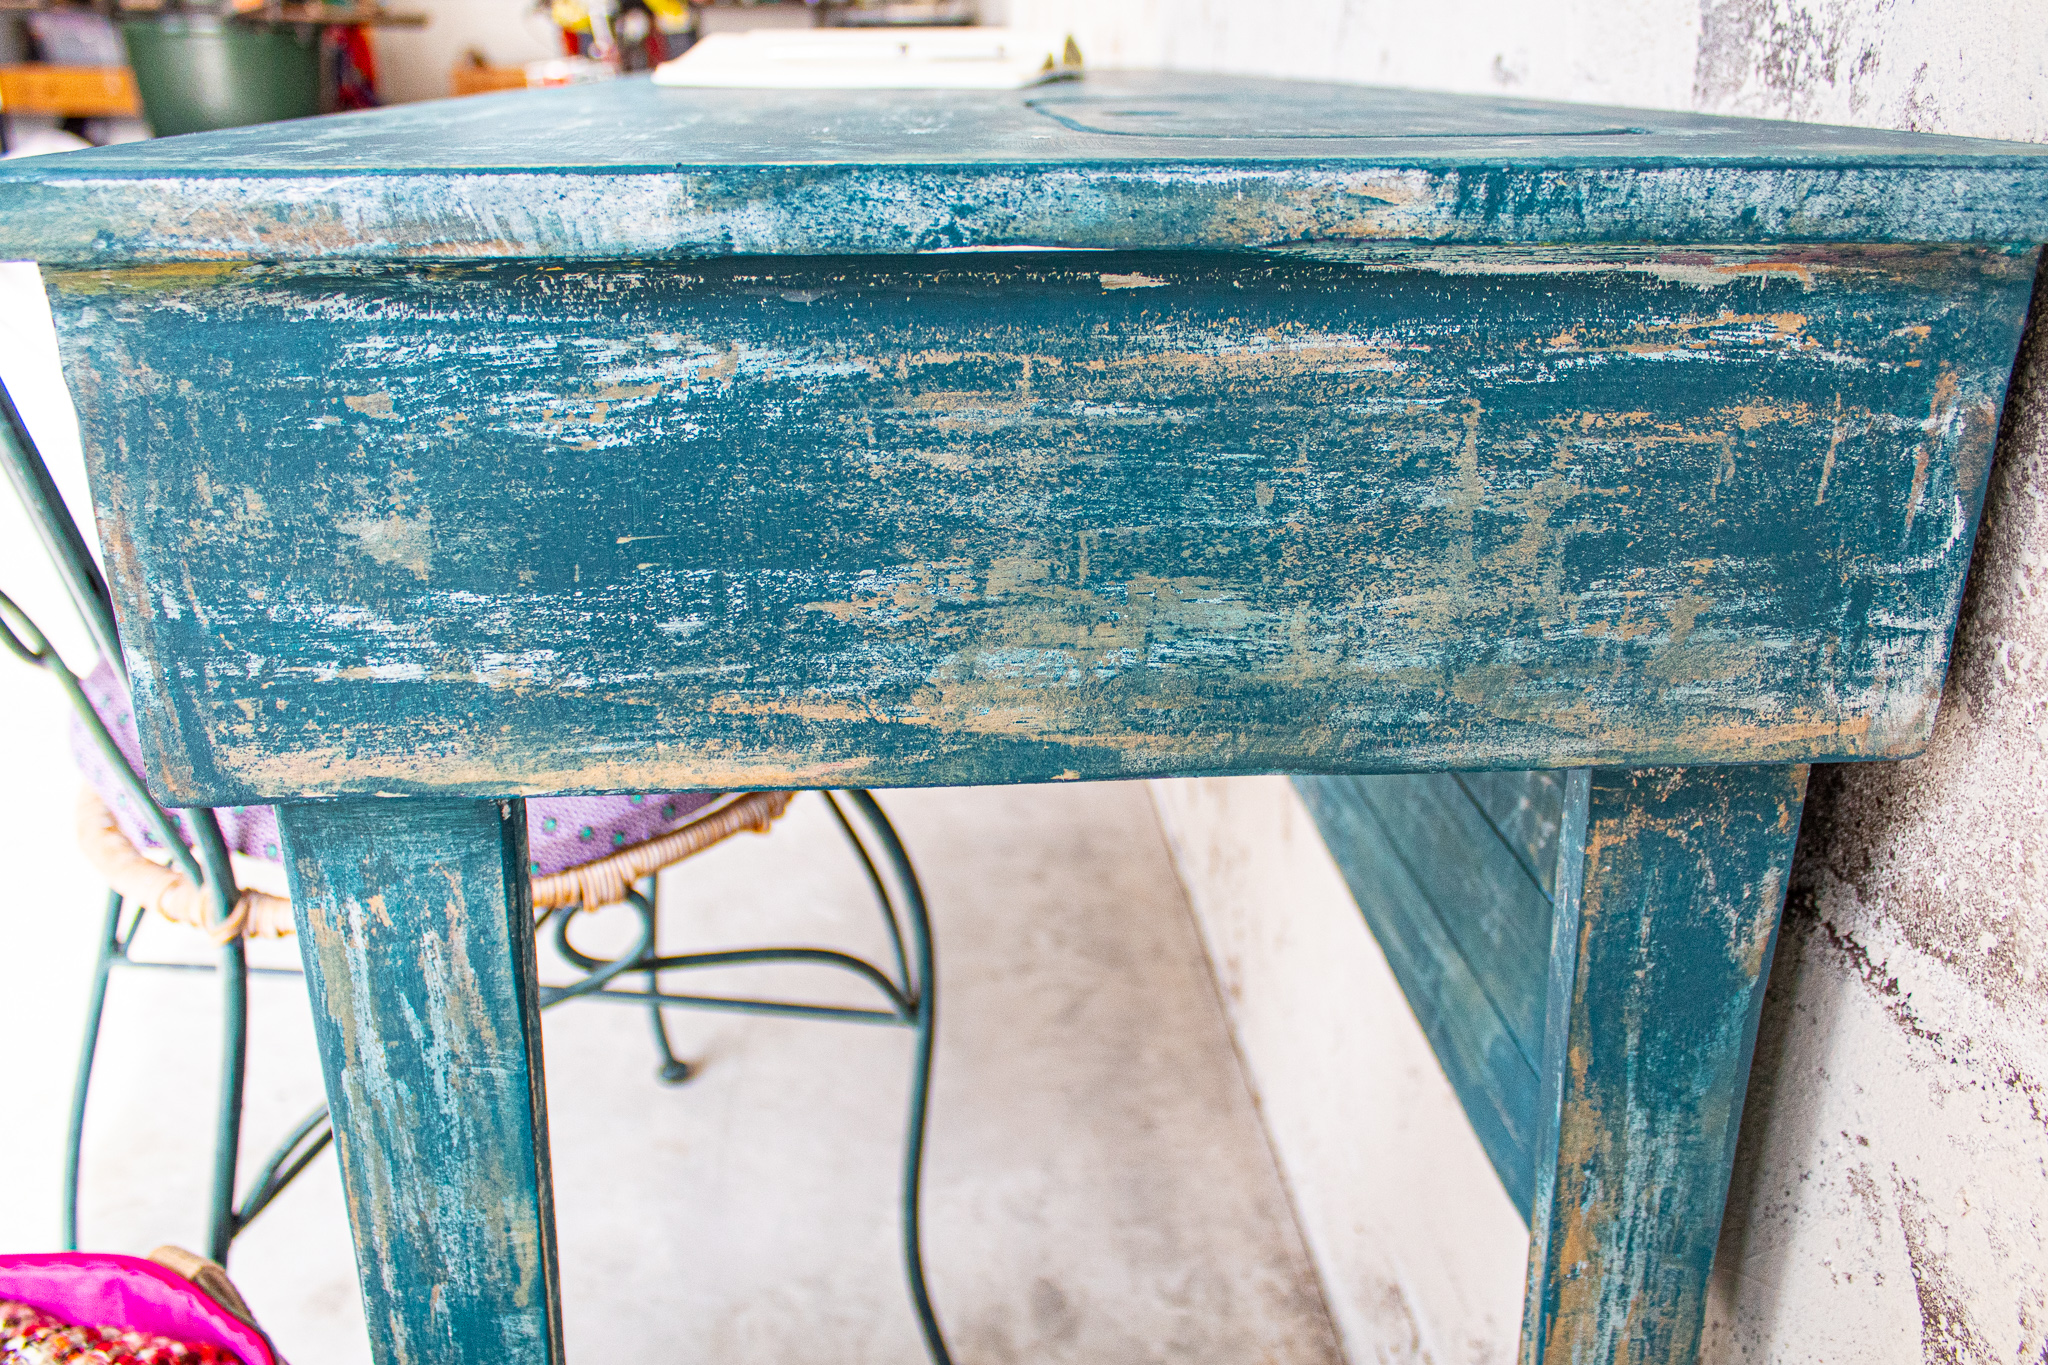
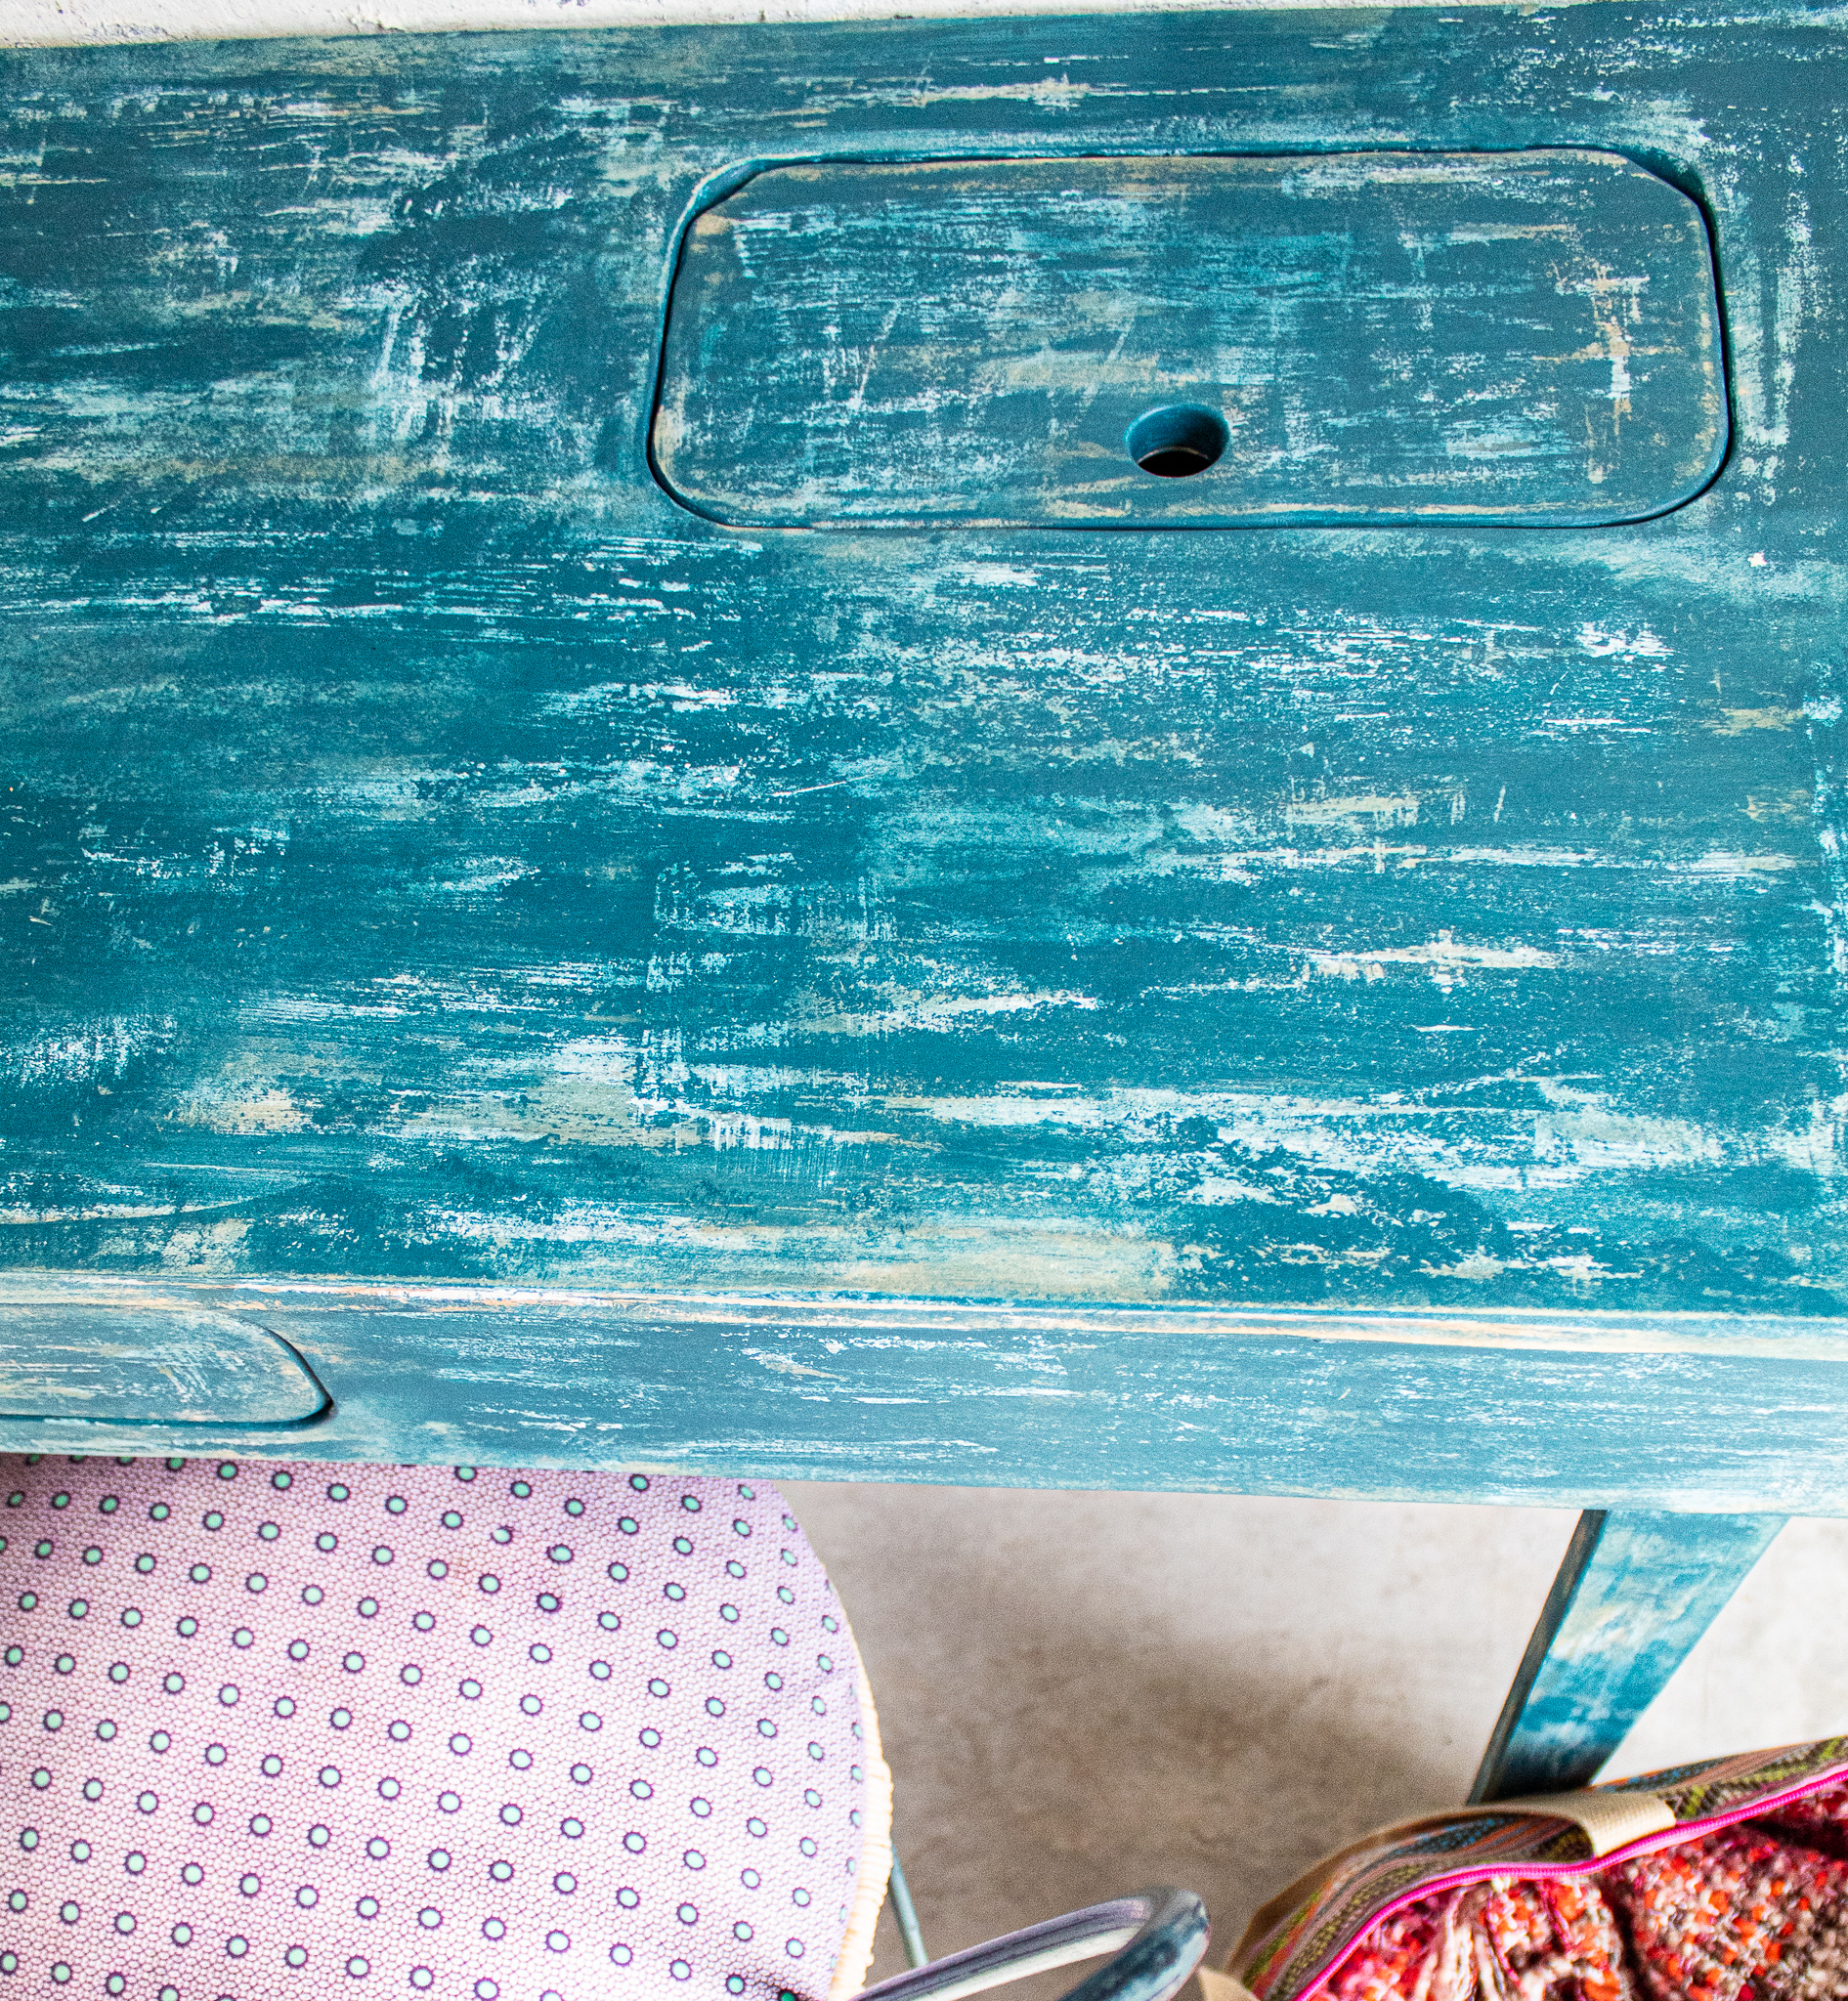
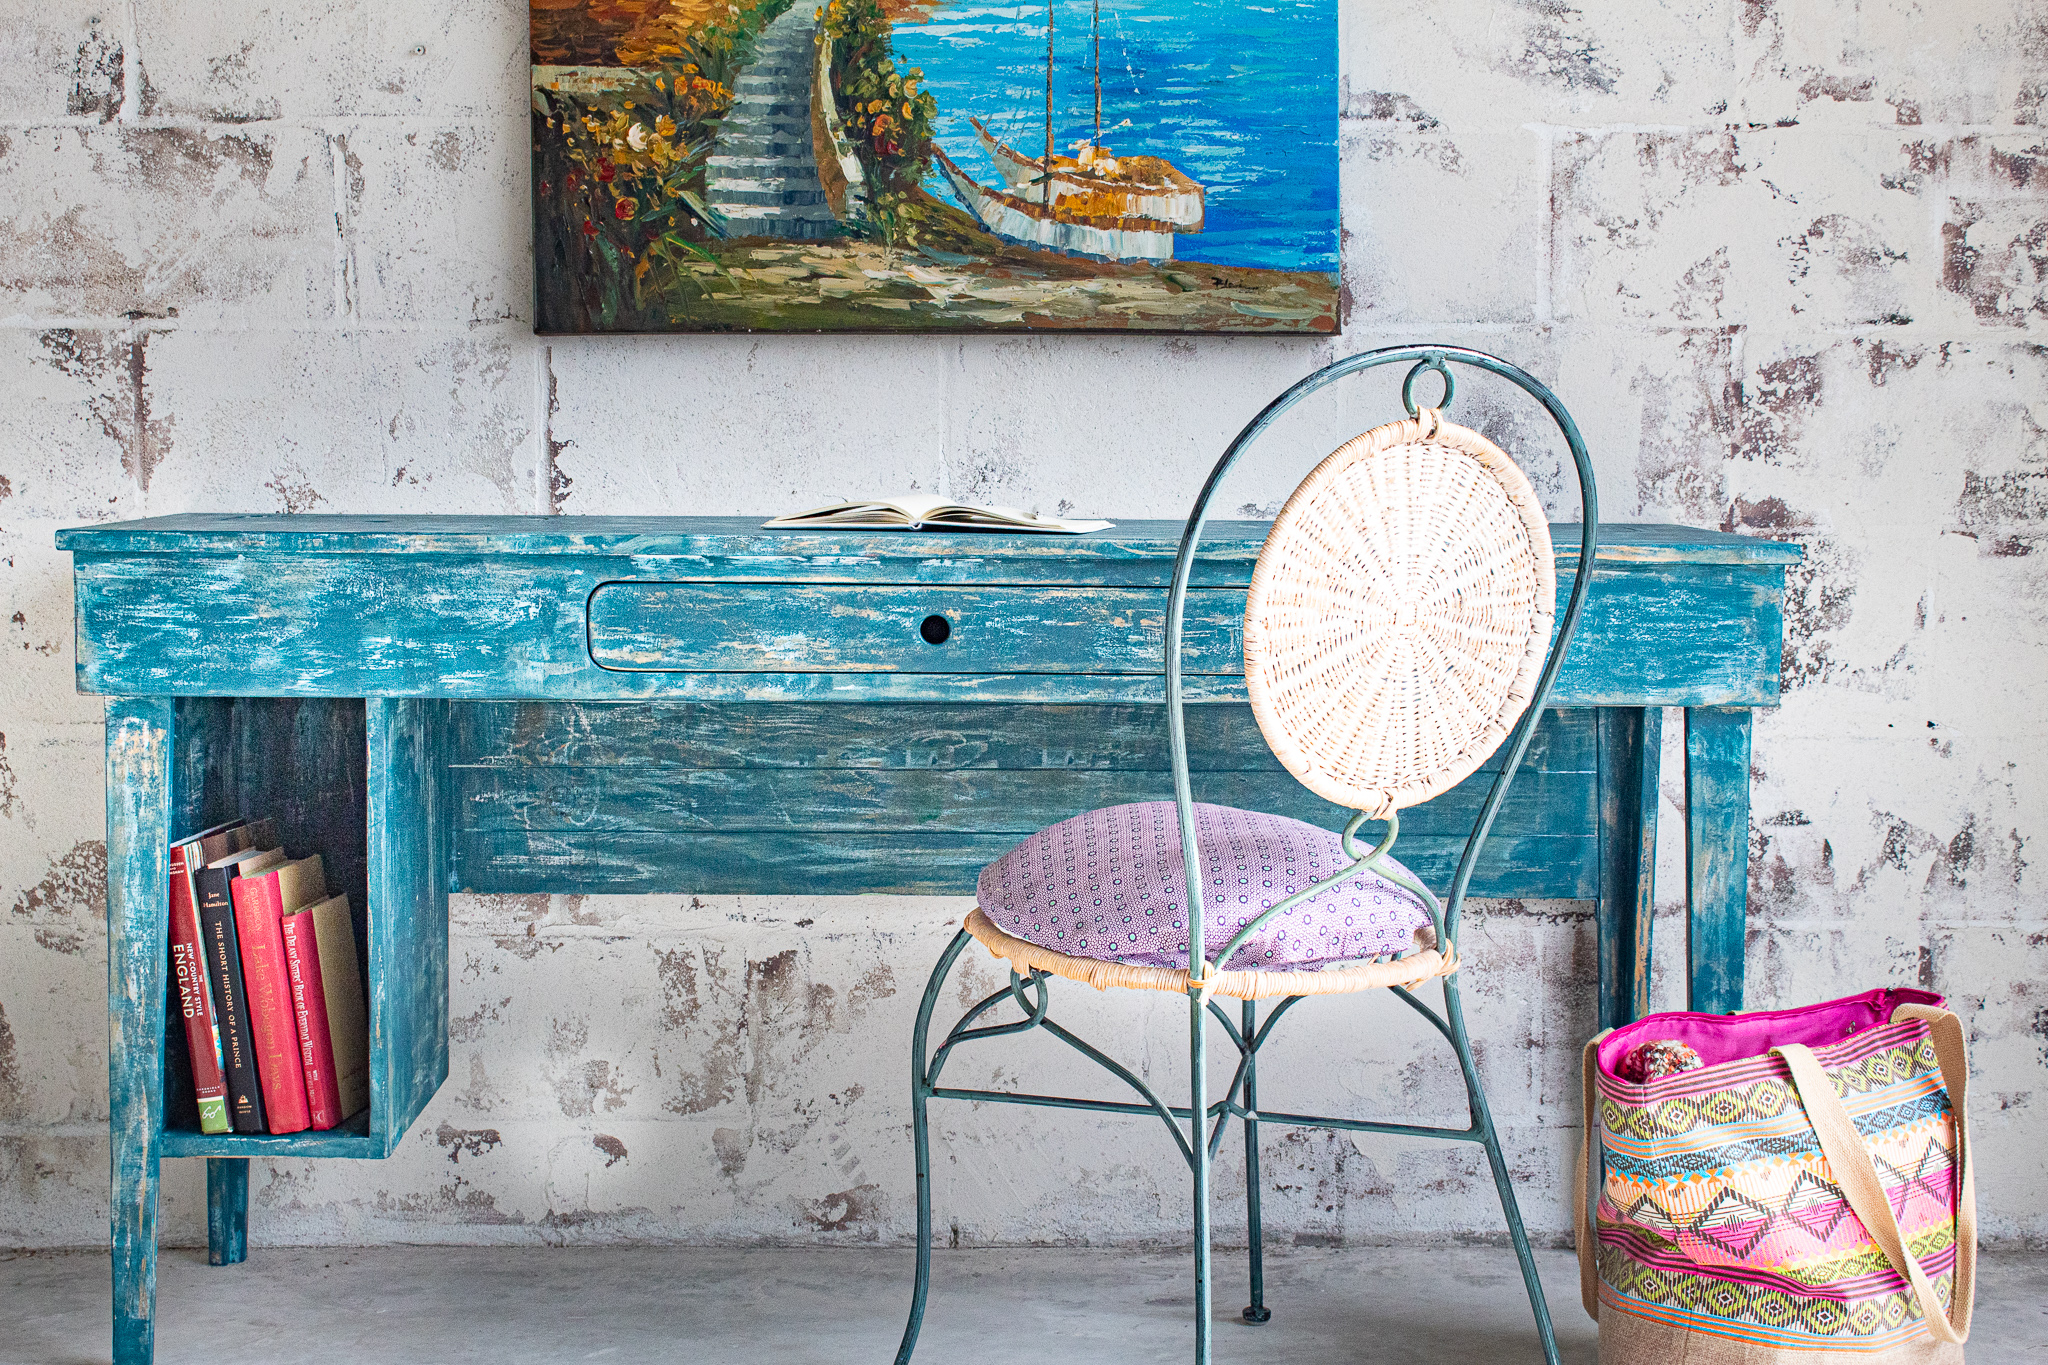
Remember that any parts where you don’t have candle wax rubbed on, the paint will stick, making it hard to distress. If you want heavy distressing, cover more of your surface with wax.

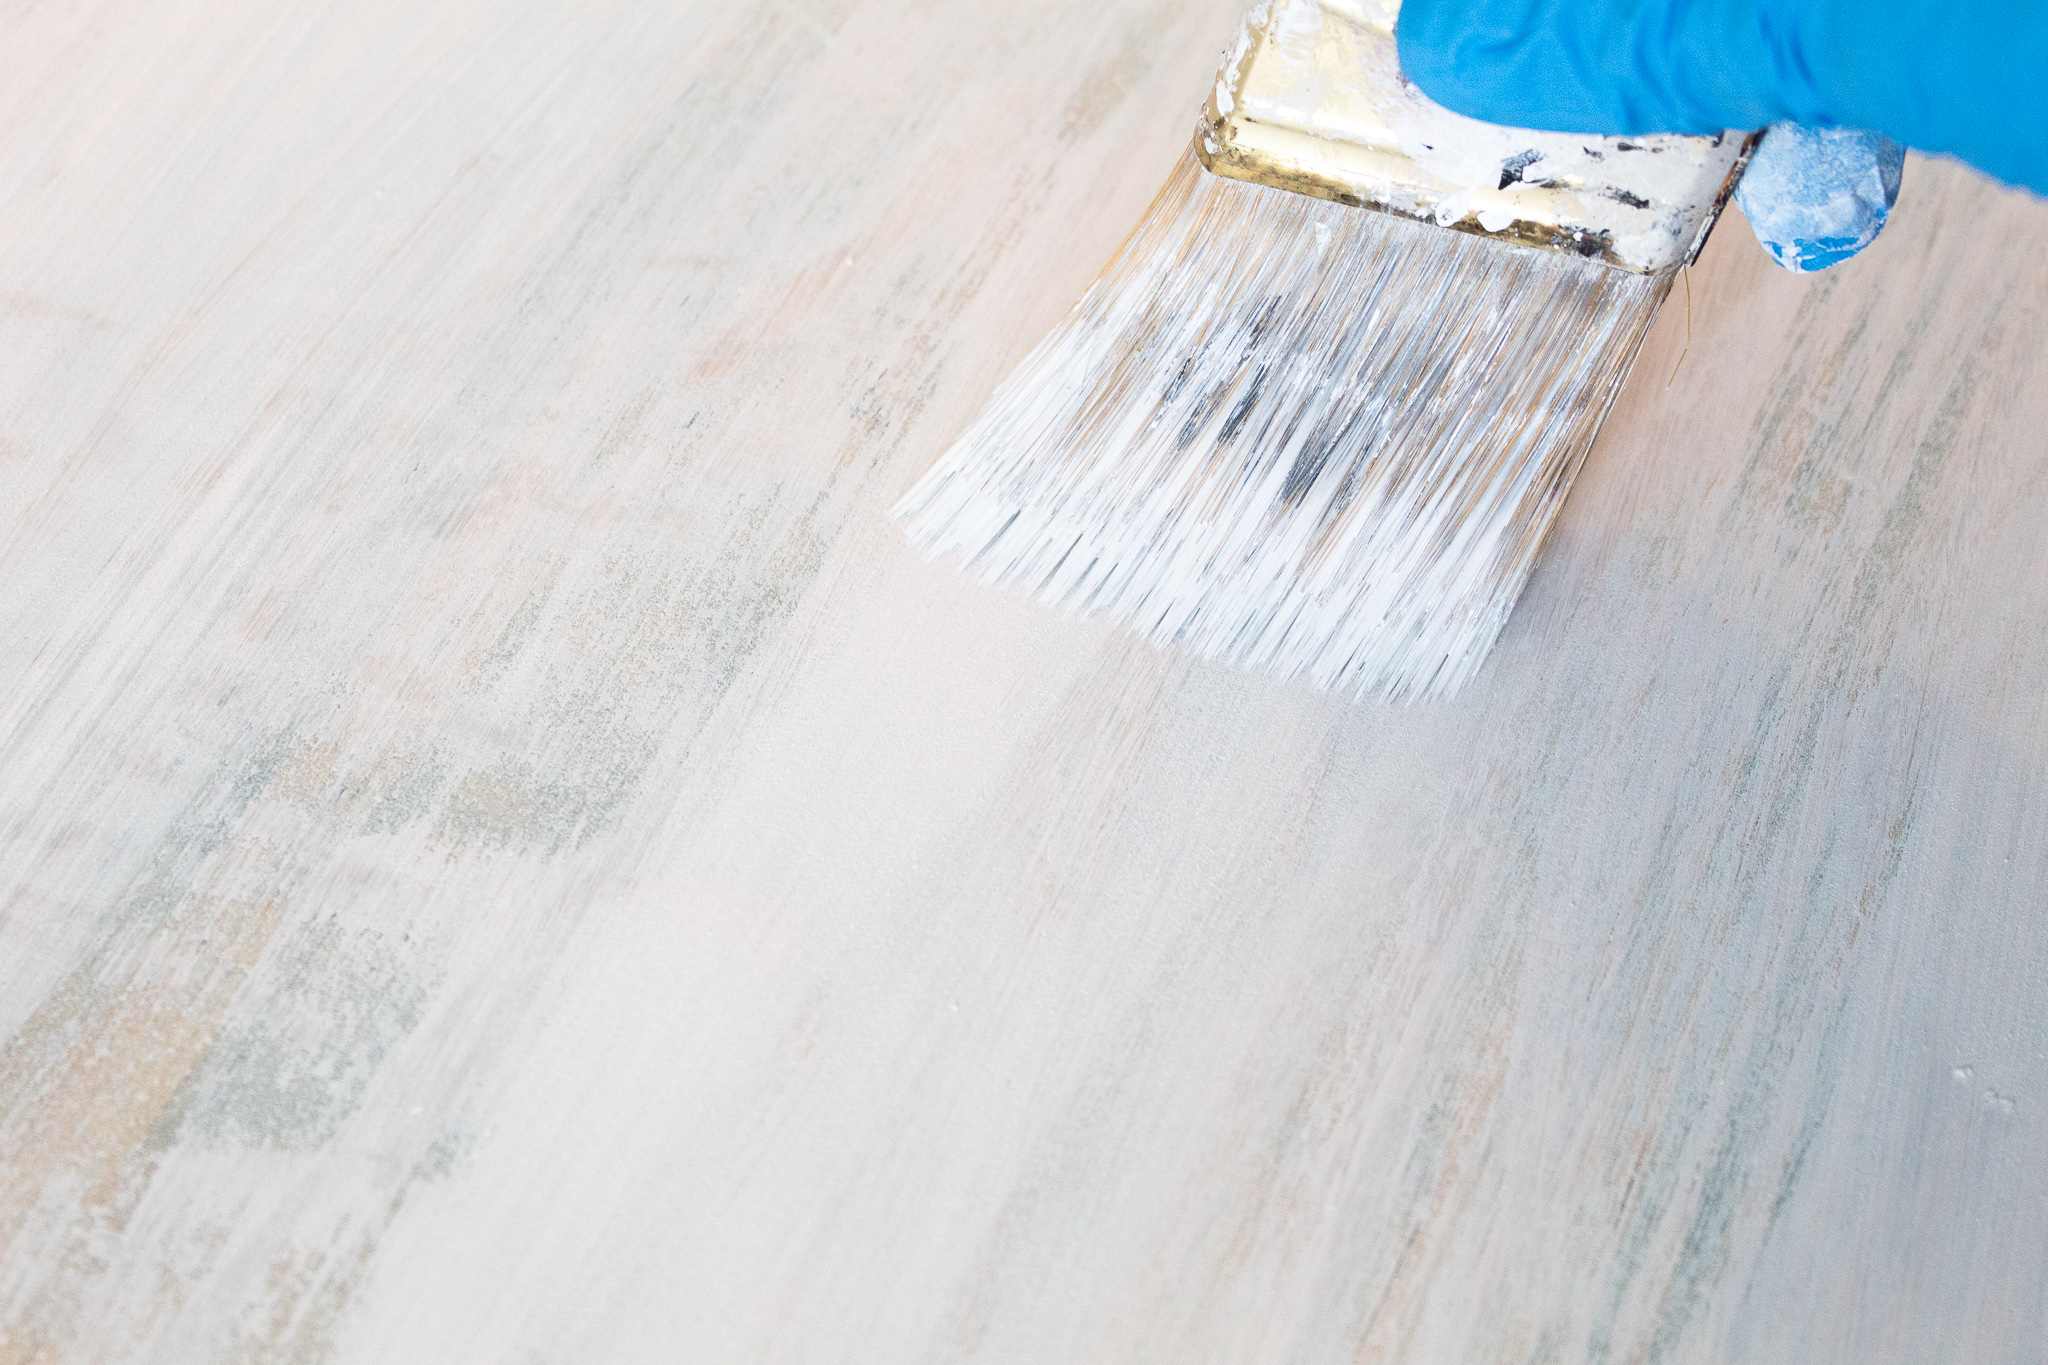
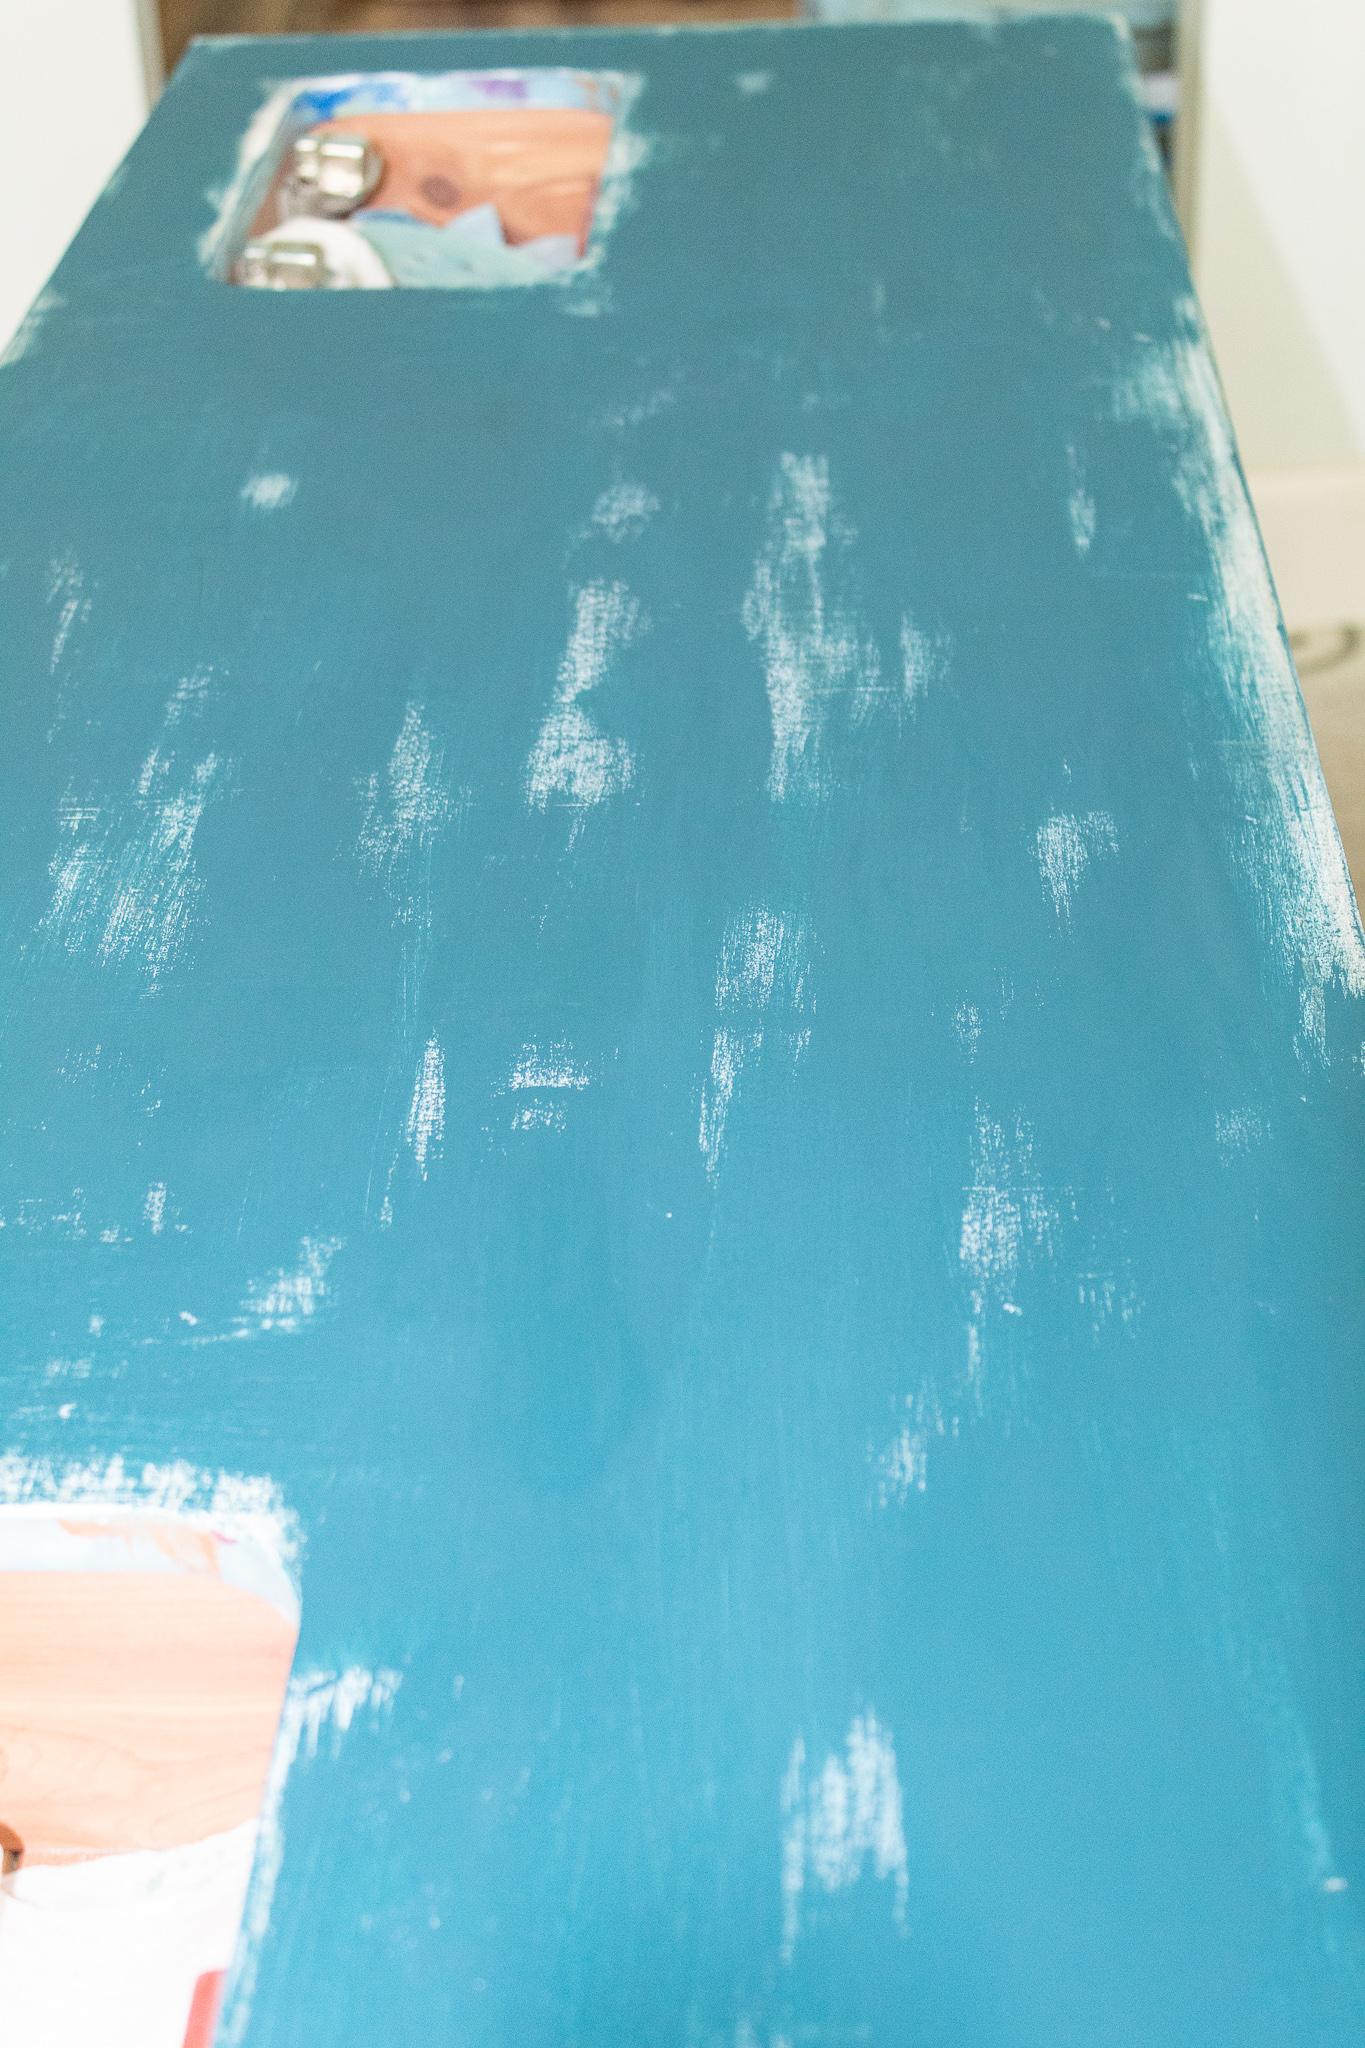
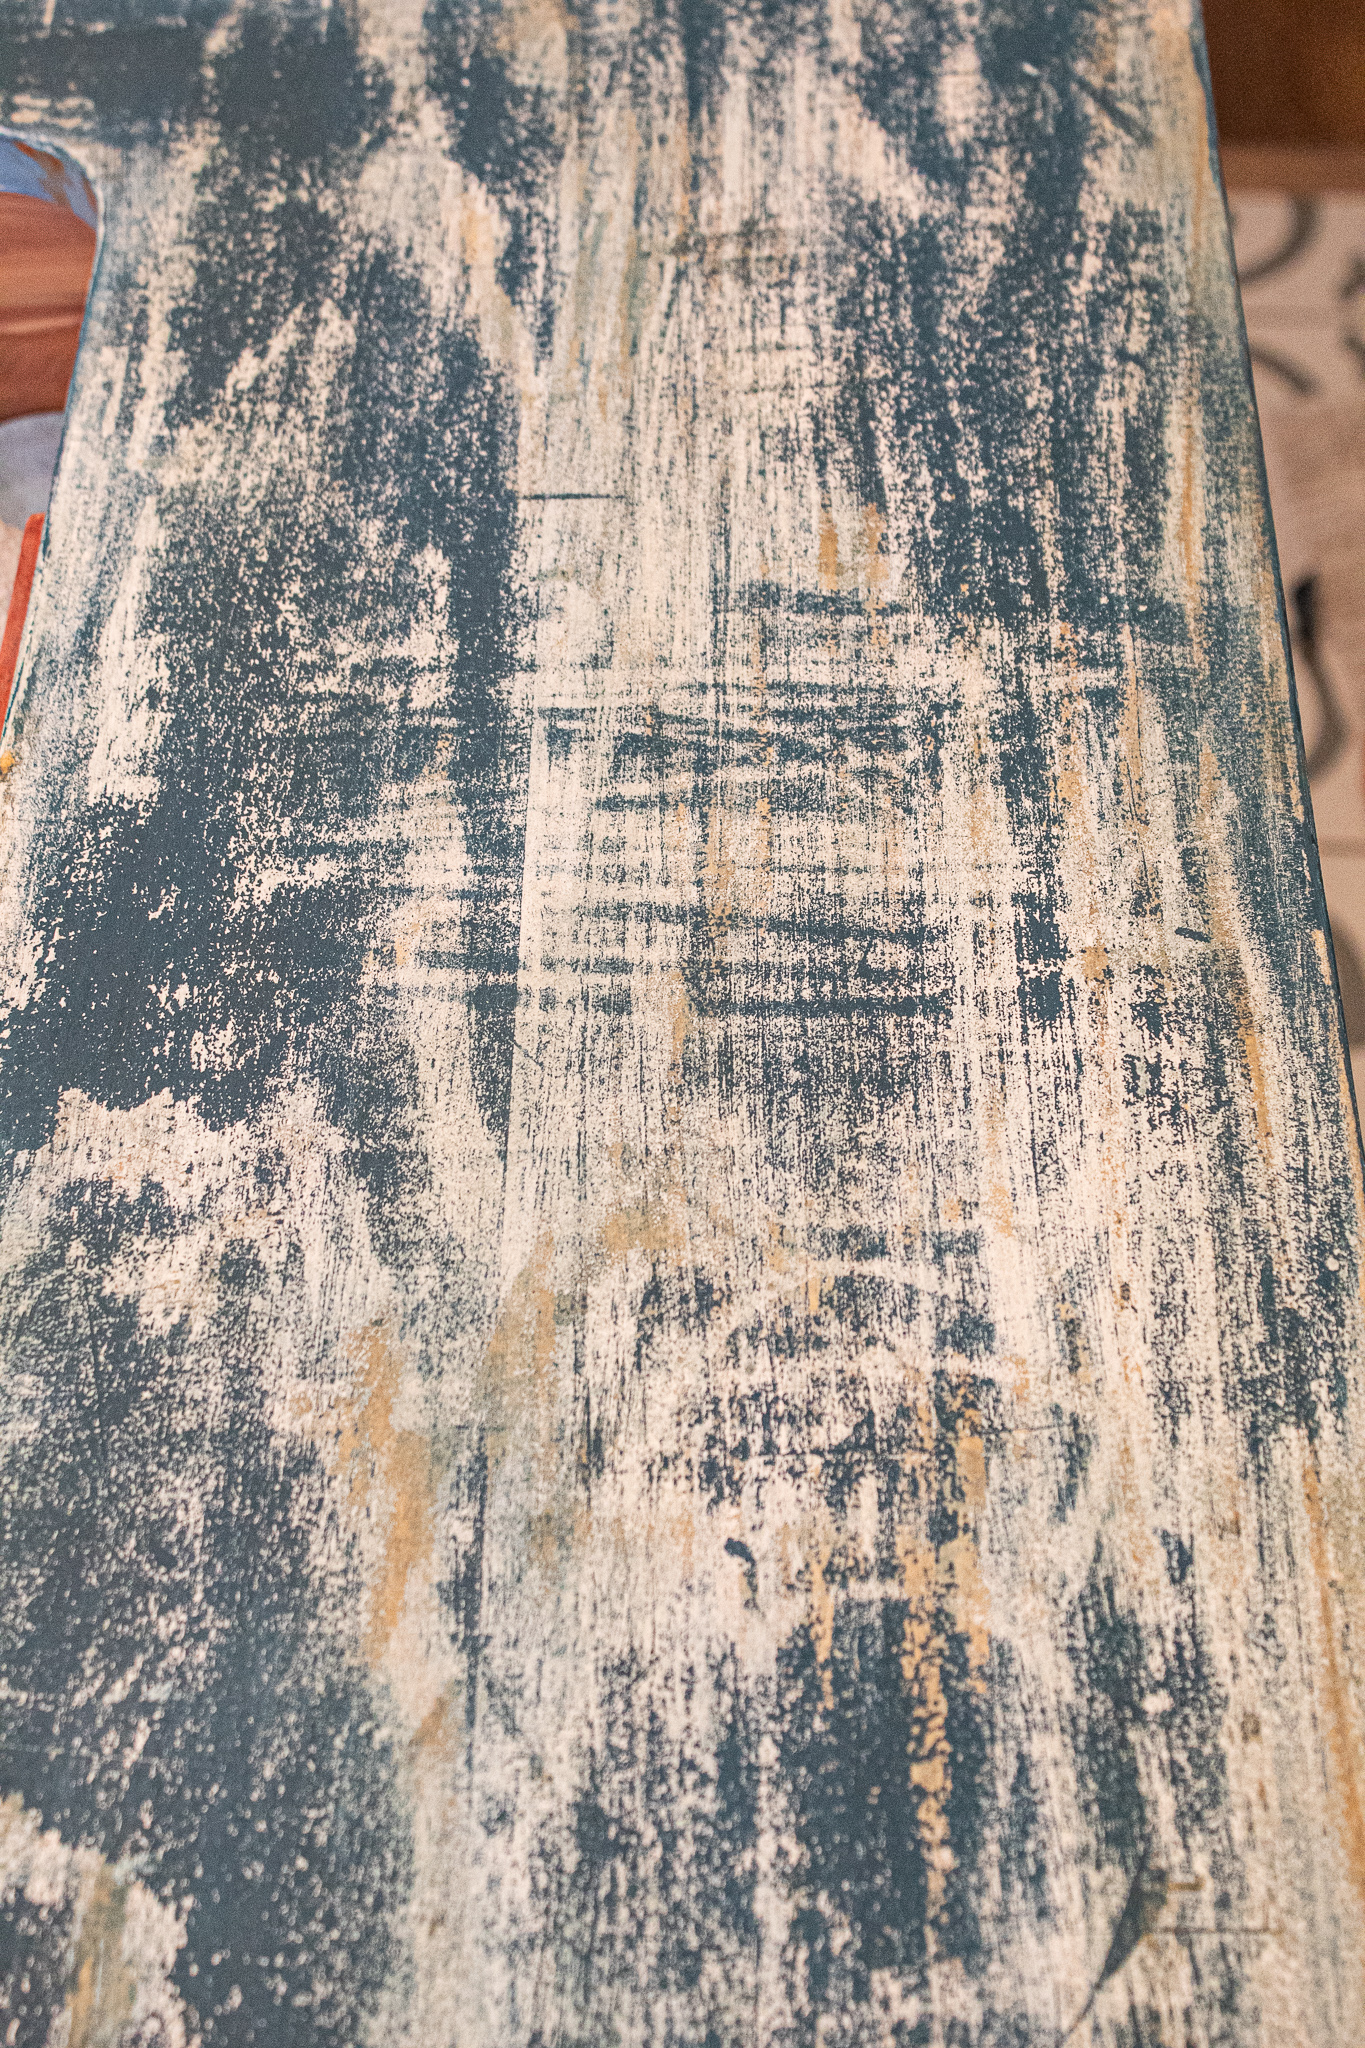
Once I was happy with the amount of wax coverage, I added a coat of white paint. Don’t worry too much about your coverage. This is just a rough undercoat. In some parts I painted the whole area and in other places I blotched on the white. You can play with the layers to get the exact look you like.

3. Distressing

Once your paint is dry, take your paint scraper and begin scraping. Don’t worry about over distressing at this point because you still have another layer of paint to add (in this case the teal).

If you want to see more of your wood grain from your first layer coming through in the final layer, you will want to distress your white paint quite a bit, opening up and exposing your wood grain at this point.  Otherwise, when you add your top dark color of paint and you repeat the scraping process, you will mostly reveal white and not so much wood.

Next I repeated the process of rubbing the candle all over the surface. Then I painted a rough coat of the Antebellum Blue.

Then I scraped again.

At this point you can leave the look as is or take it a step further like I did. I went over the surface with my orbital sander and 80 grit sandpaper. The sander distressed even more adding beautiful character. The machine is able to open up and blend layers in a really neat way. I love the result you get by adding this extra step.

Video Demo

4. Finishing

You can play with the amount of color and distressing until you like the final result. You can repeat the entire process by adding more white paint, scraping, then adding more teal and scraping again, if you want even more depth. My neighbor wanted the final look to have more teal and less white showing. So I added more teal where needed.

The candle distressing technique is one of my favorites. It is much easier on the hands and arms than dry sanding like I demonstrate in my French Ceramics Table Tutorial or wet distressing as shown in my Mid Century Modern Credenza tutorial. I used Flat Out for a top coat. The flat sheen was perfect for preserving the rustic appeal. I always use a foam brush to apply clear coats. It keeps bubbles away.

 p

I hope you have enjoyed this post. Let me know in your comments below. I love hearing from you!

Leave a Comment

Your email address will not be published. Required fields are marked *


The reCAPTCHA verification period has expired. Please reload the page.

nooksinbloom

•Creating and Making the Home Pretty
•Inspired by European & Grandmillenial Styles
•Budget-Friendly DIY’s
🙏🏽
Blog ⬇️

Jessica
Load More Follow on Instagram
Scroll to Top

Sign Up So You Never Miss A Post!

Your information will never be shared or sold to a third party.