Pumpkins, hot apple cider, bright colored leaves, warm sweaters and cool nights. Don’t you just love the spirit of Autumn? In Florida the summers are so brutal and long that any sign of dropping temperatures is a welcomed change. Even if we can’t pull out heavy winter coats just yet, it’s a perfect time to dress up the home with some fall inspiration.
Once September rolled around I couldn’t wait to put together this Autumn tablescape. I must admit it was therapeutic to clean off our dining table which had become the go-to spot for dumping just about everything in our home. Relocating random knick knacks, clothes, school supplies and cleaning up crumbs, candy wrappers, and dishes took more time than desired but certainly felt freeing. I now had a blank design slate to work with and our dining area was clean and fresh. Win!
Disclosure: Some of the links provided are affiliate links. By purchasing through these links you are supporting this family blog and the work we do and there is no extra cost to you. If you would like to read our full disclosure, click HERE.
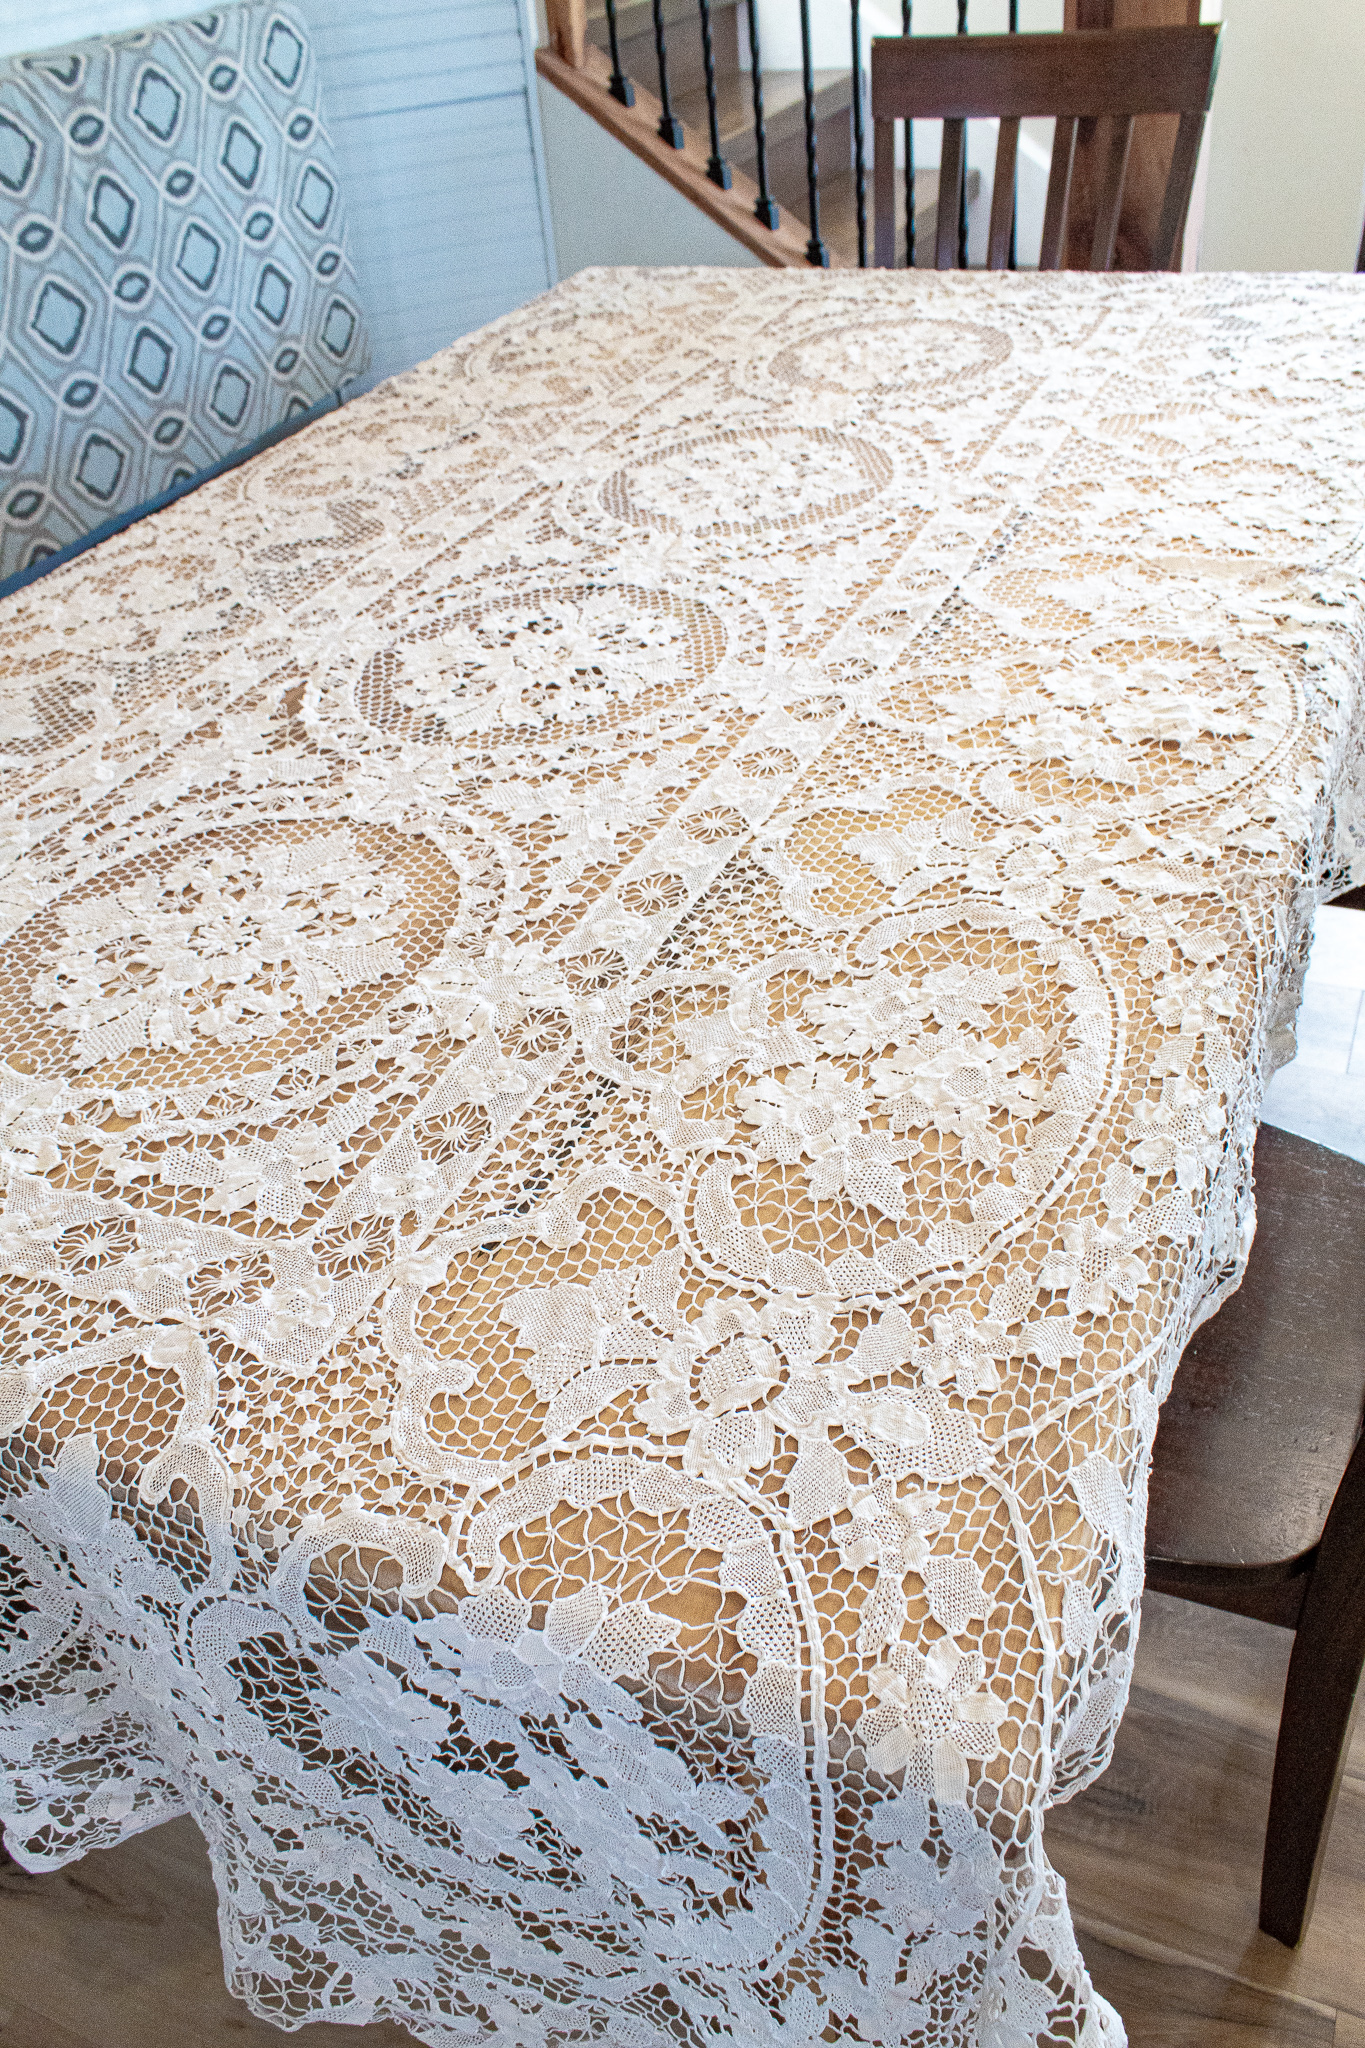
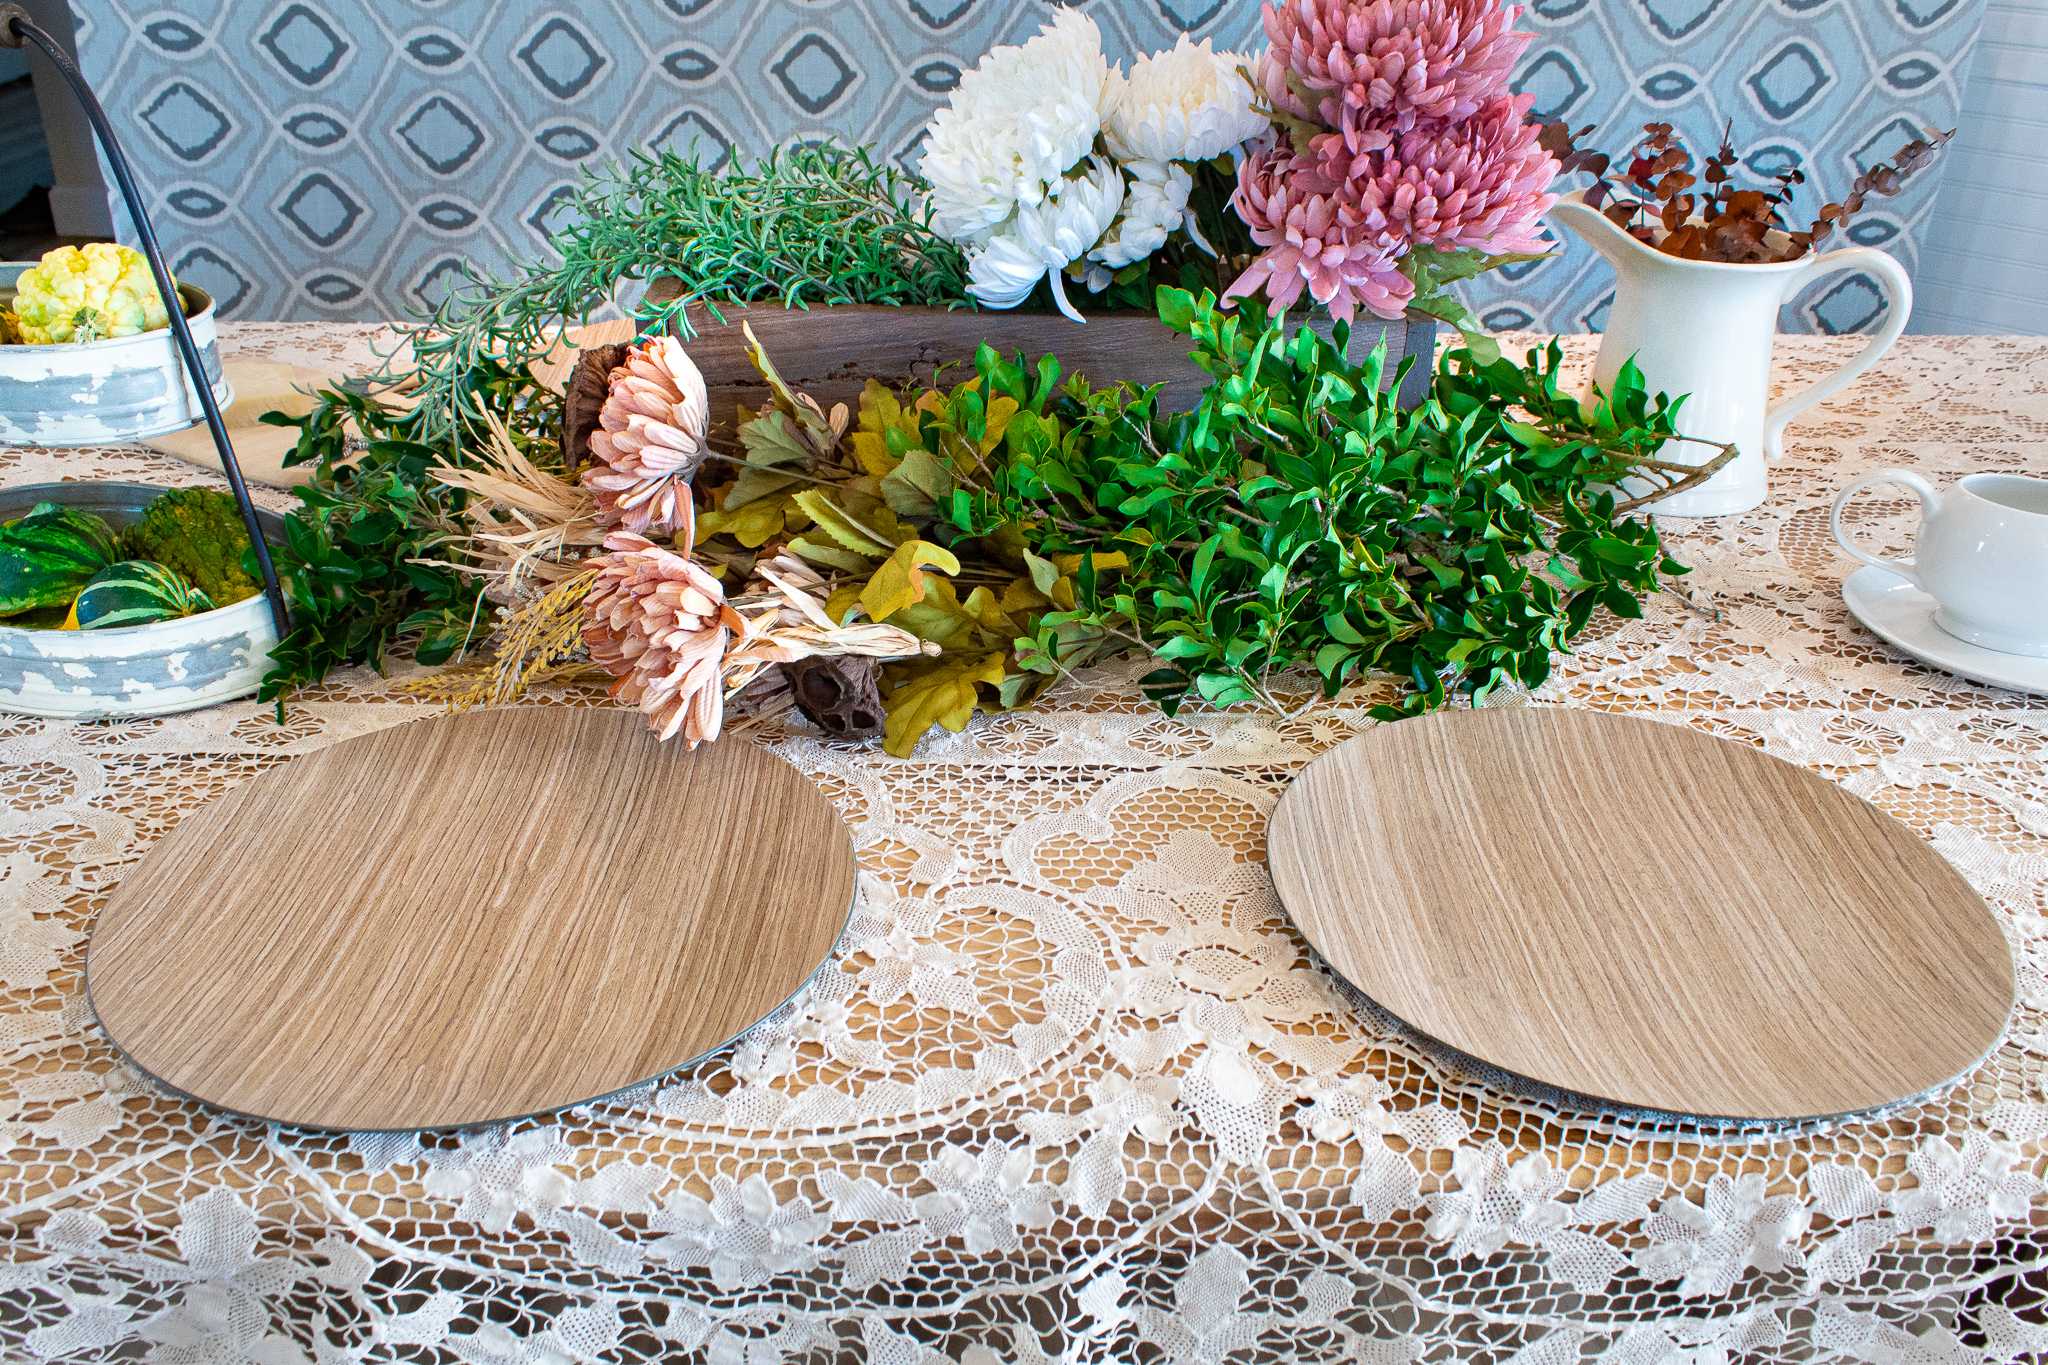
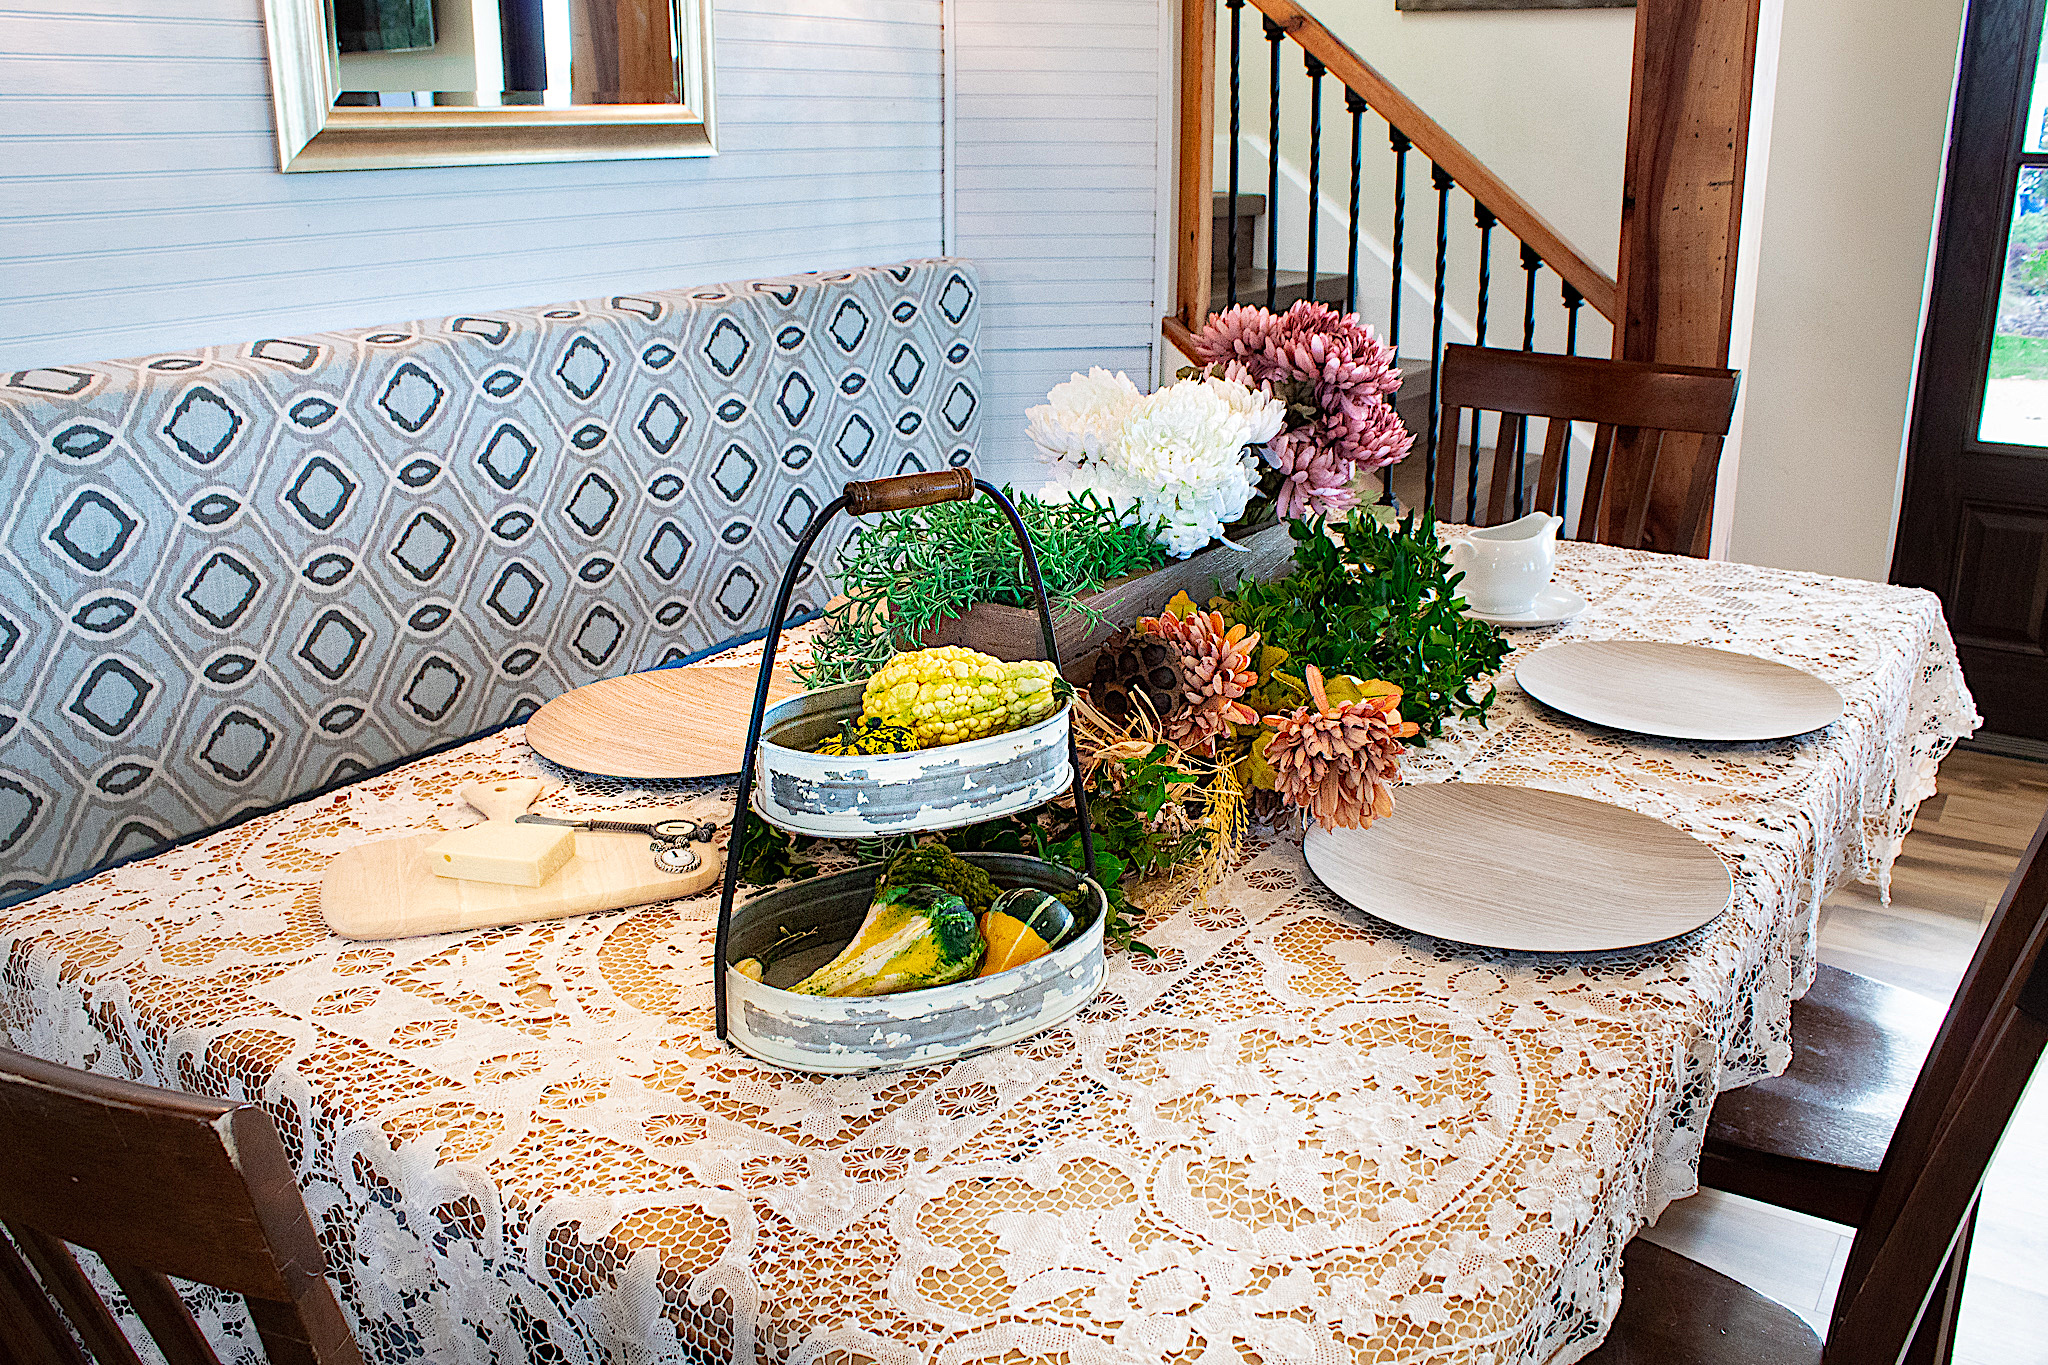
When my grandmother passed away I inherited some of her table linens. She had the most beautiful collection of embroidered, lace, and hand woven textiles. This lace table cloth is one of my favorites. To create a base for your tablescape use a pretty table cloth or a runner. For a classic, vintage look go with a neutral and light color.
At Hobby Lobby I picked out a mixed selection of faux florals. If you look carefully you can usually find discounted items.
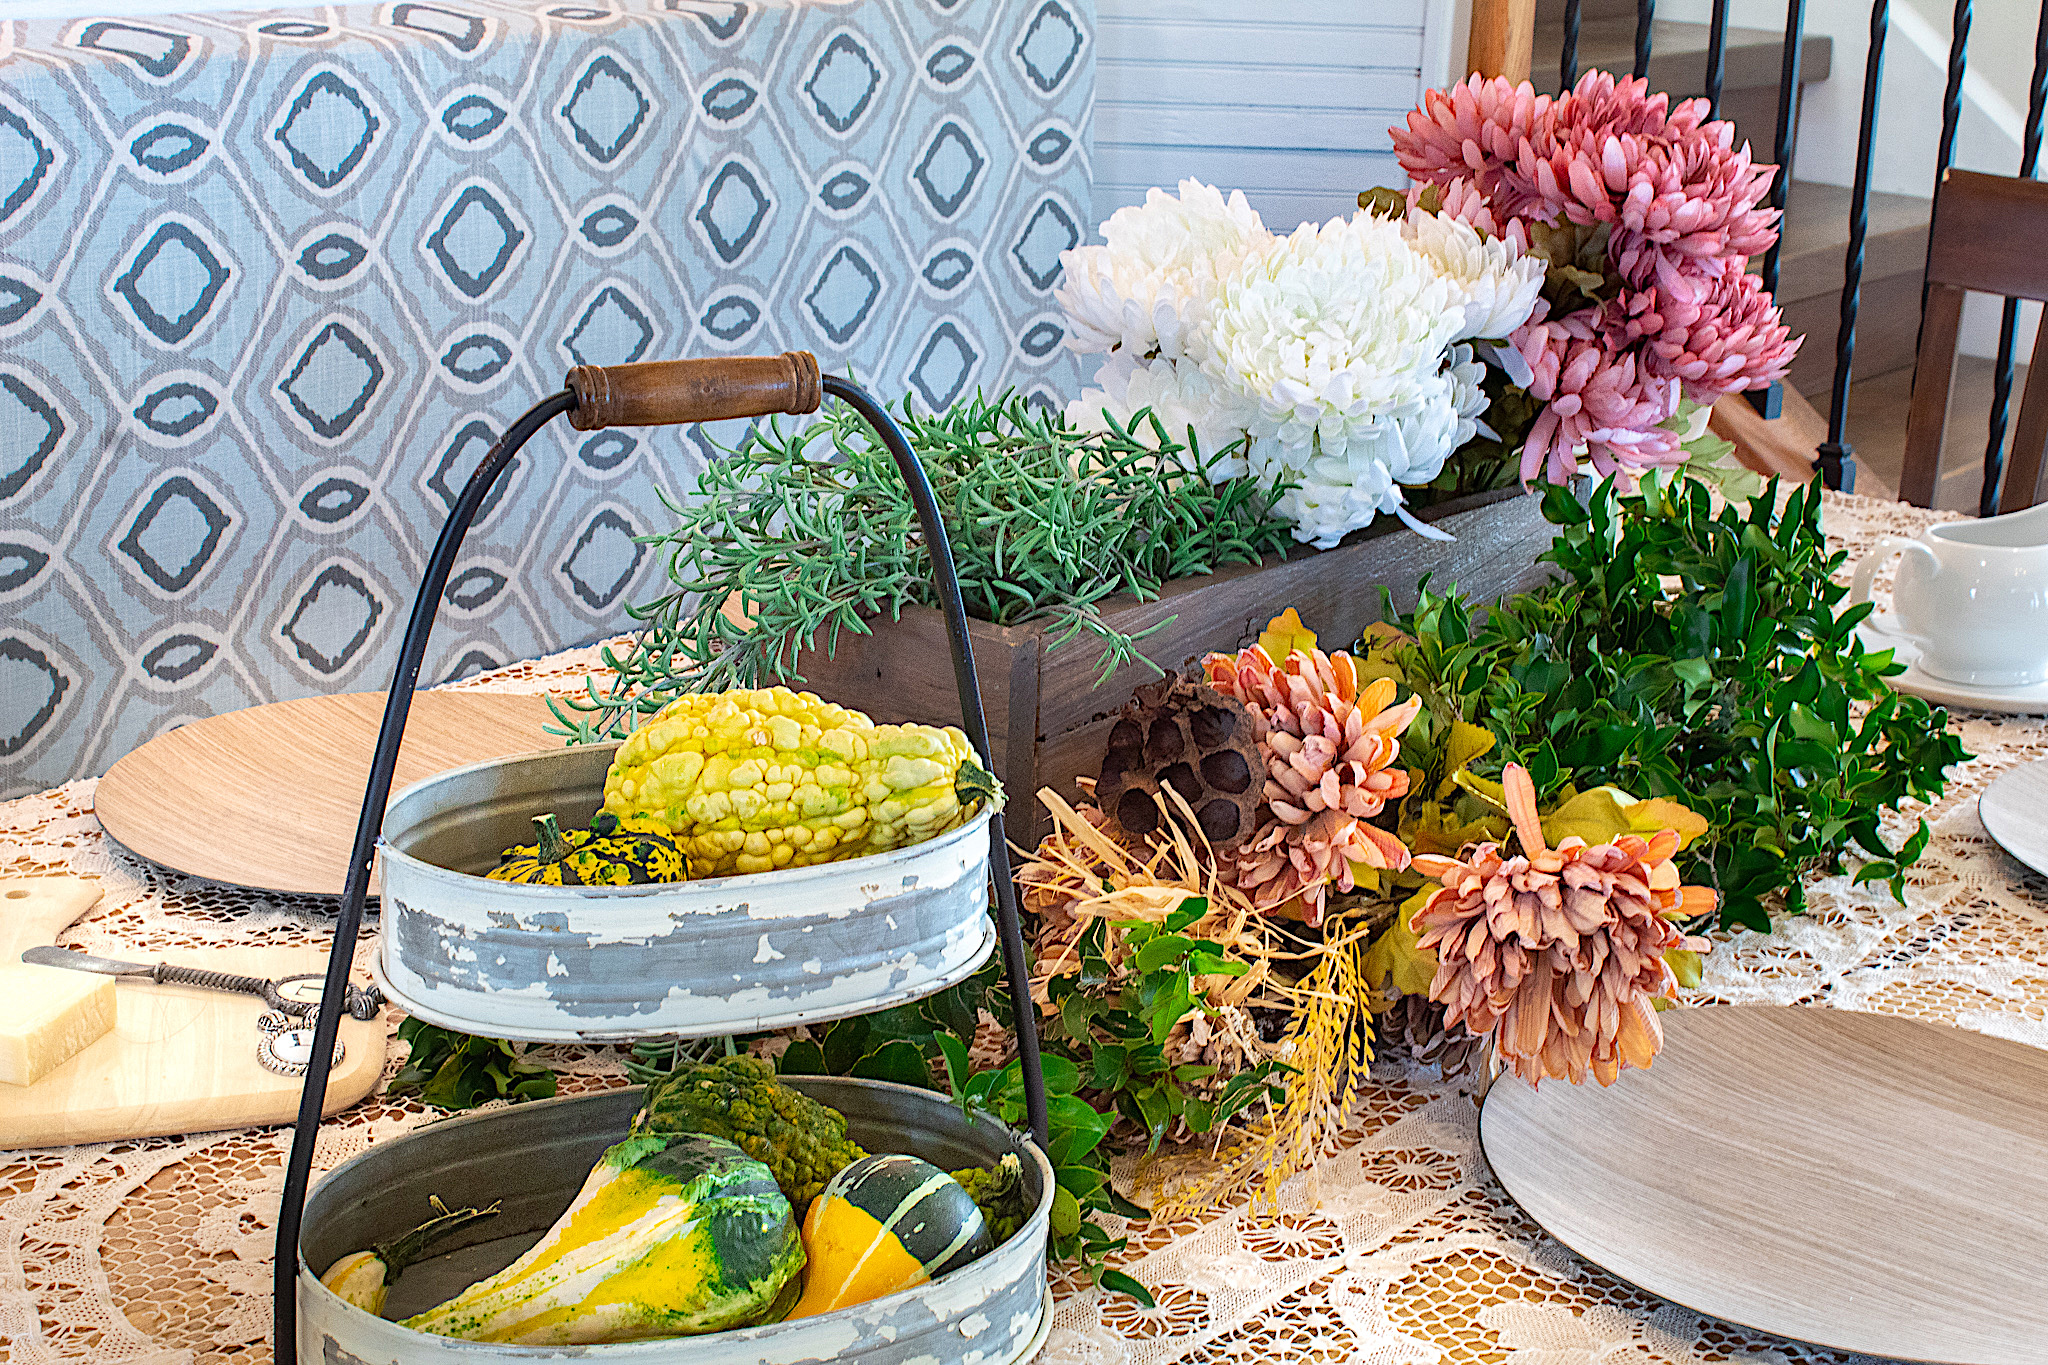
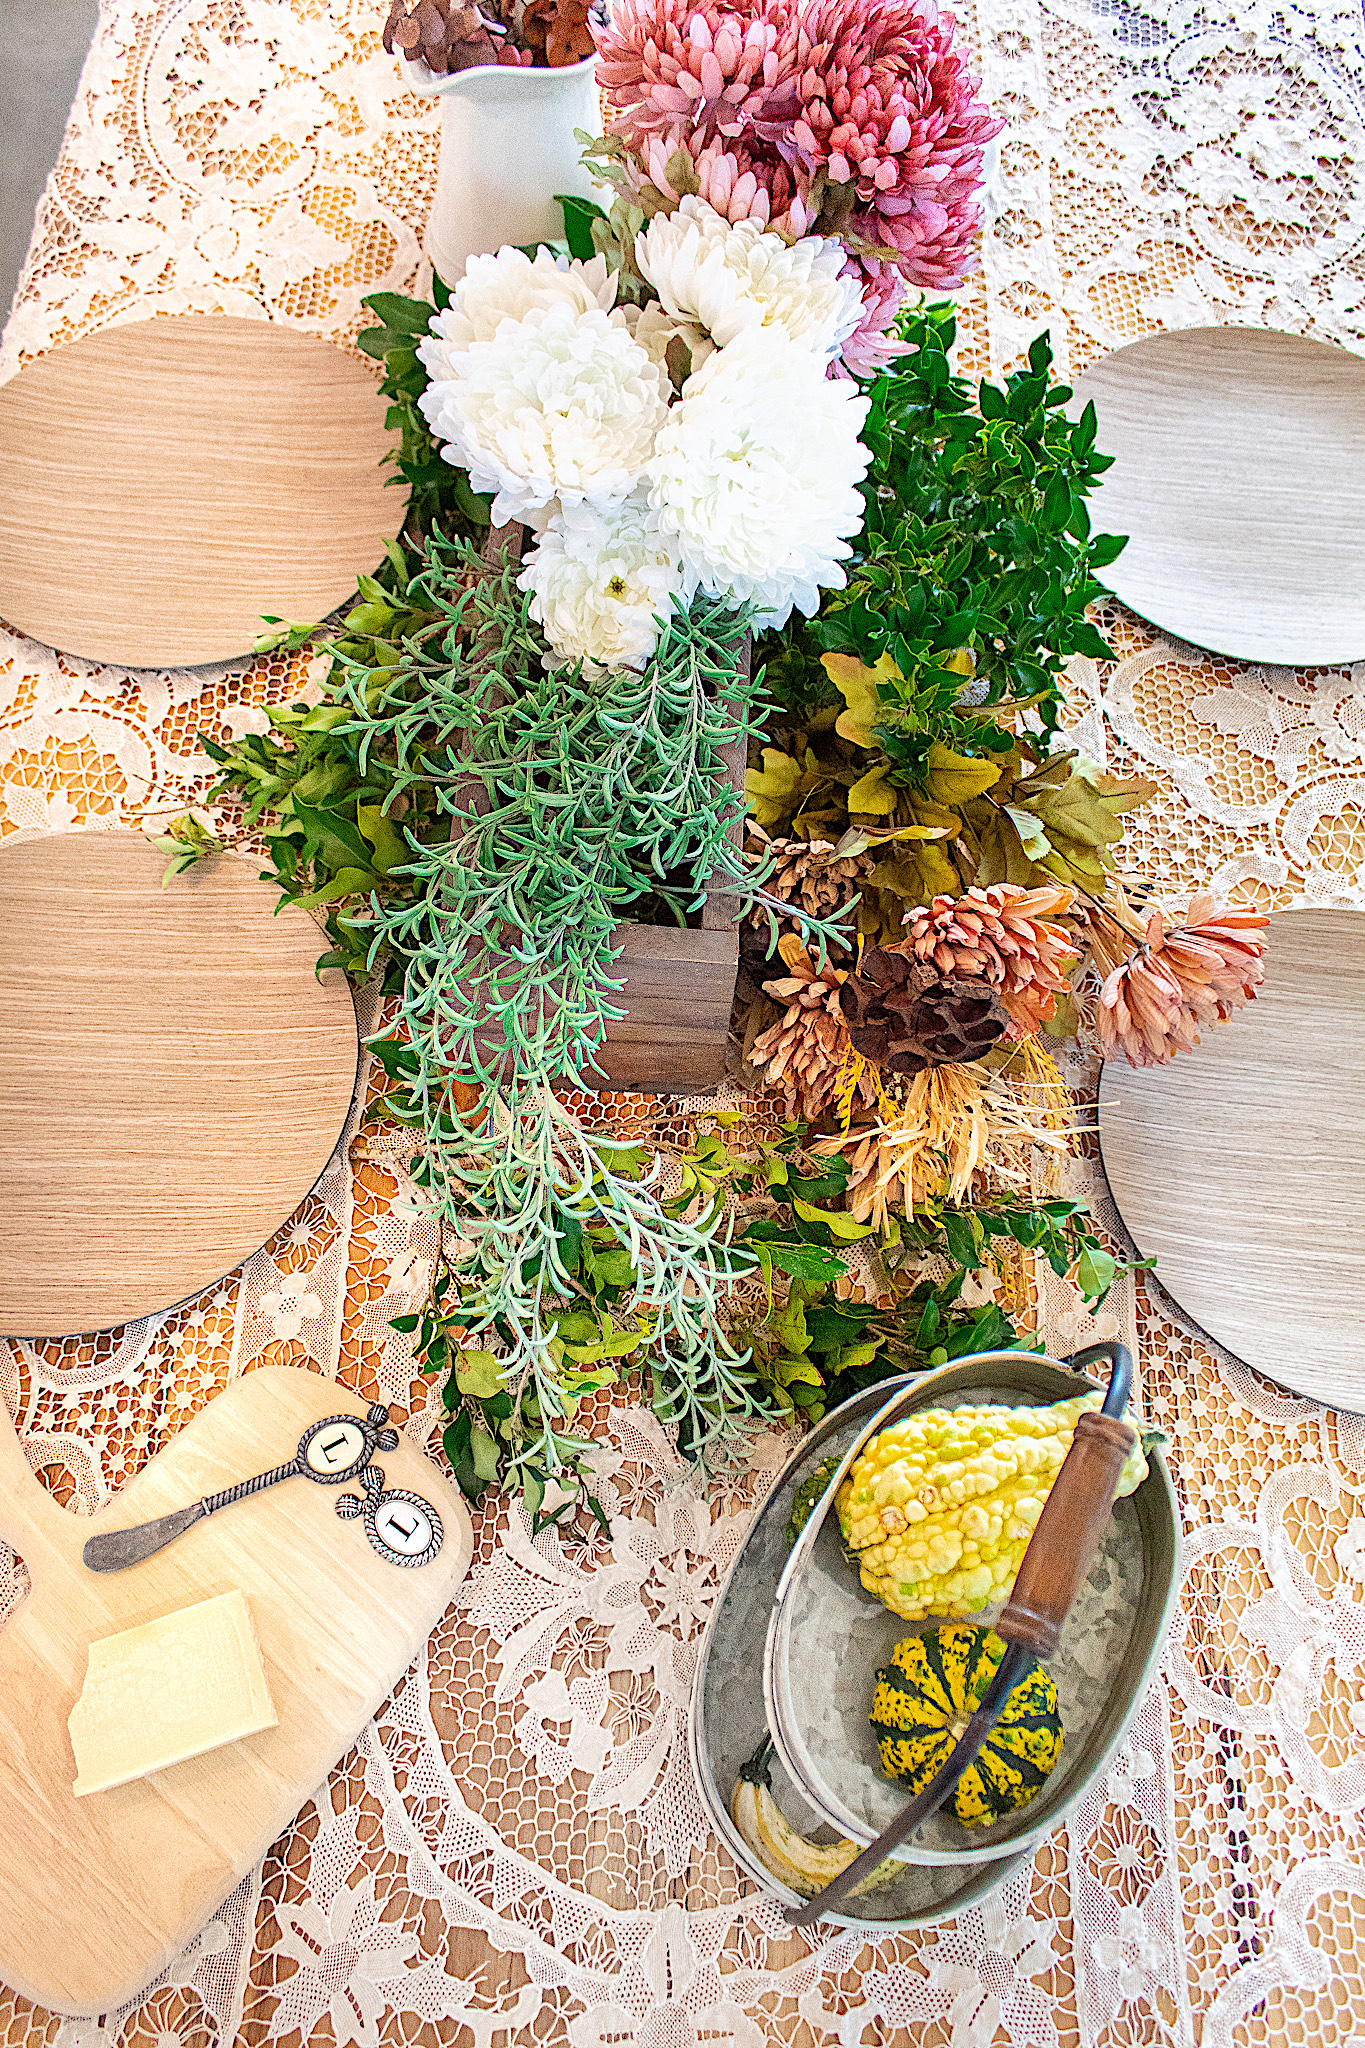
For a full look, layering is the trick. Variety can be good, but try to stay within the same color palette. Add woodsy elements like faux nuts and berries and use greenery as a fill in. I wanted to use Eucalyptus vines to frame my centerpiece but they were pretty pricey. So instead I took clippings from bushes in our yard and they complemented things beautifully.
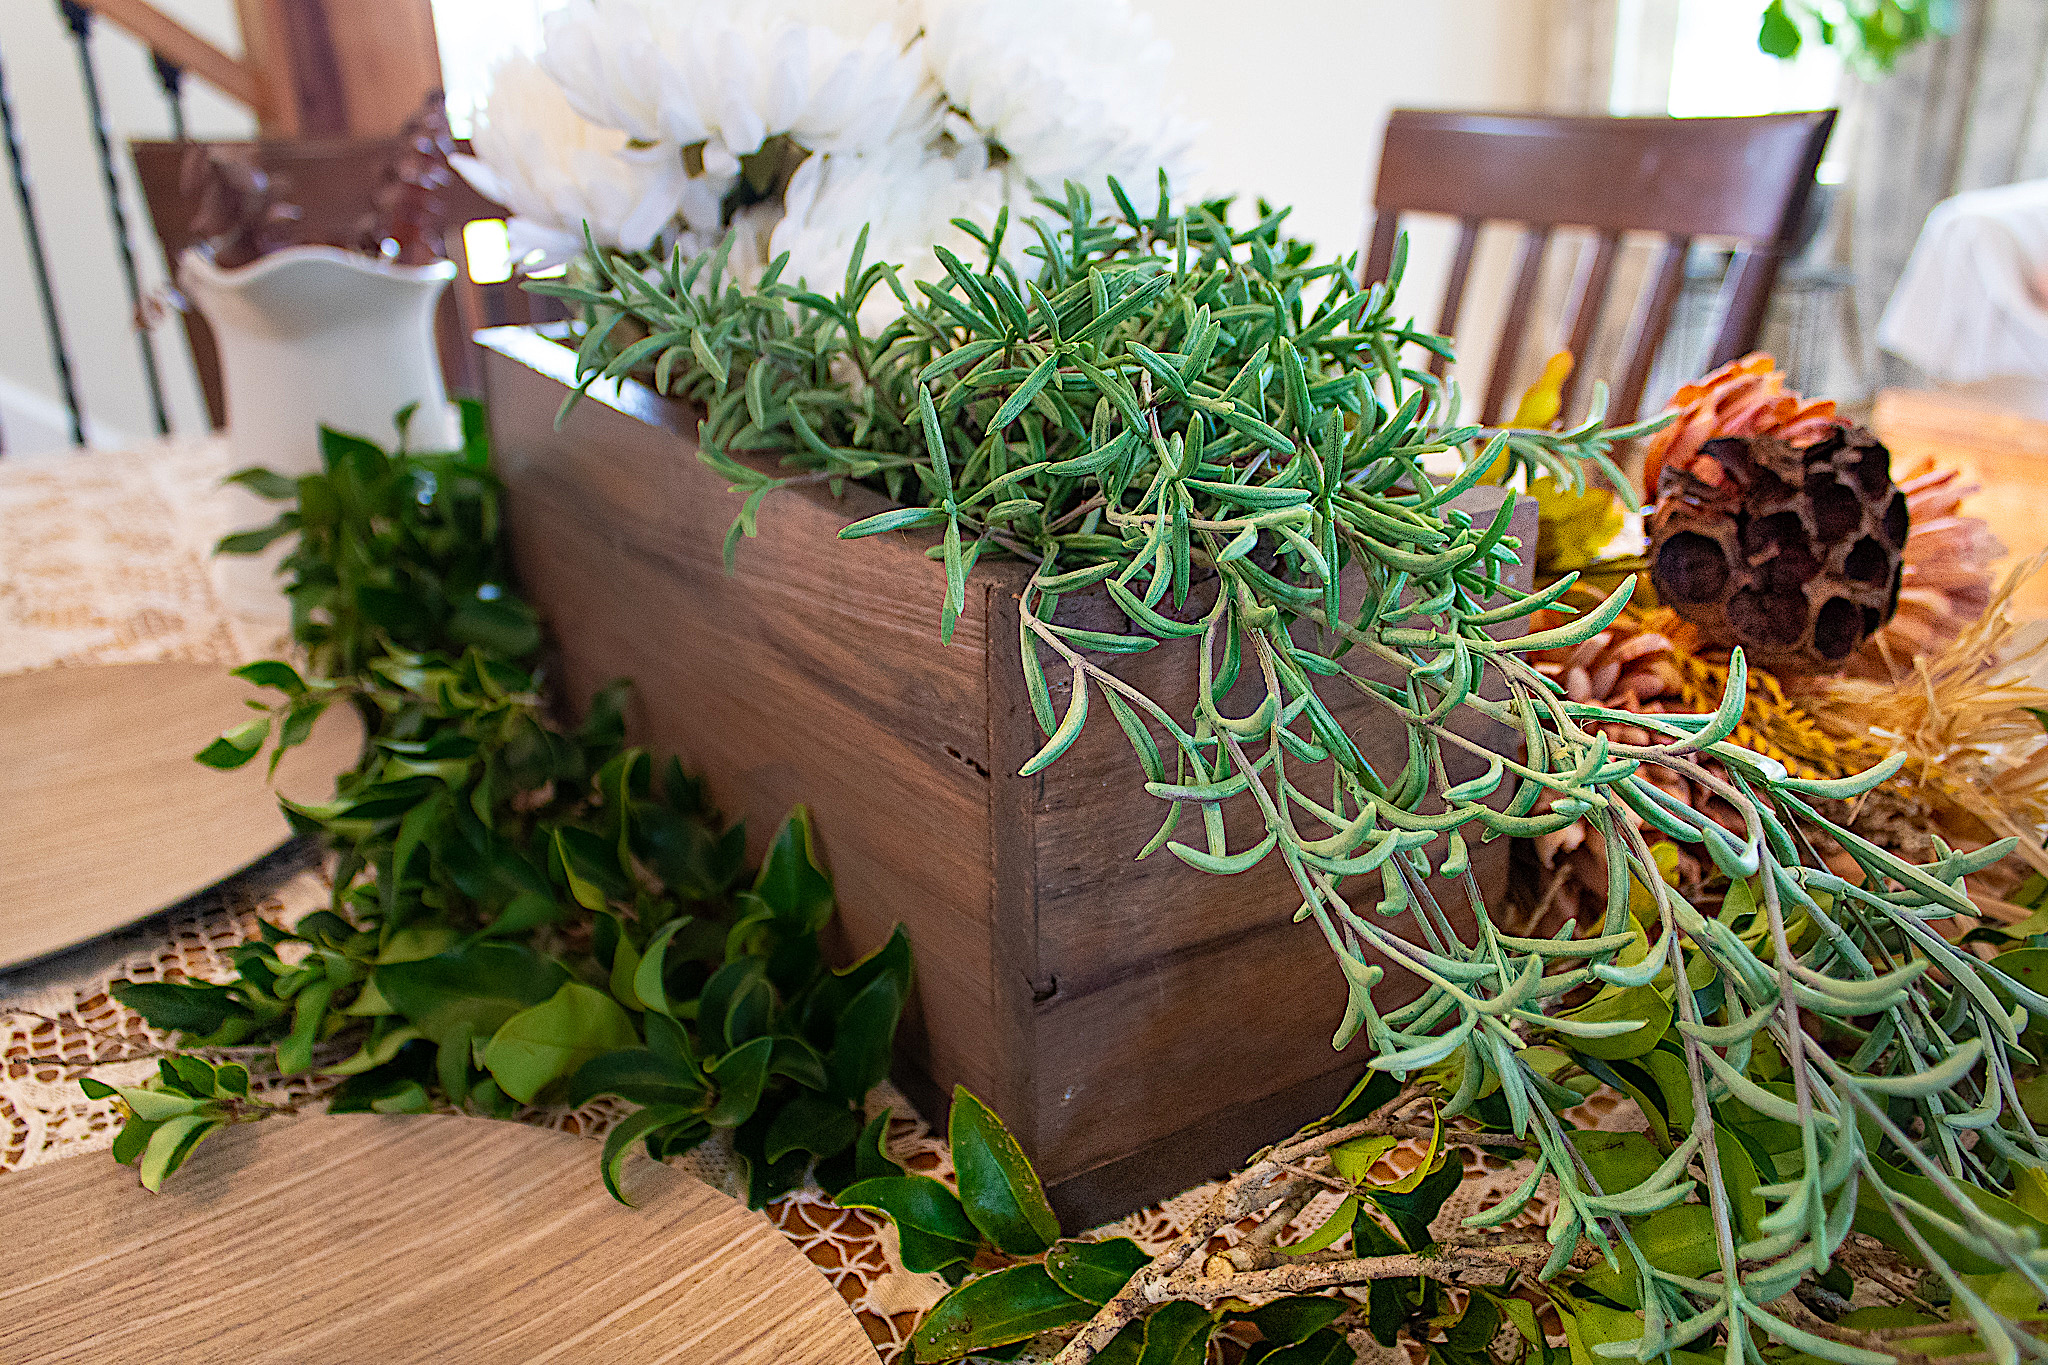
A center piece anchors your tablescape and serves as a focal point. Below is the tutorial for how I made this flower box center piece in 10 minutes. You can use a large platter, a piece of driftwood, a basket or so many other items to create your centerpiece. Get creative!
Use decor to add height variations. You don’t want a flat visual. Adding stemware, vases, or tiered trays gives your tablescape lovely dimension. I bought a pretty tiered stand from Hobby Lobby which I filled with colorful gourds I found at walmart (pack of 5 for under $5!). Plastic plates from Hobby Lobby that looked like wood provided a lovely rustic touch without breaking the budget.
10 Minute Decorative Flower Box
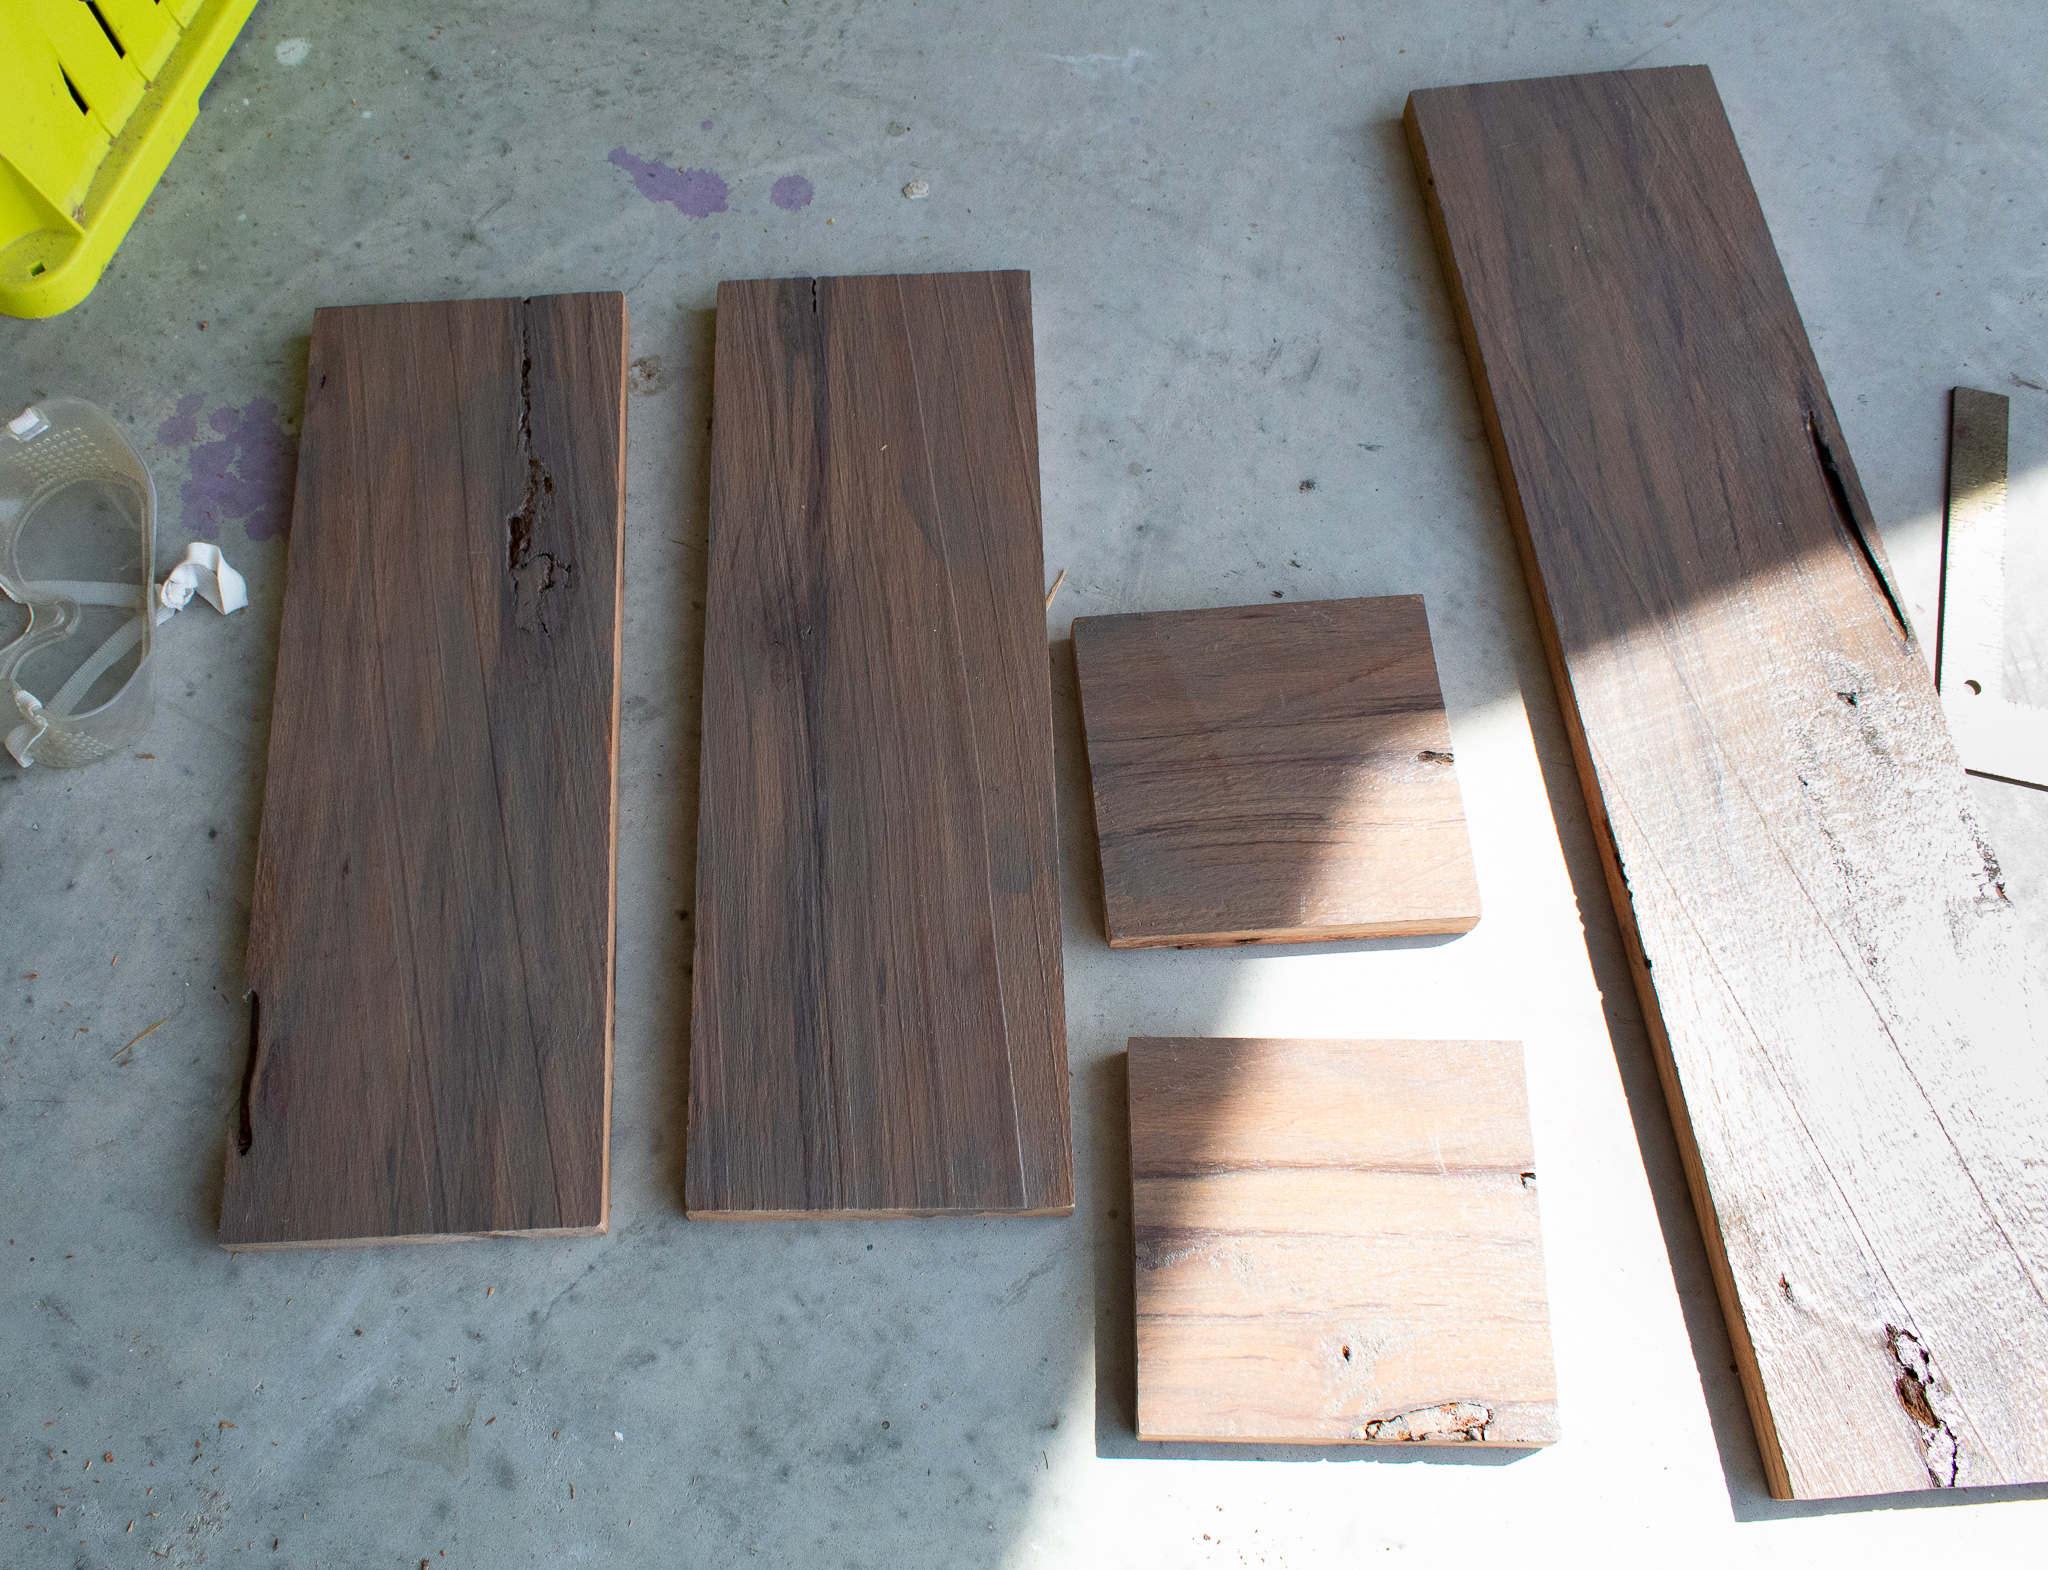
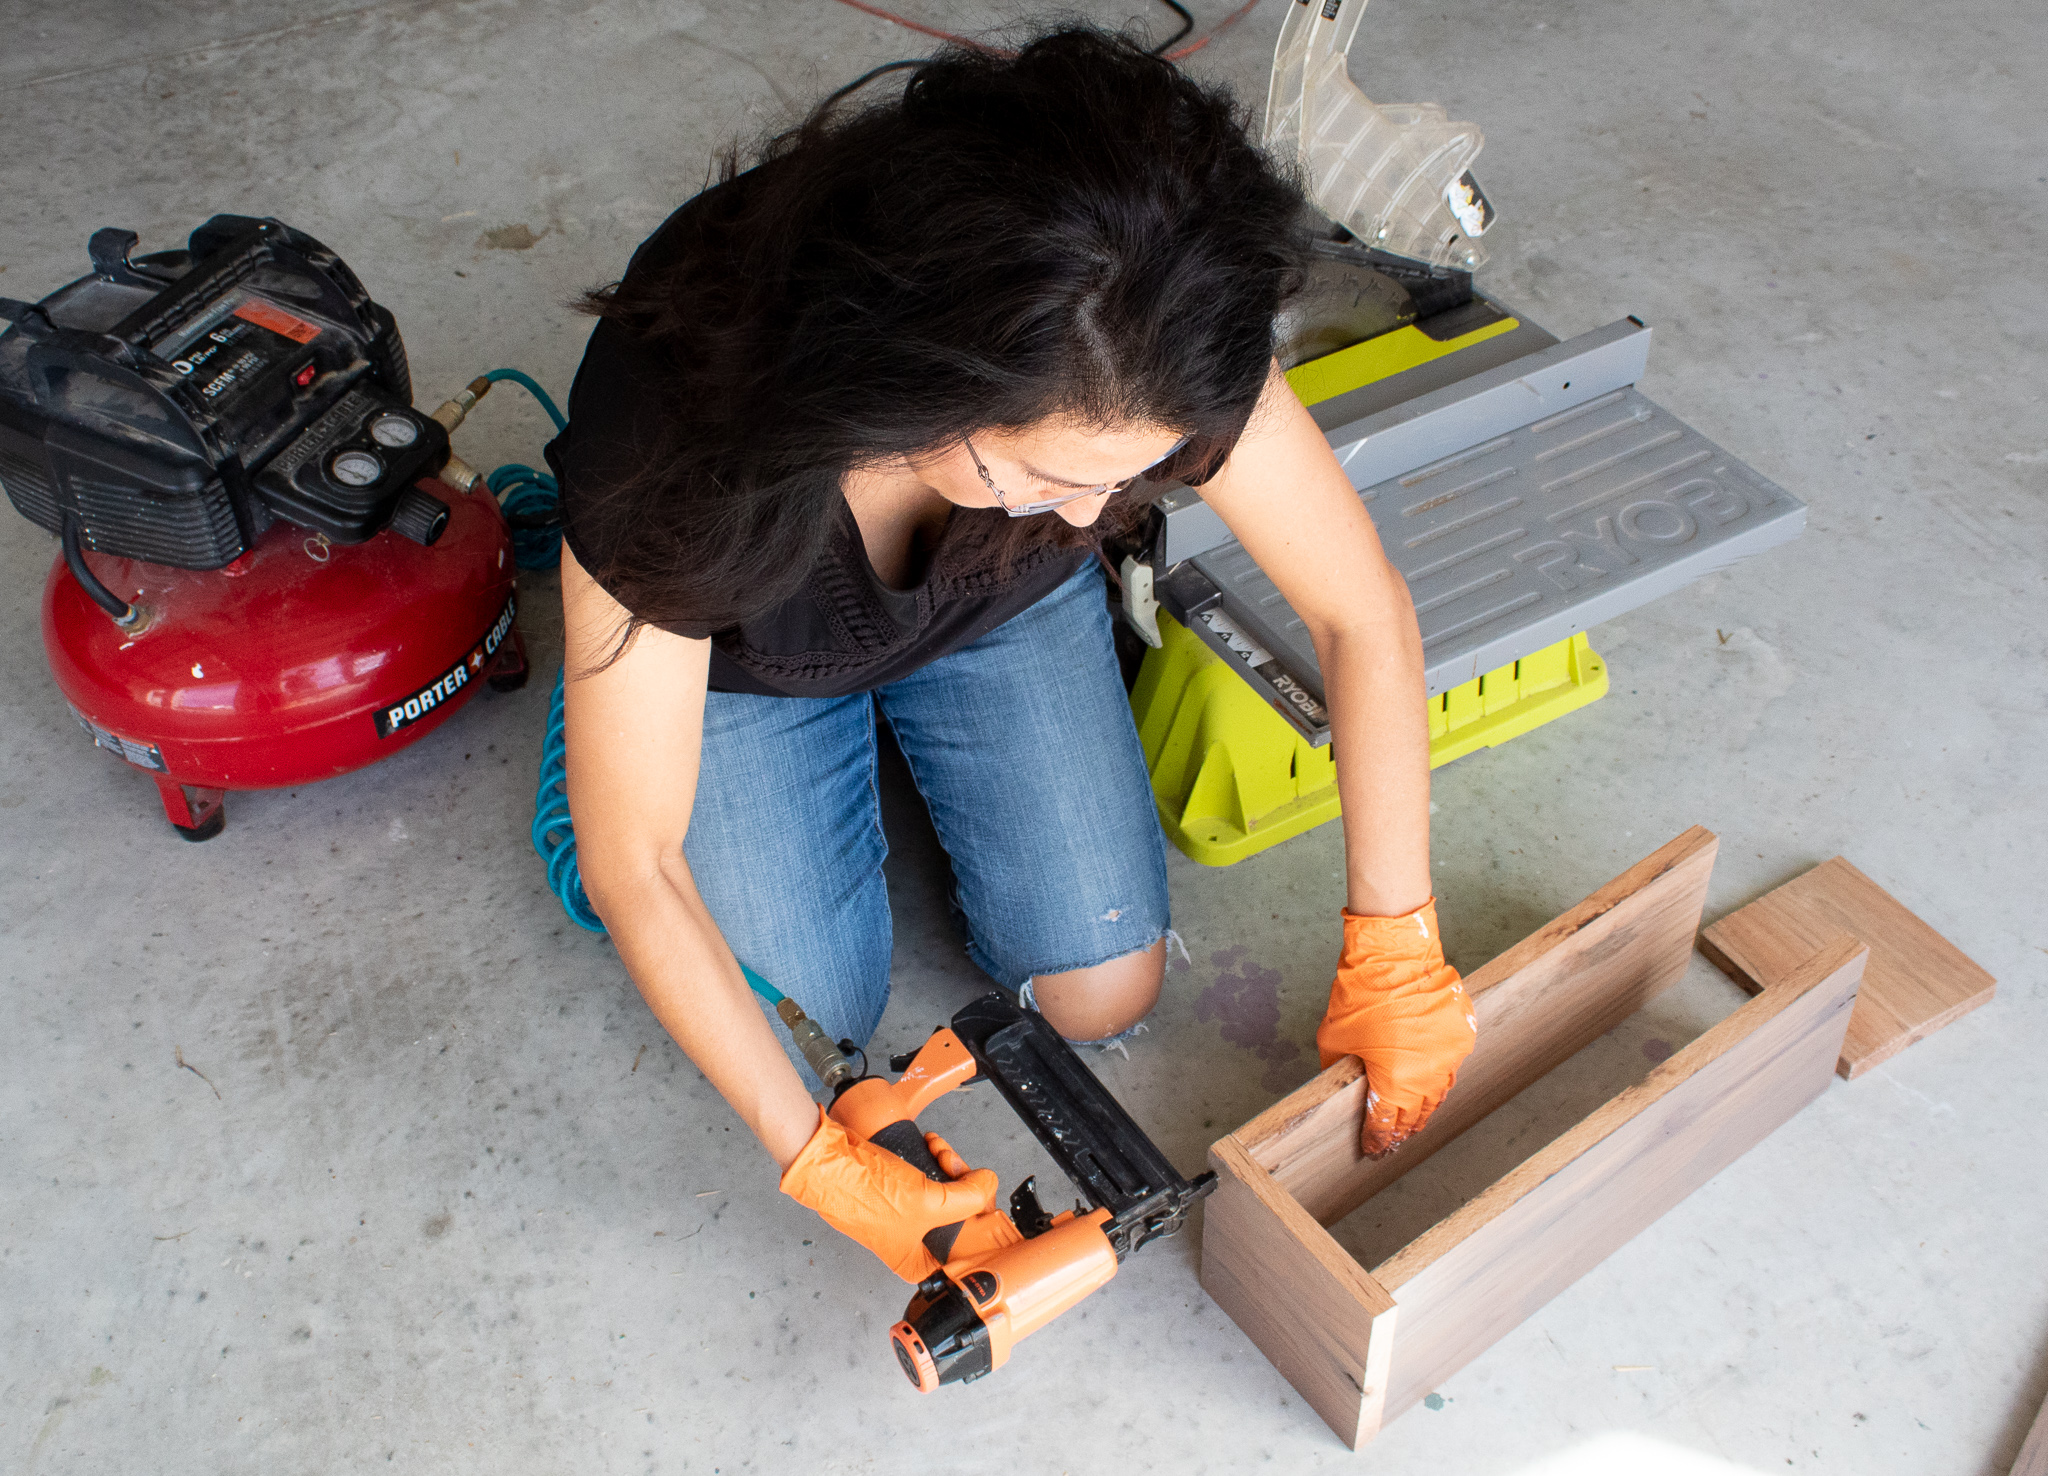
Scrap wood from around the house is perfect for creating a centerpiece flower box. You can also use it for a decorative display in your home. For rustic appeal, the more beaten, old and weathered the wood, the better. If you have new wood, you can stain or paint and distress it with sandpaper. The look is a matter of personal preference. I used some leftover pieces of wood from our stairs that had been previously stained in Briarsmoke.
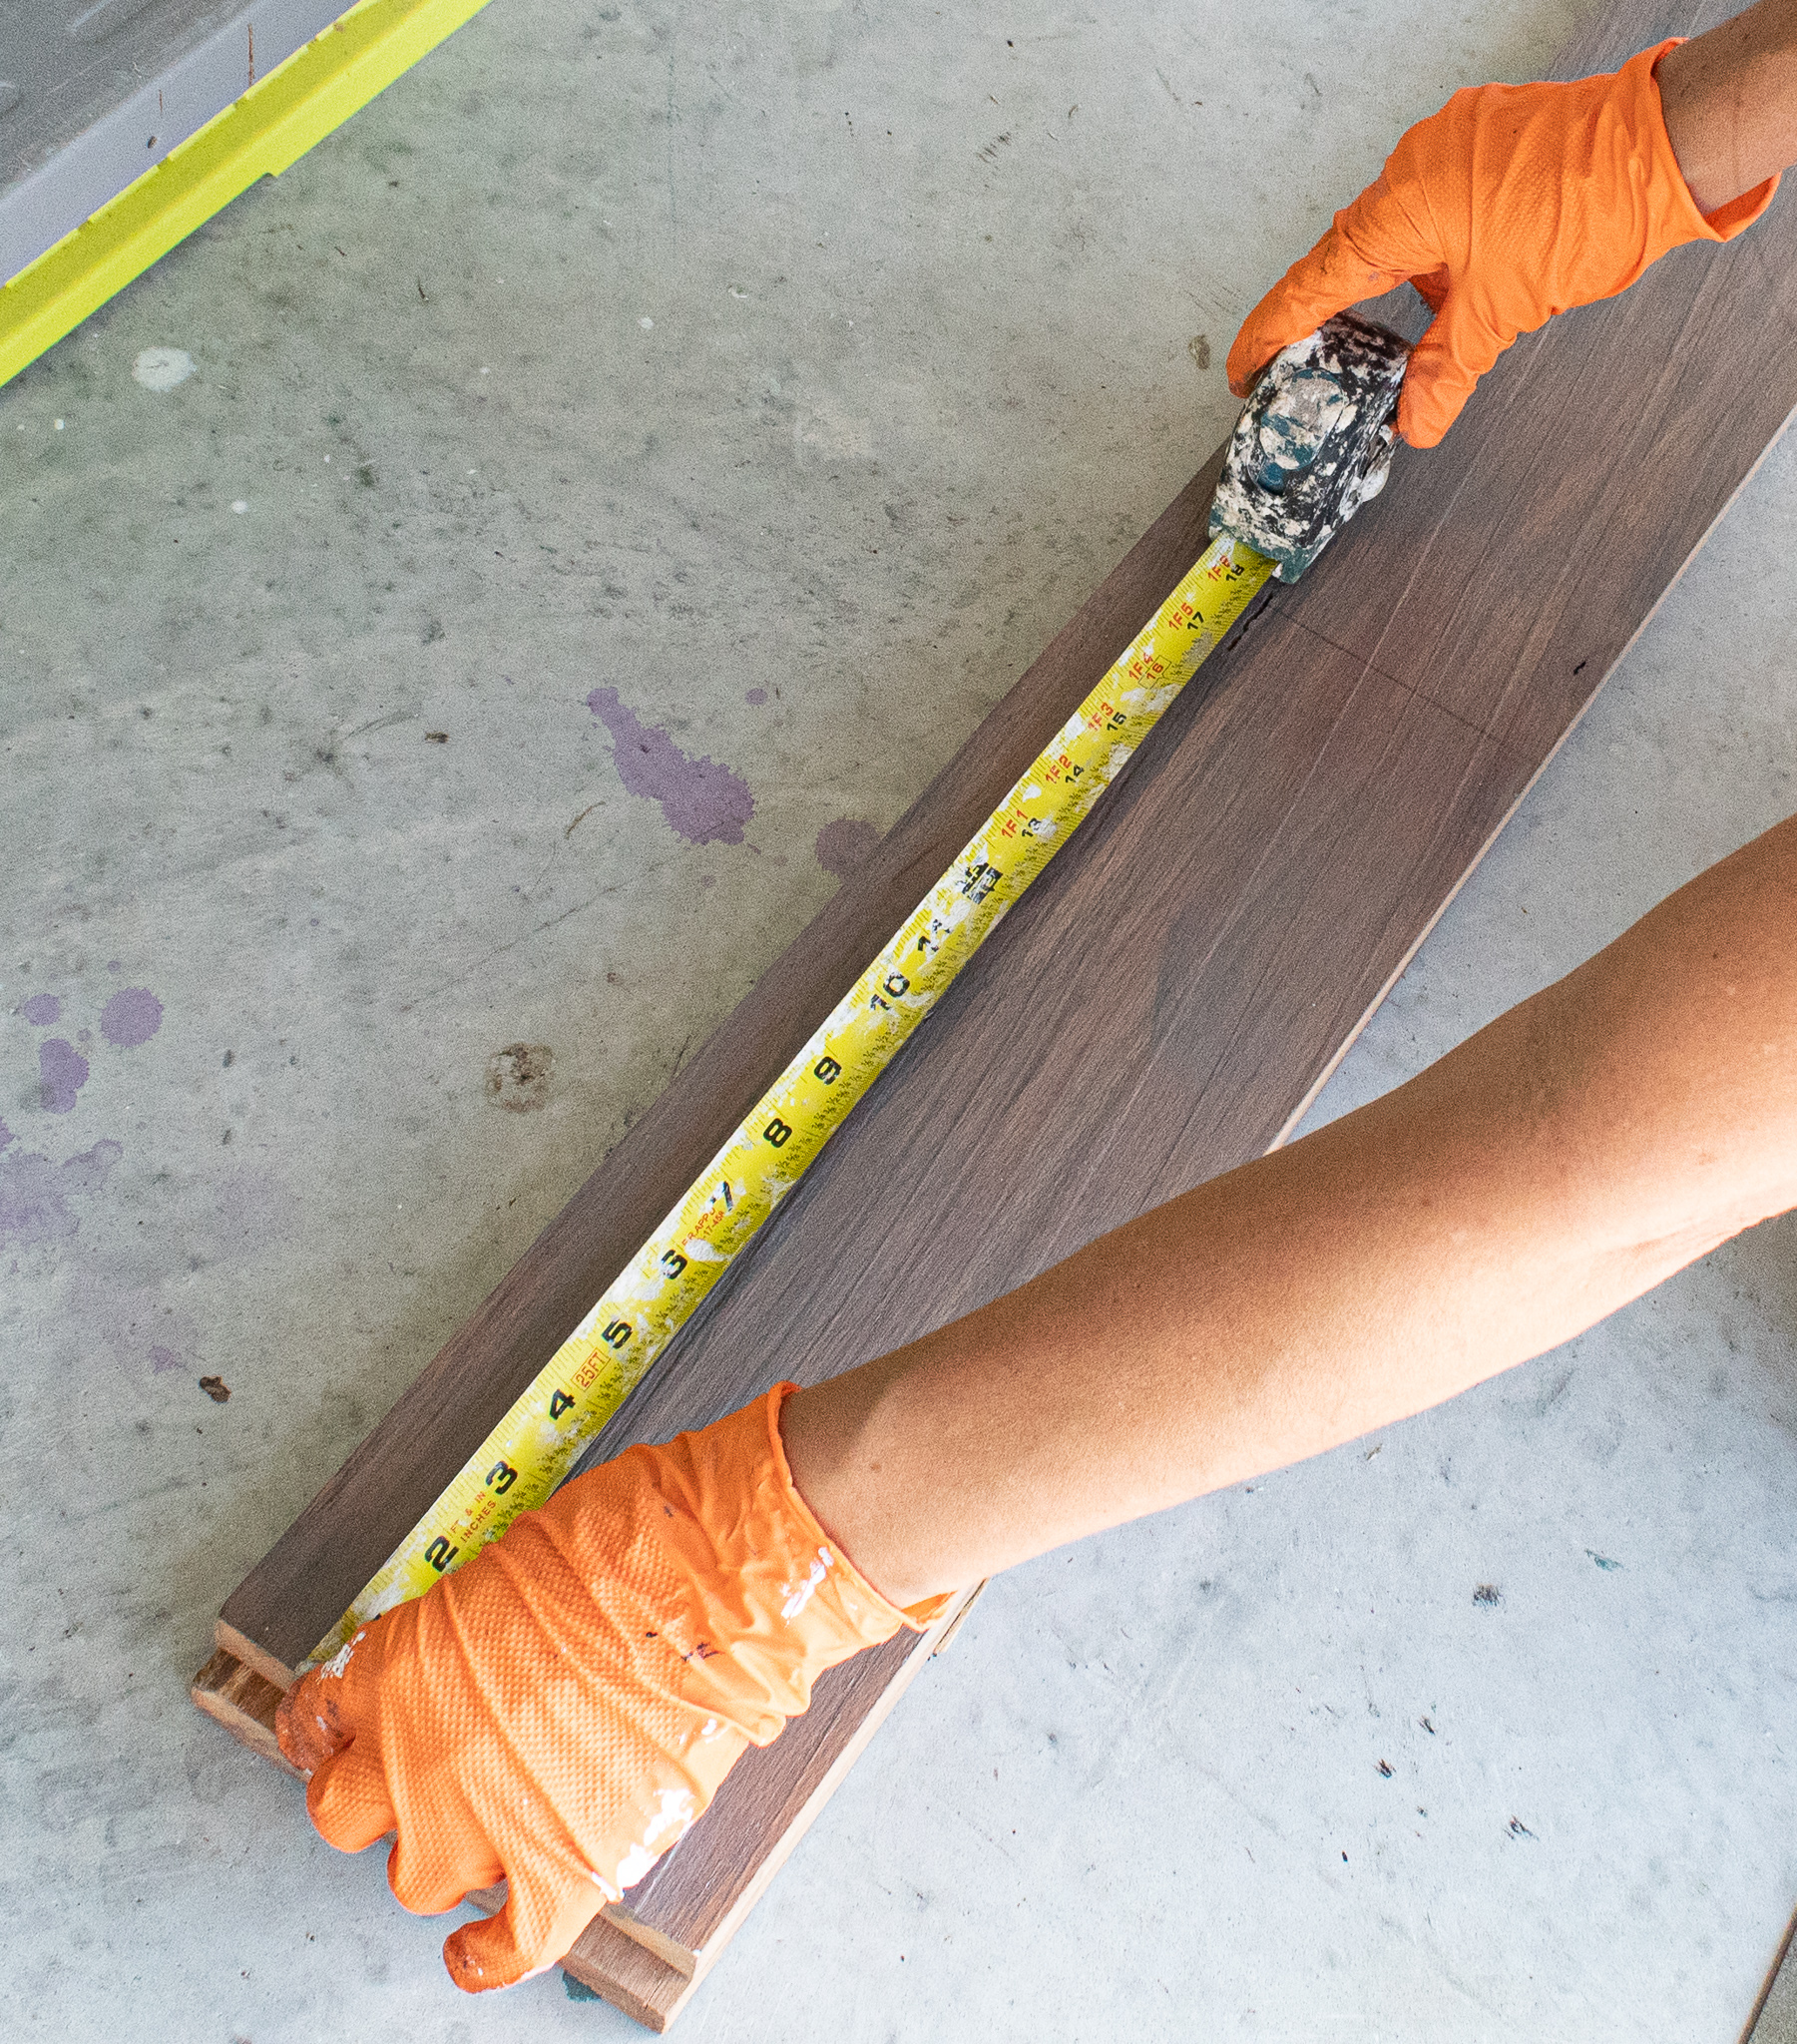
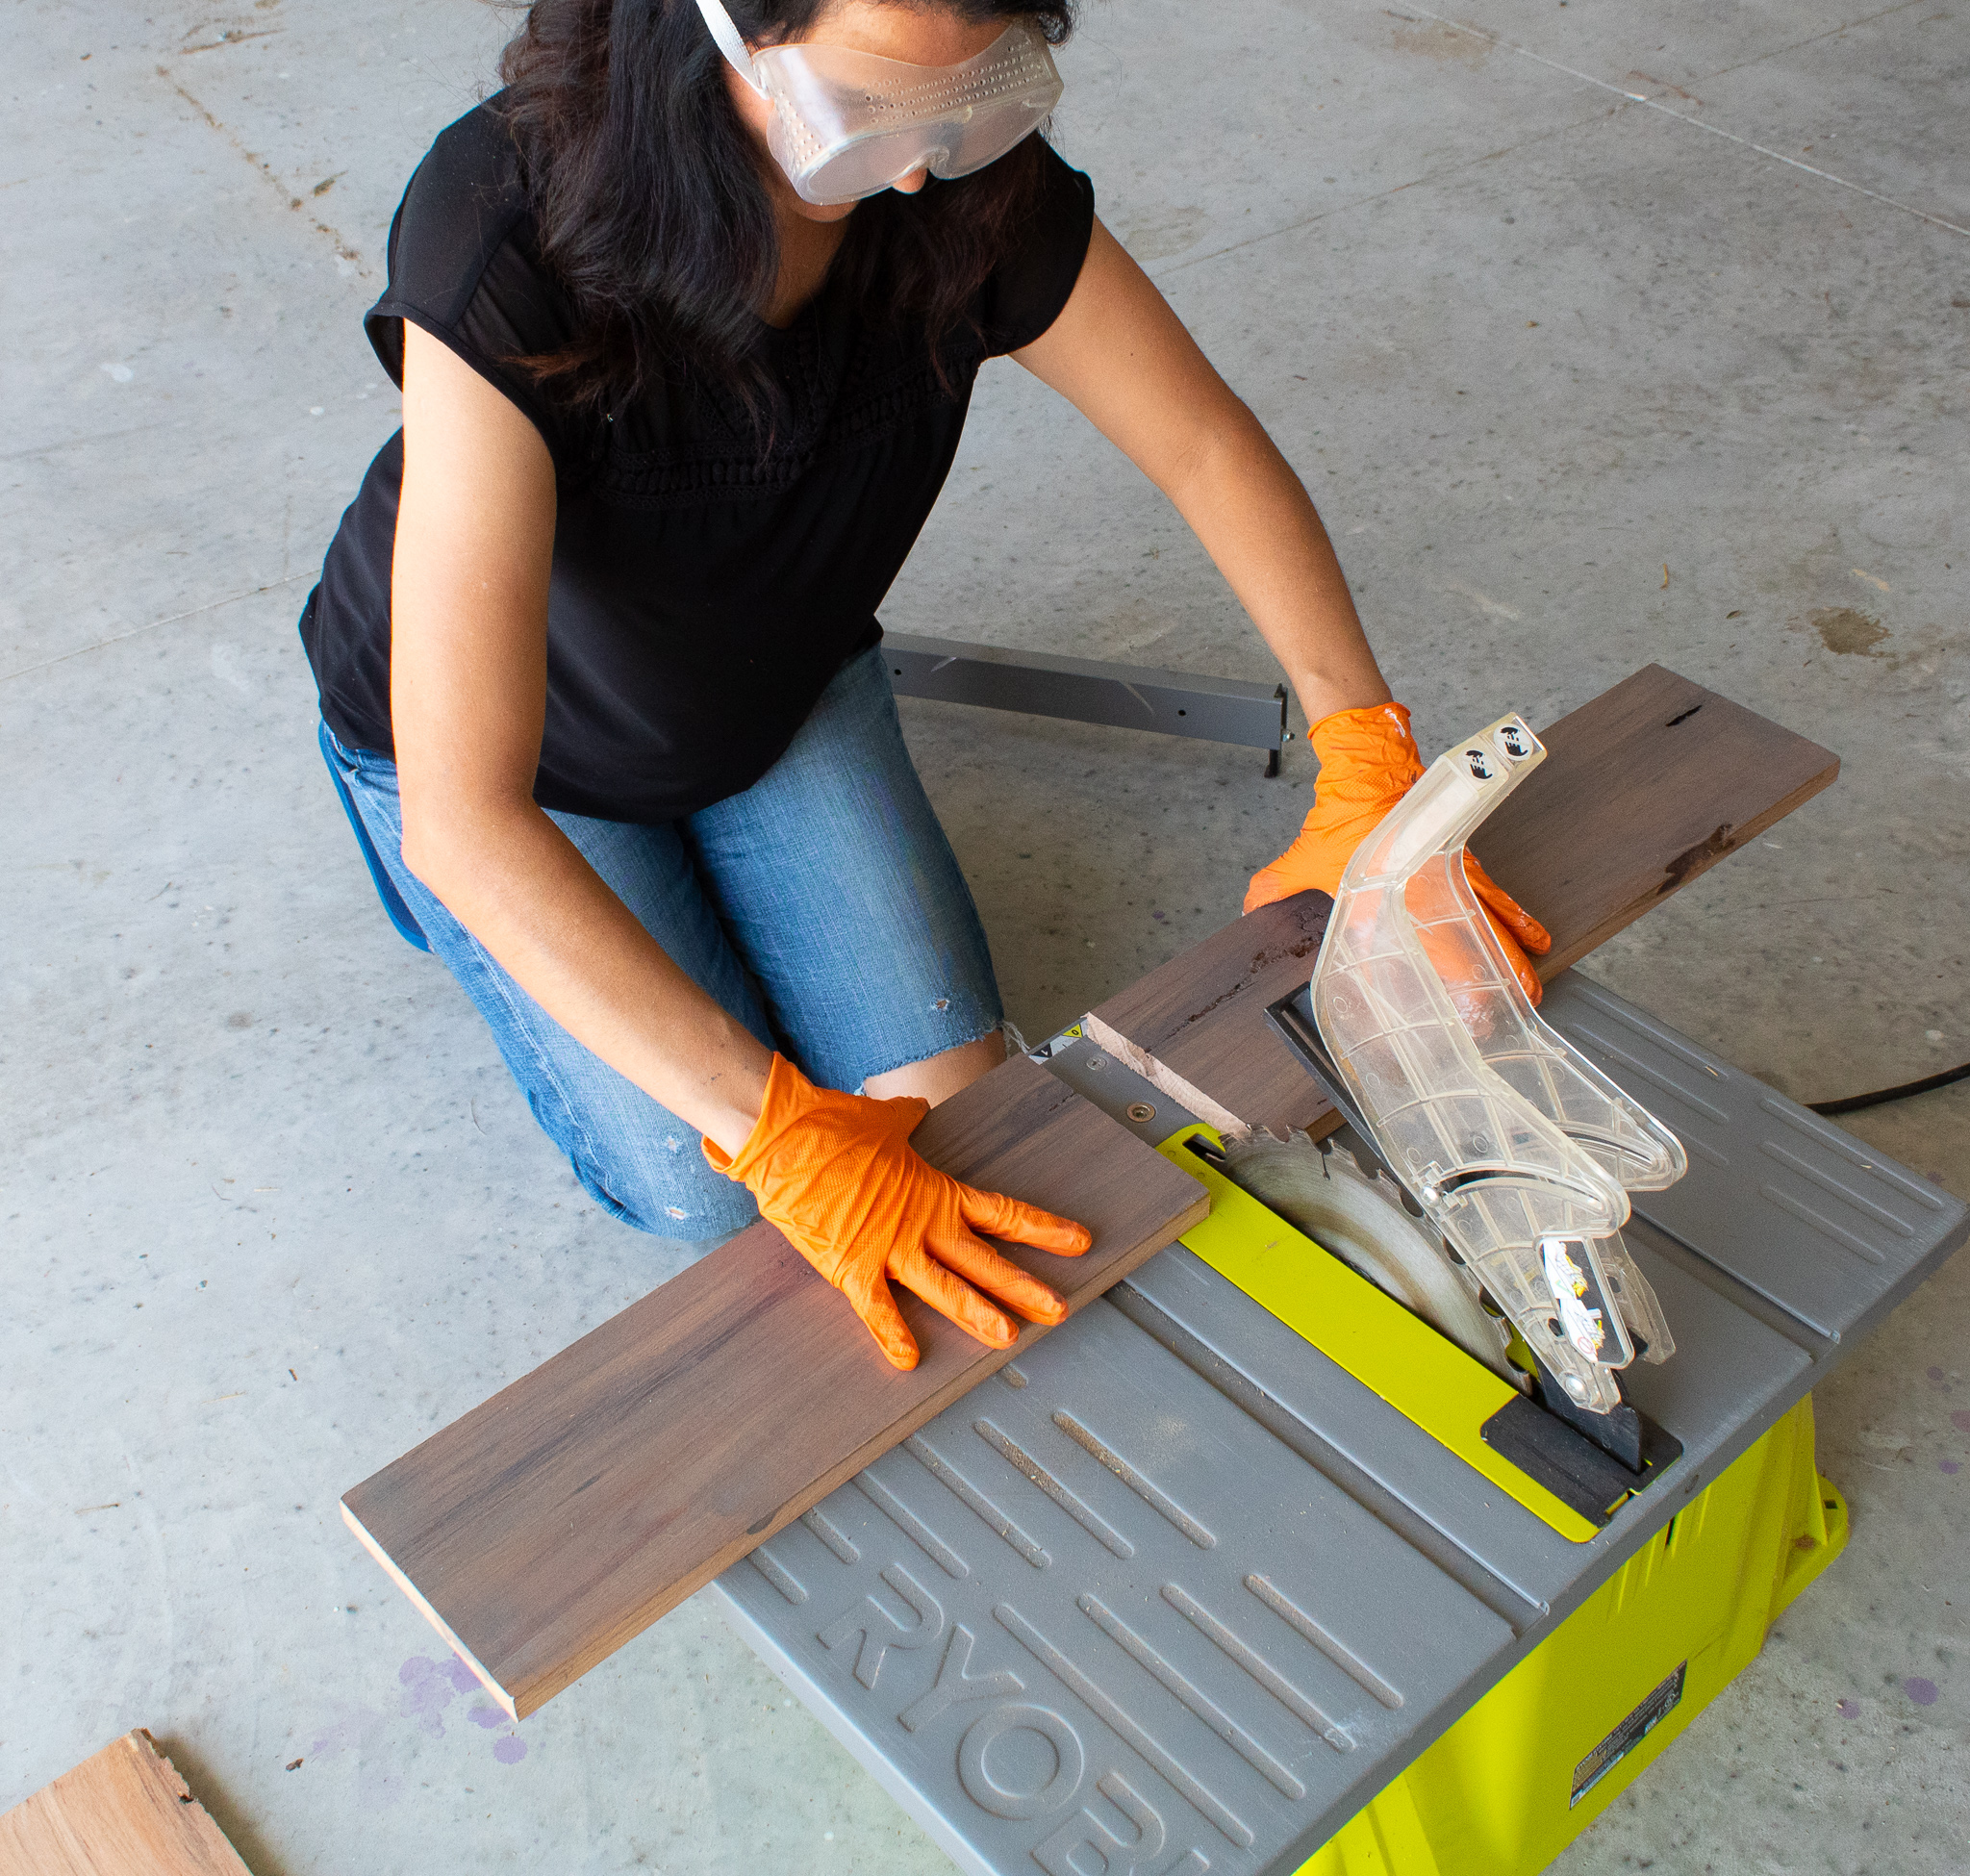
1. Cut your wood
First measure and cut your wood into four pieces to form a rectangle. I made each long side about 18 inches long and my short sides about 6 inches each. The width of my boards was about 6 inches which was a good height for the box. Only cut the first four pieces at this point. Don’t worry about cutting your bottom piece until the box is assembled. I used our table saw to cut the wood likety split. Be sure to follow all safety precautions when working with power tools.
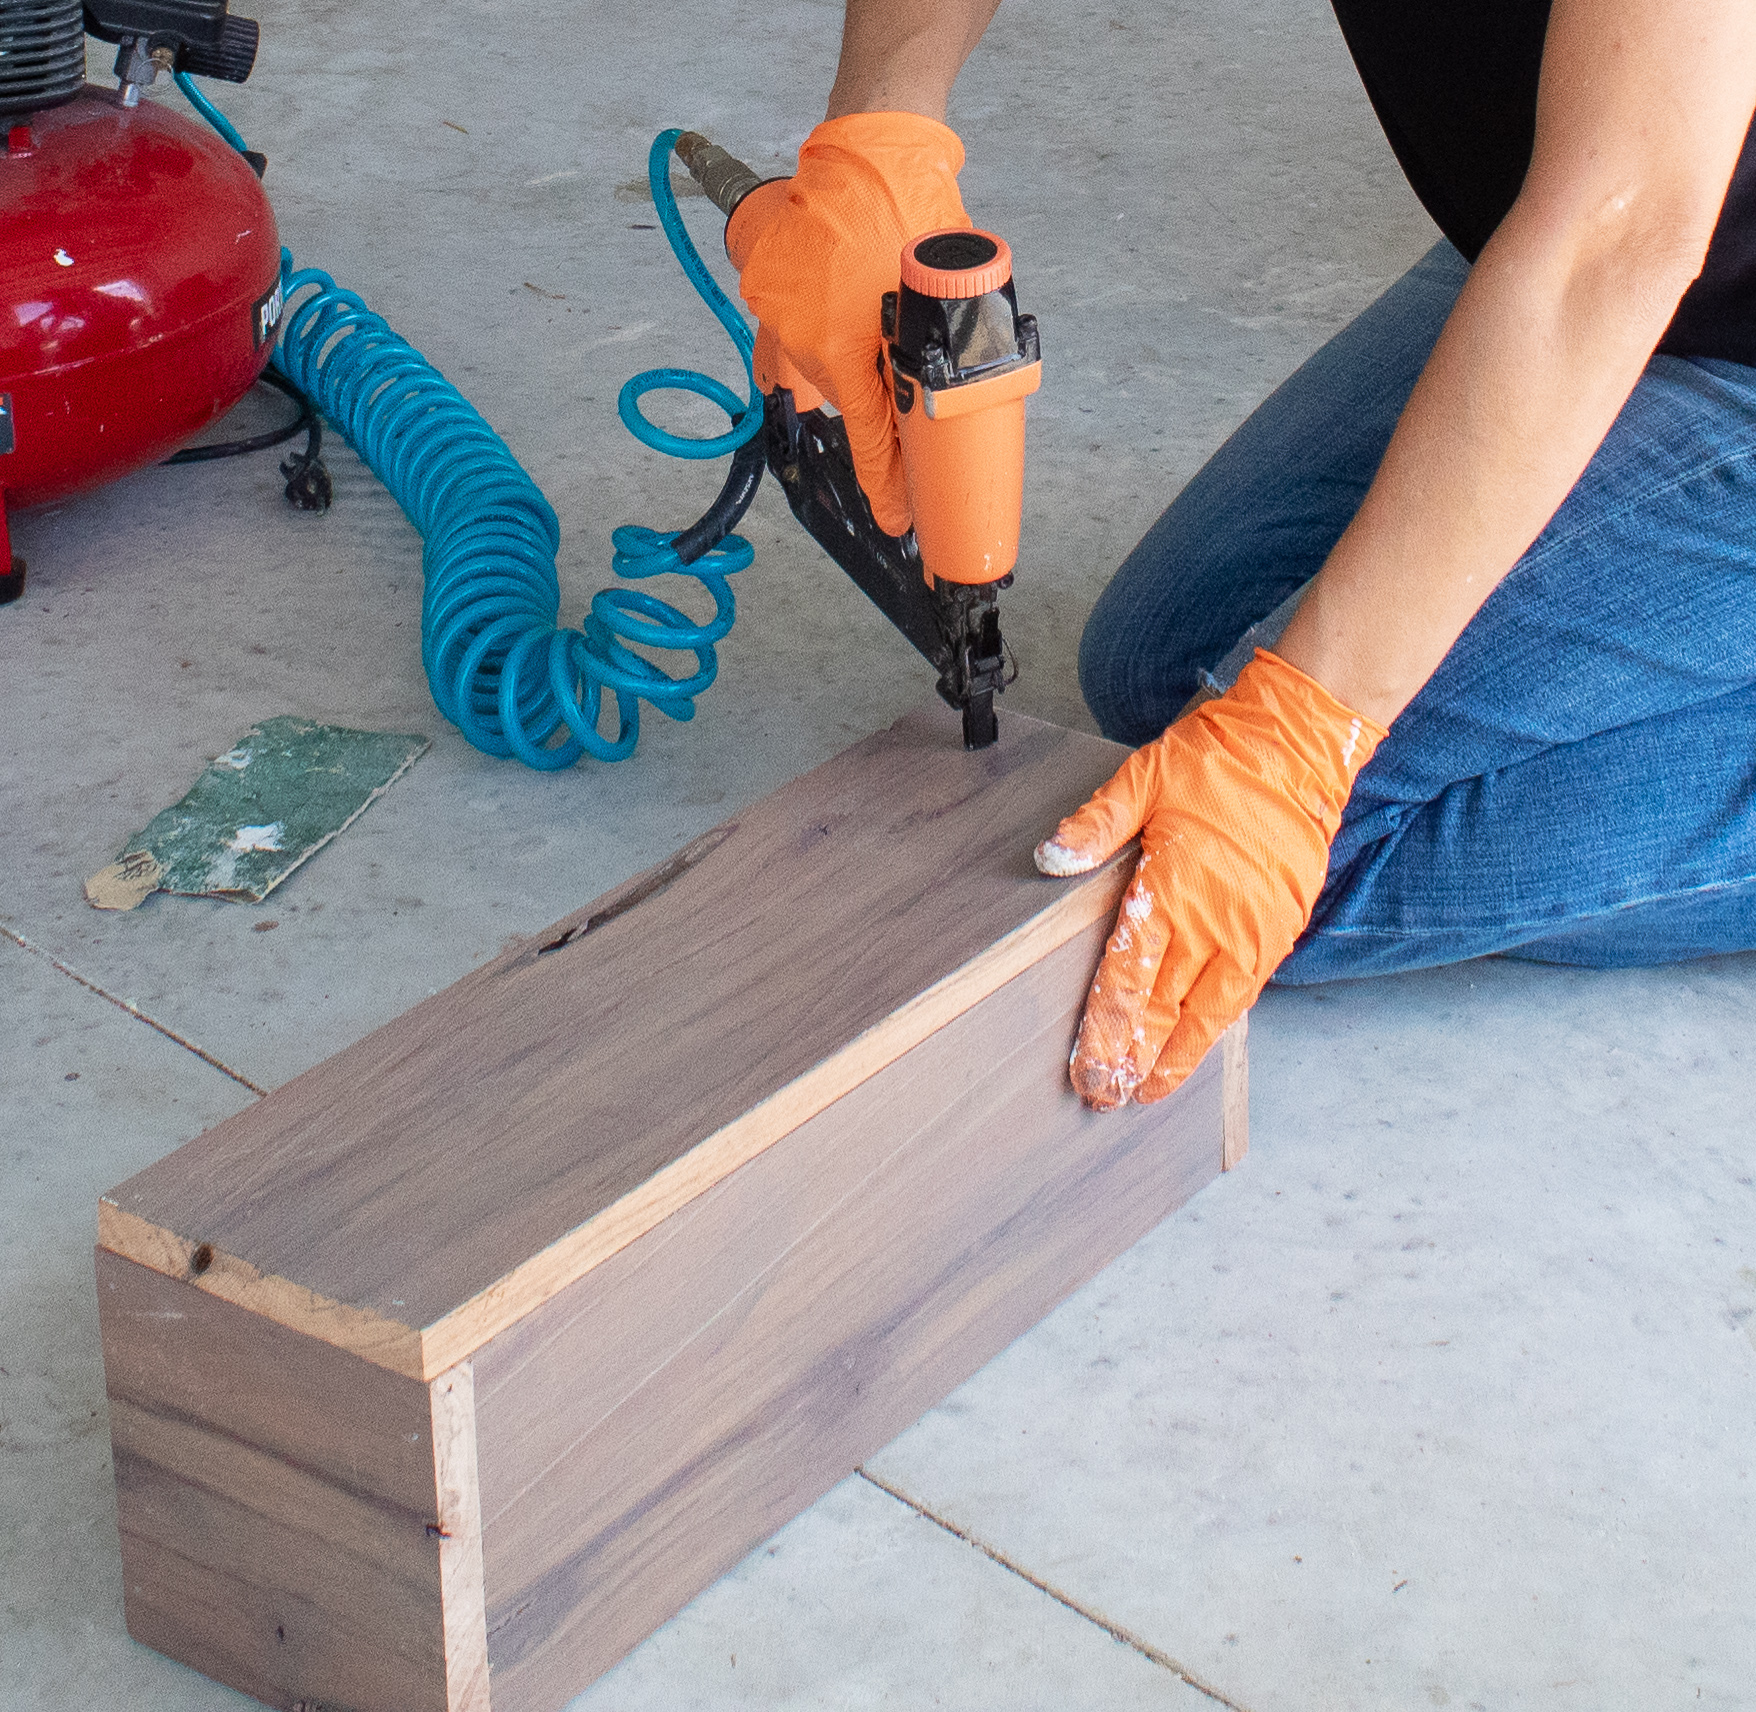
Now that your four top pieces are nailed together, take another piece of wood and sit it on top of the box so you can measure where to cut your bottom board. For the final step, nail your cut board to the base of the box.
This is just a decorative box. If you wanted to make it weather proof for perhaps an outdoor flower window box, I would suggest using pre-treated wood or applying a weather sealant to non-treated wood. A weather proof or plastic lining would also be ideal prior to adding plants to the box.
Thank you for stopping by! I would love to hear about your autumn-inspired decor. Please feel free to add to the comments below.