Hello Nooks In Bloom friends! This piece was a rare find. My friend discovered a collection of antiques at an estate yard sale and sent me pictures of several pieces asking if I wanted any. “Yes, get them all!, ” I said. That afternoon, my husband drove over two hours bringing home a trailer full of the most beautiful old furniture.
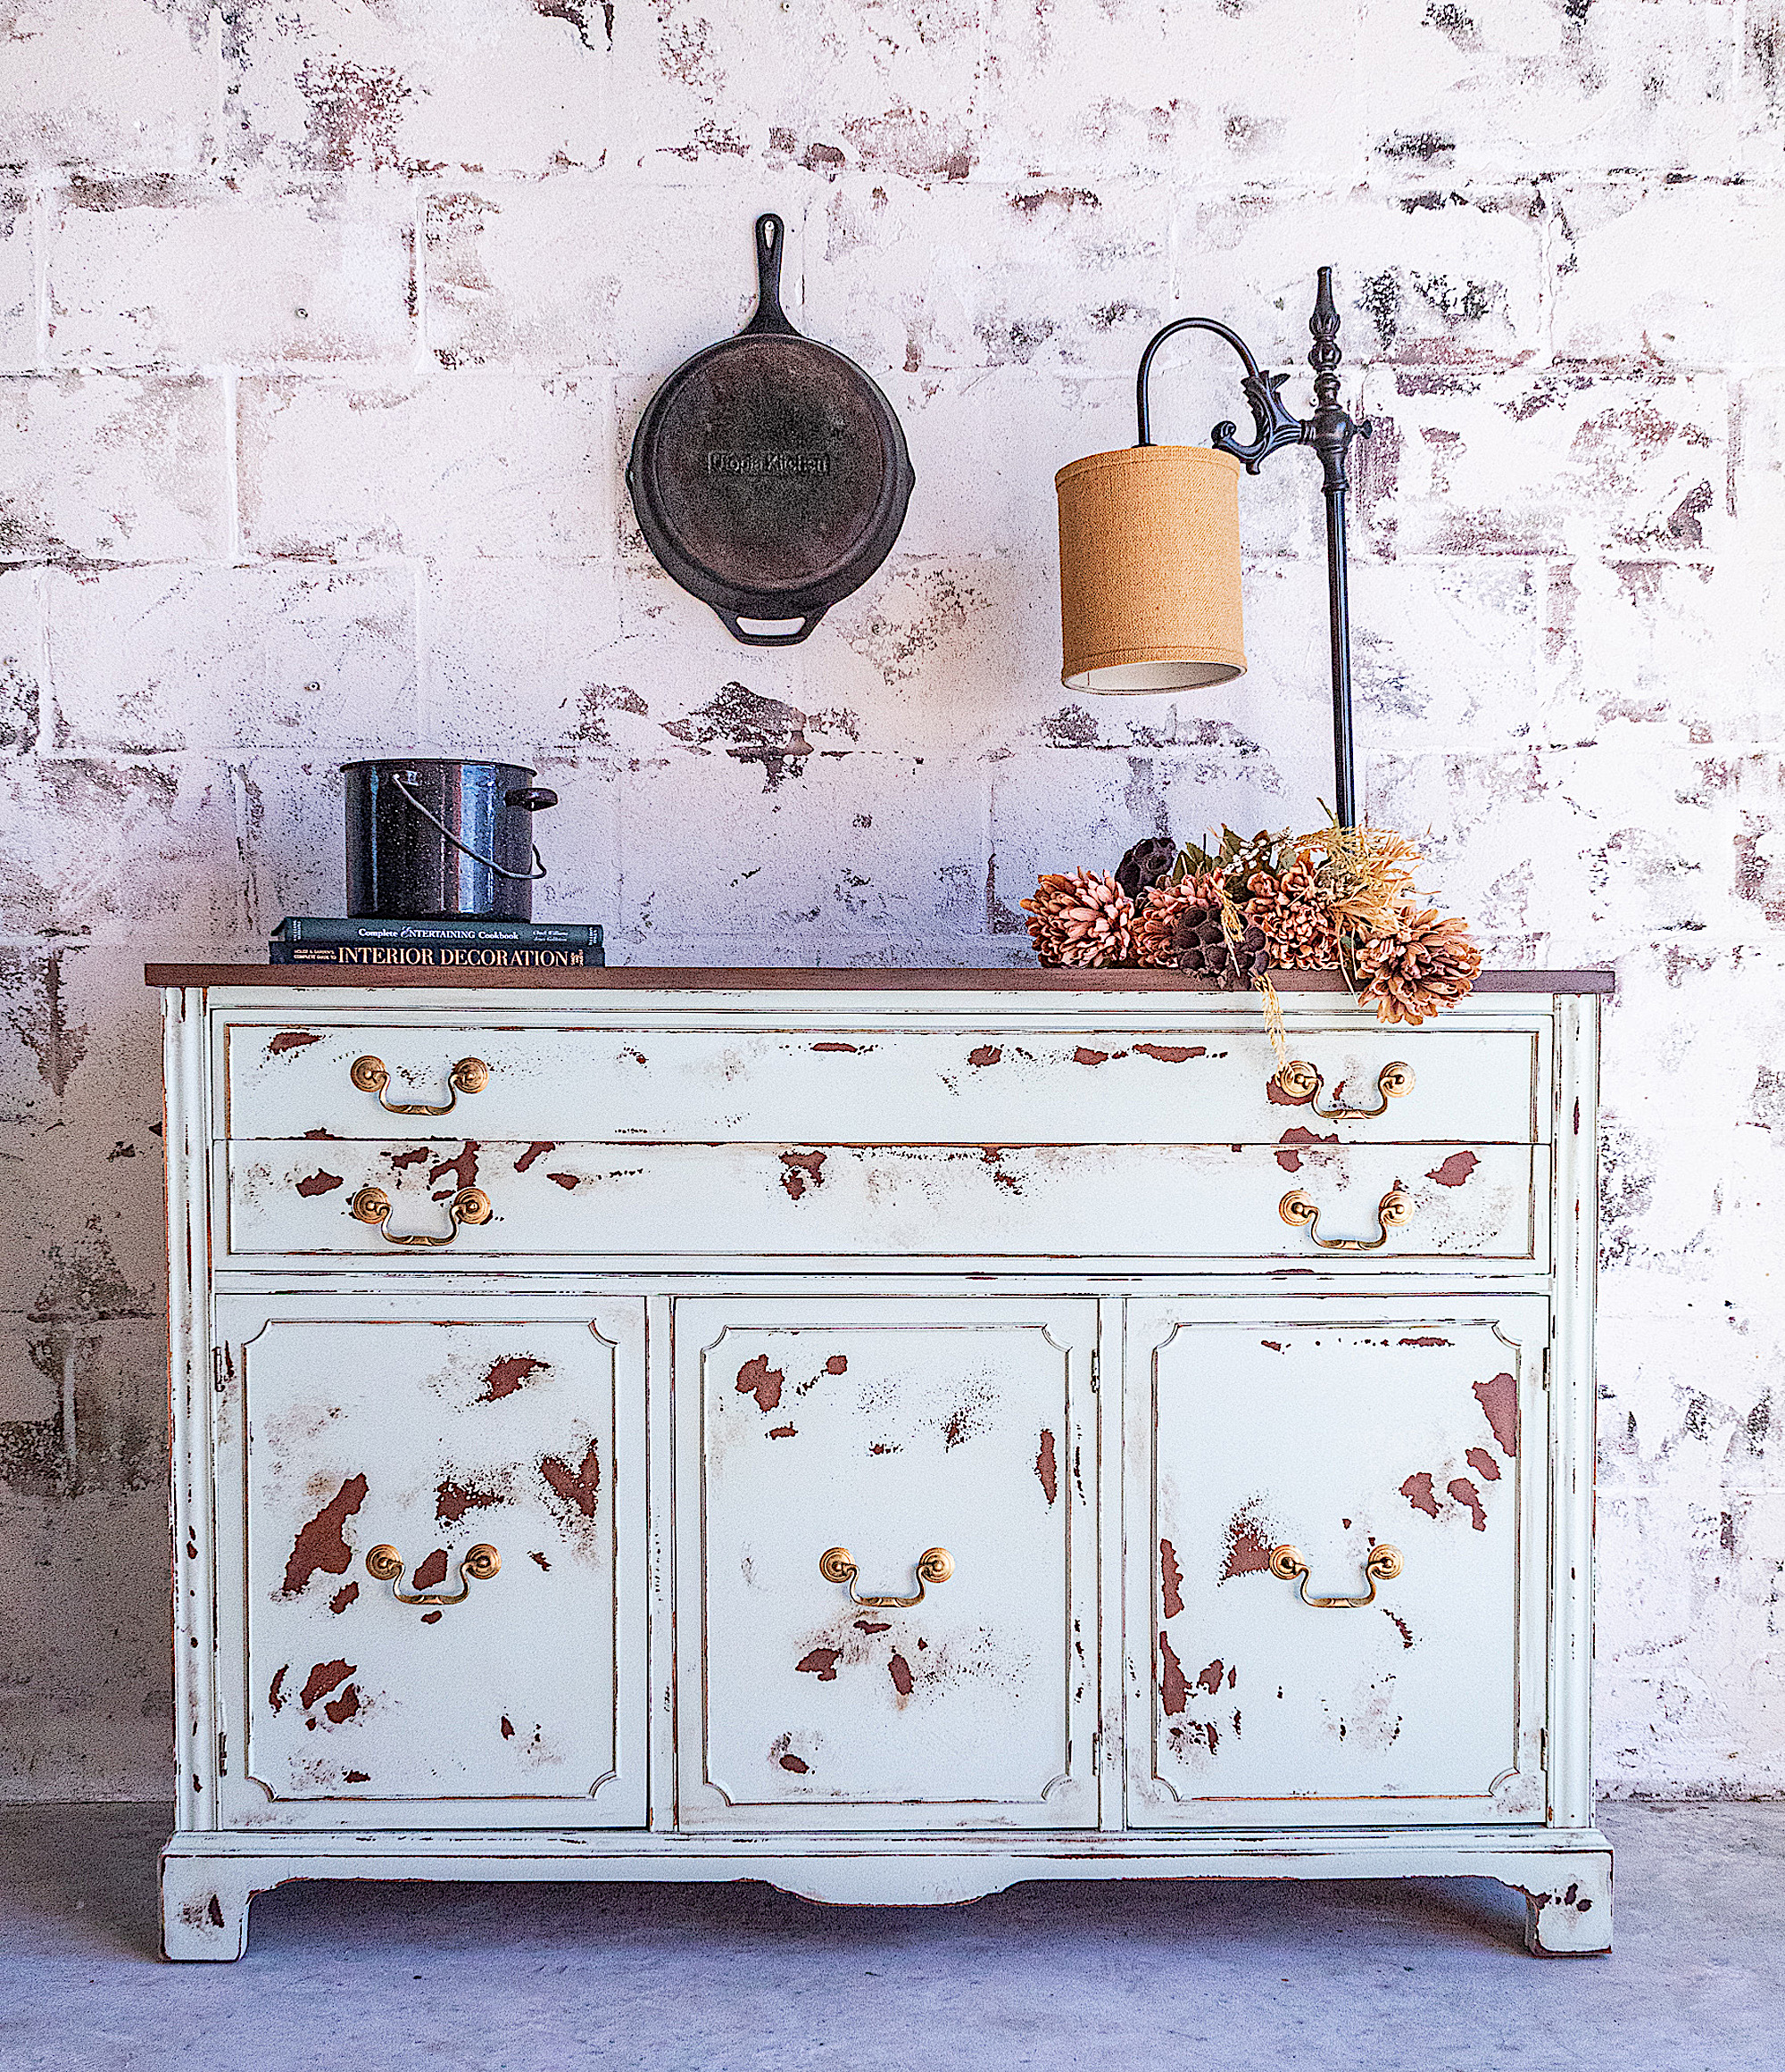
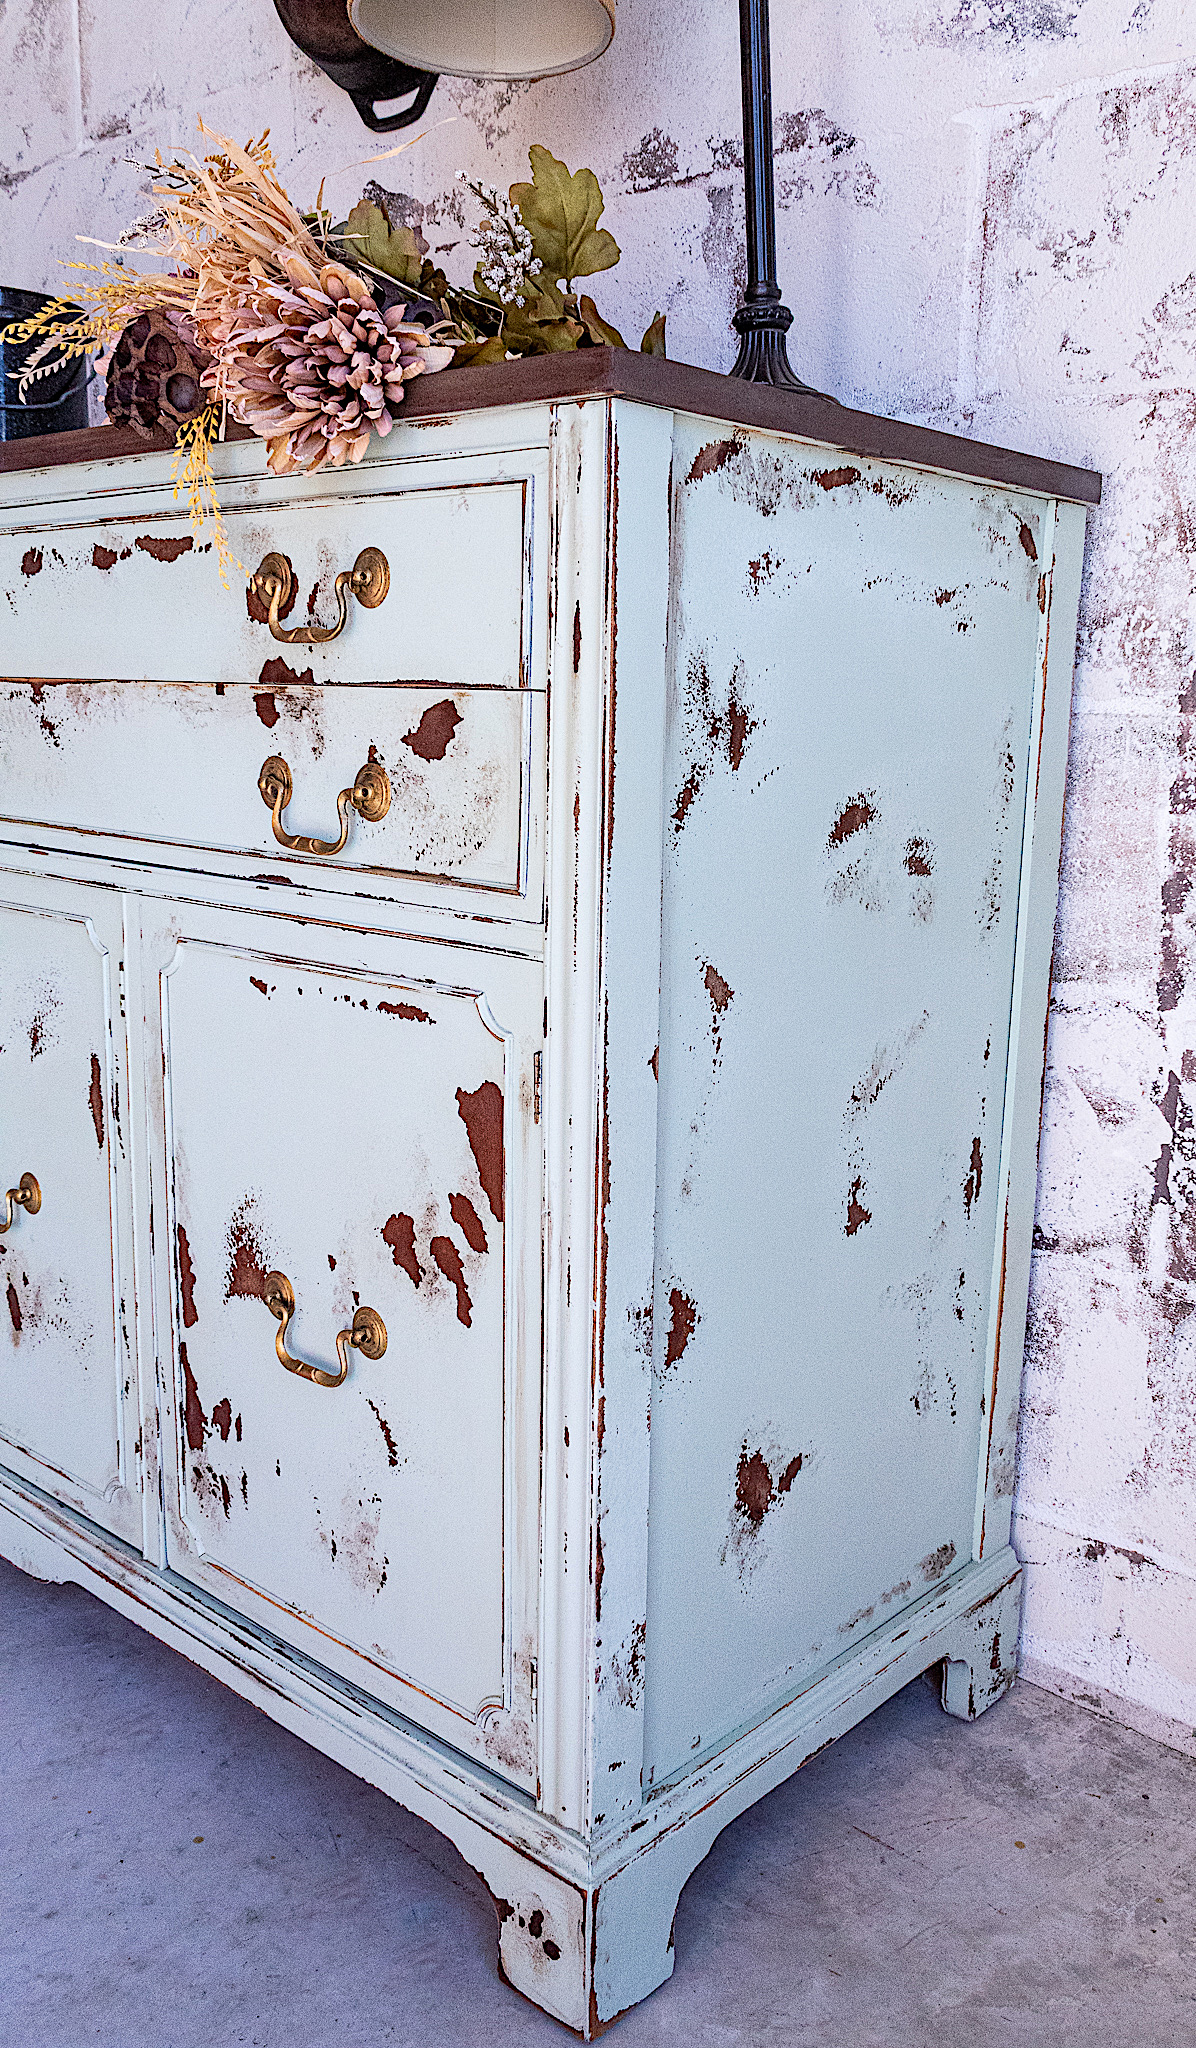
Many of the pieces required heavy prep work and repairs, as expected from old pieces. I even had to throw one out due to severe termite damage. But this beautiful buffet from the 1940’s was in rather solid shape. I chose a minty soft green with a distressed aged look for this special piece. In this tutorial I will show you what techniques I used to create a time-honored look. So let’s get started!
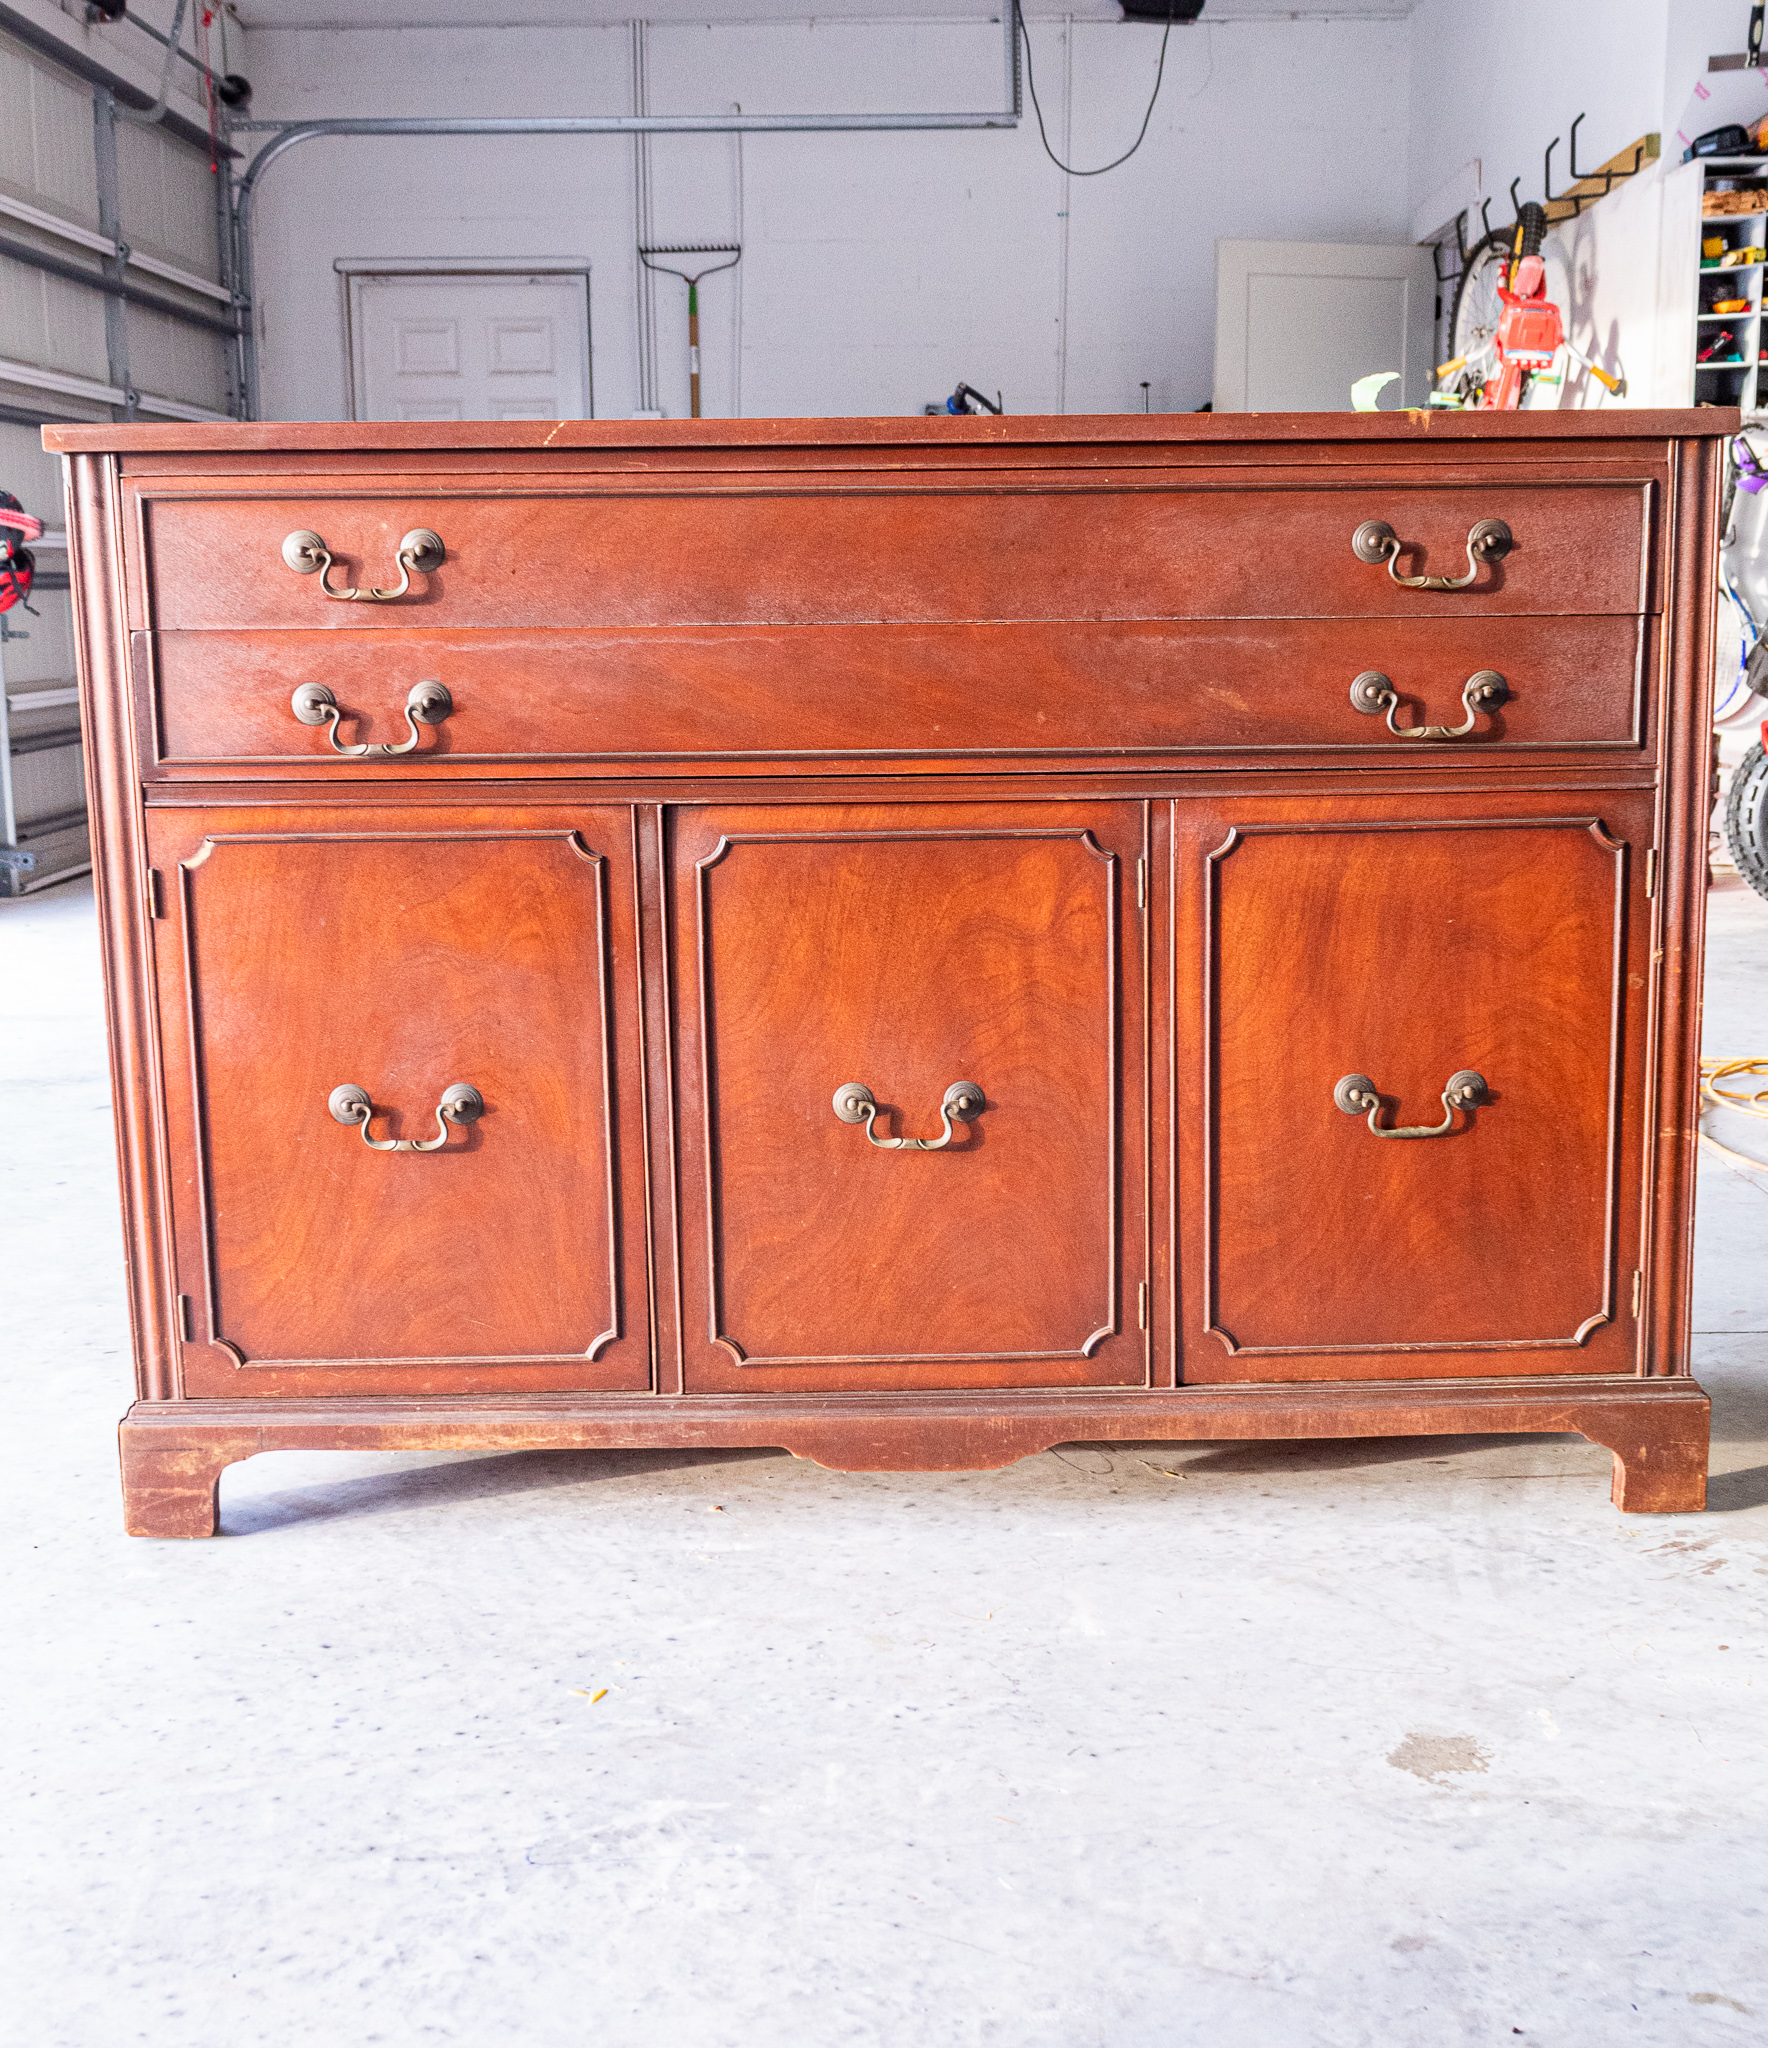
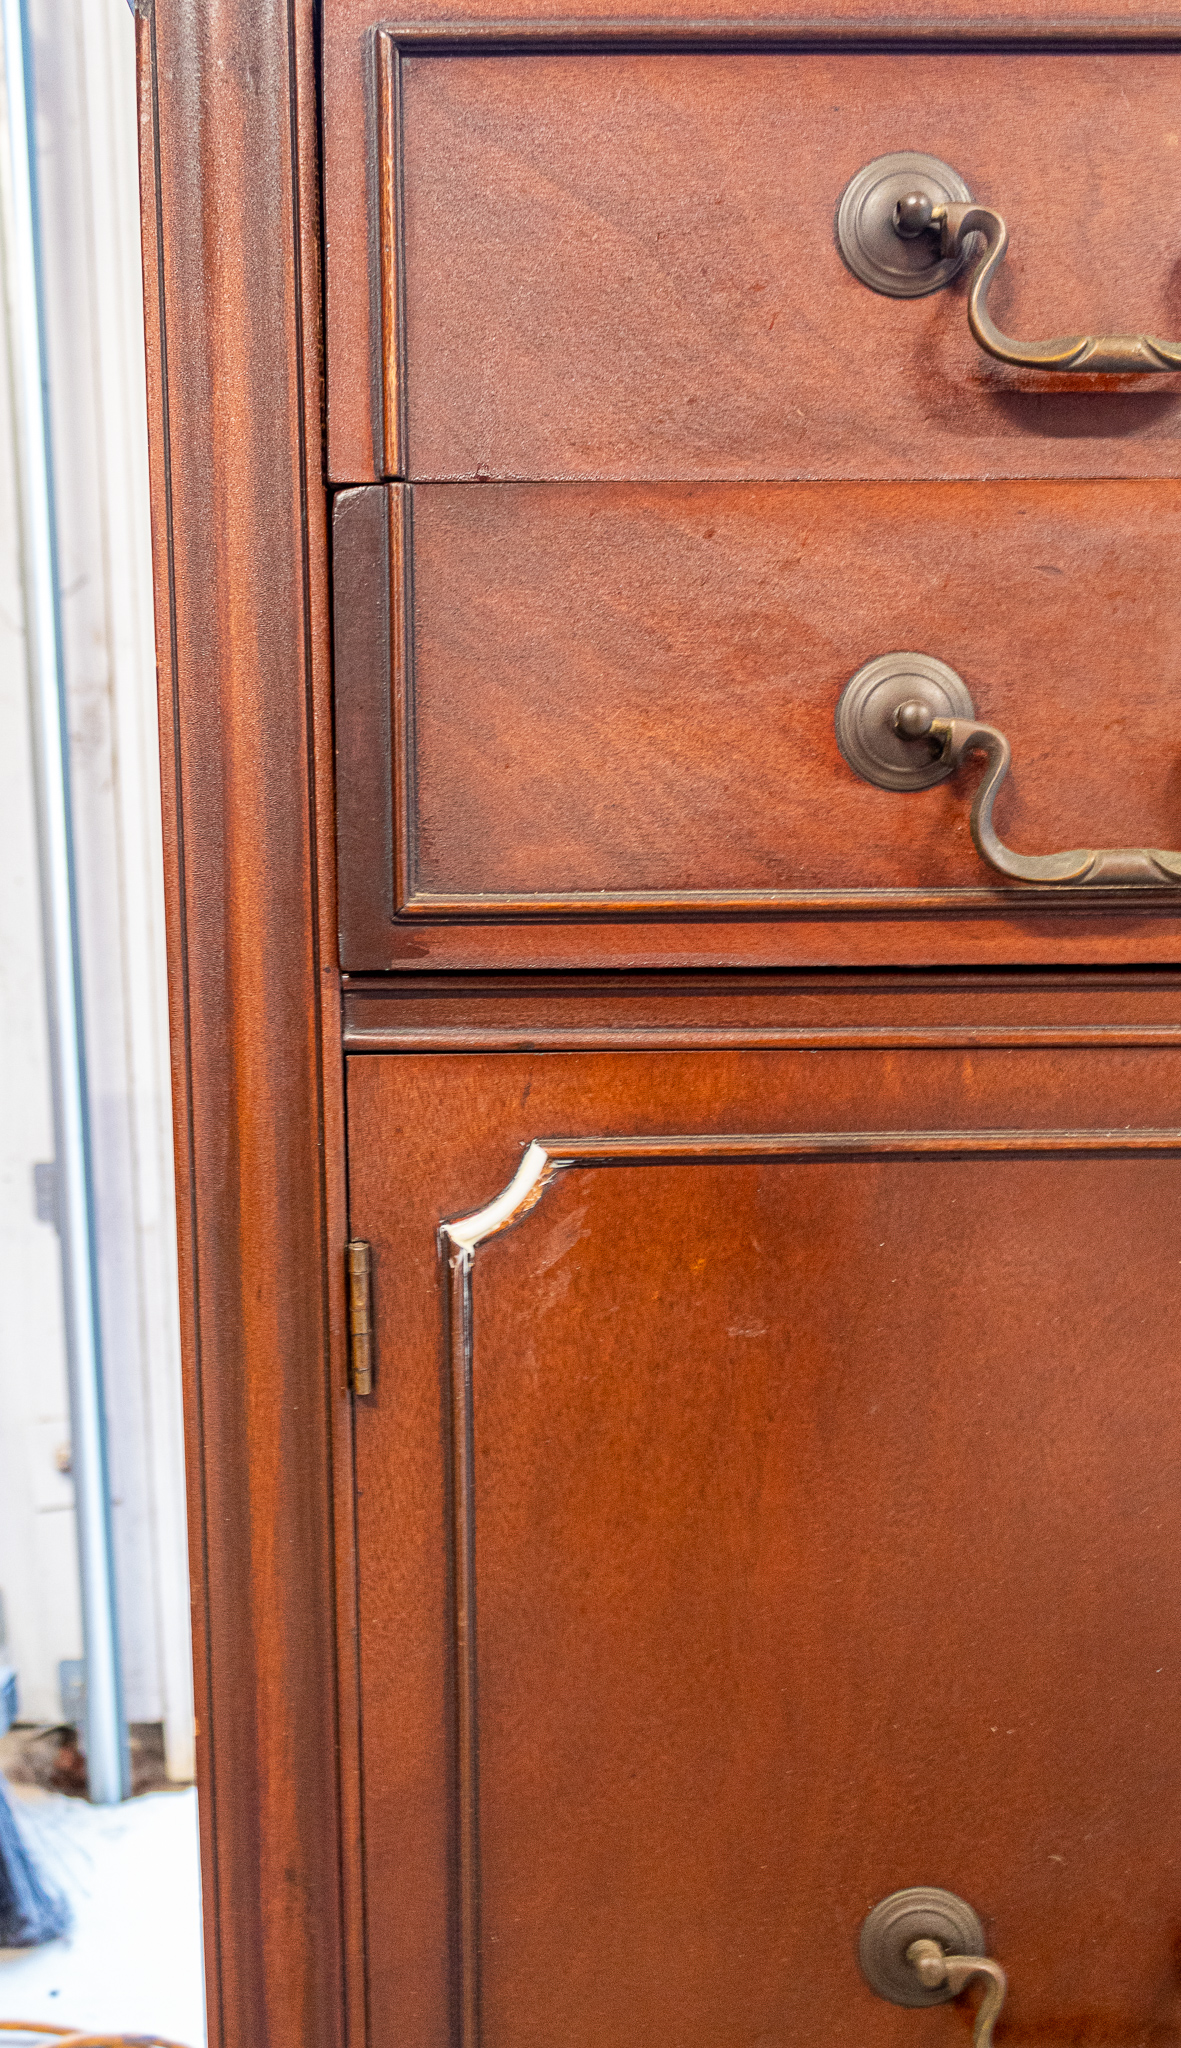
From this picture the buffet looks in pretty good shape. Structurally things were fine. Cosmetically it needed some help. I used Dixie Belle Mud to fill in cracks and nicks all over the surface and feet. After the mud dried I sanded it down. To fix a a missing part of the molding, I clipped the stem of a flower from a decor mould I had previously made using casting resin. I was SO relieved that it fit perfectly. A little paint and you would never be able to tell the difference!
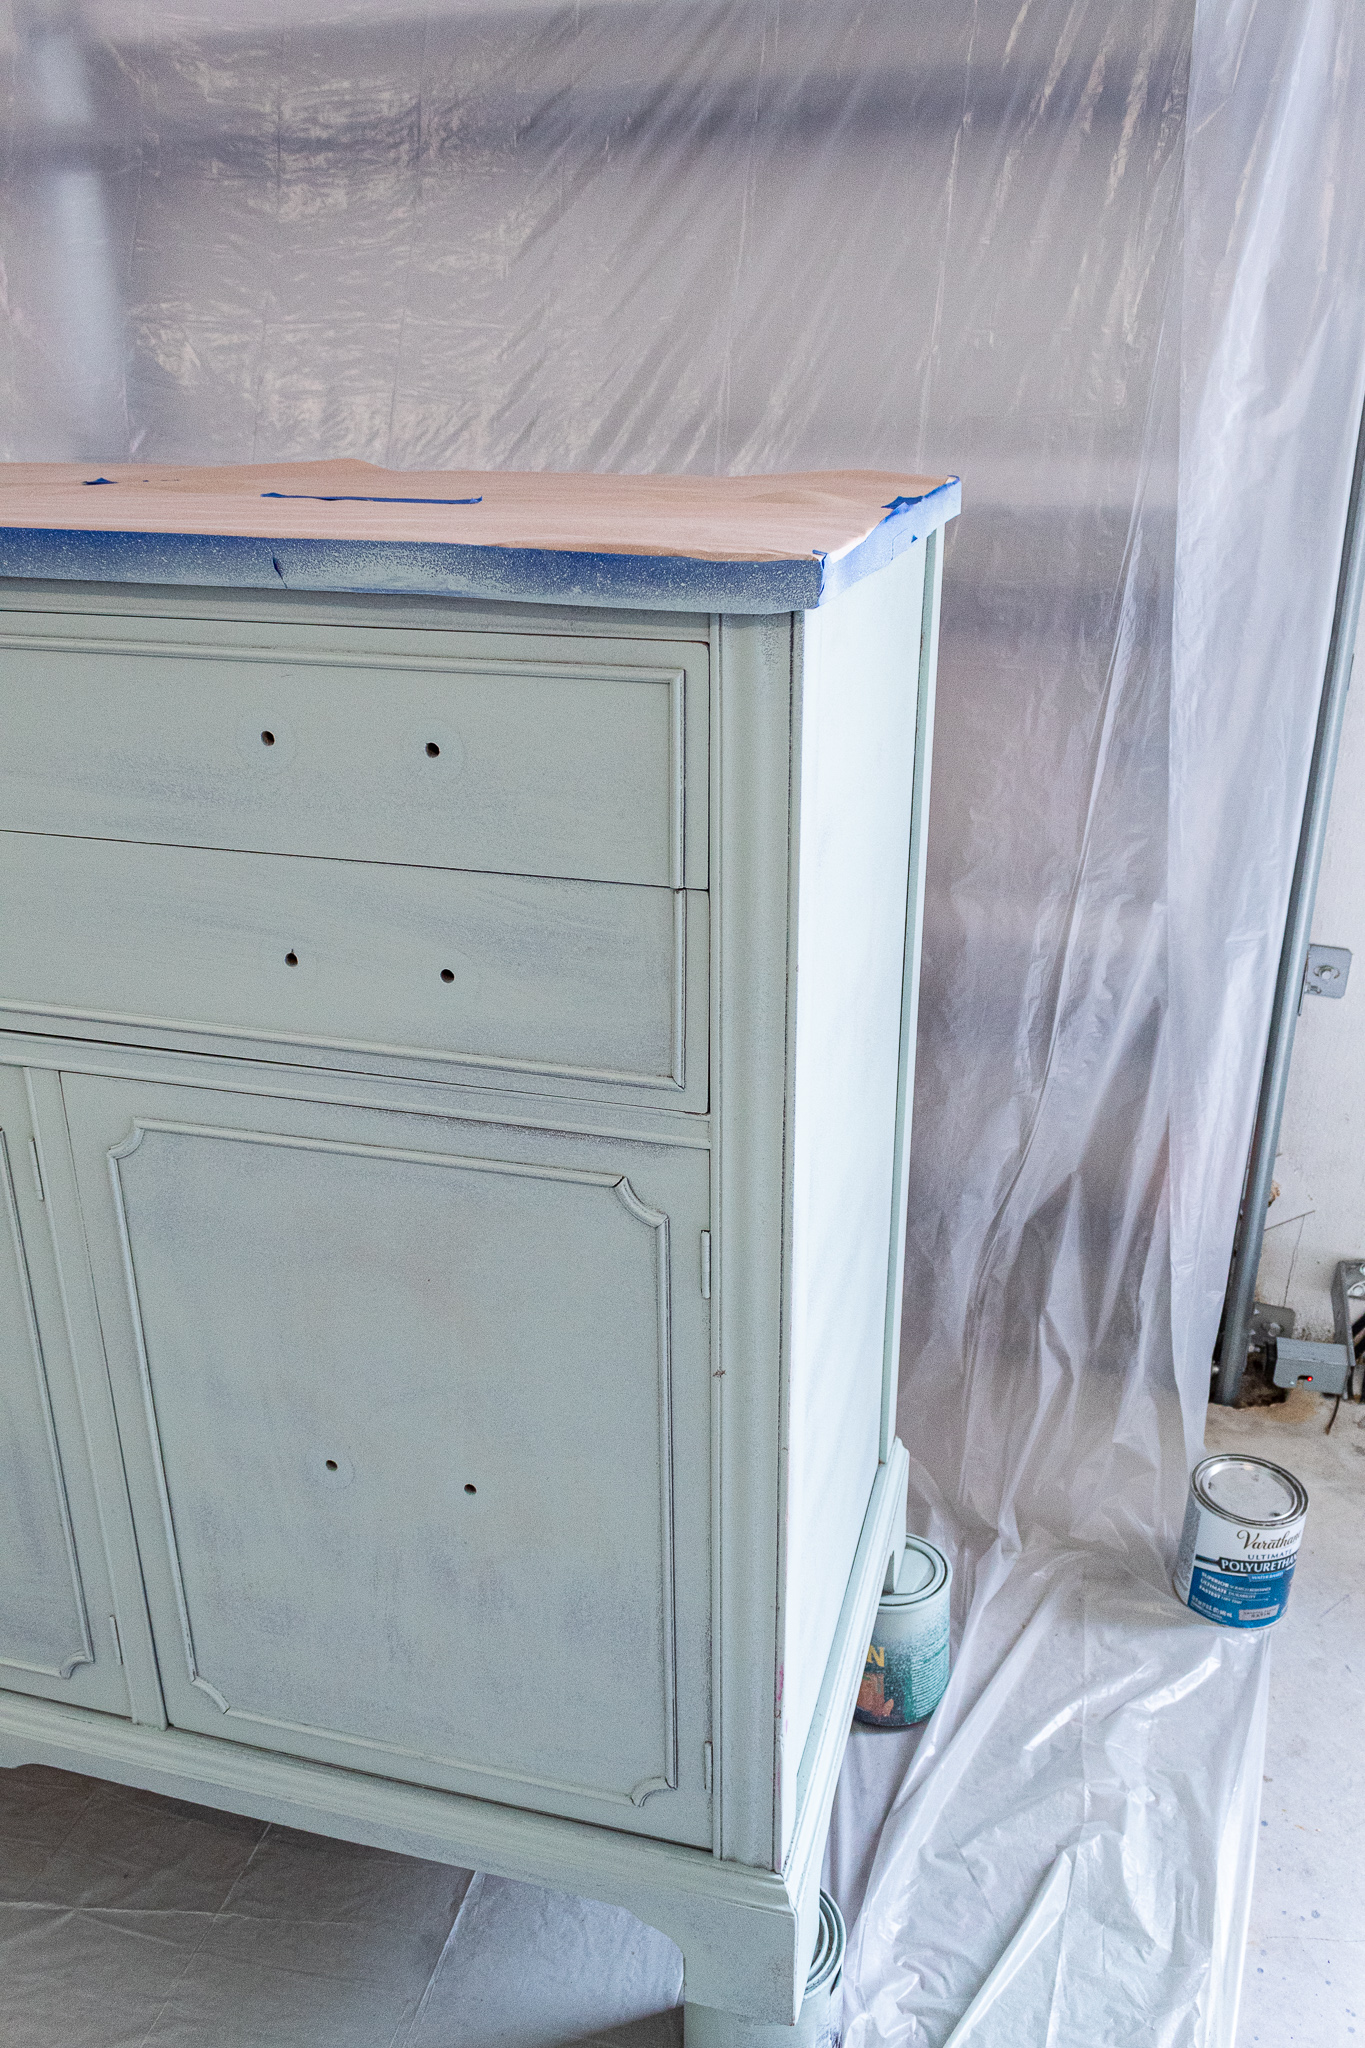
Cleaning on this piece was brutal. It had unpleasant odors and I spent quite a bit of time trying to work these out. I used my vinegar solution, a soapy sponge, and a coat of Dixie Belle’s boss. Boss is good as a primer and for helping minimize or eliminate odors. Afterwards I gave the exterior of the buffet a rough sanding. Since I was using a light shade for my top color and since the wood was quite old, there would likely be a lot of wood bleed through. Therefore I applied two coats of primer.
2. Paint
Here is the buffet after one coat of paint. I know it doesn’t look great, but after the second coat it will be amazing. I am using my new Husky Spray Gun and am in love. It makes the painting process SO fast and leaves a beautiful finish. I watched youtube videos to learn how to use it. Some pieces I will continue to paint by hand depending on the technique required. But I will be using my spray gun a lot from now on. I bought it from Home Depot. It was significantly less than on Amazon. (I’ve provided a link above) .
Video Demo-Spraying & Best Tips For A Smooth Clear Coat Finish
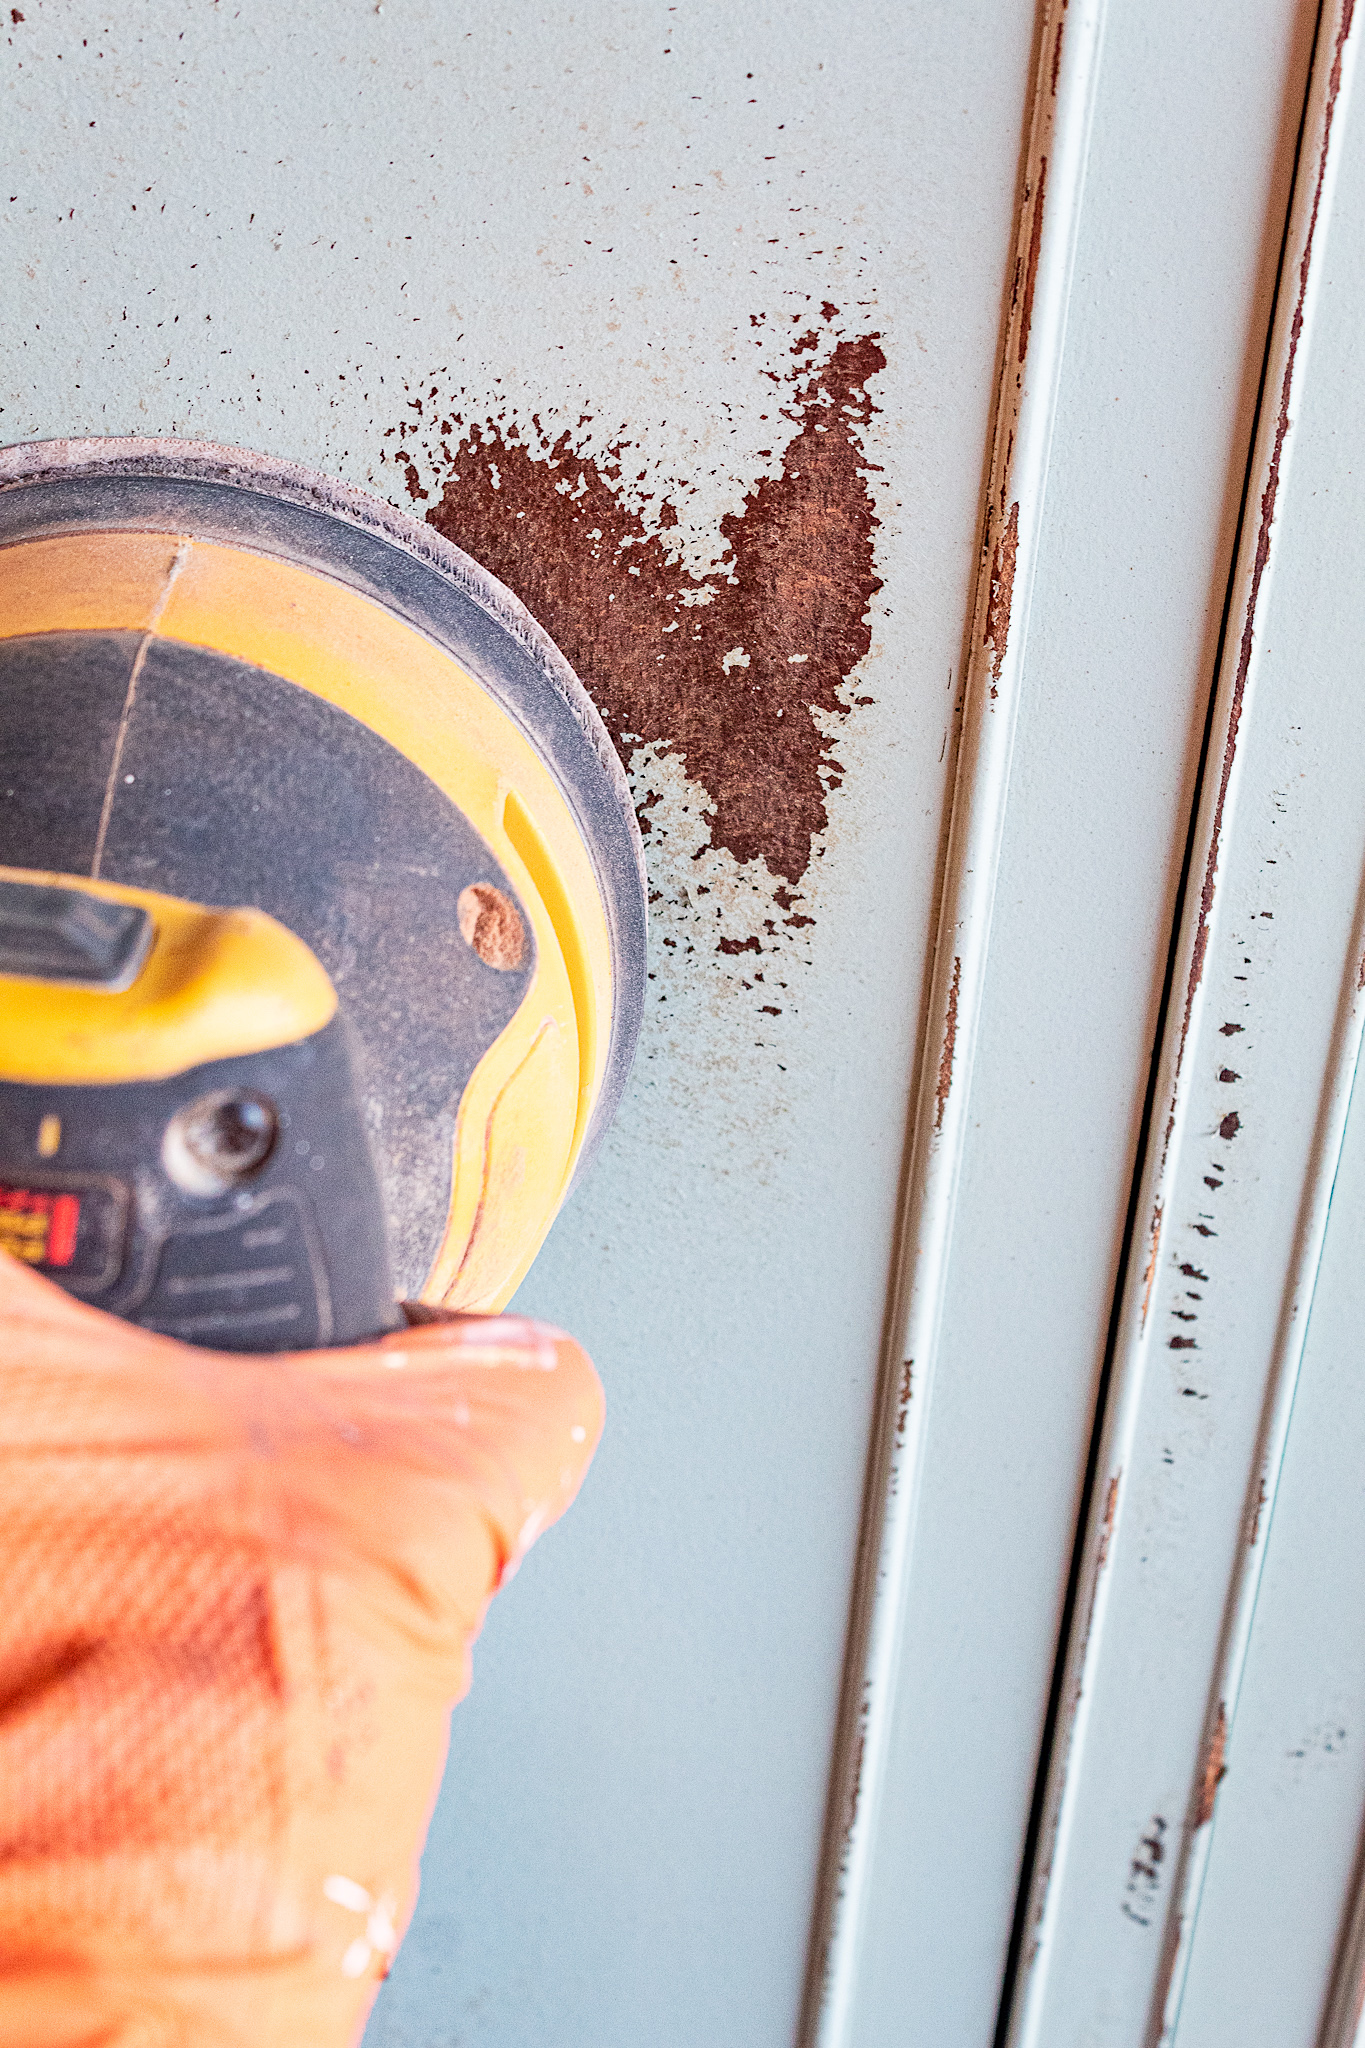
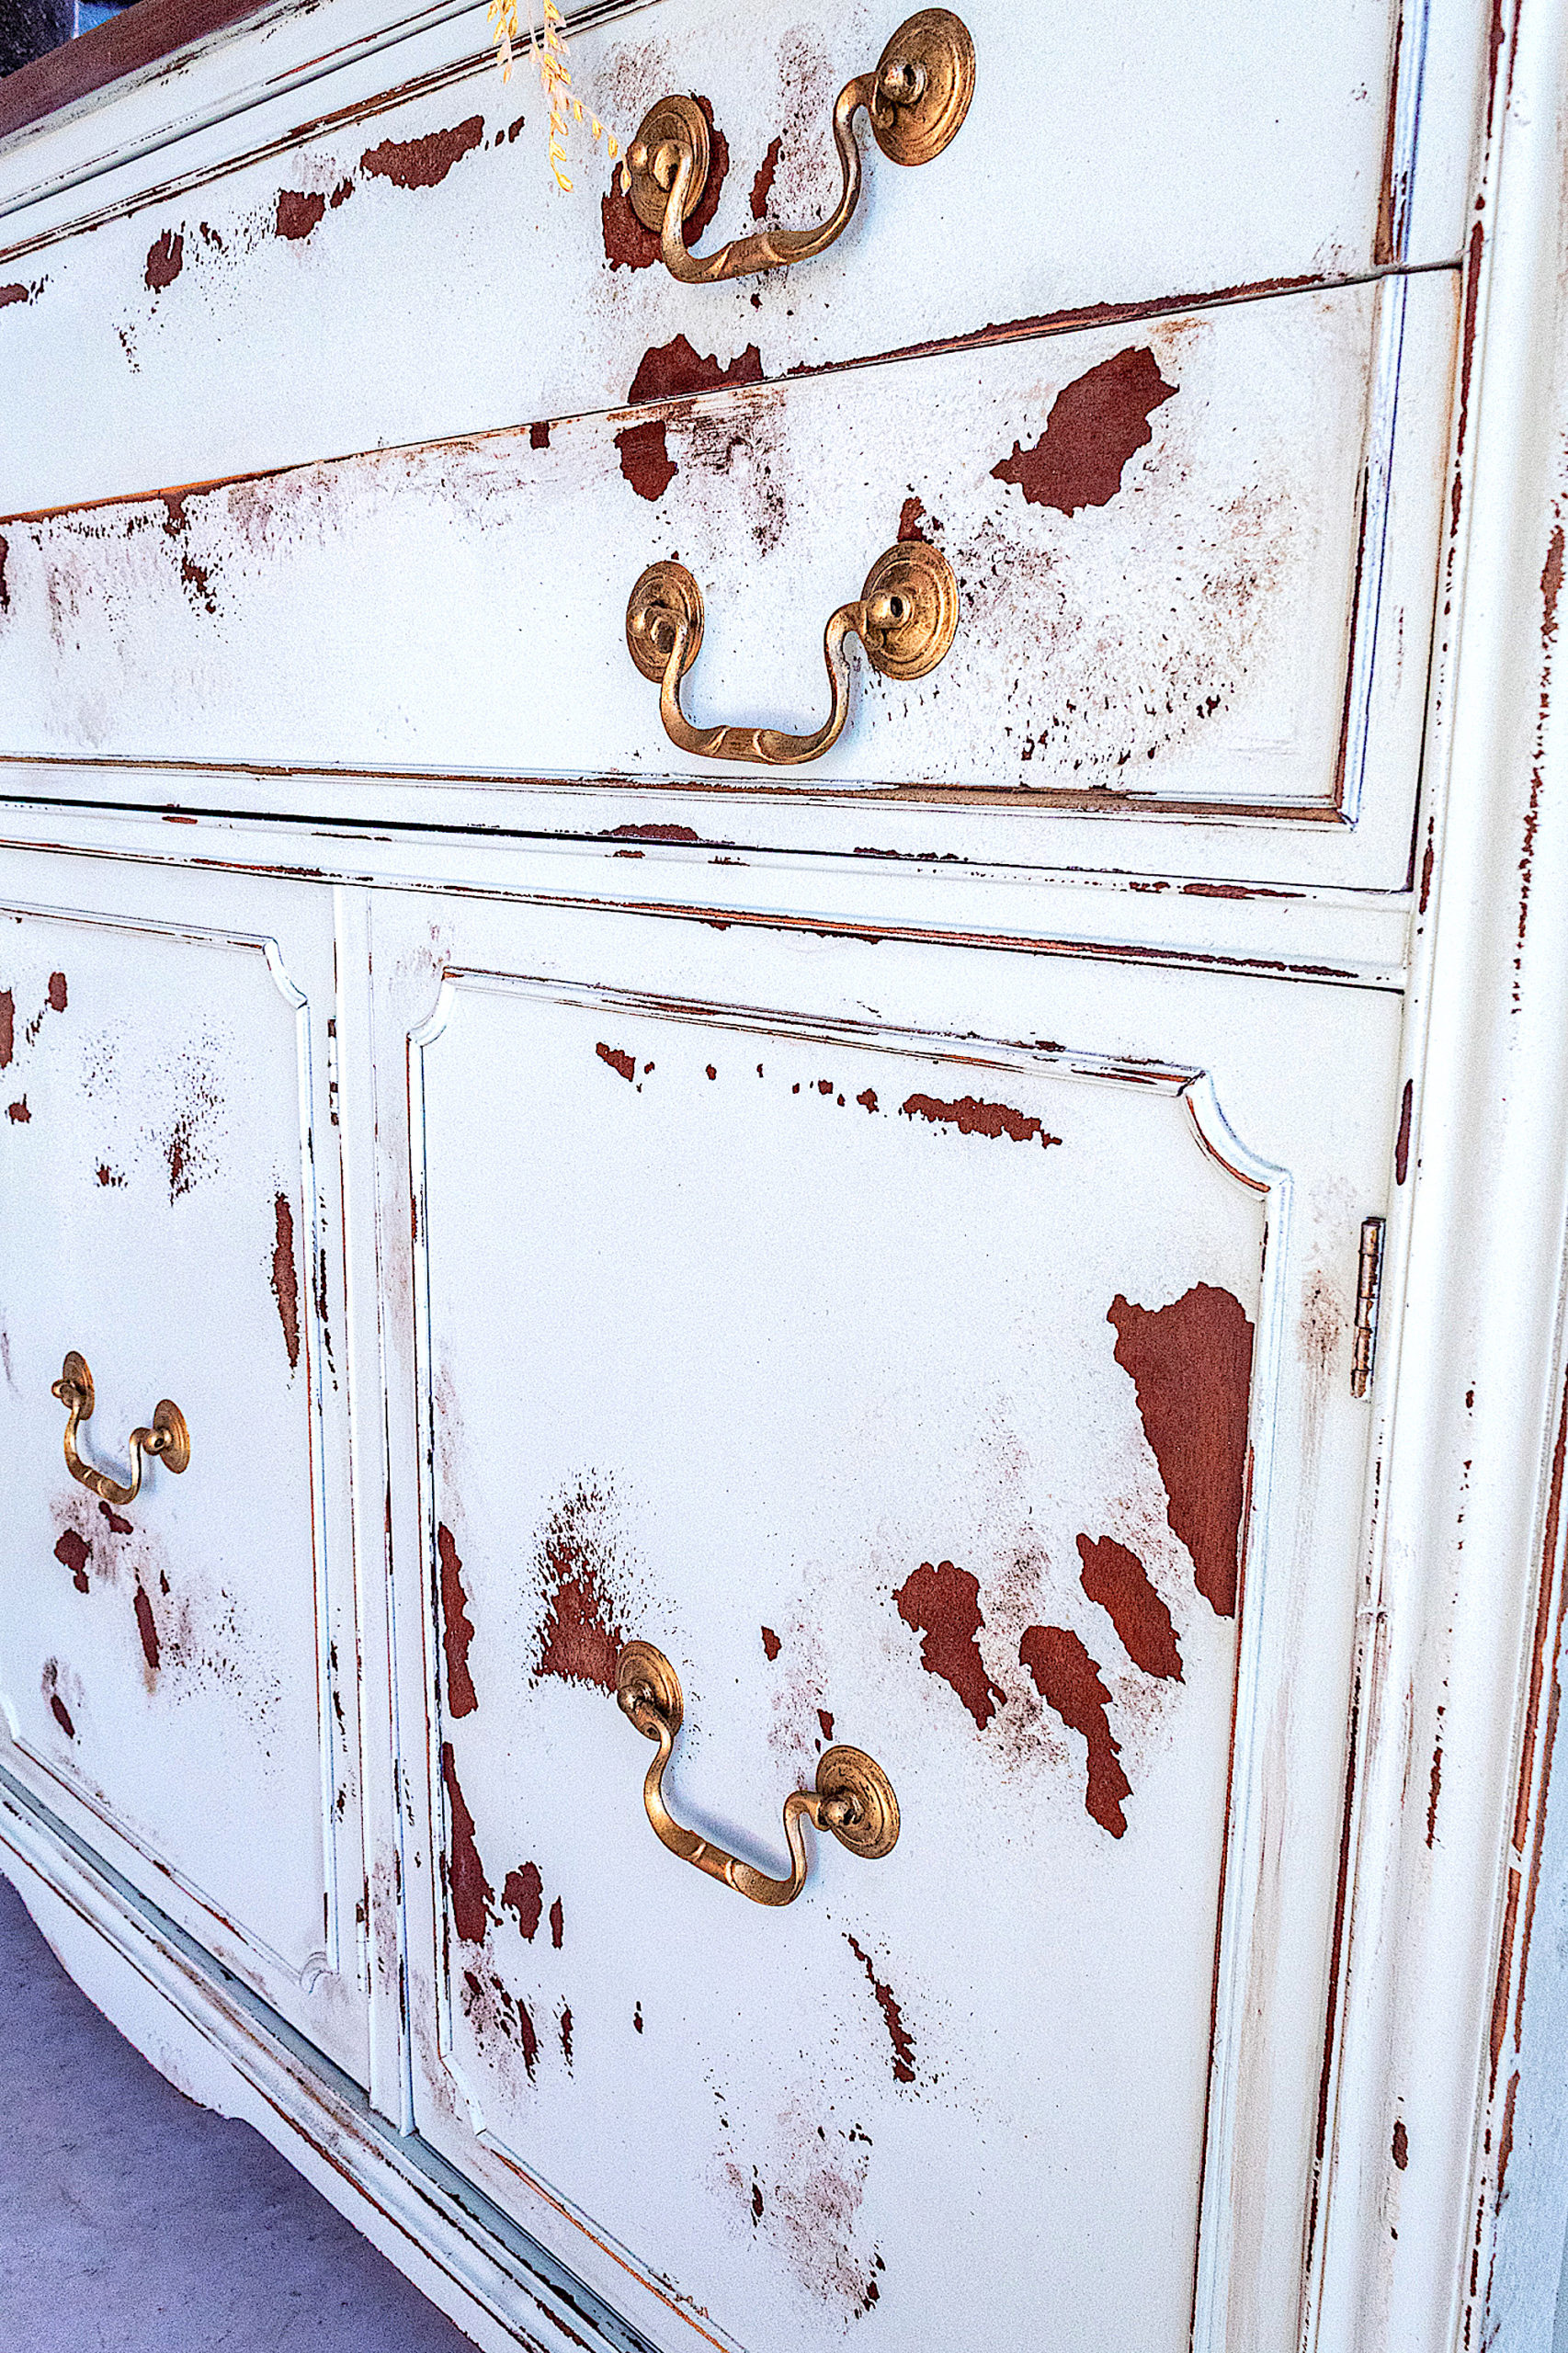
3. Distressing For Character
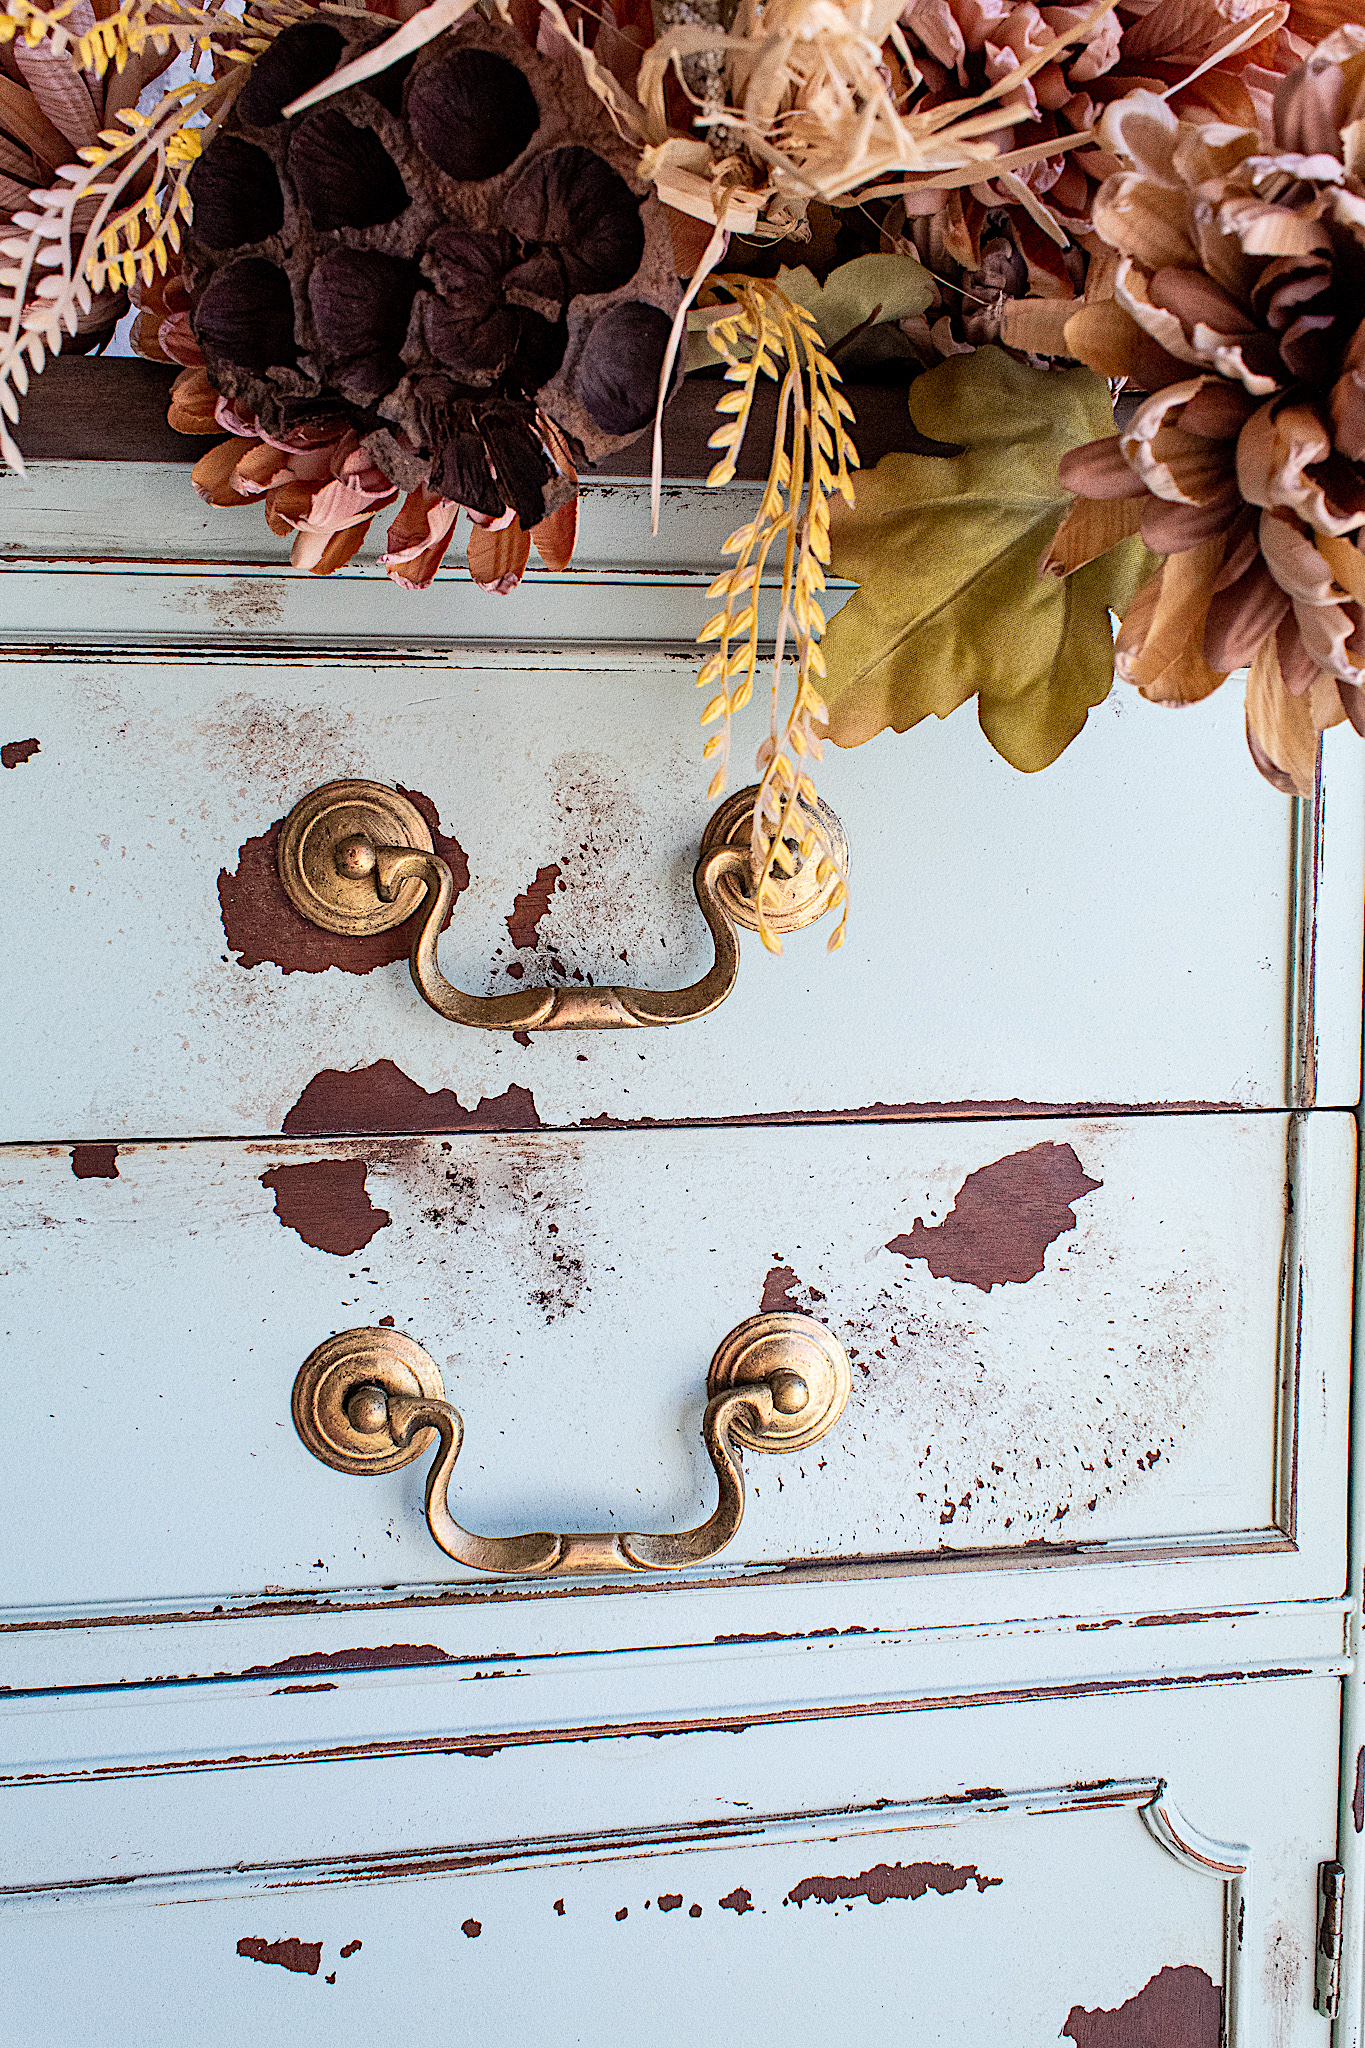
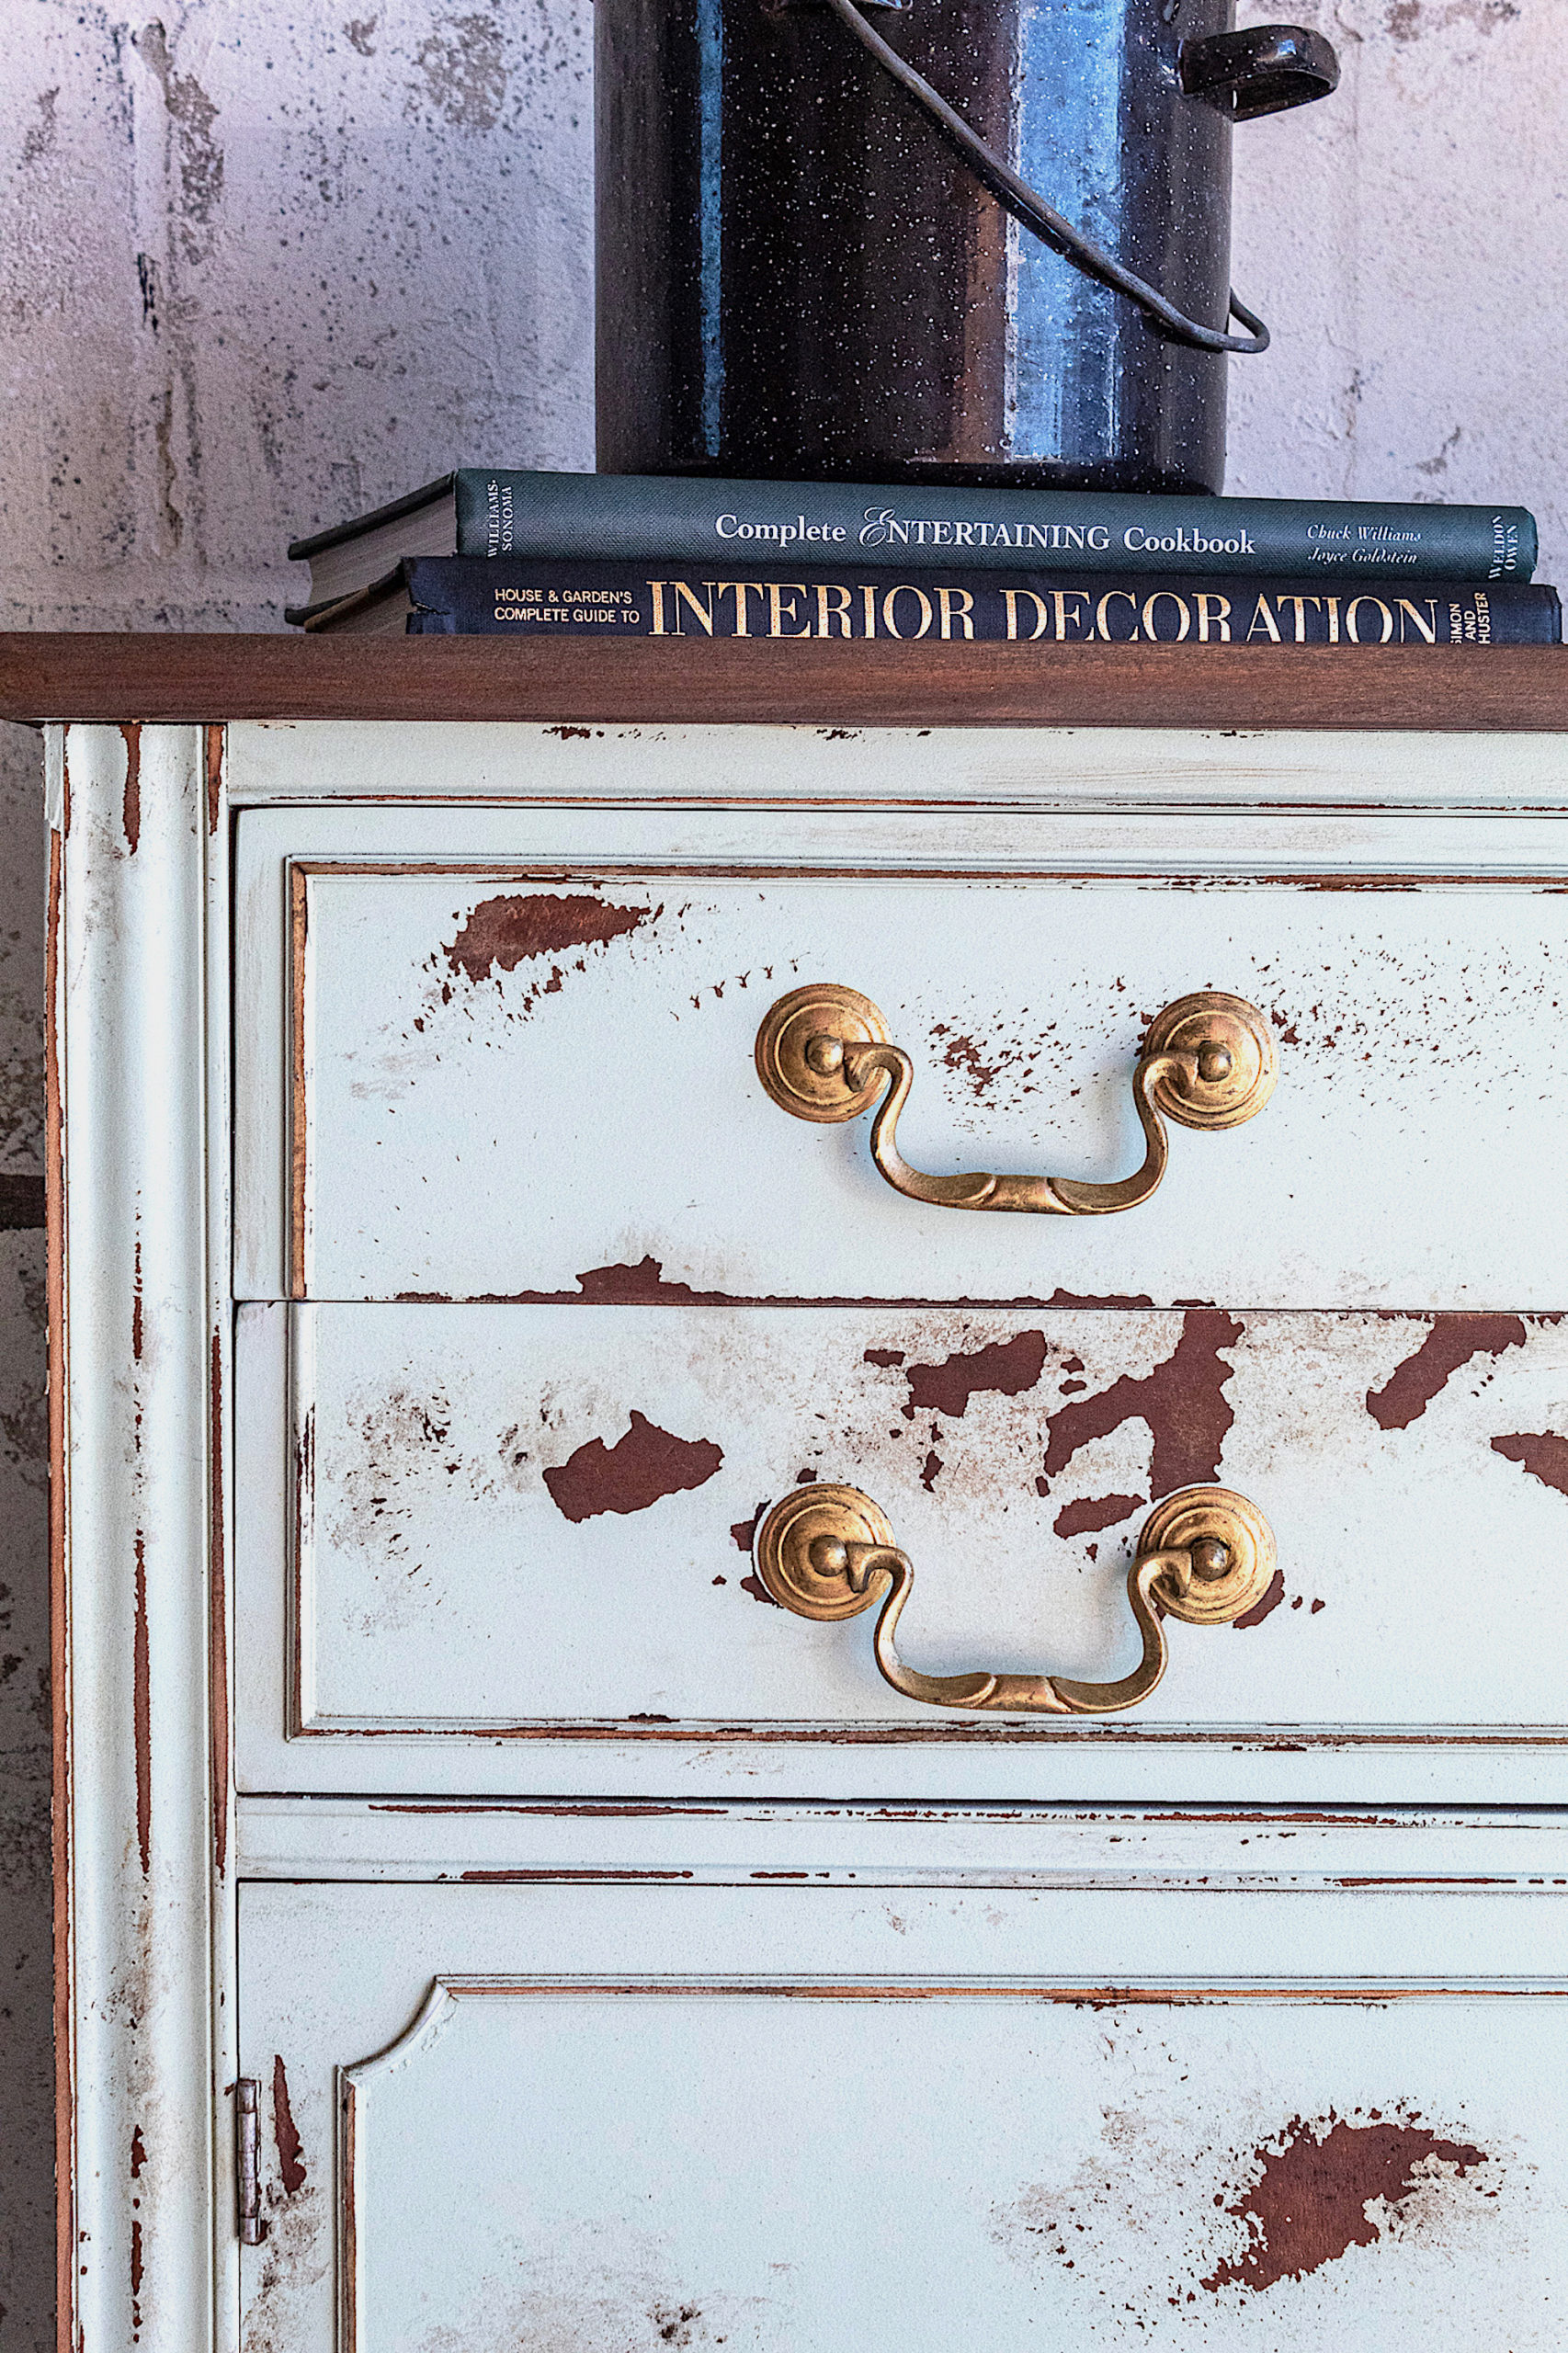
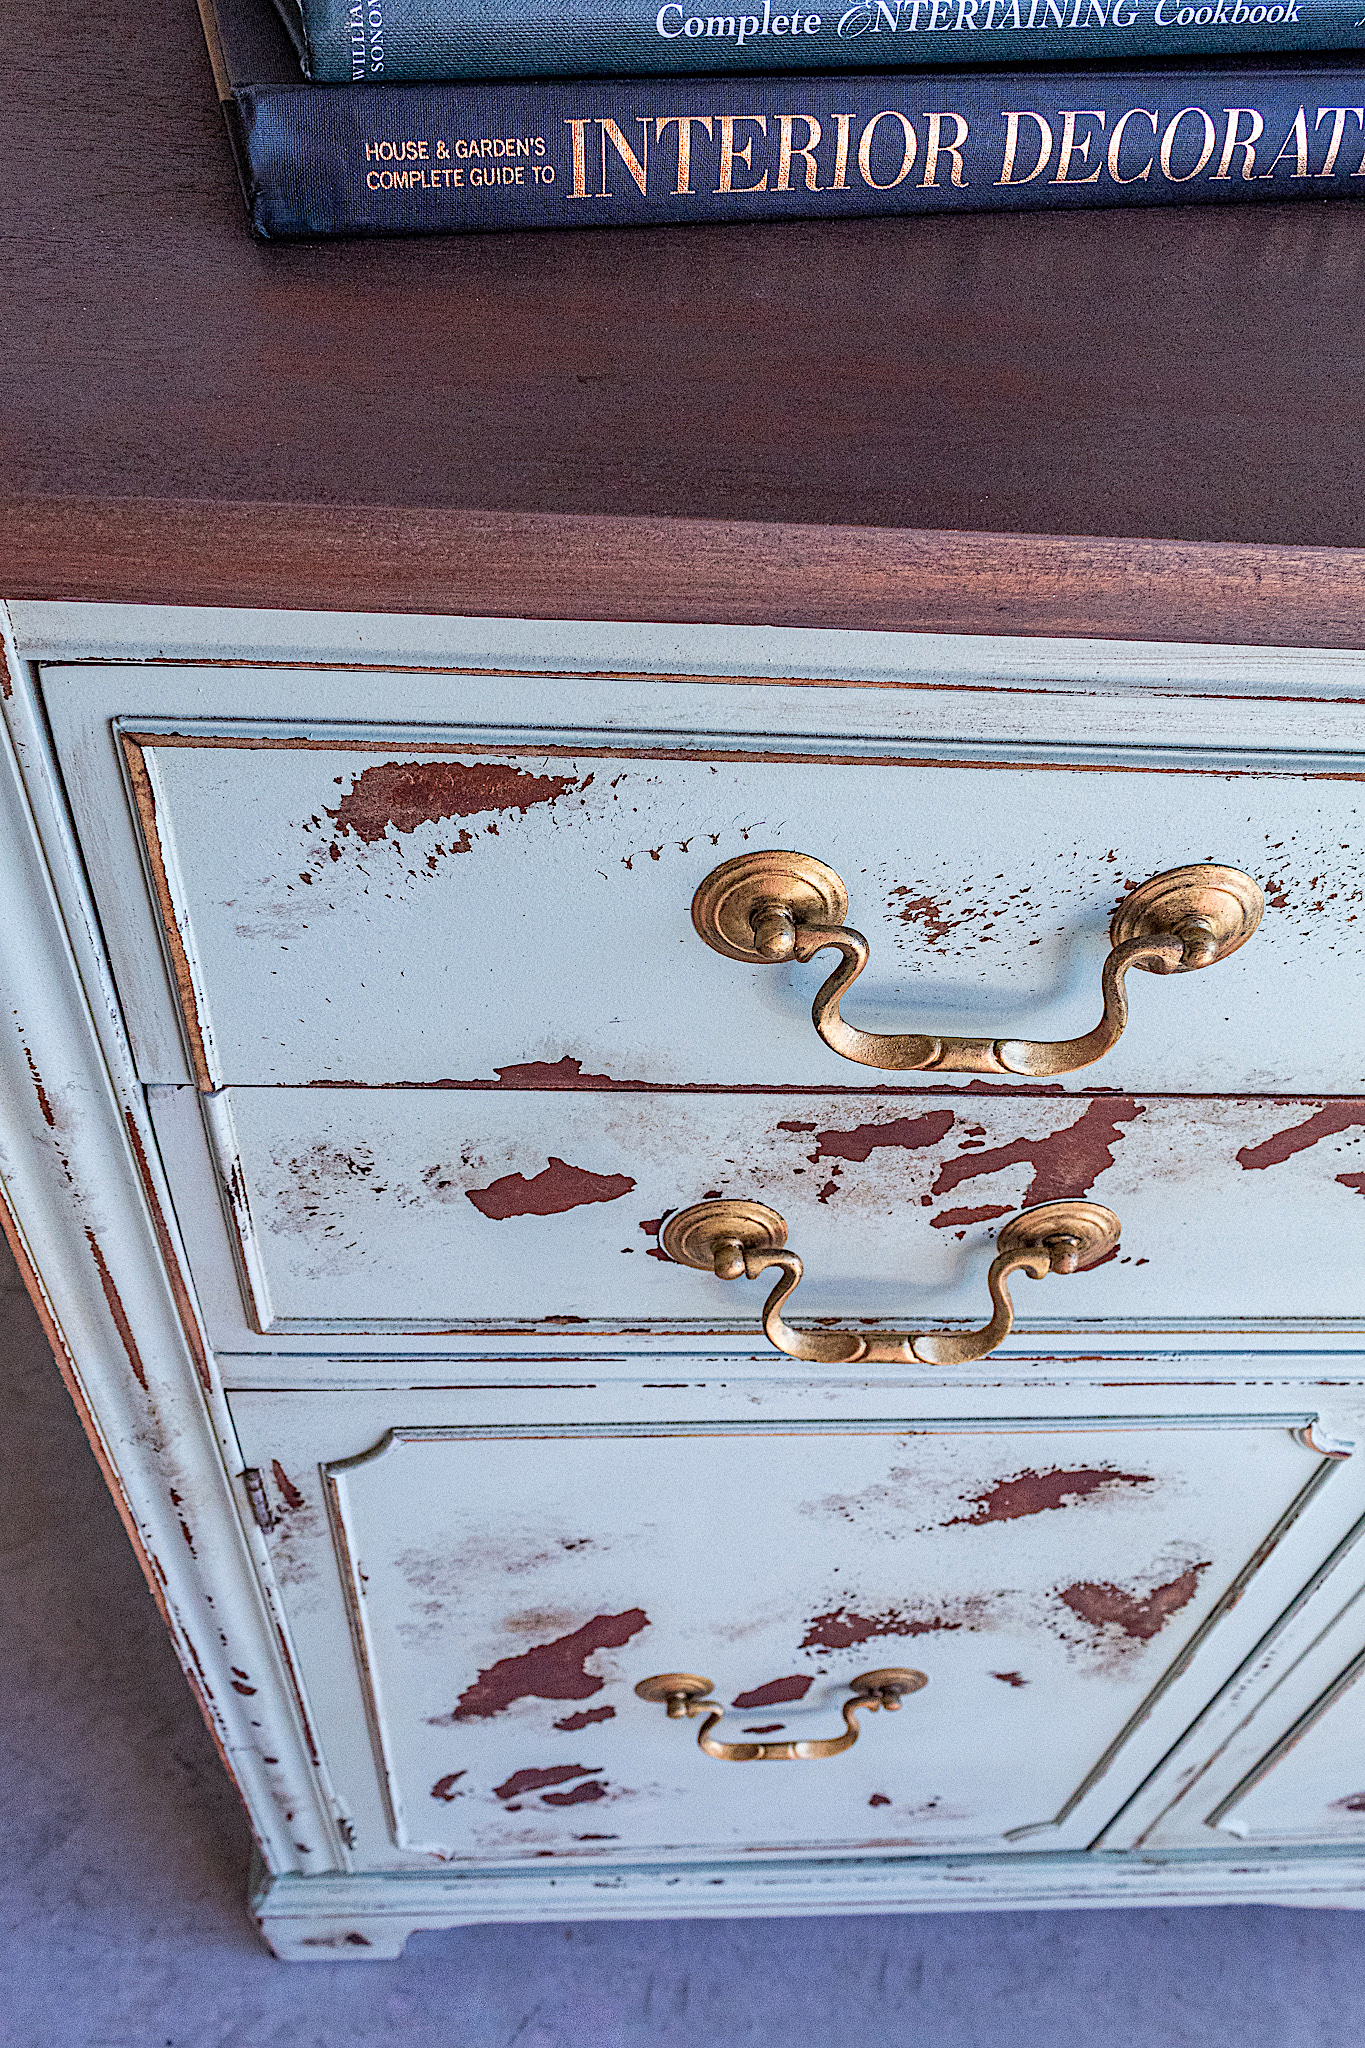
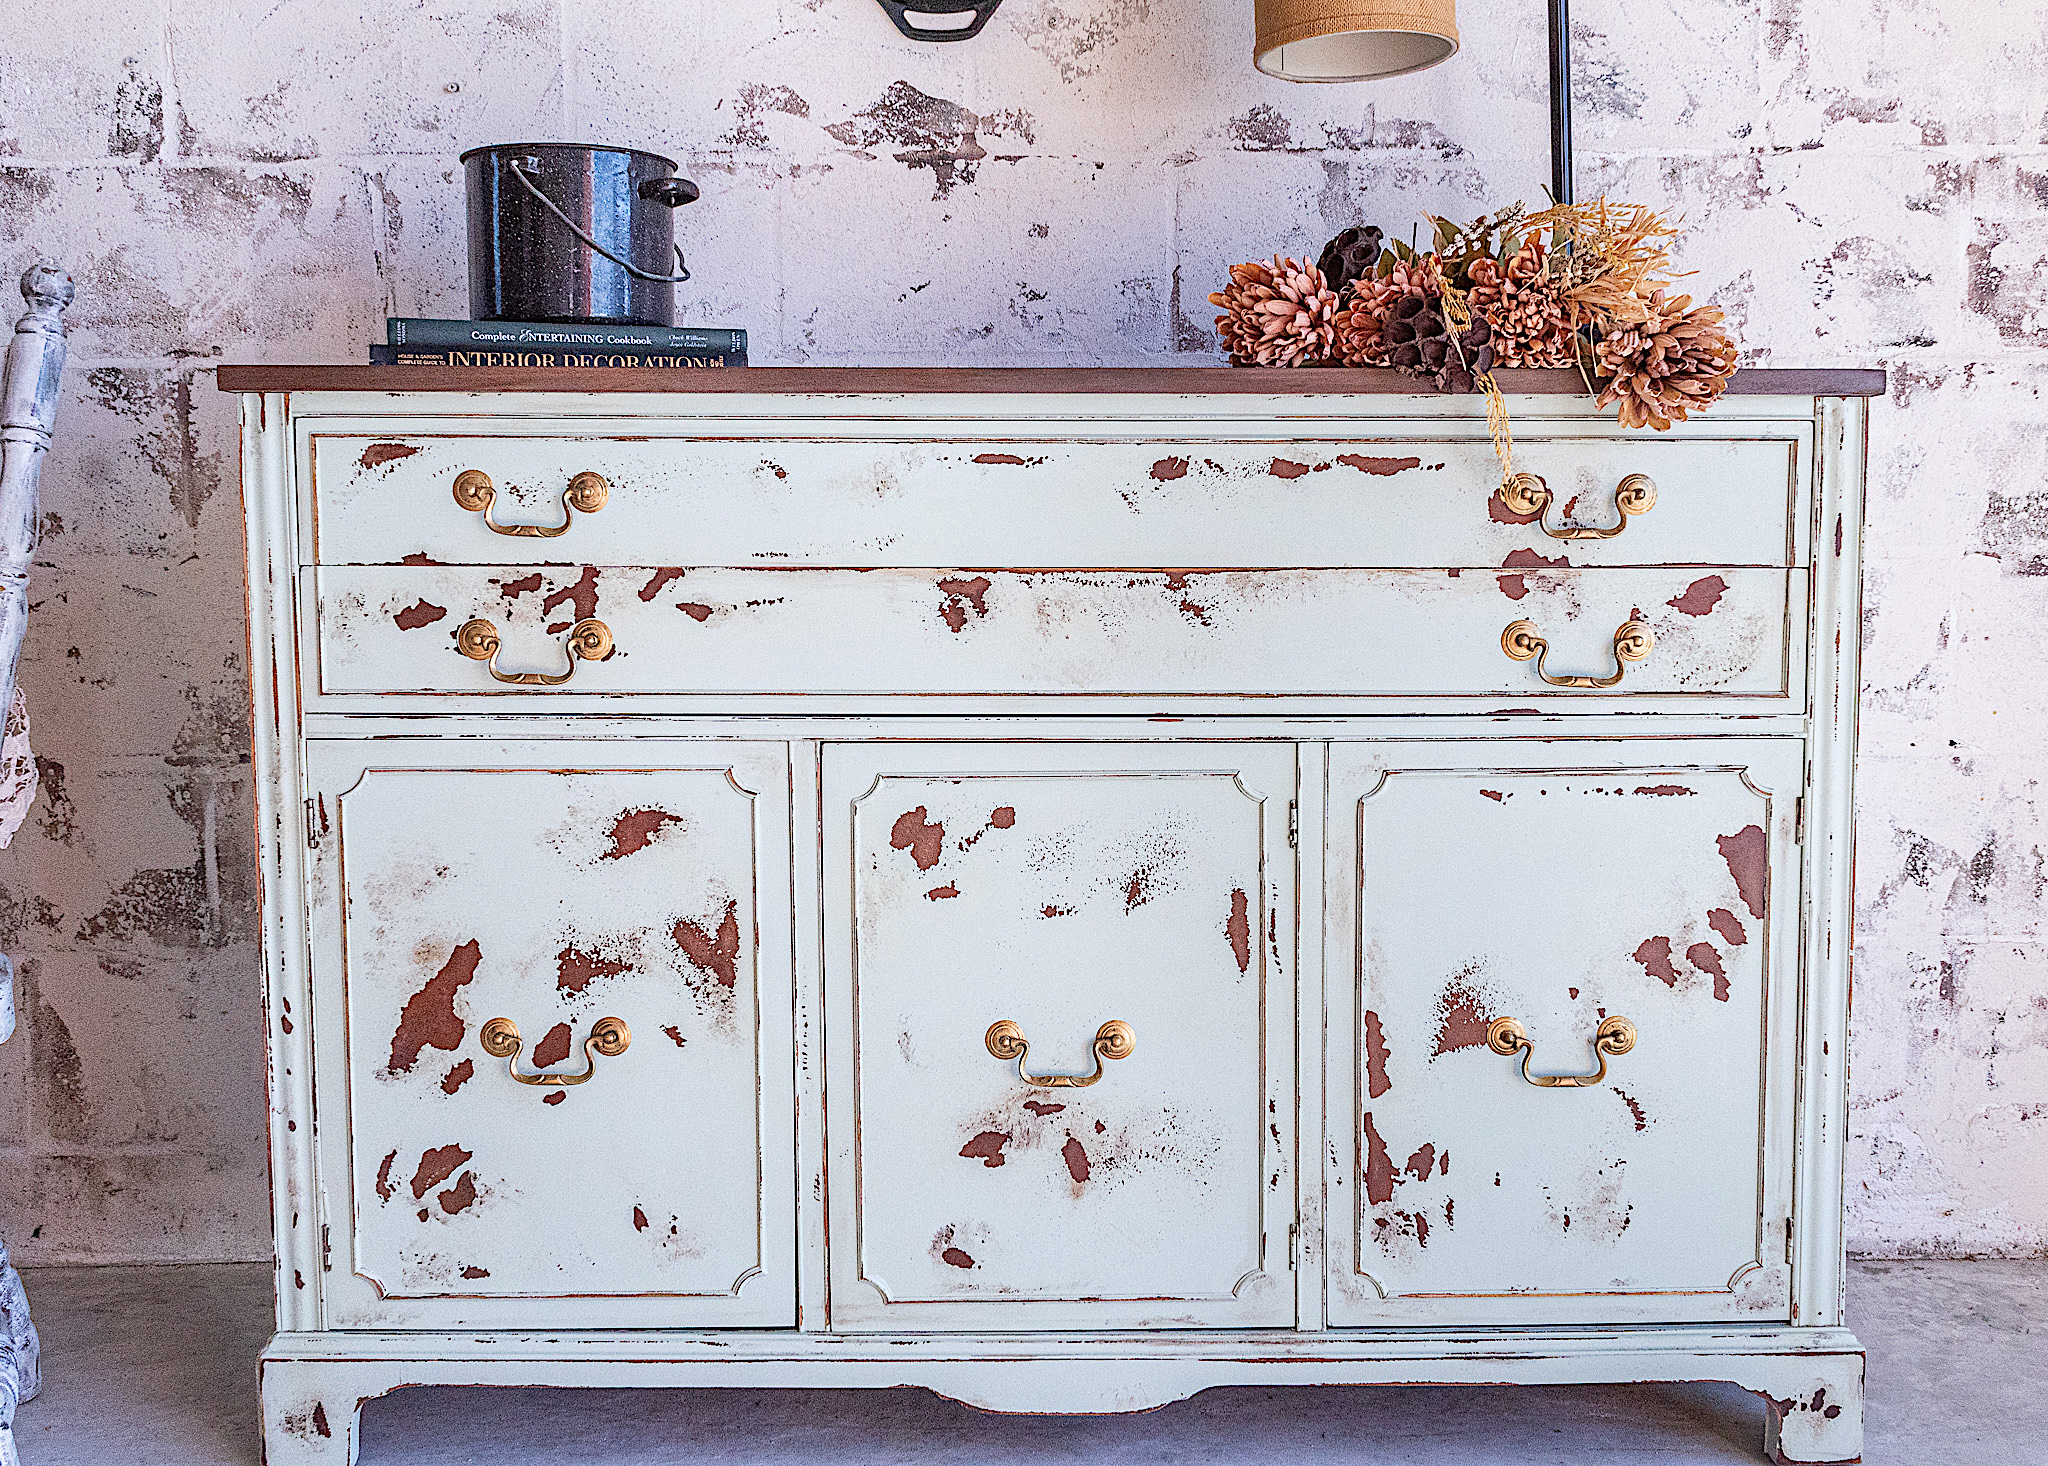
I love this part of the renovation—the part where I can use my creativity. Even something as simple as sanding can create beautiful art. To give the buffet a gorgeous aged look, I simply went around the entire piece with my orbital sander. I opened up parts of the paint in different shapes and sizes. Using low grit sand paper (i.e. 60 or 80) is more effective for this technique than higher grit sand paper. You want your paper to be coarse. I like to have large and small open areas as well as specks sprinkled around for a more authentic look.
After I was happy with the amount of distressing, I applied dark antiquing wax for an extra aging effect. With only a little wax at a time on a paper towel, I dabbed up and down in random parts. I also used it around distressed parts for additional depth and texture.
4. Finish
To finish up this antique piece, I cleaned up the hardware with soap and water. Then I gave them a pretty gold sheen by rubbing on my Vintage Gold Metallique Wax. These waxes by Art Alchemy are amazing. I have them in all sorts of colors.
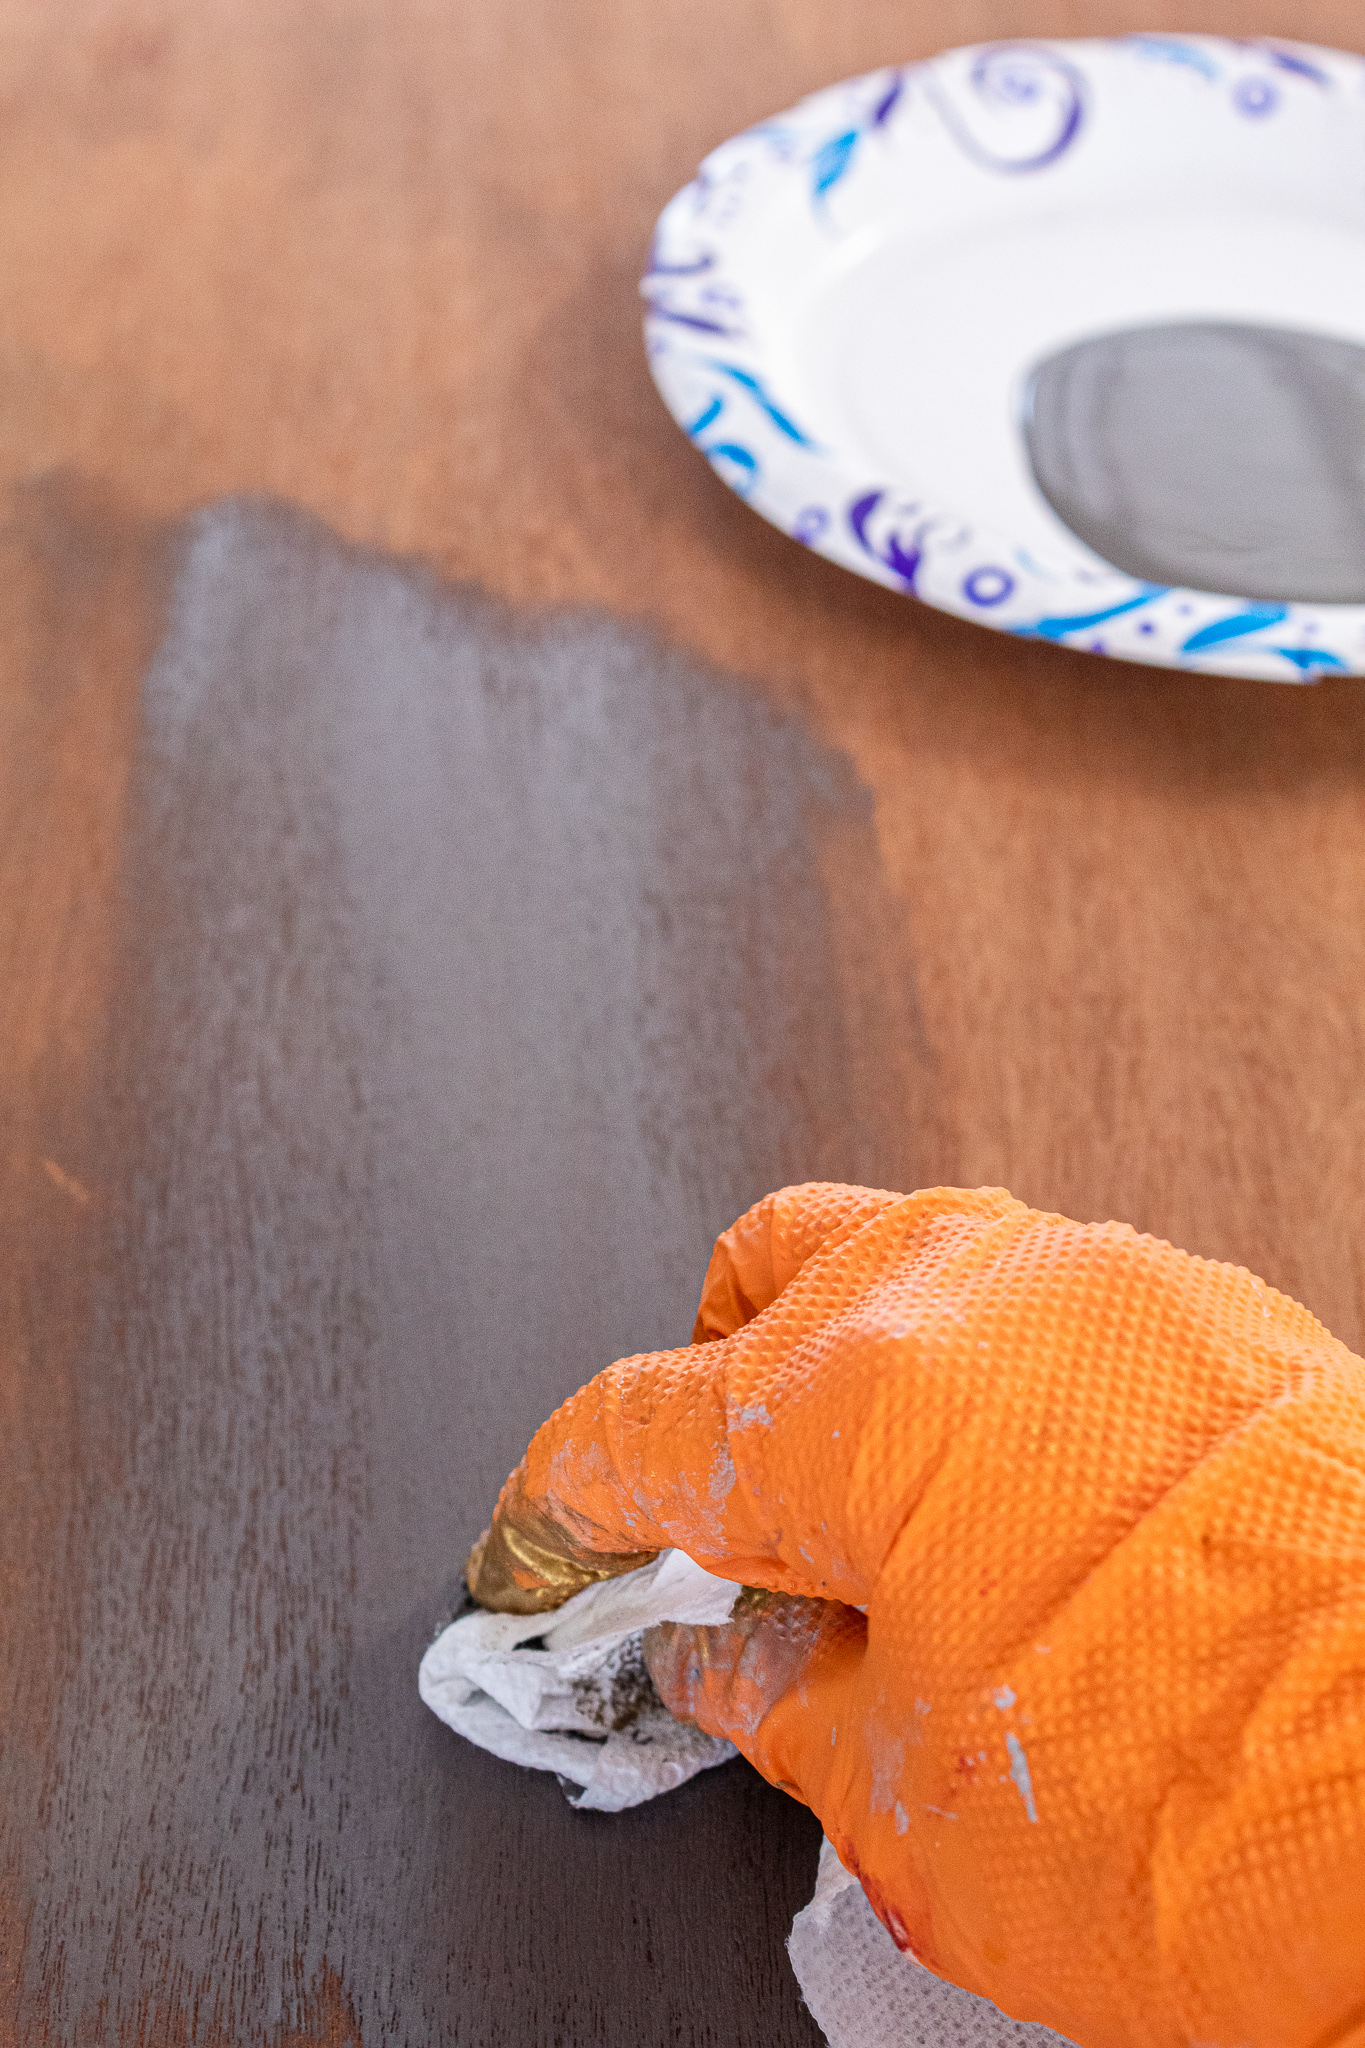
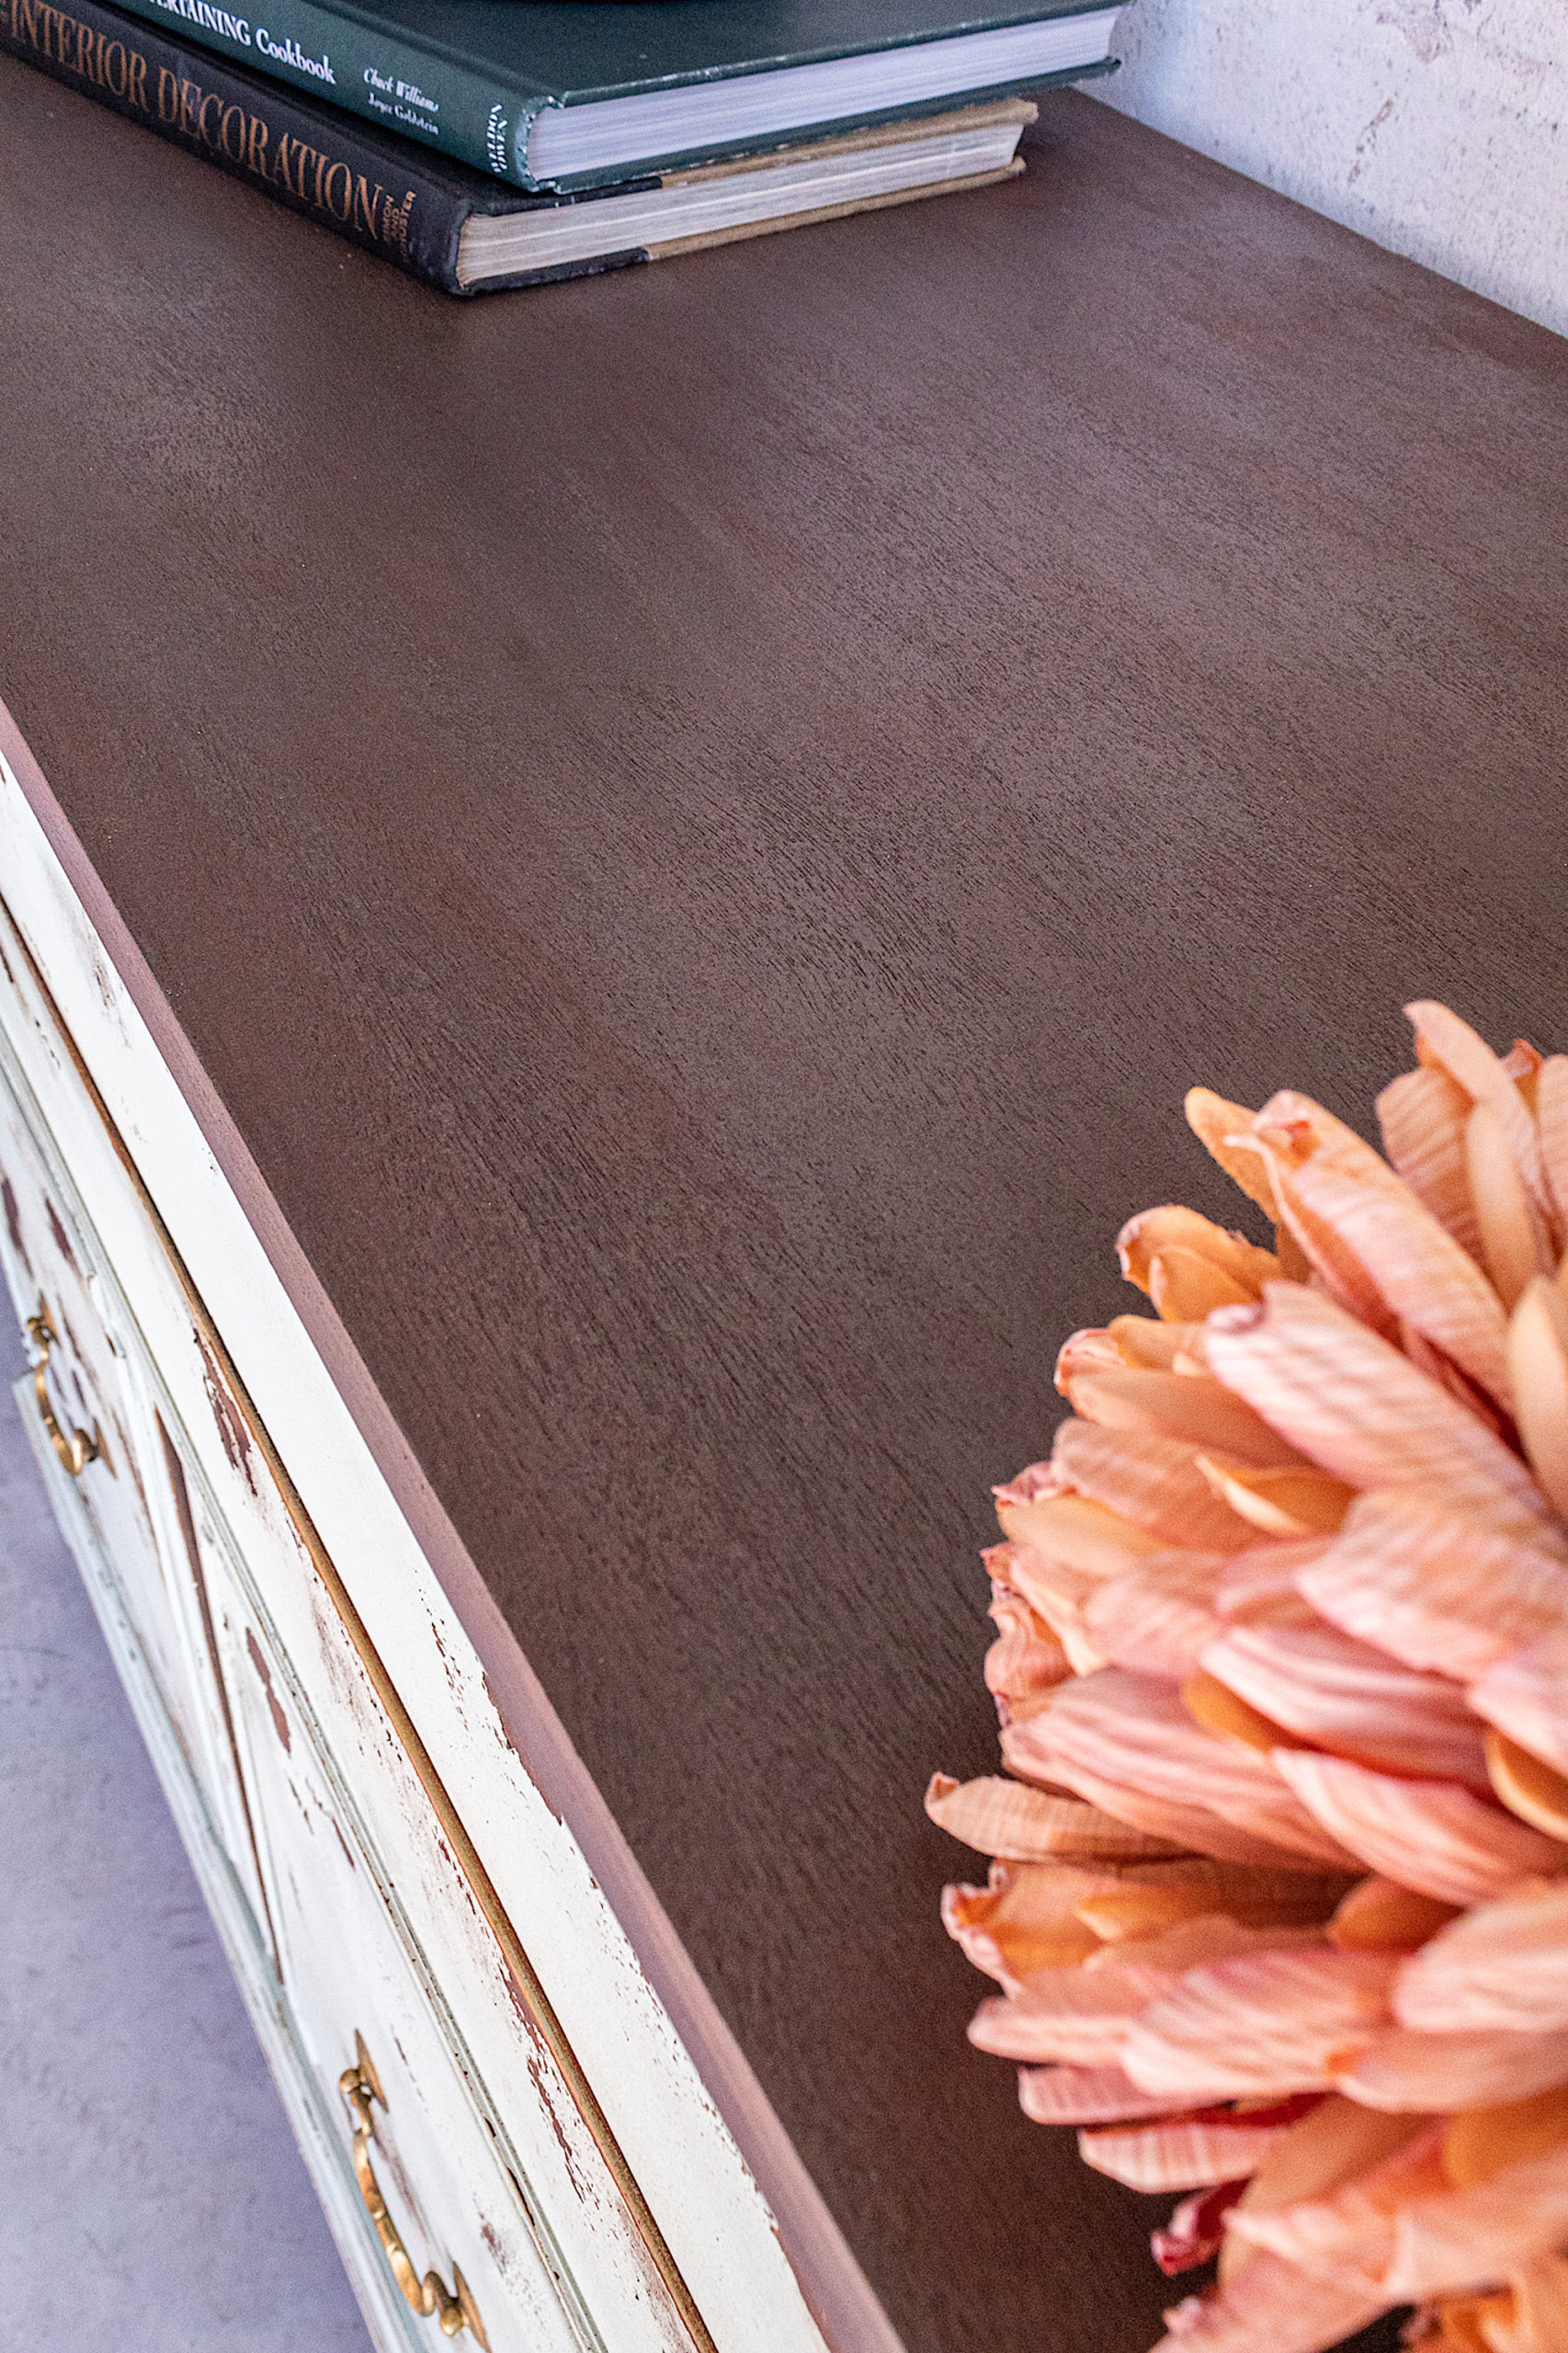
After sanding the table top first with 60 grit and then with 400 grit for a final smooth finish, I applied a coat of Walnut Gel Stain.
To seal everything, I applied one coat of polyurethane on the buffet and two coats on the top for extra protection. The video above demonstrates how I applied the clear coat. I’ve learned through trial and error how to achieve the best results with your clear coat finish and I share these tips in the video.
And that is it friends. Working on this precious piece of history was an honor for me. I think of the lives it has been a part of when I’m working on such pieces. I hope you enjoy your projects and stay tuned for more fun tutorials!
Now I leave you with one more look at the before and after. Let me know what you think. I always love hearing from you!