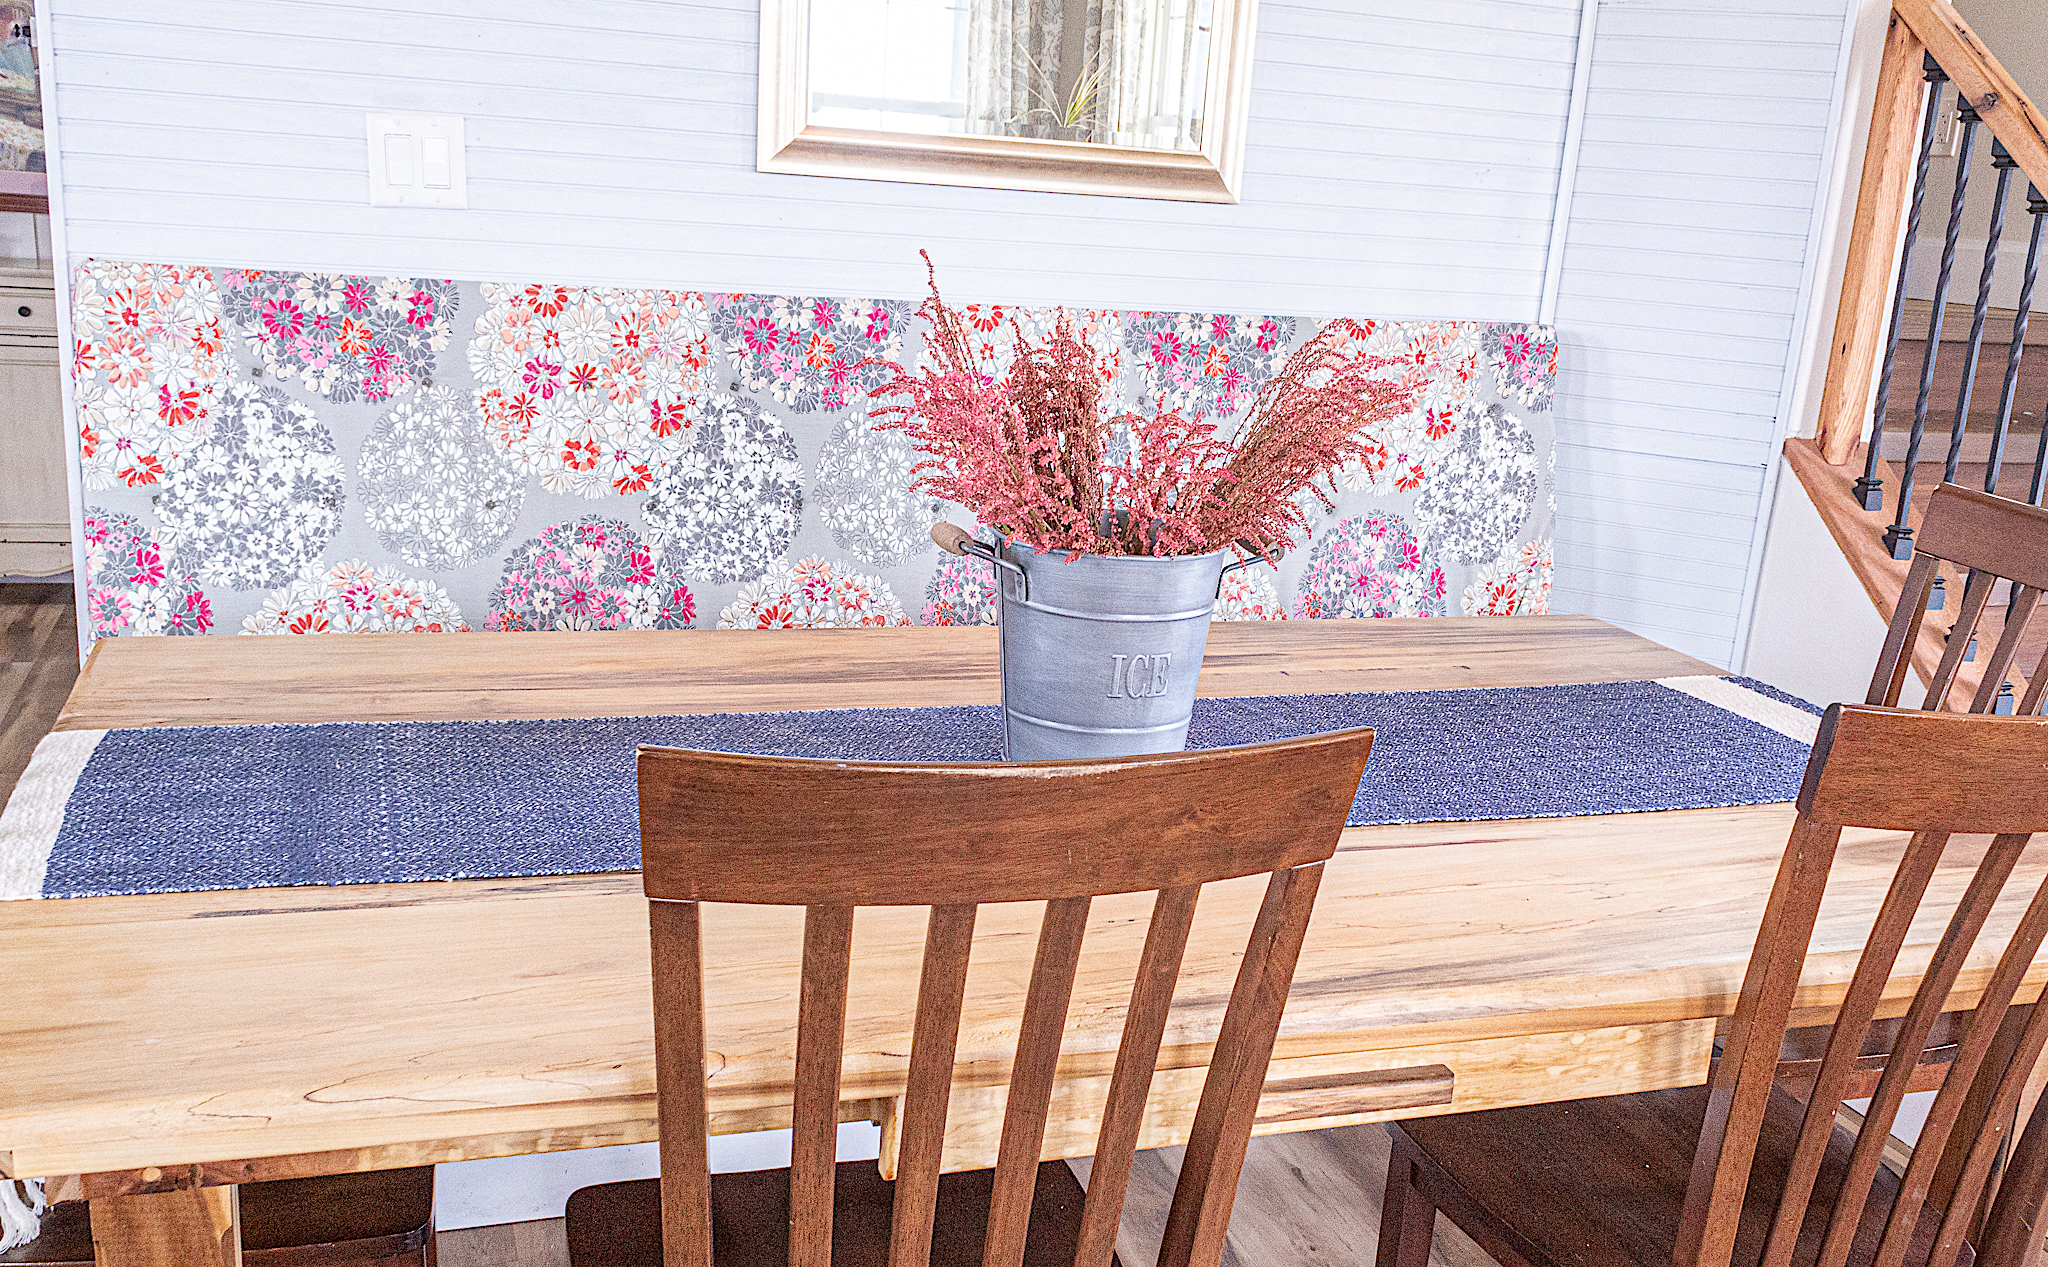
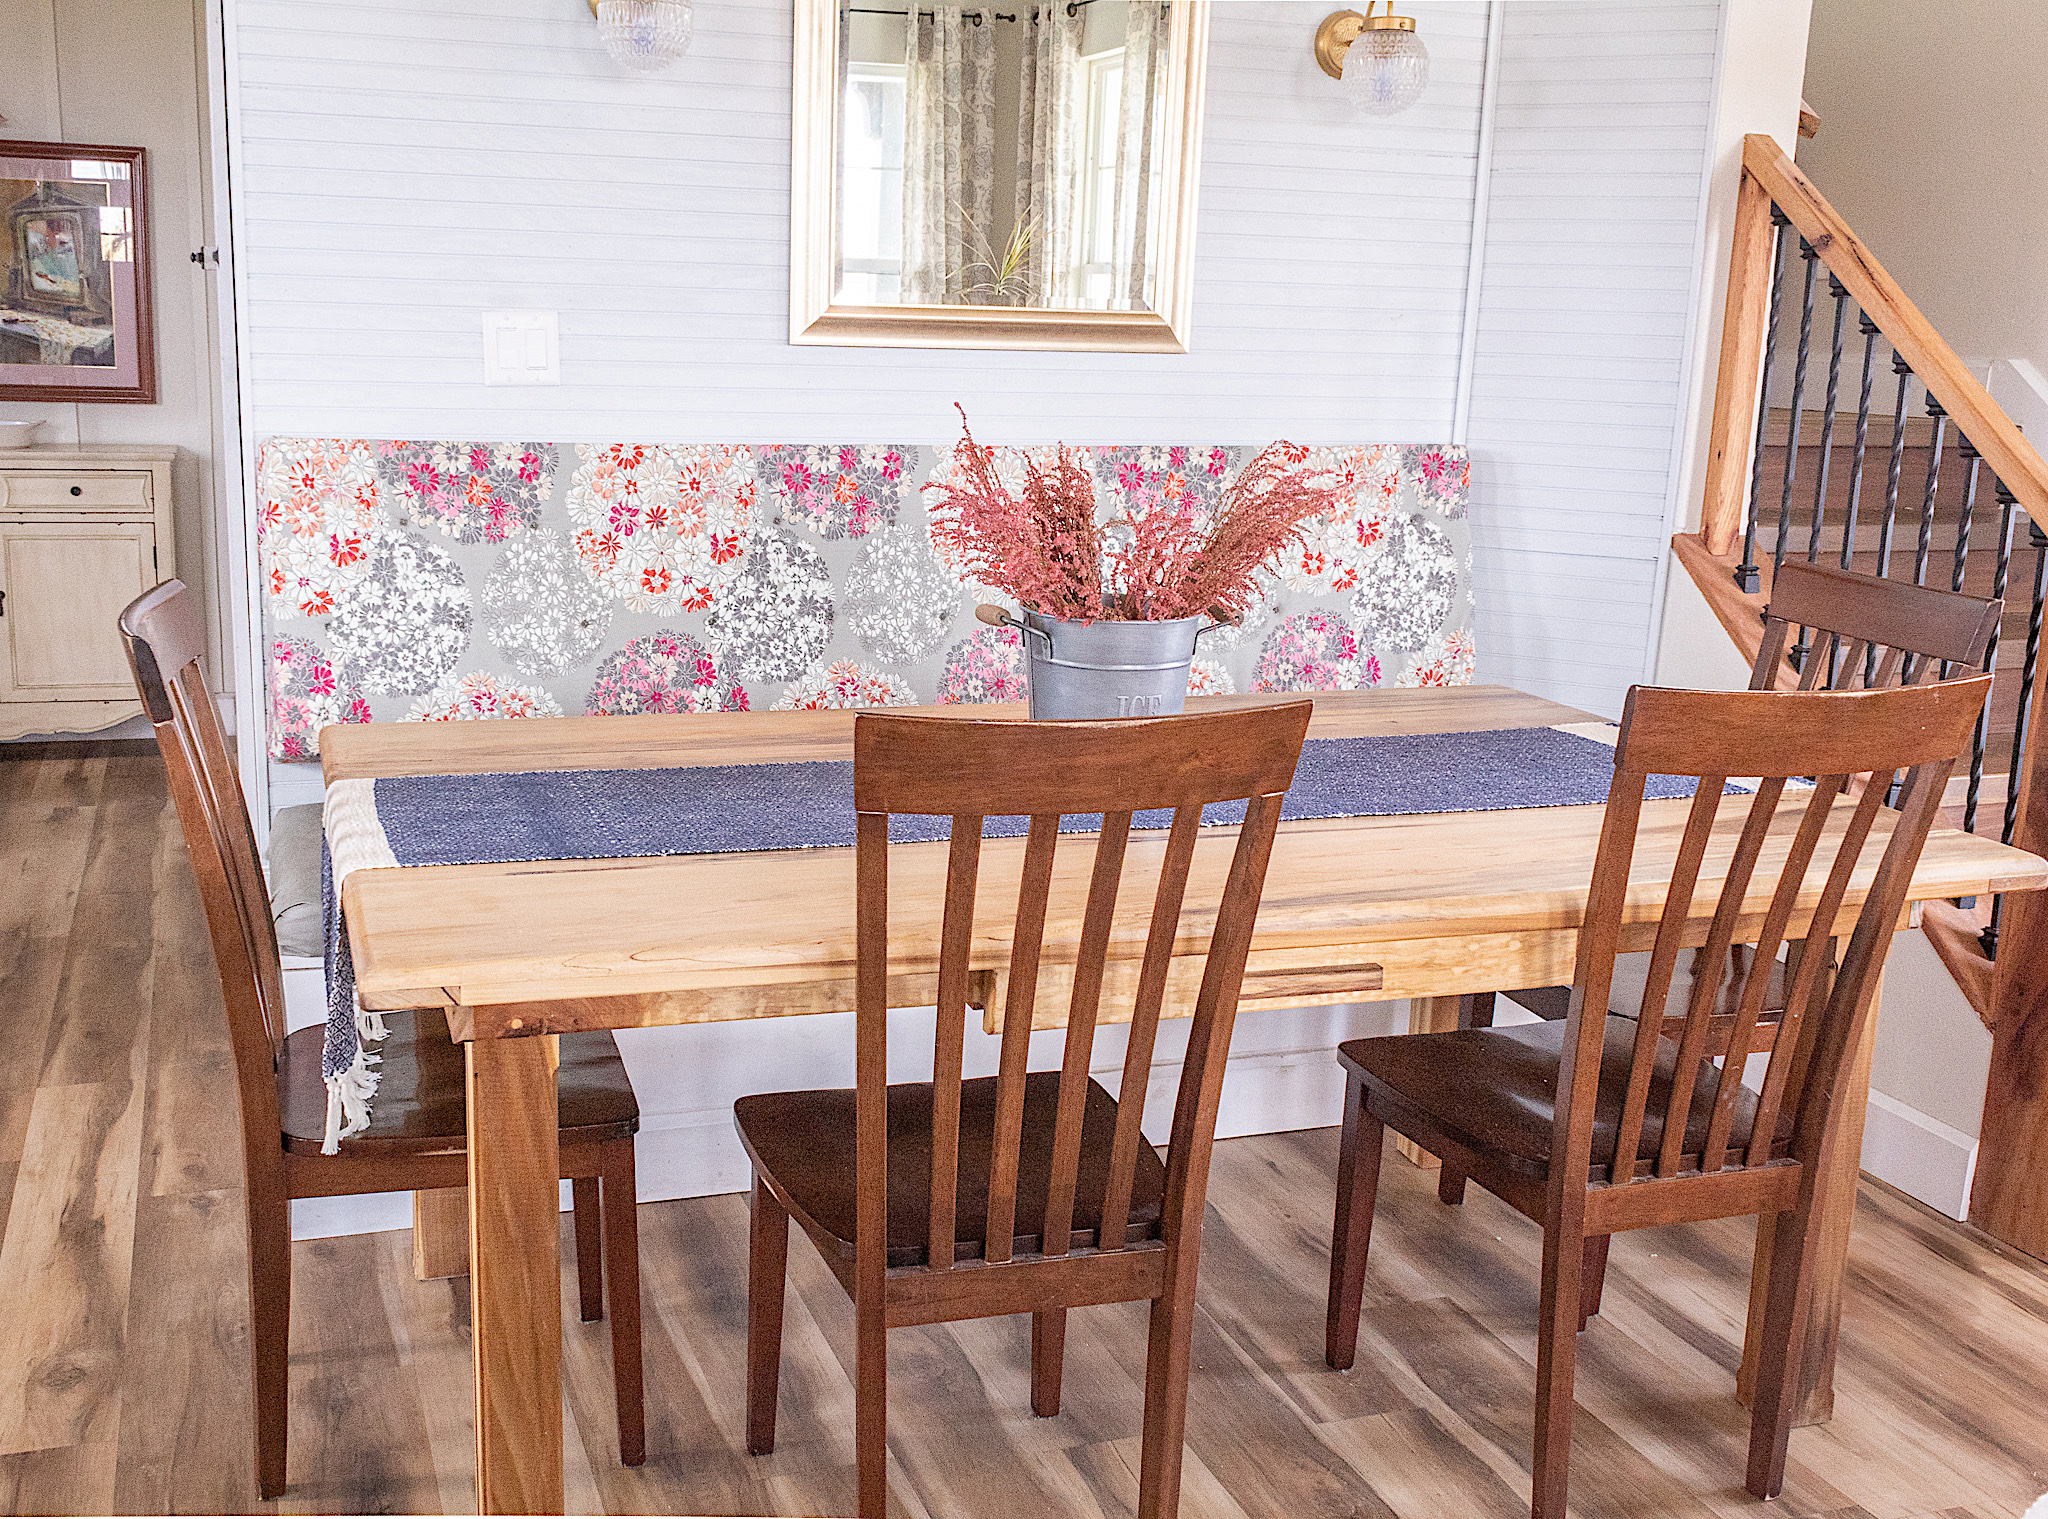
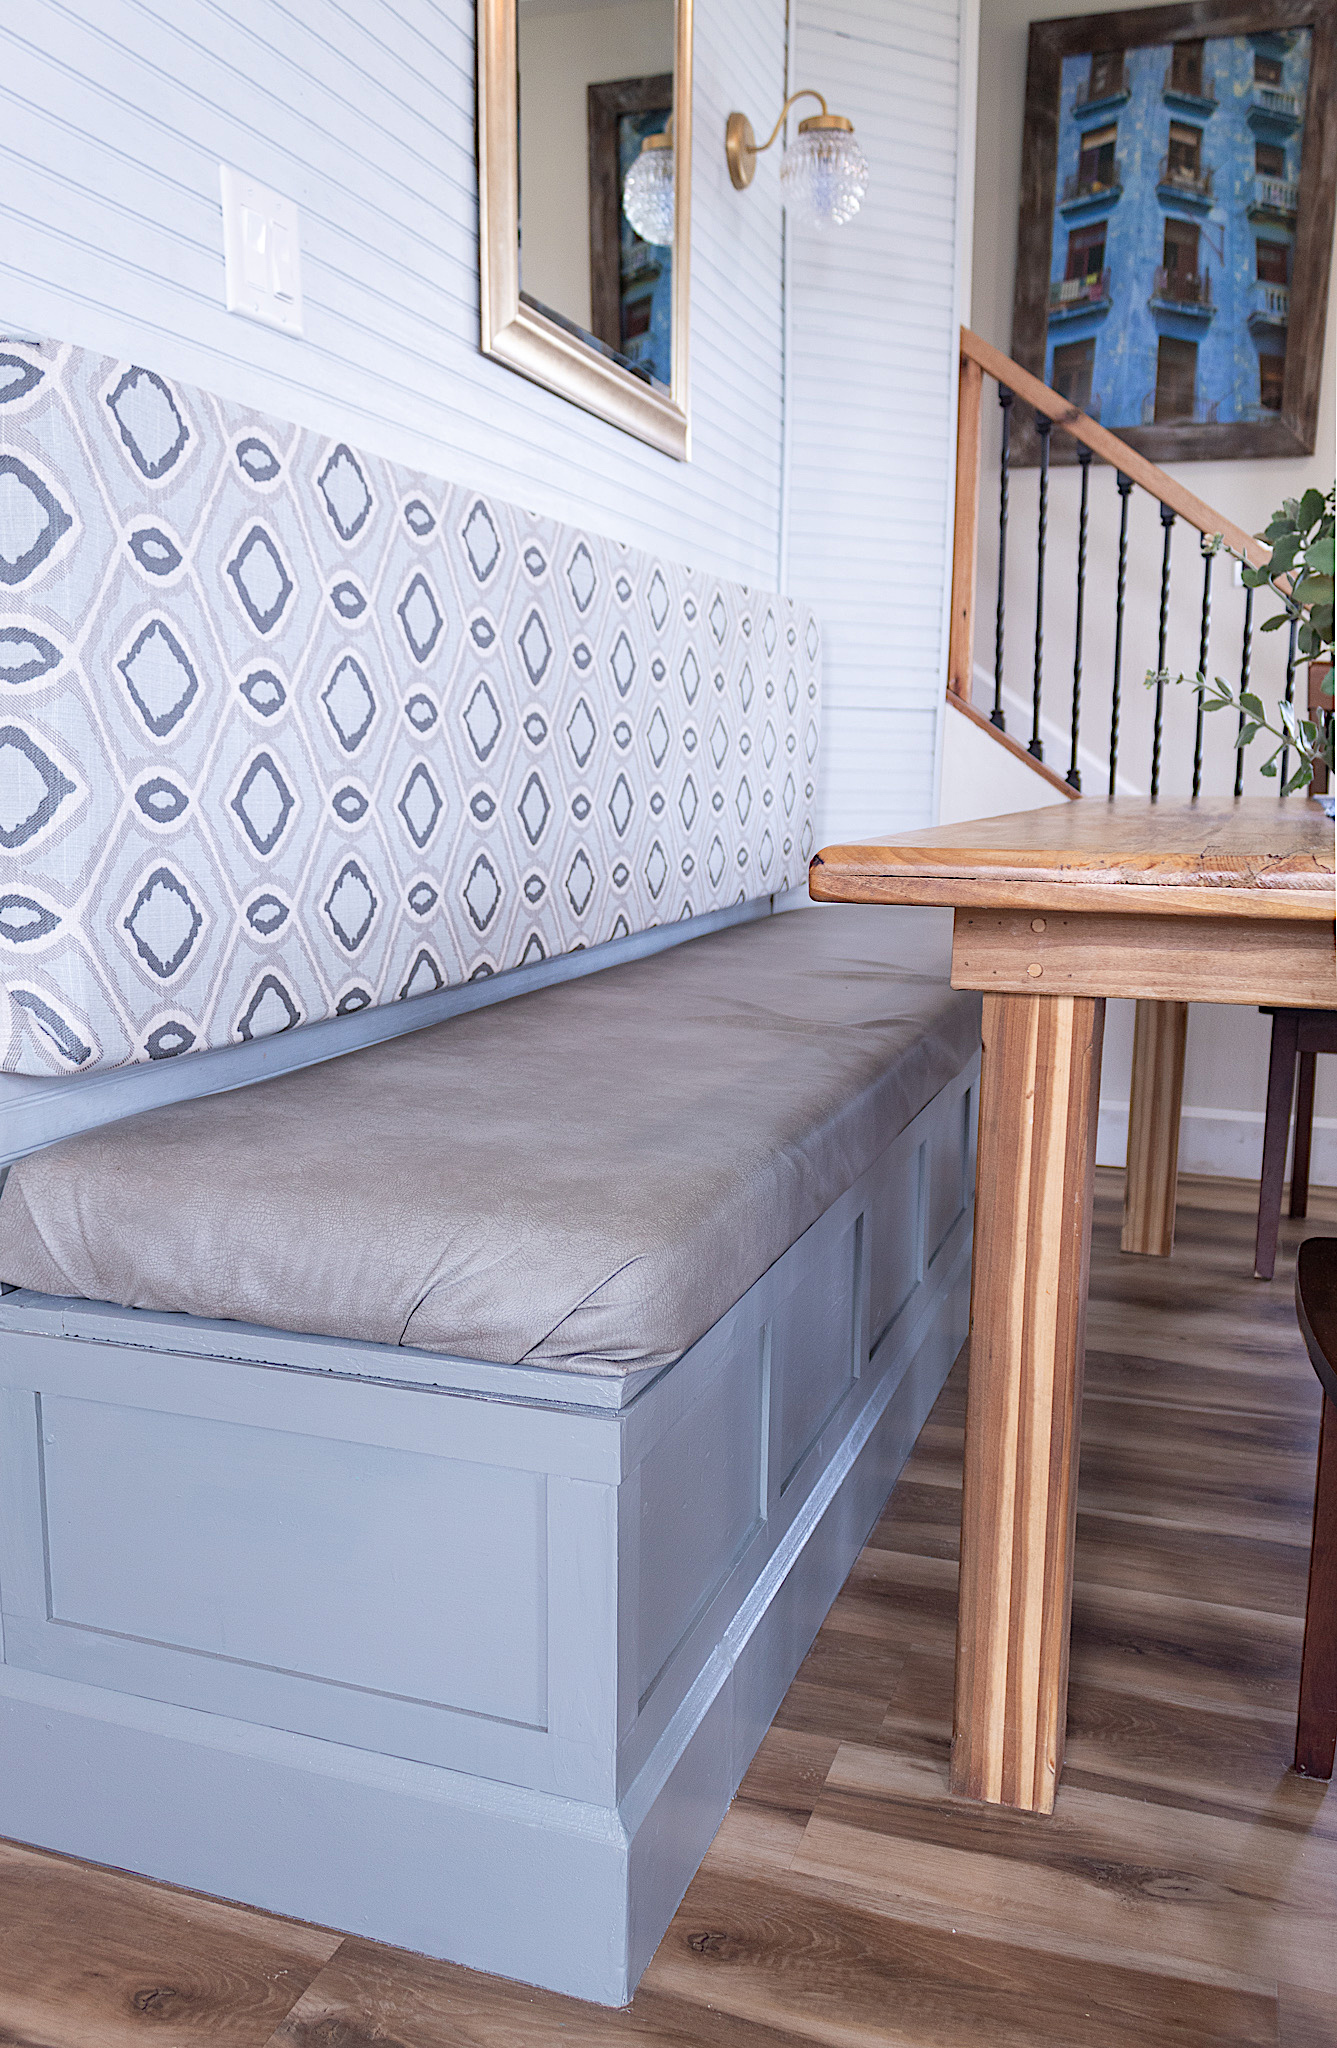
HELLO, TODAY WE ARE MAKING A STYLISH BANQUETTE BACK CUSHION. Well before we built our house I envisioned a banquette for our dining nook, one large enough to accommodate a family of six plus guests. Banquettes are great for both form and function. They can snazz up your space, double as storage and are awesome space savers.
The only problem with our banquette was that the throw pillows I was using for decoration and back support were constantly in disarray. When you have young kids it’s almost impossible to keep throw pillows in place. Half the time they were on the floor. So we came up with the idea of a wall cushion and it has been life changing!
Follow along as I show you the steps we took to build our wall-mounted banquette cushion.
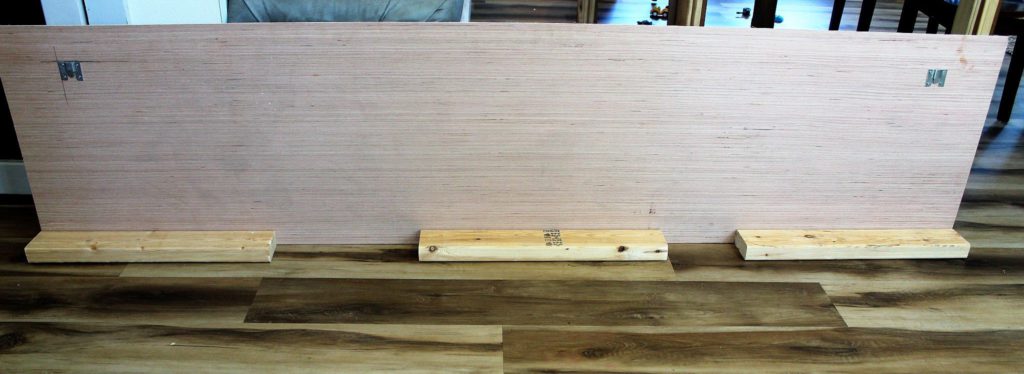
The first thing my husband Ronny did was cut 3 pieces of 2 x 4’s each into 24″ lengths. These are going to help the wall cushion have a slight angle for back support.
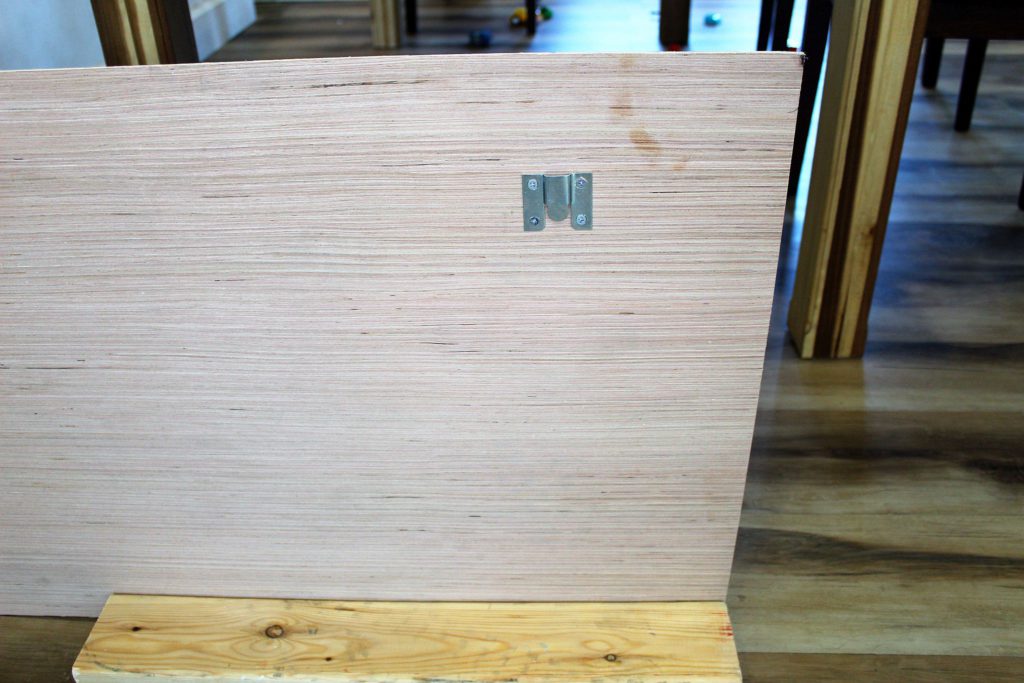
Next Ronny cut the plywood to the size of our desired wall cushion, 79″ L x 20″ H using our table saw.
He then drilled on the three 2″ x 4″ pieces to the bottom side of the plywood as shown in the picture below.
If you want your cushion flush against the wall you can skip the step of adding the 2 x 4’s. In our UPDATED Dining Nook Banquette postwe took the boards out to make things flush. It’s really a matter of personal preference.
Step 2. Add your hanging brackets
Next came adding the mounting brackets. Ronny drilled two brackets on the plywood and their matching pieces on the wall.
Disclosure: Some of the links provided are affiliate links. By purchasing through these links you are supporting this family blog and the work we do and there is no extra cost to you. If you would like to read our full disclosure, click HERE.
Don’t worry if the screws stick out of your plywood. The cushion will cover them.
To fill in the gap at one end of the cushion, (the other side would be hidden by the wall), Ronny added two pieces of wood forming a triangle (sorry no pic.) which would give me something to staple my fabric onto as I wrapped it around. Otherwise you would likely see a concave of fabric over the hole.
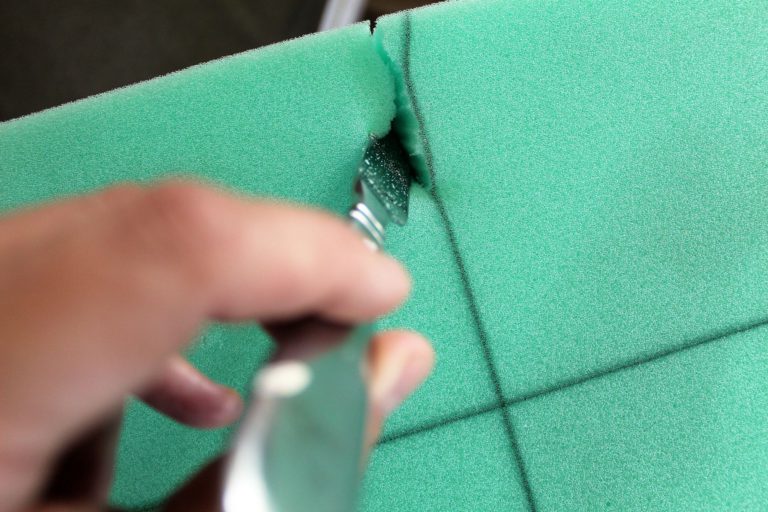
Step 3. Cutting your cushion
I used a sharpie to mark where I needed to cut my foam. Then I cut it a hair above the edges of the plywood. A butter or kitchen knife work just fine for cutting your foam. Cut in an up and down motion.
The plywood was longer than my foam. I used a scrap piece I’d cut from my foam to add it to the end.
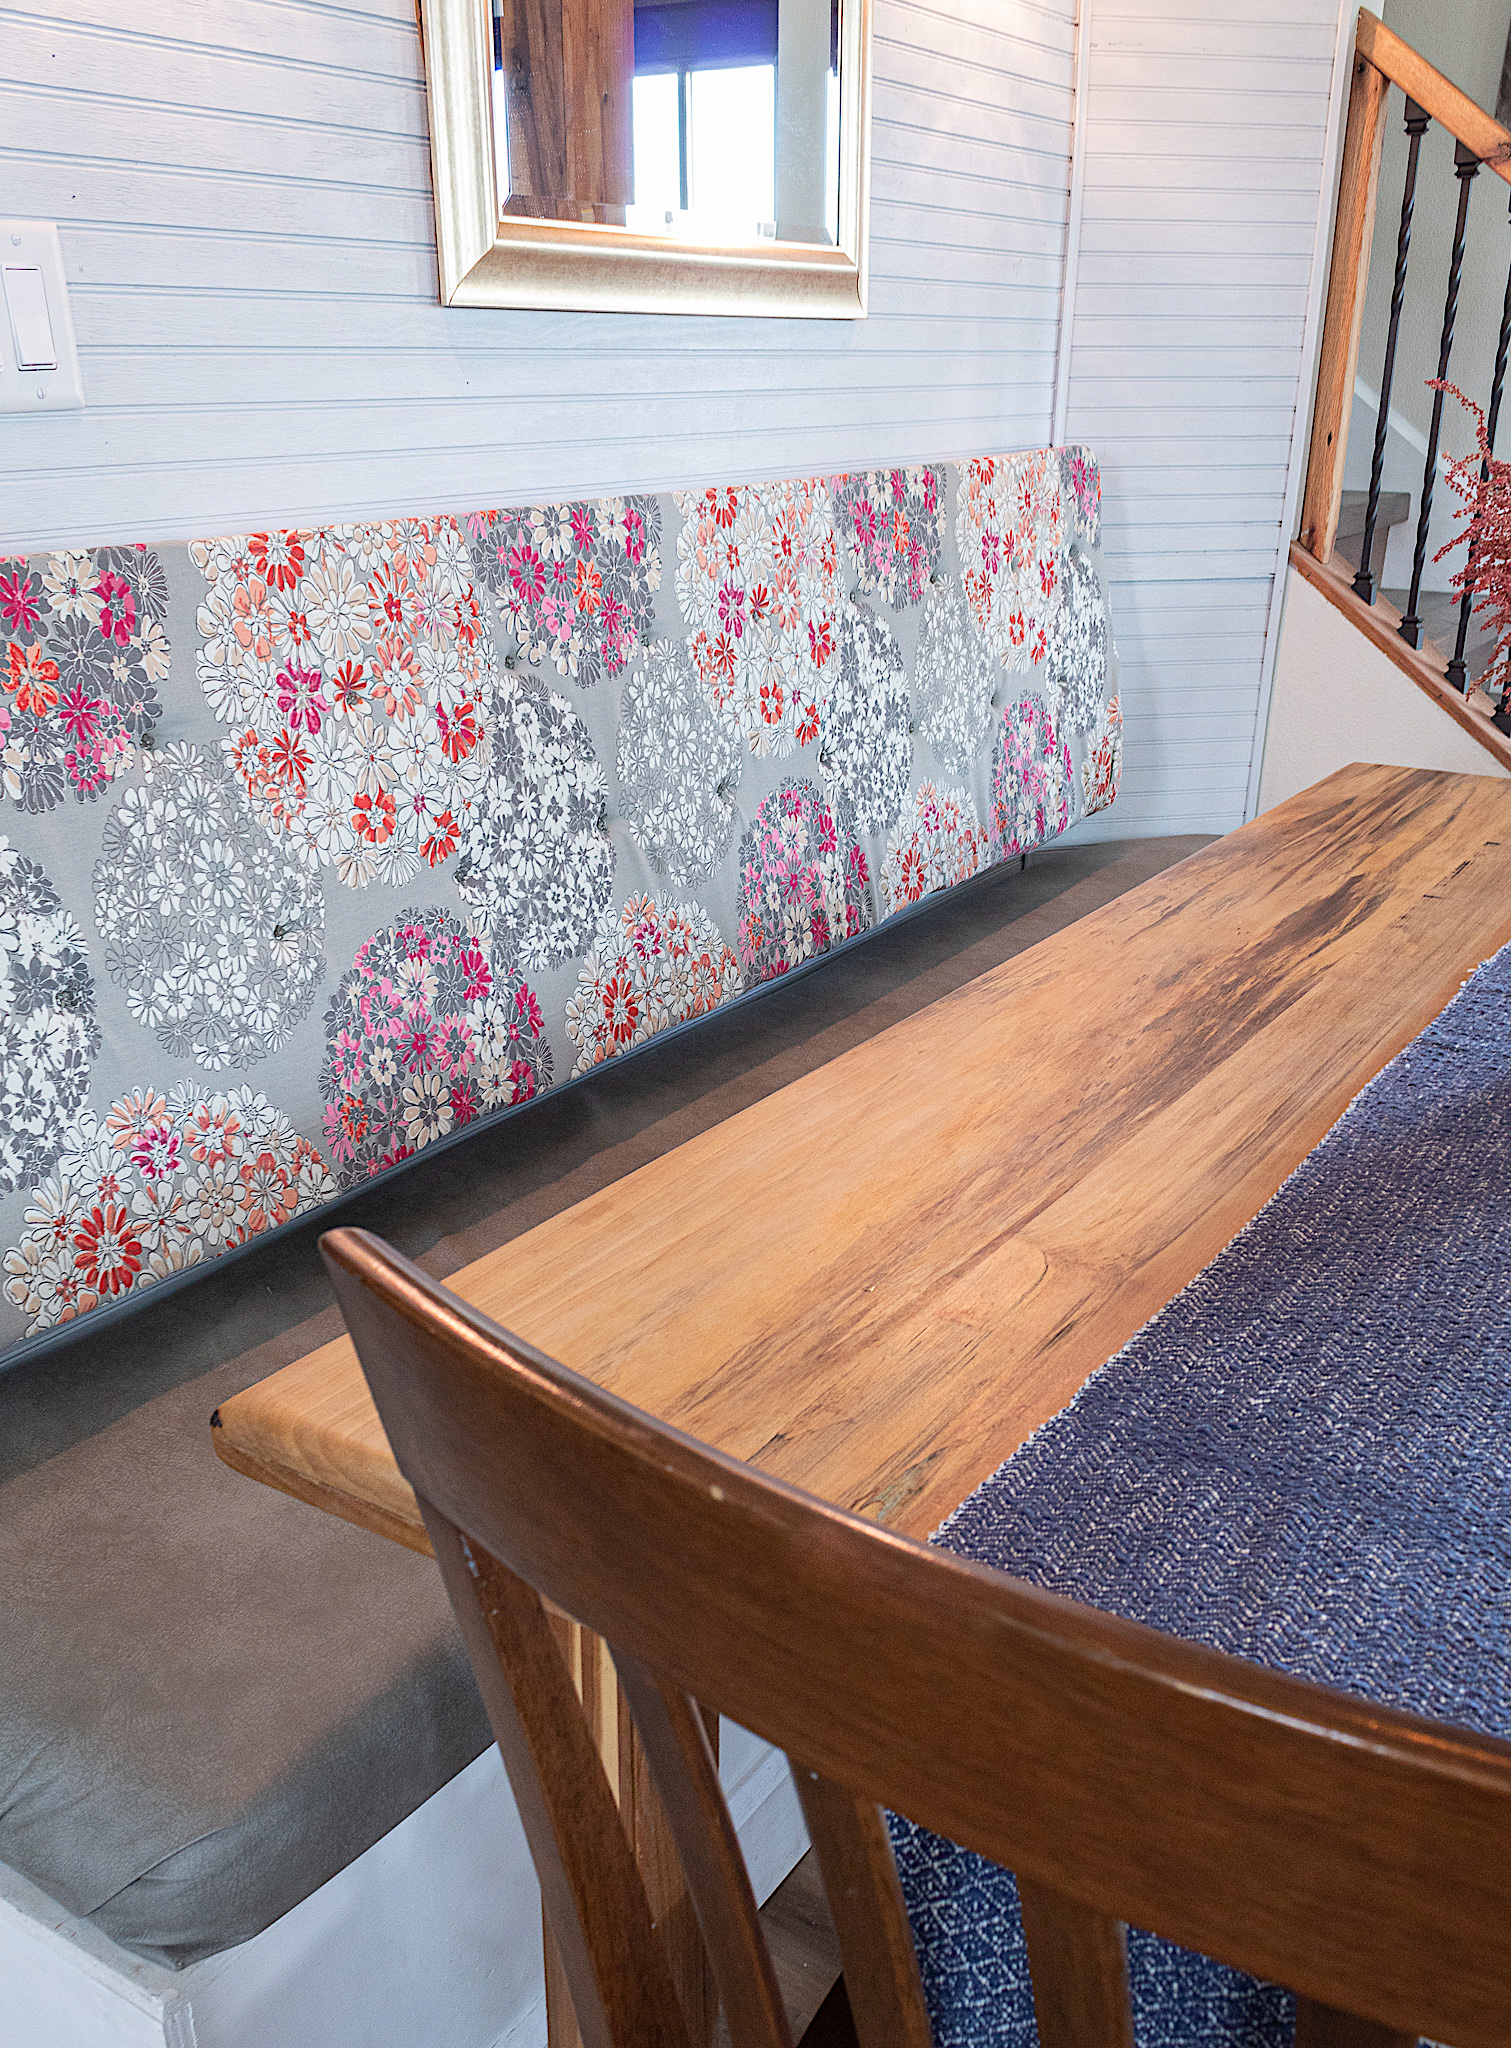
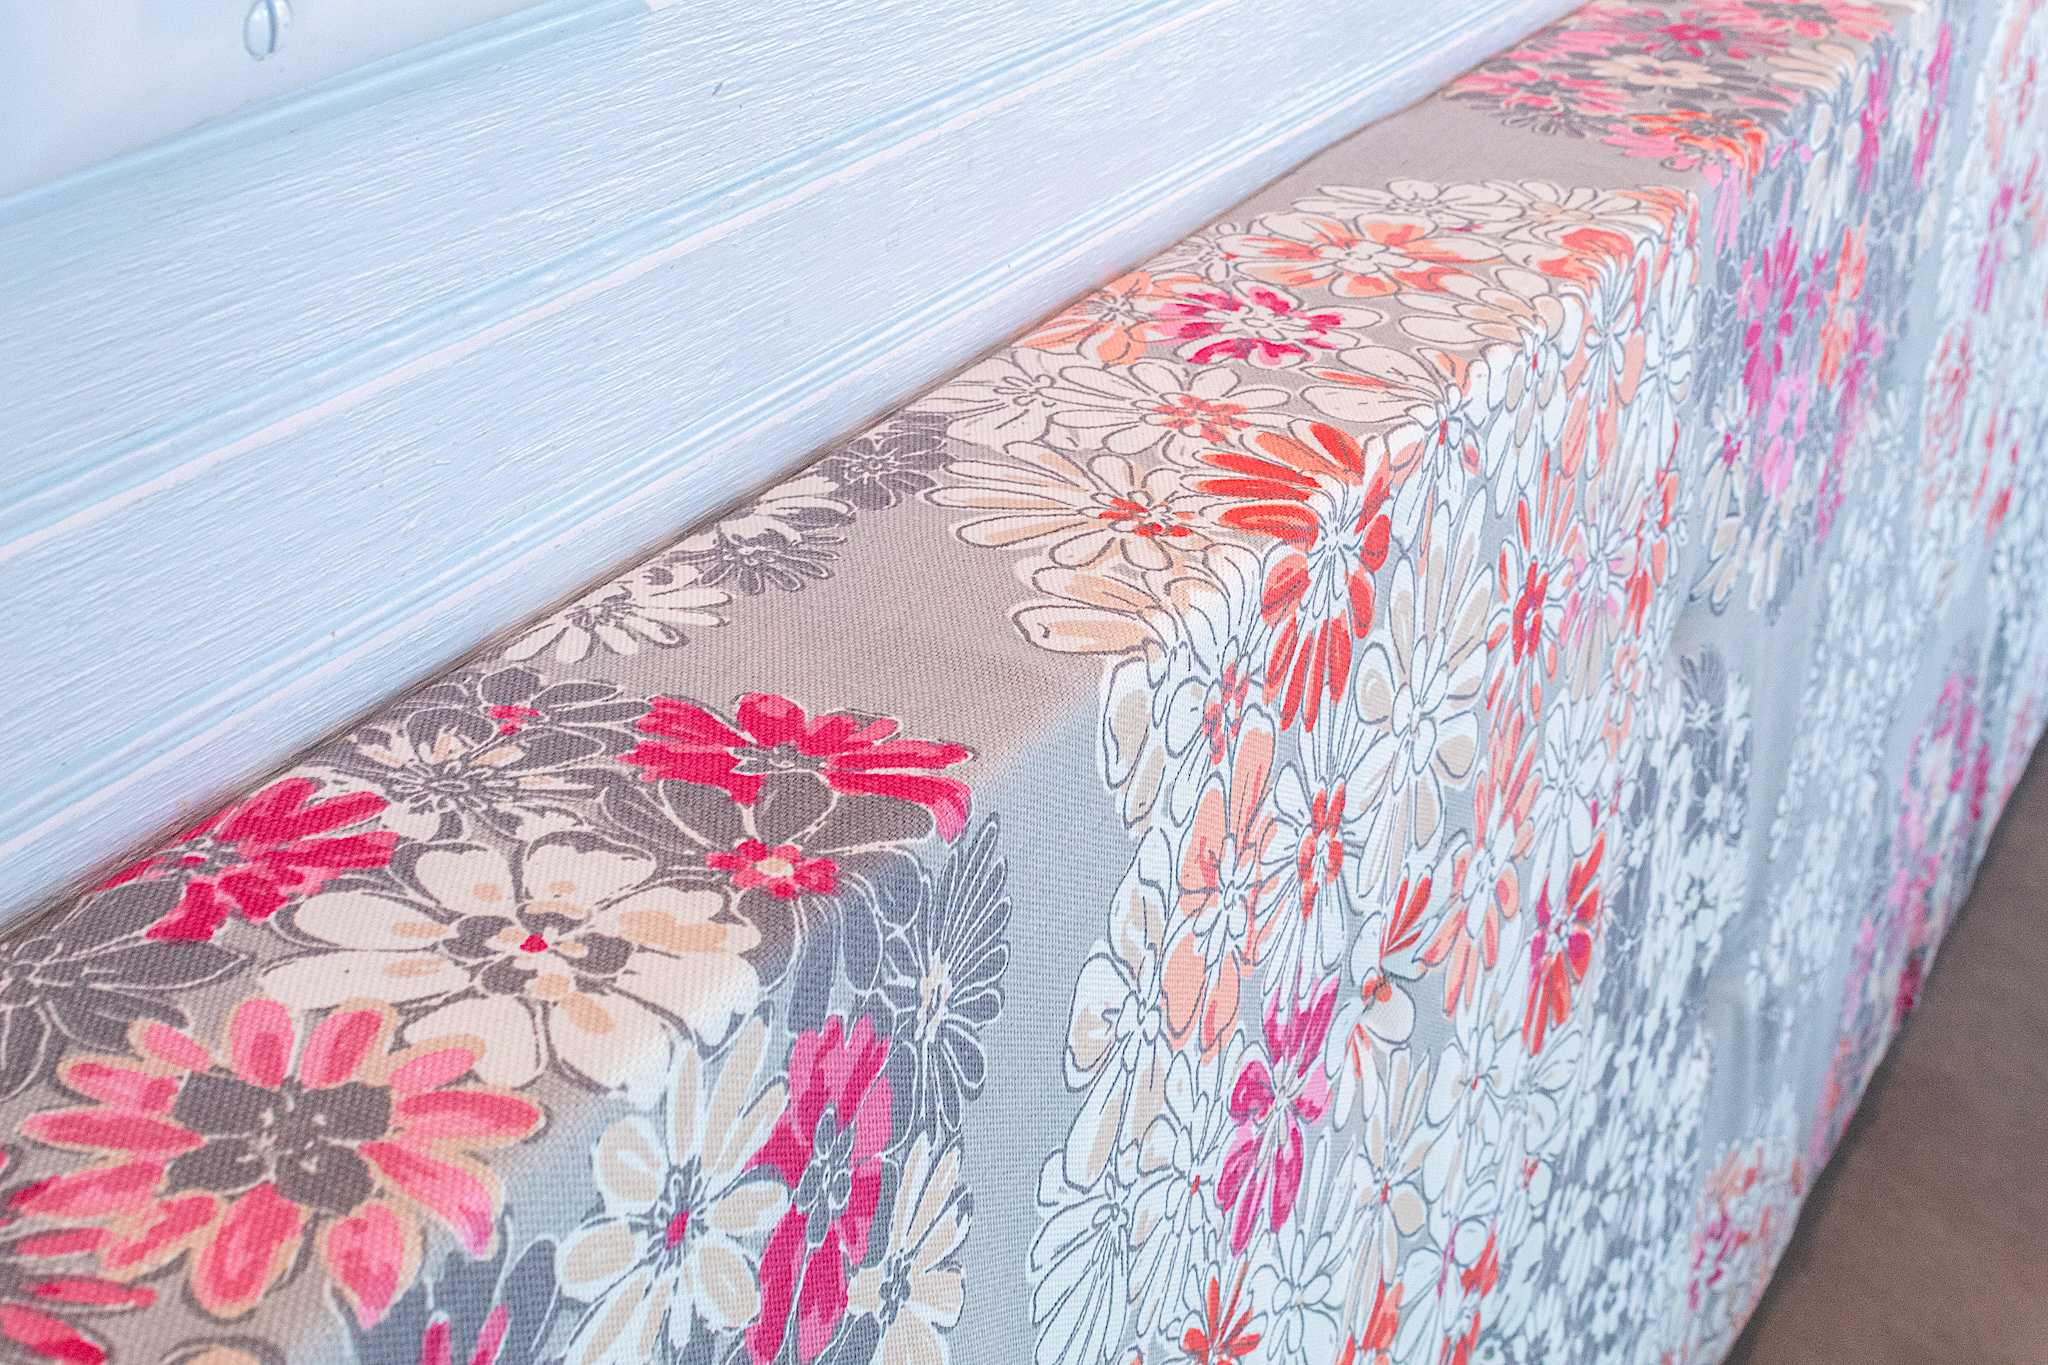
Step 4. Add your fabric
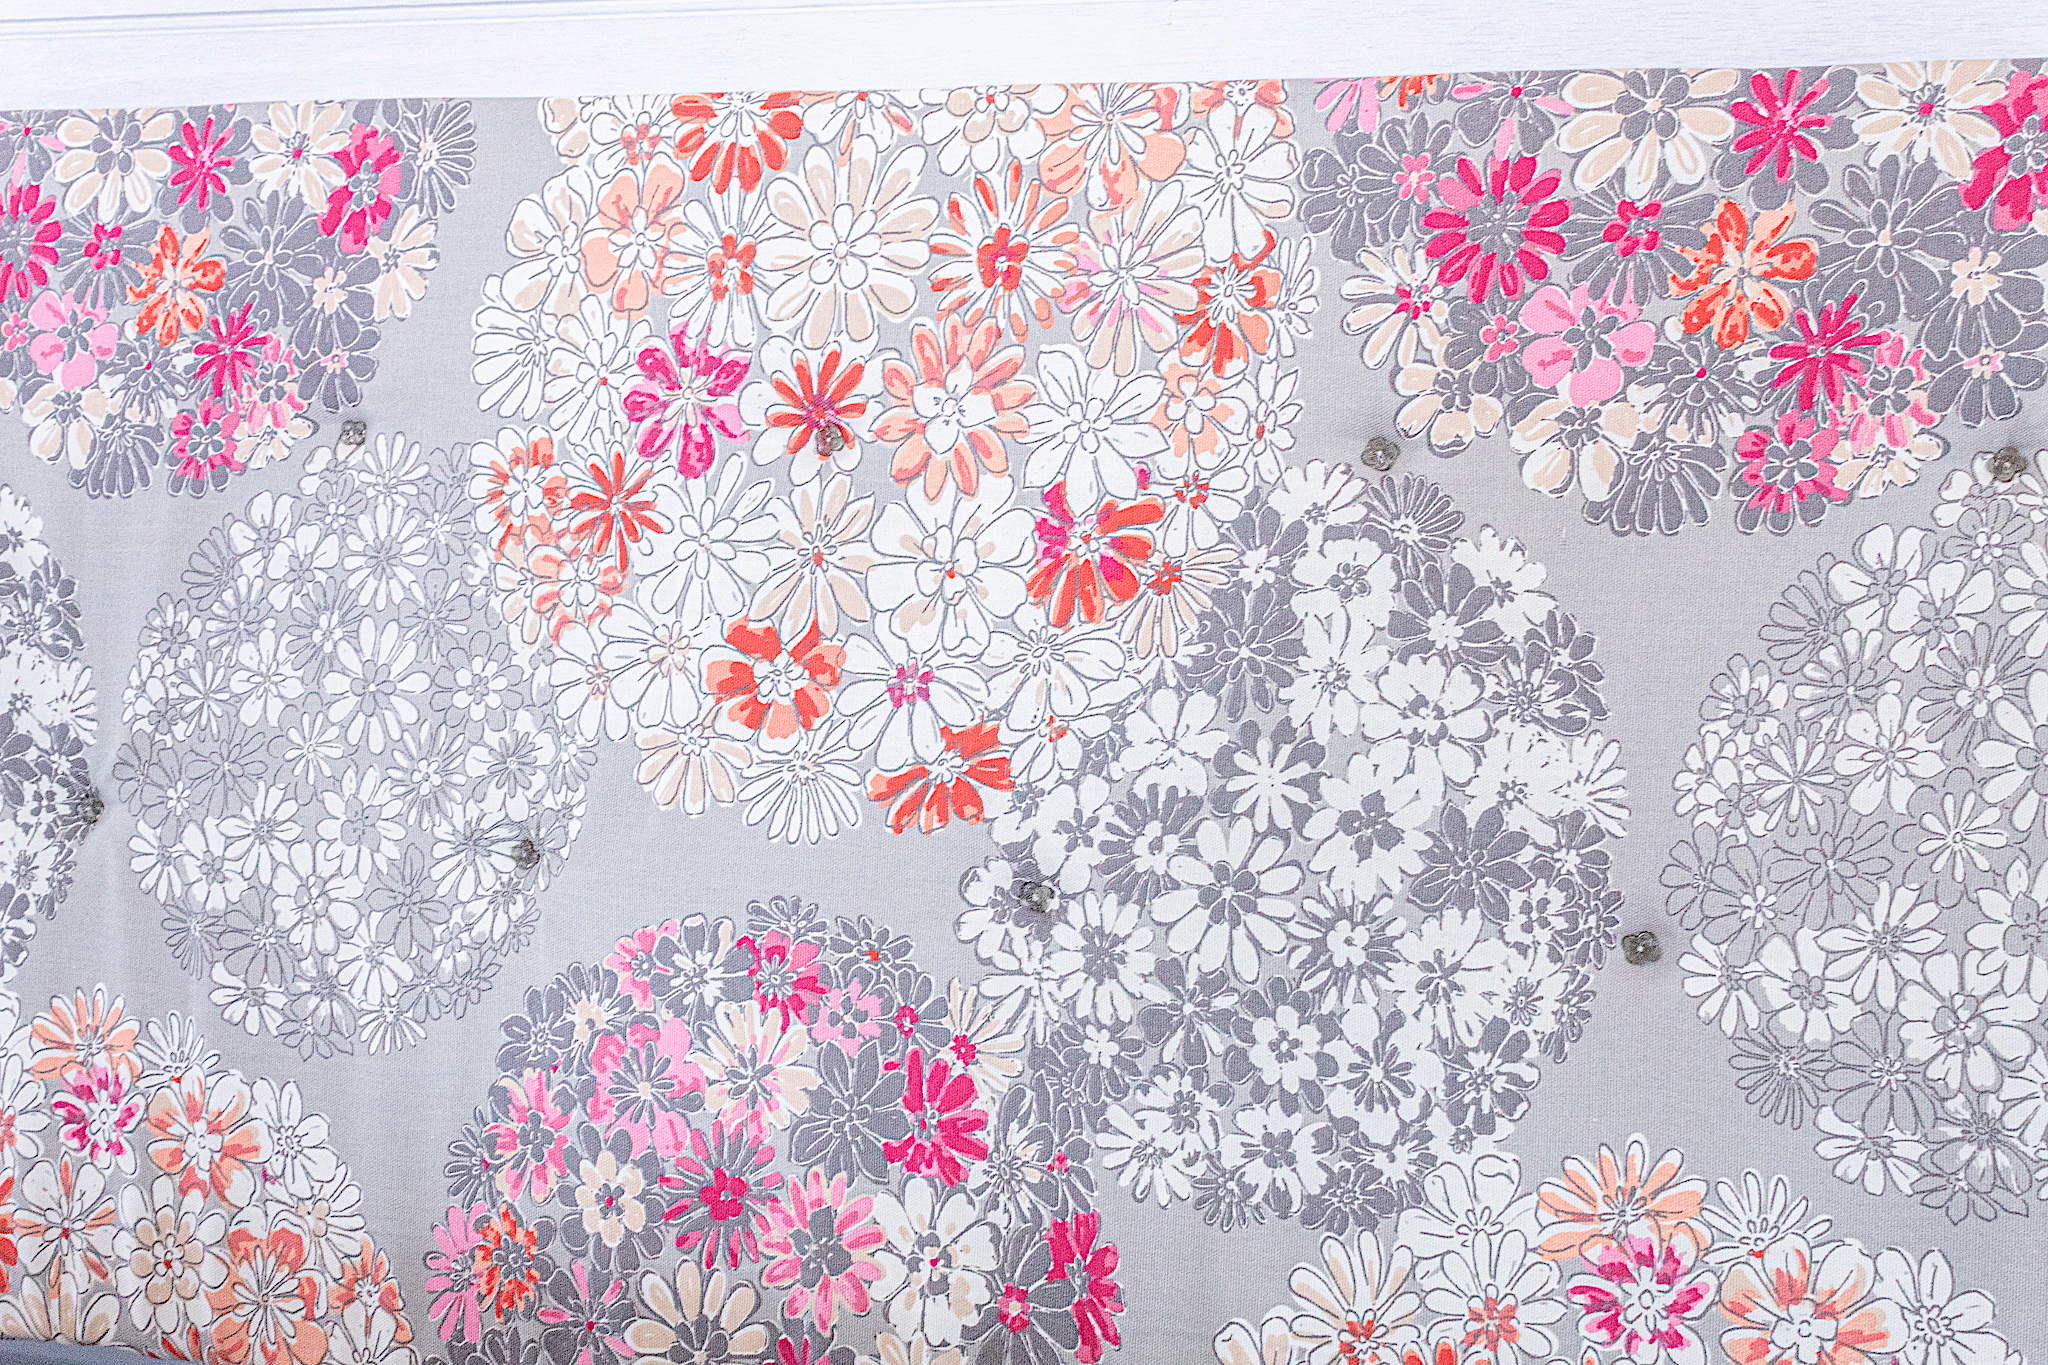
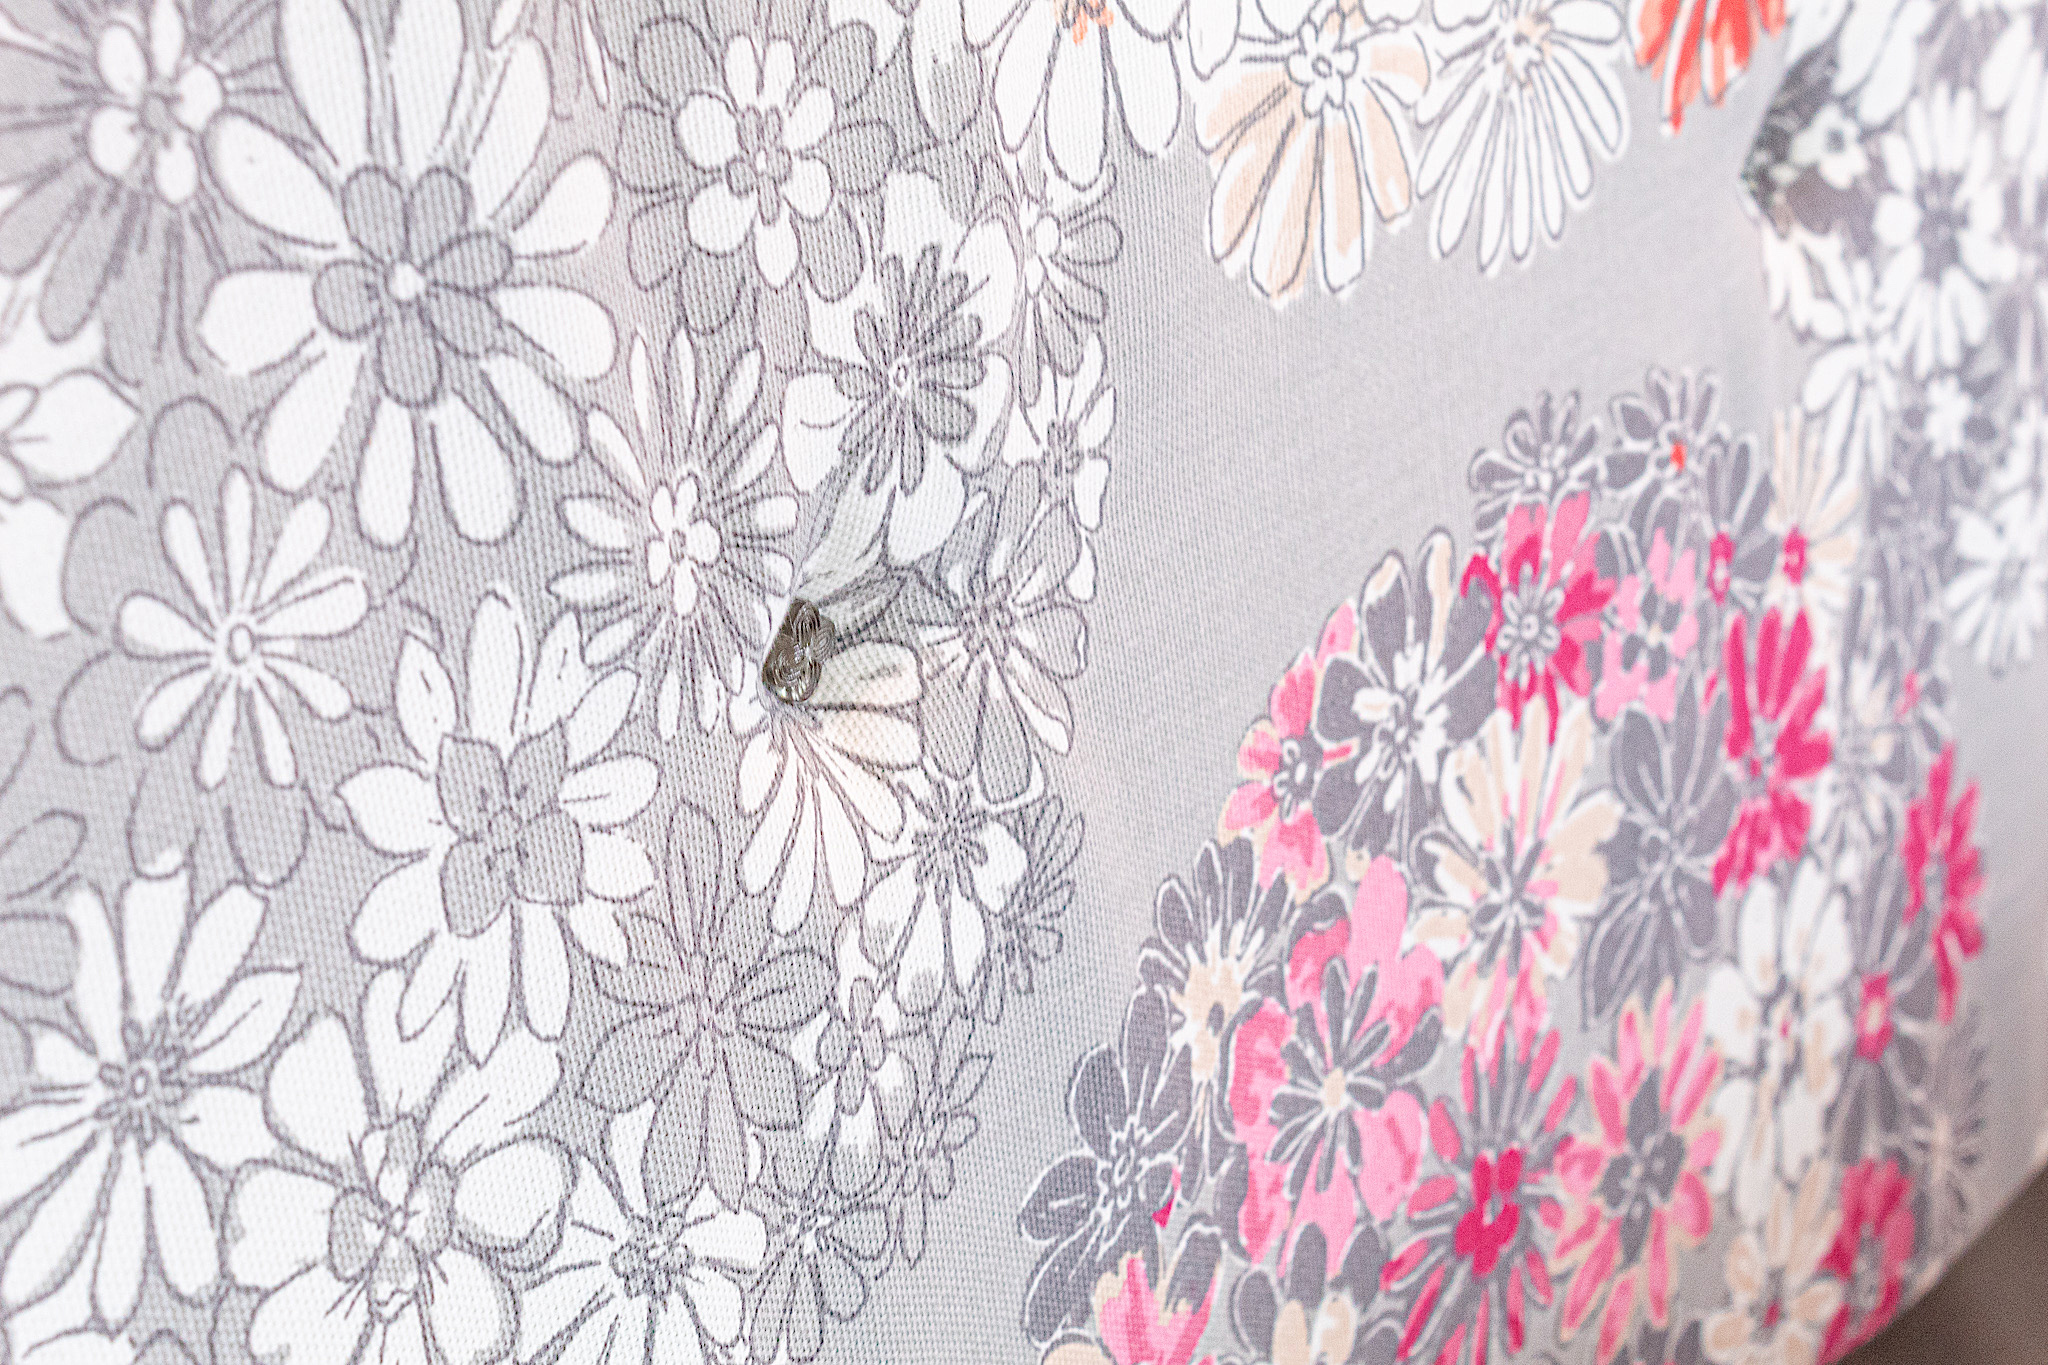
I found a pretty floral print fabric at JoAnn Fabrics.
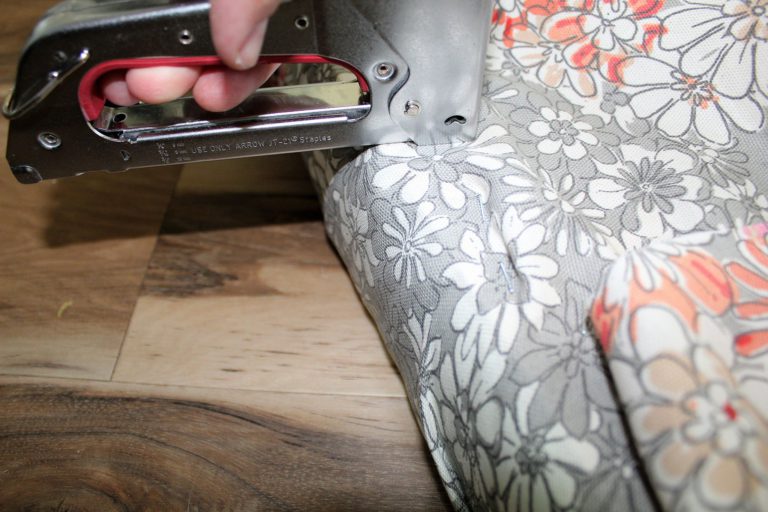
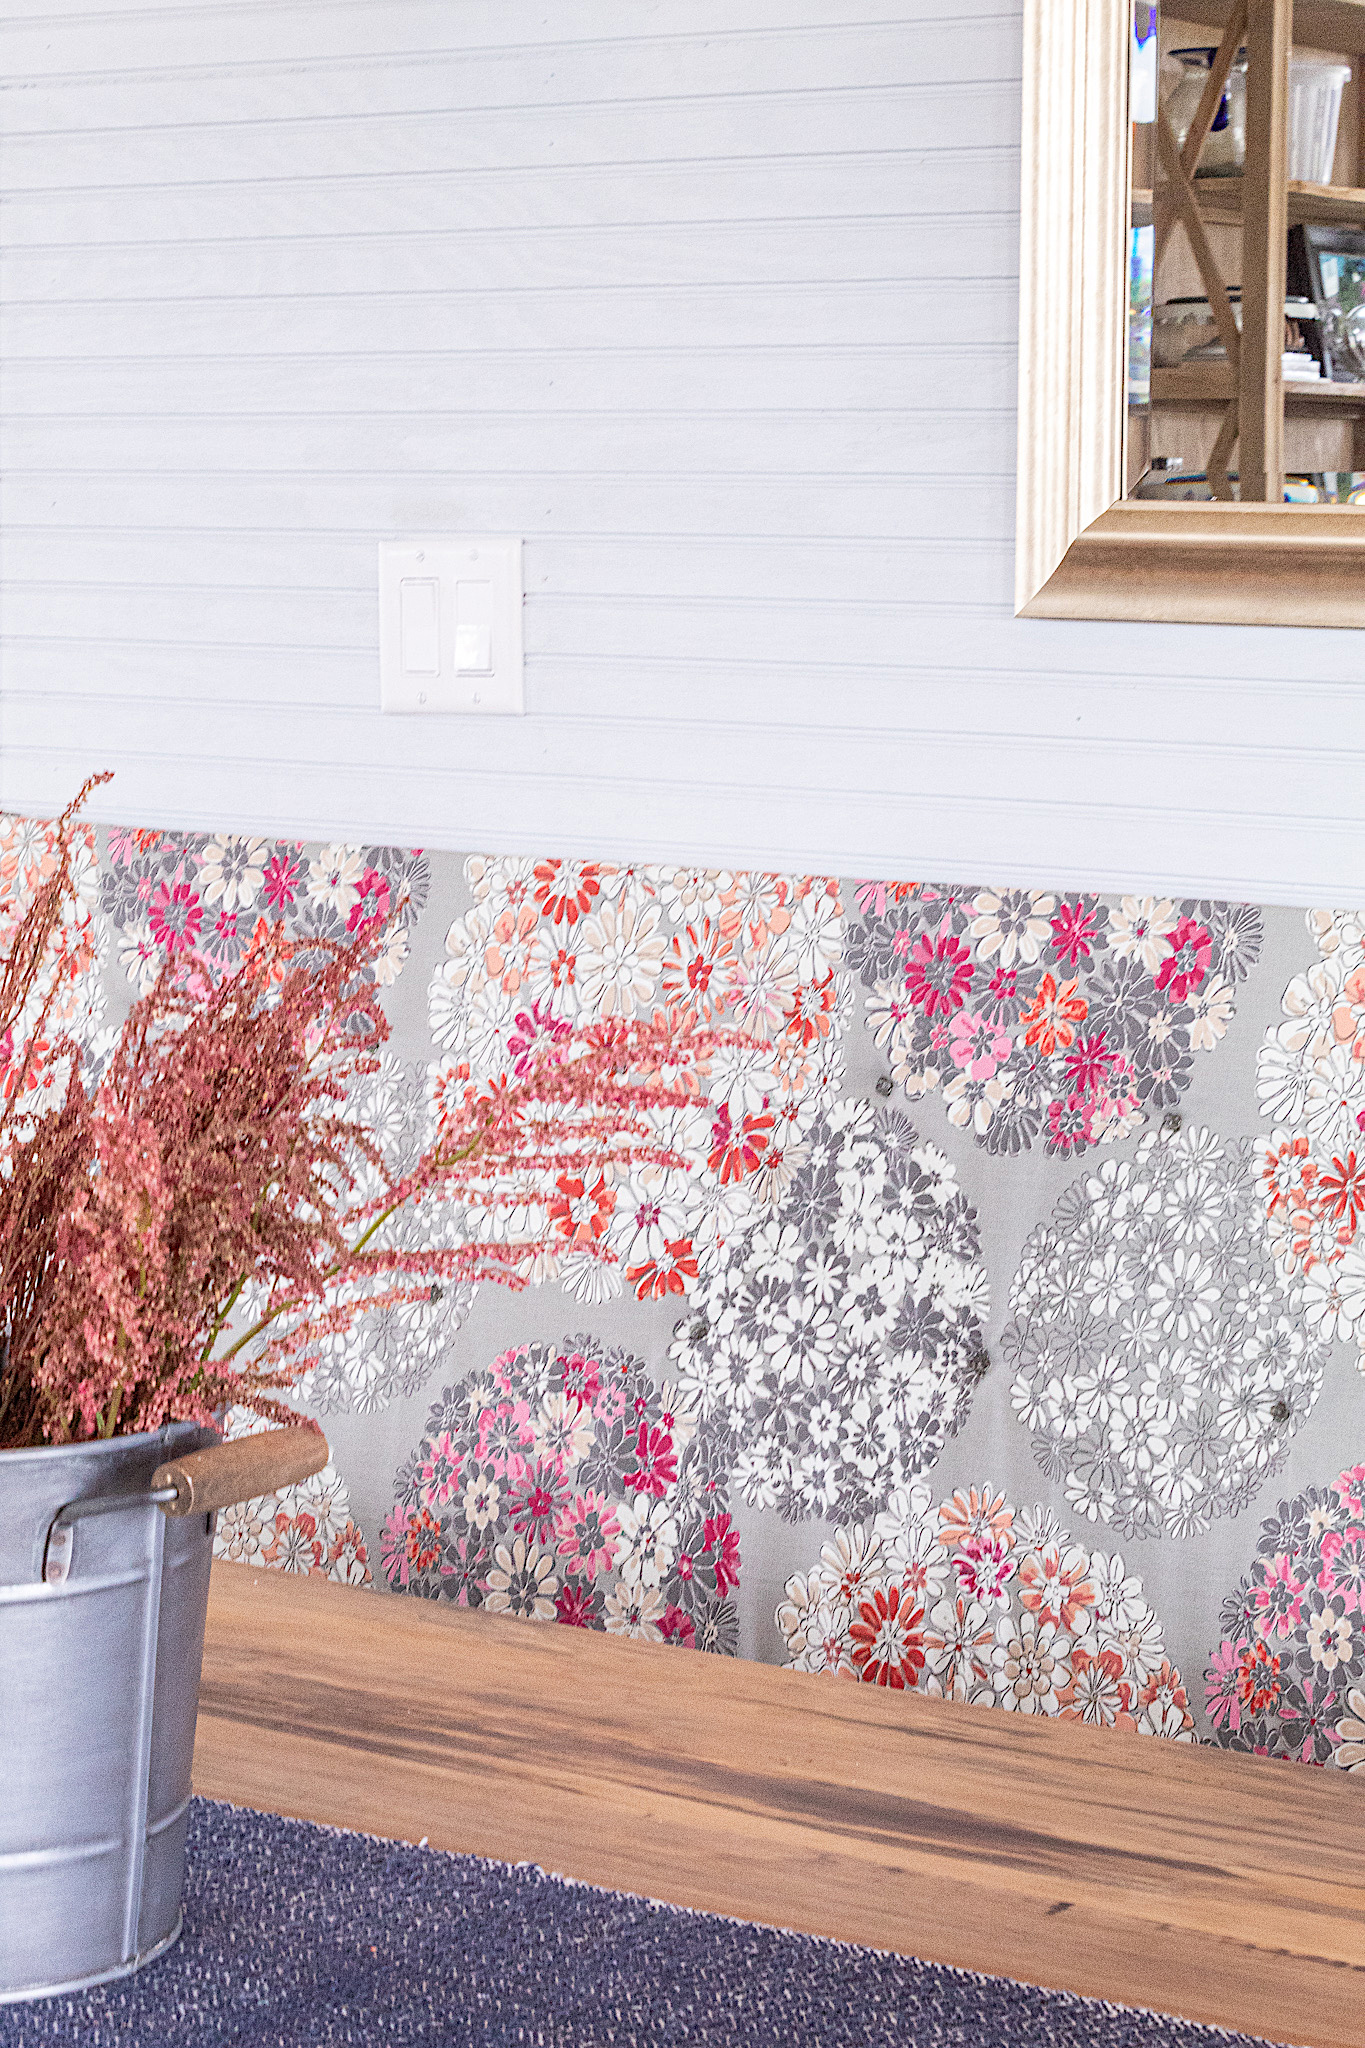
I went around the cushion with my staple gun. I found the best way was to lay the foam and plywood centered on top of the fabric and then pull the fabric up around the sides and staple to the back. I pulled the fabric tight enough to avoid wrinkles but not to too tightly as to curve the edges of my cushion. I prefer straight, flush edges. Trim off excess fabric on the backside as needed.
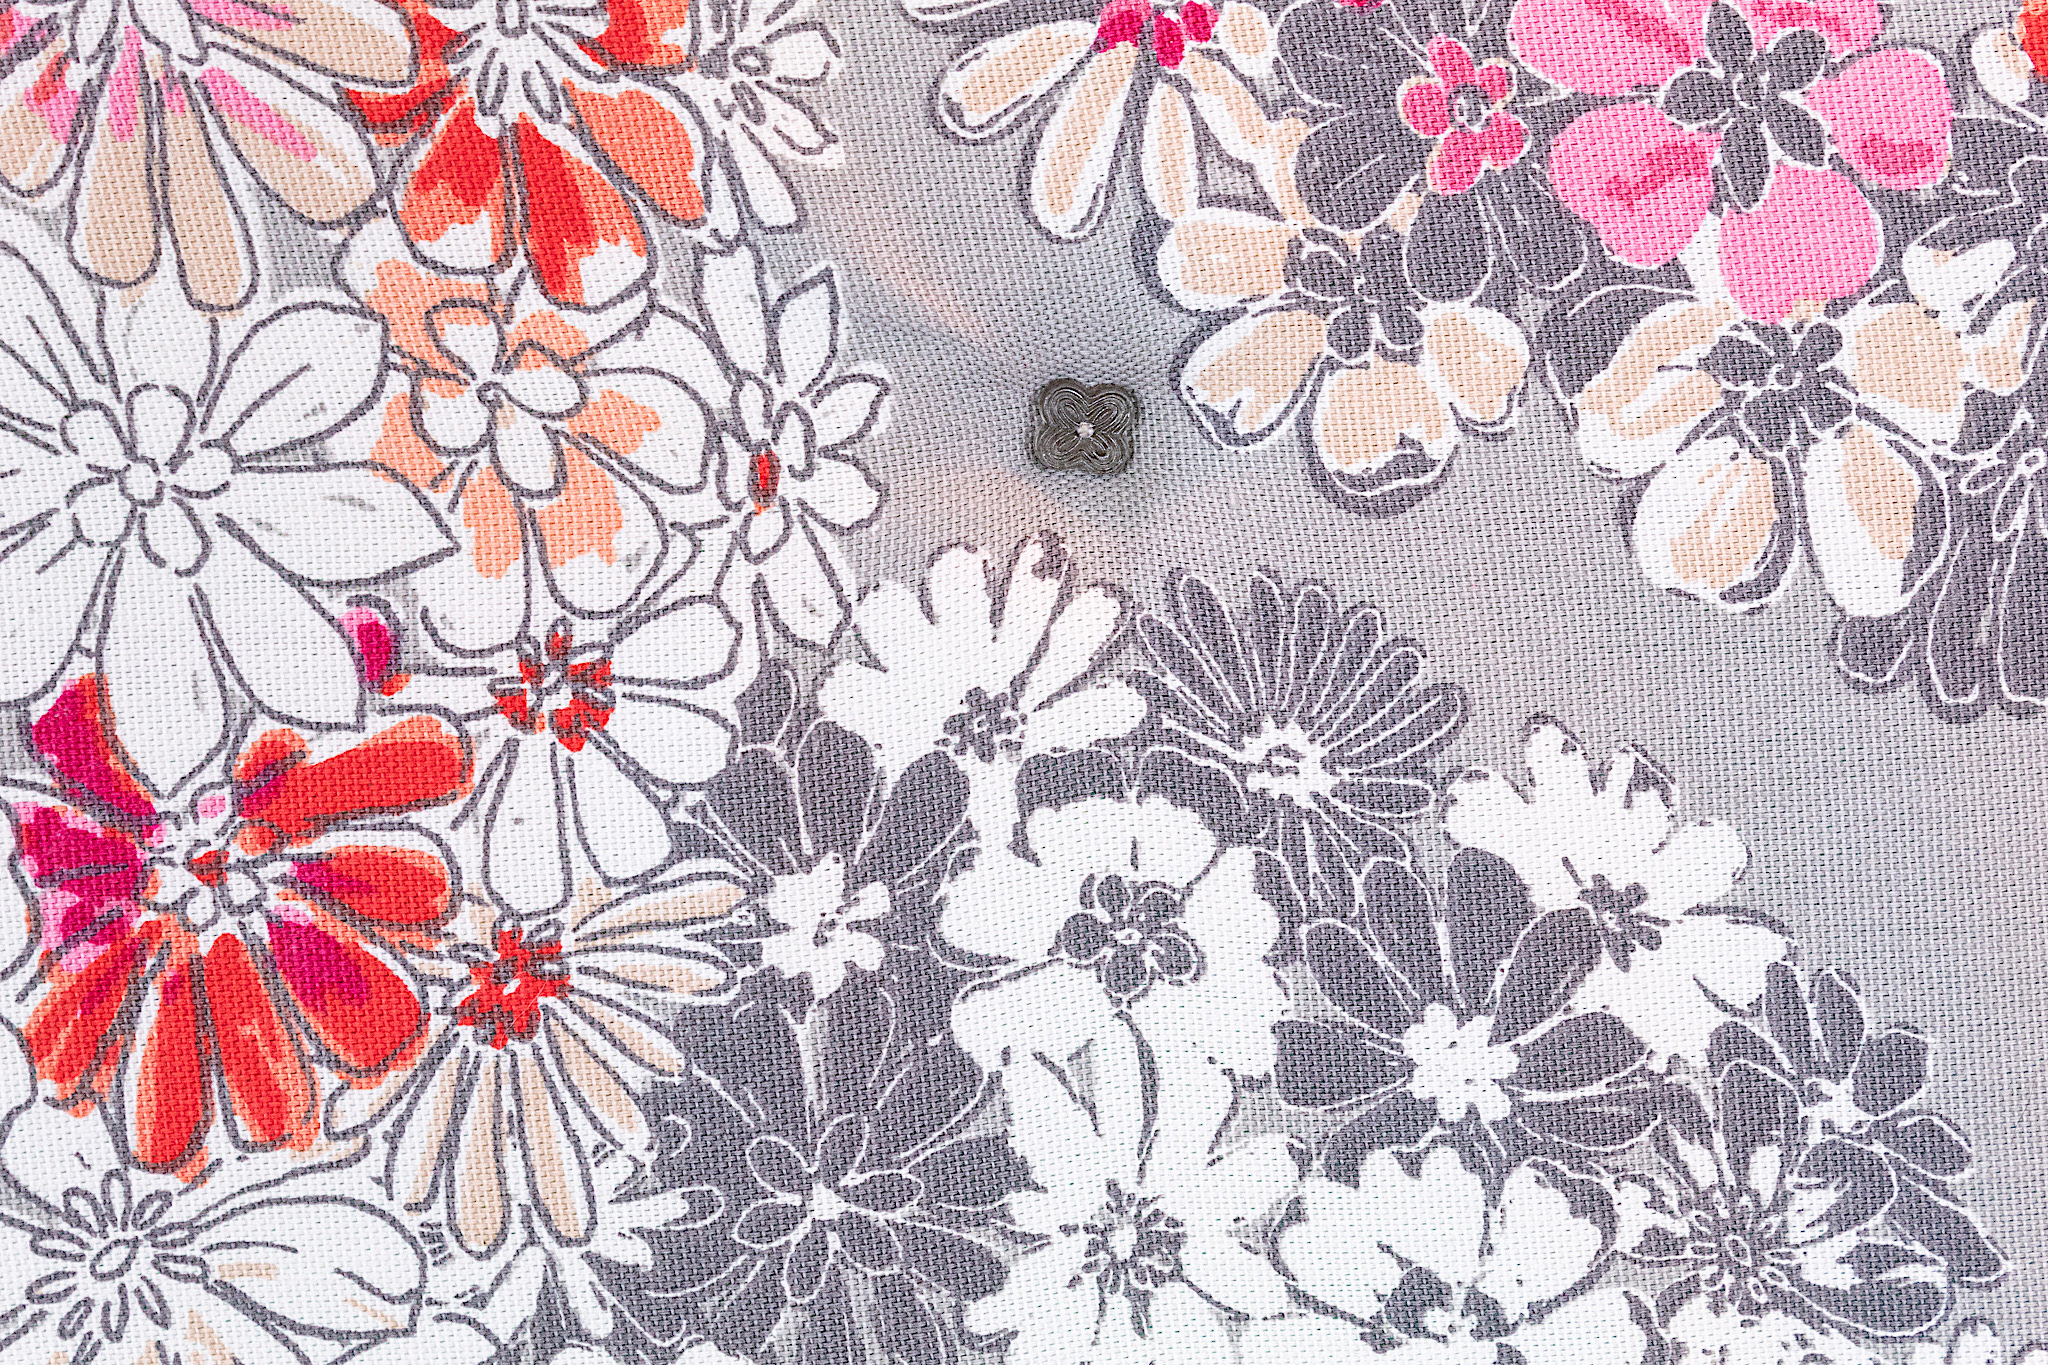
Step 5. Final touch, twist pins
For a decorative detail I added a few small twist pins. I used my laser level for the next step. This level is not cheap but it’s been very handy for multiple projects around the house like when I hung the bricks in our kitchen and it’s been a great investment. You could also use a measuring tape to mark your points for the pins.
The laser of the level served as a guide for each row. I twisted in 5 pins on the top row and for the second row I staggered 5 more. I really liked how it added some detail and definition to the cushion. If I were to do it again I would have made it three rows instead of two given the size of this cushion.
And that’s it friends. Any time I get to do a DIY that de-clutters and enhances the space, I find it so therapeutic! I hope you liked this tutorial. Our banquette now has a new look.
Be sure to SUBSCRIBE to our blog at the bottom of the page so you don’t miss a thing!
If you’d like to see the new, updated version, visit my UPDATED Dining Nook Banquette post. Here’s a sneak peak below…