Greetings lovely readers! Thanks for stopping by. I strive to find a balance between blogging and diy’ing. I don’t think I’ve mastered that quite yet! In fact, I have a back log of content that I can’t wait to share with you.
But today I made sure to carve out some time to share with you some before and after pictures of a rental property Ronny and I have been updating. After the crazy stressful experience of building our own home we learned that the best method for making home renovations is to GO IN STEPS, time permitting. If you’re going to take on a big project, I recommend putting your full focus and energy on this until completion. And if you have a space that needs several updates, try to tackle simultaneous SMALL projects. We’ve found that following this method keeps things from becoming overwhelming and helps make your renovation goals achievable and affordable.
Updating light fixtures, painting, changing faucets, cabinet hardware, window treatments, are all feasible and small ways to make a substantial impact in the design and feel of a home. Take a look at a few of the projects we took on over a two week period.
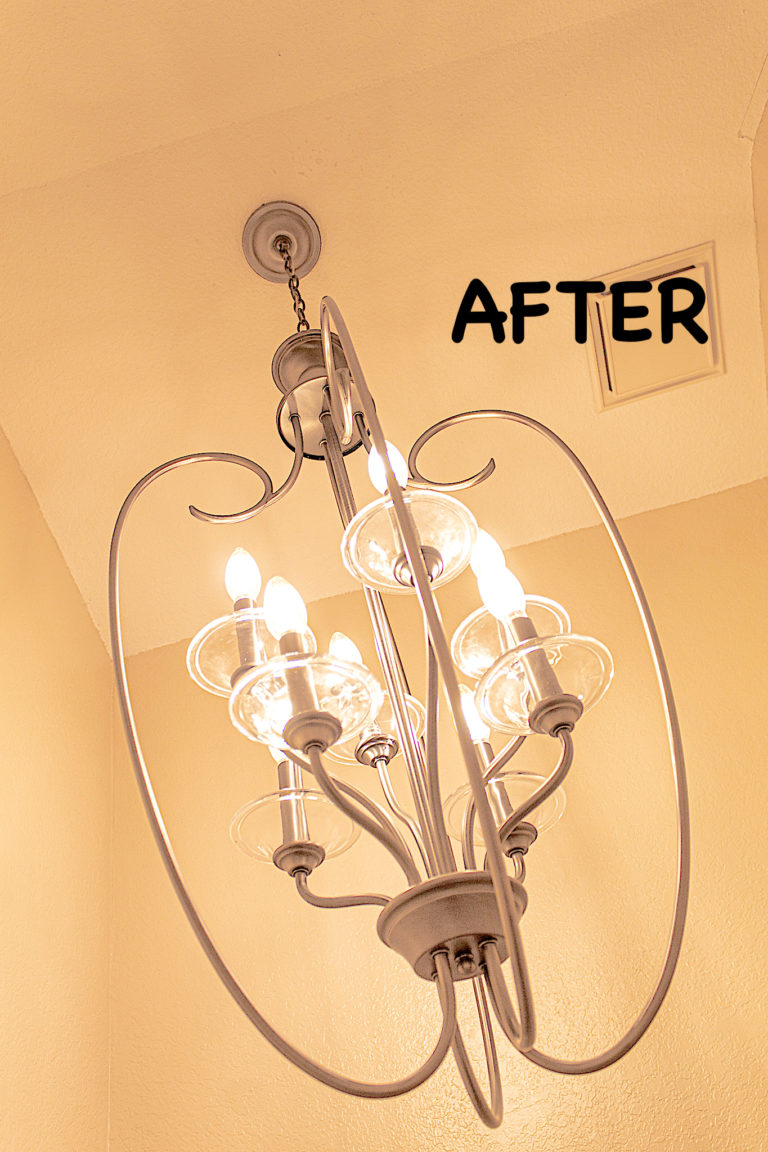
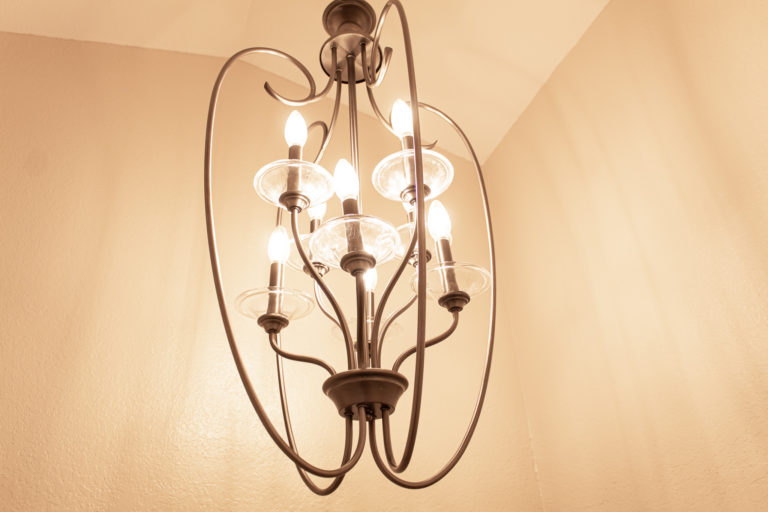
I’m not sure how since this light hung high from a tall ceiling but our last tenants broke this pendant in several places. I found this gorgeous chandelier at a close out price on Wayfair. It is beautiful and massive, measuring over 3 feet long. With high ceilings and a rather simple backdrop, this bathroom could afford a bold and glamorous statement. And it was the perfect way to bring in more light to a dark space. Our new tenant is loving it.
Disclosure: Some of the links provided are affiliate links. By purchasing through these links you are supporting this family blog and the work we do and there is no extra cost to you. If you would like to read our full disclosure, click HERE.
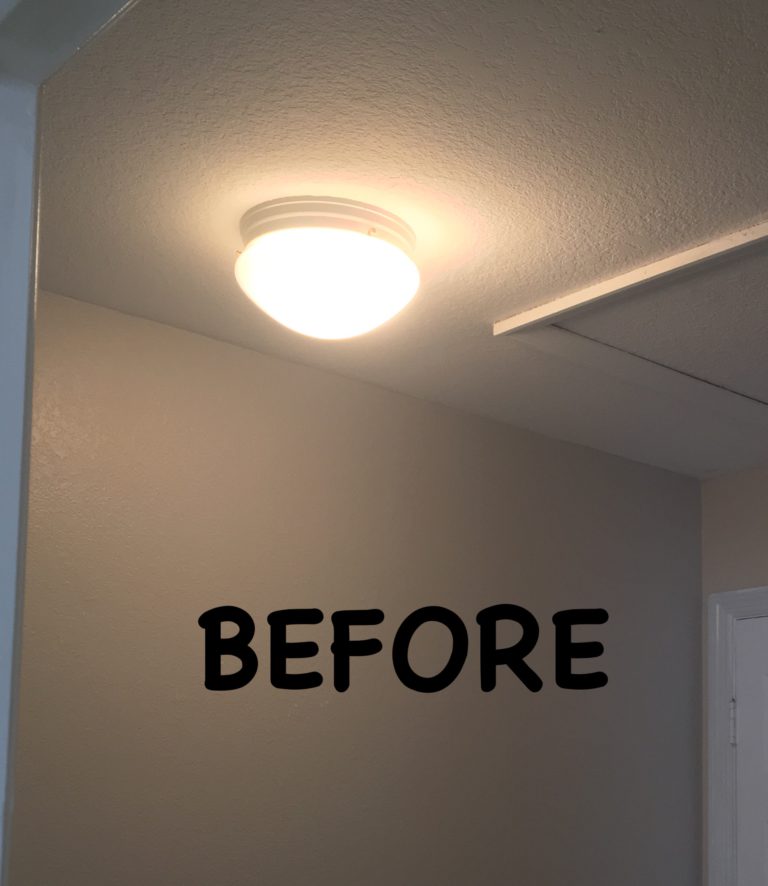
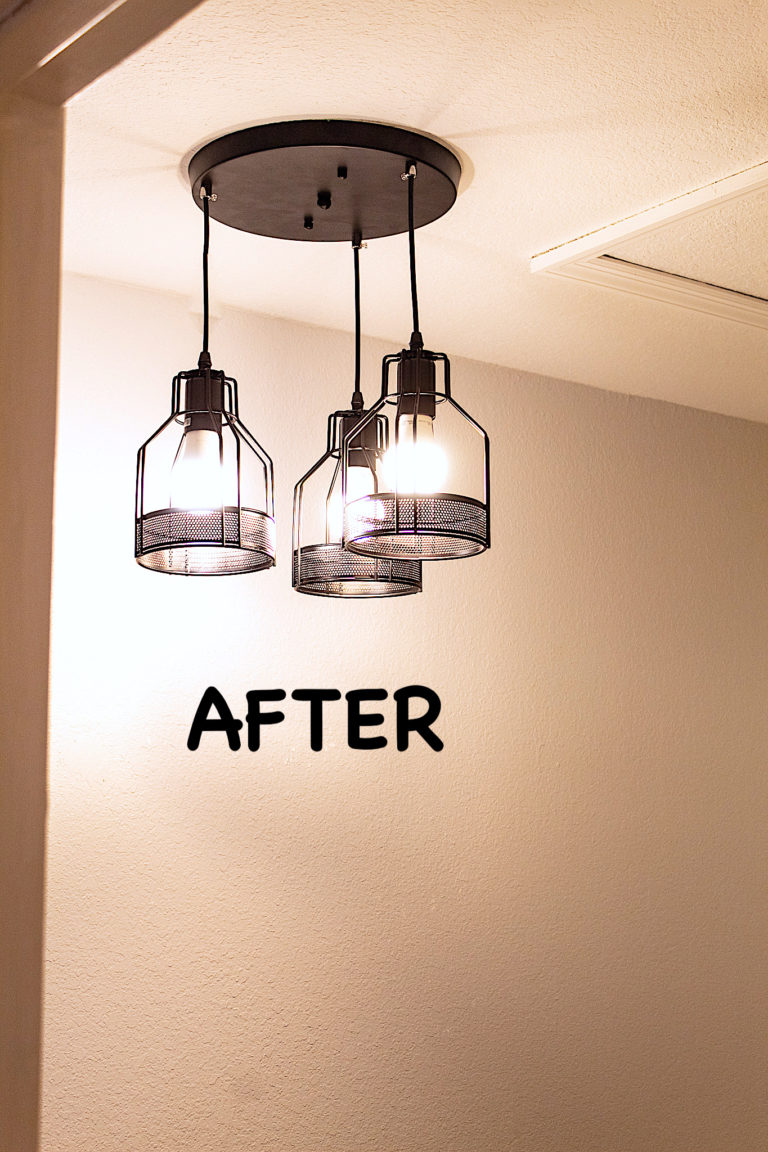
Here is another corner where the lighting was poor and the builder’s grade ceiling light was just plain blah…I found this super cute metal cage vintage pendantfor under $40 on Amazon. The three light design tripled the amount of light to the area. The reasonable price made it budget friendly to update a corner at the stop of the stairs. Anything more expensive, given our budget, may not have been a justifiable update.
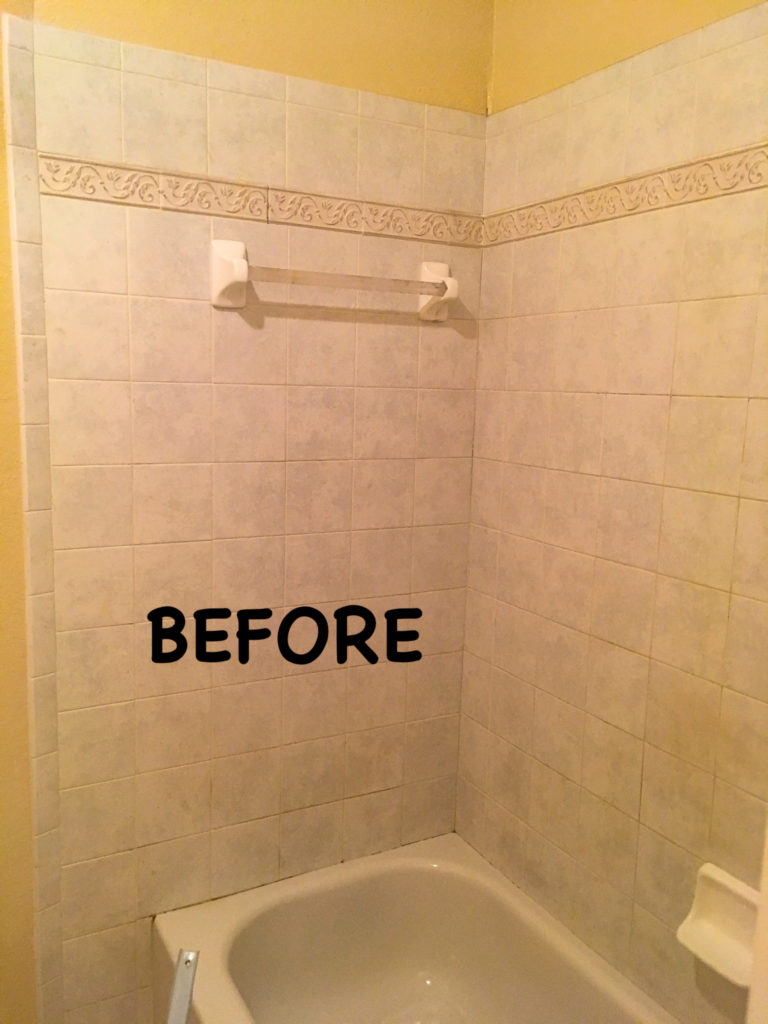
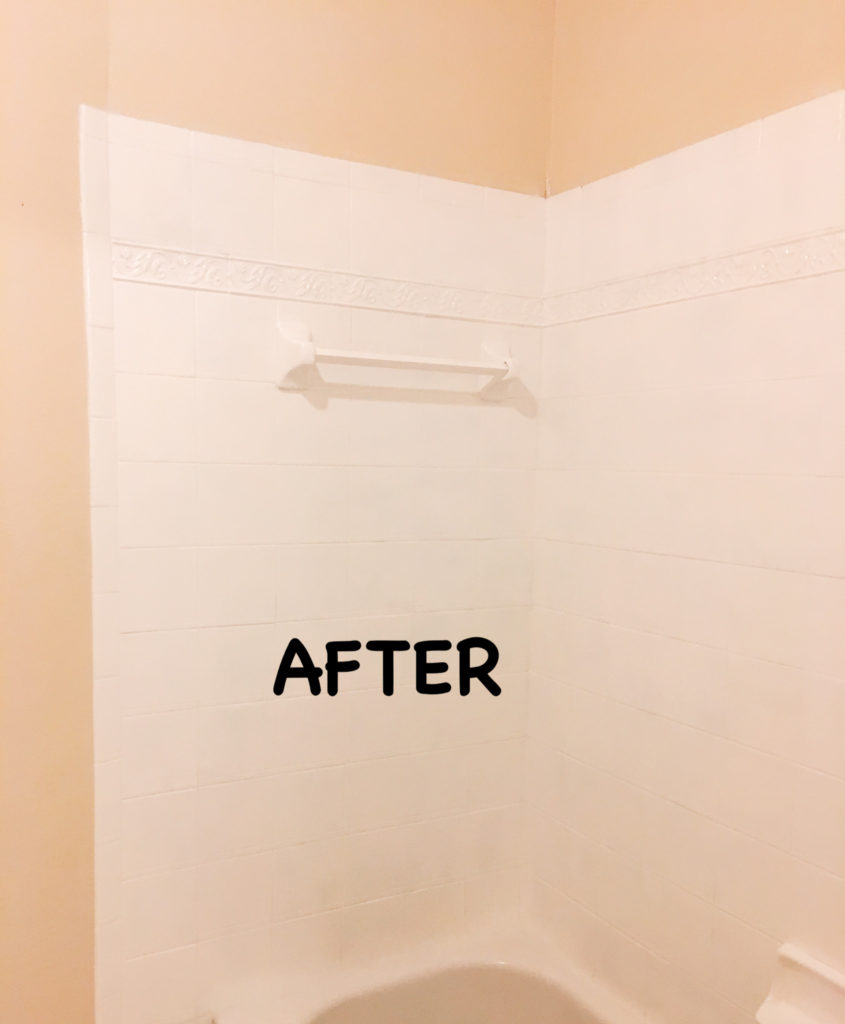
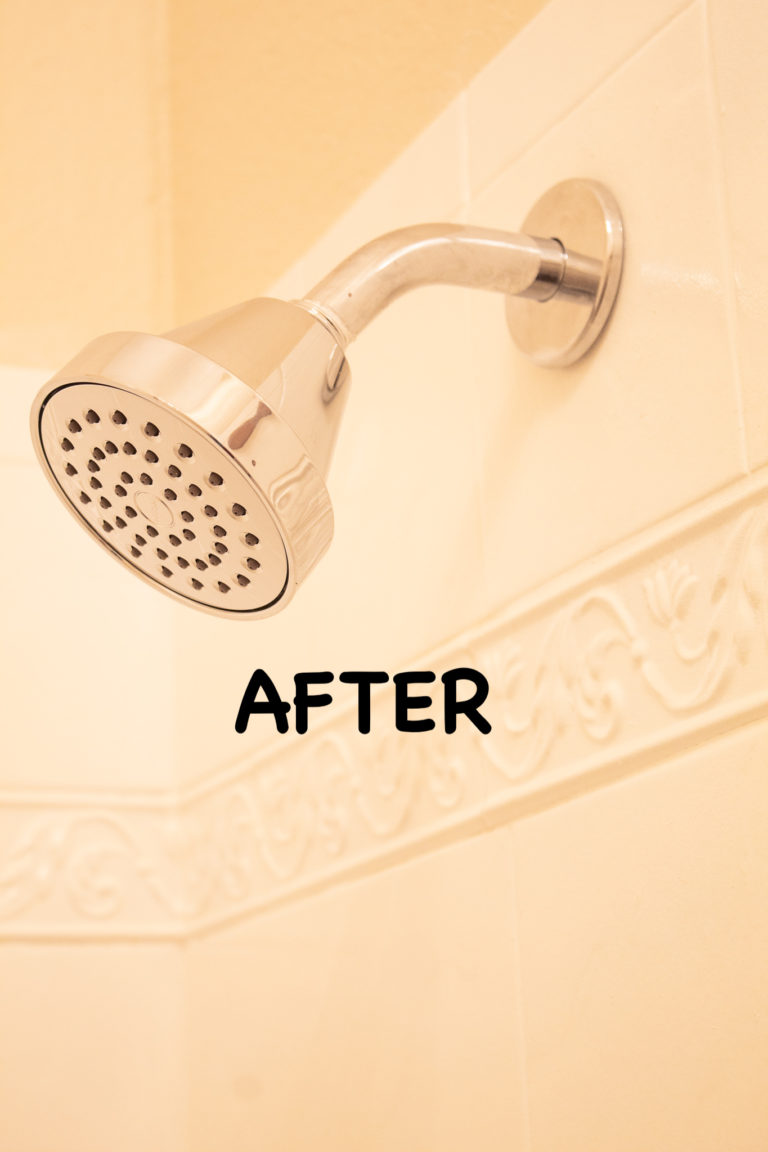
The bathroom tile in this shower definitely needed some updating. The picture does not do a good job of sharing just how outdated the tile was, the mildew spots, and the cracks and imperfections. But let me tell you, it was in pretty yucky shape. This was a perfect example of time management. We could have tackled the BIG project of ripping out tile and hanging new tile and grouting. But, nope. I came up with something else. I had read about this special tub and tile paint for refinishing bathrooms and counter tops. It had held up remarkably after an 8 month review.
So I decided to give it a shot. I bought 2 of these Rust-Oleum Tub and Tile Refinishing Kitsin white. I applied two coats with a foam paint roller and the difference was astonishing. It transformed the old tile into a bright, crisp white. I did not do the tub, but perhaps that’s a project for the future. I will warn you that this product has a strong smell so you will want to make sure you have proper ventilation. I ran a large floor fan while I was working. I preferred working with a smaller roller (4″ or 6″). I felt the coverage was better and I could work in smaller sections. This stuff tends to dry pretty quickly.
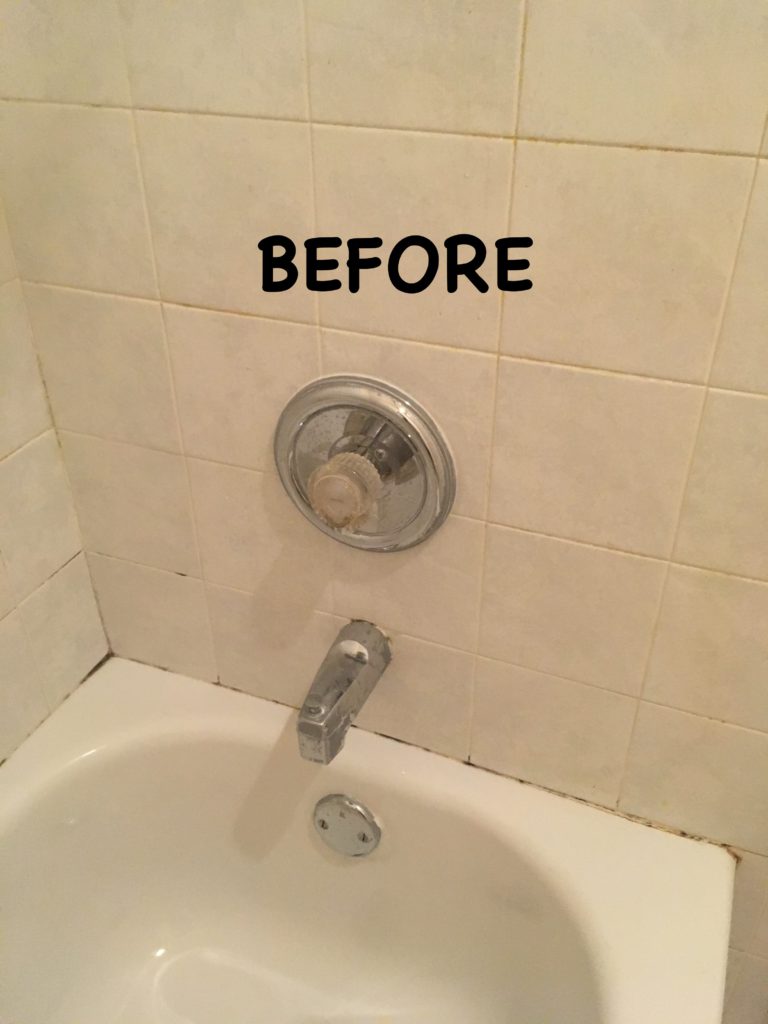
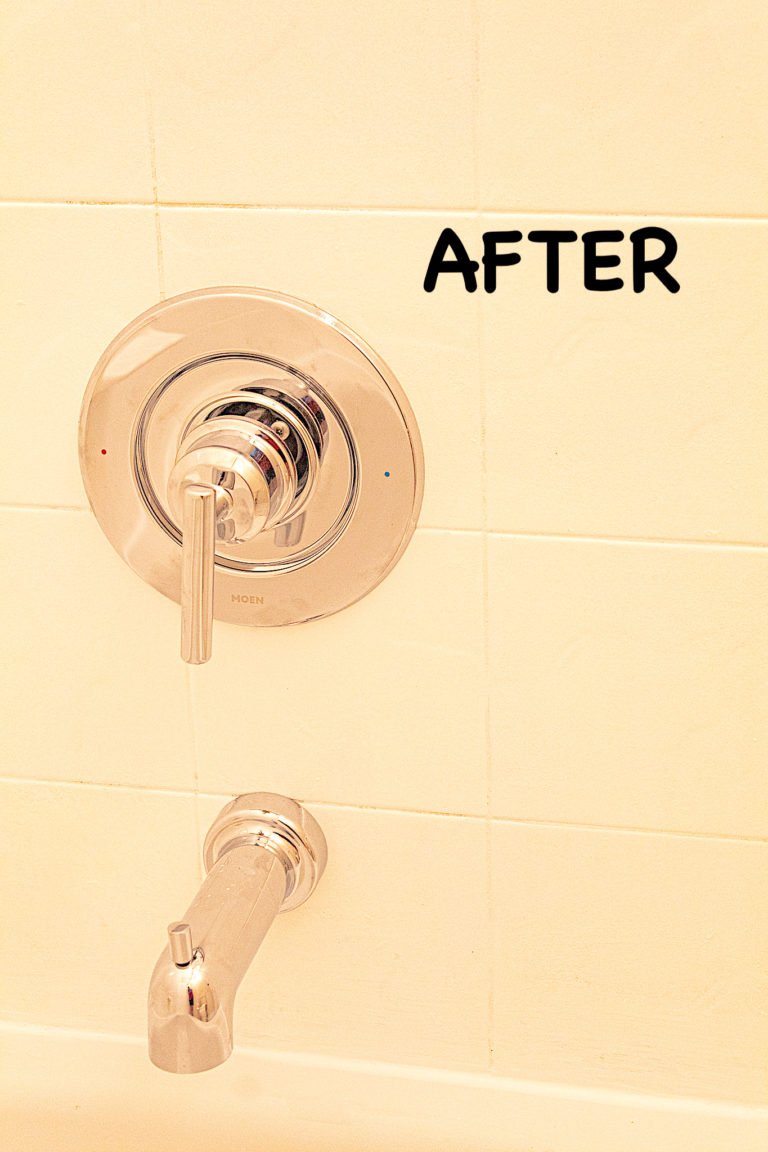
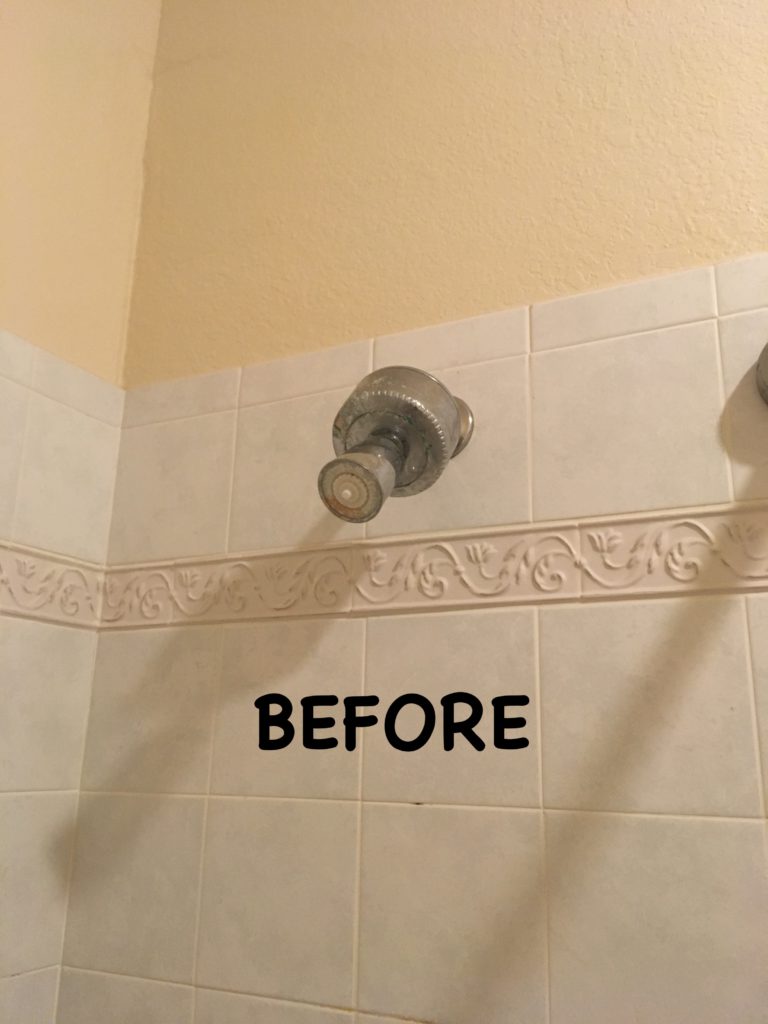
To go with the nice new look, changing out the old, ugly shower fixtures was a must! I was relieved to find this Moen trim setfor an affordable price on Amazon. It is stunning. We didn’t need to purchase a valve since the previous fixture was a Moen. Make sure when changing out your plumbing faucets that you check with your plumber for compatability.
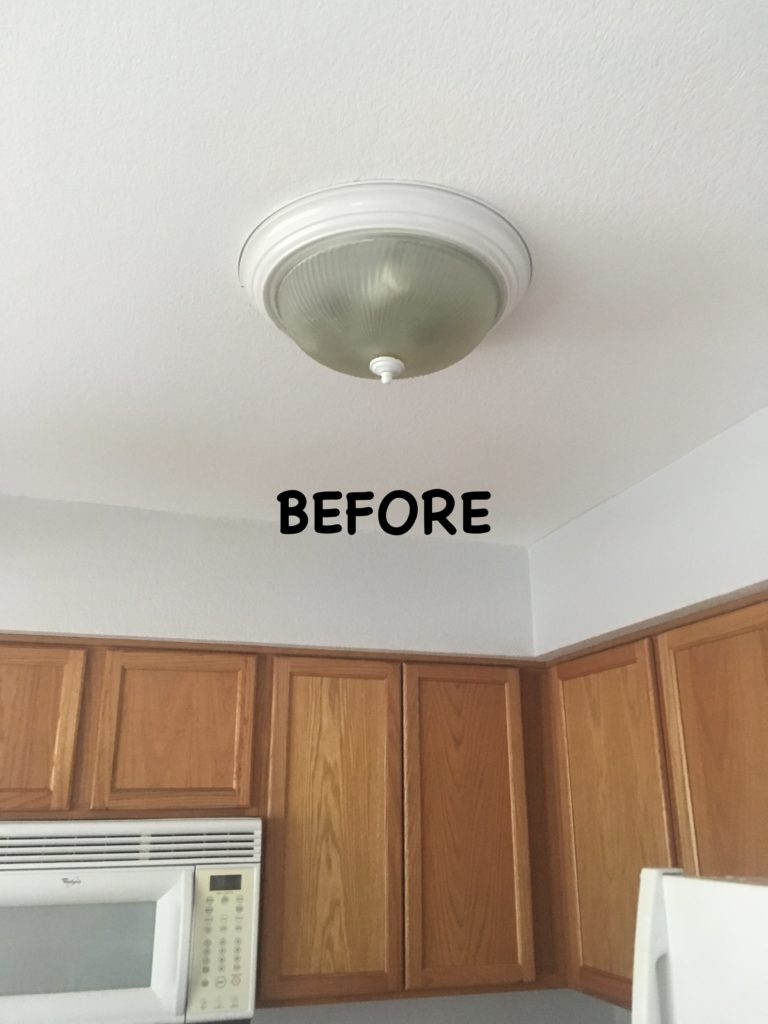
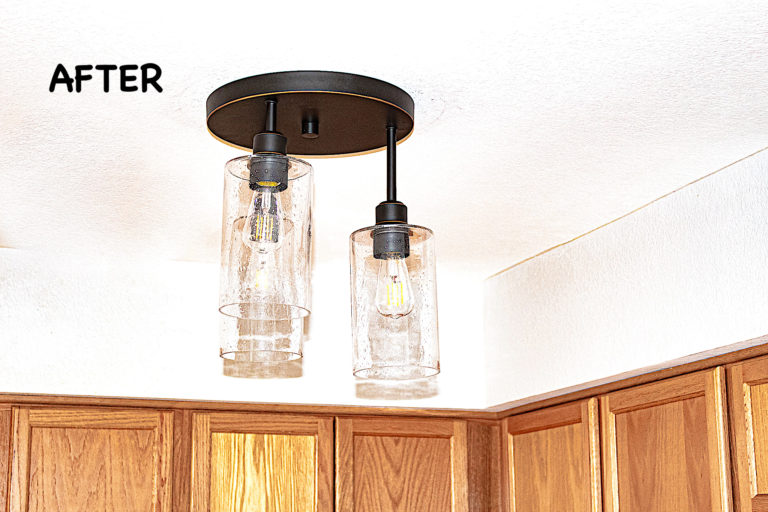
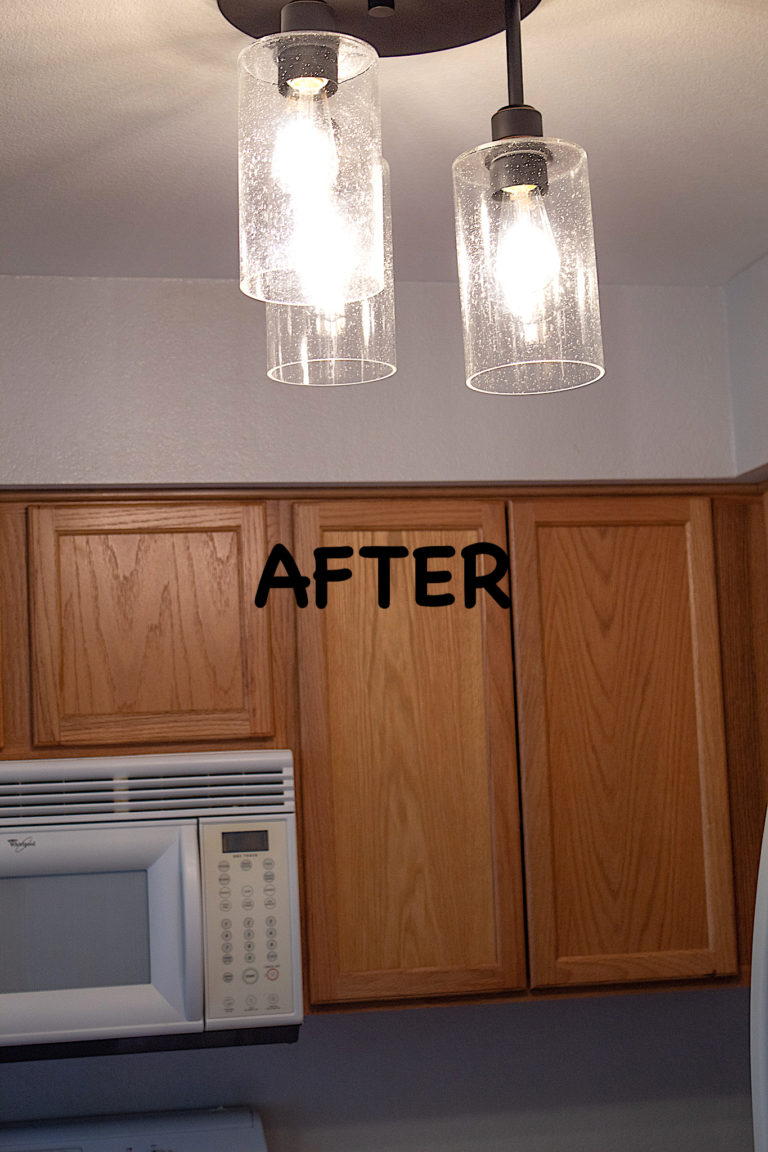
Another light fixture update freshened up the kitchen and added some much needed design. I got this Hykolity 3-Light Ceiling Light for under $50 on Amazon. The picture doesn’t do the new light justice. It looks simply beautiful up. I like it so much, I’m thinking to buy it again for another project.
So there you have it friends. A few small changes, and the home looks a million times better. Each time a tenant moves out, we do a few more updates. On the list for next time: painting kitchen cabinets, new knobs and pulls for all vanities and cabinets, and maybe removing carpet from stairs and second floor.
I hope you enjoyed this post and let me know what simple BIG impact changes you’re working on.